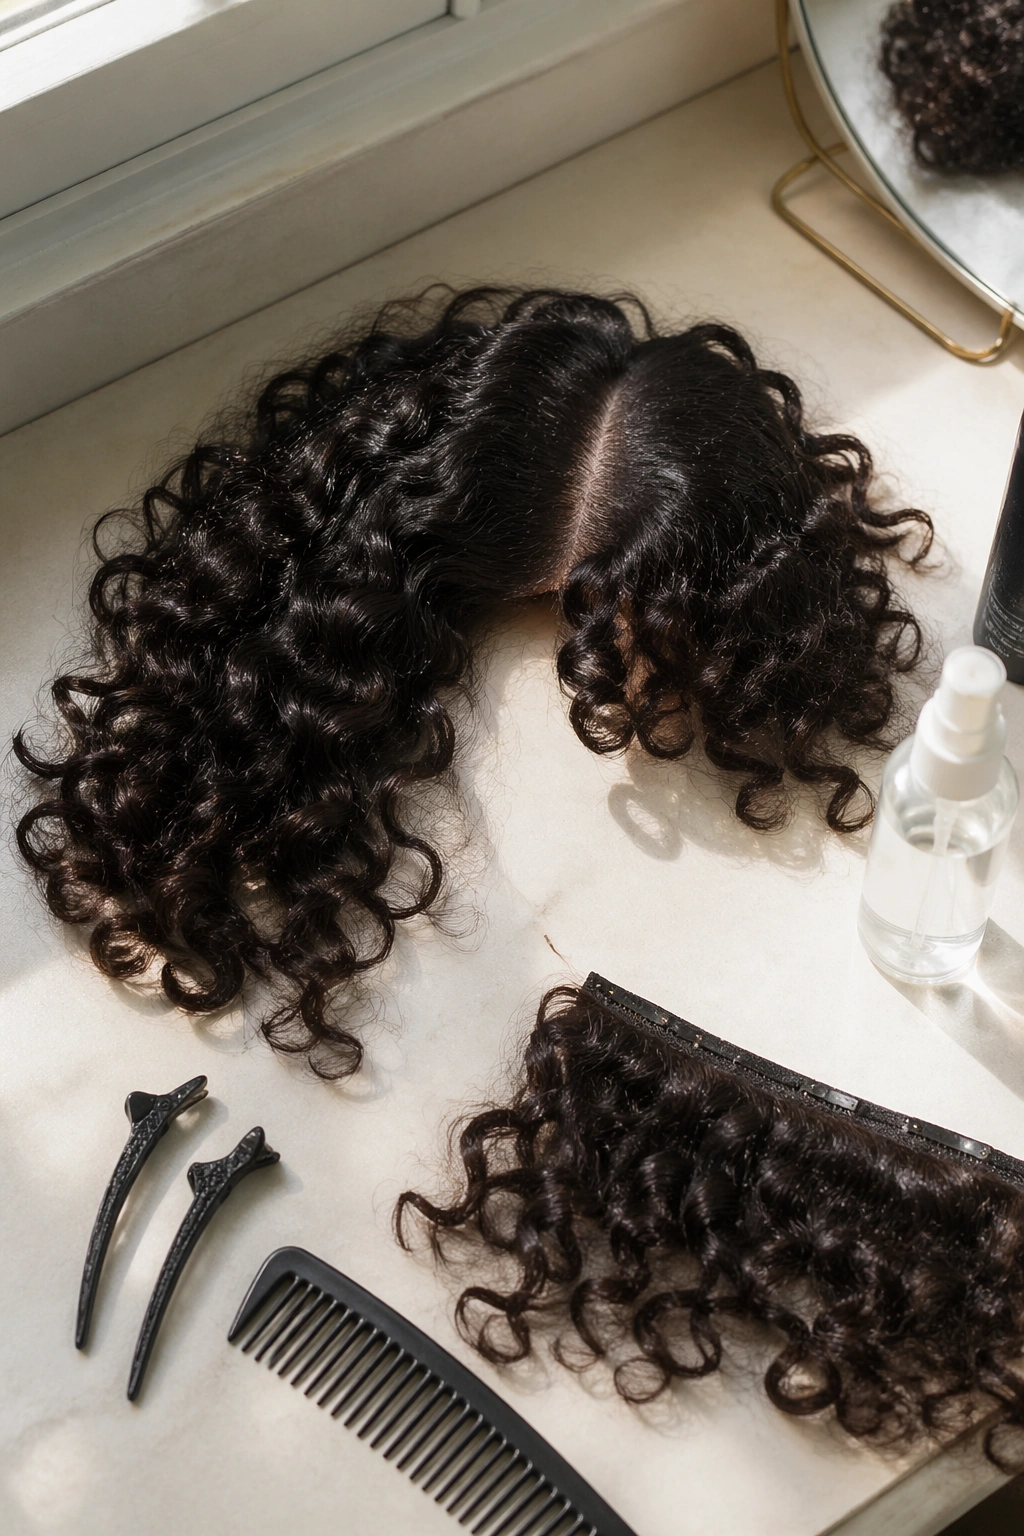
A good hair piece can save a curly style from looking flat at the crown or thin at the ends. That little gap at the hairline is often the first thing people notice, even when the rest of the curls are behaving. Annoying, but true.
Curly hairstyles with hair pieces work best when the added hair disappears into the shape you already have. Not under it. Not fighting it. The seam should hide in a bend, a braid, a puff, or a twist where curls naturally break up the eye. If the piece is too shiny, too straight, or too dense, it will stand out in the worst possible way.
The other mistake is weight. Heavy pieces drag curls down, flatten the crown, and make the whole style look tired by lunchtime. A lighter piece placed in the right spot usually looks better than a bigger piece shoved in and hoping for the best.
So the game is simple: pick the right curly texture, keep the placement smart, and let the shape do the work.
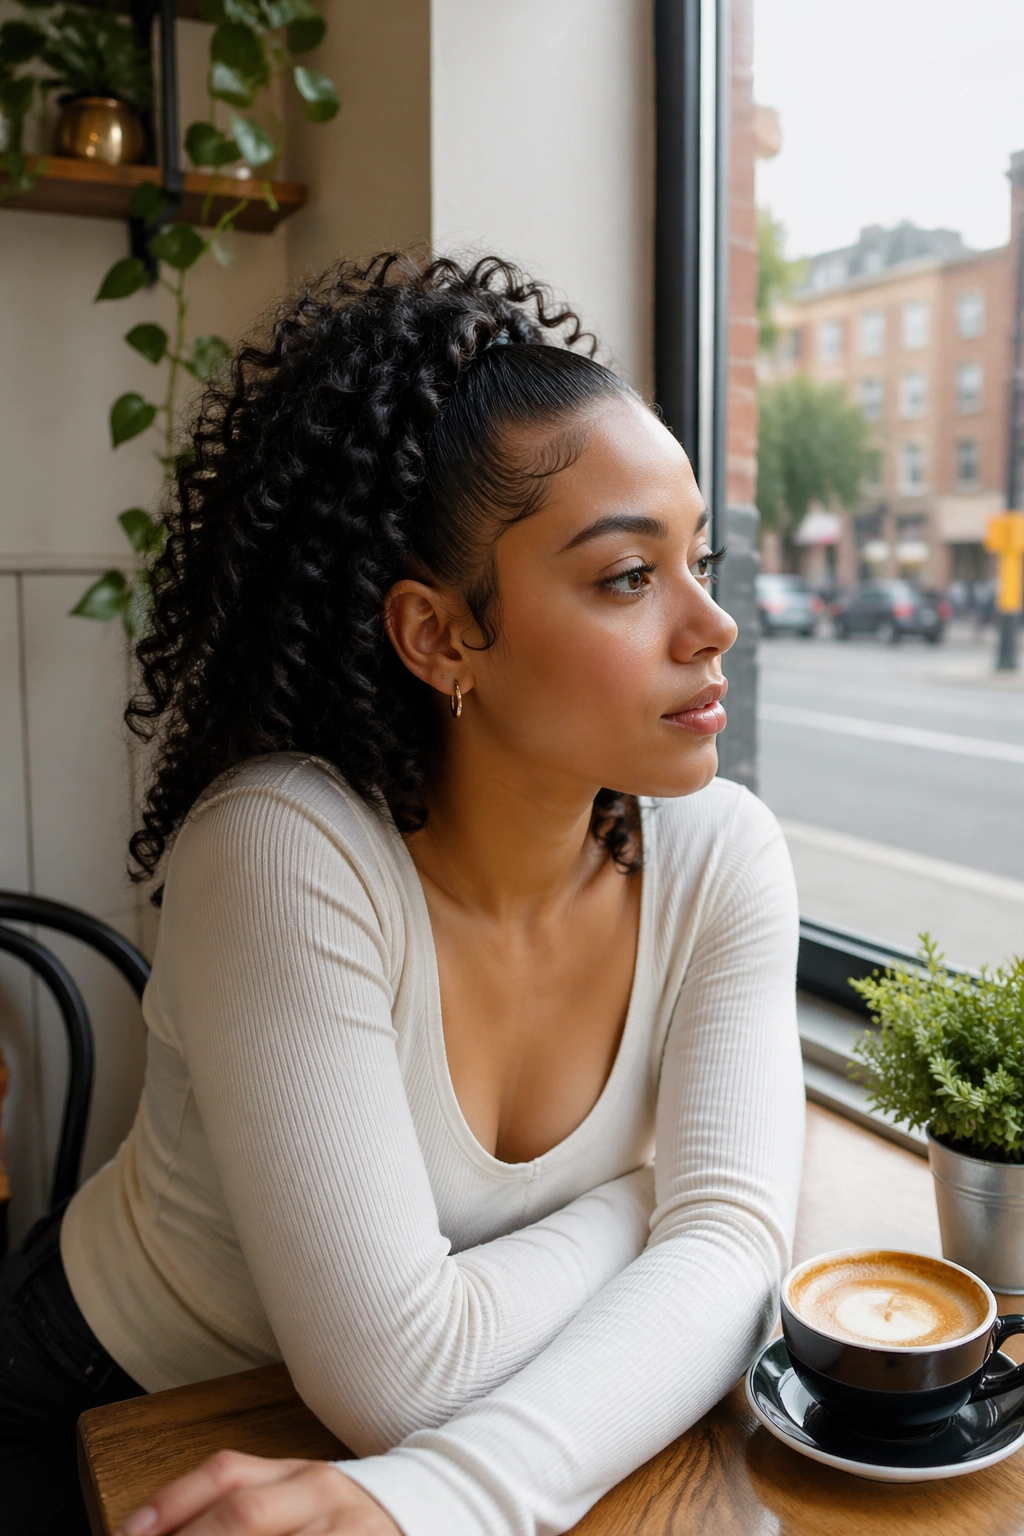
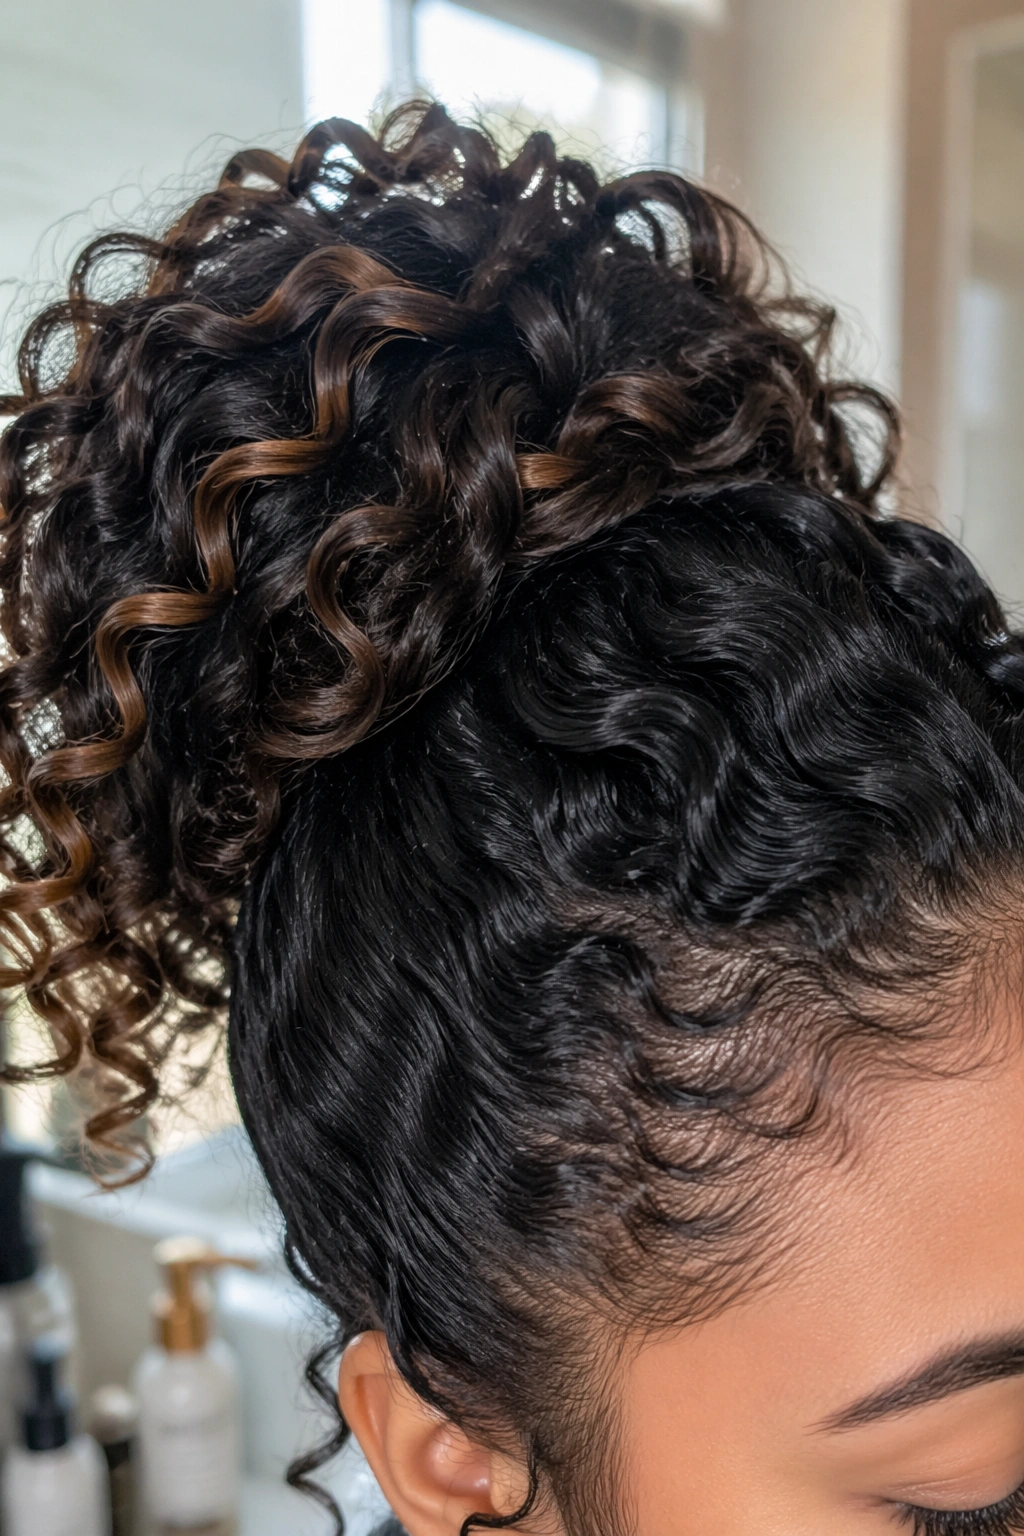
1. High Curly Ponytail with a Wraparound Piece
A high curly ponytail is the easiest place to hide a hair piece because the base is supposed to look active and full. That gives you a little freedom. A wraparound ponytail piece, especially one with a curl pattern close to your own, can add length fast without making the style look stiff.
The move that matters most is height. Set the ponytail at the highest point of the head, not halfway back. That lifts the face and keeps the ponytail from sagging after a few hours. If your own curls are short or uneven, gather them into a tight elastic first, then anchor the wrap piece just above it and cover the band with the wrap. Two bobby pins in an X at the base usually hold better than one lonely pin.
- Best on shoulder-length curls that need extra length.
- Use a piece that matches your curl size, not only your color.
- Keep 1 to 2 inches of crown lift before securing the elastic.
- A light mist of water on the ponytail helps the curls clump together.
Best tip: Don’t smooth the crown too hard. A little softness hides the join better than a shellacked finish.
2. Half-Up Curly Crown with Clip-In Fillers
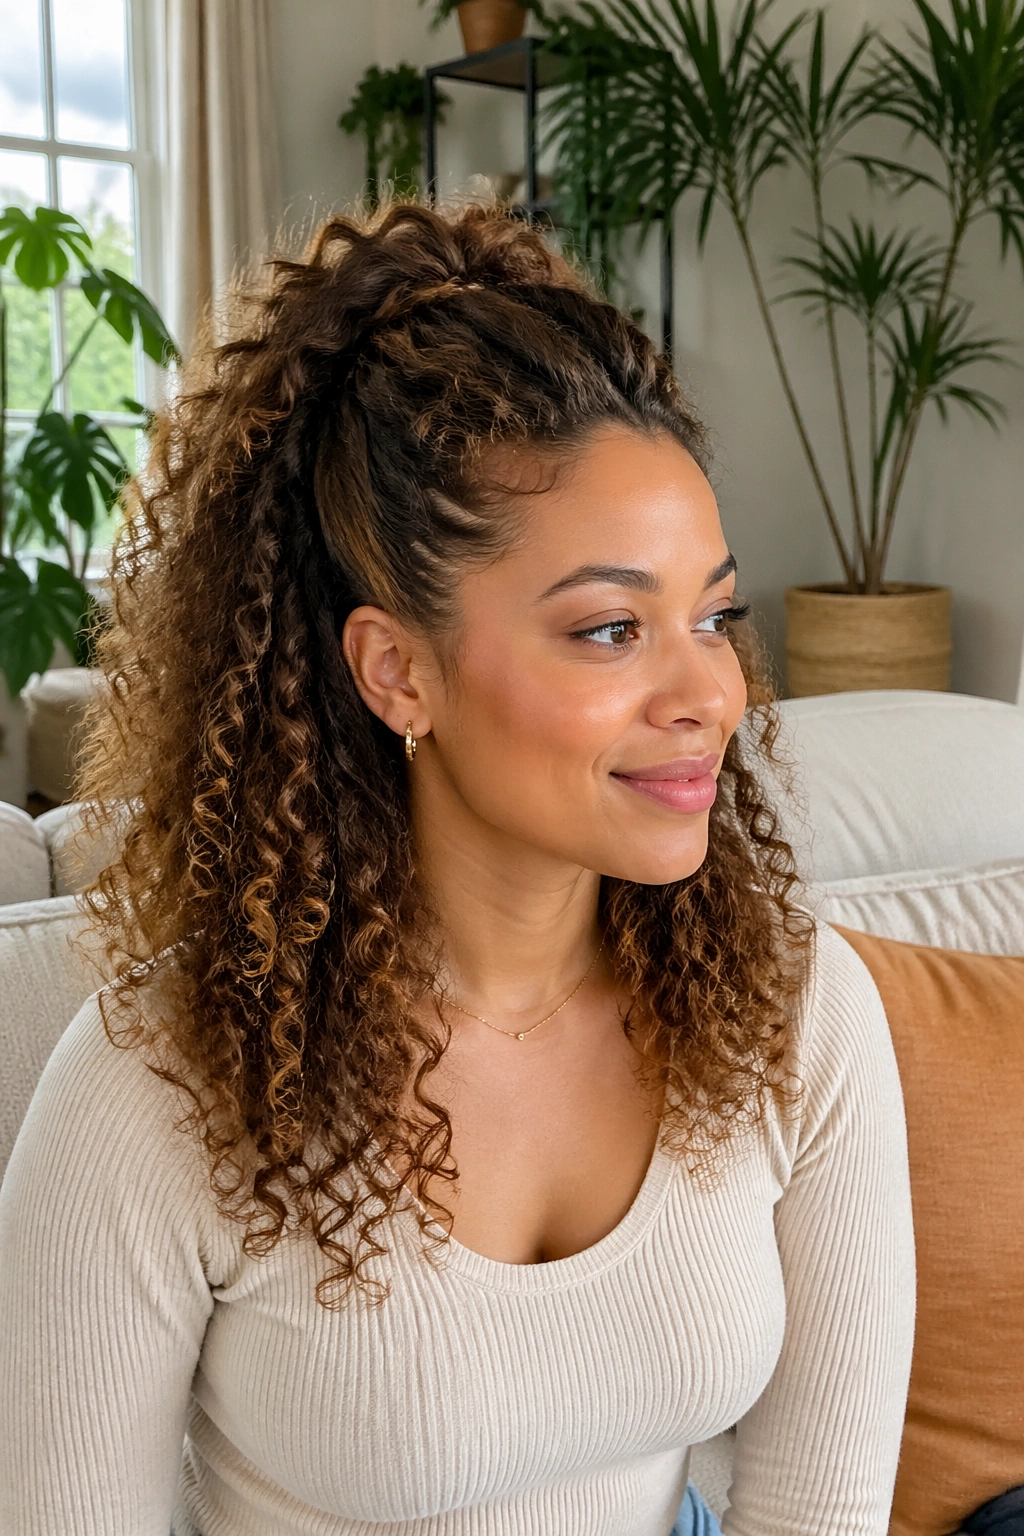
Why does a half-up style look fuller than a full ponytail? Because you only need to lift the top section, and that lets the lower curls stay loose and easy. It’s a smart place for small clip-in fillers, especially if the top of your head goes a little flat when you pull curls back.
A half-up crown works best when the clips sit just above the temples and slightly behind the part. That placement gives you height without pulling on the hairline. Keep the clip-ins small. Two or three narrow pieces are usually enough. If you pile on too much hair up top, the style starts to look top-heavy, and curls are too good at showing that off.
How to Place the Clips
Start with the top third of the hair only. Clip the first piece on one side of the part, then mirror it on the other side so the shape stays balanced.
After that, pinch the crown upward with your fingers and let a few short curls fall around the face. Those loose pieces are not an accident. They soften the top section and make the style look lived-in instead of pasted on.
A half-up piece is also one of the better options for busy days. It stays comfortable, and you can refresh the top with a quick water spray if the roots start to puff.
3. Low Curly Chignon with a Bun Shaper
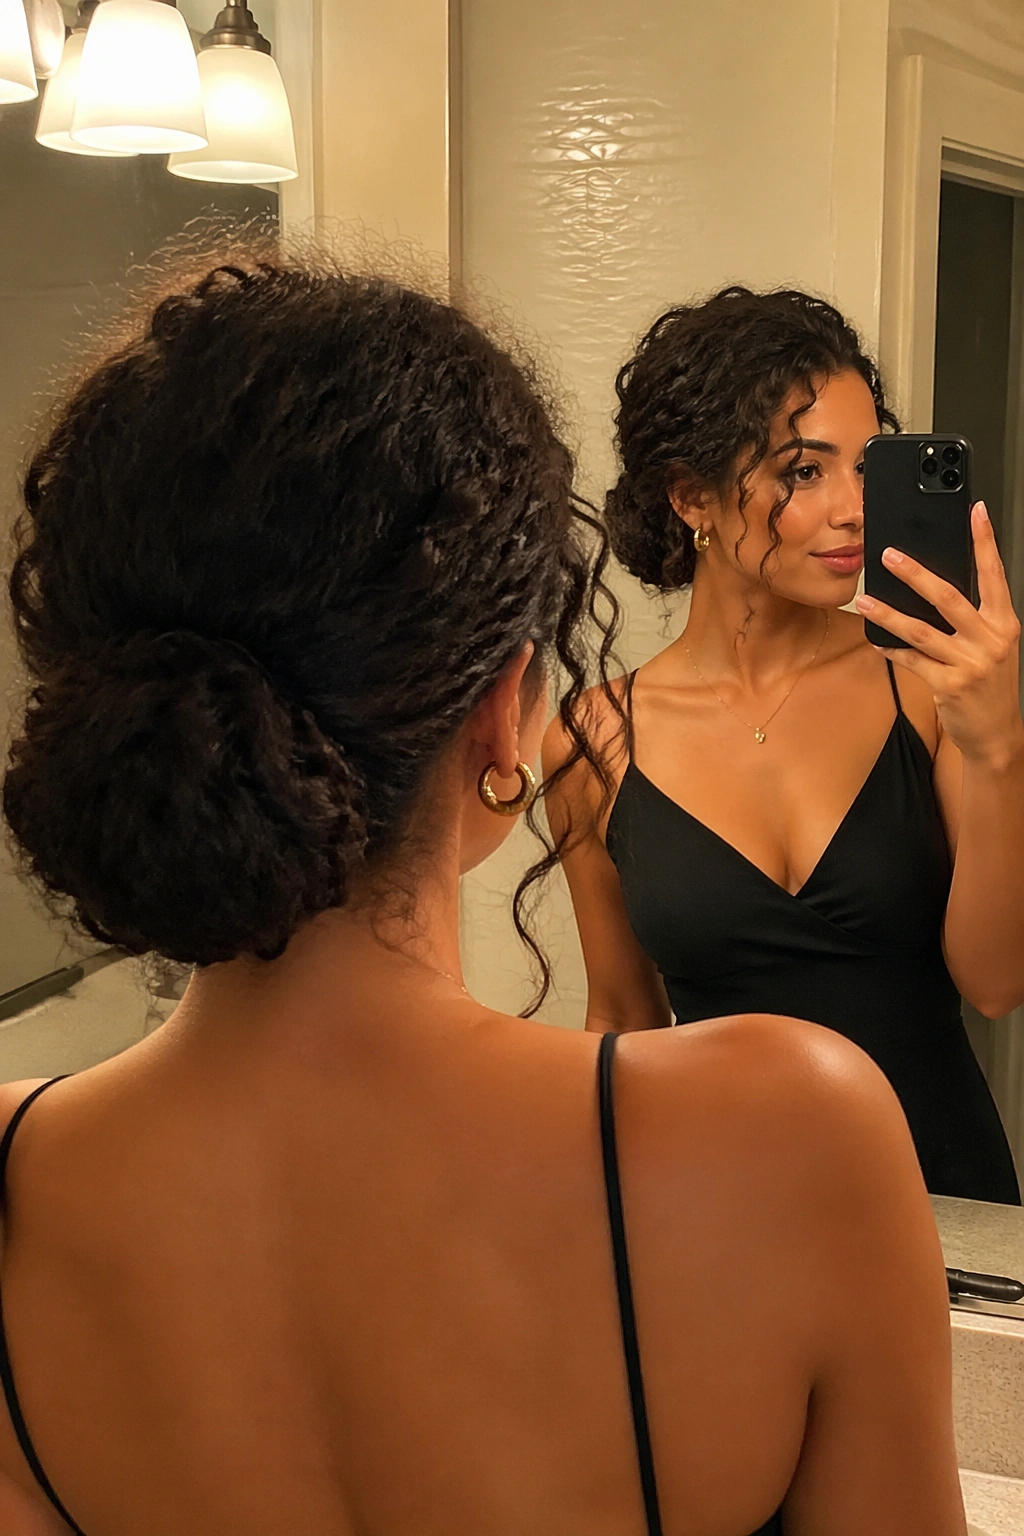
A low chignon has one stubborn problem: curls want to scatter, not sit in a neat knot. That is exactly why a bun shaper or soft donut insert earns its place here. It gives the style a shape to wrap around, which means less pinning and fewer curls slipping loose at the nape.
Here’s the part people miss. The bun should not sit dead center unless you want a very formal look. Nudge it a little lower and slightly off-center, and it feels softer right away. Wrap the curls around the shaper in sections, not one giant roll, then pin each section as you go. U-pins hold better than tiny decorative pins if the hair is thick.
- Works well for shoulder-length or longer curls.
- Use a bun shaper that matches your hair’s thickness.
- Leave one or two curls free near the ears.
- A spritz of light-hold hairspray keeps flyaways down without turning the bun crunchy.
The loose curl or two around the face matters more than people think. It keeps the style from looking too tight, which is the fastest way to make a curly bun feel old-fashioned.
4. Curly Side Part with Fringe Piece
A side part changes the whole mood of curls. Add a fringe piece, and the style stops reading as “simple” and starts looking deliberately shaped. The best thing about a curly fringe piece is that it breaks up a broad forehead and brings the eye right to the face instead of letting it drift down to the ends.
The piece should sit a little higher than you think. Curly fringe springs up once it dries, and a piece that looks eyebrow-length when wet can sit two inches shorter later. If your own curls are fine, choose a fringe piece with a slightly lighter density so it doesn’t sit like a curtain. Heavy fringe can bury the face. Not flattering. Not subtle either.
One thing I like here is texture contrast. A side part with a fringe piece works best when the front is defined but not too neat, while the rest of the curls stay looser and more open. That mismatch gives the style life.
If the front edge looks too perfect, mist it with water, rake it with your fingers, and let it dry with a little bend. Straight lines are the enemy here.
5. Bubble Ponytail with Curly Extensions
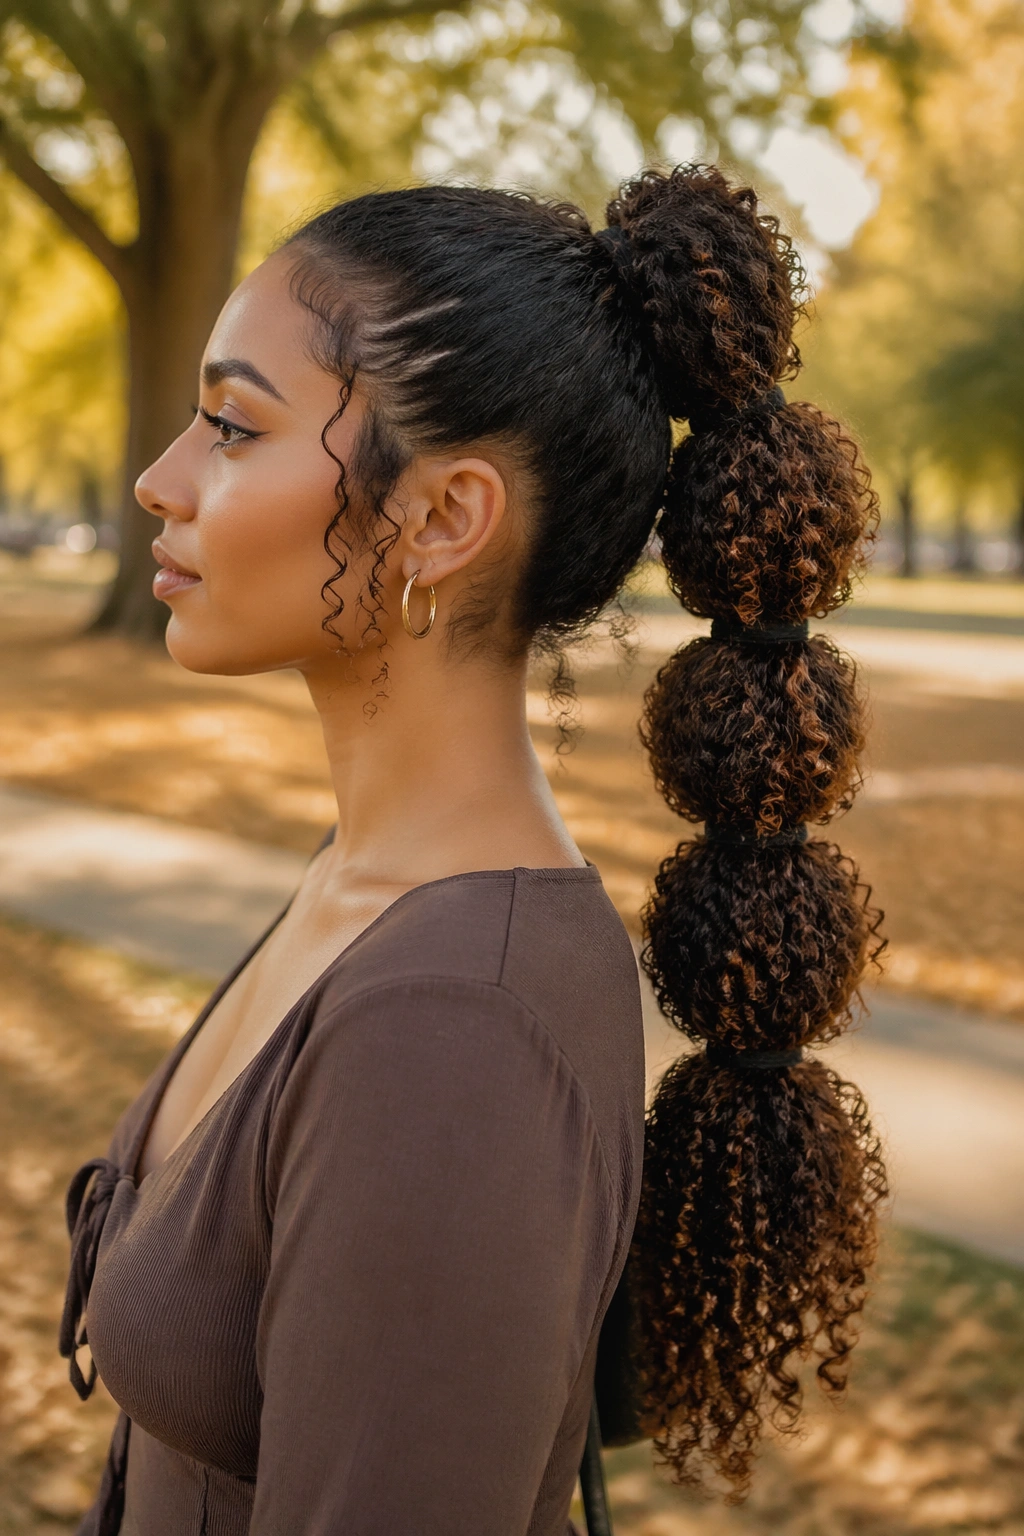
Unlike a plain ponytail, a bubble ponytail builds shape in sections. That makes it a natural fit for curly extensions, because each bubble can carry a little extra fullness without the whole style feeling heavy. The result is playful, but it still looks put together.
The trick is spacing. Tie the ponytail with small elastics about 2 to 3 inches apart, then gently pull each section outward so the bubble forms. Clip-in curly pieces can be tucked into the spaces between the elastics, which makes the bubbles look denser from every angle. If your own curls are short, you can let the extension hair spill over each bubble and hide the joins almost completely.
This style is best when you want movement. It’s a good pick for festivals, daytime events, or any situation where you want the hair to feel a little dramatic without committing to a full updo. It also photographs in a clean, obvious way because the shape is so clear.
Use small elastics that match your hair color. Bright bands make the sections look chopped up, and that ruins the whole point.
6. Curly Pixie with a Crown Topper
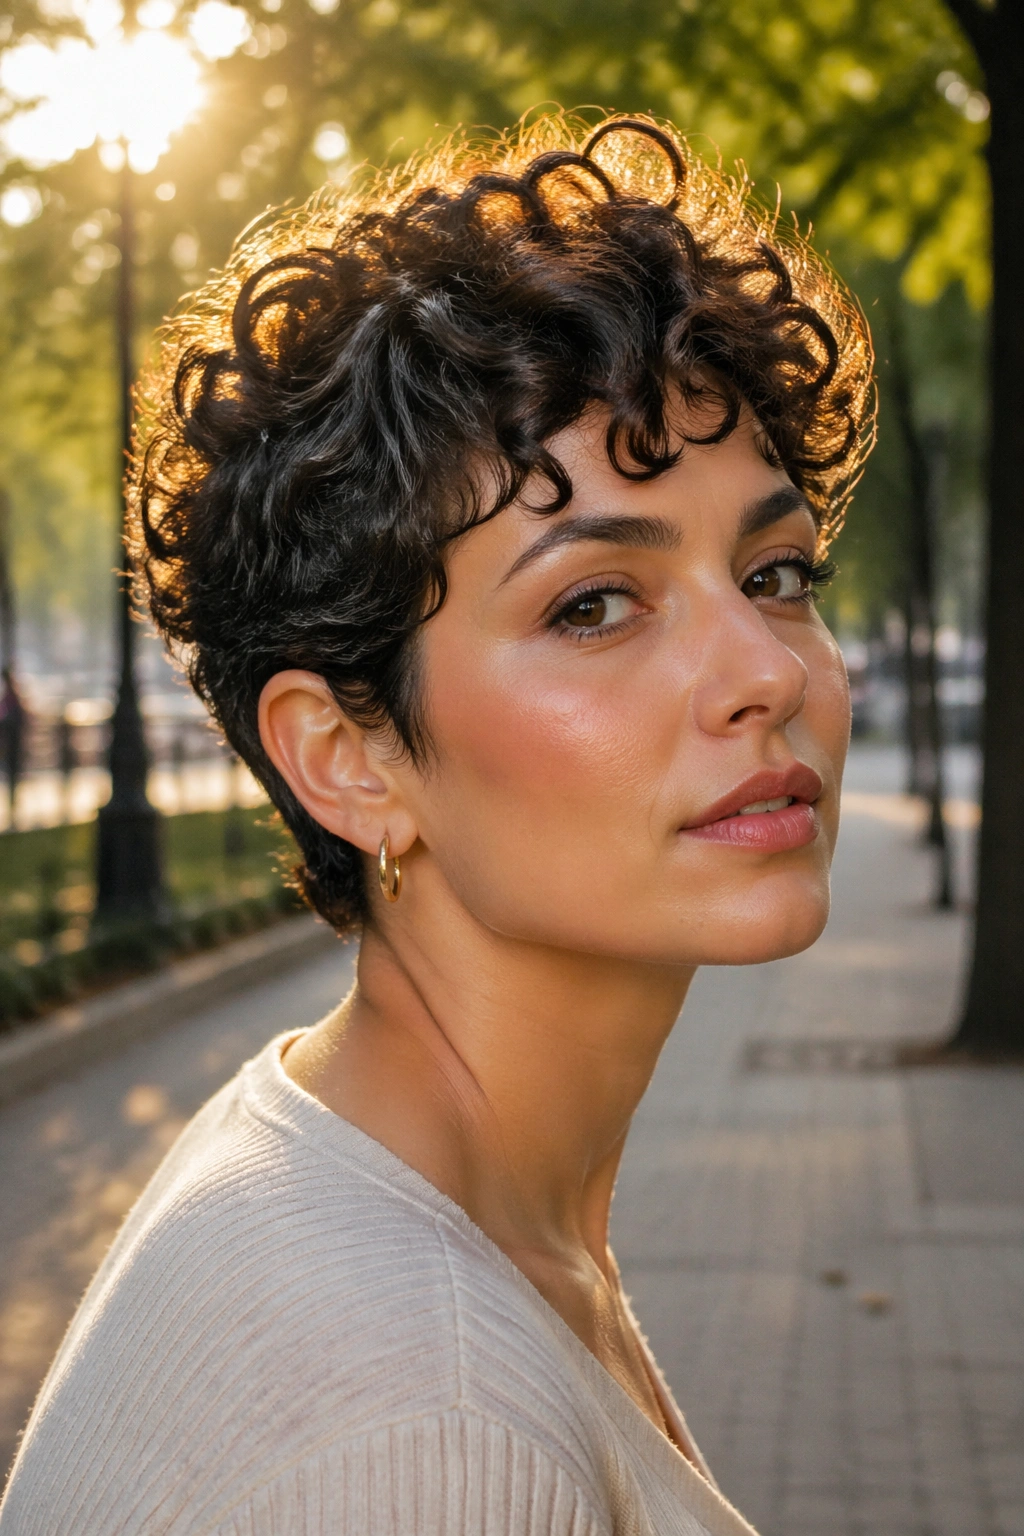
A crown topper can rescue a pixie when the top is sparse and the sides still look sharp. That’s the honest truth. If your haircut is short but the crown has gone flat, a small topper gives you the bit of lift that turns a grown-out pixie back into a style.
Placement is everything here. Set the topper about half an inch behind the hairline, not right on it, so your own front curls or baby hairs can soften the edge. Then blend the top with your fingers instead of a brush. Brushes split the curl clumps and expose the join. A fingertip twist keeps the pattern intact.
What to Look For
- A breathable base that sits close to the scalp.
- Light-to-medium density so the topper doesn’t tower.
- A curl size that matches your own front section.
- Enough length to tuck, not so much that it overwhelms the cut.
This style works especially well if you’re growing out a pixie and the top is at that awkward stage where it’s too short to sit nicely but too long to lie flat. A topper gives you shape while the cut catches up.
7. Curly Faux Hawk with Side Clip-Ins
If you want something sharper than a puff but less fussy than a full updo, the curly faux hawk hits a nice middle ground. It has attitude. It also keeps the sides controlled, which is handy if your curls puff wide at the temples.
The shape comes from contrast. Pin the sides flat with strong bobby pins or small flat clips, then build a narrow strip of curls down the center. Clip-in pieces work well here because you only need a little extra height, not a whole head of hair. Stagger the clips so they don’t sit in one obvious row. That’s where people get sloppy.
Keep the Sides Clean
Start with a small amount of gel or cream on the side sections. Then smooth them back with your palms, not a bristle brush. A brush can make the hair look dragged and harsh. If you want a softer edge, leave one tiny curl near the temple out on each side.
The center ridge should look full, not helmet-like. If it feels too stiff, tease the base lightly with your fingers and separate the curls at the top. A curly faux hawk should have some bend in it. Rigid hair ruins the mood.
8. Long Layered Curls with Halo Hair
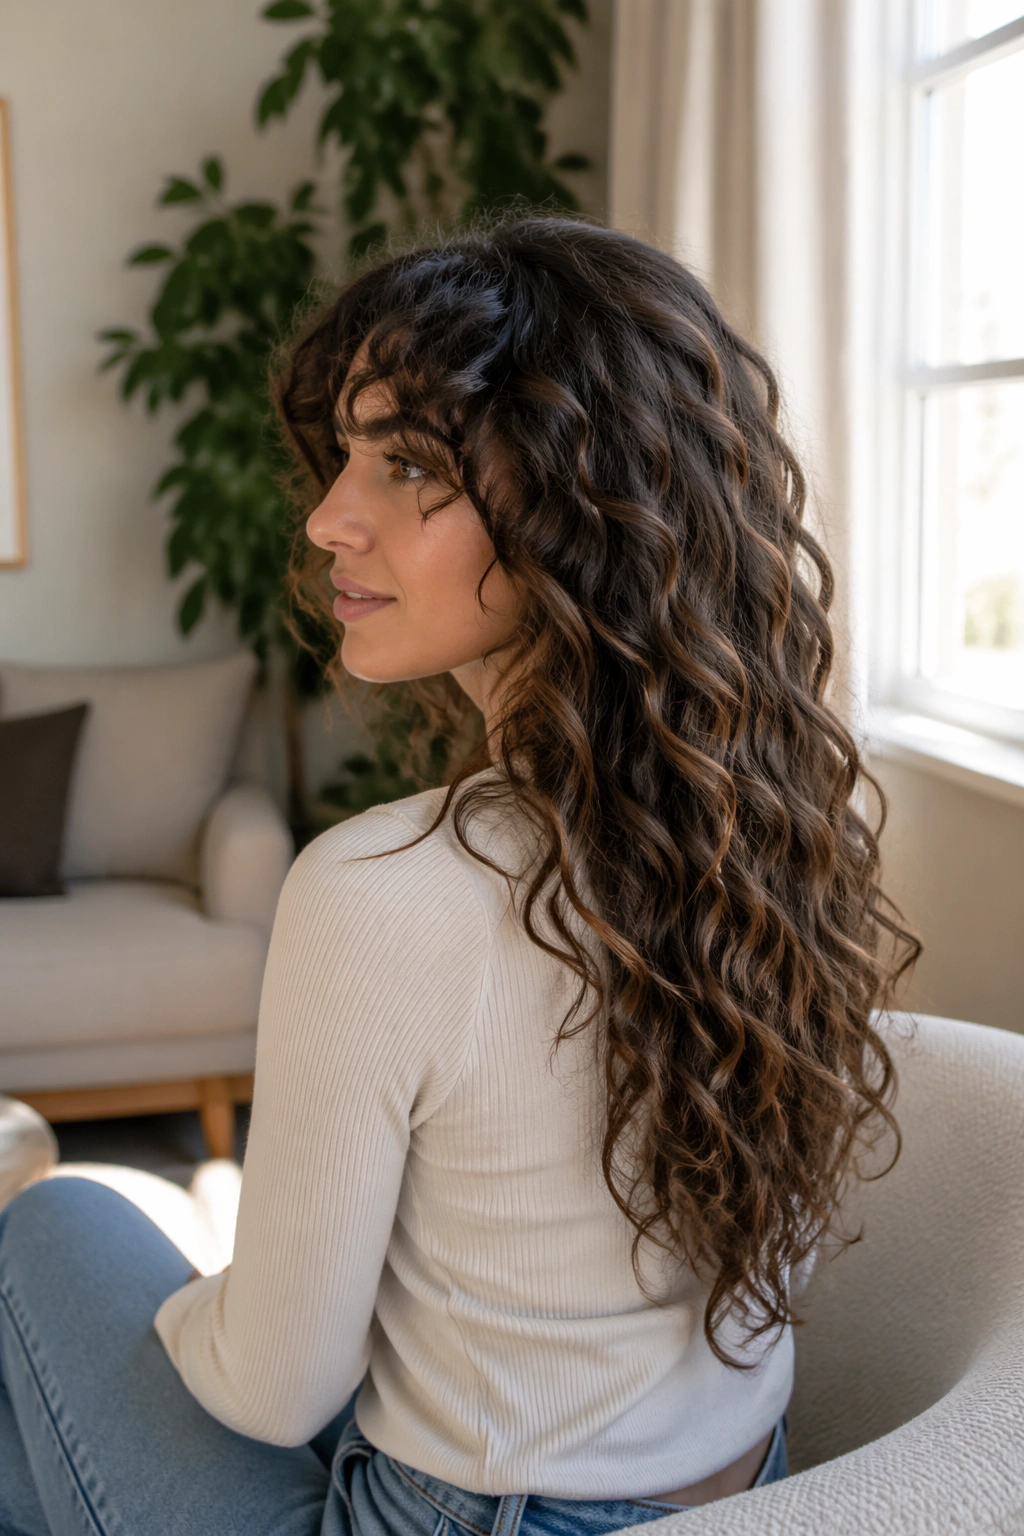
What if you want length without clips digging into your scalp? Halo hair is the obvious answer. It sits under the top layer, so the weight is spread out instead of hanging from several small attachment points. That makes it a solid choice for anyone who hates the tug of clip-ins.
The wire should sit just behind the hairline, about 1 to 2 inches back, depending on how much natural fringe you have. Your top curls need to fall over it in a loose curtain. If they’re too slick or too separated, the wire will show. A little frizz at the crown is actually helpful here because it breaks up the edge.
Halo hair works best when the added length matches the bend of your own curls. If your hair is a tight spiral and the halo is a loose wave, the difference shows fast. The texture mismatch looks more obvious than a color mismatch, which surprises people.
Where the Wire Should Sit
The back of the halo should rest in the hollow at the nape, not up on top of the occipital bone. That keeps it stable. Once it’s in place, fluff the crown with your fingers and let the side layers fall naturally. Don’t chase perfect symmetry. Curls never gave that bargain to anybody.
9. Braided Crown with Curly Ends Extension
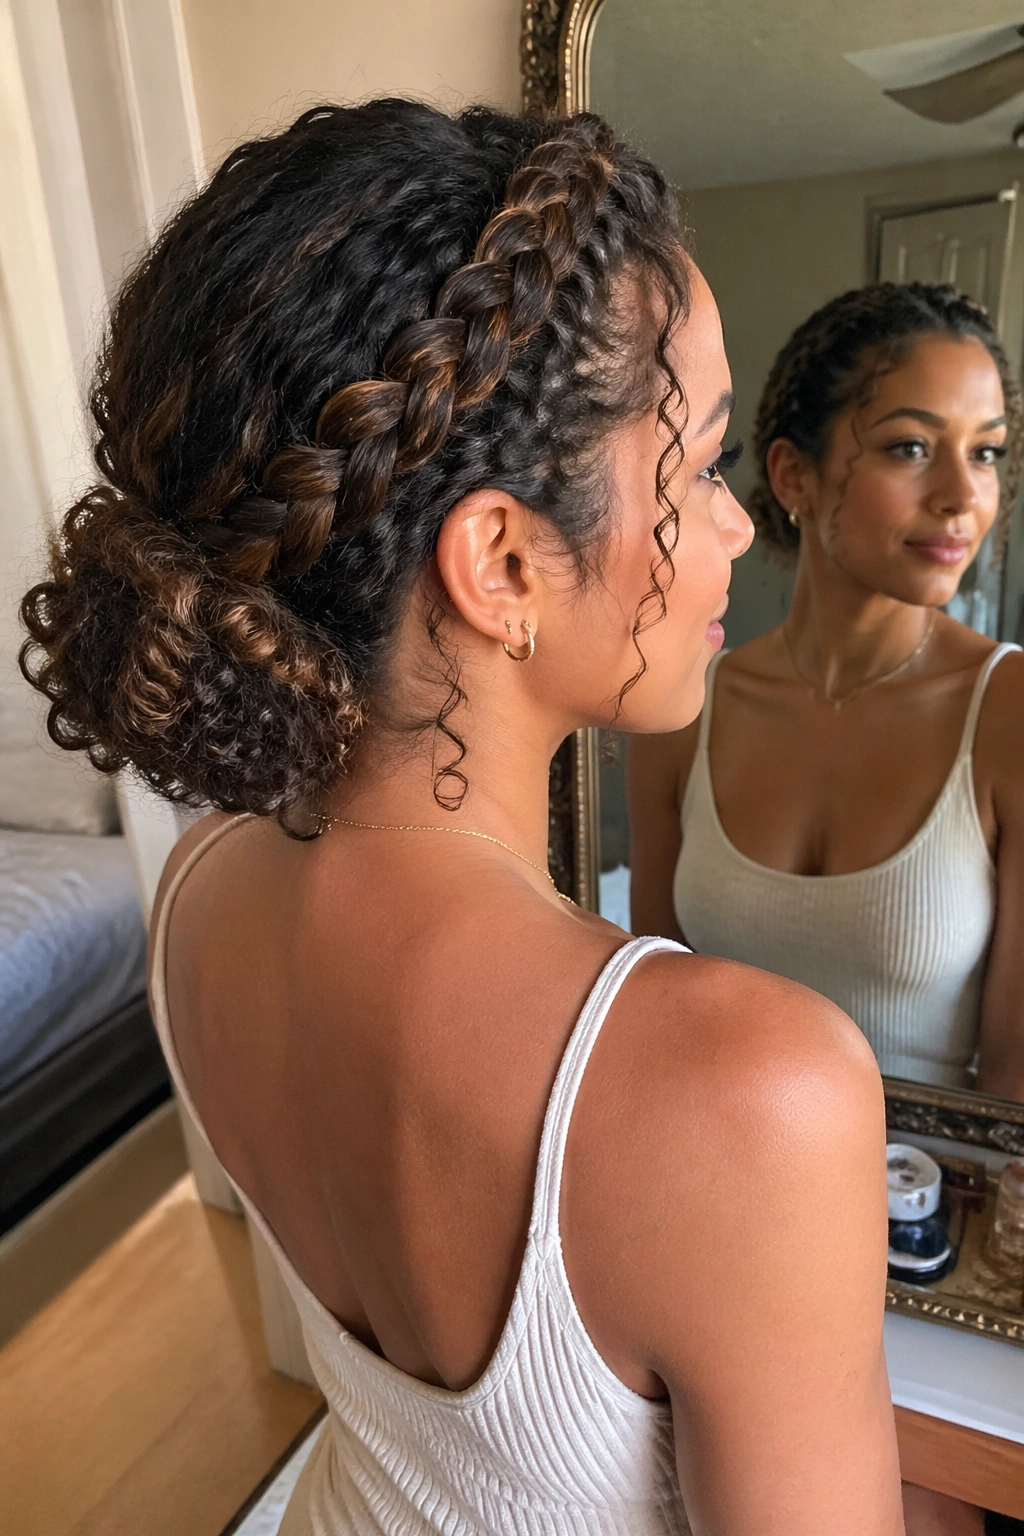
Braids look thin fast if the ends are skinny, and that is where a curly hair piece changes the whole story. A braided crown with fuller curly ends has a richer finish because the braid gets a proper tail instead of a sad little taper. It reads polished, but not severe.
Start the braid higher than you think you need to. That leaves enough room for the braid to travel around the head and gives the crown shape. Once the braid is pinned, tuck the curly extension or hair piece into the tail area and secure it low under the braid. The point is to make the ends look intentional, not added as an afterthought.
If your own hair slips a lot, prep the roots with a bit of mousse first. That gives the braid some grip without making it crunchy. And keep a few ringlets loose around the ears. A braided crown can get too tidy in a hurry, and those soft pieces stop it from going stiff.
This style is especially good when you want something that feels special without needing a lot of extra volume everywhere.
10. Space Buns with Loose Curly Falls
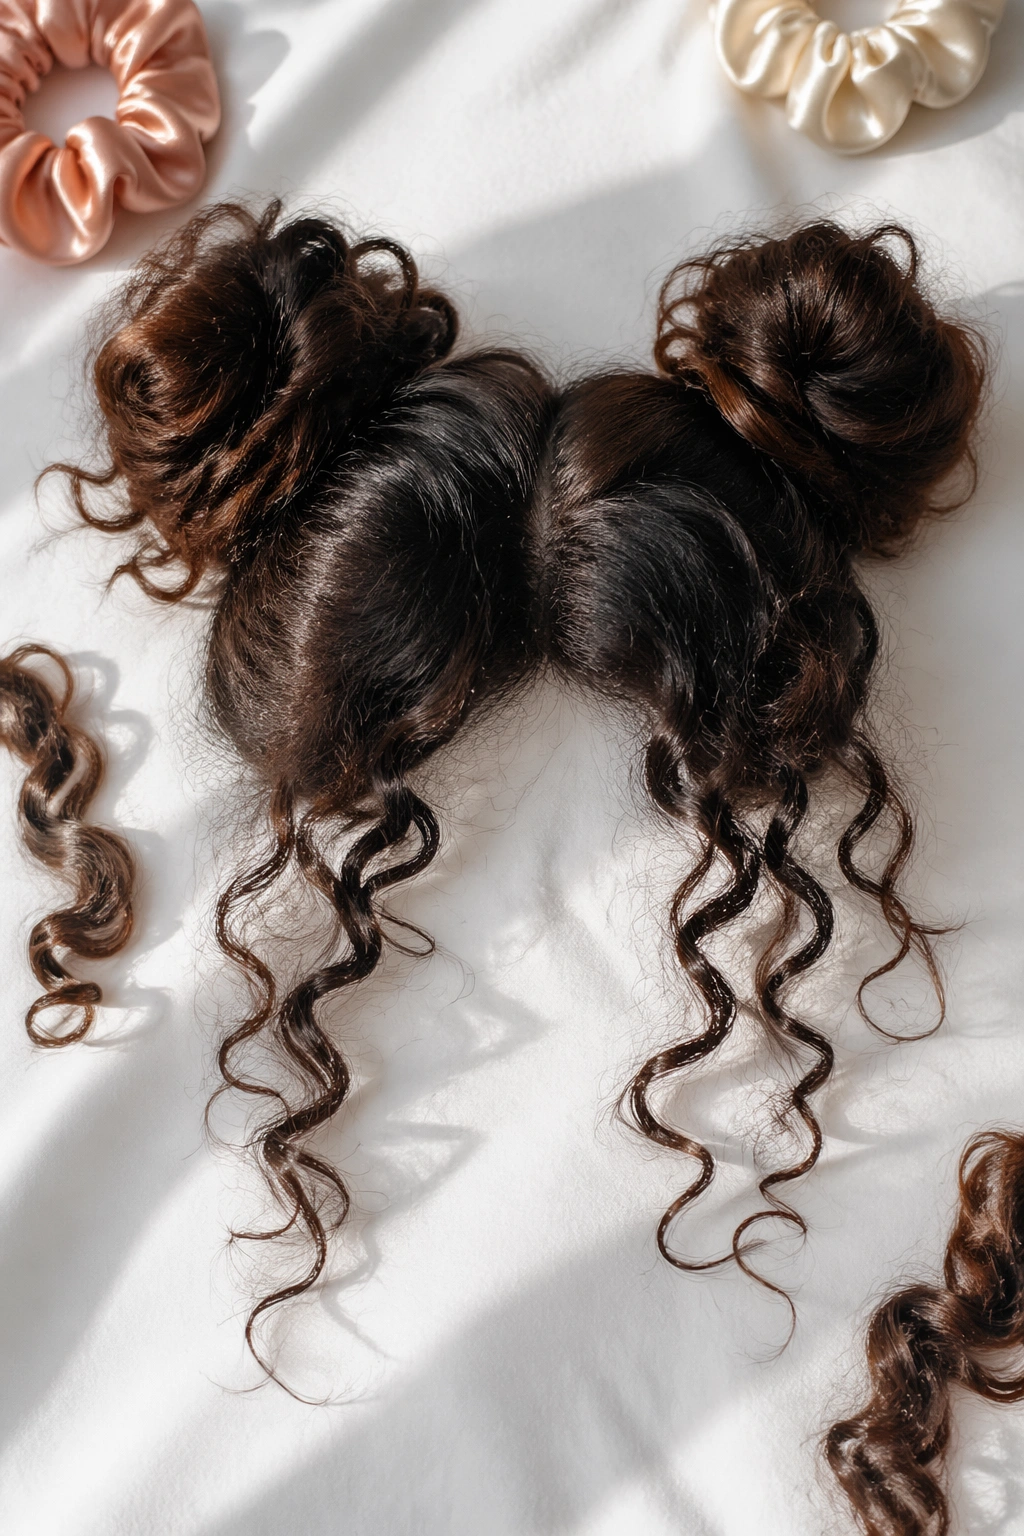
Space buns can look childish if the shape is too exact. A few loose curly falls around the face change that fast. The style becomes playful instead of costume-like, which is a much better place to be.
Build the buns a little uneven on purpose. Not lopsided in a sloppy way. Just soft. A tiny difference in height makes the whole style feel less rigid. Once the buns are pinned, pull a few curls from underneath or add small curly pieces at the nape so there’s movement around the neckline. Those loose curls keep the look from feeling too boxed in at the top.
A middle part usually suits this style best, but a slight off-center part can soften it if your face is narrower. Keep the buns compact if your hair is thick, because oversized buns can throw the balance off and make your head look wider than it is.
A small satin scrunchie under each bun can help prevent breakage. And if you’re using pieces, choose ones with a bend that matches your own curls. Straight ends hanging off space buns are just plain awkward.
11. Messy French Twist with a Curl Piece
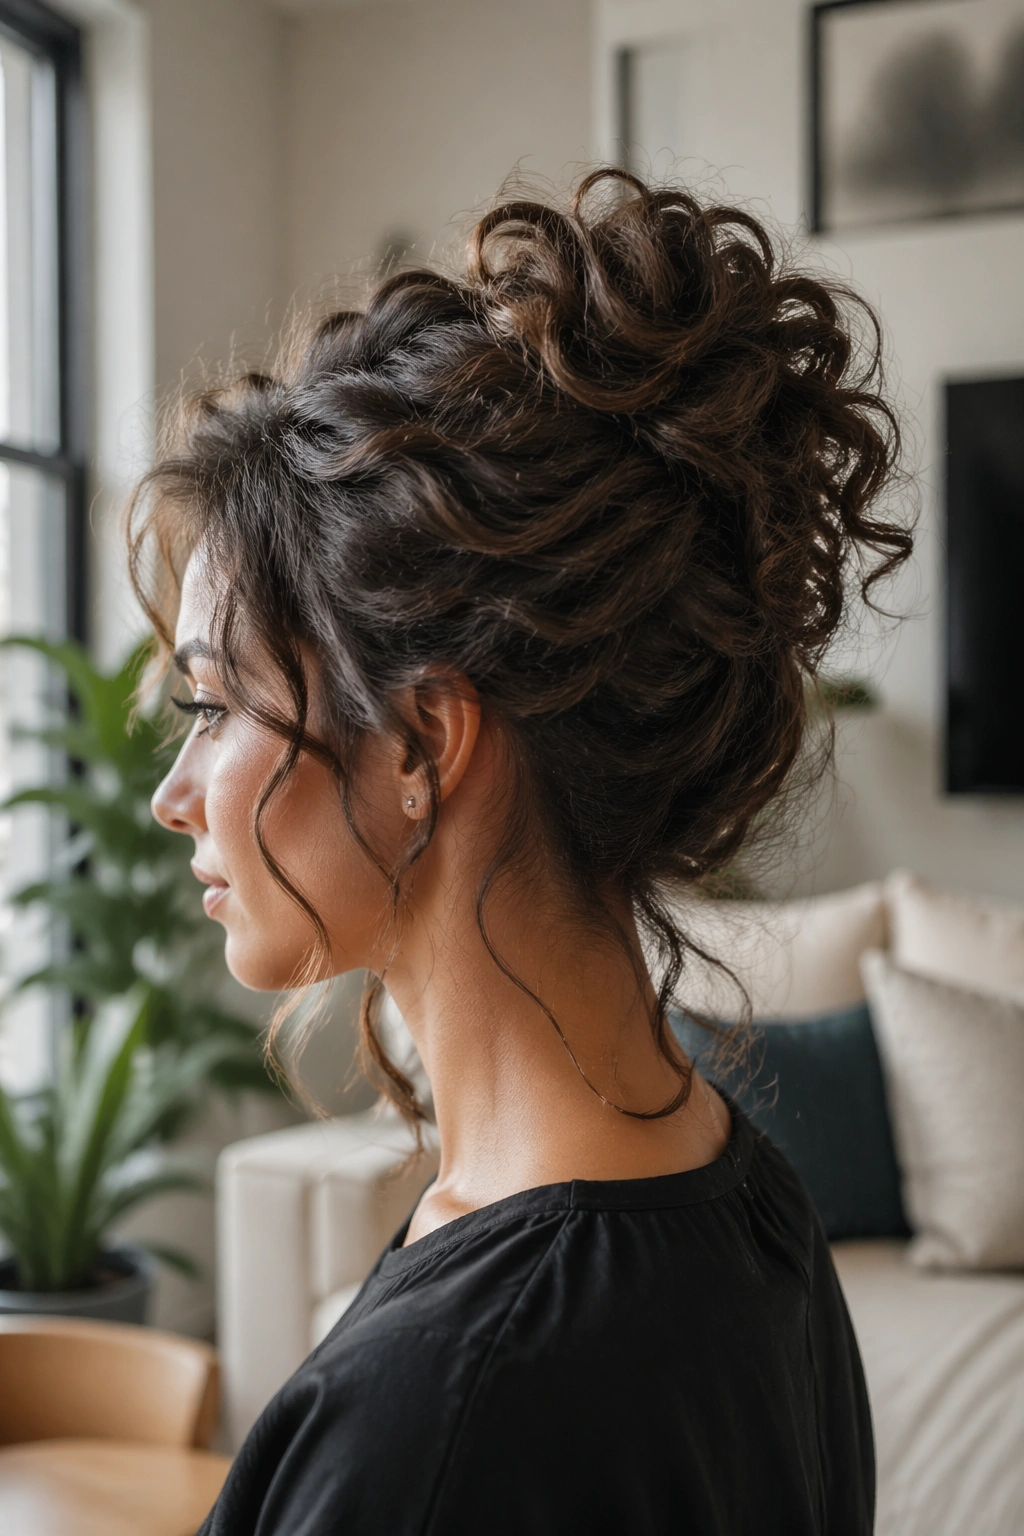
A messy French twist with curly hair is one of those styles that sounds simple until you actually do it. Then you realize the whole thing lives or dies on a few hidden pins and the right amount of looseness. A curl piece helps because it gives the twist some bulk at the seam, where the hair would otherwise look narrow.
I like this style for medium-length curls that can be gathered but don’t have enough density to make the twist look full on their own. Backcomb the crown lightly, twist upward, and pin the roll vertically so it grips the head instead of hanging away from it. Then tuck a small curly piece into the fold or at the base of the twist.
The messy part should be controlled. You want soft edges, not pieces flopping out everywhere. Leave a few tendrils around the ears or at the nape. That keeps the style from feeling too formal and also hides the pins. Pins are fine. Visible pins are not.
If your hair is slippery, a bit of dry shampoo at the roots gives the twist something to hold onto. Sounds dull. Works every time.
12. Defined Shoulder-Length Lob with Partial Wig
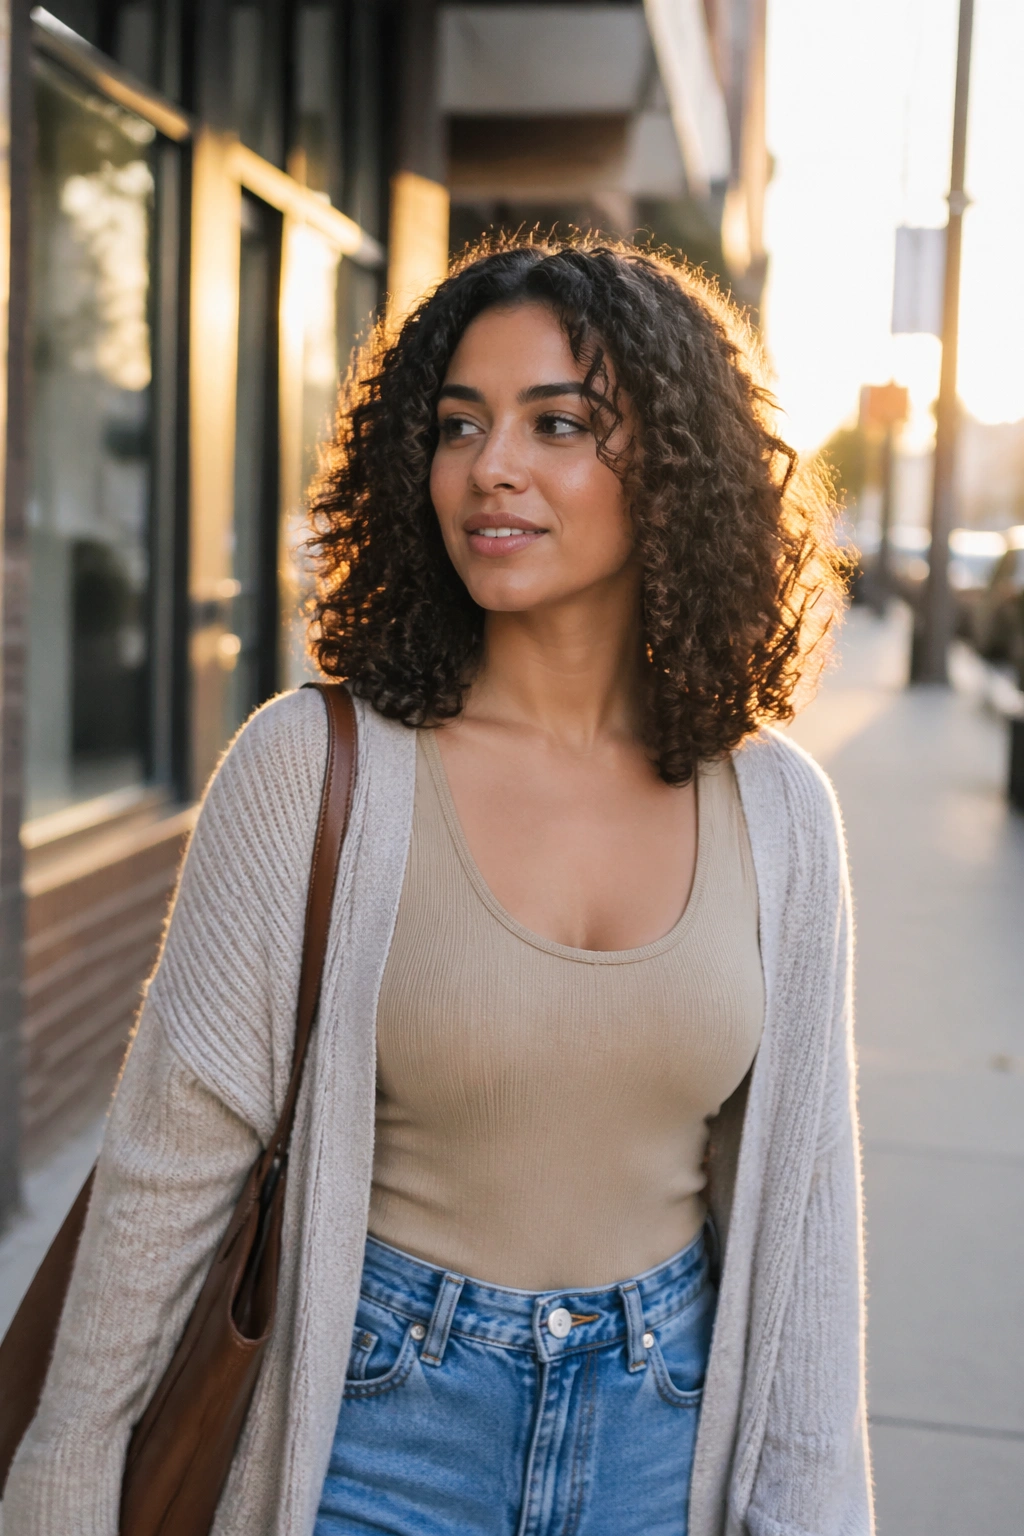
A partial wig is a different animal from a full wig, and that matters more than people think. It keeps your own part and hairline in play, so the style feels less like a switch and more like an upgrade. For a shoulder-length lob, that means you can add fullness where the ends need it most without covering everything else.
The best lobs with hair pieces keep the length around the collarbone. Go much longer, and the weight starts to fight the natural bounce of curls. Go much shorter, and the piece can look like it’s sitting on top of the hair instead of blending into it. That collarbone zone is useful because it gives the curls room to sit and move.
A partial wig also helps when the ends of your own hair are thin or uneven. You can keep the shape around the face and let the piece do the work below the cheekbones. The result is less obvious than a dramatic long extension, and honestly, that’s what most people want.
Cut the ends of the piece to match your own curl fall, not the other way around. A blunt line at the bottom usually gives the whole style away.
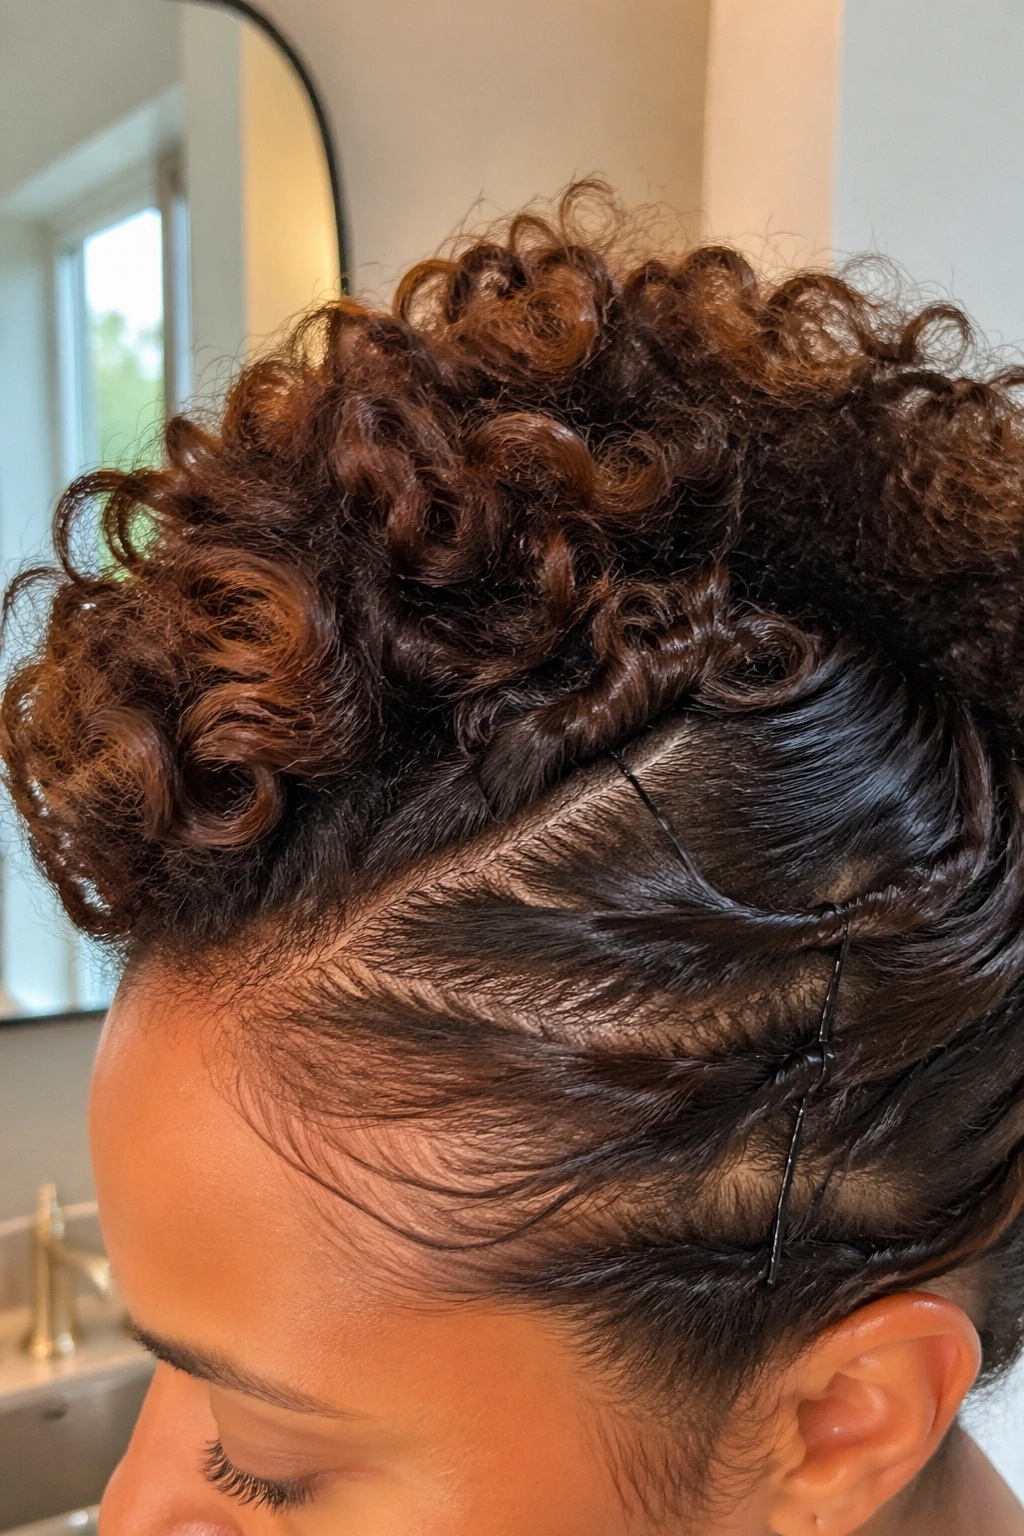
13. Pineapple Puff with a Drawstring Piece
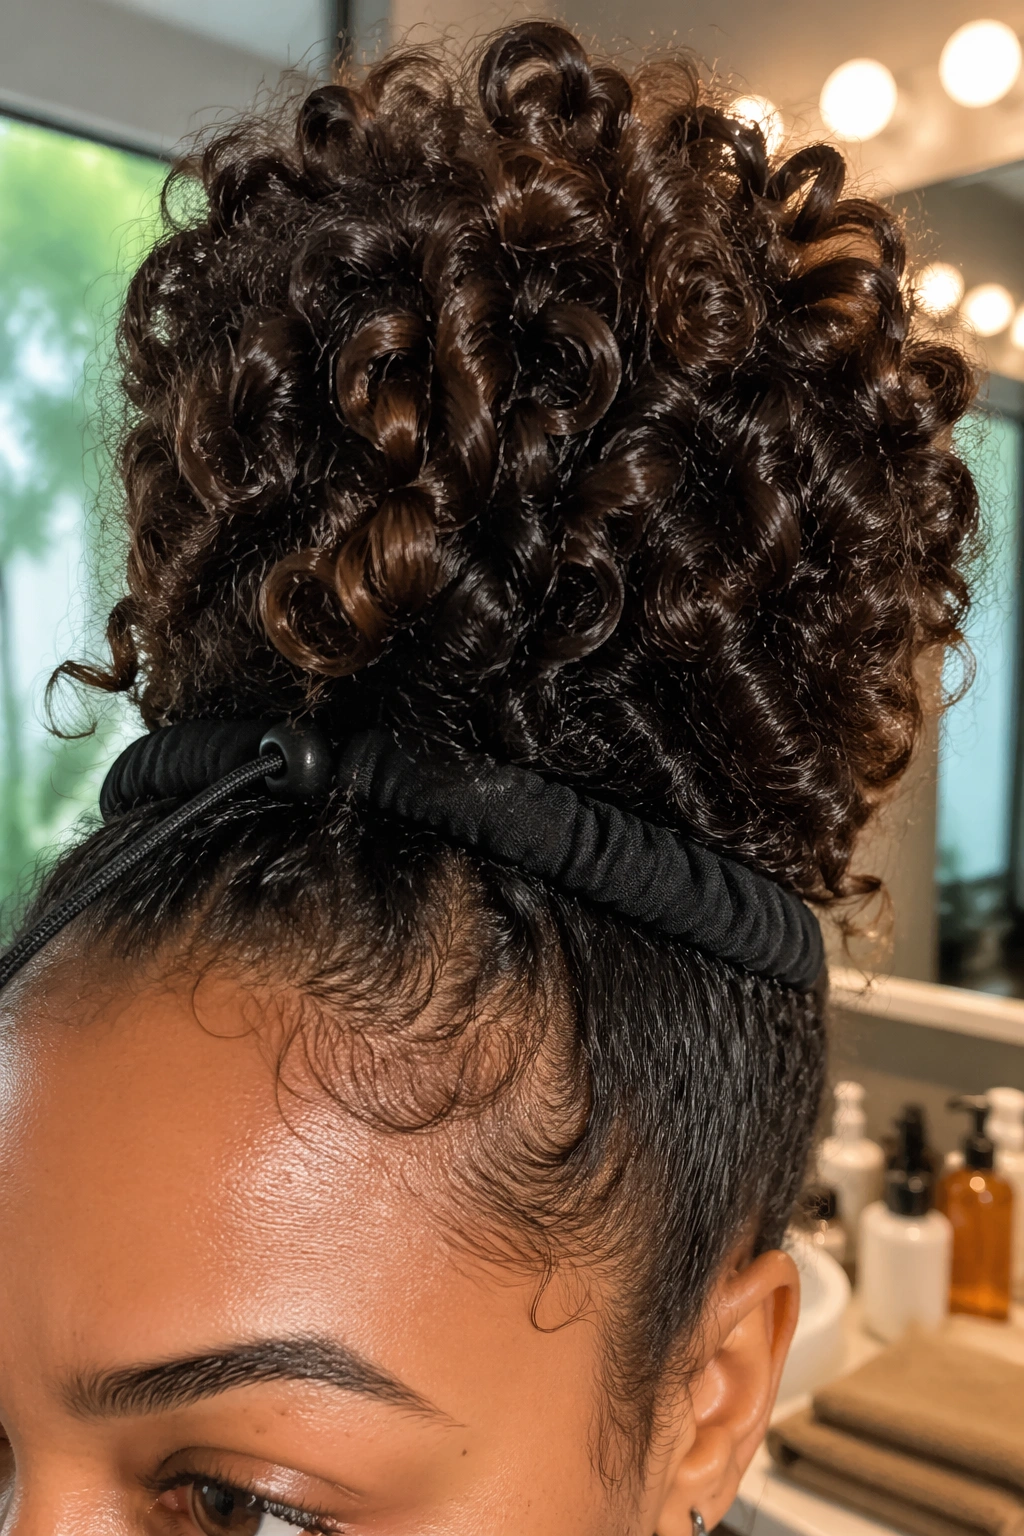
Why does the pineapple puff stay neat when other curly updos fall apart? Because the drawstring base keeps the hair gathered in one place instead of letting it spread. That makes it a strong option for quick styling, sleeping, or a daytime look that protects the curl pattern.
The key is not pulling the puff too tight. Leave enough softness at the hairline so the style reads relaxed. If you yank the sides back hard, you lose the shape and put stress on the edges. Put the drawstring piece over a gathered puff or low bun base, then adjust the volume by pulling a few curls forward around the face.
How to Keep It From Looking Too Round
If the puff feels too spherical, loosen the top with your fingers and let a couple of curls fall near the ears. That breaks up the shape and makes it look less like a ball. A satin scrunchie under the drawstring adds comfort, especially if you’re wearing the style for more than a few hours.
This is one of the best styles for second-day curls. The puff hides the messy parts, and the piece gives enough height to make the whole thing look intentional.
14. Sleek-to-Curly Slick Back with Hairline Piece
A clean front and curly length in the back is one of the easiest ways to make mixed textures look deliberate. The slick-back keeps the face open, and the curly piece adds volume where the eye lands second. That contrast is the whole point.
Start by smoothing the first 2 to 3 inches of hair from the hairline back with gel or edge control. Don’t drag the product too far. Once it reaches the temples, the style starts to look heavy and wet in the wrong way. After the front is set, clip in a small curly fringe piece or tapered crown piece to soften the transition into the rest of the style.
- Use a scarf for 10 minutes to set the front.
- Keep the piece softer at the front than the back.
- Place the transition under a natural bend, not on a flat surface.
- Pick a matte finish if your curls are low-shine.
This style works well for ponytails, low buns, or even loose curls pulled back from the face. It has a neat front without losing the texture people actually want to see.
15. Side Bun with Decorative Comb and Curly Tendrils
A side bun can look too formal if you overwork it, and too plain if you leave it bare. A decorative comb solves that in one move. It gives the bun a clear focal point, and the curly tendrils around the face keep the shape from feeling stiff or bridal unless you want it to.
Set the bun low, just behind one ear, and keep it slightly off-center. That position feels softer than a dead-center knot and gives the decorative piece room to show. A matte pearl comb looks different from a crystal pin, and the choice changes the whole mood. Pearl reads gentle. Crystal reads sharper. Both work, but they do not say the same thing.
Pull two or three tendrils free before you pin the bun down. Then separate those curls with your fingers so they fall in distinct spirals instead of one fuzzy strip. If your curls are tight, a touch of water on the tendrils helps them clump again.
A side bun is one of those styles that looks simple from across the room and more thoughtful up close. That’s usually a good sign. The best hair piece is the one that matches your curl size and density, not the one that looks biggest on the shelf.