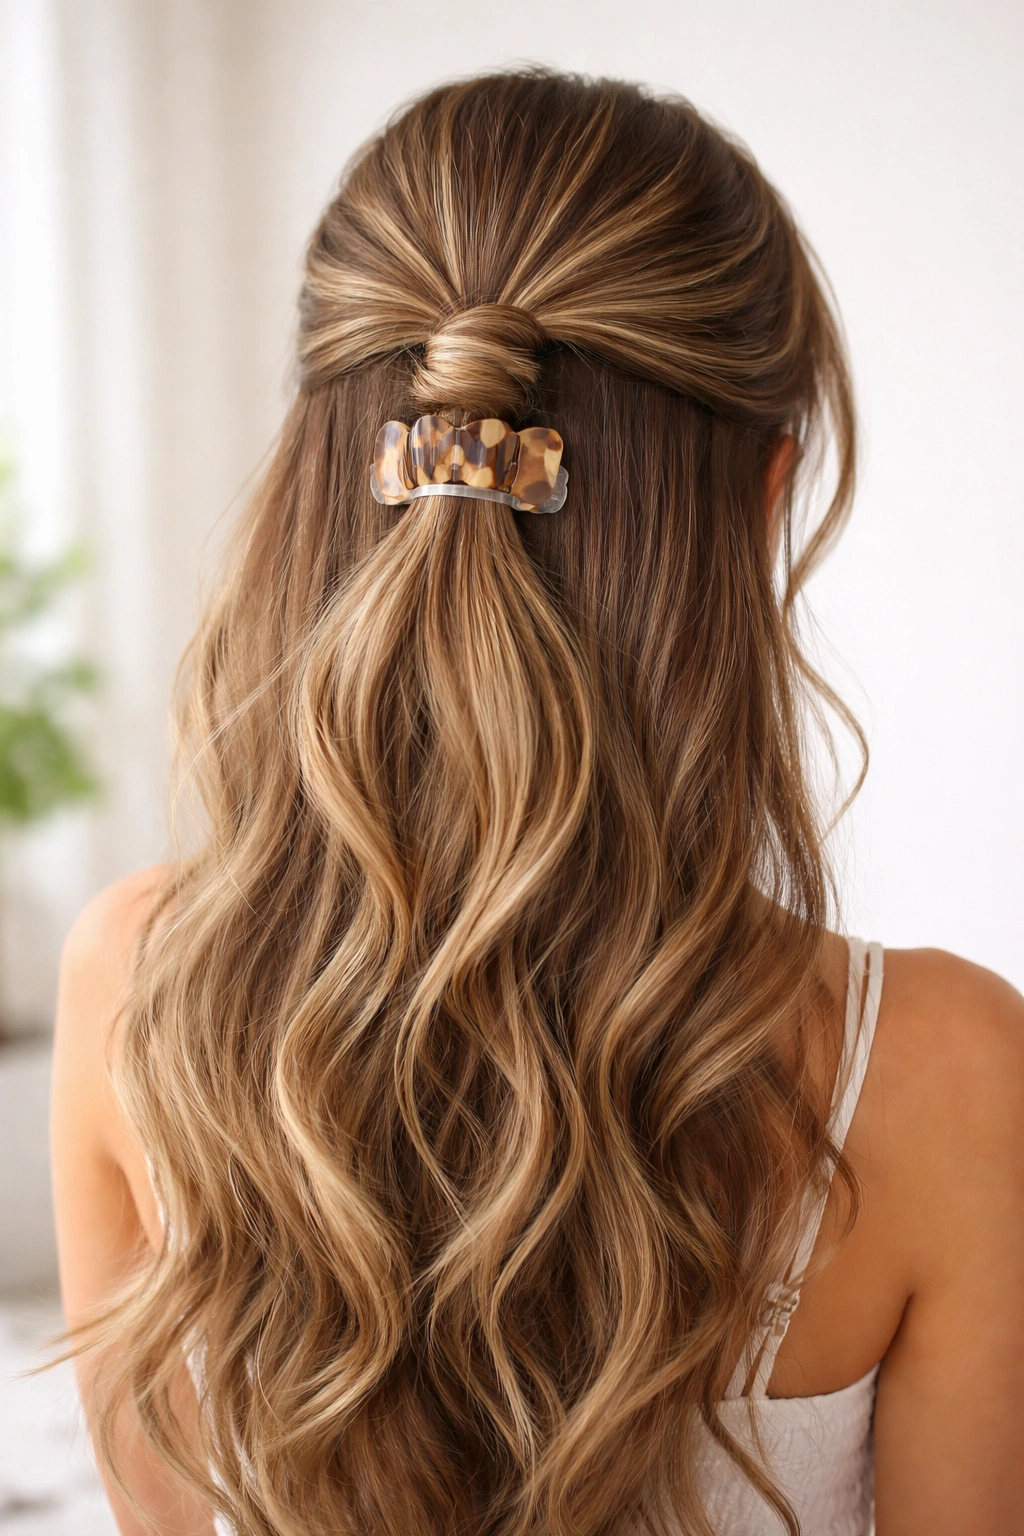
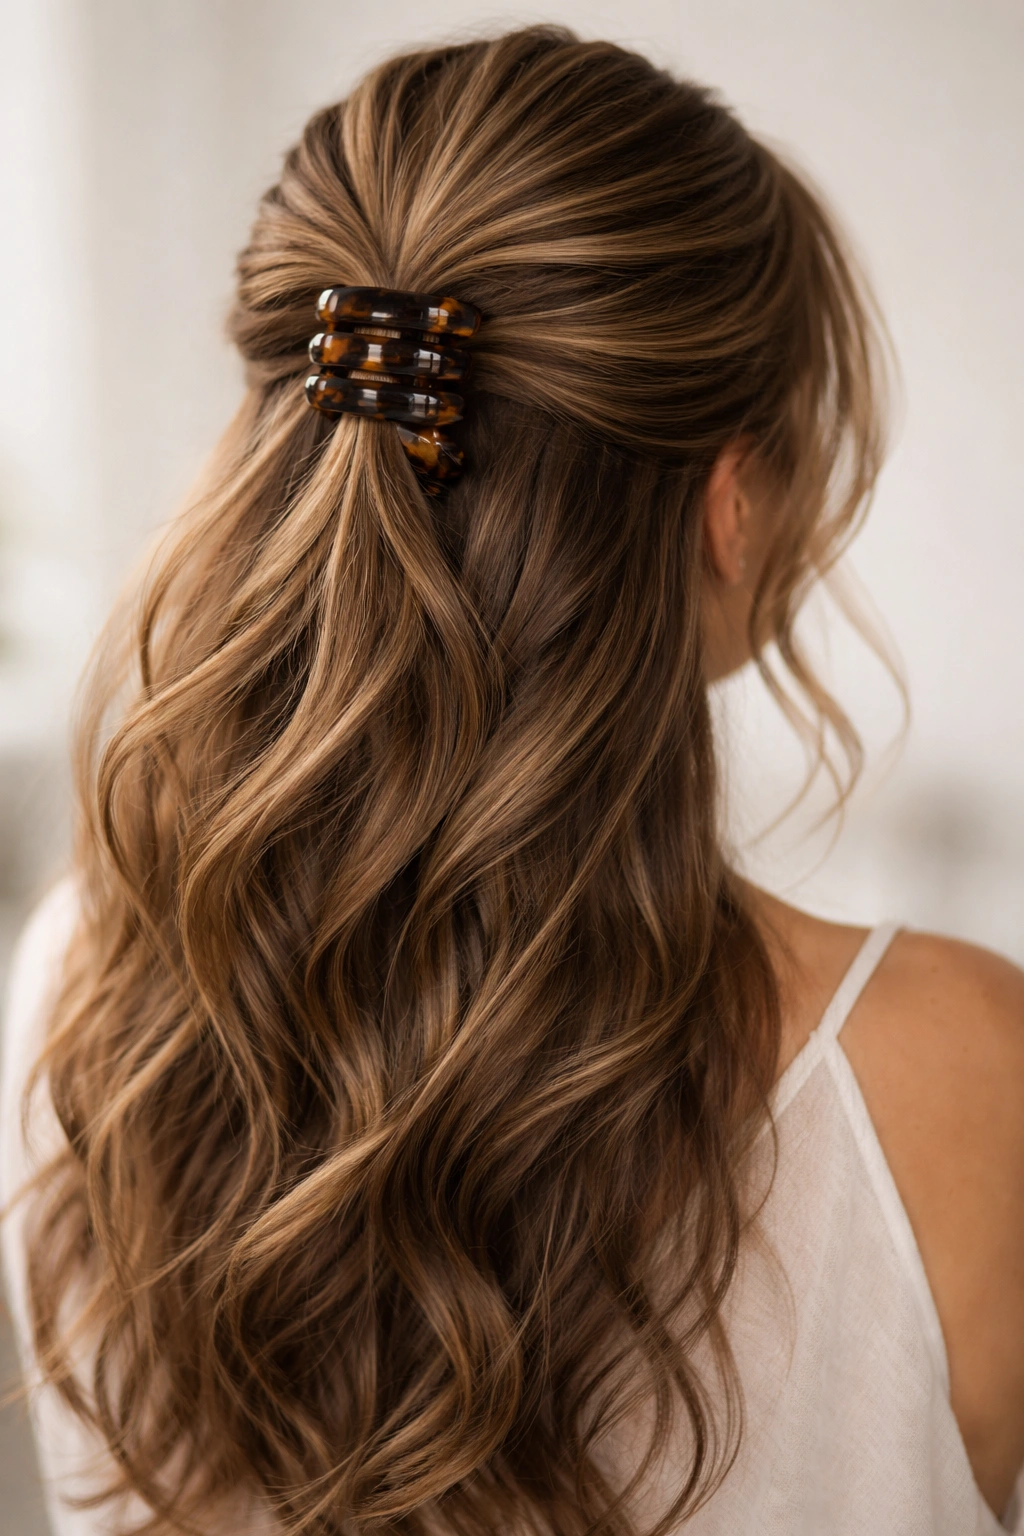
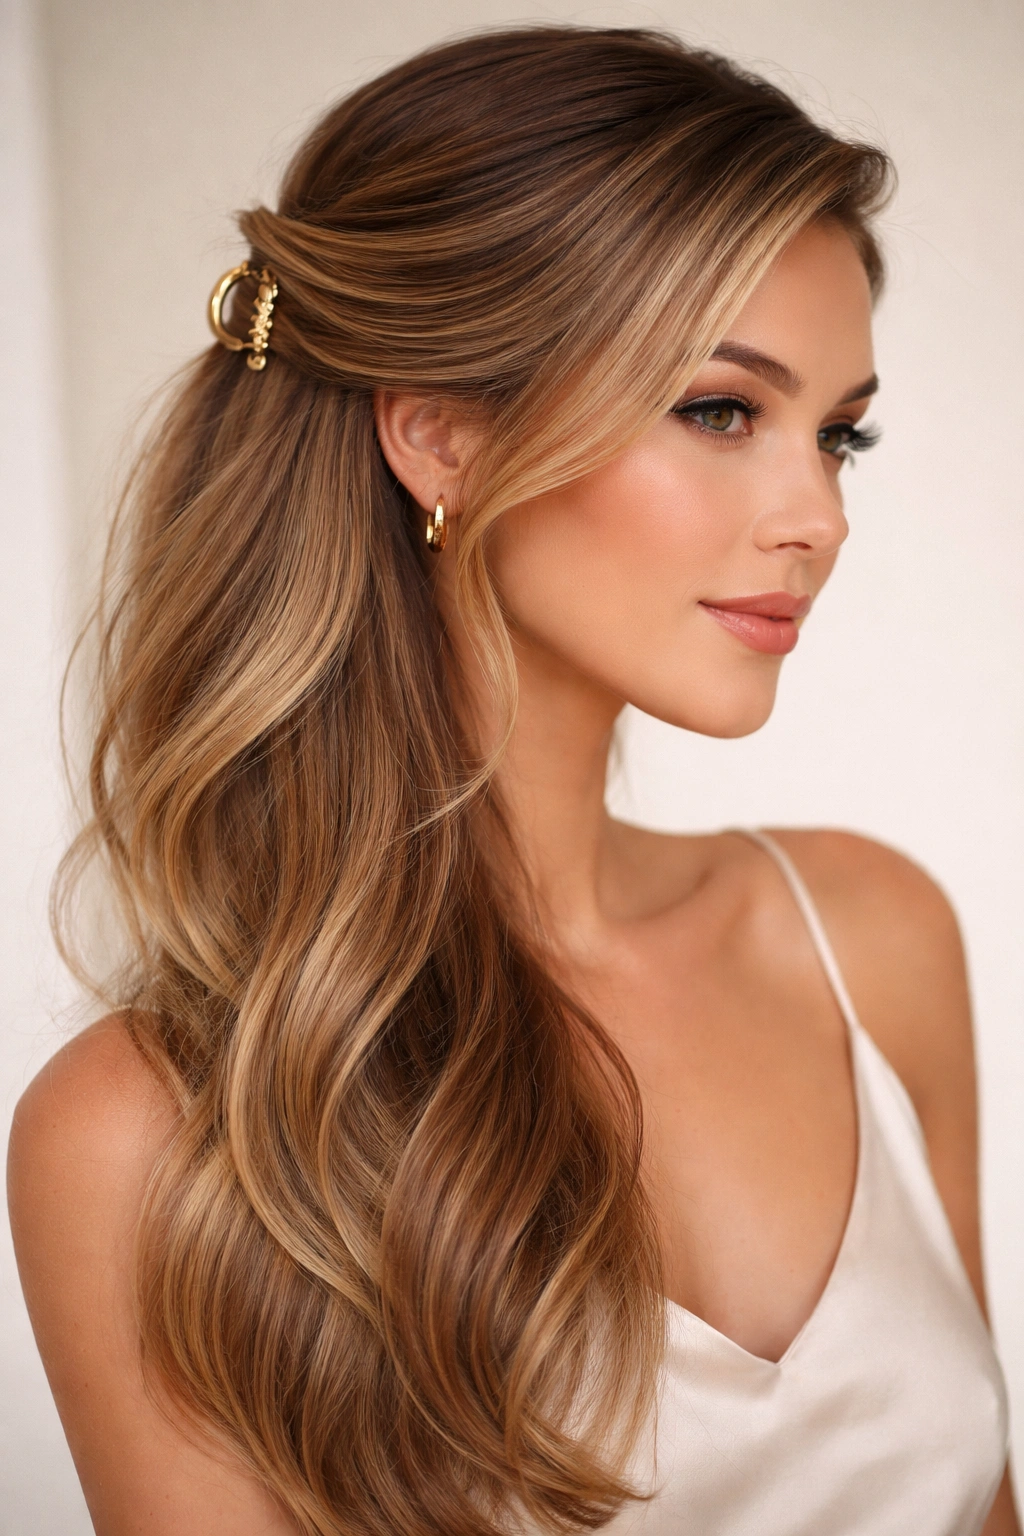
Long hair and a claw clip have a slightly dramatic relationship. Some days they cooperate. Other days the clip slides, the twist unfurls, and you end up with a lopsided shape that looks better in theory than in a mirror.
The sweet spot is a half-up style. You keep the length down, which means the weight stays where it belongs, but you still get that lifted, off-the-neck feel that makes hair look neater in seconds. For long hair, that matters. A full updo can feel like overkill. A loose ponytail can feel too casual. A half up half down claw clip look lands right in the middle, which is why it keeps coming back into rotation.
There’s a small trick most people learn the hard way: long hair needs a little structure before the clip goes in. A quick twist, a fold, or a small braid gives the teeth something to bite into. If your hair is very silky, a bit of texture spray or dry shampoo near the roots helps more than most people expect. If it’s thick, a larger clip with a stronger spring is worth it. Tiny clips are cute until they meet three feet of hair and give up.
Below are 18 easy half up half down claw clip looks for long hair that actually make sense in real life — not just in a perfectly staged photo. Some are polished. Some are messy on purpose. All of them are simple enough to do without a wrestling match.
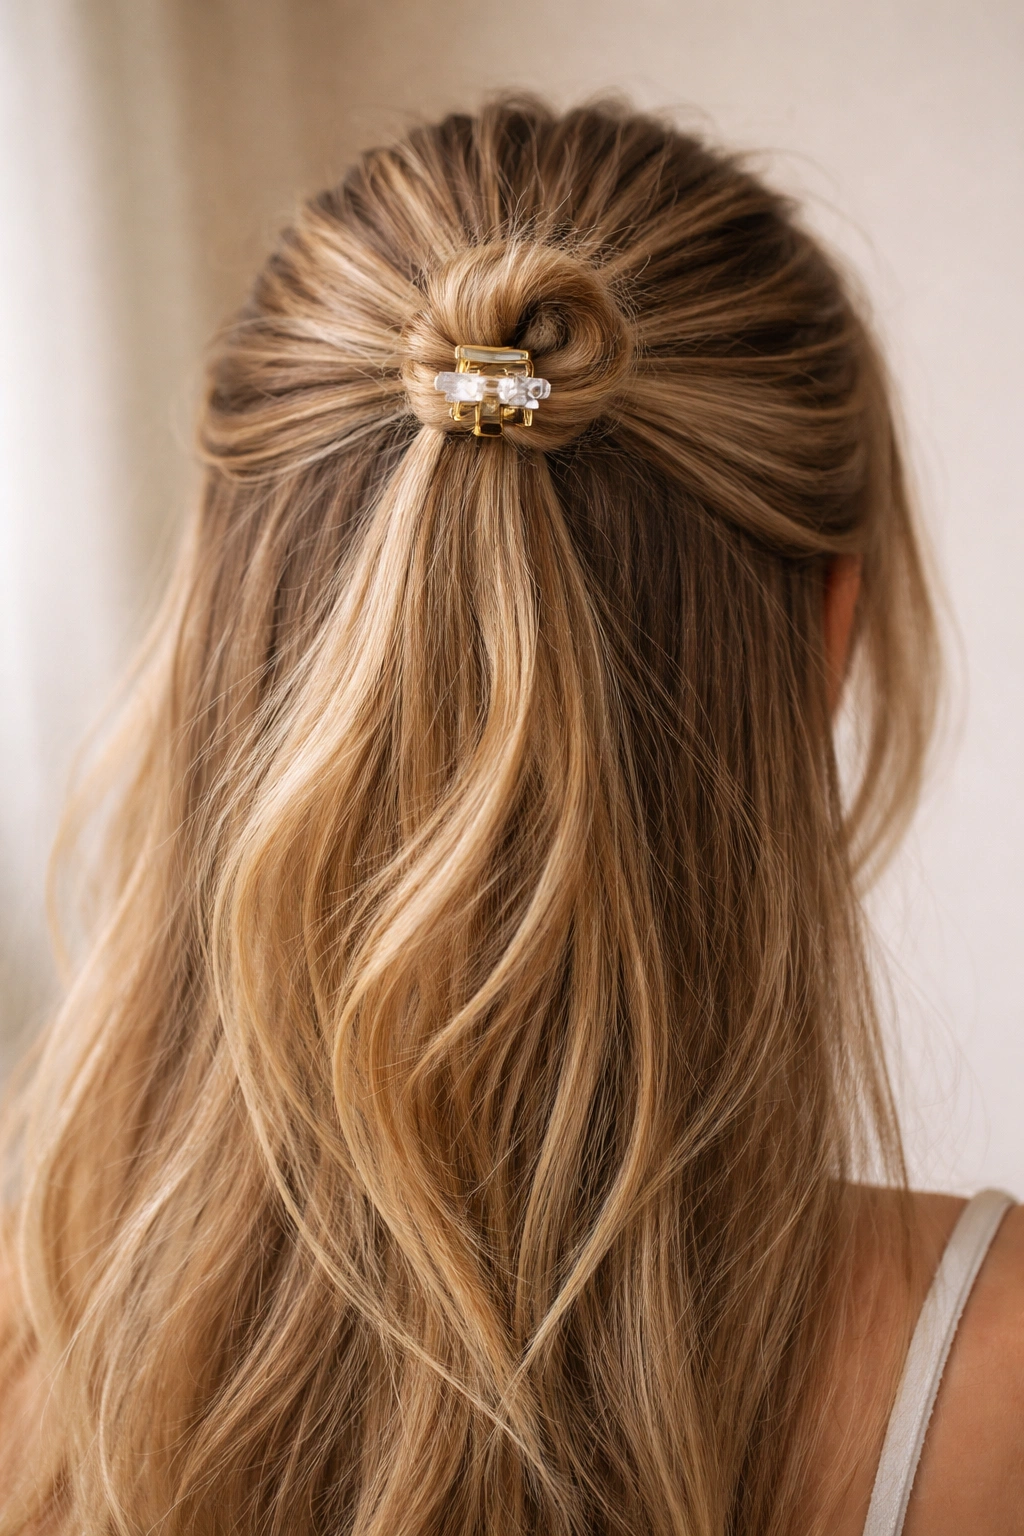
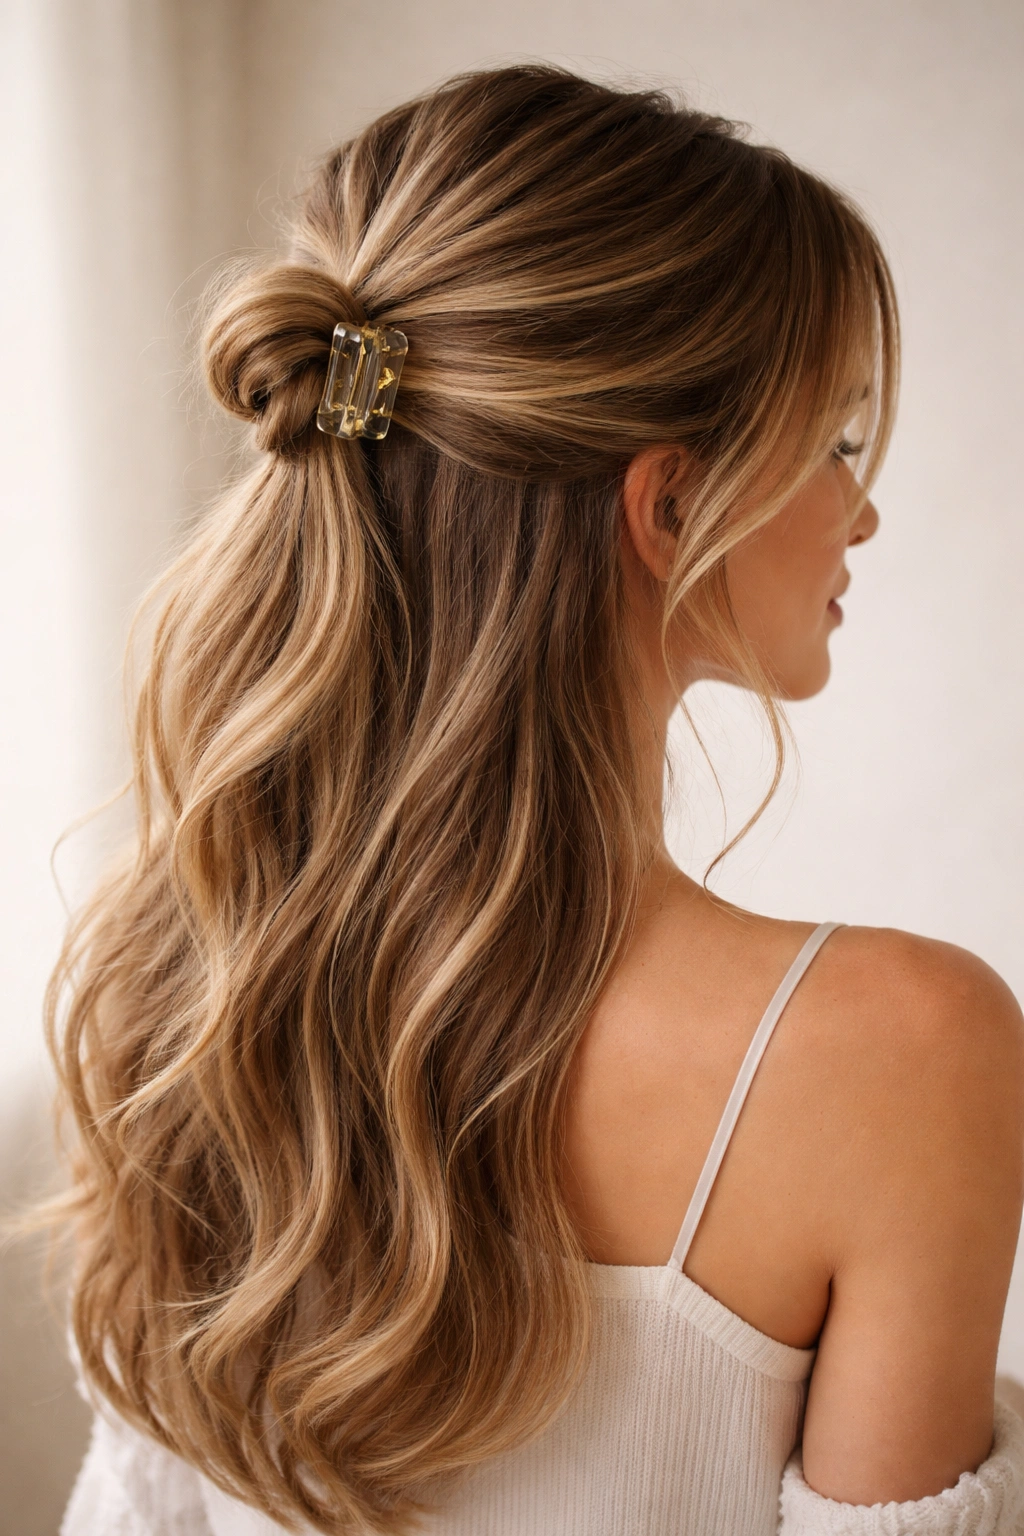
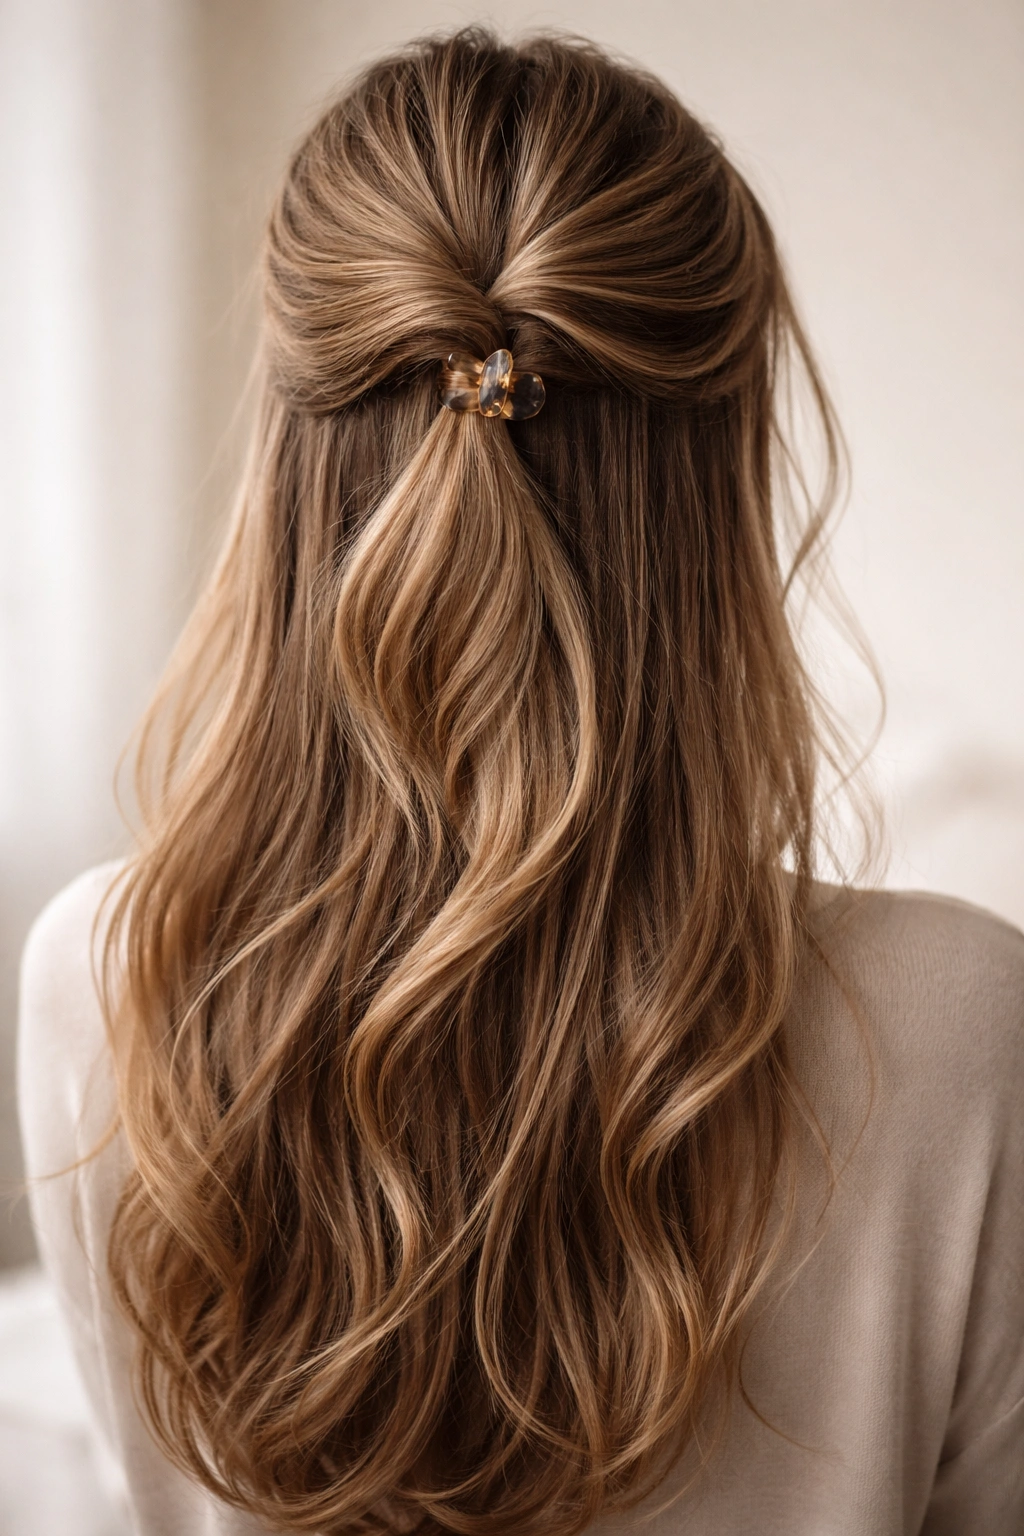
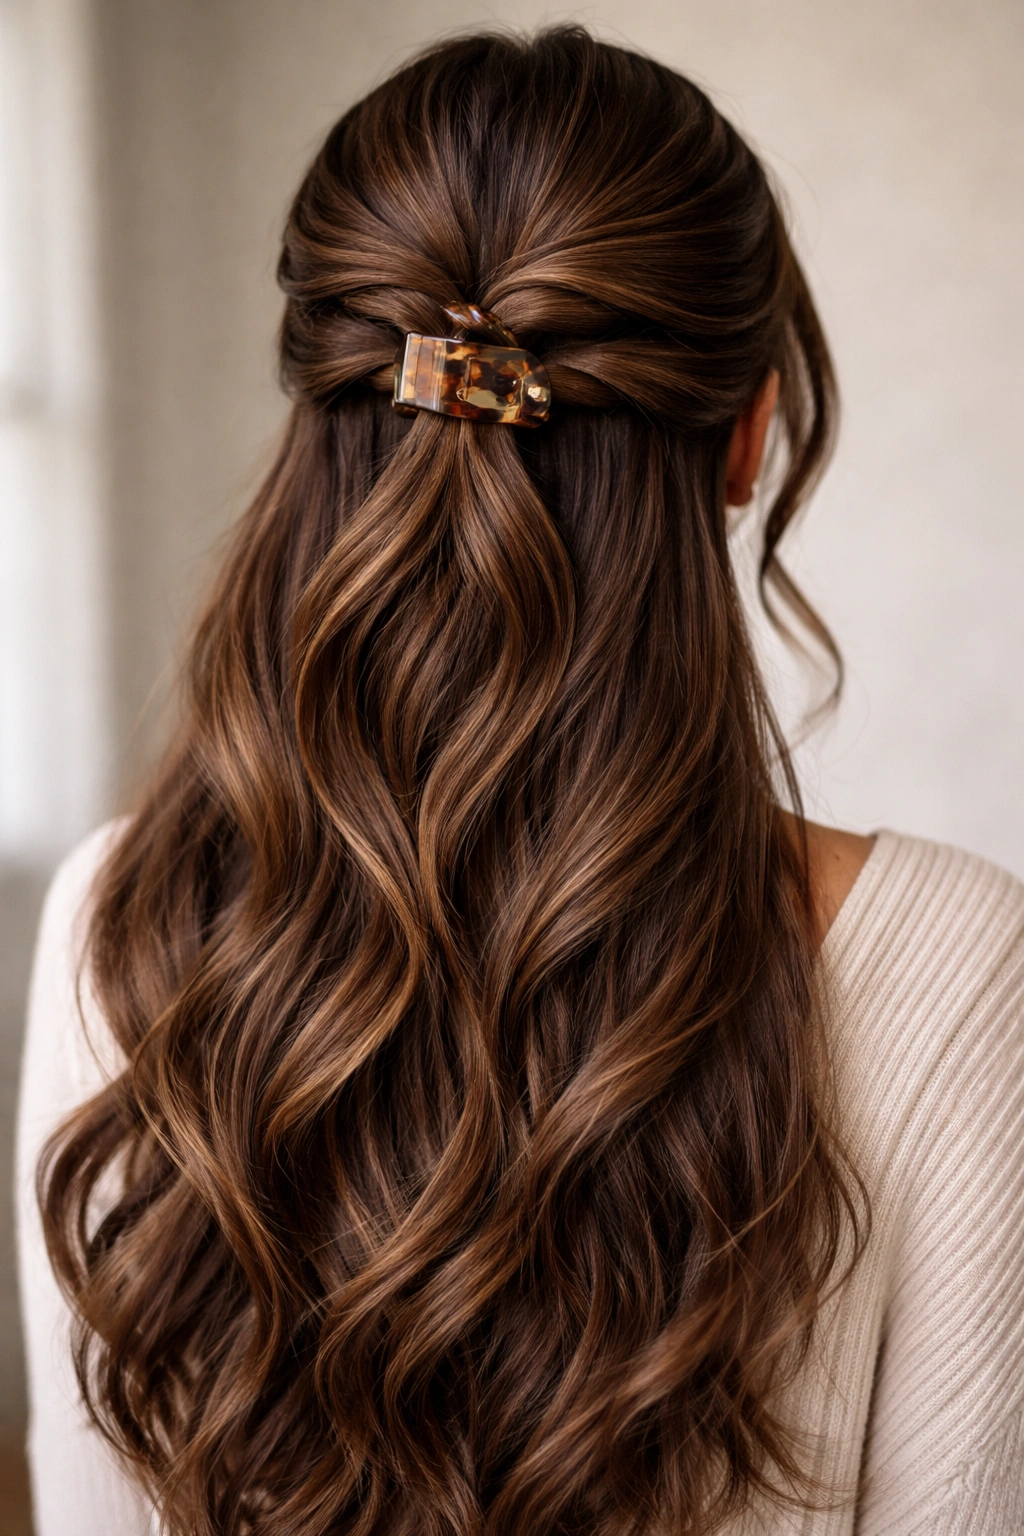
1. The Low Twist That Sits Just Above the Nape
This is the one I reach for when I want my hair to look calm without looking stiff. Gather the top half from temple to temple, twist it once or twice, then fold it upward so the ends tuck in just above the nape of your neck. A medium claw clip placed horizontally keeps it there and leaves the bottom length loose and soft.
Why It Works
The lower placement helps the style hold. Long hair has weight, and if you pile it too high right away, the clip has to do all the work. Sitting the twist lower lets the hair rest against itself, which feels sturdier and looks smoother.
- Use a 4 to 4.5-inch claw clip if your hair is past shoulder blade length.
- Leave the very ends loose if you want a softer finish.
- A slight middle part keeps the shape balanced.
- Works well on day-two hair that has a little grip.
Tip: If the twist keeps slipping, make the first fold smaller. Less hair in the clip often holds better than trying to cram everything in at once.
2. The High Crown Lift for Extra Height
A high crown clip makes long hair look lighter, which is a nice trick when the lengths feel heavy around your shoulders. Pull the top section up from the temples, lift it slightly higher than you think you need, and clip it near the crown so the top layers sit with a little bend instead of hanging flat.
That tiny bit of height changes the whole mood. Your face opens up, the top half of your hair gets shape, and the rest falls down the back in a clean curtain. It’s neat without being severe. I like it with straight hair, but it looks even better if the ends are waved once or twice with a 1-inch iron.
Keep the section fairly broad. Too small, and the clip looks pinched. Too large, and the crown starts to sag. This one works because the lift is controlled. Not dramatic. Just enough.
3. The Loose French Twist Half-Up
Why does a half-up French twist look more finished than a regular twist? Because the hair is tucked inward instead of simply folded over, so the shape stays defined even when the rest of the hair is loose.
Start with the top section, twist it toward the back of the head, then roll the tail under itself once before clipping it vertically. The result looks a little like a soft shell shape at the back of the head. It’s tidy, but not fussy.
How to Style It
Use your fingers, not a brush, if you want the twist to stay relaxed. A brush flattens the hair and makes the style look too tight. A loose grip gives you that soft French twist effect that works for dinners, office days, or anything where you want hair out of your face without looking overdone.
A smaller claw clip with strong teeth is ideal here. The shape does most of the visual work, so you don’t need a giant accessory shouting over the style.
4. The Side-Swept Clip with a Deep Part
Picture this: you have five minutes, your hair is freshly dried, and one side always falls flatter than the other. A deep side part and a side-swept claw clip fix both problems at once.
Sweep the heavier side back first, then gather a matching section from the opposite side and meet them just behind one ear. Twist once, clip, and let the rest of the hair cascade down with a clear side part. The whole thing feels a little old-school in the best way.
- Part your hair 2 to 3 inches off center.
- Keep the clip slightly behind the highest point of the part.
- Curl the loose lengths away from the face if you want more shape.
- A matte clip tends to blend better here than a shiny one.
The nice thing about this look is that it leans into asymmetry instead of fighting it. Hair with one side that drops faster? Great. Let it. This style almost looks better when it isn’t perfectly even.
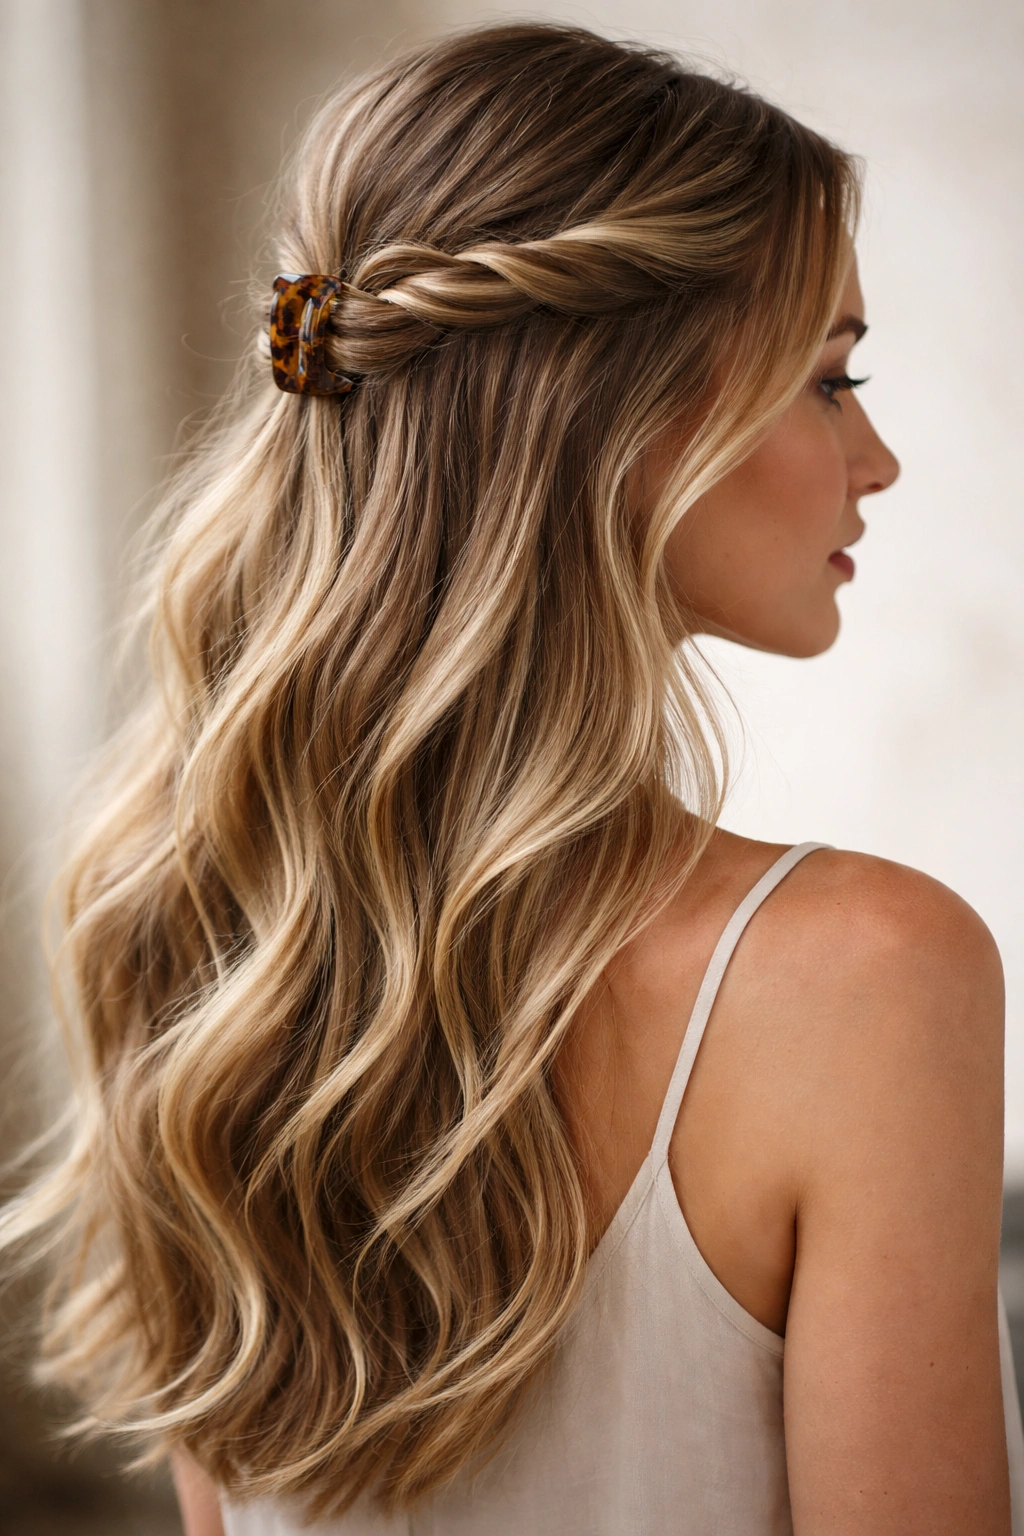
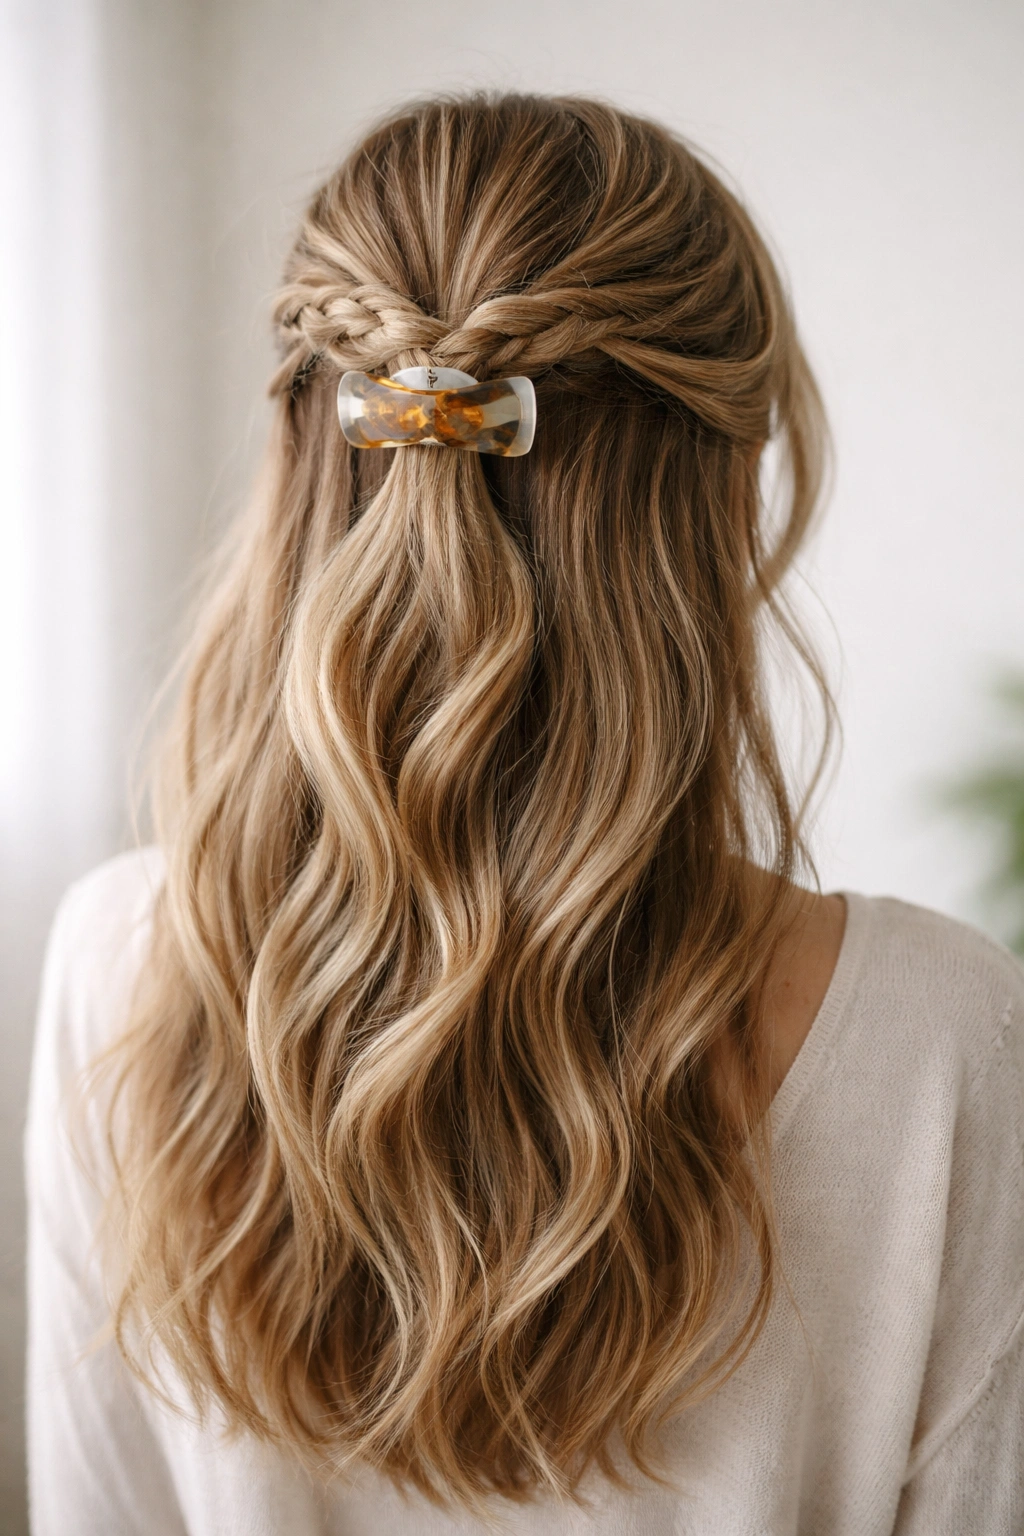
5. The Braided Half-Up Held by a Claw Clip
A small braid changes the game because it gives the clip something solid to grip. That’s the whole reason this style feels so secure on long hair. You take the top section, make a simple three-strand braid or even a loose rope braid, then fold the braid up and clip it in place.
I like this one when my hair is freshly washed and too slippery for anything else. The braid creates friction, and friction is what saves you from redoing your hair every twenty minutes. If your layers are long, leave the braid a little loose so it doesn’t look stiff.
The finish can go two ways. Keep the braid neat for a cleaner look, or gently pull the edges apart for a fuller shape. Either works. The loose version feels softer and a little less school-uniform.
6. The Rope Twist That Handles Heavy Hair
Unlike a three-strand braid, a rope twist shows off the length of the hair itself. That matters on long hair, especially if you want movement instead of a chunky woven shape.
Split the top section into two equal pieces, twist each one clockwise, then wrap them around each other counterclockwise. Fold the twist up and clip it near the back of the head. The rope shape sits flatter than a braid, which makes it a smart choice when your hair is thick and heavy.
This is the style I’d hand to anyone whose hair keeps pulling clips downward. The double twist makes the section tighter, and that tighter shape distributes the weight a bit better. It’s also fast. Once you get the rhythm, the whole thing takes less time than making coffee.
If your ends stick out, let them. The loose tail adds a soft, lived-in feel that keeps the style from looking too neat.
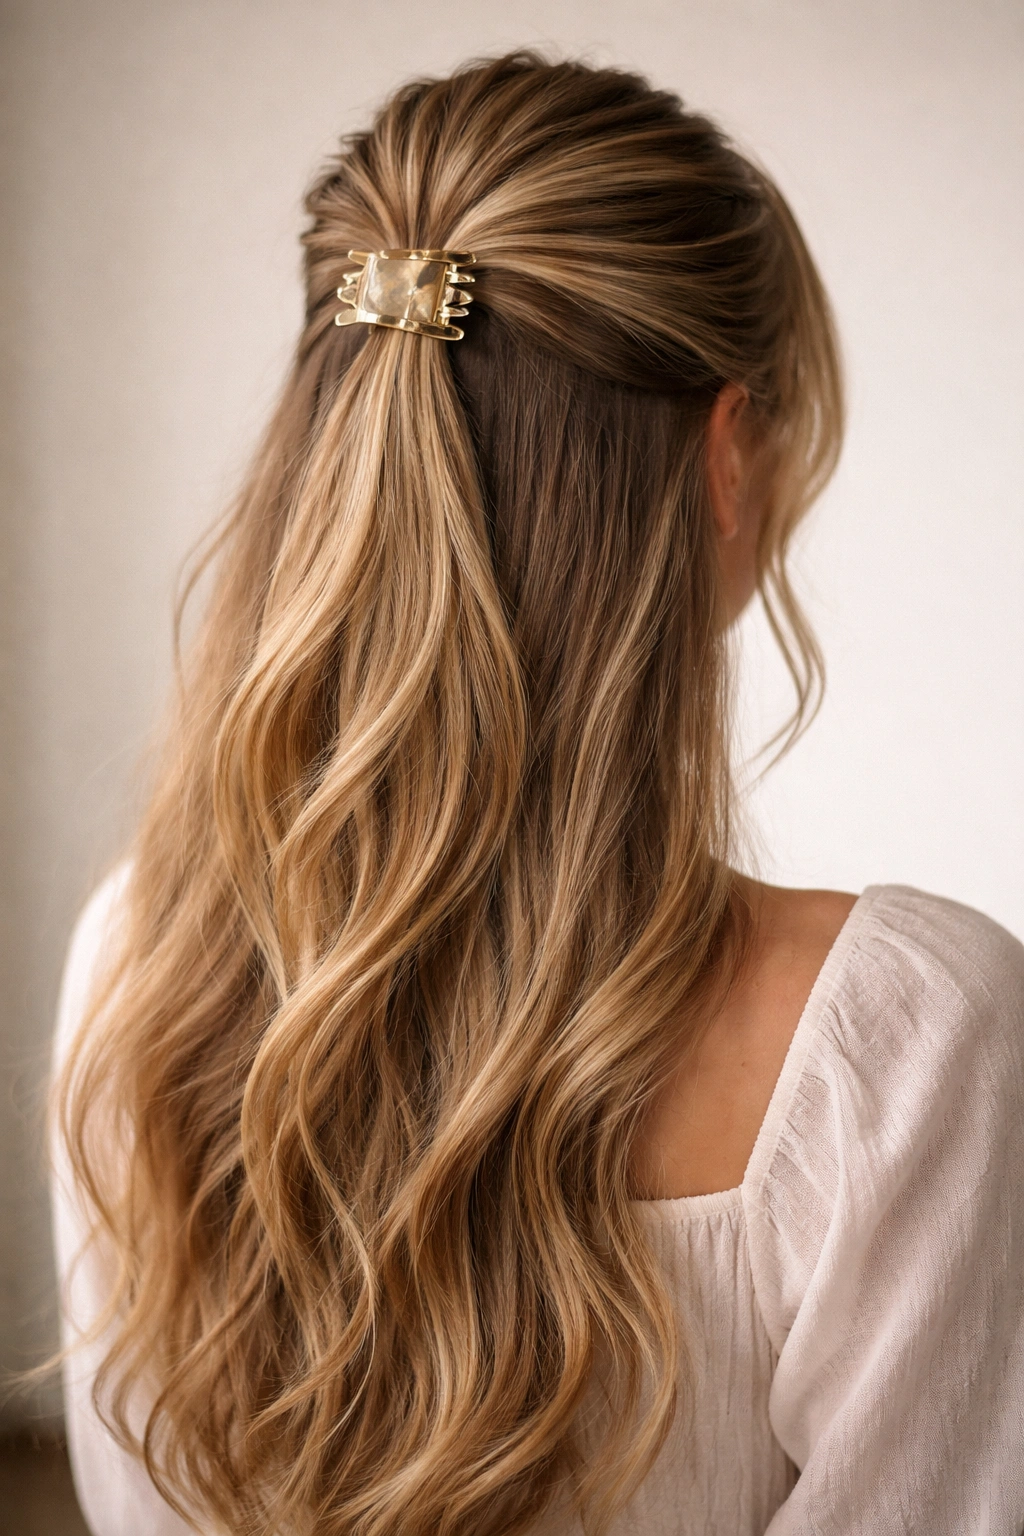
7. The Mini Bun Clip on the Crown
A tiny bun at the crown sounds simple, and it is, but the shape does a lot of work. Gather the top half, twist it around itself into a small knot, and pin the bun with the clip sitting over the middle of it. You end up with a lifted little shape that leaves the lower half of the hair free.
Why It Stays Put
The bun gives the clip a round base to grab, which is better than trying to clamp down on loose layers alone. That round base is especially helpful if your hair is long but fine, because the style looks fuller than a flat twist.
- Use a small elastic underneath if your hair is slippery.
- Keep the bun loose so it doesn’t press flat against the scalp.
- A clip with curved teeth holds the sides of the knot better.
- Works well with curled ends or natural waves.
Tip: Don’t tuck every strand in. A few loose ends near the crown make the whole thing feel less severe, which is exactly what you want here.
8. The Bubble Half-Up with a Hidden Elastic
A bubble half-up sounds playful because it is, but it’s also useful when you want the top section to look intentional instead of just clipped back. Start by securing the top half with a tiny elastic, puff the section slightly, then place the claw clip over the base of the elastic to hide it.
That small elastic changes the shape. Instead of a flat fold, you get a rounded bubble that sits neatly on the back of the head. It’s a nice option for long hair with layers, because the elastic helps corral the shorter pieces before the clip goes in.
The look works especially well with wave or curl. Straight hair can do it too, but the bubble shape needs a little softness to avoid looking rigid. A quick mist of texturizing spray at the roots helps the style keep its roundness.
It’s a good one for when you want something a little different without moving into full updo territory.
9. The Messy Volume Clip for Thick Hair
What if your hair is so thick that a dainty clip feels like a joke? Then you need this version. The trick is to take a broader section, rough it up a little, and clip it without trying to smooth every strand into submission.
The Section Size Matters
A thick-haired half-up style usually fails because people grab too much at the wrong angle. Gather hair from temple to temple, but keep the lift soft. A little height at the roots and a loose fold at the back give the clip room to hold.
- Start with texturizing spray at the roots.
- Use a large spring-loaded clip with strong teeth.
- Twist only once or twice, not five times.
- Leave the bottom lengths untouched for contrast.
The beauty of this one is that it doesn’t ask thick hair to be smaller than it is. It just works with the bulk. That’s a better approach than chasing sleekness and ending up with a style that collapses by lunch.
10. The Sleek Half-Up for Straight Hair
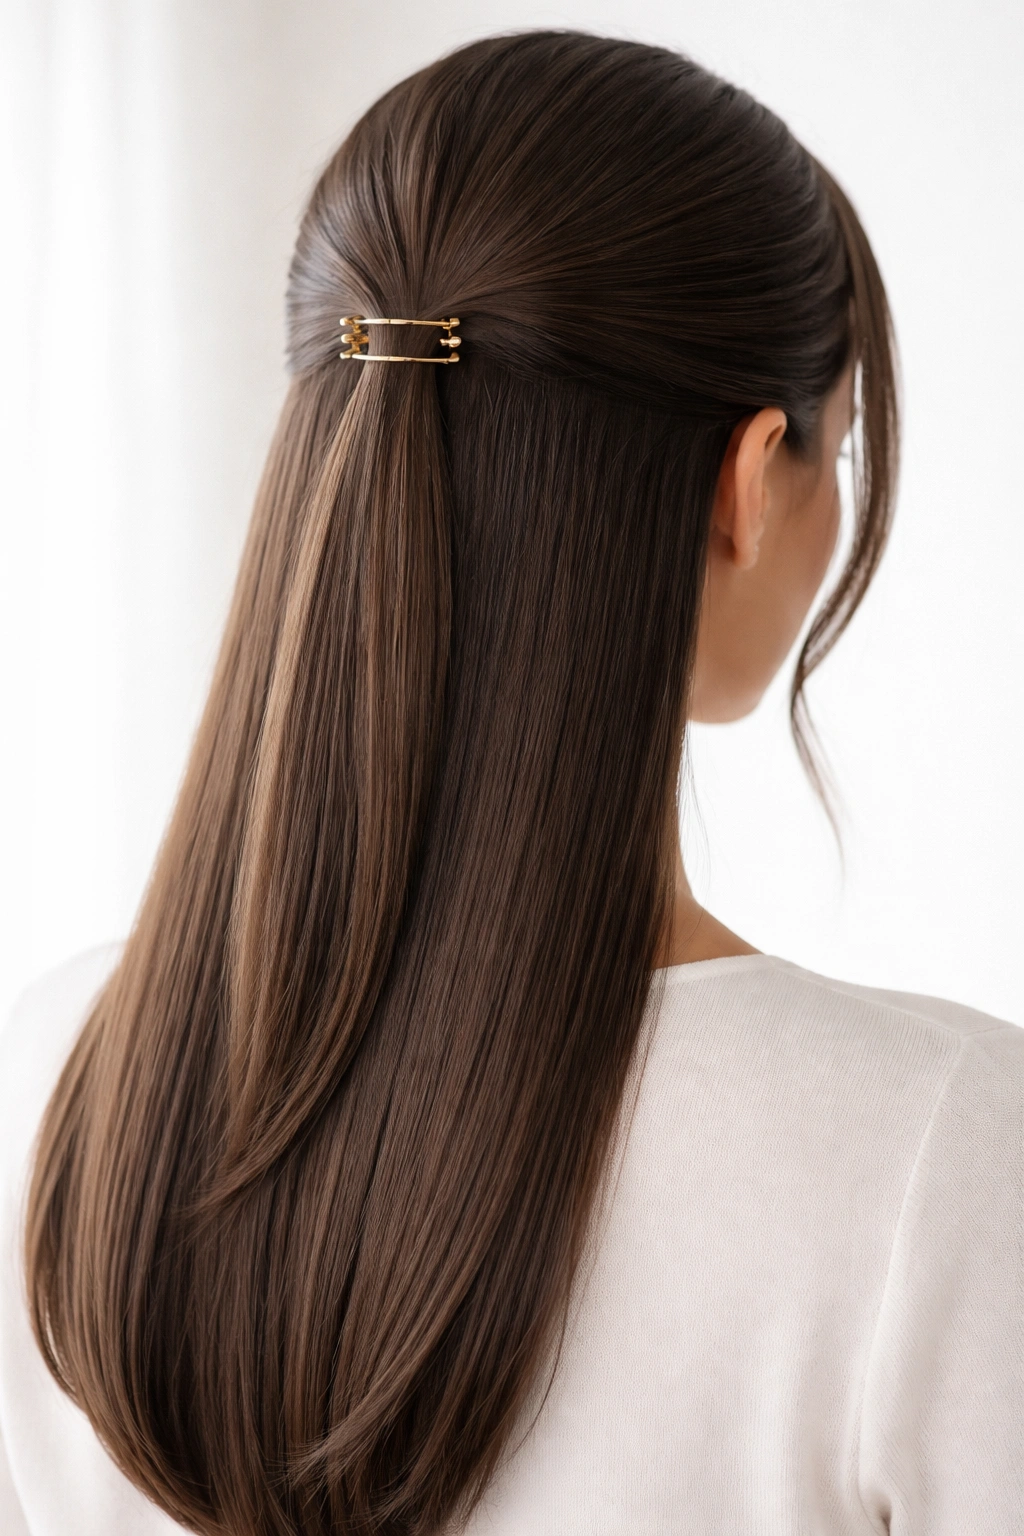
Straight hair can make half-up styles look sharp in a way textured hair sometimes can’t. The clean lines show. Every bend matters. That’s why a sleek claw clip look has such a crisp effect when the hair is long and smooth.
Brush the top section back, smooth a tiny amount of serum between your palms, and gather the hair at the back of the head without teasing it. Fold the section once, clip it, and keep the line of the part neat. The rest should hang flat and glossy.
- A fine-tooth comb helps shape the top section.
- A light serum keeps flyaways down.
- A wide clip with a flat spine looks cleaner than a chunky one.
- Best on hair that has been fully dried and cooled.
This style is not trying to look casual. It looks deliberate. If your hair tends to puff up in humidity, skip heavy oils and stay with a tiny amount of smoothing cream instead. Too much product makes the roots look greasy fast.
11. The Half-Up Knot with Face-Framing Pieces
A half-up knot is one of those styles that looks harder than it is. Pull the top section back, tie it into a loose knot rather than a tight one, and secure the knot with a claw clip so it sits flat against the back of the head.
The real payoff is the face-framing pieces. Leave one-inch sections near the temples and around the ears, then bend them slightly with a curling iron or even your fingers if your hair already has movement. Those pieces soften the knot and keep the style from feeling too pulled back.
I like this look because it doesn’t demand symmetry. If one piece falls a little differently than the other, fine. That tiny imbalance often makes the style look more natural, not less.
Long hair gives this knot some body, which is the whole point. A short layer might disappear into the clip. Long length makes the knot feel like an actual shape instead of a placeholder.
12. The Twisted Crown from Temple to Temple
Unlike a single back twist, this style starts at both temples and meets in the middle. That creates a fuller-looking crown, which is nice if the top of your hair usually lies too flat or if you want the half-up section to feel more finished.
Twist a narrow section from each side toward the back of the head, let the twists meet, and clip them together just below the crown. The joined shape opens the face and gives a little lift without pulling hard on the scalp. It’s a subtle style, but the effect is bigger than it looks on the countertop mirror.
This one works especially well with long layers because the side sections help control those shorter pieces near the face. If your hair has a slight bend already, even better. The twists settle into the wave instead of fighting it.
For anyone who likes half-up claw clip looks for long hair that feel balanced, this is a solid pick.
13. The Low Loop Clip for Soft Waves
A low loop is what I reach for when I want the hair to look soft instead of structured. Gather the upper half, fold it into a loop with the ends left slightly out, then catch the middle with the claw clip so the shape stays open at the top.
How to Keep the Loop Soft
You do not want to squeeze this one flat. A little room in the loop keeps the style airy and stops it from looking too formal. Think of it as a gentle bend rather than a hard fold.
- Start with loose waves or light curls if you have them.
- Clip lower on the back of the head, not at the crown.
- Pull a few fine pieces around the temples to soften the edges.
- Use a clip that curves with the head instead of sticking straight out.
This is one of those styles that looks good from the side, which matters more than people admit. A low loop gives the back of the hair some shape while still letting the lengths do their thing.
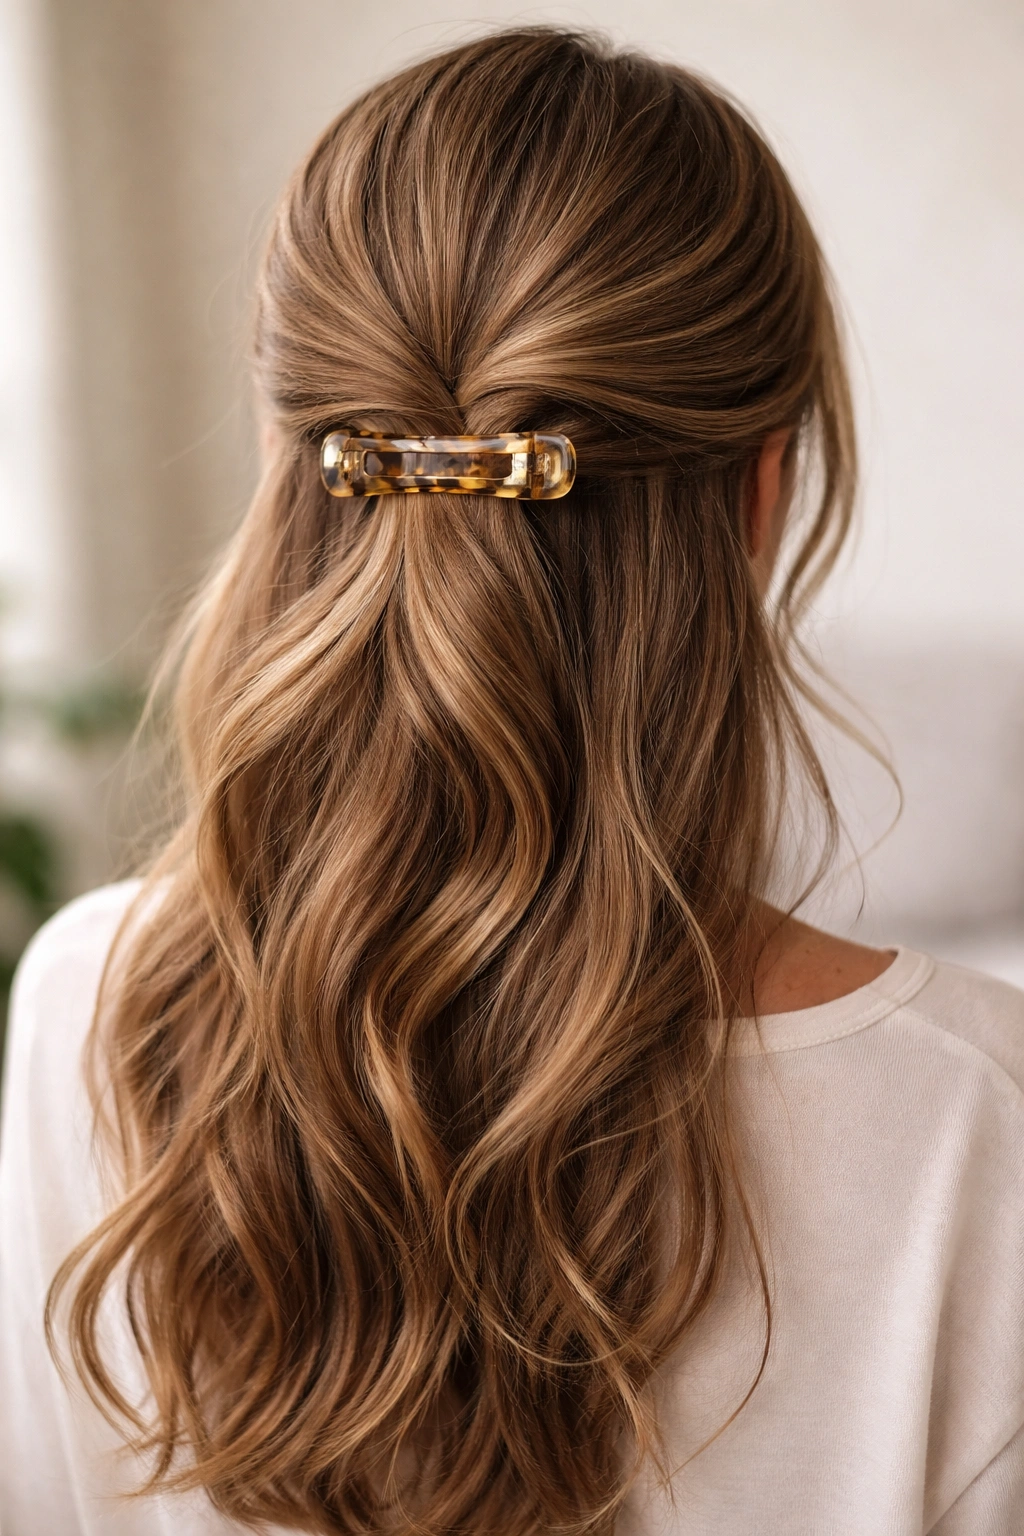
14. The Double-Clip Hold for Extra-Long Lengths
One claw clip can be enough. Two can be smarter. When hair is very long, especially past mid-back, the section can get heavy enough that one clip alone starts to loosen after a few hours.
Gather the top half into a folded shape, clip the first side near the center, then add a second matching clip just beside it or slightly below it to spread the pressure. The look is practical first and decorative second, which I appreciate. Sometimes the hair needs engineering, not optimism.
The doubled-up shape also gives you a little more control over the width of the style. Instead of one bulky clamp fighting all the weight, the load gets split across two points. That means less sliding and fewer weird dents in the back of the hair.
Choose clips with the same finish so the look stays intentional. Two black clips can look sleek. Two tortoiseshell clips read softer. Mismatched clips can work too, but you have to like a messier result.
15. The Side Roll That Flatters Fine Hair
Why does a side roll help fine hair so much? Because it builds shape without asking the hair to carry a big heavy knot. The volume comes from the direction of the roll, not from a thick mass of hair.
Start on one side, gather a smaller section from the temple and top layer, roll it back toward the center, and secure it with the clip slightly off to one side instead of dead center. That off-center placement gives the style a softer line and keeps the crown from going flat.
How to Use It
Keep the section smaller than you would for thick hair. Fine hair tends to look better when it’s lifted, not overloaded. A tiny bit of root spray at the front helps the roll stay airy and gives the clip more grip without making the hair sticky.
This is a smart option if your hair slips out of bigger styles. You’re not trying to force a large half-up section to behave. You’re building a smaller shape that suits the density you actually have.
16. The Half-Up Pony Flip with Loose Ends
A half-up pony flip has a little motion to it, which is why it feels fresh on long hair. Pull the top section back as if you were making a half ponytail, but stop before the elastic or clip sits too tightly. Flip the gathered section upward, then catch it with the claw clip so the loose ends spill over the top.
The shape reads relaxed, not polished. That’s the charm. The clip shows a bit, the ends fan out slightly, and the bottom hair stays free. It’s a good style for long layers because the loose ends create movement instead of disappearing into a solid block.
- Works best with soft waves or bent ends.
- Keep the pony section wide enough to cover the clip.
- Leave a few short front pieces out if your haircut has face layers.
- A clip with a strong spring helps the flipped section hold its curve.
This is the one I’d call the easiest “I did something” hairstyle. It looks like more effort than it takes.
17. The Casual Errand Clip That Takes Two Minutes
There are mornings when you do not want to think about your hair at all. This is the style for those days. It is a loose half-up twist, barely smoothed, clipped fast, and left to do whatever it wants in the lengths below.
The trick is not perfection. A little dry shampoo at the roots, a quick finger-comb through the top section, and one simple fold are enough. Long hair makes the style look intentional even when you’re moving fast, which is part of the appeal. If a few shorter strands fall out, leave them. They usually make the look better.
I like this one because it works with whatever the hair is already doing. Straight, wavy, slightly frizzy, yesterday’s blowout — none of that matters much. The clip gives the shape. The rest of the hair gets to stay itself.
You can also make this one feel less random by keeping the clip close to your natural part. That small detail matters. It stops the style from looking like you grabbed hair at the last second, which, to be fair, you did.
18. The Office-to-Dinner Clip Look
Unlike the errand version, this one starts neat and stays neat. The goal is a half-up claw clip style that looks clean enough for work but relaxed enough to still make sense with earrings, lipstick, or a blouse that has a little shape.
Brush the top section smooth, twist it once, and place the clip at the back of the head so the teeth sit flat. Then use your fingers to pull the crown a touch looser. Not messy. Just softened. If the ends are curled or beveled under slightly, even better. The whole style gets a cleaner line.
This is the look I’d pick when you want long hair to stay out of the way without losing the length that makes it feel like yours. It works because it sits in the middle. Not too formal. Not too casual. Just polished enough to survive a long day and still look fine later.
A good claw clip look should feel easy on the second try, not the twelfth. That’s the real test.