The struggle of wanting a polished, high-end hairstyle while balancing a busy schedule is a common frustration for anyone who loves the look of long, straight hair. You want the volume and length of extensions without spending hours in a salon chair or dealing with the commitment of a full sew-in. This is where the quick weave steps in—a technique that, when done correctly, offers the perfect blend of speed, versatility, and style. By focusing specifically on half-up, half-down looks, you get the best of both worlds: the dramatic length of down-flowing hair and the face-lifting, clean aesthetic of an updo.
Before we get into the styles, it is vital to remember that the health of your natural hair dictates how good the finished look actually appears. A quick weave is not just about gluing tracks onto a cap; it is about proper foundation. Your natural hair needs to be braided down flat—or slicked back with a strong gel and protective molded cap—to create a smooth surface. If your base is lumpy, your style will look lumpy. Invest time in the prep, ensure your protective cap is solid, and always use a barrier spray to protect your natural hair from the bonding glue. When you get the foundation right, the styling phase becomes almost effortless.
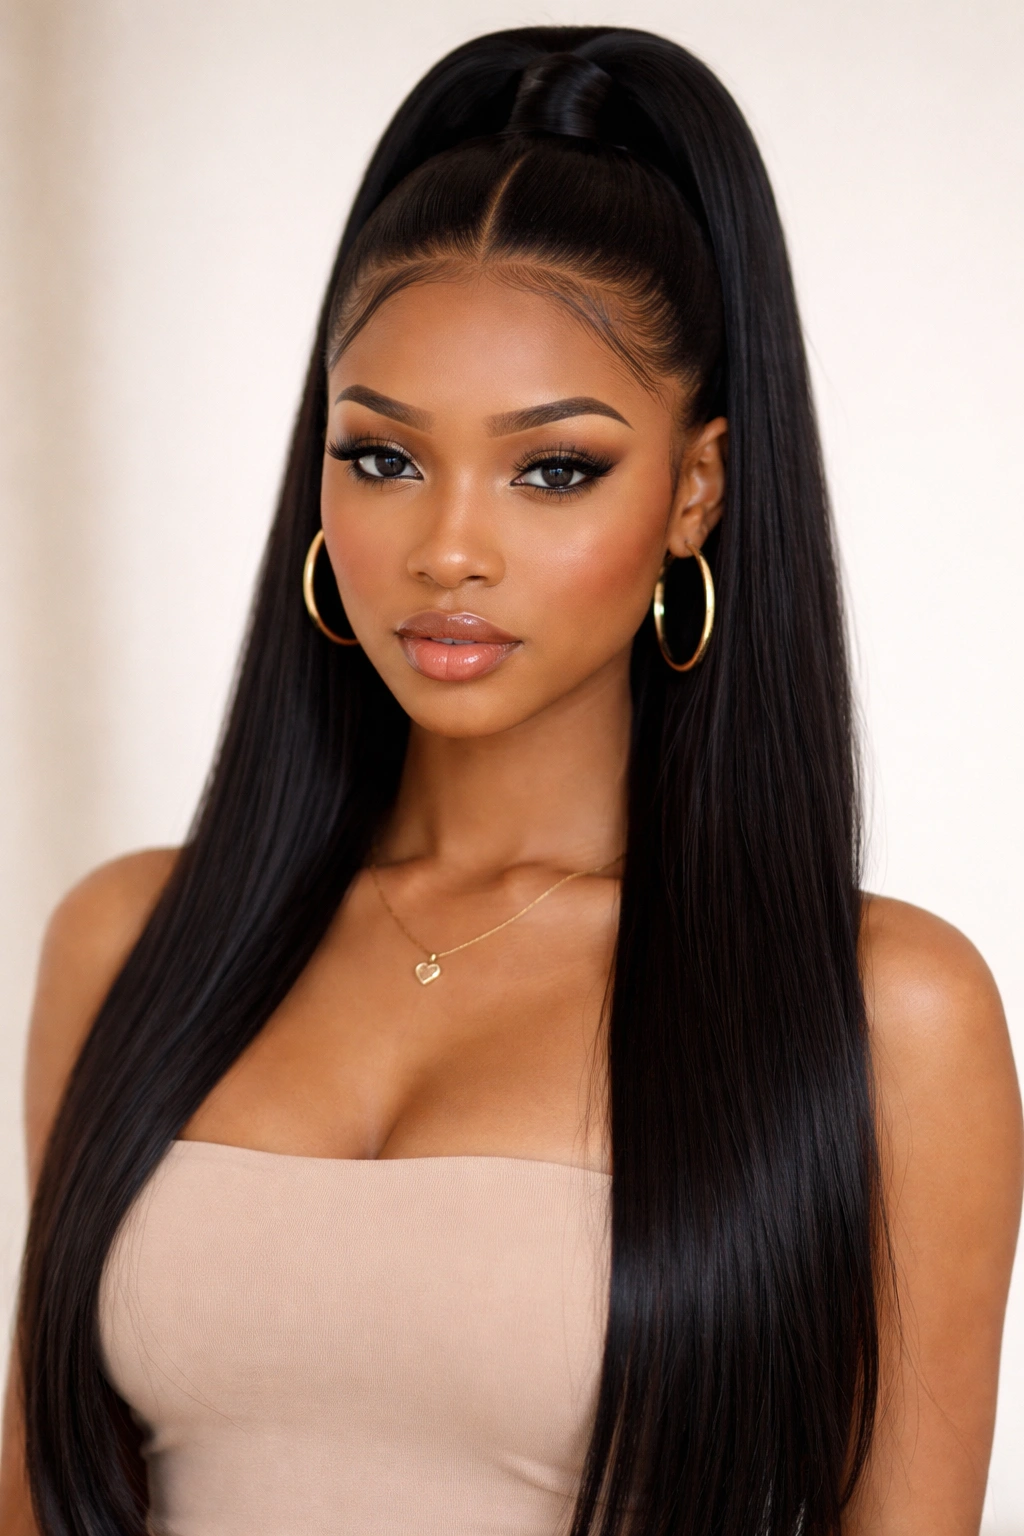
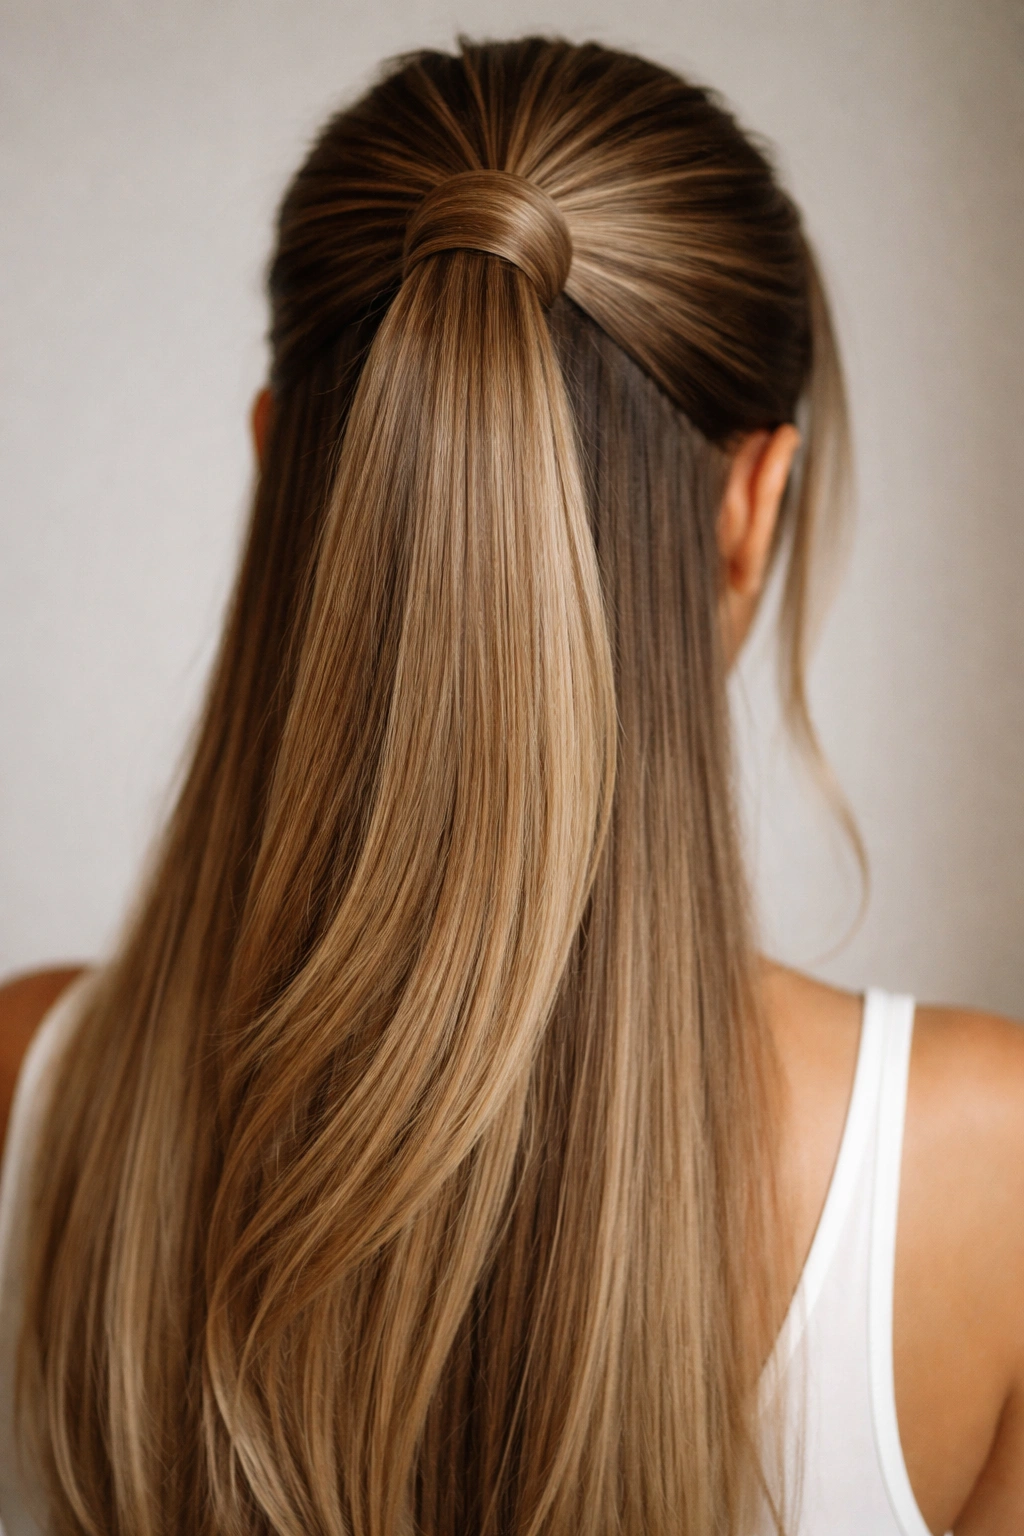
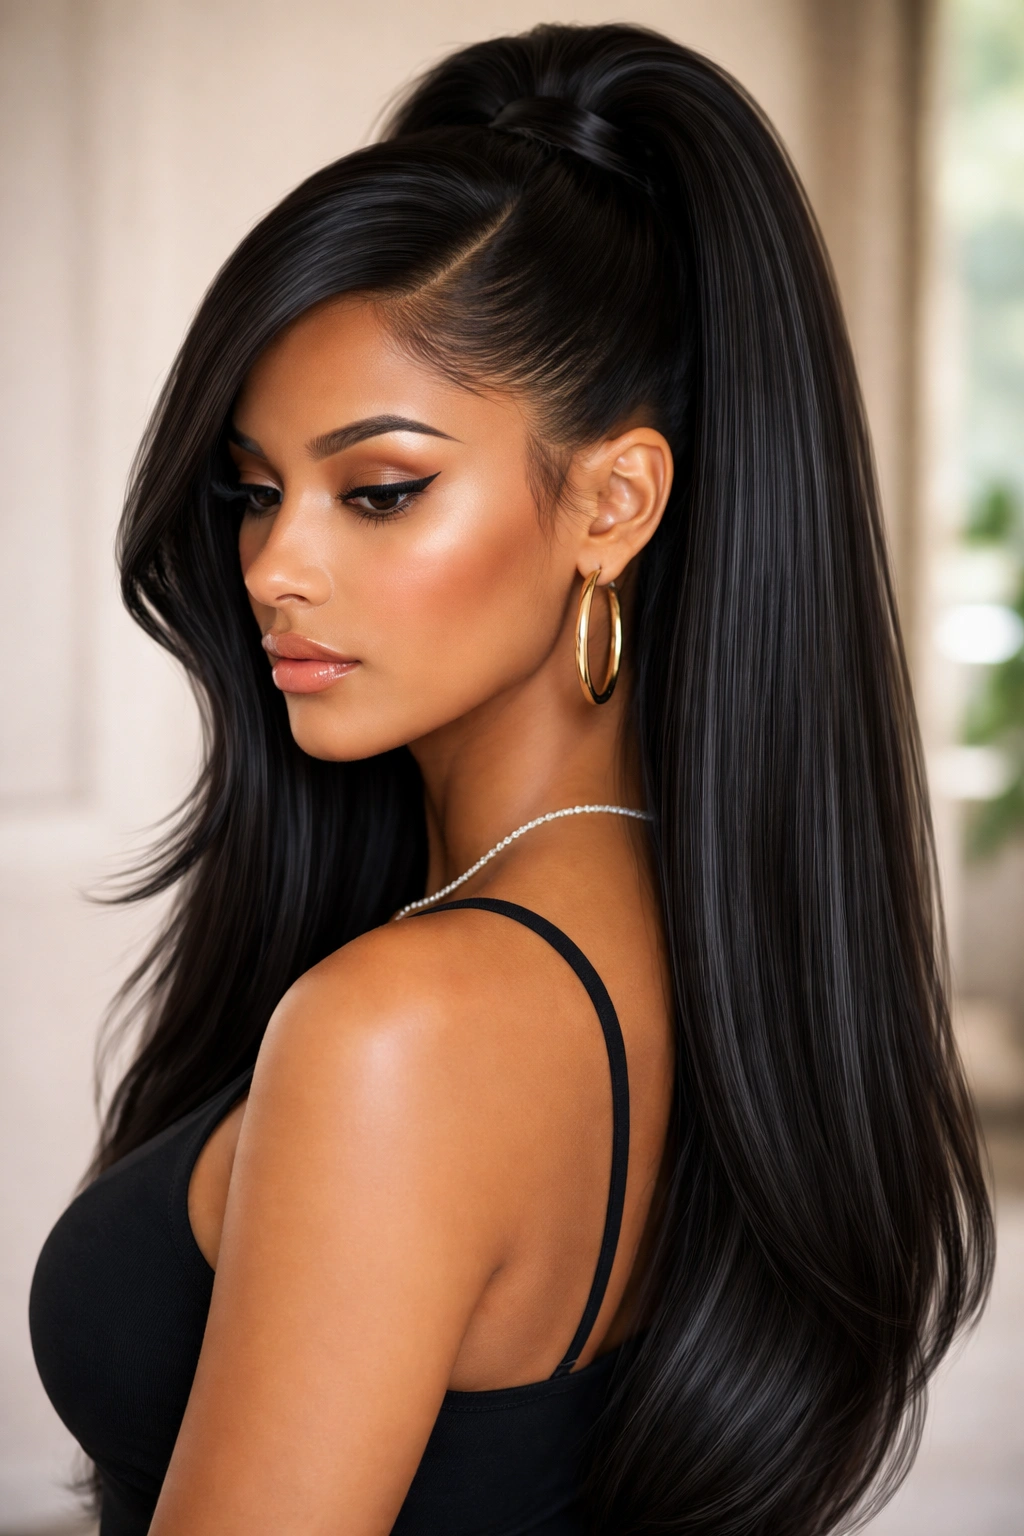
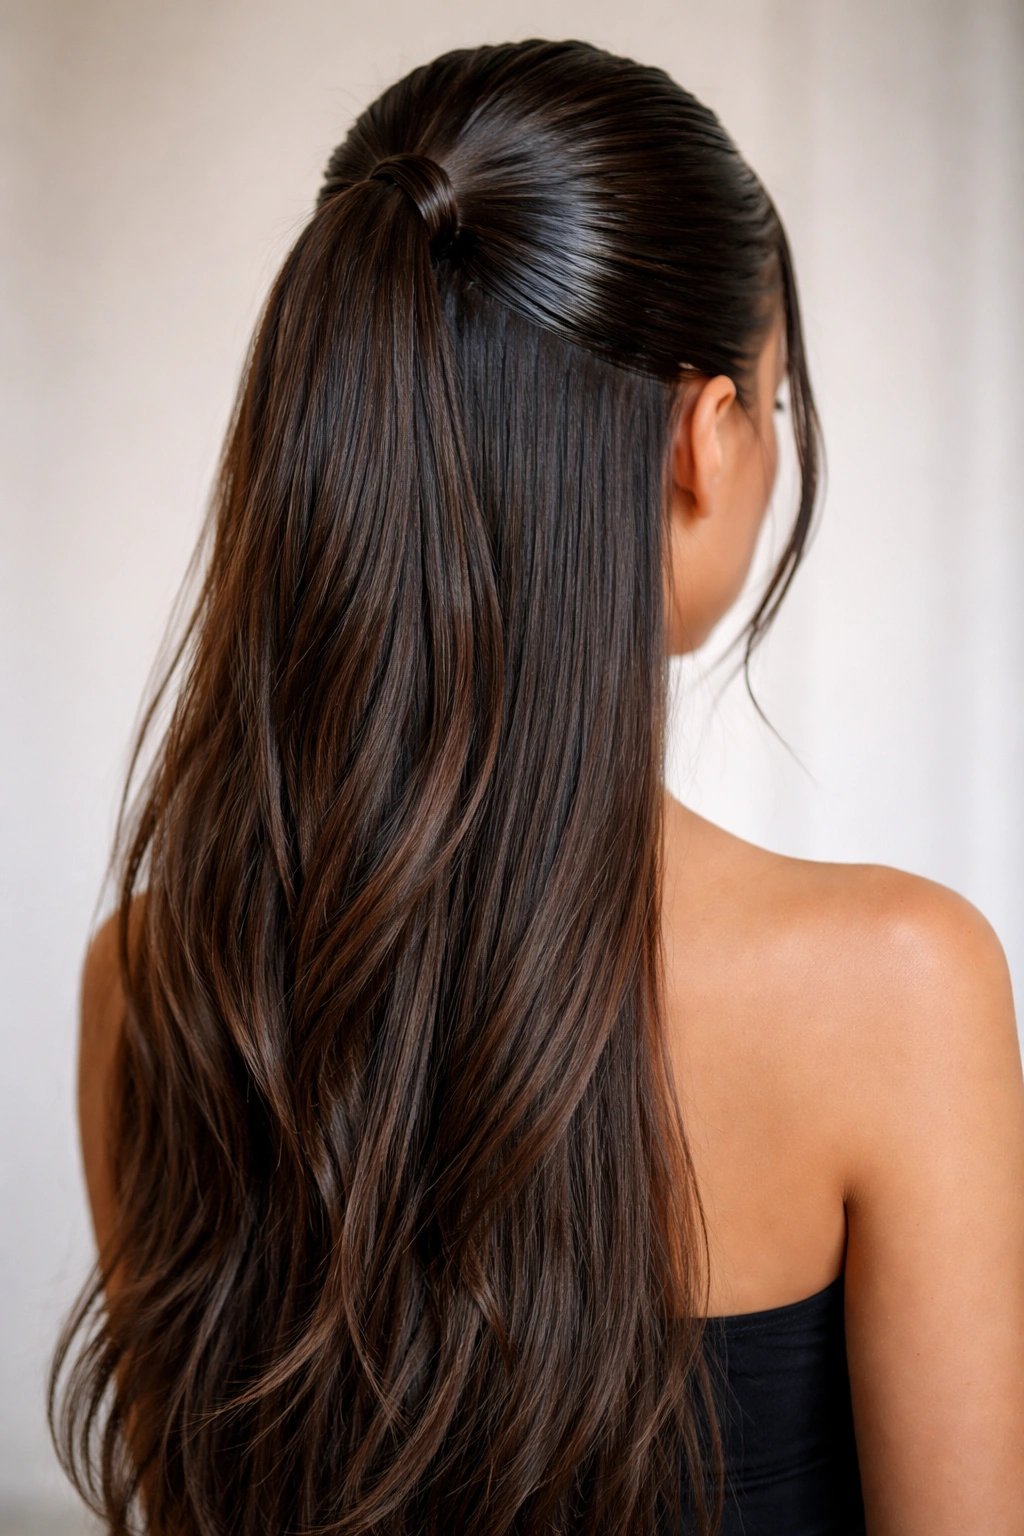
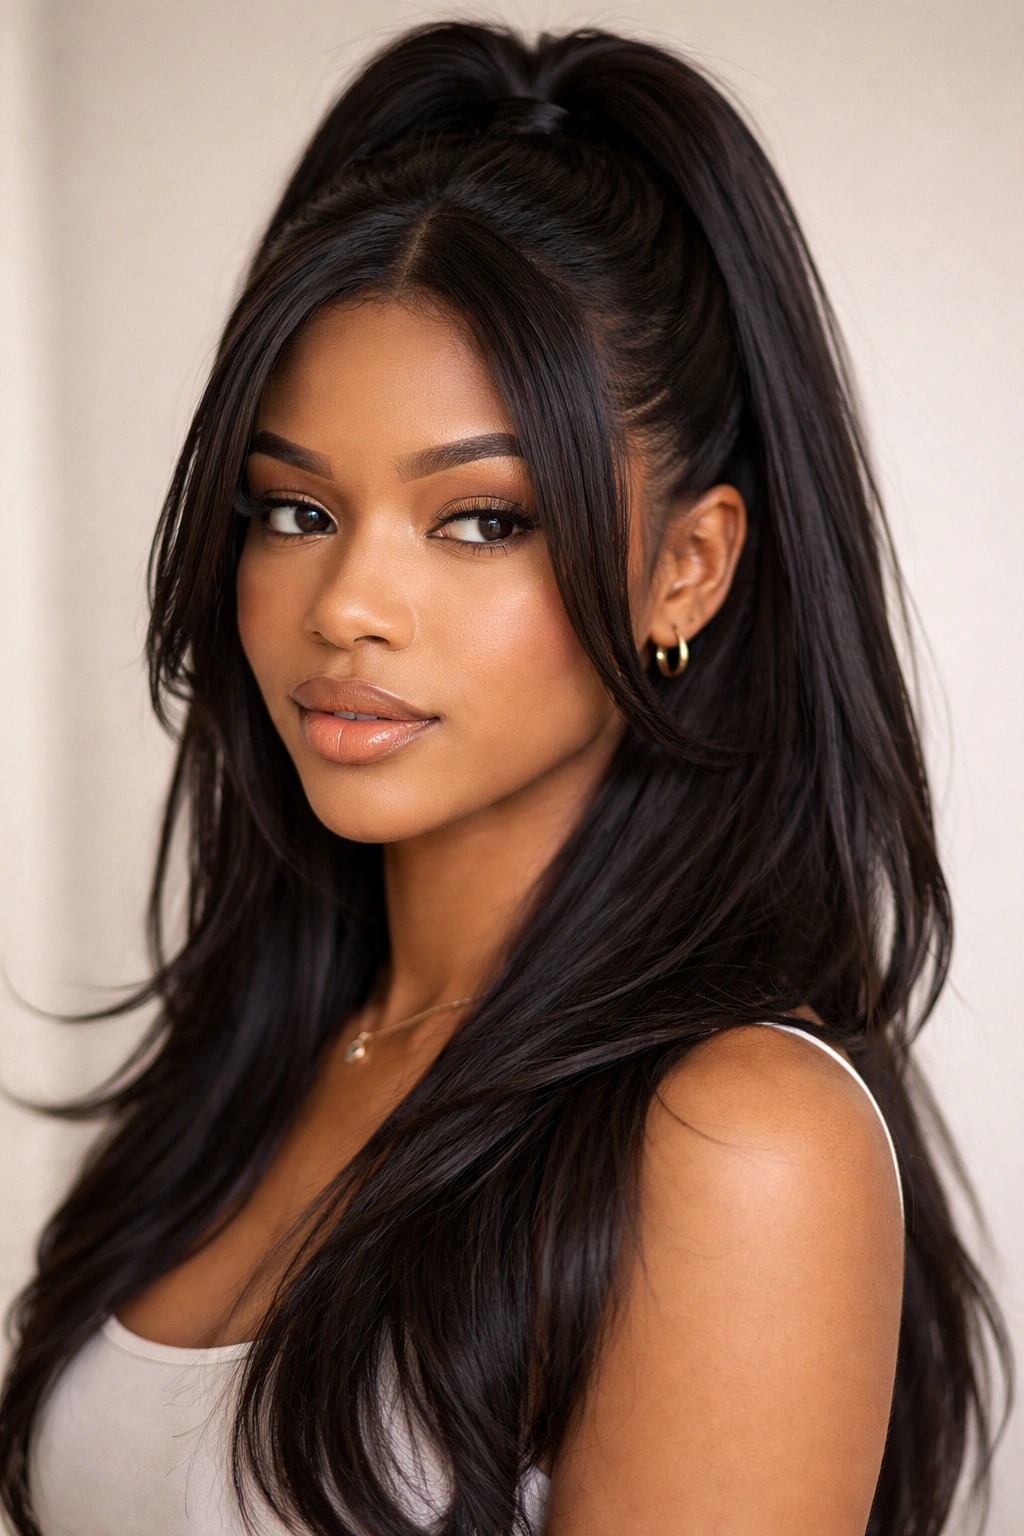
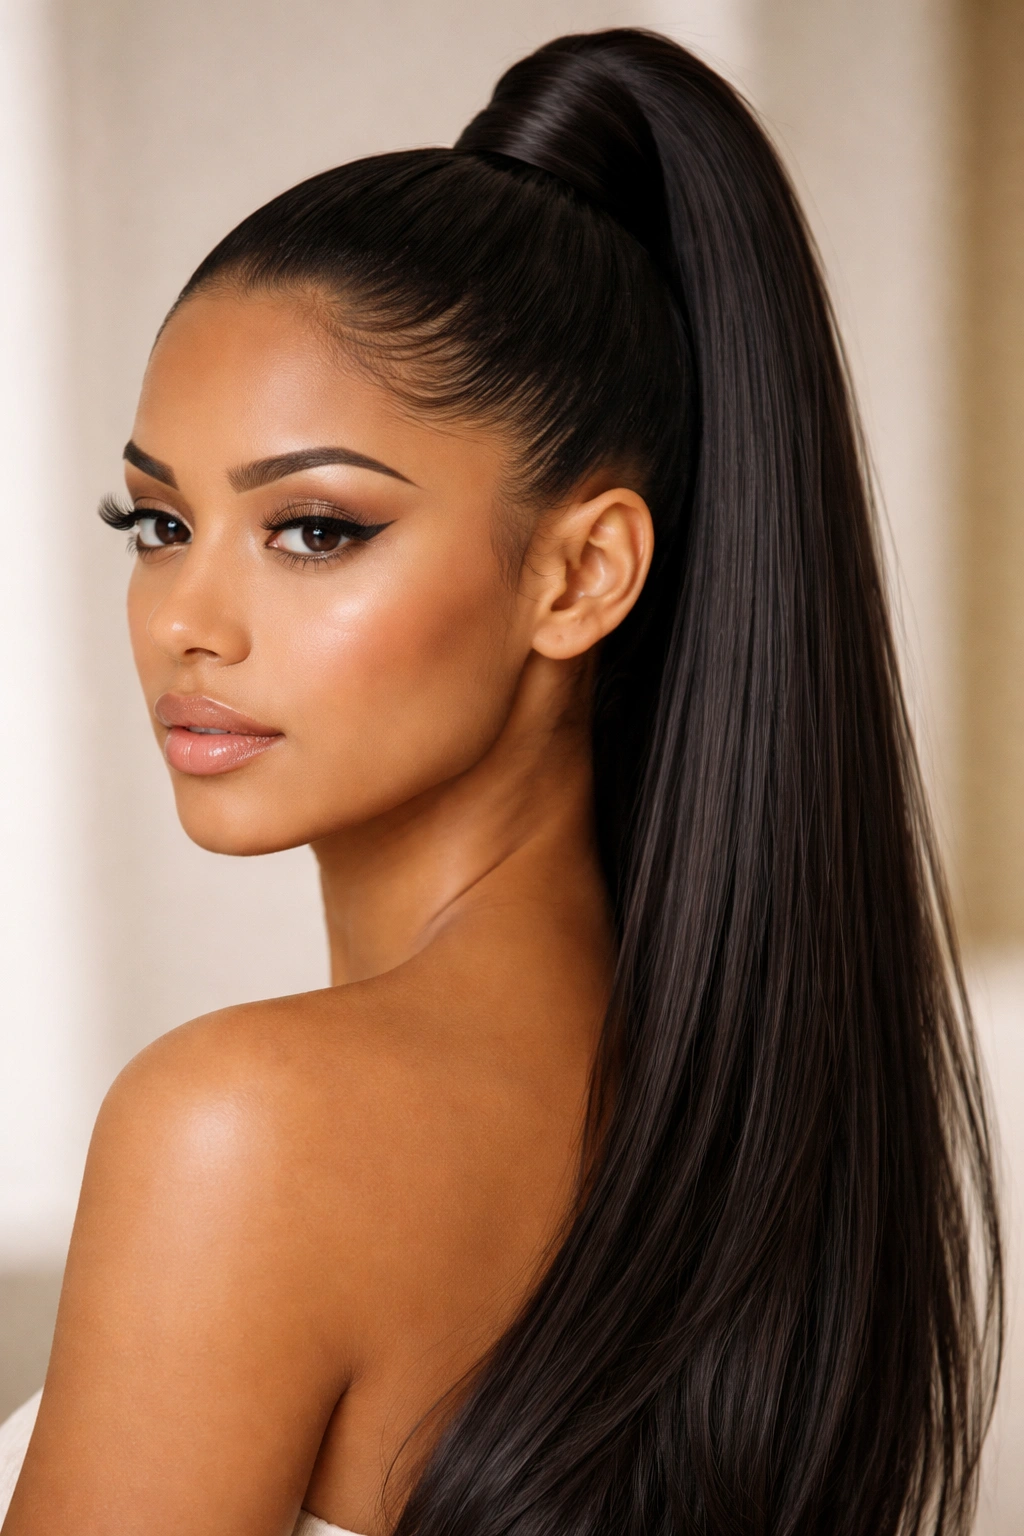
1. Classic Sleek High Ponytail
The classic high ponytail is the standard for a reason. It is sharp, clean, and pulls your features upward, giving you an instant, subtle lift. With a straight hair quick weave, the key is to ensure the top section—the part that forms your ponytail—is gathered tightly enough to create a seamless transition from your scalp to the extension hair.
Creating the Perfect Base
You want to use a boar bristle brush and a firm-hold styling wax to lay your natural hair completely flat. If you have any bumps or flyaways, the sleek effect is lost. Apply the wax, brush, and then tie the ponytail base with a sturdy elastic band.
Finishing the Look
Once the ponytail is secure, take a small piece of extension hair from the underside of the pony, wrap it around the elastic band to hide it, and pin it underneath. This one detail separates a “home job” from a professional salon look. It keeps the focus on the sleekness of the hair rather than the hardware holding it together.
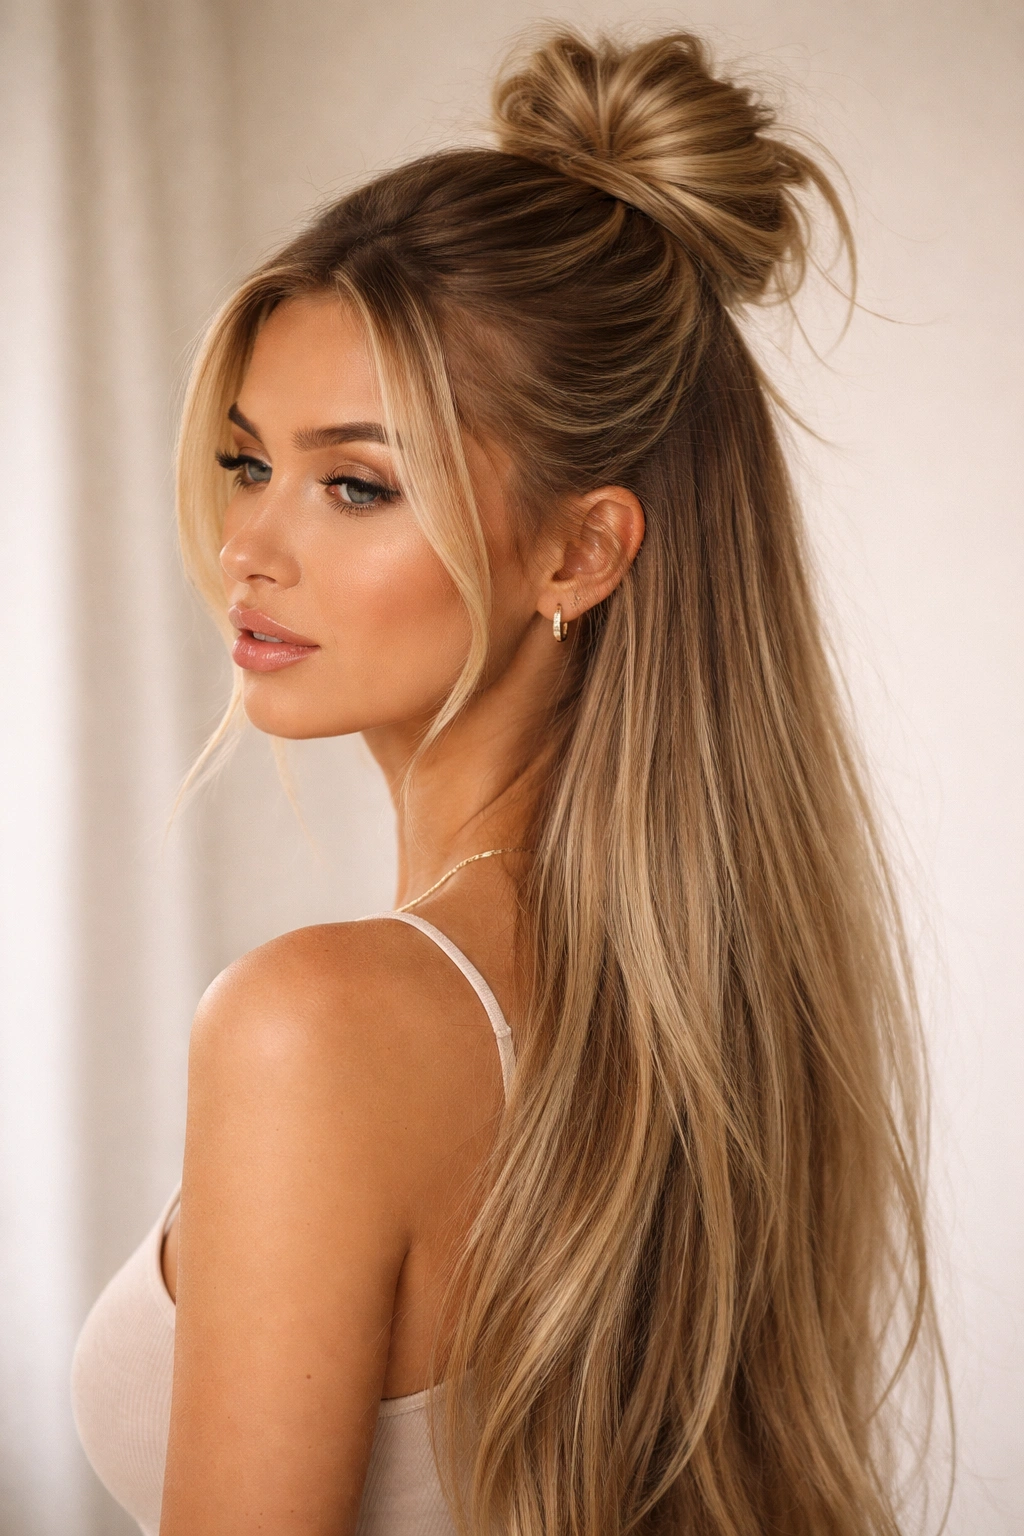
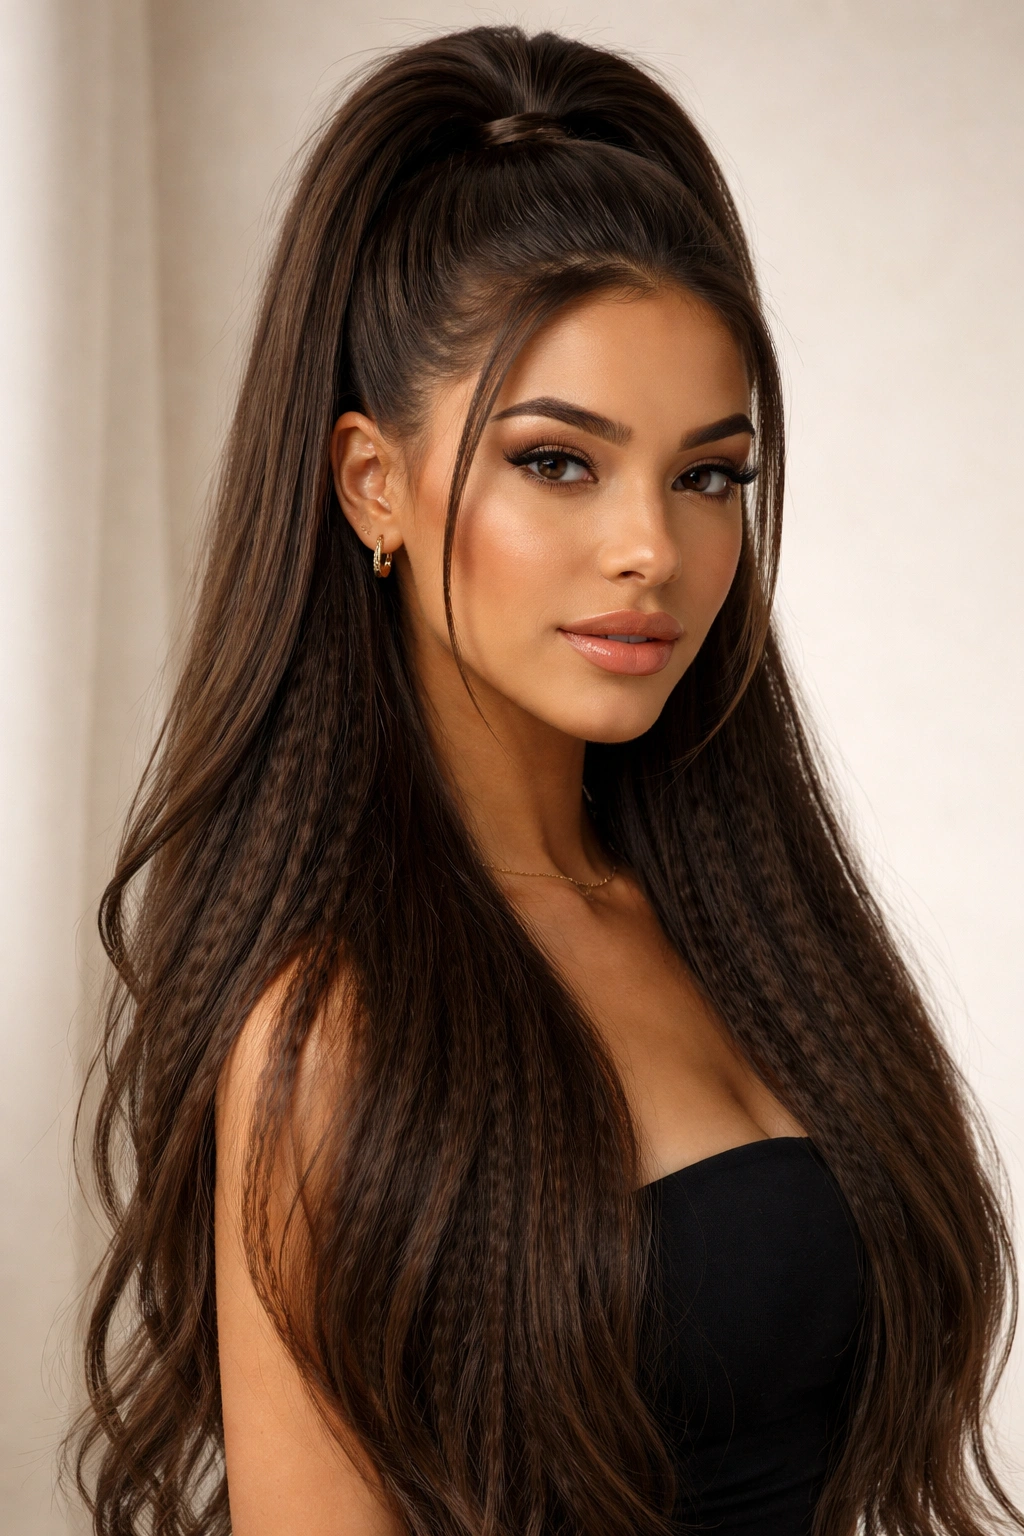
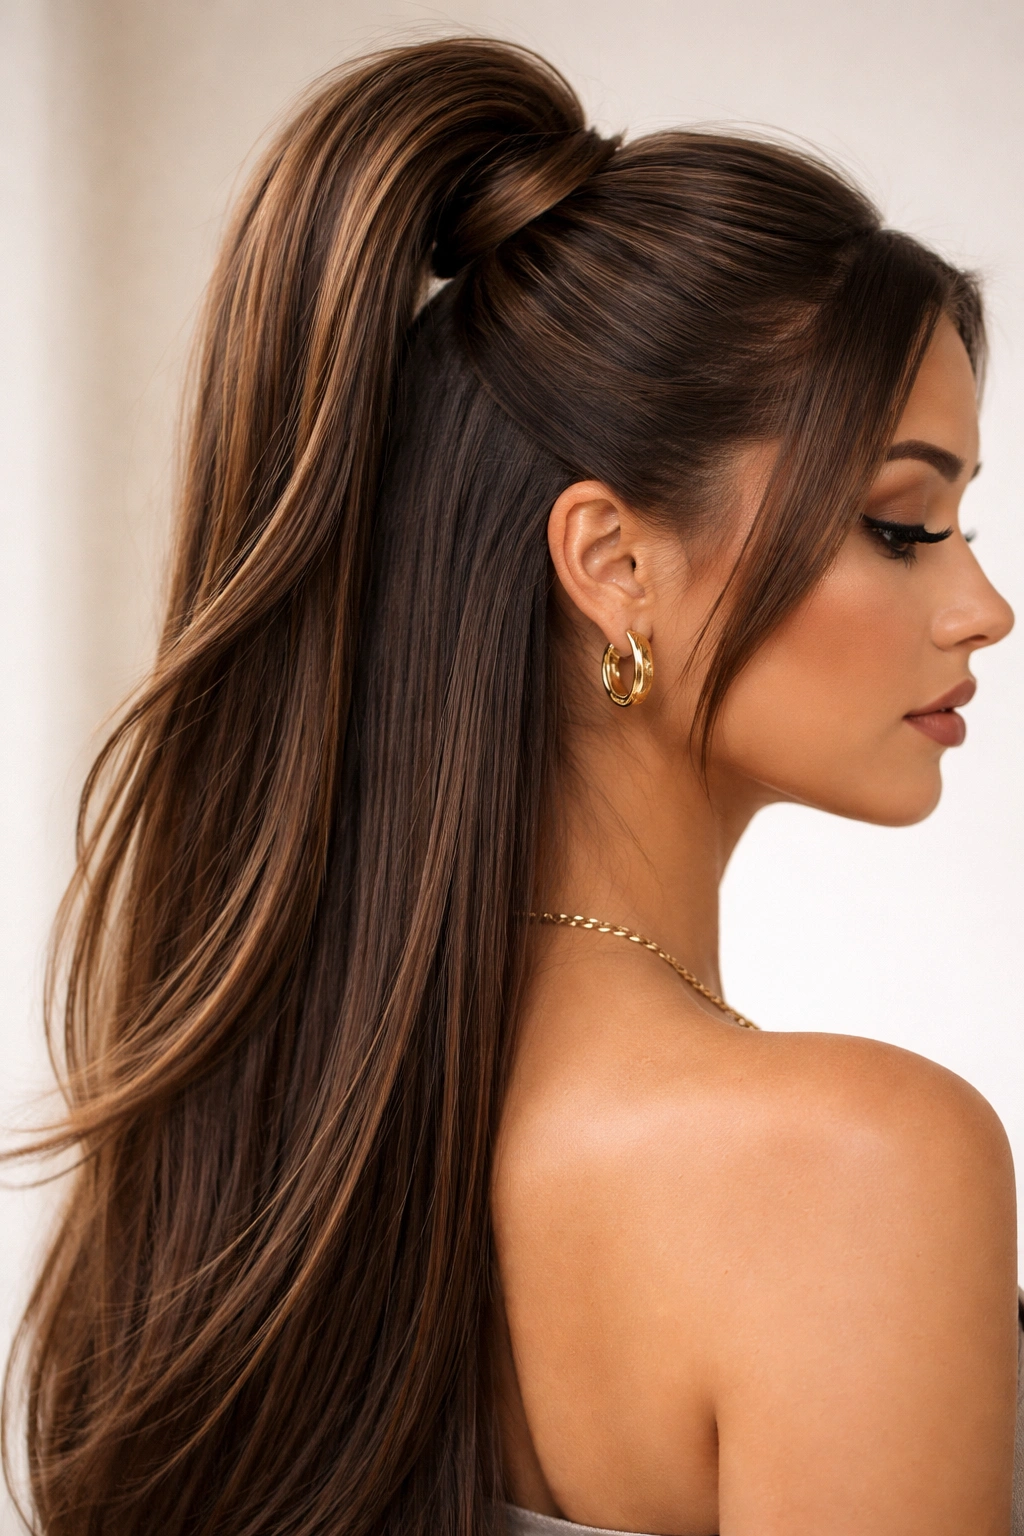
2. Voluminous Top Knot
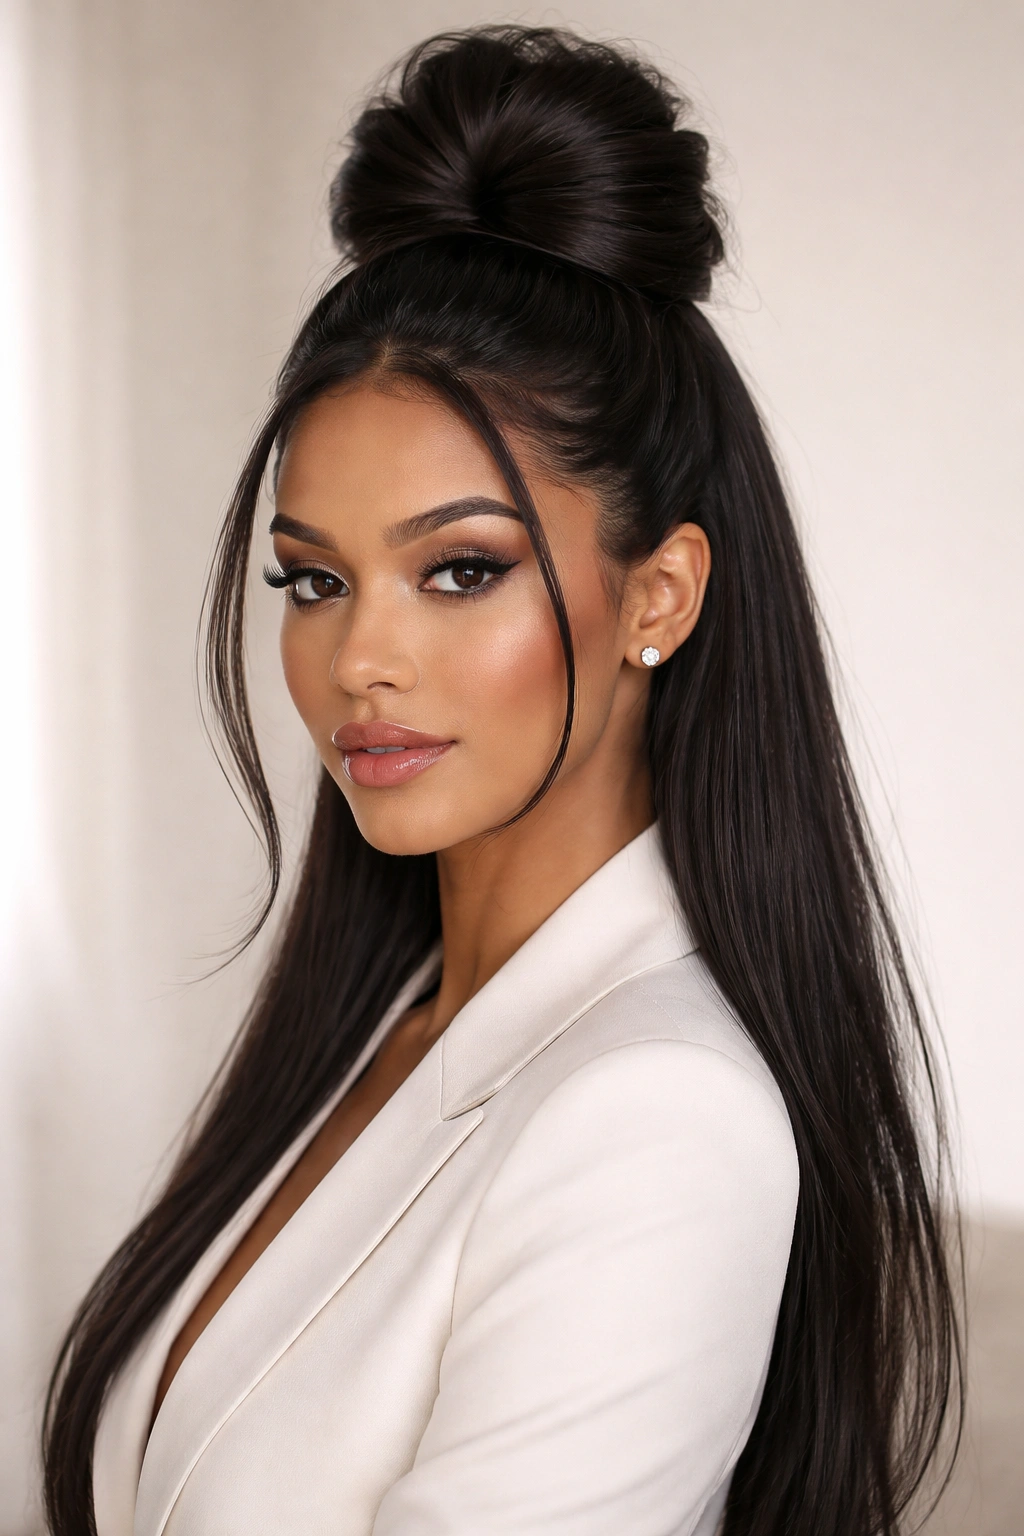
Sometimes you want the height of a bun without losing the drama of your long, straight weave. The top knot is ideal for those days when you want a little more personality. It is slightly more playful than a standard ponytail but remains sophisticated enough for professional settings.
Achieving the Height
Gather the top section of your hair as you would for a ponytail. Instead of pulling the hair all the way through the elastic on the final loop, pull it halfway to create a loop, then twist the remaining ends around the base of that loop. Secure it with bobby pins.
Styling the “Down” Section
Since the bun sits high on the crown, the hair left down needs to be exceptionally straight to balance the volume. Use a flat iron with a high-quality heat protectant to ensure the hair looks glassy. The contrast between the tight knot and the flowing, straight lengths is what makes this style work so well.
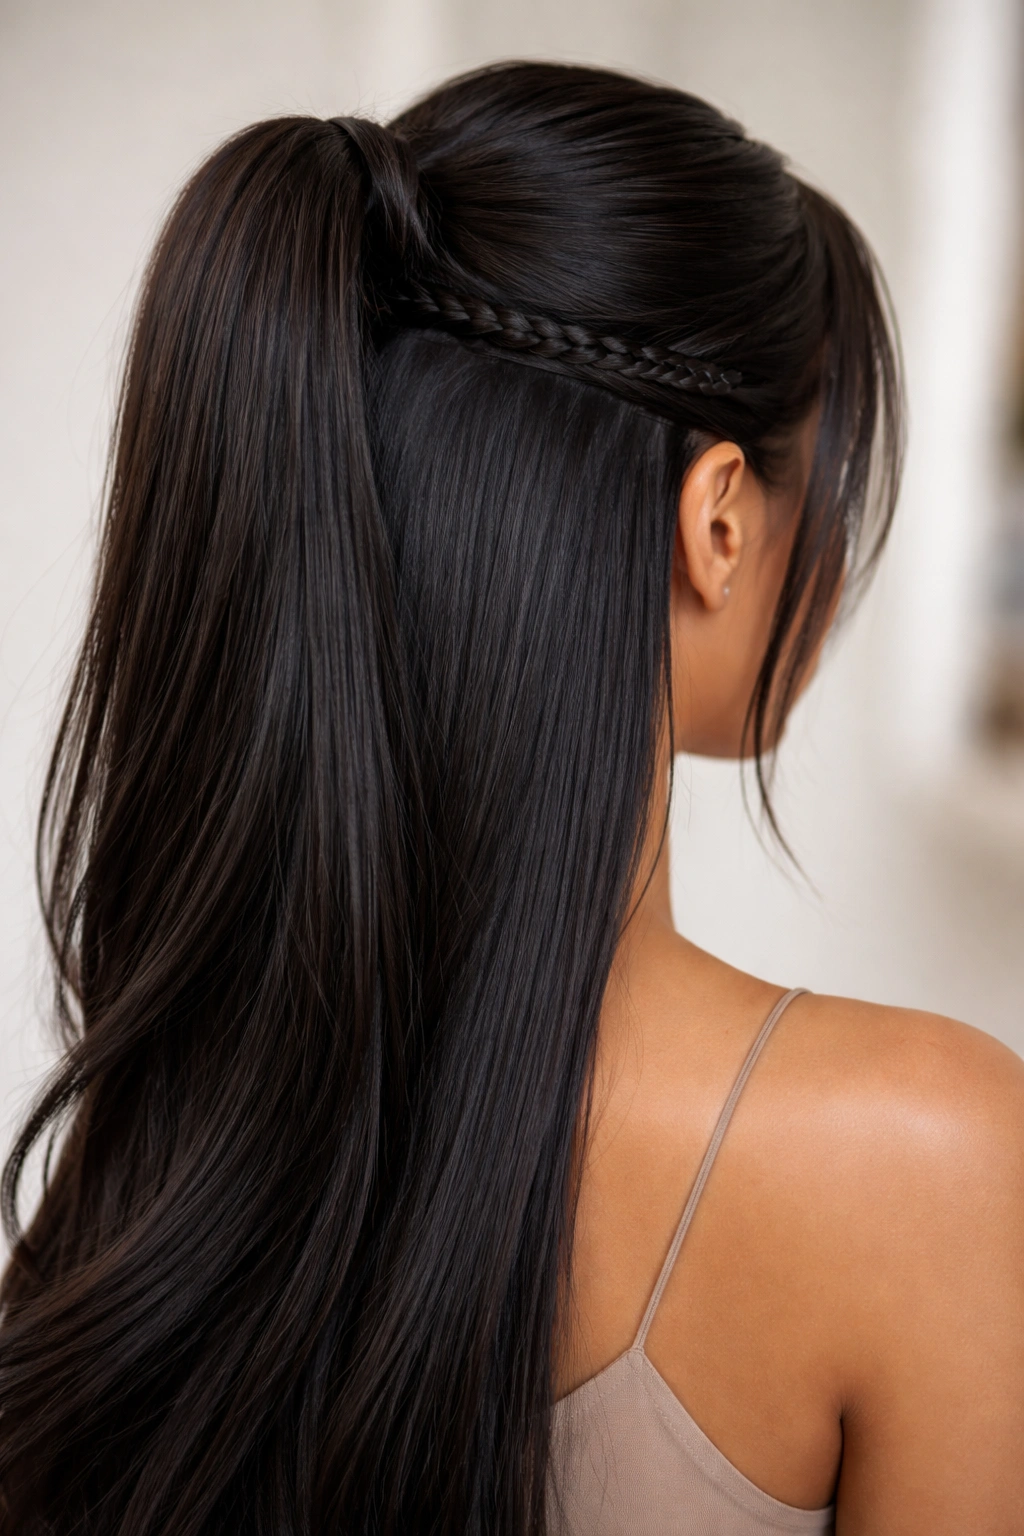
3. Boho Braided Half-Up
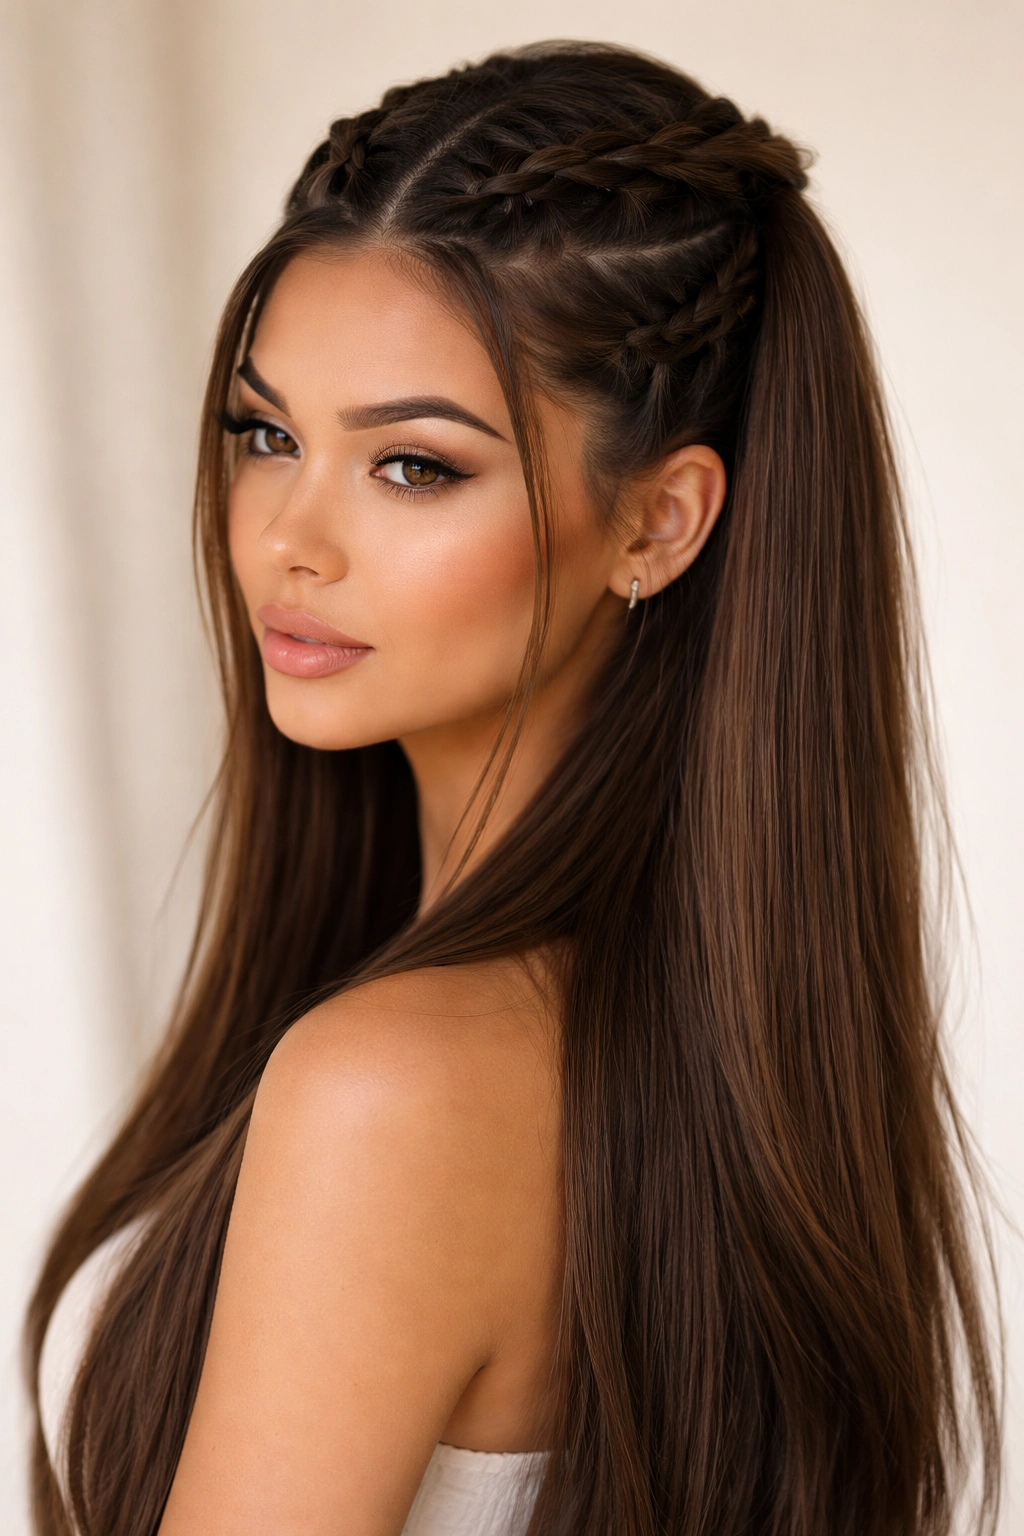
This style incorporates a bit of texture and intricate detail into an otherwise sleek look. By adding a braid at the crown, you break up the monotony of the straight hair and add a touch of bohemian flair that feels a bit softer on the face.
The Braiding Technique
Create a center or side part, then take two sections from the front of your hairline. Dutch braid them back toward the crown, feeding in a bit of your natural hair as you go. Stop the braids once you reach the crown area, and secure them with a small, clear elastic band.
Integrating the Weave
The tracks in your quick weave should be placed in a way that allows you to gather the extensions into the half-up section without revealing the tracks or the protective cap underneath. If you are using a pre-made track unit or bonding your own, ensure the top tracks are placed slightly lower near the nape of the neck so you have plenty of loose hair to blend with the braided top.
4. The Half-Up Claw Clip Look
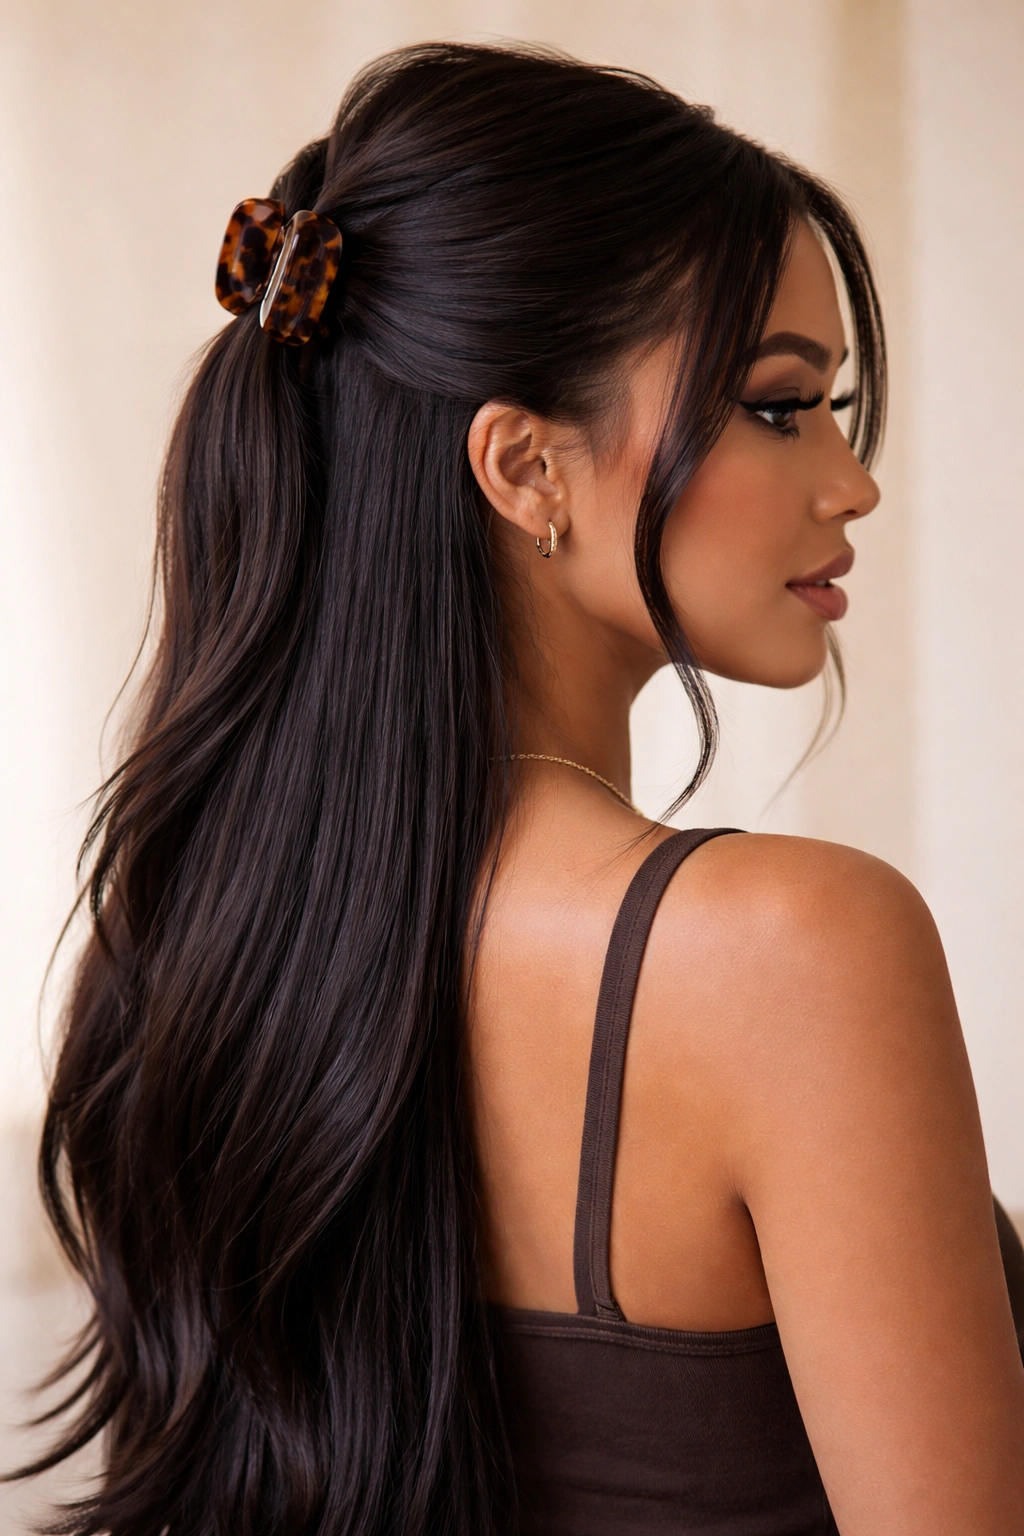
The claw clip has made a massive comeback because it is practical and gentle on the hair. In the context of a quick weave, it provides an easy way to switch up your look without needing a ton of hair ties or bobby pins that might snag your tracks.
Why It Works for Weaves
Because quick weaves are sometimes heavier than your natural hair, the claw clip distributes the weight differently. It is less likely to pull on your natural hairline compared to a tight elastic band. This makes it an ideal option if you are trying to minimize tension on your natural edges.
How to Style
Gather the top half of your hair—start from the temples and pull diagonally toward the crown. Instead of pulling it tight, let it sit slightly loose. Place your claw clip vertically or horizontally depending on the desired shape. The key is to leave a few face-framing pieces out to soften the overall appearance.
5. Sleek Middle Part Pony
A middle part instantly frames the face and creates a symmetrical look that highlights the cheekbones. When you pair this with a half-up ponytail, it feels intentional and structured. This is one of the cleanest, most “expensive-looking” styles you can do with a quick weave.
Achieving Precision
Use the handle of a rat-tail comb to get a razor-sharp part from the center of your forehead all the way back to the crown. If your part is crooked, the whole style will look off-balance. Use a light pomade on your fingertips to smooth down the hair right along the part line.
Ensuring a Seamless Transition
For a middle part half-up, you must ensure the tracks are not placed too close to the front. You need to be able to pull your natural hair back without the tracks showing at the temples. If you find the tracks are too close, use a bit of edge control to swoop your natural hair over the area to mask any gaps.
6. Messy Bun Half-Up
There is a fine line between “messy” and “unpolished,” and the secret to a great messy bun is intentionality. This look is fantastic for running errands or a casual weekend brunch, providing an effortless vibe that still feels put-together.
The Art of the Messy Bun
Pull the top section of your hair up and twist it loosely. Do not worry about perfect smoothness here. Wrap the twisted section into a bun and secure it with a few pins. The goal is to let some ends poke out—the “undone” look is actually carefully constructed.
Balancing the Texture
If the top bun is messy, the hair left down needs to be somewhat sleek to provide a grounding contrast. If the entire head is messy, it can look unkempt. Run a flat iron through the down portion one last time before you walk out the door to ensure that shiny, straight finish that makes the style look intentional.
7. Wrapped Base Ponytail
This is a small detail that makes a massive impact. Instead of leaving the elastic or claw clip visible, you wrap a piece of hair around it. It hides the hardware and elevates the style from a basic ponytail to a styled, high-end look.
The Wrapping Technique
After pulling your hair into a half-up ponytail, take a thin section of hair (about half an inch wide) from the underside of the pony. Wrap it tightly around the elastic band until the band is completely covered. Use a small bobby pin to secure the end of the strand under the ponytail.
Pro Tip for Hold
If the wrapped hair keeps unraveling, dab a tiny bit of hair glue or extra-hold gel on the tip of the strand before pinning it. This ensures that the wrap stays in place throughout the day, even if you are moving around or dealing with humidity.
8. Double Top Knots (Space Buns)
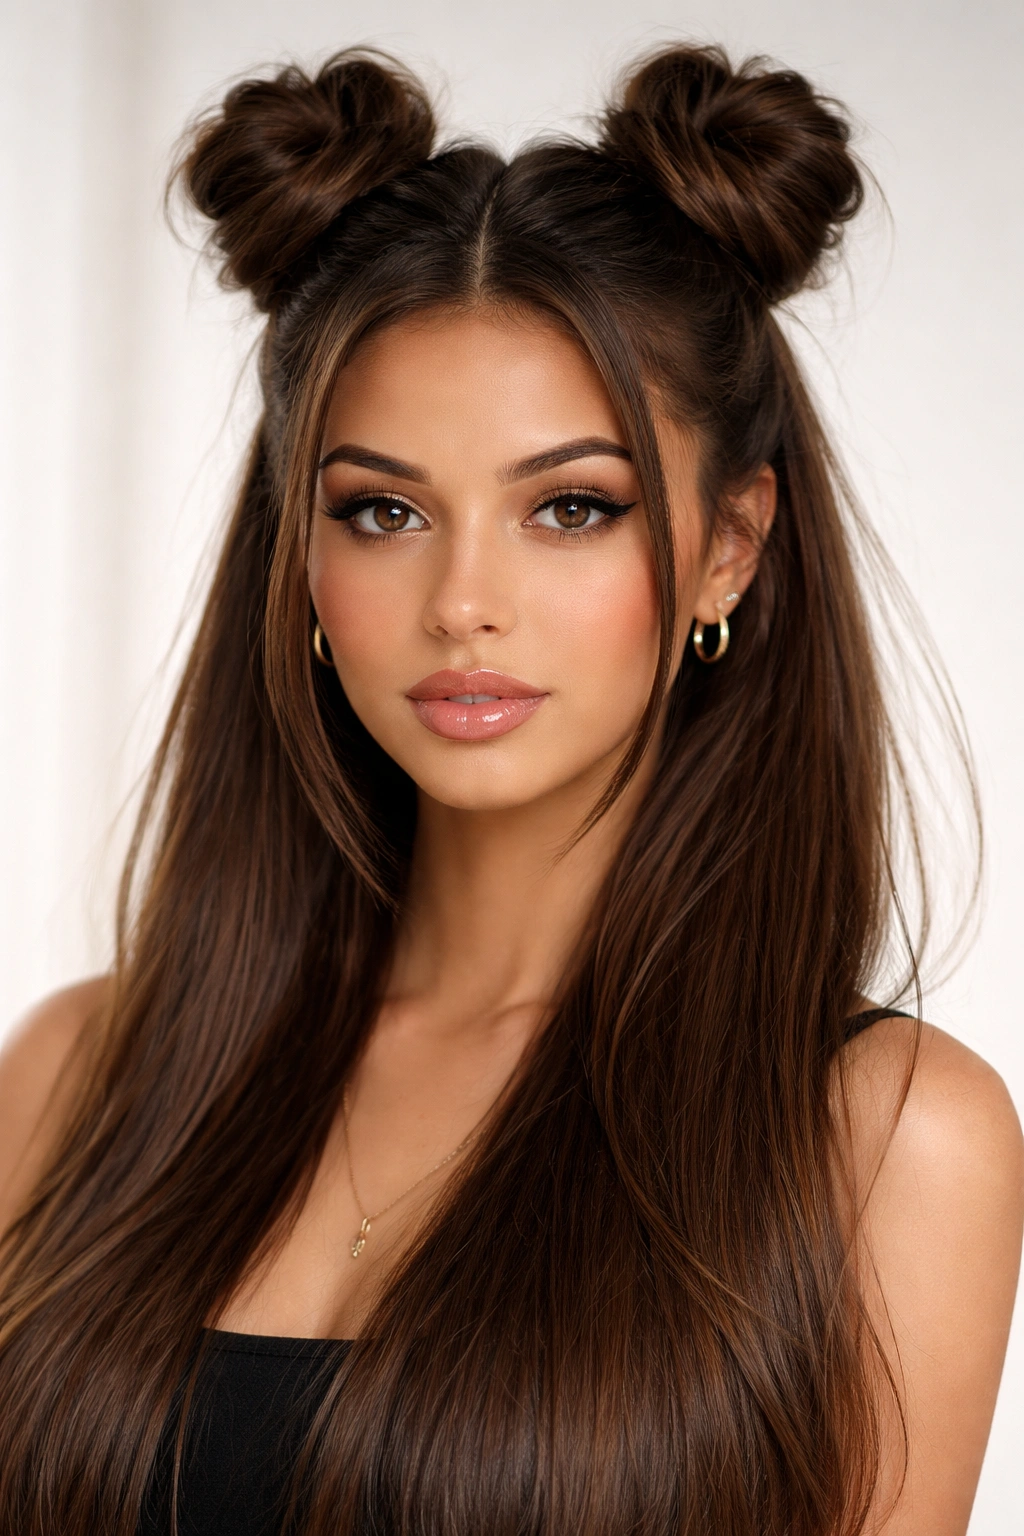
This is for the days when you want to have a bit of fun. Double top knots or “space buns” are bold, energetic, and surprisingly cute. They work particularly well with long, straight quick weaves because the long hair underneath balances out the quirkiness of the two buns on top.
Creating Symmetry
The hardest part here is getting the two buns to look identical in size and placement. Divide the top half of your hair into two equal sections. Use a mirror to check the placement from the back to ensure they are even.
Style Longevity
Because you are dividing the hair into two, there is less hair in each bun. To make them look voluminous, tease the hair slightly before twisting it into the bun. This creates the illusion of more hair and keeps the buns from looking like tiny, flat knots.
9. Face-Framing Tendrils
Sometimes the best half-up style is the one that lets some hair fall forward to soften your features. This is a classic 90s-inspired look that remains universally flattering. It adds a romantic quality to the sleekness of a straight weave.
Selecting Your Strands
Before you pull your hair back into the half-up position, pull out two small, thin sections of hair near your temples. These are your tendrils. Do not pull them back with the rest of the hair.
Styling the Tendrils
You can leave them straight, or, for a slight variation, use a curling wand to put a very loose wave in just those two pieces. The contrast between the bone-straight weave and the slight curve of the tendrils adds a layer of sophistication that looks very deliberate.
10. Half-Up With Deep Side Part
A deep side part can change the entire shape of your face. It provides a dramatic sweep across the forehead, which is excellent for drawing attention to the eyes. This style feels a bit more “red carpet” than a center-part ponytail.
Managing the Sweep
Use your comb to create a deep part on whichever side you prefer. When you sweep the hair toward the back, do not pull it too tight, or you will lose the volume of the sweep. Let the hair drape naturally across the side of your forehead before pinning or tying it back.
Edge Maintenance
Because the hair is swept across, the edges on the shorter side of the part can be prone to flyaways. A quick touch-up with an edge brush and some non-flaky gel will keep that sweep looking sharp all day without hardening into a helmet.
11. The Velvet Ribbon Accent
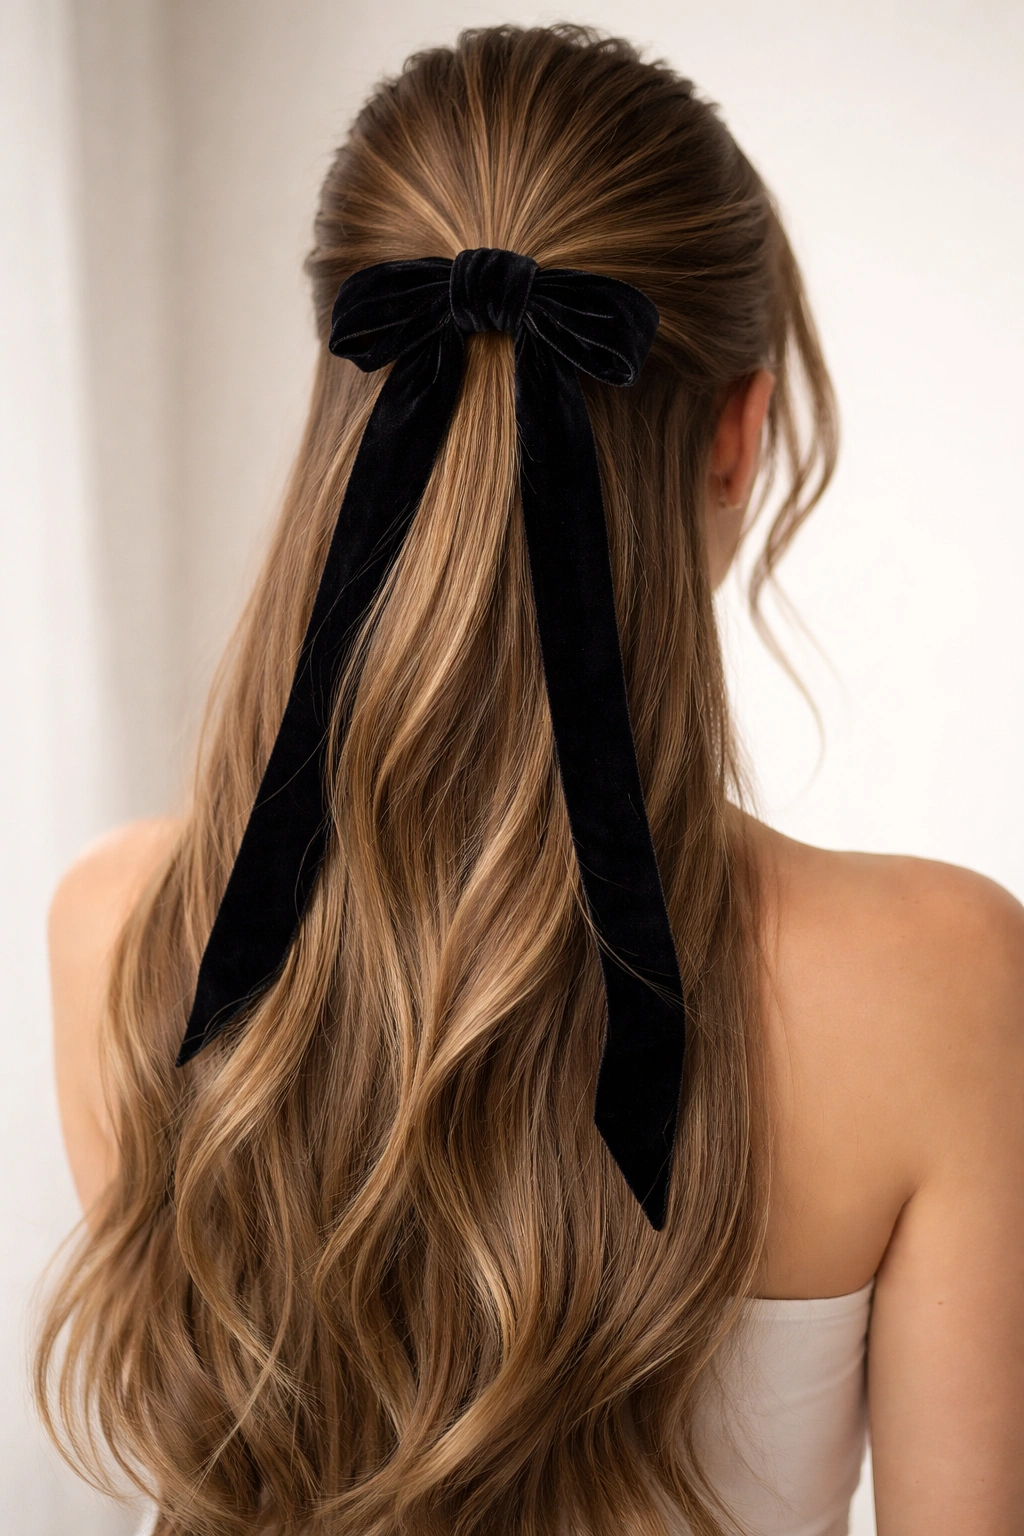
Accessories are the easiest way to upgrade a simple look without putting in any extra effort. A velvet ribbon adds a luxurious texture that contrasts beautifully with the shine of straight extension hair.
Choosing the Right Ribbon
Velvet, silk, or satin ribbons all work well. Choose a color that complements your outfit—black is timeless, while deep burgundy or navy adds a pop of sophisticated color.
Application
Once your half-up style is complete, tie the ribbon around your ponytail base. You can leave the ends of the ribbon long so they dangle down with the hair, or you can tie it into a small, neat bow. The ribbon also does double duty by hiding the elastic band, so you do not have to worry about wrapping hair around it.
12. Crimped Texture Half-Up
If you are tired of the bone-straight look but still want to use your straight hair quick weave, adding some texture is the answer. A subtle crimp adds volume and dimension that is visually interesting.
The Crimping Technique
Use a triple-barrel curling iron or a crimping tool on just the portion of the hair that is left down. Leave the top section sleek and straight to maintain the structure of the half-up style. This gives you a “lived-in” texture while keeping the top part polished.
Why This Works
The crimp makes the hair look thicker and fuller, which is a great trick if your quick weave is not as dense as you would like. It adds a playfulness to the style that bone-straight hair sometimes lacks.
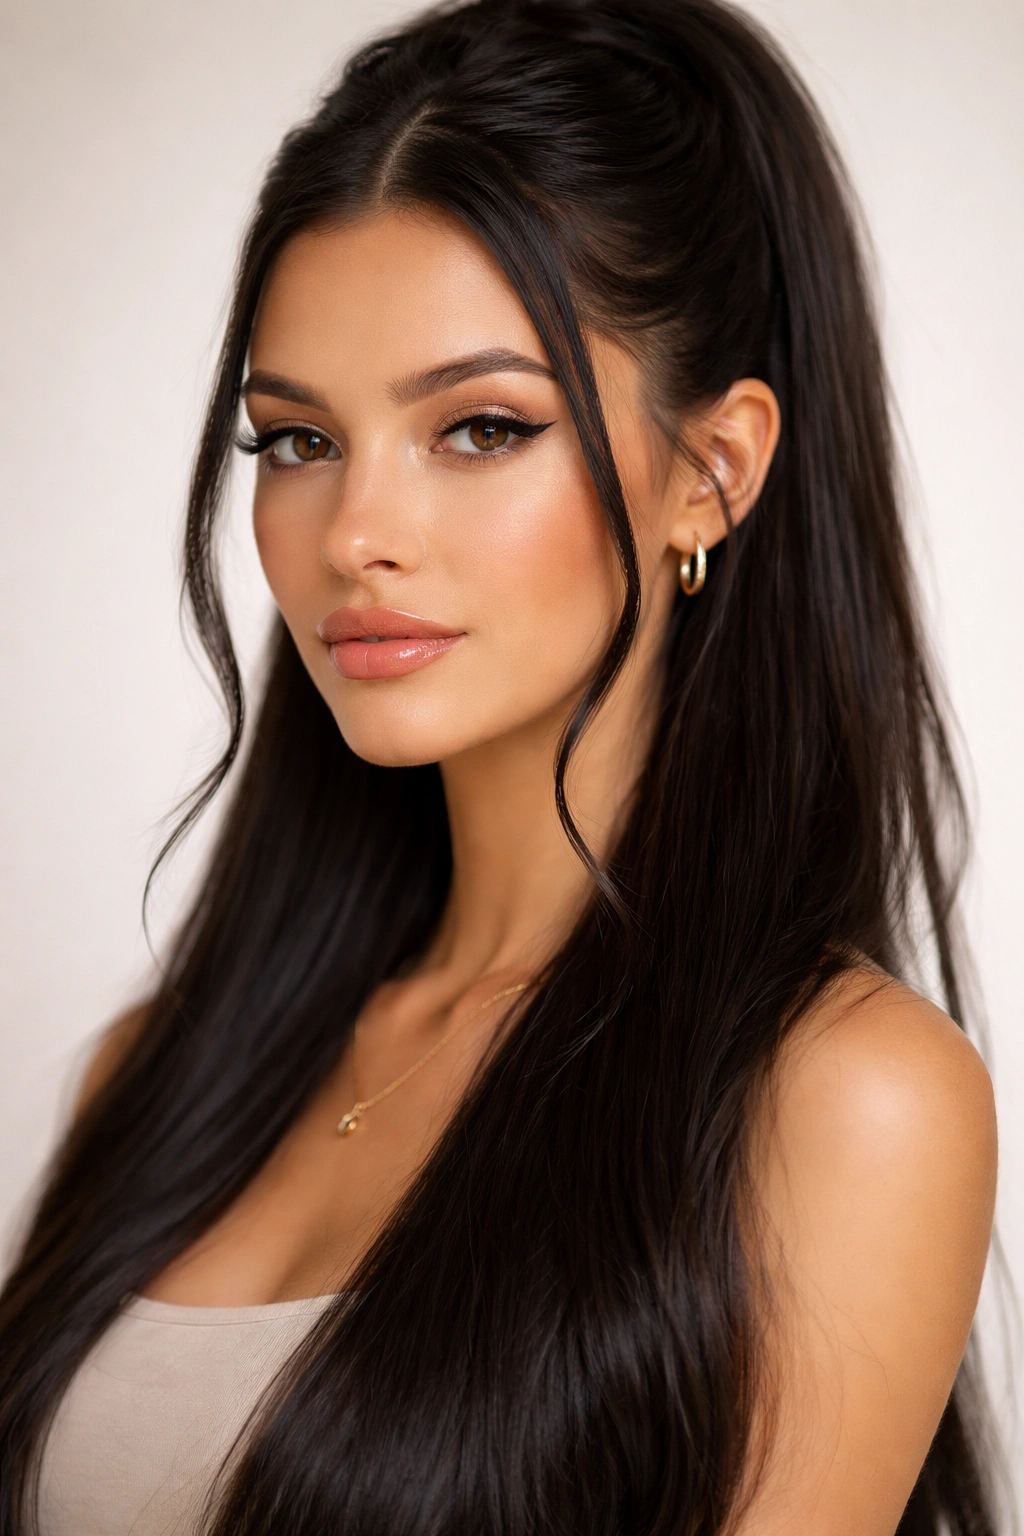
13. Sleek Low-Placement Pony
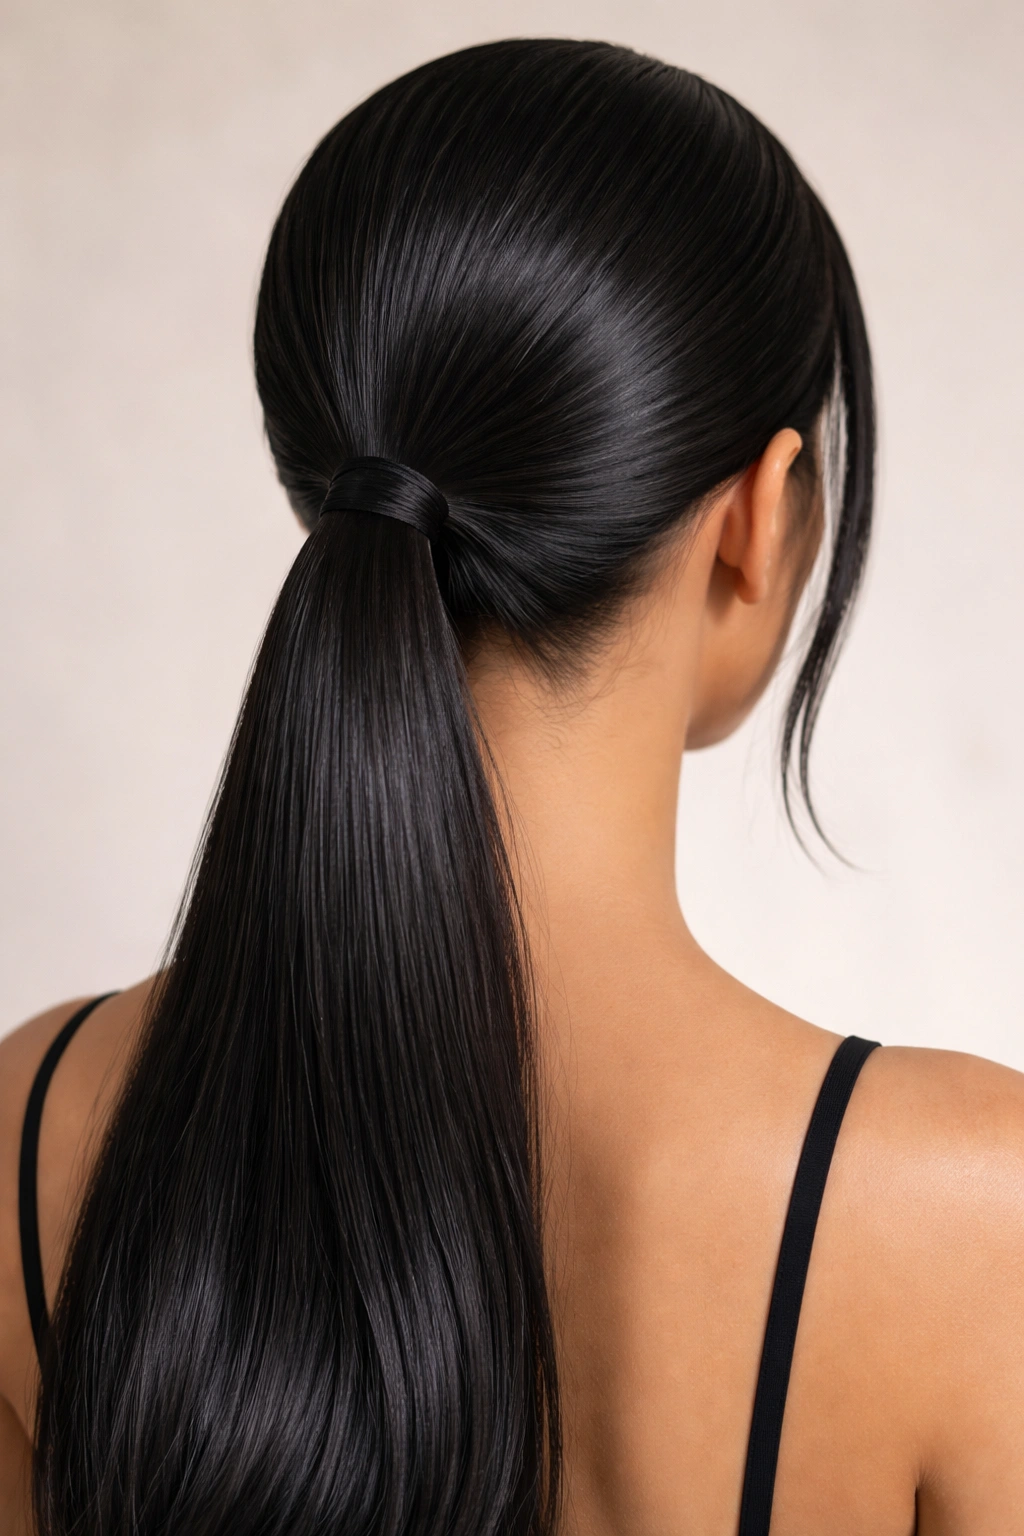
Most half-up styles sit at the crown. A low-placement ponytail, sitting just above the nape of the neck but below the ears, feels modern and understated. It is a more mature take on the half-up trend.
Finding the Placement
You are essentially pulling the top half of your hair back to meet at the center of the back of your head. This pulls the face back less intensely than a high ponytail, making it a comfortable option for a long day.
Ensuring a Smooth Back
Since this sits lower, you need to be mindful of the “neck area” where your natural hair and tracks might meet. Make sure your natural hair is smoothed downward and flat before pinning or tying the hair back, ensuring there are no visible gaps or ridges.
14. Half-Up with Hidden Track Braid
This style is brilliant because it uses a small braid to hide the tracks at the point where the hair is pulled back. It is a functional style that also looks intentional.
Creating the Braid
Instead of just using an elastic, take a small section of hair from the top layer and braid it, then wrap that braid around the base of the ponytail. If you are handy with cornrows, you can even cornrow a small section of your natural hair right where the transition happens to create a seamless, track-free base.
Securing the Look
Use a clear rubber band to tie the braid off, then tuck the ends under the ponytail. It is a secure way to hold the hair, and it completely masks any potential gaps between your natural hair and the weave tracks.
15. The “Half-Up Half-Down” Flip
This style creates a bit of volume at the base of the ponytail, making it look fuller and more “bouncy.” It is a classic hair stylist trick to give a ponytail some lift.
The Flip Technique
Pull the hair into a half-up ponytail. Using your fingers, create a small hole right above the hair tie. Take the ponytail and flip it through that hole—essentially creating a “topsy tail.”
Adjusting for Volume
Once the hair is flipped, pull the two sides of the ponytail tight to cinch the base. This creates a twist on either side of the elastic and adds instant lift to the hair. It makes the ponytail look more intricate and stylized than it actually is.
16. Slicked-Back Wet Look
The “wet look” is a high-fashion staple. It is bold, confident, and incredibly sleek. When done with a straight quick weave, it looks expensive and high-maintenance, even though it is actually quite quick to execute.
Product Application
You need a strong-hold, high-shine gel. Apply it generously to the roots of your natural hair. Use a comb to pull the hair back into your half-up style, ensuring every strand is coated and laying perfectly flat.
Keeping the Bottom Dry
Crucially, apply the product only to the roots that are being pulled back. The hair left down should remain dry and free of product to maintain movement and flow. The contrast between the wet-look roots and the dry, flowing lengths is the entire point of this style.
17. Braided Crown/Halo

If you want a style that feels a bit more formal, a half-up halo braid is the way to go. It frames the face and creates a beautiful, circular design around the crown.
Sectioning
Take two sections from your front hairline, just behind the ears, and braid them backward, meeting at the center of the back of your head. Secure them together with a small elastic.
Blending
The remaining hair stays down, and the braids act as a natural headband. It is beautiful, keeps the hair out of your face, and looks like you spent a lot of time on it, even though it takes only a few minutes.
18. The Waterfall Effect
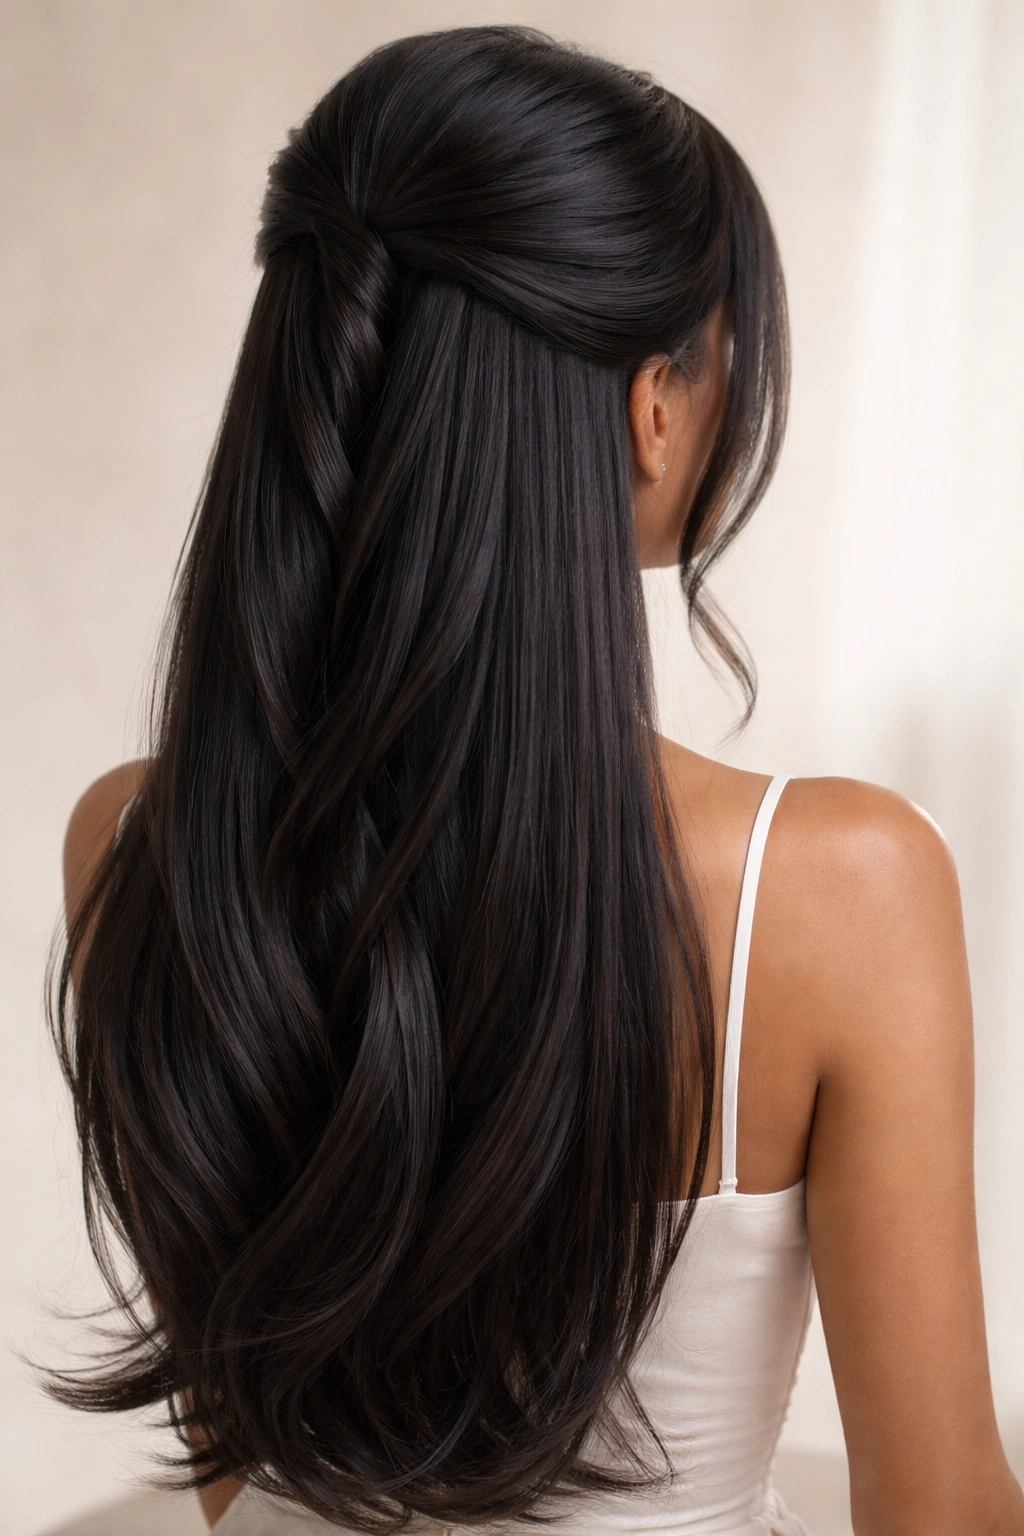
This is a variation of a half-up style that lets more hair “fall” in a cascading manner. It is soft, romantic, and works beautifully on very long straight weaves.
Creating the Style
Take a section from the left temple and pin it to the center back. Take a section from the right temple and pin it to the center back. Instead of pulling everything back into one ponytail, the sections overlap, creating a waterfall look where the hair drapes over the top of the hair left down.
Securing
Use hidden bobby pins that match your hair color to pin the sections down. This look is all about softness and flow, so avoid using heavy elastics that might pull the hair too tight.
19. Layered Face-Framing
Sometimes the beauty of a style is in the cut. If your quick weave is cut with layers around the face, a half-up style is the best way to showcase those layers.
Styling the Layers
When you pull the hair back, let the shortest layers—the ones framing your face—fall naturally. Do not try to force them into the ponytail. They are meant to frame the face and soften the look.
Maintaining the Layers
If your weave is all one length, you can create the illusion of layers by using a straightener to give those front pieces a slight outward curl. It mimics the look of a face-framing cut without having to take scissors to your extensions.
20. Jeweled Accessory Accent
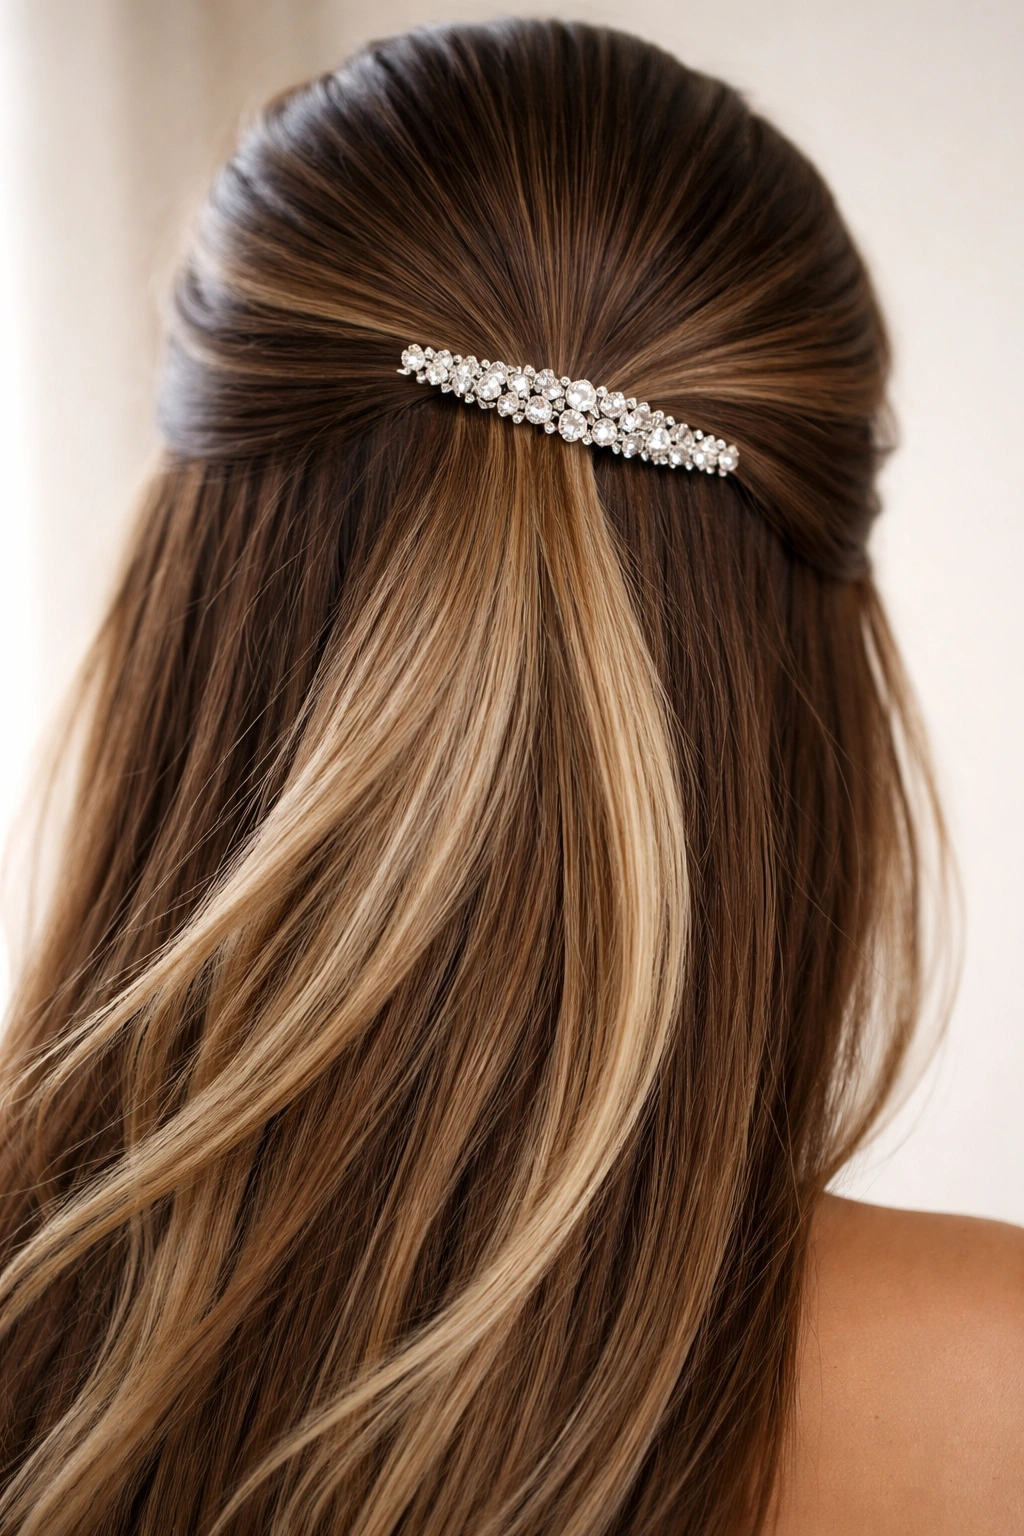
When in doubt, add sparkle. A jeweled barrette or decorative pin can turn a basic half-up style into a formal-ready look.
Placement
The placement is everything. Do not just clip it anywhere. Use the accessory to cover the hair tie or to pin back one side of the hair for an asymmetrical look. A crystal-encrusted barrette on one side of a sleek half-up style looks sophisticated and purposeful.
Weight Considerations
Ensure the accessory isn’t so heavy that it pulls your hair down. Quick weaves can be sensitive to heavy clips, so opt for lightweight metal or rhinestone-studded clips rather than bulky, solid-stone pieces.
21. The Teased Retro Bump
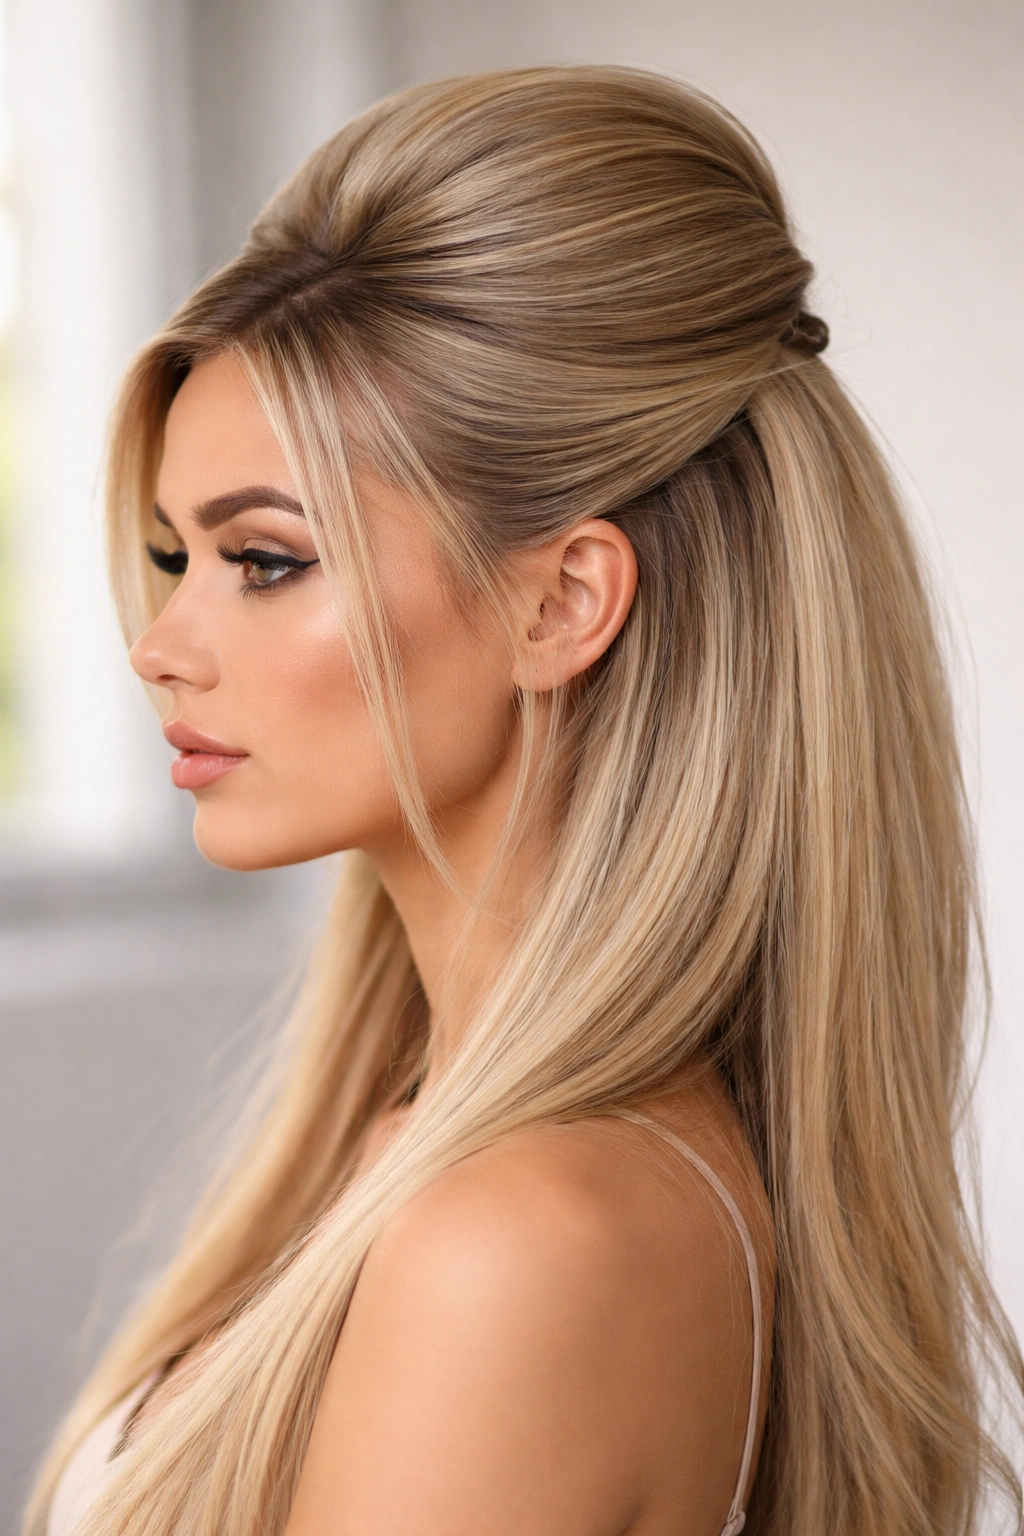
Add some height at the crown by teasing the hair before pinning it back. This creates a “bump” or a subtle bouffant that feels very 60s inspired but remains wearable today.
The Teasing Technique
Take the section of hair at the crown, lift it, and use a fine-tooth comb to gently push the hair downward toward the scalp. This creates volume. Smooth the top layer of hair over the teased area to hide the “nest” you created.
Pinning
Secure the bumped section with bobby pins. This adds volume where it’s usually needed most—at the crown—and creates a sleek, rounded silhouette that looks very polished.
22. The “Half-Up” Bubble Pony
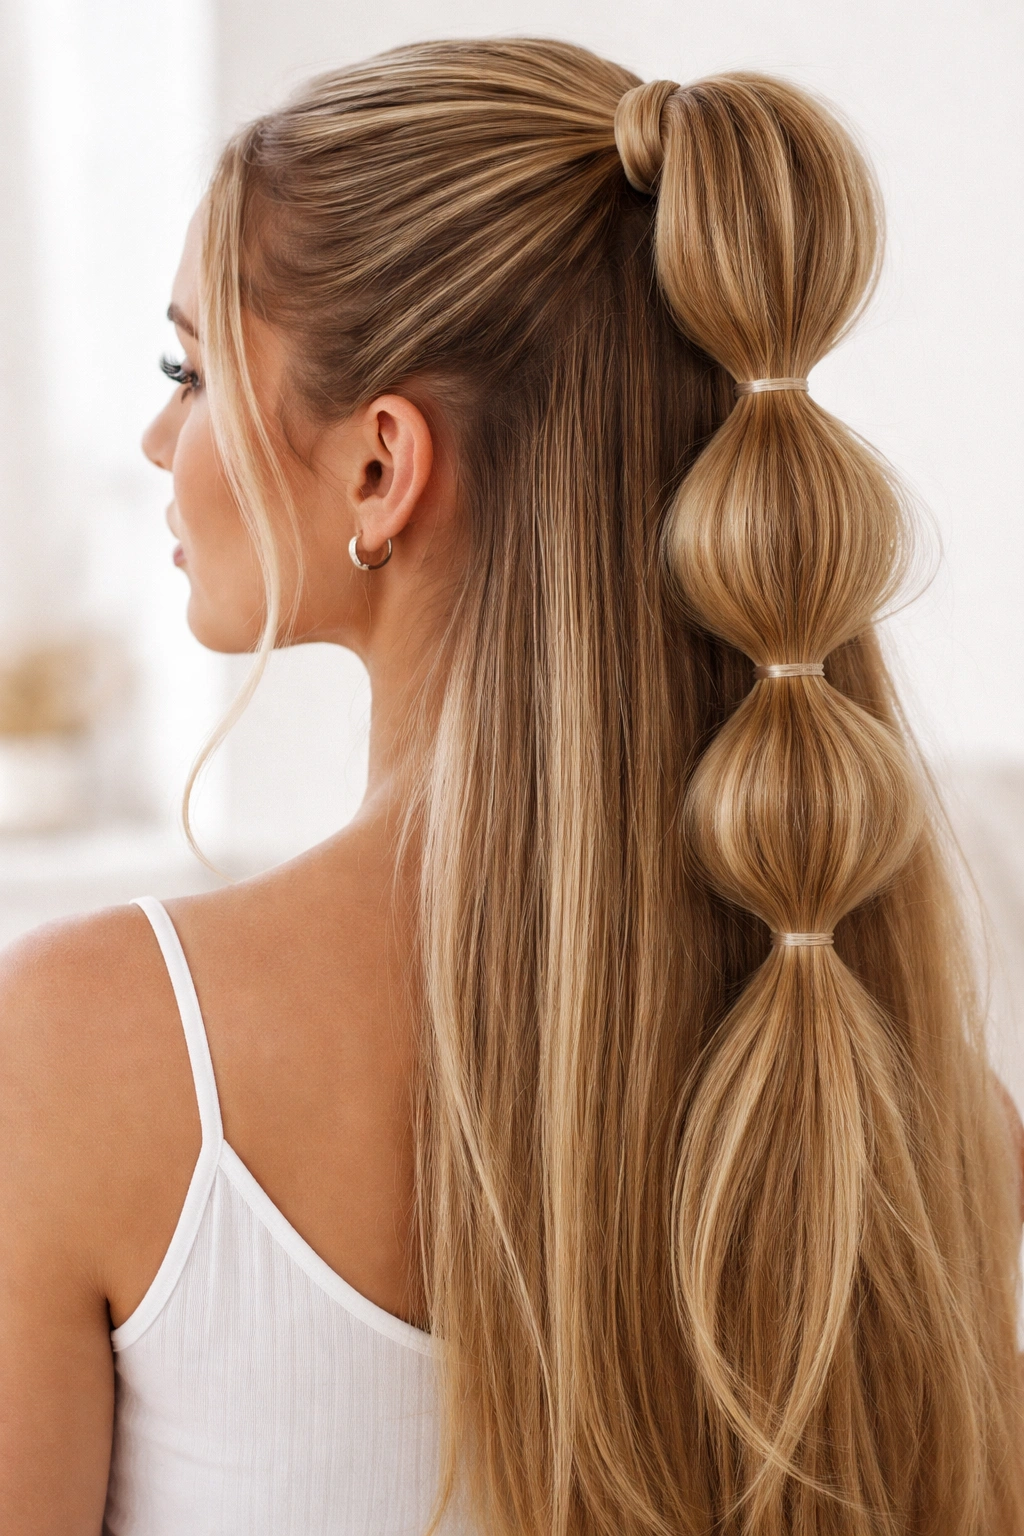
The bubble ponytail is a playful, modern style. It creates segments in the hair that look like bubbles. By doing this to just the half-up section, you add a unique, trendy detail to your weave.
Creating the Bubbles
After tying your half-up ponytail, place another clear elastic band about two inches down the ponytail. Gently tug on the hair between the two elastics to puff it out, creating a “bubble.” Repeat this process until you reach the end of the ponytail.
Proportions
Make sure the bubbles are even in size. It is a visual detail that catches the eye and breaks up the straight lines of the rest of your hair, adding a touch of whimsy to an otherwise very structured, straight look.
Final Thoughts
Achieving a fantastic half-up, half-down look with a straight quick weave comes down to three things: a smooth base, secure pin placement, and your personal touch with accessories. You do not need to be a professional stylist to make these looks work; you just need to be mindful of how your hair is sitting and how much tension you are applying to your natural roots.
The beauty of the quick weave is that it is temporary. If you do not love the way a specific ponytail sits, you can take it out and try a different placement without any long-term damage. Experiment with your part, play with accessories, and do not be afraid to let a few strands fall where they may. Your hair should reflect your style, and with this much versatility at your fingertips, there is no reason not to change it up every single day.