



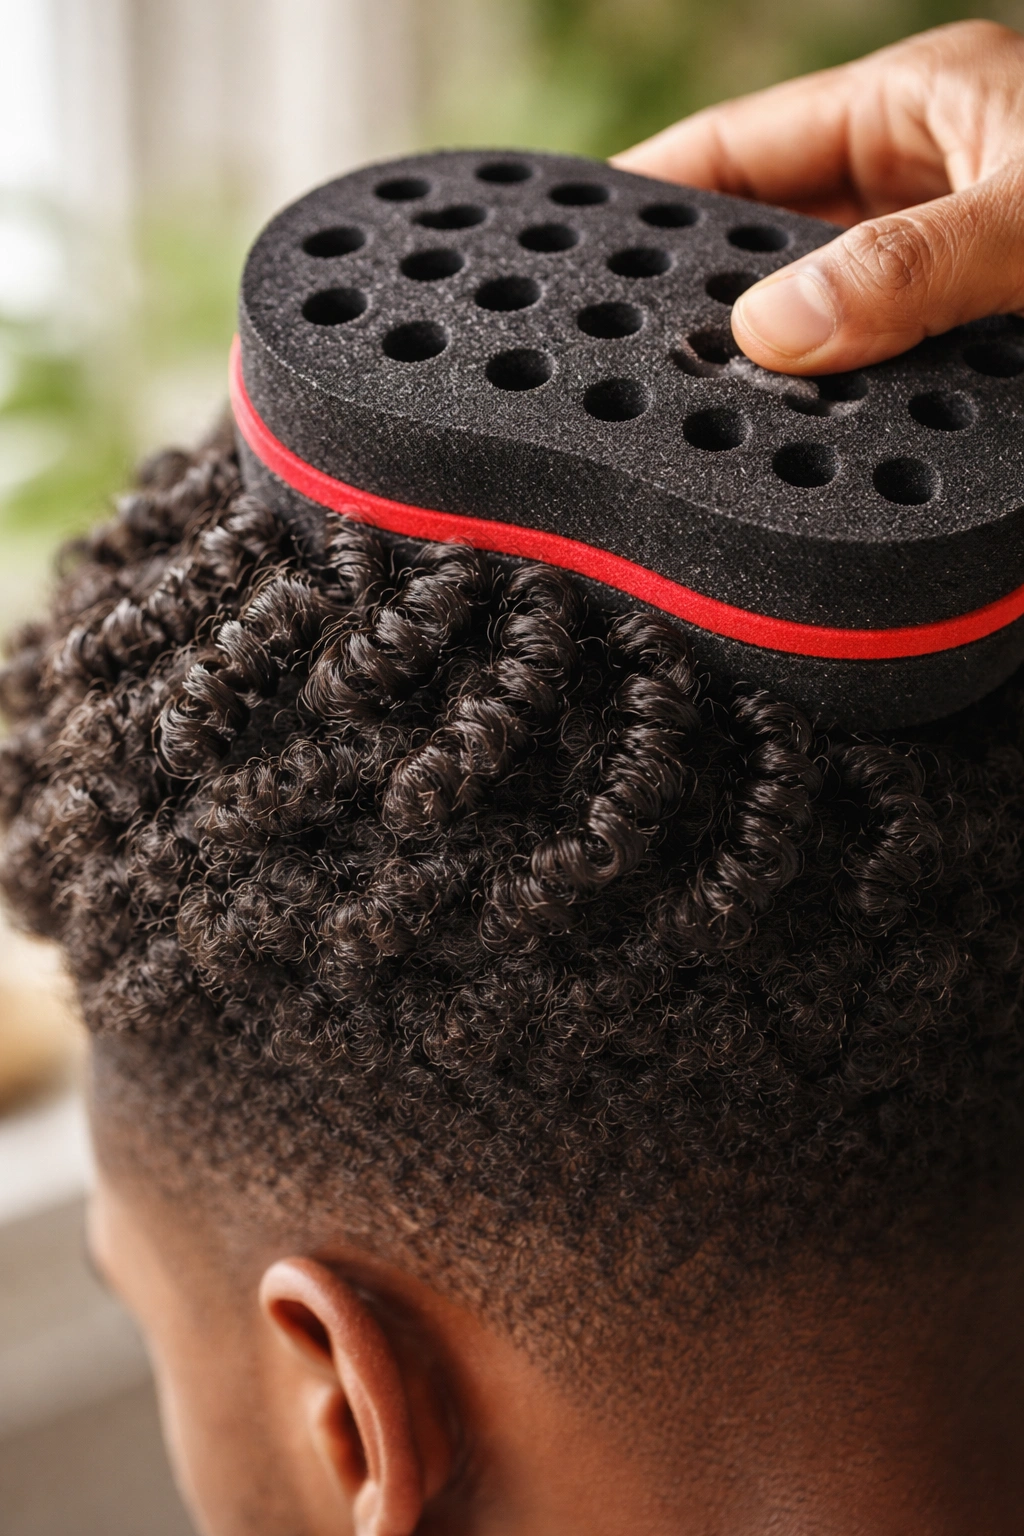
Pick up a curl sponge for the first time and within minutes you’ll understand exactly why it’s become one of the most-loved tools in the natural hair community. Sponge curl styles for natural hair are defined by their speed, their consistency, and the incredible texture they create — coils and ringlets that look like hours of work but take maybe fifteen minutes from start to finish. The sponge works by rotating across the surface of the hair, catching individual strands and twisting them into coils as it moves. The result is a head full of uniform, bouncy definition that suits protective styles, everyday wear, and formal occasions alike.
How the Curl Sponge Actually Works
There’s a little bit of magic in how a curl sponge operates — but once you understand the mechanics, you can use it to its full potential instead of just hoping for the best.
The sponge has holes — either circular or wave-shaped — on its surface. As you rotate it against your hair, individual strands get caught in these holes and are twisted as the sponge moves. The friction between the sponge surface and your hair creates the twisting motion that forms each coil. Smaller holes create tighter, more defined coils. Larger holes create looser ringlets.
The key insight is that the sponge works with your hair’s natural curl pattern, not against it. If your hair naturally forms tight coils, the sponge will enhance and tighten that pattern. If your texture is looser, the sponge will create ringlets that follow the natural wave. You’re not forcing the hair into an unnatural shape — you’re accelerating what it would do on its own.
The motion matters. Circular motions (moving the sponge in circles across the head) create more uniform coils. Figure-eight motions can encourage elongated, S-shaped ringlets. Experiment with both to see which your hair responds to better.
Who Benefits Most From Sponge Curl Styles
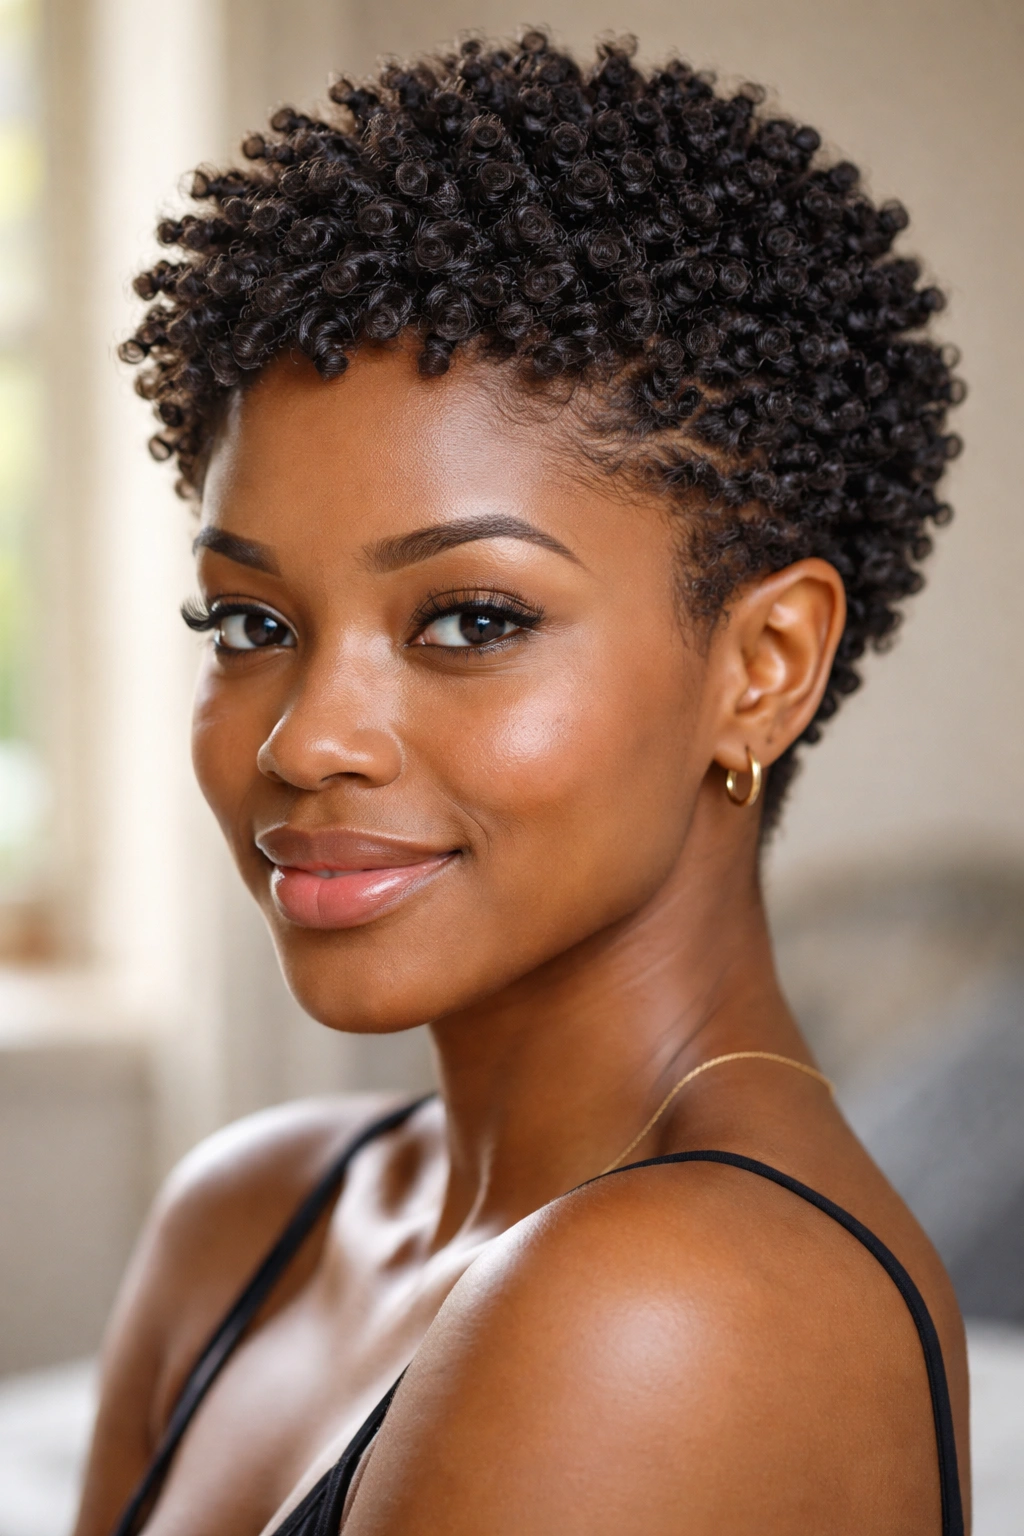
Sponge curl styles work across a wide range of textures, but they really shine on specific curl types and hair lengths.
4a and 4b textures respond best to the curl sponge. These textures have enough natural coil to catch in the sponge holes easily, and the sponge enhances the coil pattern without requiring a lot of additional product or manipulation. The results on 4a hair specifically are often breathtaking — tight, springy coils with beautiful uniformity across the entire head.
Shorter to medium-length natural hair is the sweet spot for sponge use. Hair that’s too long (past shoulder length when stretched) can get tangled in the sponge and make it difficult to use effectively. For shorter TWAs and medium-length naturals, the sponge is one of the most versatile tools available.
Naturals transitioning from relaxed to natural hair find the sponge particularly useful during that in-between phase — it creates coils that unify the texture across sections with different amounts of new growth, making the transition period look intentional rather than awkward.
The Best Products for Sponge Curl Styles
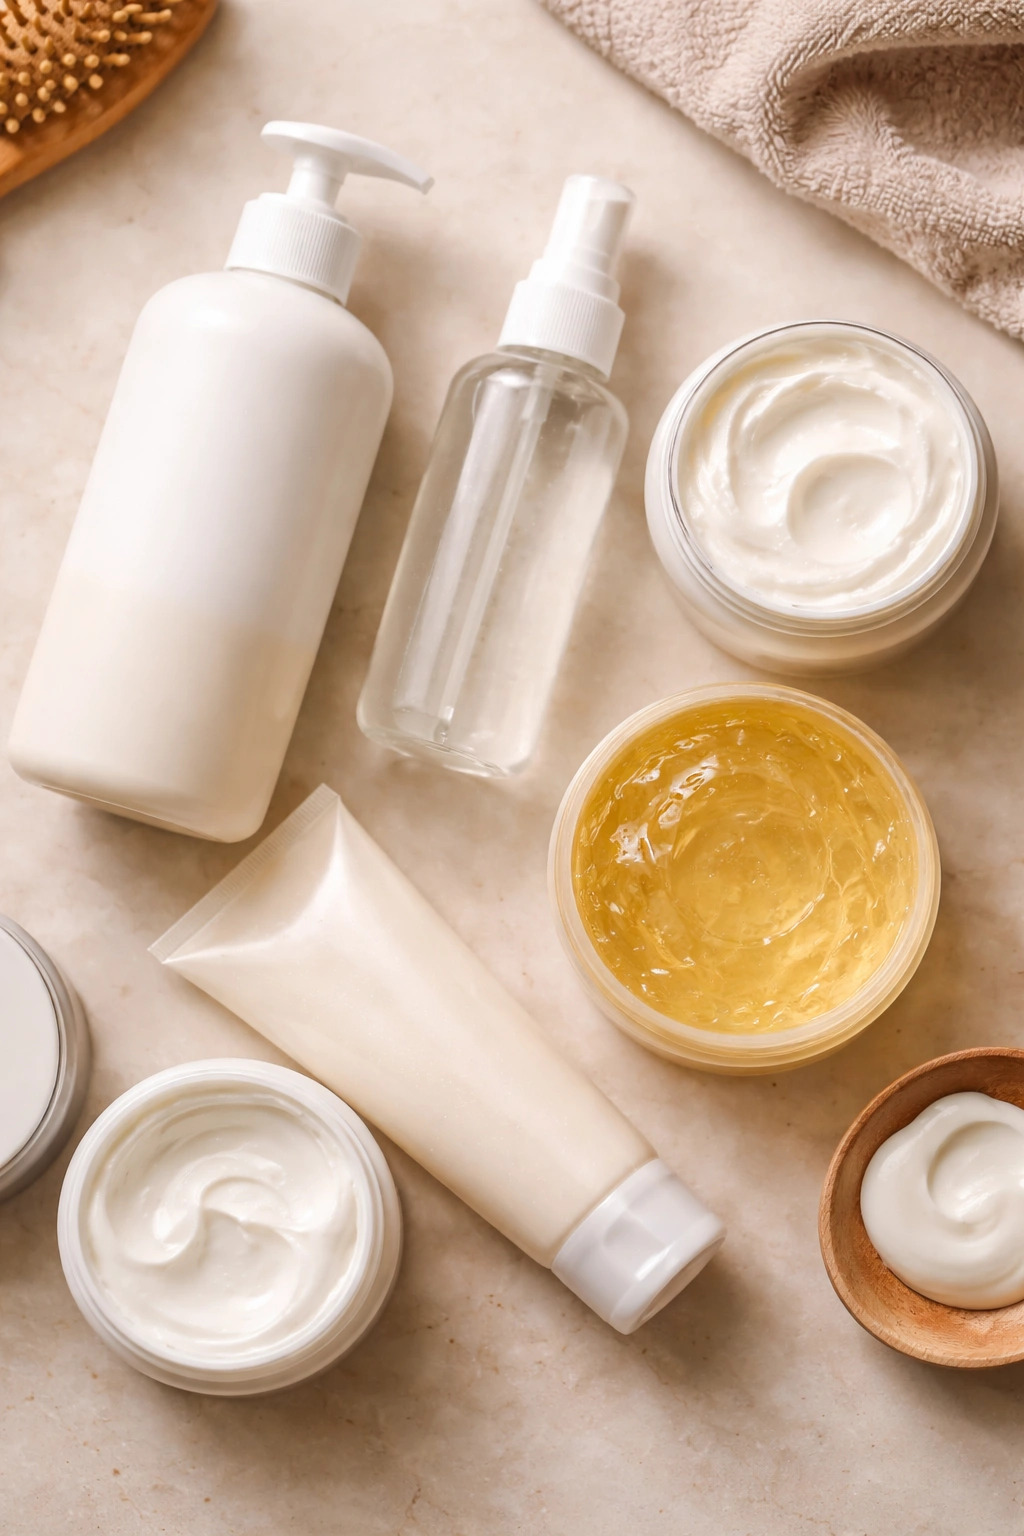
Product selection for sponge curl styling requires a specific mindset. Too little and the sponge catches and pulls. Too much and the hair gets sticky and tangled in the sponge holes.
Moisture is your foundation. Apply a leave-in conditioner to your hair before reaching for the sponge. This ensures each strand has slip and flexibility, which means the sponge glides rather than grabs. On dry or product-free hair, the sponge creates friction that can cause breakage — always prep with moisture first.
A curl cream or light custard applied after the leave-in provides the definition and hold the coils need to maintain their shape after the sponge passes over them. Apply it in sections, working it through with your fingers before using the sponge, so the sponge is distributing and setting product that’s already there rather than trying to apply it from scratch.
For longer-lasting hold, a light gel applied over the cream is the finishing layer. Apply the gel to small sections immediately before sponging — it sets the coil shape quickly as the sponge moves over it.
Preparing Your Hair for the Sponge
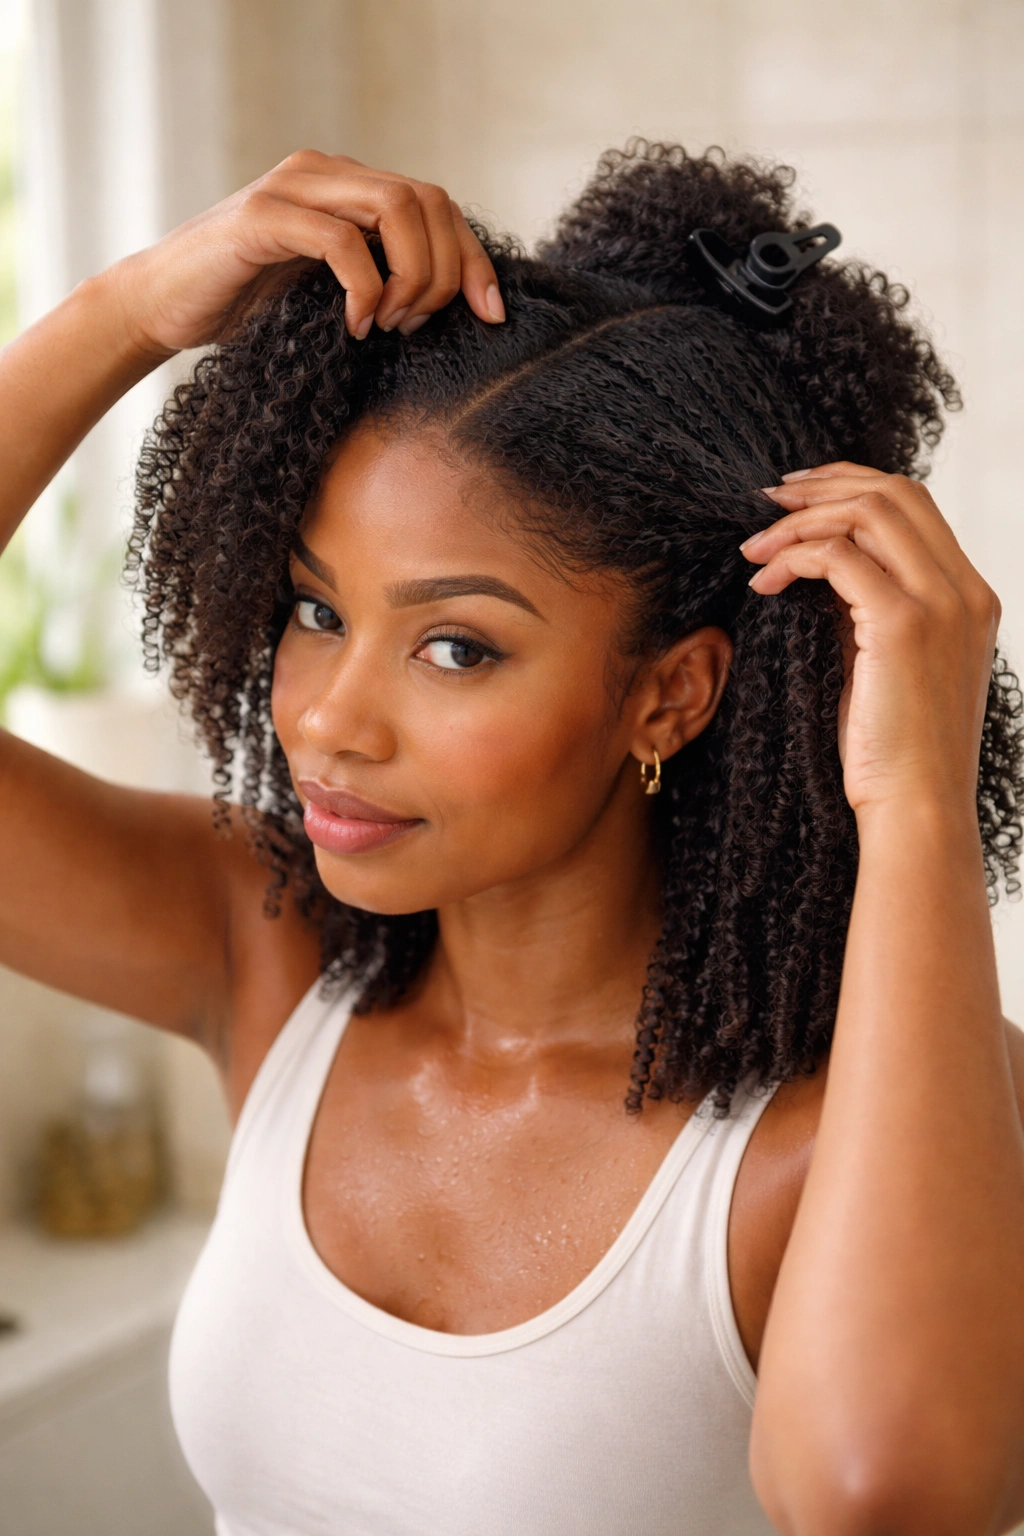
Preparation separates a sponge curl style that lasts three days from one that falls flat by the end of the afternoon. The prep steps are simple but they’re non-negotiable.
Start on freshly cleansed hair — shampoo or co-wash, followed by deep conditioning. Well-moisturized hair forms and holds coils much more effectively than dry hair, which tends to puff and frizz rather than coil.
Let your hair reach the right level of dampness before sponging. The ideal state is damp-to-slightly-damp — not dripping wet, not completely dry. Soaking wet hair doesn’t coil well under the sponge; the water prevents the strands from catching in the holes effectively. Completely dry hair gets too much friction. Find the sweet spot: misted hair that’s damp throughout but not actively dripping.
Section your hair into four sections and work one section at a time. This keeps the hair you’re not currently working on damp and manageable while you focus on defining each section. Some naturals with finer textures skip sectioning and work across the whole head at once — find what works for your density.
Getting the Most Out of Your Sponge Technique
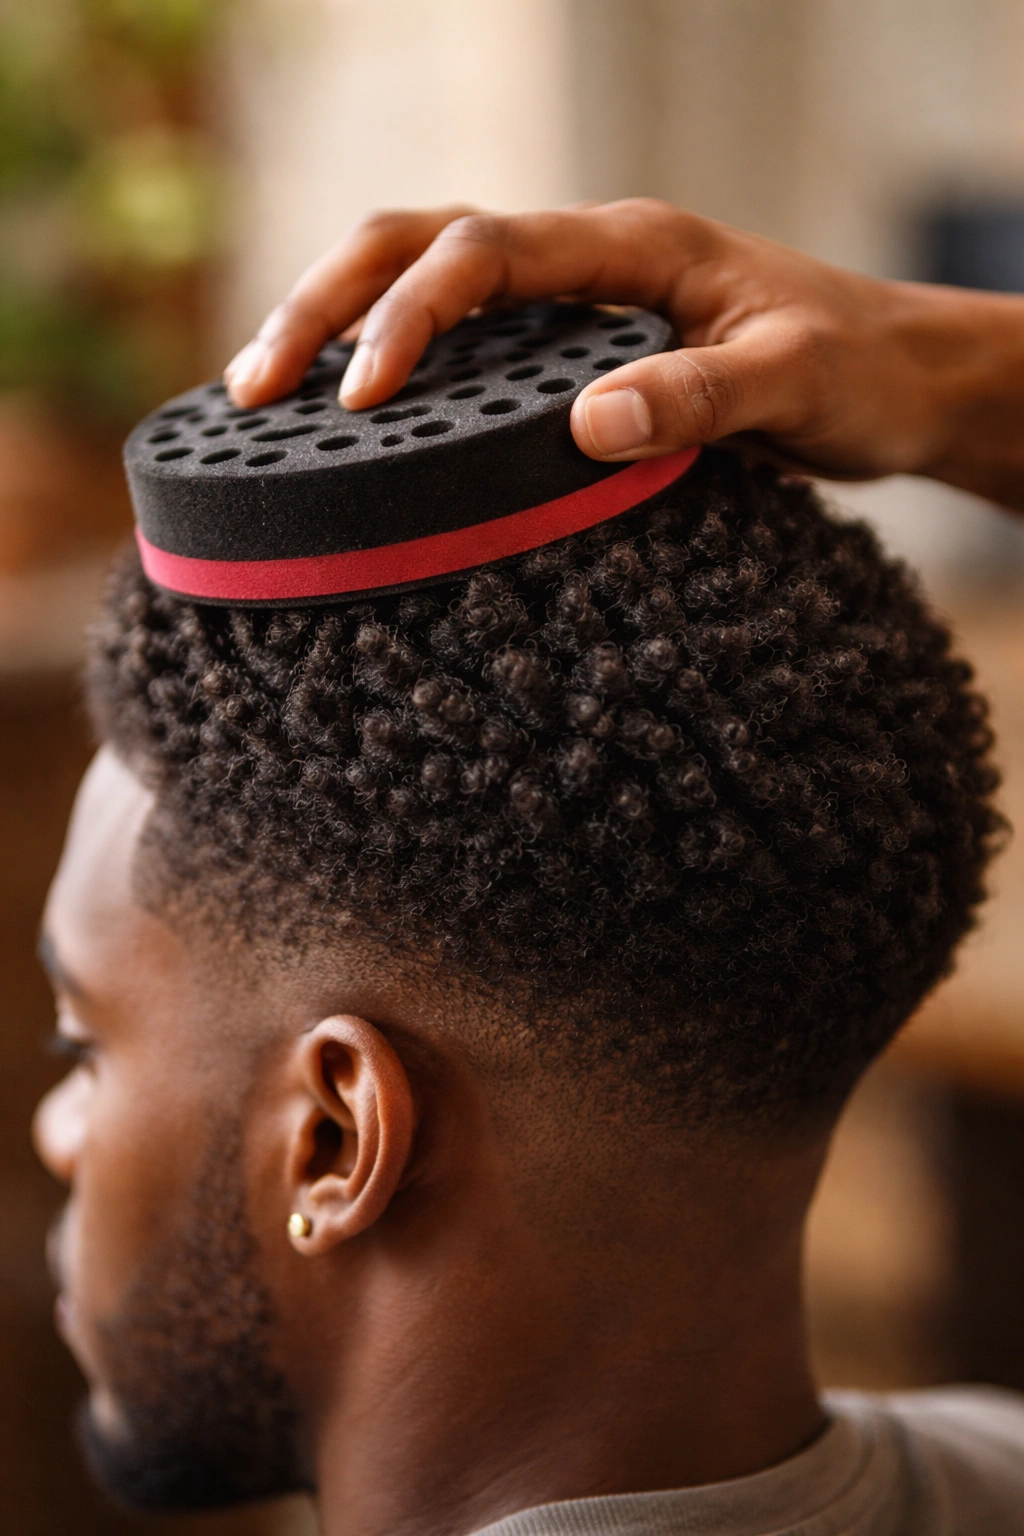
Technique separates great sponge curl results from mediocre ones. It’s not just about rubbing the sponge on your head — the specific motion, pressure, and direction all affect the final result.
Pressure matters a lot. Too little pressure and the sponge skims the surface without catching enough strands. Too much and you get tangling and potential breakage. Medium, consistent pressure — enough to feel the sponge engaging with your hair but not so much that it drags — is the target.
Speed affects coil tightness. Slower, more deliberate movements give individual strands more time to coil, creating tighter, more defined results. Faster movements produce looser, more textured coils with more volume and less uniformity. Experiment to find your preference.
Work in a consistent direction across each section — some naturals prefer going from front to back, others work in circles across the whole head. There’s no single right approach, but staying consistent within a session produces more uniform results.
1. Classic Sponge Curl TWA
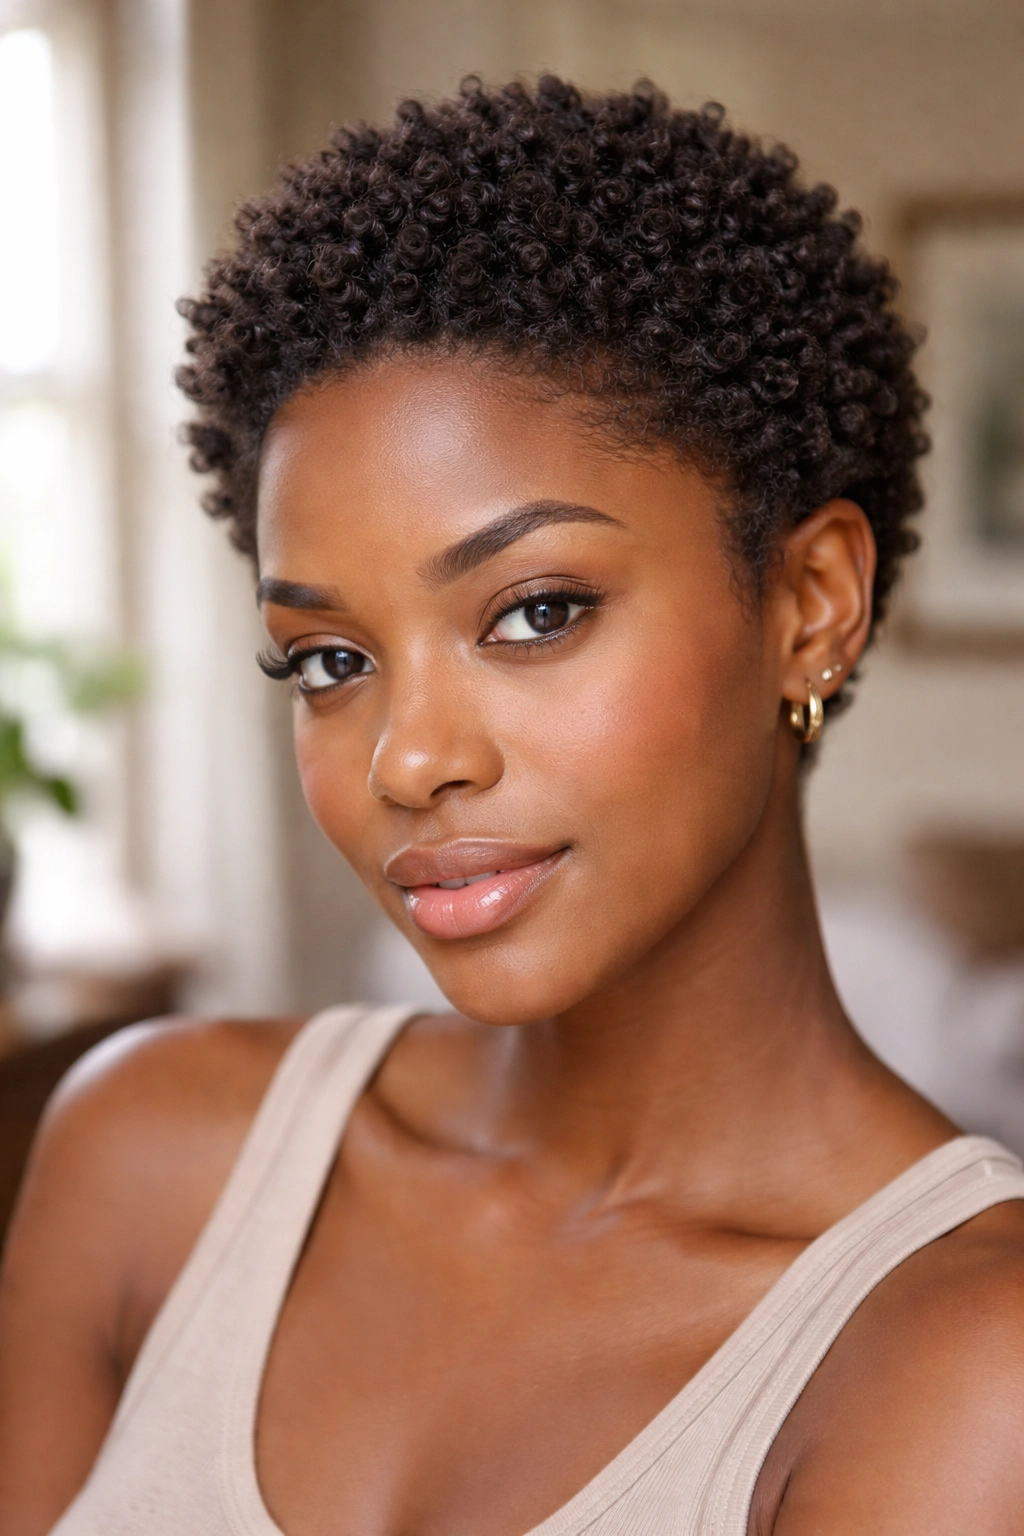
The TWA (teeny weeny afro) is the natural starting point for sponge curl styling — and it’s where the sponge does its most impressive work. On a freshly grown-out TWA, the sponge turns a shapeless texture into a head full of uniform, springy coils in minutes.
The shorter the hair, the more the sponge can transform it. On a true TWA (hair under two inches), the sponge has complete access to every strand, and the resulting coils are tight, defined, and absolutely beautiful.
How to Achieve a Classic Sponge Curl TWA
- Start on dampened hair with leave-in applied
- Work a light curl cream through with fingers
- Use circular sponge motions across the entire head
- Follow with a light gel pass using the sponge
- Let air dry or diffuse on low
2. Sponge Curl Natural Afro
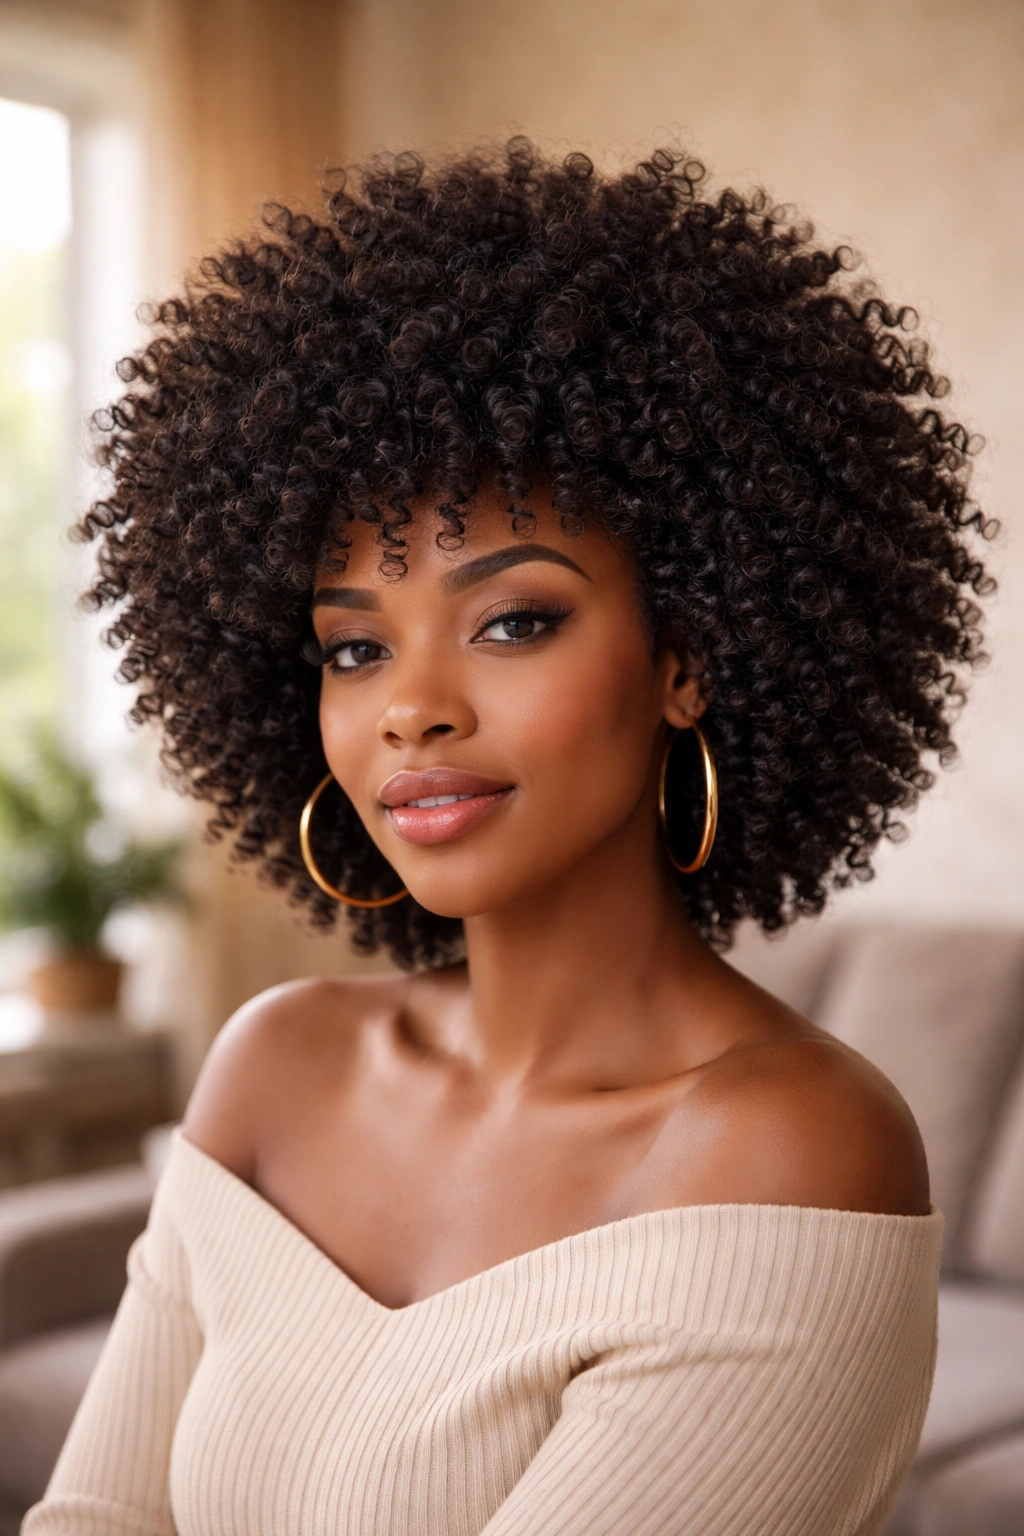
On longer natural hair, the sponge creates coils throughout a full, round afro shape. Apply your product in sections, then use the sponge in circular motions all over to create uniform coils within the larger afro shape.
The afro style with sponge coils has a beautiful, textured quality that differs from a blown-out or picked afro. The individual coils create a surface that catches light in interesting ways and moves differently with each step.
This works best on hair that’s been stretched slightly — not fully blown out, but stretched enough that the afro has some size and presence before the sponge starts coiling.
3. Sponge Curl Defined Crown
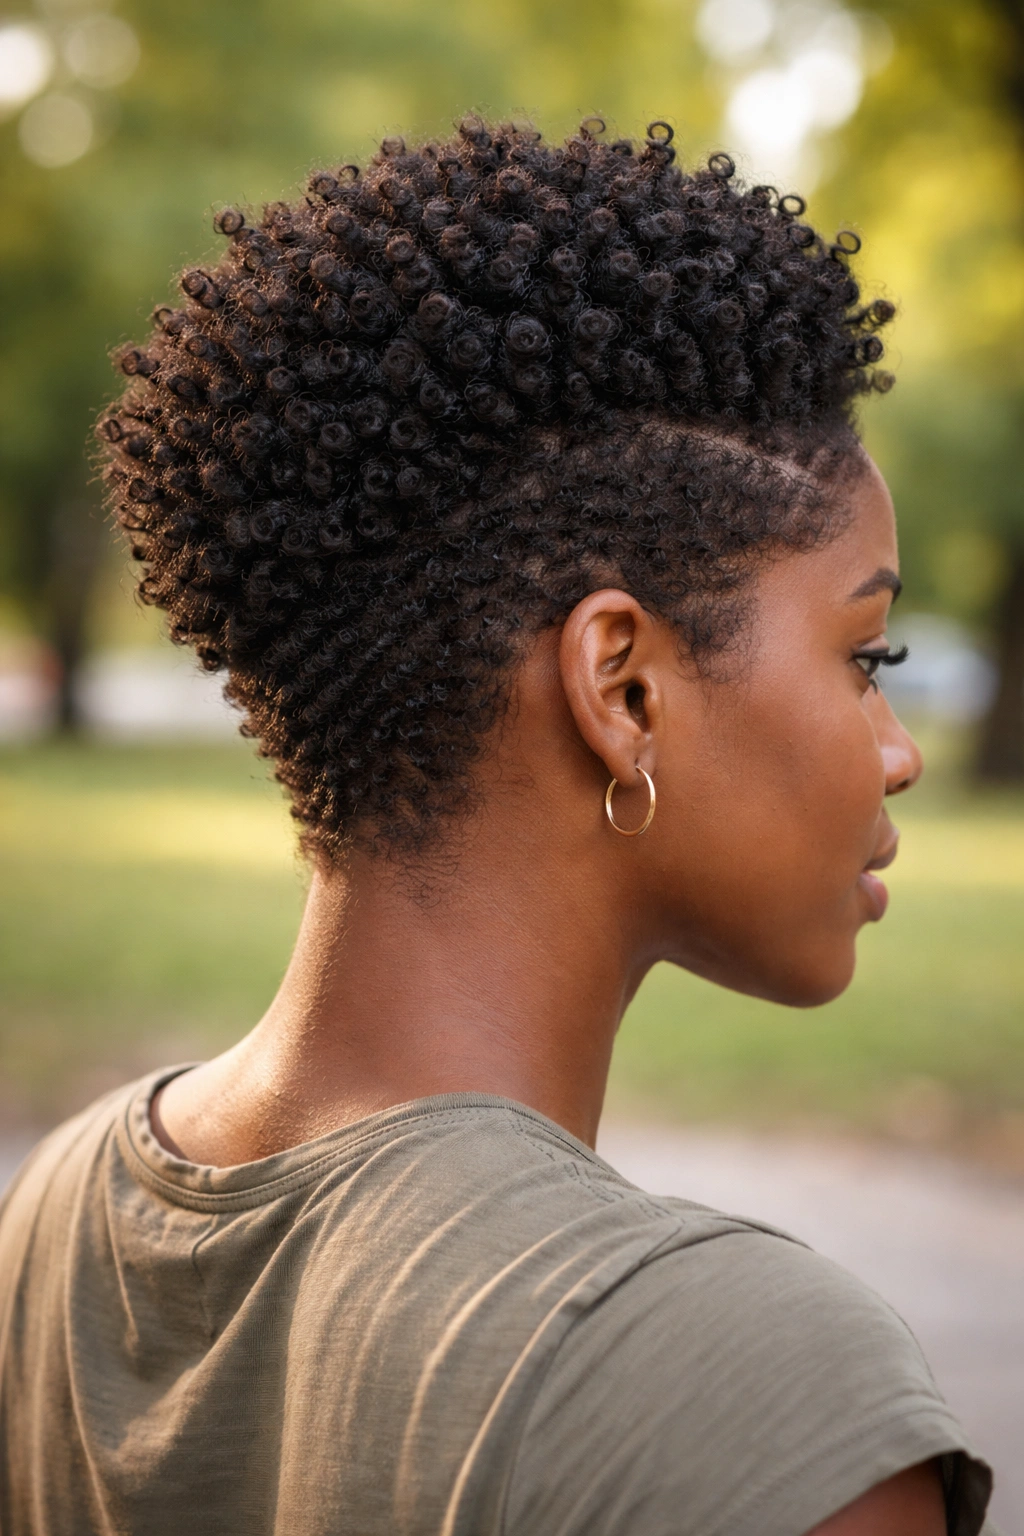
Use the sponge exclusively on the top and crown sections of the head, leaving the back and sides in their natural wash-and-go state. The contrast between the sponge-defined crown and the naturally defined lower sections creates an interesting, dimensional look.
Creating a Defined Sponge Crown
- Complete your wash-and-go on the lower sections
- Apply extra cream to the crown section
- Use the sponge in circular motions across the crown
- Let the two textures blend naturally at the transition point
This style is particularly striking when the crown section has tighter, more defined sponge coils and the lower sections have a looser, more natural curl pattern.
4. Sponge Curl High-Top Fade Look
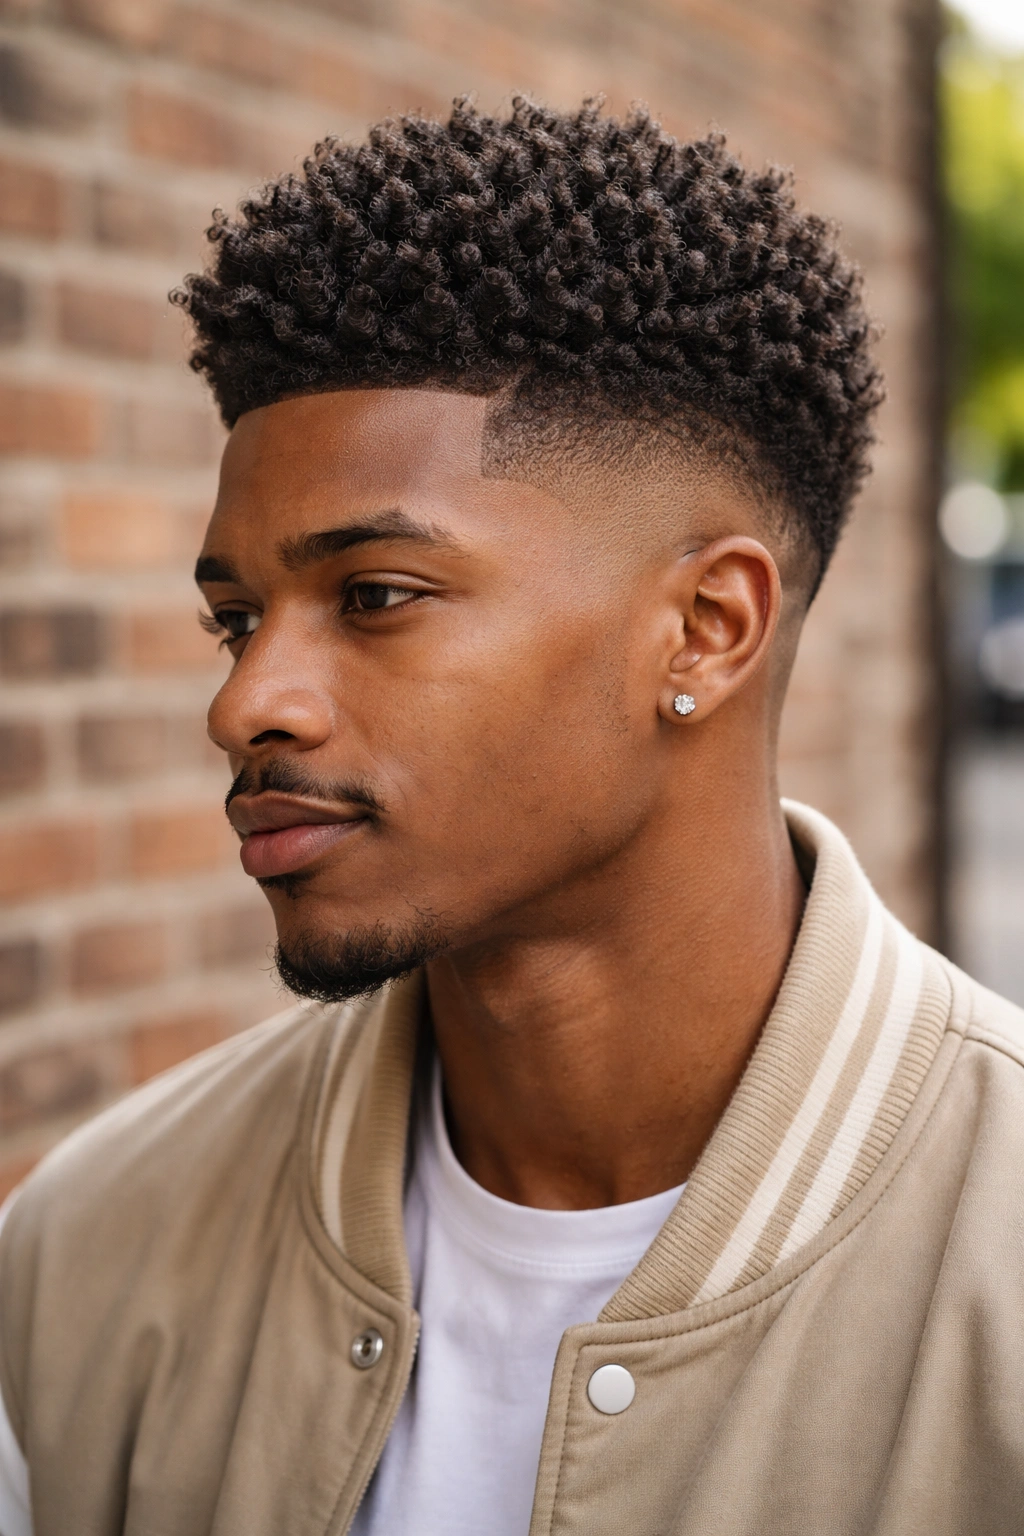
If you have a tapered cut or a fade on the sides, use the sponge exclusively on the top section where you have more length. The fade sides stay close-cut and neat, while the sponge-defined top section showcases your coil pattern.
This look has a distinctly cool, intentional aesthetic. The clean lines of the fade juxtapose beautifully with the textured, coiled top. It’s low-maintenance and polished at the same time.
Work the sponge in tight circular motions across the top section, building volume and definition from front to back.
5. Sponge Curl Puff
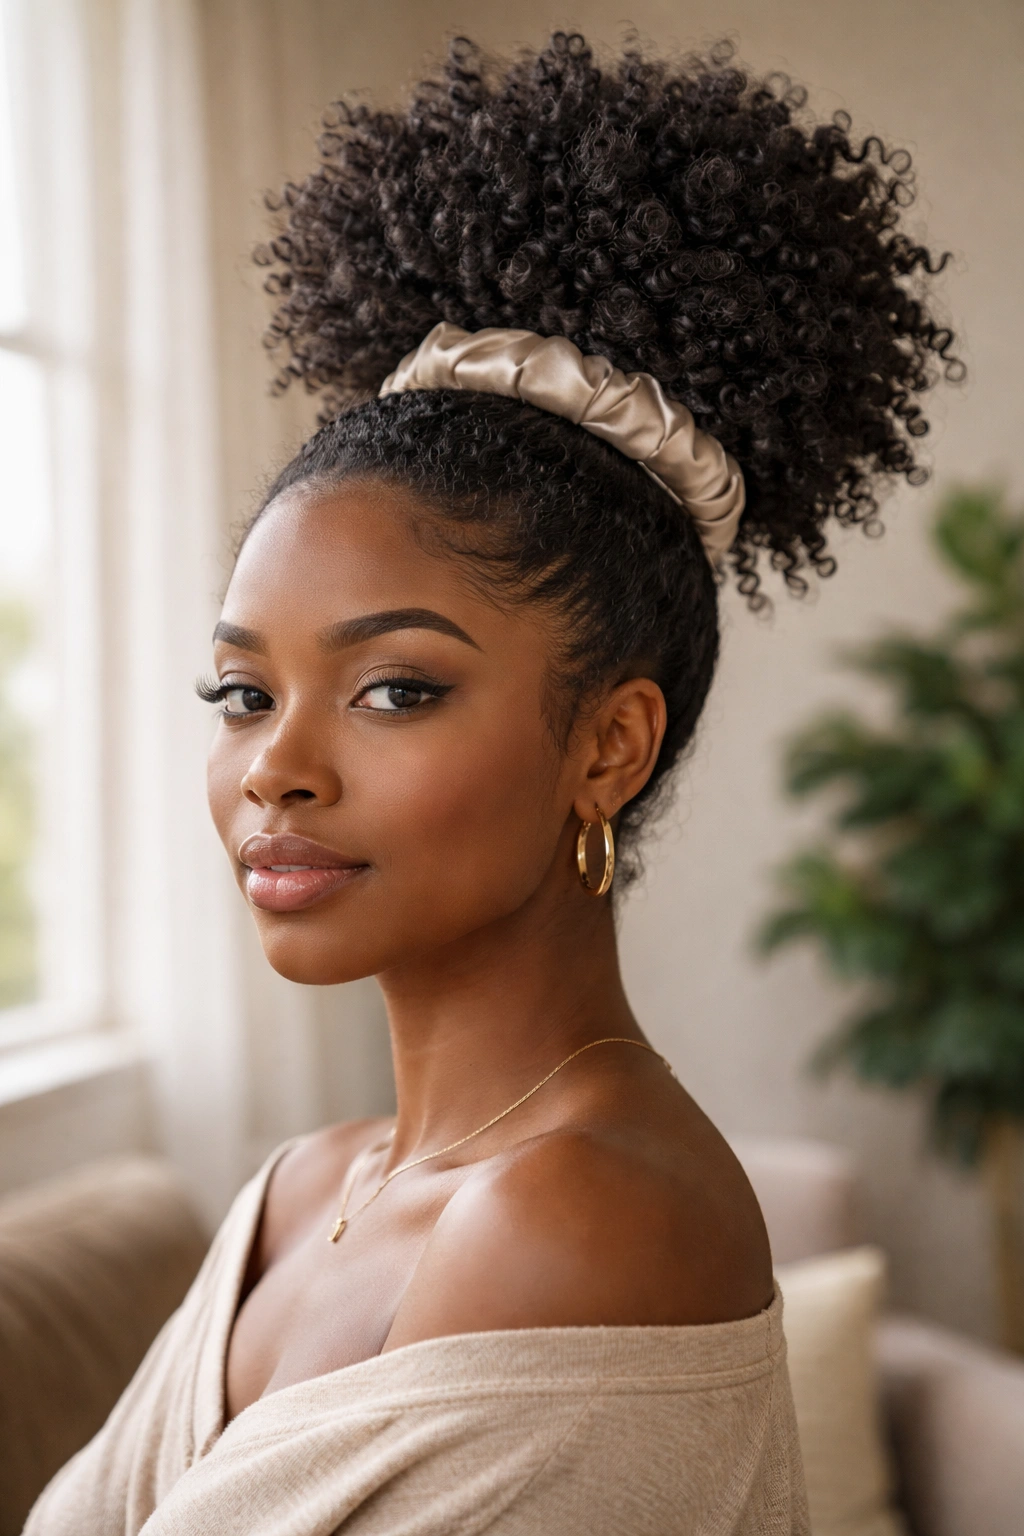
Start with a sponge-defined style, let it fully dry, then gather the hair loosely into a high puff using a satin scrunchie. The sponge coils maintain their definition beautifully when gathered into a puff — each coil still has its individual shape rather than merging into an undefined mass.
The sponge curl puff has more texture and visual interest than a puff made from a plain wash-and-go because the coil pattern is more pronounced. Add a headband or scarf to the base of the puff for a polished finishing touch.
6. Sponge Curl with Defined Edges
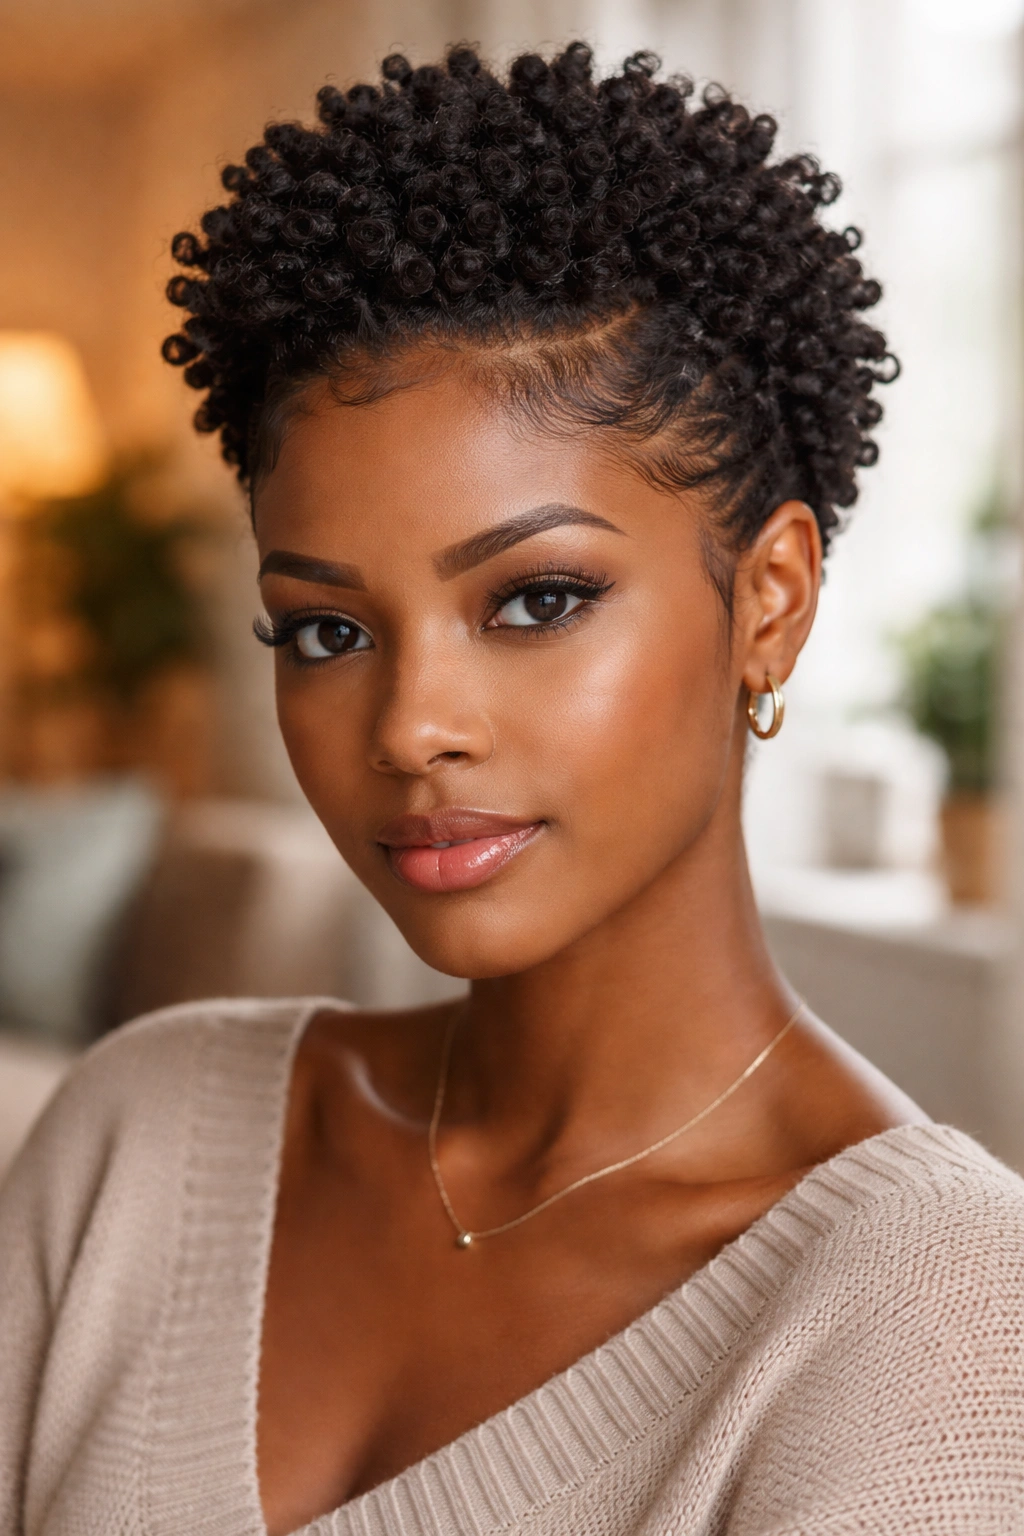
Let’s be honest — defined edges make every natural style look ten times better. Pair your sponge curl style with carefully laid, defined baby hair edges for a finish that looks completely professional.
Edge-Laying Steps for Sponge Curl Styles
- Wait until the sponge curl style is fully dry
- Apply edge control to the hairline
- Use a soft-bristle edge brush to define and lay baby hairs
- Style edges in waves, swirls, or swoops
- Set with a light-hold spray for longevity
The combination of defined sponge coils and laid edges is genuinely stunning — it looks like a professional salon result.
7. Sponge Curl Frohawk
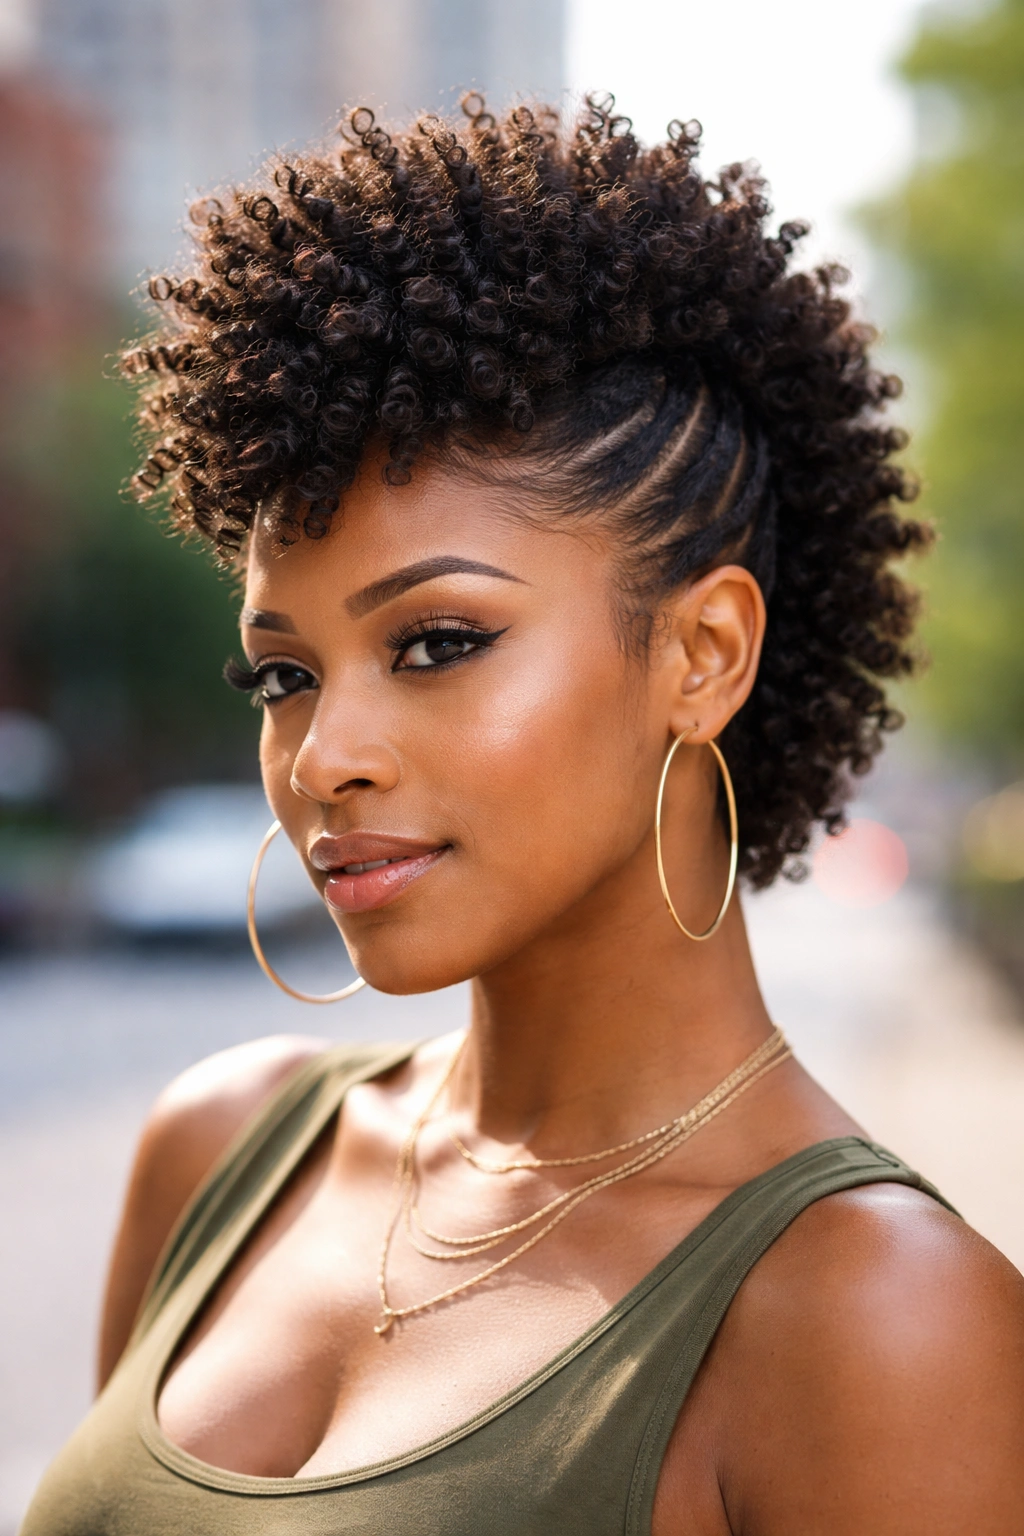
Use the sponge to define coils across the entire head, then pin or braid the sides flat and let the top section stand tall in a frohawk shape. The sponge-defined coils in the top strip have incredible volume and presence.
The frohawk works especially well with sponge coils because the uniformity of the coil pattern gives the style a polished, intentional look. Uneven or patchy definition in a frohawk looks messy — sponge definition ensures every coil in that center strip matches.
8. Sponge Curl Defined Parts Style
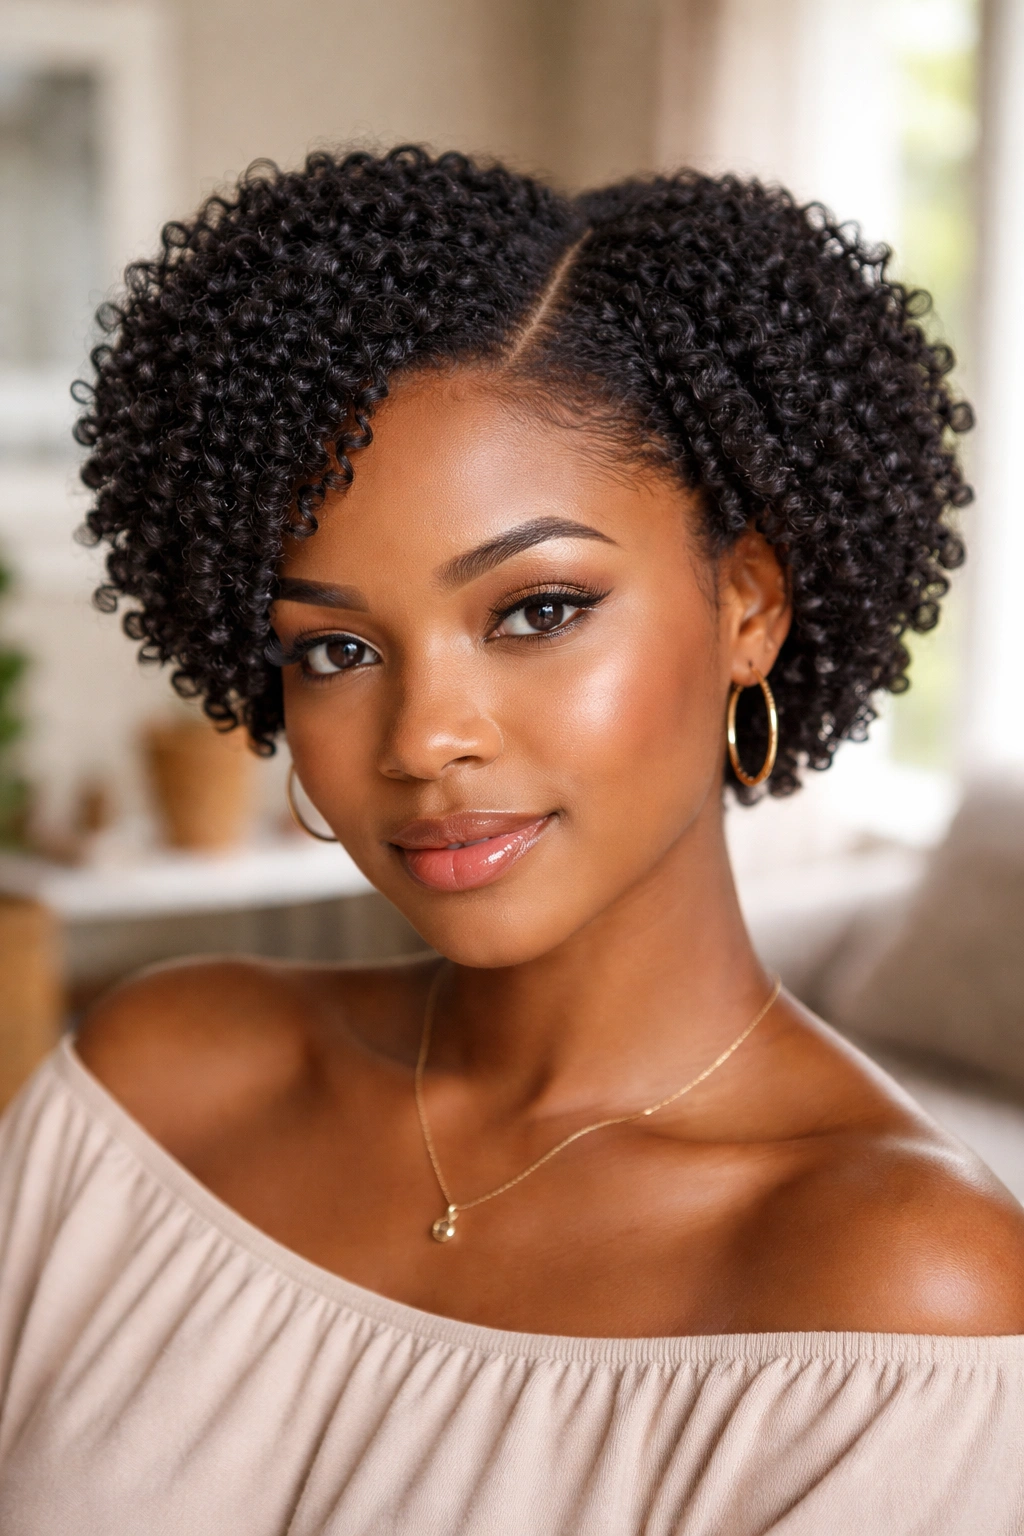
Create a deliberate part — a side part, a deep part, or a zigzag — using a rat-tail comb before sponging. Then use the sponge on each side of the part separately, working the coils in slightly different directions to emphasize the parting.
This adds a graphic, structured quality to the sponge curl look that sets it apart from the typical all-over coil style. The deliberate part shows intentionality and adds a fashion-forward element to an otherwise casual style.
9. Sponge Curl Half-Up Half-Down
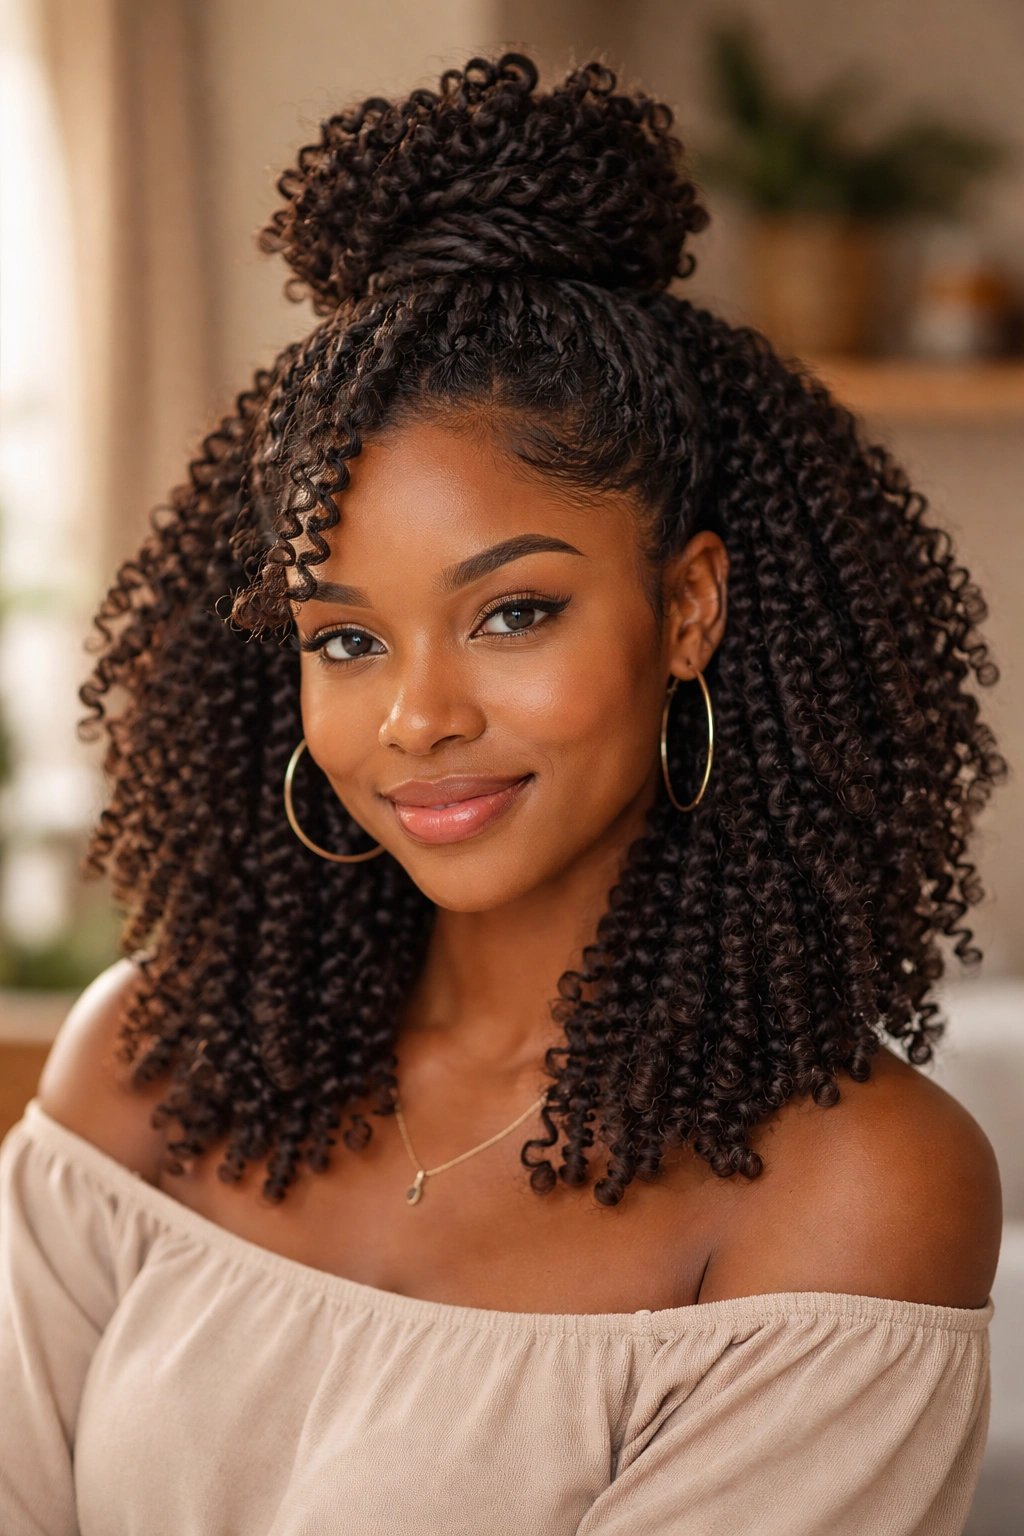
Define your sponge coils across the full head, let them fully dry, then gather the top half into a half-up style. A twisted bun, a loose pony, or two small puffs — any of these work beautifully with sponge-defined coils in the lower section.
The coils that remain free in the bottom half of the style have beautiful movement and definition that makes this look genuinely striking. It’s protective at the top while showcasing your natural texture at the bottom.
10. Sponge Curl Updo
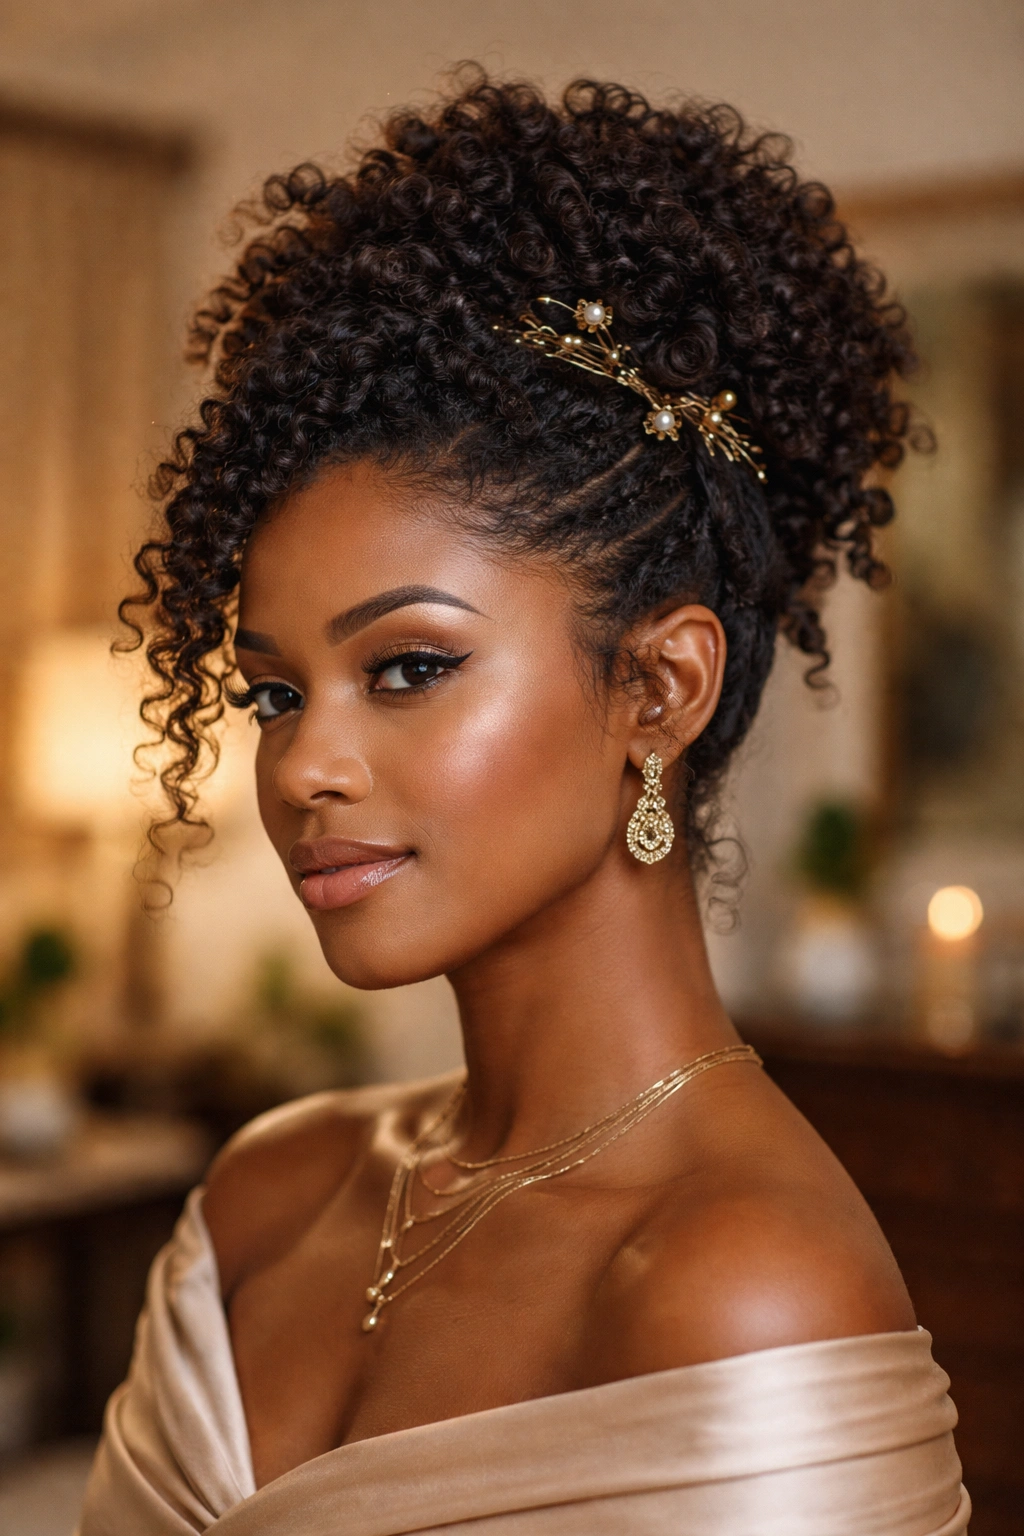
Pin your sponge-defined coils into a loose updo — not a slicked-back, smooth updo, but a textured, voluminous one where the individual coils are still visible at the edges and crown. This style works beautifully for formal occasions because it has the structure of an updo but the authenticity of a natural hair style.
Pull a few coils loose at the temples and nape to soften the overall look. Use decorative pins or gold accessories to add visual interest to the gathered section.
11. Sponge Curl with Headband
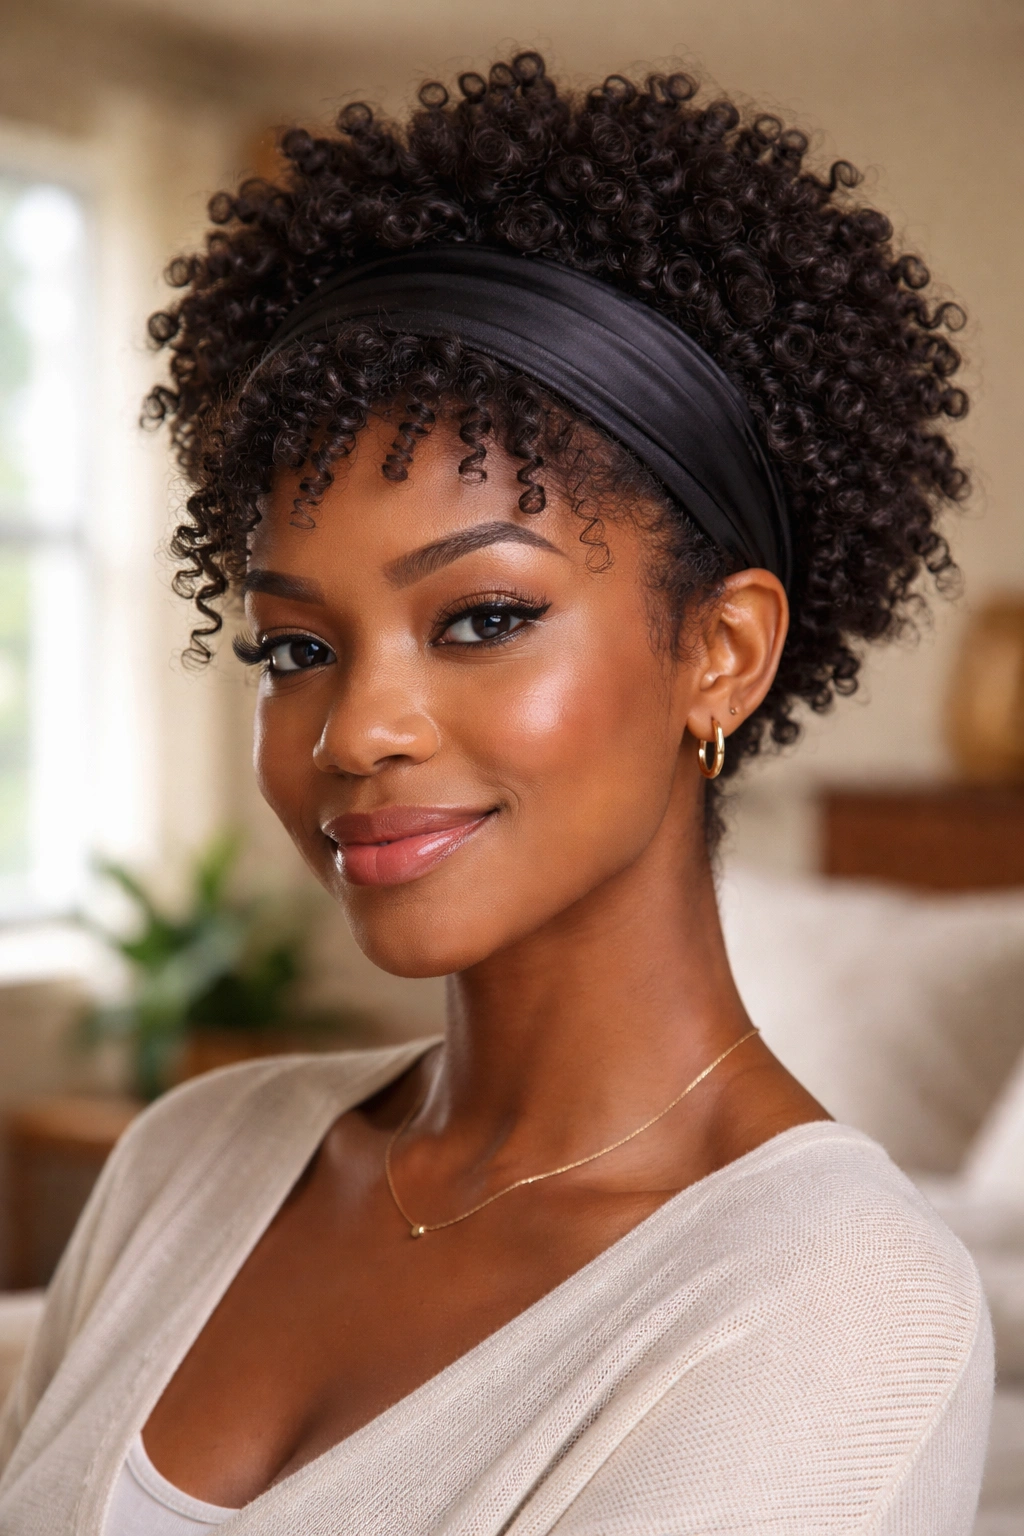
A wide fabric headband — satin-lined for protection — transforms your sponge curl style into a put-together look that works for almost any occasion. Position the headband about an inch from your hairline, letting a few coils escape at the temples.
Headbands suit sponge curl styles particularly well because the coils are uniform in size and spacing, which means the transition from headband to free coils looks seamless rather than jarring. The headband and the coil pattern reinforce each other visually.
12. Sponge Curl Protective Style Starter
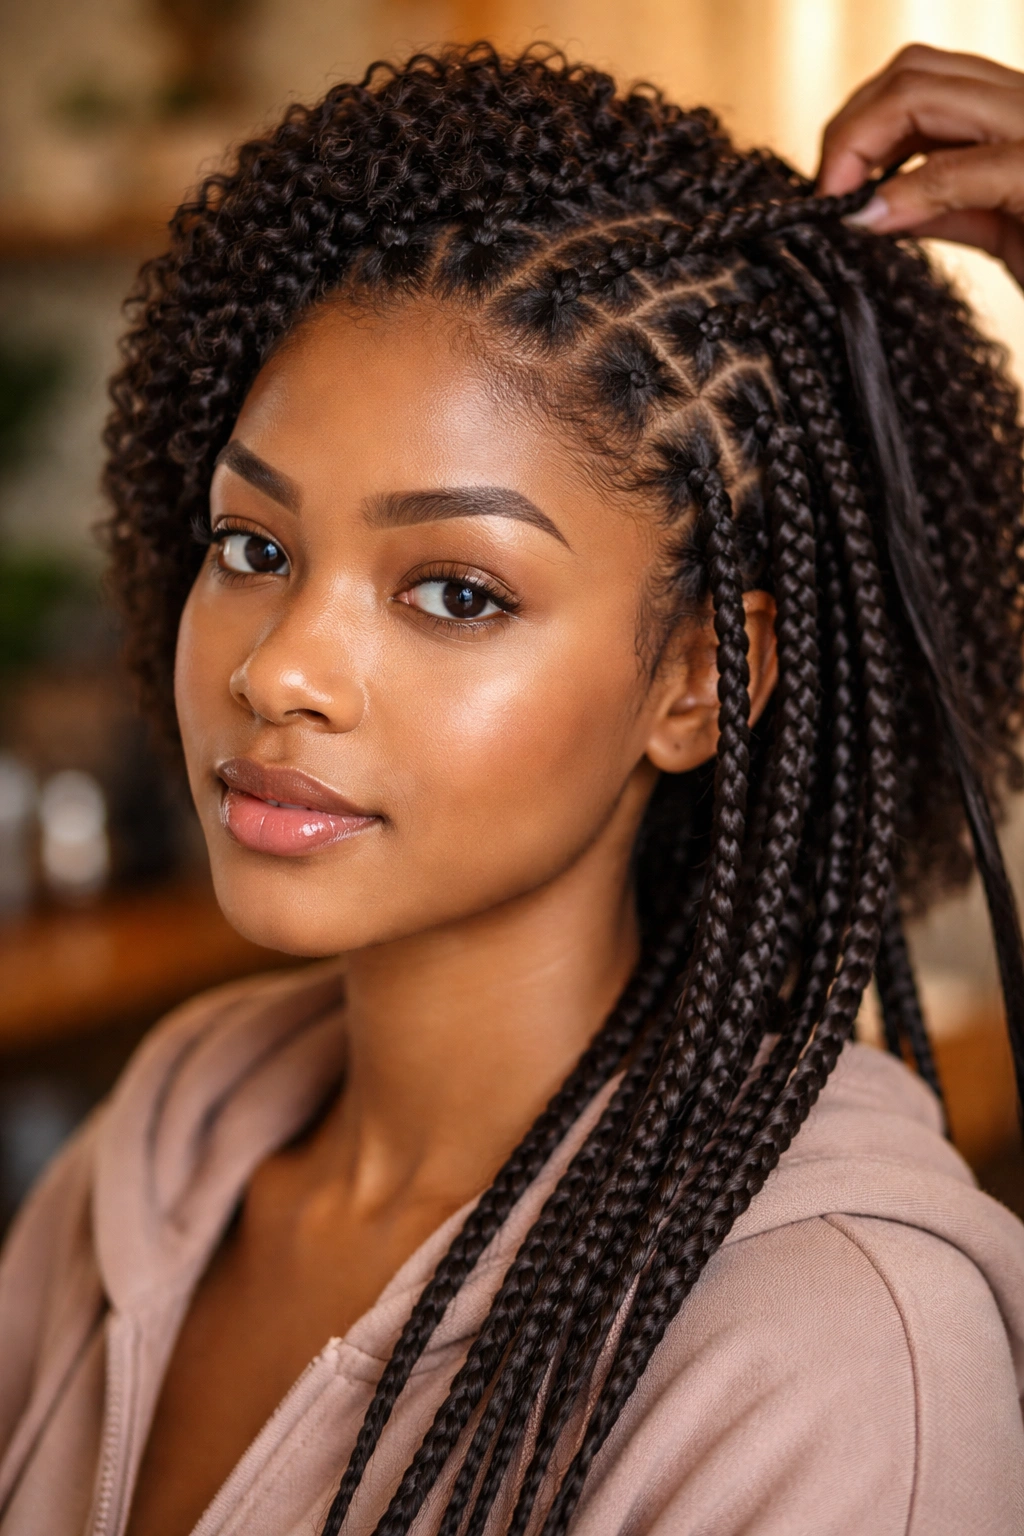
Sponge curl styles can be used as a foundation for protective styles. Define your coils with the sponge, then install box braids, twists, or other protective styles over the defined sections. The coil pattern at the root keeps your natural texture defined during the growth period.
This is particularly useful for naturals who want to alternate between wearing their natural hair out and protective styling — the sponge curl prep makes the transition between the two more seamless.
13. Sponge Curl on Stretched Hair
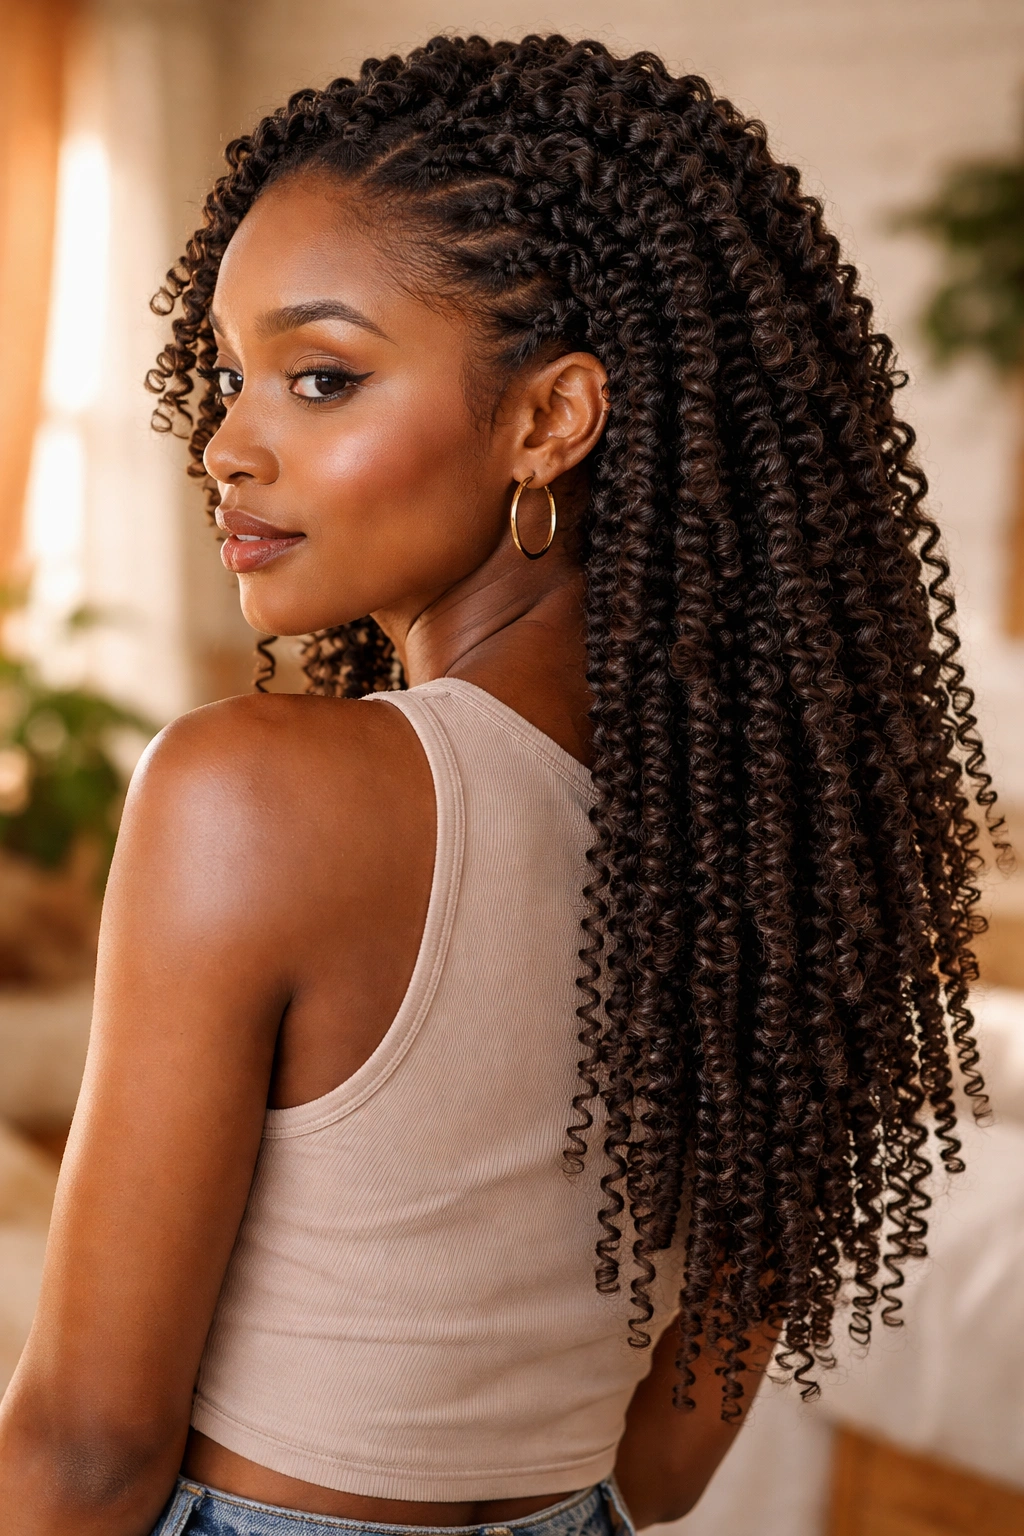
Stretch your hair using the banding method or African threading before sponging. The stretched base allows the sponge to create longer, more elongated coils rather than tight, shrunken ones.
How to Stretch Before Sponging
- Apply leave-in to damp hair
- Band or thread the hair in small sections
- Allow to fully dry
- Remove bands and apply curl cream
- Sponge in circular motions
The resulting coils are significantly longer and more elongated than standard sponge coils — a totally different look that showcases more of your hair’s actual length.
14. Sponge Curl Space Buns
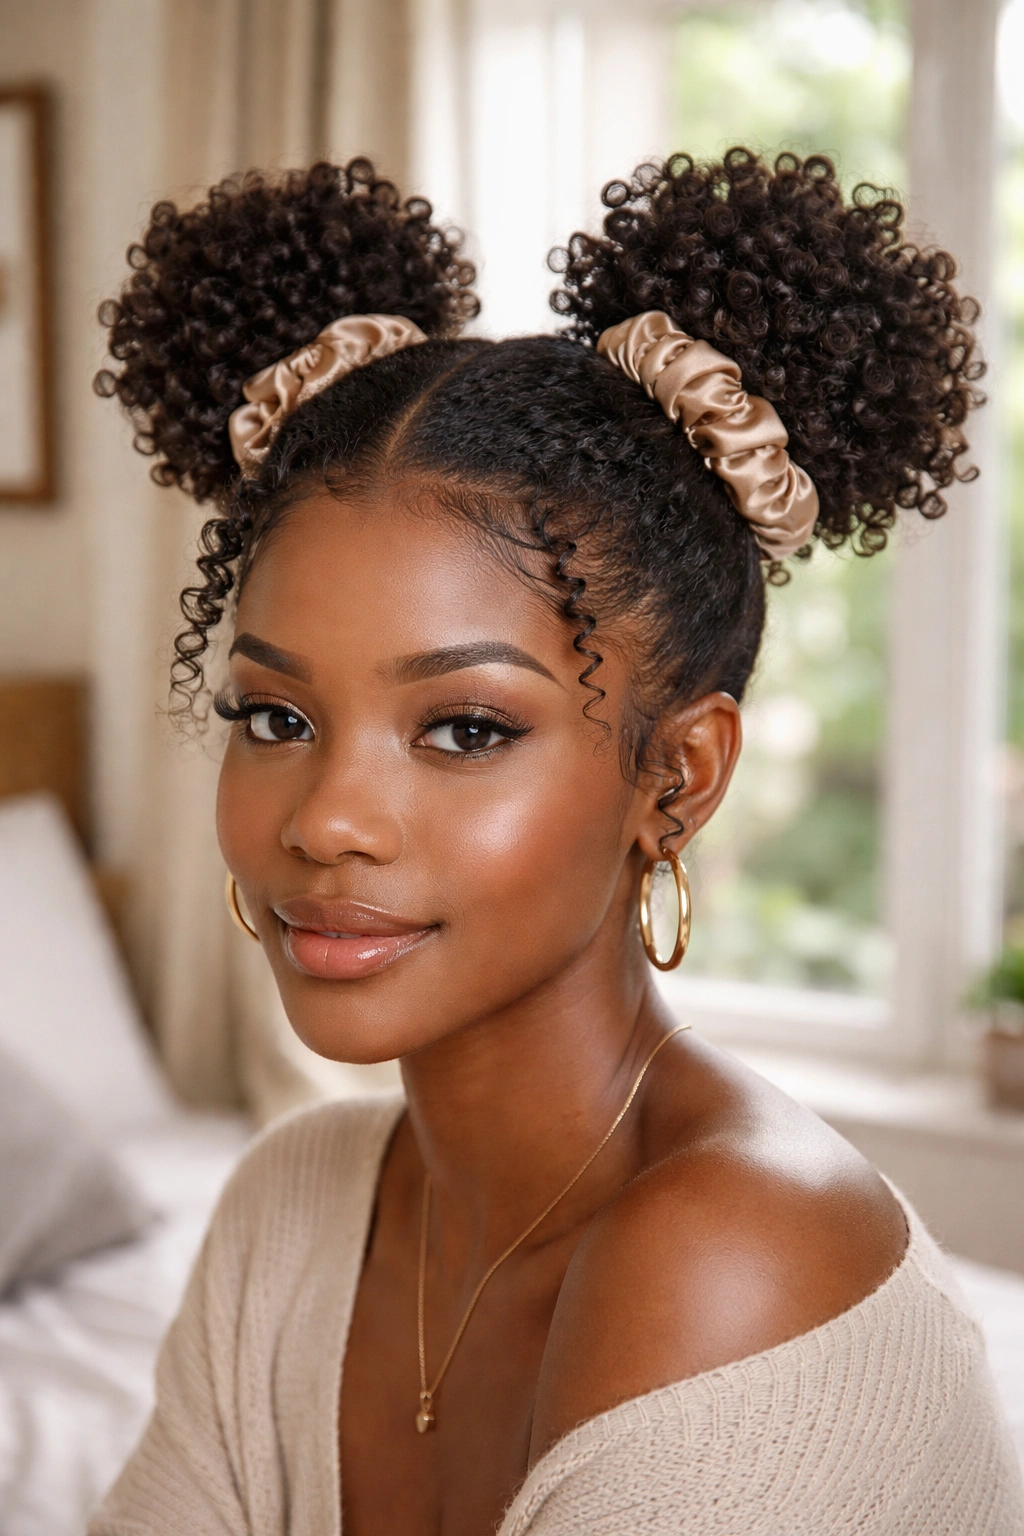
Divide sponge-defined coils down the center and create two high buns. The coils that escape around the bun edges show the defined texture beautifully. This style is fun, protective, and surprisingly appropriate for a wide range of occasions — from casual errands to more festive events.
Use satin scrunchies for both buns to protect your hair. The space bun style holds well for two to three days with minimal refreshing.
15. Sponge Curl with Accessories
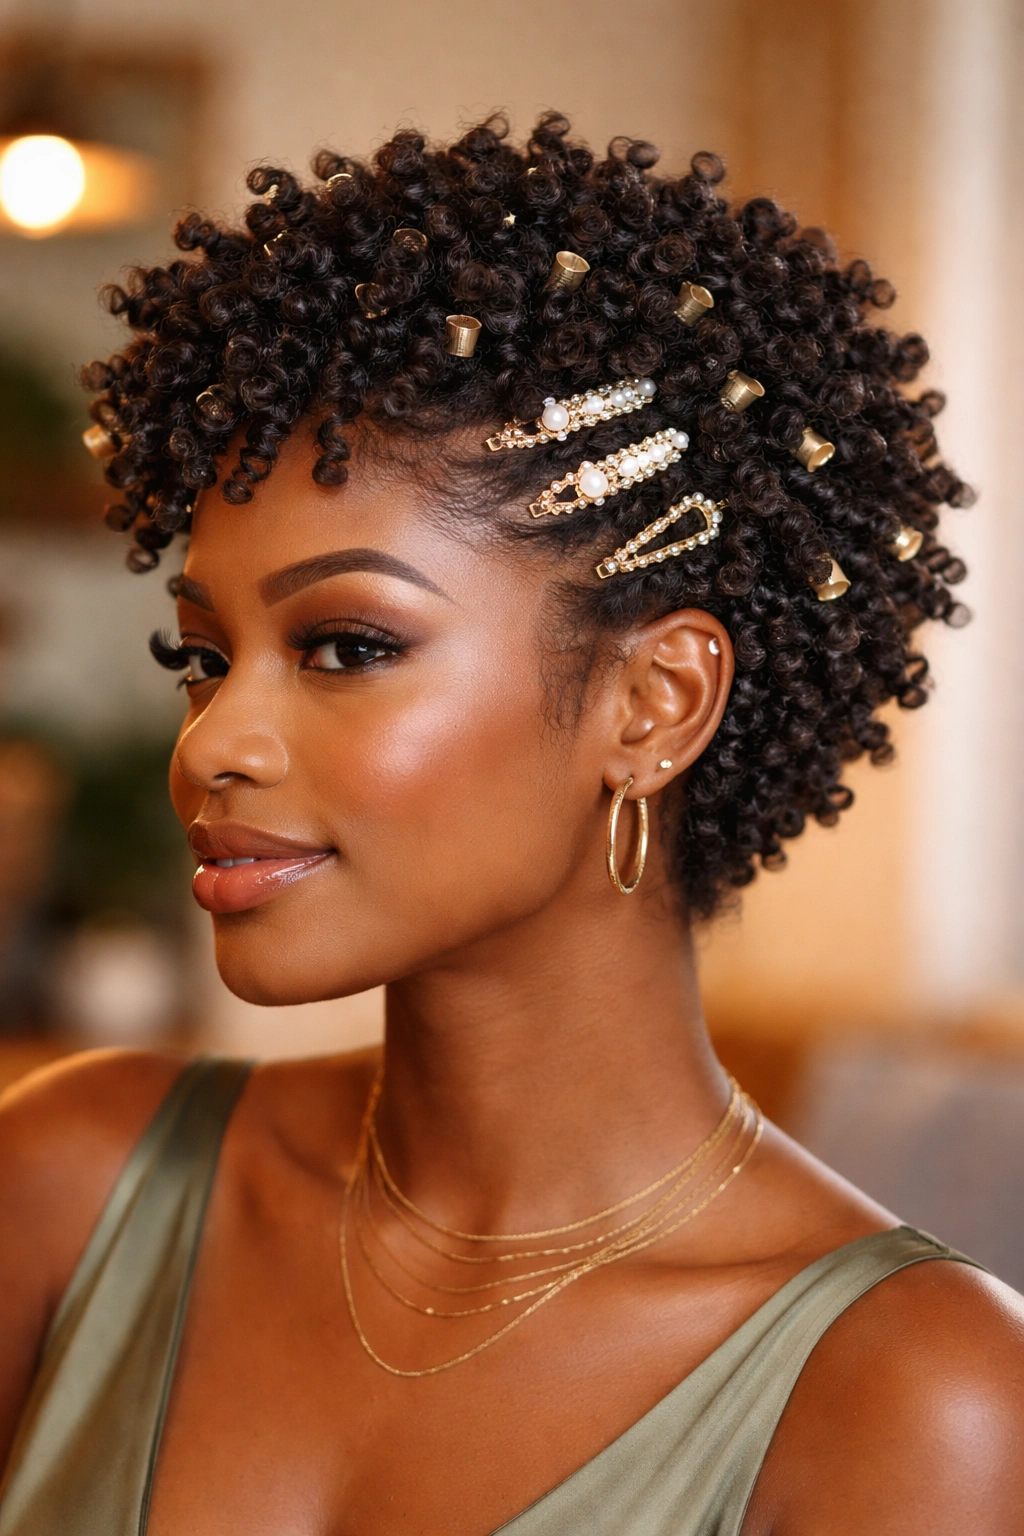
Sponge coils are the perfect canvas for hair accessories. Gold cuffs placed on individual coils, pearl pins worked into the style, decorative clips along the hairline — all of these add a personalized, intentional quality to the look.
Accessories work especially well with sponge coils because the uniformity of the coil pattern means accessories stand out clearly against a consistent backdrop. On uneven or patchy styles, accessories can get lost — on sponge coils, they shine.
16. Sponge Curl Retwist Style
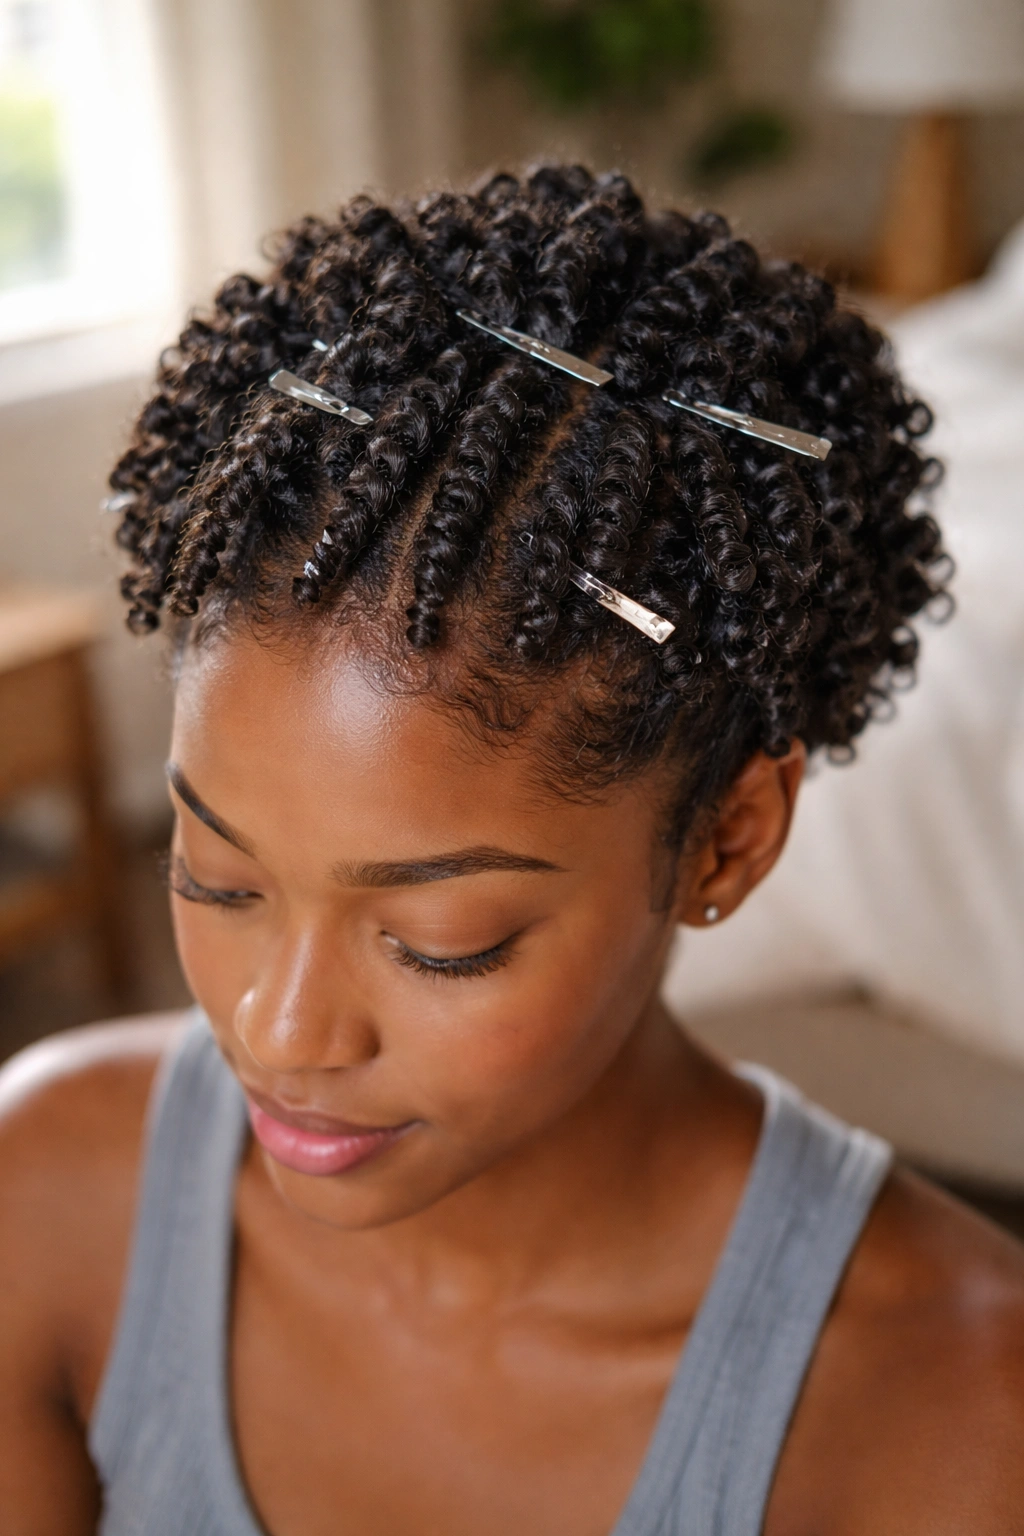
After wearing a sponge curl style for a few days, retwist individual sections that have loosened or lost definition. Apply a small amount of curl cream to each section, twist it around your finger, and secure with a pin clip while it re-sets. This targeted refresh extends the life of the style by another two to three days.
This technique is particularly useful on sections that are visible at the front of the head — the crown and the hairline. Refreshing those key sections makes the whole style look new without redoing everything.
17. Sponge Curl Low Manipulation Style
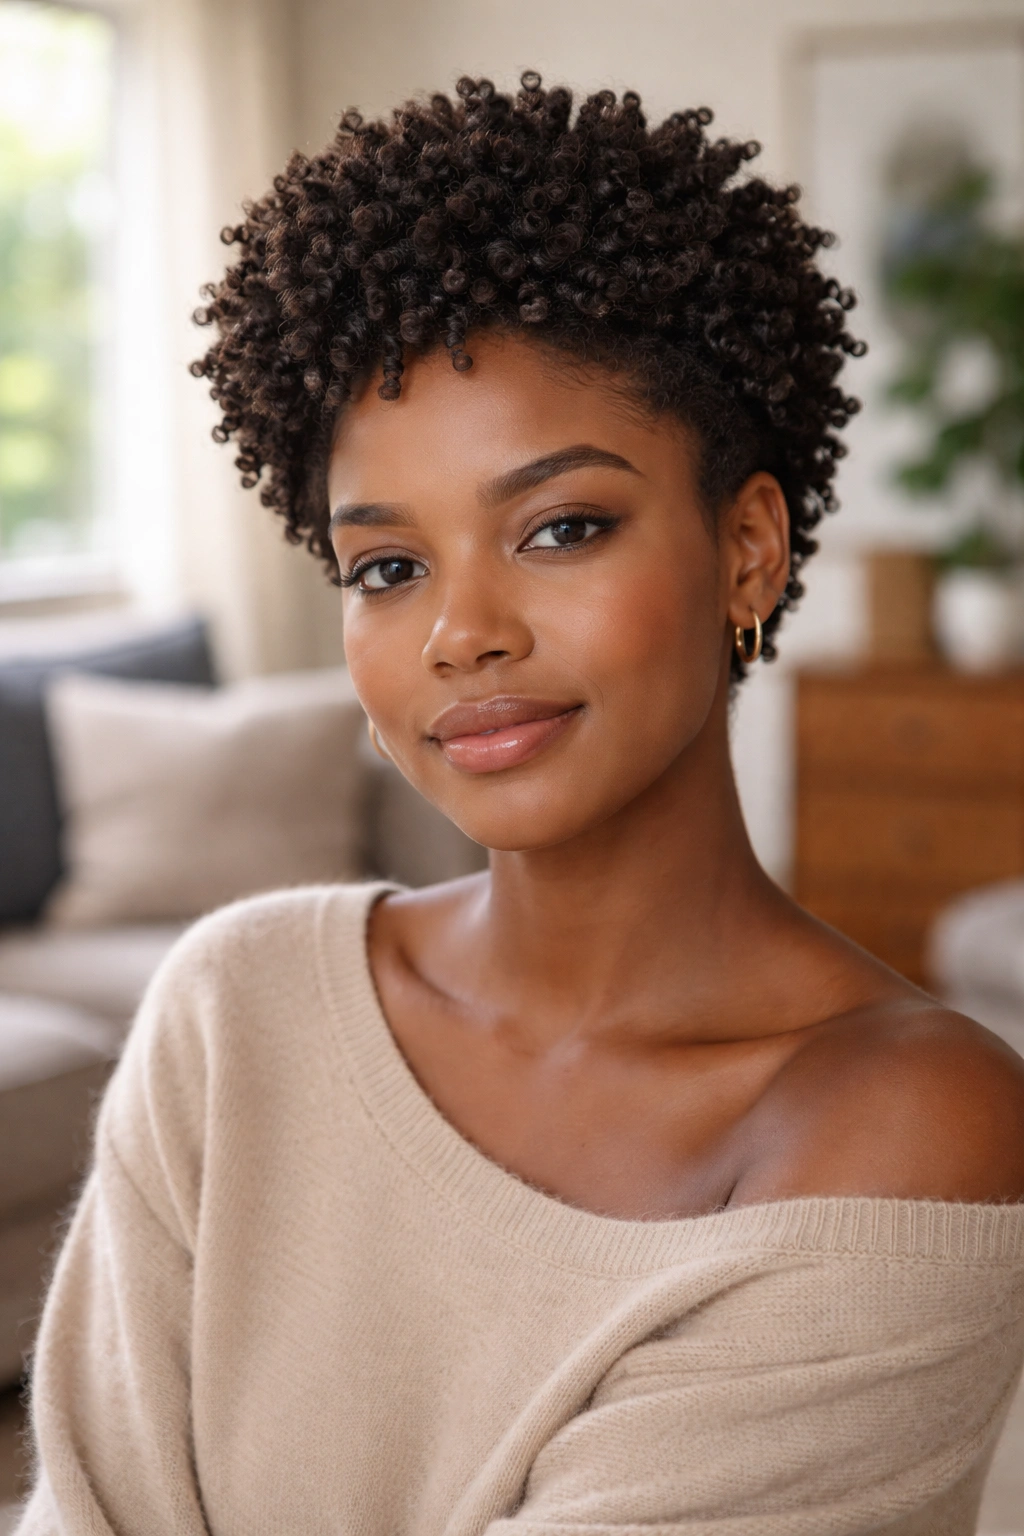
One of the best things about sponge curl styles is how little daily manipulation they require. Once defined, you can refresh them every two to three days with just a light misting of water and a quick pass of the sponge over any sections that have gone fuzzy.
Low manipulation is one of the most important factors in retaining natural hair length. The less you touch your hair, the less breakage you experience. Sponge curl styles support this principle naturally — they’re designed to be set and left alone.
18. Sponge Curl Shrunken Afro
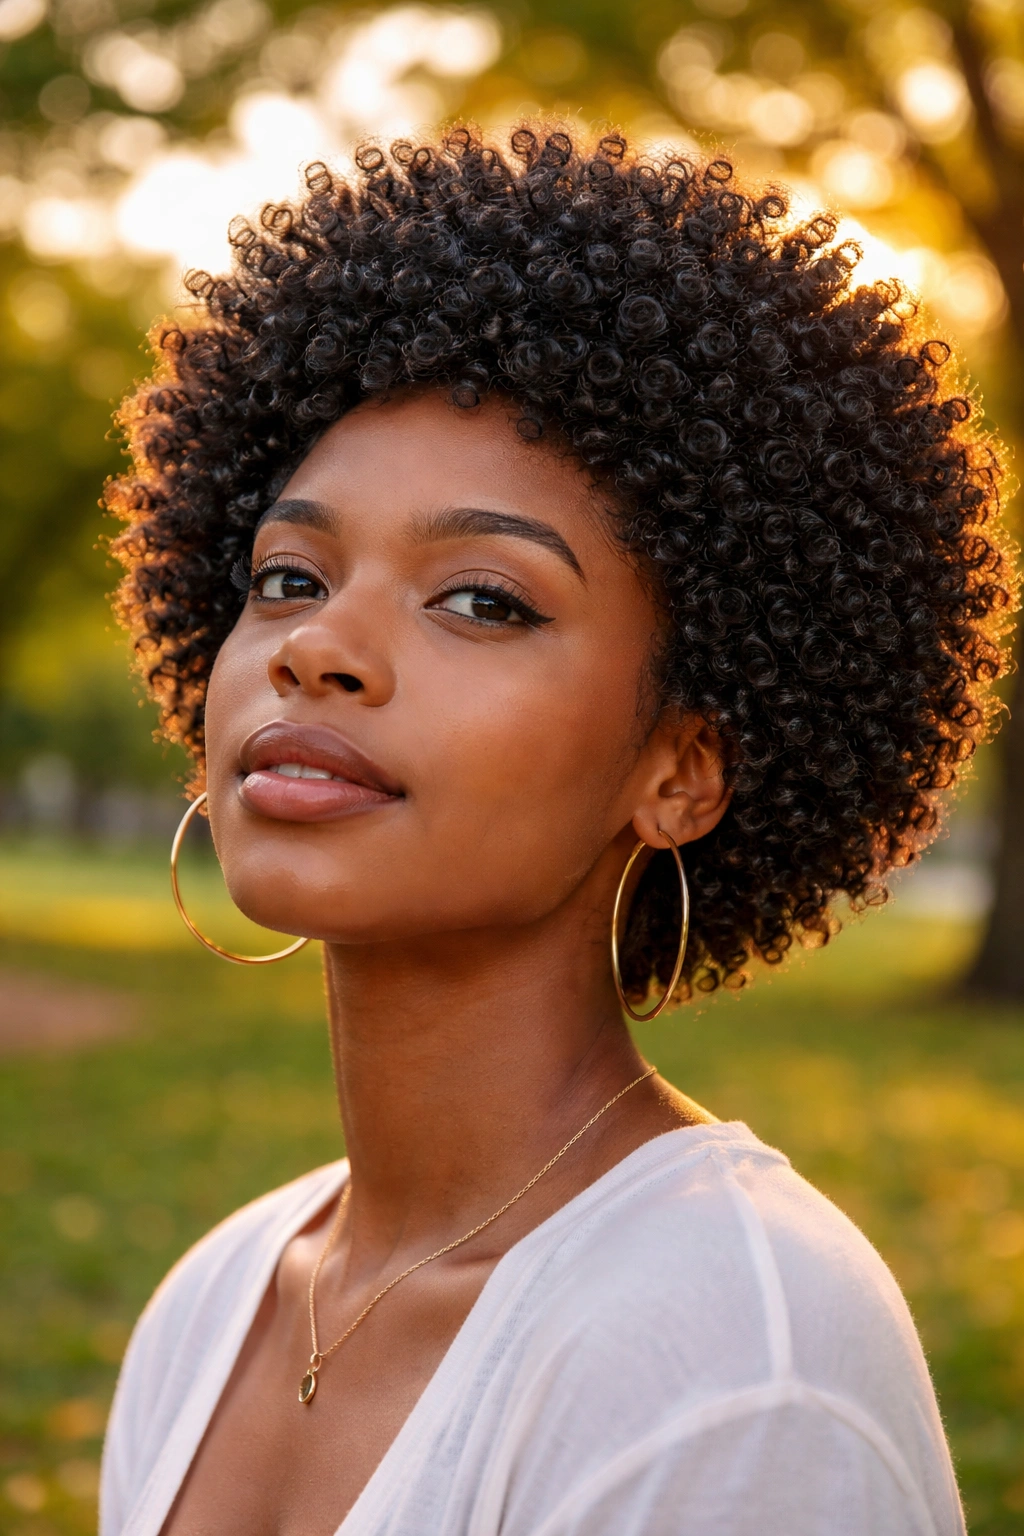
Embrace the shrinkage. Let the sponge-defined coils fully spring up into their natural shrunken shape rather than trying to stretch them out. The result is a tight, voluminous, perfectly round afro with visible coil definition on the surface.
This look celebrates the natural spring of Black hair in the most unapologetic way possible. It’s bold, beautiful, and unmistakably natural. Add a little extra gel for extra definition and shine.
19. Sponge Curl Defined Locs Foundation
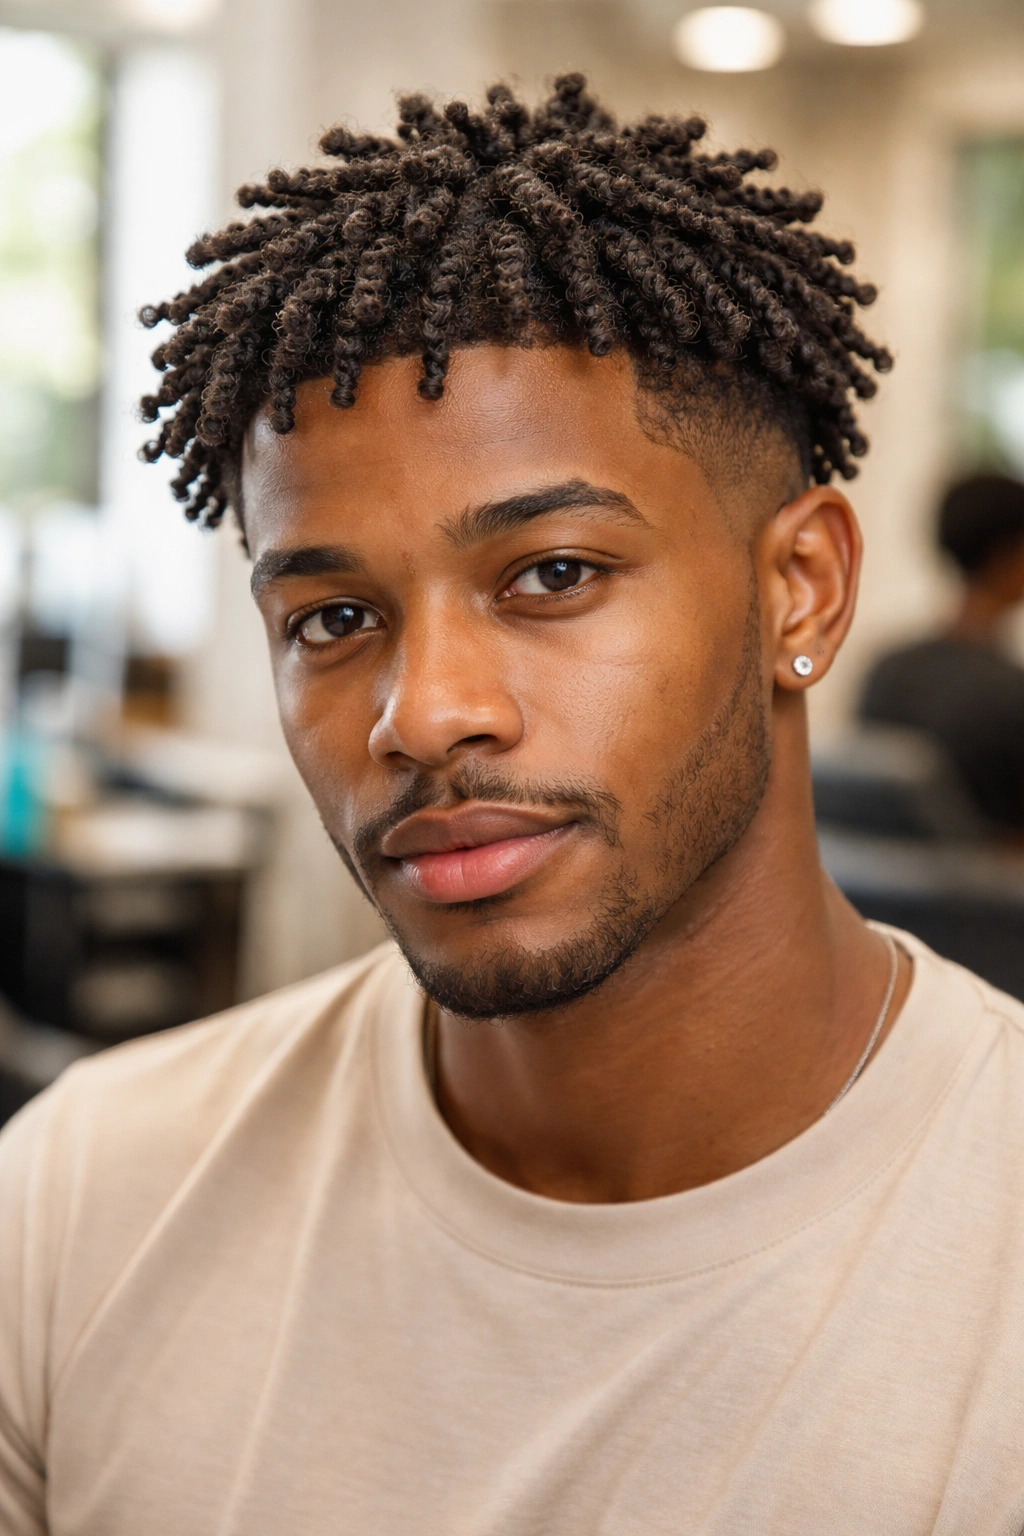
For naturals beginning the loc journey using the coil method, the sponge can actually be used to start starter locs. The circular motion creates a coil foundation in each section that develops into a loc over time.
Use a loc gel rather than a regular curl cream for this application — you want a product specifically designed for locking. Work the sponge in tight circles across small sections, and don’t disturb the coils as they begin to mat and lock.
20. Sponge Curl Nighttime Refresh

Before bed, lightly mist your sponge curl style with a water-and-leave-in mixture, then make one or two quick passes over the fuzziest sections with your curl sponge. Pineapple or use a satin bonnet. By morning, the style will have re-coiled overnight and look surprisingly fresh.
This refresh technique — sponge, protect, sleep — is the key to getting a full week out of a sponge curl style. It works because the sponge reactivates the product already in the hair rather than adding more on top.
21. Sponge Curl High Pineapple
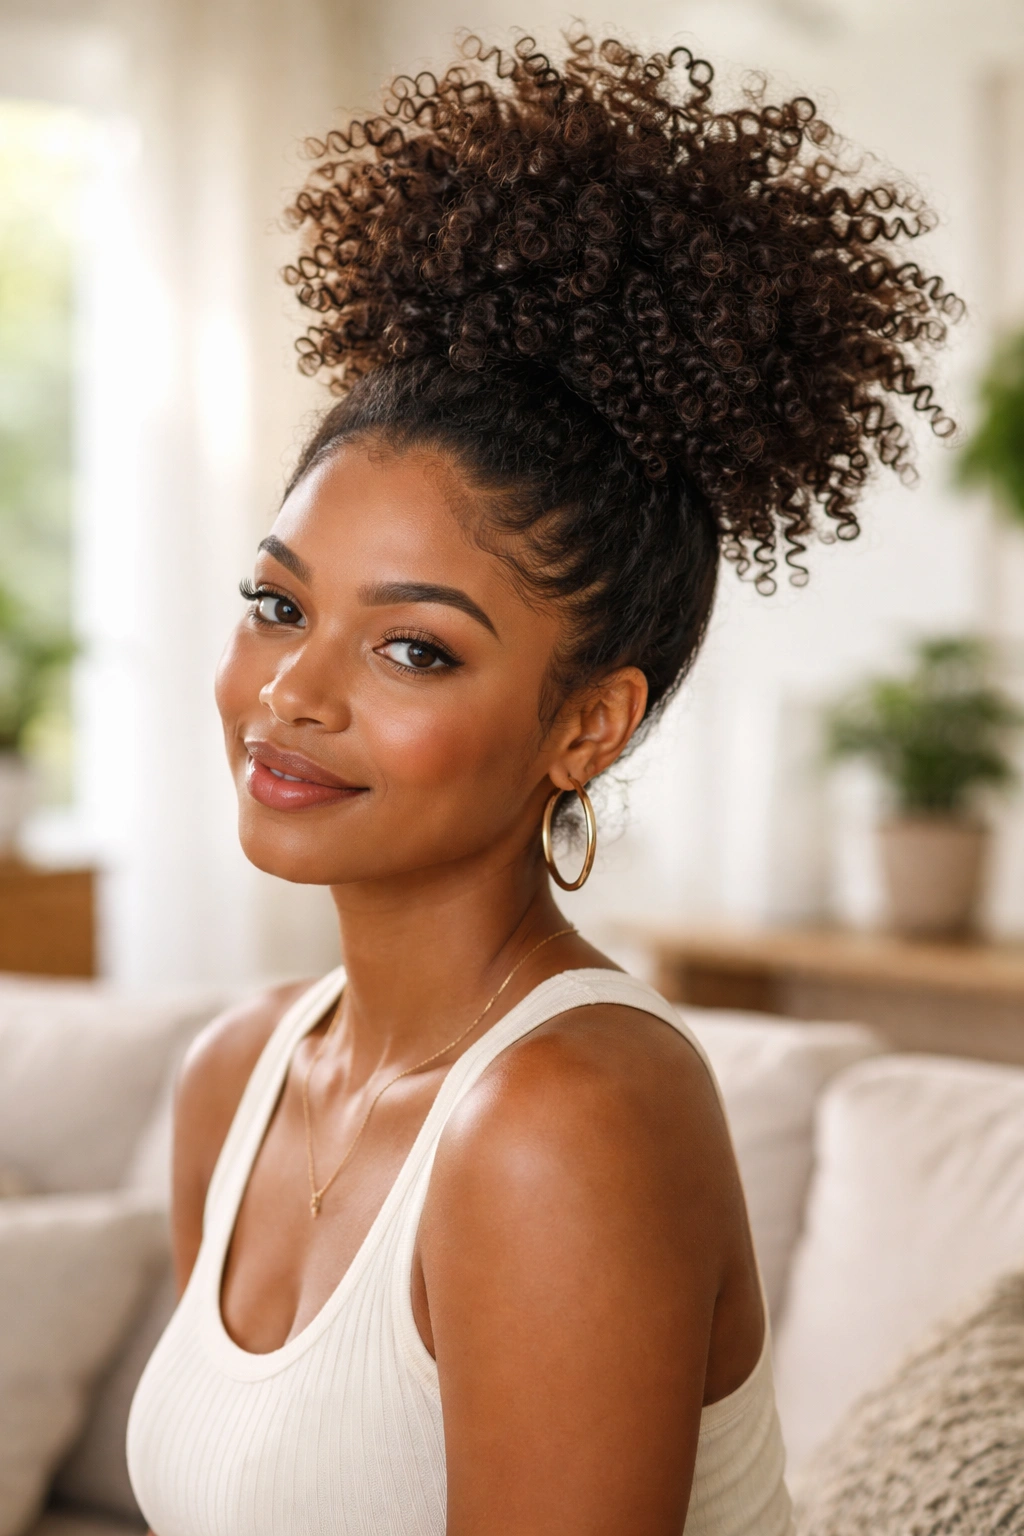
Gather your sponge-defined coils into a high pineapple — loose, high on the crown, fanning outward rather than drooping down. As a daytime style rather than just a protective nighttime look, the pineapple with sponge coils has a genuinely playful, joyful aesthetic.
The coils at the very tips of the pineapple catch light beautifully as they hang. Add a satin scrunchie in a color that complements your outfit for a coordinated, intentional look.
22. Sponge Curl Defined Full Natural
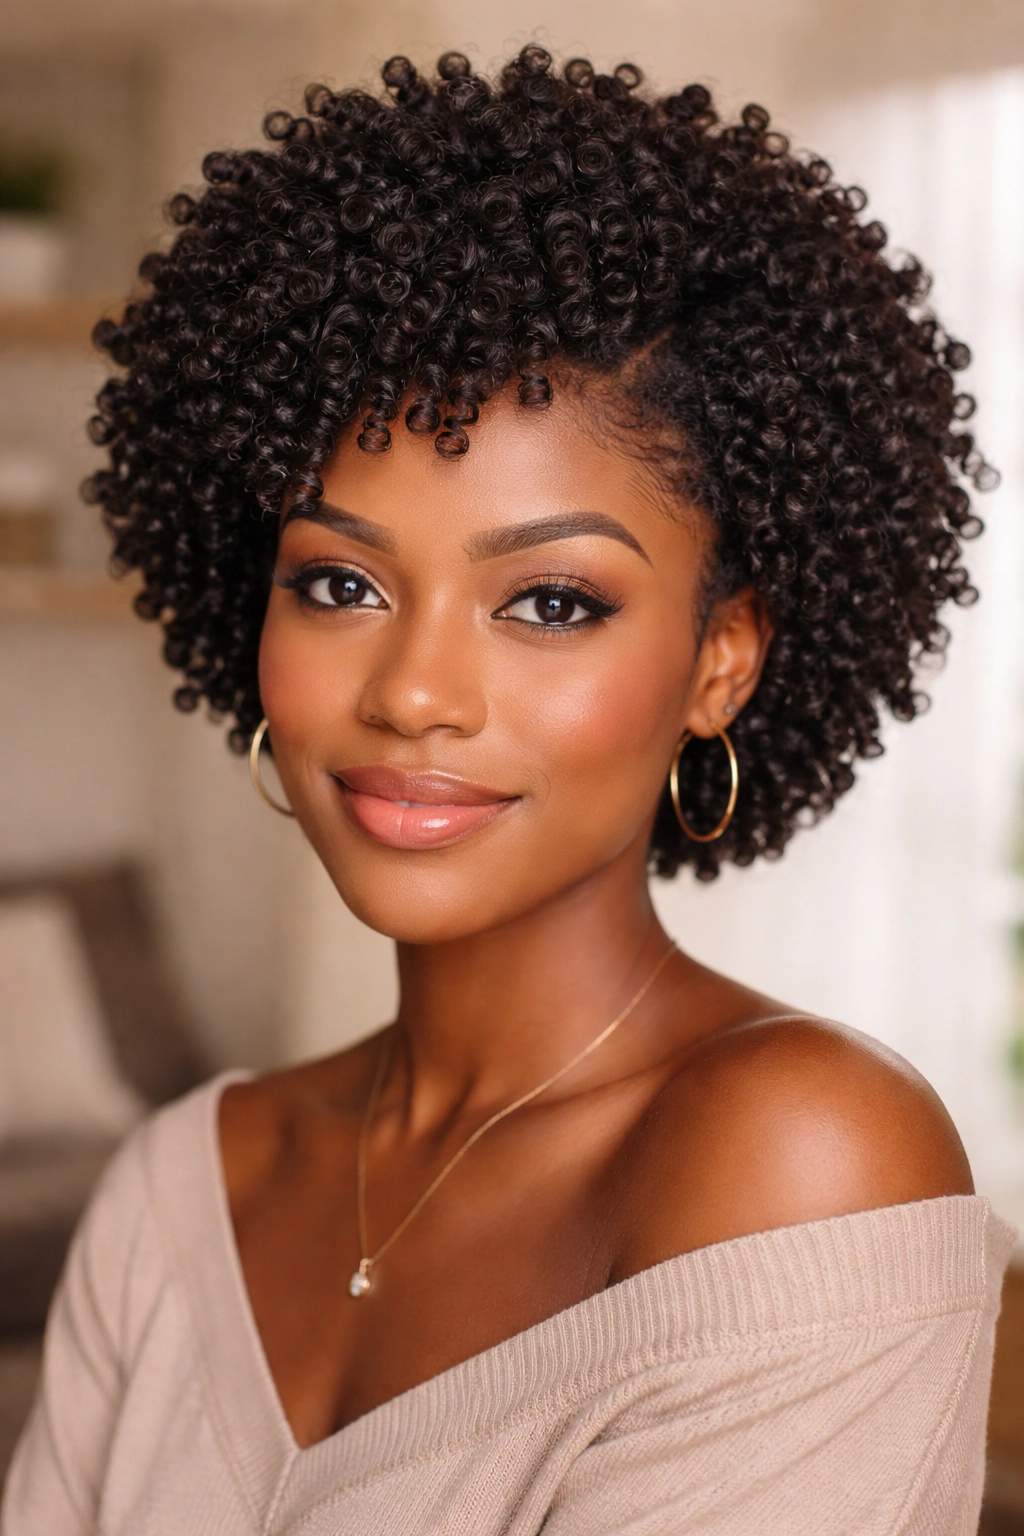
Use the sponge across every section of a full natural — from the nape all the way up to the crown, from the edges to the back — for a completely uniform sponge curl style with coil definition in every section.
Tips for an All-Over Defined Sponge Curl Style
- Work in four sections to maintain moisture levels
- Apply product section by section before sponging
- Use consistent pressure and motion across the whole head
- Let fully dry before touching or styling further
This all-over definition is the most striking sponge curl result possible — a head full of perfectly matched, springy coils that look like an art installation on your head.
23. Sponge Curl Twist-Out Combination
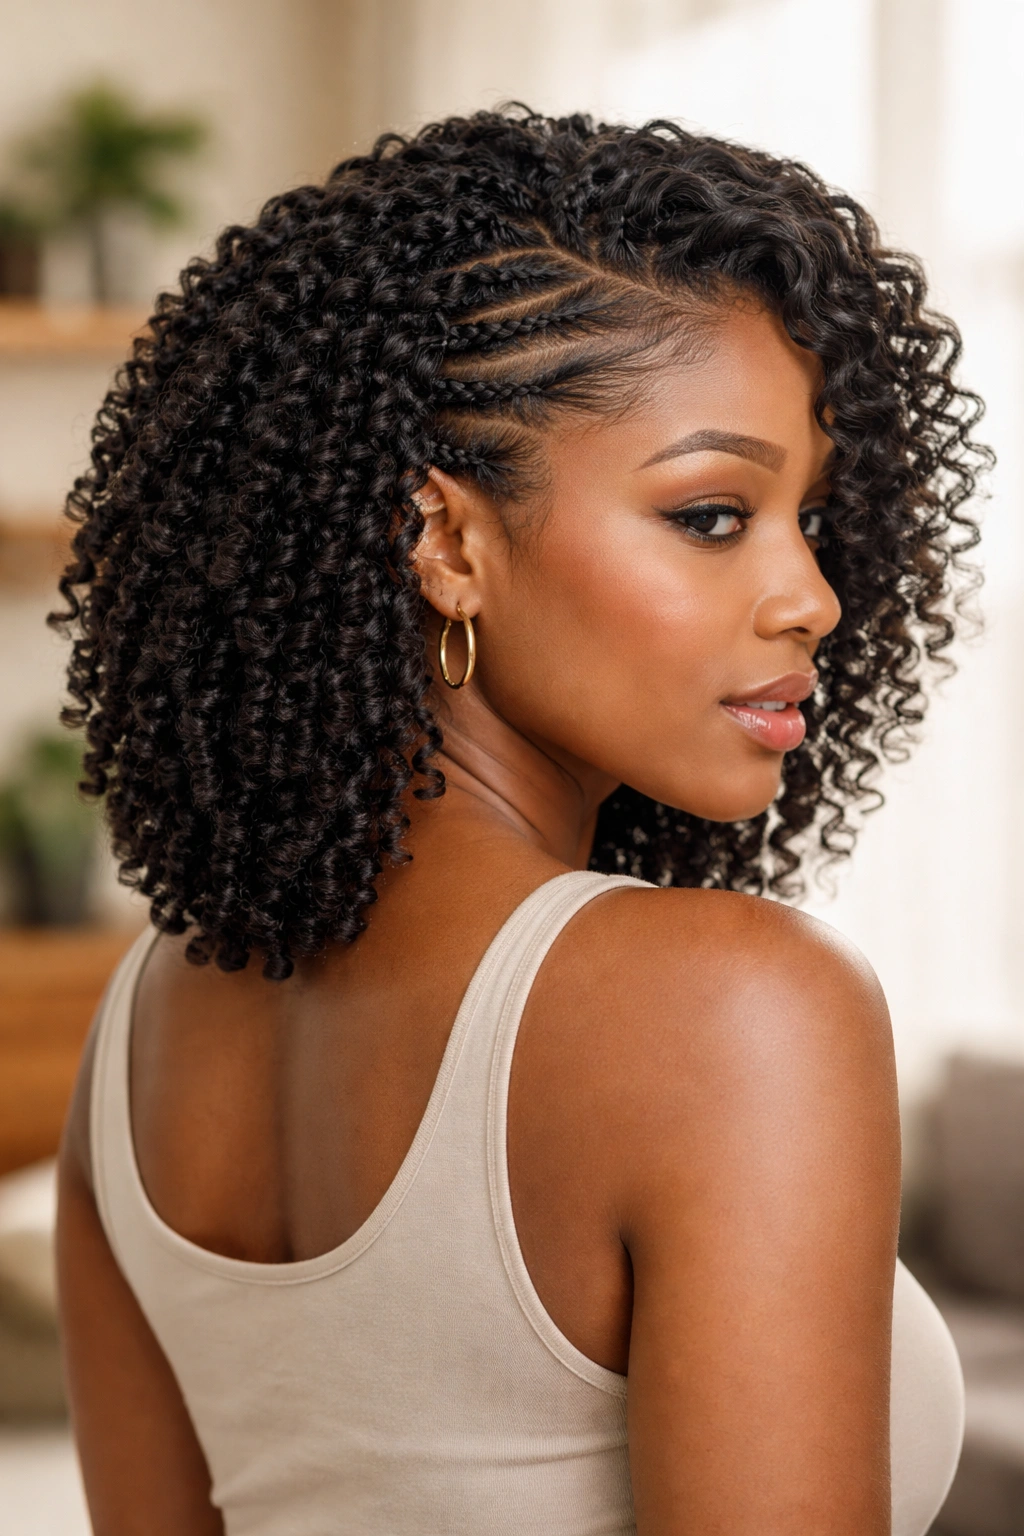
Define the back sections with the sponge and the front sections with twists that you unravel the next morning. The combination of sponge coils at the back and twist-out waves at the front creates a multi-textured style with serious dimension.
Combining techniques this way is underrated — most tutorials treat styling methods as either/or, but mixing them gives you more creative control over the final look.
24. Sponge Curl Low Side Sweep
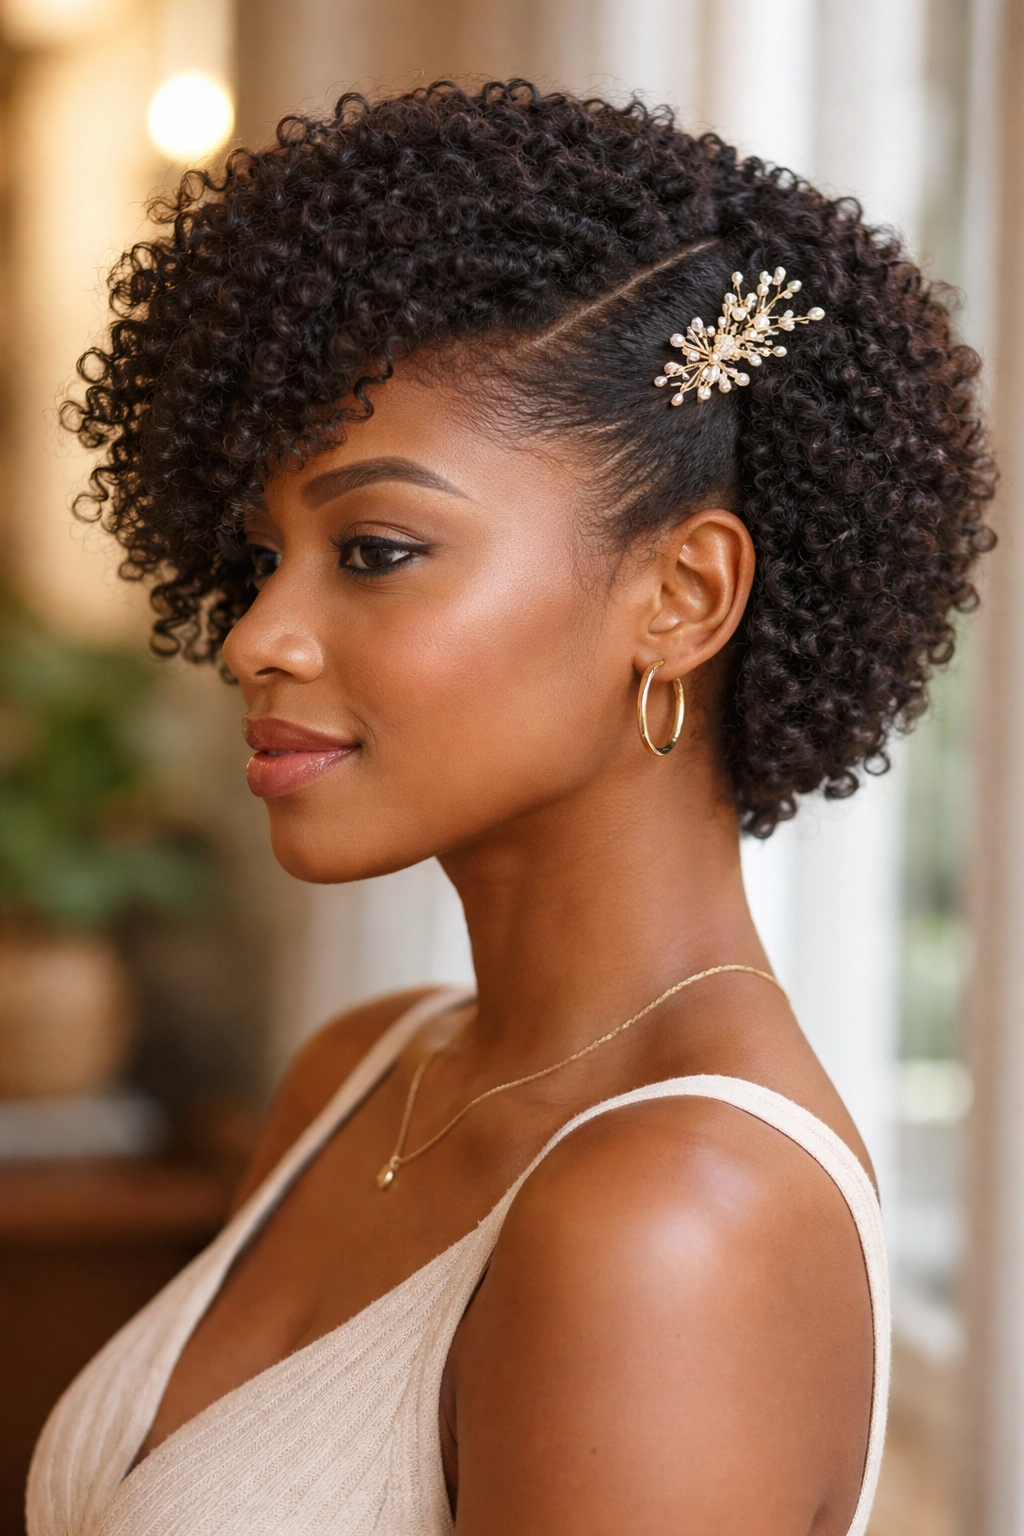
Define your sponge coils all over, then use a wide-tooth comb to gently sweep the front section to one side. The sweep creates a cascading effect where the coils fall forward and to the side in a gentle, flowing motion.
Secure the swept section lightly with a decorative pin or clip just above the ear, leaving the coils to cascade downward from there. This asymmetric look is sophisticated, movement-filled, and absolutely beautiful on natural hair of any length.
How to Care for Your Curl Sponge
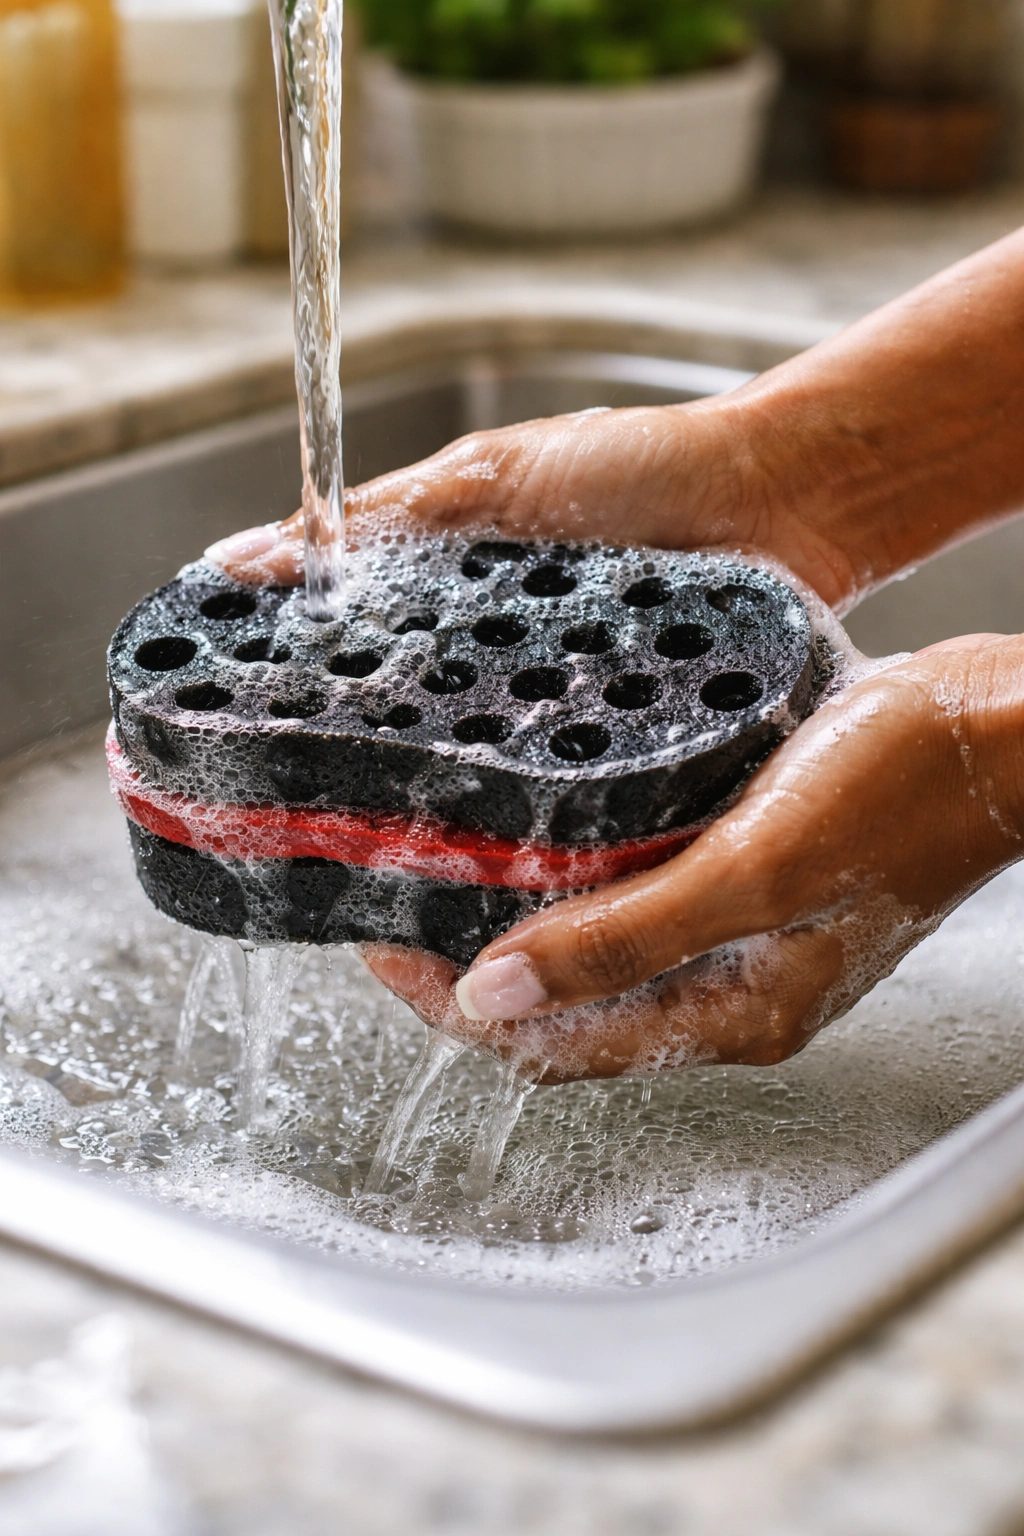
Your curl sponge is a tool that needs maintenance — an uncleaned sponge accumulates product buildup that transfers back to your hair and reduces its effectiveness.
Clean your sponge after every two to three uses by soaking it in warm, soapy water and squeezing it repeatedly until the water runs clear. Let it air dry completely — never store a damp sponge in an enclosed space. Replace it every three to four months, or when the holes start to stretch out or tear.
Maximizing Sponge Curl Longevity
The life of a sponge curl style depends on three things: how well you moisturize before styling, how completely you let the style dry before touching it, and how well you protect it at night.
Rushing the drying process is the single biggest cause of early style failure. A sponge curl style that you touch while it’s still wet — even to rearrange or check — will lose definition in those sections. Set it and leave it. Completely. Every time.
At night, pineapple with a satin scrunchie and cover with a satin bonnet. In the morning, a light mist and a quick sponge refresh over any fuzzy sections extends the style comfortably. With proper protection, sponge curl styles regularly last four to seven days on most natural hair textures.
