



If you’ve ever struggled to get consistent curl definition across your entire head, a wide-tooth comb might be exactly what’s been missing from your routine. Comb curl styles for natural hair use the tines of a comb to distribute product evenly, separate curl clumps, and create a more uniform texture from root to tip. The result is a defined, intentional look that can range from tight and polished to loose and flowing — depending entirely on your technique and the tools you choose. These styles work across textures, across lengths, and across a whole range of occasions.
The Role of the Comb in Natural Hair Styling
The comb has been part of natural hair care for generations, and its role in creating curl definition is still one of the most underappreciated styling tools in any natural’s kit. It’s not just for detangling — though it excels at that too.
A wide-tooth comb distributes product through the hair shaft more evenly than fingers alone. When you’re working with a curl cream, gel, or custard, running a wide-tooth comb through each section ensures that every strand gets coated. No product-rich clumps next to dry, undefined sections. Just even, consistent coverage.
Fine-tooth combs — particularly the Denman brush or a styling comb — take this a step further by defining individual curl patterns and forcing strands to clump together in their natural shape. This is the foundation of the “Denman brush method” that’s become popular among wash-and-go enthusiasts, and it applies equally to comb styling.
The key distinction is knowing which comb to use when. Wide-tooth for detangling and initial product distribution. Fine-tooth or styling comb for defining and clumping. Rat-tail for parting. Each serves a different function.
Choosing the Right Comb for Your Curl Type
Not every comb works for every texture, and using the wrong one can cause more damage than benefit. Getting this right is the first step toward great comb curl styles.
For tighter textures (4a, 4b, 4c): A wide-tooth comb with smooth, rounded tines is your safest option for detangling. Never use a fine-tooth comb on dry 4c hair — that’s a recipe for breakage. For styling, work on thoroughly conditioned, wet hair and use the widest tines you can find that still give you some definition.
For medium textures (3c, 4a): You have more flexibility here. Wide-tooth combs work for detangling, and a medium-tooth styling comb can help define curl clumps on well-conditioned wet hair. The Denman brush functions similarly to a medium comb for these textures.
For looser textures (3a, 3b, 3c): Fine-tooth combs and styling combs can give you gorgeous, precise definition without much risk. These textures also respond beautifully to raking — dragging the comb through product-coated hair quickly to encourage natural curl formation.
Material matters too. Seamless combs are non-negotiable — any rough seam on the tines will snag and break natural hair. Check your comb by running a piece of pantyhose over the tines. If it catches, get a new comb.
The Best Products for Comb Curl Styling
Comb curl styles rely on products with good slip — the quality that allows the comb to glide through the hair without snagging or causing friction. Without slip, combing through natural hair is painful and damaging.
Leave-in conditioner is your slip foundation. Apply it generously to each section before any combing, and make sure your hair is still wet when you do. Slip improves dramatically when the hair is fully saturated.
On top of the leave-in, a curl cream or custard provides the weight and definition you need for comb curl styles. Work it through each section with the comb, making sure to coat every strand from root to tip. The comb should move smoothly through the section — if it’s catching, add more product or more water.
For long-lasting hold, layer a light gel on top of your cream. Apply it over the cream using the comb to distribute evenly, then let the hair dry completely without touching it. The comb-applied gel creates a cast around each curl that holds definition for days.
Comb Curl Styling Techniques: From Basic to Advanced
There are several different ways to use a comb for curl definition, and the technique you choose determines the final look you achieve. Understanding the options helps you pick the right approach for the style you want.
The rake-through method is the most basic: apply product to a section and rake the comb straight through from root to tip. This distributes product evenly and allows the hair to fall into its natural curl pattern as it dries. It’s quick, easy, and produces a more natural, less-defined result.
The scrunch-and-comb method combines combing with scrunching for more defined results. Comb product through the section first, then cup the ends and scrunch upward to encourage curl clumping. The combination of the comb’s precision and the scrunching motion’s encouragement produces much better definition than either technique alone.
The Denman brush method uses a brush with rows of rubber pins to systematically define and clump curls. It works similarly to a comb but with more control over exactly how curls are grouped together. Many naturalistas with 4a hair swear by this for their best wash-and-go results.
Protecting Comb Curl Styles for Maximum Longevity
Getting the definition is one thing. Keeping it is another. Comb curl styles can last three to five days with proper care — but only if you take the right steps to protect them.
Pineappling is non-negotiable. Gather your curls loosely at the crown each night using a satin scrunchie, and let them fan outward rather than drooping down. This preserves curl clumping and prevents the weight of your hair from flattening the roots overnight.
A satin bonnet or silk pillowcase provides the second layer of protection. Cotton is your enemy — it absorbs moisture and creates friction that destroys curl definition by morning.
For refreshing on days two and three, mix water with a small amount of leave-in conditioner in a spray bottle and mist lightly over the hair. Let it absorb, then use a wide-tooth comb very lightly — just enough to resettle any sections that have gone fuzzy — before letting it air dry again.
1. Classic Rake-Through Wash-and-Go
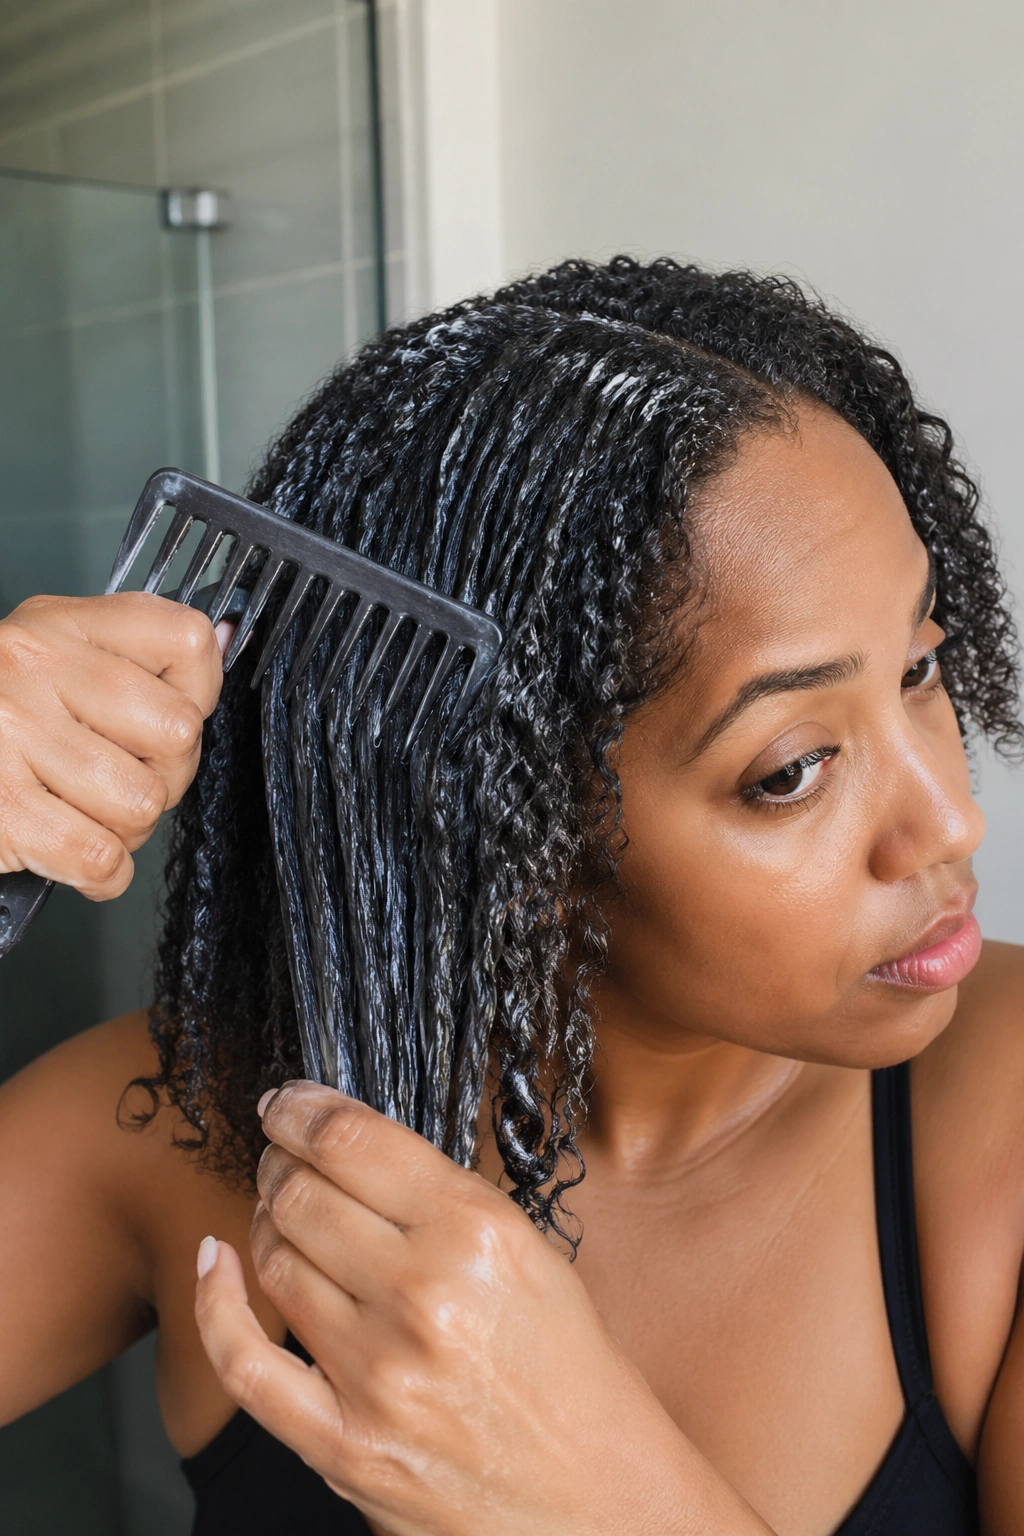
The rake-through is the entry point for comb curl styling — straightforward, fast, and genuinely effective when done correctly.
The secret is working on absolutely saturated hair. Not damp. Not towel-dried. Actively wet, straight from the shower or from a thorough misting. Rake your wide-tooth comb through each section with your styling product already applied, working root to tip in smooth, continuous strokes.
How to Achieve the Classic Rake-Through
- Section hair into four to eight parts
- Apply leave-in conditioner to each section
- Rake curl cream through from root to tip
- Follow with gel, raked through the same way
- Diffuse or air dry without touching
The rake-through gives you a voluminous, defined wash-and-go with a natural look rather than an ultra-polished one. It’s perfect for everyday wear.
2. Denman Brush Comb Curl Style
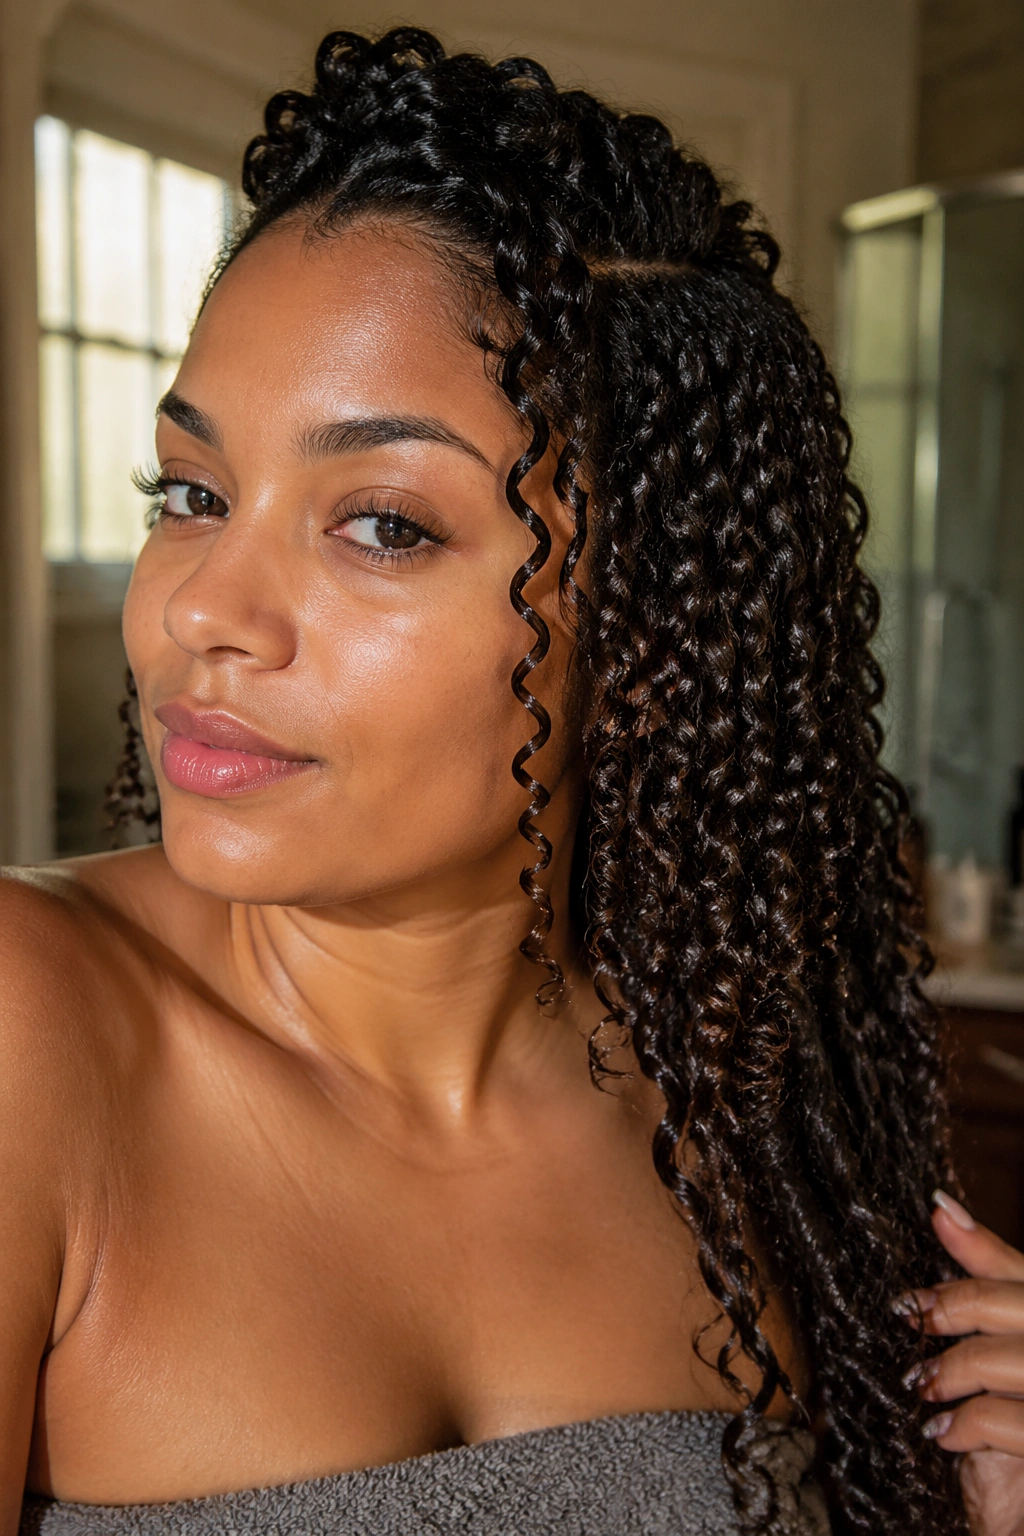
The Denman brush is technically a brush, but it functions as a precision comb for curl definition — and the results are some of the most beautiful wash-and-go styles you’ll ever achieve. Each row of rubber pins separates strands and clumps them together in a way fingers and standard combs can’t replicate.
Apply your styling product to a section, then use the Denman brush to rake through from root to tip, pulling the brush down and then curling it under at the ends to encourage the curl to close on itself. Repeat two to three times per section for maximum definition.
This technique changed wash-and-go results for a generation of naturalistas — and it still holds up as one of the most effective comb-adjacent curl styling methods available.
3. Two-Strand Twist with Comb Prep
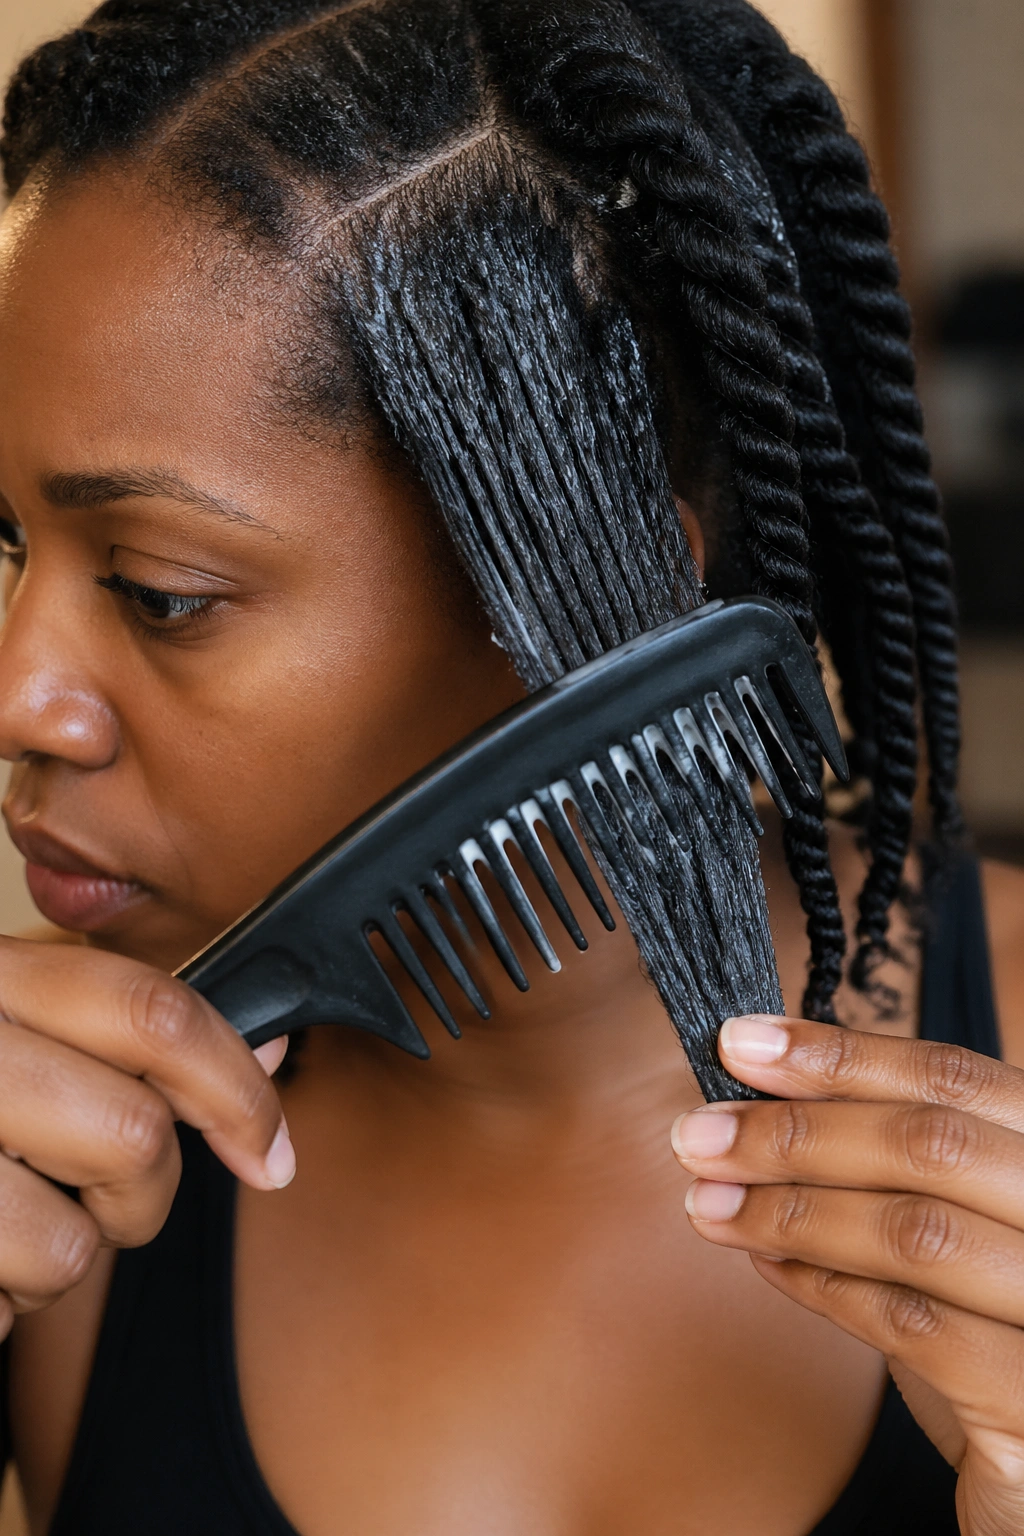
Use your wide-tooth comb to thoroughly distribute product before twisting each section. The comb ensures the styling cream or custard coats every strand — not just the ones your fingers contacted — which means every part of the twist is well-moisturized and defined.
Steps for Comb-Prepped Twist-Out
- Apply leave-in to each section
- Rake through with wide-tooth comb
- Apply curl cream and rake again
- Twist from root to tip
- Unravel the next morning for defined curls
The comb-prepped twist-out produces more uniform definition than a product-applied-by-hand twist because the distribution is more even. The resulting curl pattern is consistent from section to section rather than patchy.
4. Braid-Out with Comb Definition
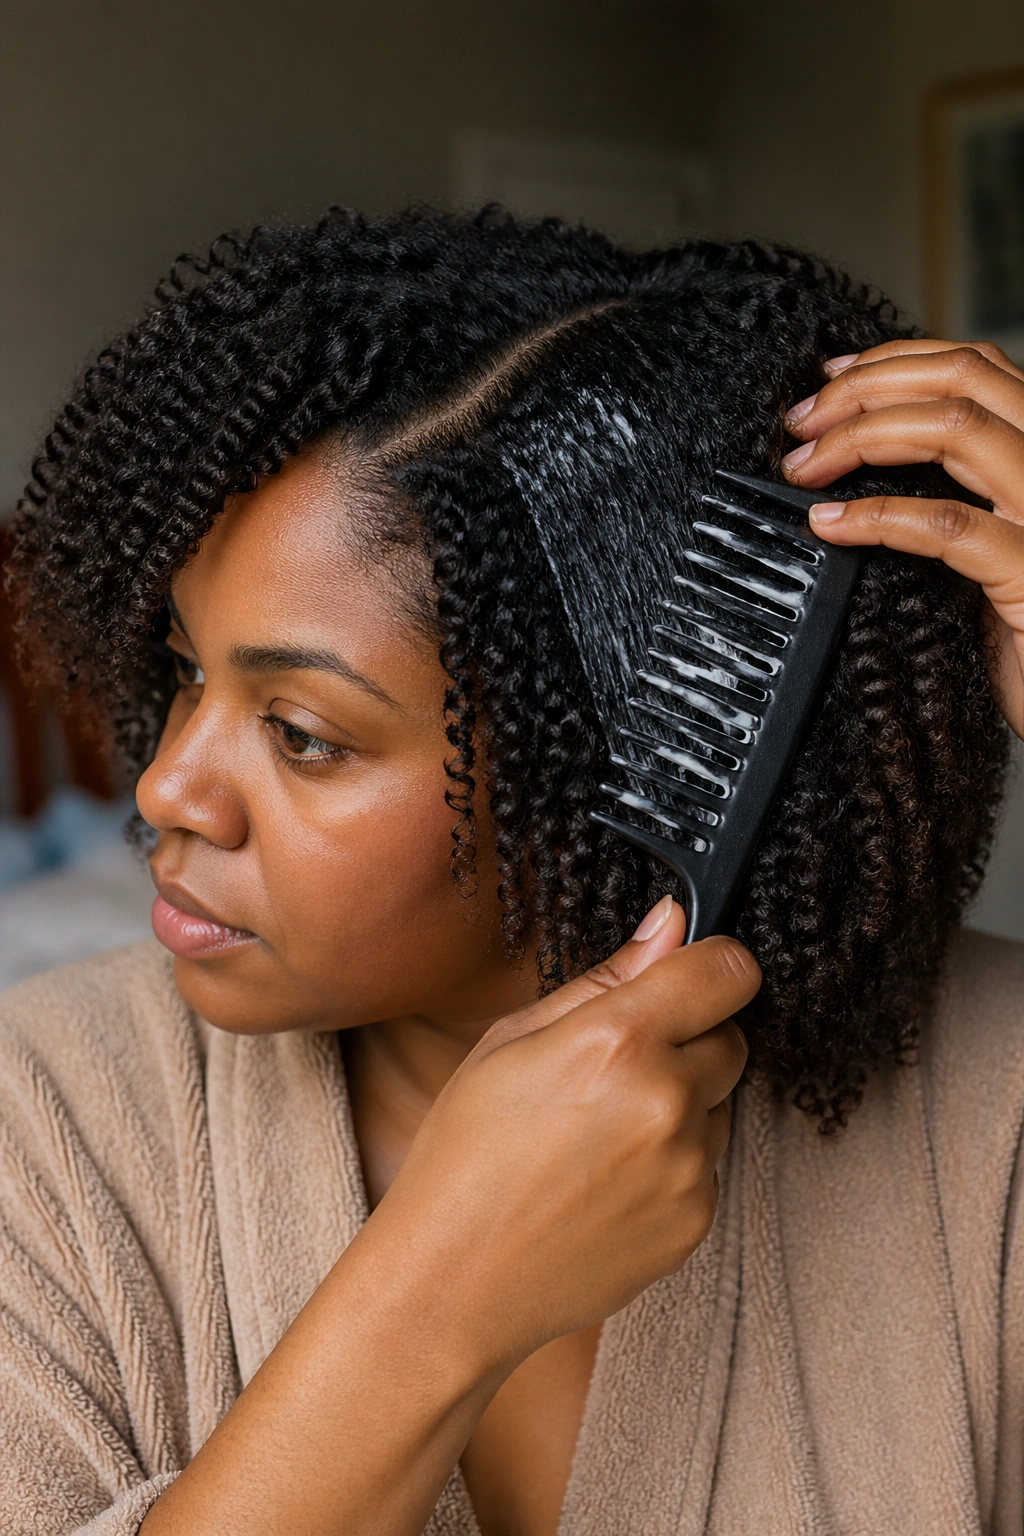
Comb your product through each section before braiding for a braid-out with significantly more definition and shine than the standard method. The comb opens each strand and lets the product coat the full surface area, which means the braid-out pattern sets more crisply.
Braid in medium sections for a deep wave pattern, or smaller sections for a more defined, tighter curl. The comb-prep makes the most difference in the final look when sections are smaller — there’s more surface area to coat, and the comb does a better job than fingers at reaching all of it.
This works especially well on stretched hair — thread or band first, then braid with comb-distributed product for a braid-out with incredible elongation.
5. Finger Coil with Comb Starter
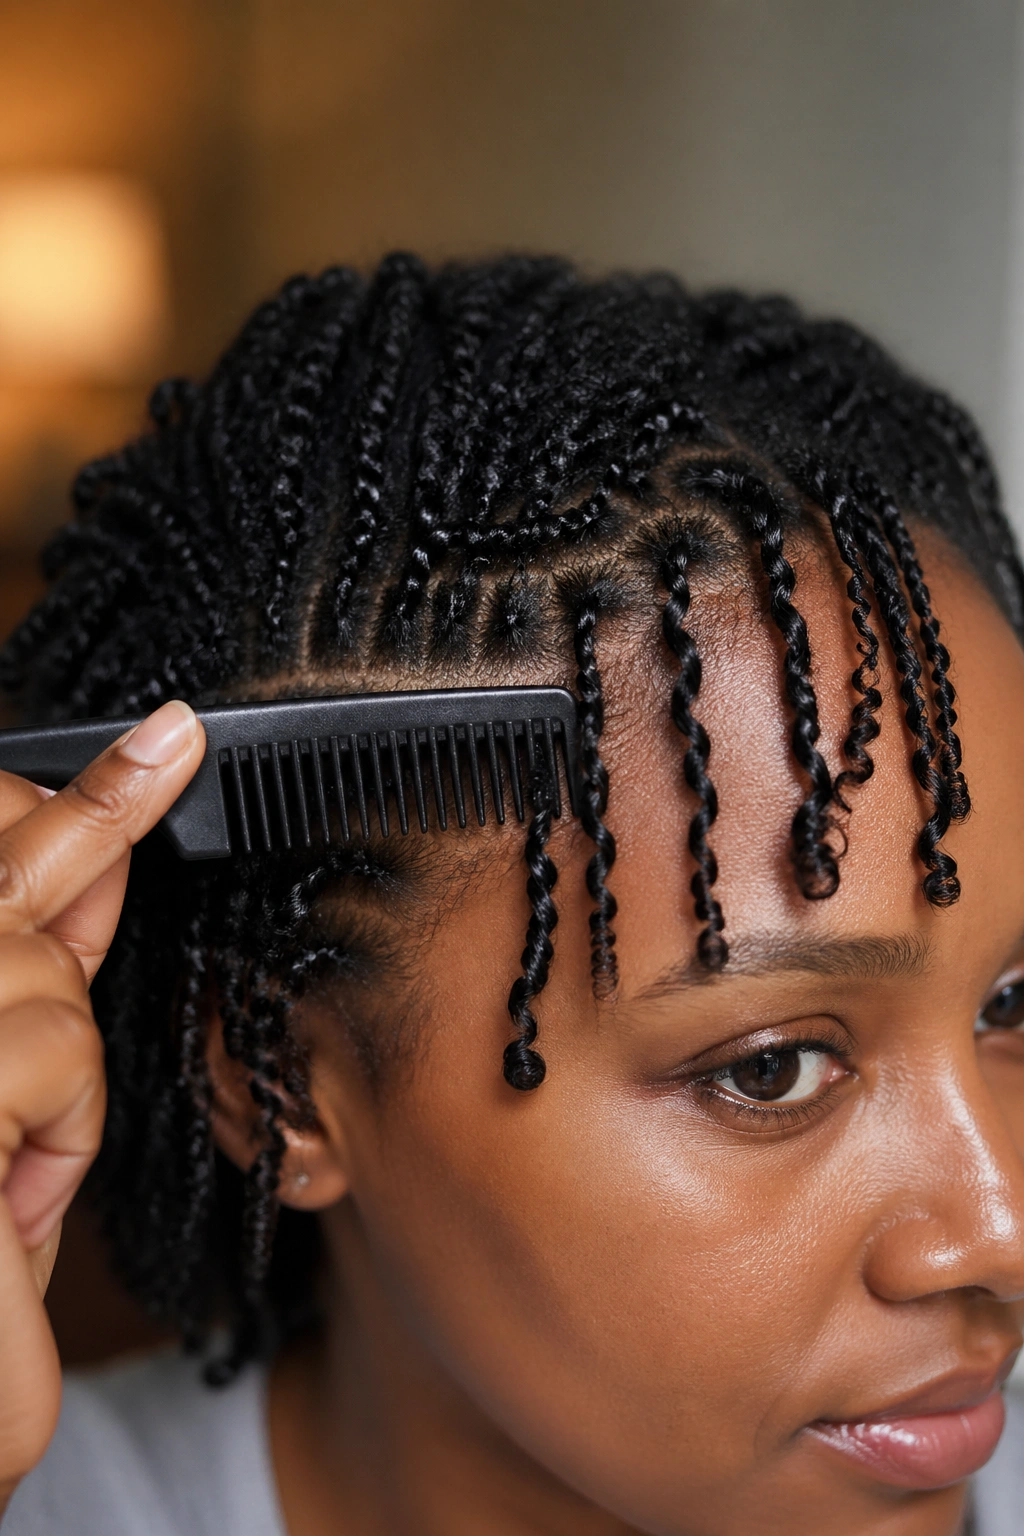
Finger coiling on its own is time-intensive but effective. Adding a comb to the beginning of each coil section makes it even more so. Use the comb to distribute product first, then take the tip of a fine-tooth comb’s end and use it to guide individual strands into a coil pattern.
The comb starter method gives you more precision than fingers alone — especially useful on very fine or slippery strands that tend to slip out of your coil before you can finish it.
Work in very small sections and let each coil fully dry before touching. The combination of comb-prep and finger coiling produces the most defined, long-lasting curl pattern of any styling method.
6. High-Puff Comb Curl Style
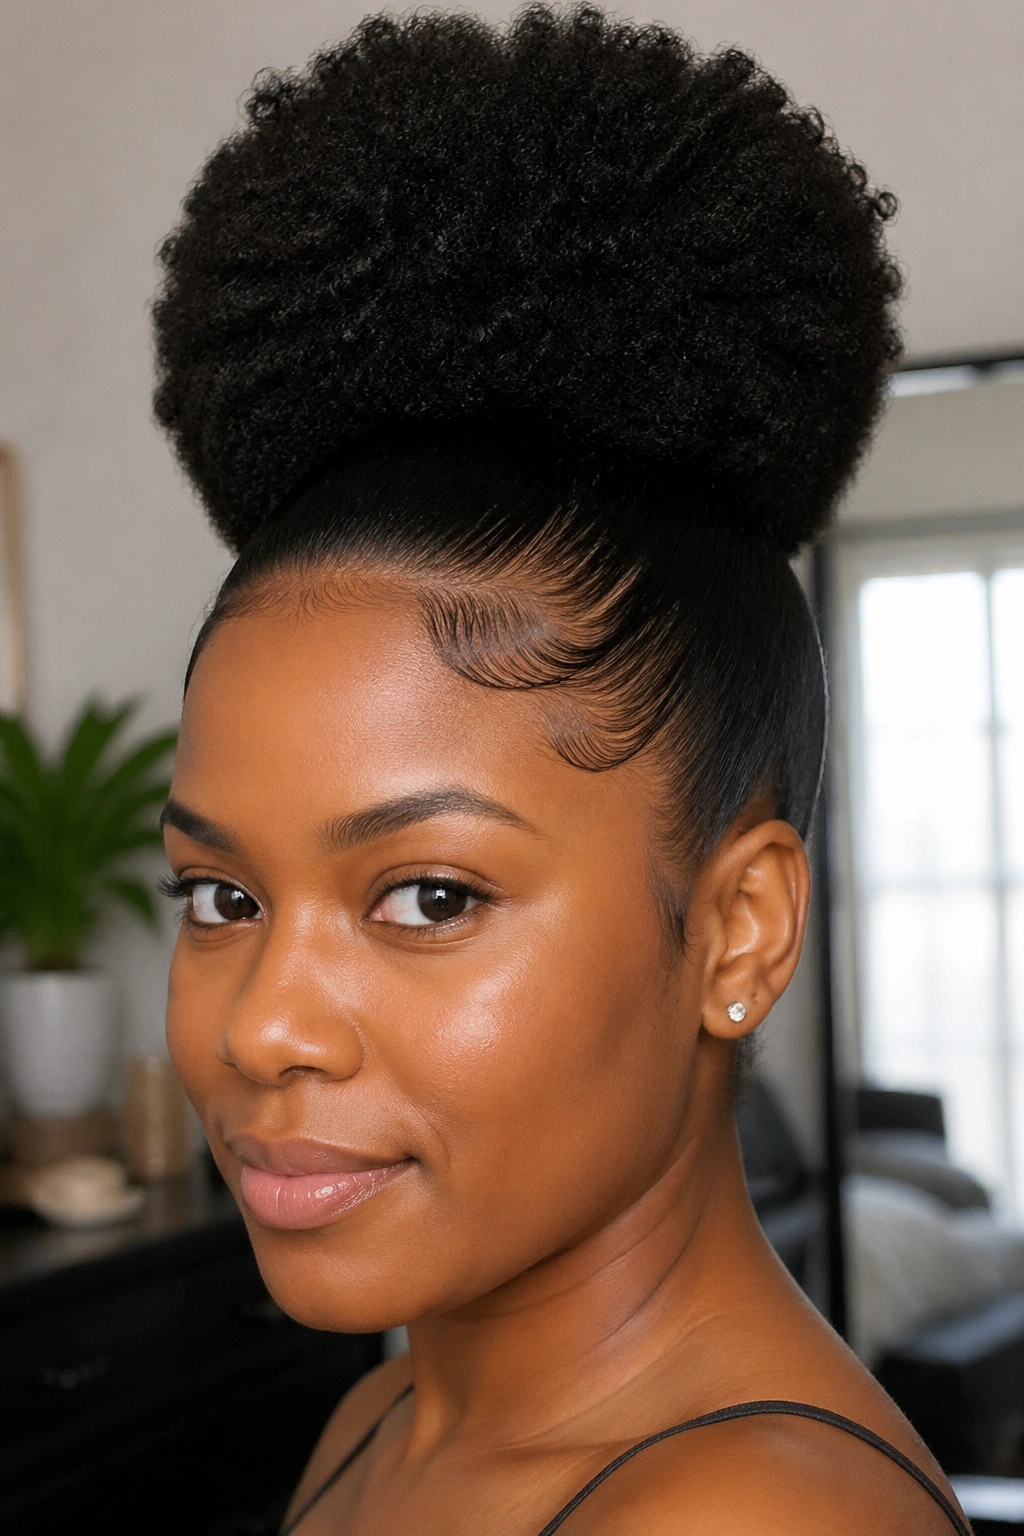
A comb-defined wash-and-go pulled into a high puff is a style that’s both protective and beautiful. The key difference from a regular puff is that the edges of this style are defined with a comb — not just laid with edge control.
How to Create a Comb-Defined High Puff
- Achieve your comb curl wash-and-go
- Gather hair loosely into a high puff with a satin scrunchie
- Use a styling comb to define and smooth the perimeter
- Apply edge control and use the comb to lay baby hairs
The precision of the comb gives this puff a polished, intentional quality that finger-styling alone often misses.
7. Comb Curl Defined Bob
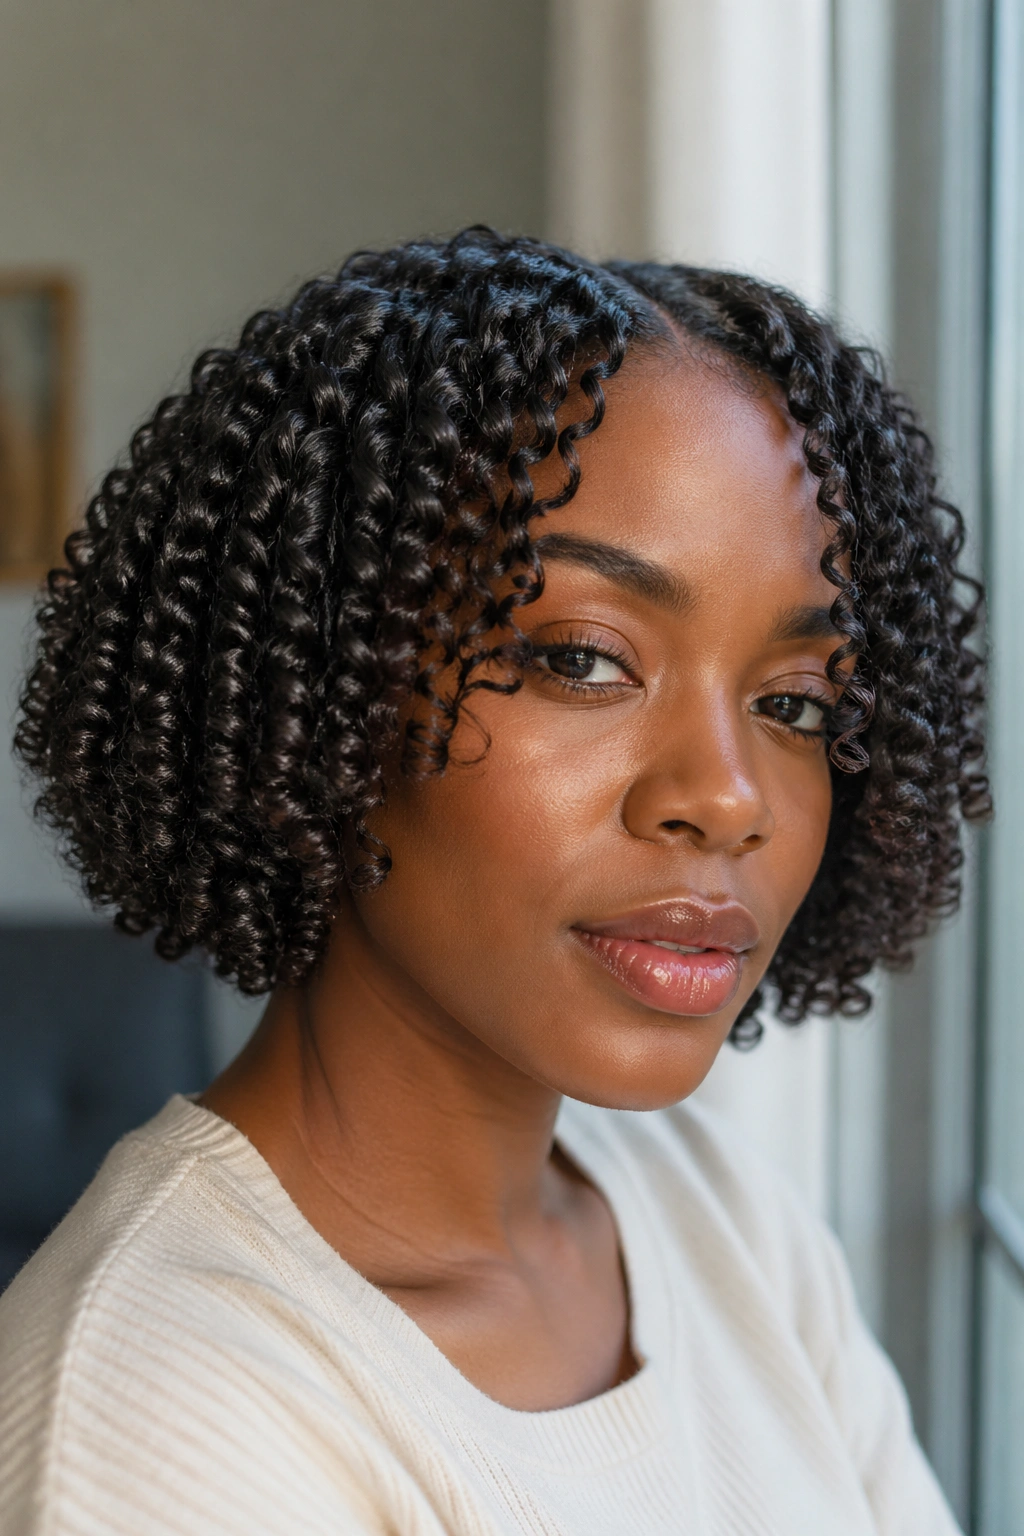
For naturals with chin-to-shoulder-length hair, a comb curl defined bob is one of the most sophisticated looks in the natural hair repertoire. Use the comb to create precise curl definition through every section, then let the hair fall into its natural bob shape as it dries.
Work section by section from nape to crown, combing product through each piece from root to tip. The bob shape will emerge naturally as the curls dry — as long as the ends are well-defined and have enough product weight to hang rather than spring upward.
A light mist of shine spray once the hair is fully dry makes this style look genuinely stunning. The comb definition shows individual strands catching light differently, which creates a beautiful dimensional effect.
8. Comb Curl Side Sweep
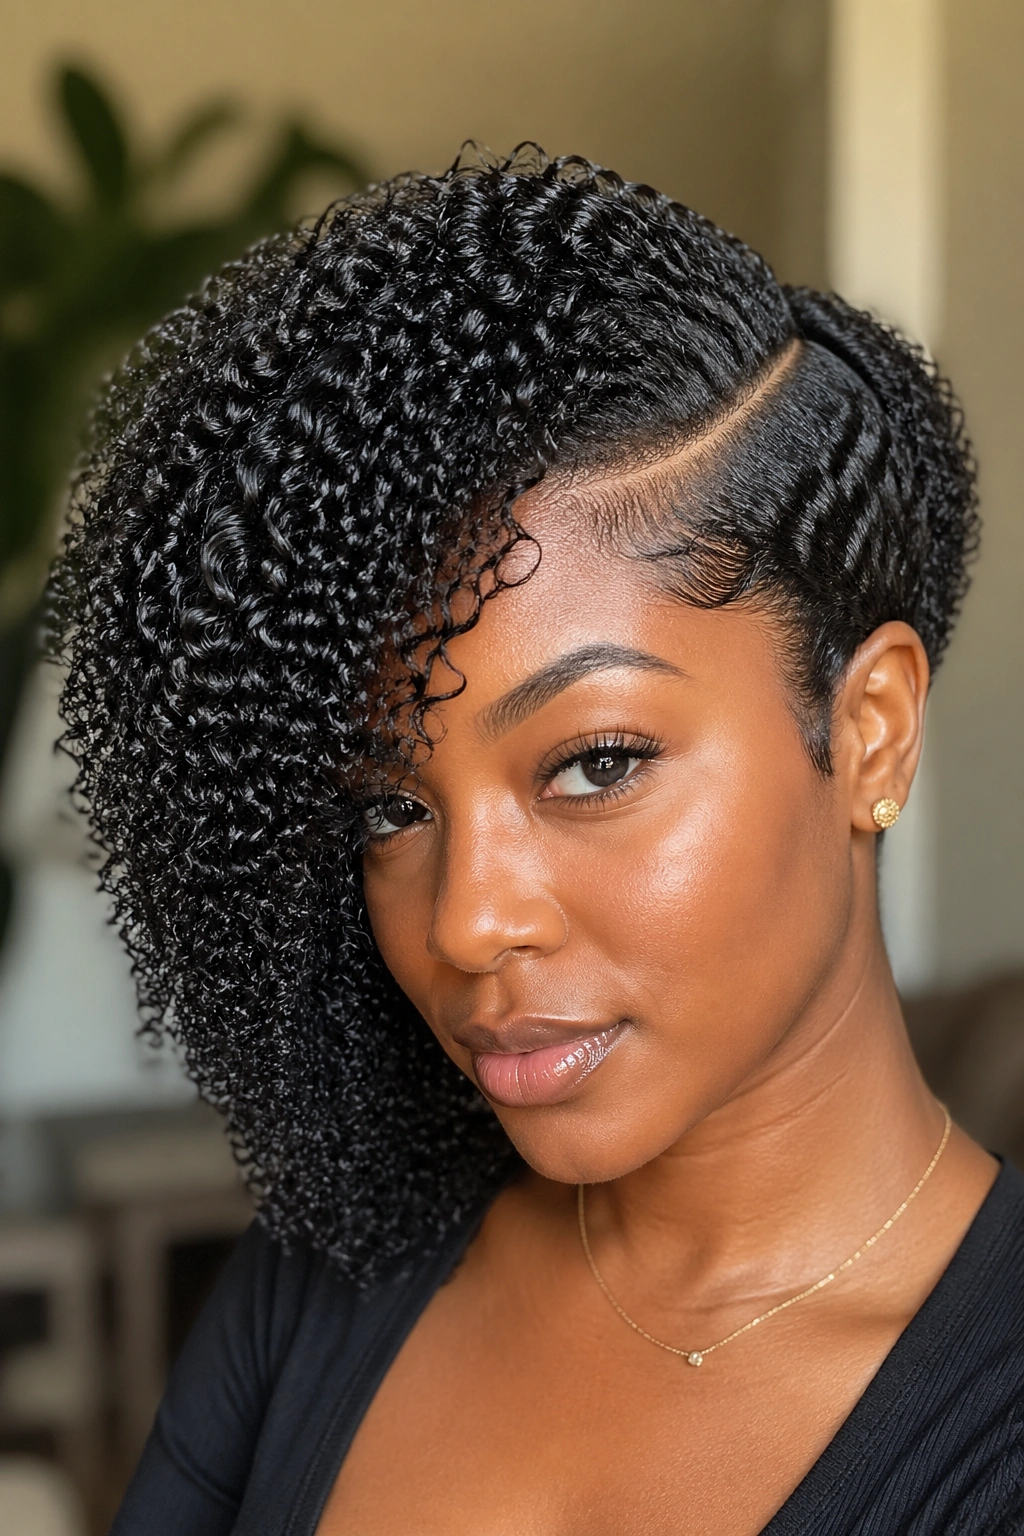
Create a deep side part using the tail of your rat-tail comb, then use a wide-tooth comb to define the curl pattern on each side differently. The heavier side — the one with more hair — gets defined downward and forward for a dramatic sweep effect. The lighter side gets defined upward and back.
The resulting asymmetry is graphic and fashion-forward. It’s a wash-and-go variation that looks like significantly more effort went into it than actually did.
Use edge control on both sides of the part to keep it crisp and defined for the full day.
9. Comb Curl Updo
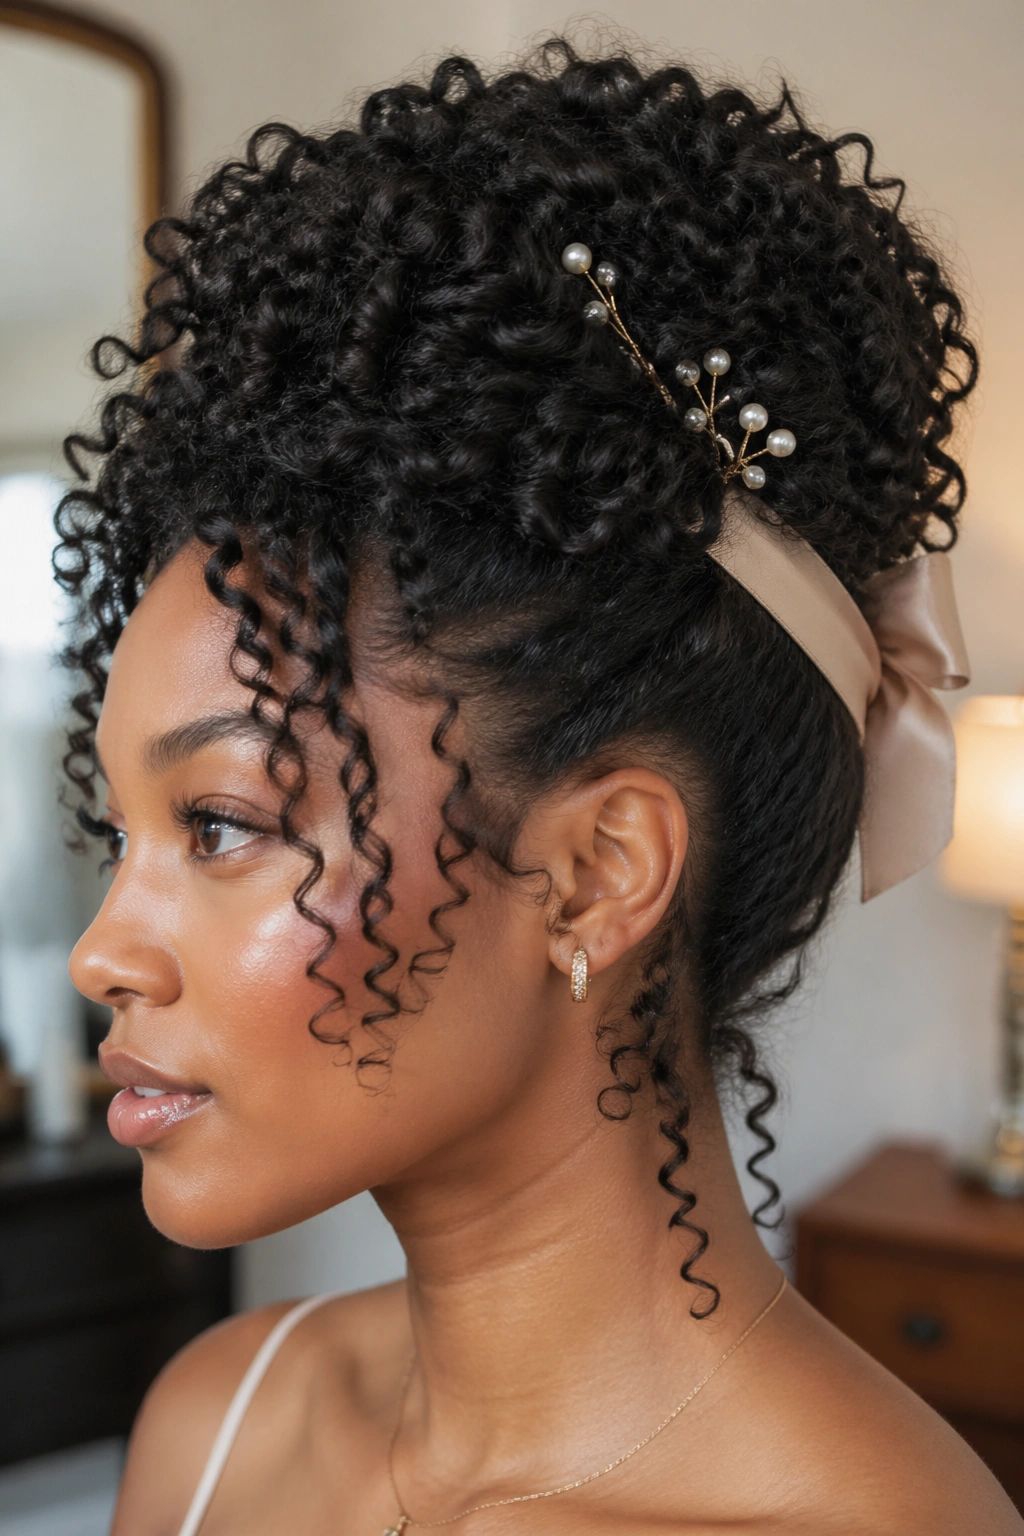
Define your s curls with a comb, let them dry fully, then gather them into a loose updo secured with pins. The fact that each section is already well-defined means the updo has visible texture and dimension rather than looking like a undefined mass of hair.
Pull a few coils loose at the face and nape. Use a comb to touch up any sections that got compressed during gathering. Add decorative pins or a satin ribbon tied around the base of the updo for a polished finishing touch.
10. Comb Curl Tapered Style
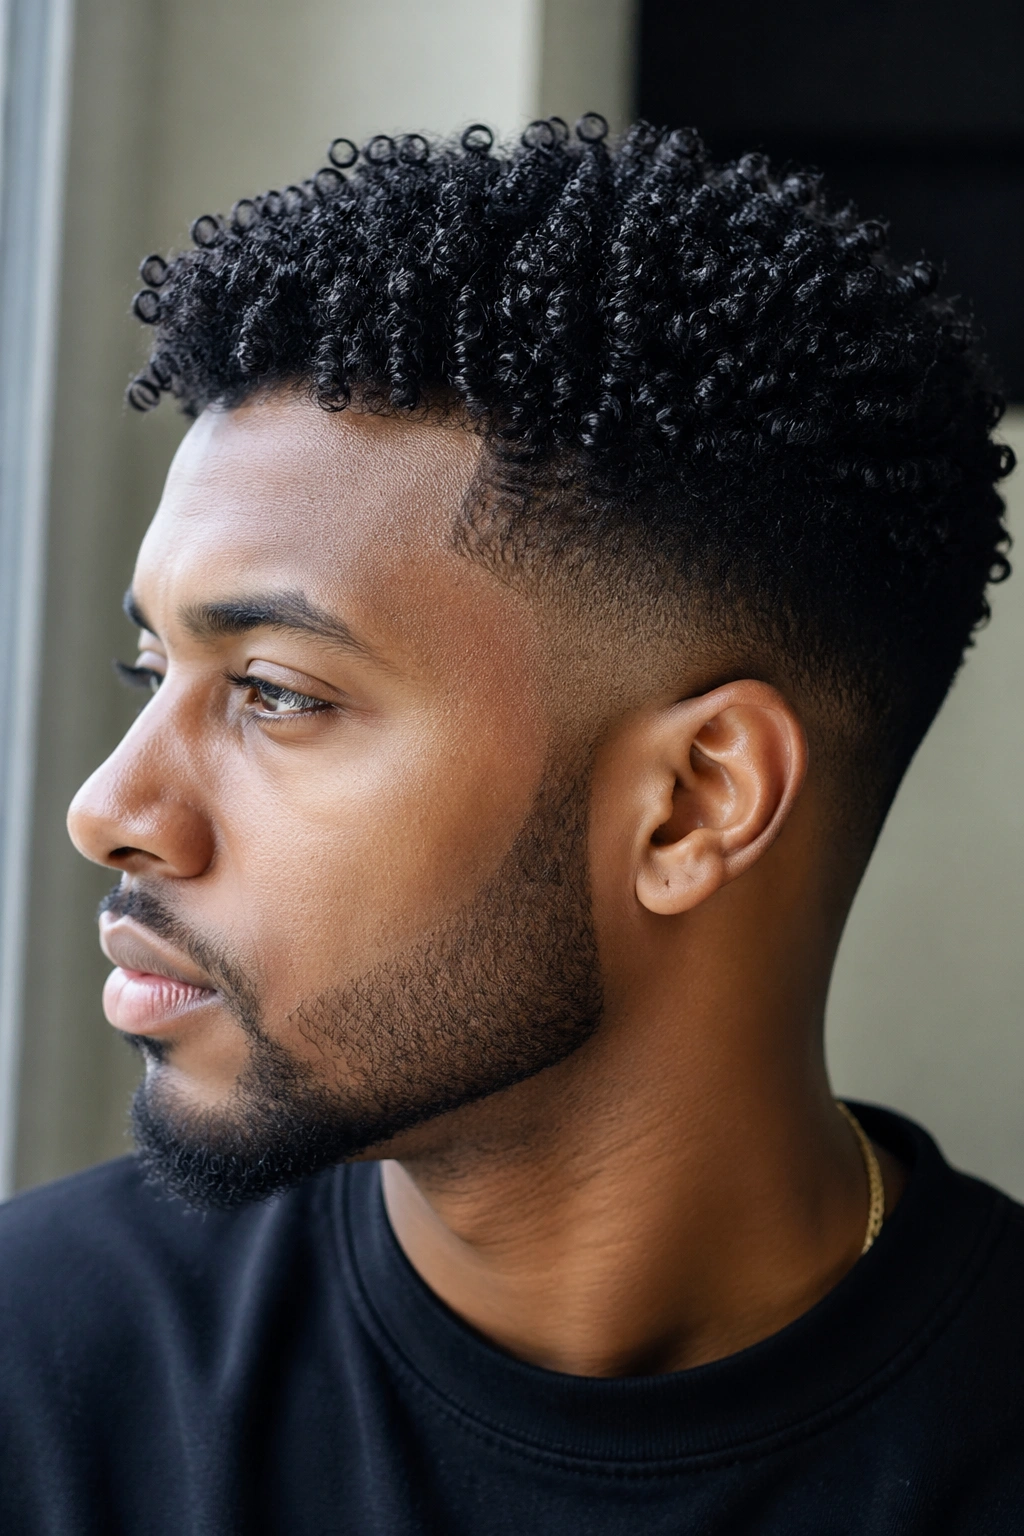
A tapered cut creates a natural structure that comb curl styles absolutely work with. Define the top section with a wide-tooth comb for full, voluminous curls, then use a finer comb on the shorter sides to create a tighter, more controlled curl pattern.
The contrast between the textures at different lengths is what makes this style so visually interesting. And because a tapered cut reduces the overall volume of the style, it’s extremely manageable even on the thickest, densest textures.
This is a low-maintenance style option for naturals who want definition without spending hours on a wash day.
11. Comb Curl Mohawk
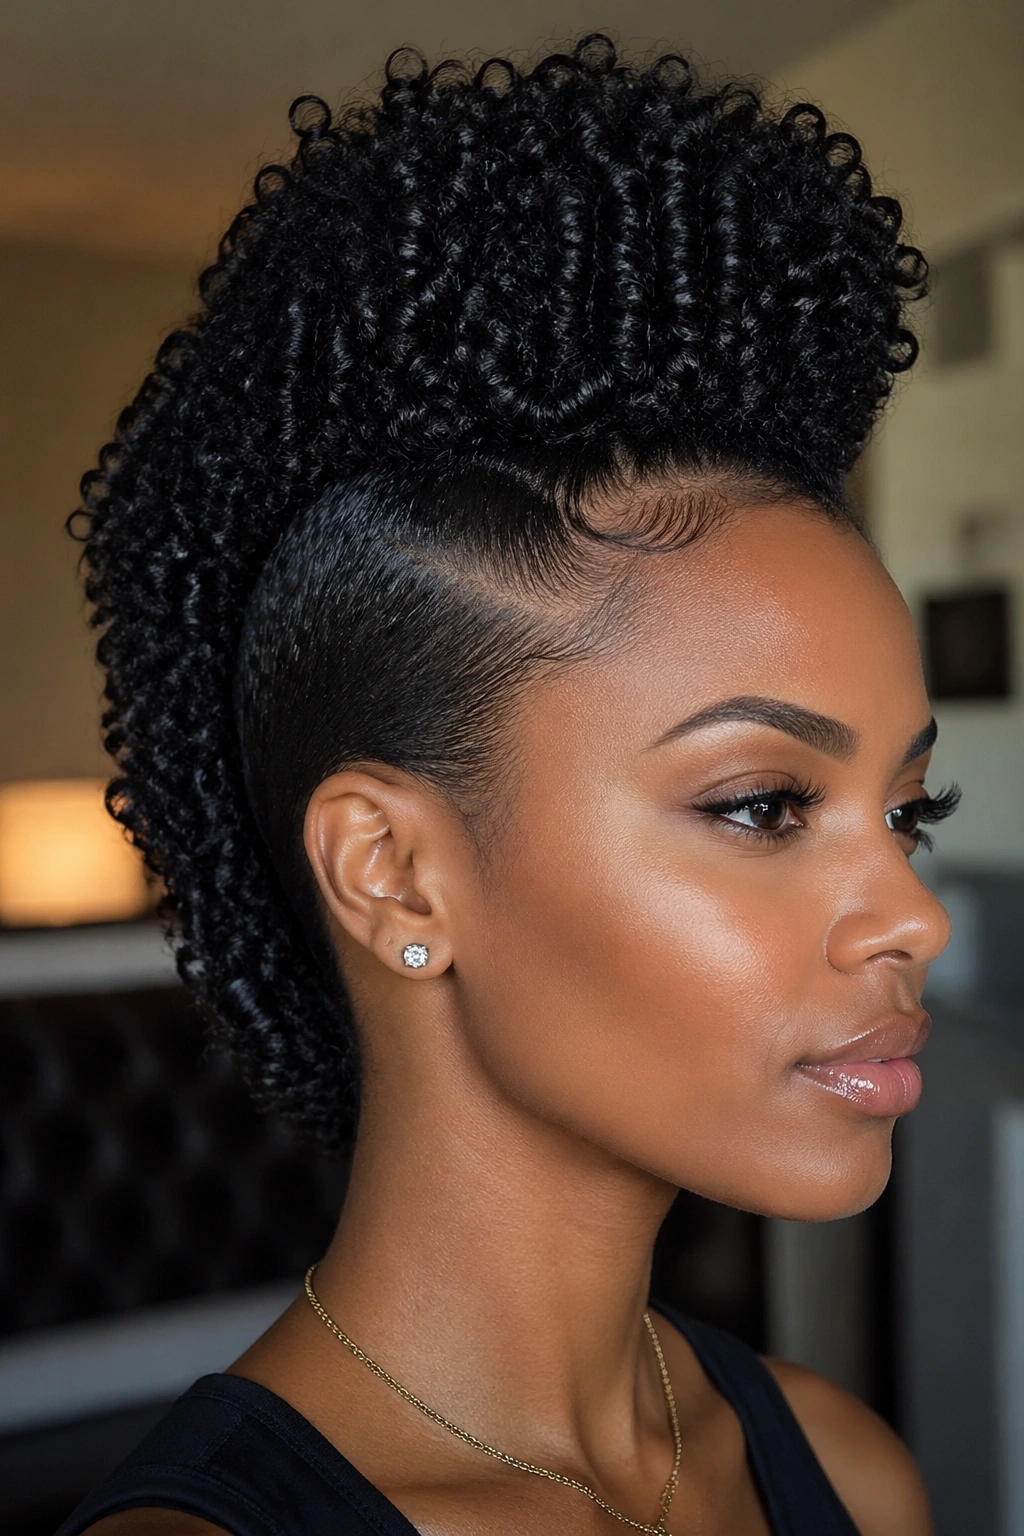
Pin or braid the sides of your comb-defined wash-and-go flat against the head, leaving a strip of defined curls running from forehead to nape. The precision of comb-defined curls in the mohawk strip makes this style look remarkably polished.
Comb Curl Mohawk Steps
- Complete your comb curl wash-and-go
- Let the hair fully dry
- Pin or flat braid the sides flat
- Smooth with edge control
- Let the center strip stand tall
Add a little volumizing mousse to the center strip before it dries for extra height and presence.
12. Comb Curl Frohawk
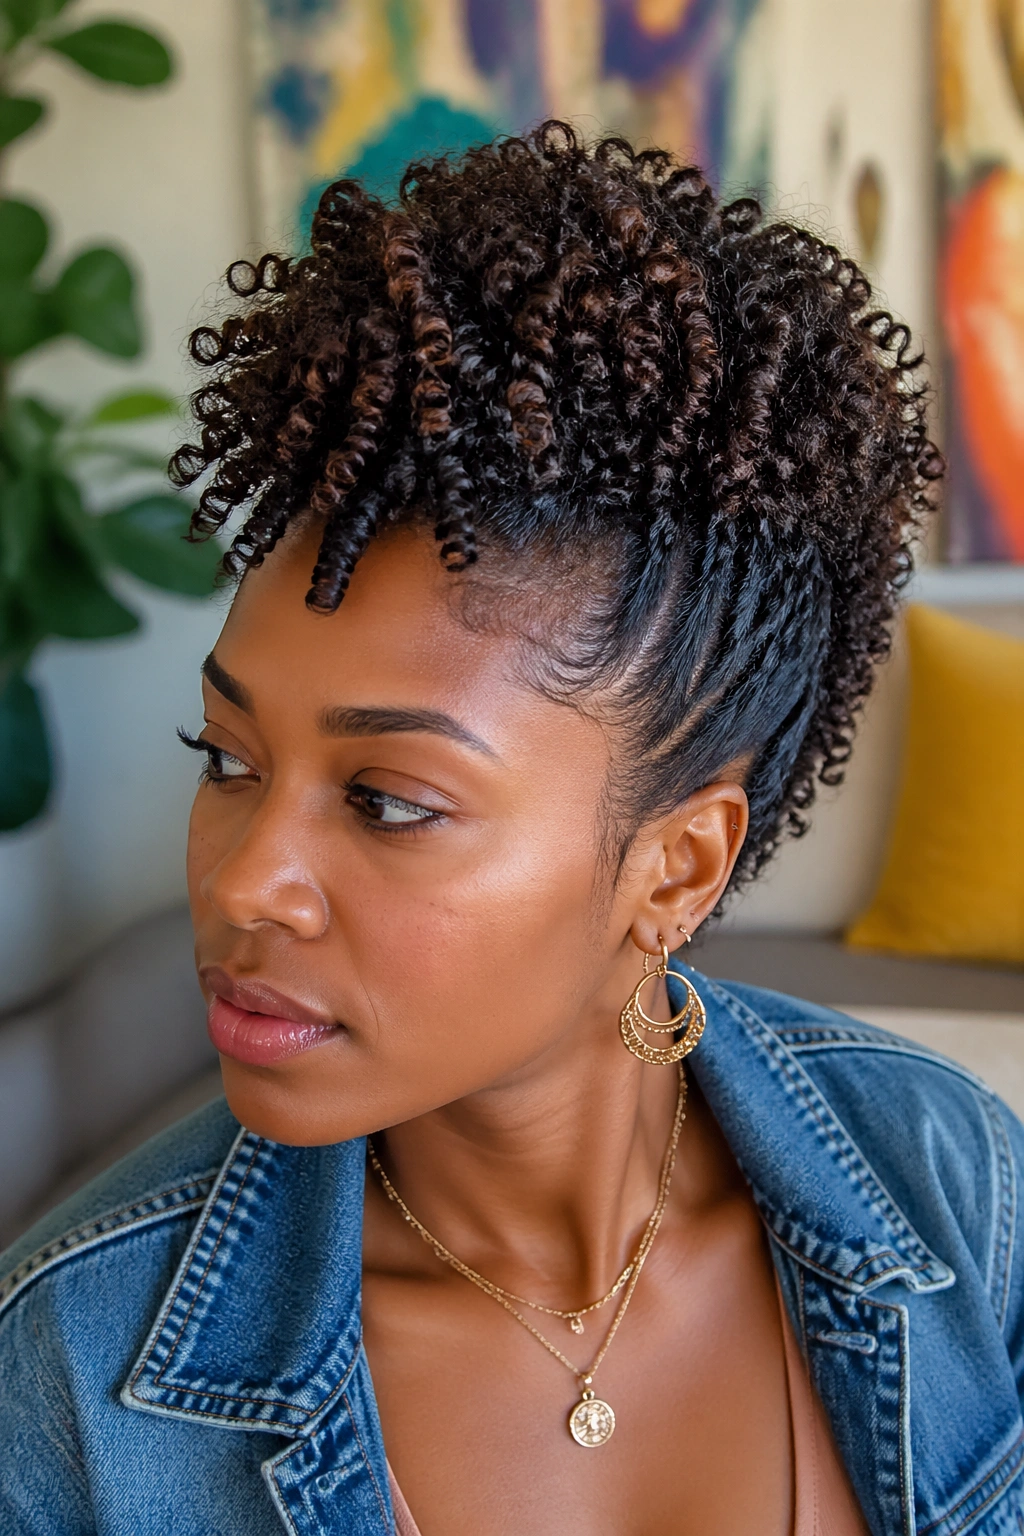
The frohawk version of the comb curl mohawk sweeps the sides upward rather than pinning them flat, creating a fan of hair that builds toward the center strip. The comb definition shows beautifully in the swept-up sections — you can see individual curl patterns rather than just a mass of texture.
This style has incredible three-dimensional presence and photographs gorgeously. It’s bold enough to be statement-making and defined enough to look polished rather than messy.
13. Comb Curl Protective Pony
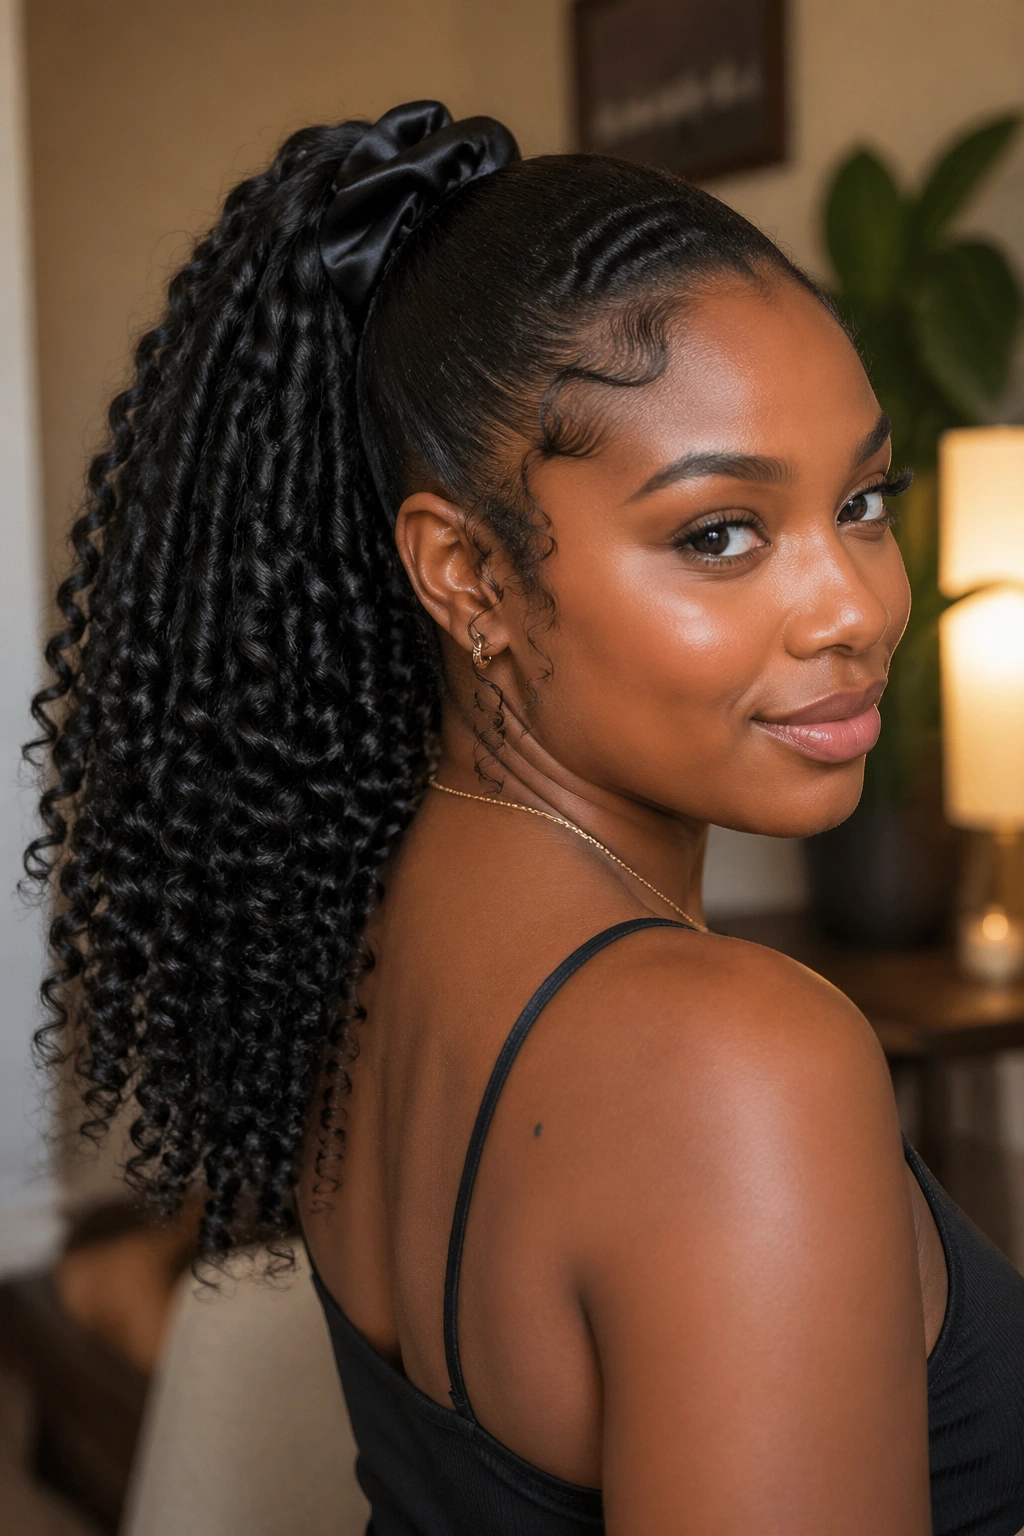
Pull your comb-defined curls into a low or high protective ponytail, gathered gently with a satin scrunchie. This isn’t a sleek, tension-filled ponytail — it’s a loose, curl-preserving gather that keeps your ends protected while still showing off your texture.
The comb-defined curls make this ponytail look more intentional than the typical natural hair pony because each strand entering the ponytail has visible definition and shape. Use your comb to smooth any frizzed sections at the hairline, apply a little edge control, and the style looks fresh for days.
14. Comb Curl Twist-and-Pin Updo
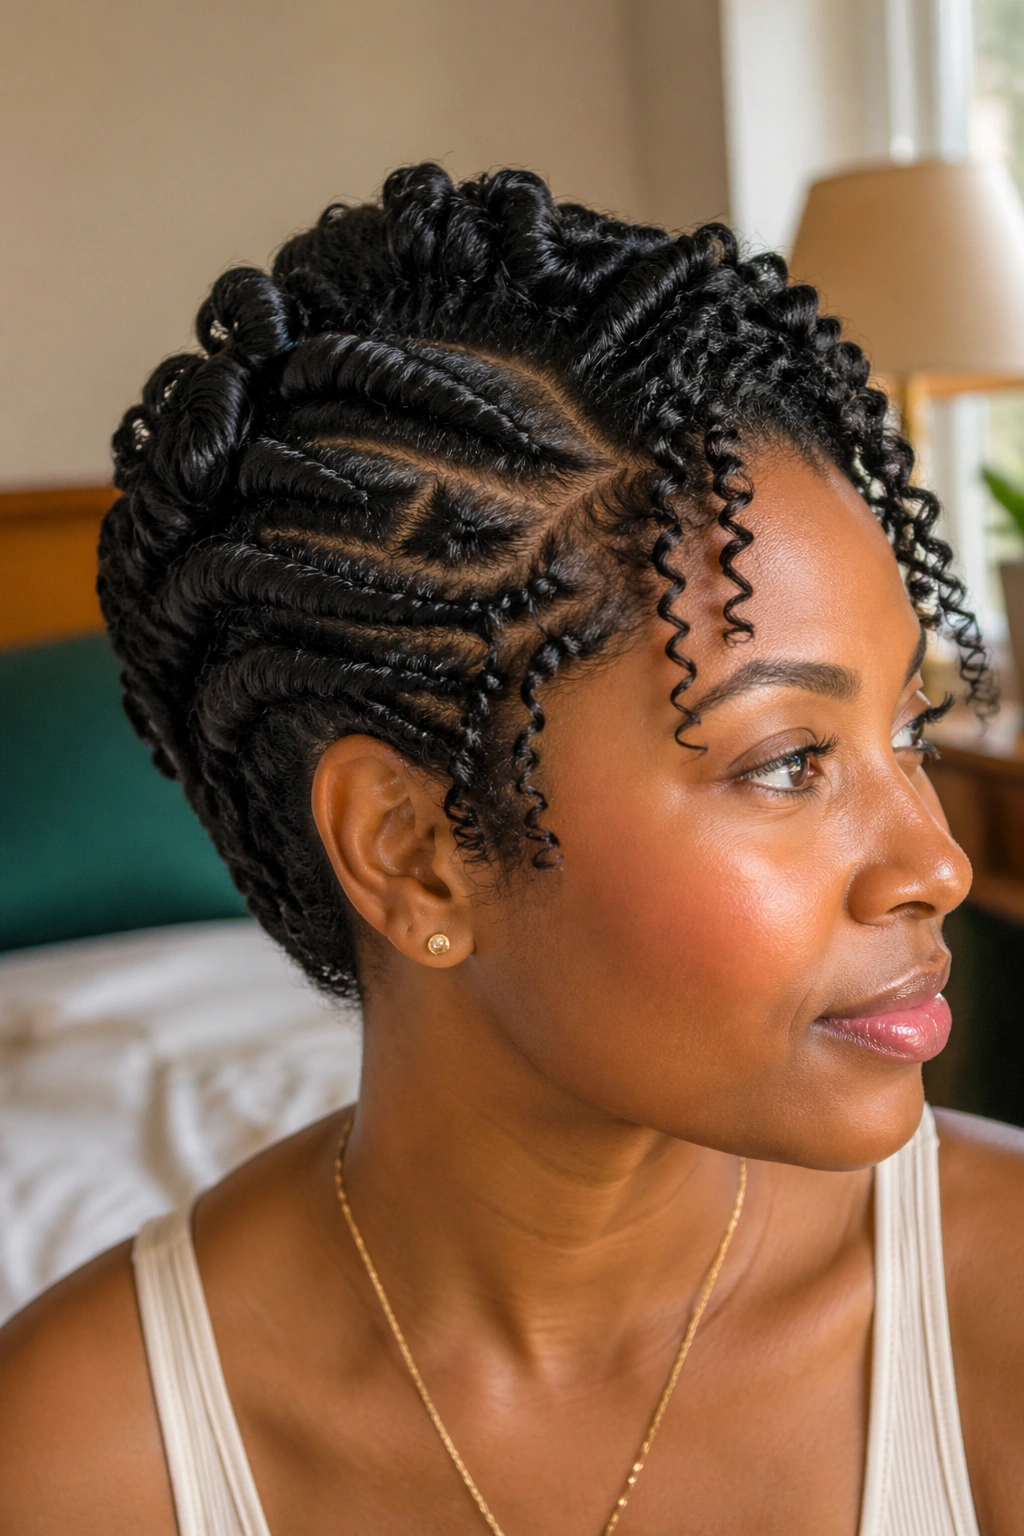
Create your comb-defined wash-and-go, section the hair into four to six parts, and gently twist each section before pinning it in an overlapping pattern at the back of the head. The twist-and-pin technique shows off curl texture at the hairline while keeping most of the length protected.
It’s a quick and easy updo for naturals who want something more polished than a plain puff but don’t have time for an elaborate style. The comb definition makes even a simple twist-and-pin look intentional.
15. Comb Curl Bantu Knot-Out
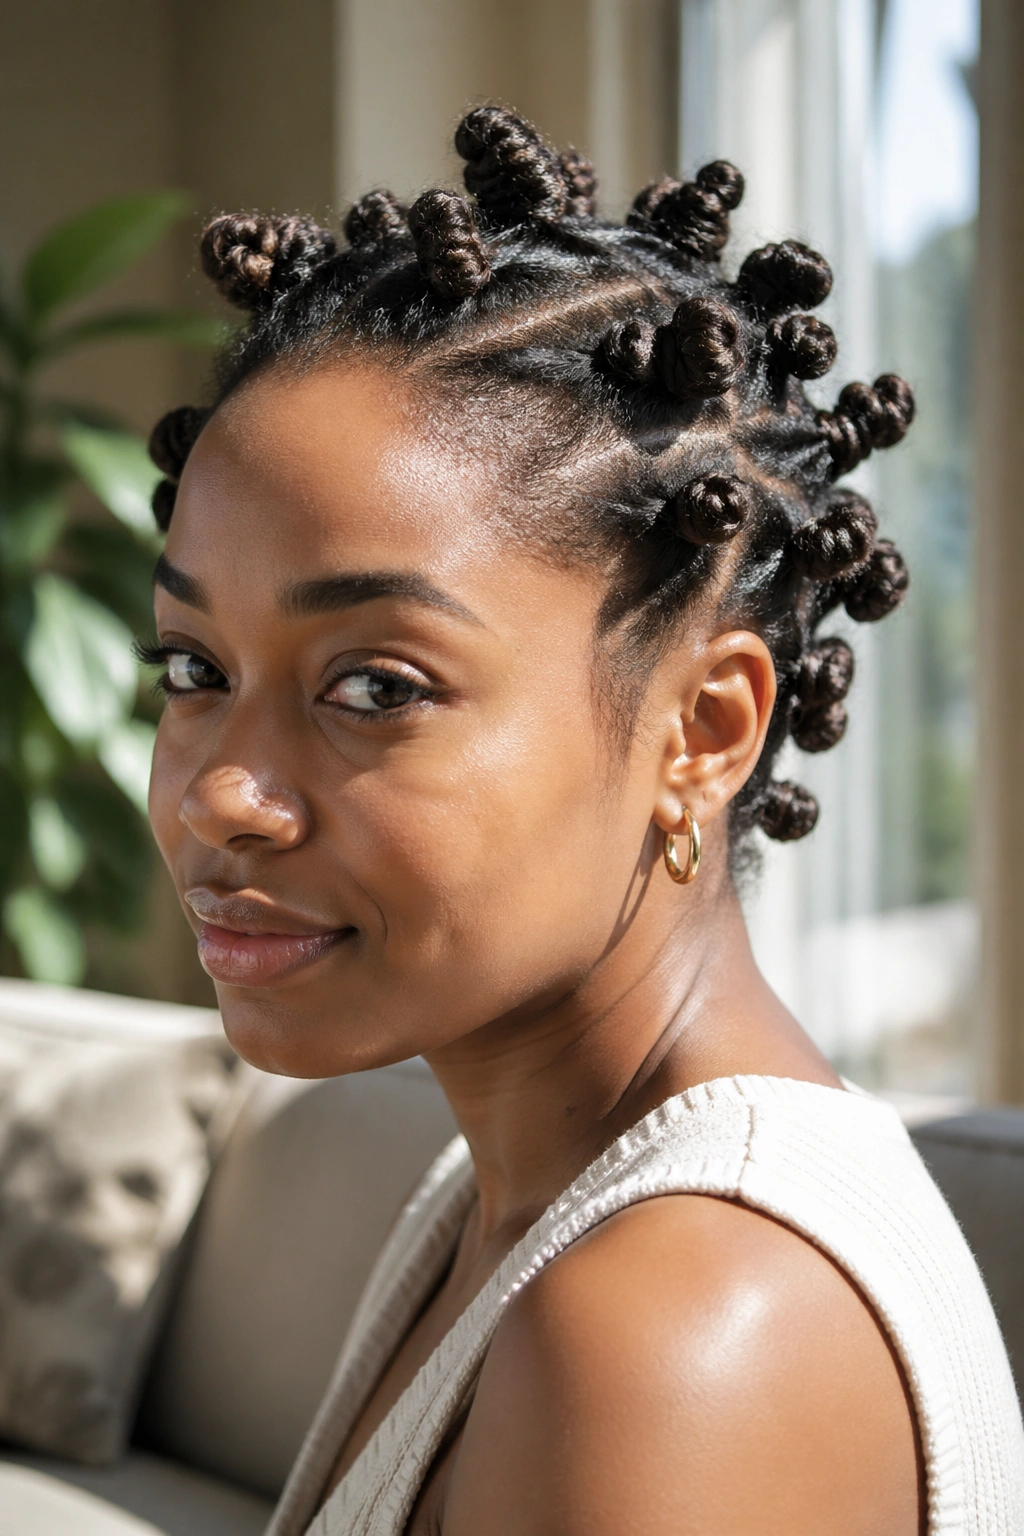
Set your hair in Bantu knots after combing product through each section thoroughly. The comb ensures every strand in the knot is well-coated, which means the knot-out pattern will be more consistent and defined than if you’d applied product by hand.
Let the knots sit overnight or under a hooded dryer. When you unravel in the morning, use a wide-tooth comb very gently — just a few passes — to separate the coils without destroying them. Finish with a light oil for shine.
16. Comb Curl Space Buns
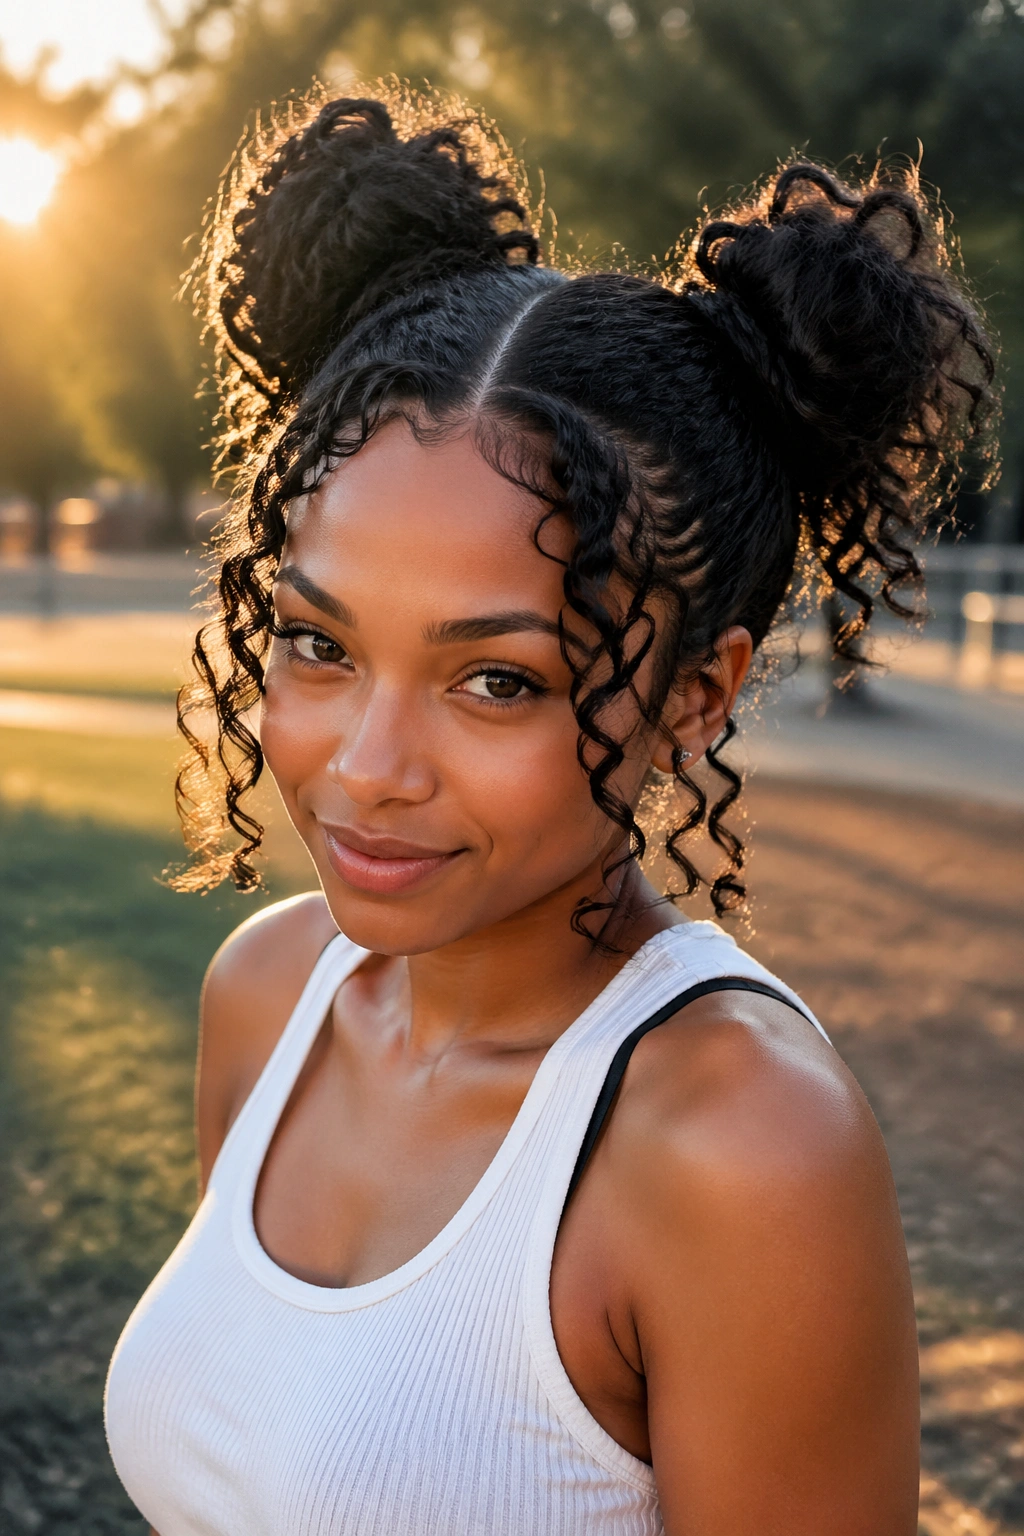
Divide your comb-defined hair down the center and twist each half into a bun positioned high on either side of the head. The curls that escape around the bun edges show the definition from your comb styling, giving the space bun look more texture and interest than it would have without the comb prep.
This style works beautifully for casual days, workouts, or social occasions. It’s protective, fun, and low-effort to maintain — just refresh the edges daily with a little water and edge control.
17. Comb Curl Defined Locs
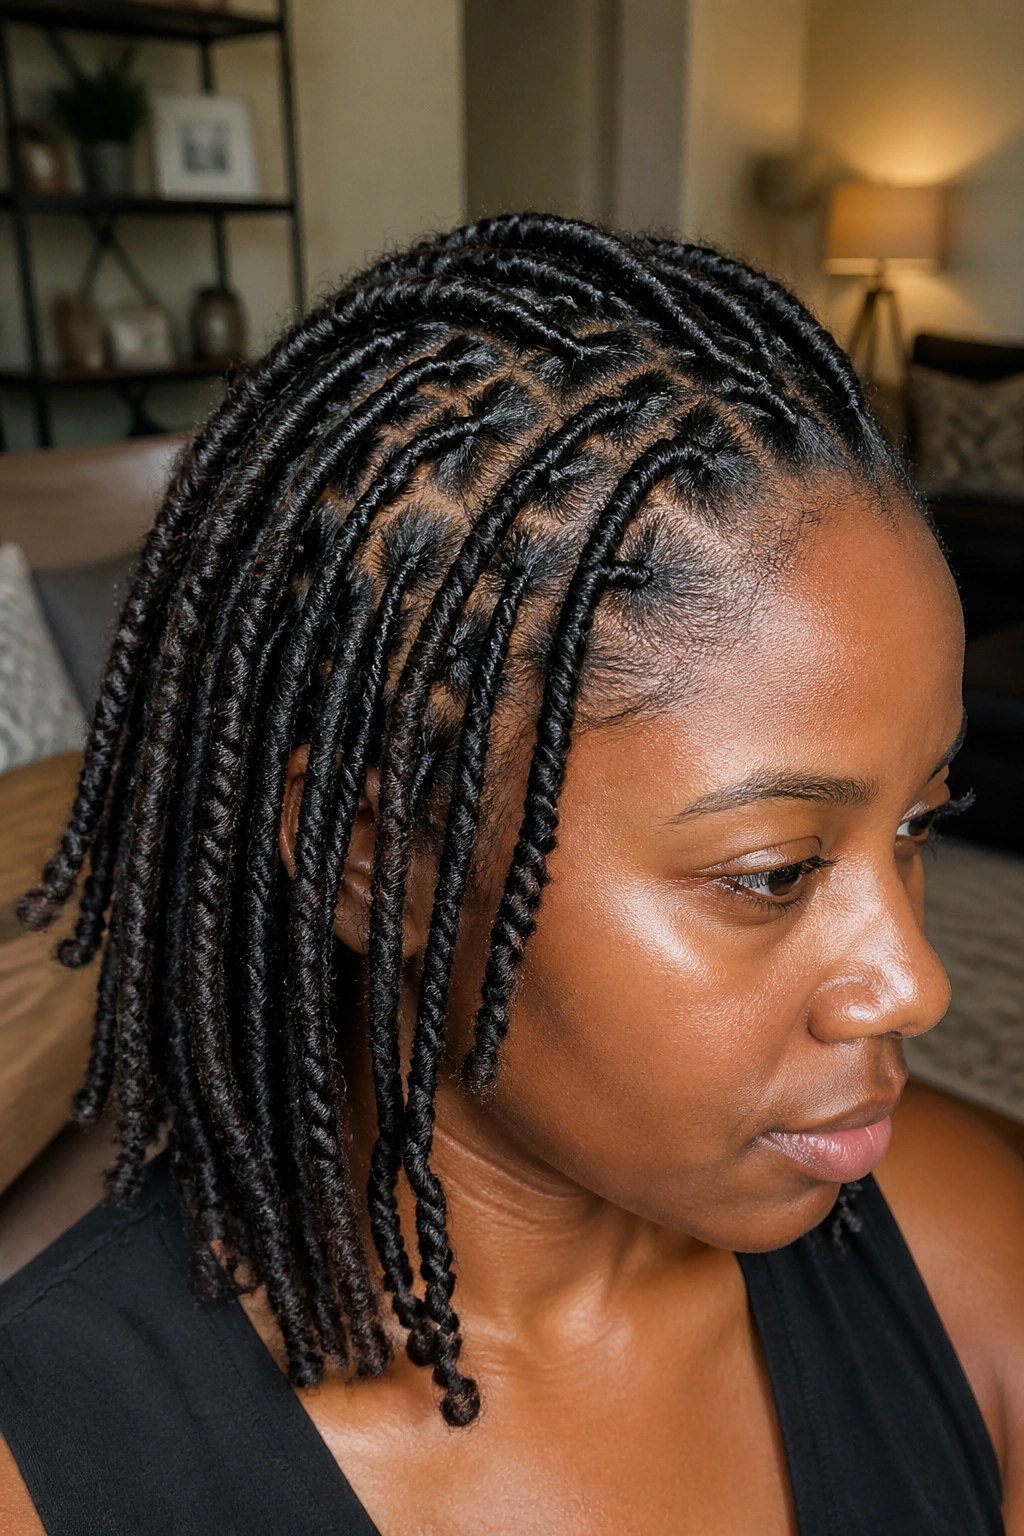
If you’re in the early stages of loc formation, comb-styling your sections before coiling helps create a more uniform loc pattern. The comb distributes locking gel evenly through each section, which means the loc forms more consistently from root to tip.
Well-coated starter locs hold their pattern better and loc more evenly over time. Use a loc gel or locking pomade applied with a comb for this — it’s more effective than applying by hand.
18. Comb Curl Half-Up Half-Down
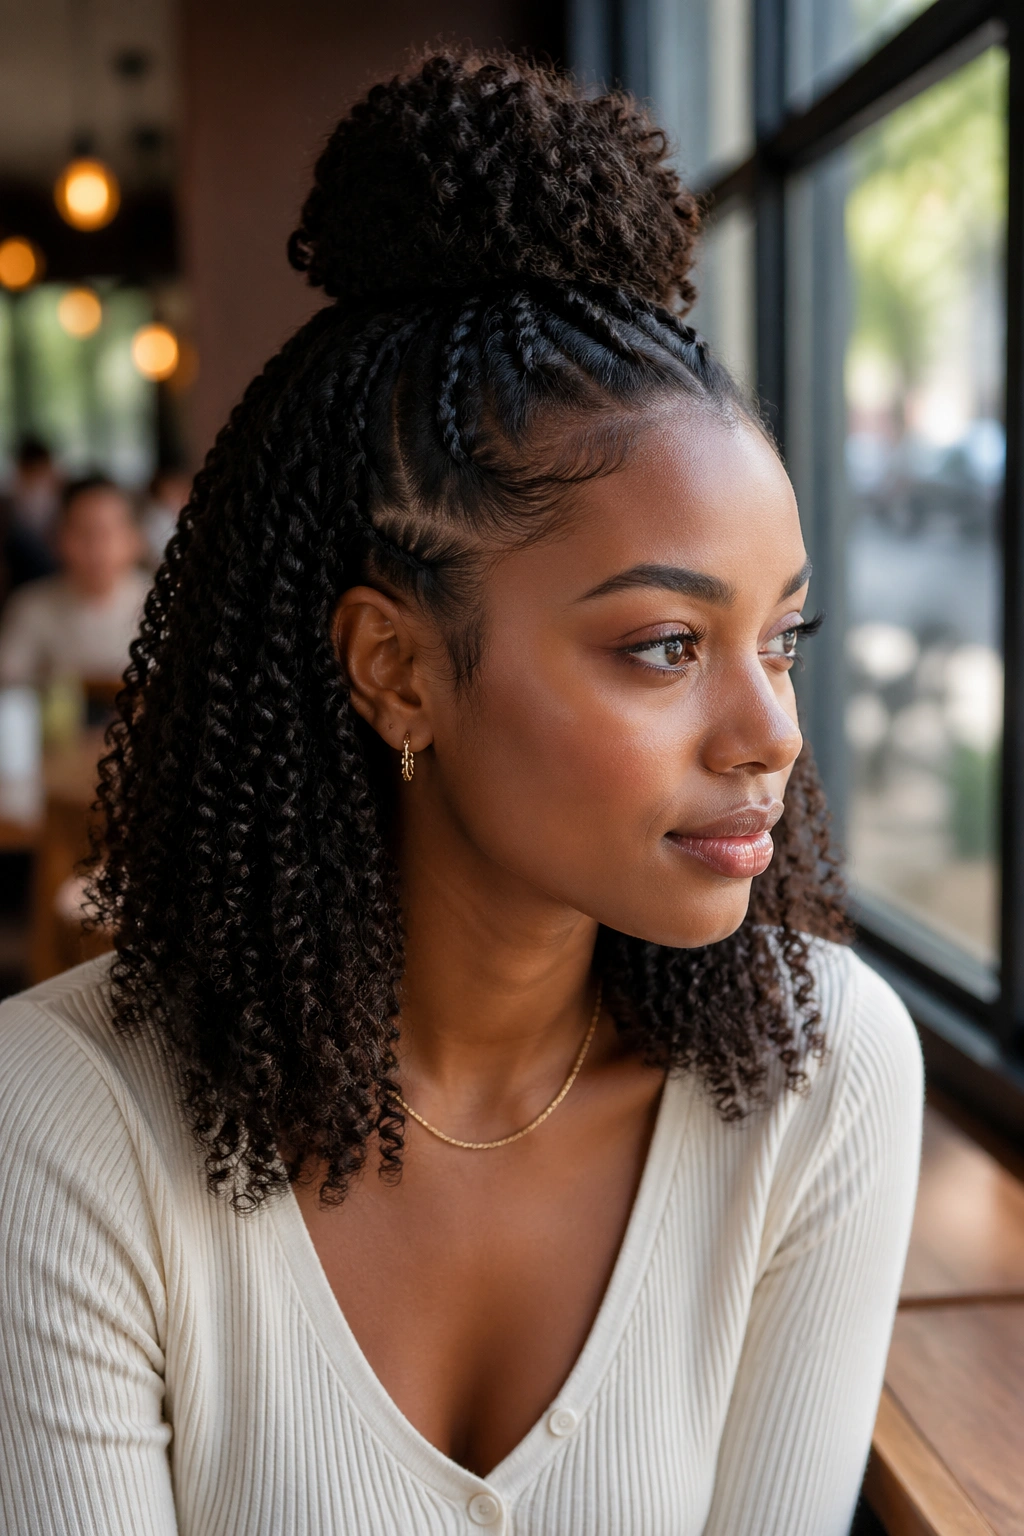
Take the top half of your comb-defined wash-and-go and gather it into a half-up style — a puff, a twisted bun, or a simple pony — while letting the bottom half hang freely. The comb definition in the free-hanging bottom half gives it beautiful movement and visible curl pattern.
Use a styling comb to touch up the parting line between the upper and lower sections for a clean, intentional look. Add a hair cuff or decorative clip at the base of the upper section for a finishing touch.
19. Comb Curl Stretched Style
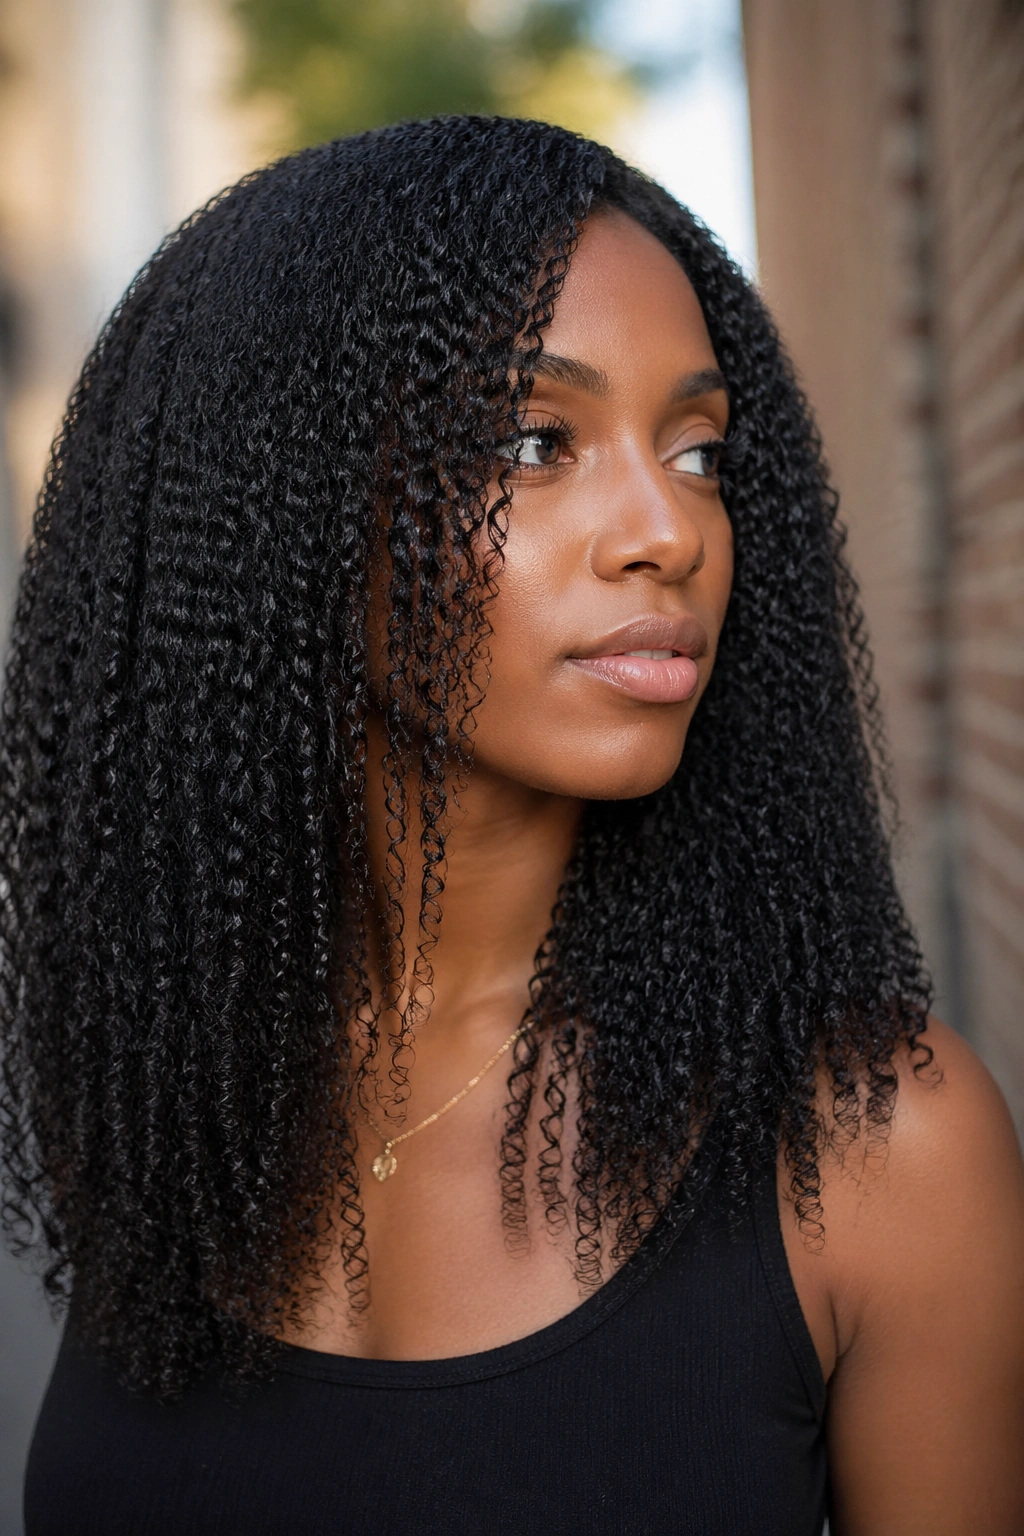
Stretch your hair first — using African threading, banding, or blow-drying on a cool setting — then define with a comb and curl cream. The stretched base gives the comb curl pattern significantly more elongation and less shrinkage.
This technique is ideal for naturals who love the look of comb curl definition but want to see more of their hair’s length in the final style. The curls are less tight and more wave-like, which creates a flowing, movement-filled look that doesn’t require heat styling.
20. Comb Curl Headband Style
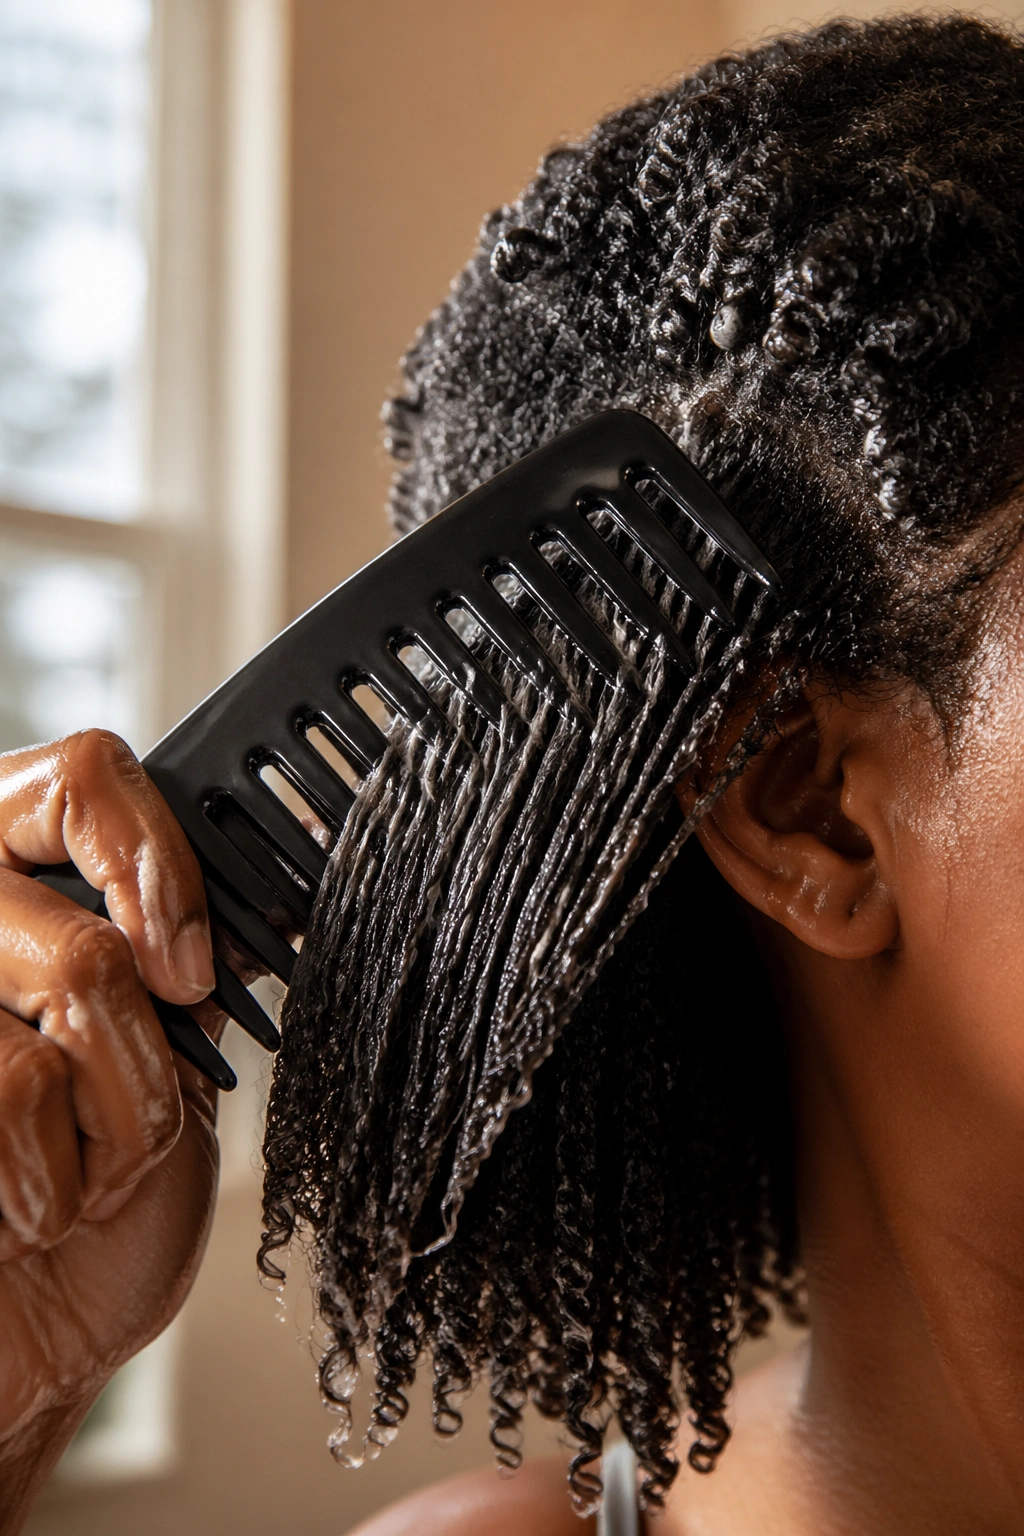
Add a wide satin-lined headband to your comb-defined wash-and-go for instant polish and face-framing structure. The headband pushes the front curls back slightly, showcasing your defined texture and keeping hair away from your face.
Headband Application Tips
- Position the headband about one inch from the hairline
- Allow a few curls to fall forward at the temples
- Choose satin-lined bands to avoid frizz
- Match to your outfit for a coordinated look
21. Comb Curl Wet Look Style
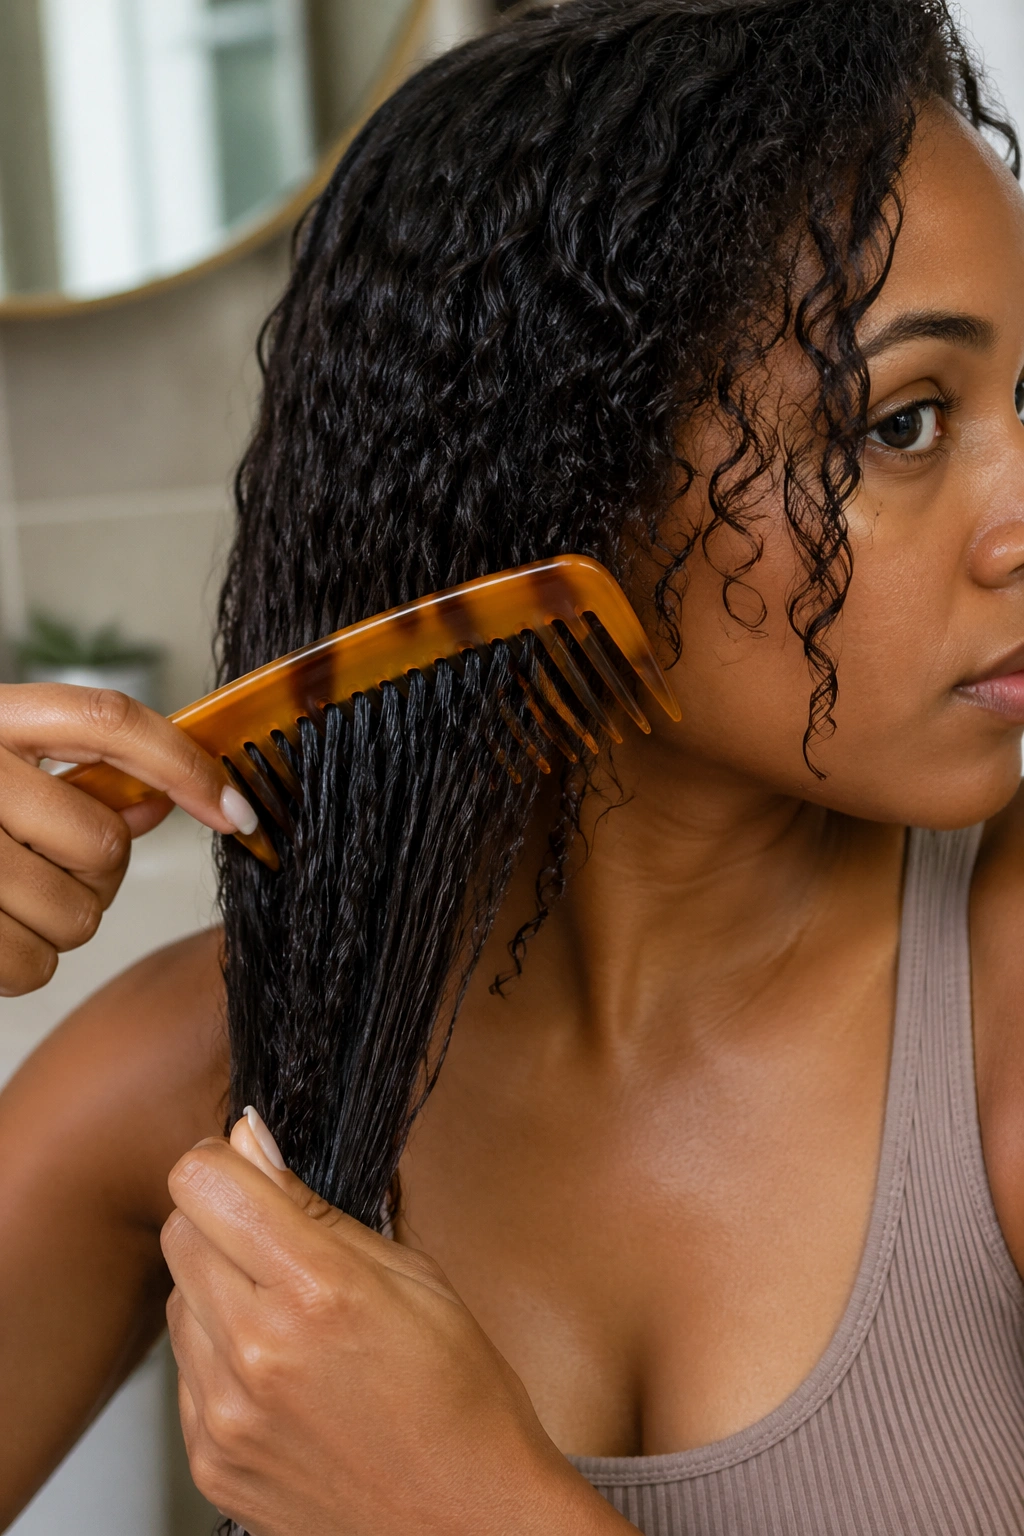
Apply extra gel over your comb-defined sections and let the hair dry with a sleek, wet appearance rather than waiting for a full, fluffy dry. The comb curl wet look is polished, dramatic, and incredibly long-lasting — the gel cast keeps each curl in place and gives the style a glossy shine.
This look works best on 3b to 4a textures where the curl pattern is tight enough to show clearly in the wet look finish. On very fine textures, the heavy gel can weigh the curls down — use a lighter, water-based gel for those hair types.
22. Comb Curl Defined Crown Style
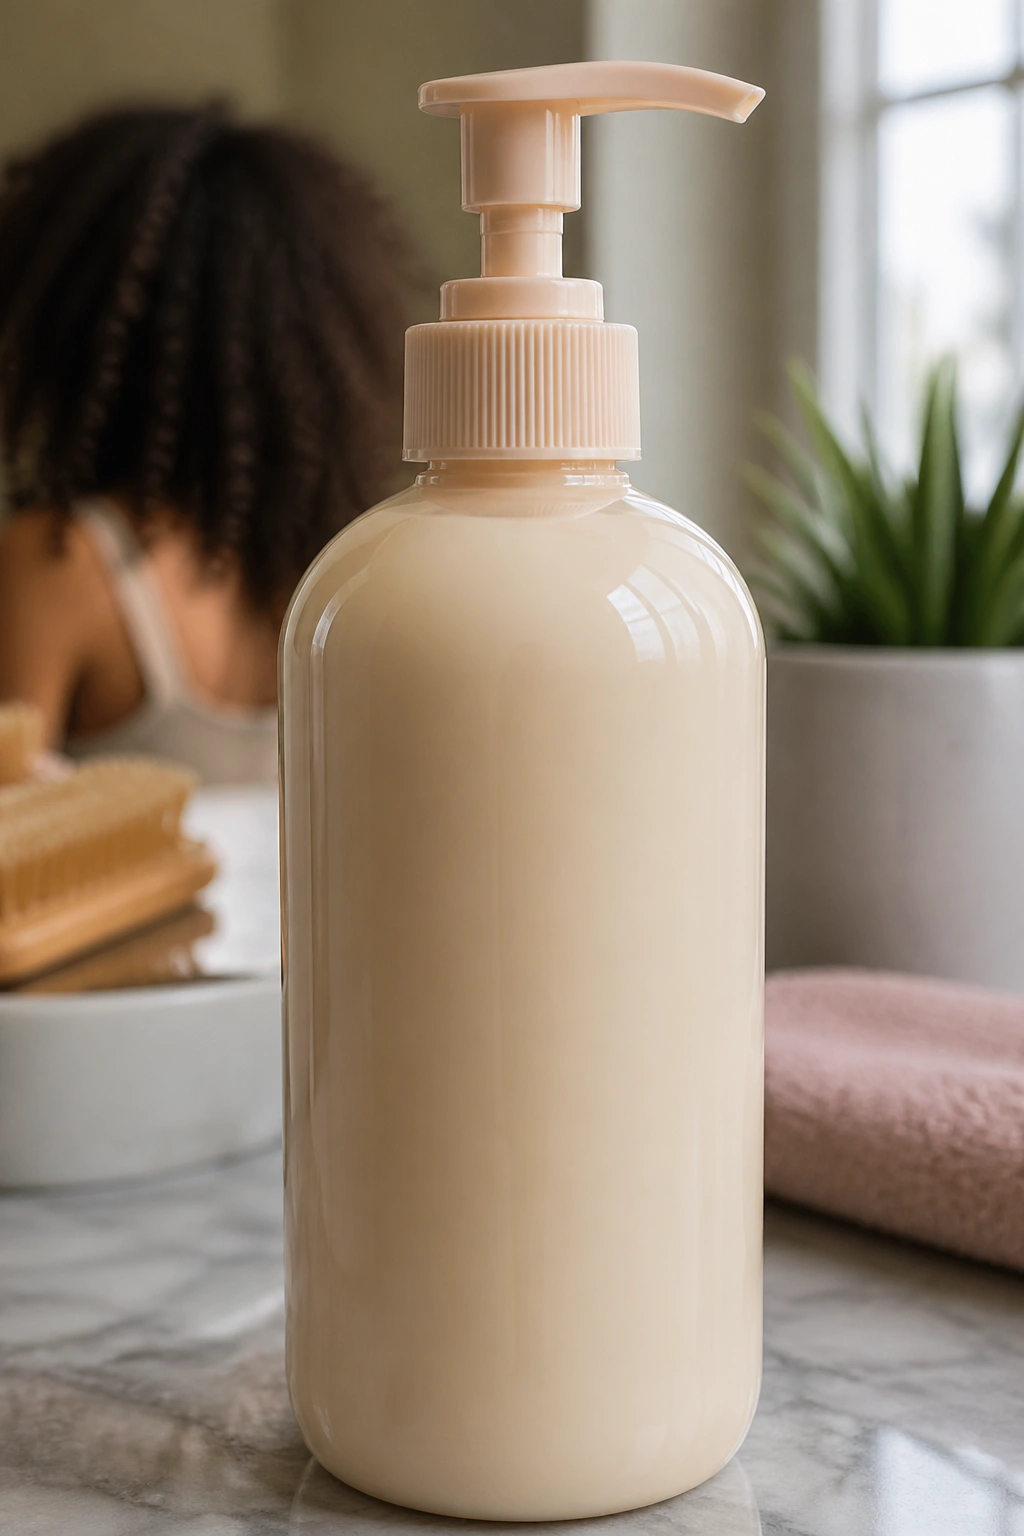
Leave the top section of your hair free and voluminous with comb-defined curls while pinning or braiding the sides and back away from your face. The result is a crown of defined curls at the top of your head that frames your face and commands attention.
Work extra product into the crown section and use a wide-tooth comb to lift and define from the roots as the hair dries. A wide-tooth comb lifted upward from the root adds volume while maintaining definition — a combination that’s hard to achieve with fingers alone.
Troubleshooting Comb Curl Styles
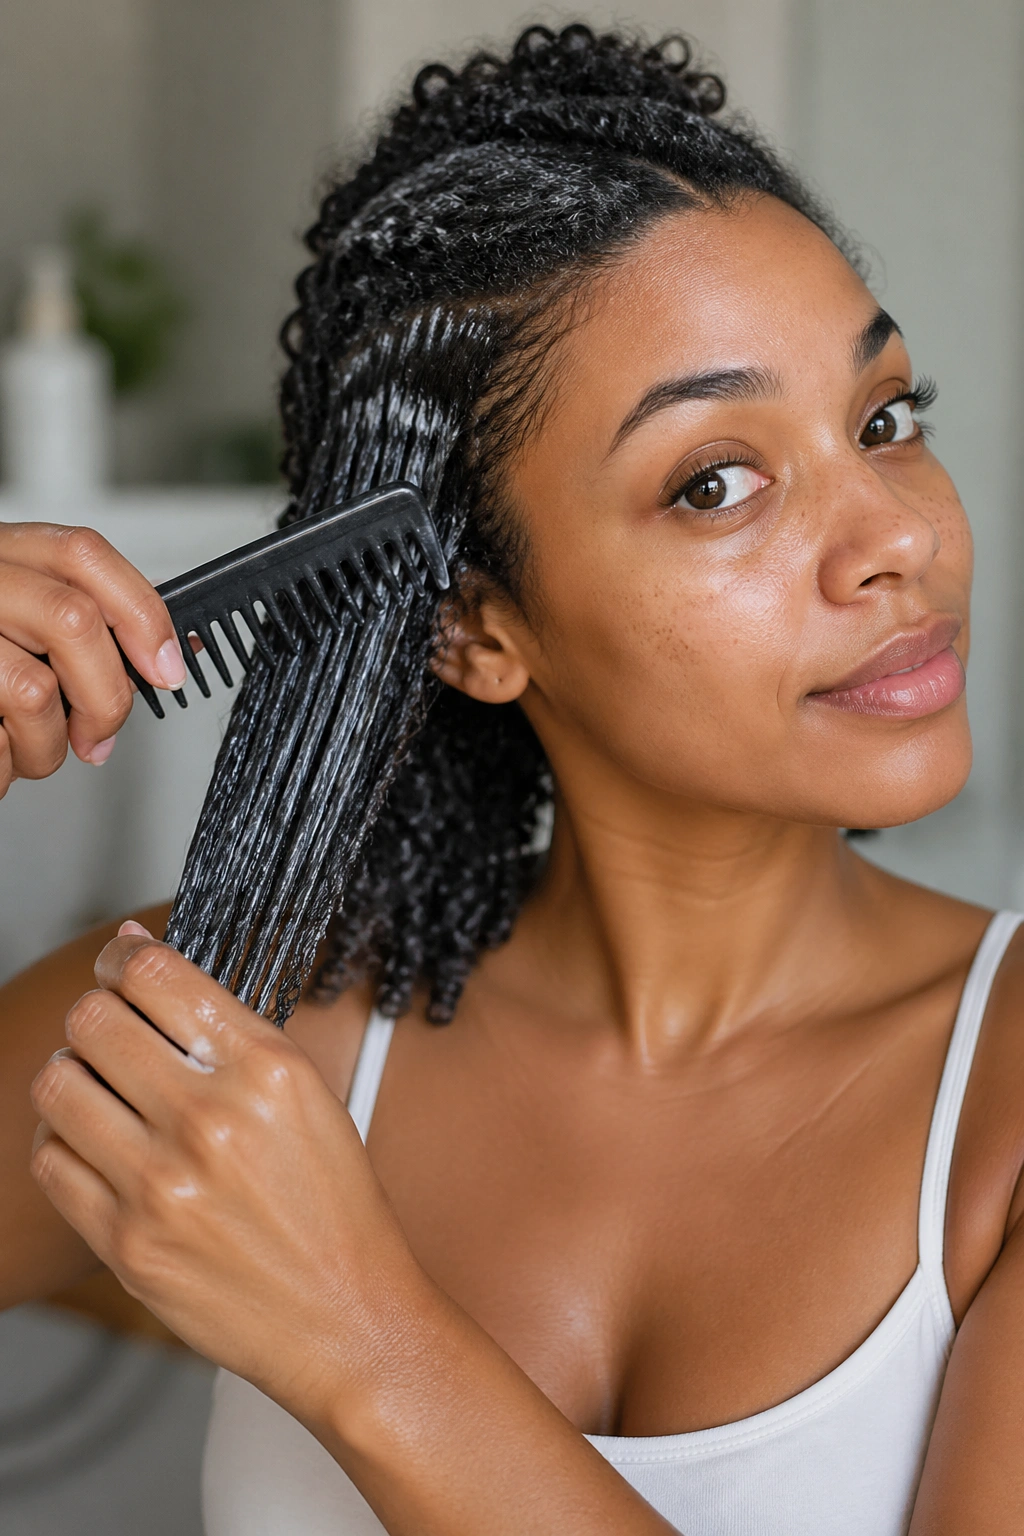
Even with solid technique and good products, comb curl styles can go sideways sometimes. Knowing what went wrong helps you fix it faster.
If your curls are undefined and frizzy, the most common cause is applying product to hair that wasn’t wet enough. The comb can’t distribute product evenly through dry or barely damp hair. Always work on saturated, dripping-wet hair.
If your curls are weighed down and limp, you’ve used too much product. Go lighter on the cream or gel in your next wash — less is more for creating buoyant, well-defined comb curls.
If your hair is tangling during combing, your leave-in conditioner isn’t providing enough slip. Add more leave-in, or switch to one with better slip. Some naturals also have good results adding a small amount of conditioner to their water spray bottle for extra lubrication during styling.
Building a Comb Curl Routine That Works
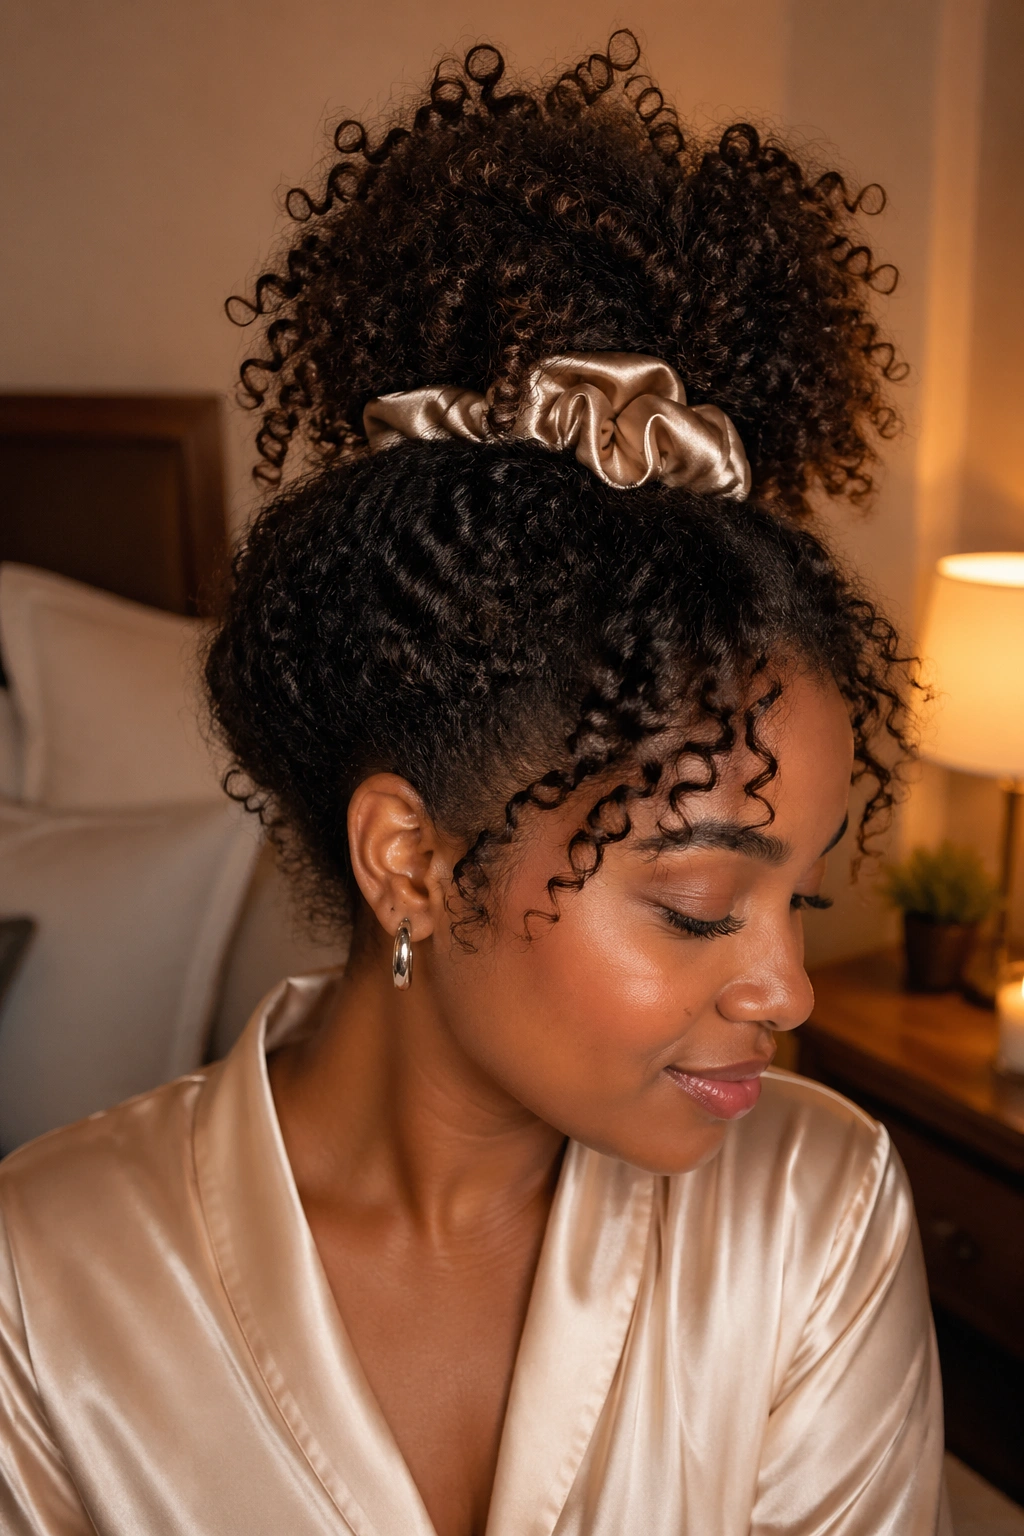
Consistency is what separates naturals who get great comb curl results every wash day from those who get good results sometimes. Build a routine around what your hair responds to best and stick to it.
Track your results with notes. When a style turns out beautifully, record which comb you used, which products, in what order, and how wet your hair was at each step. That information makes the difference between a happy accident and a repeatable result.
Deep condition every wash day — not occasionally, not when you remember. Every wash day. The moisture that deep conditioning provides is the foundation of every successful comb curl style. Without it, no technique or product combination will give you consistent definition.
Be patient with your comb technique. Combing natural hair effectively is a skill, and it takes practice to find the right speed, pressure, and section size for your specific texture. Don’t give up after one or two sessions that don’t go perfectly.
