



Highlights for curly hair natural curls are one of the most transformative color choices available for Black women — and also one of the most misunderstood. When done correctly on natural curl textures, highlights don’t just add color; they create the illusion of depth, movement, and dimension that makes naturally curly and coily hair look spectacularly vibrant. But there’s a right way and a wrong way to approach highlighting on natural hair, and knowing the difference before you sit in the salon chair is the kind of knowledge that saves you from a disappointing result and potentially damaged curls.
Why Highlights Look Different on Curly Hair Than Straight Hair
This is the foundational understanding that changes everything about how you approach highlights on natural curls. When you look at highlight photos online — and make color inspiration decisions based on what you see — the vast majority of those images show highlights on straight or loosely wavy hair. Those images are reference, not prediction. Your curly hair will display the same highlights differently.
Straight hair shows highlights as visible, continuous stripes that run the length of each section — you can follow each highlighted piece from root to end without interruption. The contrast is clear, linear, and graphic.
Curly and coily hair shows highlights as a series of concentrated dots, flashes, and pops that appear at the outer curves of each coil or curl, where the light hits most directly, and disappear into the interior of the curl where light doesn’t penetrate. The effect is scattered, dimensional, and organic rather than linear and graphic.
This isn’t a negative — it’s actually a more interesting visual result in many ways. But if you walk into a salon expecting your highlights to show up the same way they look in a Pinterest image of a straight-haired person, you might be disappointed even if the technical work was flawless. Adjust your expectations toward “dimensional warmth and scattered luminosity” rather than “visible stripes of lighter color,” and you’ll likely love the result.
The Best Highlight Methods for Natural Curls
The method your colorist uses to apply highlights significantly affects how they look on natural curls, and not all methods are created equal for textured hair.
Traditional foil highlights — the salon standard for most highlight work — divide the hair into precise, uniform sections that are wrapped in foil for controlled processing. On natural hair, this can create an unnaturally uniform result if the sections are placed without consideration for how the curls actually fall. A colorist who applies foil highlights to stretched or blown-out natural hair may create a result that looks beautiful on straight hair but disorganized and patchy when the hair returns to its natural curl state.
Balayage highlights — freehand application without foils — tend to create more naturalistic results on curly hair because the colorist can place the color on the outer curves of curl sections where light naturally hits, rather than applying uniformly to stretched sections. The result is the scattered, dimensional effect that looks most natural on curly textures.
Chunking — applying highlights to larger, more visible sections — can look striking on curls when done well, creating bolder pops of color rather than subtle diffused dimension. The key is strategic placement that works with the curl pattern rather than against it.
A skilled colorist will often combine techniques — perhaps using foils on the top sections for precise placement and balayage freehand application on the curl formation itself — to get the most beautiful result for your specific texture and desired look.
Choosing Your Highlight Tone
Highlight tone selection for natural curls should factor in your skin tone, your natural hair color, and the overall effect you want to achieve — and the warm-versus-cool decision is particularly important for Black women because it affects how harmonious the final look feels against melanin-rich skin.
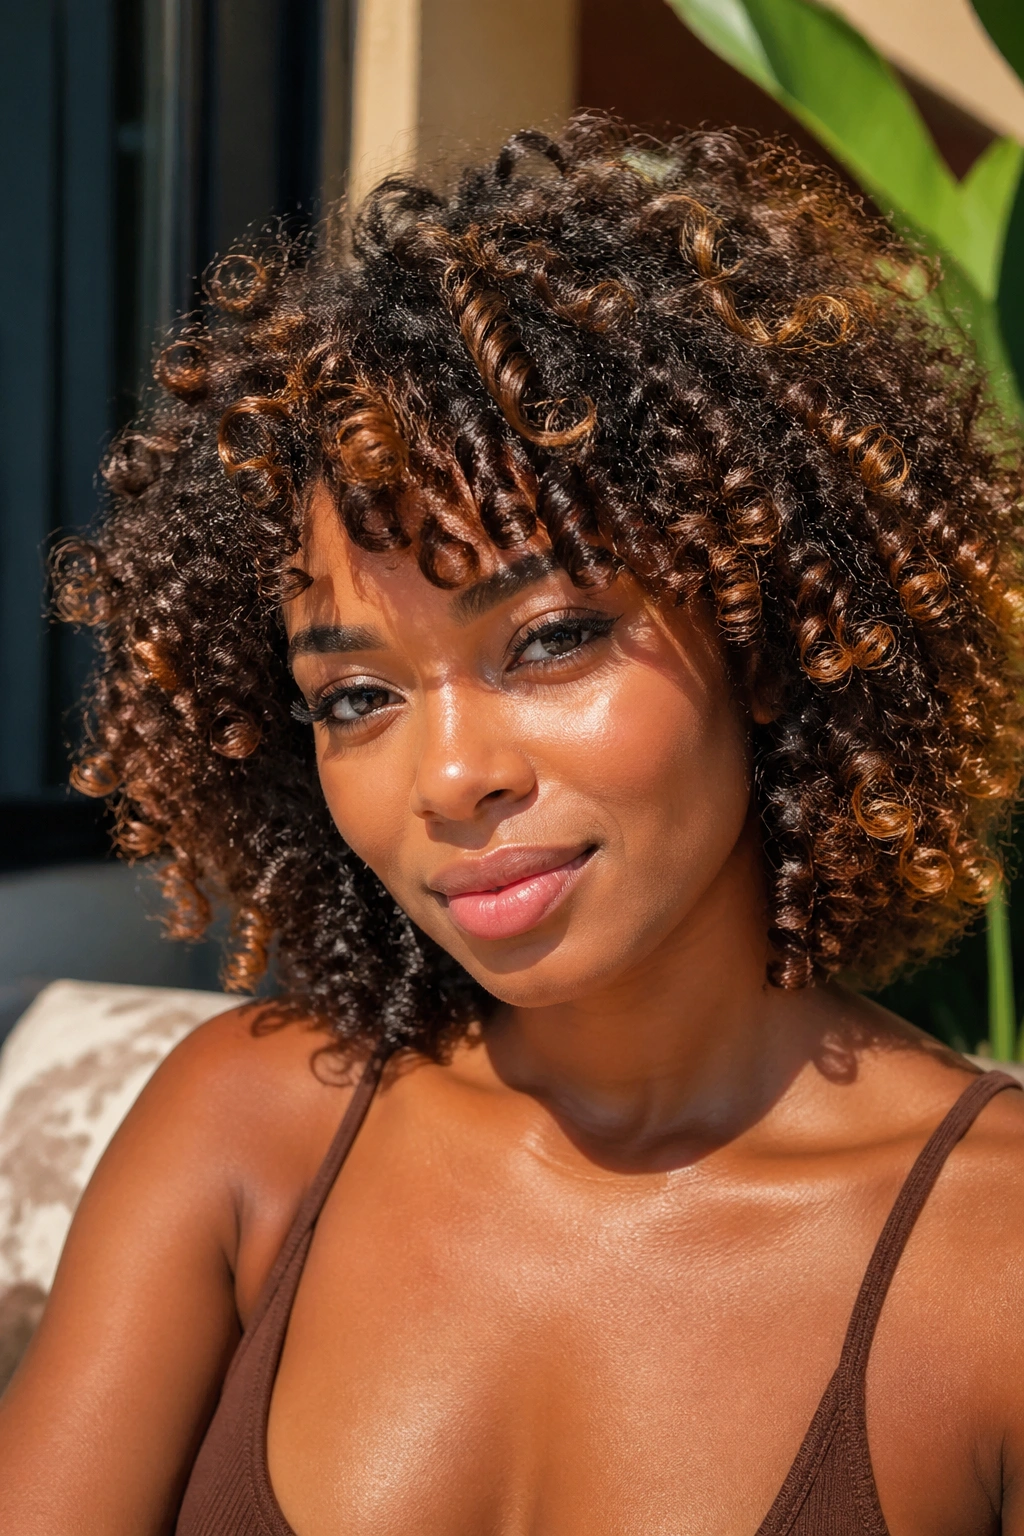
Warm highlights — honey, caramel, copper, amber, golden blonde — tend to be the most flattering on deeper skin tones because they add warmth that complements rather than contrasts with warm complexions. Warm highlights on natural curls look like the hair has been sun-kissed — natural, luminous, and deeply flattering.
Cool highlights — ash blonde, platinum, silver, cool brown — can create striking contrast but require more careful consideration to ensure they don’t look stark or harsh against warm skin tones. Platinum highlights specifically have become popular on natural hair, and they can look extraordinary when done well — but they require significant lightening and careful color maintenance to avoid looking washed out or uneven.
Dimensional highlighting — using two or three complementary shades rather than a single highlight tone — creates the most complex and naturalistic-looking result. A combination of honey, caramel, and golden blonde, for example, mimics the complexity of actual sun-lightened hair where multiple tones develop simultaneously.
Hair Health Considerations Before Highlighting
Natural curls and chemical highlighting can coexist beautifully, but entering the process with unrealistic expectations about what your hair can handle is a recipe for disappointment and damage.
Highlighting requires lightening the hair, which is a chemical process that opens the hair cuticle and removes pigment. This process affects the hair’s protein and moisture balance, and natural curls — which already tend toward dryness and fragility due to their coil structure — require extra care before, during, and after highlighting.
Going into a highlight appointment with hair that’s already compromised — dry, breaking, over-processed, or damaged at the ends — increases the risk of further damage significantly. Spending two to three months building hair health before a color appointment with intensive deep conditioning, protein treatments, and gentle handling is an investment that pays off in a better color result and healthier curls long-term.
Communicate openly with your colorist about any previous chemical treatments — including straightening, previous color, or any other process. A professional needs this history to approach your highlight service safely.
1. Caramel Highlights on Dark Natural Curls
Caramel highlights on a dark natural base are the most universally flattering highlight option for Black women with natural curls — and the most requested for good reason. The warm, amber-infused caramel tone adds dimension to dark curls without creating harsh contrast, and the result looks genuinely natural.
Why it works on every curl pattern: Caramel is warm enough to show up clearly against a dark base but rich enough that the contrast doesn’t feel stark. On tight coils, caramel highlights create warm pops throughout the curl formation. On looser curls, they create visible streaks of warmth that catch light beautifully.
How to Achieve This Look
Your colorist will apply a lightener to sections of your hair using foils, balayage, or a combination, lifting each section to a warm honey-gold level before applying a caramel toner to achieve the exact shade. The root area stays close to your natural color, with the caramel tone concentrated in the mid-lengths and ends.
- Request the caramel tone specifically — “warm amber-brown” describes it well to most colorists
- Ask for highlights to be applied following your natural curl groupings rather than to pulled-straight sections
- Maintain with a caramel or warm brown gloss every eight weeks
Tip: For the most natural effect, ask for more concentrated highlighting around the face and lighter application in the back, mimicking how sunlight naturally hits the hair.
2. Honey Blonde Highlights on Natural Curls
Honey blonde highlights create a golden warmth that reads as sun-kissed and effortlessly beautiful on natural curls. The warm, golden-yellow tone sits beautifully against dark natural bases and complements melanin-rich skin tones across a wide range.
Bold fact: Honey blonde highlights on type 4 curls create a dramatic visual effect because the tight coil pattern concentrates the golden tones in vivid bursts — each highlighted coil appears almost luminous while the surrounding dark curls create rich contrast.
On type 3 curls, honey blonde highlights flow more continuously along the curl formation, creating warm ribbons of golden color that catch light along every curve. On looser curl patterns, the effect is softer and more graduated.
Maintain honey blonde highlights by using a color-depositing conditioner in a warm blonde or honey tone once a week. This refreshes the golden tones between salon visits and prevents the honey from fading to a washed-out pale blonde.
3. Copper Highlights on Natural Curls
Copper highlights on natural curls are bold, vivid, and genuinely spectacular. The orange-red metallic tone against a dark natural base creates a fiery, eye-catching look that’s unlike any other highlight choice.
Copper highlights catch light differently than warmer or cooler highlight tones because the metallic quality of copper reflects rather than absorbs light — so highlighted sections actually seem to glow in sunlight, creating an almost backlit effect on natural curls.
On tight coil patterns, copper highlights create concentrated bursts of warm metallic color. The dark base between the highlights provides rich contrast that makes the copper tones look even more vivid. On looser curl patterns, copper highlights create longer, more continuous displays of the warm metallic tone.
4. Platinum Highlights on Natural Curls
Platinum highlights are the boldest, highest-contrast option on natural curls — and when done well, they’re genuinely stunning. The icy, nearly white-blonde tone against a dark natural base creates a graphic, editorial look that’s unmistakably intentional.
This is not a low-maintenance choice. Platinum requires significant lightening, regular toning to prevent brassiness, and intensive ongoing conditioning to keep the highlighted sections healthy and defined. But for women committed to the look, the payoff is a style that commands immediate attention.
How to Achieve This Look
Platinum highlights require multiple lightening sessions on natural hair, especially from a dark base. Each session lifts the highlighted sections progressively toward the target platinum level, with a purple or silver toner applied at each stage to manage warmth. Bond-building treatments should be used throughout the process.
- Use a bond builder like Olaplex during every lightening service
- Apply a purple toning treatment at home weekly to maintain the platinum tone
- Deep condition the highlighted sections specifically — they’re more vulnerable than the non-highlighted areas
5. Chestnut Highlights
Chestnut highlights on dark natural curls add dimension and warmth in a subtle, wearable way that’s perfect for women who want the color enhancement without anyone being sure it’s color. The warm, reddish-brown chestnut tone blends naturally into dark natural bases and catches light in a way that makes the hair look exceptionally healthy and vibrant.
Chestnut is the ideal highlight choice for first-time natural hair color clients because it’s low-risk, requires minimal lightening, and the grow-out is virtually indistinguishable — there’s no obvious root line to worry about as the hair grows.
6. Burgundy Highlights on Natural Curls
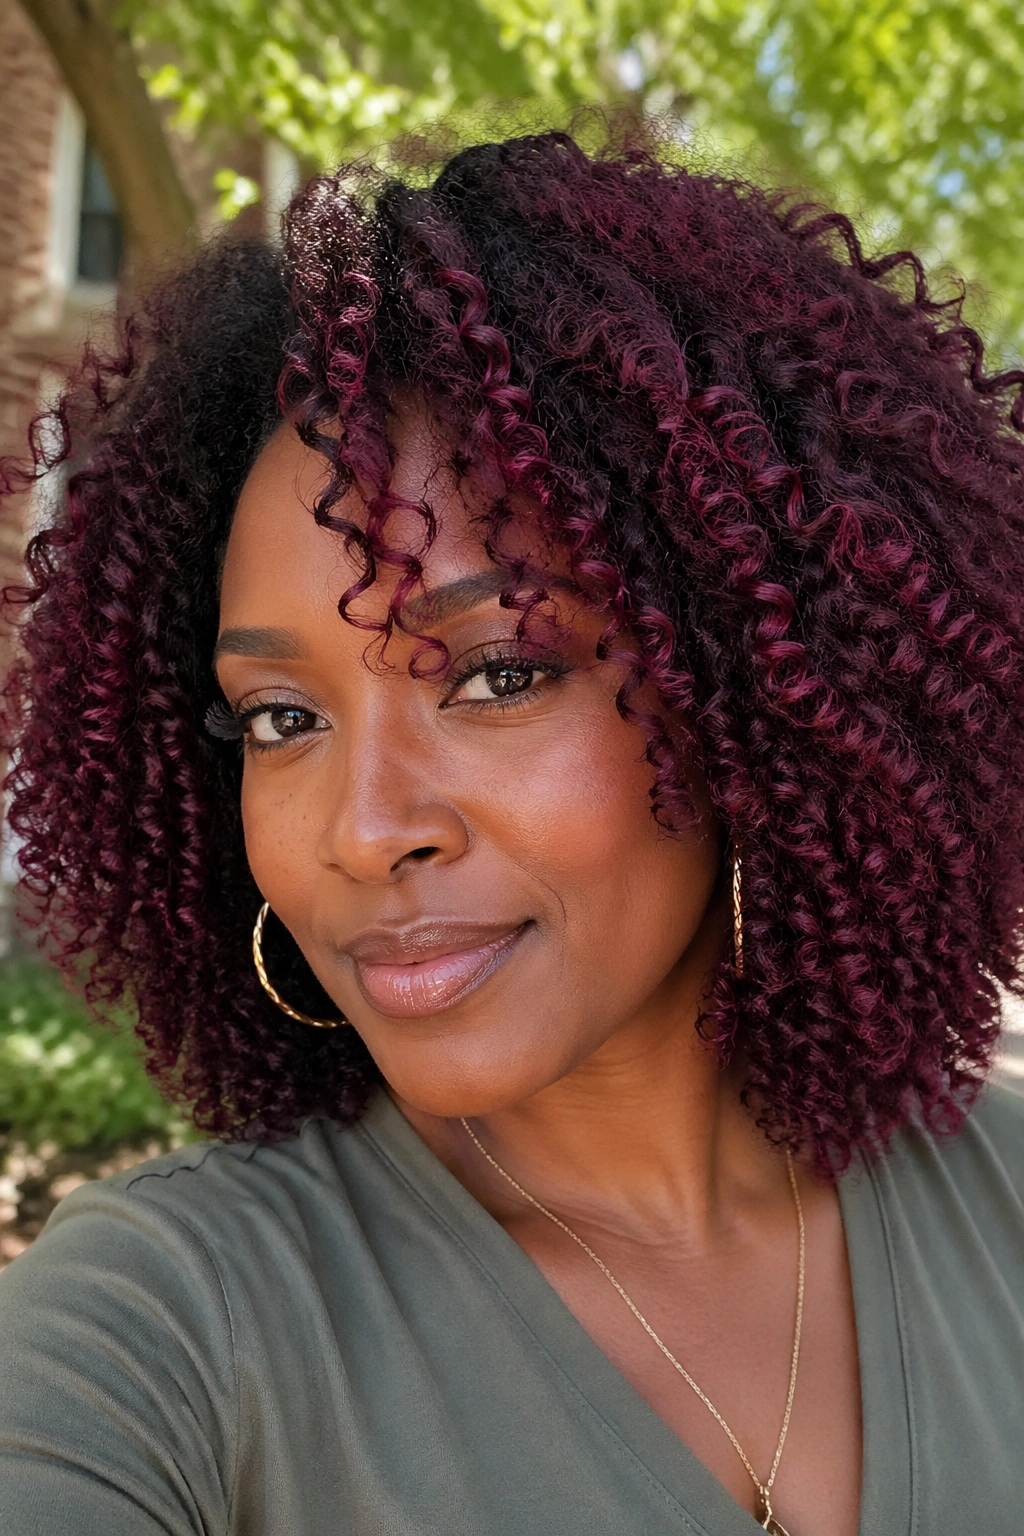
Burgundy highlights on natural curls are a richly dimensional, deep color choice — not the bright, vivid highlights you might associate with the term, but rather a deep, wine-infused reddish tone that adds complexity to dark curls without creating high contrast.
On natural hair with a dark base, burgundy highlights often look nearly black in low light and reveal their rich reddish-purple quality in direct sunlight or bright indoor lighting. This light-reactive quality is genuinely beautiful and creates a subtle color shift that’s elegant and sophisticated.
Burgundy highlights can also be achieved on very dark hair without extreme lightening — sometimes direct application of a vivid burgundy tone on dark natural hair creates enough of a tonal shift to read as highlighted in the right light.
7. Golden Brown Highlights
Golden brown highlights sit between caramel and blonde — warmer than a neutral brown, richer than a true blonde, and perfectly positioned to add warm dimension to dark natural curls without dramatic contrast.
This is the most naturalistic-looking highlight option for women with medium to dark brown natural hair because the golden brown tone mimics the variation that can occur naturally in unprocessed hair exposed to regular sunlight.
How to Achieve This Look
Your colorist will use a relatively gentle lift process to bring selected sections to a warm golden-brown level, then apply a toner to refine the tone before rinsing. The minimal lift required keeps curl health impact low.
8. Face-Framing Highlights
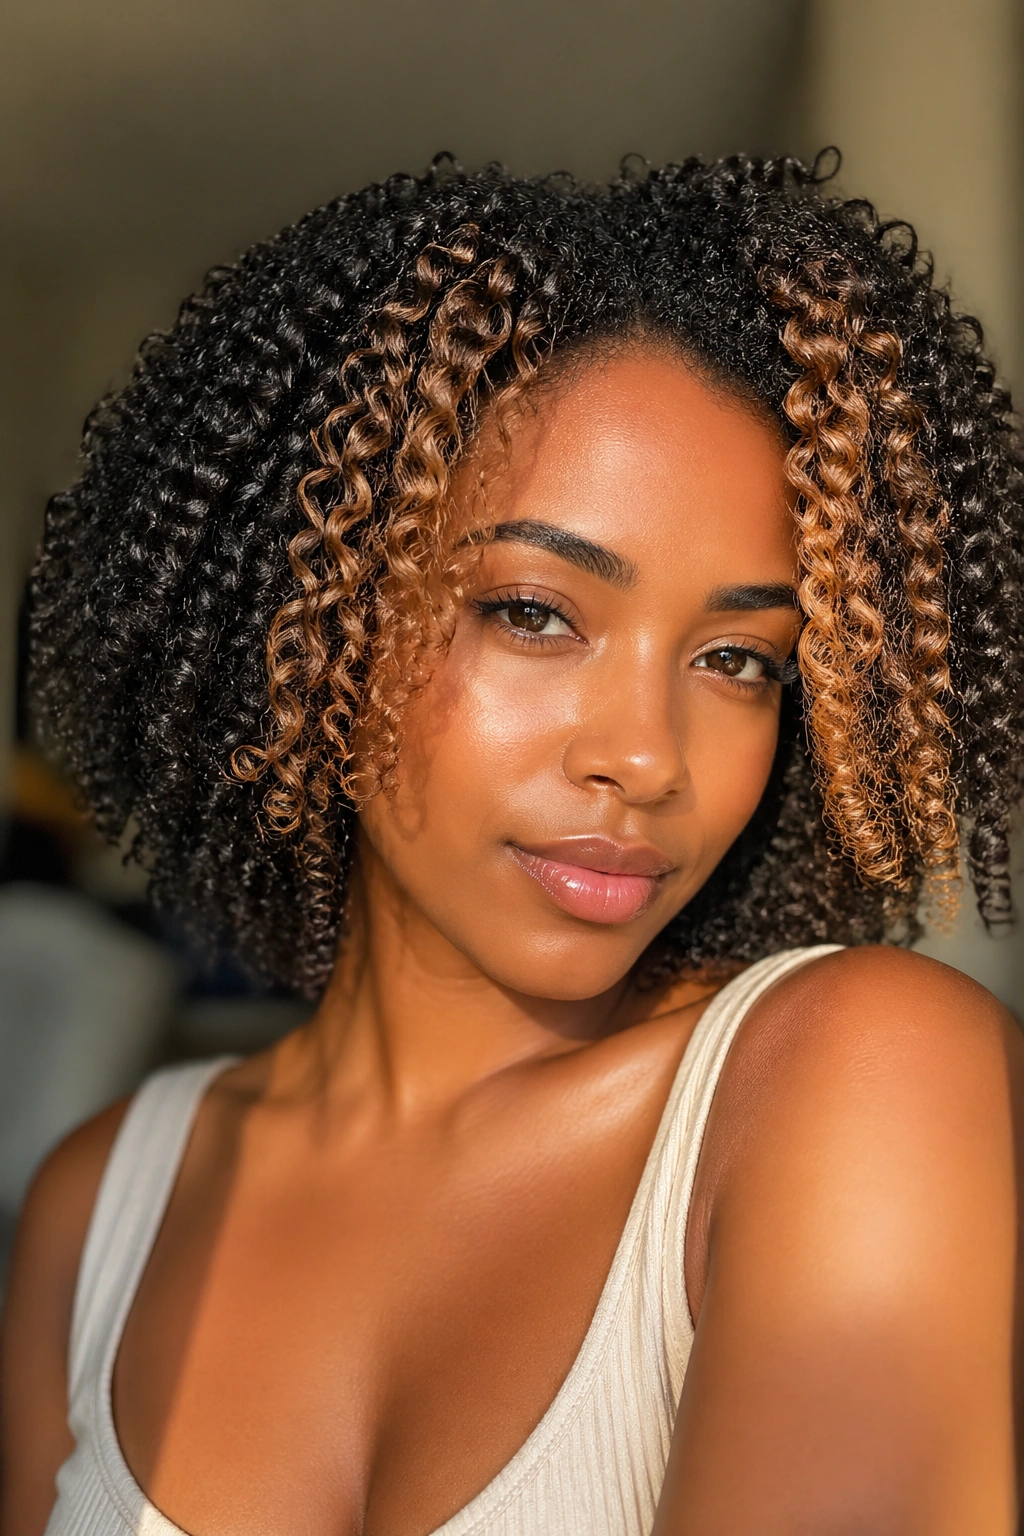
Face-framing highlights concentrate all the lighter color on the sections of hair that fall closest to and around the face — the front sections, temples, and hairline-adjacent pieces — while leaving the rest of the hair at or very close to the natural color.
This is the most strategic and efficient highlight approach because it creates maximum visual impact from minimal color work. Every time someone looks at your face, they see the brightening effect of the highlights. The cost, time, and processing required is significantly less than all-over highlighting.
On natural curls, face-framing highlights create a warm halo effect around the face — the lighter front curls literally frame the facial features with warmth, which is flattering on virtually every face shape and complexion.
9. Chunky Highlights on Natural Curls
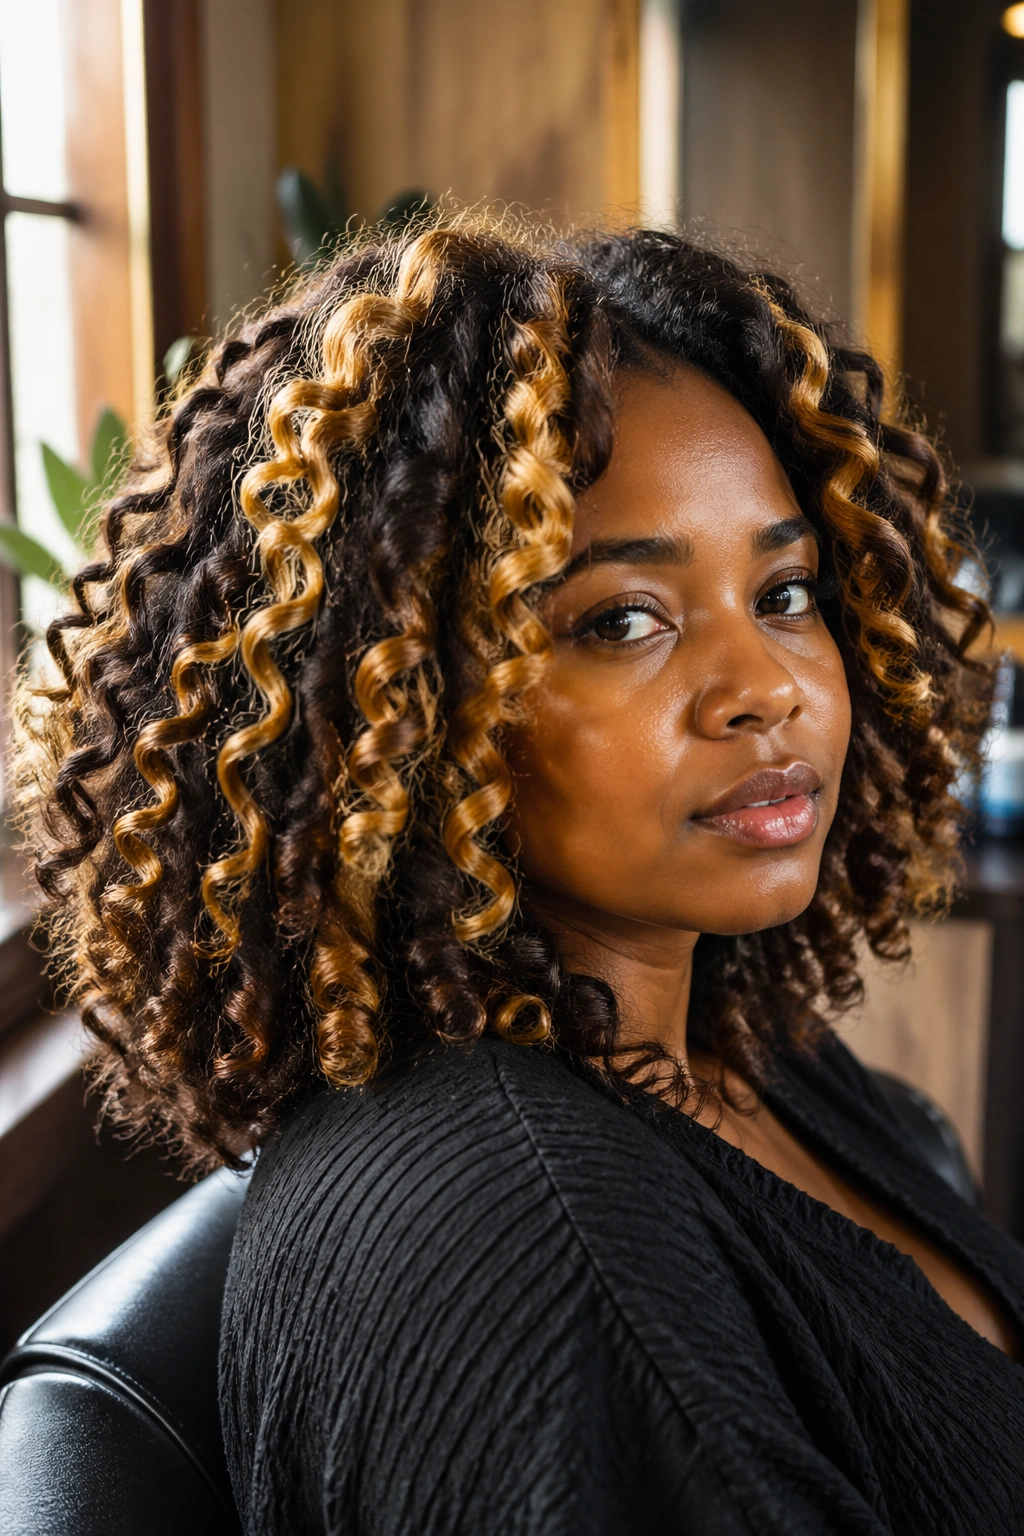
Chunky highlights use larger, more visibly sized sections than traditional fine highlights, creating bolder, more obvious pops of color rather than the subtle dimension of fine highlights. On natural curls, chunky highlights create dramatic, distinct sections of lighter color within the overall curl formation.
Chunky highlights are a bolder statement — they read as clearly and intentionally colored rather than naturally sun-kissed, and that’s entirely the point. The defined contrast between large highlighted sections and the dark natural base is graphic and striking.
This approach works especially well on looser curl patterns where each highlighted section is long enough to display the lighter tone visibly. On very tight coils, chunky highlight sections may be partially obscured by the curl formation.
10. Subtle Scattered Highlights
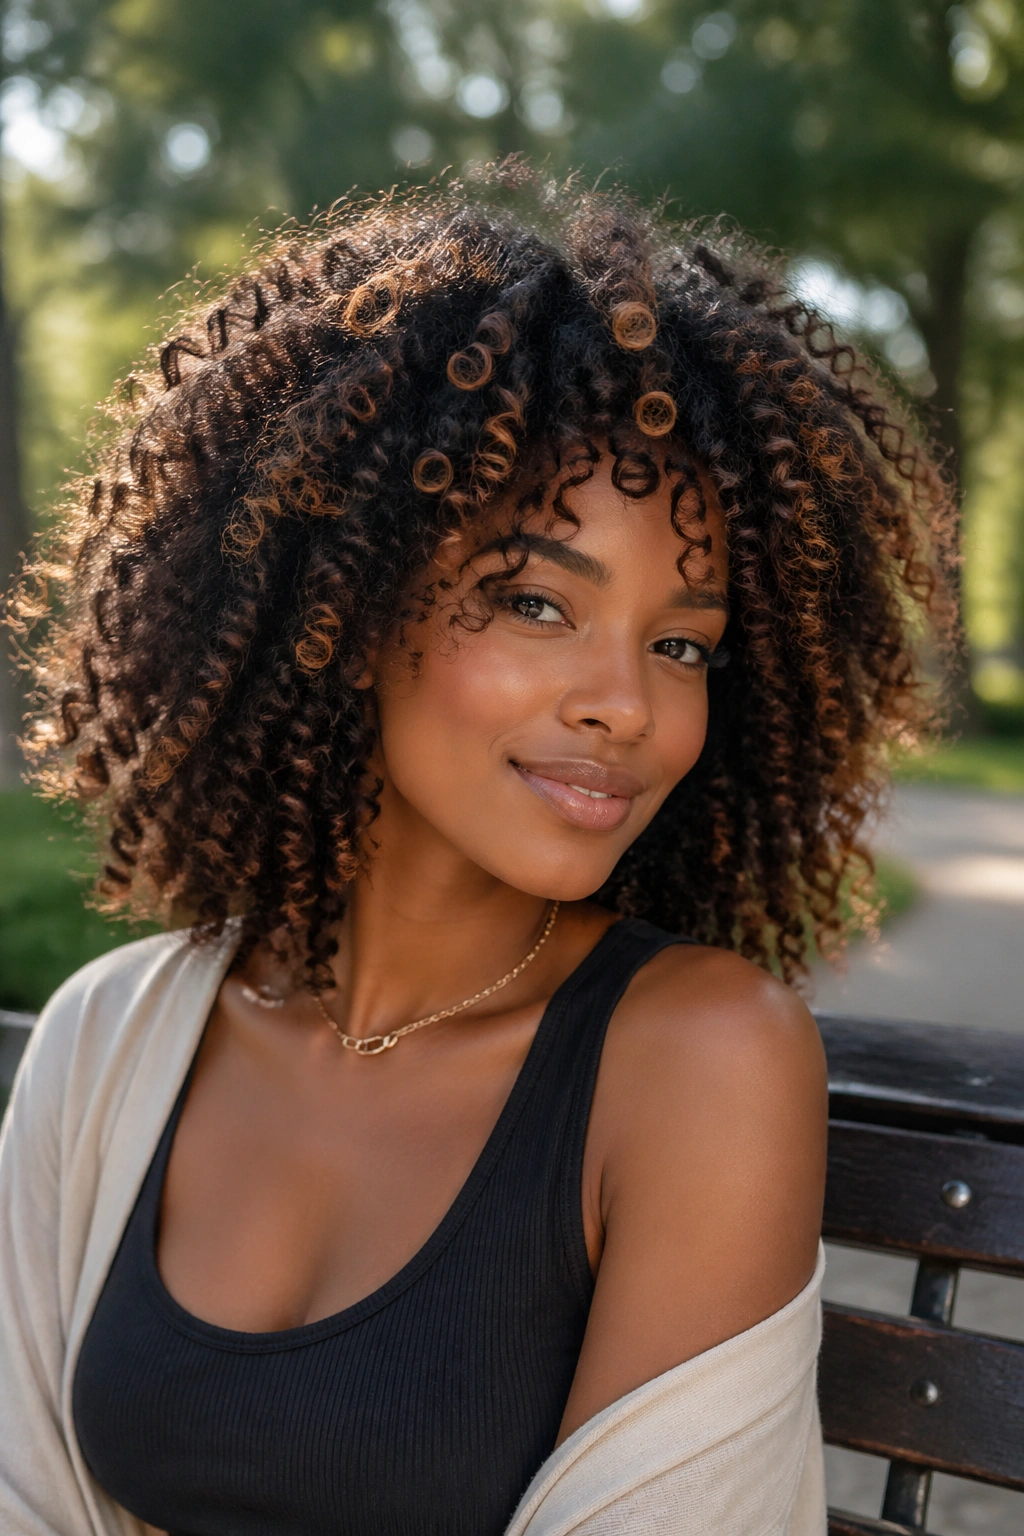
Scattered highlights placed randomly throughout the curl formation — rather than in systematic rows or uniform sections — create the most naturalistic highlight result possible on natural curls. The random placement mimics how sunlight selectively lightens different parts of the hair based on where it hits most consistently over time.
This is balayage applied in highlight logic — the freehand technique used to place small, scattered highlights where they’ll look most natural within the specific curl pattern of the individual client.
On natural curls, scattered highlights look like the hair has been lightened by a lifetime of outdoor activity rather than a salon appointment, which is the most flattering possible effect for most women.
11. Highlights on a Twist-Out Style
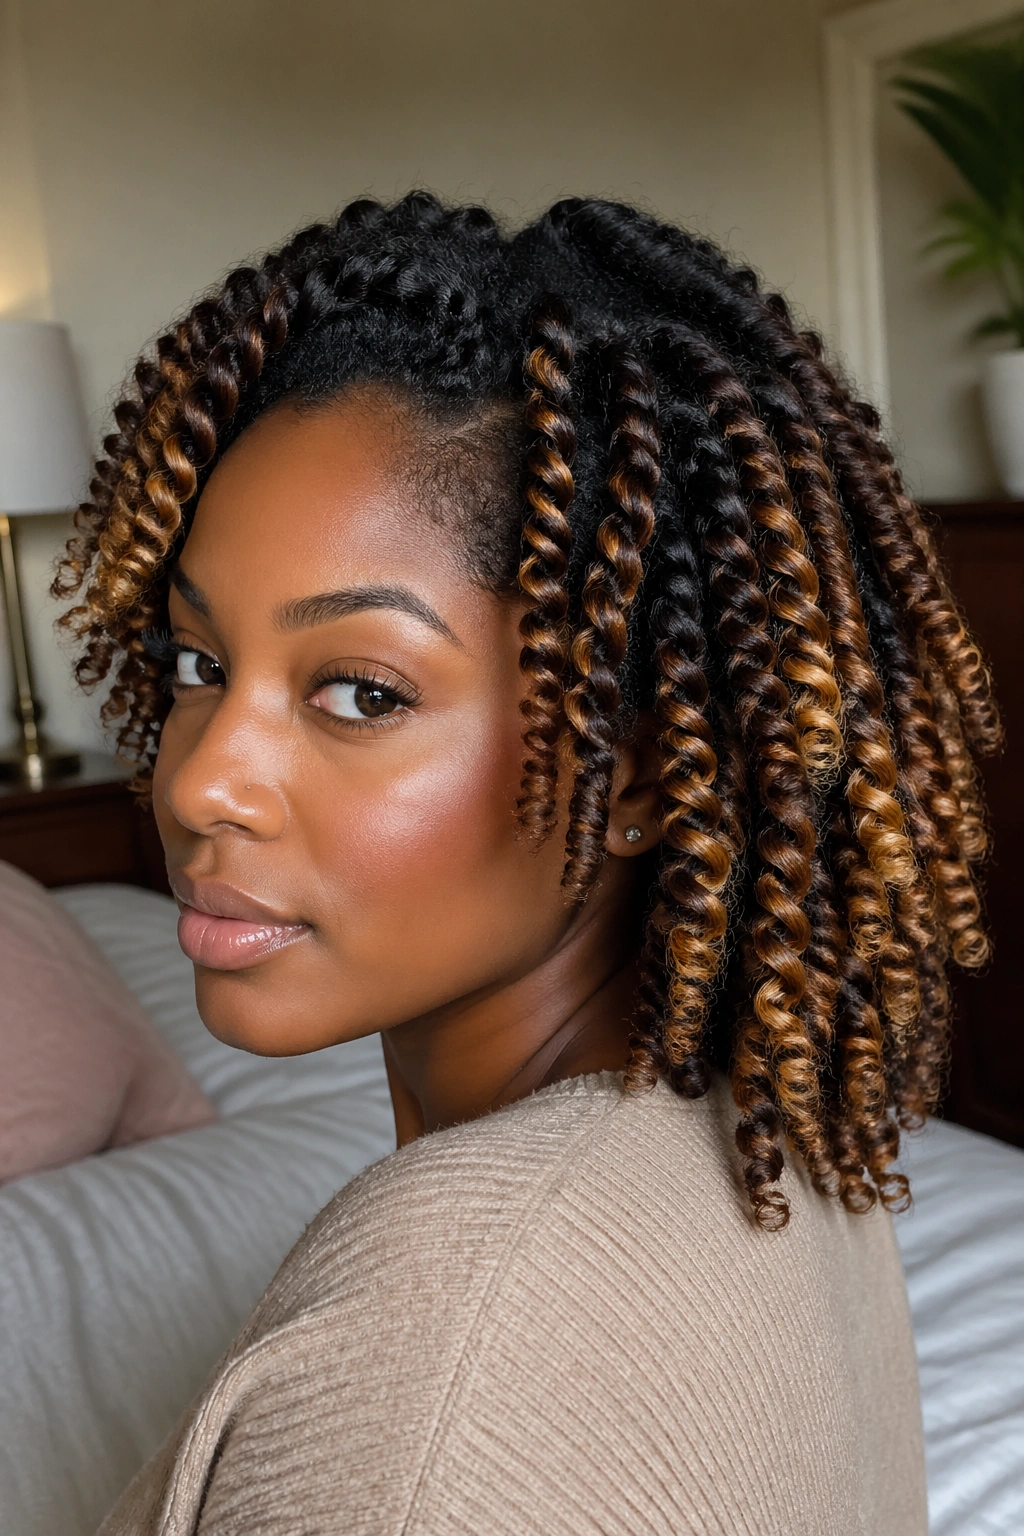
Wearing highlighted natural curls in a twist-out style creates one of the most beautiful displays of the color technique because the defined, elongated spiral of each twist section shows the highlight from root to end — far more visible than the compressed coil of a wash-and-go.
The twist-out elongates the curl enough to display the full range of the highlight placement — the root that stayed dark, the middle section where the highlight begins, and the lighter ends where the highlight is most vivid. You can see the full story of the color in each defined twist section.
12. Highlights on Box Braids
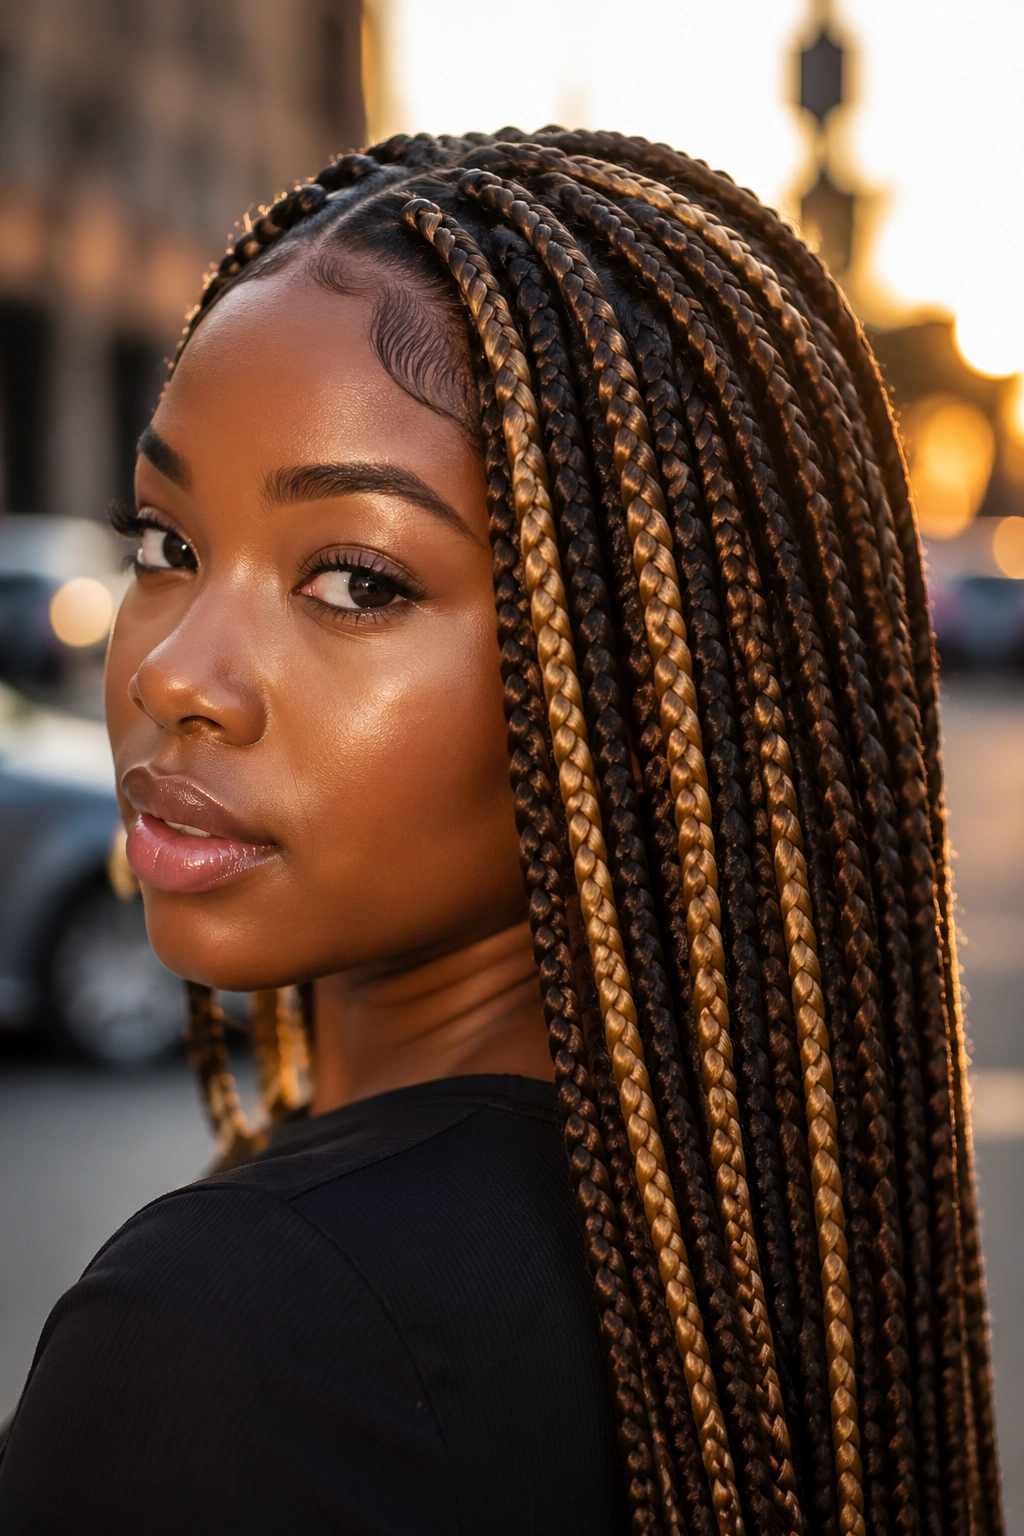
Highlighting your box braids — using extension hair in a lighter shade blended throughout the braid installation — creates the look of highlighted natural hair in a protective style format. The lighter extension sections mimic the effect of natural highlights throughout the braid formation.
This is entirely non-damaging because the color lives in the extension hair rather than in your natural strands. It’s an ideal way to experience highlights visually without committing to chemical processing on your own hair.
13. Ombre-Style Highlights
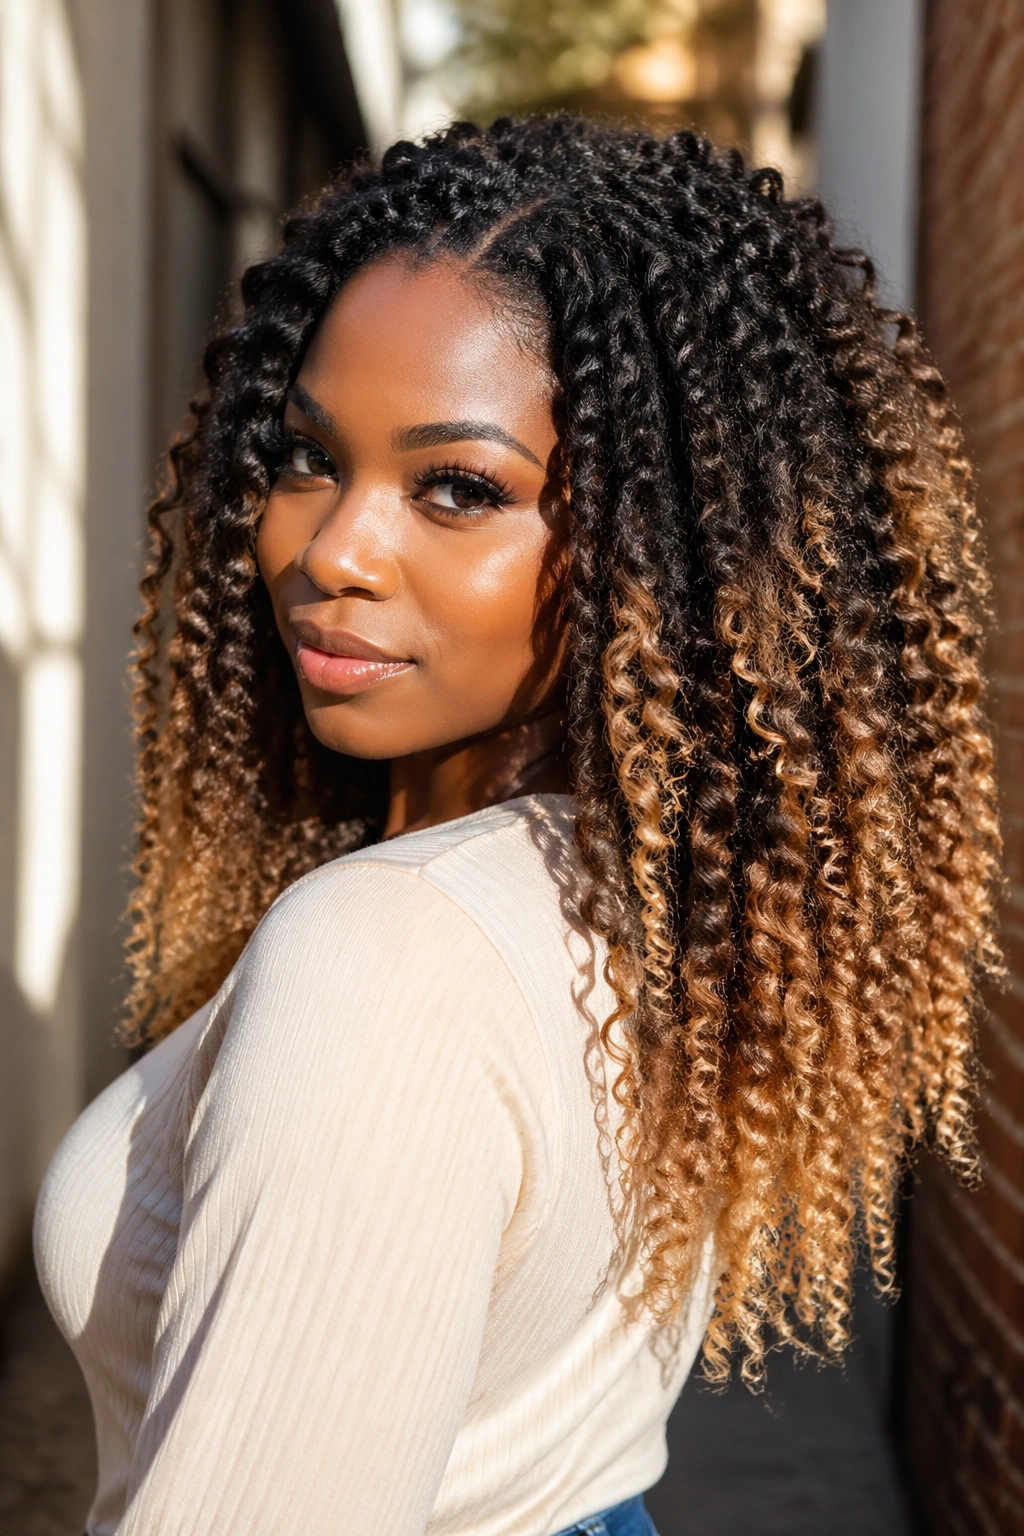
Highlights applied in a graduated, ombre-style pattern — concentrating the lighter color toward the ends of the hair and leaving the roots dark — create a highlight effect that’s directional and intentional. Unlike true balayage ombre, this approach uses the highlight foiling technique to create a systematic root-to-end color gradient.
On natural curls, ombre-style highlights look most beautiful in stretched styles — twist-outs, flat twist-outs, and braid-outs — where the full length of each curl section is visible and the gradient can be seen from root to tip. In a wash-and-go on tight coils, the gradient is more compressed and harder to read.
14. Two-Shade Highlights
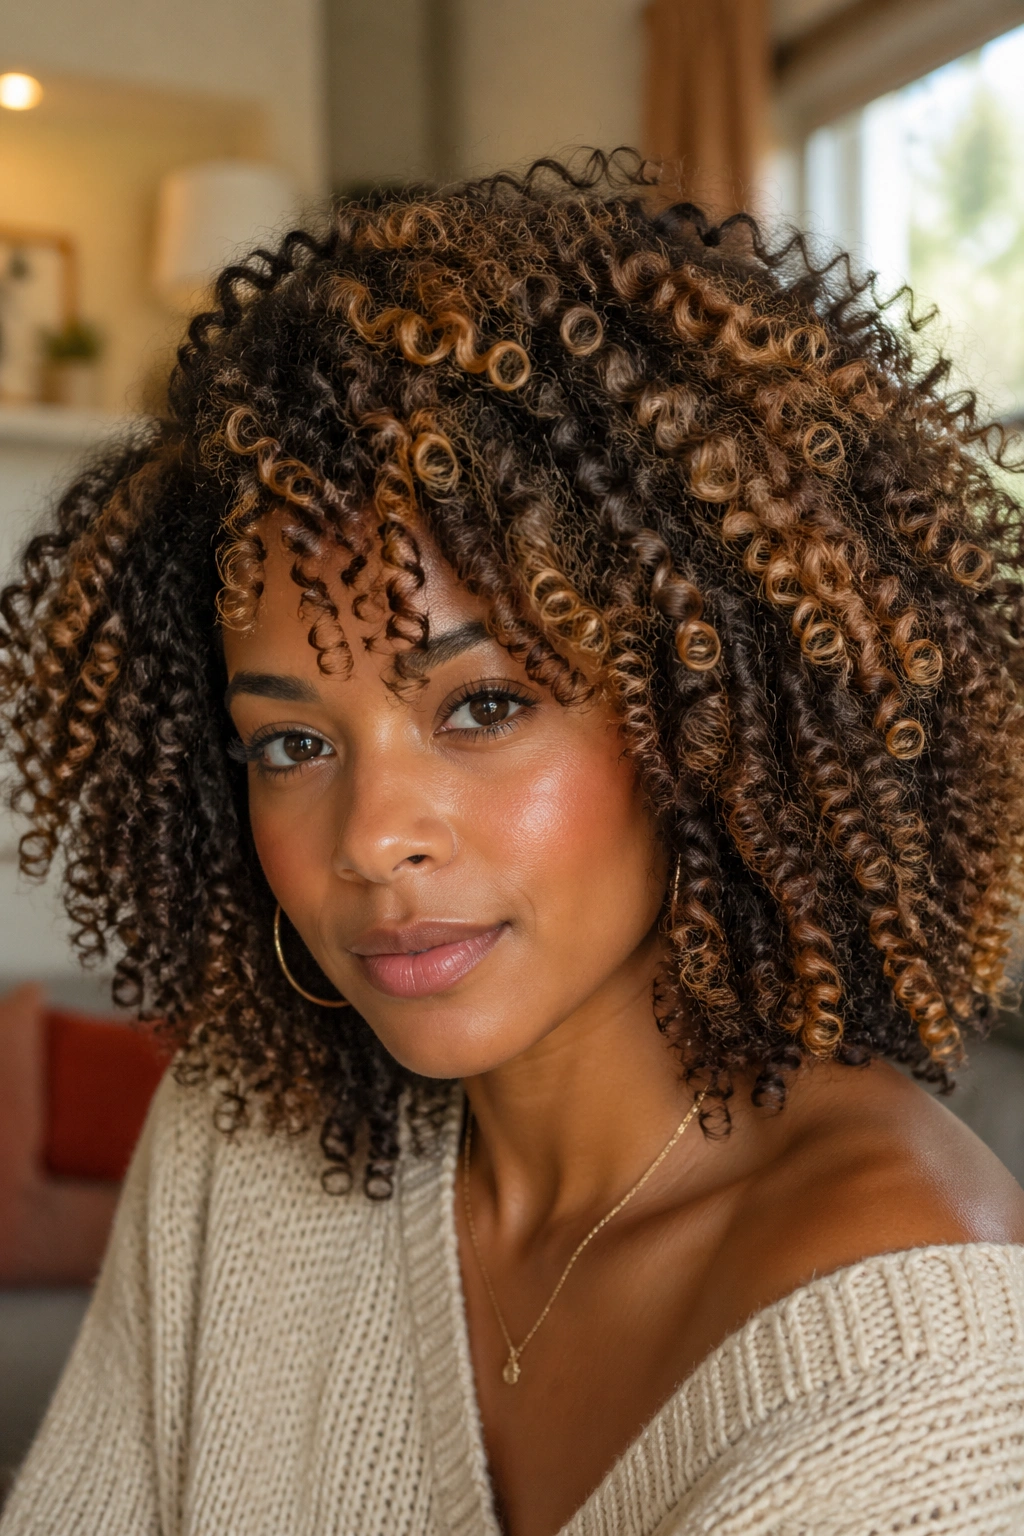
Using two complementary lighter shades — rather than a single highlight tone — creates natural-looking complexity that mimics the multi-tonal quality of actual sun-lightened hair. A honey and caramel combination, for example, or a copper and golden combination, creates highlights that look more organic than a single flat highlight tone.
Multi-shade highlighting requires a colorist who thinks in terms of color dimension, not just color contrast. The two shades should be related tonally and should be mixed throughout the highlighting placement rather than applied to separate, segregated sections.
15. Highlights with a Toner
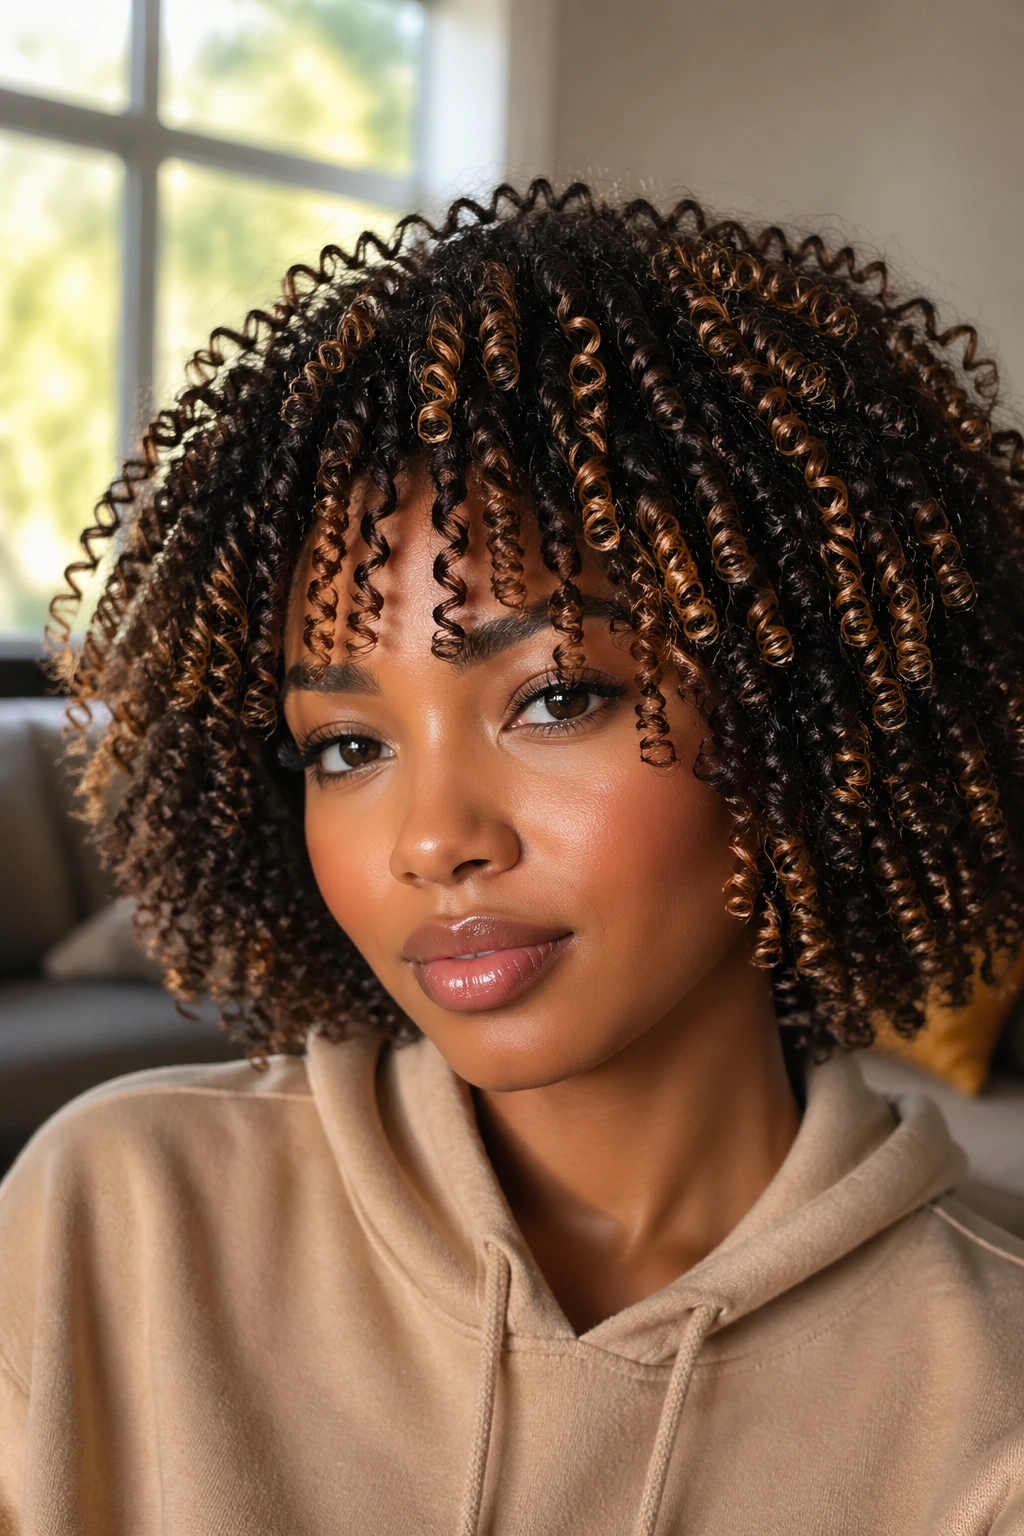
Highlights followed by a toner — a conditioning treatment that deposits a small amount of pigment to refine the exact tone after lifting — are the standard professional approach to achieving precisely the right shade.
Toners are where the magic actually happens after the lightening work is done. Lifting the hair creates the lighter foundation, but the toner determines whether the final result is cool platinum, warm honey, rich caramel, or anything in between. A highlight appointment without a toner step is an incomplete service.
For natural curls specifically, toners should always be conditioning-based — many professional toners are available in a conditioning formula that treats the hair while refining the color, which is especially important for natural curls that have been through a lightening process.
16. Highlights on Locs
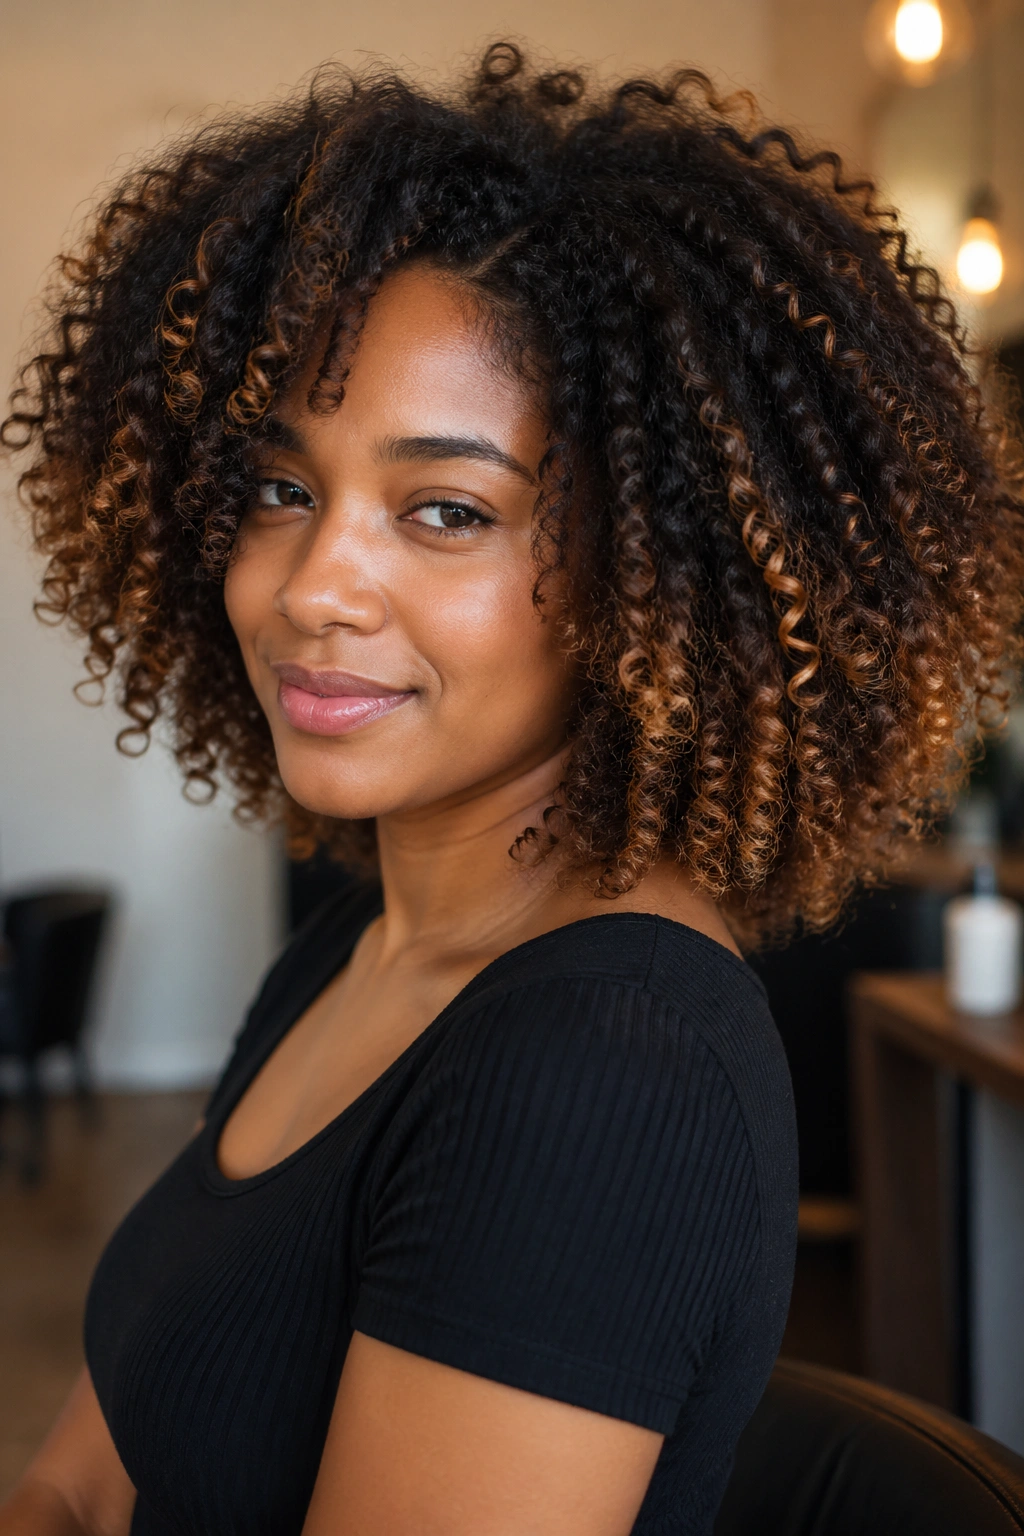
Locs and highlights are a more complex combination than highlights on loose natural hair — the density and compaction of a mature loc makes even penetration of a lightener more challenging. But highlights on locs, done with patience and the right technique, can be genuinely beautiful.
The most effective approach for highlighting locs is often a gentle lightening solution applied to the outside surface of each loc, left on long enough to create visible tonal shift on the loc surface without requiring full penetration. The result is surface-level warmth that reads as naturally highlighted rather than uniformly colored.
17. Highlights at Home: When It’s Possible and When It’s Not
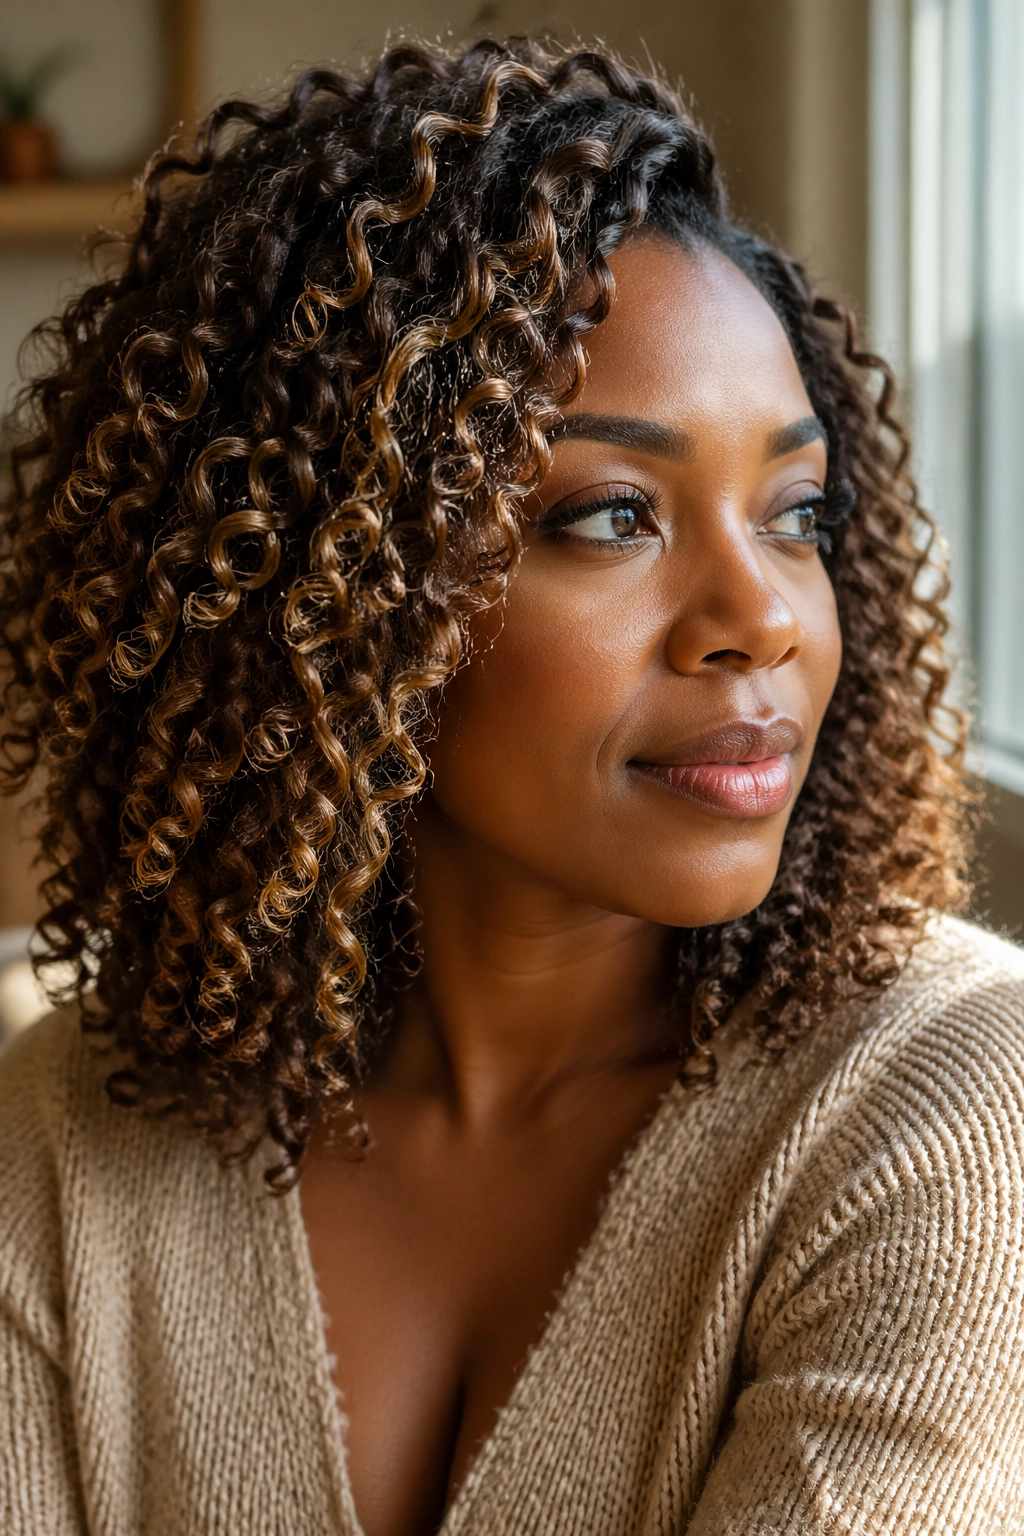
At-home highlighting on natural curls is sometimes possible and sometimes a significant mistake — and knowing which situation you’re in is important for avoiding damage and disappointment.
When it’s potentially okay: If you’re starting from a medium brown natural hair color and want to add a subtle caramel or golden brown warmth to your highlights, an at-home highlighting kit specifically designed for warmer, less-dramatic results can work if you follow the instructions carefully. The risk is low because the target lift is minimal.
When it’s definitely not okay: If your hair is dark black or very dark brown and you want visible, clearly lighter highlights, attempting this at home on natural hair is a genuine risk. Uneven lifting, patchy results, damage, and breakage are all real possibilities. A professional is not optional for this scenario.
18. Highlights for Short Natural Hair
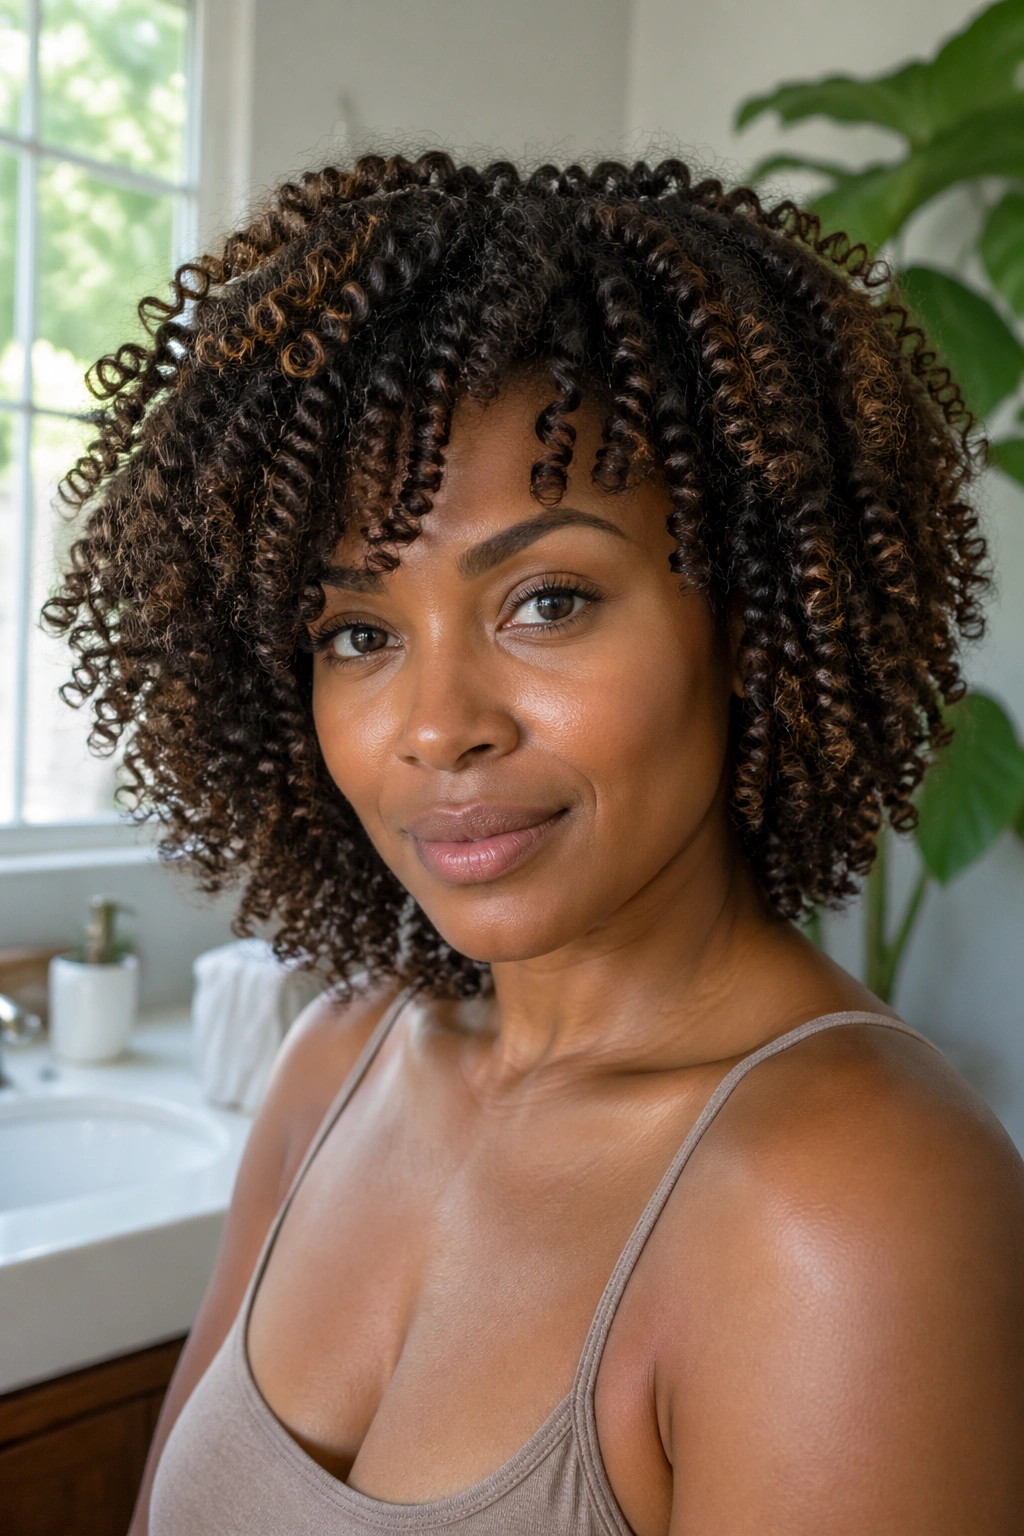
Short natural hair — TWAs, tapered cuts, and short coil styles — absolutely gets highlights, and the result is a distinct all-over warmth that creates dimension across the entire head simultaneously rather than in streaks.
On short natural curls, highlights show up as an overall tonal lift with concentrated warmth at the curl tips — because there simply isn’t enough length for a gradient to develop, the highlights appear as tips-to-mid-length warmth that makes the entire head look brighter and more dimensional.
This effect is genuinely beautiful and particularly low-maintenance — short hair takes and releases color more evenly than long hair, and the grow-out on highlighted short natural hair can be managed with a simple trim rather than a complex color touch-up.
19. Highlights and the Protective Style Cycle
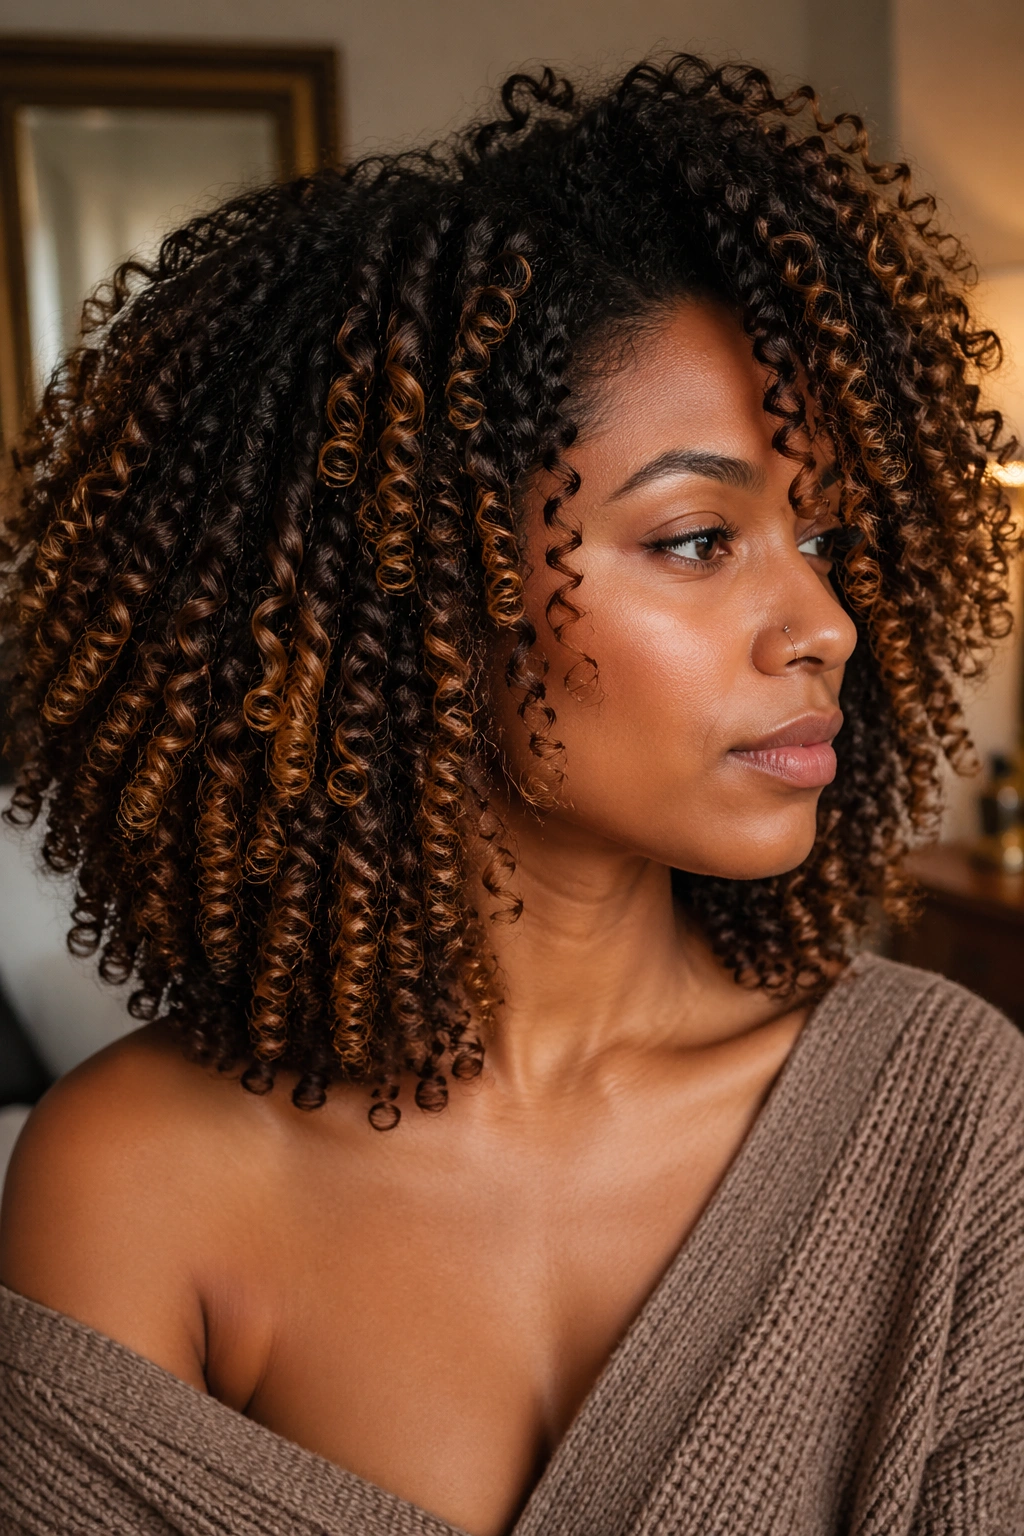
Women who cycle through protective styles face a particular challenge with highlights: how to plan highlight appointments around protective style schedules without extending the time between color services so long that the highlights fade significantly.
The best approach is to time highlight appointments for immediately after coming out of a protective style, when your natural hair is freshly detangled and in its best condition before you re-style. This gives you maximum access to all sections of your hair for thorough highlighting application.
After highlighting, wear your natural curls in wash-and-go or twist-out styles for at least two to four weeks before going into another protective style — this gives you time to enjoy and showcase the highlights, properly care for the color-treated strands, and assess the health of your hair before the next protective period.
20. Maintaining Highlights Through Wash Day Routine
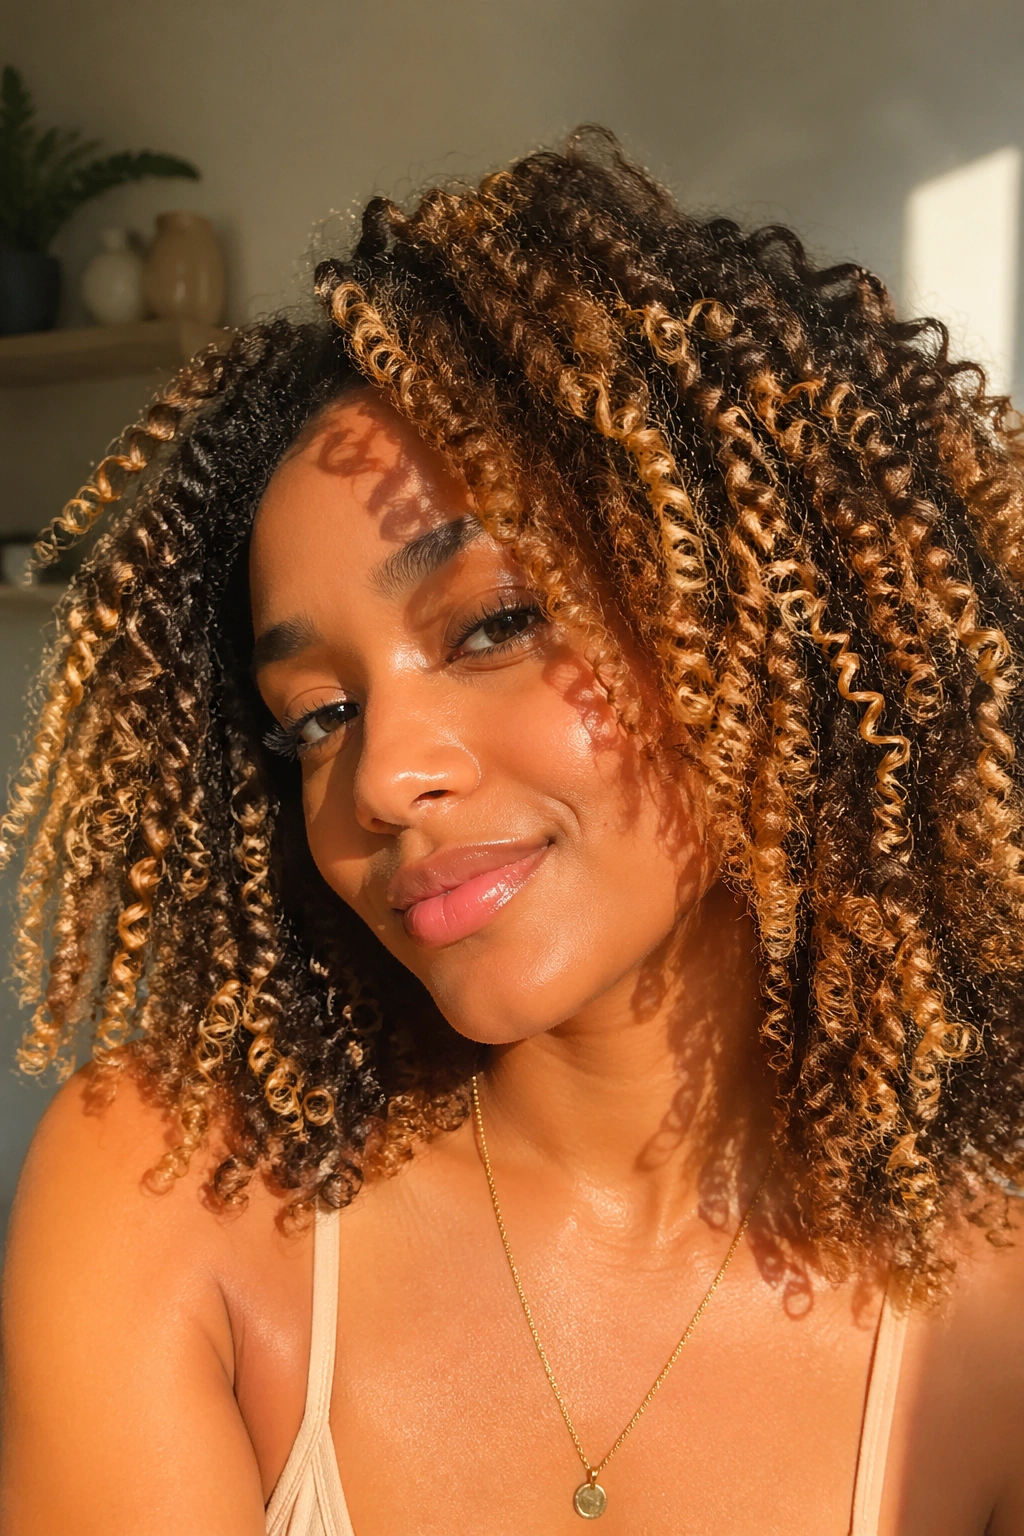
The wash day routine is where highlight maintenance is won or lost. Every decision you make on wash day — the products you use, the water temperature, how you handle the hair — affects how long your highlights stay vibrant and how healthy your color-treated curls remain.
Sulfate-free shampoo is the absolute baseline for highlighted natural hair — sulfates aggressively strip color from the cuticle, and even one wash with a sulfate shampoo can visibly dull highlights. Invest in a quality sulfate-free clarifying shampoo for occasional deep cleaning and a standard sulfate-free shampoo for regular wash days.
Cool water rinses at the end of every wash seal the cuticle and lock color molecules in. Hot water opens the cuticle and releases color with every rinse — a single switch from hot to cool rinse water can meaningfully extend the life of your highlights.
Deep conditioning on every wash day keeps color-treated curls moisturized and defined, which makes the highlights look more vibrant. Dry, frizzy highlighted curls look dull regardless of how good the initial color was. Properly moisturized, defined highlighted curls look luminous and rich.
21. Highlights and Protective Styling Simultaneously
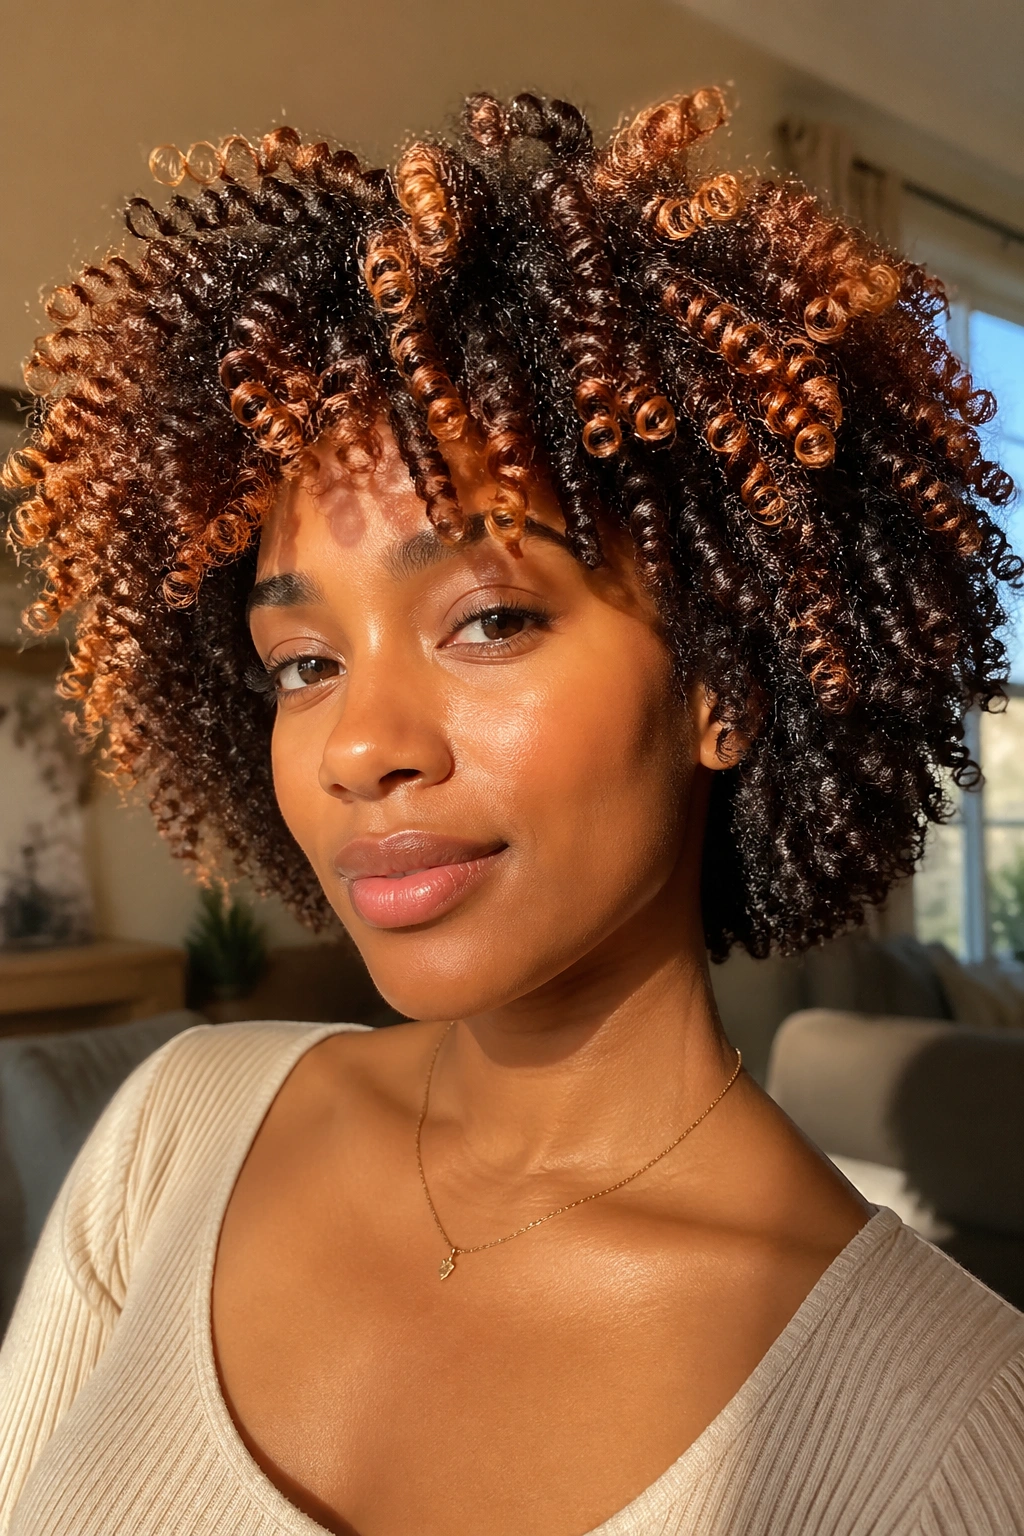
Highlights don’t have to mean sacrificing your protective style routine — and protective styles don’t have to mean hiding your highlights. There are ways to cycle through both that serve your hair health without requiring you to give up either the color or the protection.
The key is allowing adequate recovery time after a highlight service before installing a protective style. Give your highlighted curls at least two to three weeks of loose wear to assess the health of the highlighted sections, complete any post-color protein or moisture treatments needed, and ensure the curl pattern has stabilized before braiding or twisting down.
During protective style periods, your natural highlights are preserved under the style — protected from UV exposure, environmental damage, and daily manipulation. When you come out of the protective style, the highlights may have faded slightly from the transition between in-style and out-of-style periods, but a gloss treatment during the next salon visit will refresh the tone.
22. Highlights with Bond-Building Treatments
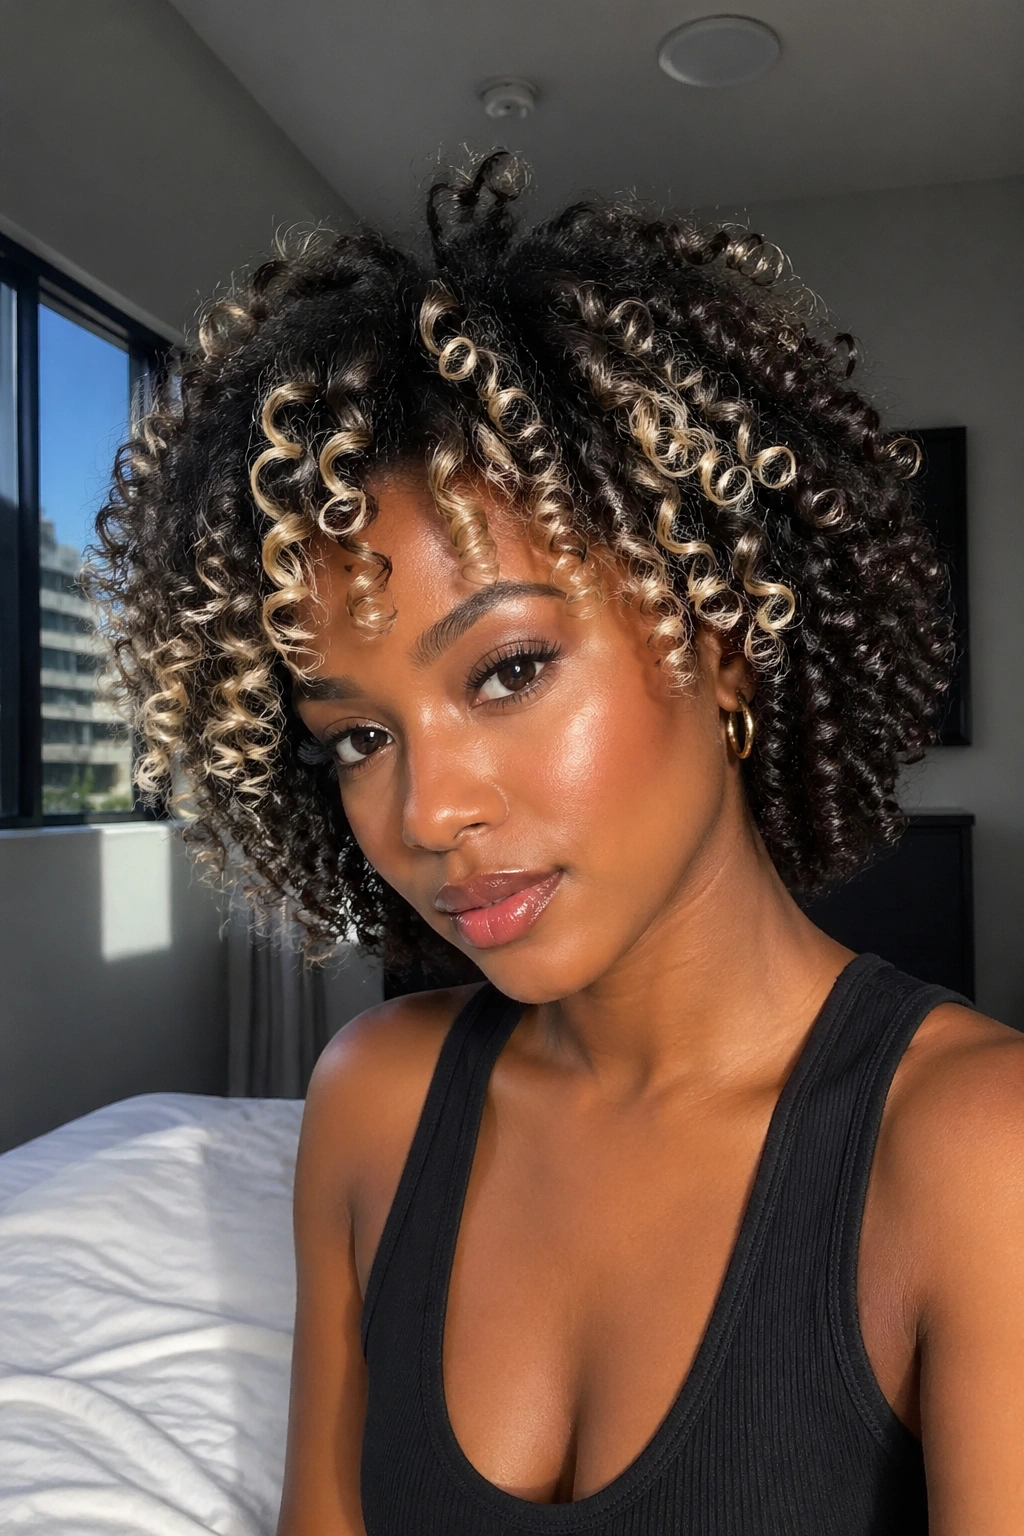
Bond-building treatments — products that repair broken disulfide bonds in the hair shaft that are disrupted during chemical processes — are one of the most important tools available for maintaining curl health through a highlighting journey.
Olaplex, Redken pH-Bonder, and similar bond-building products can be added to the lightener during the highlighting service to reduce structural damage, and then used as stand-alone treatments at home between appointments to rebuild hair strength. They’re not a substitute for careful color work, but they meaningfully reduce the structural impact of lightening on natural curls.
Ask your colorist specifically about bond-building treatment addition to your next highlight service if you’ve noticed that previous color services made your curls feel more brittle or prone to breakage. The difference in curl resilience post-service can be significant.
23. The Highlight Consultation: What to Bring and Ask
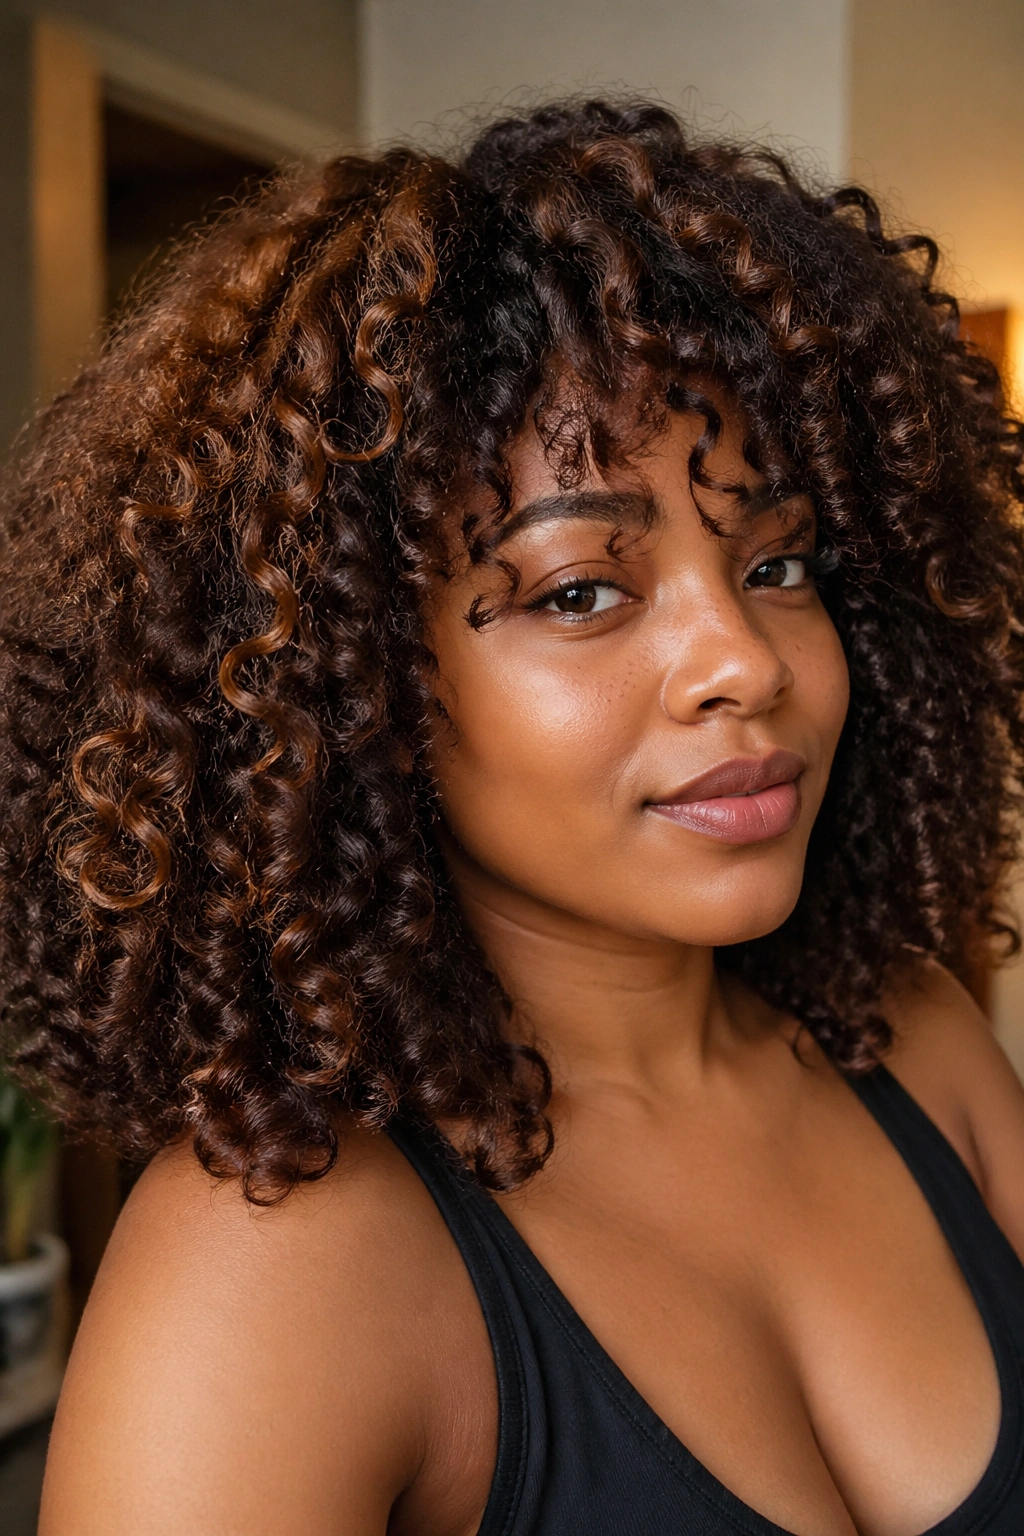
The consultation before your highlight appointment is as important as the appointment itself, and going in prepared makes the entire experience significantly better.
Bring reference photos — but bring references of highlighted natural curls at a texture similar to your own, not highlighted straight hair. The difference in how highlights show up is significant enough that straight hair references can lead to genuine misalignment between expectations and results.
Know your starting point clearly: Have you had previous color? Chemical straighteners? What’s the current health of your hair? Your colorist needs this information to plan a safe and effective service.
Ask specific questions: How many sessions will it take to reach the target? What products should I use between appointments? When should I come back for a touch-up? When can I install a protective style? A colorist who can answer these questions confidently is a colorist who knows what they’re doing.
24. Highlights on Different Curl Porosity
Curl porosity — how open or closed the hair cuticle is — significantly affects how highlights develop on natural hair, and understanding your porosity type helps you have more realistic expectations and better conversations with your colorist.
High porosity natural hair — hair with an open, raised cuticle that absorbs products and color quickly — tends to lift faster during the highlighting process, which means processing times need to be carefully monitored. High porosity hair also releases color faster, meaning highlights fade more quickly between appointments. Protein treatments help close the cuticle and extend color retention.
Low porosity natural hair — hair with a tightly closed cuticle that resists product absorption — lifts more slowly and may require longer processing times or additional heat to achieve the target color. Low porosity hair tends to hold color longer once it’s in, but getting it there requires more patience.
Normal porosity hair sits in the middle and responds most predictably to the highlighting process — it lifts at a standard rate and holds color reasonably well with proper maintenance.
25. Refreshing Highlighted Natural Curls Between Appointments
Between salon appointments, keeping highlighted natural curls looking fresh and vibrant requires a consistent at-home maintenance routine. The good news is that most of what your hair needs between appointments is straightforward and accessible.
Color-depositing conditioners and glosses in the appropriate tone (warm blonde for honey and caramel highlights, neutral or ash for cooler highlights) refresh the color with every use. Applying one once a week as a conditioning mask and rinsing after twenty minutes keeps the highlights looking vivid between professional color services.
Weekly deep conditioning is non-negotiable. Color-treated curls need moisture replenishment every single wash day, not occasionally. A twenty-minute deep conditioning treatment with a heat cap before rinsing keeps the cuticle sealed and the curl pattern defined, making the highlights look their best.
Protective nighttime habits — satin bonnet, satin pillowcase, or satin scarf — reduce the overnight friction that leads to frizz, breakage, and color fade. It’s a small habit with a genuinely large impact on how long your highlights look salon-fresh between appointments.
