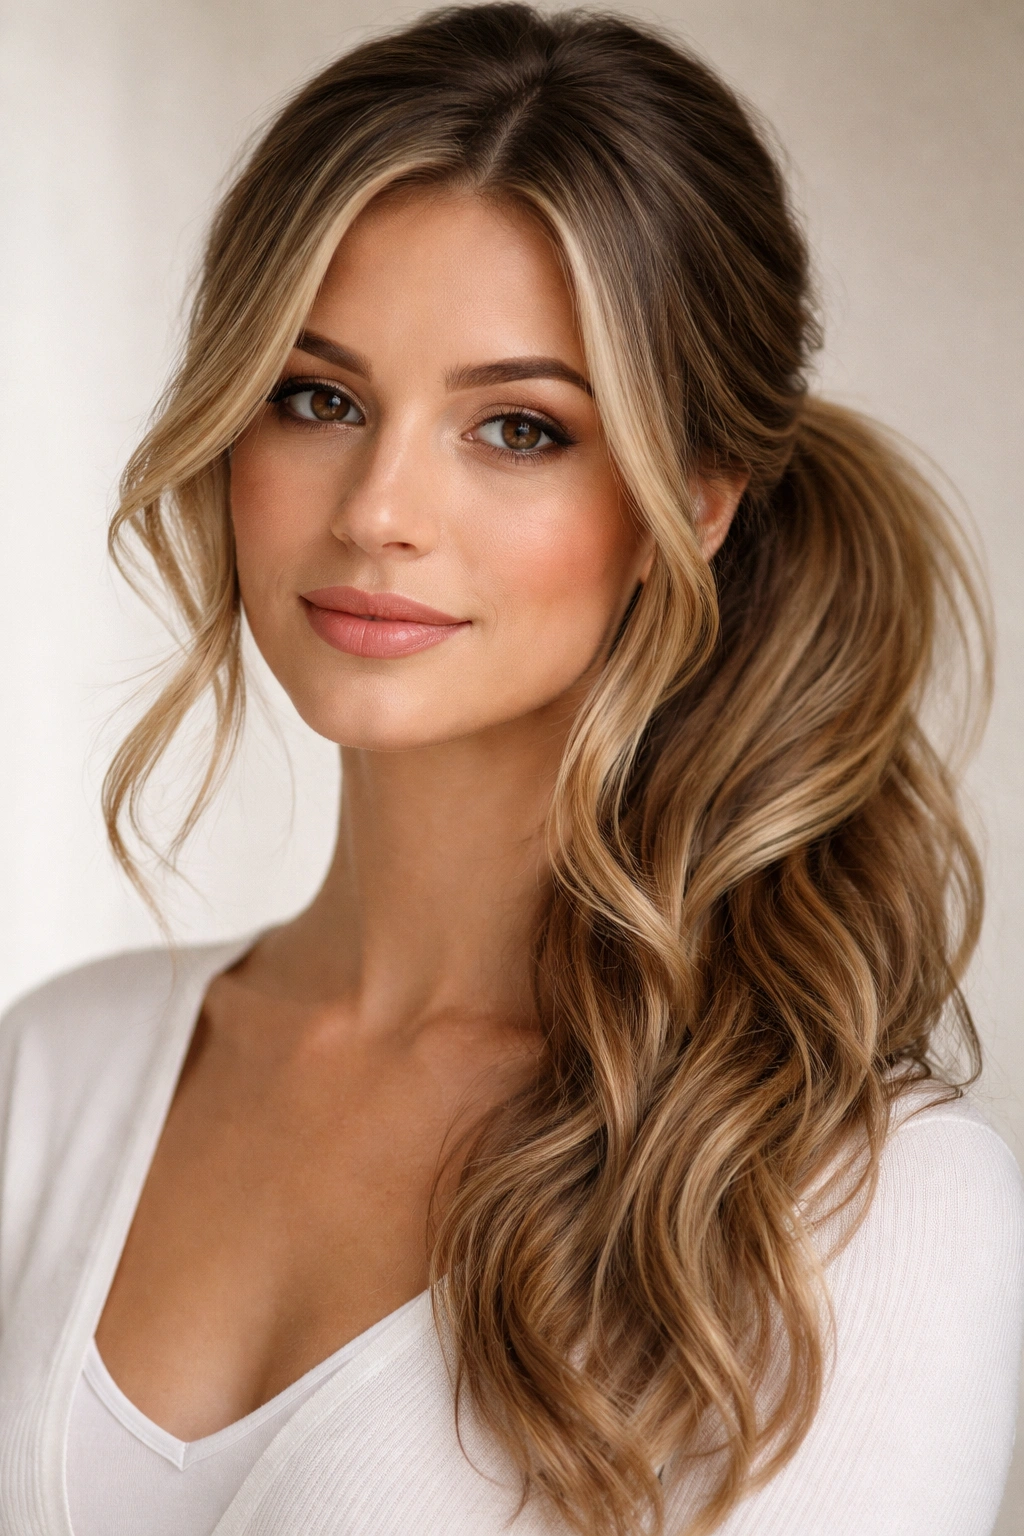
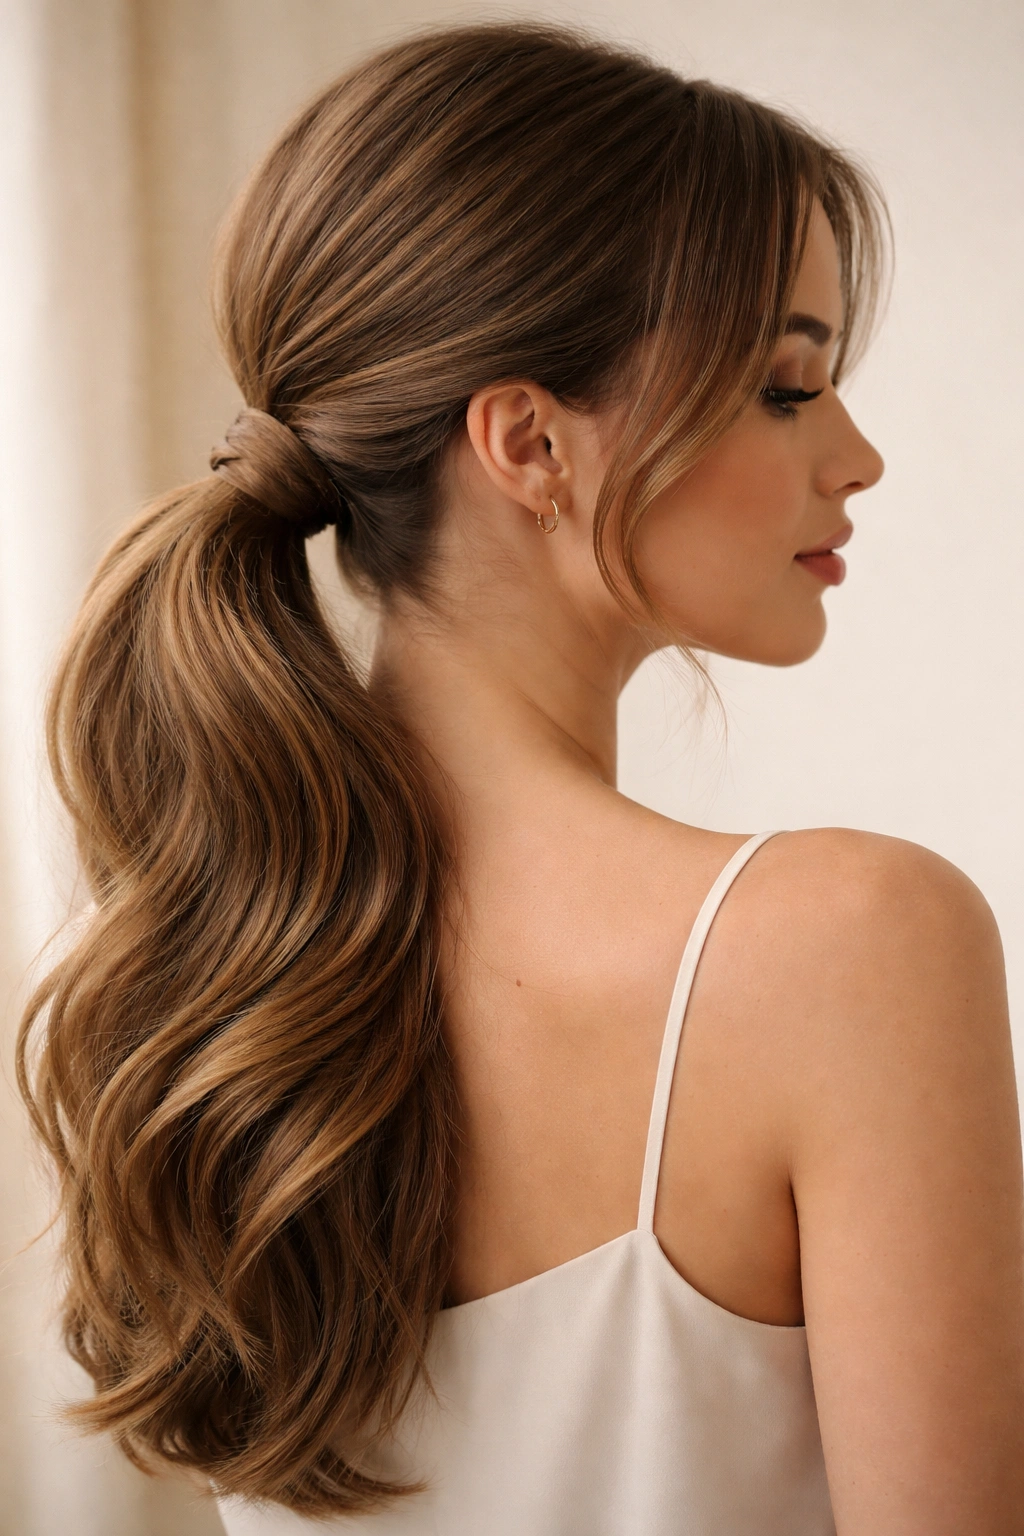
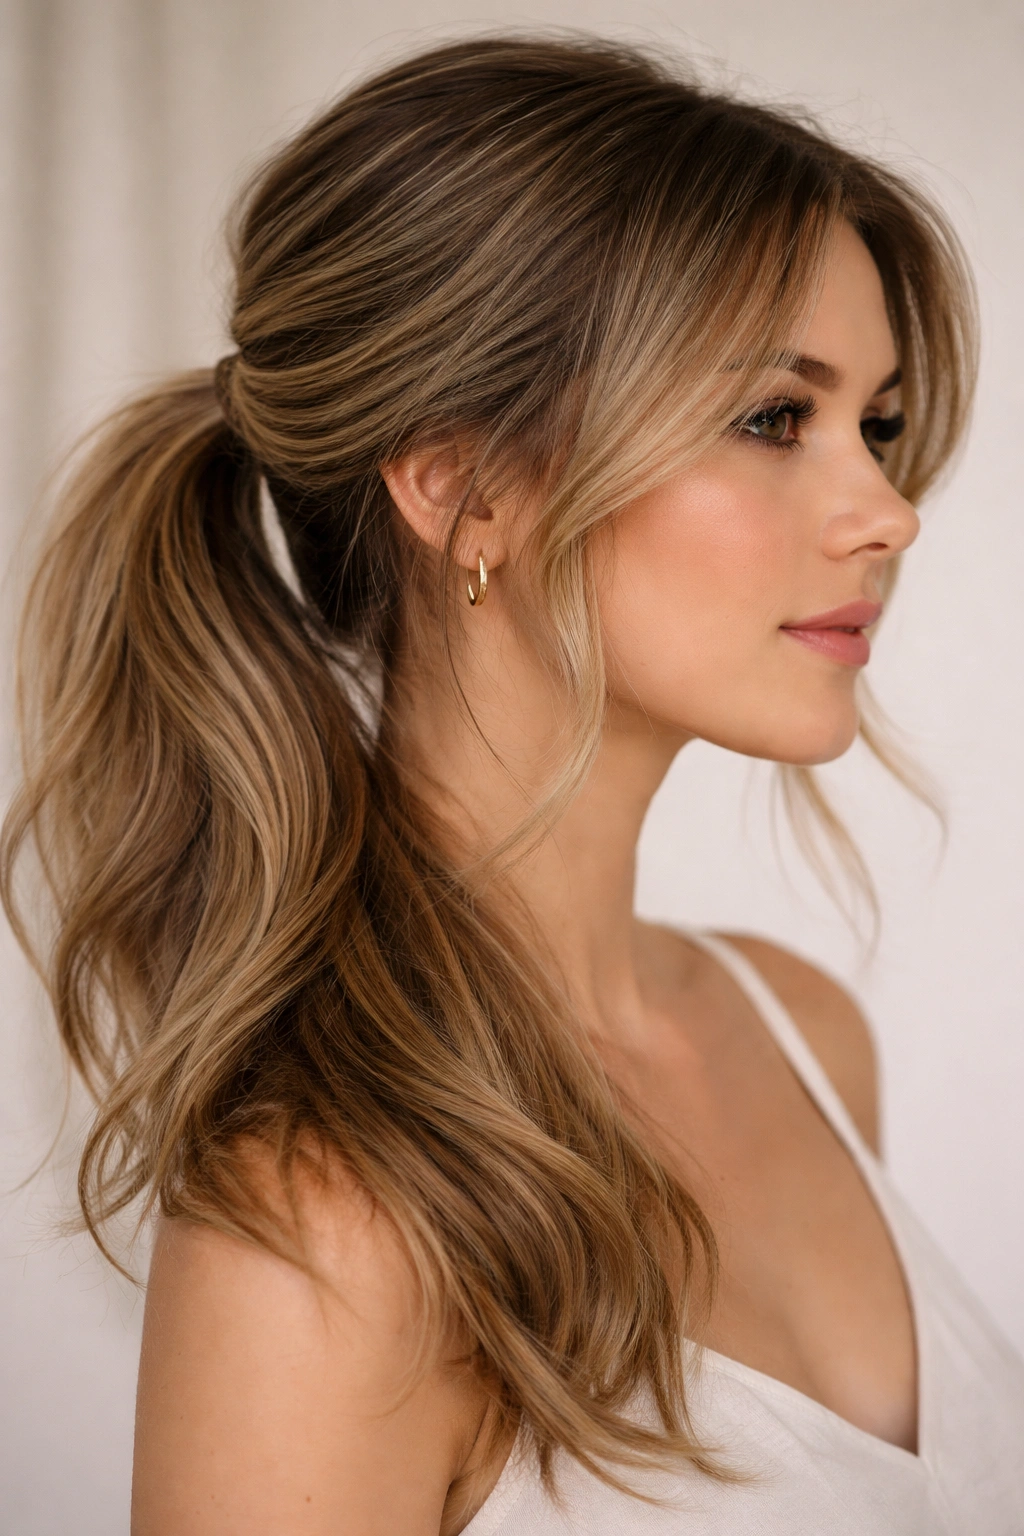
The side ponytail often gets a bad rap as a relic of 1980s aerobics classes or something you only do when you are rushing out the door. That is a mistake. When styled with intention, a side pony is one of the most reliable, flattering, and genuinely practical hairstyles you can have in your rotation. It pulls hair off your neck, shows off your profile, and works whether your hair is greasy from a missed wash day or freshly blown out and voluminous.
The beauty of shifting your hair to one side is that it instantly softens your features. It creates an asymmetrical line that draws the eye, making it a go-to choice for days when you want to look put-together without spending an hour with a curling iron. Whether you have stick-straight, fine hair or thick, coarse coils, there is a variation here that will make the style feel intentional rather than accidental.
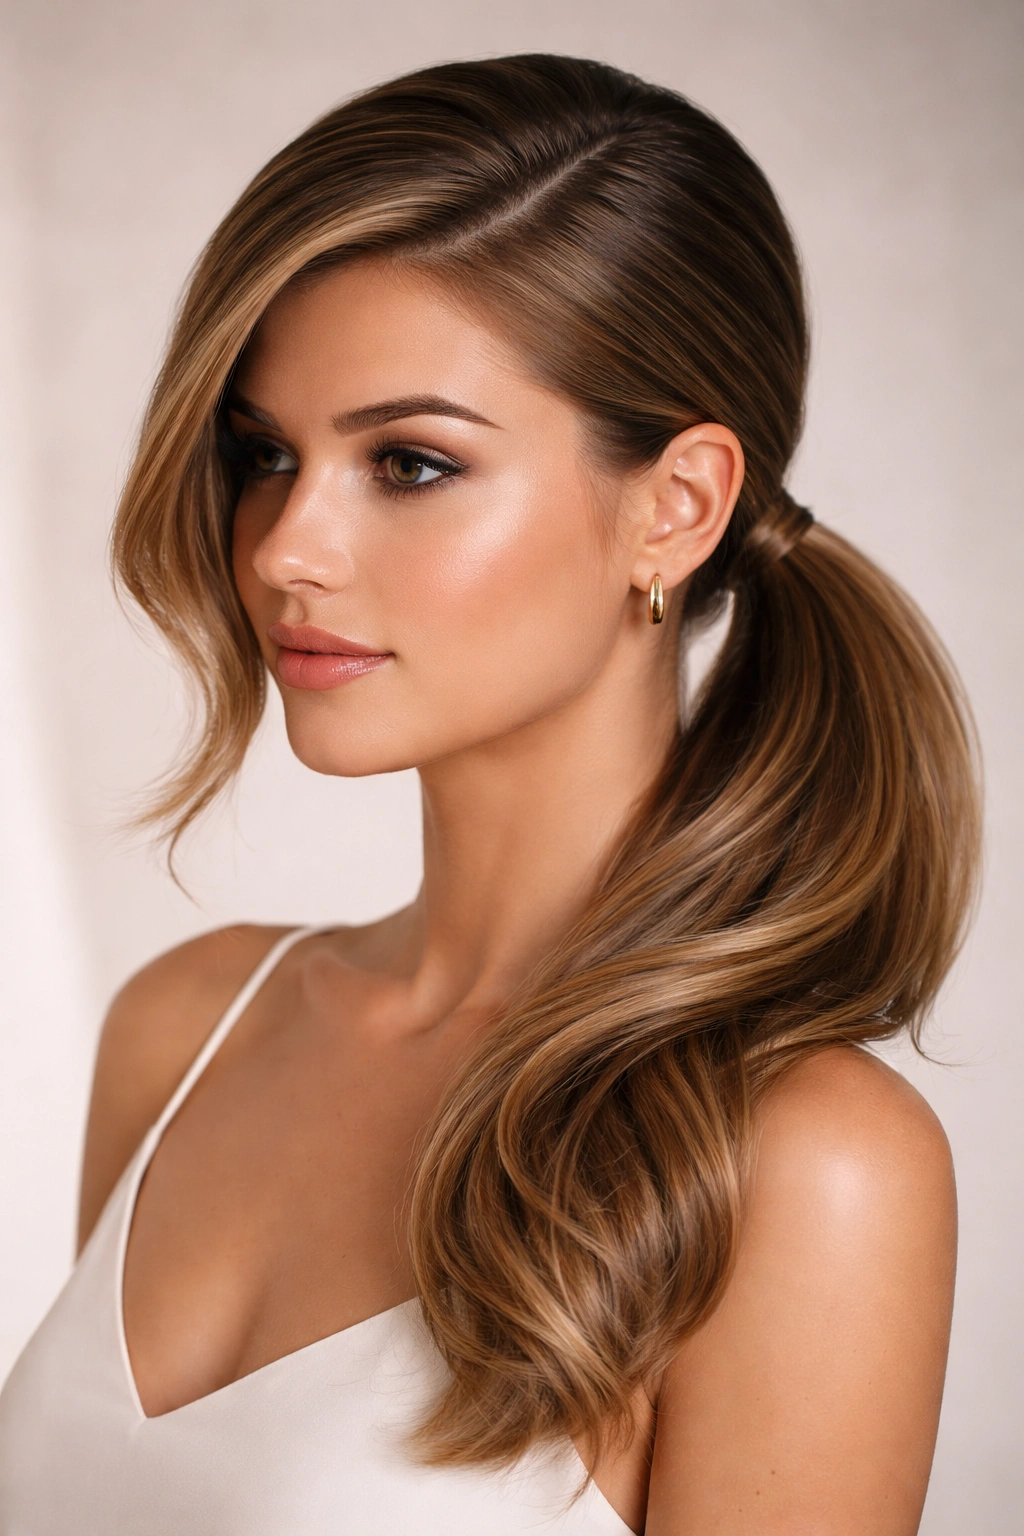
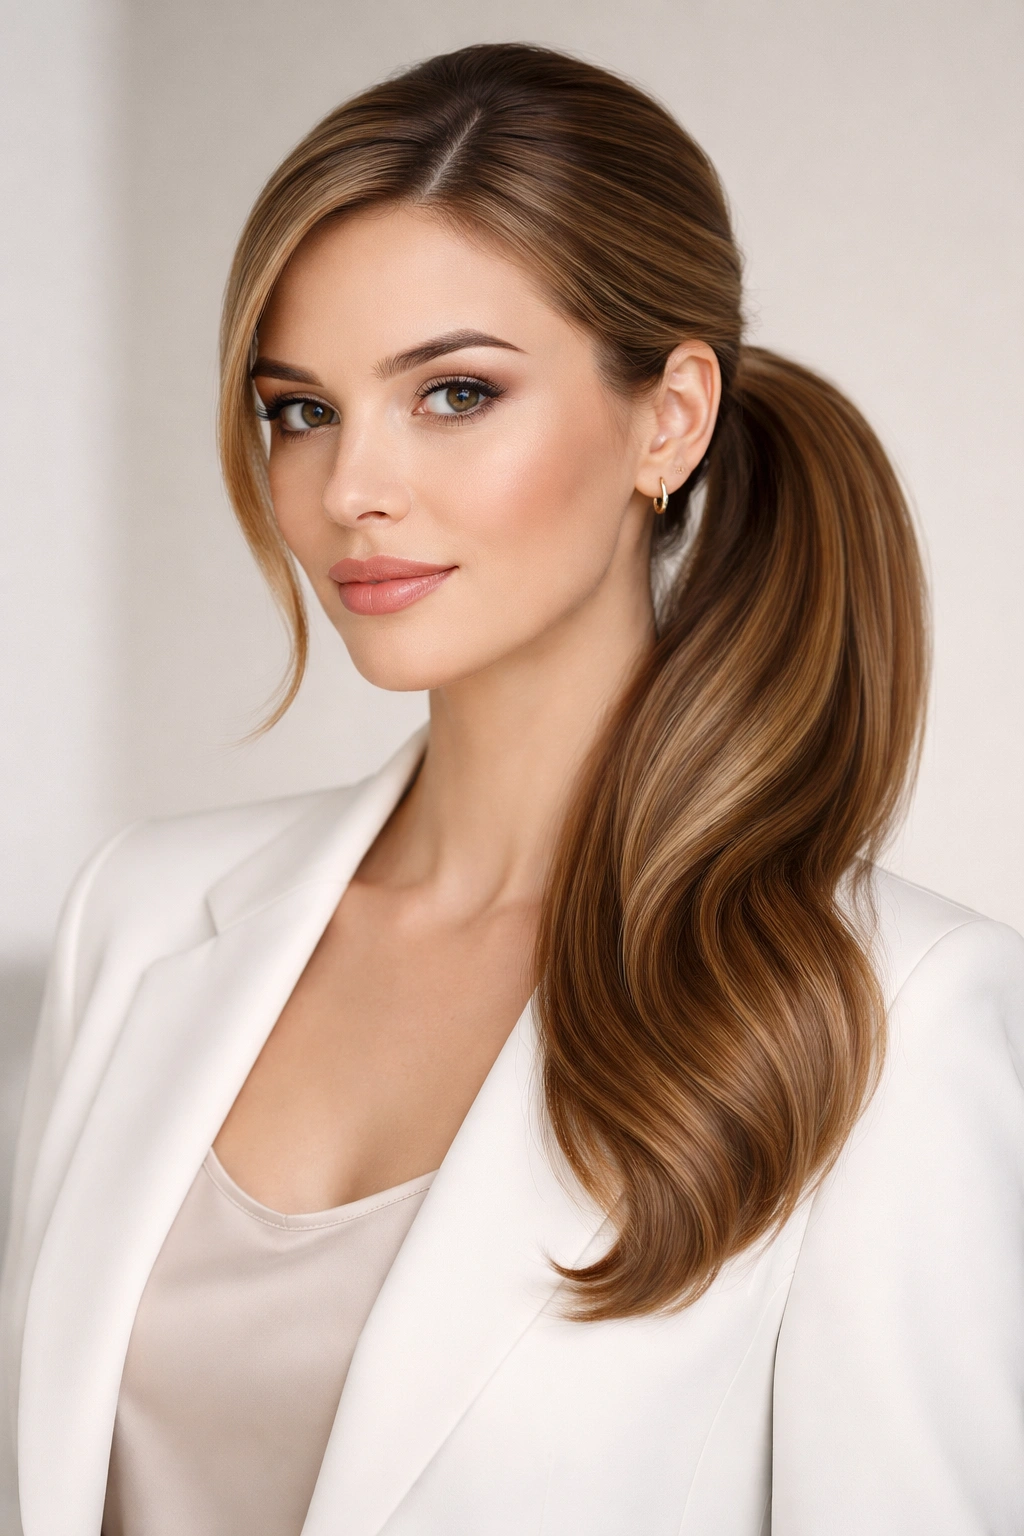
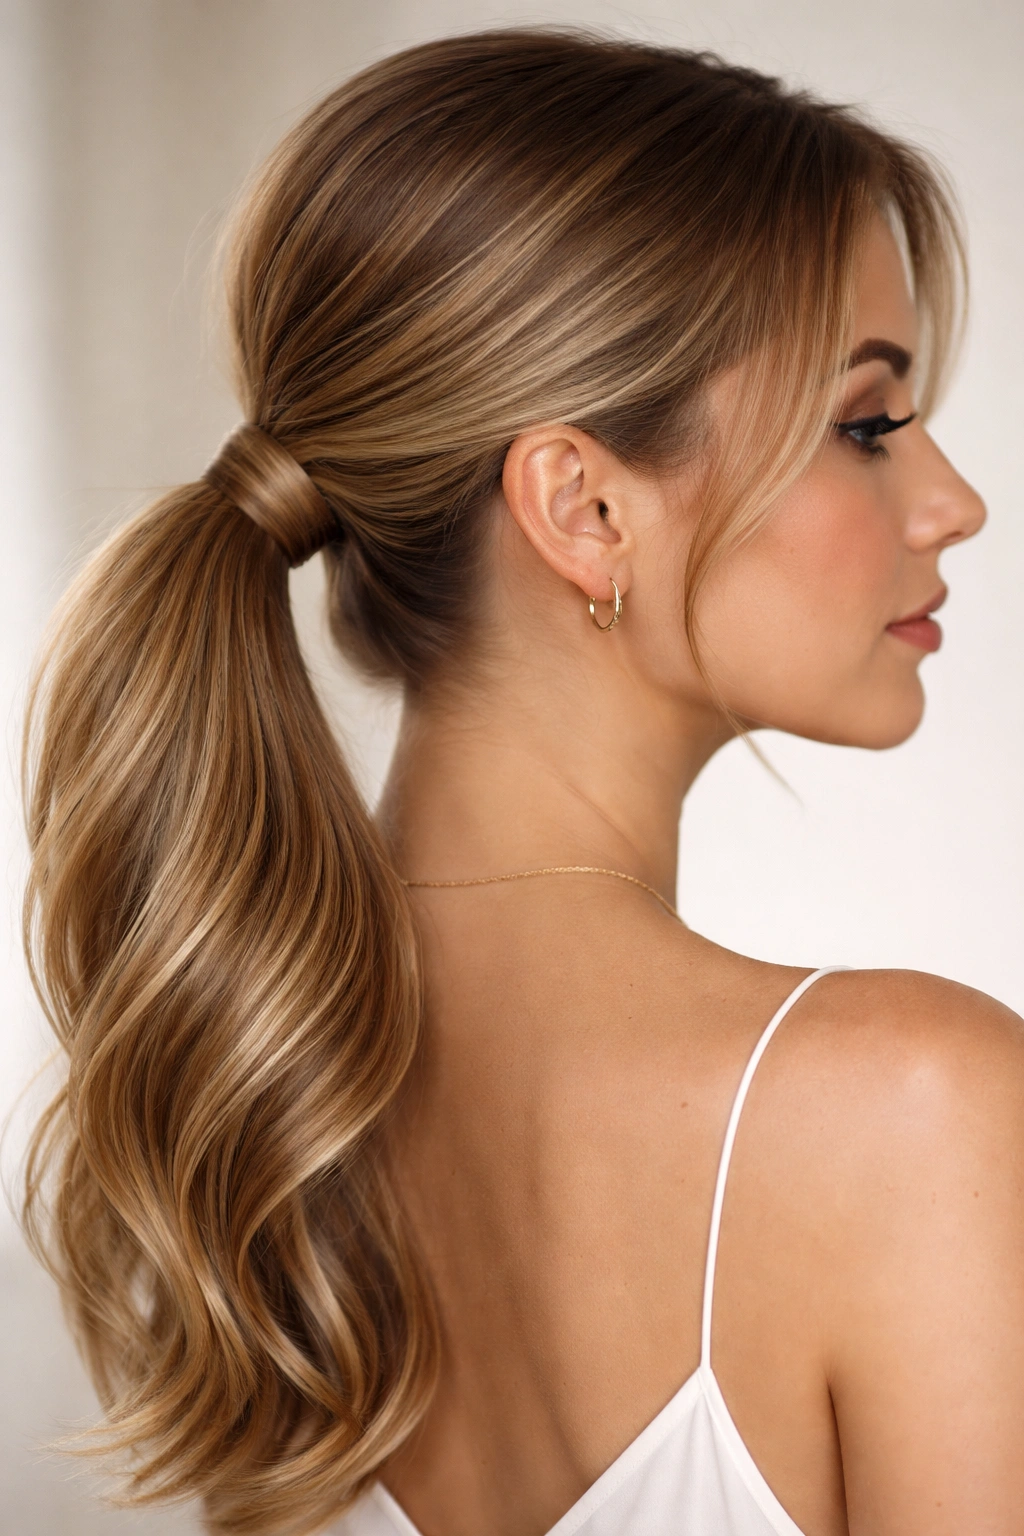
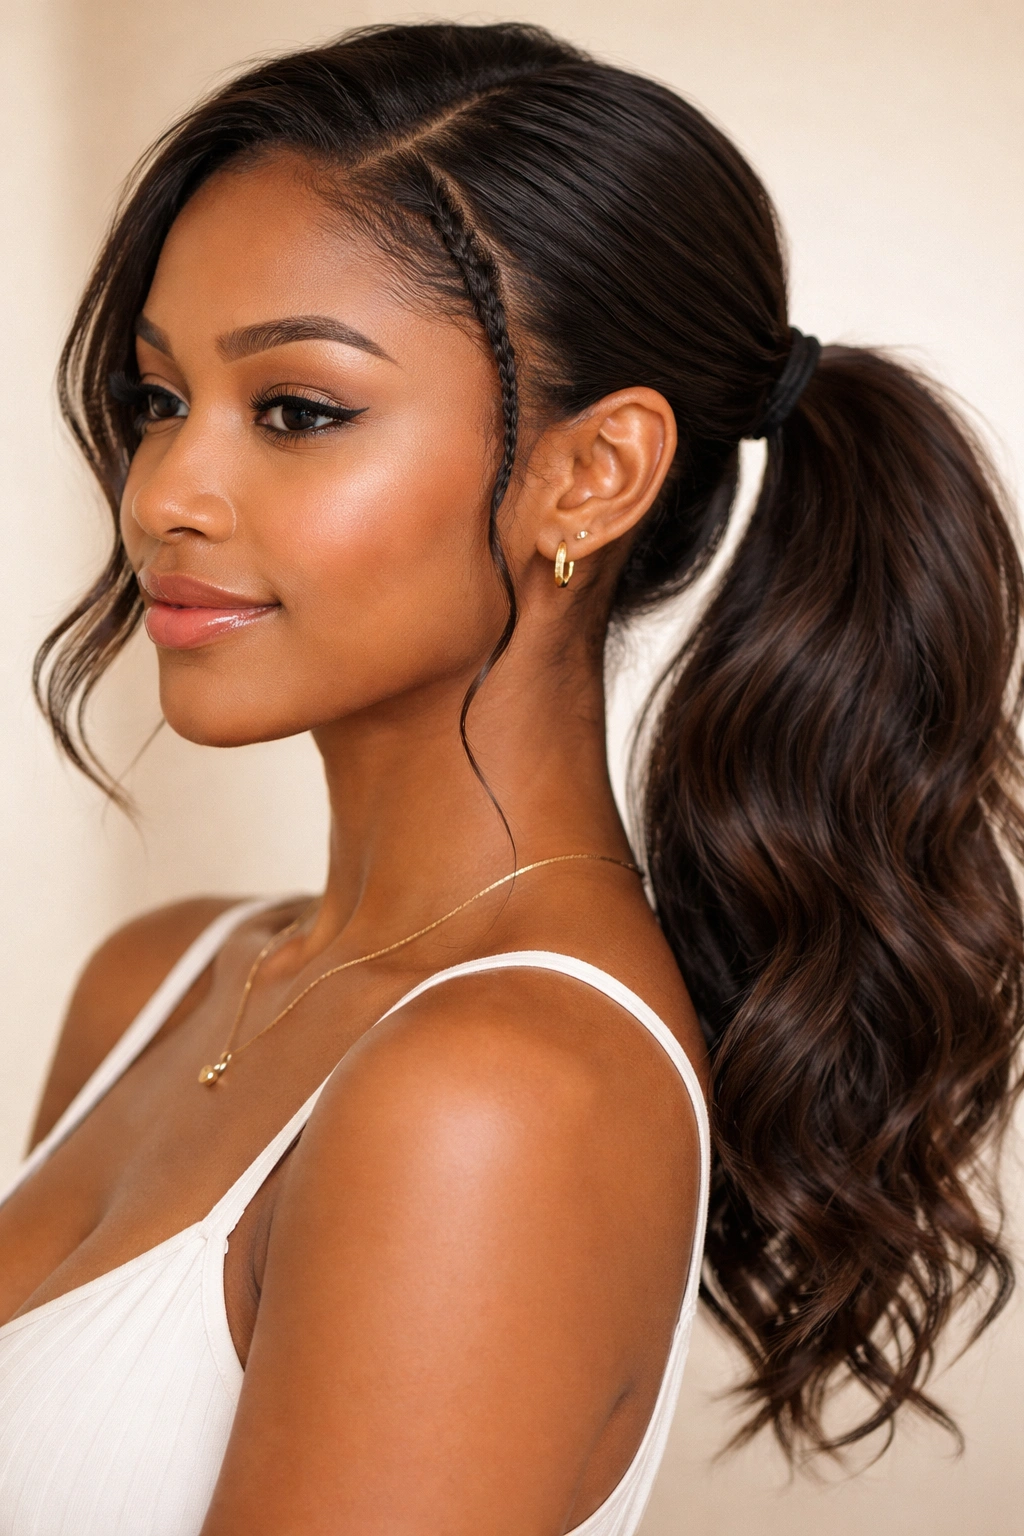
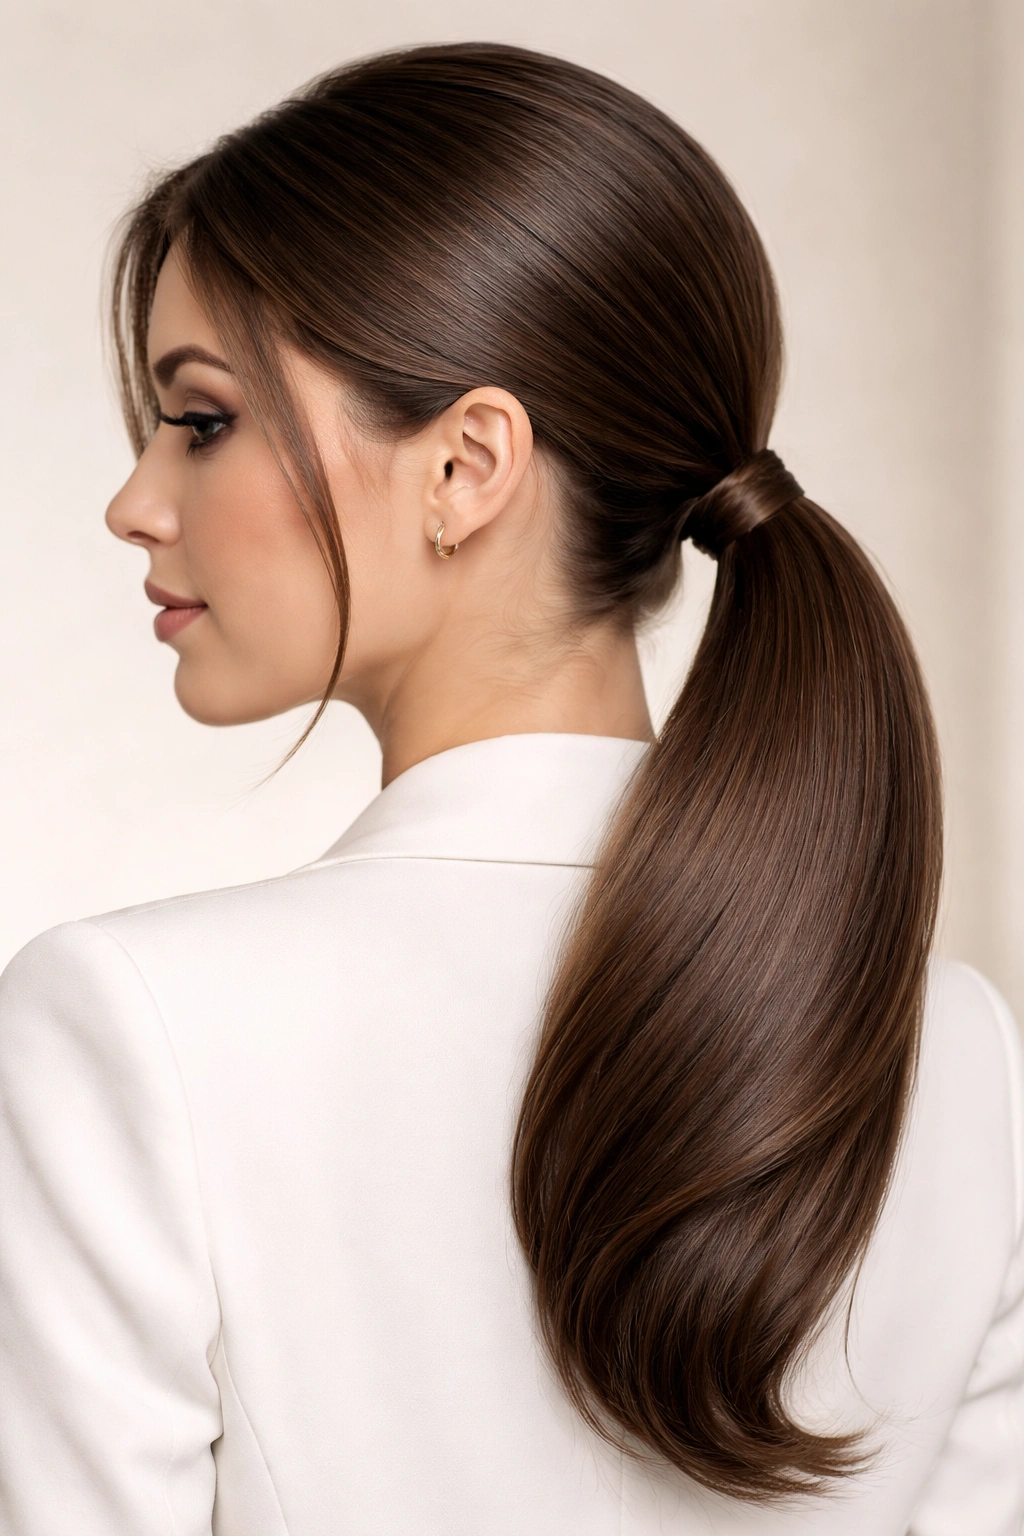
1. Sleek Low Side Pony
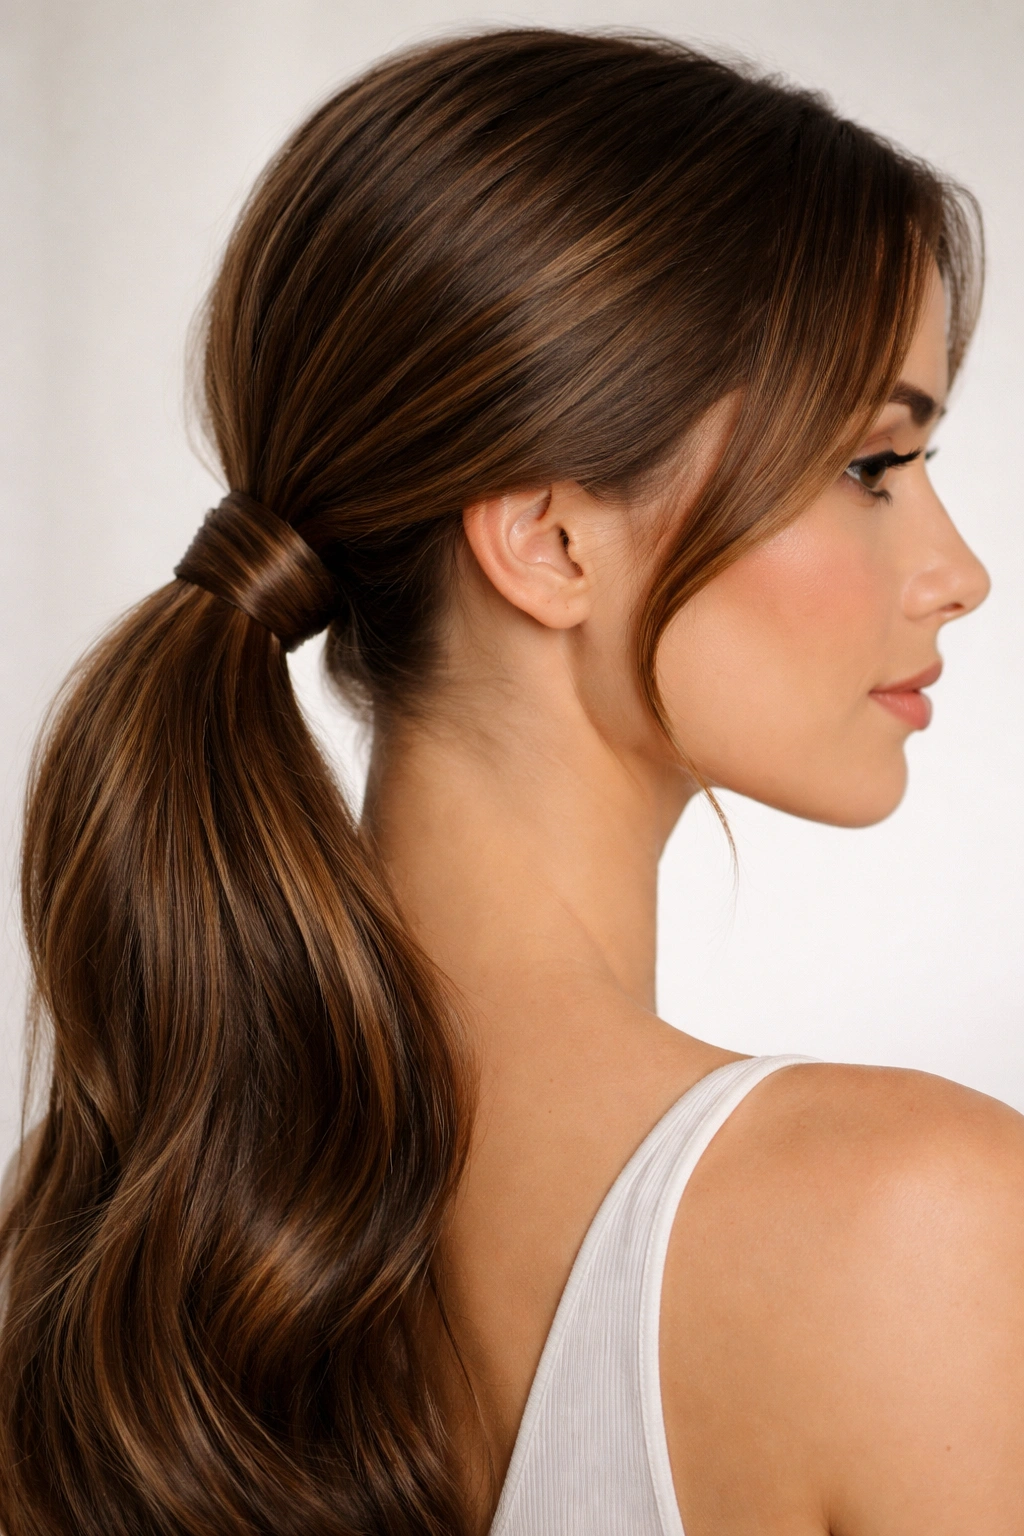
This is the “I mean business” version of the style. It works best on hair that has been straightened or is naturally smooth. The goal is a high-shine, frizz-free finish that sits snugly against the nape of the neck.
Getting the Look
You need a good smoothing serum or a light pomade. Work it through your damp hair before drying, or use a tiny bit on dry hair to tame flyaways. Brush your hair back using a boar bristle brush to ensure every strand is taut. Secure it with a small elastic, then wrap a thin strand of hair around the base to hide the tie.
Pro tip: A dab of hairspray on a clean toothbrush is the best tool for smoothing down those annoying baby hairs around your hairline. It gives you precision that a regular spray can never provide.
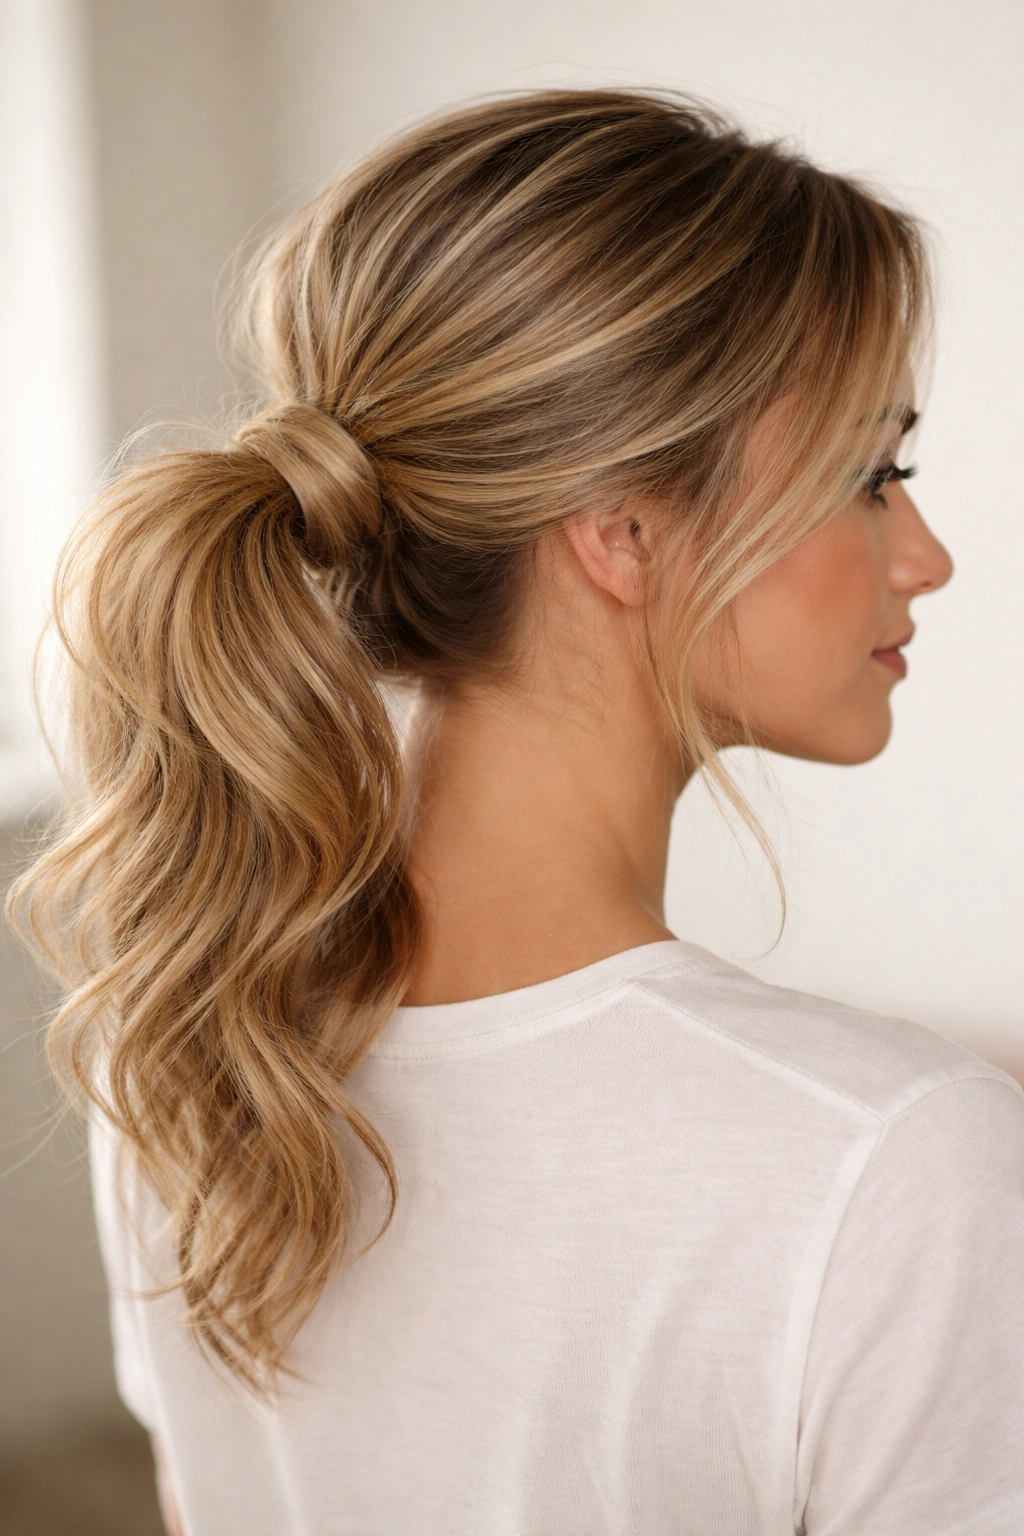
2. Messy Textured Side Pony
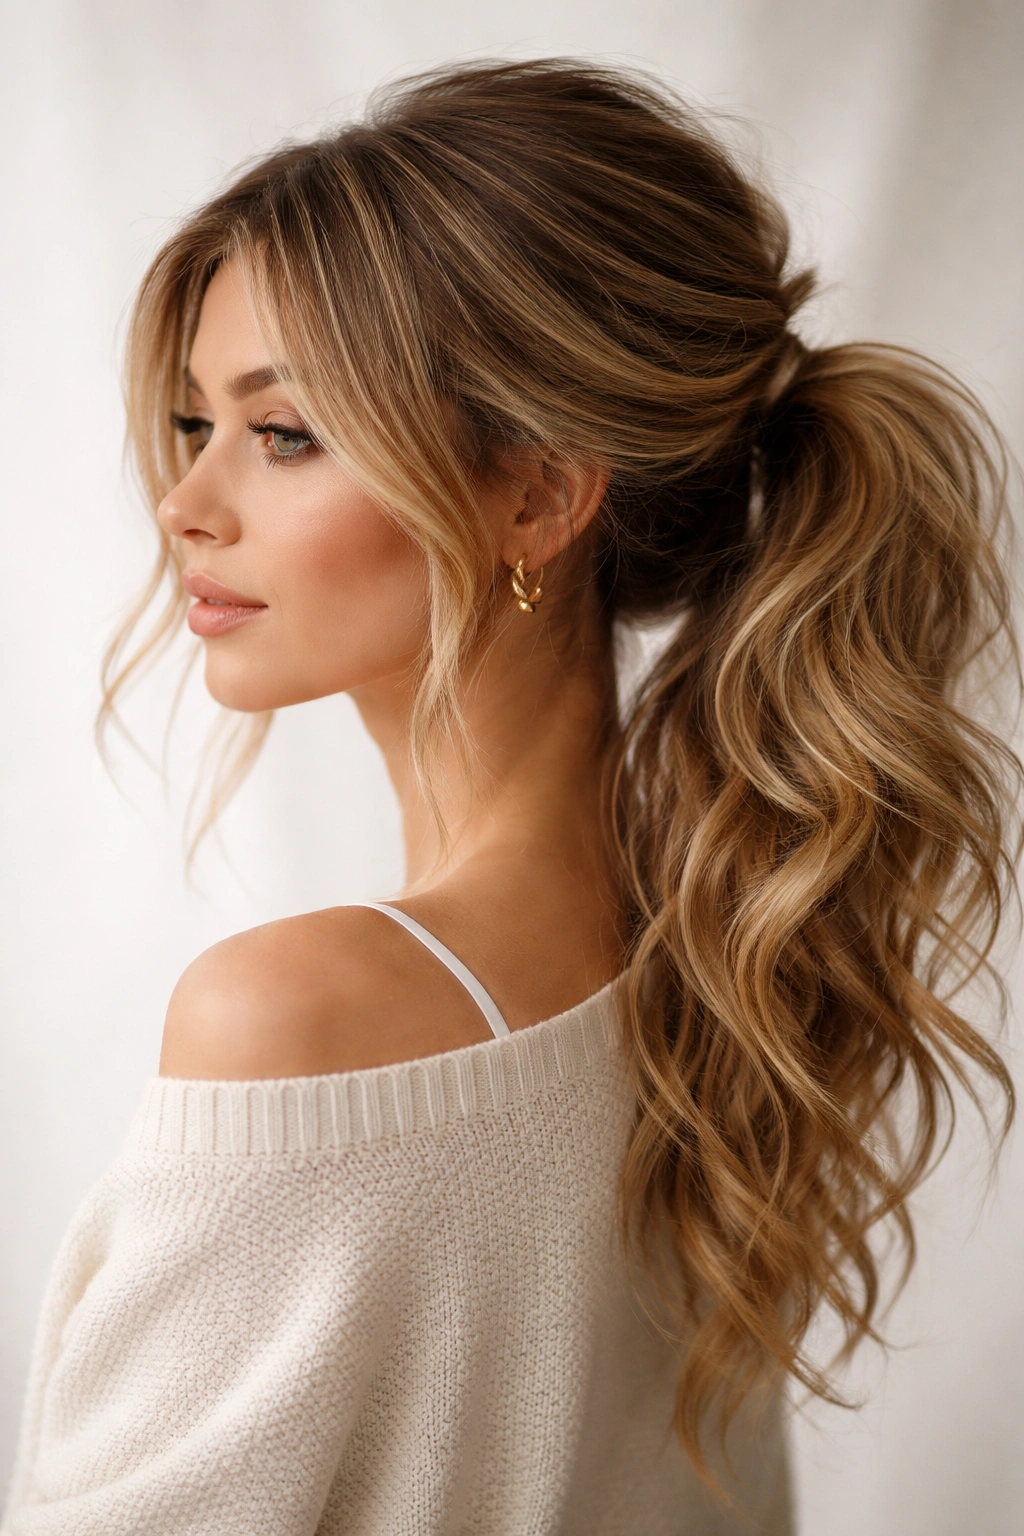
Forget the brush. This style is built on volume and grit. It is perfect for second or third-day hair when your natural oils have provided the base texture, but you need a little help to keep it looking fresh.
Why This Works
The messiness hides the fact that your hair might not be perfectly clean. It relies on volume rather than precision. Use a dry texture spray generously from roots to ends before you gather your hair. Do not pull it tight. Let pieces fall out around your face to frame your features naturally.
What to watch for: If your hair is too slippery, the pony will slide toward the back of your head. Use a texturizing powder at the root to create grip before you start styling.
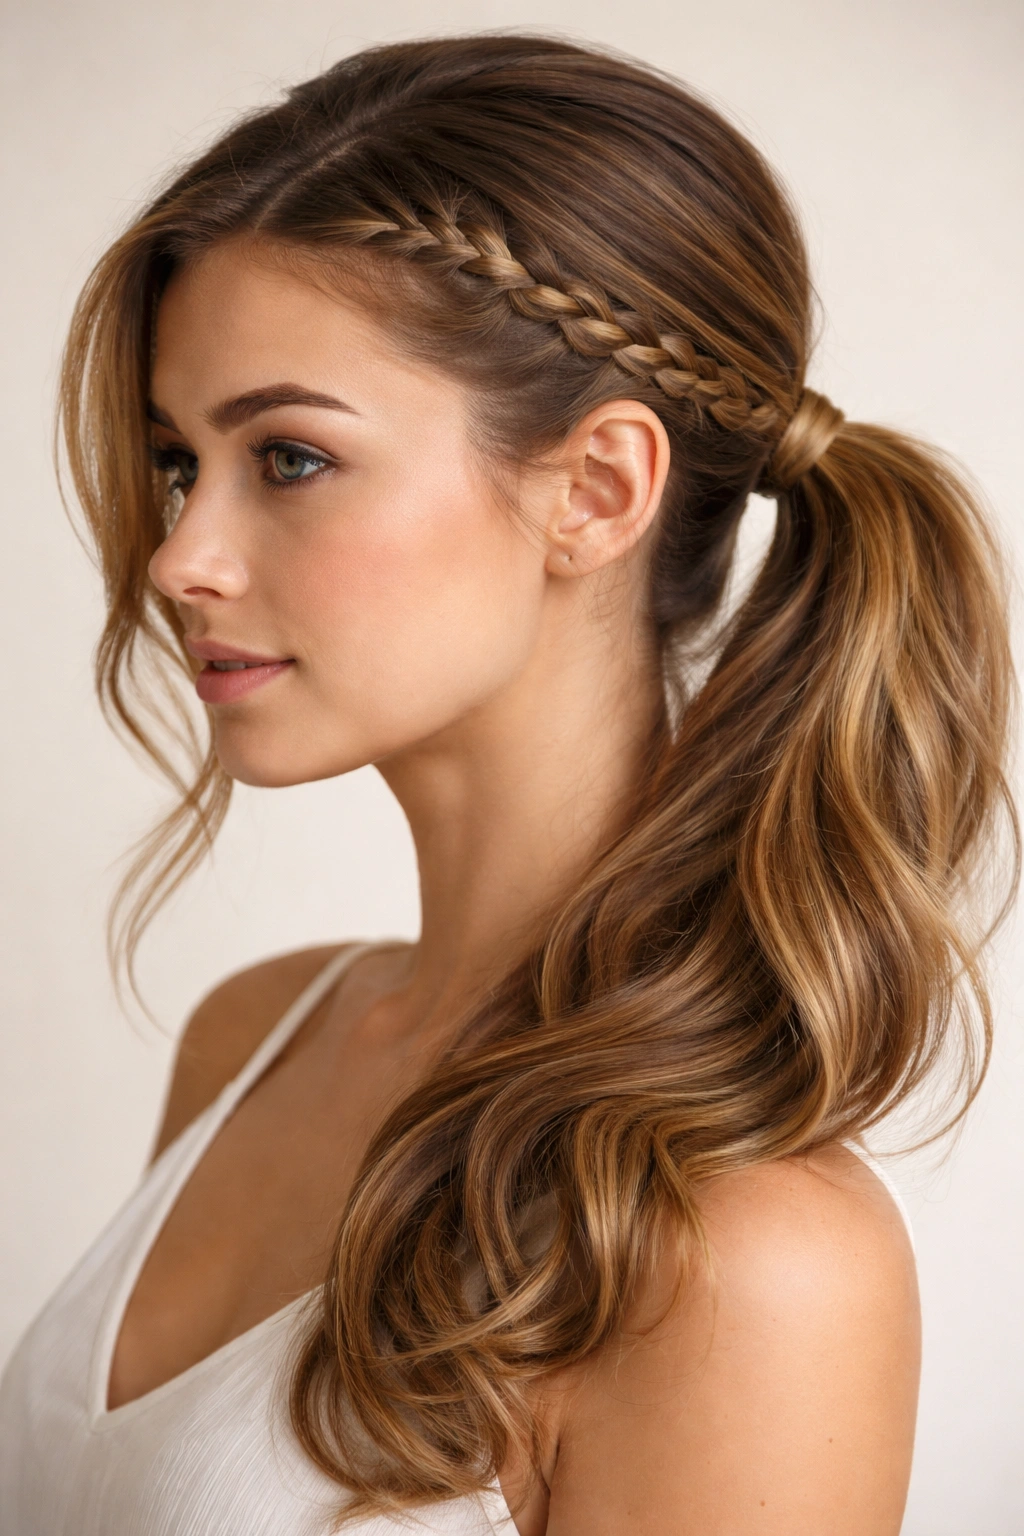
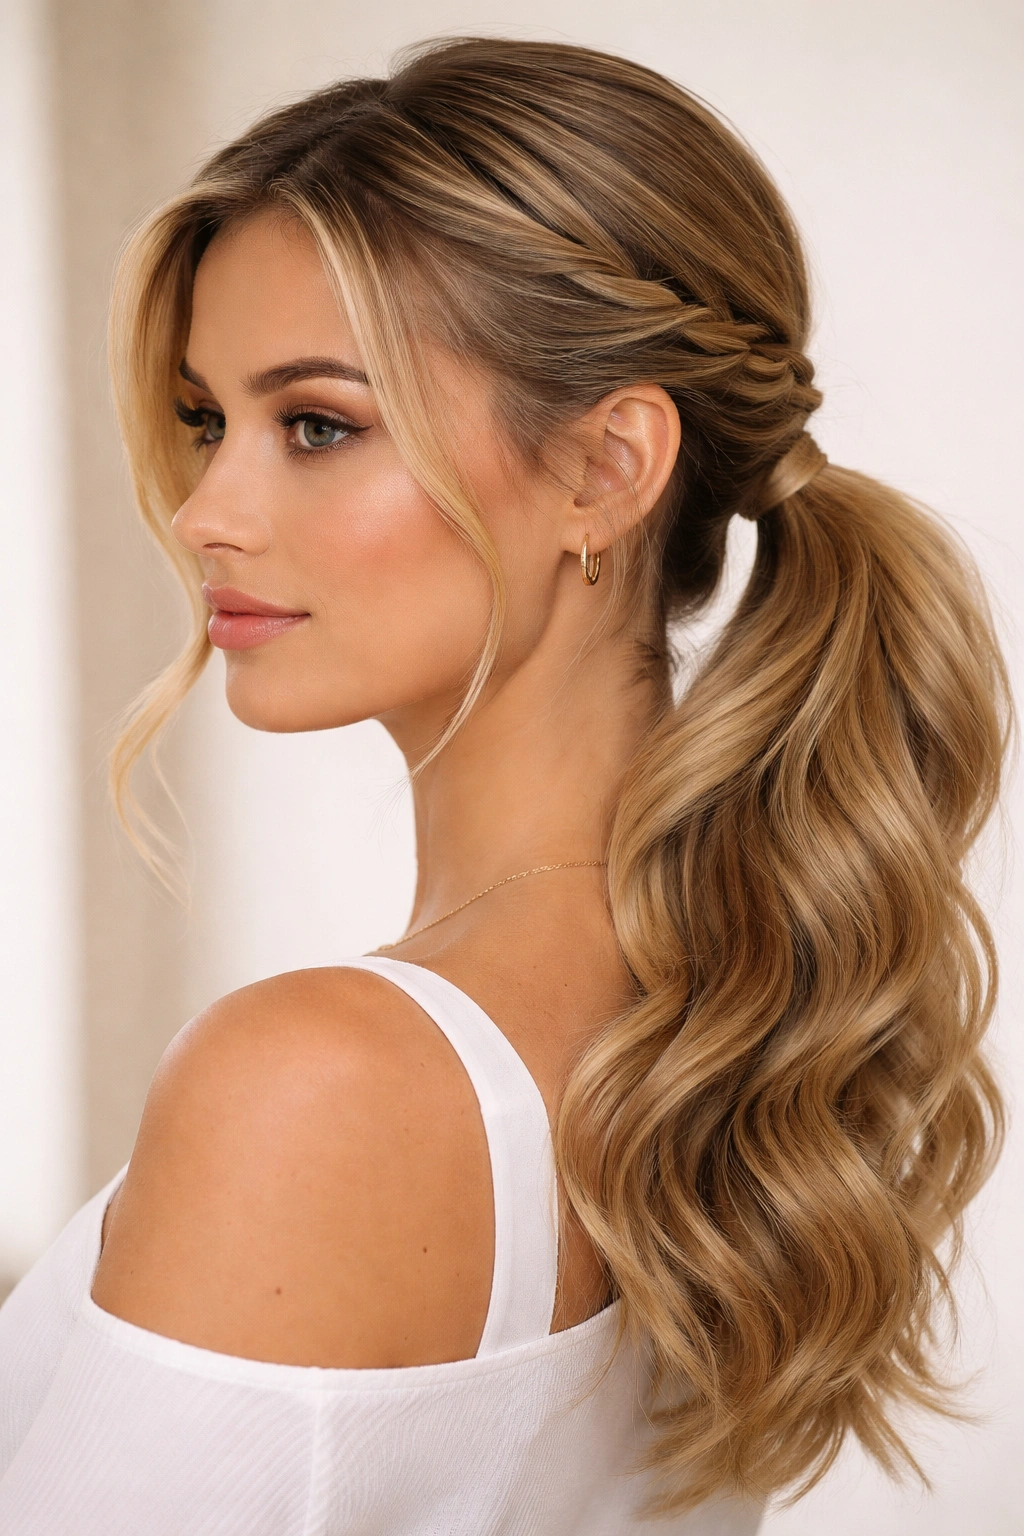
3. Side Pony with Braid Crown
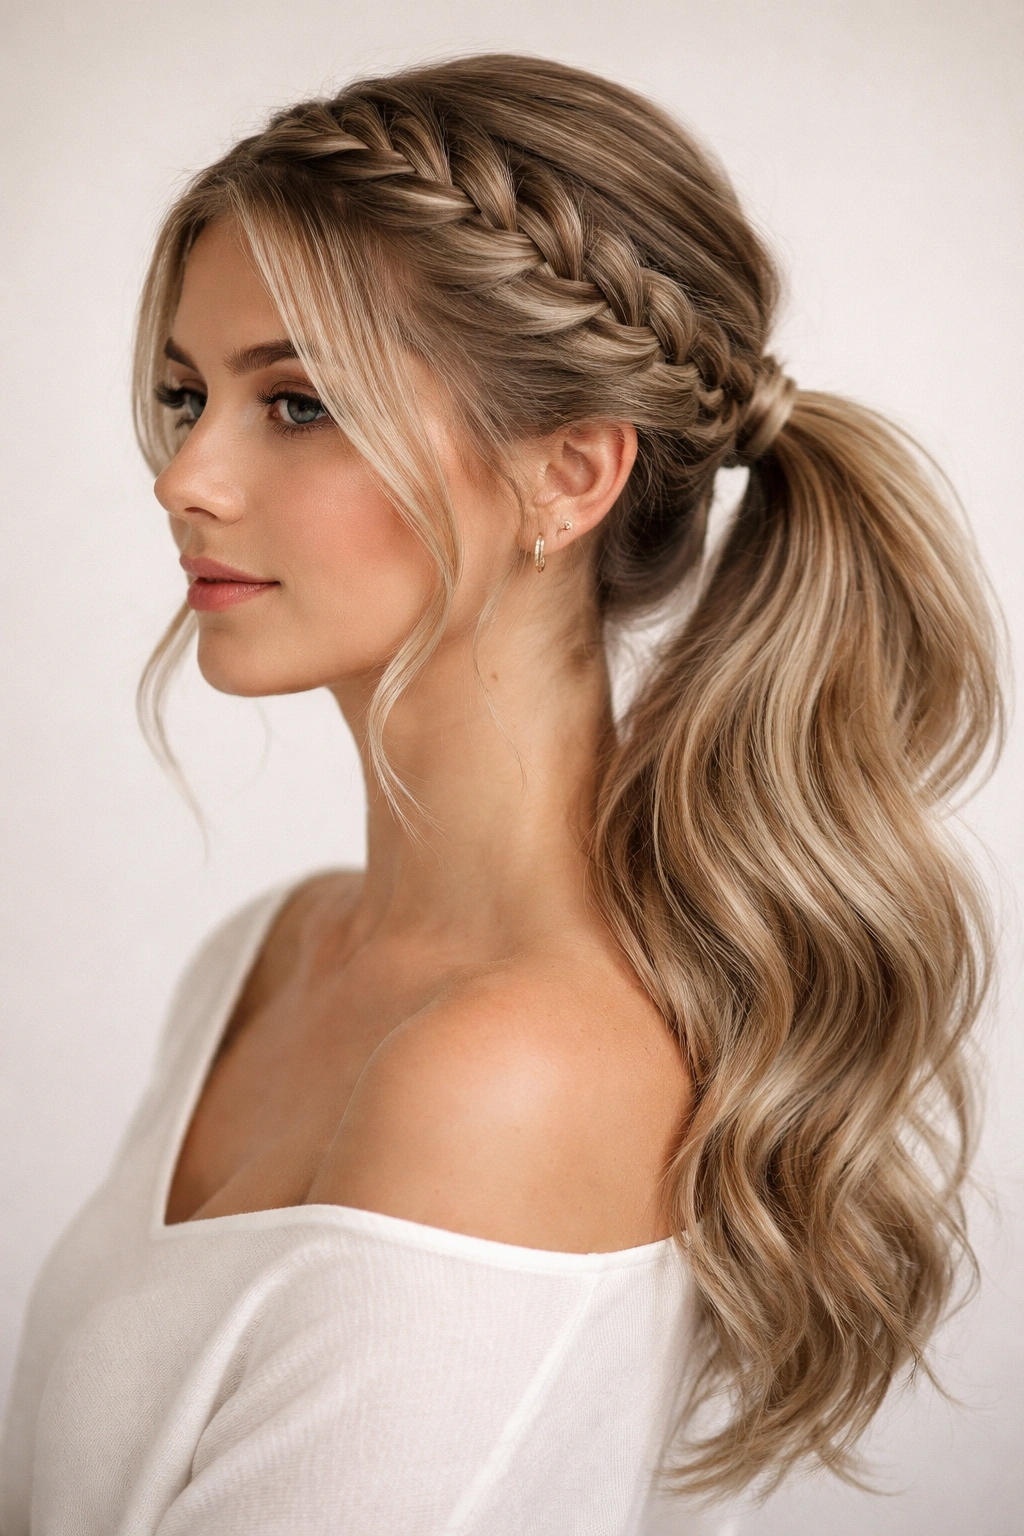
This elevates a simple ponytail into something that looks like it took thirty minutes, even if it took you ten. You are essentially incorporating a Dutch or French braid that starts at your hairline and works its way toward the side where you want your pony to sit.
The Mechanics
Part your hair deep to one side. Start braiding from the heavier side, keeping the braid relatively loose so you can pull at the loops to make it look fuller. Once you reach the level of your ear, stop braiding and incorporate the rest of your hair into a ponytail. Secure it with a snag-free elastic. It’s practical, keeps hair out of your face all day, and is far more secure than a standard clip.
4. Side Pony with Messy Curls
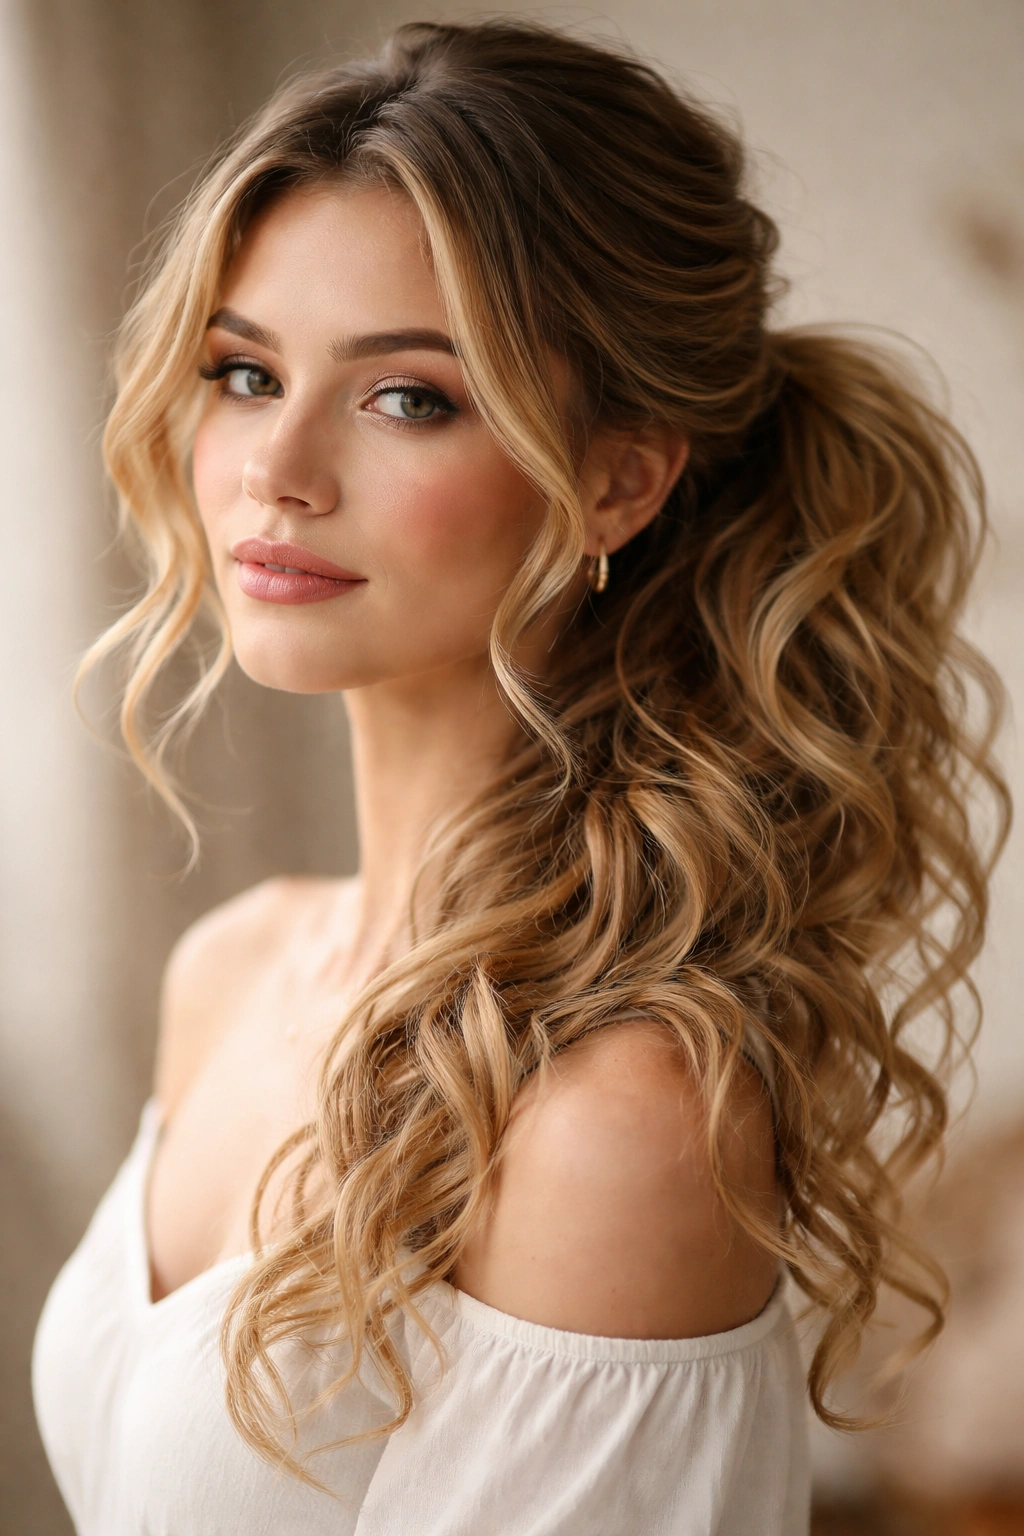
This version feels romantic and soft. If you already have a curling wand, this is an easy way to repurpose a style from the previous day.
Achieving the Soft Look
Don’t worry about perfect, uniform curls. You want a mix of sizes. If your curls are too tight, rake your fingers through them before pulling your hair to the side. Gather the hair loosely. You don’t want to stretch the curls out at the base of the ponytail. Let the ends of the curls cascade over your shoulder.
Important: If you find your hair is too straight to hold a curl, skip the iron. Sleep in braids the night before. Wake up, undo them, and gather your hair. You get that same voluminous, wavy look with zero heat damage.
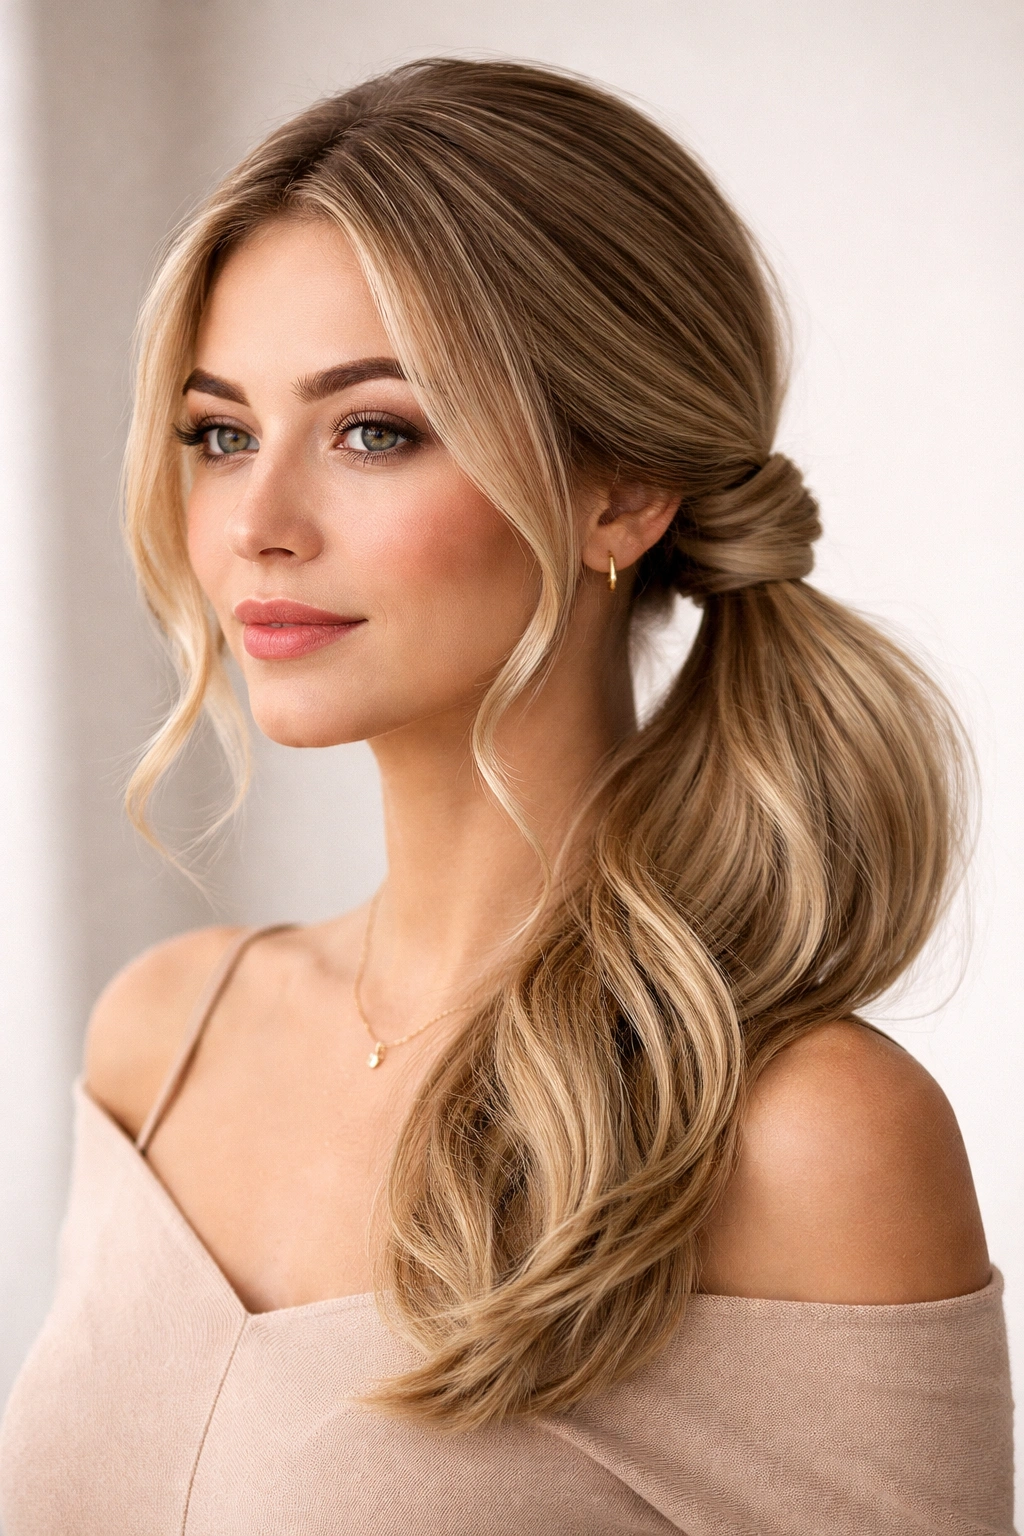
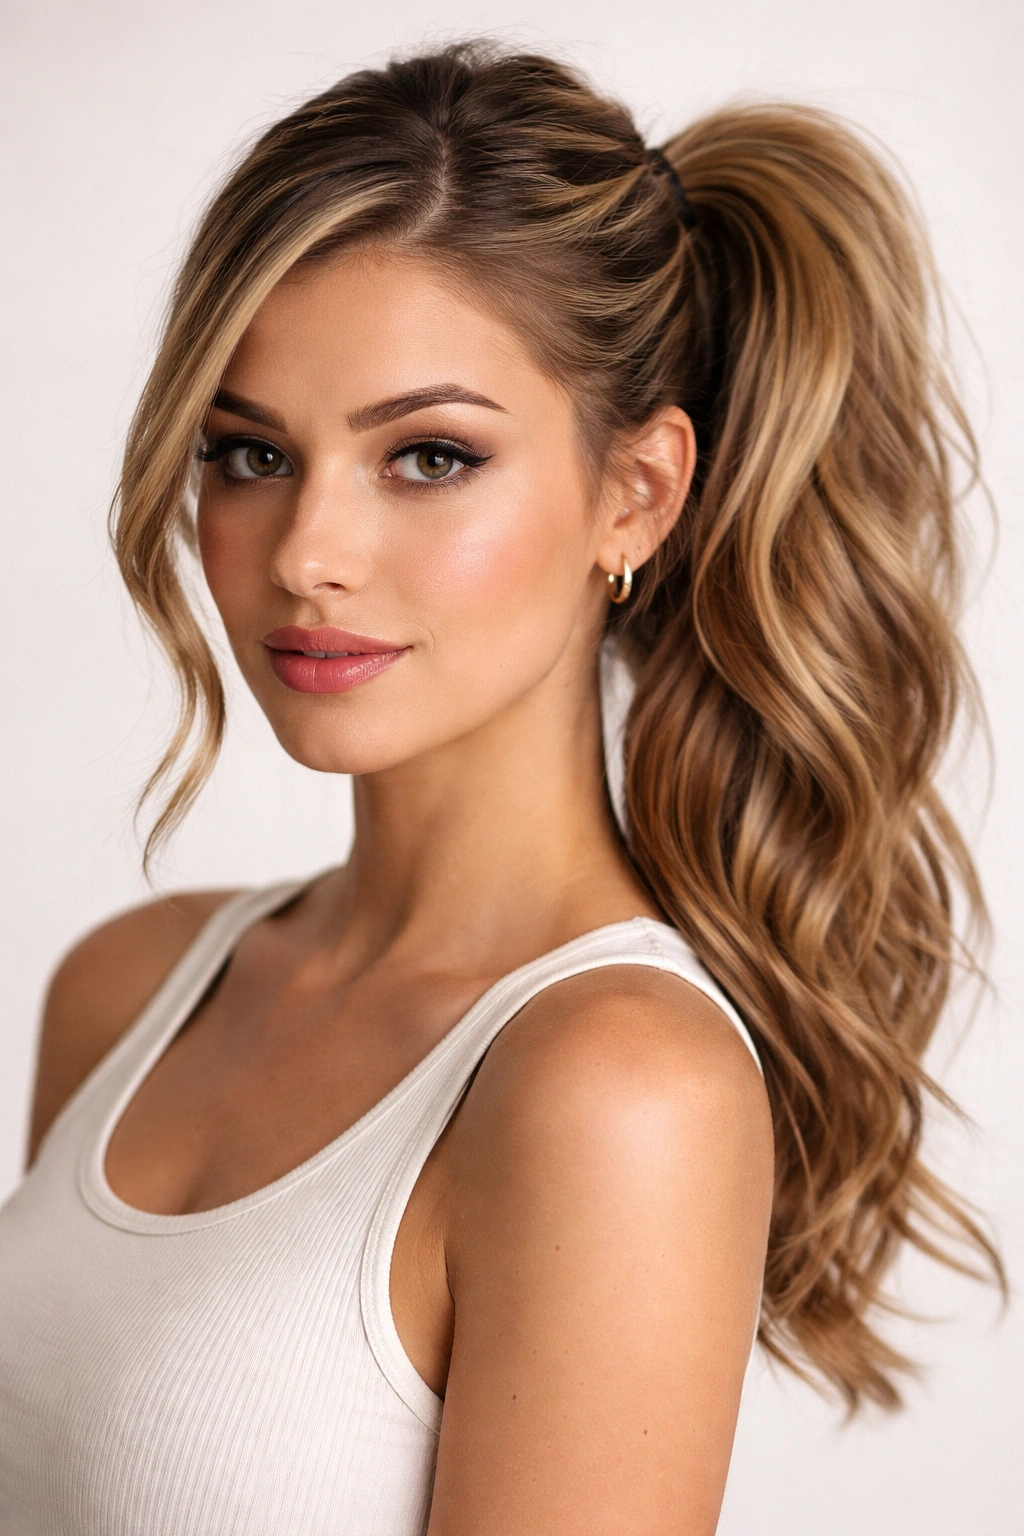
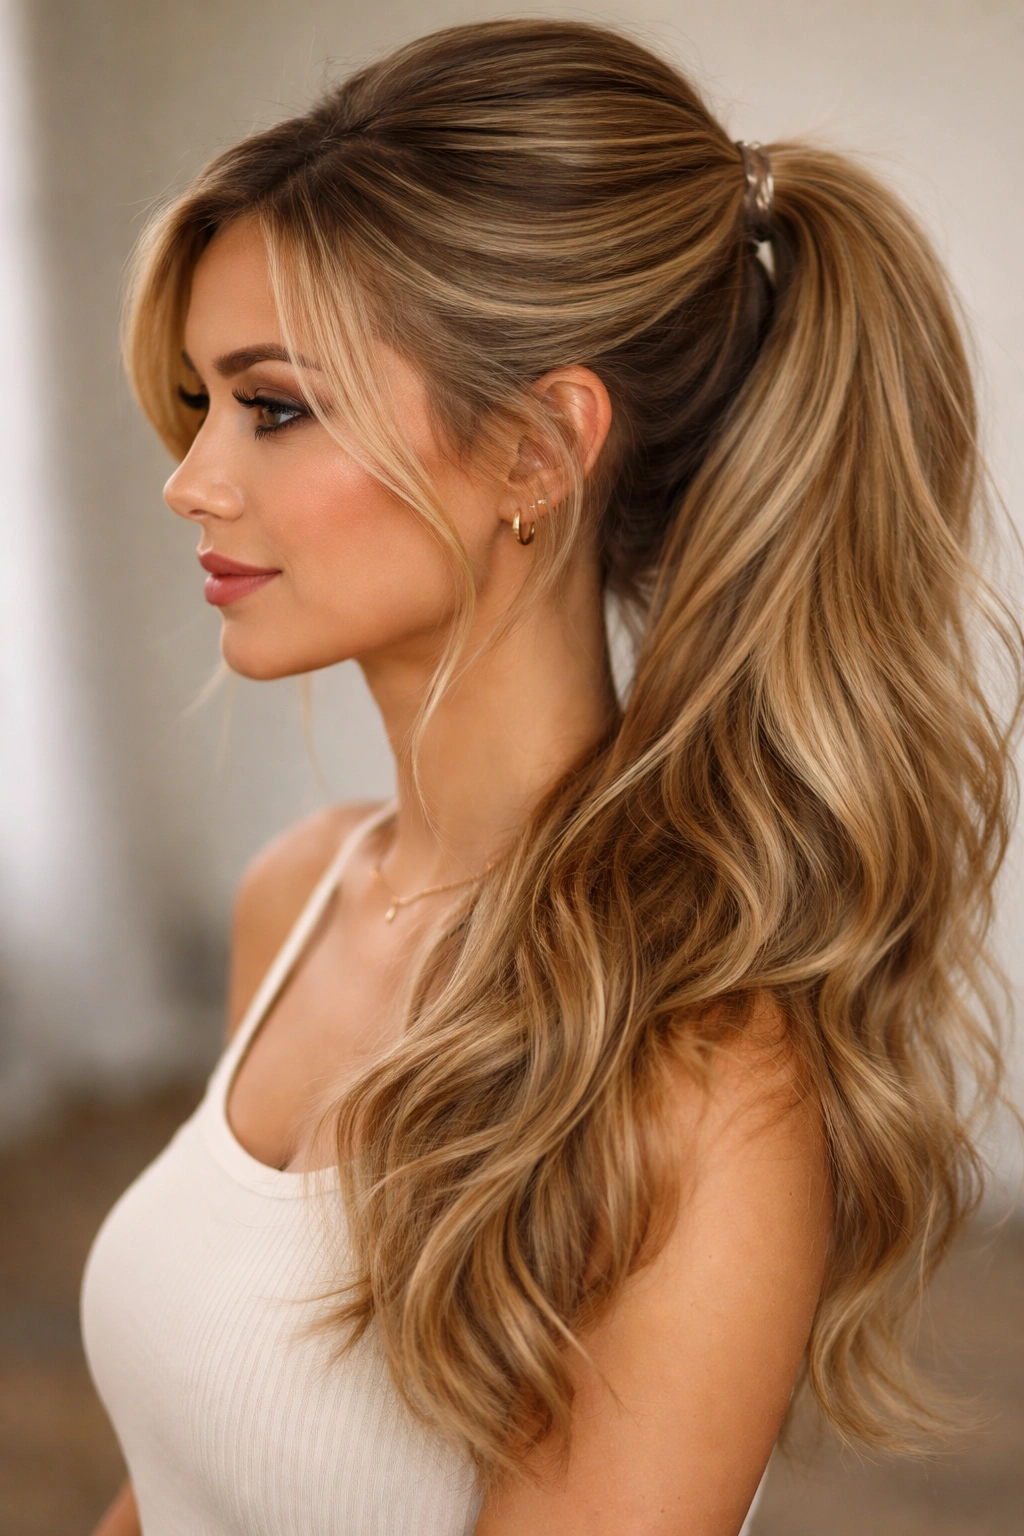
5. High Voluminous Side Pony
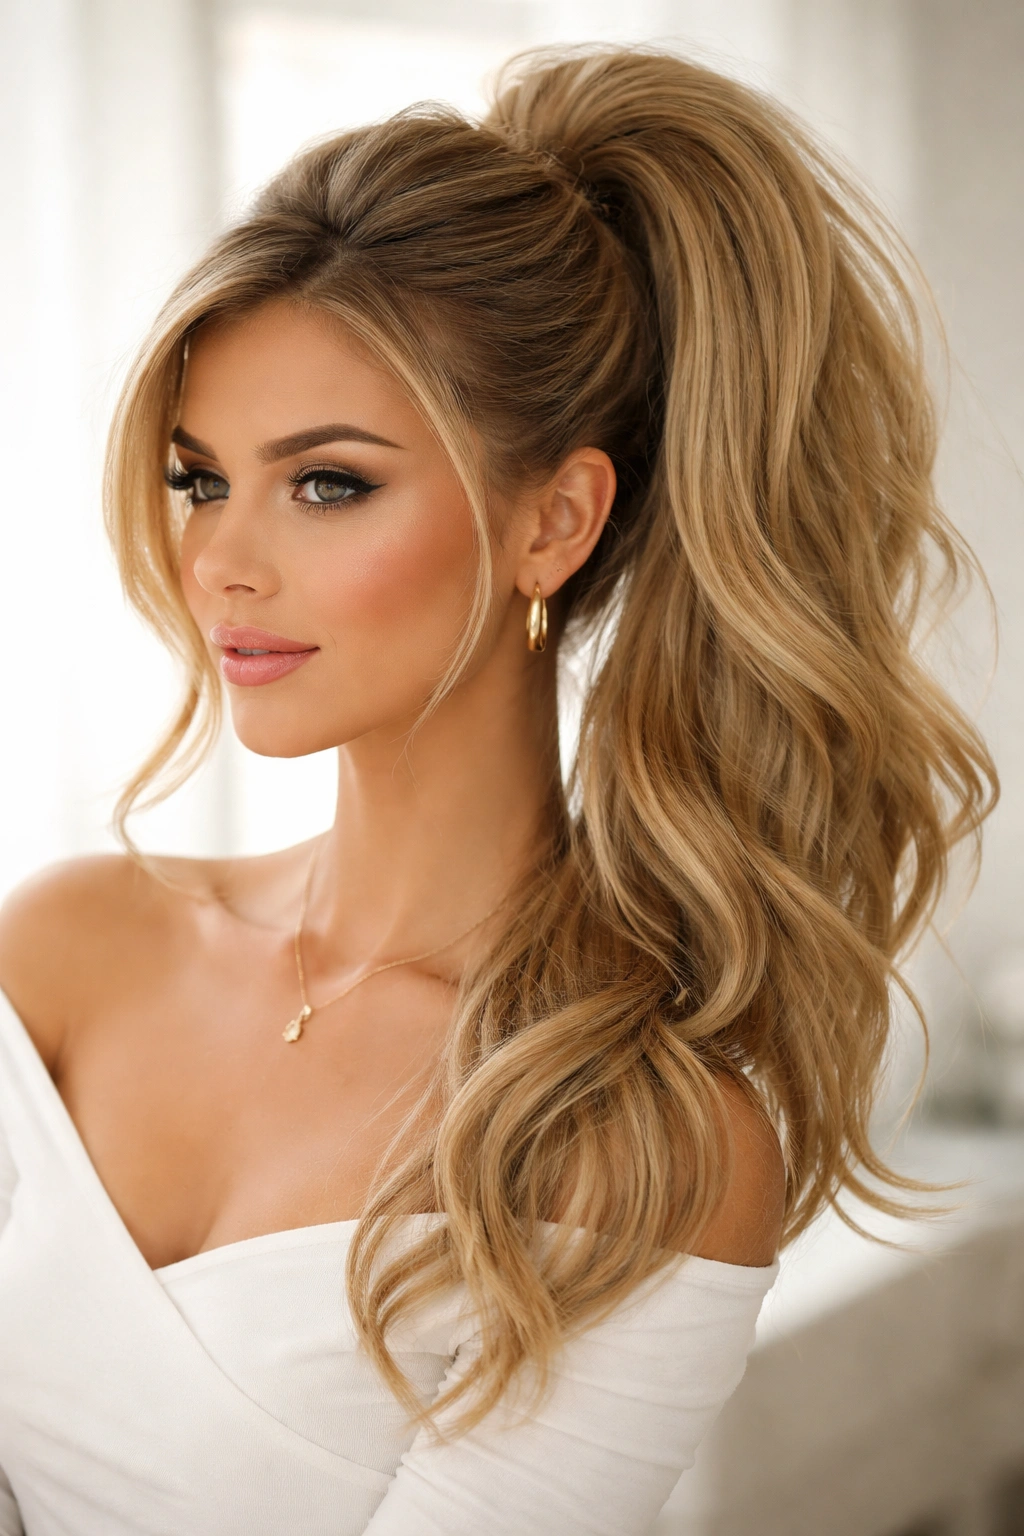
This is a bold look. It isn’t a low, nape-hugging ponytail; it’s positioned high on the side of your head, near the temple. It gives off a playful, slightly dramatic vibe that works incredibly well with statement earrings.
Volume Hacks
To keep this from looking flat, tease the crown of your hair before gathering it up. Use a fine-tooth comb and backcomb the hair at the roots. When you secure the pony, don’t pull the elastic so tight that you lose that height. If you have thin hair, a small clear elastic is your best friend here—it creates a tighter hold than a bulky scrunchie, which keeps the pony from drooping.
6. Side Pony with Silk Scarf
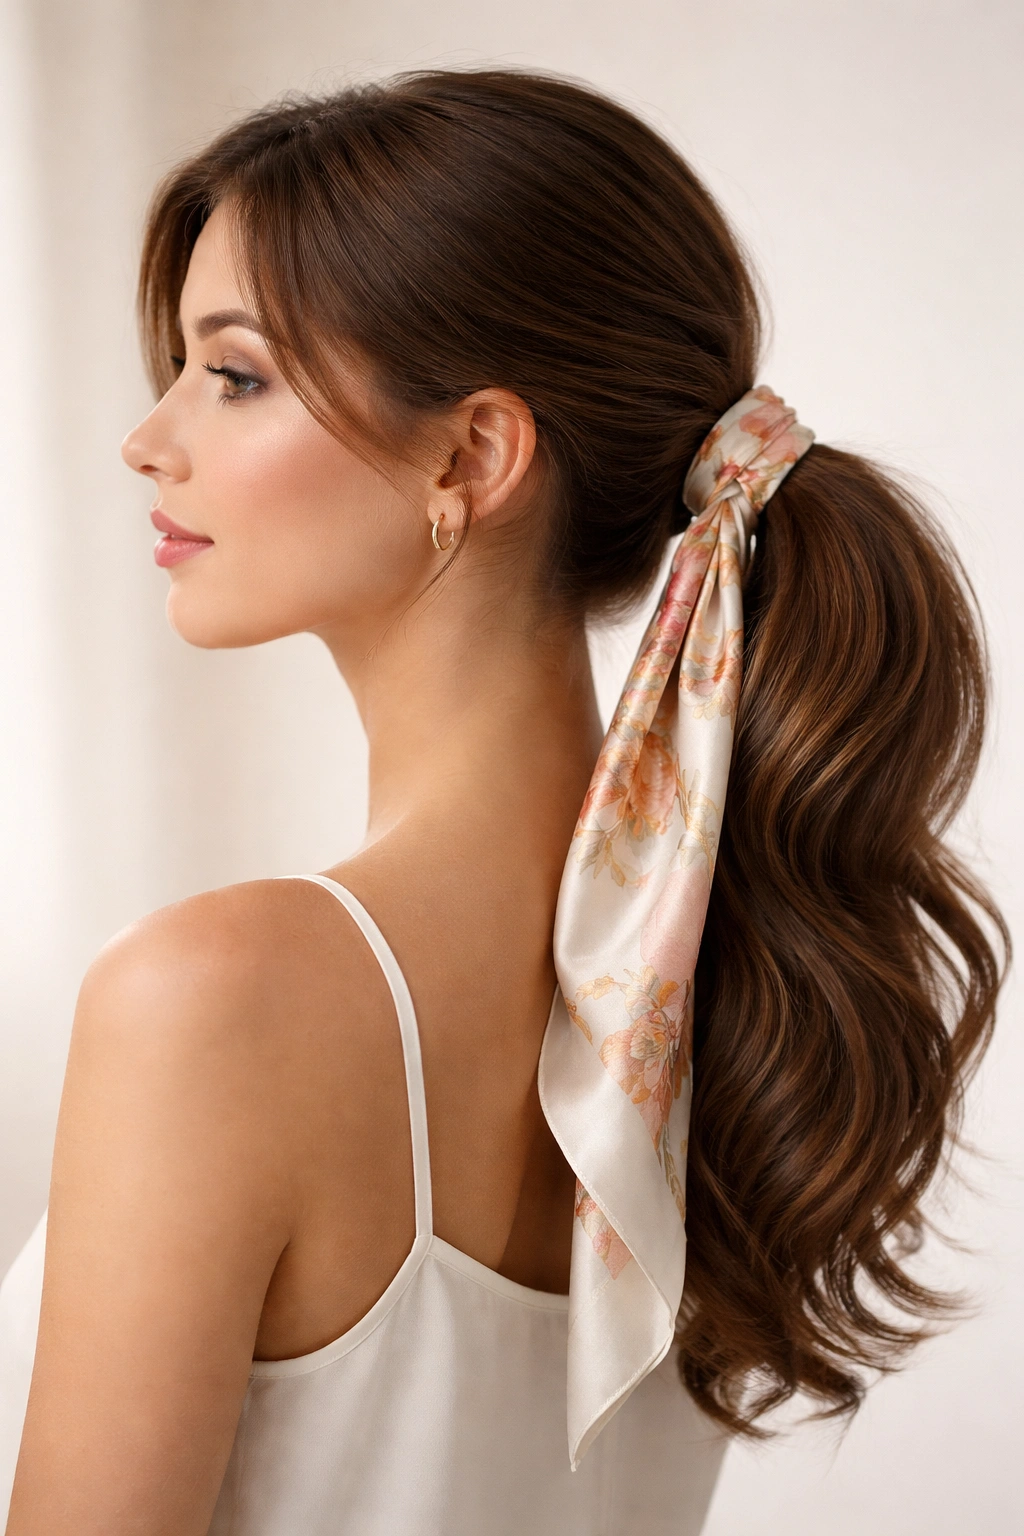
Sometimes the simplest upgrade is an accessory. A silk scarf can turn a basic ponytail into a fashion statement without you having to change your hair texture or skill level.
Styling with Fabric
Tie the scarf around your ponytail base after securing it with a hair tie. You can let the ends of the scarf hang long, trailing down alongside your hair. This works especially well if your hair is shoulder-length or longer. If you have a square or oblong scarf, fold it into a thin band first. Silk is slippery, so make sure your hair is secured with a hidden elastic first—the scarf is purely decorative and shouldn’t be responsible for holding the weight of your hair.
7. Side Pony with Bubble Sections

The bubble ponytail has been popular for a reason: it’s easy and adds instant length and interest to otherwise limp hair. Doing it to the side makes it feel a bit more relaxed.
How to Build the Bubbles
Secure your side pony with a base elastic. Then, place additional elastics every two or three inches down the length of the pony. Once the elastics are in place, gently tug at the hair between them to puff it out into a “bubble” shape.
The trick: If your hair is fine, tease the hair before you put on the next elastic. It gives the bubble something to hold onto so it doesn’t just collapse into a thin, sad tube.
8. Twisted Side Pony Base
Instead of just wrapping a piece of hair around your elastic to hide it, try twisting the hair itself. This gives a sleek, architectural look that feels very polished.
The Technique
Secure your side pony. Take a medium-sized section from the underside of the pony. Twist it tightly, then wrap it around the base until the elastic is completely covered. Secure the end of the twist with a tiny bobby pin tucked underneath so it isn’t visible. This adds a bit of dimension right at the base, which makes the whole style look more expensive.
9. Side Pony with Fishtail Braid
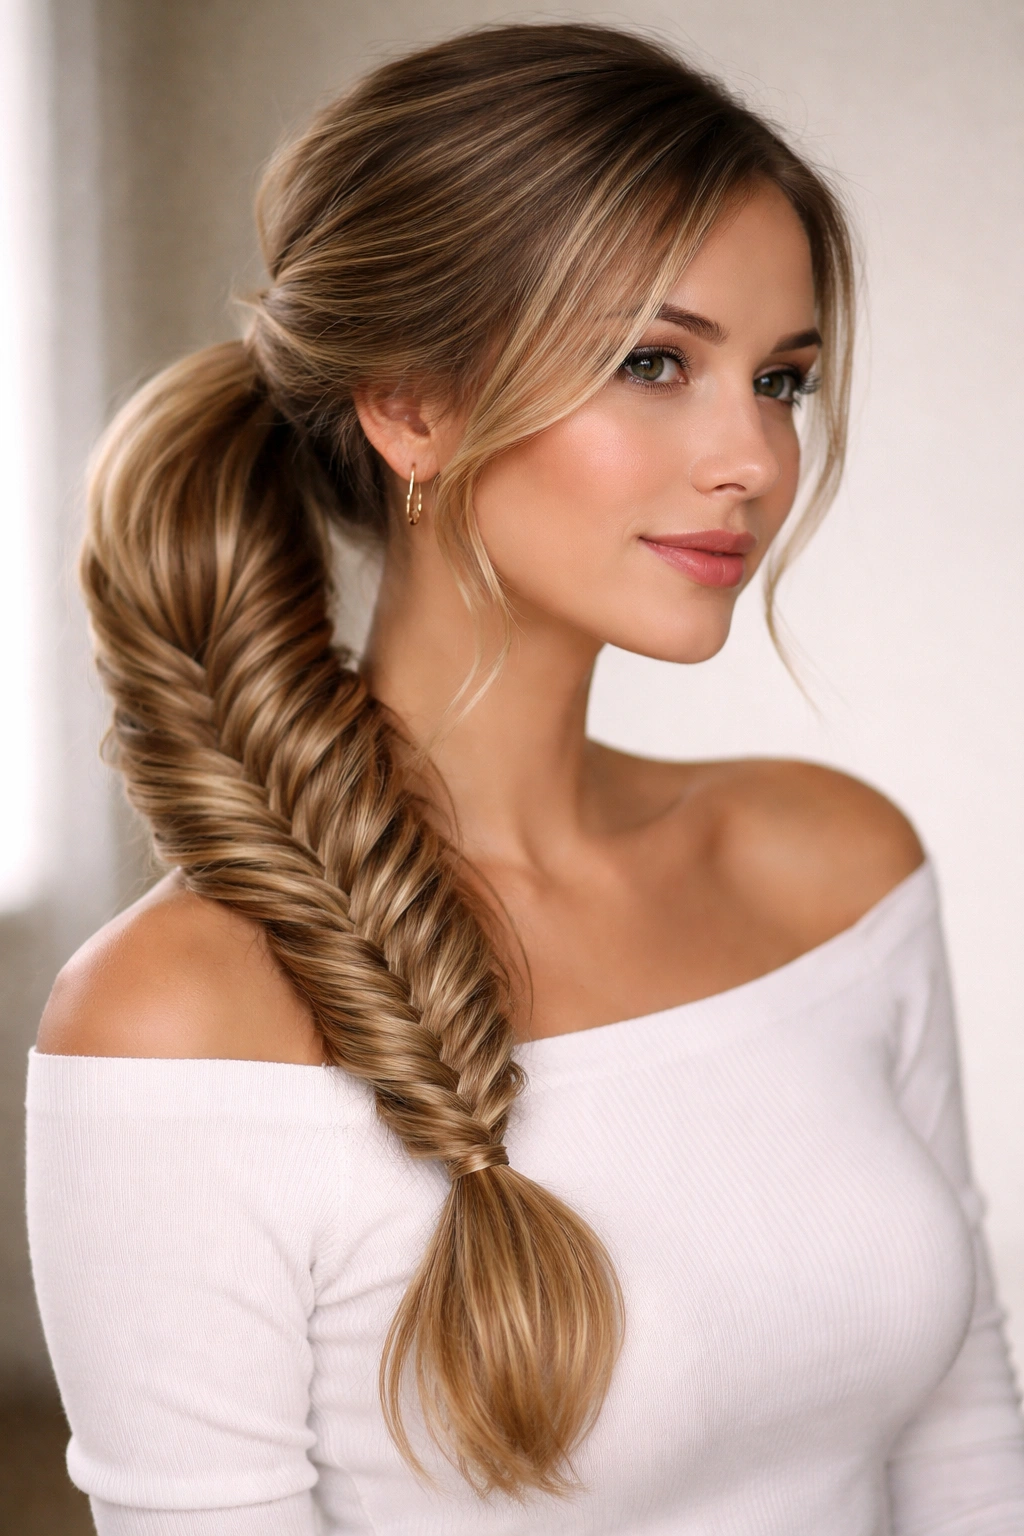
Fishtail braids look intricate, but they are just a two-strand weave. Bringing the braid into a side pony gives you the security of a braid with the swing and volume of a ponytail.
Building the Style
Gather your hair into a side ponytail first, then fishtail braid the length of the ponytail itself. Secure the end with a small clear band. The secret here is to pull the edges of the fishtail braid apart once you are finished. It makes the braid look twice as thick. If you have layers, this might be tricky, as shorter pieces will poke out. Using a bit of hair oil on your palms while braiding helps keep those shorter layers contained.
10. Boho Waves Side Pony
This look is all about that “I just got back from the beach” vibe. It is effortless, a little tousled, and looks fantastic with sun-kissed highlights.
The Process
Start with a salt spray on damp hair and let it air dry to get that natural, slightly crunchy wave. Once dry, rake your fingers through it—never use a brush. Gather it to the side and use a fabric scrunchie rather than a plastic elastic. The fabric is softer and won’t snag on the wavy texture. Let a few loose tendrils frame your face. This style is meant to look slightly undone by the end of the day.
11. Side Pony with Deep Side Part
Sometimes the placement of the part is the entire style. A deep side part creates a dramatic sweep across the forehead, which is incredibly flattering if you have a rounder face shape.
Precision Styling
Use the tail of a rattail comb to create a clean, sharp part that starts from the highest point of your eyebrow. Once you have the part, brush all your hair toward the opposite side. Secure it low. The contrast between the clean, sharp part and the soft, loose ponytail creates a beautiful balance. Keep the top part smooth with a little bit of pomade, but let the pony itself have a bit of movement.
12. Tucked Side Pony
This is a fun variation that involves pulling the tail of your ponytail through the base to create a folded, tucked look. It’s basically a topsy-tail technique, but done on the side.
How It’s Done
Secure your hair in a low side ponytail. Slightly loosen the elastic. Use your fingers to create a hole in the hair just above the elastic. Loop the tail of the ponytail through that hole from the top down. Pull it tight. This twists the hair at the base and makes the ponytail hang in a very specific, tucked way. It’s a great way to add detail if you’re bored of a standard pony.
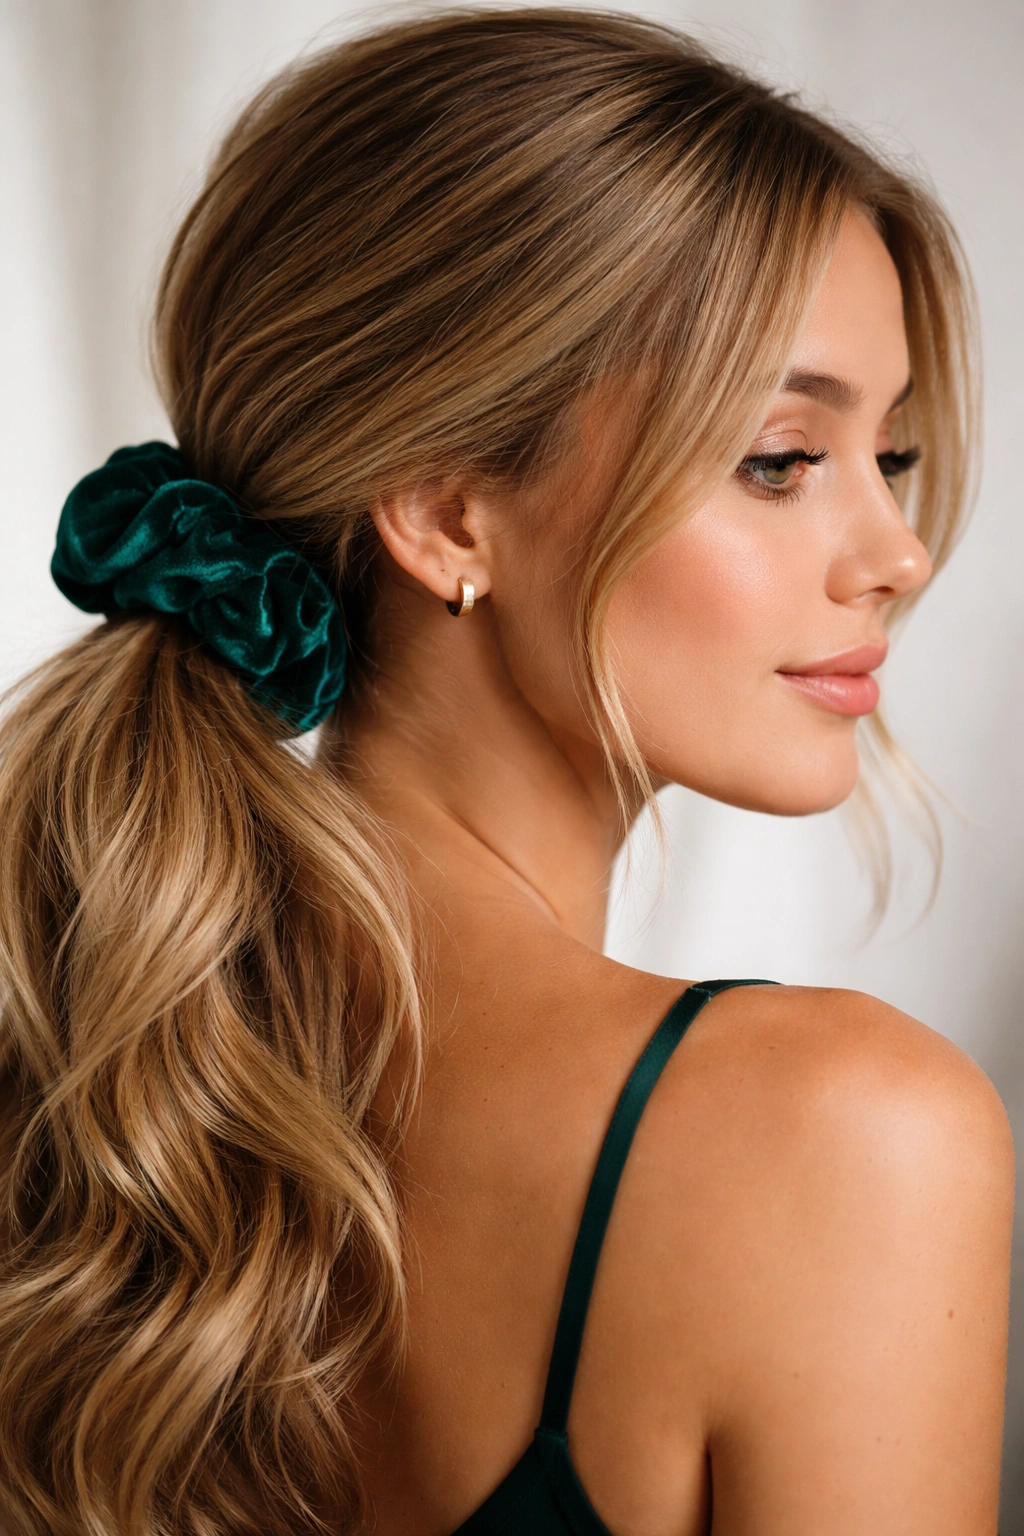
13. Side Pony with Velvet Ribbon
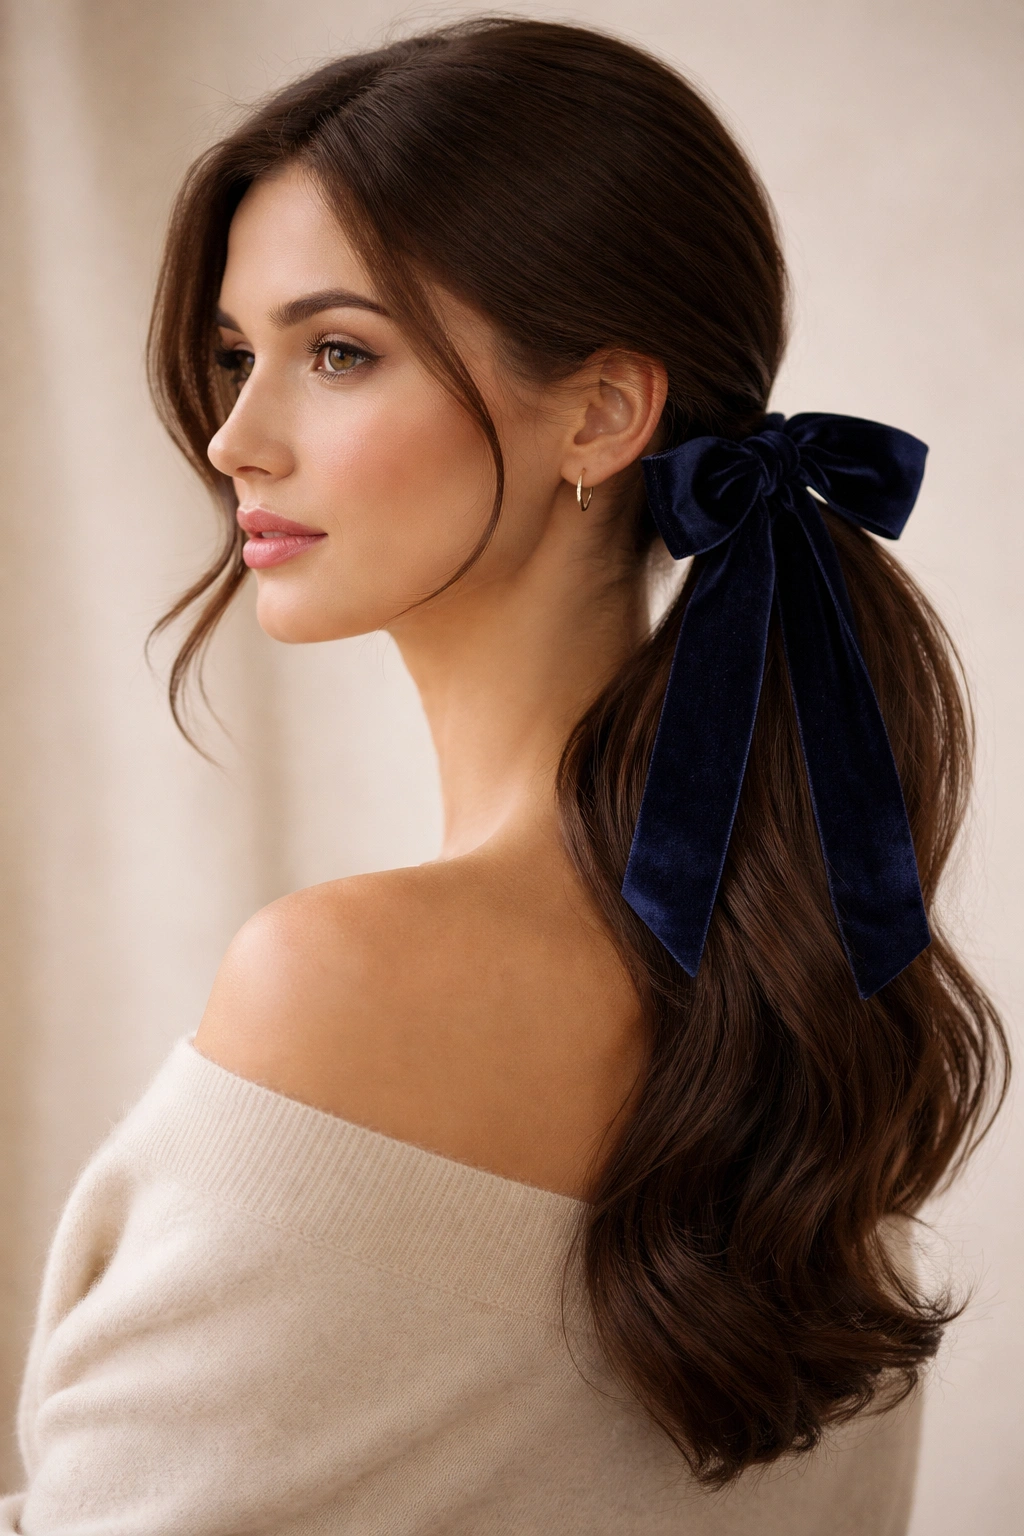
Velvet is having a moment, but it’s a classic material that never really goes out of style. It adds a touch of softness and luxury that brightens up even a dull Monday morning.
The Accessory
Use a pre-made velvet bow on a clip, or just buy a yard of velvet ribbon from a craft store. Wrap the ribbon around your ponytail base multiple times and tie it in a bow. Long, flowing ribbon ends look beautiful, but if you’re busy, keep them shorter so they don’t get tangled in your bag or jacket collar. Dark colors like navy, forest green, or burgundy look particularly sophisticated.
14. Polished Office-Ready Side Pony
You need this to stay put all day. It cannot sag, and it cannot have flyaways. This is about professional maintenance.
Key Factors
You need a strong-hold elastic and potentially a second elastic if your hair is heavy. Use a smoothing cream to ensure the hair pulled back from your face is perfectly flat. The secret here is the direction. Brush your hair back and slightly up toward the crown, not just straight to the side. This prevents that “pushed to the side” bump that can happen at the roots. It keeps the silhouette clean from the front, side, and back.
15. Side Pony with Layered Face-Framing Pieces
If you have bangs or shorter face-framing layers, do not fight them. Use them. This style embraces the layers instead of trying to pin them back.
Styling Strategy
Leave two thick sections of hair out at the front before you pull the rest into your side pony. You can leave these straight if your hair is straight, or use a large barrel iron to give them a slight wave away from your face. This draws attention to your eyes and cheekbones and makes the whole style look much softer. It is the perfect antidote to the “severe” look that some ponytails can accidentally create.
16. Braided Accent Side Pony
This is slightly different from a crown braid. Instead of a large braid, you are doing a small, tight braid on one side of your head that leads into the ponytail base.
The Execution
Section off a one-inch strip of hair near your hairline. Braid it tightly—a three-strand braid works best—and secure it with a tiny clear elastic. Gather the rest of your hair into a side pony, and incorporate that little braid into the ponytail. It’s a subtle detail that people notice when you turn your head. It shows you put in effort without the style looking like a costume.
17. Side Pony with Crimped Texture
Crimping is back, but not in the aggressive, 1990s way. Use a crimping iron on specific sections of your hair, not the whole head.
Creating Interest
Crimp the hair at the roots for volume, or crimp a few random strands throughout the length of the pony for visual interest. It adds a gritty, matte texture that is the opposite of the “sleek and shiny” look. Since crimping adds a massive amount of volume, this style is fantastic if you have thin or fine hair that usually looks flat in a ponytail. It’s a game-changer for day-two or day-three hair.
18. Low Pony with Pearl Accessories
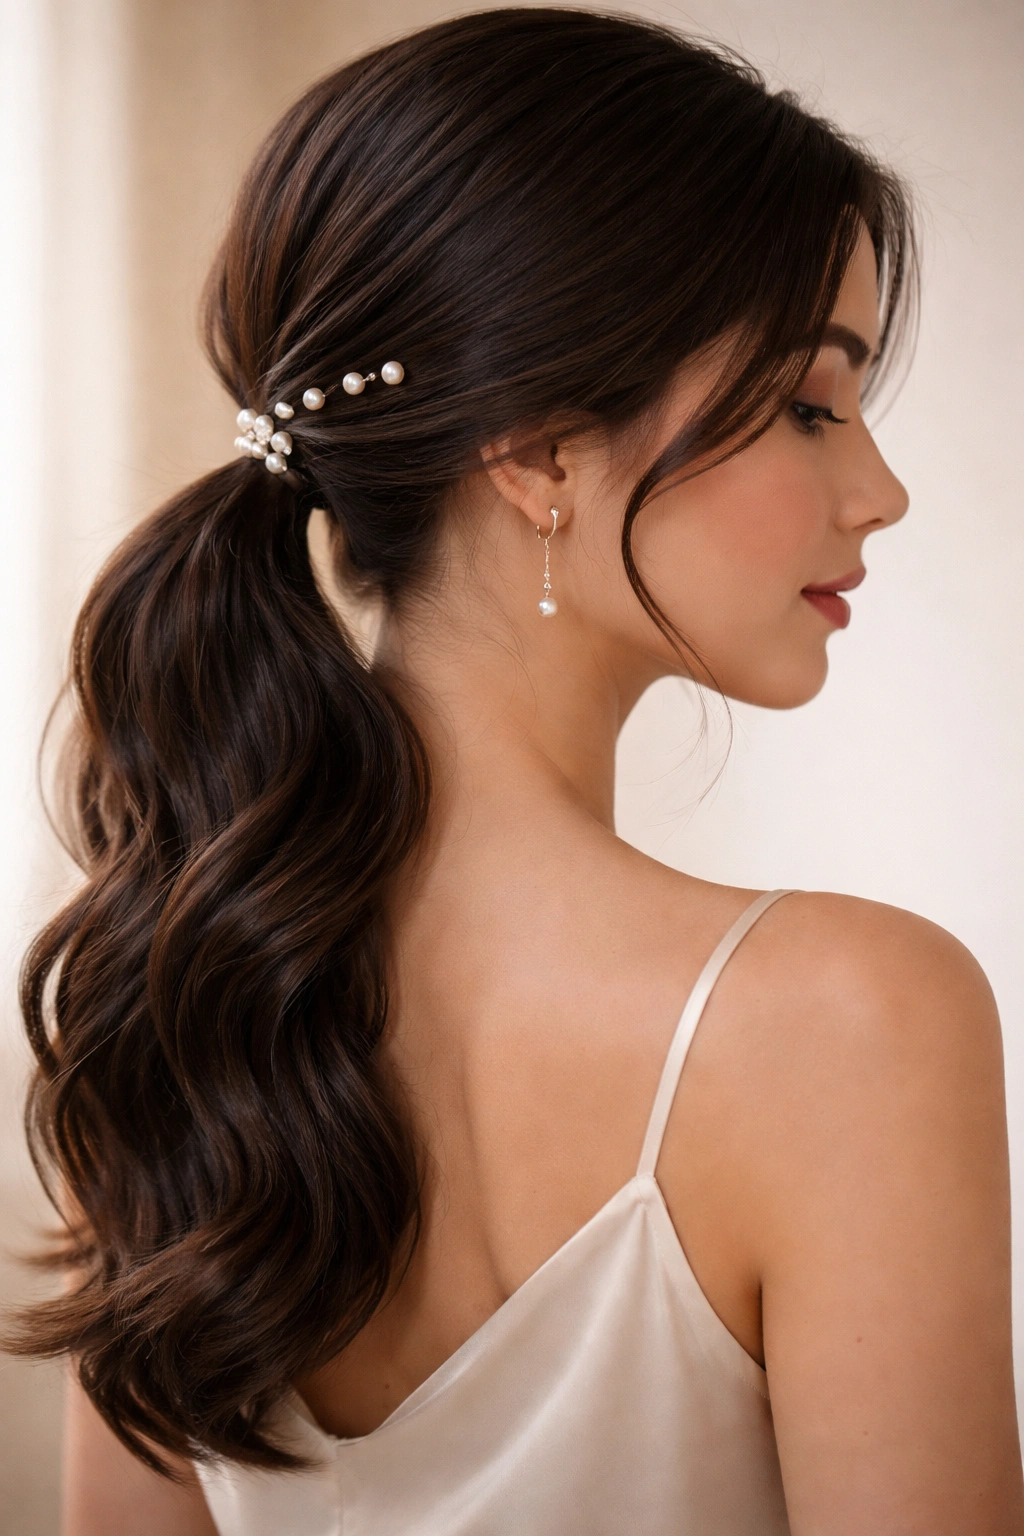
Pearl hair pins or clips are sophisticated and elegant. A side pony is the perfect vehicle to show them off because the pony sits where people can actually see the pins.
Placement
Secure your low side pony. Take a cluster of small pearl pins and insert them into the hair just above the elastic, or pin them into the hair that is being pulled back across your scalp. Don’t go overboard. Two or three pins are elegant; a dozen can look messy. Pearls against dark hair provide a striking contrast, while on blonde or lighter hair, they offer a subtle, shimmering effect.
19. The “Topsy-Tail” Side Pony
Remember the Topsy-Tail tool? You don’t need the actual plastic tool to get the look. You just need your fingers and a bit of patience.
The Loop Effect
Secure your side pony with an elastic. Divide the hair just above the elastic into two sections. Create a hole. Flip the tail of the pony through the hole. Now, tug at the hair to tighten the twist. It creates a beautiful, rope-like effect at the base. This is excellent for hiding a hair tie if you don’t have a piece of hair to wrap around it. It adds a “styled” look to an otherwise simple ponytail.
20. Side Pony with Hair-Wrapped Elastic
This is the standard, foolproof way to make a ponytail look professional. It is the technique used by hairstylists for red-carpet looks, but it is entirely achievable at home.
The Secret
Once your pony is secured, pull out a small section of hair from the underside of the pony. Wrap it tightly around the hair tie. Secure the end of that section with a bobby pin, sliding it underneath the ponytail so the pin is hidden. This hides the cheap elastic and makes the ponytail look like it is held together by your own hair. It is a small detail that separates a “gym look” from a “going out look.”
21. Sleek Wet-Look Side Pony

This is a high-fashion, edgy style that works incredibly well for evening events or nights out. It uses styling product to create a “fresh out of the ocean” appearance.
The Product
You need a high-shine pomade or a gel-oil hybrid. Work the product through your roots and the top layer of your hair. Use a wide-tooth comb to rake the product through, creating lines in the hair. Pull the hair into a tight, low side pony. The key is to keep the ends of the pony looking dry and natural while the roots and lengths leading into the pony are wet and slick. The contrast is the point.
22. Side Pony with Bow Barrette
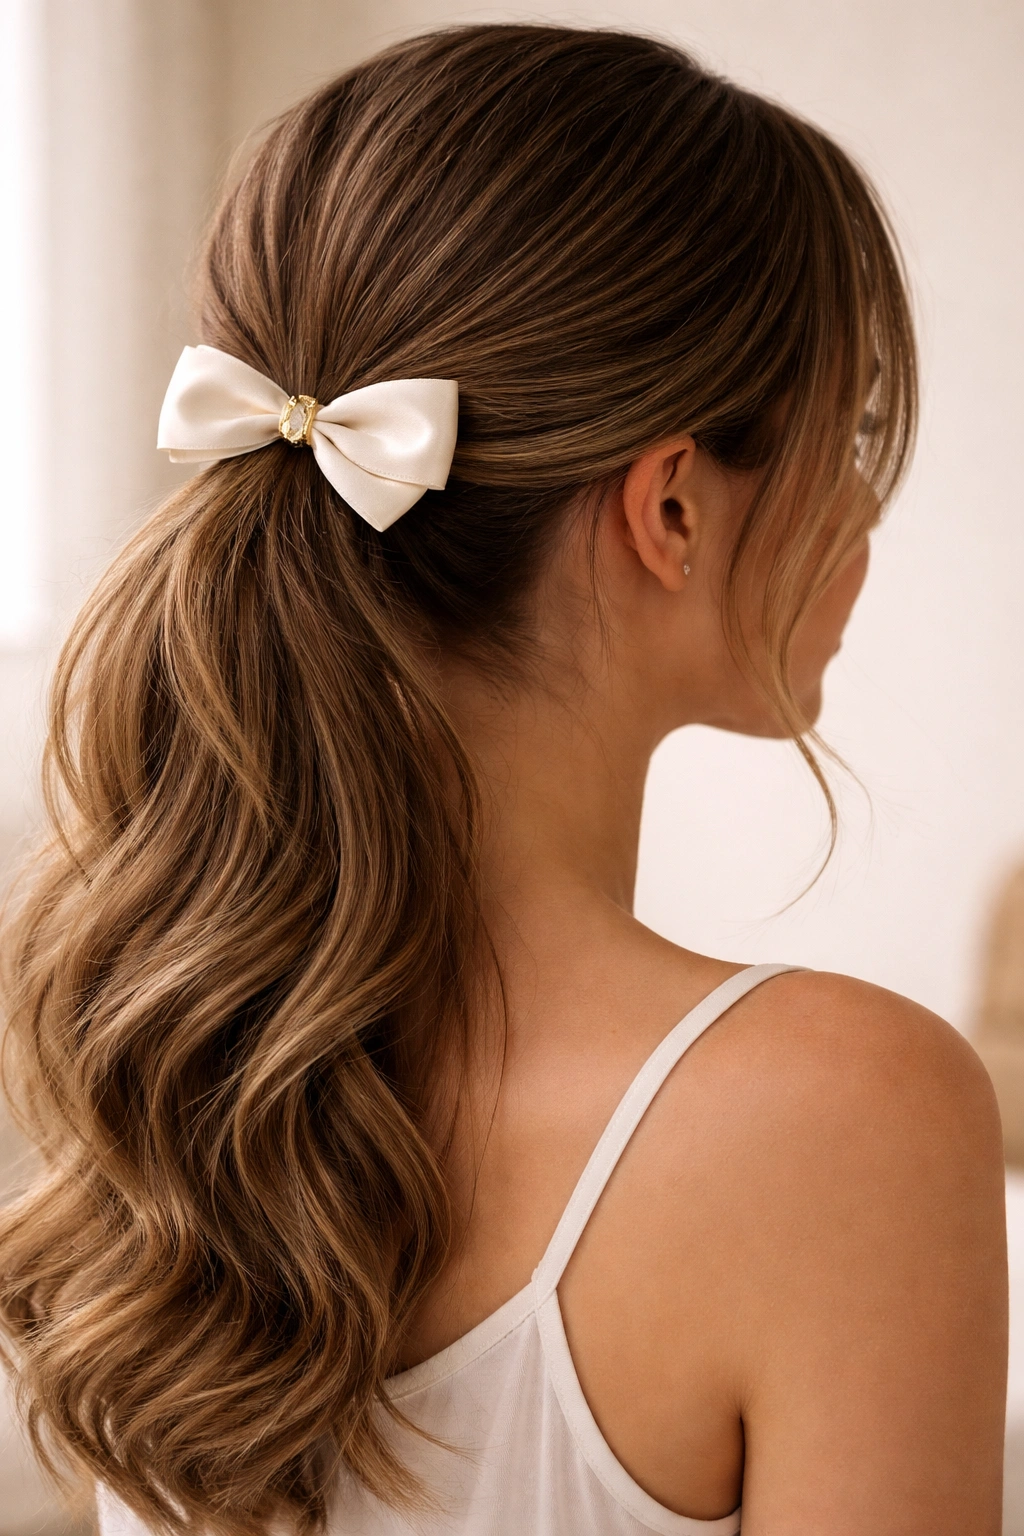
Similar to the velvet ribbon but much easier to install. A bow barrette clips in instantly, meaning you don’t have to fiddle with tying knots or hiding ends.
Choosing the Bow
Go for a bow that is proportional to your hair volume. If you have fine hair, a massive, heavy bow will weigh your ponytail down and pull it out of place. Opt for a delicate silk or grosgrain bow that clips securely. It turns a side pony into something playful and feminine, perfect for a casual brunch or a weekend outing where you want to look put-together but not formal.
23. Messy Bun Side Pony Hybrid
Can’t decide between a bun and a ponytail? Do both. This style gives you the security of a bun with the length of a ponytail.
The Hybrid
Pull your hair into a side ponytail. On the final loop of your hair tie, do not pull your hair all the way through. Leave it in a loop—a bun. You can wrap the remaining ends of your hair around the base of the bun to hide the elastic. This is significantly more secure than a standard bun because the ponytail elastic does the heavy lifting, preventing the bun from sagging or unspooling during the day.
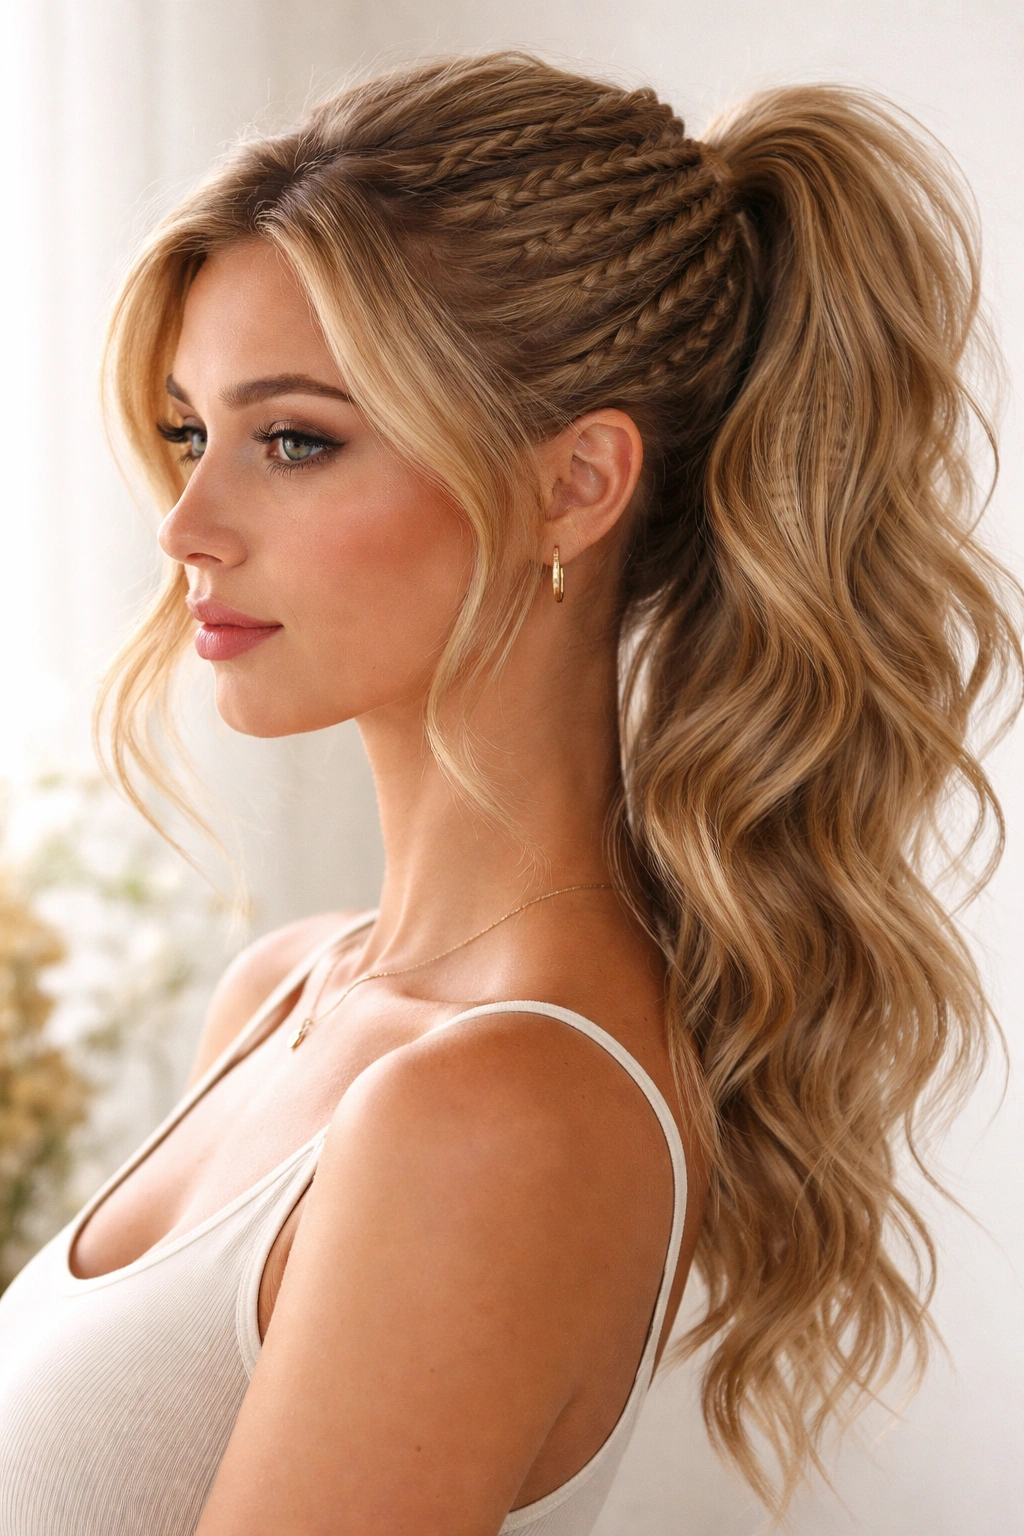
24. Side Pony with Mini-Twists
If you want to add detail without a braid, twists are your best friend. They are faster than braids and look just as intricate.
The Twisting Technique
Section off two pieces of hair near your face. Twist each section away from your face, adding more hair as you go—a two-strand twist. Secure them with a small clip while you gather the rest of your hair into the side pony. Then, incorporate the twists into the ponytail and remove the clip. It creates a lovely, structured line that leads directly to the pony.
25. Side Pony for Layered Haircuts
Layers are notorious for falling out of ponytails, creating that spiky, unkempt look. This style solves that by working with the layers.
Managing the Strands
Don’t try to force every layer into a sleek, tight pony. Instead, use a styling paste or a wax stick. Gather your hair, but accept that some pieces will fall out. Twist these loose pieces slightly so they look intentional rather than sloppy. Use a touch of hairspray to keep them from getting wild, but let them frame your face. A side pony is actually the most forgiving style for layers, as you can pin the shorter pieces back toward the ear, which keeps them secure.
26. Side Pony with Zigzag Part
This is a subtle nod to the past, but it works surprisingly well to add volume at the roots. A zigzag part creates instant lift because the hair is forced to stand up in different directions.
Creating the Zigzag
Use the tip of a comb to draw a zigzag line from your forehead back to the crown. It doesn’t need to be perfect—the imperfection is what makes it look cool. Brush the hair to the side. The zigzag part creates a natural “bump” of volume at the roots, which makes the side pony feel less flat and lifeless. It’s a great trick for anyone whose hair tends to cling to the scalp.
27. Double-Twisted Side Pony
This style creates a beautiful “rope” effect on the sides of your head. It looks much more complicated than it actually is.
Building the Twists
Part your hair on one side. Take a section near the part and twist it toward the back of your head. Secure it with a bobby pin. Take a second section right below it, twist it, and pin it back to meet the first one. Now, gather all your hair, including these two twists, into a side ponytail. The twists create a seamless, elegant transition from your hairline to your ponytail.
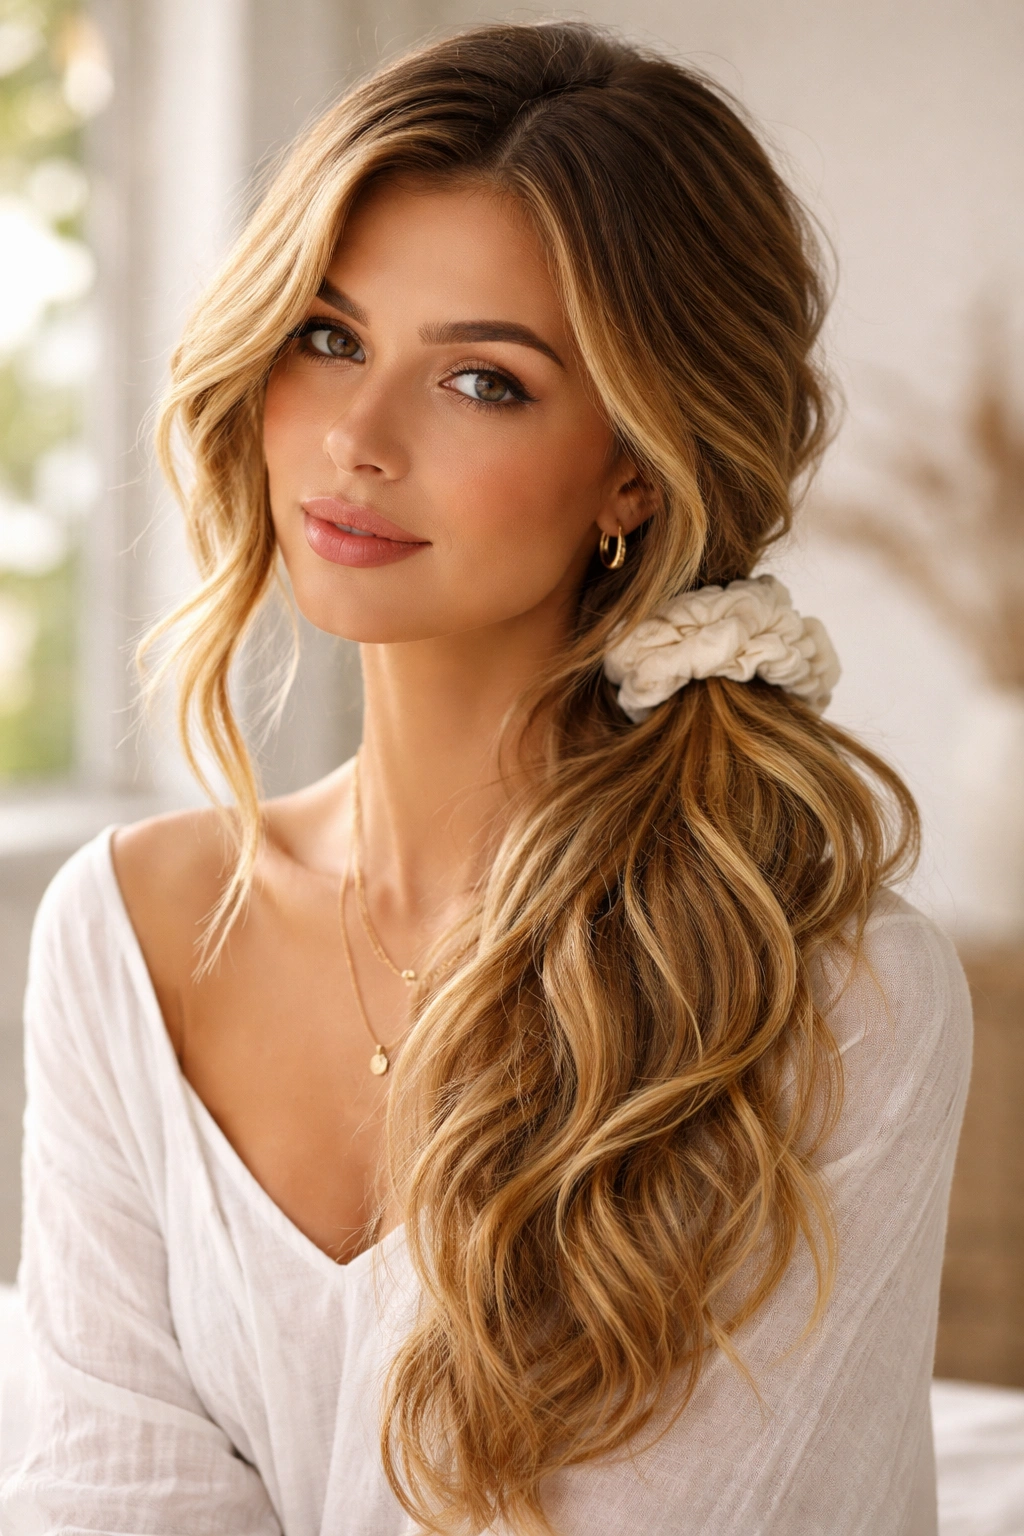
28. Side Pony with Jewel-Toned Scrunchie
If your outfit is simple, your hair accessory can do the heavy lifting. A velvet or silk scrunchie in a rich jewel tone—think emerald, sapphire, or deep plum—adds an instant pop of color.
Why It Works
Scrunchies are much kinder to your hair than plastic elastics. They don’t cause breakage, and they don’t leave that harsh crimp in your hair when you take them out. A side pony is the perfect place for a scrunchie because it’s highly visible. Coordinate the color of the scrunchie with a small detail in your outfit—like your earrings or your shoes—to tie the whole look together.
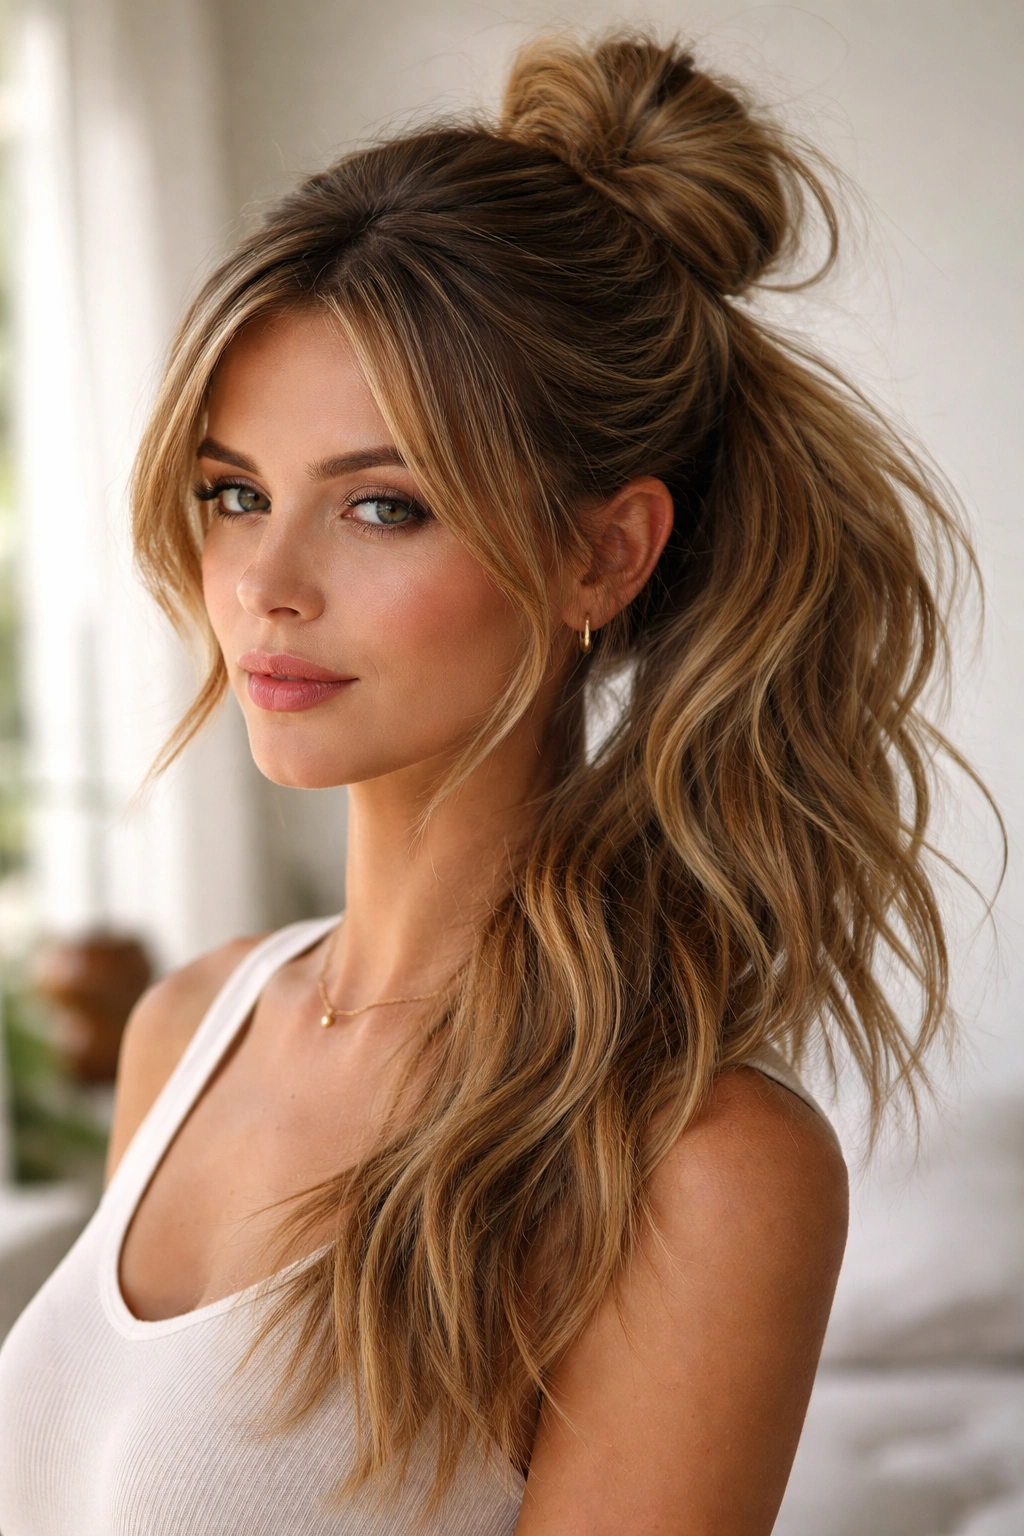
29. Half-Up Side Pony
This is a great option if you have very thick hair and find that a full ponytail is too heavy or pulls on your scalp. You are essentially doing a half-up, half-down style, but shifted to the side.
The Half-Up Strategy
Gather the top half of your hair—from the temples to the crown—and sweep it to the side. Secure it with a small elastic. Leave the bottom half of your hair loose. It gives you the “off the face” benefit of a ponytail while letting you show off your length and volume. It’s a softer, more relaxed look that feels less like “hair pulled back” and more like “styled hair.”
30. Side Pony with Messy Top Knot Integration
This is the most casual, “off-duty” look of the bunch. It’s essentially a top knot that has been pulled to the side and allowed to relax.
The Process
Gather your hair high and to the side, as if you are making a top knot. But instead of wrapping it into a tight bun, pull the ponytail through the elastic halfway, creating a loop. Then, take the loose ends and wrap them around the base, but don’t secure them perfectly. Let the ends stick out. It’s a messy, textured bun-pony hybrid that feels very modern. It’s the perfect look for running errands or lounging at home, but it’s polished enough that you won’t feel like you need to hide if you run into someone you know.
The Bottom Line
There is no “right” way to wear a side ponytail. The best version is the one that makes you feel confident and comfortable. Whether you go for the sleek, professional look or the messy, boho wave, the key is execution.
Don’t be afraid to use product. Texture sprays, dry shampoos, and light pomades are the difference between a style that lasts all day and one that sags by lunch. And remember, the beauty of the side pony is its inherent flexibility. If it starts to look a little messy by the end of the day, it just looks like you intended it to be that way. That is the ultimate goal of any effortless hairstyle—looking like you tried just enough, but not too hard.