



Baseball caps and curly hair have a complicated history. For too long, the default advice was to stuff your curls under the brim and hope for the best — which usually meant a flat, misshapen mess by the time you took the cap off. But there’s a whole world of ways to wear a baseball cap that actually works with your curls, not against them. Whether you’ve got a loose 3A wave pattern or a tight 4C coil, baseball cap styles for curly hair can look effortlessly cool when you know what you’re doing.
Why Baseball Caps and Curly Hair Are Actually a Great Match
The hesitation is understandable. Curly hair is voluminous, it has a specific shape you’ve worked hard to maintain, and throwing a hat on top feels like risking all of that. But here’s the thing — a baseball cap is one of the most versatile accessories in your wardrobe, and curly hair gives you options that straight-haired people genuinely don’t have.
That volume works in your favor. Your curls can spill out from under the brim, poke through the back opening, or frame your face in ways that look intentional and stylish. The key is learning to work with your curl pattern and the specific cap you’re wearing.
A fitted cap sits differently on curly hair than it does on fine, straight hair. The natural lift of your roots creates space between your scalp and the cap, which means you’re not always dealing with that flattened crown look. Embrace that lift. It’s part of what makes baseball cap looks on curly hair so distinct.
How to Prep Your Curls Before Putting on a Cap
Getting the look right starts before the cap goes on. If your curls are freshly washed and still damp, they’re actually more forgiving — they’ll continue to form and set even under or around a cap. Dry curls that haven’t been refreshed are more prone to frizz and breakage at the points where the cap presses against them.
Start by applying your usual curl cream or defining gel. Make sure you’re distributing product evenly from roots to ends. Then decide whether you want your curls fully set before you put the cap on, or whether you want to style-as-you-go.
For the best results, try this: get your curls about 80% dry, do your initial shaping, then position the cap. As your curls finish drying, they’ll adapt to the space they have. You end up with a style that looks deliberate rather than accidental.
Avoid putting a baseball cap on completely dry, styled curls that you’ve already perfected. That’s when you’ll feel most frustrated — because disrupting a finished style always feels like a loss. Work with the process, not against it.
Choosing the Right Cap for Your Curl Pattern
Not every baseball cap works equally well for every curl type, and this matters more than most style guides admit. The construction of the cap — the depth of the crown, the stiffness of the brim, whether it’s fitted or adjustable — all affects how it sits on your hair and how your curls behave around it.
Deeper-crown caps are your best friend if you’ve got high-volume 3C or 4A curls. They give your hair somewhere to go without creating a squished, misshapen crown look. Shallow caps tend to perch on top of thick curls in a way that looks awkward and feels unstable.
Structured caps with a firm crown actually help with this too. A soft, unstructured cap collapses under the weight and volume of thick curly hair, which can look sloppy. A structured cap holds its shape and gives your style a more intentional look.
For tighter coils — 4B and 4C — adjustable snapback and dad cap styles often work better than fitted caps. The adjustability lets you find the sweet spot where the cap sits comfortably without pressing too hard on your roots.
The Most Flattering Cap Placements for Curly Hair
Placement is everything. Where and how you position the cap changes the entire look, and there’s no single “correct” way to do it.
Pulled low and forward — brim down close to your brows — gives a sleek, focused look. Your curls come out around the sides and back, framing your face. This works especially well with smaller, defined curls that won’t go too wild at the sides.
Pushed back on the head — sitting further toward your crown — is a more relaxed, casual look. It shows more of your forehead and lets your front curls fall naturally or get pinned back. This placement is great for big, voluminous hair because it doesn’t try to contain anything.
Tilted to one side adds personality and attitude. It works best with asymmetric styles or when you’ve pulled more hair to one side intentionally. It’s a statement look — don’t half-commit to it.
The back opening of an adjustable cap is also a styling opportunity, not just a functional gap. Running your ponytail, puff, or a few highlighted pieces through that opening is a whole aesthetic on its own.
1. The Classic Puff Through the Back Opening
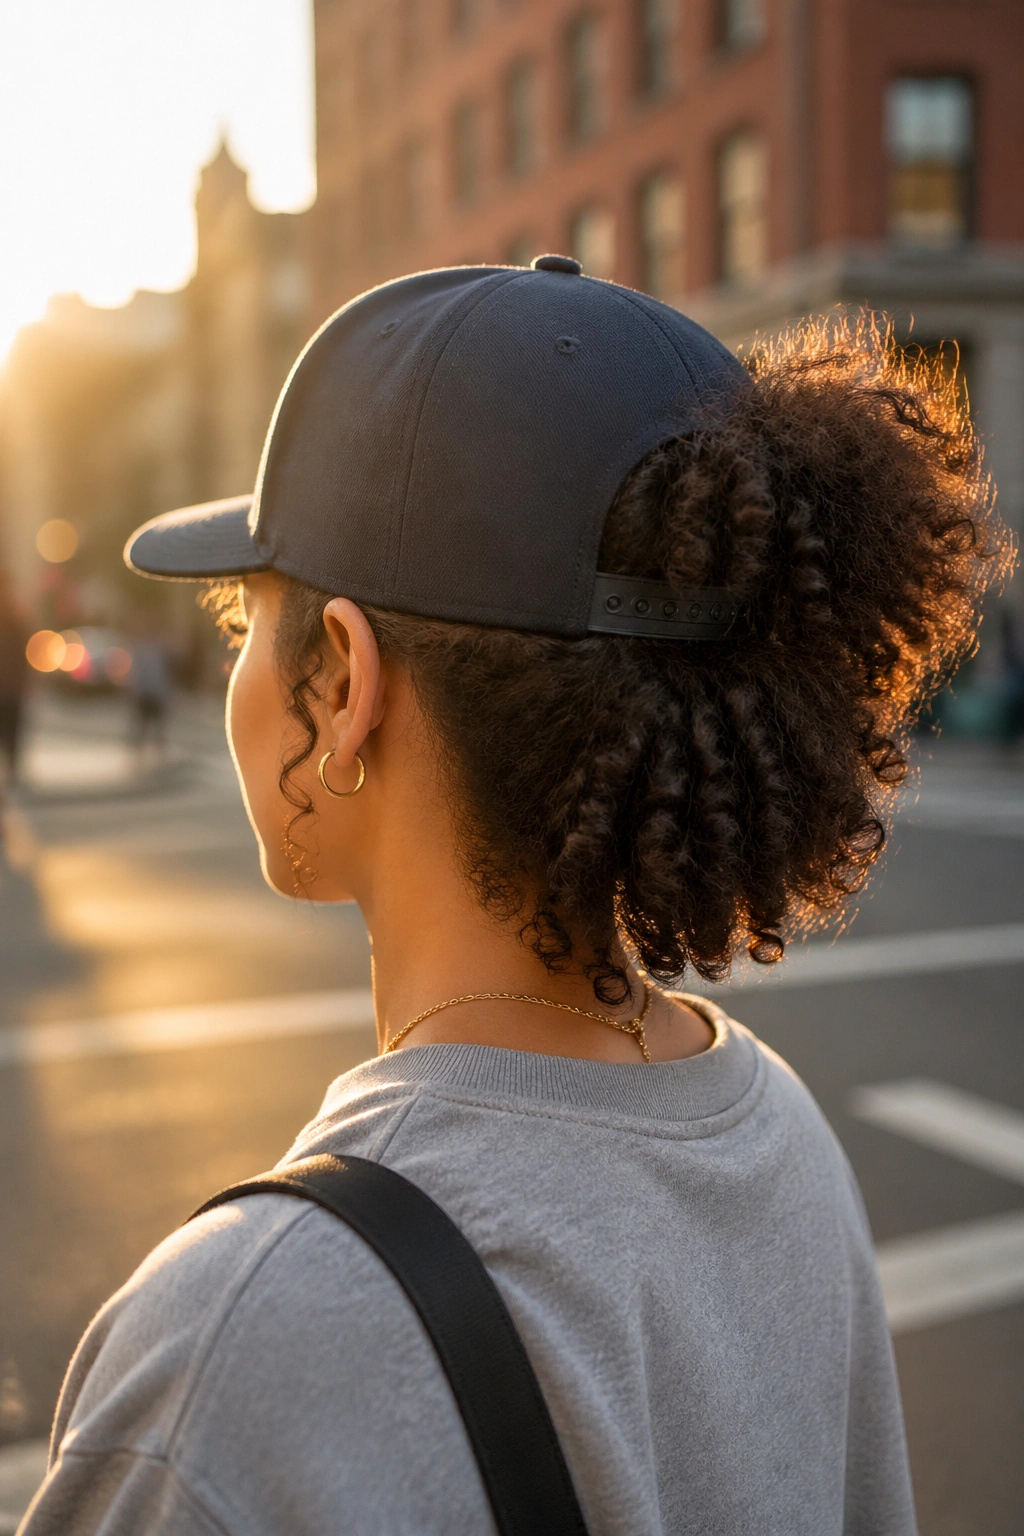
There’s a reason this look is everywhere — it’s incredibly easy and it works on almost every curl type. Pull your hair into a high or mid puff, secure it loosely, then thread it through the adjustment opening at the back of a snapback or dad cap.
How to Do It
- Start with moisturized, defined curls
- Gather hair into a puff and secure with a satin-lined scrunchie
- Position the cap from front to back, letting the puff settle through the opening
- Adjust the cap so it sits comfortably — not too tight, not so loose it slides
Pro tip: Use a slightly larger opening or a less-secured puff so the hair flows naturally rather than being forced through a tight gap.
2. Two High Puffs (Space Buns) With a Fitted Cap
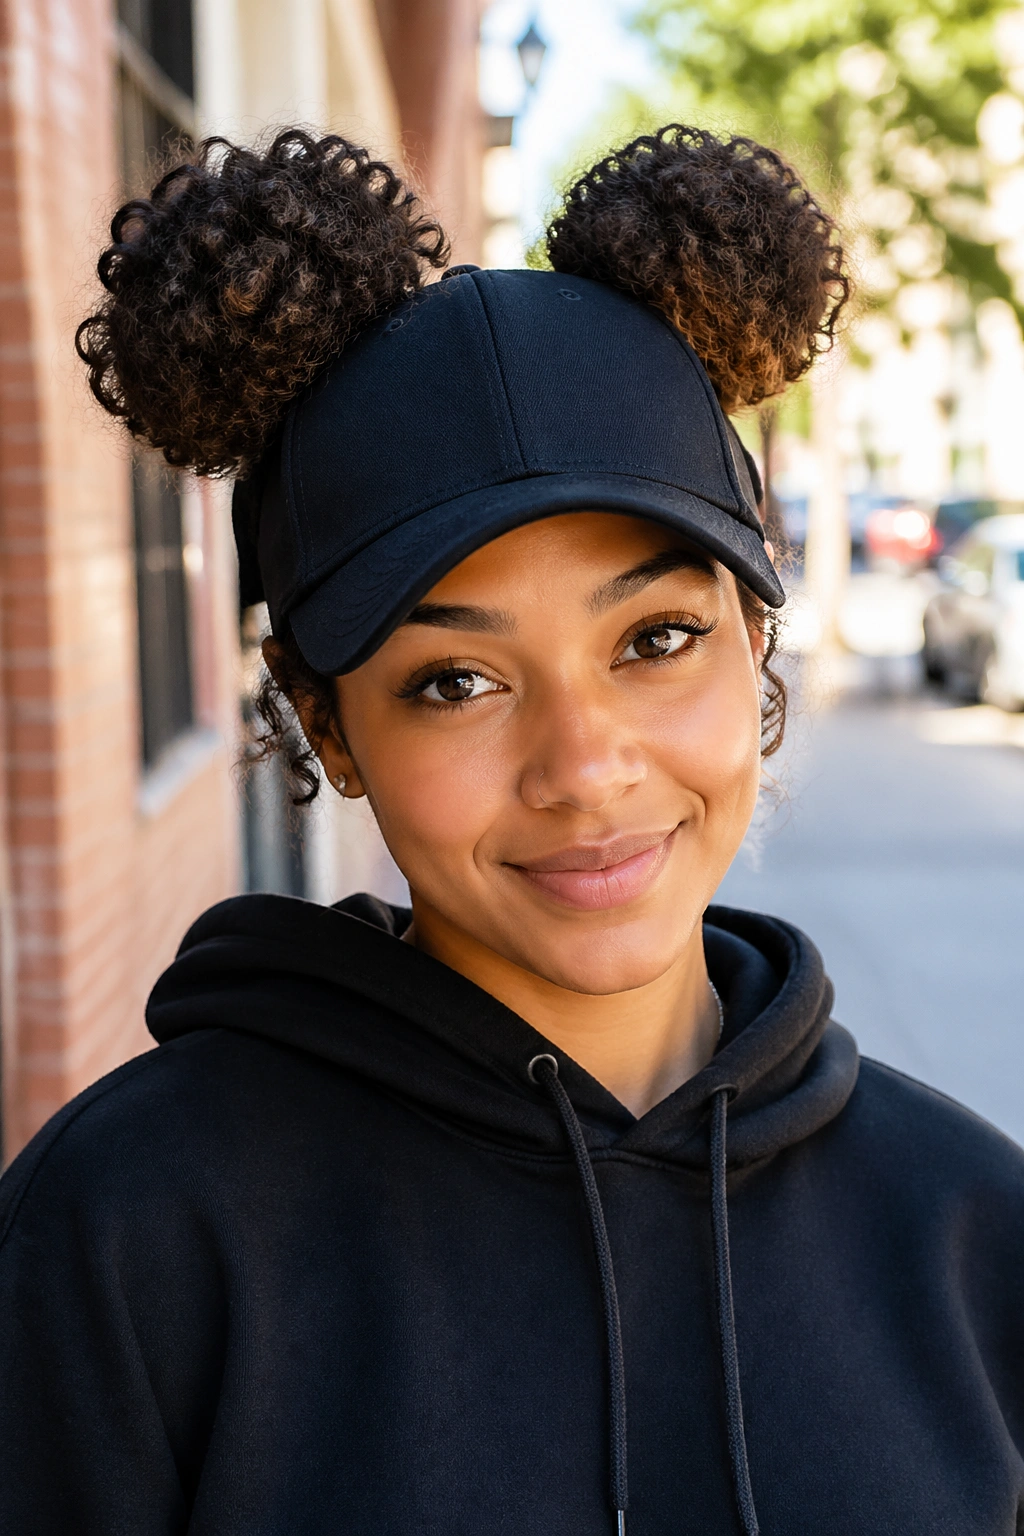
This is playful, youthful, and undeniably cute. Divide your hair into two sections, create high puffs on either side, then fit a structured fitted cap over the front while the puffs sit above and behind the brim.
It works best with fitted or slightly stretchy caps that can accommodate the volume at the sides. The puffs act as a frame — they’re visible from the front, adding shape and personality without competing with the cap.
Bold fact: This look photographs beautifully because the puffs add dimension on both sides of the frame, giving your silhouette a unique shape that just works.
3. Loose Curls Down With the Cap Pushed Back
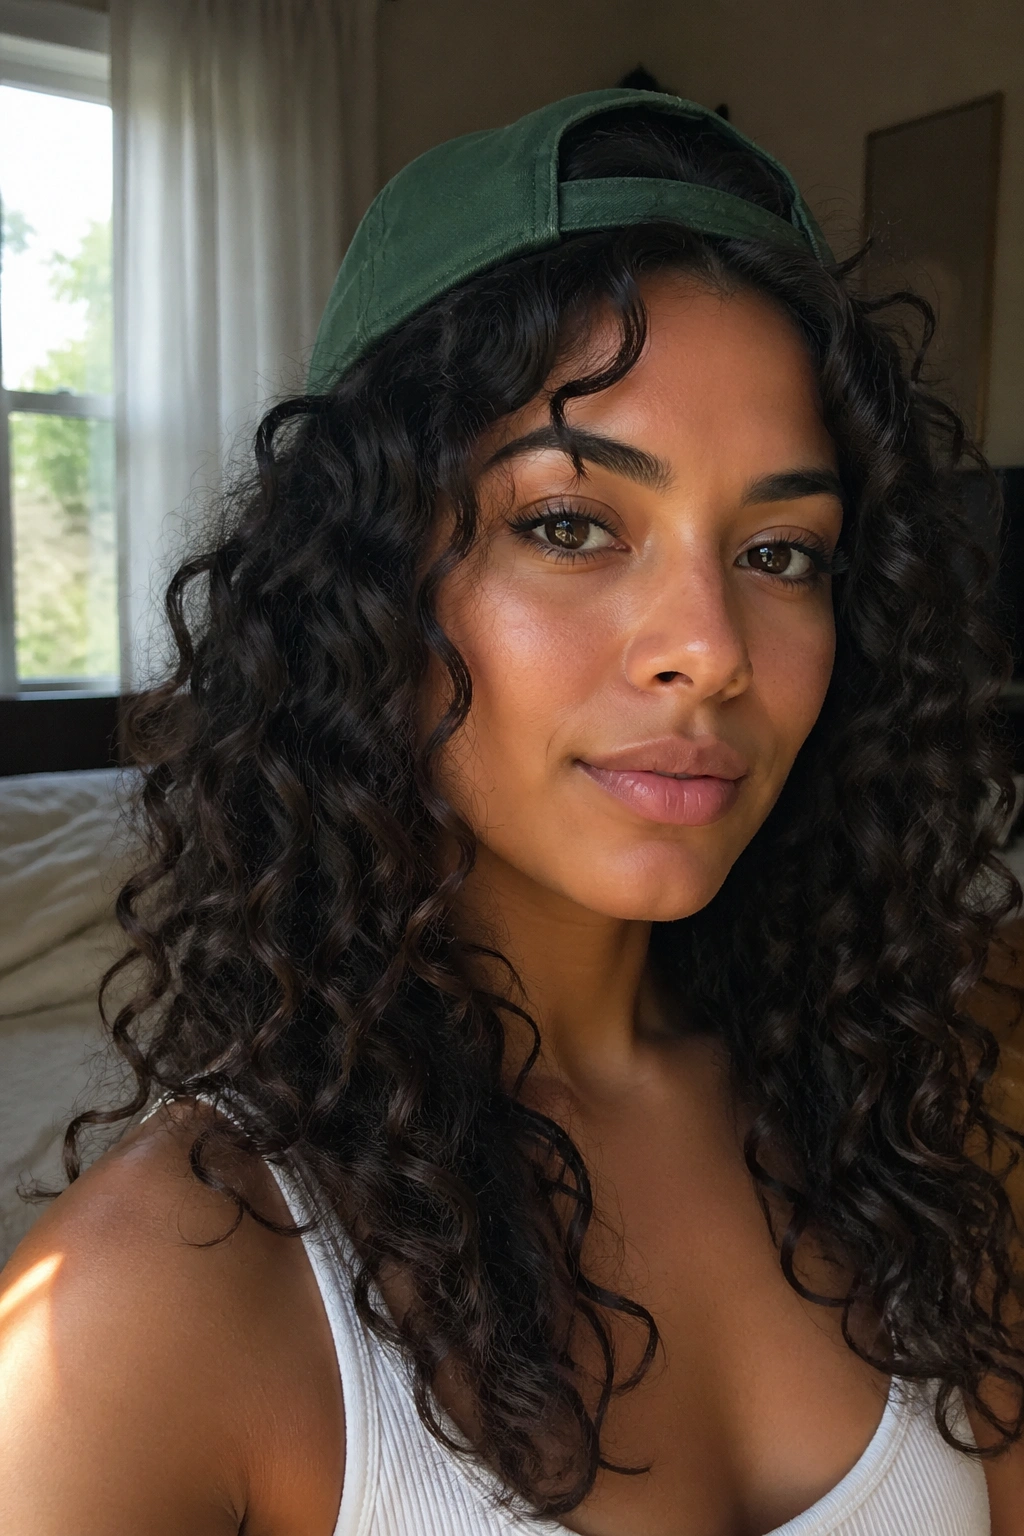
Simple. Relaxed. Effortlessly stylish. Wear your curls completely down, loose and defined, then push the cap back on your head so it sits about mid-crown. The brim angles upward slightly, your curls spill forward and around the sides, and you get a look that feels like you just threw something on — even if you didn’t.
This works particularly well for 3A and 3B curl types where the curls have enough definition to look intentional without a lot of manipulation. For tighter coils, you might want to stretch the roots slightly first to avoid a flat, compressed look at the crown.
4. Half-Up Half-Down With a Loose Knot

Take the top half of your curls — from ear to ear across the crown — and twist them into a loose, messy topknot or bun. Leave the bottom half down. Then place your baseball cap so the brim frames your face and the cap sits on top of the knot.
The Look
- Top knot: intentionally messy, not perfectly smooth
- Bottom curls: down and defined
- Cap: sits on the knot, giving it a slightly elevated, off-the-head feel
This creates interesting layering — the knot underneath the cap gives the hat a little lift and creates volume on top, while the bottom curls frame your neck and jaw. It’s more sophisticated than it sounds and works across a wide range of curl patterns.
5. Braided Sides With Curly Top
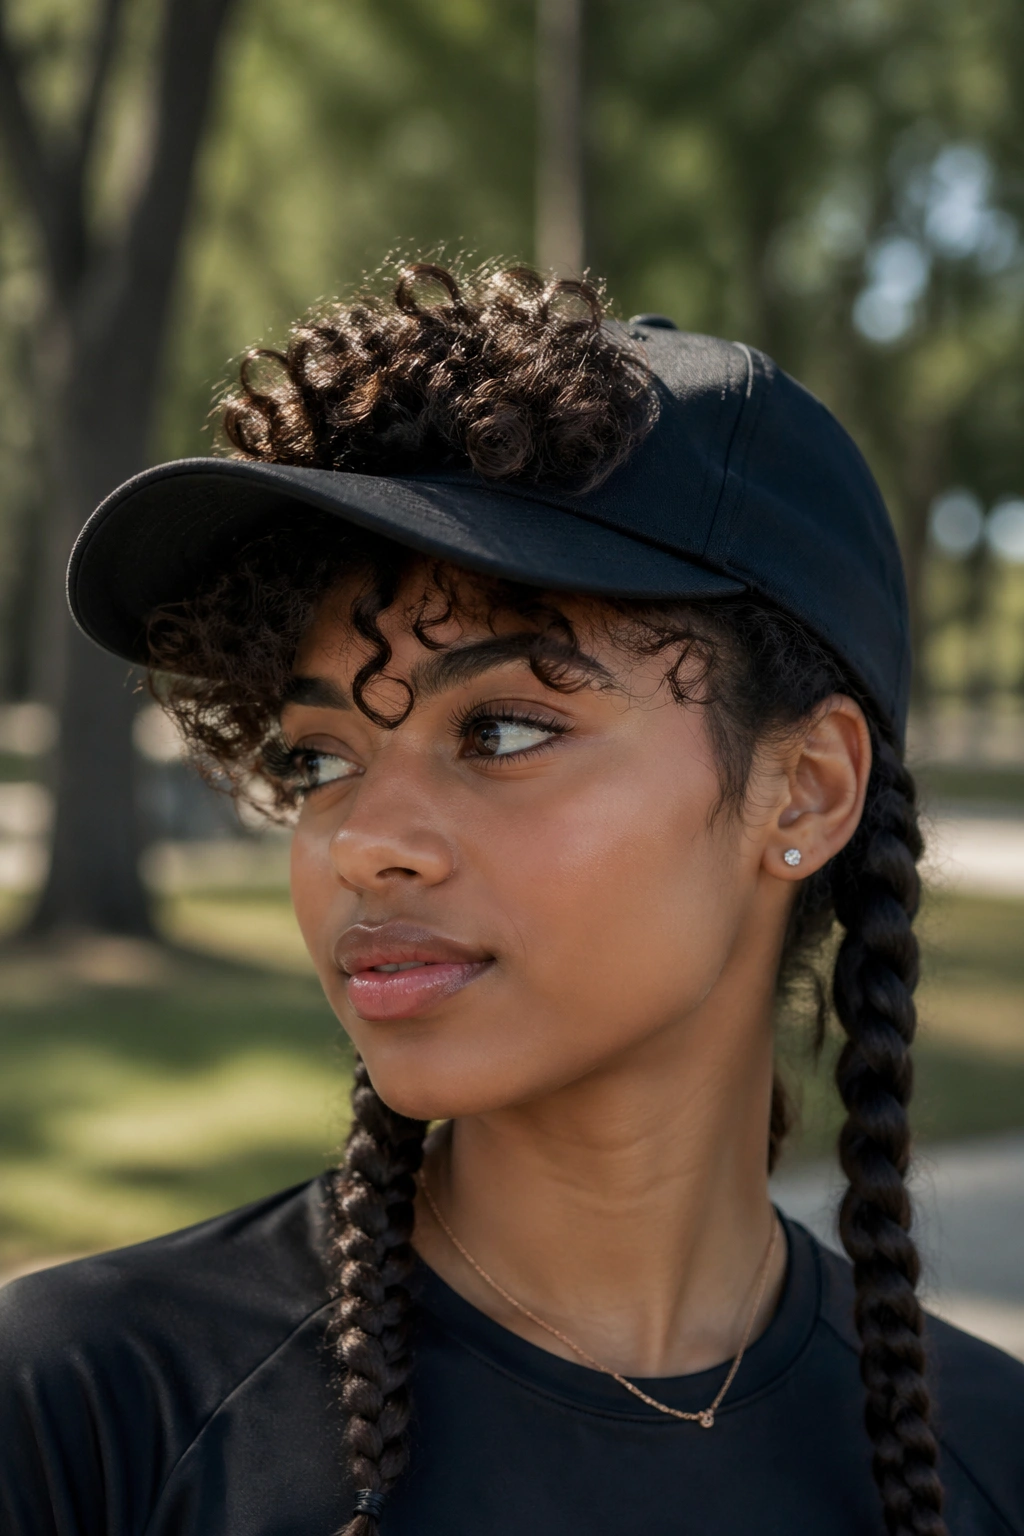
Braid the sides of your hair — two braids or a cornrow on each side — and leave your top section loose and curly. Then put your cap over the top curls. The braids peek out underneath the brim, adding texture and detail at the sides.
This is a style with staying power. The braids keep the sides tidy and protected under the cap, while the top curls give you that signature curly hair volume. It’s part protective style, part statement look.
6. Flat-Twist Crown With Cap
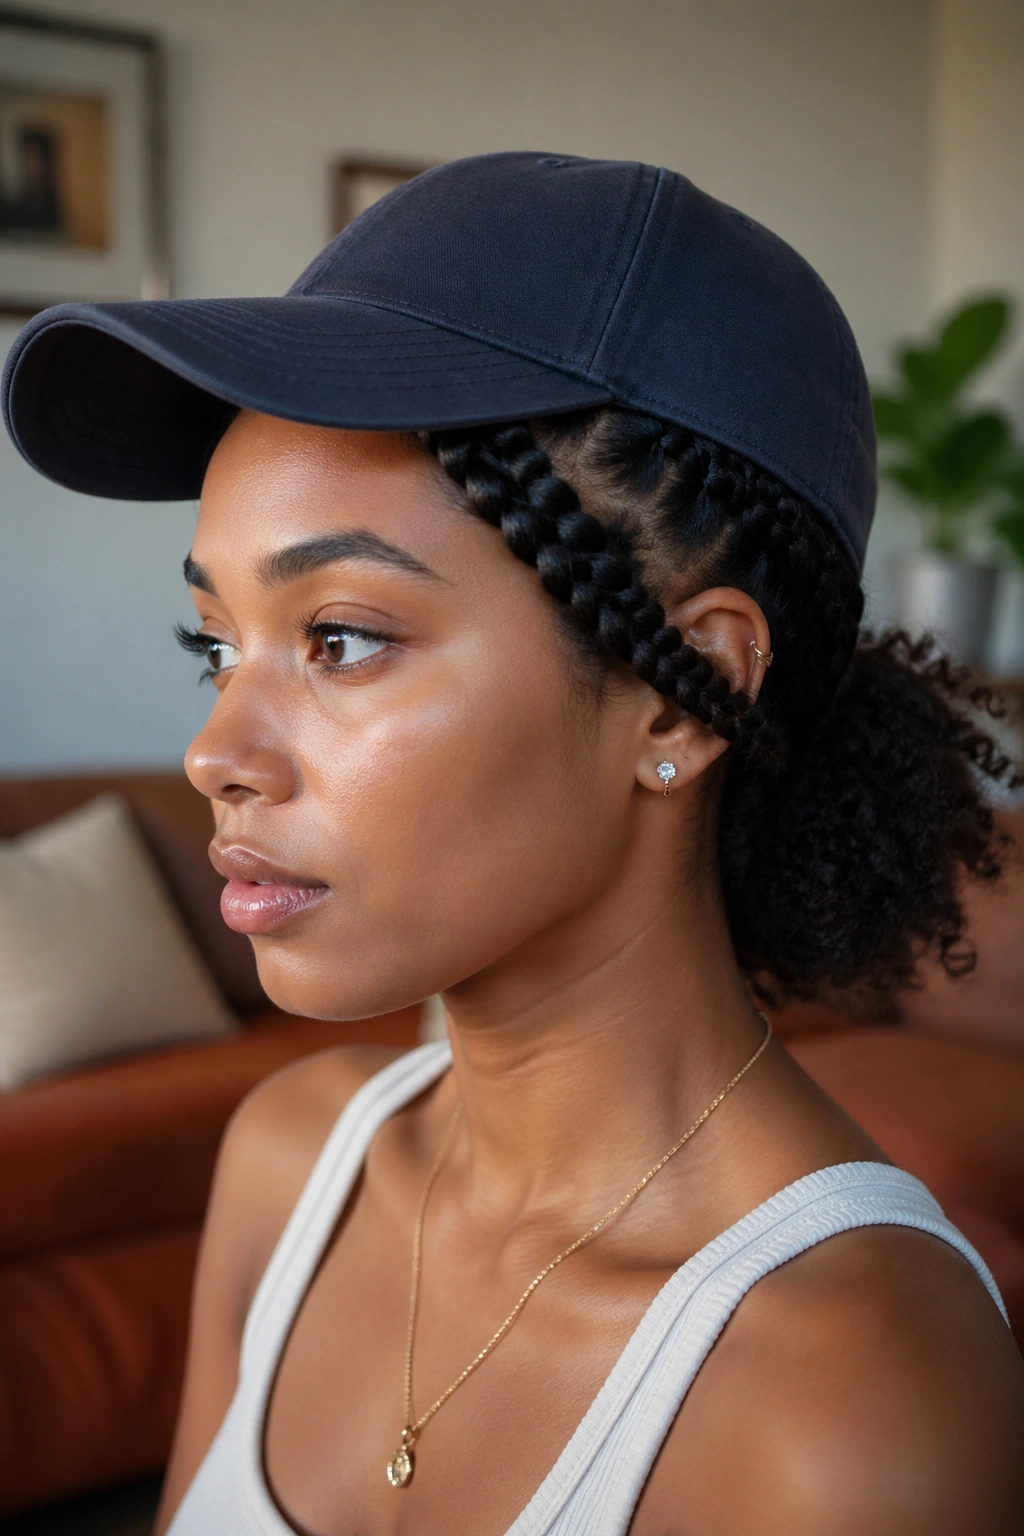
Create two large flat twists going from your temples back toward your crown. Leave the rest of your hair loose, or gather it into a low puff. Place the cap over the crown area, letting the flat twists sit along the sides under the brim.
The flat twists add structure and direction to the sides of your hair, which can sometimes look undefined when a cap presses against loose curls. They also protect those edges and temple areas from friction. It’s a thoughtful, put-together look that works well for longer wear.
7. High Ponytail Through the Opening
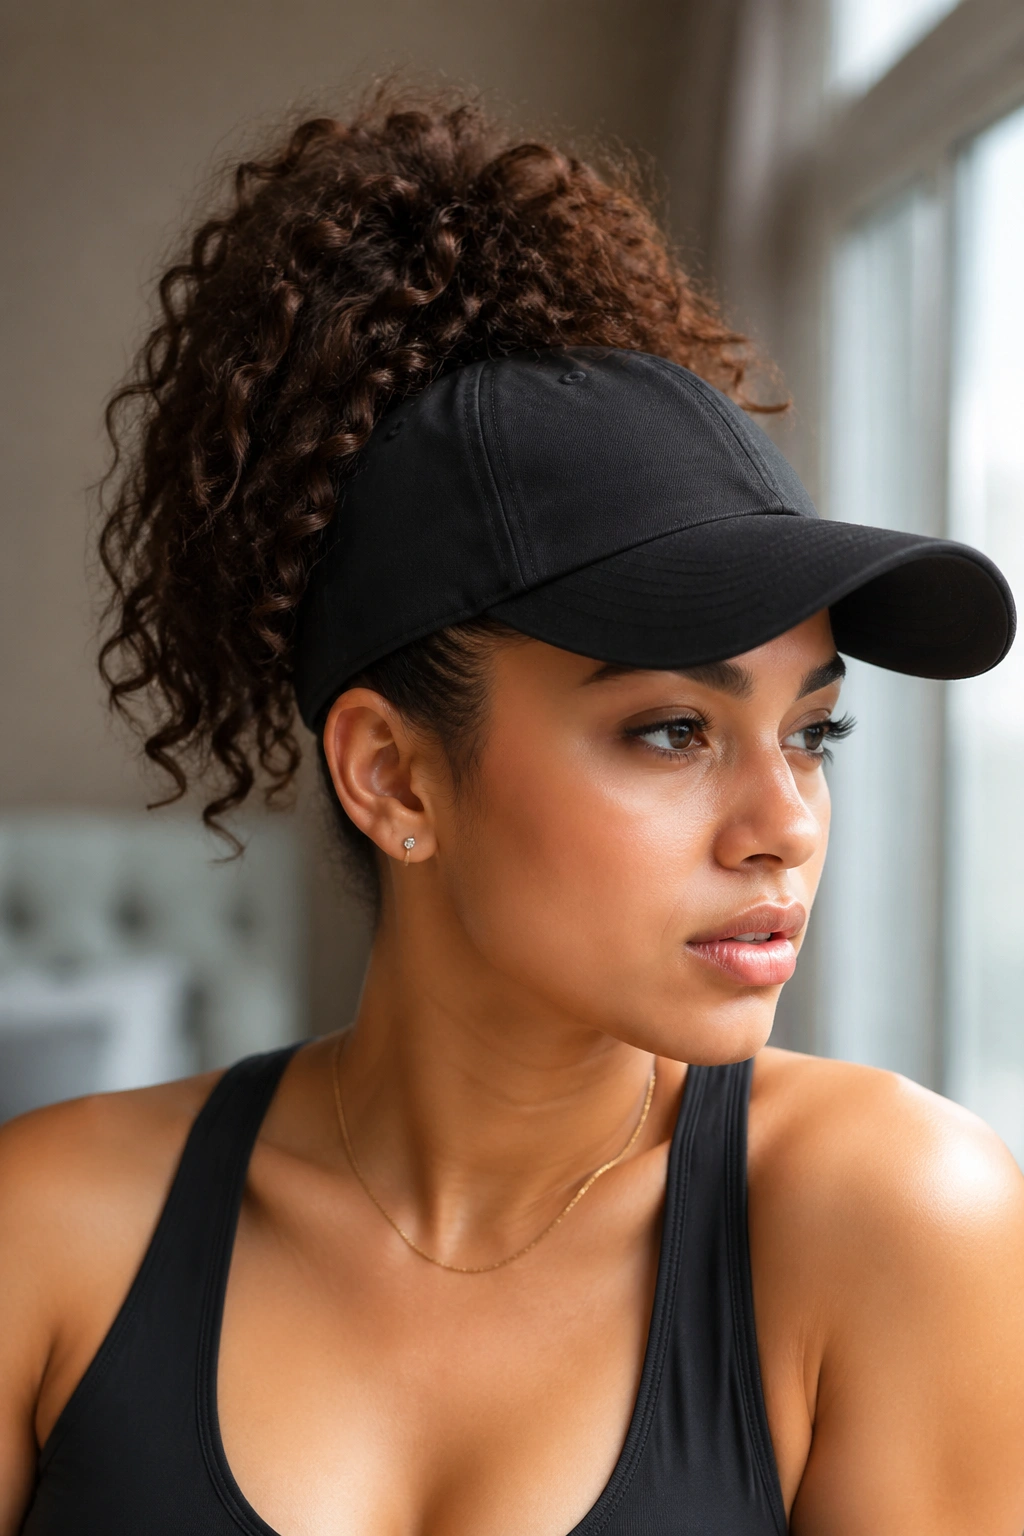
Different from a puff — this is a slicked-back, defined ponytail gathered high on the head and pulled through the back opening. Use edge control on your hairline for a clean look, then let the ponytail itself be as curly and voluminous as you want.
The contrast works. Sleek at the front, wild and curly at the back. It’s a deliberate tension between polished and free that feels fresh.
8. Low Ponytail or Low Puff
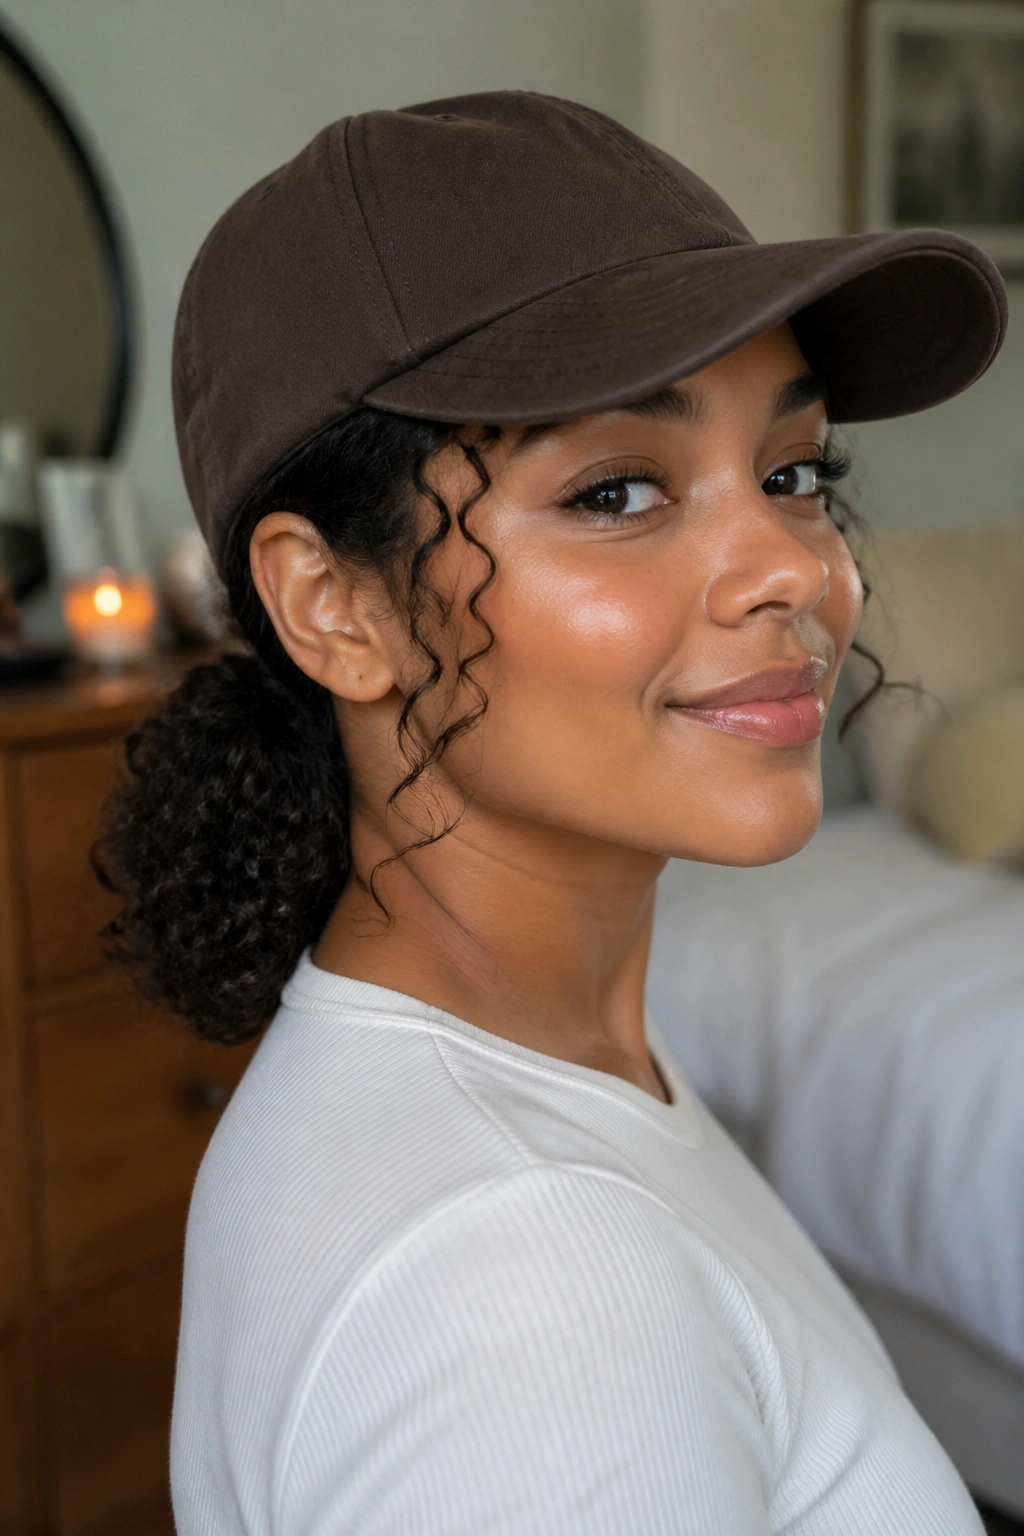
Not every look needs to be dramatic. A low ponytail or puff gathered at the nape of your neck is clean, simple, and keeps all your hair contained without squishing it. The cap can be worn forward or pushed back, and the low placement means there’s no battle between the hat and a high style.
This is the go-to when you want a baseball cap look that’s no-fuss and comfortable for an active day — whether you’re working out, running errands, or just living your life.
9. Bantu Knots Under and Around the Cap
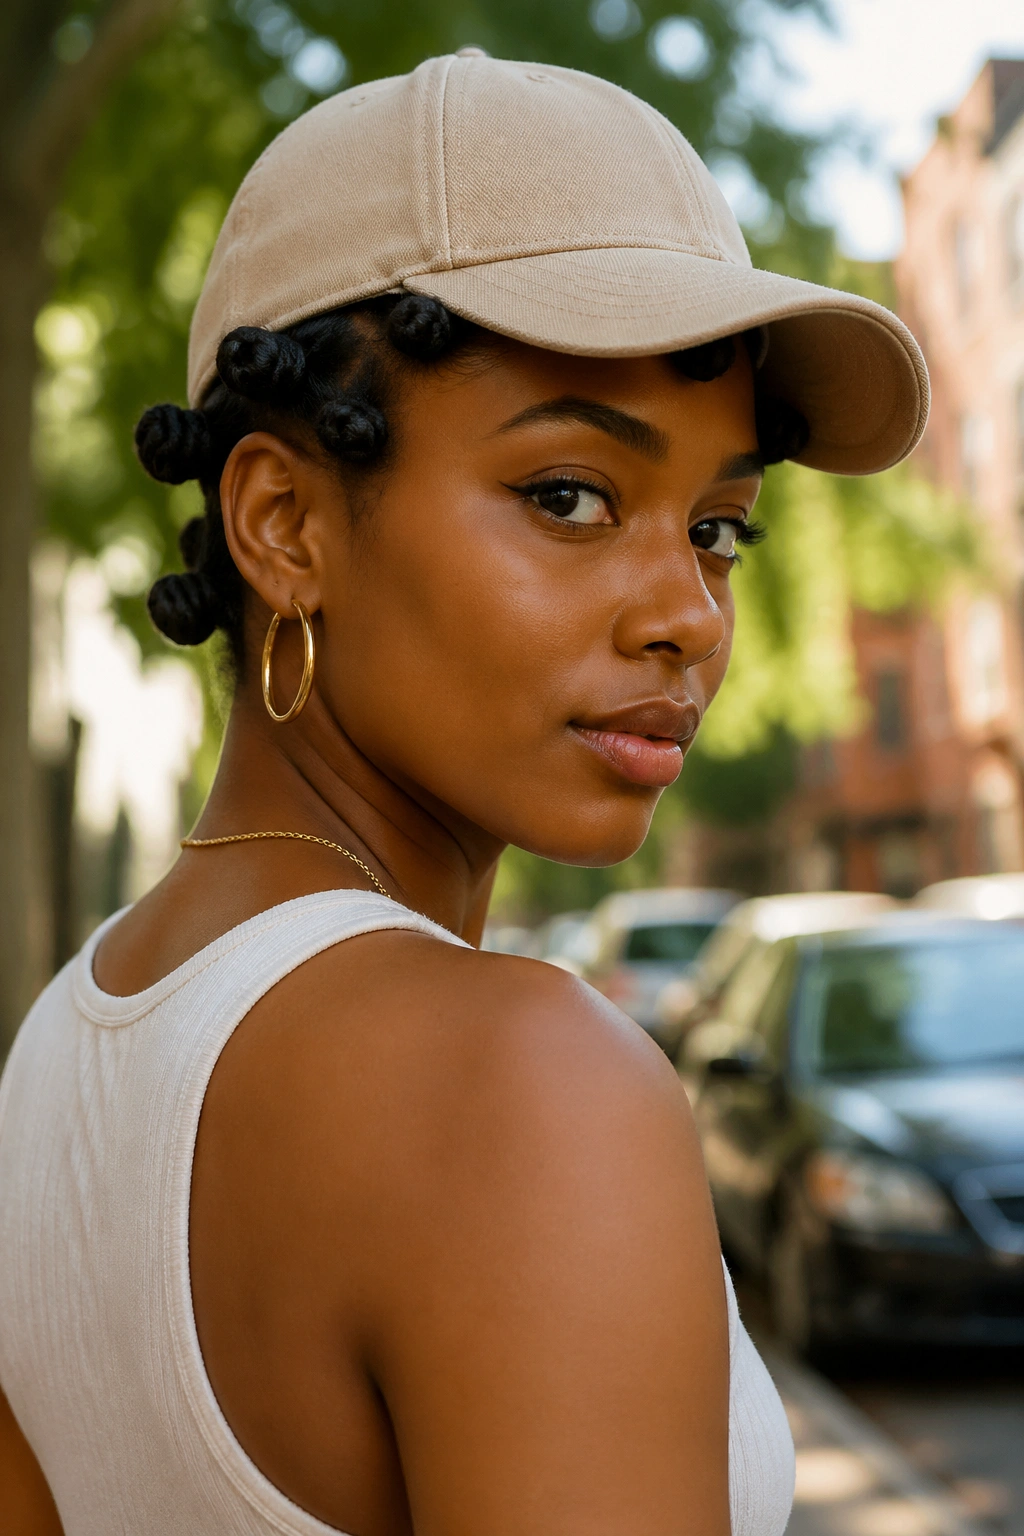
Place small bantu knots across your crown and the back of your head, then position the cap so the brim covers the front knots. The back knots will be visible, adding a sculptural, textural element to the look.
Why It Works
- Bantu knots are a protective style — they’re protecting your hair even while styled
- They create a striking visual pattern that makes the look feel very intentional
- When you take the cap and knots down, you get bantu knot-out curls
Tip: Keep the knots small and tight enough that the cap can still sit comfortably. Oversized knots will push the cap too far forward.
10. Curly Side Sweep With Cap
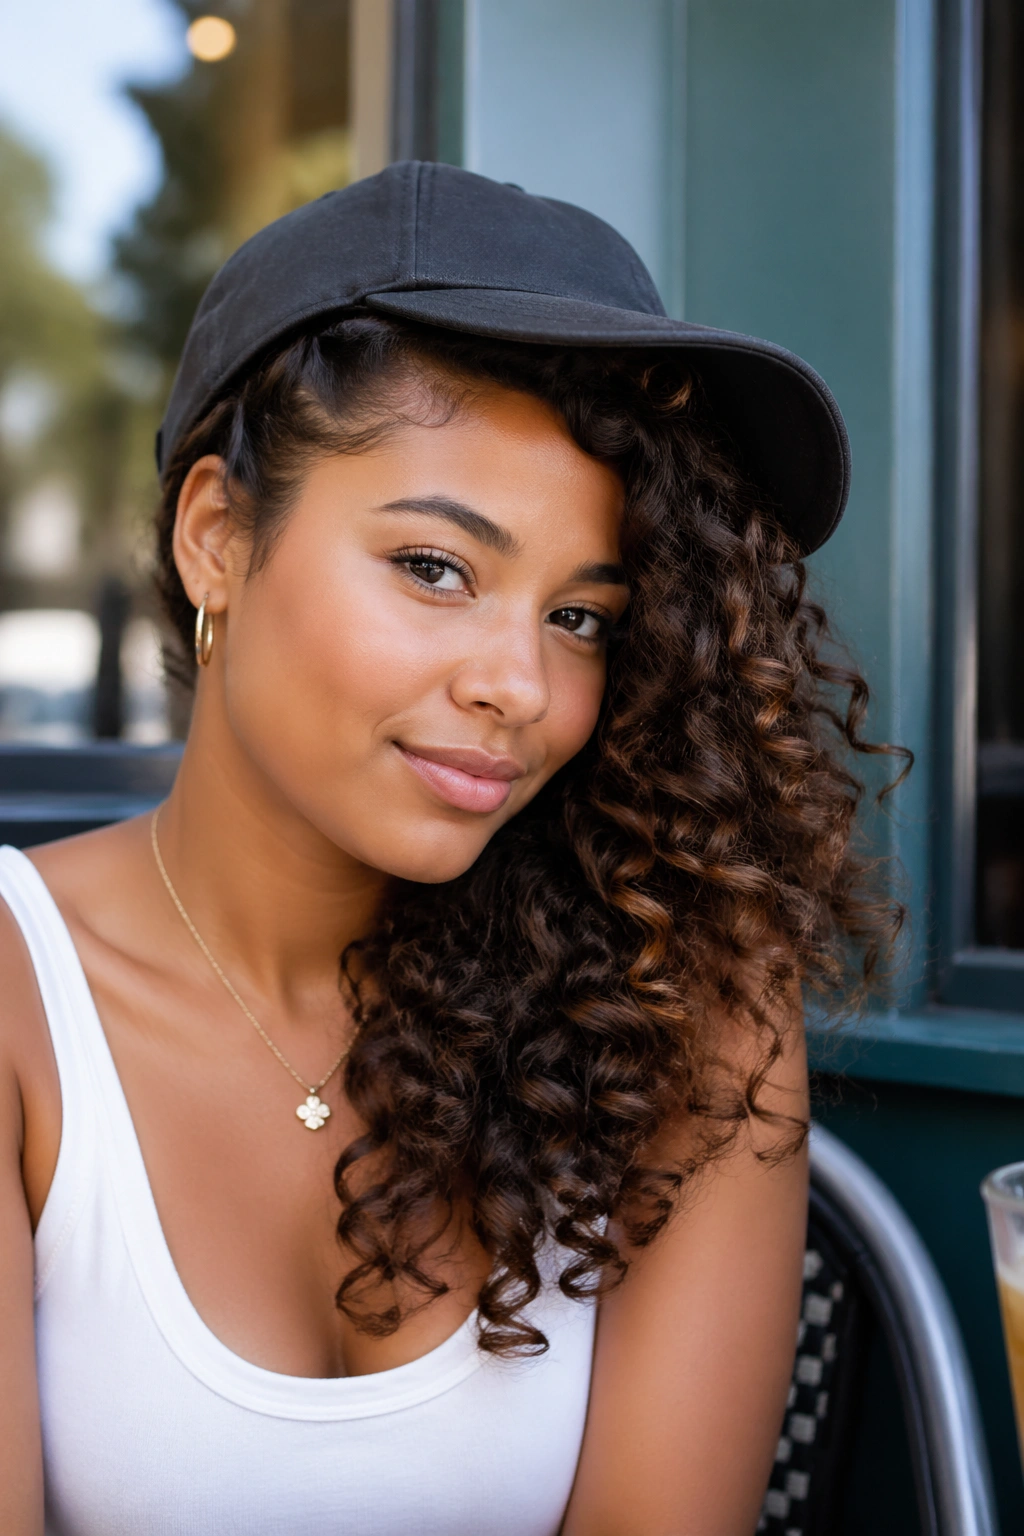
Part your hair deeply to one side. Sweep most of it over to the dominant side, letting it fall in defined curls over your shoulder. Then put your cap on, tilted very slightly to the opposite side for balance.
This asymmetric look feels editorial. It’s the kind of style that looks like it took effort even when it didn’t. The deep part with the sweep creates a different silhouette than the usual centered or spread-out curl approaches, and the slight tilt of the cap adds to the intentional lean of the look.
11. Faux Hawk With Cap
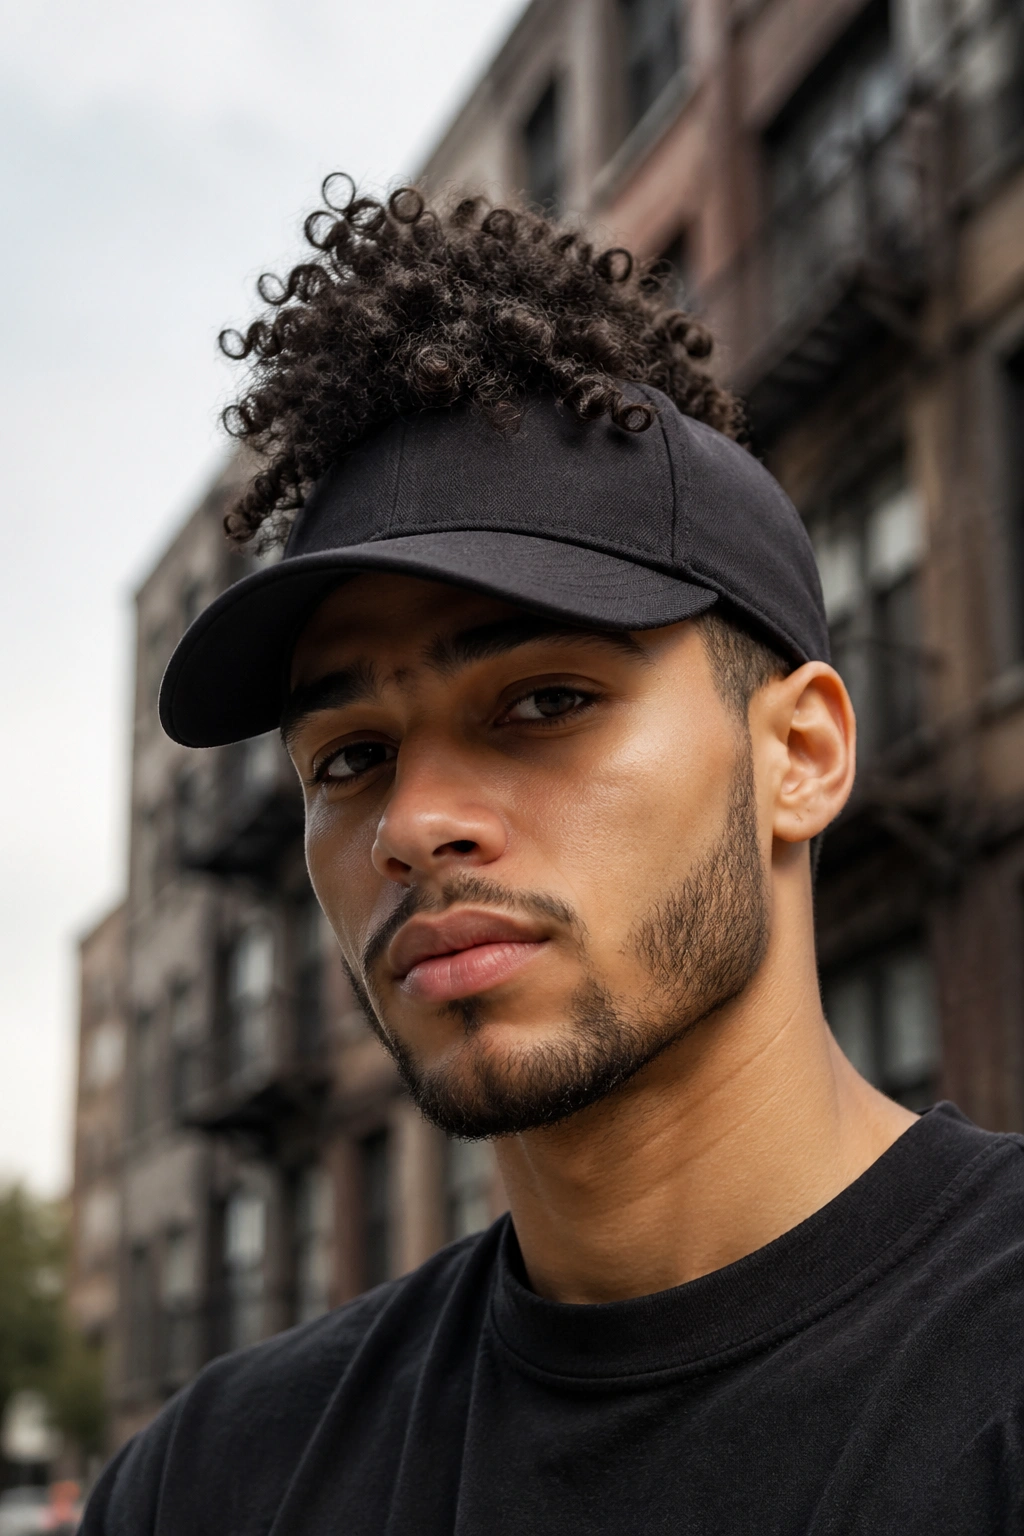
Push your curls toward the center of your head, creating a faux hawk shape — higher in the middle, flatter on the sides. Then set your cap so the brim sits low and the center ridge of curls rises above it slightly.
This is a bold look. It requires enough hair density to actually hold the faux hawk shape, and it works best with 3C to 4A curl patterns that have enough definition to stay put without too much product. But when it works, it’s striking.
12. Twist-Out or Braid-Out Curls With Trucker Cap
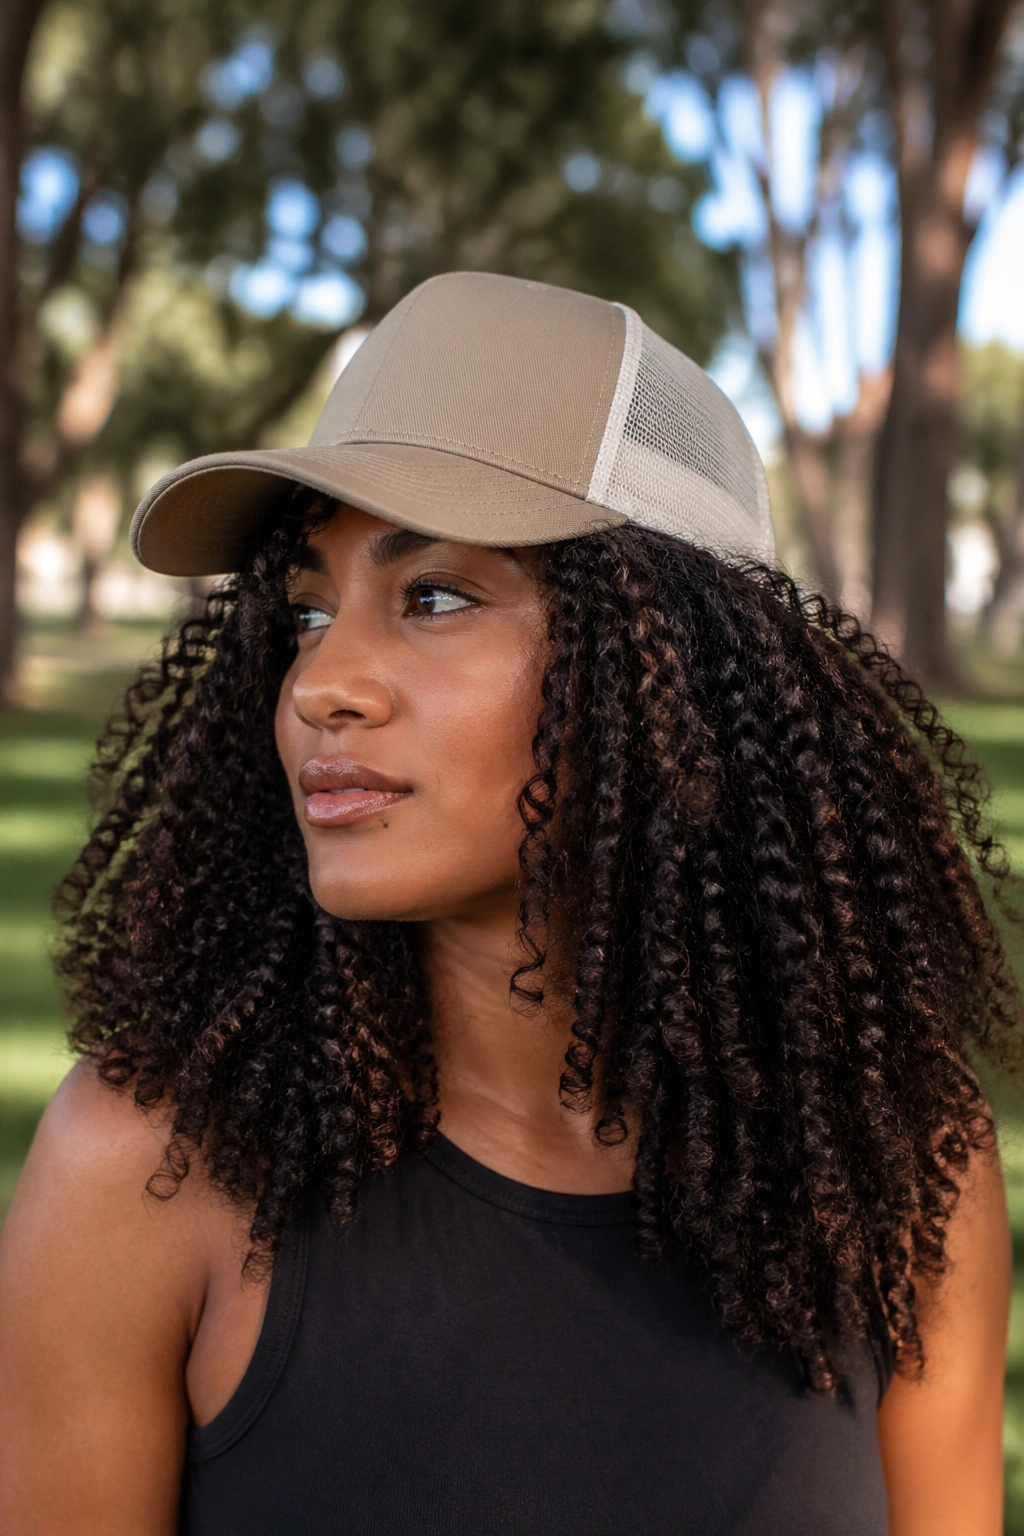
The mesh back of a trucker cap is more forgiving for big, voluminous hair because there’s no solid panel pressing against the back of your head. Wear your twist-out or braid-out curls fully down and go with a trucker cap in a neutral or complementary color.
The mesh back breathes. This matters for your scalp health — especially in warmer weather. And visually, the contrast between the structured front panel and the open mesh back gives the whole look a more relaxed, casual feel that suits free-flowing curls perfectly.
13. Pin Curls or Finger Waves at Front With Cap
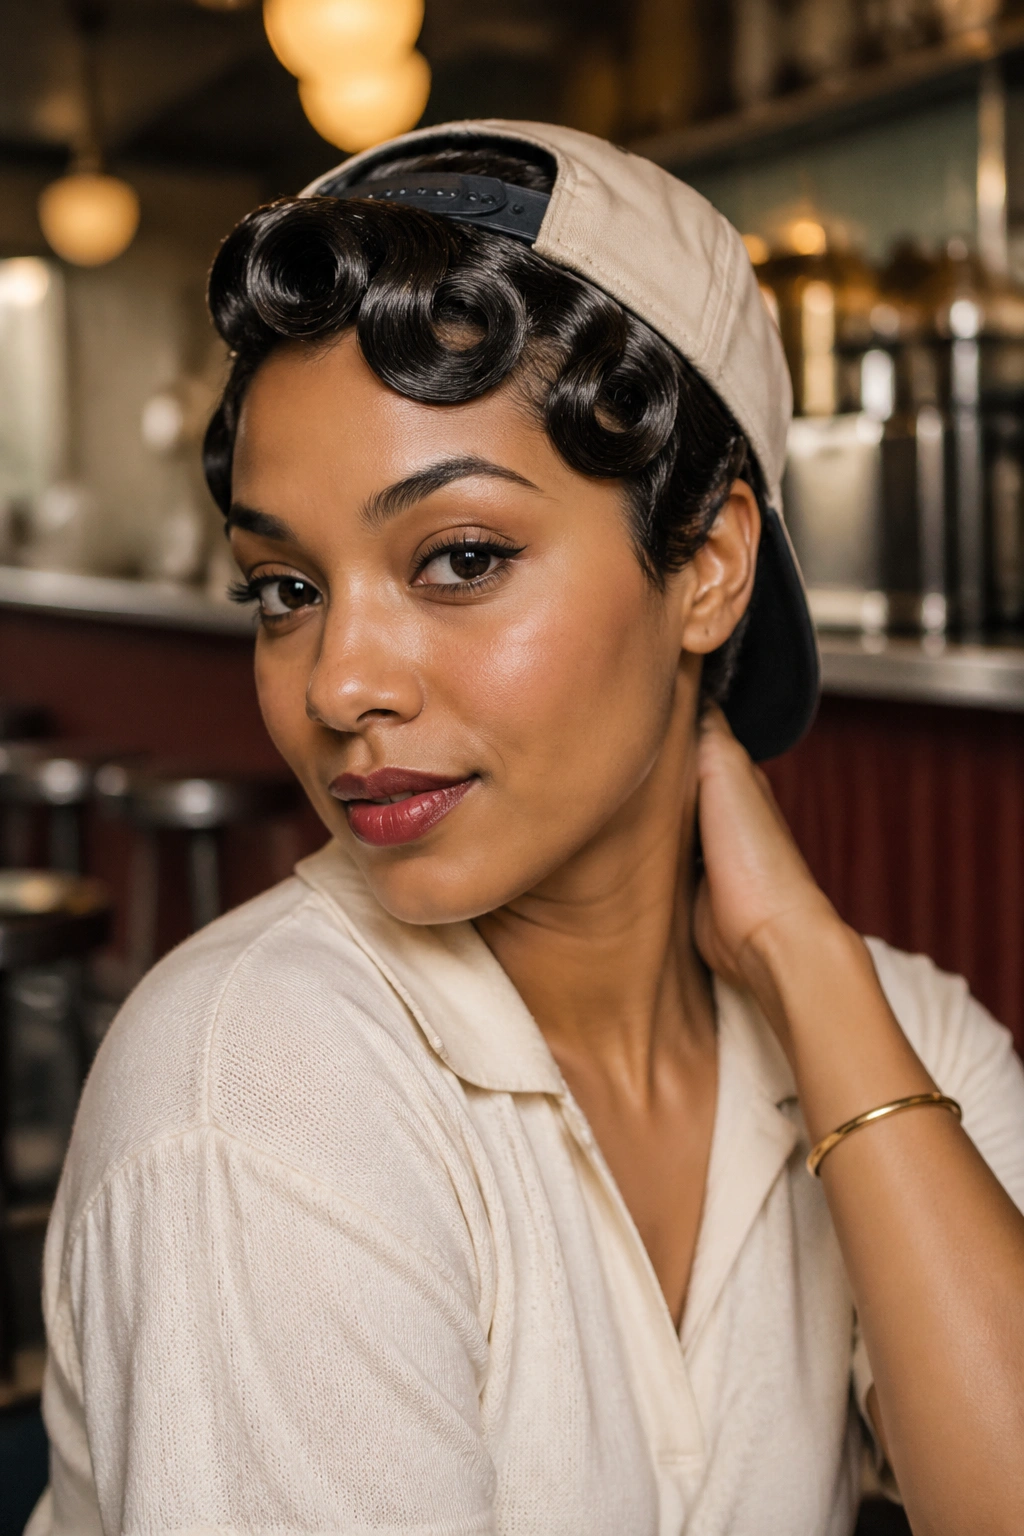
Set the front section of your hair in pin curls or finger waves. Let them dry, then release them into defined, sculpted curls. Position the cap from behind so the brim sits over these front curls, framing them.
This is a vintage-inspired look that plays with the tension between the casual, sporty nature of a baseball cap and the deliberate precision of pin curls. It sounds like it shouldn’t work. It absolutely does.
14. Locs With Cap
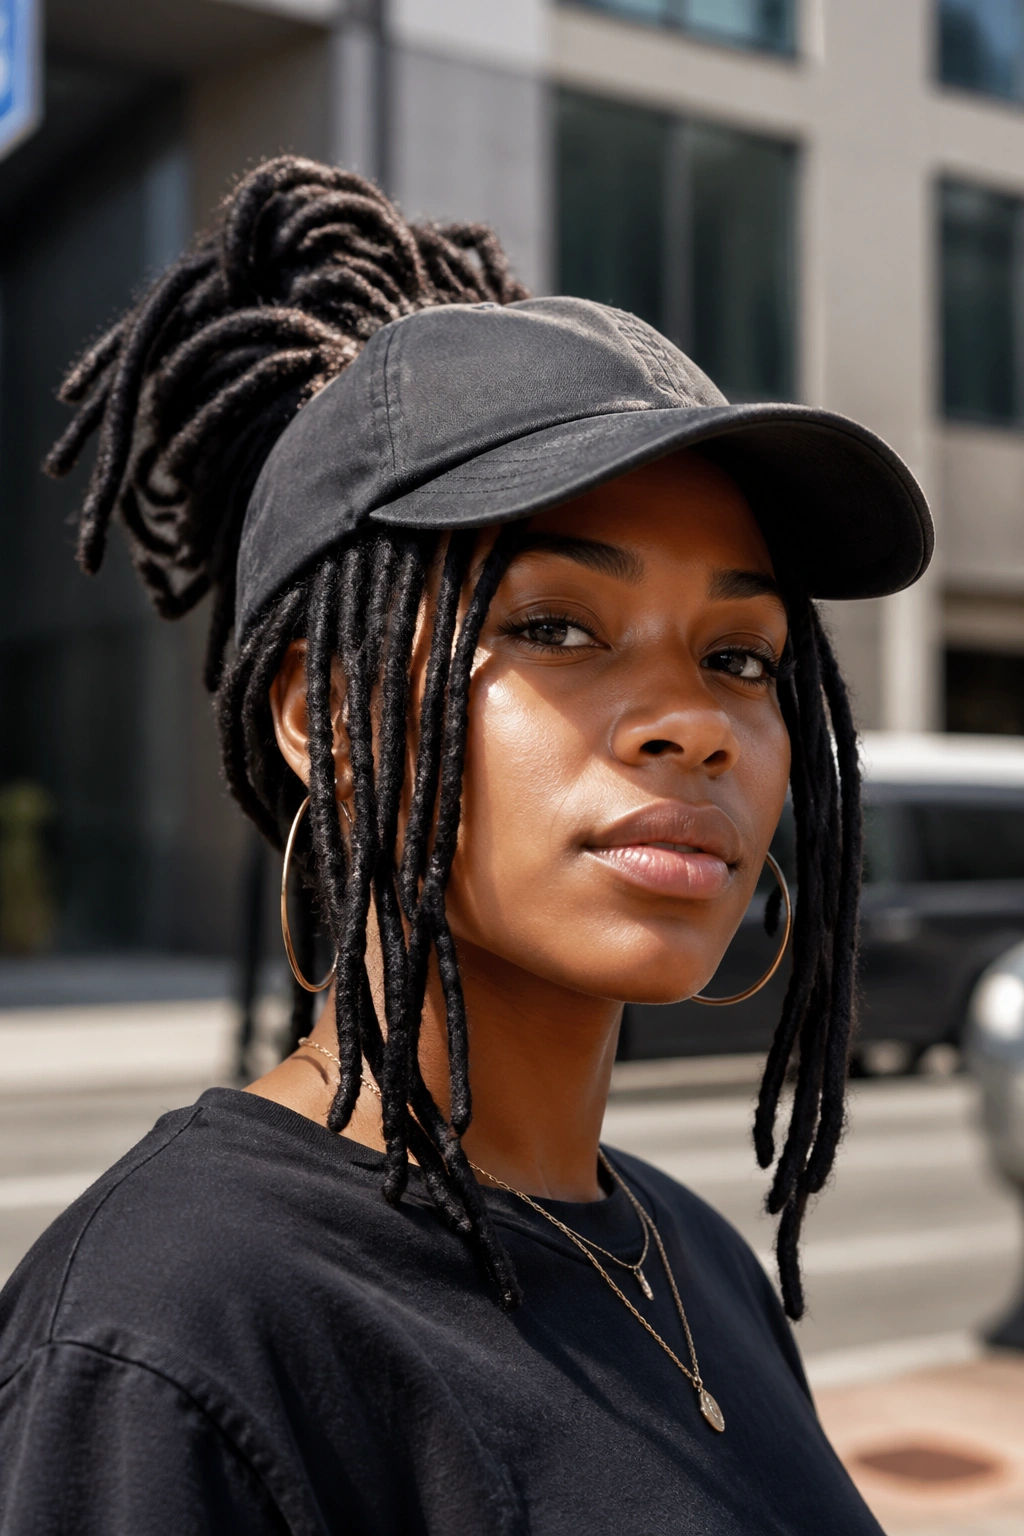
If you wear locs — freeform, traditional, or sisterlocks — baseball caps offer a lot of styling options. You can gather locs into a high puff through the back opening, let them hang loose from under the brim, or pile them on top for a taller, more dramatic silhouette.
Thicker locs tend to work best with dad caps or snapbacks that have adjustable openings. Smaller sisterlocks are more versatile and can be styled with most cap types. The weight of the locs means you’ll want the cap to sit securely — not too tight, but with enough grip to stay in place.
15. Cornrows to a Curly Puff
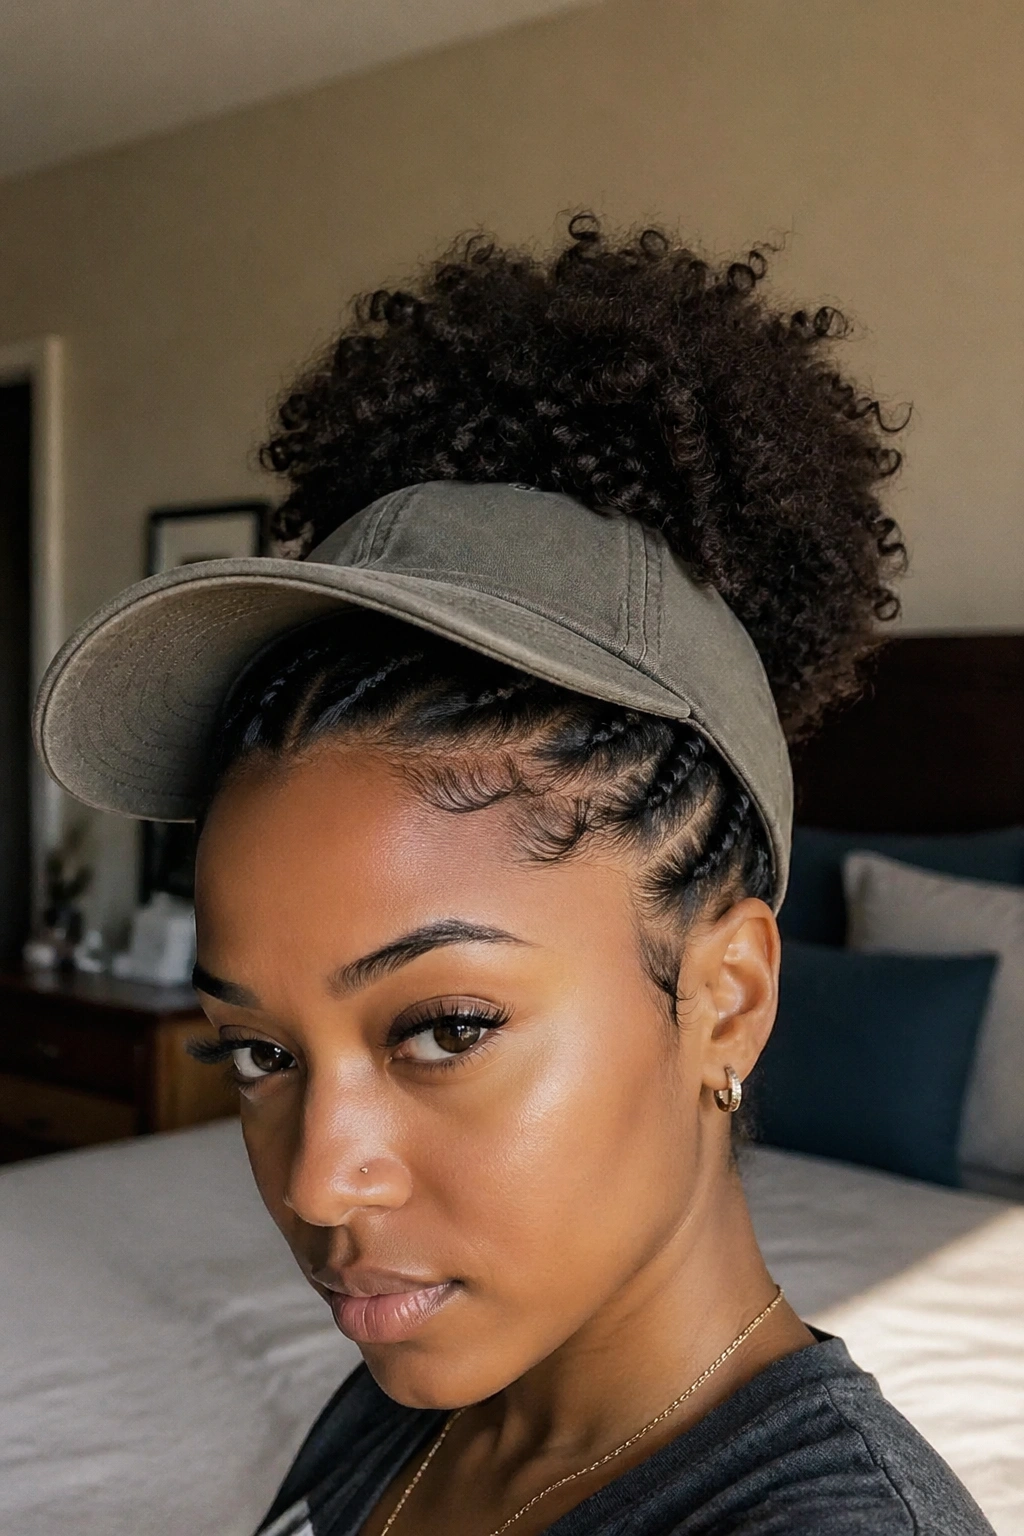
Cornrow the sides and back of your hair, leaving the top section loose and natural. Gather the loose top into a puff, then place your cap over it. The cornrows protect the sides and back, the puff gives you volume and personality, and the cap ties the whole look together.
Why This Is One of the Best Options
- It’s a protective style that still looks styled
- The cap protects the cornrows from friction and environmental damage
- The combination of textures — smooth cornrows and puffy curls — is visually interesting
- It lasts multiple days without needing to be restyled
16. Two Strand Twists Out With Snapback
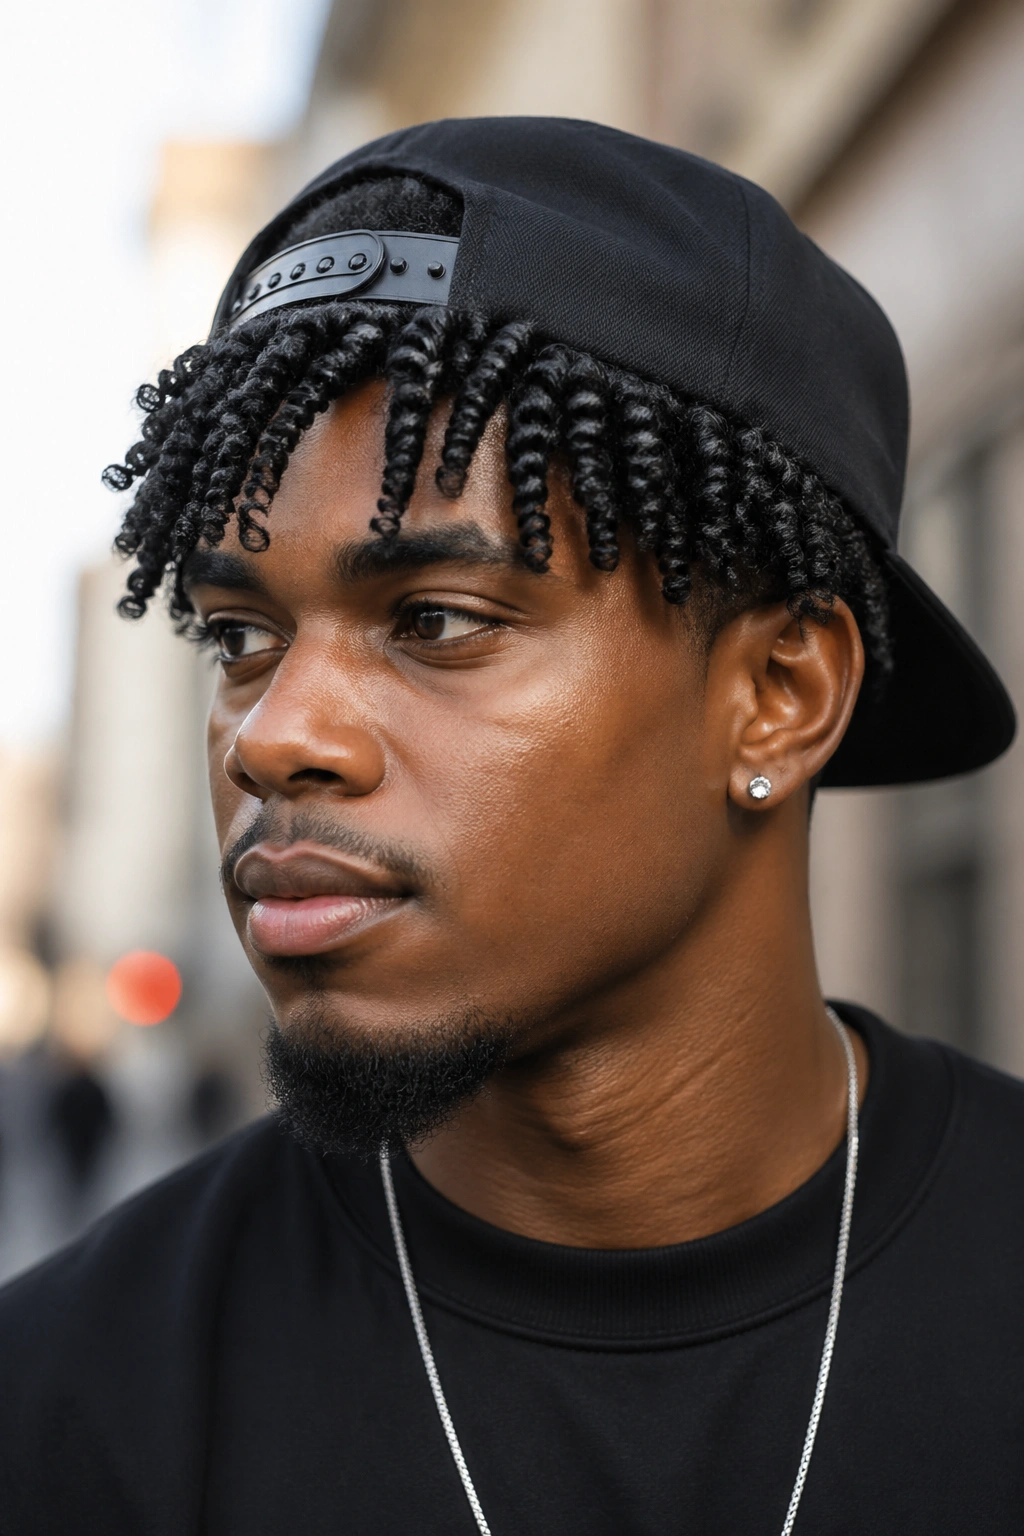
Do a two strand twist-out a day before you plan to wear the cap. The next day, release the twists, separate gently, and wear the resulting defined S-wave curls with your snapback. Position the cap slightly back so the front twists are visible.
The twist-out pattern tends to be more uniform and defined than a wash-and-go, which can sometimes look busy under a cap. That definition reads clearly even when only portions of the style are visible.
17. Pineapple Updo With Cap
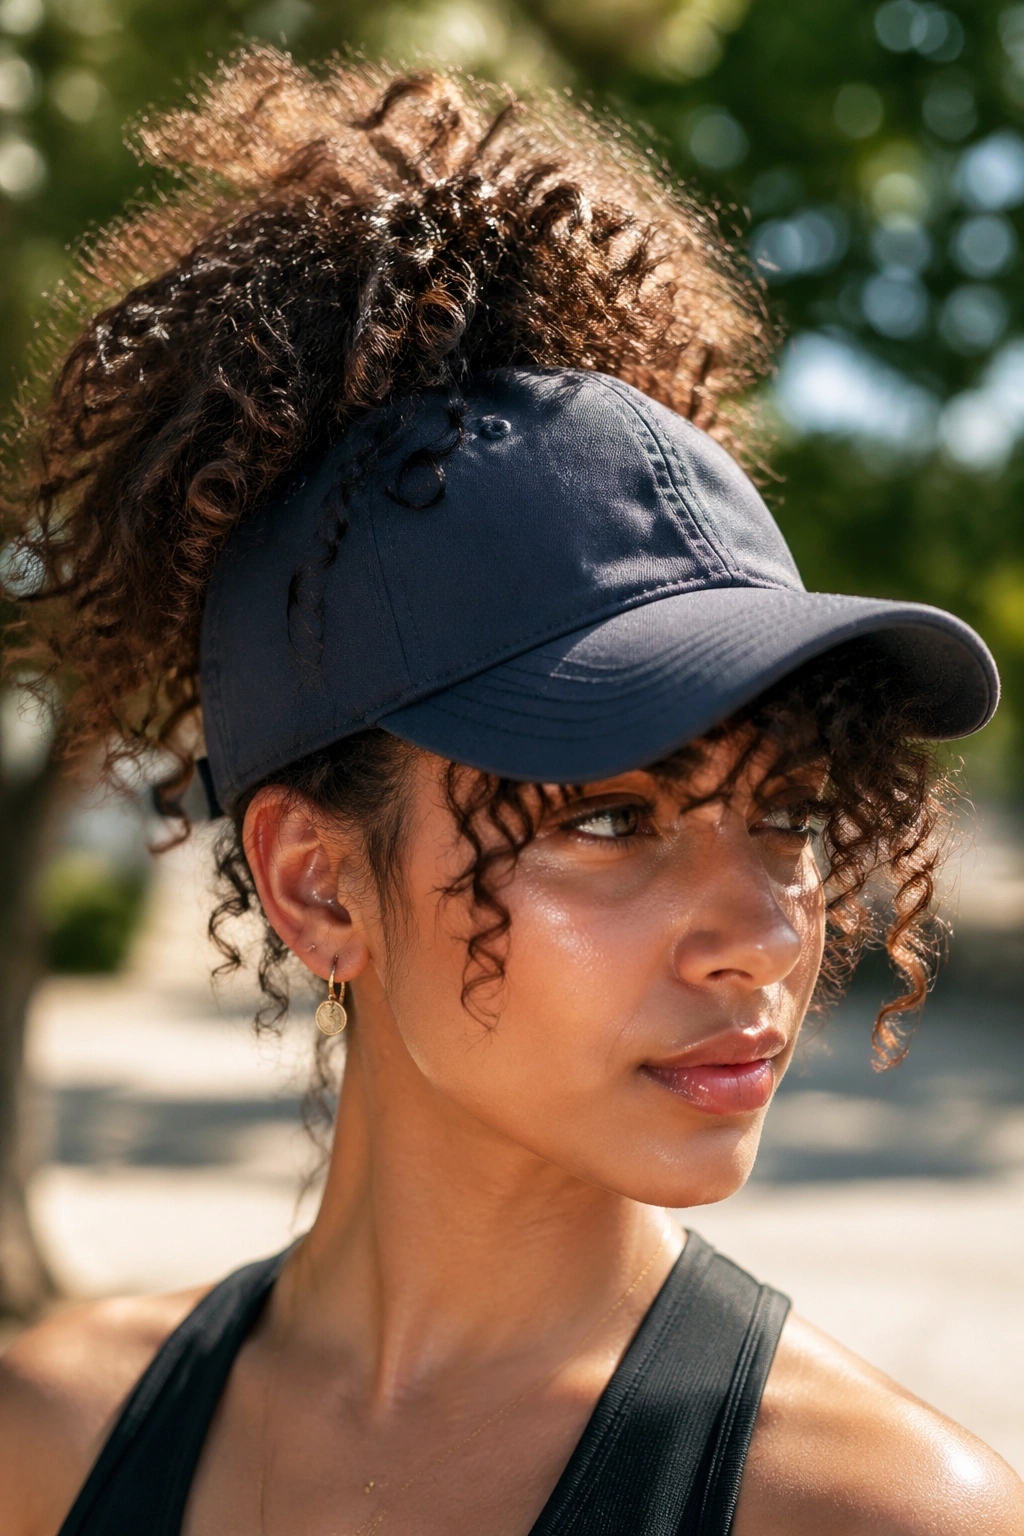
The pineapple — that loose, high gathering of curls at the very top of the head — is usually a protective sleep style, but it’s also a great baseball cap look. Pull your curls into a loose pineapple secured with a satin scrunchie, then place the cap just in front of it.
The pineapple pours out from behind the cap’s front panel and spills over the brim slightly. It looks intentional, voluminous, and free — like your hair is almost too much for the cap to contain, in the best way.
18. Box Braids With a Dad Cap
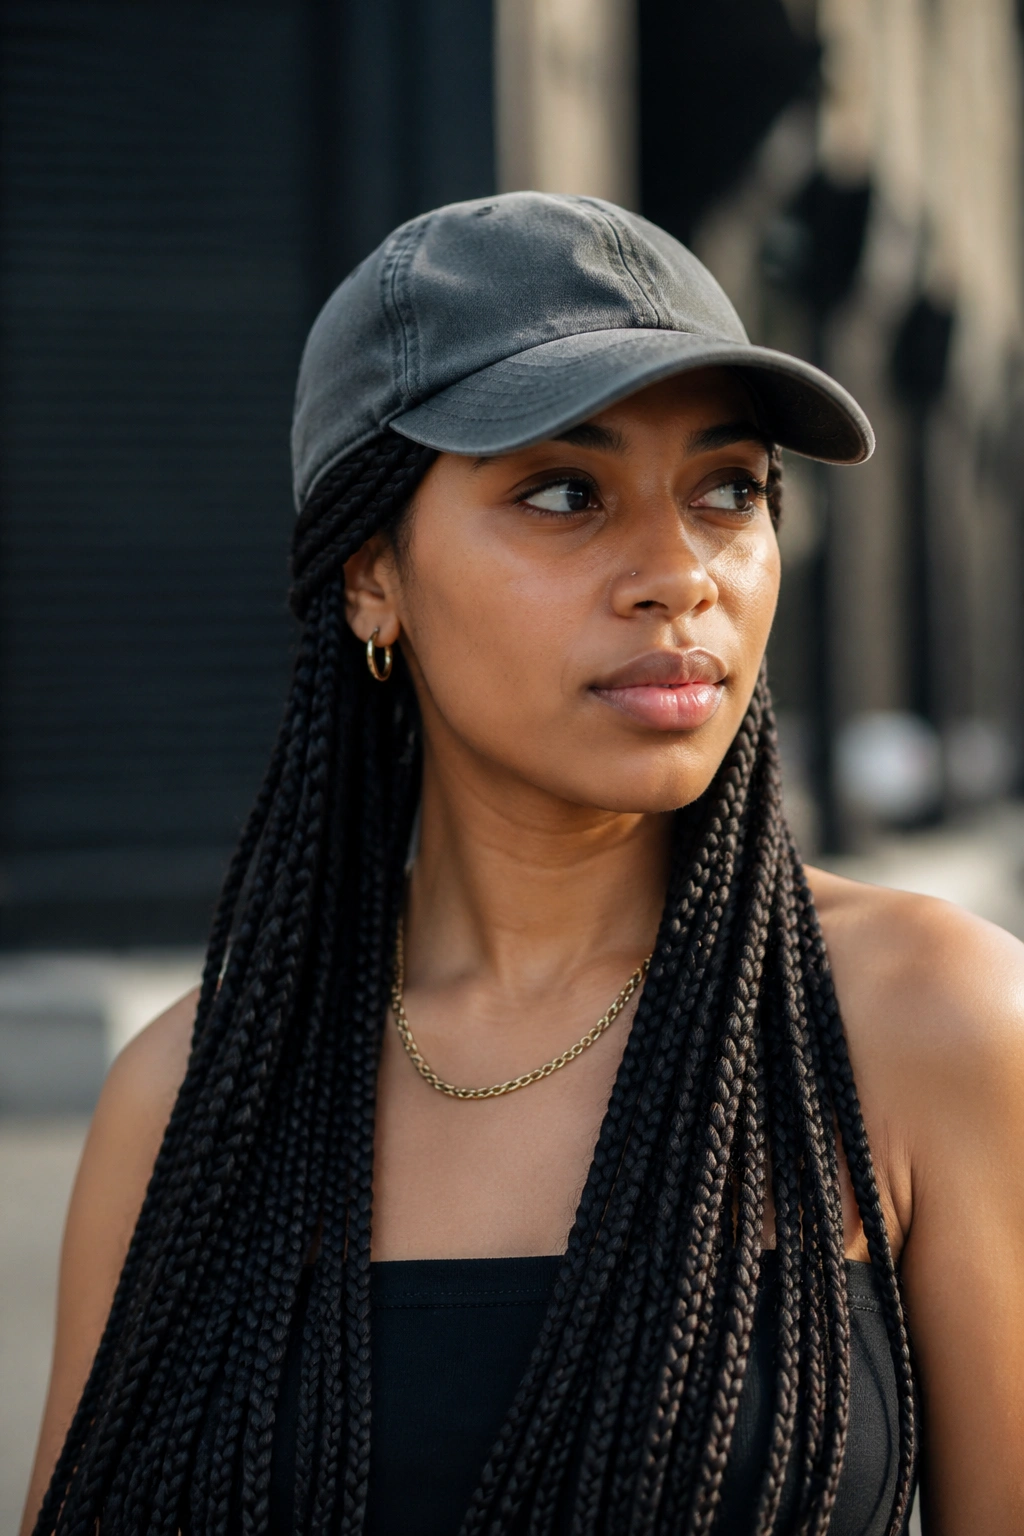
Box braids and dad caps are a natural pairing. The relaxed, slightly slouchy silhouette of a dad cap works well with the weight and movement of box braids. You can let braids hang loose, gather them into a low ponytail, or pile them up on top and secure them before putting the cap on.
One underrated option: braid a few of the front braids back under the cap so they’re hidden, and let the rest hang. This creates a half-up, half-down effect that’s neat in the front and expressive at the back.
19. Messy Bun at the Nape With Vintage Cap

A vintage-style baseball cap — think worn-in fabric, faded color, curved brim — pairs beautifully with a messy, undone bun at the nape of your neck. Let a few curly pieces escape around your face and at the sides. Don’t try to make it look perfect. The whole point is that effortless, I-didn’t-try energy.
This works across curl patterns because the curly pieces that escape are what carries the look. Even if the bun itself isn’t picture-perfect, those few loose spirals or coils framing your face make it work.
20. The Oversized Cap Tuck
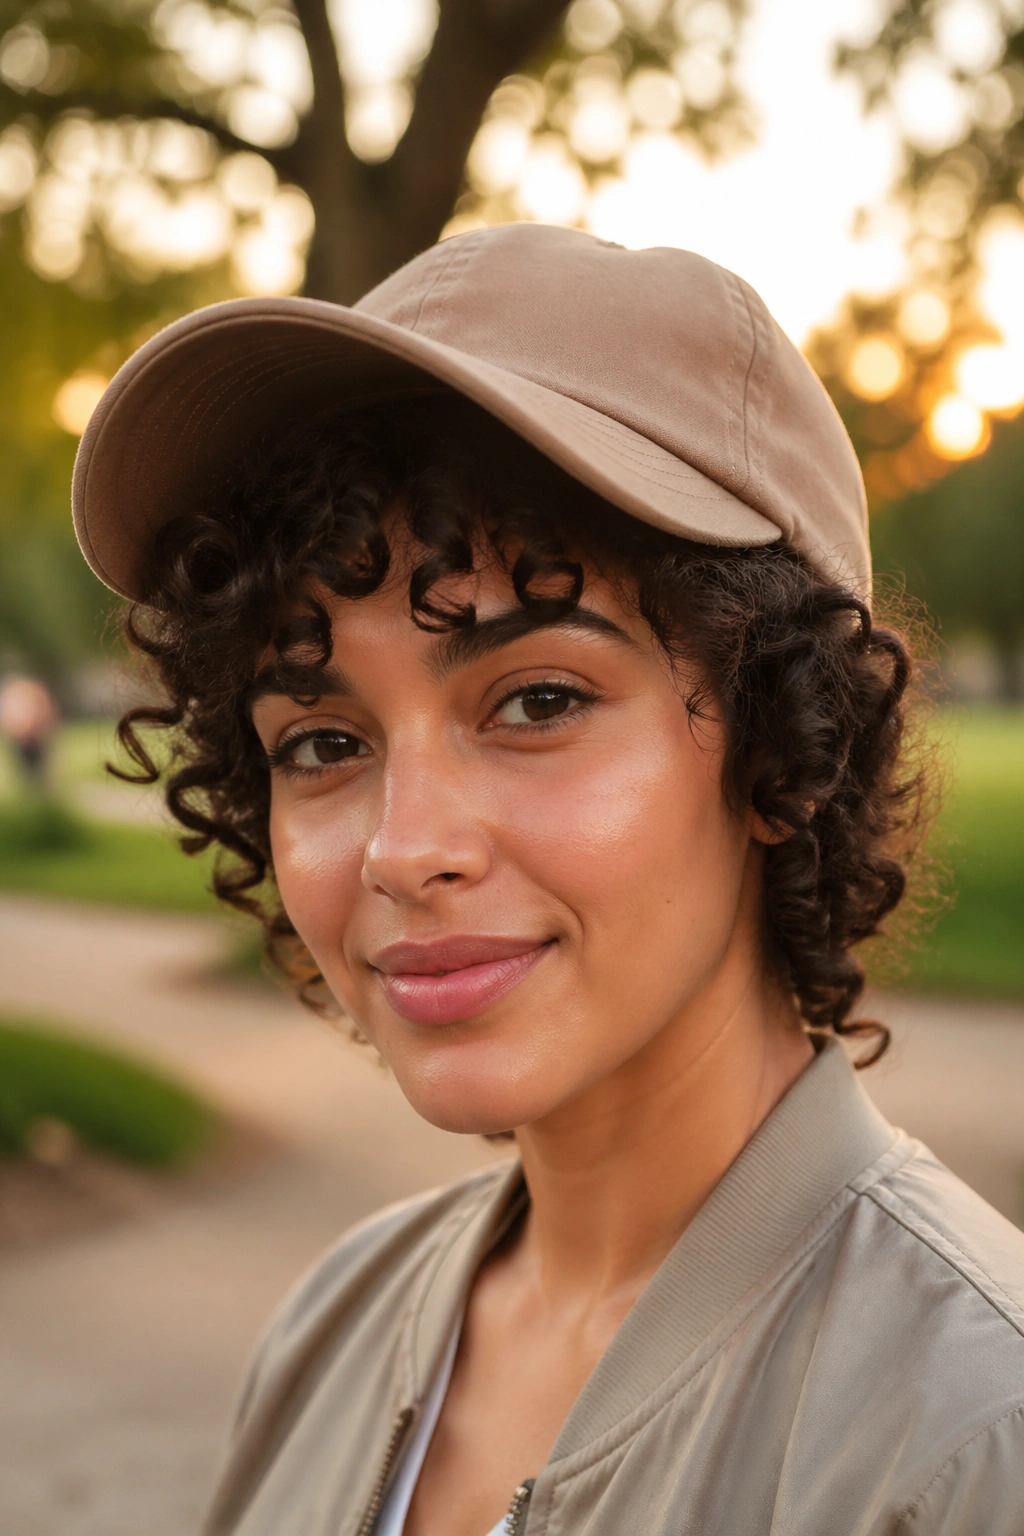
Take a slightly oversized cap and position it so more of your hair is tucked inside the crown area. Leave the very front pieces of your curls loose to fall along your forehead and cheeks. The cap’s extra size accommodates more hair, and the loose front pieces soften the whole look.
This is especially effective for 4B and 4C hair types where the density and volume make standard caps feel too small or too tight. Going up a size (or choosing a cap with a taller crown) lets you work with your hair’s volume rather than fighting it. It’s the hack that changes the game for thicker curl patterns.
Protecting Your Edges While Wearing a Cap
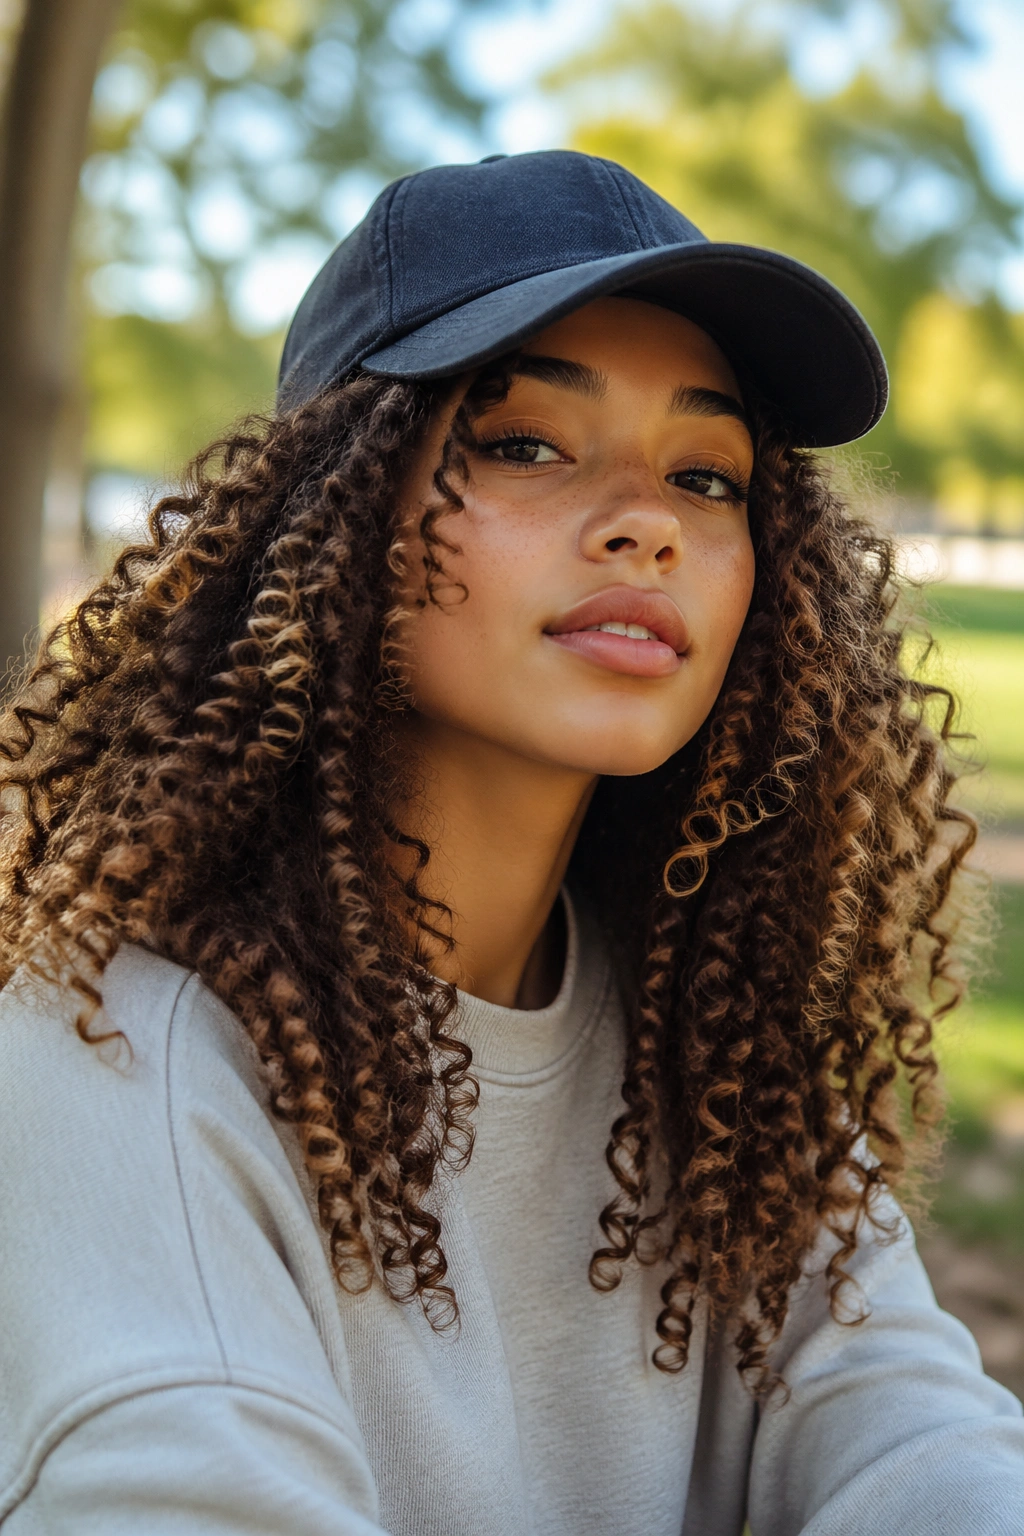
Edges need attention when you’re a regular cap-wearer. The friction from the band — especially on caps that fit snugly — can cause mechanical breakage over time. This doesn’t mean you can’t wear caps, but it does mean you need to be thoughtful about it.
Satin-lined caps are the best solution. They’re increasingly available and they eliminate the friction issue entirely. If your cap isn’t lined, you can add a thin strip of satin fabric or even wear a thin satin scarf under the band area.
Avoid styles that pull or twist the edges tightly before placing the cap. That double tension — from the style and from the cap band — adds up. Keep edges moisturized with a light edge cream, and avoid wearing a very tight cap for extended periods.
How to Refresh Your Curls After Cap Removal
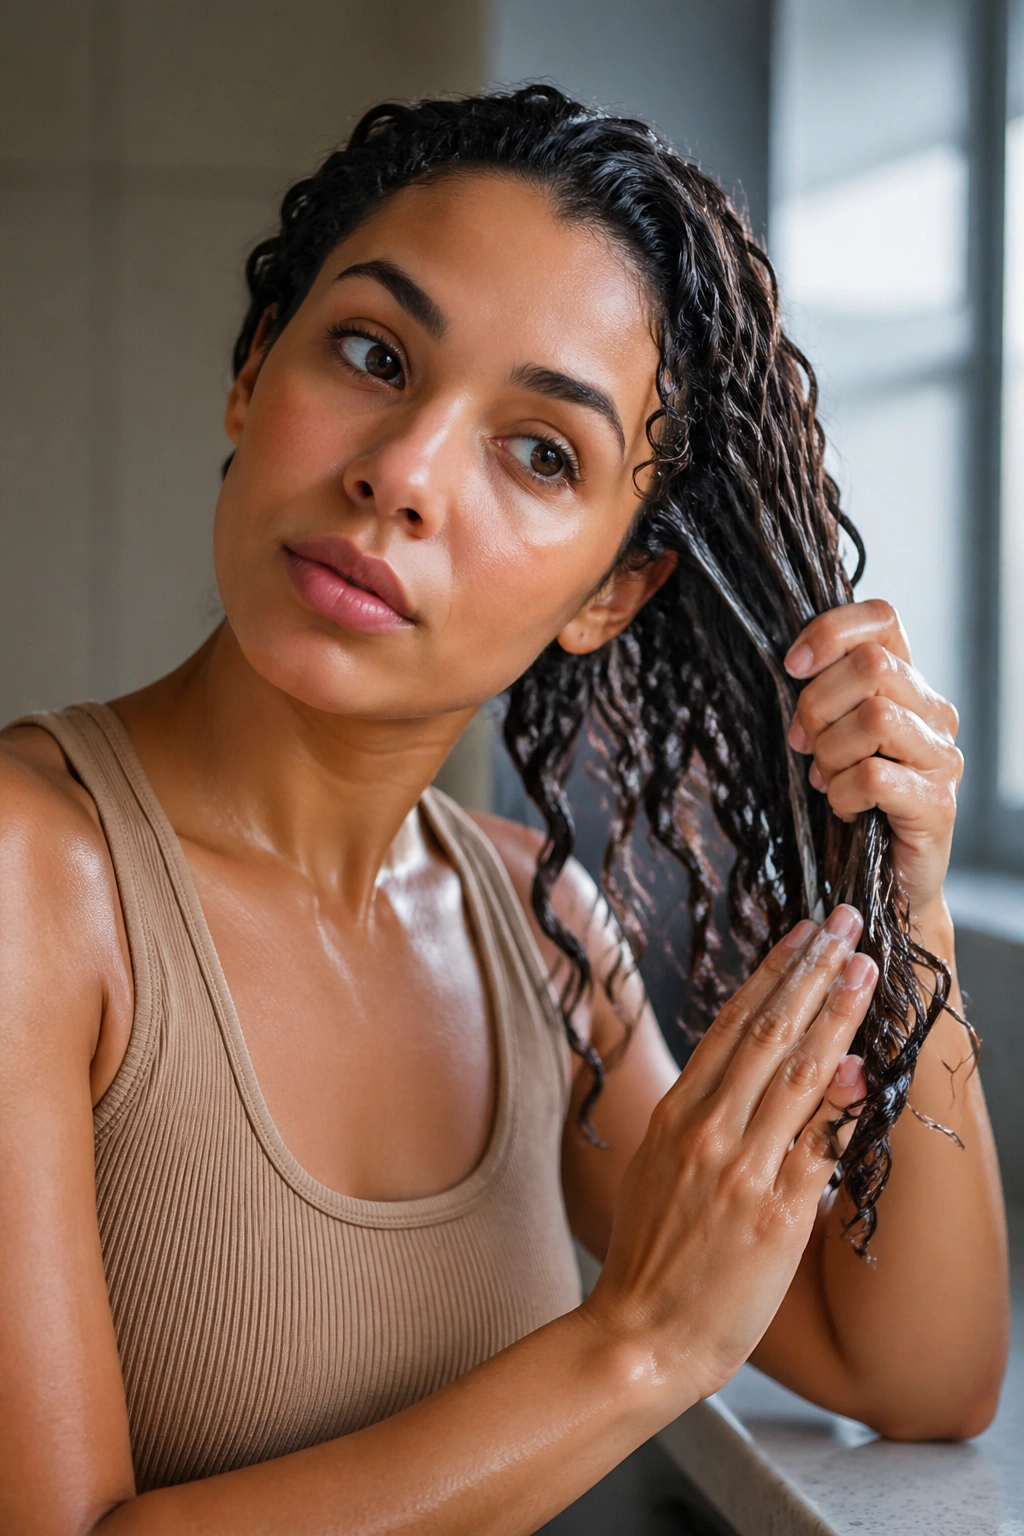
This is the moment most people dread — taking the cap off and seeing flat, misshapen curls. But it doesn’t have to be a disaster.
Keep a small spray bottle of water or a diluted leave-in conditioner mix in your bag. When you take the cap off, spritz the affected areas — usually the crown and any areas where the band pressed — then use your fingers to gently reshape. Scrunching upward restores definition. A diffuser on low heat can speed up the reset if you have access to one.
The quicker you refresh, the better. Curls that have been compressed while wet or damp will reshape more easily than curls that have been dry and compressed for hours. Building a quick refresh routine into your cap-wearing days makes a big difference.
Building a Cap Collection for Curly Hair
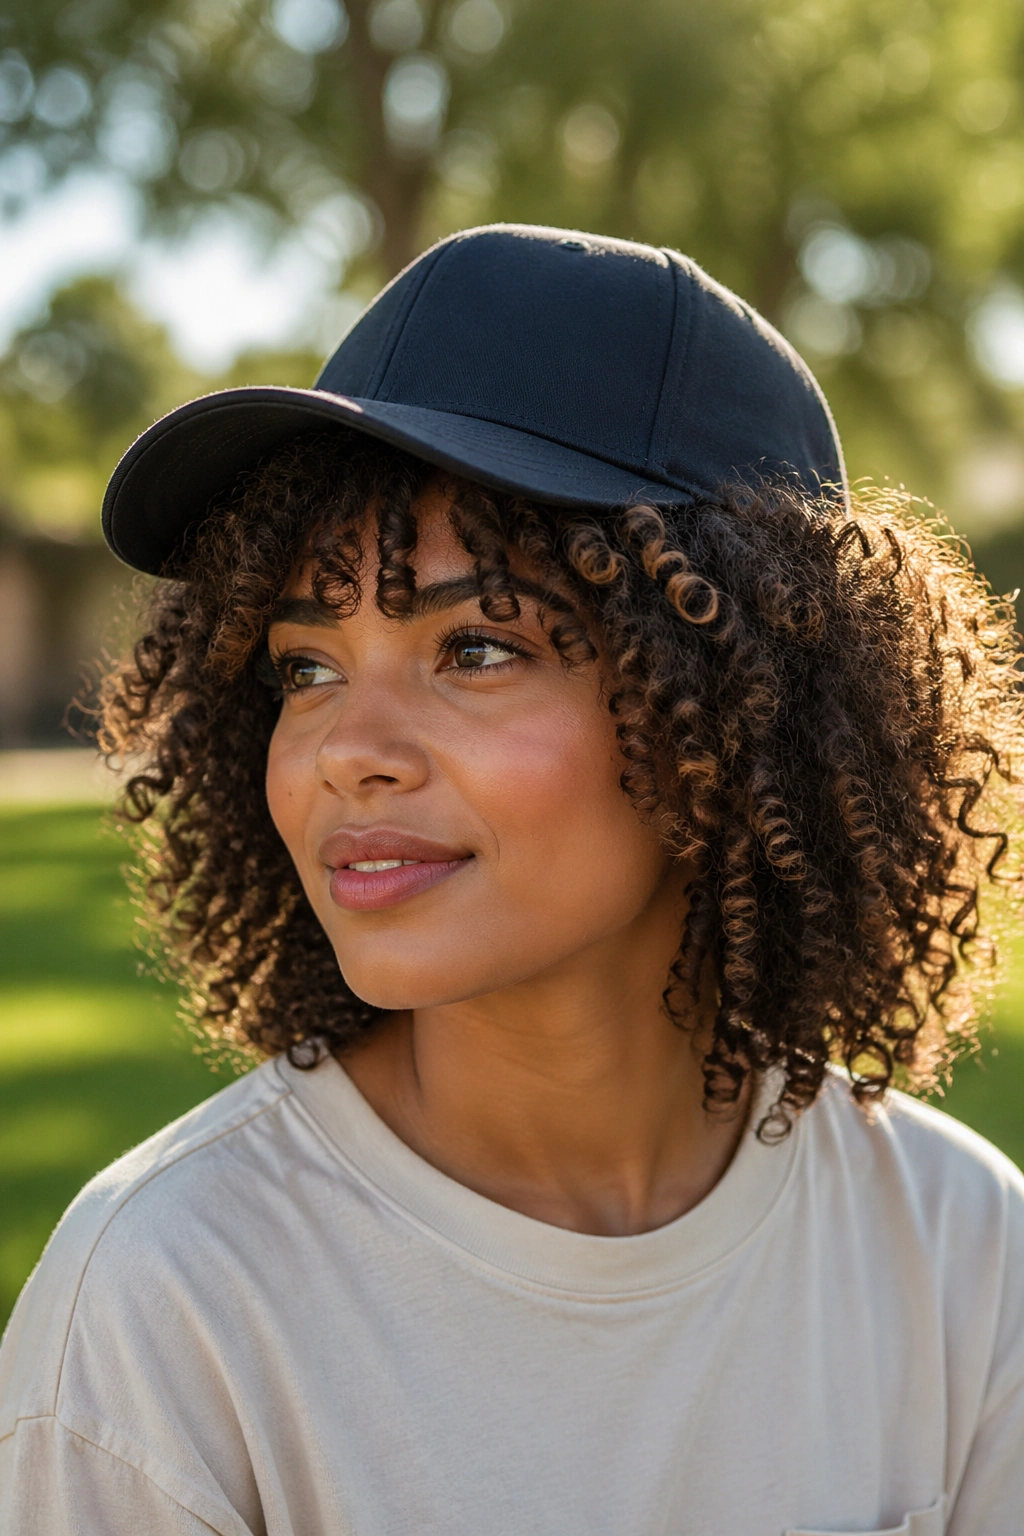
Not all caps serve all purposes, and building even a small collection of two or three different styles gives you flexibility. A structured fitted cap for clean, polished looks. An adjustable snapback for protective styles and puffs through the opening. A trucker cap for casual, voluminous wear. A dad cap for relaxed days.
Think about color, too. Neutral caps — black, white, tan, navy — pair with everything, but don’t underestimate the power of a cap color that complements your skin tone and curl color. A warm caramel cap against dark coils, a dusty rose against a twist-out, a bright white against deep brown skin — color matters as much as style.
Long-Term Hair Health and Baseball Cap Wearing

Wearing baseball caps regularly is genuinely fine for curly hair as long as you’re not neglecting your hair health in other ways. The biggest risk is not the cap itself — it’s the combination of mechanical stress (friction from the band), reduced protective care (skipping deep conditioning because you’re “just going to wear a cap”), and infrequent washing because you’re covering the hair anyway.
Keep up your regular wash days. Deep condition consistently. Keep your scalp clean — caps trap heat and sweat, which can affect scalp health over time. And make sure the caps you wear are actually clean. A dirty cap band pressed against your hair and scalp isn’t doing you any favors.
With that baseline care in place, baseball cap styles for curly hair aren’t just acceptable — they’re genuinely one of the most stylish and versatile options in your hair styling rotation.
