



A side part on natural curly hair does something that a center part or no part simply can’t — it shifts the volume, changes the framing, and creates an asymmetry that reads as inherently stylish without any extra effort. Side part styles for natural curly hair have built a loyal following among naturalistas for exactly that reason: one simple parting decision can completely transform how a style looks and how it wears on different face shapes. Whether you’re working with a tight 4C coil or a loose 3A ringlet, the side part is a tool worth mastering.
Why the Side Part Works So Well on Natural Hair
Natural hair, by its very nature, grows upward, outward, and in every direction. Volume is rarely the problem. The challenge, more often, is where to put all of that volume — how to direct it in a way that flatters the face and creates visual balance. A side part solves this by deliberately distributing hair unevenly. One side has more volume, one side has less, and your face benefits from that asymmetry.
A side part also opens up the forehead and temples on the parted side, which can make the face look longer and more defined. For women with rounder faces, this elongating effect is particularly flattering. For women with longer, more angular faces, a deep side part that allows volume to fall across one side of the forehead provides softening balance.
Beyond face-shaping, a side part simply looks intentional. It signals that the hairstyle was put together on purpose — that a choice was made. On natural curly hair that tends toward organic, free-form shapes, that signal of intention carries weight.
Choosing the Right Depth for Your Part
Not all side parts are created equal. The depth of the part — how far from the center it sits — changes the look dramatically. A shallow side part sits just slightly off-center and creates a subtle asymmetry that’s barely noticeable from a distance but adds dimension up close. This is the most low-risk option and looks natural on almost any face shape.
A classic side part sits roughly above the outer corner of the eyebrow — the most common placement, and the one most hair tutorials default to. It creates clear, balanced asymmetry without being dramatic.
A deep side part sits at or beyond the temple, sweeping a large section of hair across the forehead to the opposite side. This is the most dramatic option and works especially well for sleek styles, roller sets, or any style where you want a bold, vintage-inspired silhouette.
The deeper the part, the more maintenance it typically requires — you’re asking the hair to fall away from its natural growth direction, which means more product and more setting time.
Tools for Getting a Clean Part on Curly Hair
Getting a clean part on natural curly hair is genuinely harder than on straight hair — the curls want to fall where they want to fall, not where you’re directing them. A few tools make this significantly easier.
A rattail comb is the standard tool for creating a precise part. The thin, pointed handle lets you draw a clean line through the hair from front to back. Apply a light holding product before parting to help the hair stay in its sections once you separate them.
For very coily or densely packed textures, the handle of a fine-tooth comb or even a knitting needle can work as a parting tool. The key is working on stretched or blow-dried hair if you want the part to be clearly visible. On fully shrunken 4C hair, a part may be harder to maintain since the coils naturally close in on each other.
A spray bottle with water helps on second or third-day hair — dampen the parting area slightly before creating the line, which makes the hair more pliable and easier to direct.
When to Set the Part and When to Let It Form Naturally
There’s a distinction between a set side part — where you deliberately create and maintain the parting throughout the styling process — and a natural-forming side part, where you allow the hair to fall in a way that creates an organic, softer parting.
Set side parts work best for sleek styles, roller sets, and any look where definition and precision are part of the aesthetic. You create the part first, then style each section separately, keeping them separate throughout the process.
Natural-forming side parts happen when you wash and define your curls, then finger-comb or fluff the hair to one side as it dries. The curls settle into a soft parting that looks effortless rather than precise. This approach suits wash-and-go styles, twist-out results worn down, and any look where organic texture is the point.
Product Recommendations for Side-Parted Natural Styles
The products you need depend entirely on which type of side part style you’re creating. For sleek side-parted styles, gel is essential — it holds the hair in place on the parted side without slipping or reverting. Apply gel to the parted sections while hair is damp and smooth with a brush for maximum sleekness.
For textured, curly side-parted styles, curl cream does more of the work. It defines without overpowering, allows the curls to move, and prevents the crunchy, stiff look that heavy gel can create.
Edge control is almost always useful at the hairline and along the part itself — smoothing any frizzy hairs that creep into the parting line and keeping the edges flat on the side where the part begins.
1. Classic Wash-and-Go With a Side Part
Start with freshly washed, soaking-wet hair. Apply leave-in conditioner, curl cream, and a light gel in sections. While the hair is still wet and product-saturated, use a rattail comb to draw a side part slightly past the center. Finger-comb each side gently to encourage the curls to fall in their respective directions. Diffuse or air-dry without touching.
The finished look is a fully curly, textured wash-and-go with a subtle side part visible at the crown. The curl definition from the wash-and-go process does all the heavy lifting — the part just directs it.
This is the most low-maintenance version of a side part style and works on virtually every curl type.
2. Defined Twist-Out With a Deep Side Part
Do your twist-out on freshly washed hair, but before twisting the front sections, create a deep side part and twist each front section in the direction the part pushes them. When you release the twists, the front sections will naturally fall in the direction of the part, creating a deep-side-part effect even in the twist-out.
The Key
- Part deeply before twisting — not after
- The twist direction in the front should follow the part
- Release gently without over-separating to preserve the wave pattern
This look is polished and intentional. The twist-out pattern adds definition, and the deep side part creates a sophisticated, almost vintage-inspired silhouette.
3. Afro With a Side Part
An afro with a side part sounds contradictory — isn’t an afro a fully rounded, symmetrical look? Not always. A side part on an afro creates a slightly asymmetric shape where one side is fuller and higher than the other. It’s subtle, but it transforms the silhouette from completely symmetrical to directional and dynamic.
After picking out the afro to its fullest, use a rattail comb to gently trace a part through the hair on one side. The curls won’t hold a sharp part the way straight hair would — the part will be soft and approximate — but it’ll be visible enough to change the framing of the face.
Or. Skip the rattail comb entirely and simply use your hand to sweep the top section of the afro to one side, creating an organic part through the volume.
4. Roller Set With a Classic Side Part
A roller set — hair set on foam or magnetic rollers while damp, then dried and released — produces defined, bouncy curls that hold a side part beautifully because the setting process trains the hair to fall in a direction. When you set the front rollers in the direction of the side part, the curls release into a soft, flowing shape that falls naturally away from the parting.
This is a heat-free way to achieve curls that hang and move with the weight of a traditional blowout curl — but without any heat damage. Roller sets on natural hair are genuinely underrated as a styling technique.
After releasing, do not comb or brush. Use your fingers to separate the curls slightly and define the part. Finish with a light shine spray.
5. Bantu Knot-Out With a Side Part
Bantu knot-outs create tight, defined spirals that coil away from the head in beautiful patterns. Setting Bantu knots with a side part in mind means creating the knots in each section in the direction the hair will fall after release.
For the sections on the parted side — the side with less hair — set the knots rolling away from the part. For the fuller side, the knots can go in any direction since they’ll fall outward and to that side. After releasing, the spiral pattern follows the part naturally.
This is a bold, textured look that showcases natural curl patterns at their most defined. Best suited to type 3C through 4B hair that naturally coils tightly enough to hold the knot-out shape.
6. Sleek Side-Parted Style With Edges Laid
The sleekest version of a natural hair side part style requires commitment to the products. Apply gel generously to each section of hair, smooth with a firm brush in the direction of the part, then tie down with a satin scarf for 10–15 minutes while the gel sets. After releasing, the hair should lie flat and smooth on the parted side with visible curl texture in the body of the style.
Edge control at the hairline completes the look — swoop baby hairs in curved patterns at the temple and along the forehead for a styled, intentional finish.
This is the version to reach for on occasions that call for polish — formal events, professional settings, photos.
7. High Bun With a Deep Side Part
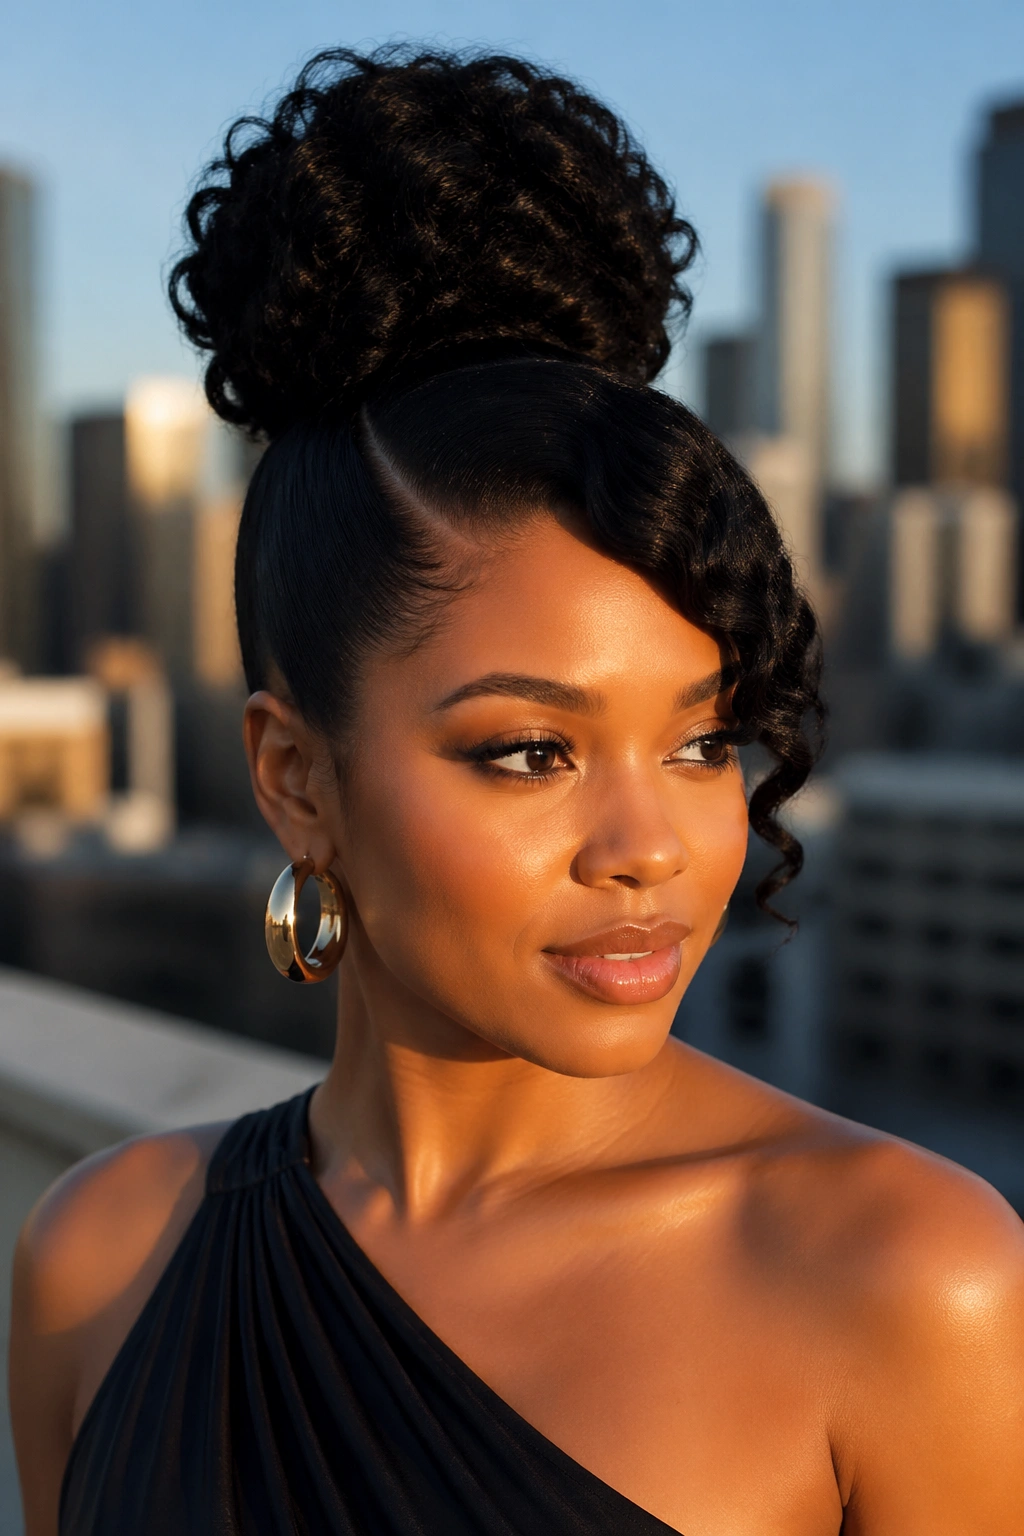
A high bun with a deep side part pulls all the hair up to the crown but creates a dramatic swooping section at the front that crosses from one side of the hairline to the other before being tucked into the bun. The sweep at the front is the style statement — it softens the bun and adds a glamorous, retro element.
Use gel to slick the sweeping section before folding it into the bun. Keep the bun itself loose and textured — the contrast between the sleek, swept front and the natural bun texture is what makes this look work.
8. Side-Parted Wash-and-Go With Defined Coils
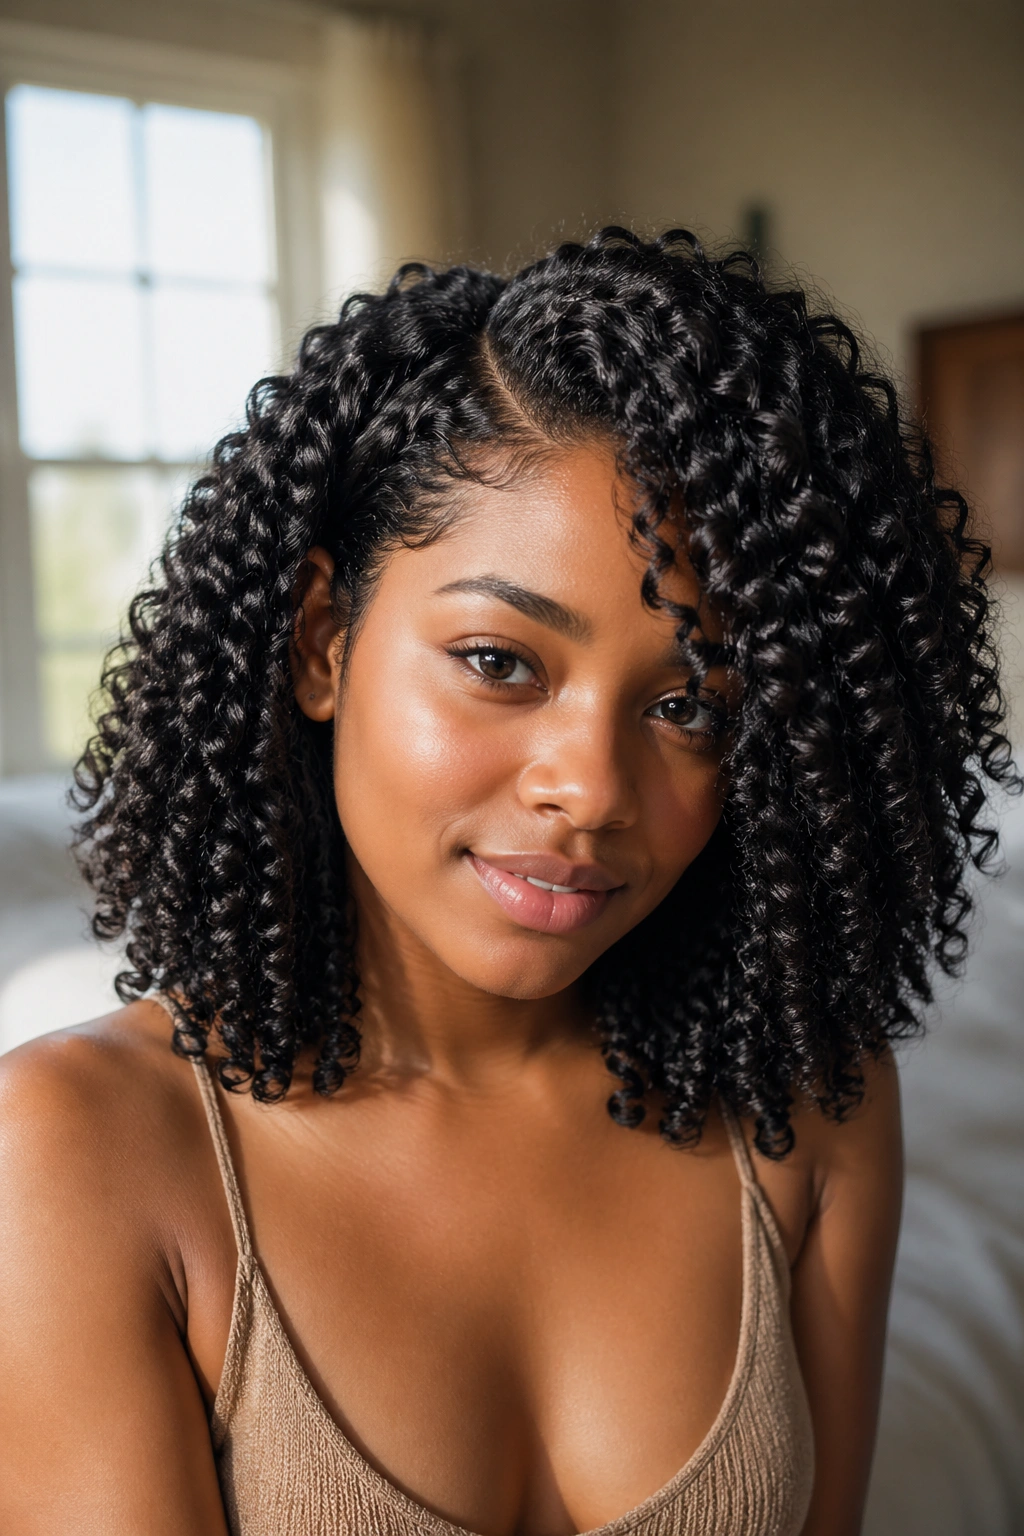
A coily, juicy wash-and-go with a side part where every curl is defined from root to tip. The side part frames the face asymmetrically, drawing the eye to the fuller side while the defined coils bounce and catch light across the entire style.
For the best result, apply products in sections that follow the part — so the front sections on each side of the part get defined separately, with each section’s curls encouraged to fall in the direction of the part.
9. Long Side-Parted Curls (With Extensions)
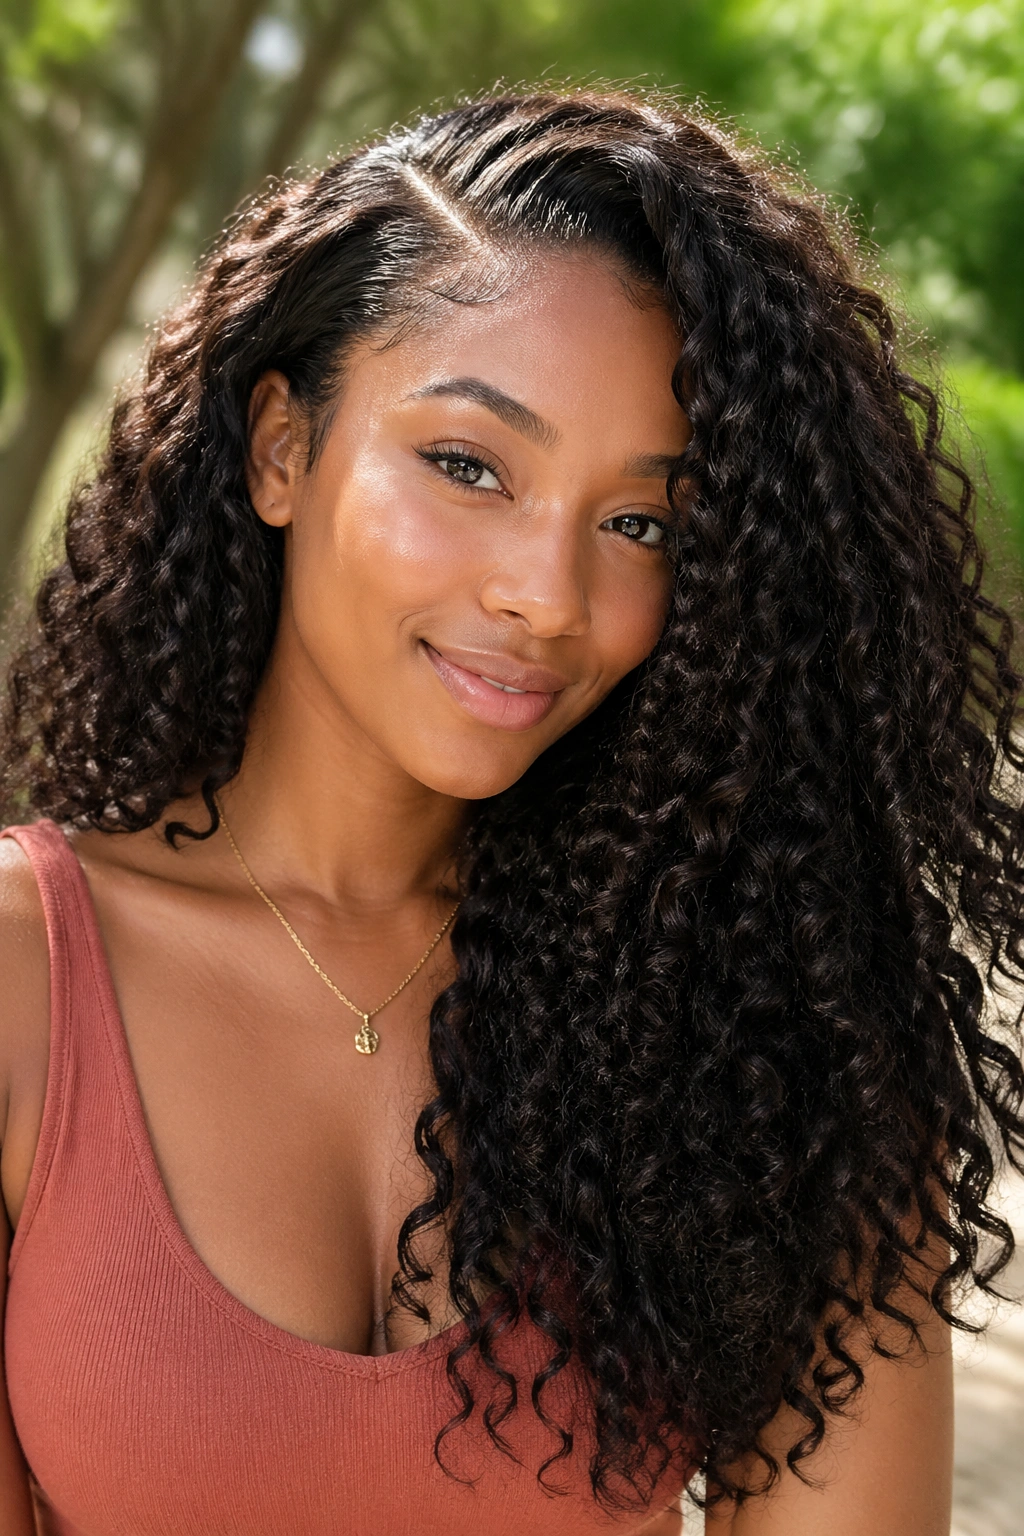
For naturalistas who want a longer, more dramatic version of a side-parted curly look, clip-in curly extension wefts blend seamlessly into natural texture and add significant length. Part naturally just past center, clip in wefts on the fuller side for volume and length, and let the curls fall together.
The key to a believable blend is matching the extension curl pattern to your natural texture — not just the color, but the actual coil diameter. Most extension brands offer 3B, 3C, and 4A curl patterns that blend well with natural hair.
10. Two-Strand Twist-Out With Side Swept Volume
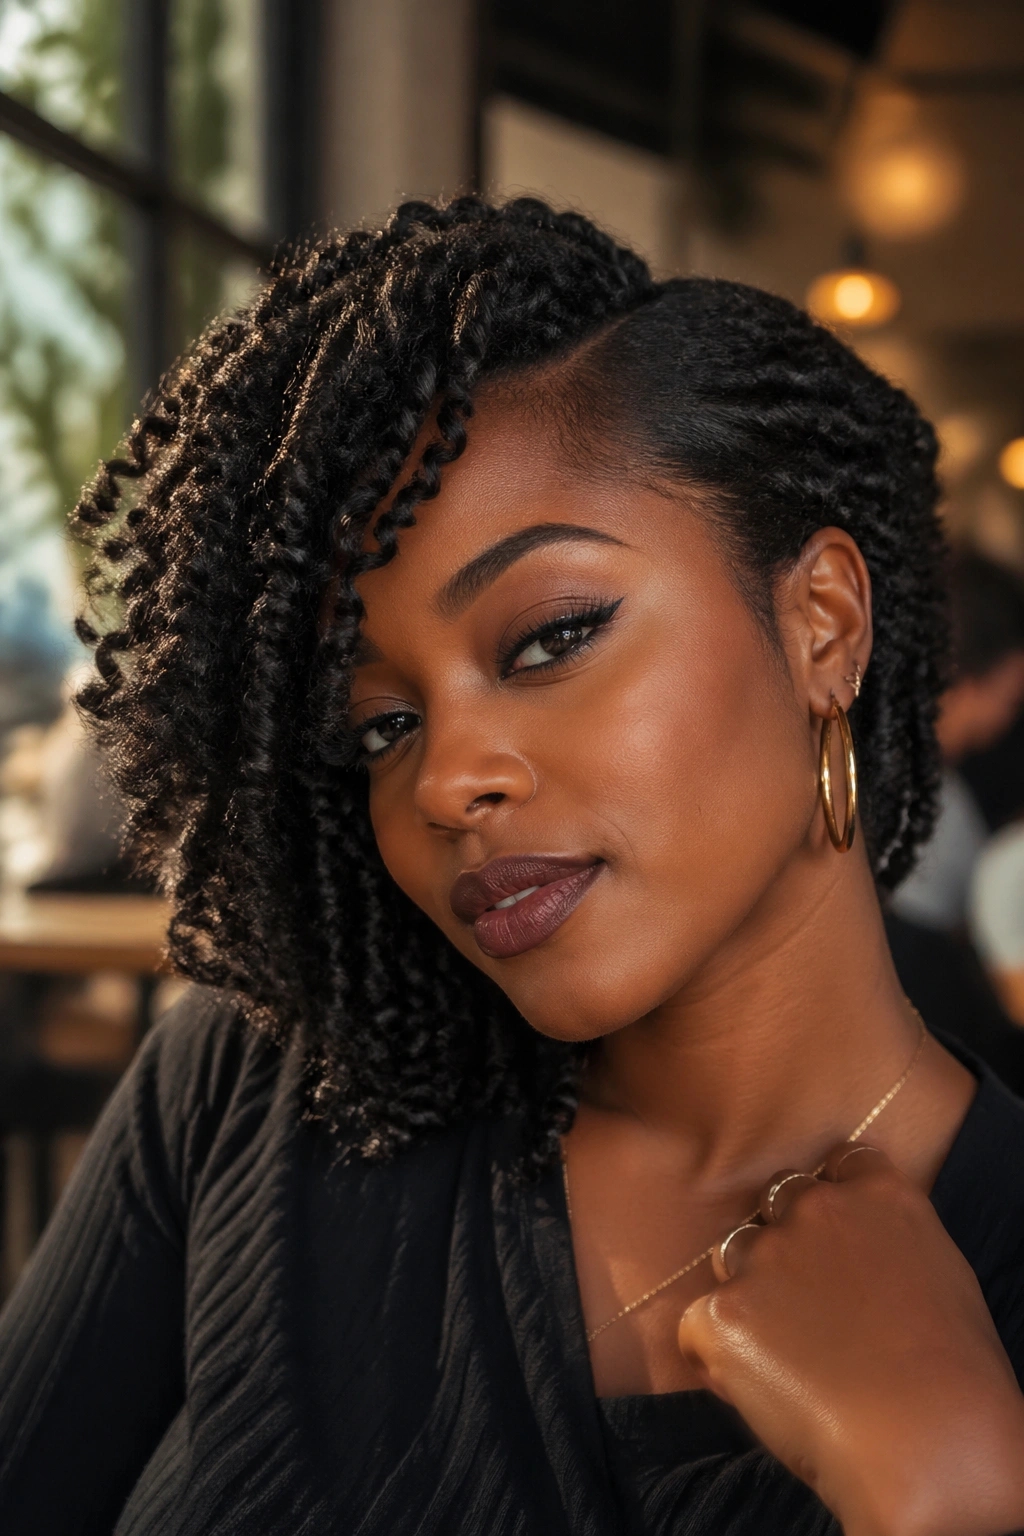
Two-strand twist-outs worn down with a side part, where the majority of the volume falls to one side of the head in a sweeping, cascading wave of defined coils. The other side is flatter, pinned back, or tucked behind the ear to maximize the asymmetric effect.
This look has serious editorial energy. The visual contrast between the flat side and the full, sweeping side creates a dramatic silhouette that works equally well for creative settings and everyday wear.
11. Side-Parted Faux Locs Style
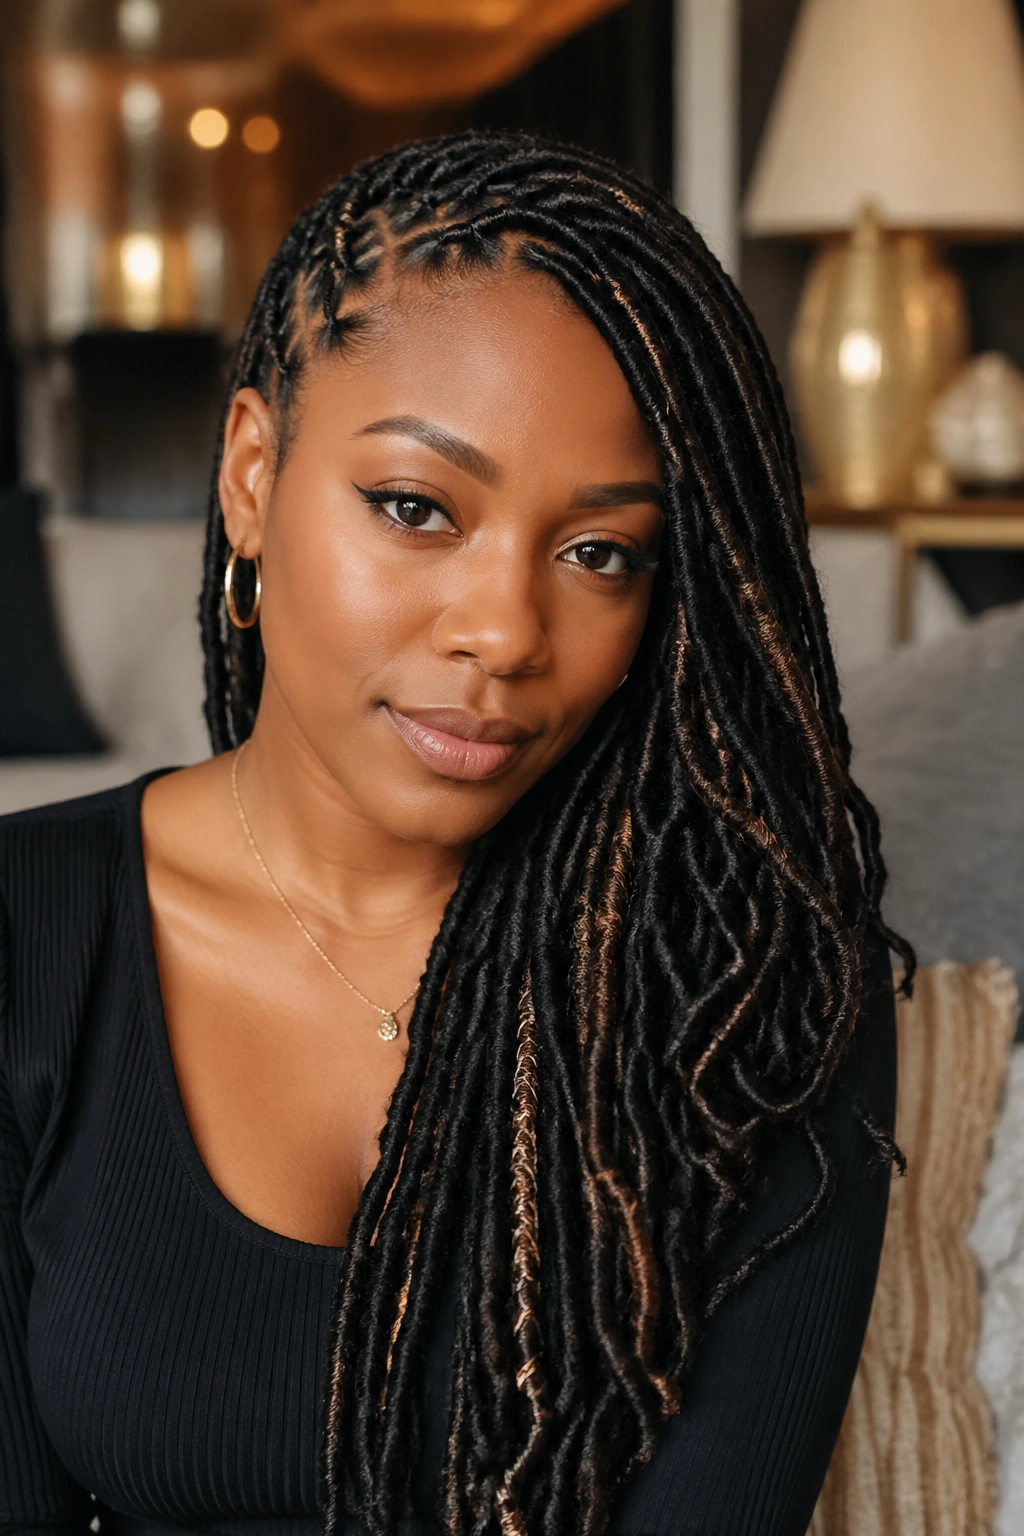
Faux locs with a side part create a defined, directional fall to the locs that’s different from the symmetrical, even distribution of a center-parted faux loc style. With a side part, the locs on the fuller side drape over the shoulder, creating a dramatic cascading effect.
This works whether the faux locs are soft locs, butterfly locs, or distressed locs. The part itself is established during the installation — just communicate the placement you want to your stylist.
12. Natural Hair Half-Up, Half-Down With Side Part
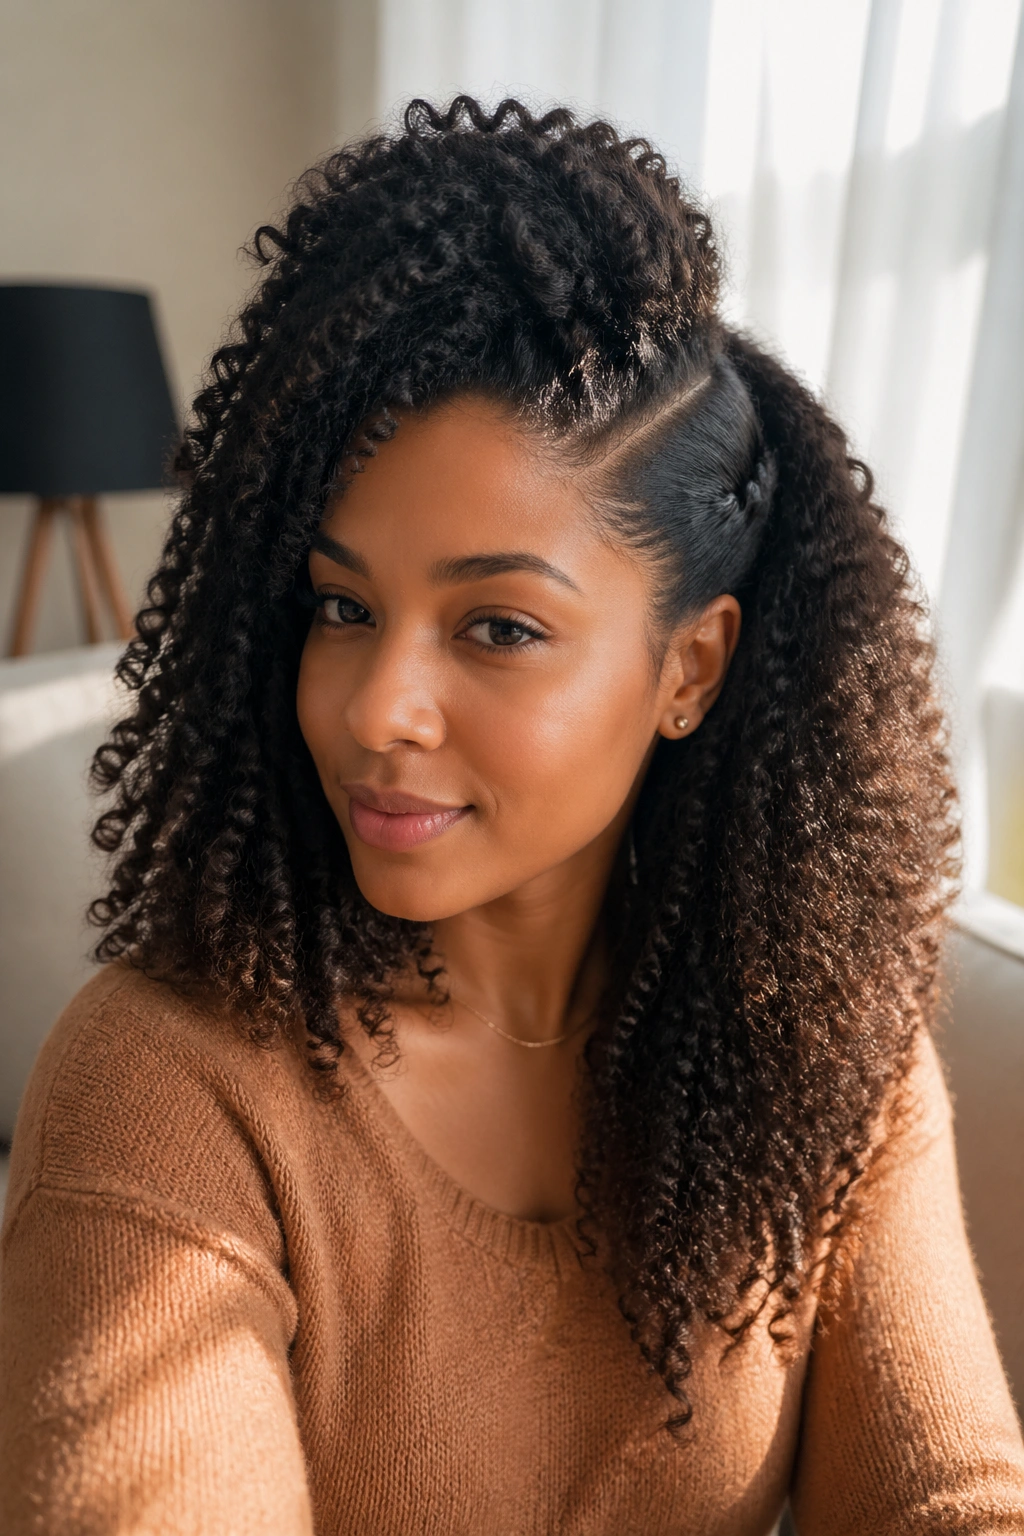
A half-up, half-down style with a side part pulls the top section of hair back and to one side before securing it, leaving the bottom section free. The side part means the top section swoops in one direction before being tied back, creating a soft, elegant sweep at the crown.
The bottom section falls in its natural curl state — loose, defined, and full. The half-up gives you the neatness of a pulled-back style with the texture of a fully-down look.
13. Side Part Puff
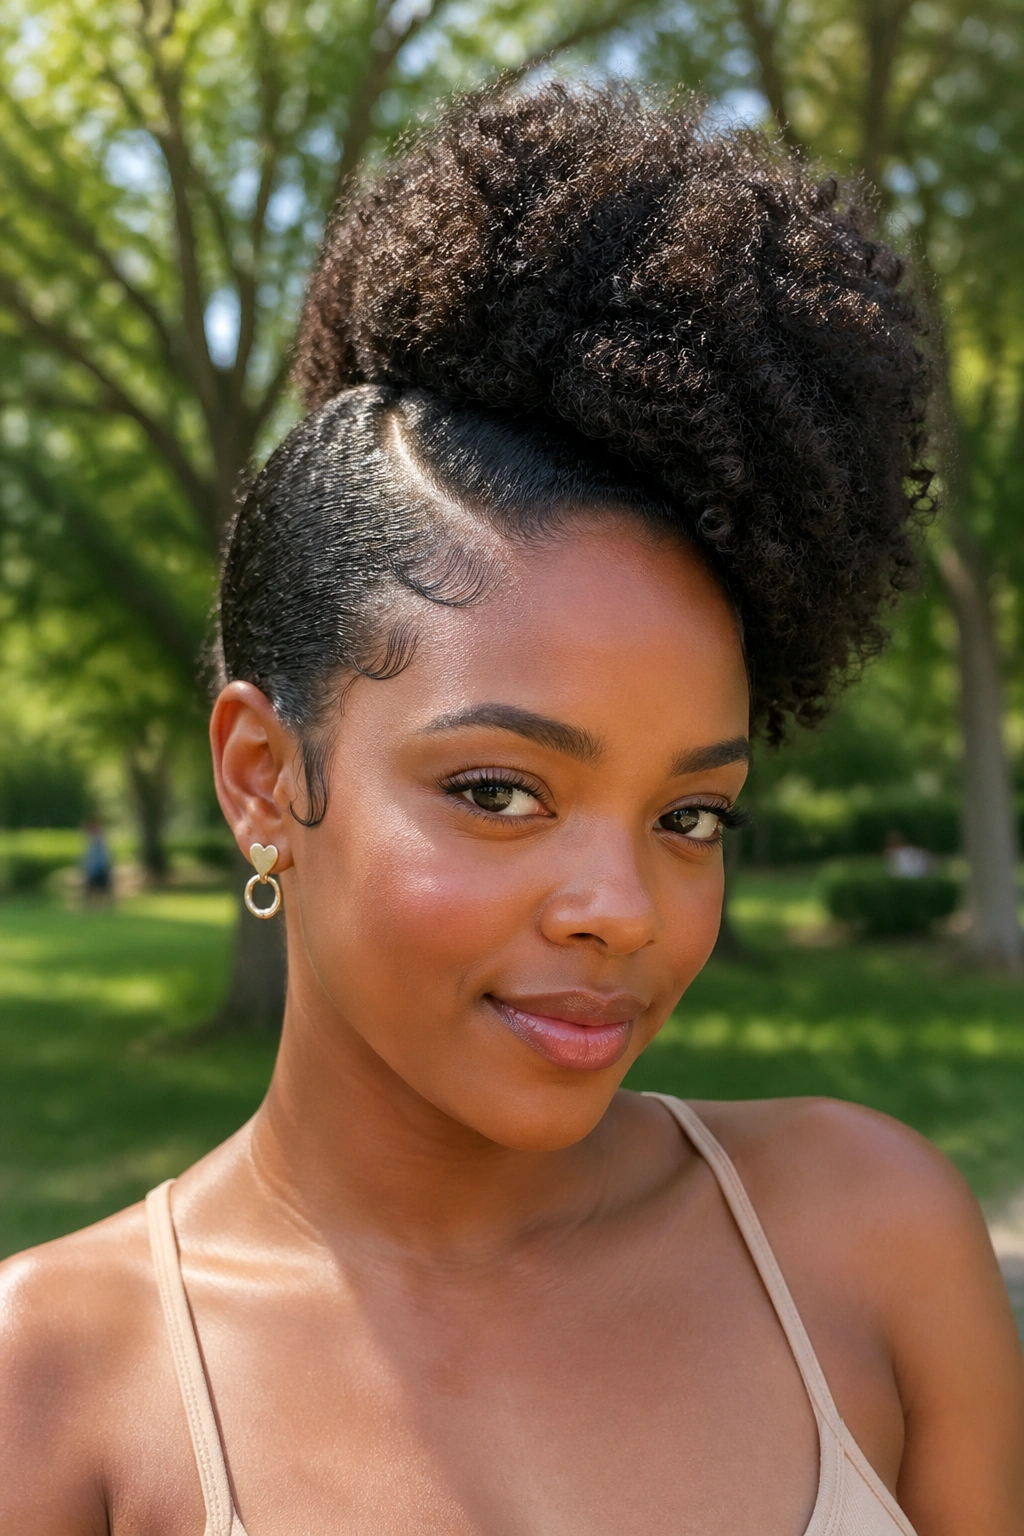
A variation on the classic afro puff where the puff is positioned slightly off-center to follow a side part. The puff sits higher on the side where the parting begins and sweeps slightly in the opposite direction. Combined with laid baby hairs at the temple, this slight off-center placement adds significant personality to what might otherwise be a standard puff.
14. Side-Parted Protective Style Updo
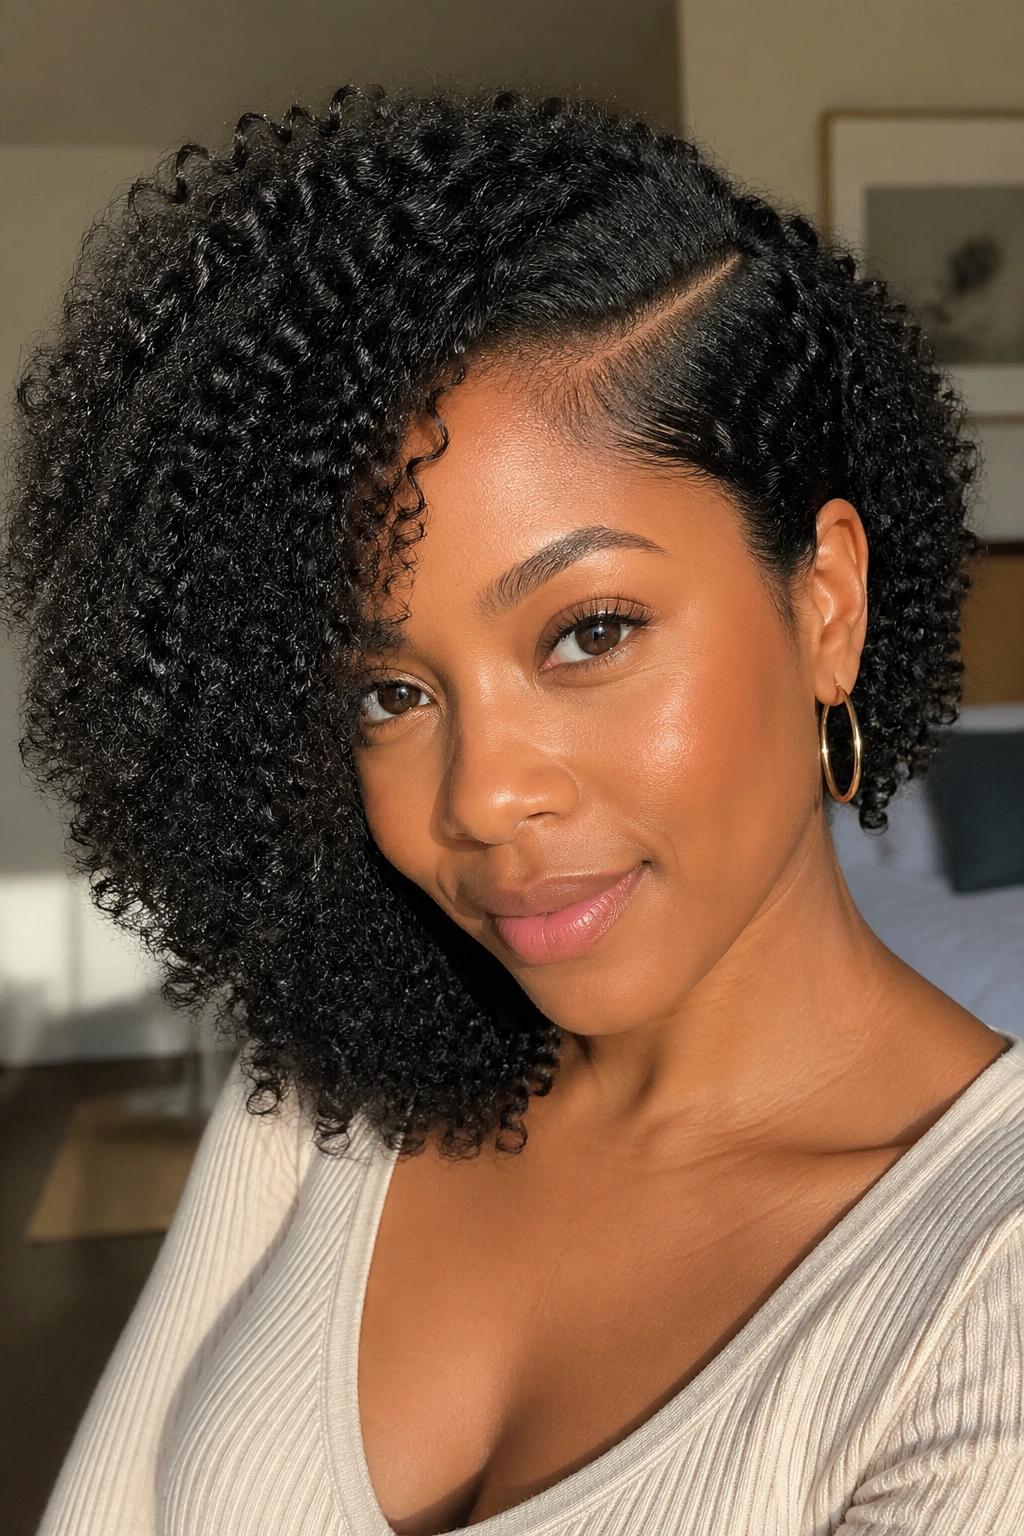
An updo with a side part incorporates the part into the design of the style itself. Flat twists or cornrows along the side-parted sections lead into a bun, puff, or pinned-up style at the back or crown. The side part is visible at the front as part of the style architecture — not an afterthought.
This is a solid protective style for days when you want your hair off your neck and face but still want a clearly styled, intentional look.
15. Side-Swept Curls Over One Shoulder
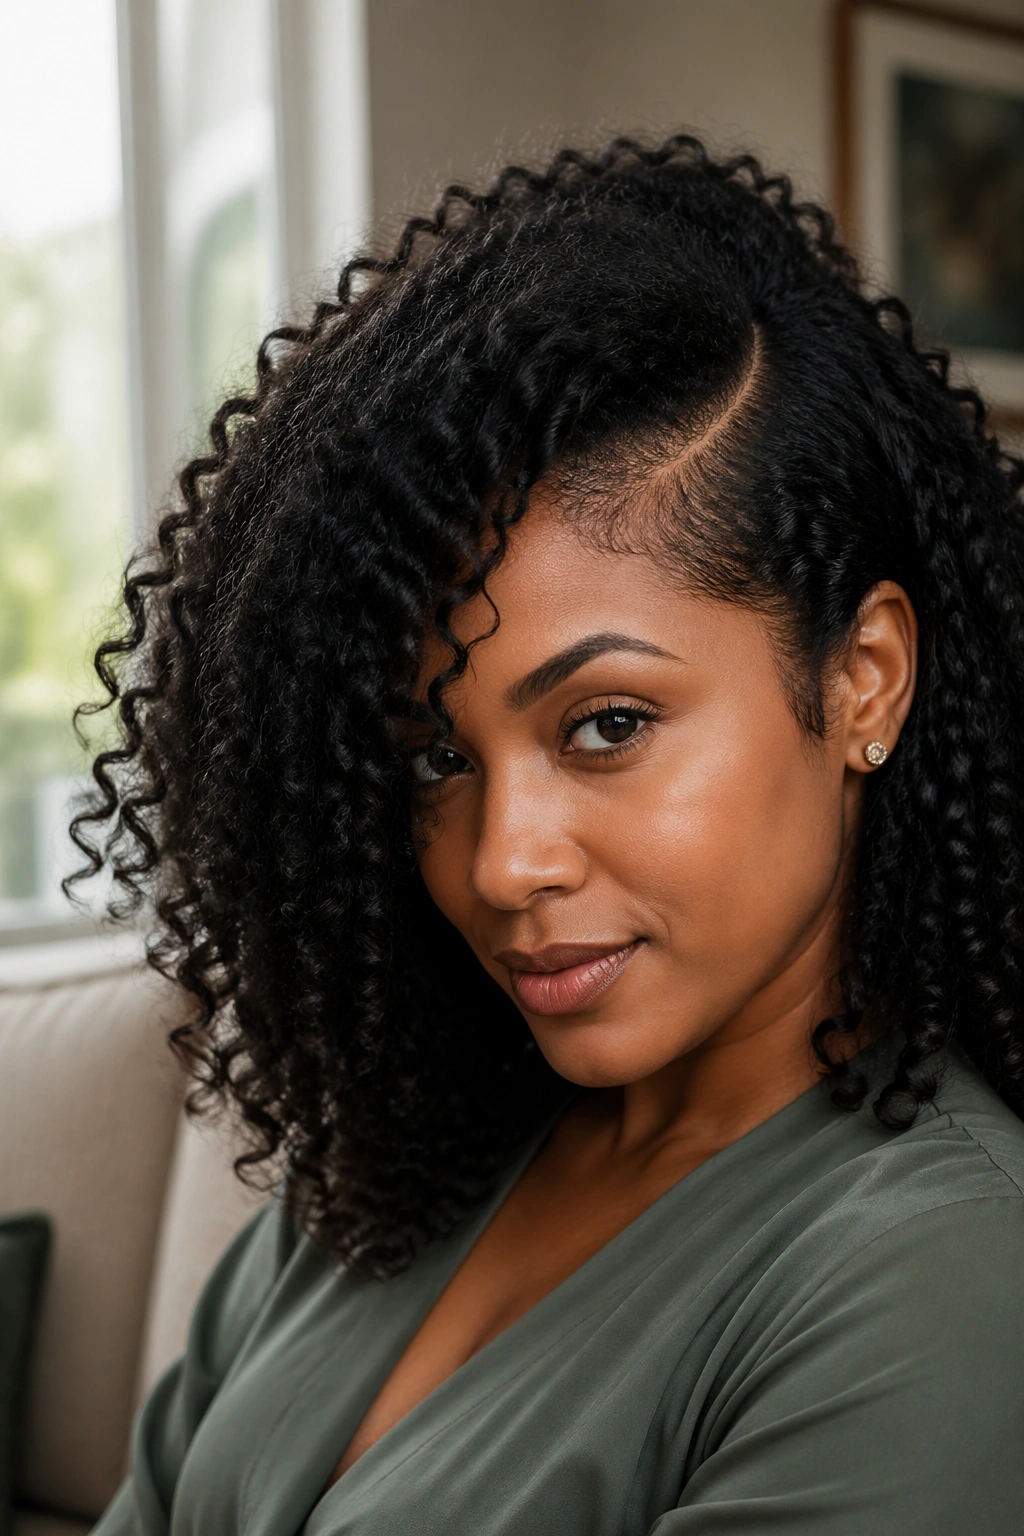
All the curls, swept to one side and falling over one shoulder in a voluminous cascade. This is one of the most romantic, feminine natural hair looks available — and it’s achievable on mid-length to long natural hair with or without a stretching technique.
Create a deep side part and sweep all the hair to the fuller side. Use a light hold product to encourage the curls to fall together without getting crunchy. Let them drape over the shoulder and down the arm. Don’t touch it too much — the gravity and volume do the work.
16. Side Part Braided Crown
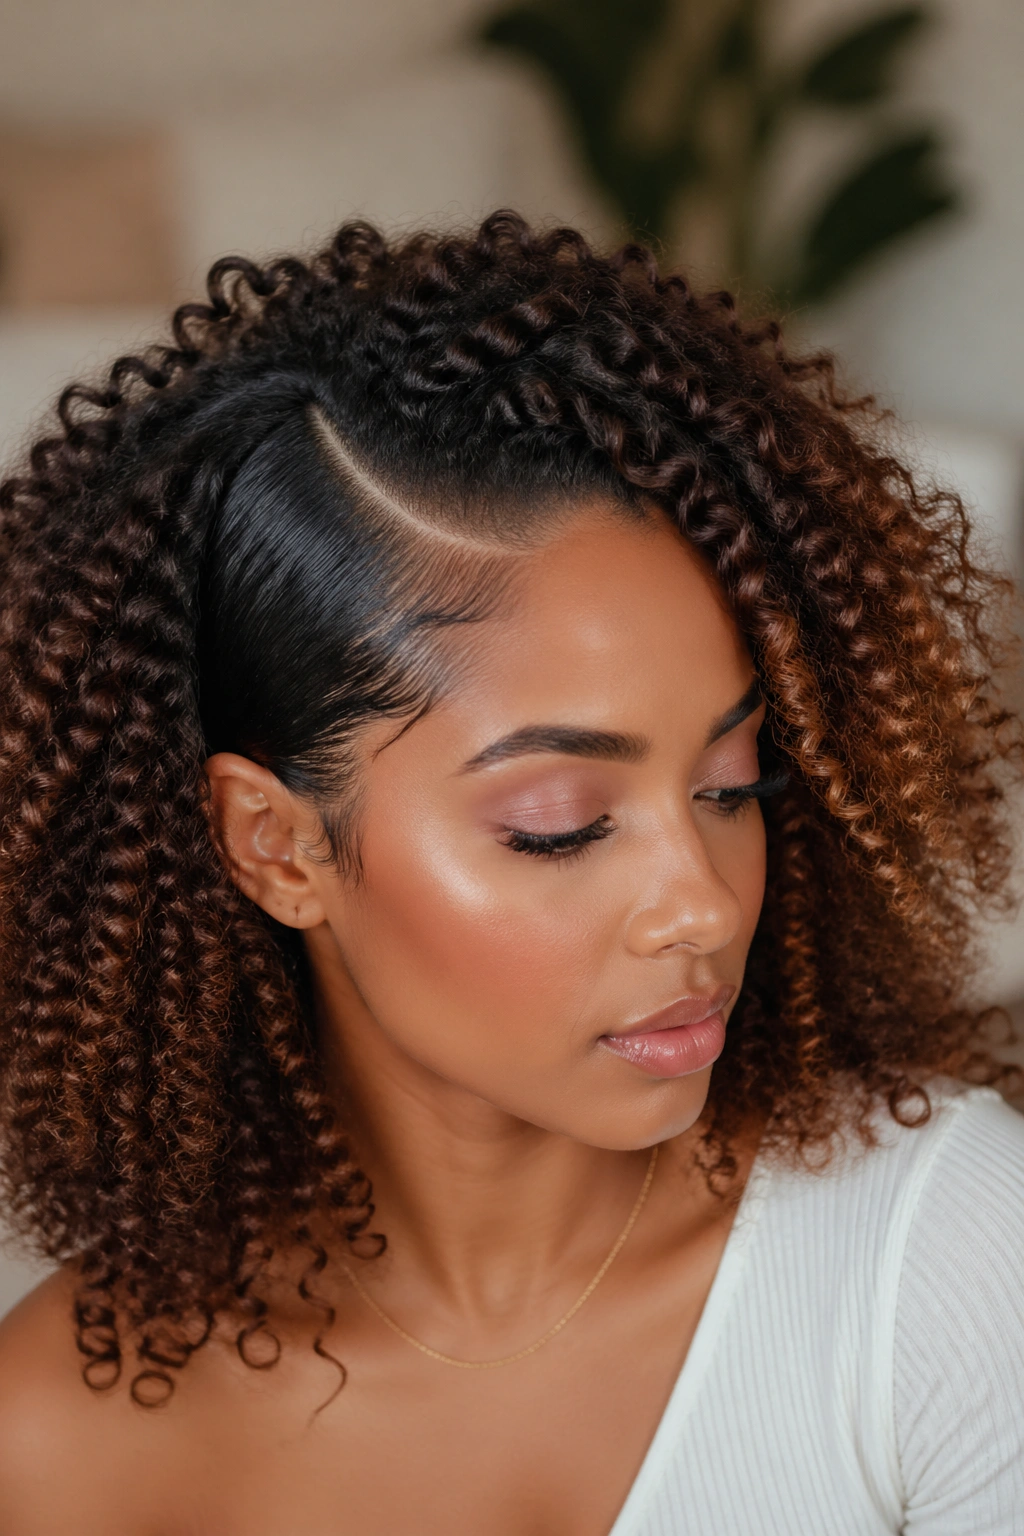
Two braids — one from each temple — that travel back along the sides of the head and meet at the crown or nape, creating a braided crown or halo effect. A side part at the front changes where the braids begin, creating asymmetry in the crown design that makes the style look more sophisticated.
The remaining hair below the braids can be left in its natural curl state, tucked under, or pulled into a bun.
17. Rod Set Curls With Side Part
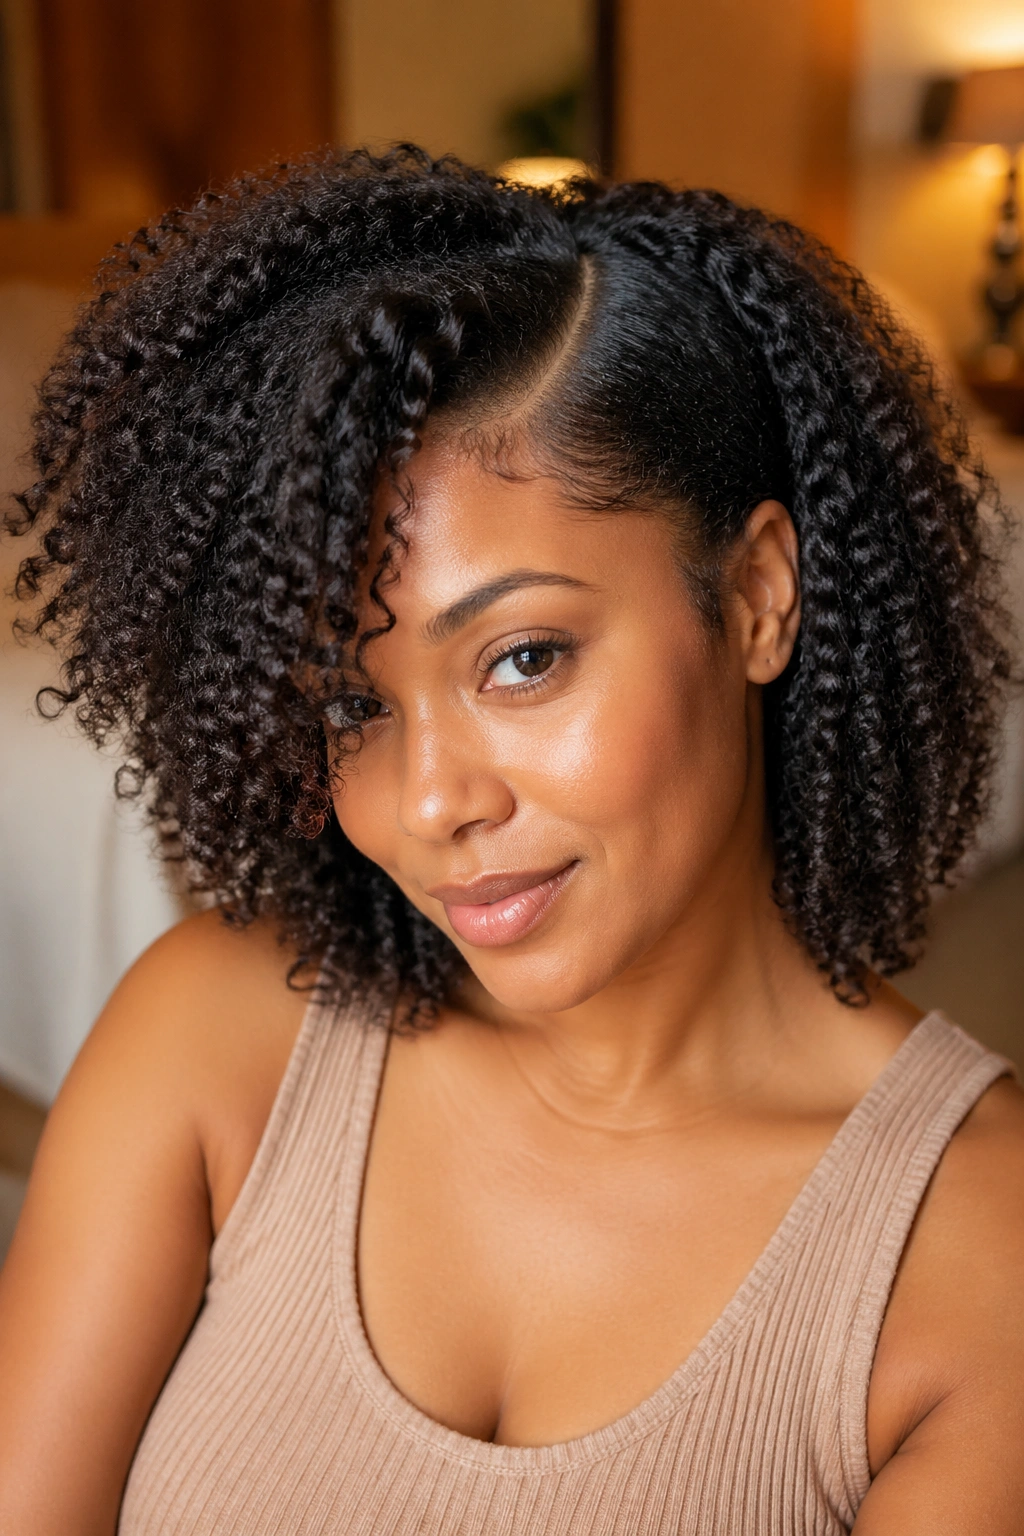
A rod set — hair wrapped around perm rods or flexi-rods while damp, dried, and released — creates perfectly round, even curls that hold a side part beautifully. Set the rods in the direction of the part at the crown, particularly the front sections. After releasing, the curls fall in the direction they were set.
The result is a full, defined curl style with a visible side part that stays in place throughout the day because the curls were physically trained into the shape during the setting process.
18. Natural Hair Side Part With Headband
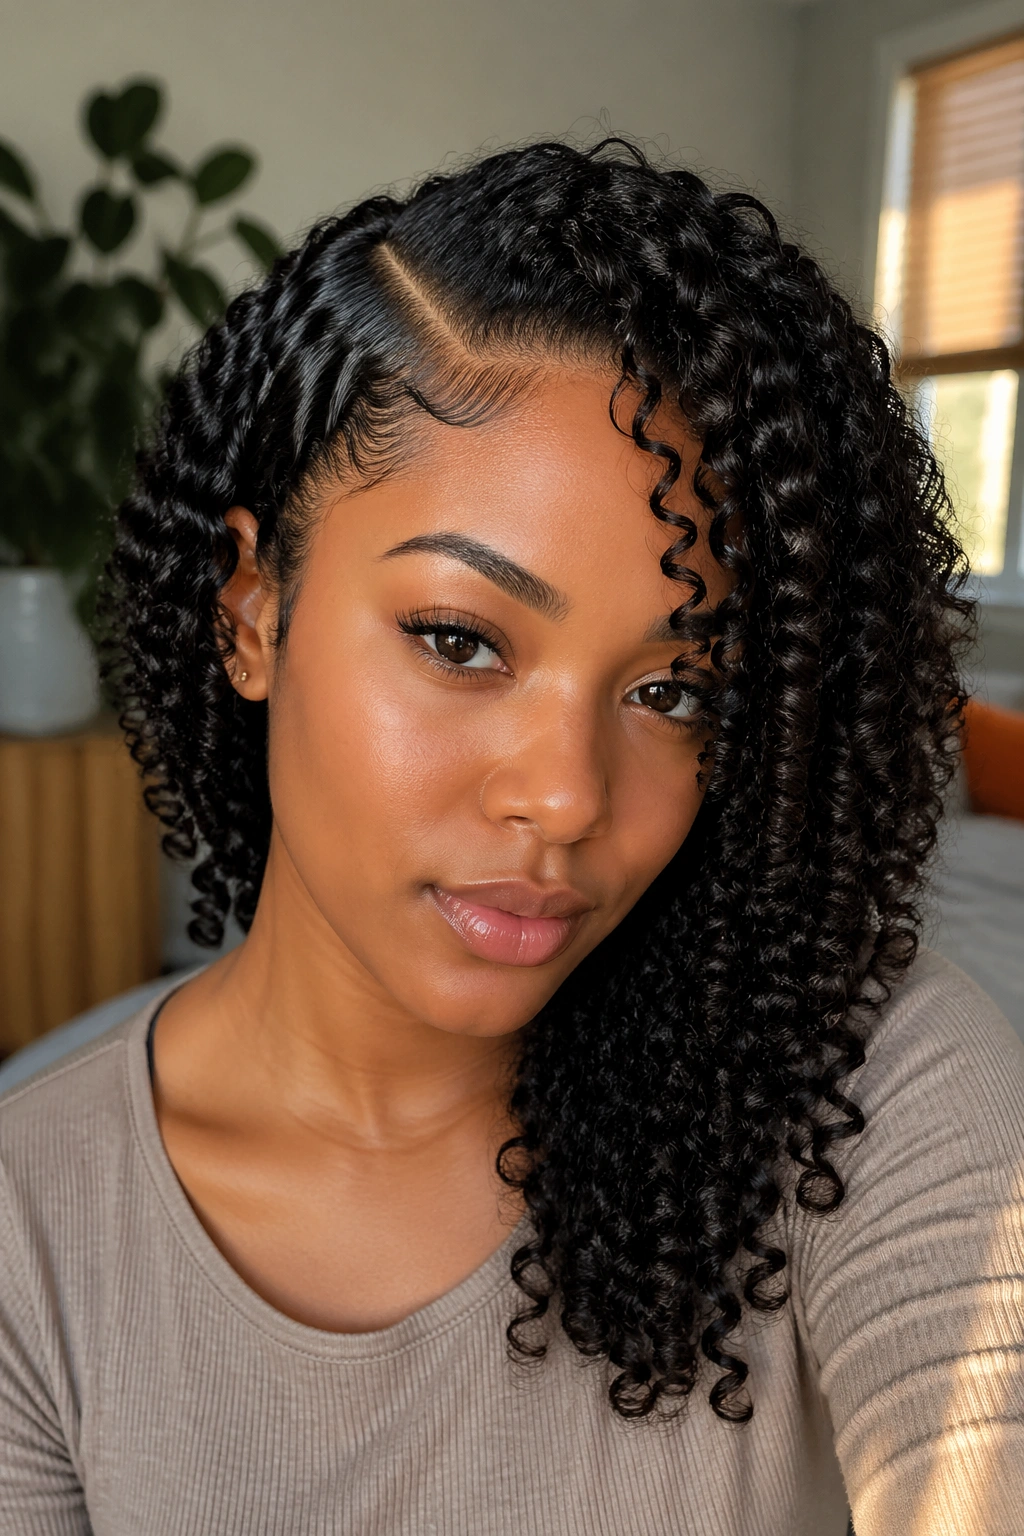
A simple touch that completely changes the look. A wide headband placed behind the hairline while the curls are styled to one side turns the side part into a frame for the headband design. The headband holds the parted section in place and adds a bold style element.
Choose headbands in rich fabrics — velvet, satin, woven cotton — in colors that complement your outfit. The headband shouldn’t match perfectly; a contrasting color or pattern adds visual interest.
19. Side Part Cornrow Updo
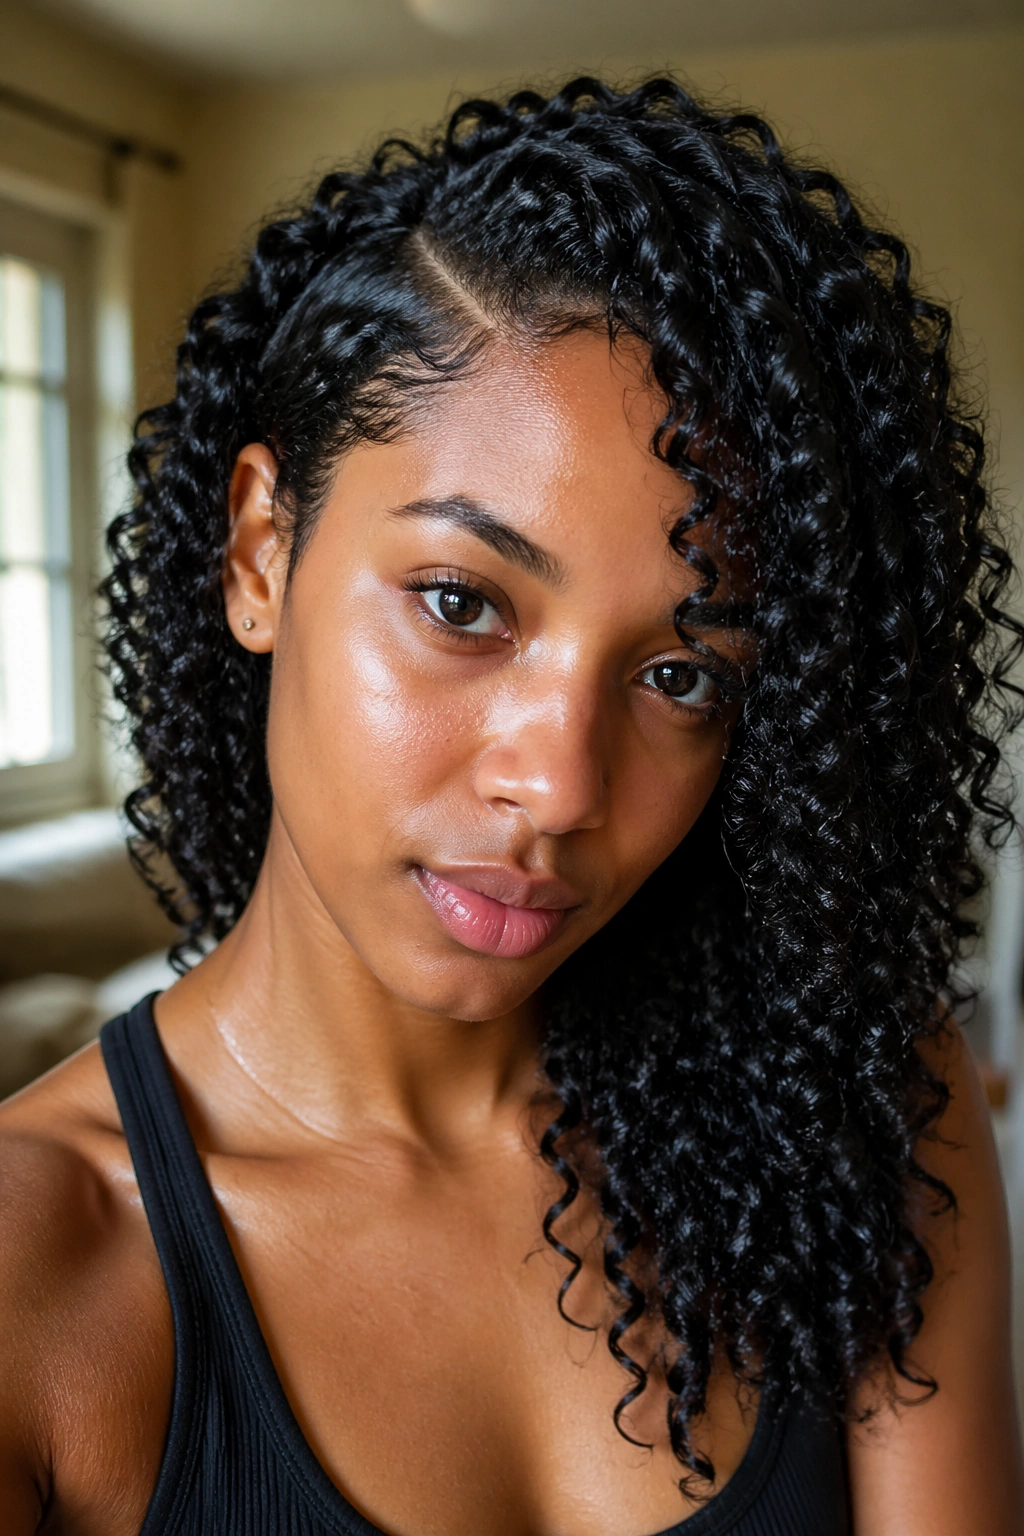
Cornrows laid in a side-part pattern — with the front row following the line of the part and subsequent rows following the natural curve of the head — lead into a braided updo at the back. This is a clean, detailed style where the parting is structural to the design of the cornrows themselves.
This is best done by a professional stylist if you want clean, even rows. The side-parted version has a more dynamic, asymmetric front than a traditional symmetrical cornrow layout.
20. Natural Curls With a Carved Side Part
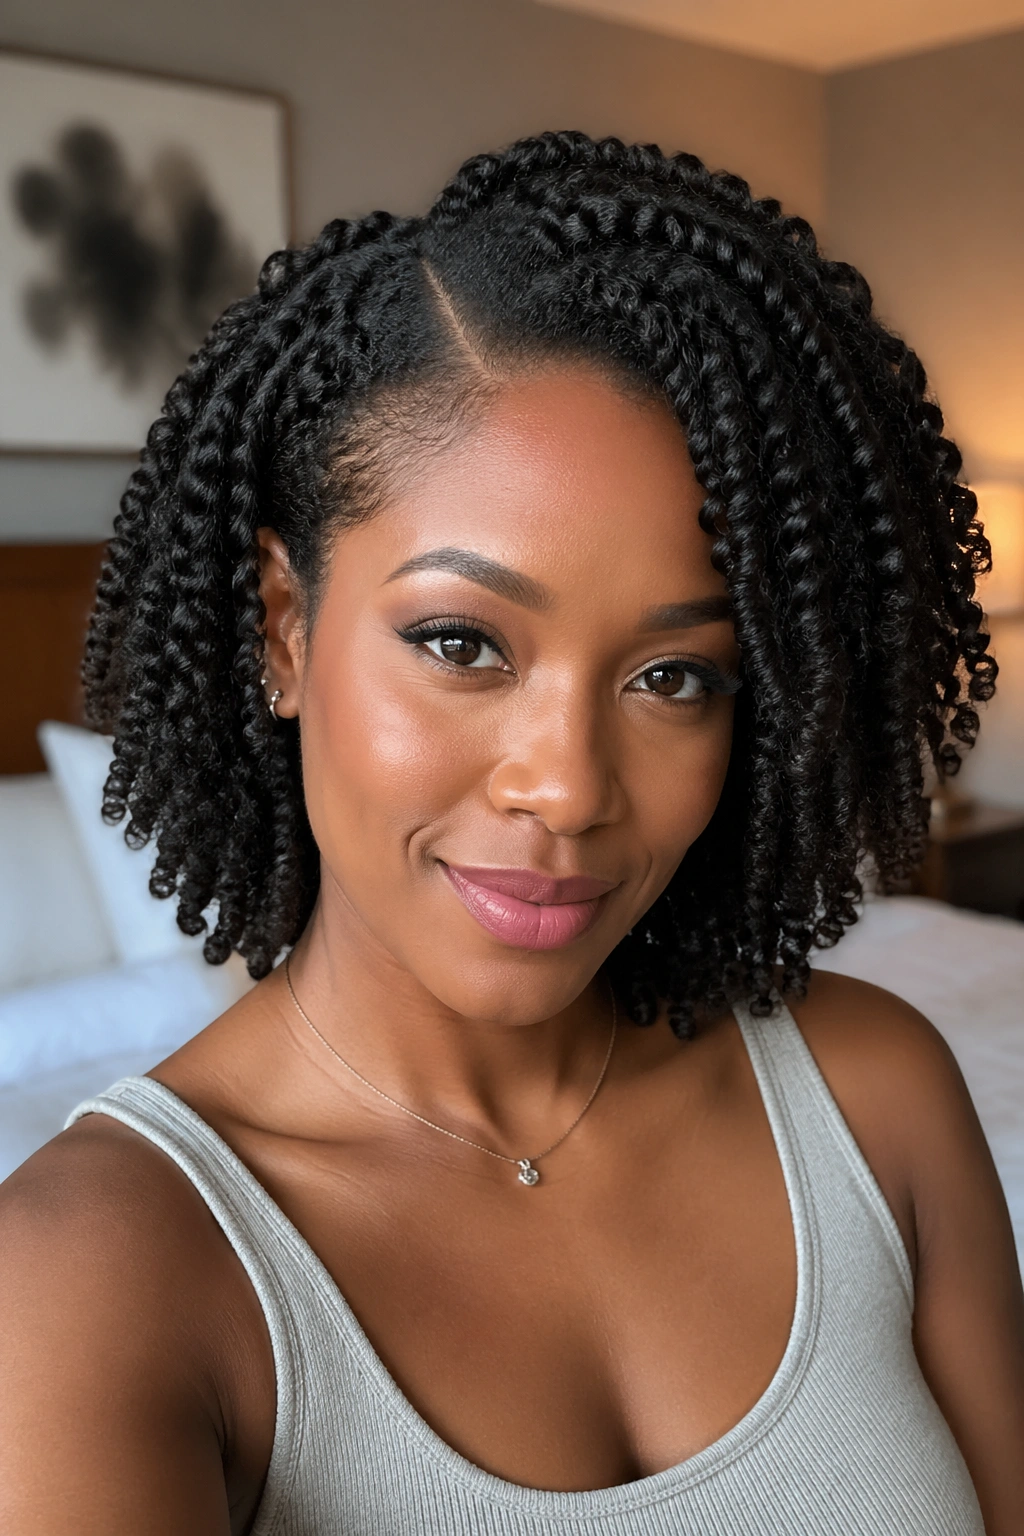
For a dramatic version of the side part, use edge control and a fine brush to “carve” a precise, sharp line through the hair at the part. The line is intentionally clean and defined — almost like a design element rather than simply a hair division. Some naturalistas carve a curved or angular part rather than a straight one for extra style.
Apply edge control to the parting area and use the bristles of an edge brush to press the hairs flat along the line, creating a clean separation. This takes precision and a steady hand, but the result looks intentional and polished.
21. Side-Parted Faux Bob
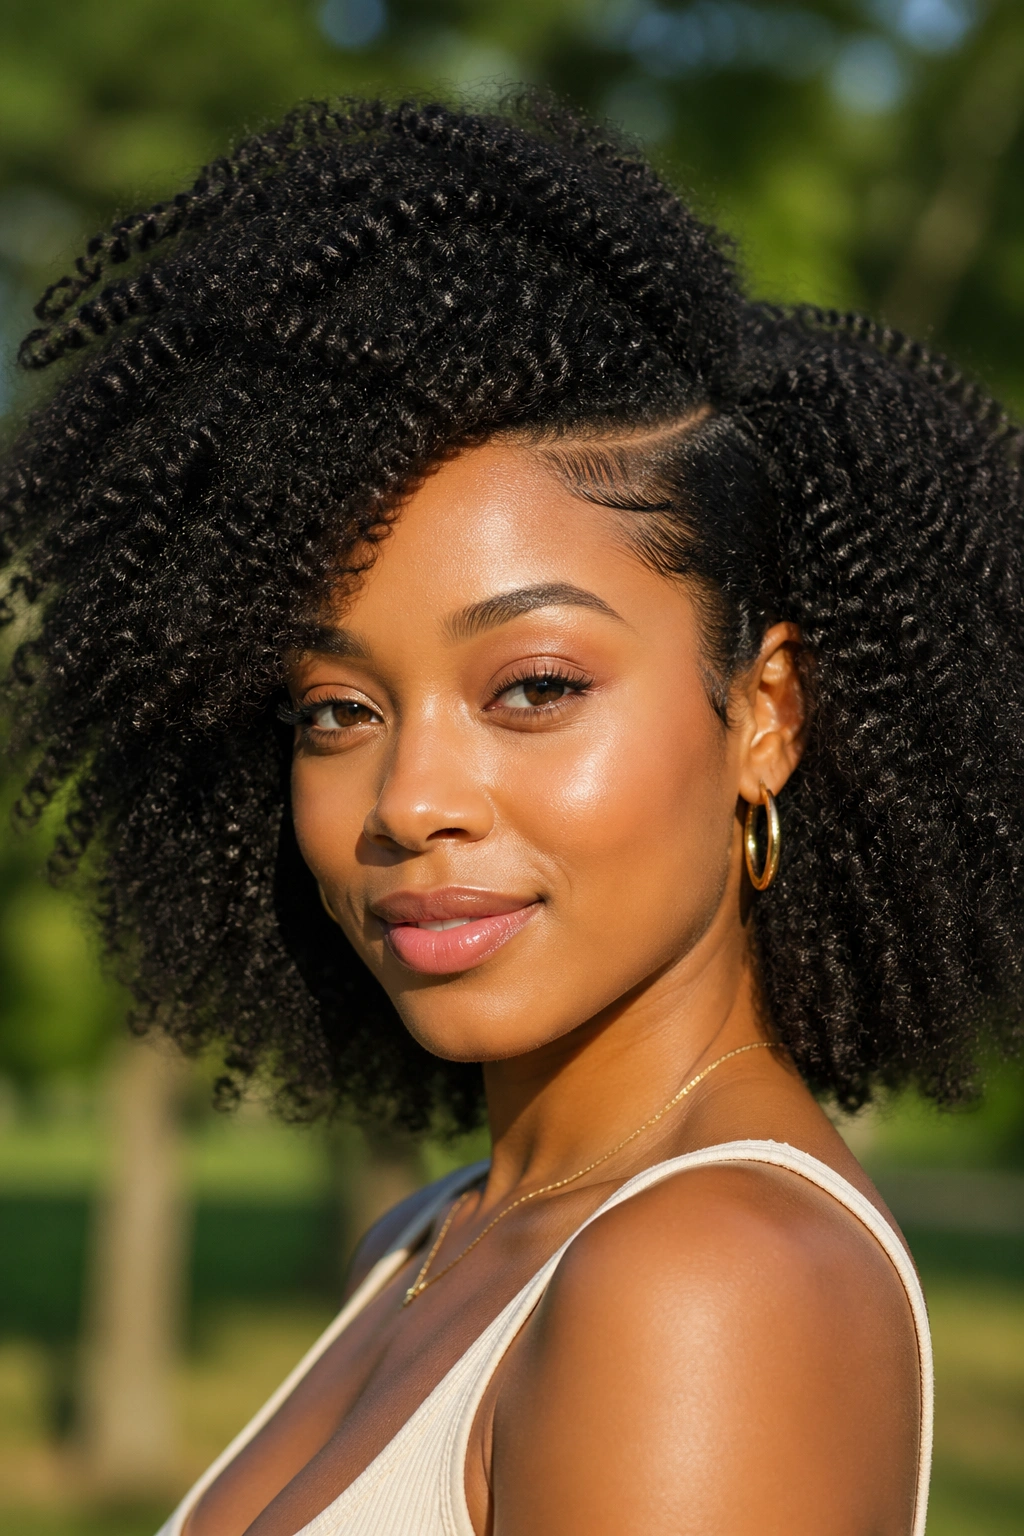
A faux bob on natural hair — where the ends of the hair are tucked or pinned under to create the illusion of a short, blunt cut — wears completely differently with a side part than a center part. The side part creates an asymmetric short shape, with one side of the “bob” slightly longer or fuller than the other.
This is a commitment-free way to try a bob shape on natural hair without cutting or permanently altering the length. The side part is key to making the faux bob look styled rather than just pinned.
22. Side Part Updo With Natural Hair Accessories
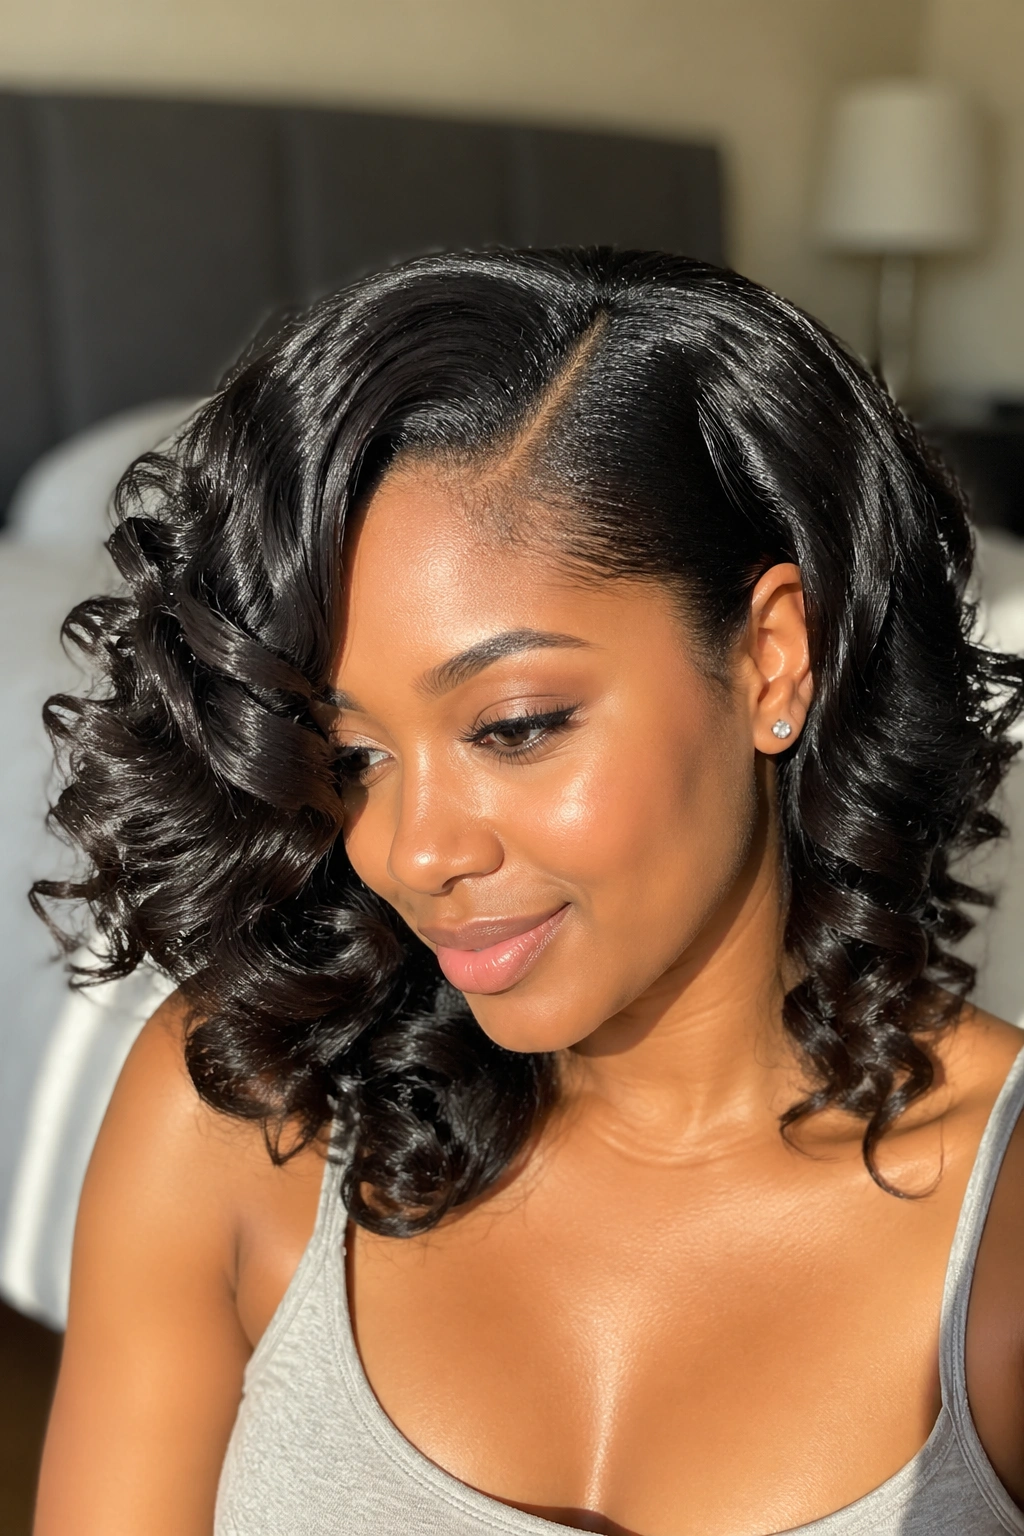
An updo of any kind — a bun, a twist, a braided knot — made significantly more interesting by natural hair accessories placed at the parting or throughout the style. Cowrie shells, gold rings, wooden beads, or fabric pins placed along the side part itself draw attention to the parting as a style element.
Natural hair accessories with cultural roots in African and African-American hair traditions add meaning and beauty to a style simultaneously. They also photograph beautifully and age well — unlike trend-driven accessories that feel dated quickly.
Maintaining a Side Part on Natural Hair
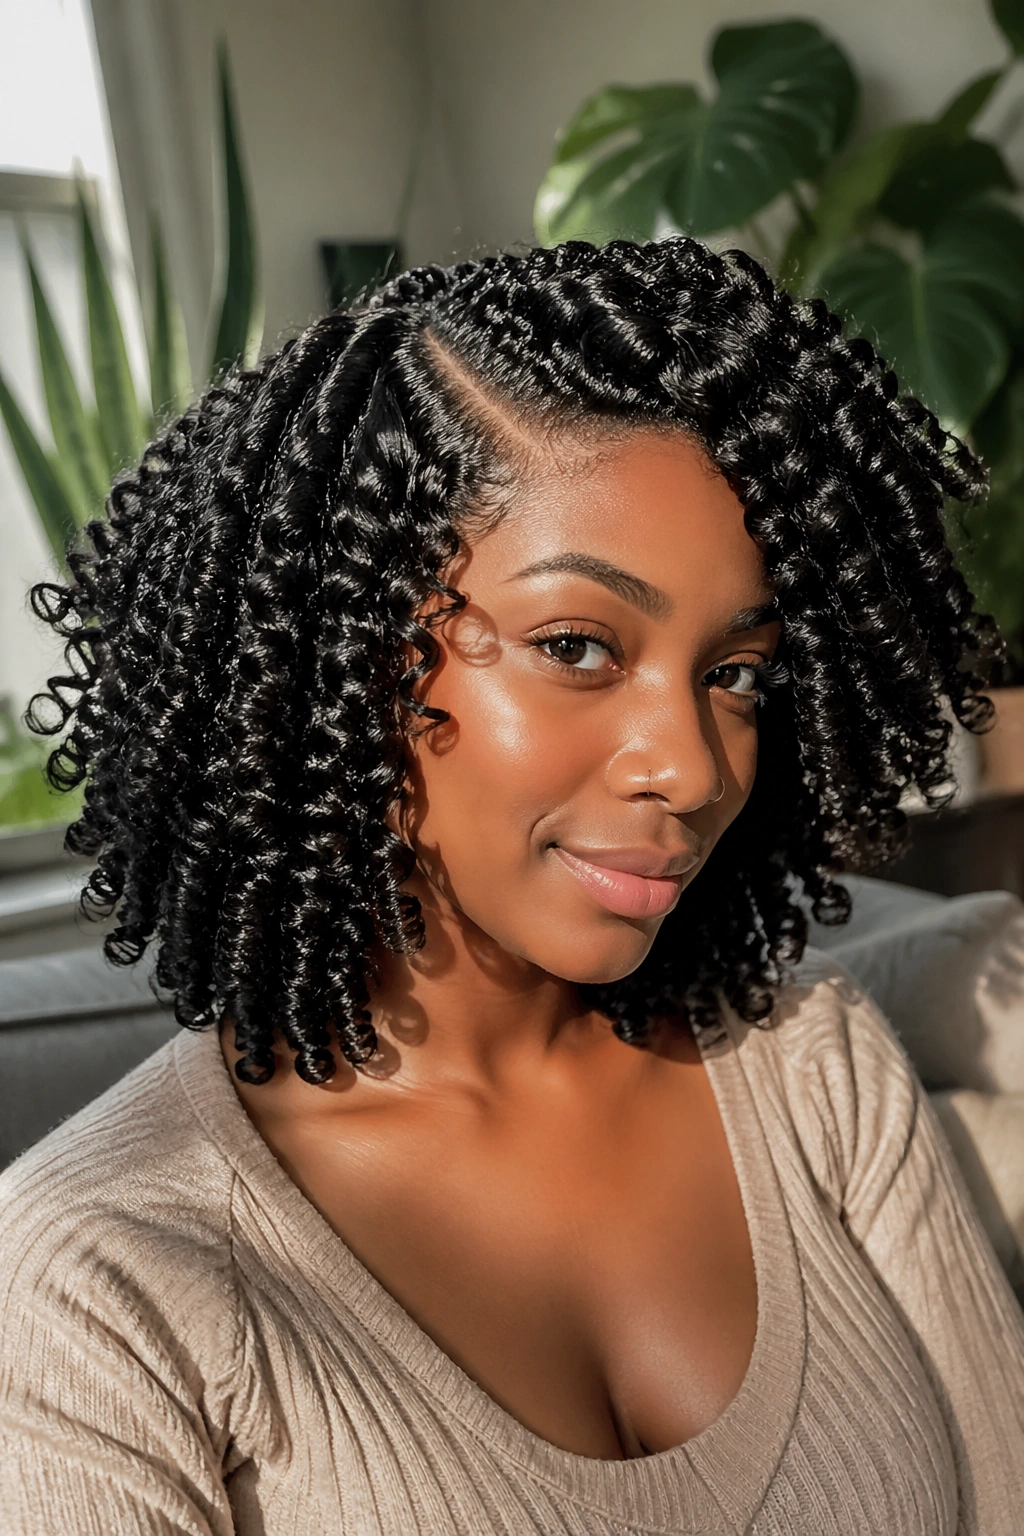
Side parts on natural hair require more maintenance than on straight hair because curls naturally want to close in on the parting and obscure it. Refresh the part each morning with the pointed end of a rattail comb, a light application of holding product at the parting line, and your fingers directing the hair to each side.
On days when your hair has dried overnight and the curls have settled into a more uniform shape, a light spritz of water at the parting area makes the curls pliable enough to re-direct before you set them again.
How a Side Part Affects Overall Style Longevity
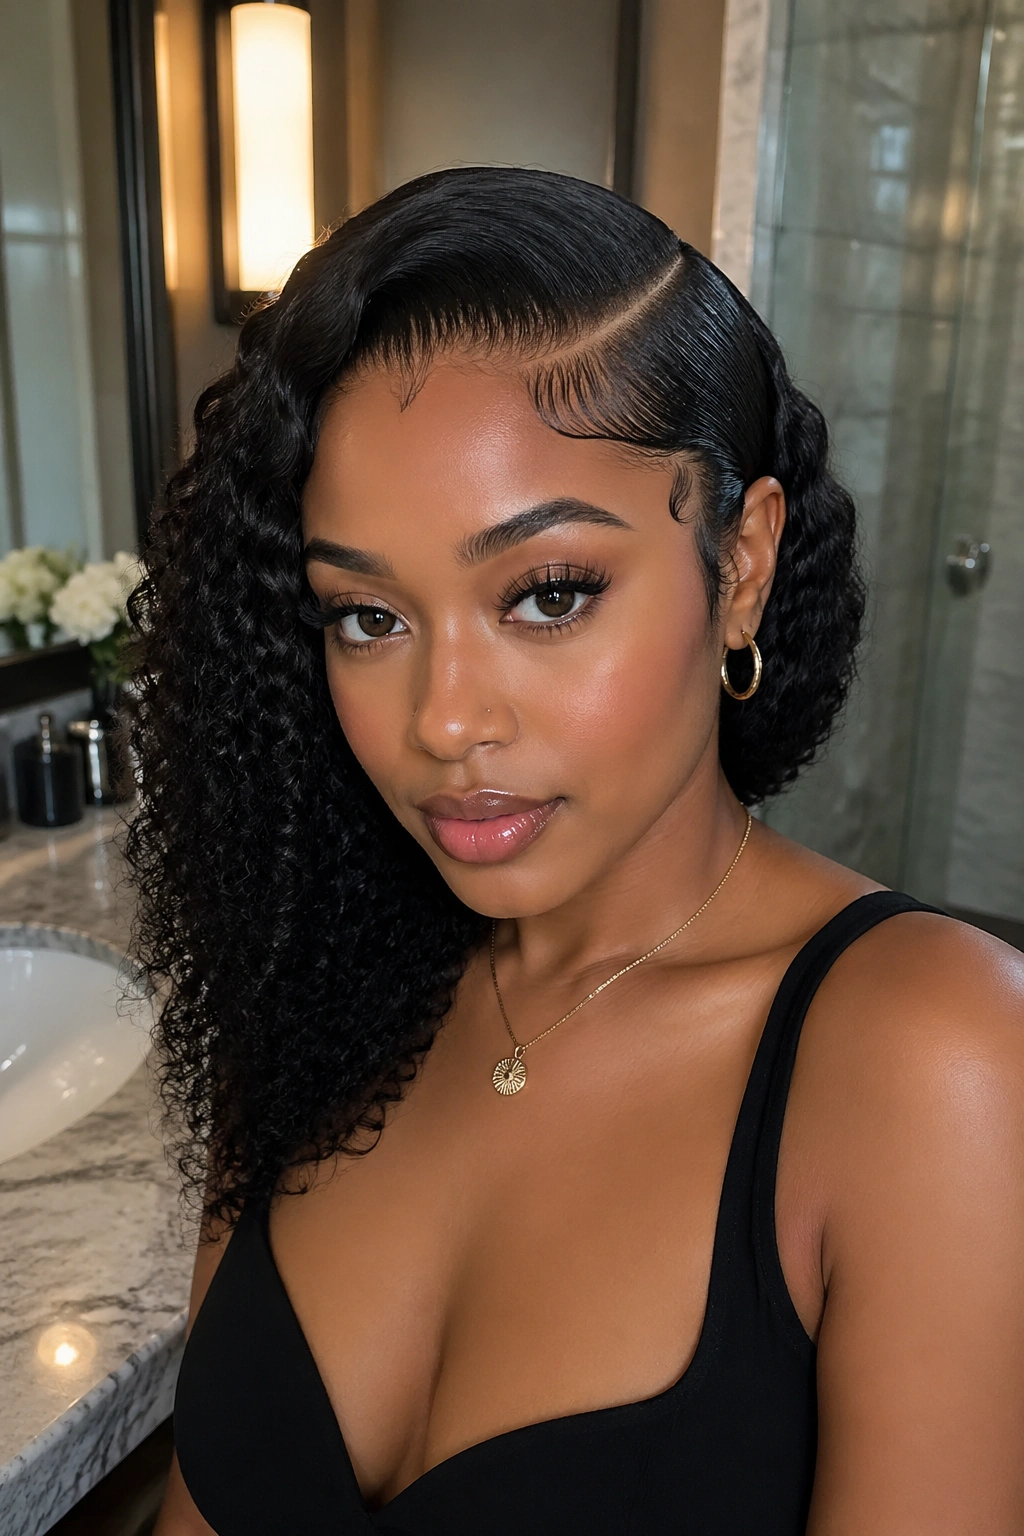
One underrated benefit of a side part: it can make a style look intentionally different on day two and three, even if you haven’t touched it. The first day the part is crisp and deliberate. By day two, it softens into something more organic. By day three, it’s an effortless, natural-looking asymmetry that requires no effort to maintain.
Leaning into the evolution of a side part — rather than trying to restore day-one crispness each morning — saves time and often produces a more relaxed, wearable version of the style that suits everyday life better than the pristine first-day look.
