The desire for versatility in natural hair styling often hits a wall when you factor in the sheer amount of time, patience, and technical skill required for complex installs. Braided sew-ins can take hours in the chair, and silk presses require careful heat management that you might not want to repeat every single week. This is exactly where the quick weave steps in. By using a protective cap and bonding adhesive, you gain the ability to experiment with length, texture, and volume while keeping your natural strands tucked away and untouched by daily manipulation.
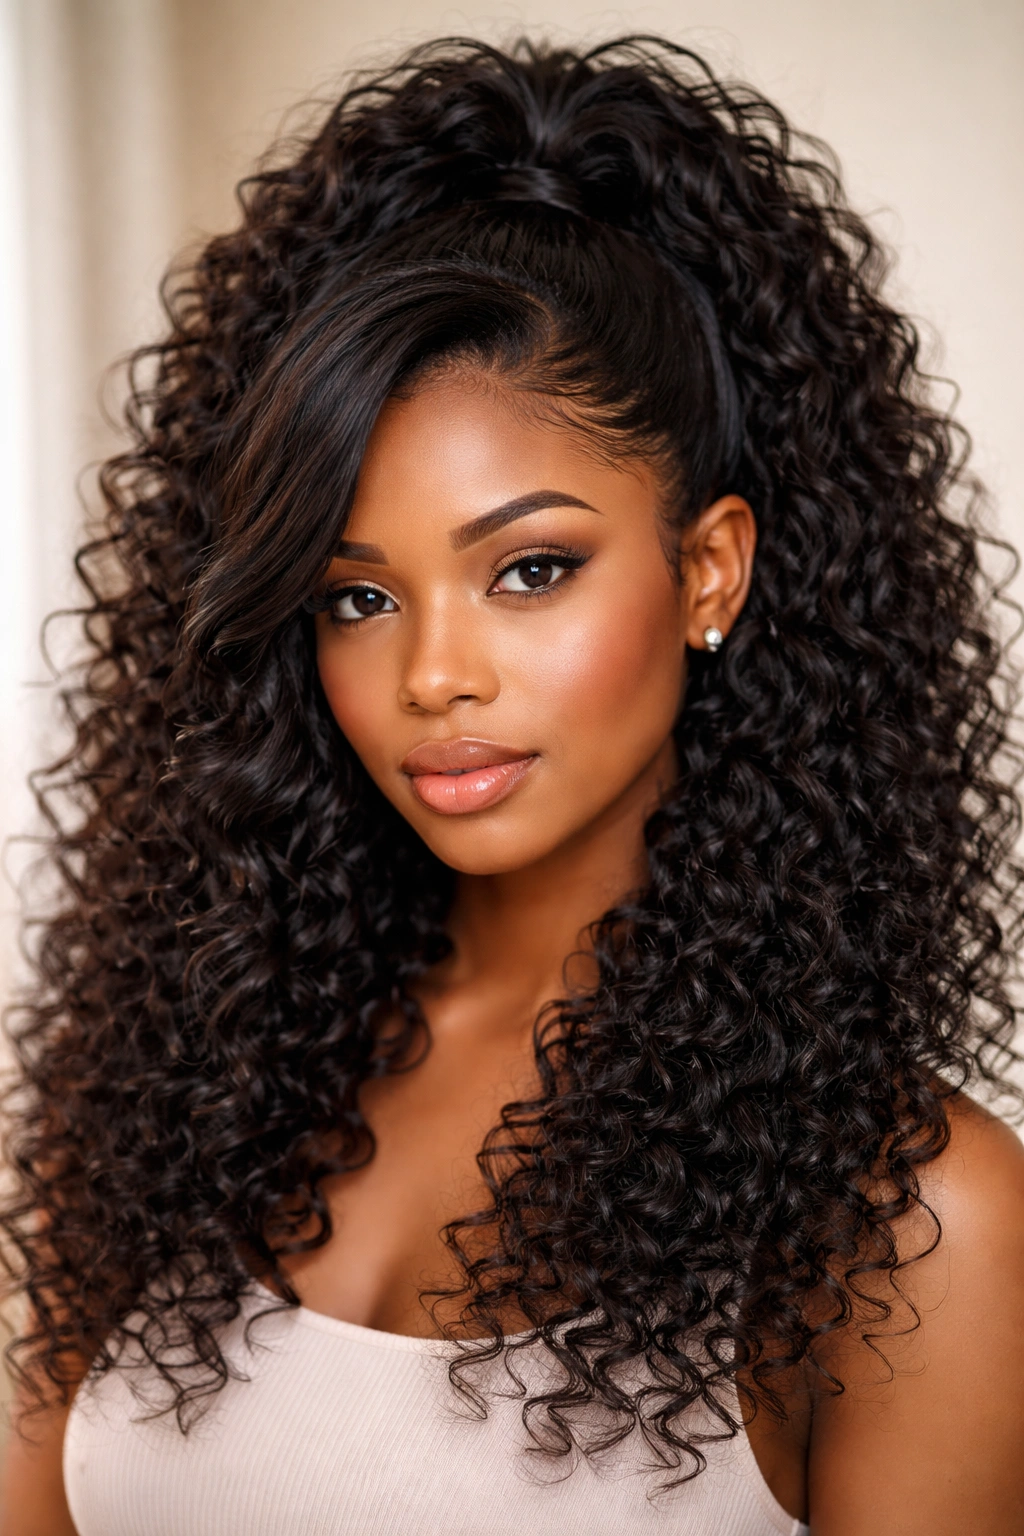
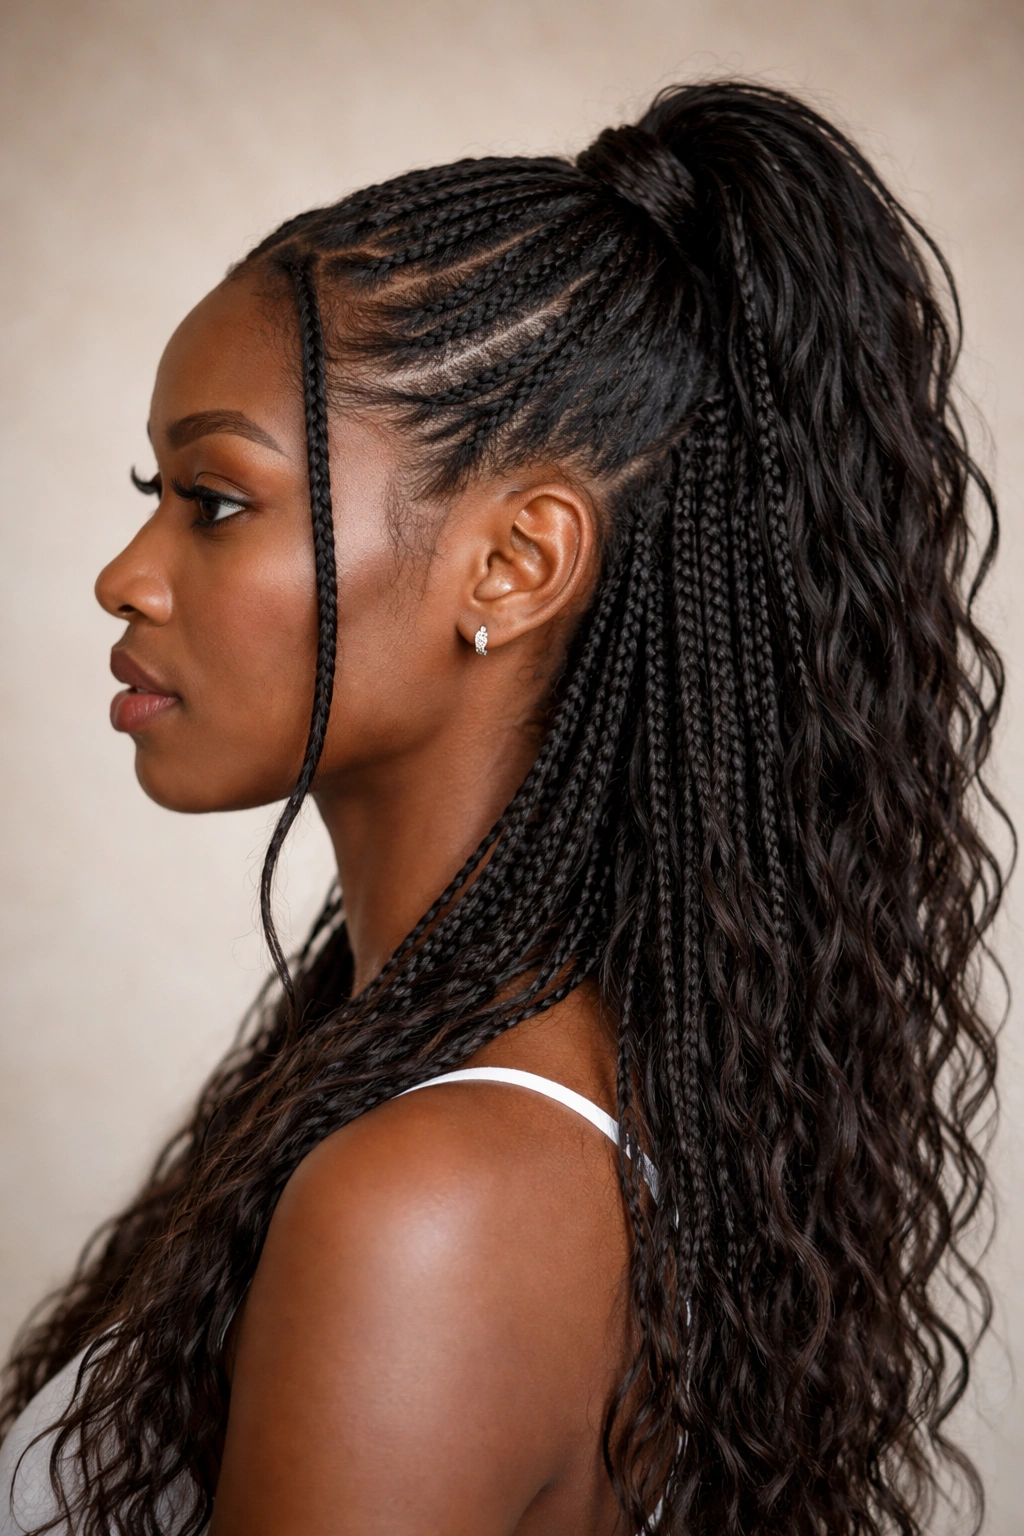
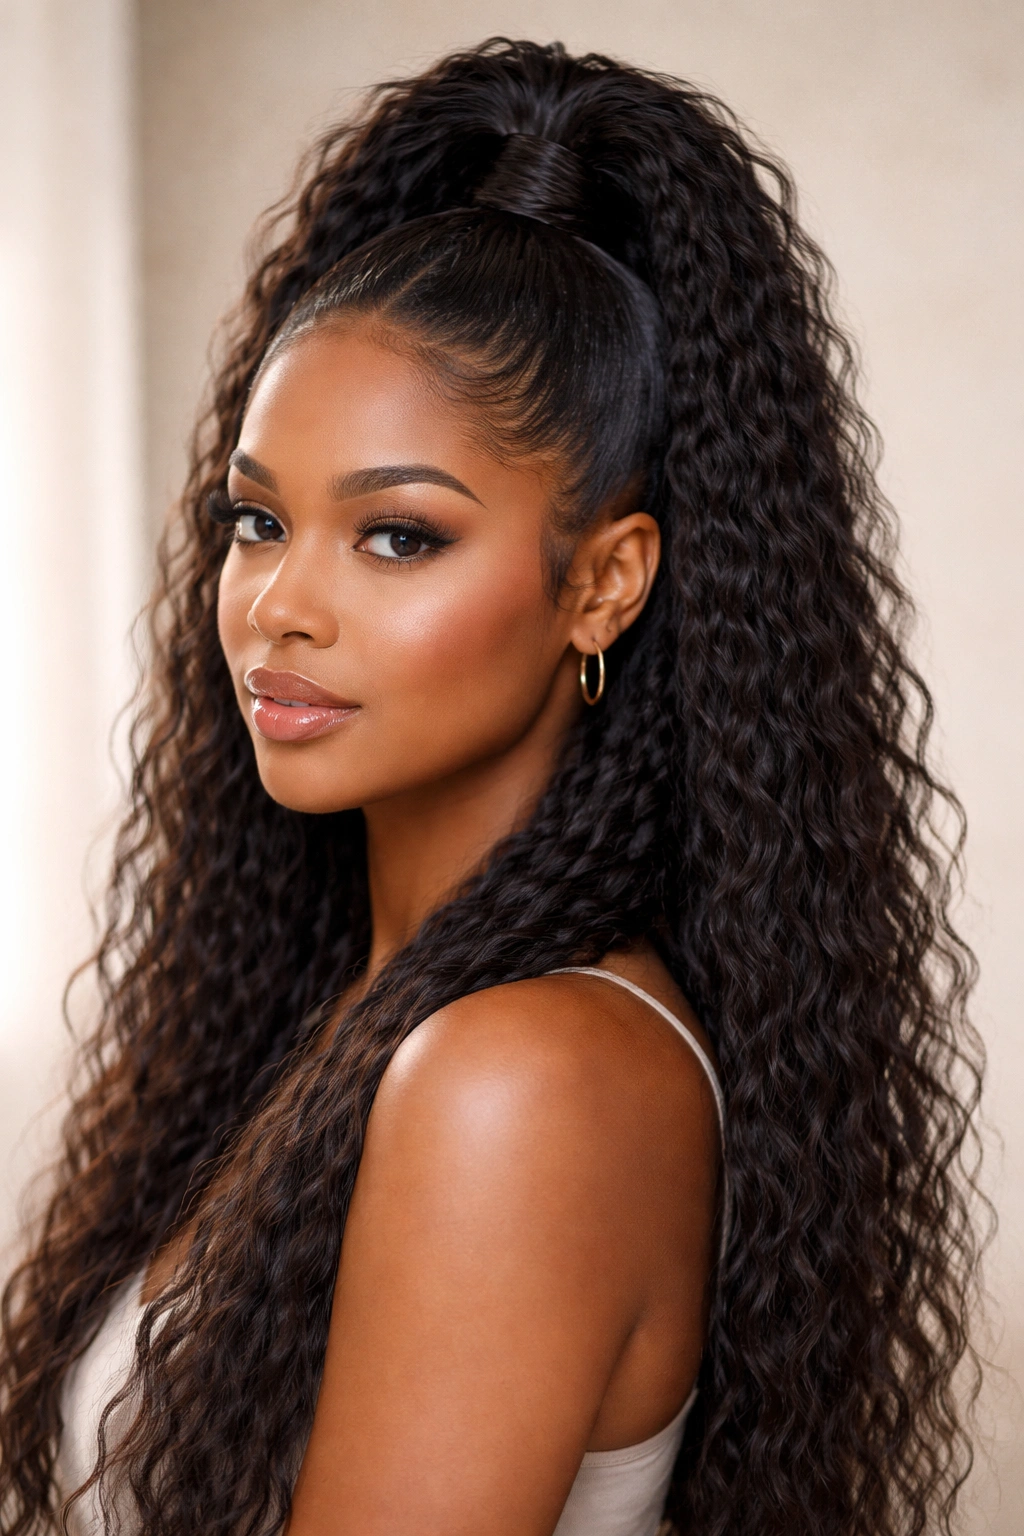
A half-up, half-down quick weave offers the best of both worlds. You get the sleek, polished aesthetic of a high ponytail or bun while still enjoying the cascading length of loose hair in the back. Because the style is bonded to a protective cap rather than your own hair, the tension is minimal, provided you’ve properly shielded your natural texture underneath. Whether you are looking for a sleek, glass-hair finish or a voluminous, curly look, these styles provide a reliable, low-effort way to switch up your appearance without the long-term commitment.
Before you begin any of these styles, the prep work is what separates a long-lasting, healthy install from a messy one. Always start with a freshly washed, deep-conditioned, and completely detangled base. If you aren’t using a protective mold—where you slick your natural hair down with a firm-hold gel and a stocking cap—you’re doing your hairline a disservice. A thick, double-layered protective cap is the non-negotiable barrier between your natural hair and the bonding glue. Once that base is dry and secure, the canvas is ready for these 22 adaptable styles.
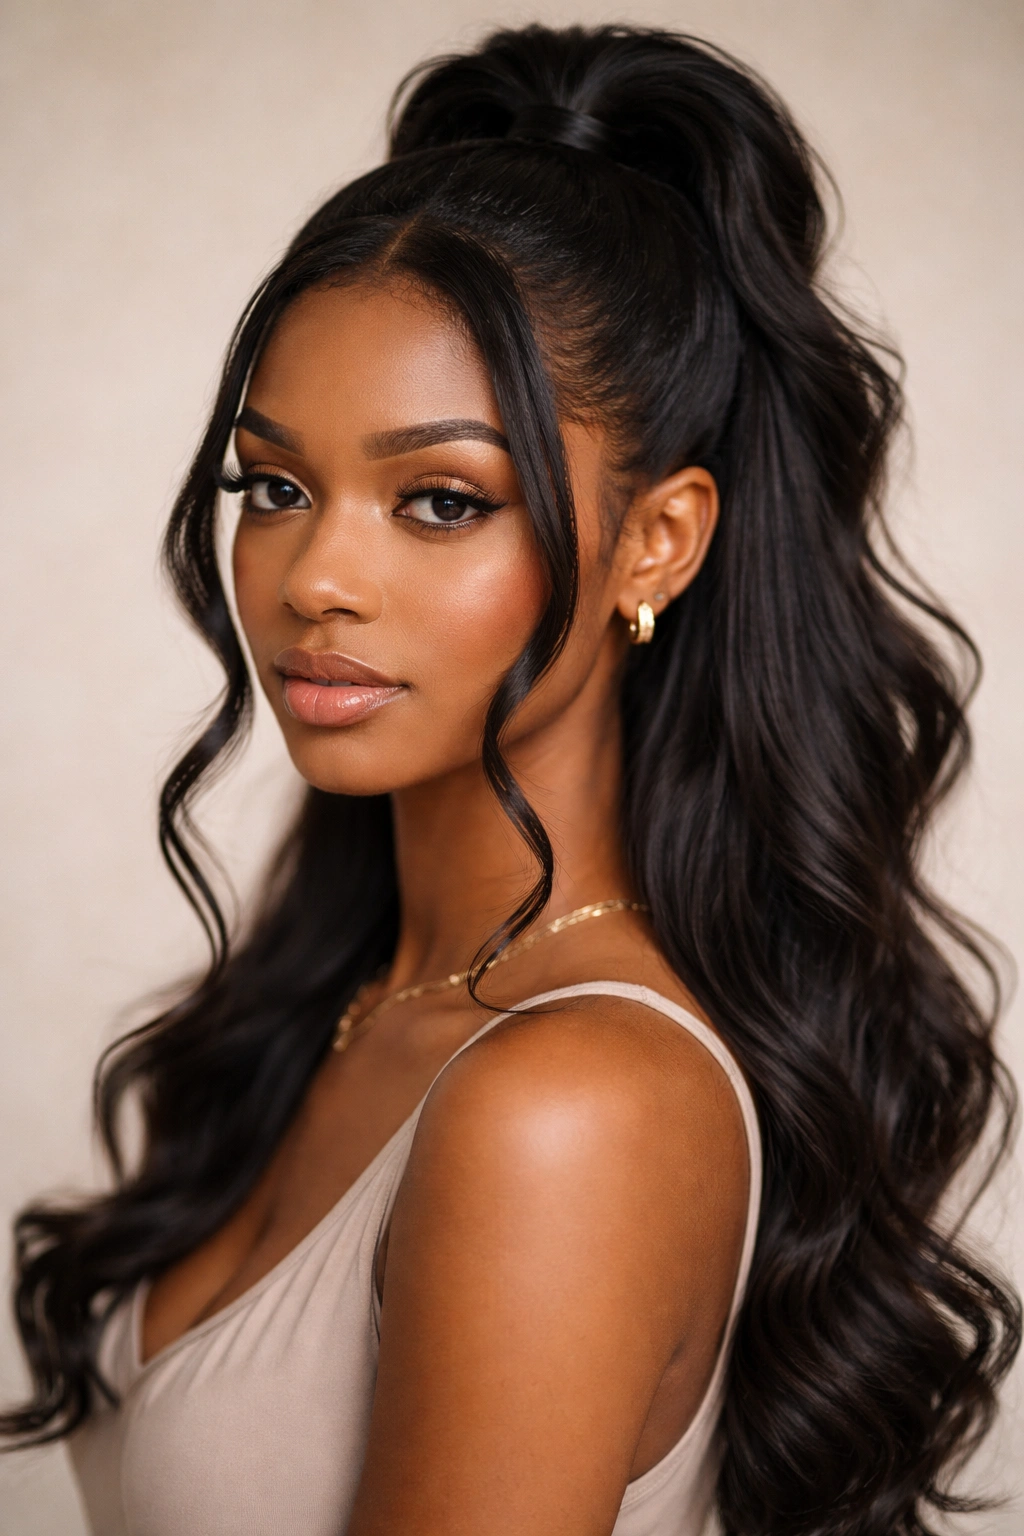
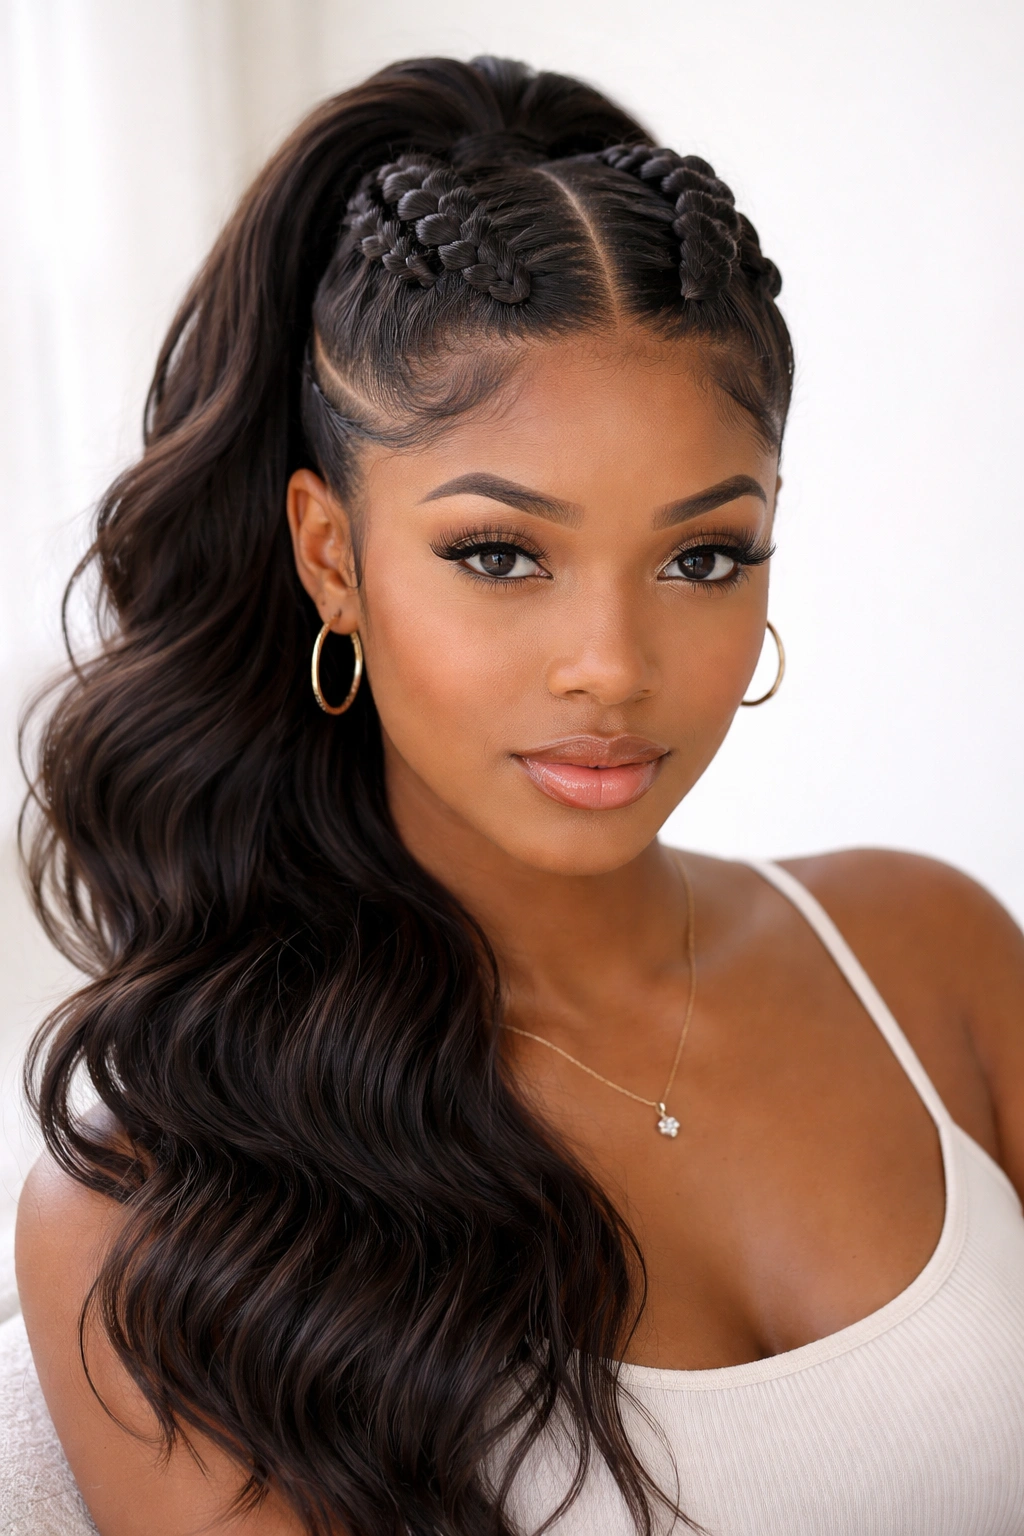
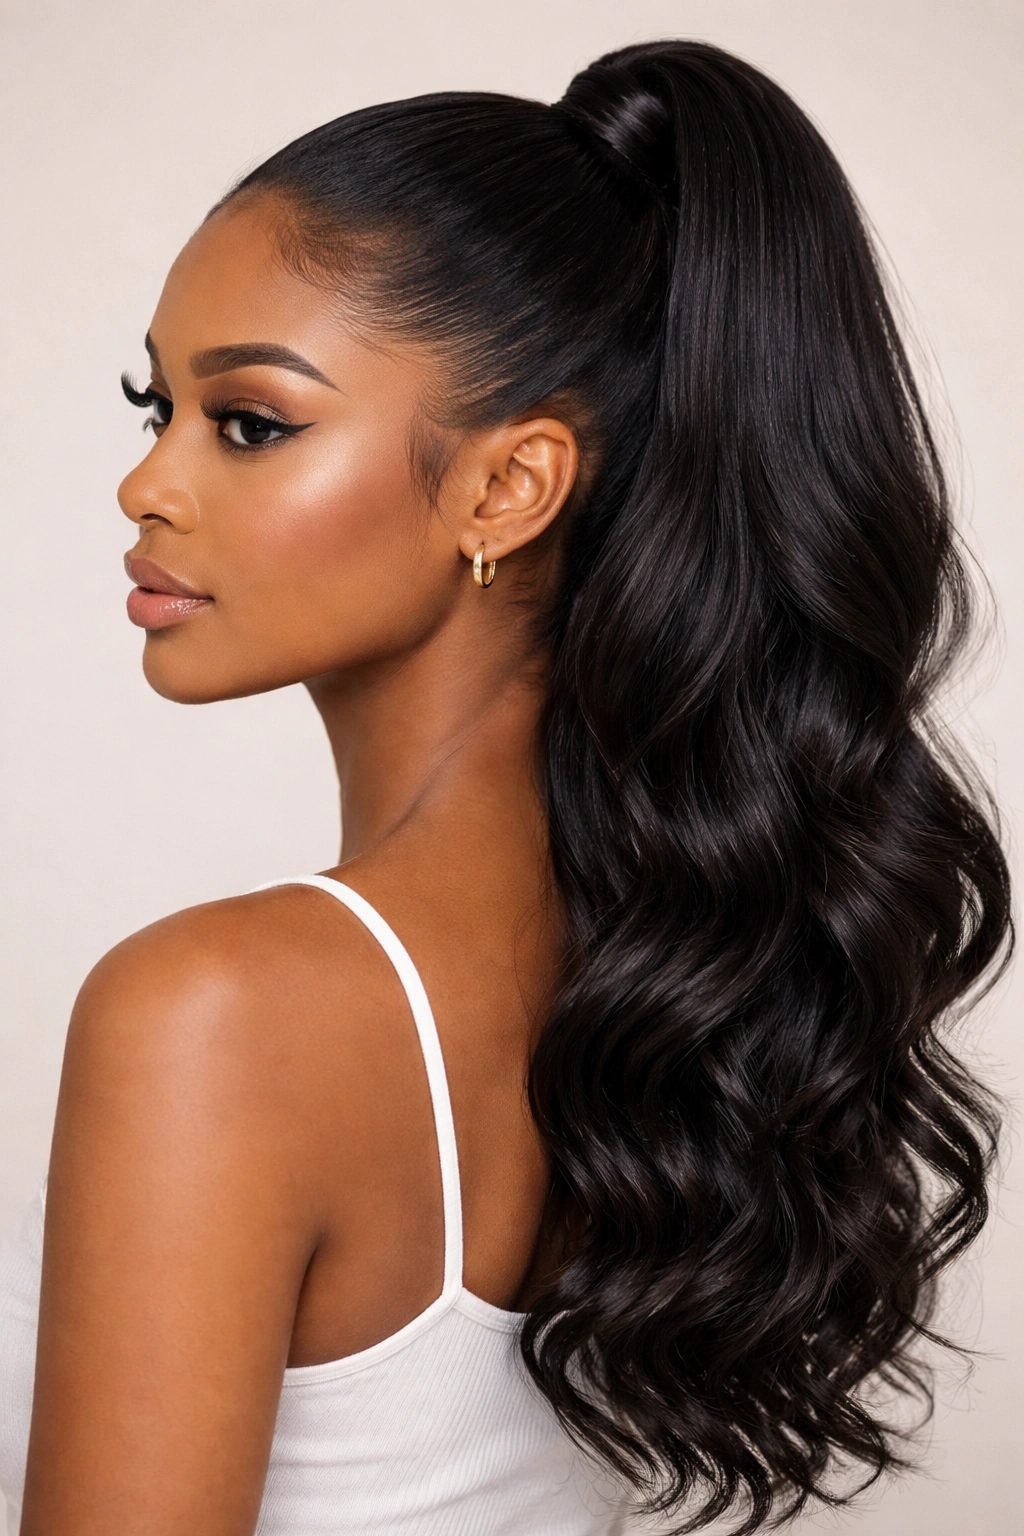
1. High Sleek Pony with Loose Waves
This is the quintessential look for those days when you need to appear put-together with minimal effort. The key here is the tension at the crown of your head. You want the ponytail to sit high enough to create an elongated silhouette but not so tight that it pulls at your hairline.
Achieving the Sleek Finish
- Use a high-quality edge control to lay your hairline completely flat before bonding the tracks.
- When applying the tracks for the ponytail section, start at the base of your chosen ponytail height and work in a circular pattern to create fullness.
- For the loose waves in the back, use a large-barrel curling iron to create soft, ribbon-like curls that fall toward your shoulders.
Pro tip: Use a small section of the weave hair to wrap around the base of the ponytail to hide the bonding line. It makes the entire style look like a professional salon install rather than a DIY project.
2. Curly Half-Up with Side Parts
Natural hair enthusiasts often lean toward curly textures because they mask imperfections in the track placement. This style works exceptionally well if you have curly bundles that match the volume of your natural hair. The deep side part adds a bit of asymmetry, which frames the face more dynamically than a standard center part.
Why It Works for Daily Wear
This look relies on the “messy but intentional” vibe. Because the curls are voluminous, you don’t need the transition between your leave-out and the weave to be perfectly seamless. Use a wide-tooth comb to gently fluff the roots of the extensions after you have bonded them, ensuring that the tracks are completely hidden by the volume of the hair.
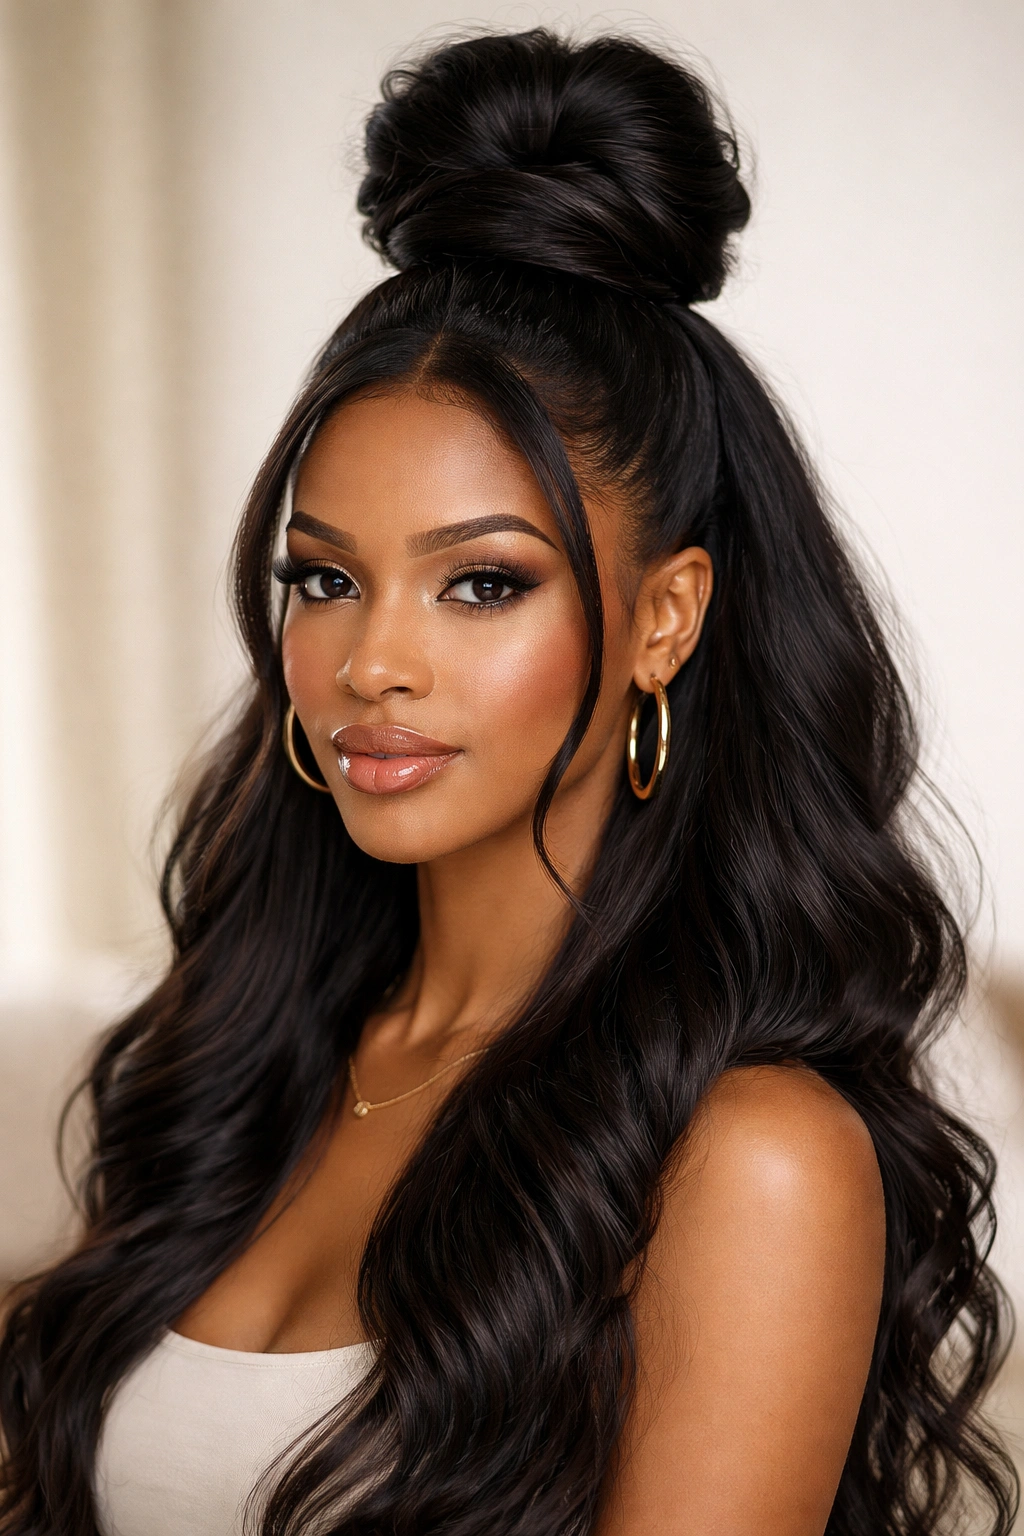
3. The Classic Messy Bun
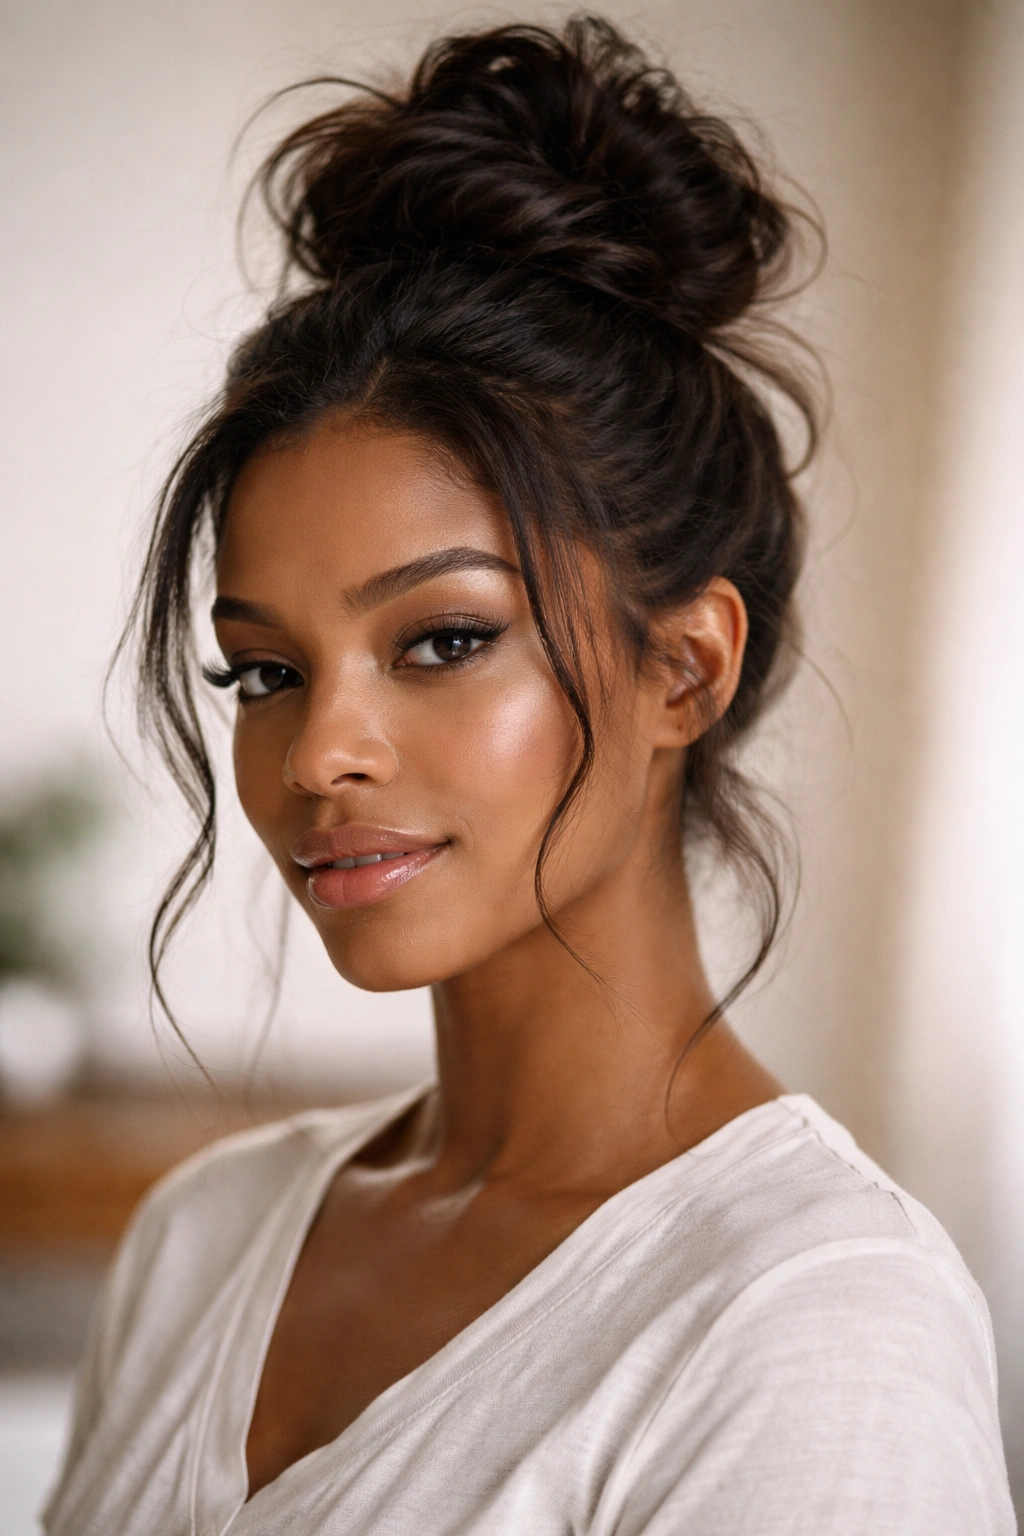
Sometimes you just want the hair off your neck. The messy bun is a low-stress version of the high ponytail. Instead of pulling the hair tight into a rigid structure, you gather the top section and twist it loosely.
Construction Basics
- Bond the top tracks slightly closer together to create density at the crown.
- Use a snag-free hair tie to gather the top section.
- As you wrap the hair into a bun, pull out a few loose strands near your temples to soften the look.
The beauty of this style is that it becomes more charming as the day goes on. If it gets a little looser or more textured, it only adds to the aesthetic. This is a great choice if you are heading to a workout or running errands where you don’t want to worry about maintaining perfect straightness.
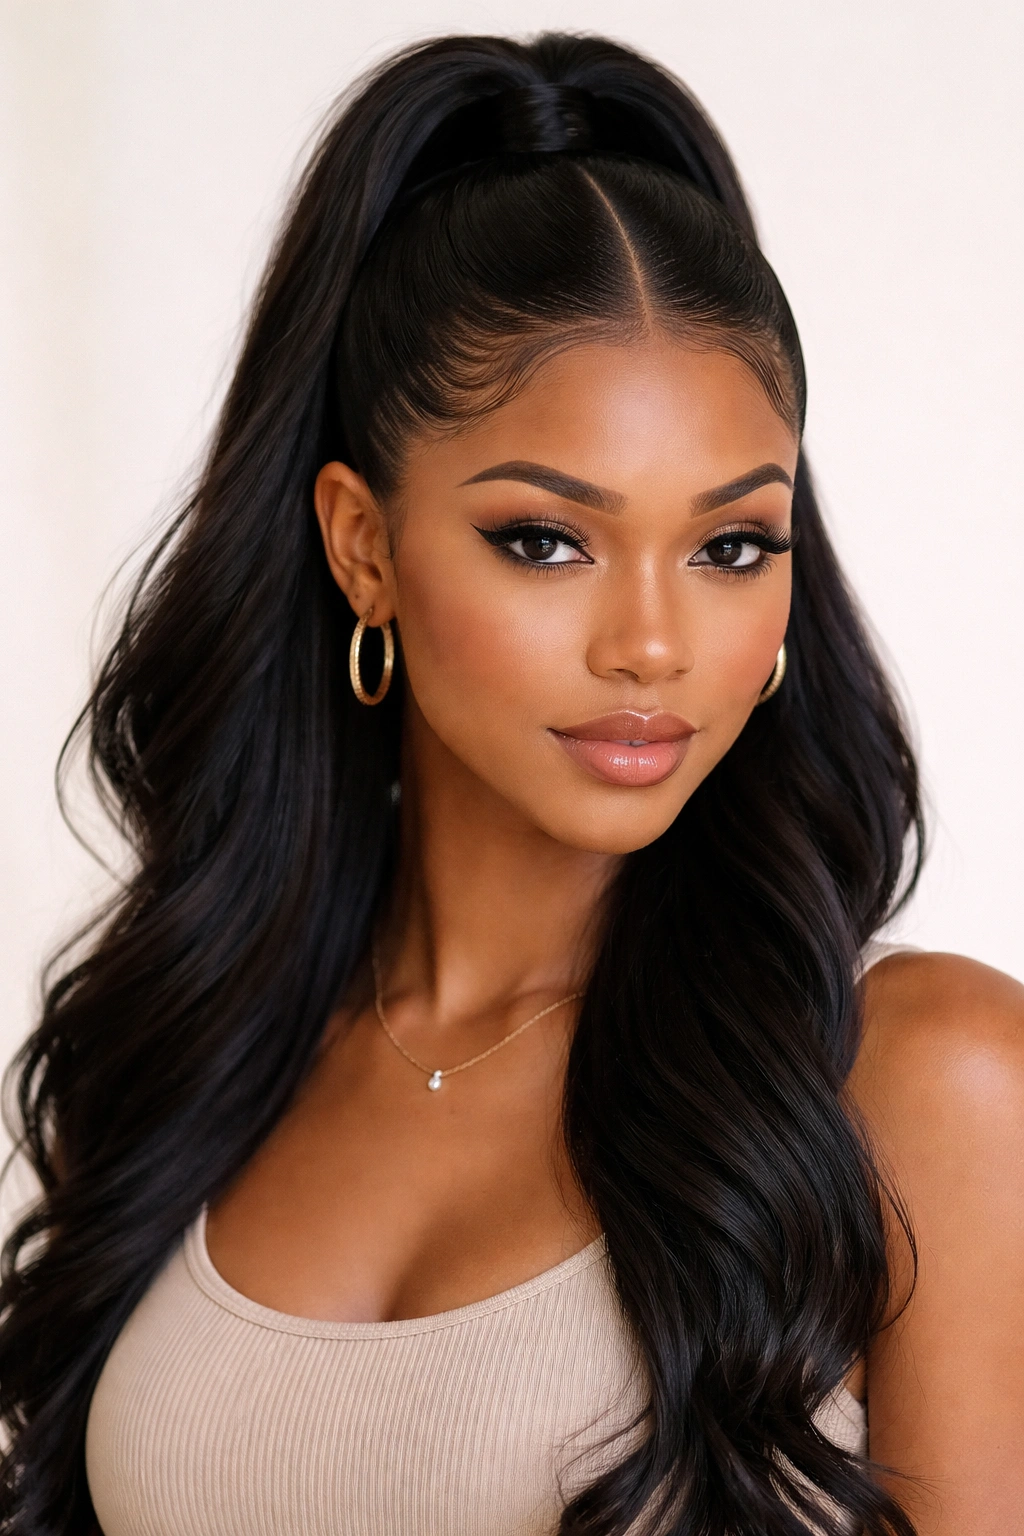
4. Deep Side Part with Bone Straight Strands
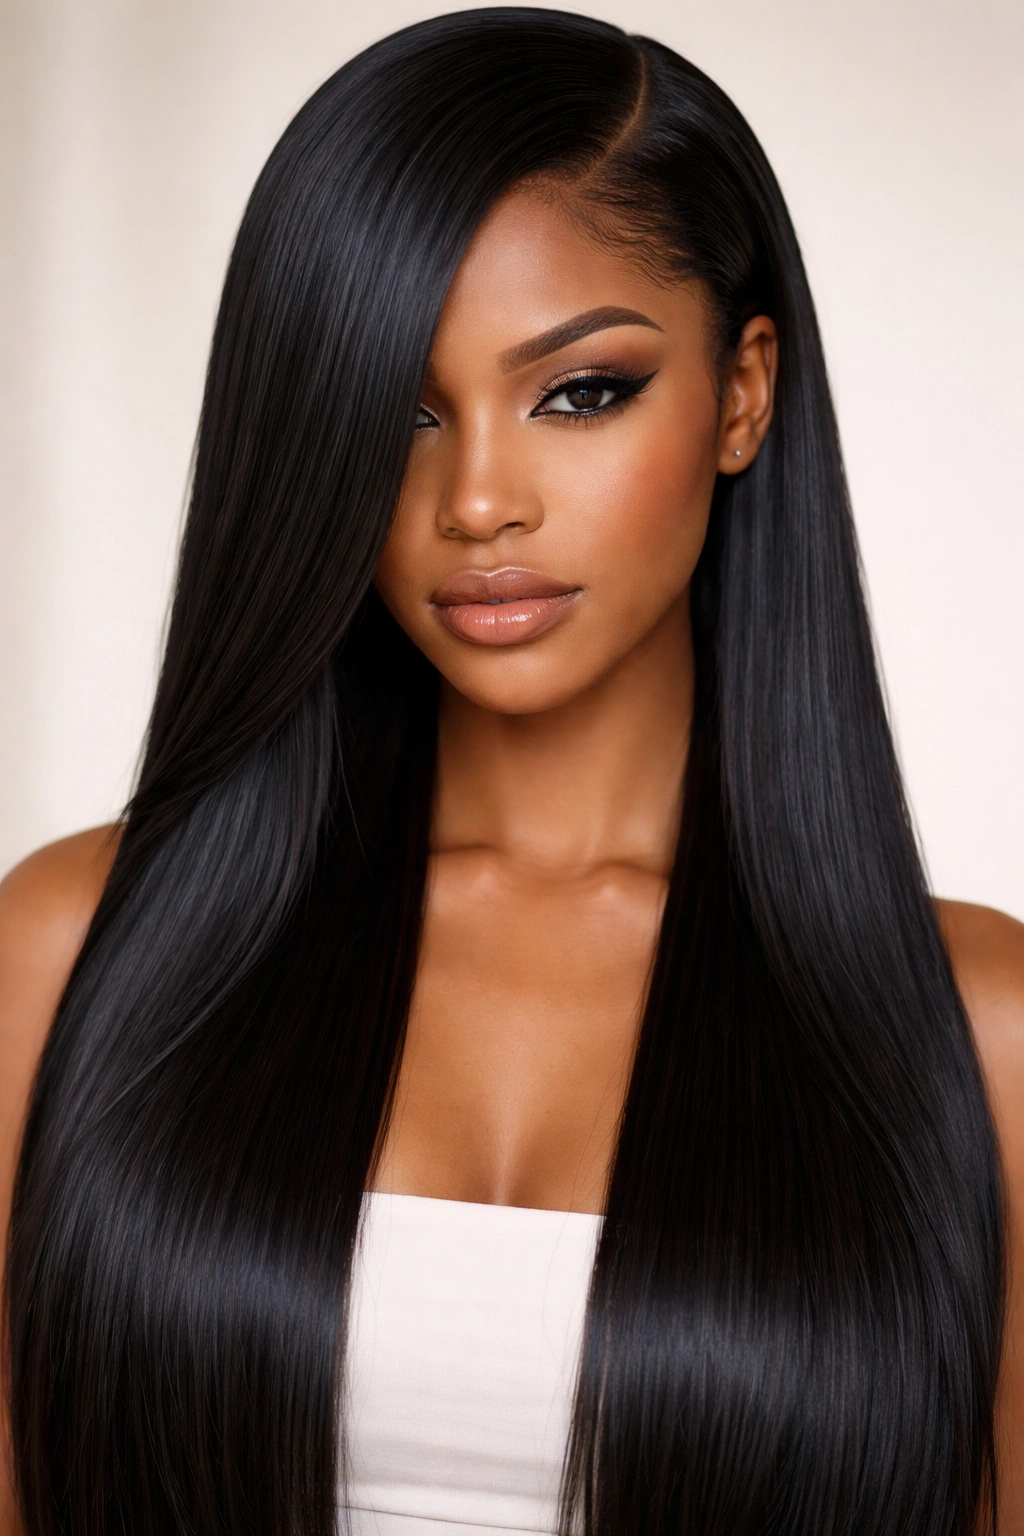
If you love the “glass hair” look, this is your go-to. The deep side part creates a dramatic sweep across the forehead, which can be incredibly flattering. To pull this off with a quick weave, the track placement has to be very precise.
The Technical Requirements
- You must bond the tracks in a way that respects the direction of the part.
- Avoid heavy products near the part line; a lightweight heat protectant spray is all you need to keep the hair looking shiny and fluid.
- Use a flat iron with titanium plates to get that ultra-straight finish.
If the tracks feel a bit bulky at the part, use a small pair of thinning shears to feather the hair right at the crown. This breaks up the bluntness and makes the hair lay flat against your head.
5. Half-Up Bantu Knots
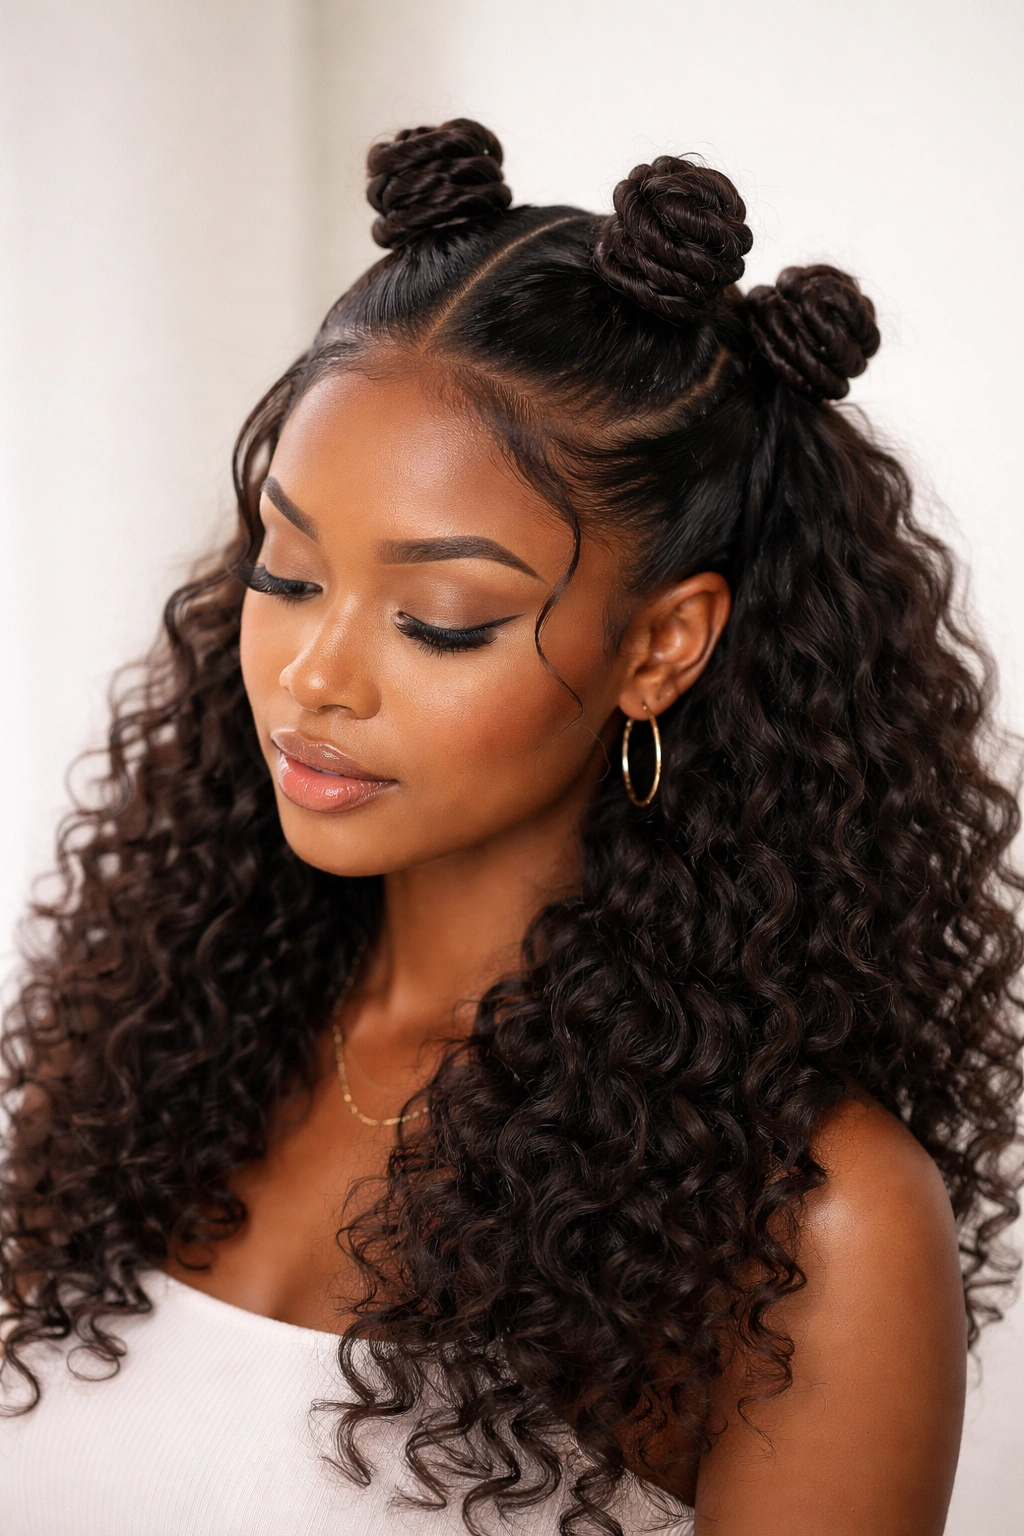
Bantu knots bring a cultural edge to the half-up, half-down silhouette. You can achieve this by taking the top section of your quick weave and dividing it into two or three small sections, twisting them tightly until they coil into knots.
Essential Styling Steps
- Secure the knots with bobby pins that match your hair color.
- Make sure the tracks are bonded in a circular motion around the crown area so that when you lift the hair, no tracks are visible.
- Leave a few pieces of curly or wavy hair out in the back to provide a nice contrast to the structured knots on top.
This style is perfect for warmer weather. It keeps the hair off your face while still allowing you to show off the length of the extensions in the back.
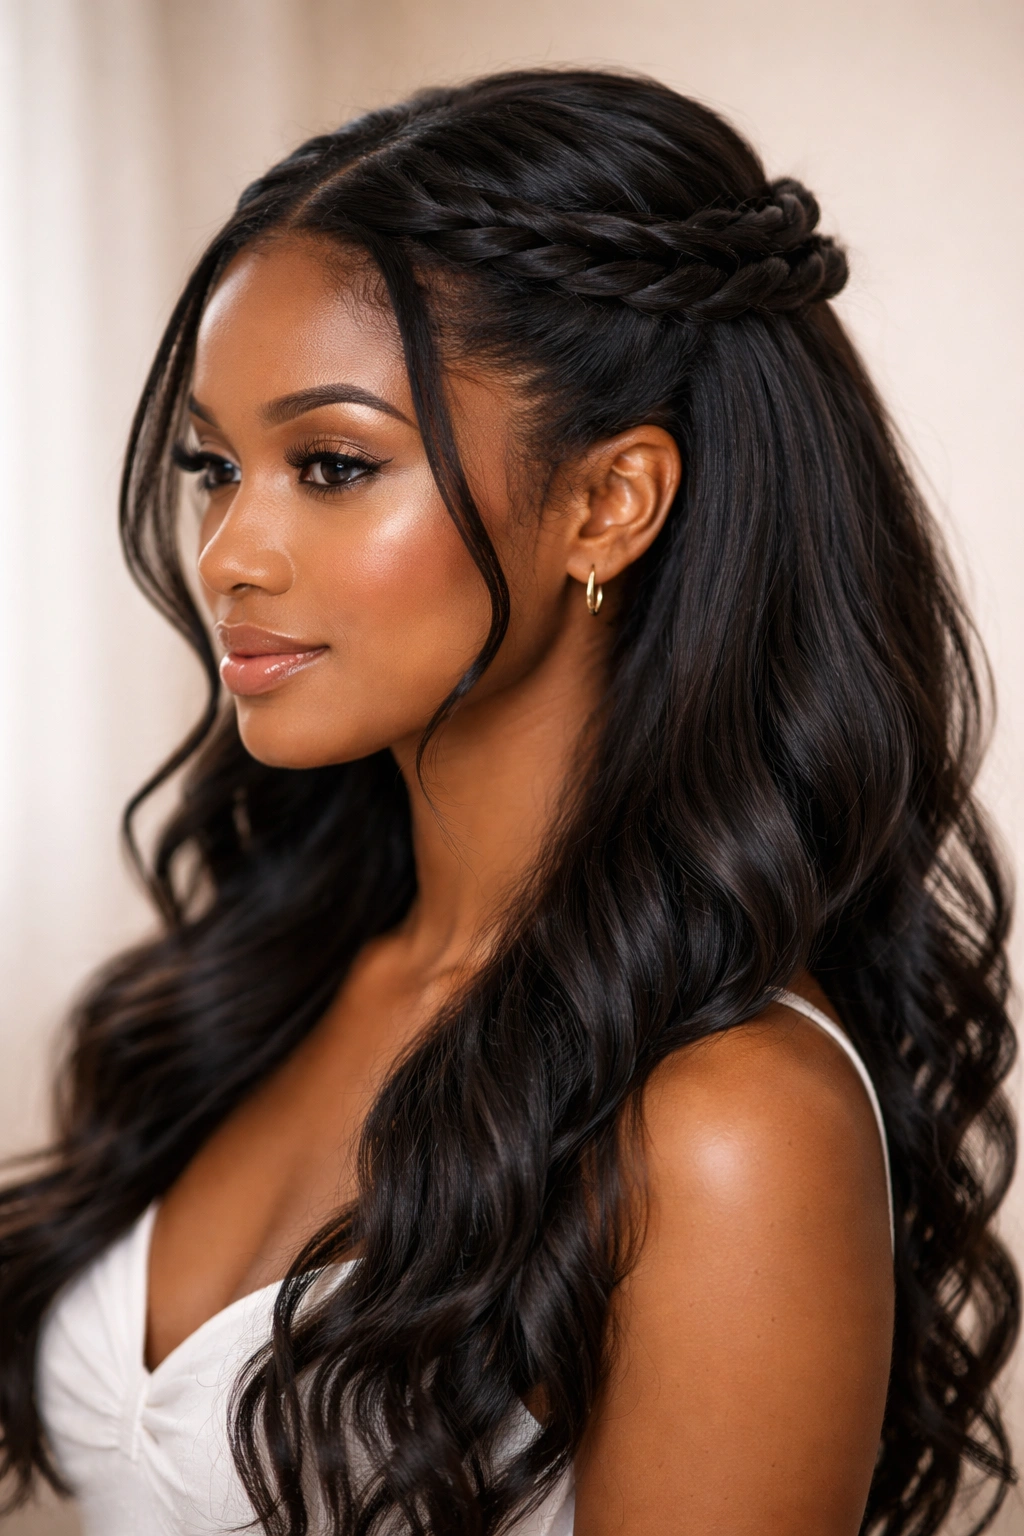
6. Boho Braided Crown
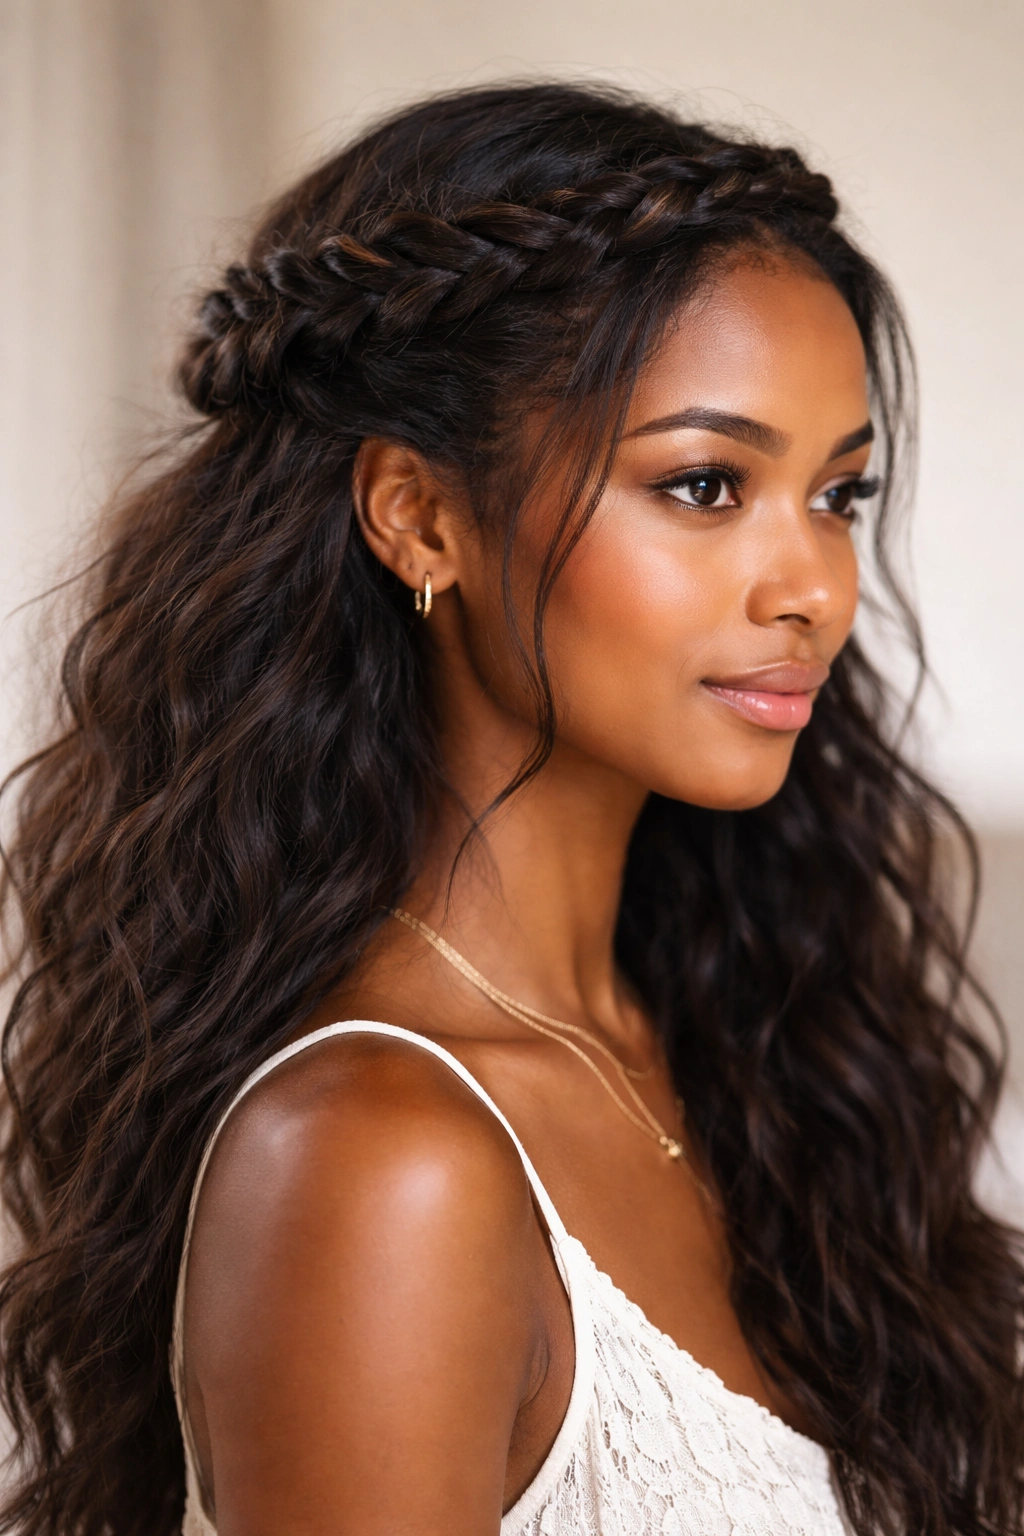
This style incorporates a braid across the top of your head, creating a crown effect. It is a fantastic way to hide the transition point between the bonded tracks and your own hairline.
The Braiding Process
- Start a Dutch braid or a simple three-strand braid from one ear, working across the top of your head to the other ear.
- If you aren’t skilled at braiding on your own head, you can pre-braid a small strip of hair and attach it like a headband, though manual braiding is usually more secure.
- Pin the end of the braid under the hair in the back so it looks seamless.
The boho look is defined by slight imperfections. Don’t worry about getting the braid perfectly tight. Pulling at the loops of the braid to make it look fuller and thicker is actually a part of the technique.
7. The Butterfly Clip Look
The nineties are back in full force, and butterfly clips are the simplest way to add personality to a half-up, half-down weave. This style is best done with straight or slightly wavy hair.
How to Style It
- Gather the top section of the hair.
- Instead of using a hair tie, secure the section using four or five small butterfly clips placed in a row or in a scattered pattern.
- This creates a soft, whimsical look that draws the eye upward.
Because the clips provide the structure, you don’t need a heavy elastic band. This makes the style very comfortable for all-day wear. It works exceptionally well with shorter-to-medium length bundles.
8. Half-Up with Face-Framing Tendrils
Face-framing pieces are a simple way to soften any hairstyle. When doing a half-up, half-down look, you can section off two small pieces of hair from the very front of the crown and let them hang loose while pulling the rest of the hair into a bun or ponytail.
Why It Works
- The tendrils draw attention to your cheekbones and jawline.
- It prevents the “pulled back” look from appearing too severe or harsh.
- You can curl these tendrils with a small wand to give them a little bounce, which adds a flirty element to the overall style.
Keep the tendrils thin. If you grab too much hair, it will look like you forgot to include those pieces in your ponytail, rather than a deliberate stylistic choice.
9. Double Top Knots
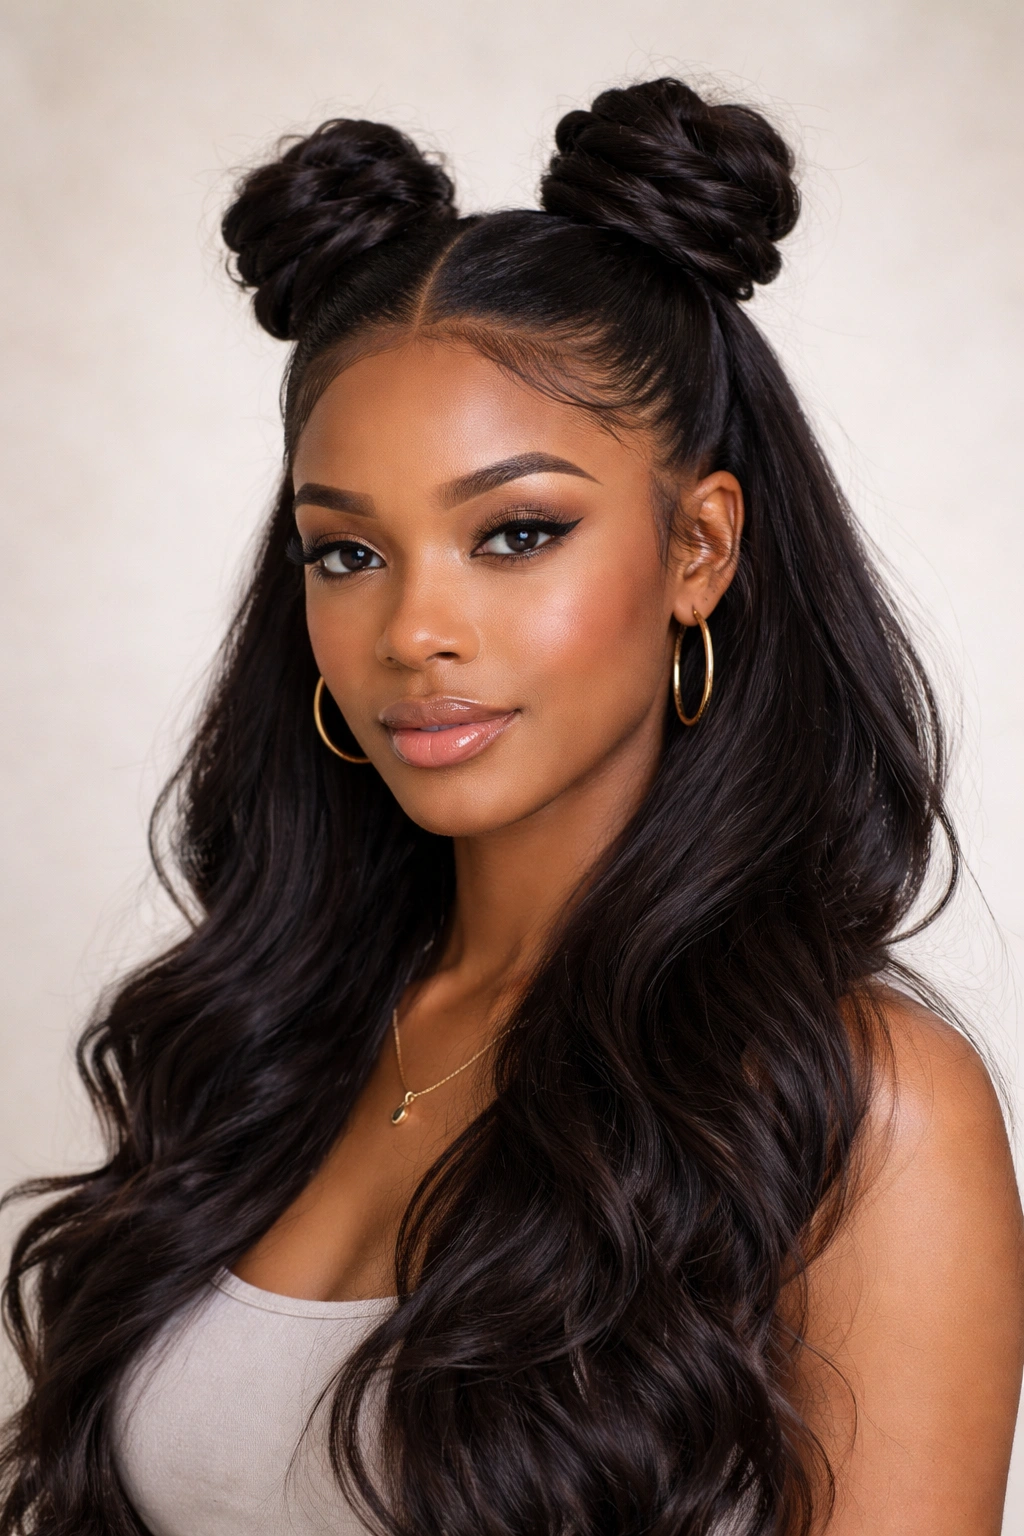
Also known as “space buns,” double top knots are playful and fun. They work surprisingly well with quick weaves because you can build up the volume in the buns using the hair tracks.
Construction and Tips
- Divide the top section into two equal parts.
- Twist each section into a tight bun and secure it with a hair tie or pins.
- You can leave some hair flowing down from the back of the buns or tuck all the top hair away for a clean aesthetic.
If your bundles are very long, the weight of the two buns might feel heavy. Use a few extra bobby pins at the base of the buns to distribute the weight and keep them from slipping downward during the day.
10. Criss-Cross Braid Detailing
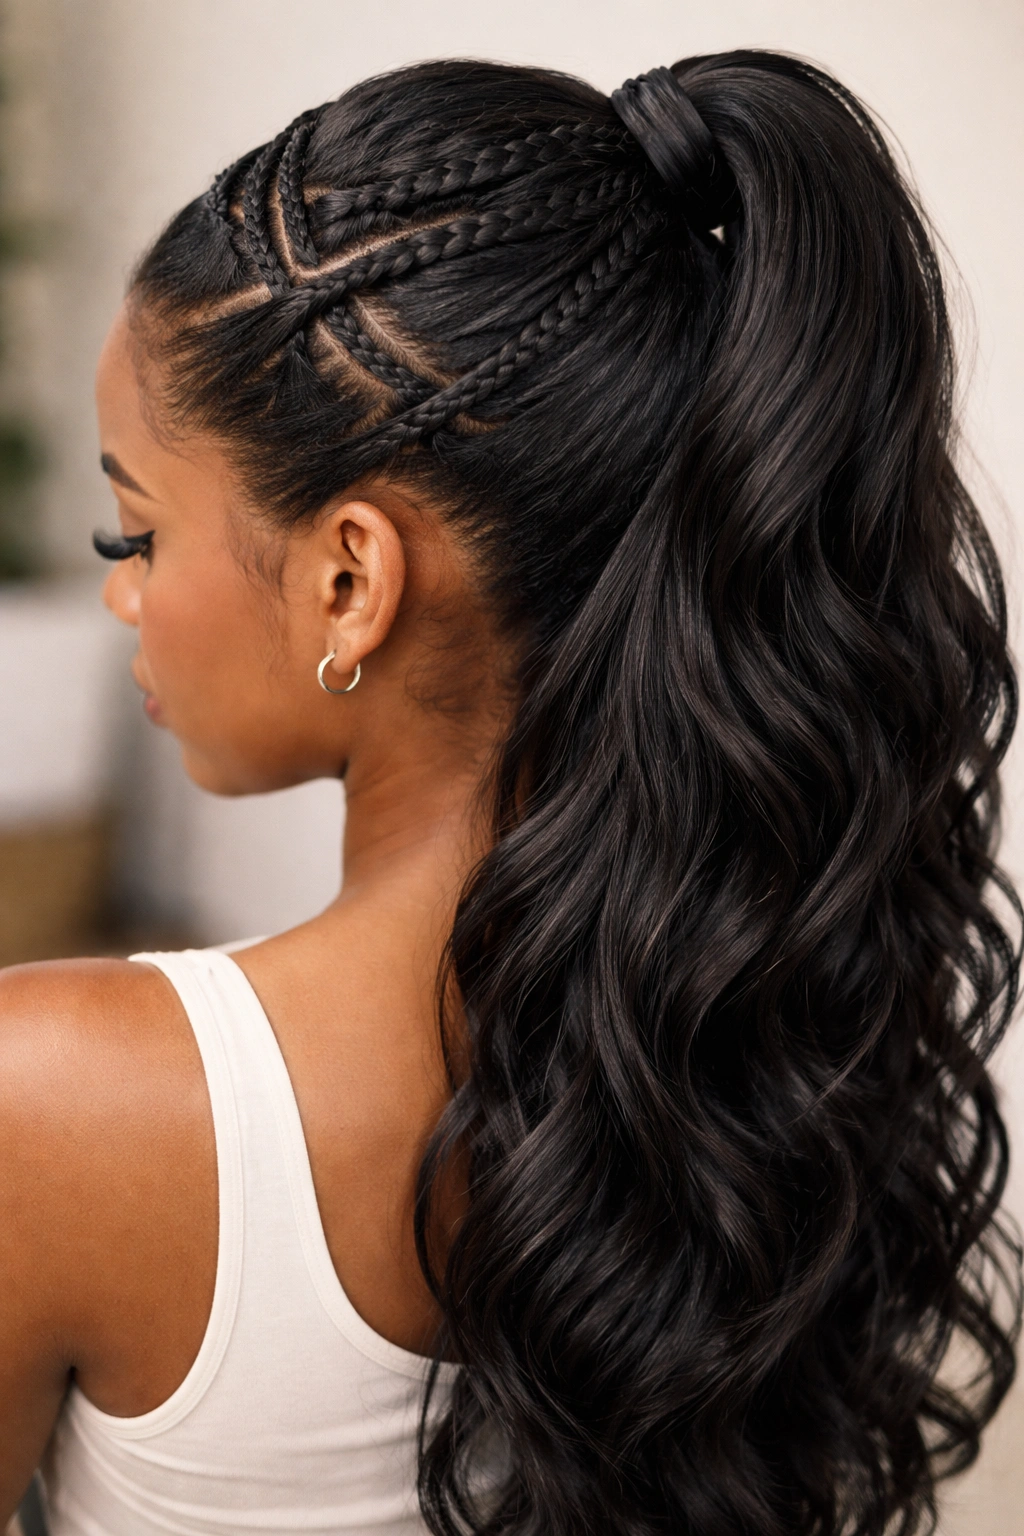
This style involves creating a series of small, criss-crossing braids across the top section before gathering the rest of the hair into a ponytail. It adds visual complexity that makes the hairstyle look much more expensive and time-consuming than it actually is.
Execution Strategy
- Create four small, diagonal cornrows or flat twists on the top of your head.
- Have them intersect or cross over each other before meeting at the center point where the ponytail will sit.
- The rest of the tracks in the back should be bonded to fall naturally.
This is a great technique to use if your leave-out is minimal or if you want to protect your natural hair in the front section while the weave is installed.
11. Half-Up with Wispy Bangs
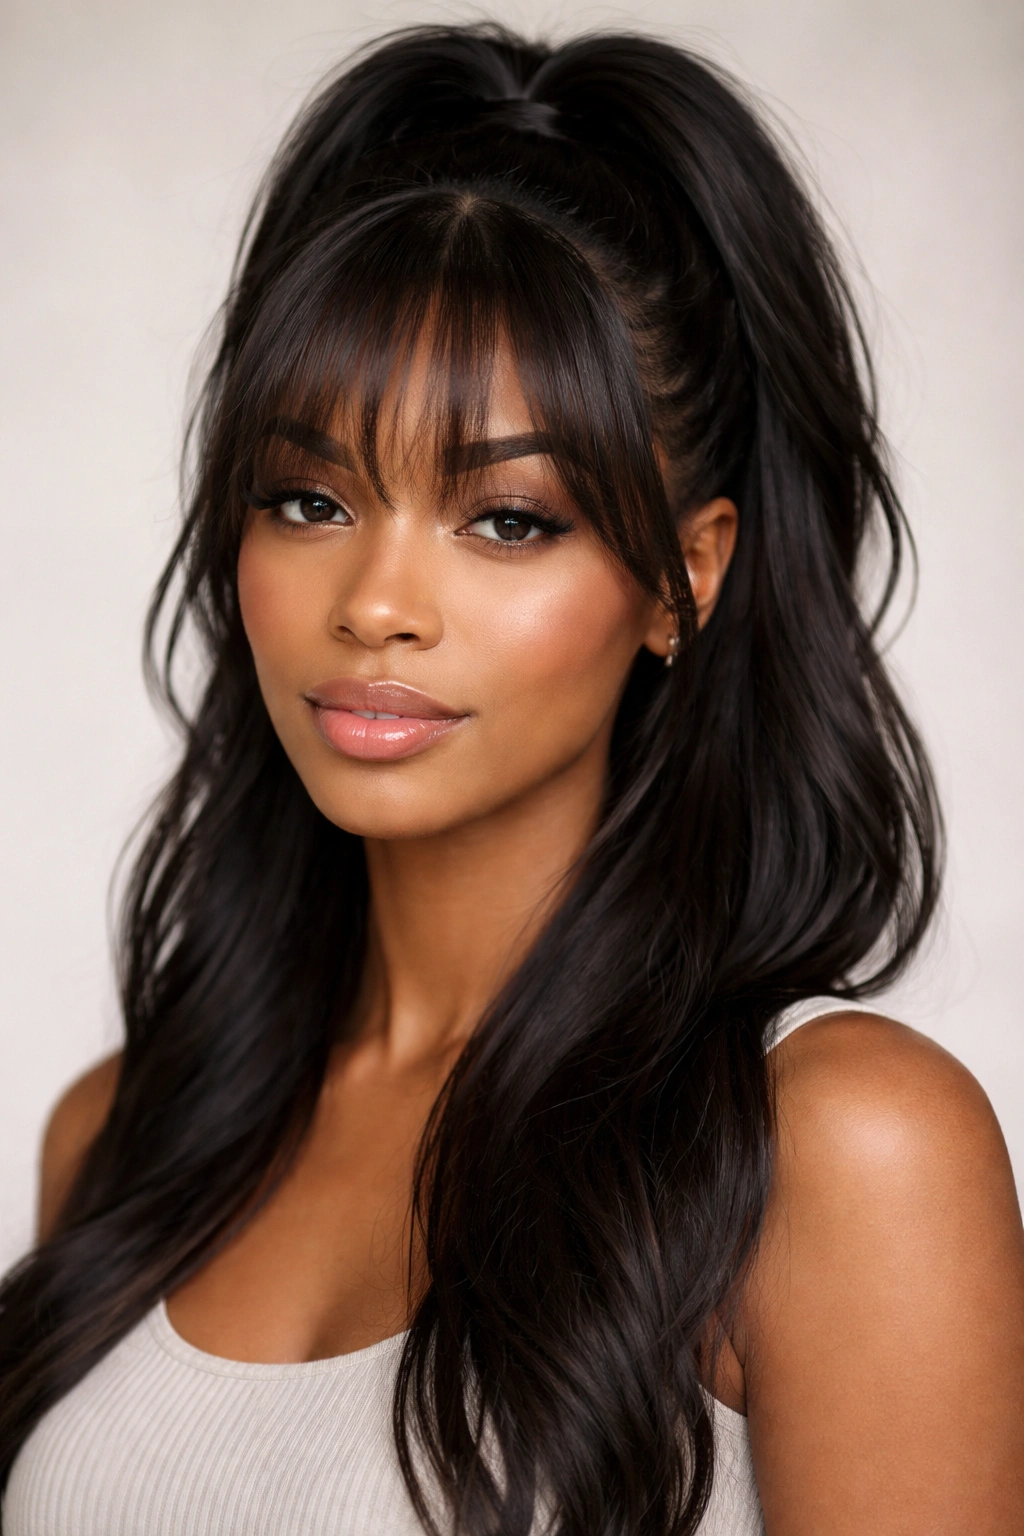
Wispy bangs can change your entire face shape. If you have a quick weave with a closure or a frontal, this is easy to achieve. If you are using a standard track install, you might need a piece of hair that can be cut into bangs.
Cutting and Maintenance
- Only cut your bangs when the hair is dry and flat-ironed straight.
- Use a razor rather than scissors for a softer, more feathered look.
- If you mess up, you can always wear the bangs swept to the side, but start by trimming less than you think you need.
Bangs require frequent maintenance. You will need to keep them trimmed and dust them with a little dry shampoo to prevent them from getting oily against your forehead.
12. The Claw Clip Half-Up
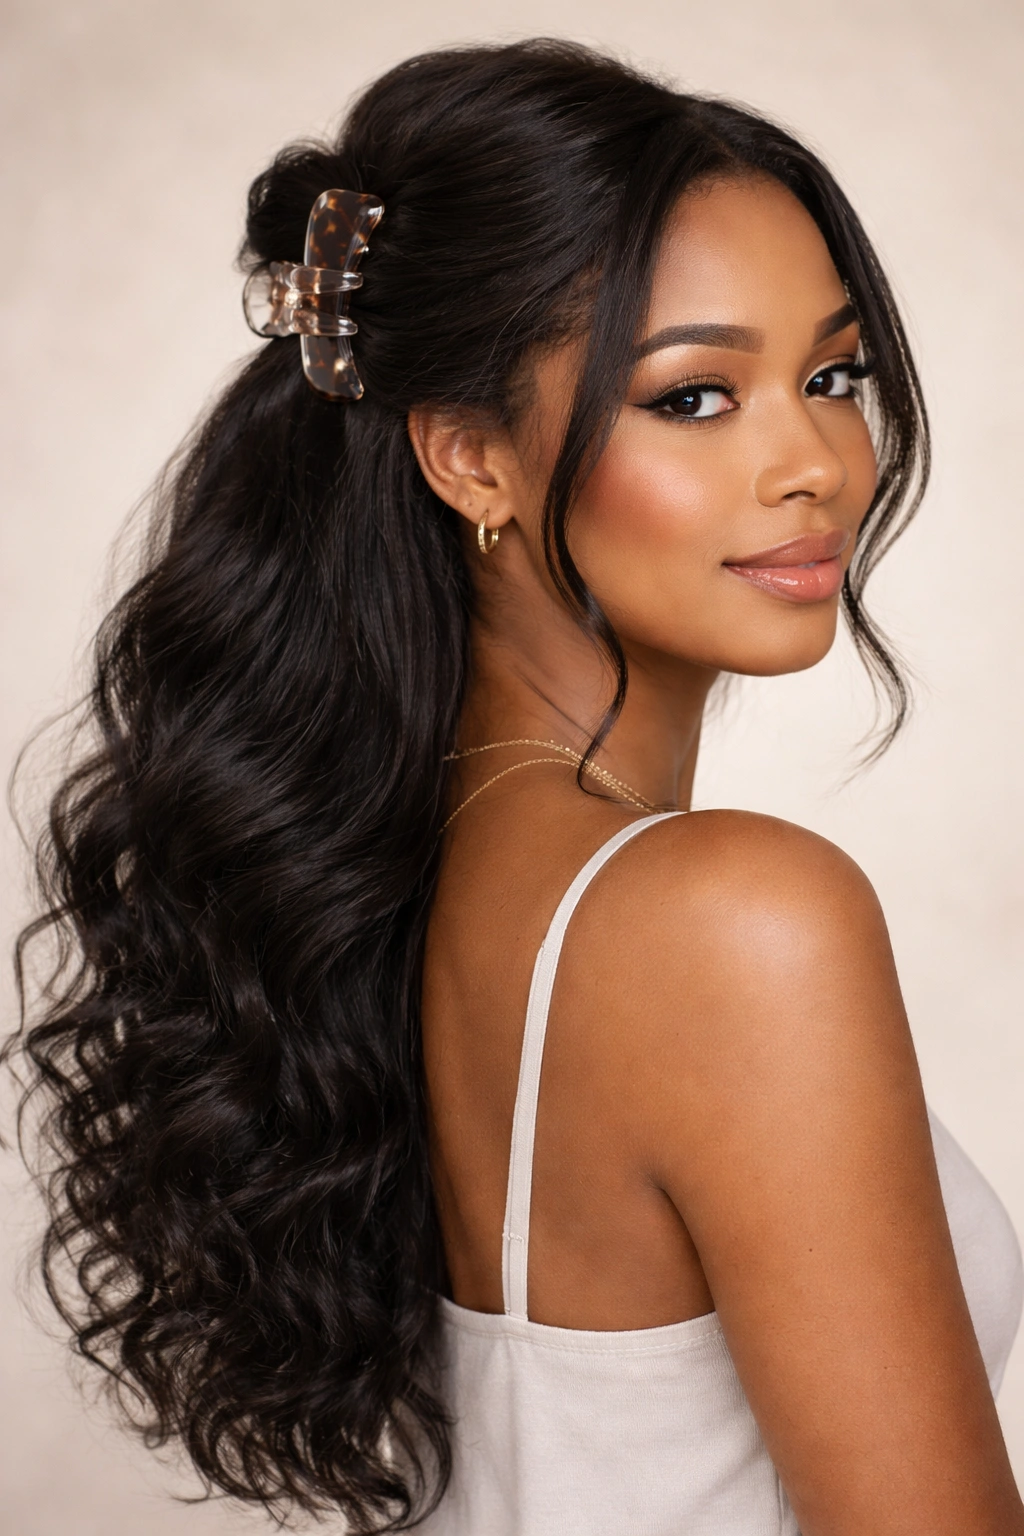
Claw clips have largely replaced hair ties for many people because they cause significantly less breakage. For a quick weave, a large claw clip can hold a significant amount of hair, which makes it perfect for full, thick bundles.
The Method
- Gather the top half of the hair and twist it slightly.
- Open the claw clip and secure it over the twist.
- This creates a soft, voluminous waterfall effect in the back.
The best part of this style is that it is completely heat-free for your natural hair. You can put this in and take it out in under a minute without damaging your edges.
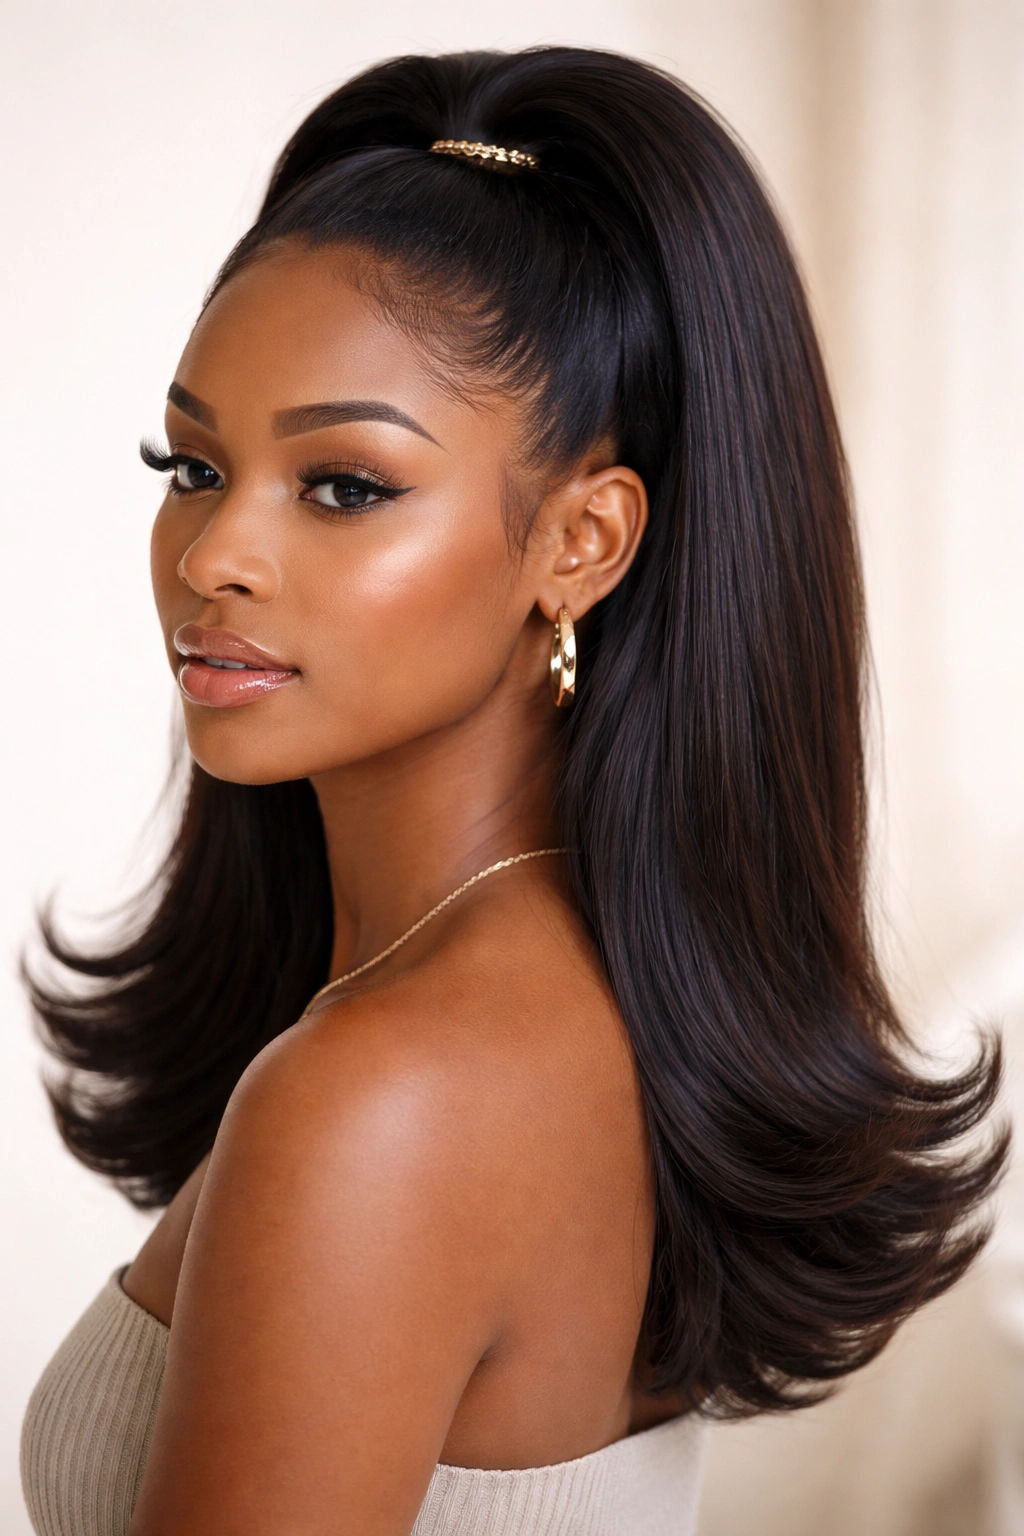
13. Sleek Low Ponytail Half-Up
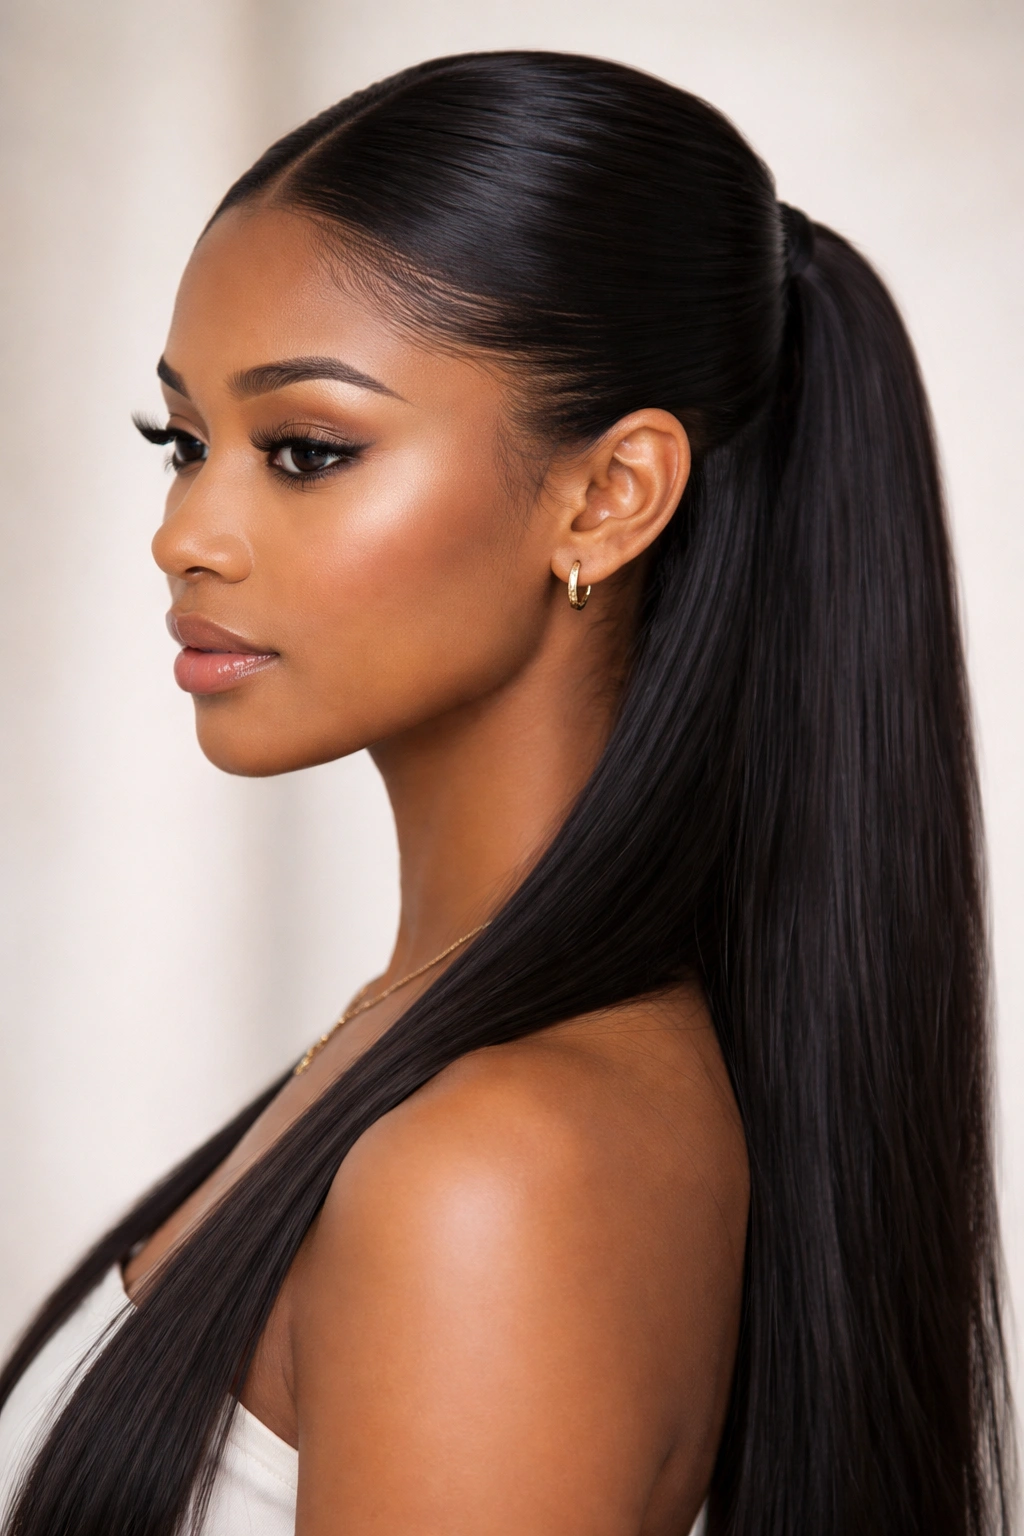
While most half-up styles focus on the crown, a low-slung half-up look is sophisticated and understated. This is ideal for professional environments.
Achieving the Professional Look
- Part the hair horizontally from ear to ear.
- Bring the top section down toward the nape of your neck, just above the rest of the weave.
- Secure it with a small elastic.
- You can wrap a small piece of hair around the elastic to cover it.
This style is particularly effective if you have long, straight hair, as it emphasizes the length and the sleekness of the cut.
14. Half-Up with Micro-Braids
Micro-braids are tiny, thin braids that add texture throughout the hair. By incorporating a few of these into your half-up style, you create a look that feels more intricate and styled.
Placement Matters
- Braid two or three small sections near the front of your face.
- Pull these braids back along with the rest of the hair for the half-up section.
- You can leave a few micro-braids loose in the back to hang with the rest of the hair for added interest.
Micro-braids are also a great way to hide a section of hair where the tracks might be slightly visible. They act as a camouflage for the installation.
15. The Bubble Ponytail Half-Up
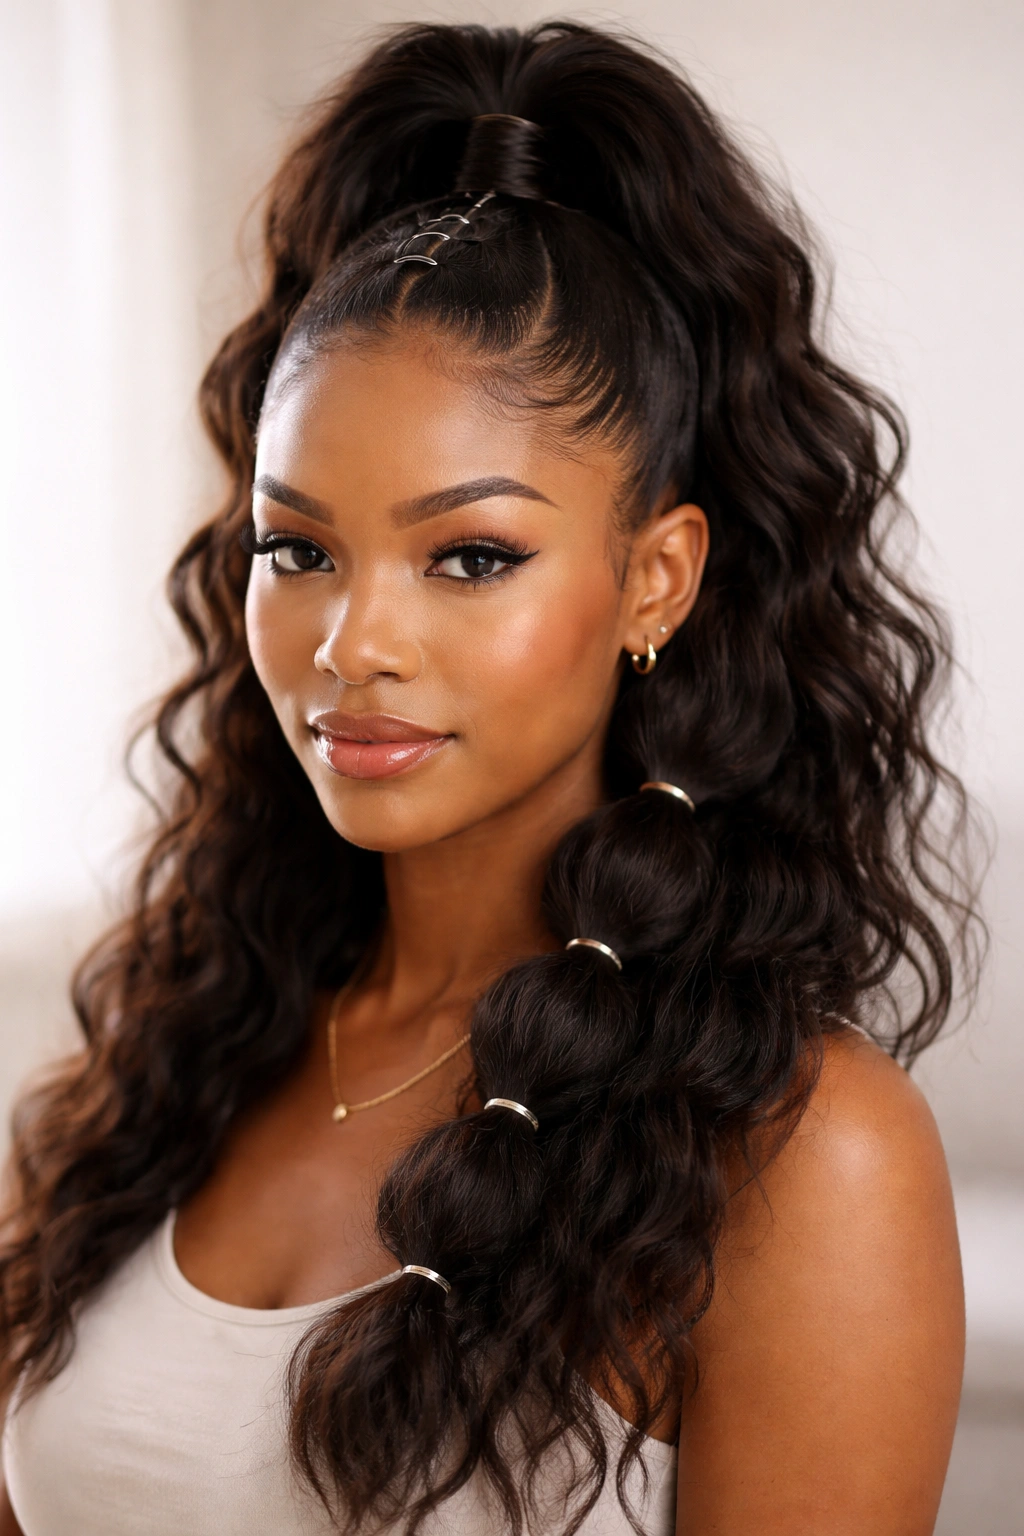
The bubble ponytail is a playful trend that involves creating “bubbles” of hair down the length of your ponytail. It is very easy to do with quick weaves because you can add extra track volume to make the bubbles look full and round.
How to Create the Bubbles
- Secure the top section into a high ponytail.
- Place small elastic bands every two inches down the length of the ponytail.
- Gently pull the hair between the bands to fluff them out and create the “bubble” effect.
This style works best with hair that has a bit of texture. If your hair is poker straight, make sure you add a little bit of hair spray to the sections to keep them from falling flat.
16. Voluminous Spiral Curls
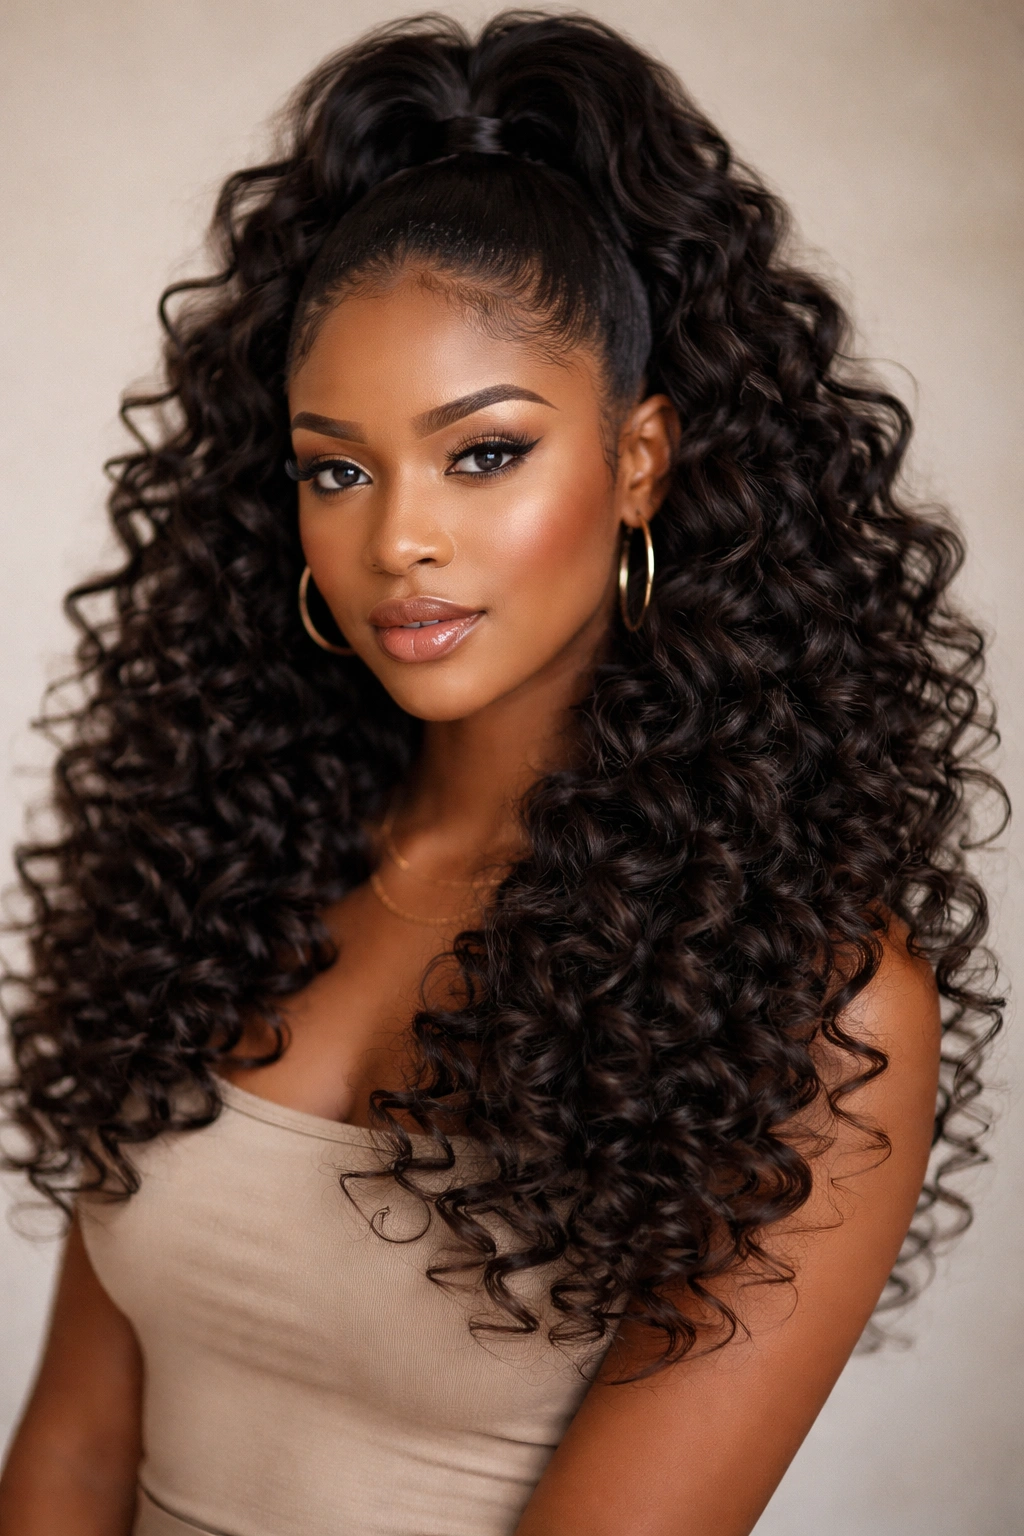
There is something timeless about a classic spiral curl. When paired with a half-up, half-down style, it provides a glamorous, red-carpet look that feels luxurious.
The Curling Technique
- Use a small-to-medium barrel curling iron to create tight, uniform spirals throughout the hair.
- After curling, don’t brush them out immediately; let them cool completely.
- Once cool, finger-comb them once or twice to separate the curls and create massive volume.
If you are using synthetic hair for your quick weave, ensure the hair is heat-resistant before applying high heat. Many synthetic bundles cannot handle the temperature required for tight curls.
17. Half-Up with Sleek Middle Part
A middle part is bold and symmetrical. In a half-up style, it creates a clean, classic look that works well with oval or heart-shaped faces.
Ensuring Symmetry
- Use the tail of a rattail comb to create a perfectly straight middle part from your hairline back to the crown.
- Use a smoothing pomade or a light wax stick to ensure the hair lies flat against your scalp on both sides of the part.
- If you have natural hair left out, ensure it is blended perfectly with the weave using a flat iron on a low setting.
The secret to this look is the flatness at the roots. If the roots are puffy, the middle part won’t have the desired sleek effect.
18. Twisted Crown Half-Up
Instead of a braid, you can create a crown effect using twists. This is often easier for beginners to master than braiding on their own heads.
The Twisting Method
- Section off hair from one temple.
- Divide it into two and twist the sections over one another, adding more hair as you go, just like a French braid.
- Once you reach the back, pin the twist securely.
- Repeat on the other side and meet them in the center.
Twists are softer and less structured than braids, making them an excellent choice for a romantic or ethereal aesthetic.
19. The Retro Flip
The “flip” has been a staple in hair styling for decades, where the ends of the hair are curled outward instead of inward. It is a very structured, polished look.
How to Style
- Once your weave is installed and straightened, use a round brush or a large curling iron to curl the ends of the hair upward and outward.
- Use a light-hold hairspray to set the flip.
- Pull the top half of the hair back with a decorative barrette to keep the focus on the flipped ends.
This look feels very vintage-inspired. It is an excellent departure from the standard “bone straight” or “curly” looks that most people default to.
20. Half-Up with Chunky Braids
Chunky braids provide a contrast to the rest of the hair. If you have long, flowing hair in the back, two thick Dutch braids on the top of your head create a strong visual statement.
Creating the Chunky Effect
- As you braid, pull the edges of the braid outward to make it look wider and flatter.
- This technique, known as “pancaking,” makes even thin hair look dense and luxurious.
- Secure the braids at the crown and let the ends blend into the rest of the ponytail.
This style is very sturdy. It can hold up to wind and movement, making it a great option for outdoor events or active days.
21. The Half-Up High Bun with Extensions
If your natural hair isn’t long enough to form a substantial bun on top of your head, a quick weave allows you to cheat. You can bond a few extra tracks to the very top section to give yourself the volume needed to create a large, impressive bun.
Building the Volume
- Create the bun first, then wrap an extra track around the base of the bun.
- Secure it with bobby pins.
- The extension hair adds the girth necessary for that high-fashion “top knot” look that usually requires massive amounts of natural hair.
Make sure you choose tracks that match the texture of your hair perfectly, otherwise the bun will look like two different types of hair mashed together.
22. Soft Crimped Texture Half-Up
Crimped hair is having a resurgence. It provides a lived-in, cool-girl texture that looks great with a half-up style.
The Crimping Technique
- Use a three-barrel crimping iron to get that distinct “zigzag” pattern through the hair.
- Because crimping creates so much volume, you don’t need much hair in the top section to make it look like a full style.
- Secure the top section with a simple hair tie and cover it with a piece of crimped hair for a polished finish.
Crimped hair can sometimes look dry, so use a light shine spray to keep the hair looking healthy and vibrant rather than dull and fried.
Final Thoughts
The beauty of a quick weave is its transient nature. You aren’t permanently locking yourself into a style, a color, or a length. It is a sandbox where you can play with different aesthetics without damaging your own hair, provided you respect the protective base and take care of your natural hair underneath. Whether you choose a simple claw-clip half-up or an intricate braided crown, the goal is always the same: to enjoy your hair, feel confident, and save time in your daily routine. Stick to the protective steps, be gentle during removal, and do not be afraid to switch up your texture when the mood strikes. Your hair is an accessory—have fun with it.