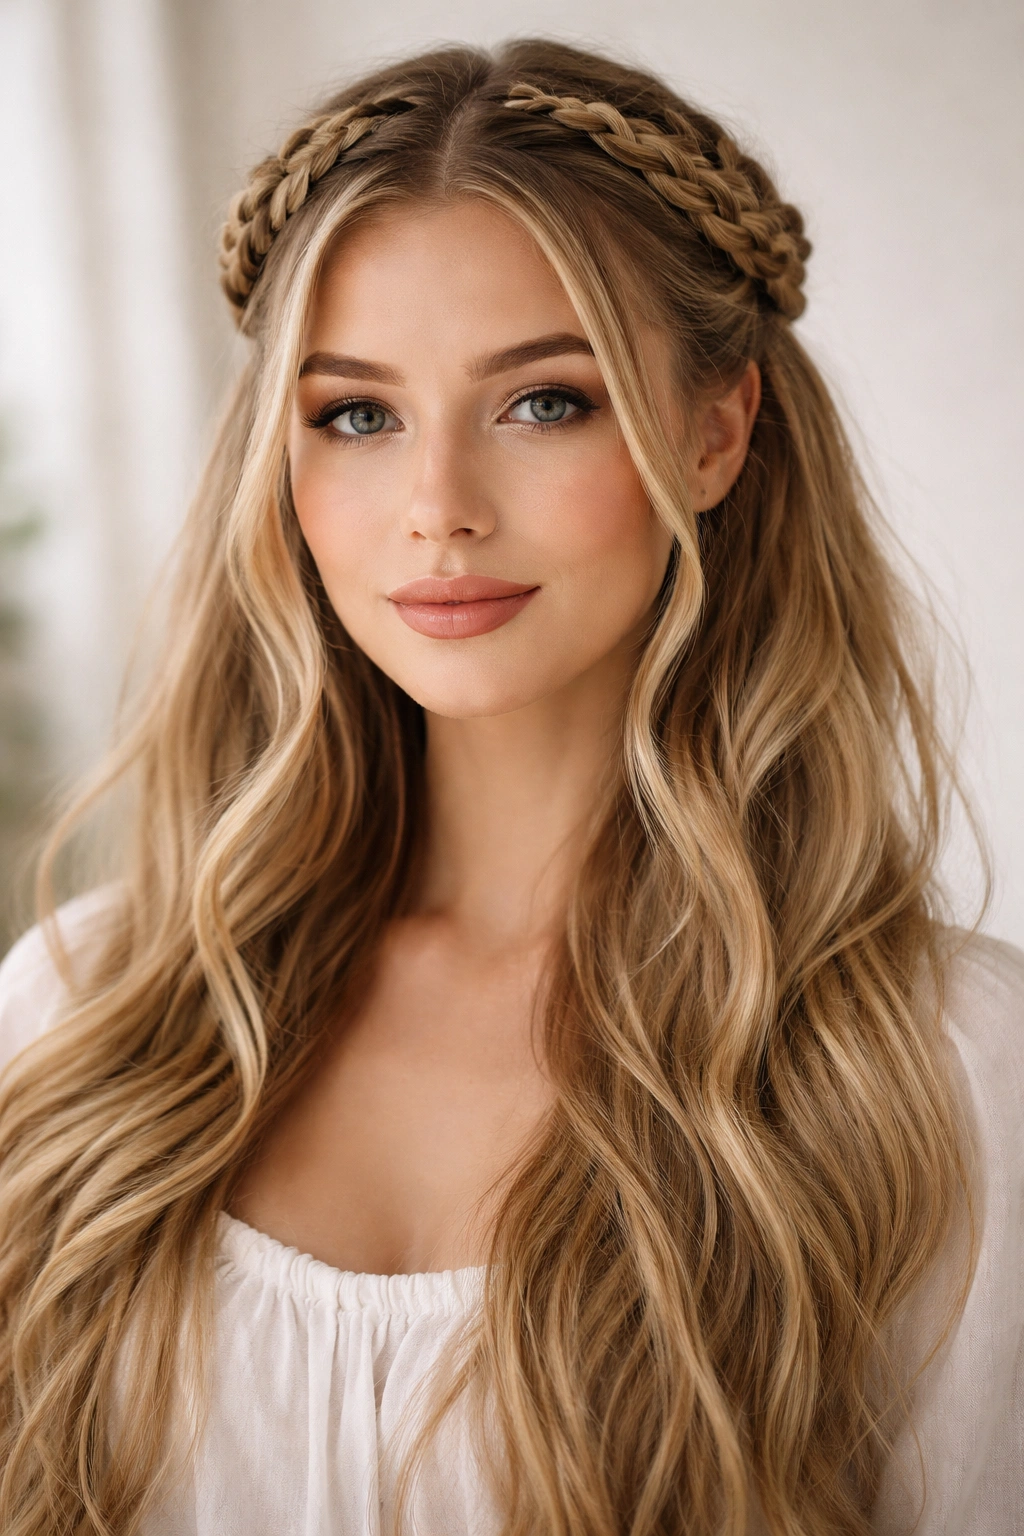
Long hair is a commitment. It can be a scarf, a nuisance, or a majestic shield against the world, but there are days when you just need to get it off your face without sacrificing the length you’ve worked so hard to grow. That is exactly where the braided half-up, half-down style saves the day. It bridges the gap between the polish of an updo and the carefree vibe of wearing your hair down.
Most people assume braids are complicated, requiring three extra hands and an hour of patience. That is rarely the case. Once you understand the basic mechanics of how hair tension works, you can pull together a sophisticated, secure style in under five minutes. The secret rarely lies in the braiding skill itself, but in the preparation. If you try to braid hair that is freshly washed and super slippery, it will unravel before you even reach the end. Start with texture. A good sea salt spray or a dry shampoo creates the “grip” your hair needs to keep those strands in place.
Let’s stop overcomplicating things. Here are twenty-five ways to style your long hair, ranging from the absolute beginner basics to looks that appear far more intricate than they actually are.
1. Classic Three-Strand Twist
This is the foundational style for anyone new to braiding. Instead of a tight, woven braid, you are taking two sections of hair and twisting them away from your face before pinning them back at the crown. It creates a soft, ethereal look that feels much more intentional than a simple clip.
Why This Style Works
It relies on texture rather than technique. Because you are twisting the hair rather than interlacing it, you don’t have to worry about strands slipping out of a complex weave. It is forgiving, soft, and takes about thirty seconds to execute once you have the hang of it.
Pro tip: To make this look voluminous rather than flat, gently pull on the edges of the twists after you have pinned them back. This expands the “rope” of hair, making it look twice as thick as it actually is.
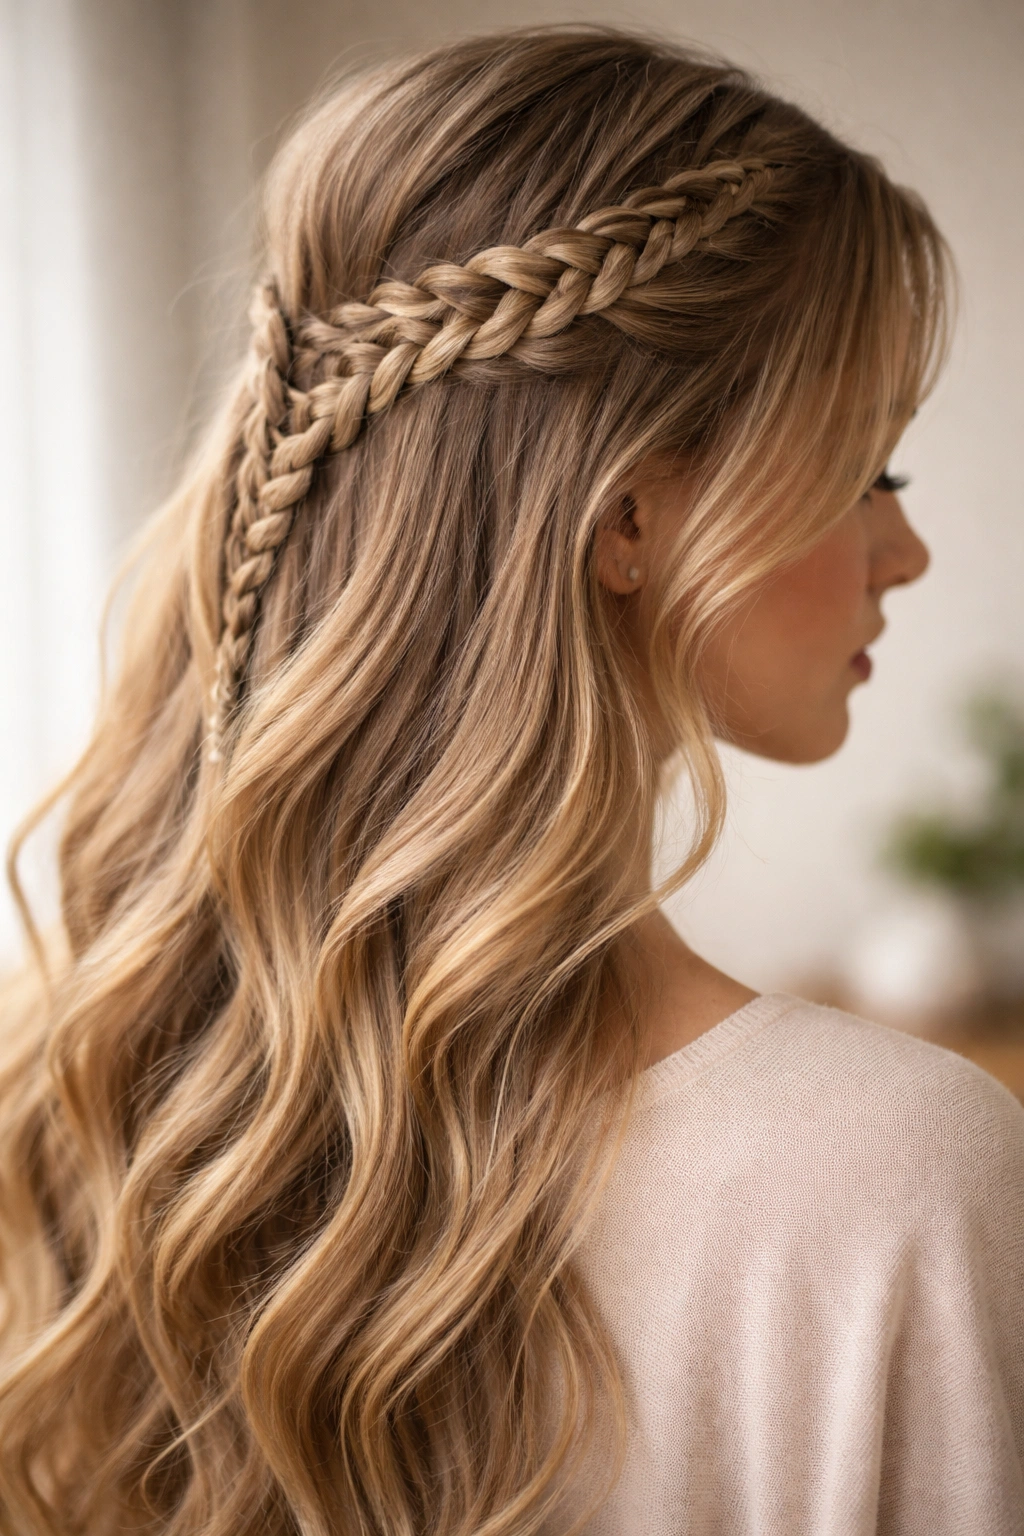
2. Dutch Crown Braid
A Dutch braid is essentially an inverted French braid—you cross the strands under each other instead of over. When done in a half-up style, it creates a halo effect that frames the top of your head beautifully.
The Mechanics of the Inversion
When you pull your side sections into a Dutch braid, the braid sits “on top” of the hair rather than blending into it. This gives it a 3D effect that looks fantastic in photos. Secure the two side braids at the back of your head with a single, small clear elastic for a seamless finish.
3. Messy Fishtail Accent
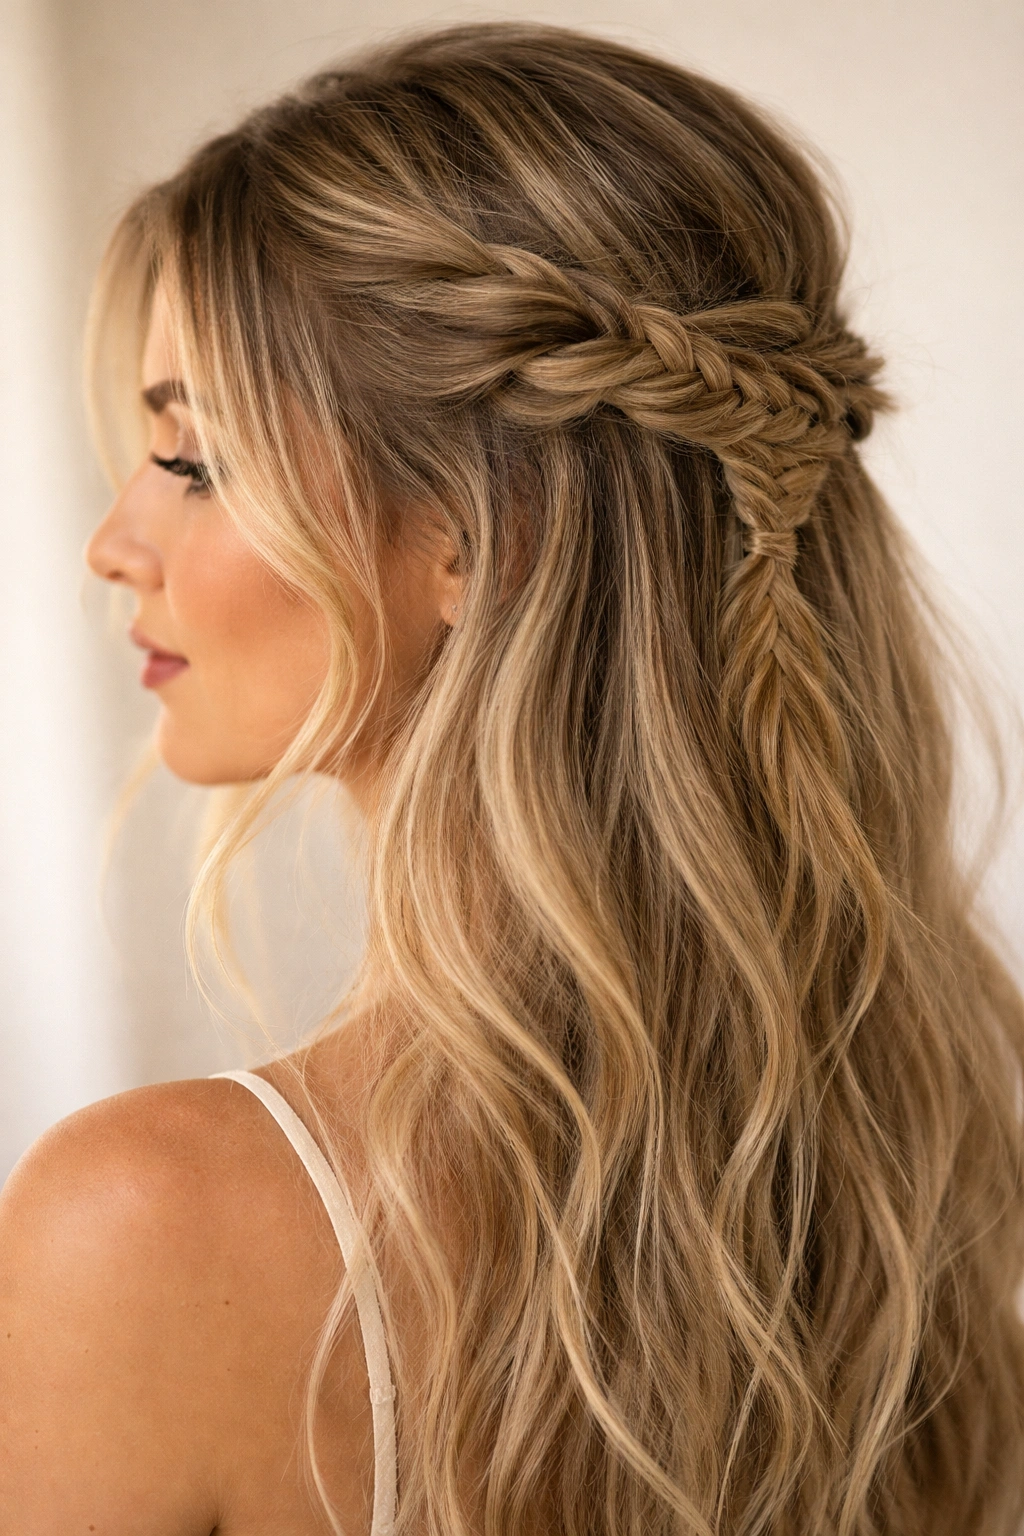
Fishtail braids look intimidating, but they are incredibly simple: it is just a two-strand braid. You take a small piece of hair from the outer edge of one section and cross it over to the middle, then do the same on the other side.
How to Keep It Messy
Don’t pull the strands tight. The beauty of a fishtail braid in a half-up style is the bohemian, unpolished aesthetic. If it looks too perfect, it feels stiff. Let a few wispy pieces fall out around your face to soften the look and maintain that effortless vibe.
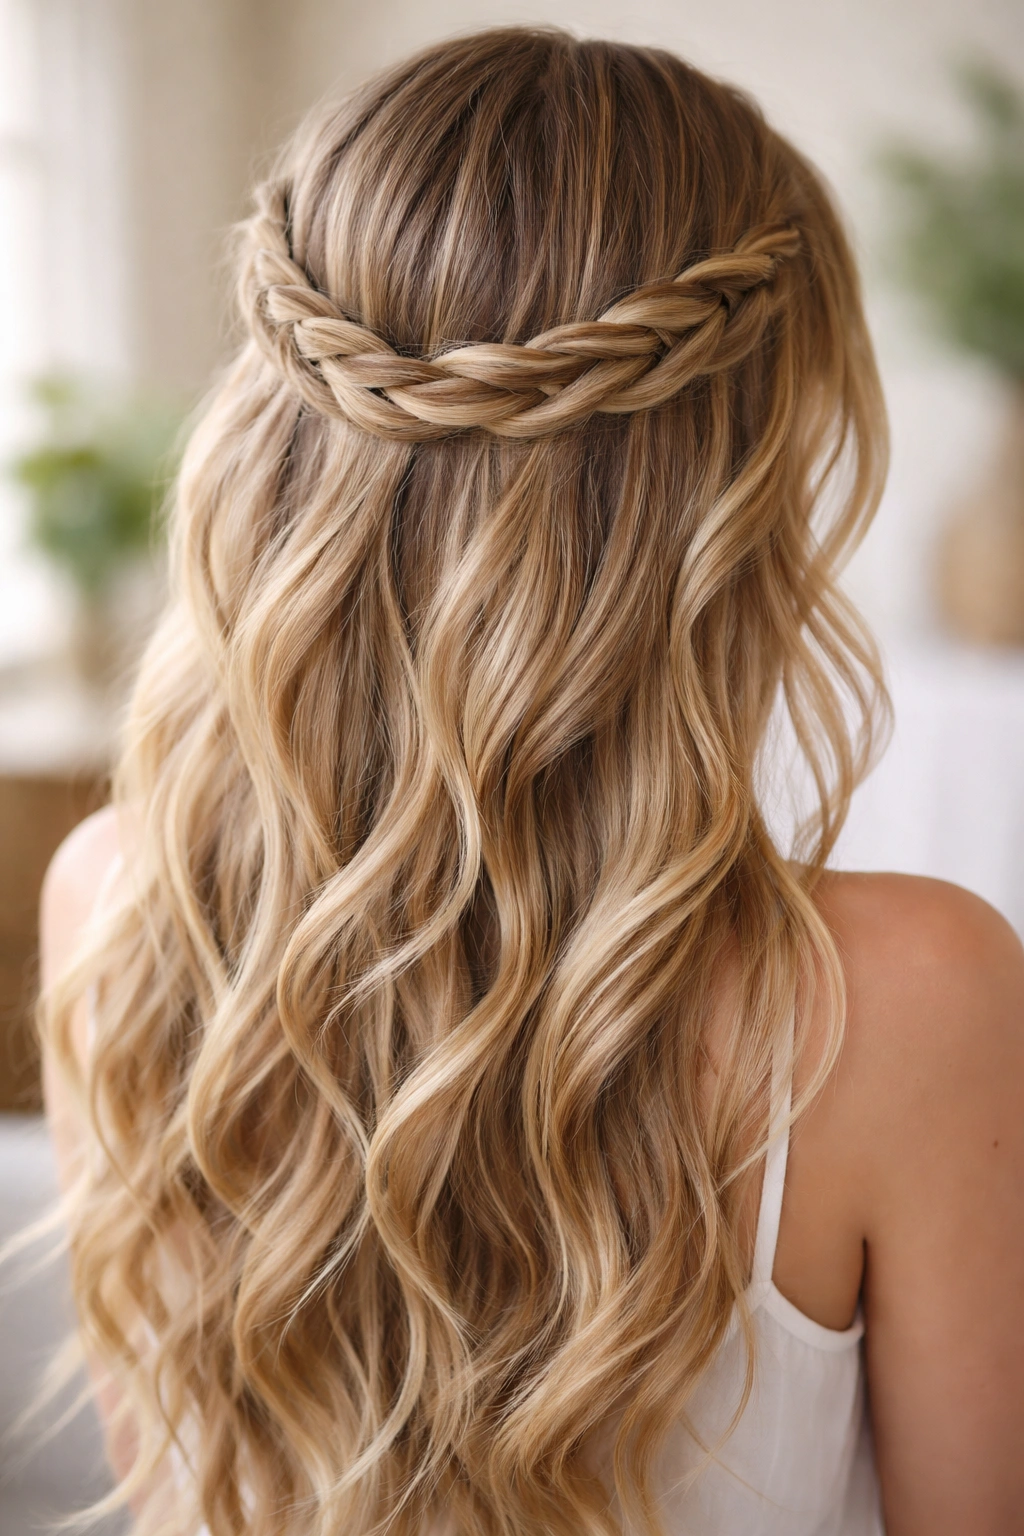
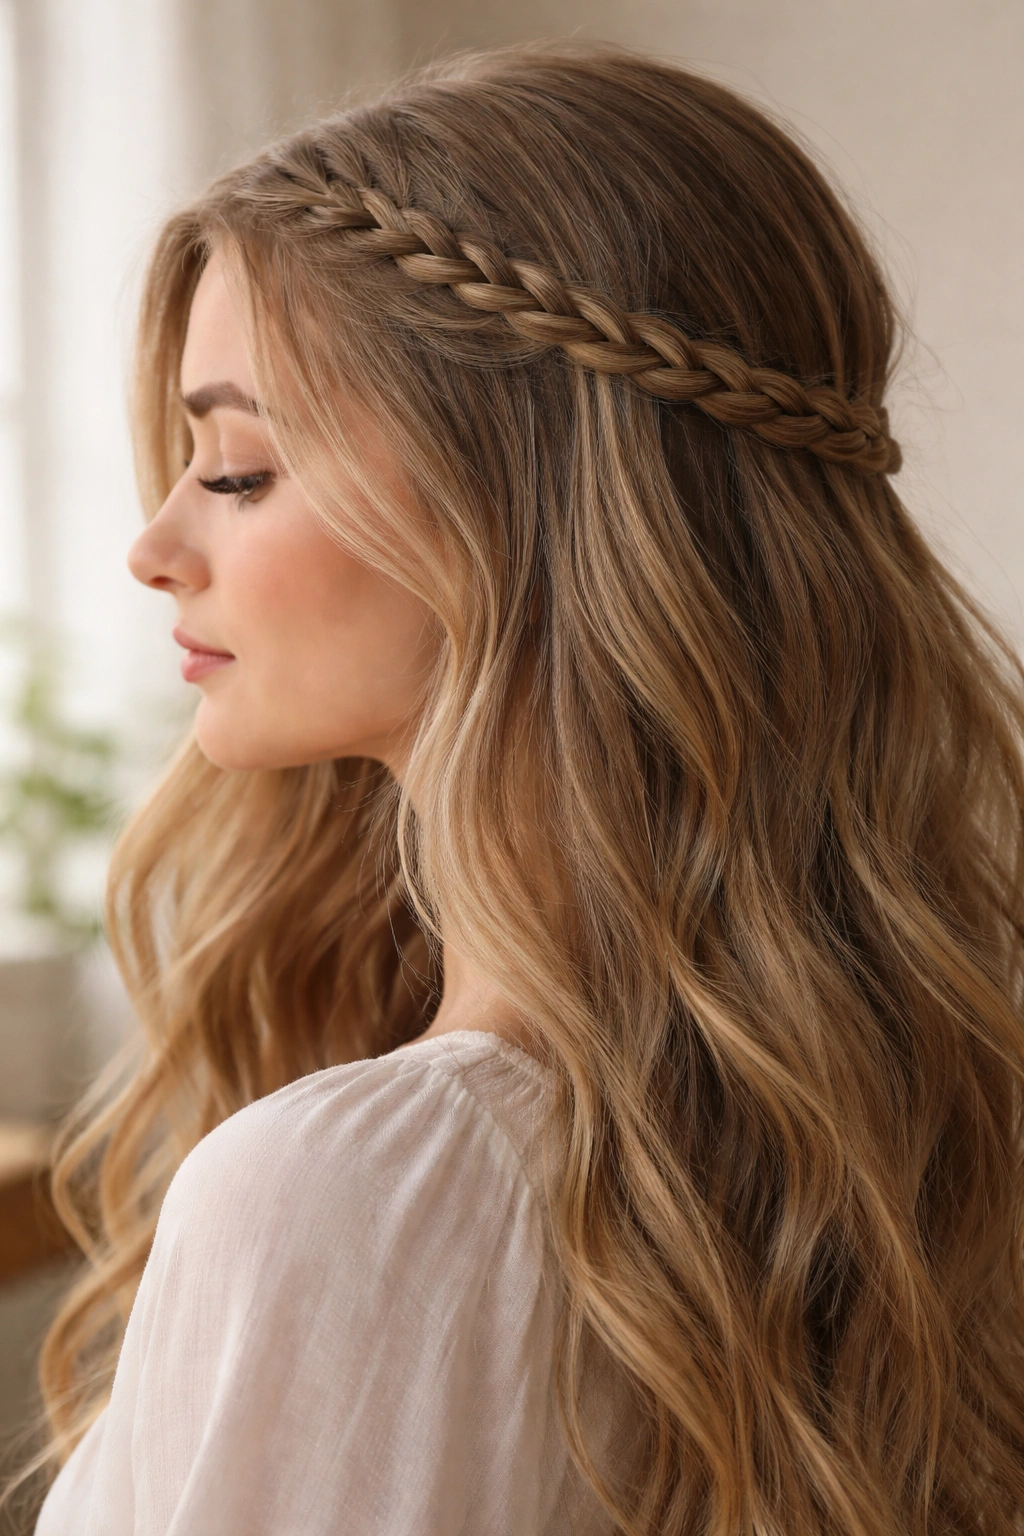
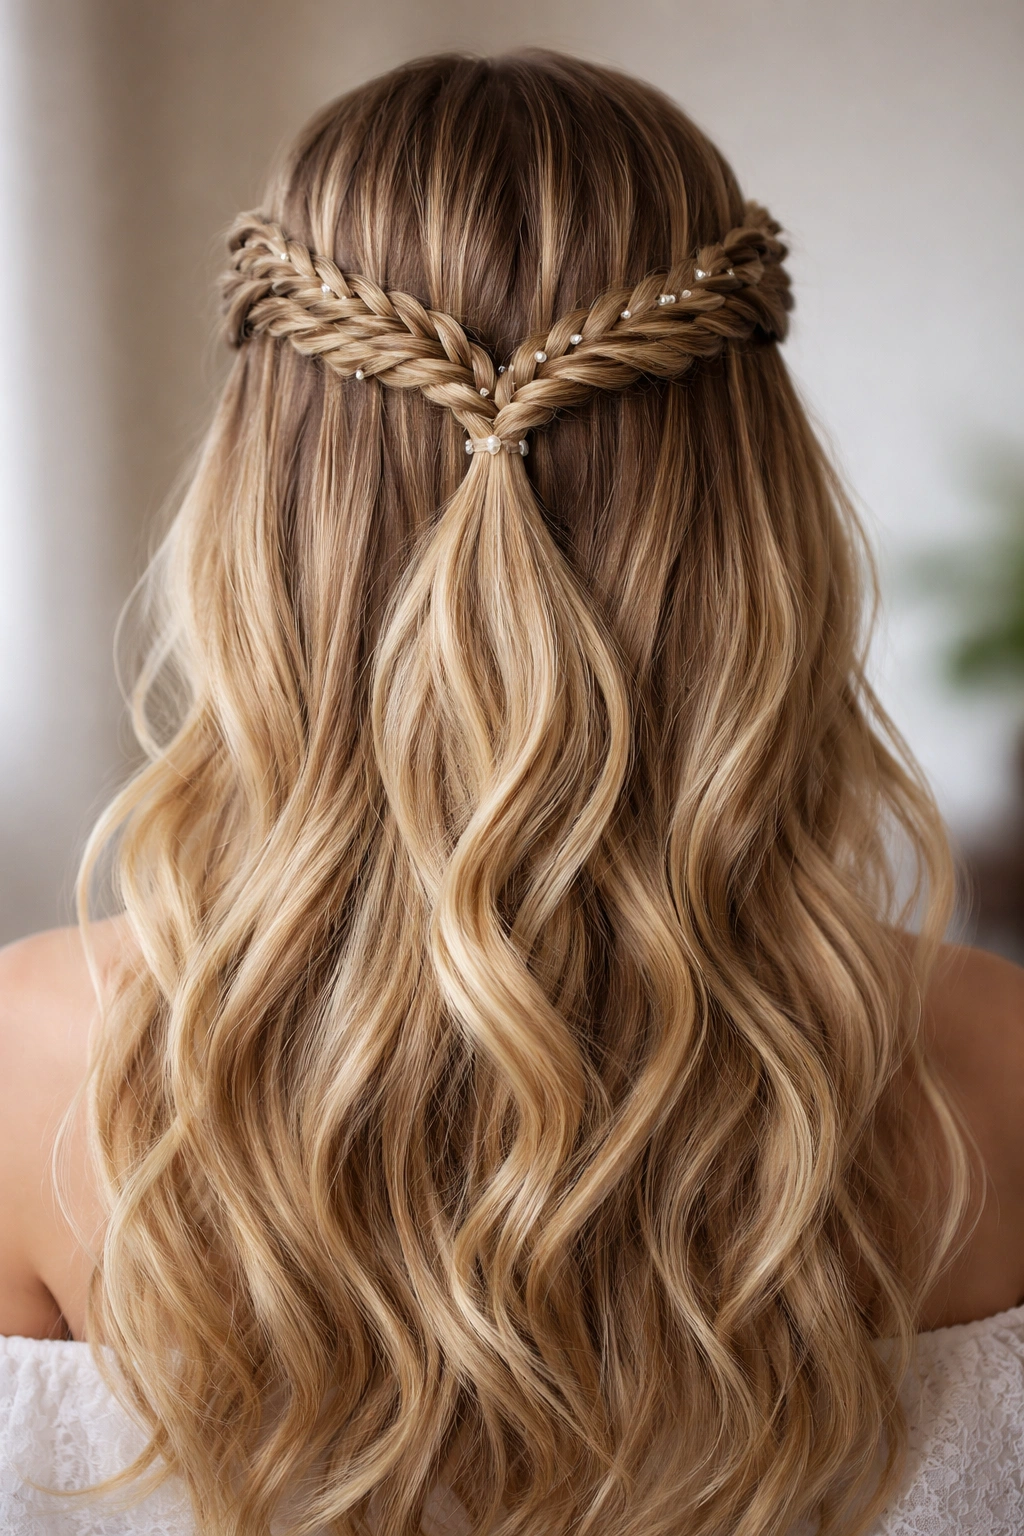
4. Waterfall Braid
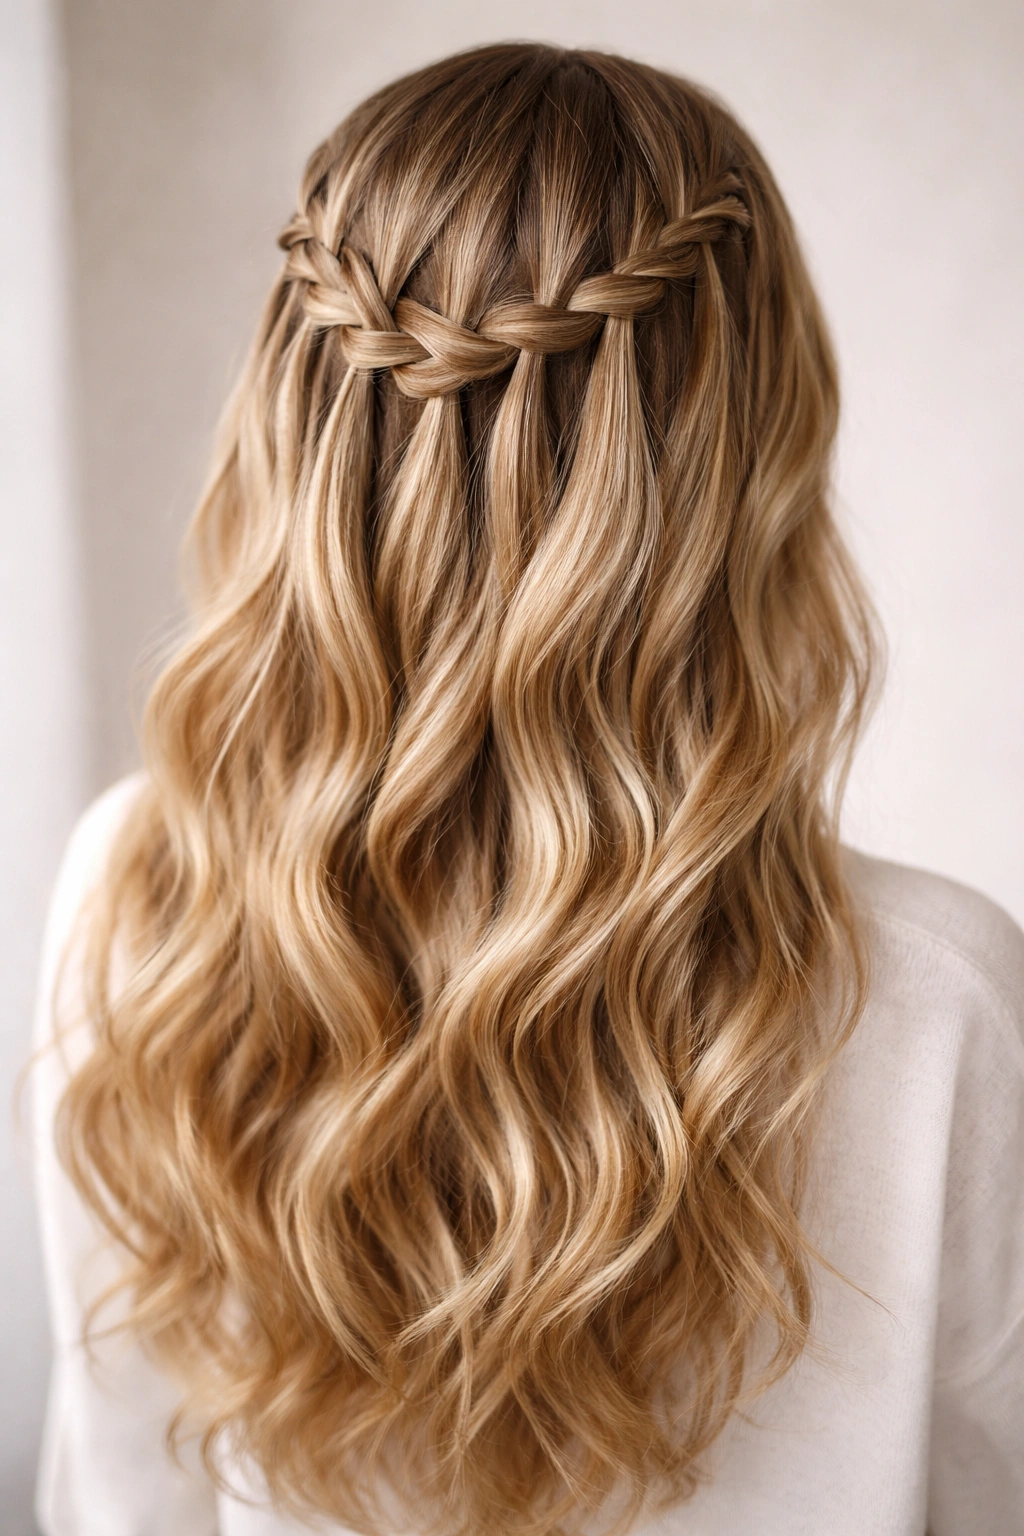
This style is a total illusionist’s trick. It looks like you’ve intricately woven your entire head of hair, but you are actually just dropping a strand of hair every time you cross over.
The result is a cascading effect where the loose hair falls through the braid. It is elegant enough for a formal event but simple enough to wear with jeans. Because the braid stays relatively flat against your head, it integrates perfectly into the rest of your loose hair.
5. Double Dutch Side Braids
If one Dutch braid is good, two are better. By creating a smaller Dutch braid on either side of your part and gathering them into a central half-up knot, you create a symmetrical, sporty look that keeps your bangs or shorter face-framing layers locked in tight.
This is a fantastic option for days when your hair is slightly oily. The braids hide the roots near your hairline, and the clean lines of the Dutch braid distract from any lack of volume elsewhere.
6. The Boho Pull-Through
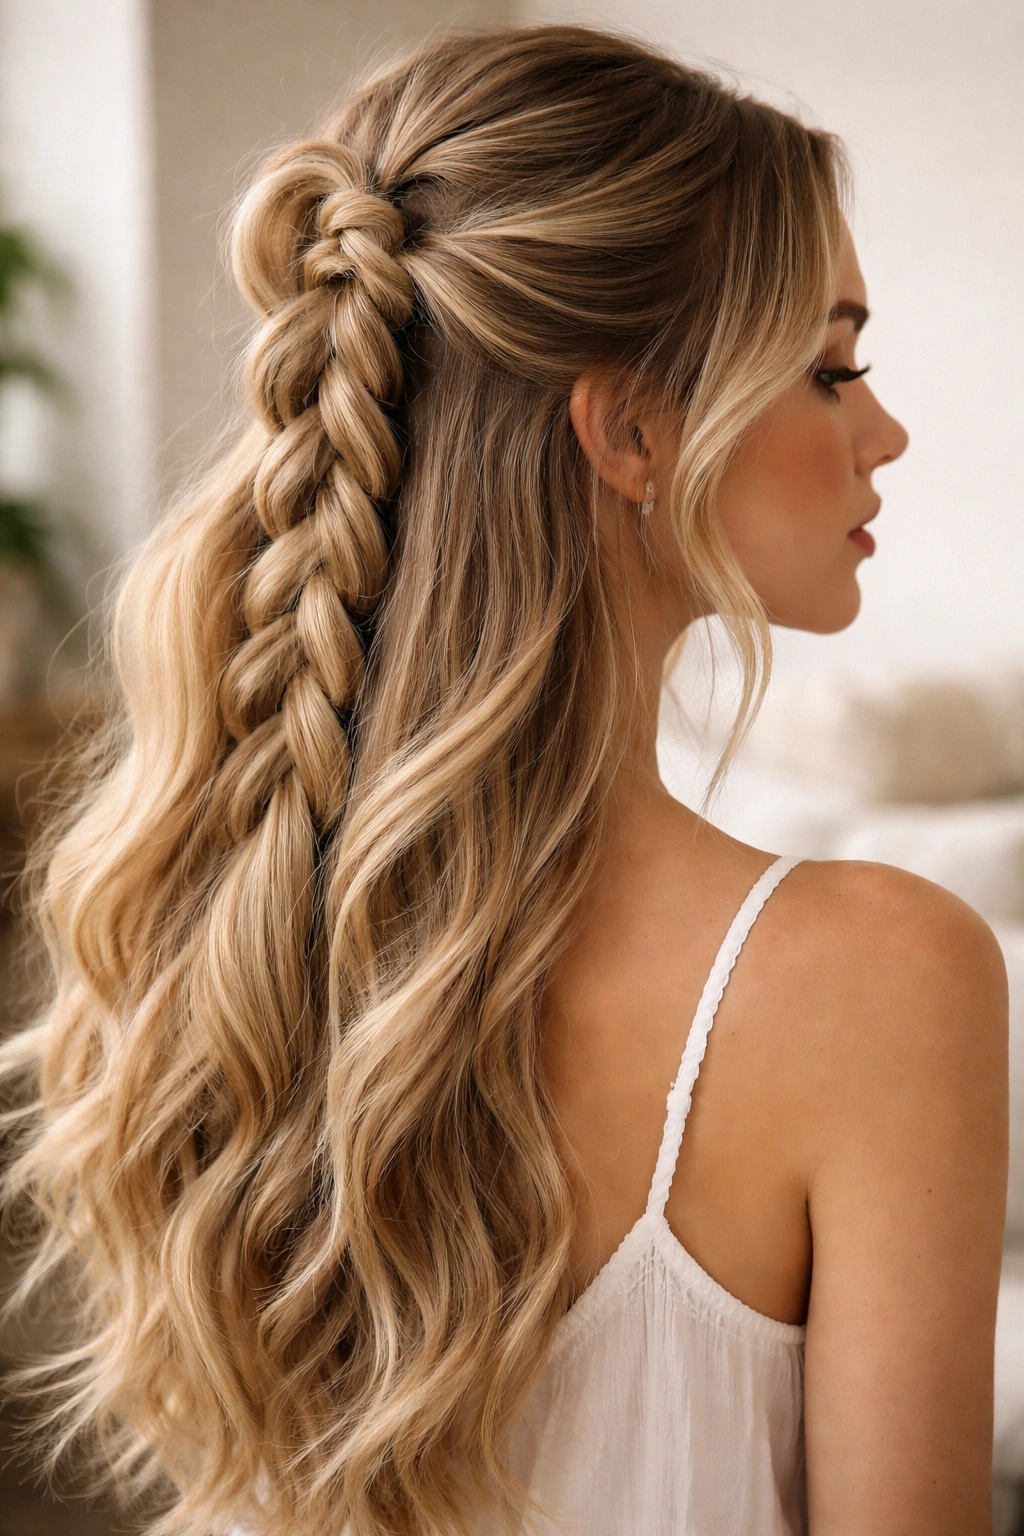
This is my favorite “cheat” style. It looks like a complex, three-dimensional braid, but it is actually just a series of little ponytails looped through each other.
The Technique
- Start with a high half-up ponytail.
- Create another small ponytail just below it.
- Split the top ponytail in two, wrap it around the bottom one, and secure.
- Continue this down the length of the half-up section.
- “Pancake” the loops by pulling them wide to make it look like a braided rope.
7. Mini-Braid Headband
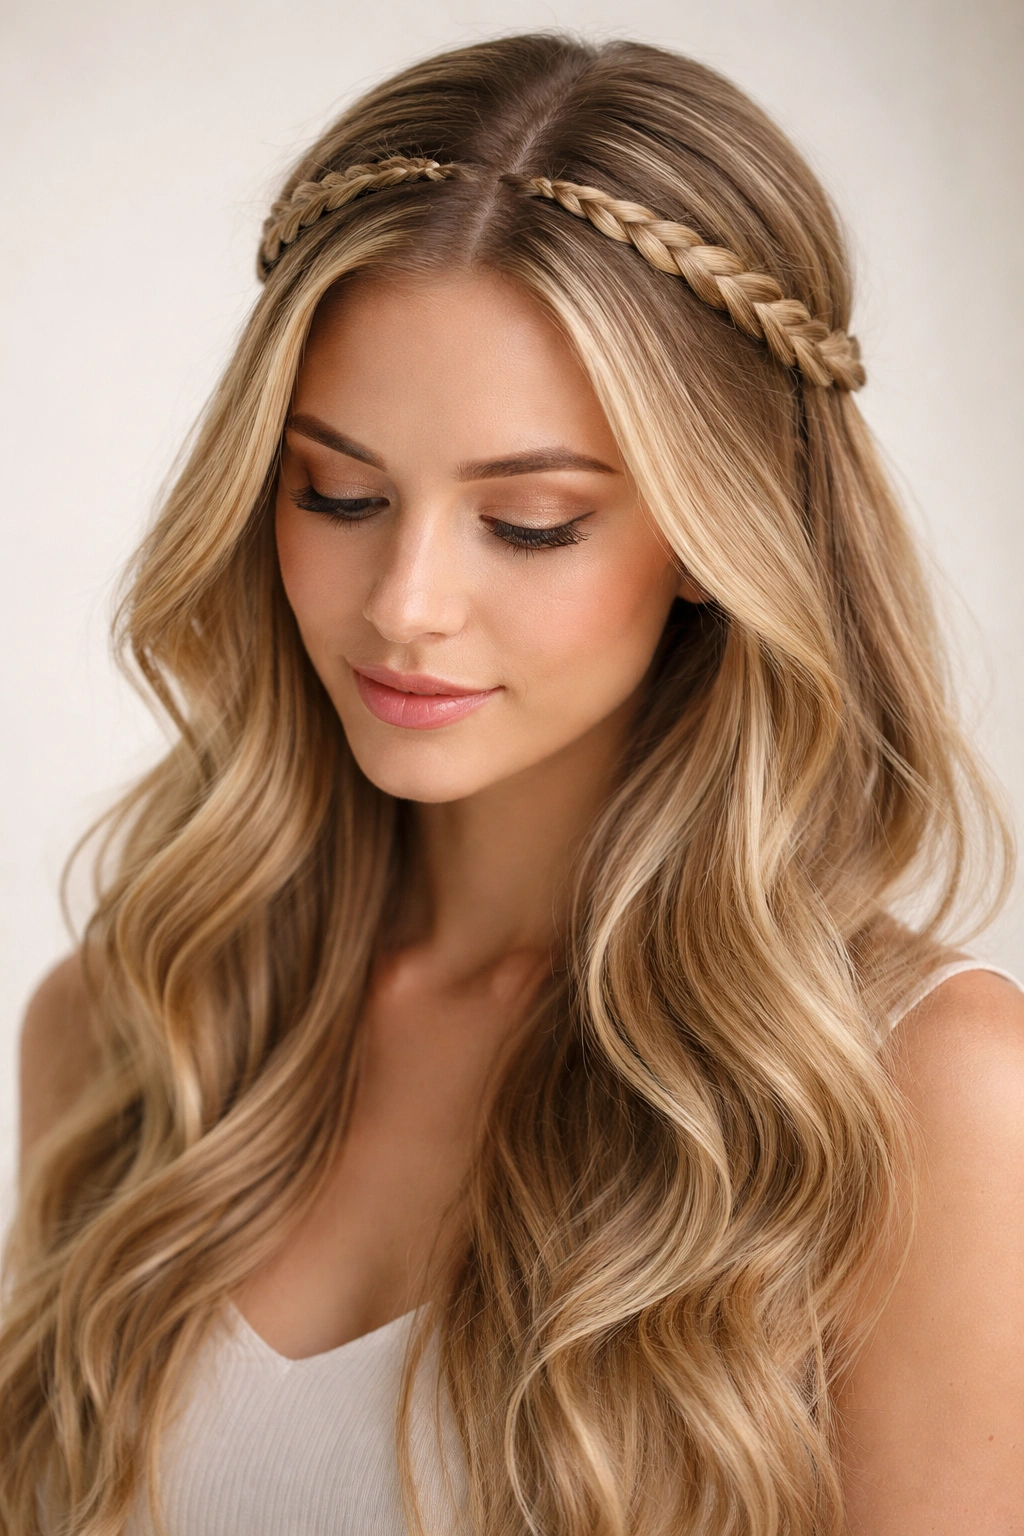
For a look that feels very nostalgic and soft, create two small three-strand braids starting near your temples. Instead of braiding them back to a single point, cross them over the top of your head like a headband and tuck the ends underneath the remaining hair in the back.
Secure them with a bobby pin that matches your hair color. It is a brilliant way to keep your hair off your forehead while adding a bit of detail to an otherwise simple, loose hairstyle.
8. Cornrow-Style Sides
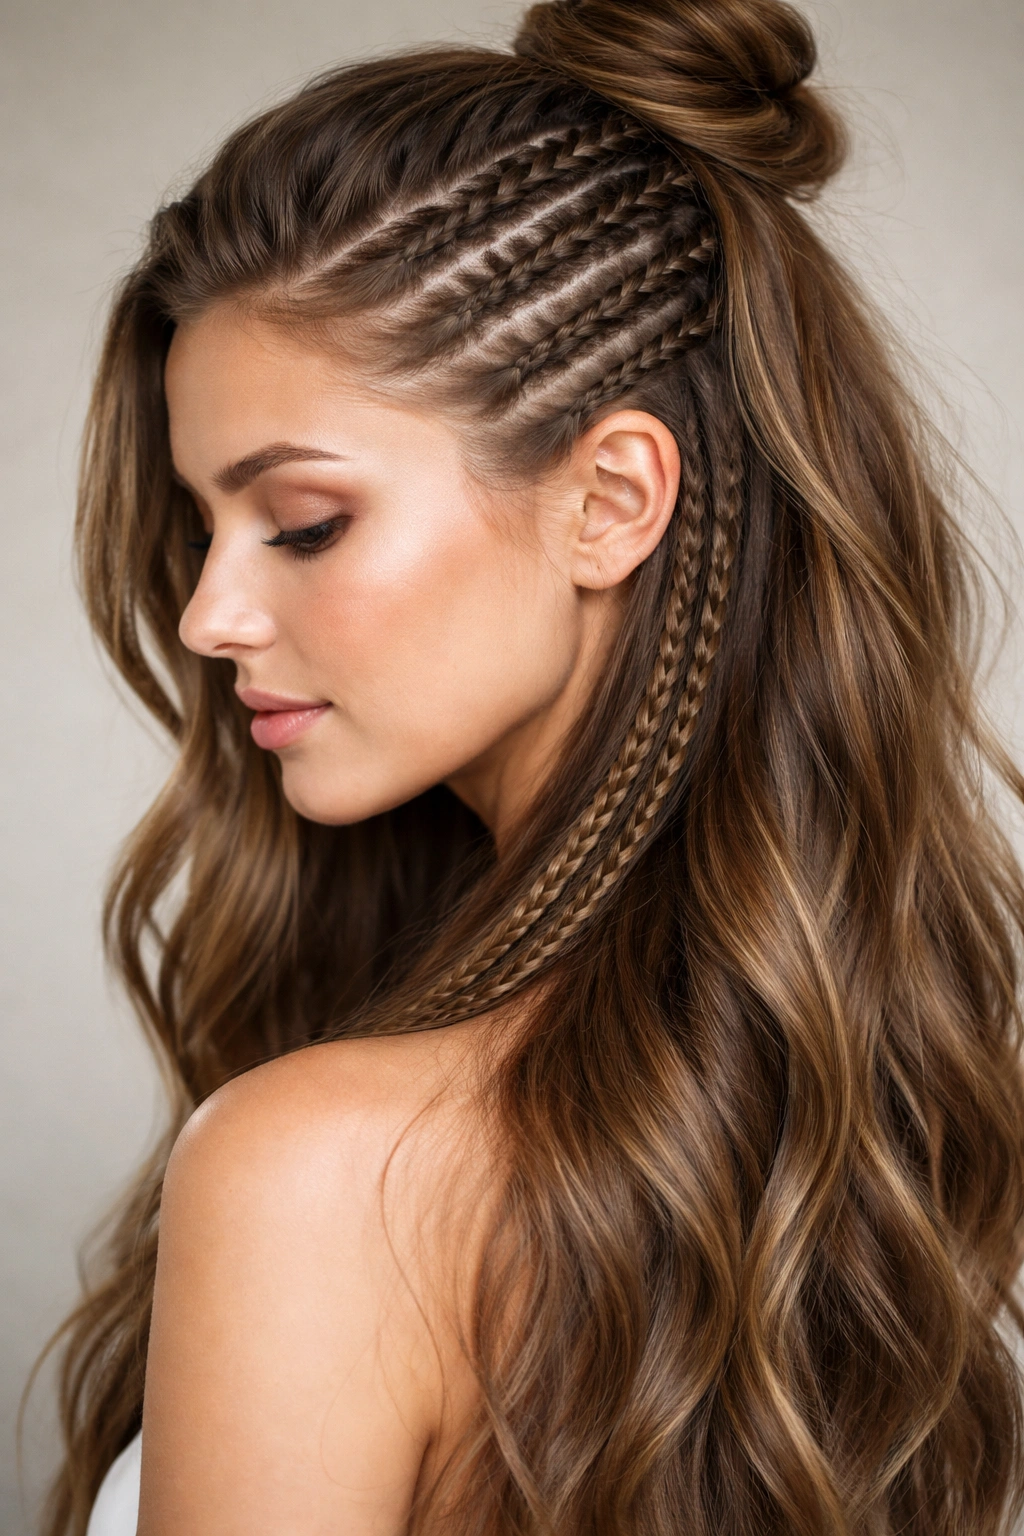
This style is all about tension. If you want a sharper, more edgy look, take thin sections along your hairline and braid them tightly against the scalp in a cornrow style, pulling them back until they reach the crown.
You can let the ends of these braids hang loose into your main flow of hair, or pin them underneath a small bun. It provides a contrast between the tight, structured scalp braids and the loose, flowing length of your hair.
9. Side-Swept French Braid
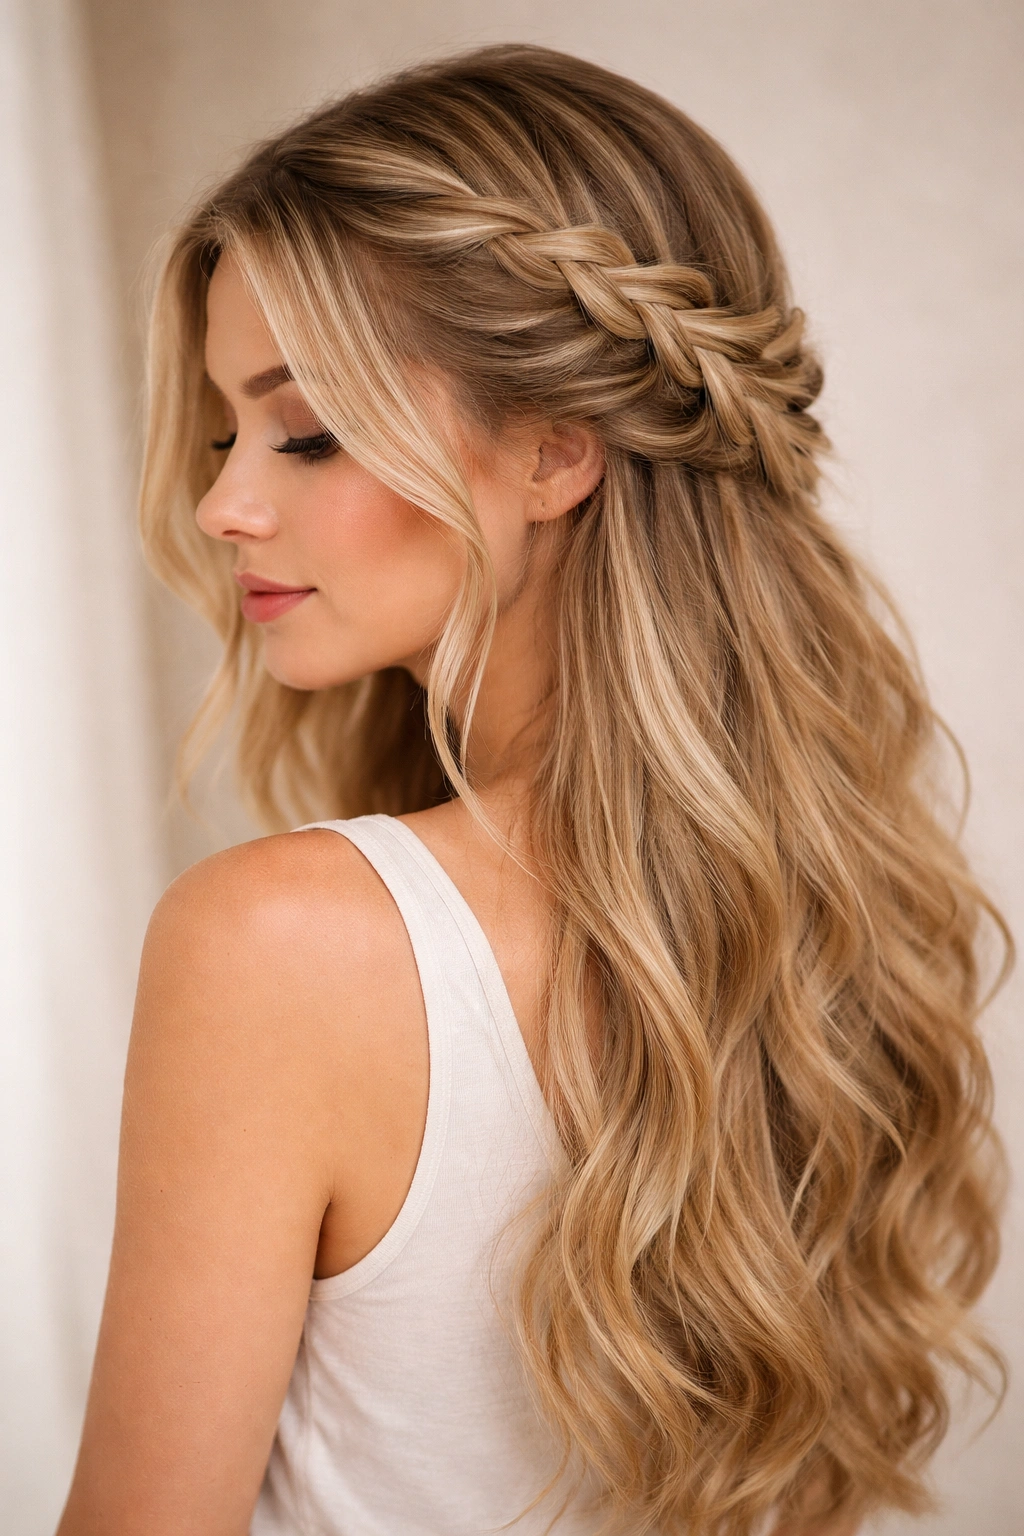
Instead of pulling hair back from both sides, start a French braid on one side of your head, near your part, and work it diagonally across the back of your head.
You are effectively “scooping up” the hair as you go, creating a diagonal line that feels organic and romantic. It is particularly striking if you have layers, as the shorter pieces will poke out just enough to give it a lived-in texture.
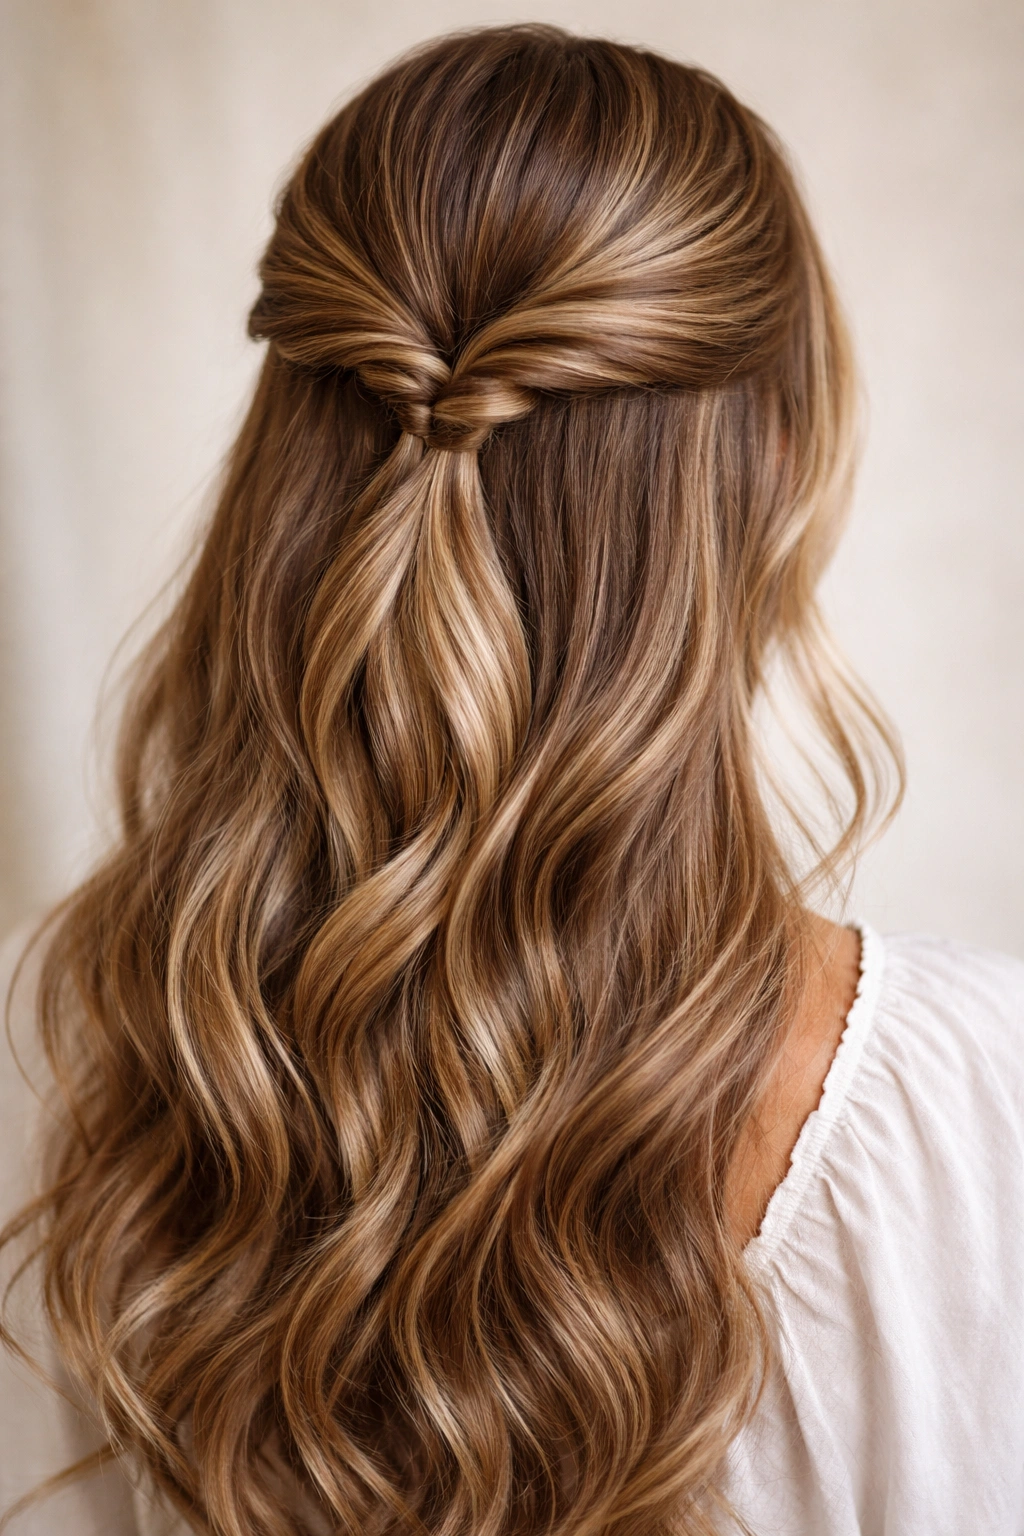
10. Rope Twist Half-Up

If you can twist two ropes of hair together, you can do this style. It is the fastest way to get a braided aesthetic without actually braiding.
Take two sections of hair from your temples. Twist each section tightly away from your face. Once you have two distinct “ropes,” cross them over each other and pin them at the back. It creates a sleek, structural look that holds up surprisingly well throughout the day.
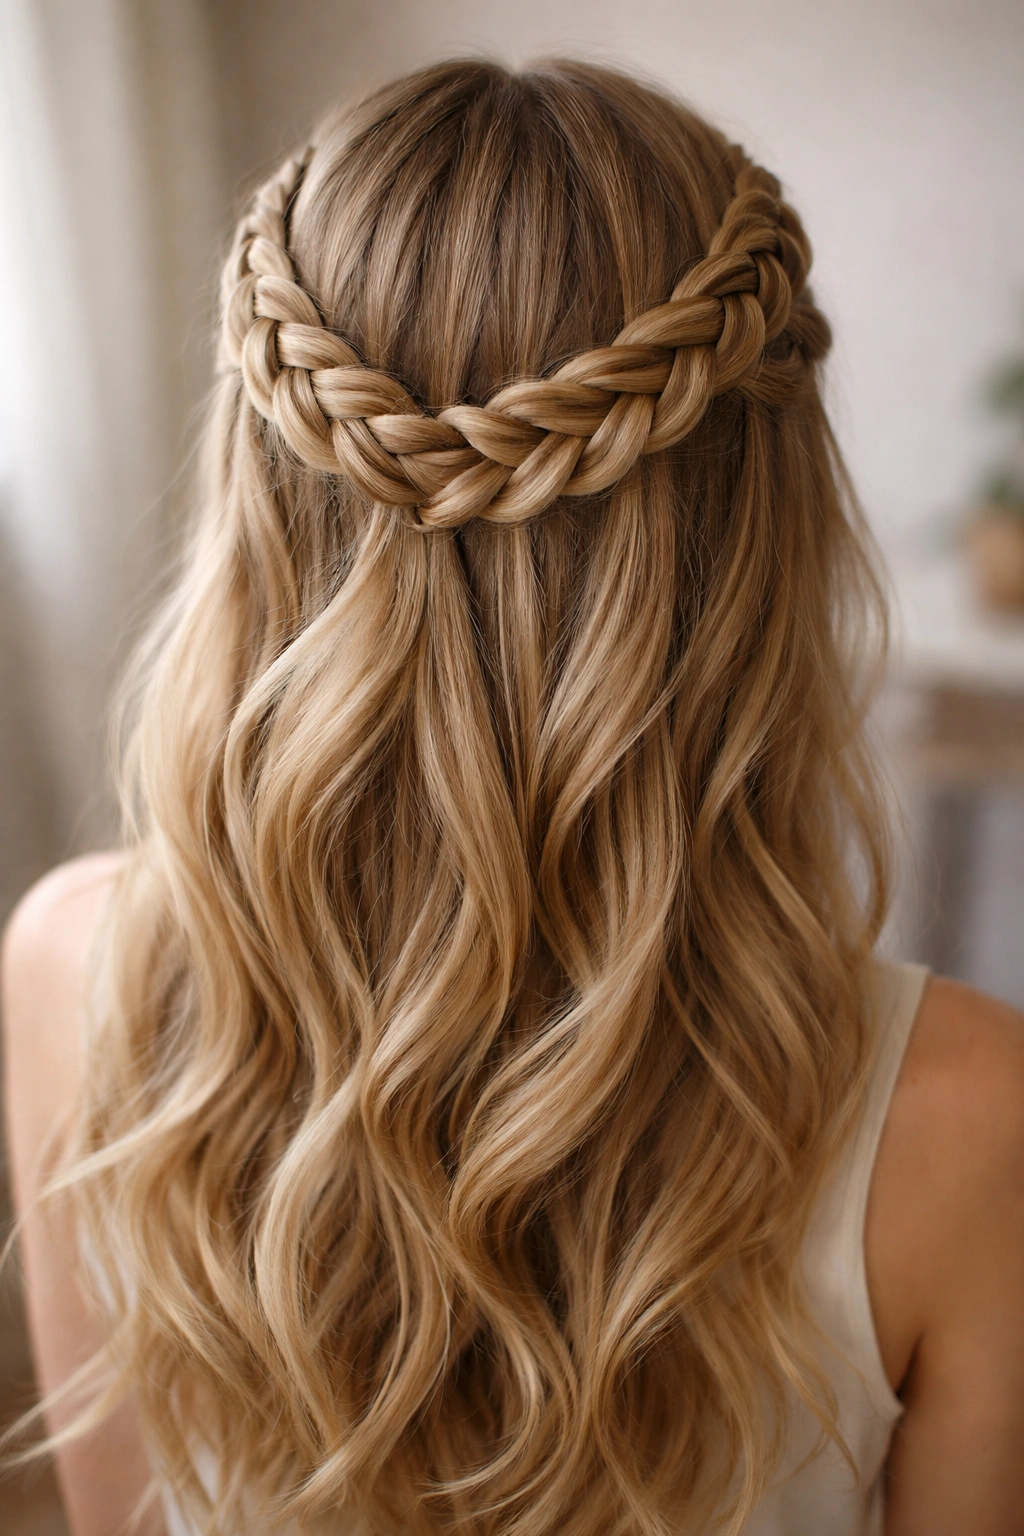
11. Twisted Crown Knot
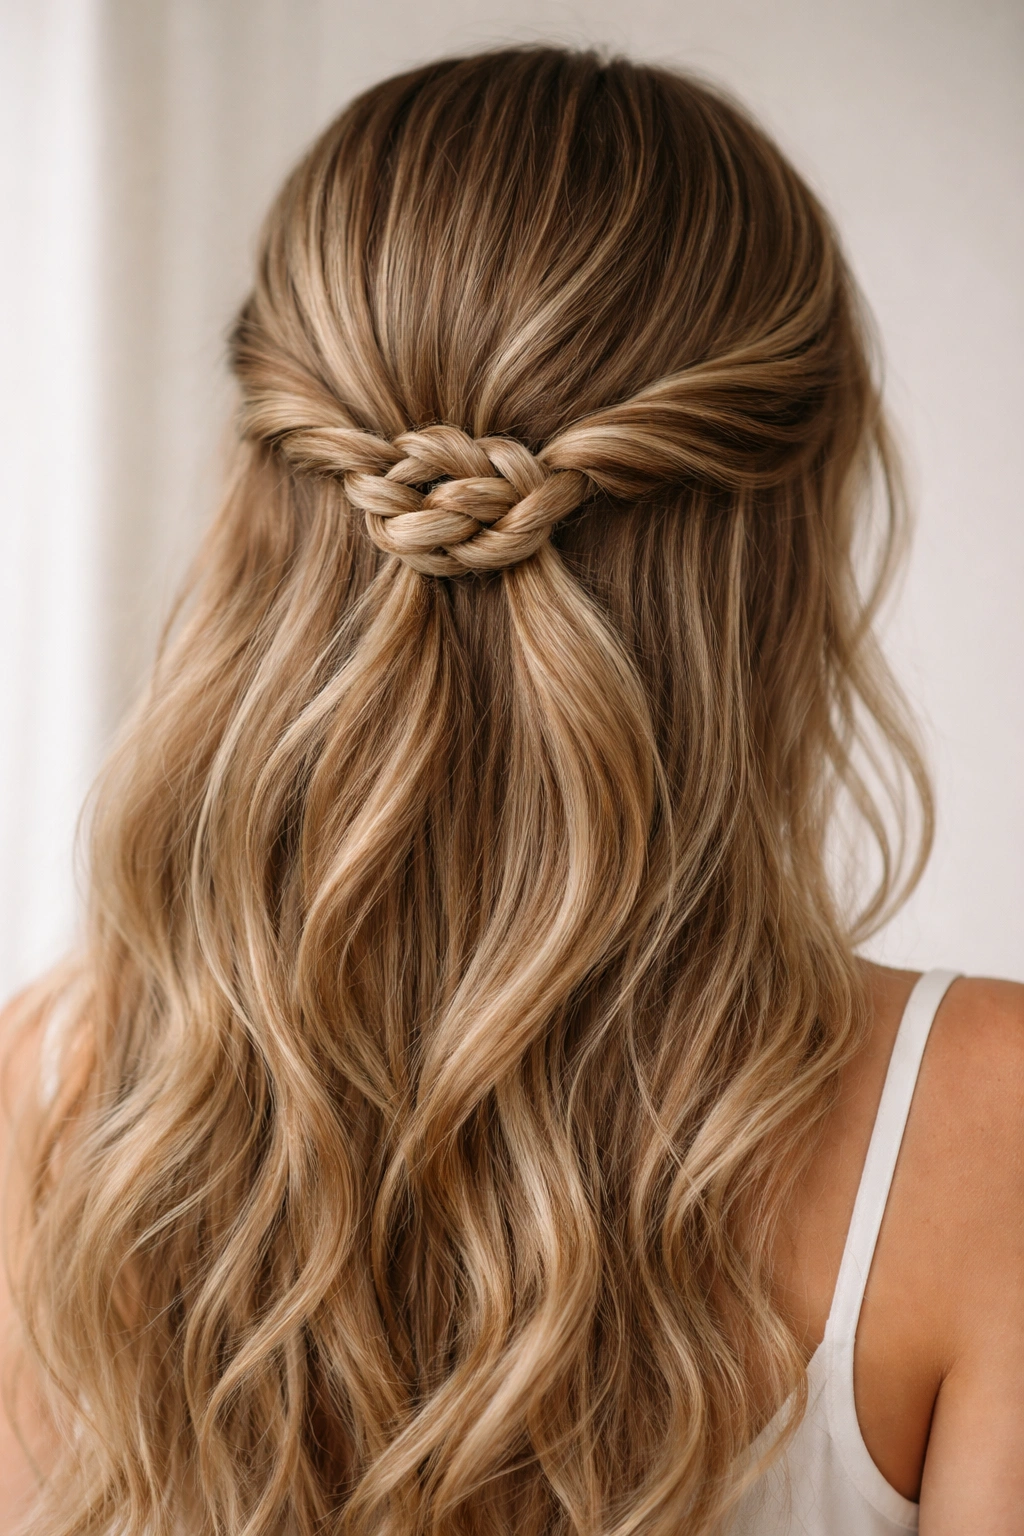
This takes the rope twist a step further. After you have created your two rope twists and pinned them at the back, take the remaining ends of those twists and knot them together.
You can secure the knot with a clear elastic or a few pins. This adds a level of complexity and detail at the back of your head that makes the hairstyle look like it took twenty minutes, even though it took four.
12. Double Braid Loop
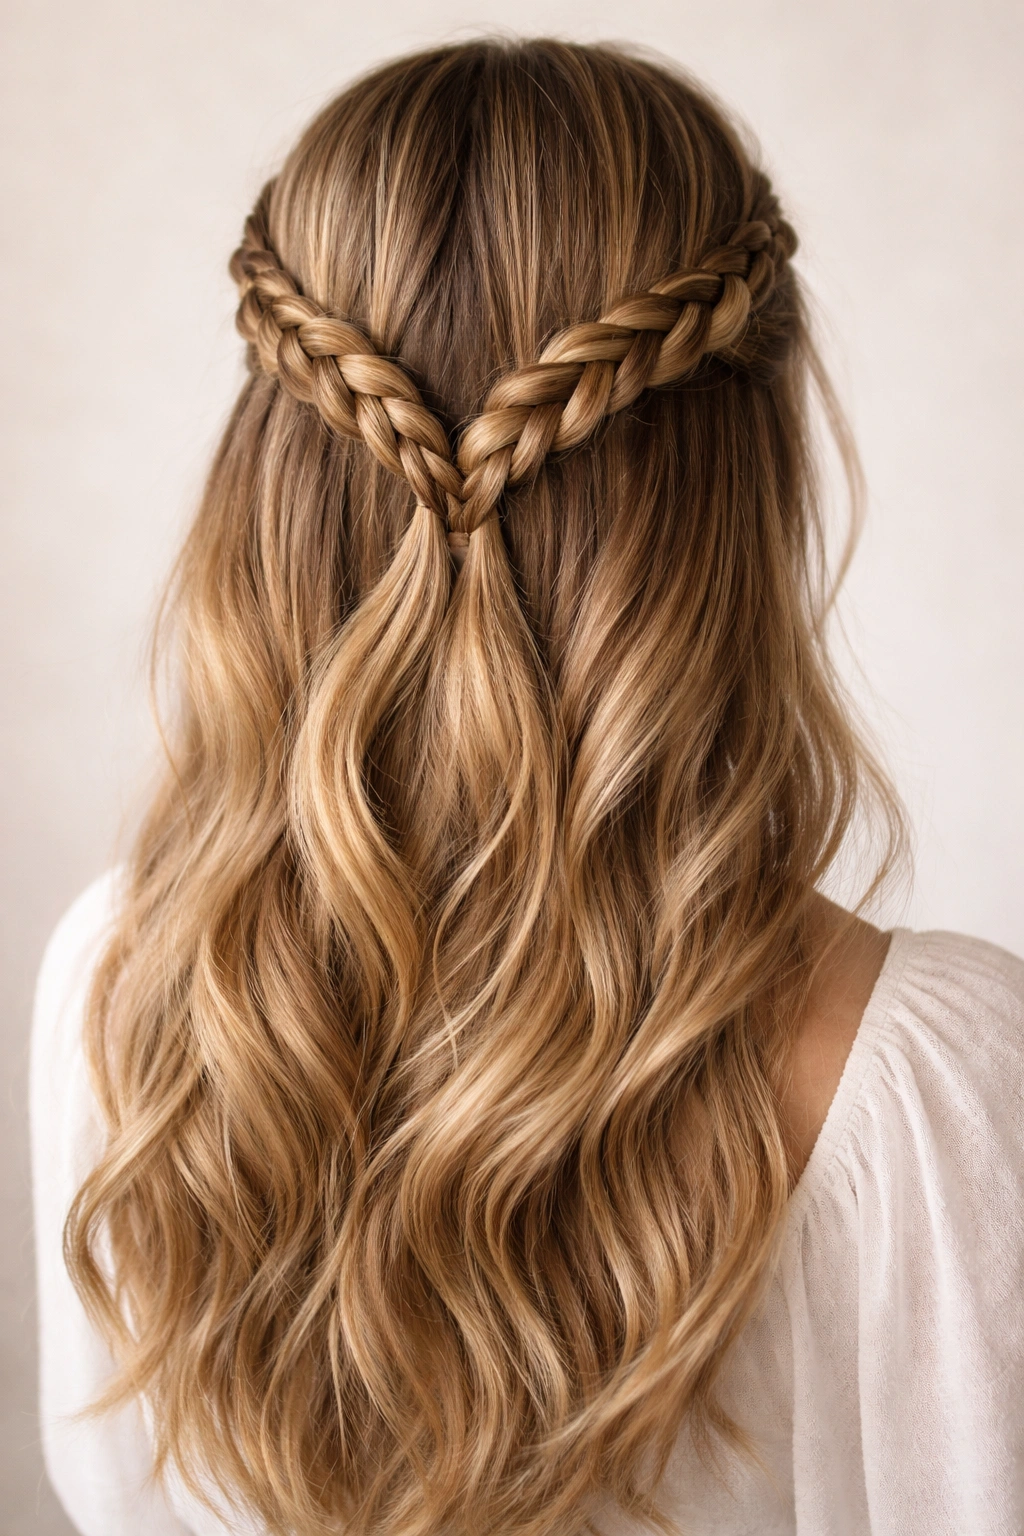
Create two standard three-strand braids on either side of your head. Instead of pulling them straight back, loop them upward to create a rounded, circular shape against the back of your head, and pin the ends down.
This creates a geometric, sculptural element. It is surprisingly durable because the ends are tucked away and pinned, making it a great option for windy days.
13. Scarf-Integrated Braid
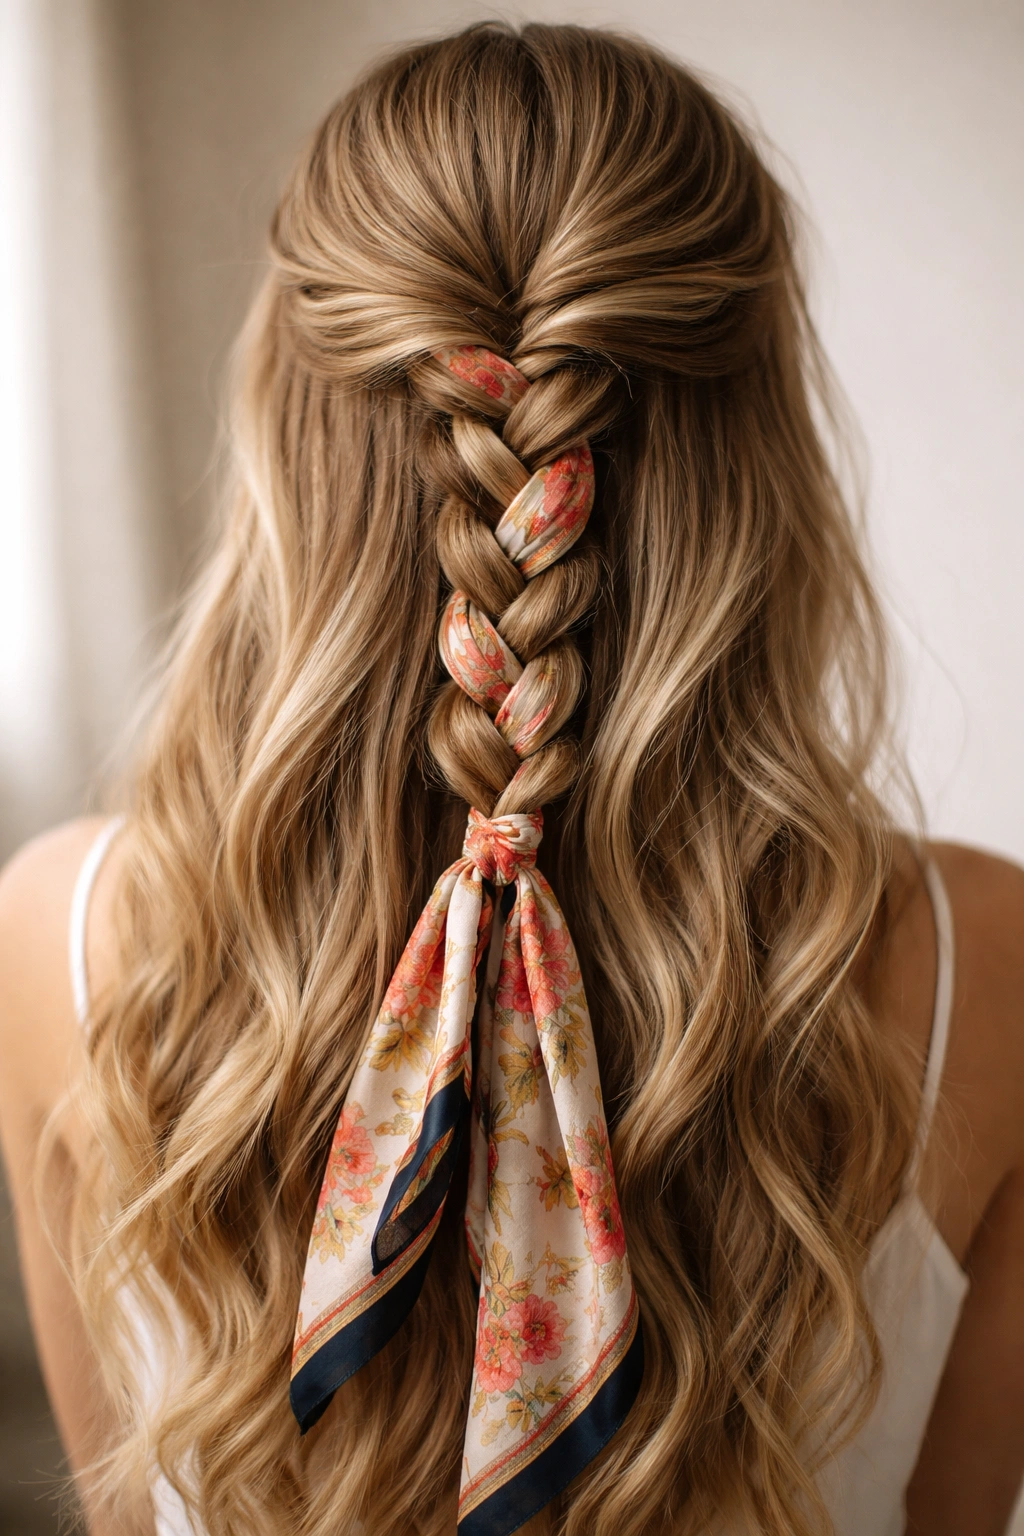
Take a thin silk scarf and tie it to the base of your hair section before you start braiding. As you braid, weave the scarf into the hair as if it were a third strand.
The scarf adds volume, color, and a bit of luxury to the look. It is also a cheat code for thin hair; the fabric fills in the gaps that your hair might lack on its own, making the braid appear much larger and more substantial.
14. Infinity Braid
The infinity braid—or figure-eight braid—uses a specific pattern that looks like an interlocking chain. It is easier than it looks. You essentially weave the hair in a “figure-eight” pattern around two main strands.
Because this braid is naturally wider than a standard three-strand braid, it works perfectly as a half-up statement piece. It is the kind of braid that people will definitely ask you about.
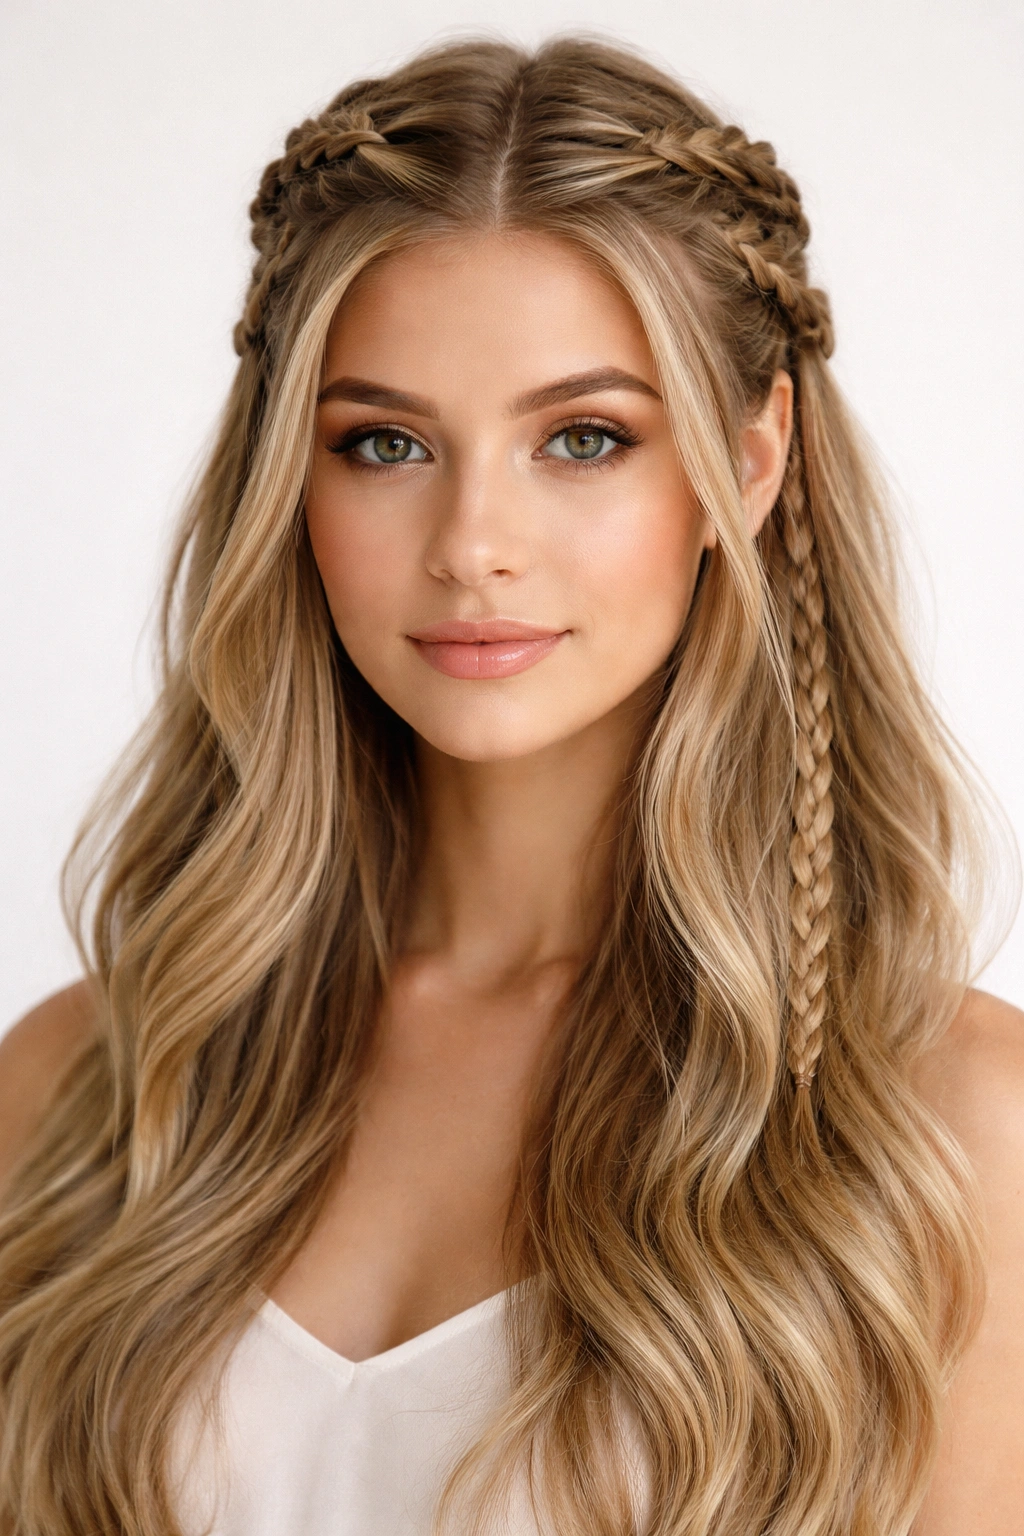
15. Bohemian Twisted Halo
This is a softer version of the crown braid. Instead of braiding, you take small sections of hair, twist them, and pin them around the crown, one after the other.
As you add each twist, tuck the end of the previous twist under the new one. This creates a continuous, circular “halo” of twisted hair that looks incredibly feminine and is very easy to adjust if you have shorter face-framing pieces.
16. Messy Top Knot with Side Braids
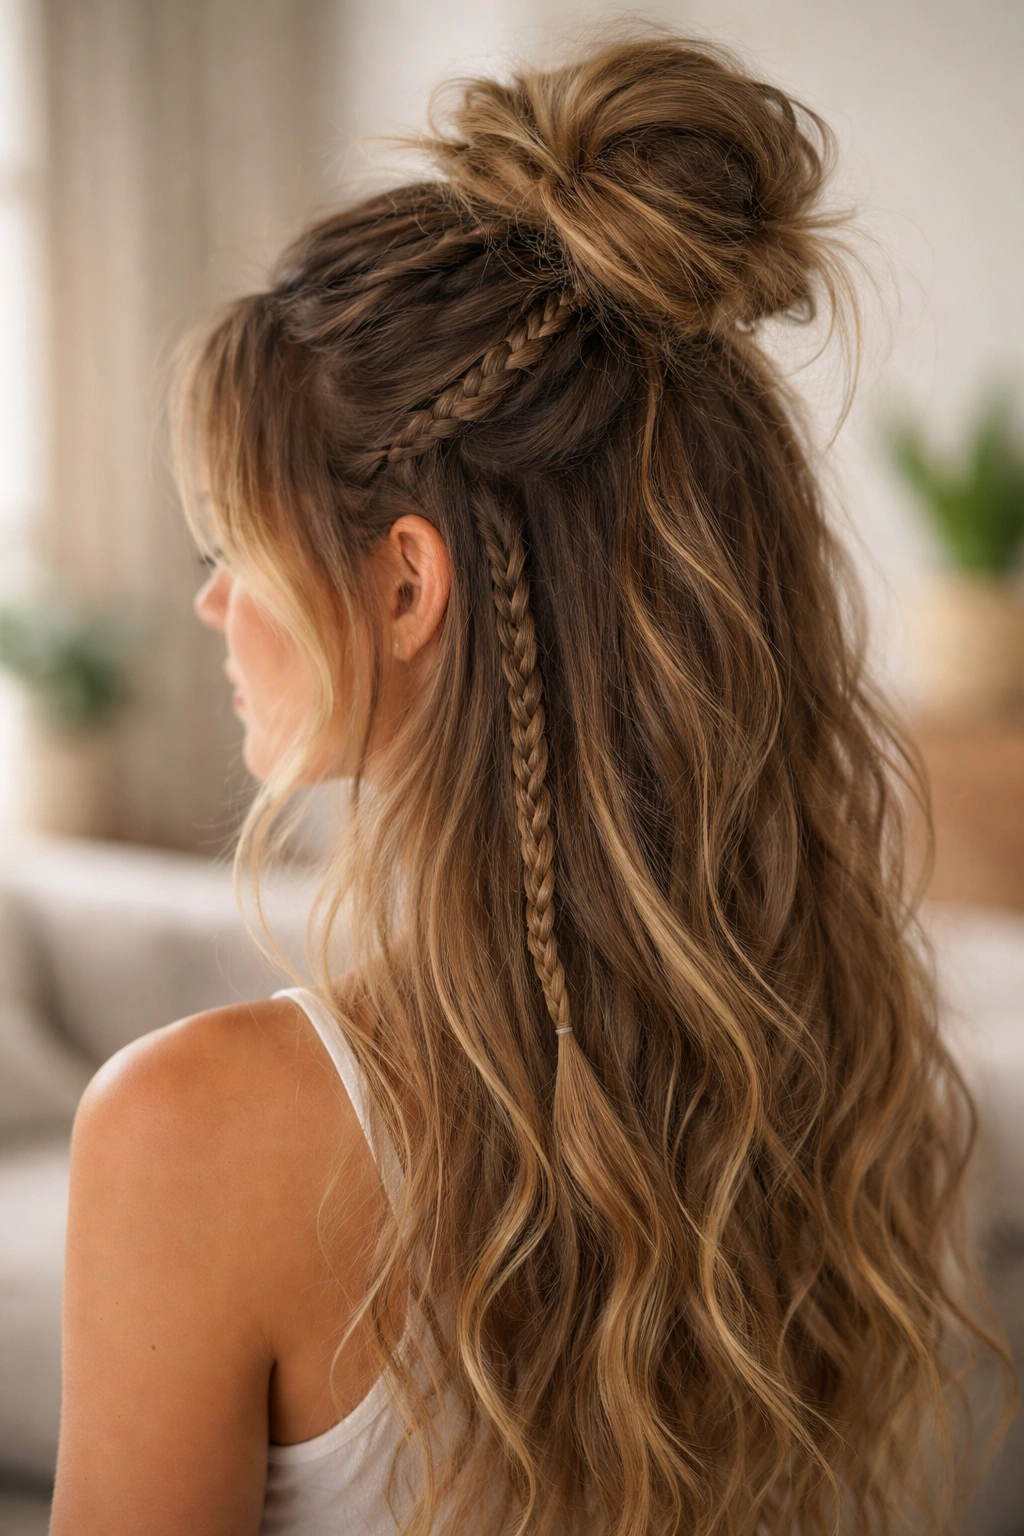
Combine the structure of braids with the ease of a top knot. Braid two thin sections from your temples back toward the center of your head. Gather those braids, along with the top section of your hair, into a messy bun.
The braids lead the eye into the bun, creating a cohesive style. It is a fantastic “second-day hair” look, especially if you have dry shampooed your roots for volume.
17. Five-Strand Accent Braid
Do not let the “five-strand” name scare you. When you are only doing it as a half-up accent, it is quite manageable. You are essentially weaving strands under and over.
Because you are using more hair to build the braid, the result is wide and flat. It sits beautifully against the back of the head and serves as a decorative, wide band that replaces the need for any hair accessories.
18. Hidden Braid Underneath
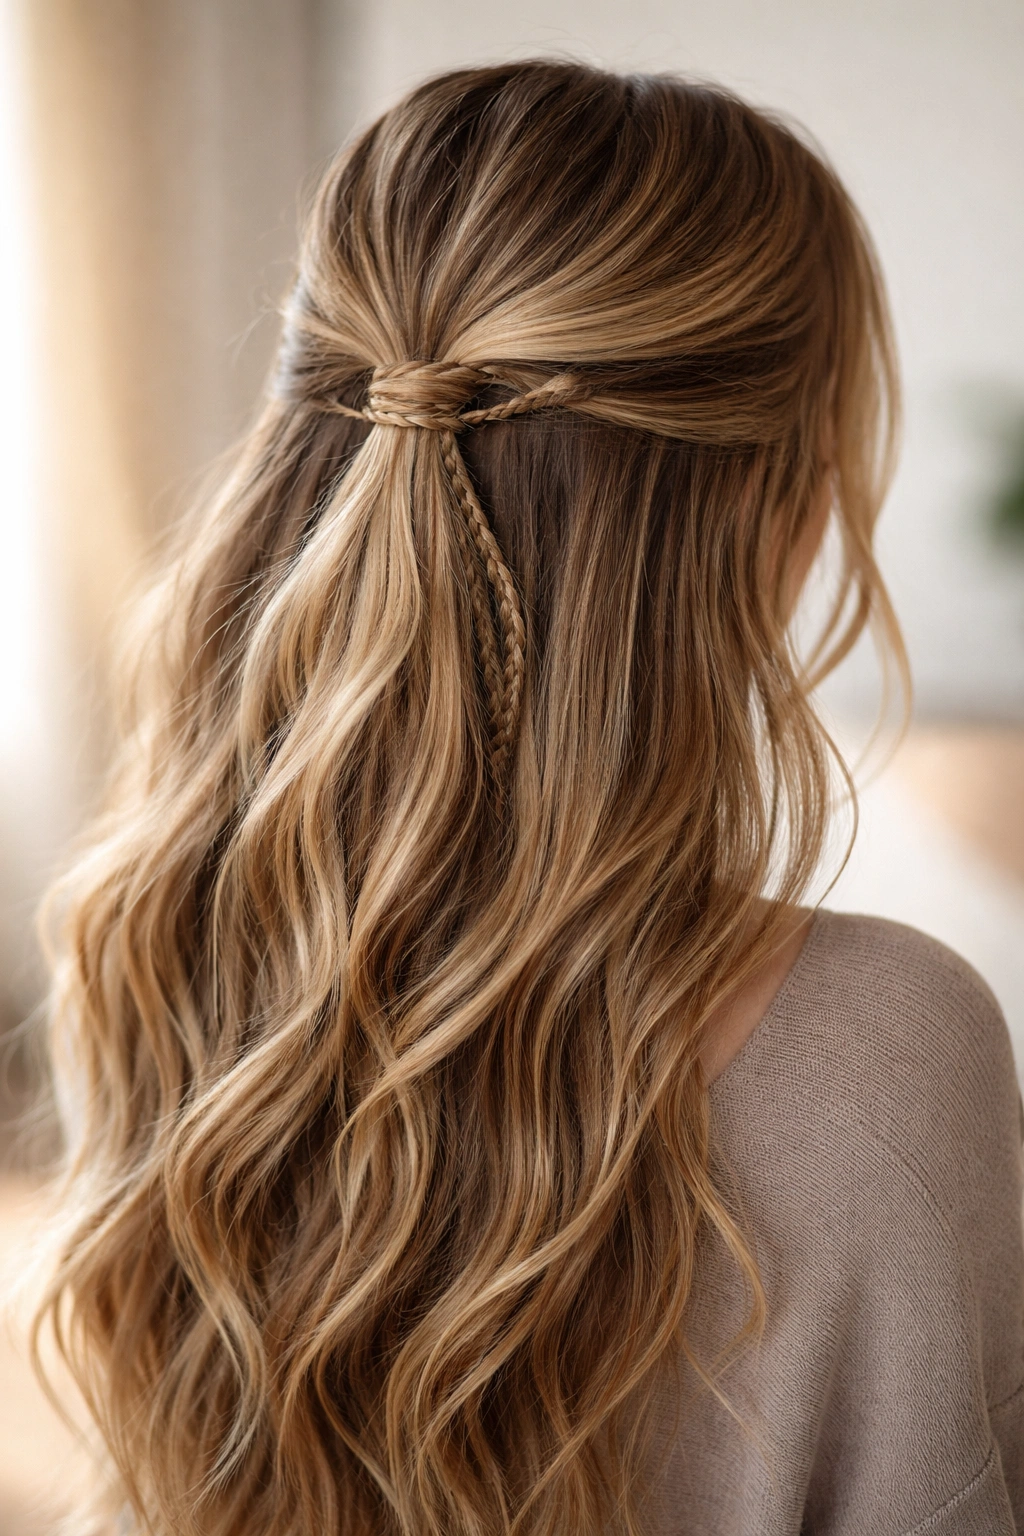
This is for the minimalist. Pull the top layer of your hair back into a half-up ponytail. Then, braid a small section from underneath that layer and wrap it around the hair tie to conceal it.
It is a small, thoughtful detail that elevates a plain half-up ponytail into something that looks professionally finished. It hides the rubber band, which is the hallmark of a polished, adult hairstyle.
19. Milkmaid-Style Half Up
Usually, milkmaid braids are done with all the hair, but a half-up version is much more wearable. Braid two pigtails on either side of your head, then pull them up and over the top of your head, pinning them in place.
It gives you that rustic, cottage-core aesthetic without the weight of pulling up all your hair. It keeps your neck cool while framing your face with the braids.
20. Lace Braid Accent
A lace braid is essentially a French braid, but you only add new hair from one side—the side closest to your hairline.
This creates a beautiful, tapered look where the braid seems to grow out of your head. It is perfect for pulling bangs or layers back smoothly while leaving the rest of the hair to flow naturally.
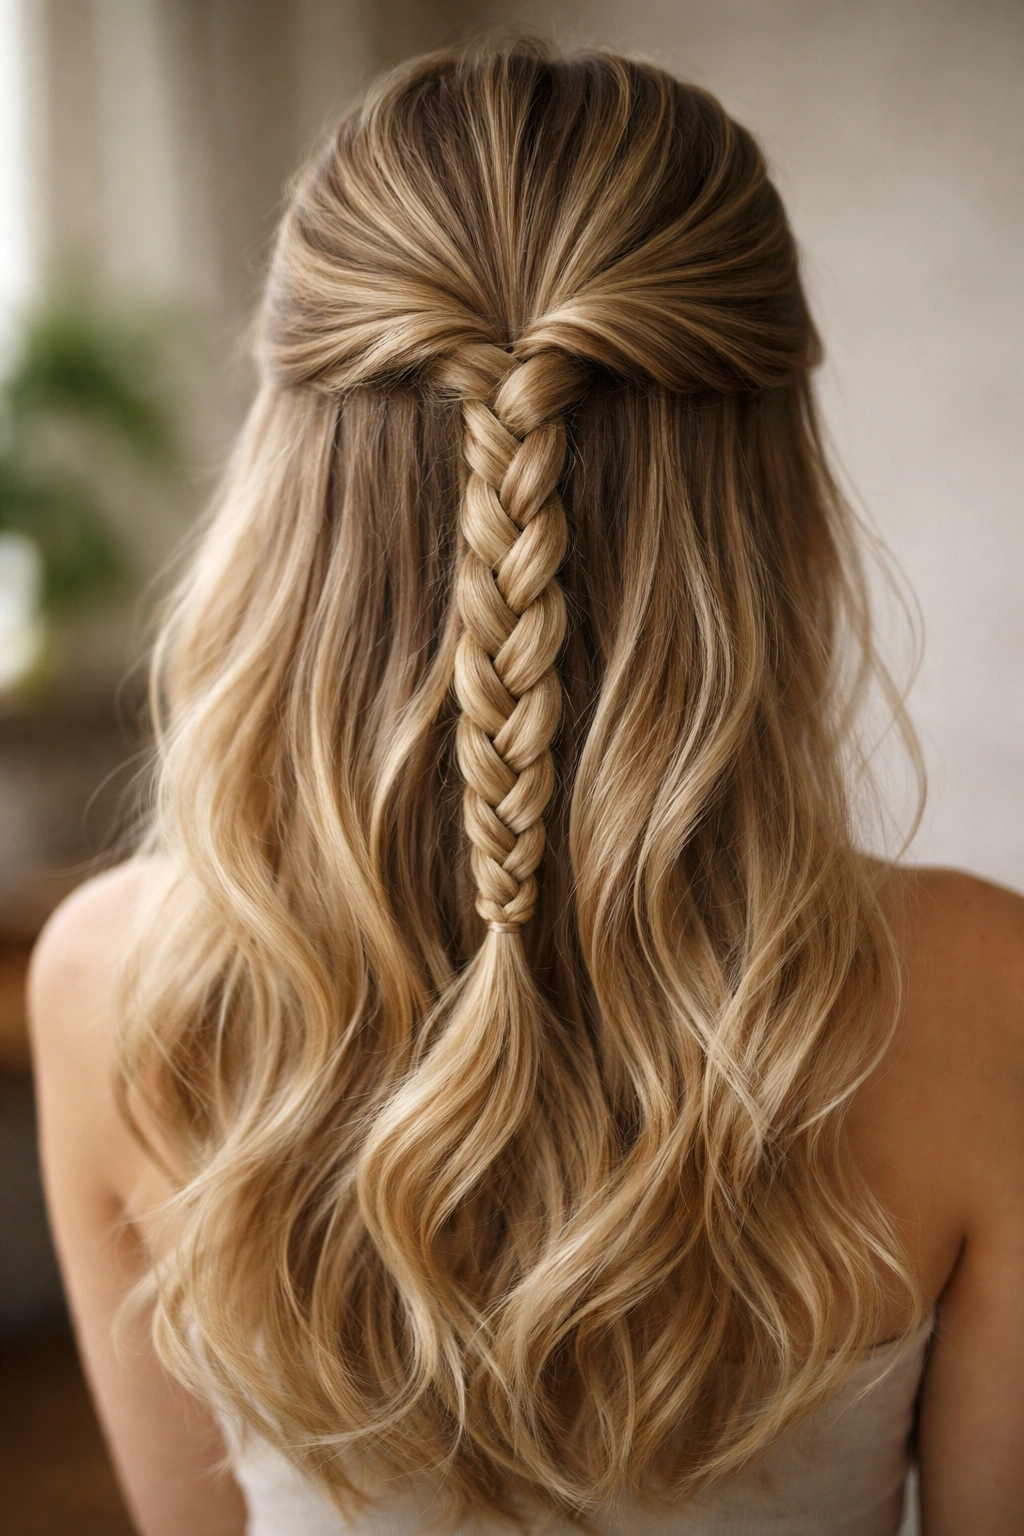
21. The Half-Up Braid-to-Bun
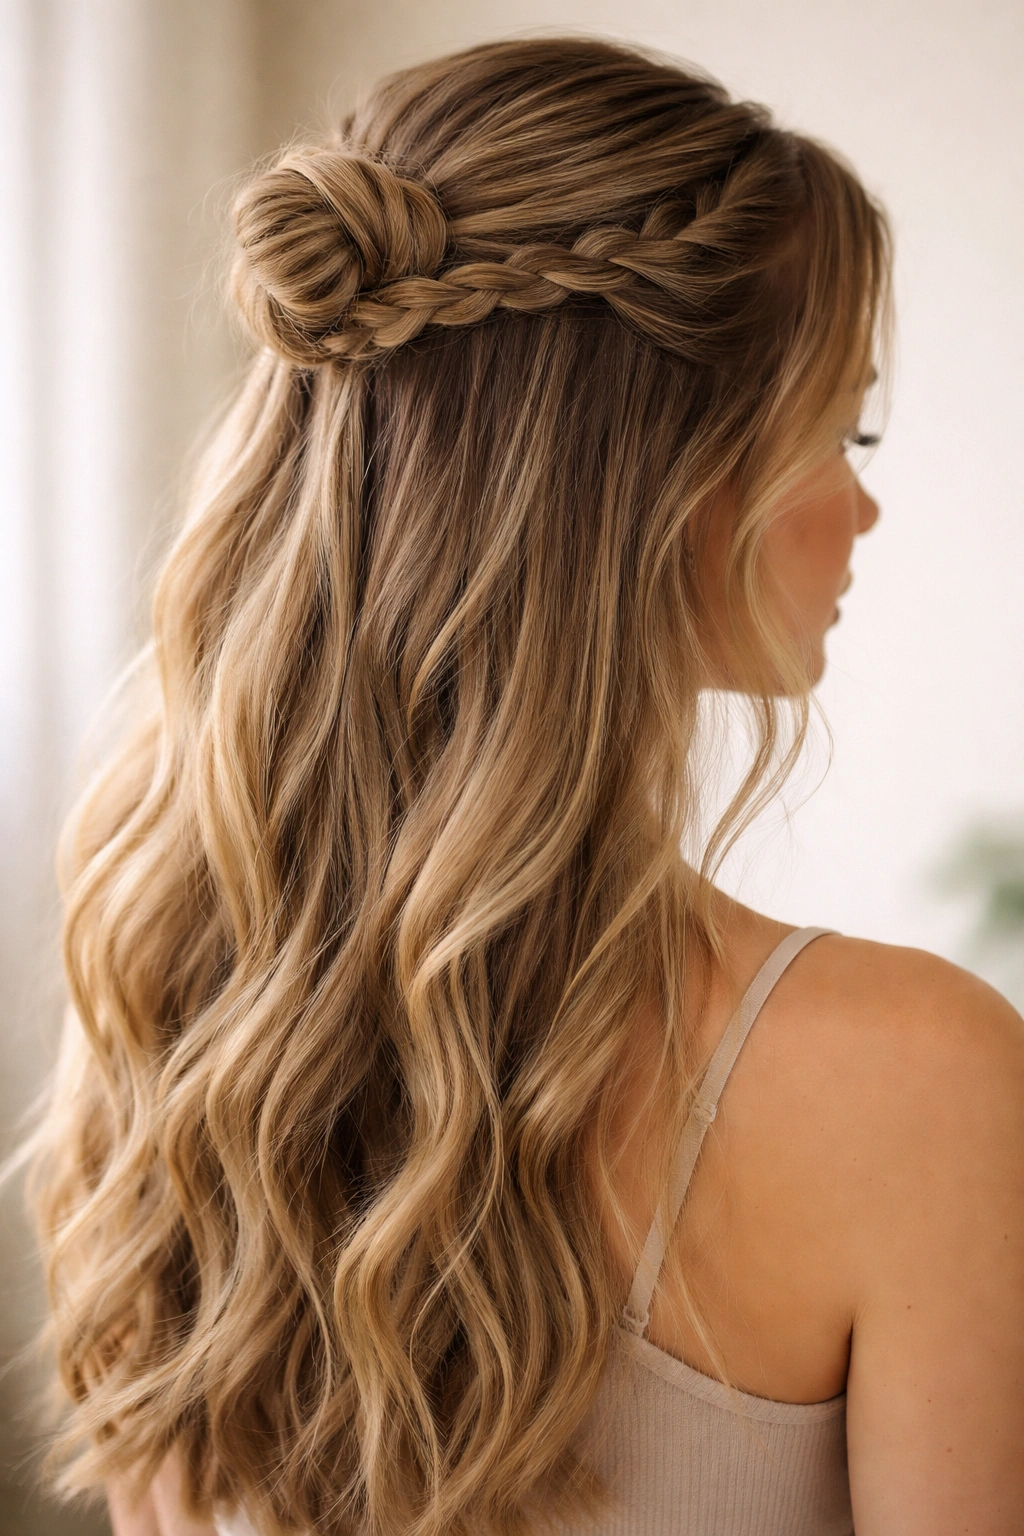
If you are worried about your braid falling apart, this is the solution. Braid a section of hair from the top of your head, but stop when you reach the crown.
Instead of securing it with an elastic, twist that braid into a tiny bun and pin it. It keeps the hair secure and adds a bit of height to the crown of your head, which is usually the flattest part of a half-up style.
22. Zipper Braid Half-Up
The zipper braid involves creating a small braid and then pulling strands through the gaps to create a “zipper” effect. It adds incredible texture and complexity to an otherwise simple section of hair.
Because this requires a bit of dexterity, I recommend practicing it on a day when you aren’t rushing out the door. Once you have the technique down, it is surprisingly fast.
23. Fishtail Crown
Take two fishtail braids from the temples and pull them back to meet in the middle. The contrast between the intricate, tight weave of the fishtails and the loose hair beneath them is visually stunning.
This is a great look for formal occasions. If you want to take it up a notch, weave a few tiny, thin ribbons or small pearl pins into the braids for an elegant touch.
24. Topsy-Tail Braided Effect
Remember the topsy-tail tool from the 90s? You don’t need it. Gather a half-up section, secure it with a clear elastic, and pull the ponytail through the space between the elastic and your scalp.
Now, take that flipped ponytail and braid it. It creates a twisted, knotted base that looks far more sophisticated than a standard ponytail. It is a simple, mechanical way to get a complex-looking result.
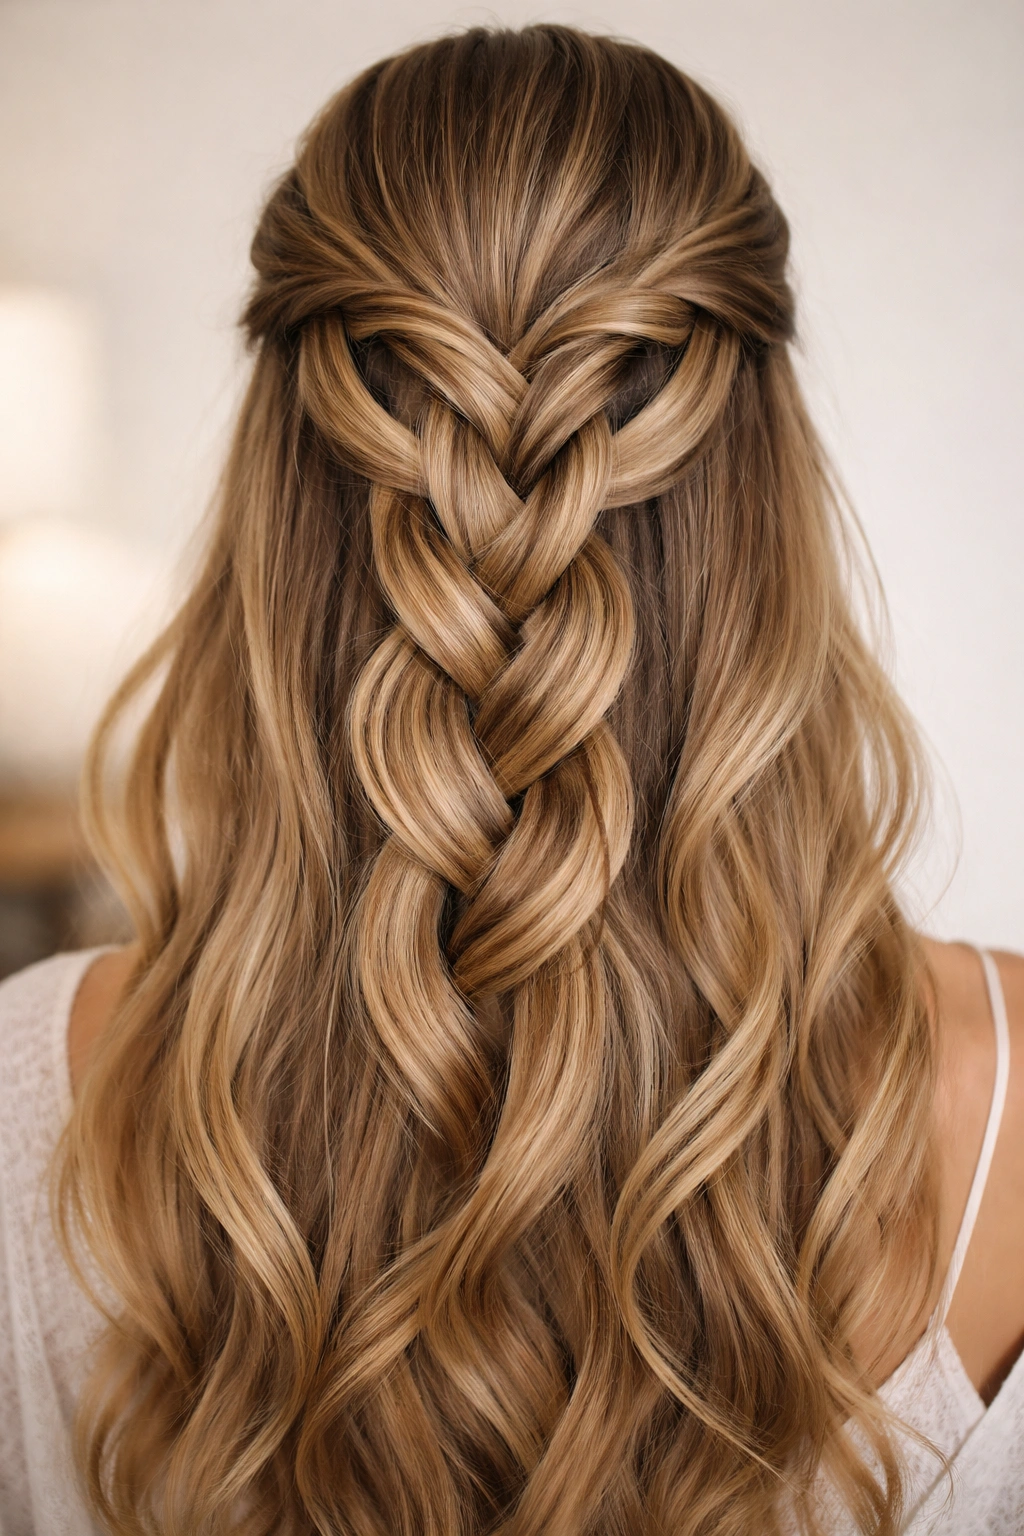
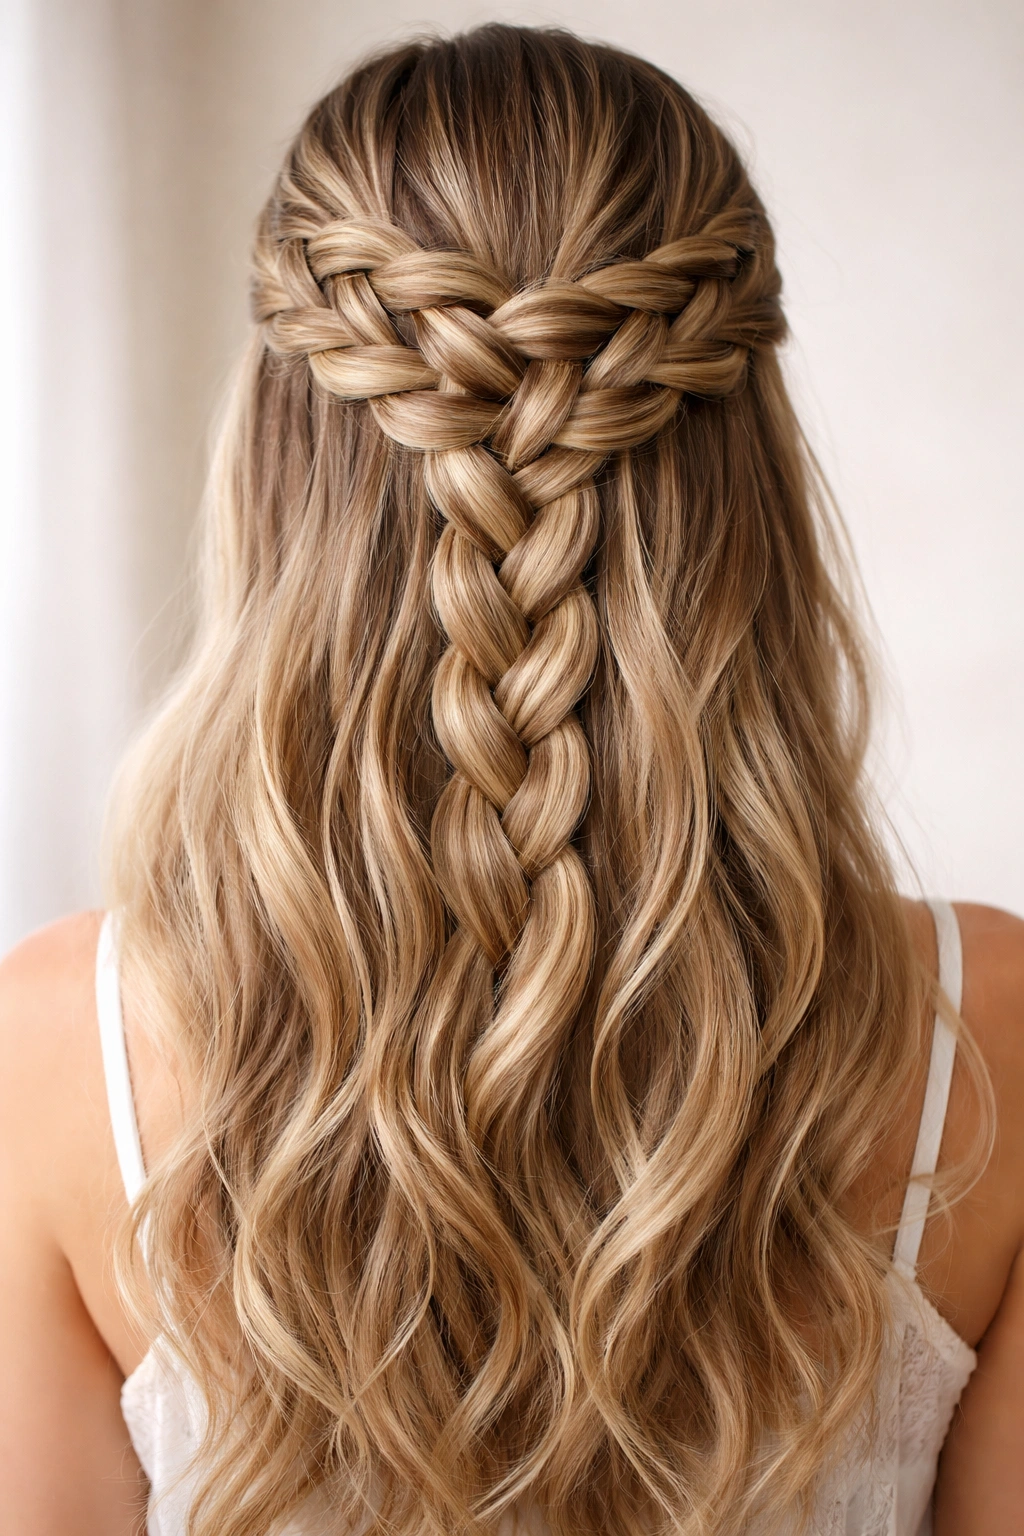
25. Wrapped Braid Ponytail
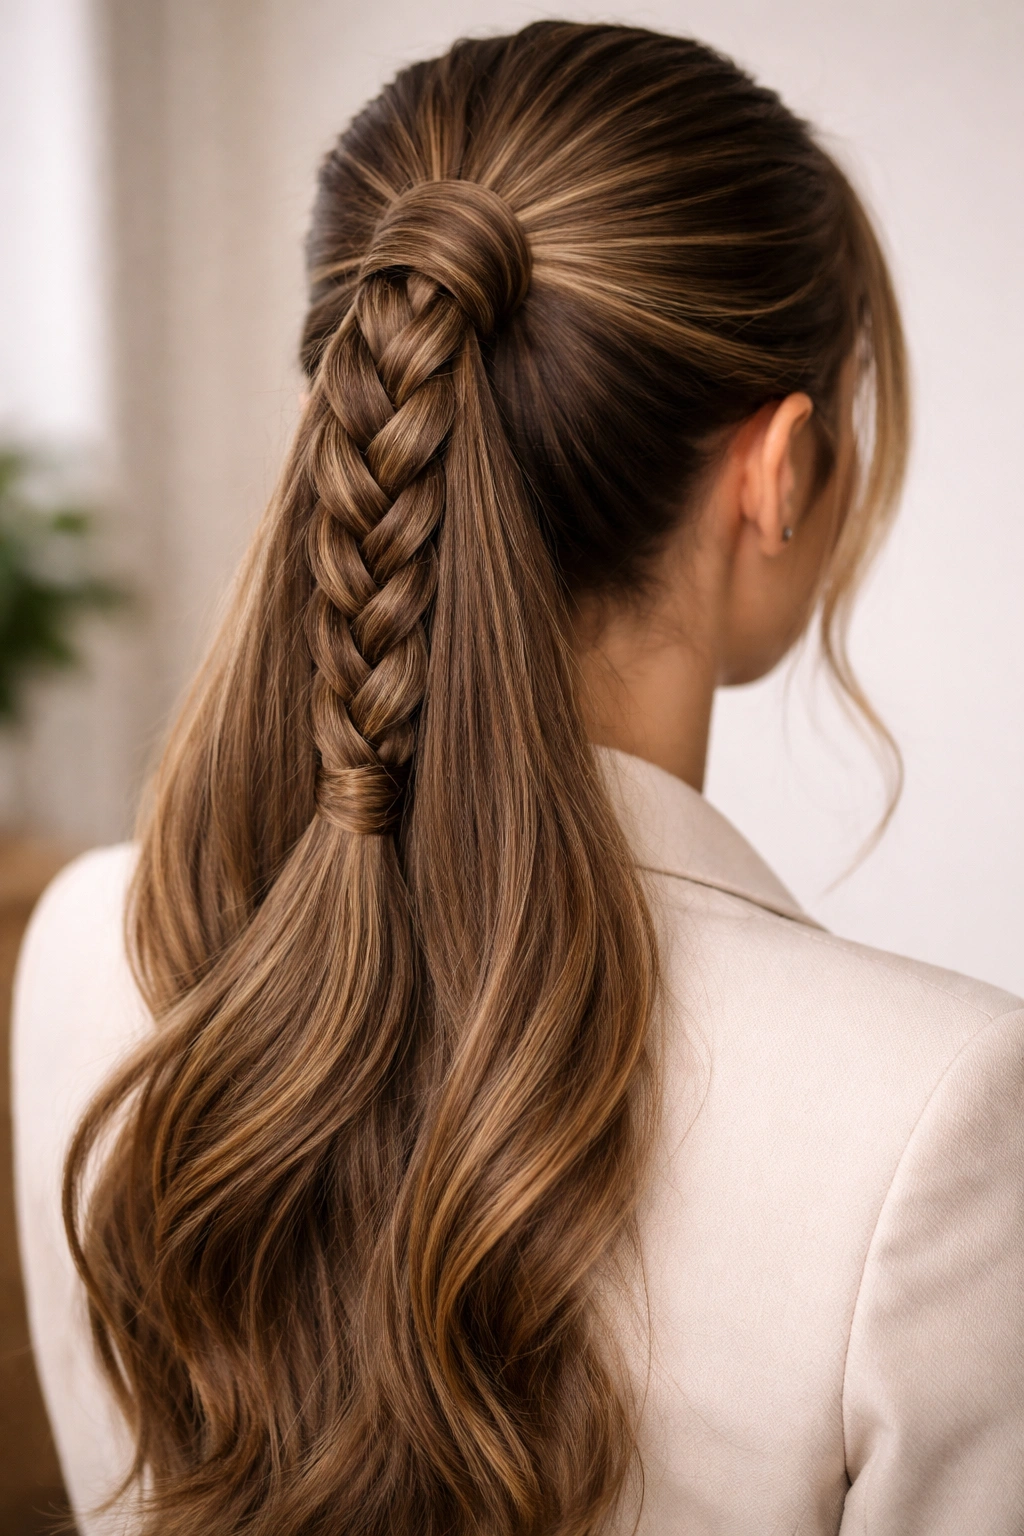
If you have a lot of long, thick hair, a simple half-up ponytail can look like a limp sprout. Braid the ponytail itself to give it structure and weight.
To make it special, take a small section of hair from the underside of the ponytail, braid that, and wrap it around the base to hide the elastic. It is a clean, intentional look that is perfect for professional settings.
Final Thoughts
The beauty of these braided half-up, half-down styles is that they are entirely customizable. You do not need to follow a tutorial to the letter; if a braid is too tight, pull it apart. If a section looks too thin, tease the hair underneath before you braid it to create a bed of volume.
The most common mistake I see people make is trying to force these styles onto hair that is too “perfect.” Hair that is slightly messy, textured, or even a day old will hold a braid significantly better than freshly washed, conditioned, and blown-out hair. Embrace the texture. Let a few stray hairs fall around your face. The goal is to look like you put in effort, not like you were auditioning for a period drama. Once you master the basic tension of these twenty-five styles, you will find that you have a library of looks that work for everything from a morning coffee run to an evening out.