Medium hair is the goldilocks of the styling world. It doesn’t drag down your facial features with the excessive weight of super-long locks, and it isn’t so short that you’re stuck with only two or three basic looks. The problem is that most people fall into a rut. You reach for the same hair tie, pull it back into the same tired ponytail, and go about your day. It’s functional, sure, but it ignores the potential sitting right on top of your head.
When you have that manageable, mid-length density, you have the perfect foundation for structured updos and elevated ponies. The key isn’t in the length of your hair; it is in how you manipulate the texture and use your accessories. If you have been struggling to find a style that actually stays put or looks intentional rather than accidental, you are likely missing a few fundamental techniques—like how to properly use texturizing sprays or where to actually place your pins.
You do not need a salon appointment to pull off styles that look professional. You just need a bit of practice and a willingness to get a little messy with your sectioning. The following collection of styles leans into the natural behavior of medium-length hair, focusing on volume, security, and that “I put effort into this” aesthetic. Whether you are prepping for a workday or a dinner date, these options will change how you view your daily hair routine.
1. The Sleek High Pony
This is the standard-bearer for a reason, but most people get the execution wrong. You are not just pulling your hair up; you are sculpting it. For medium hair, the trick is to use a high-quality styling gel or a firm-hold pomade to slick the sides down before you even reach for the hair tie. Use a boar-bristle brush to smooth everything toward the crown.
How to Get the Look
Gather your hair at the very top of your head—not the back. If you pull it too far back, you lose the face-lifting effect of a true high pony. Secure it tightly. Take a small, thin section of hair from the underside of the pony, wrap it around the elastic until the hair tie is completely hidden, and secure that end with a single bobby pin. Push the pin in toward the base so it stays hidden under the tail.
2. Braided Crown into Pony

Braids are excellent for medium hair because they add density and visual interest without needing extreme length. A braid that wraps around the head acts as a natural headband, which is perfect for keeping flyaways in check on humid days. You don’t need to be a braiding master for this; a simple three-strand dutch braid does the heavy lifting.
The Technique
Start by parting your hair as you normally would. Begin a dutch braid at your temple, grabbing small sections of hair as you work your way around the hairline toward the back. Once you reach the nape of the neck on both sides, bring both braids together into a mid-height ponytail. The remaining length hangs free, giving you the security of an updo with the movement of a pony.
3. The Messy Top Knot Pony
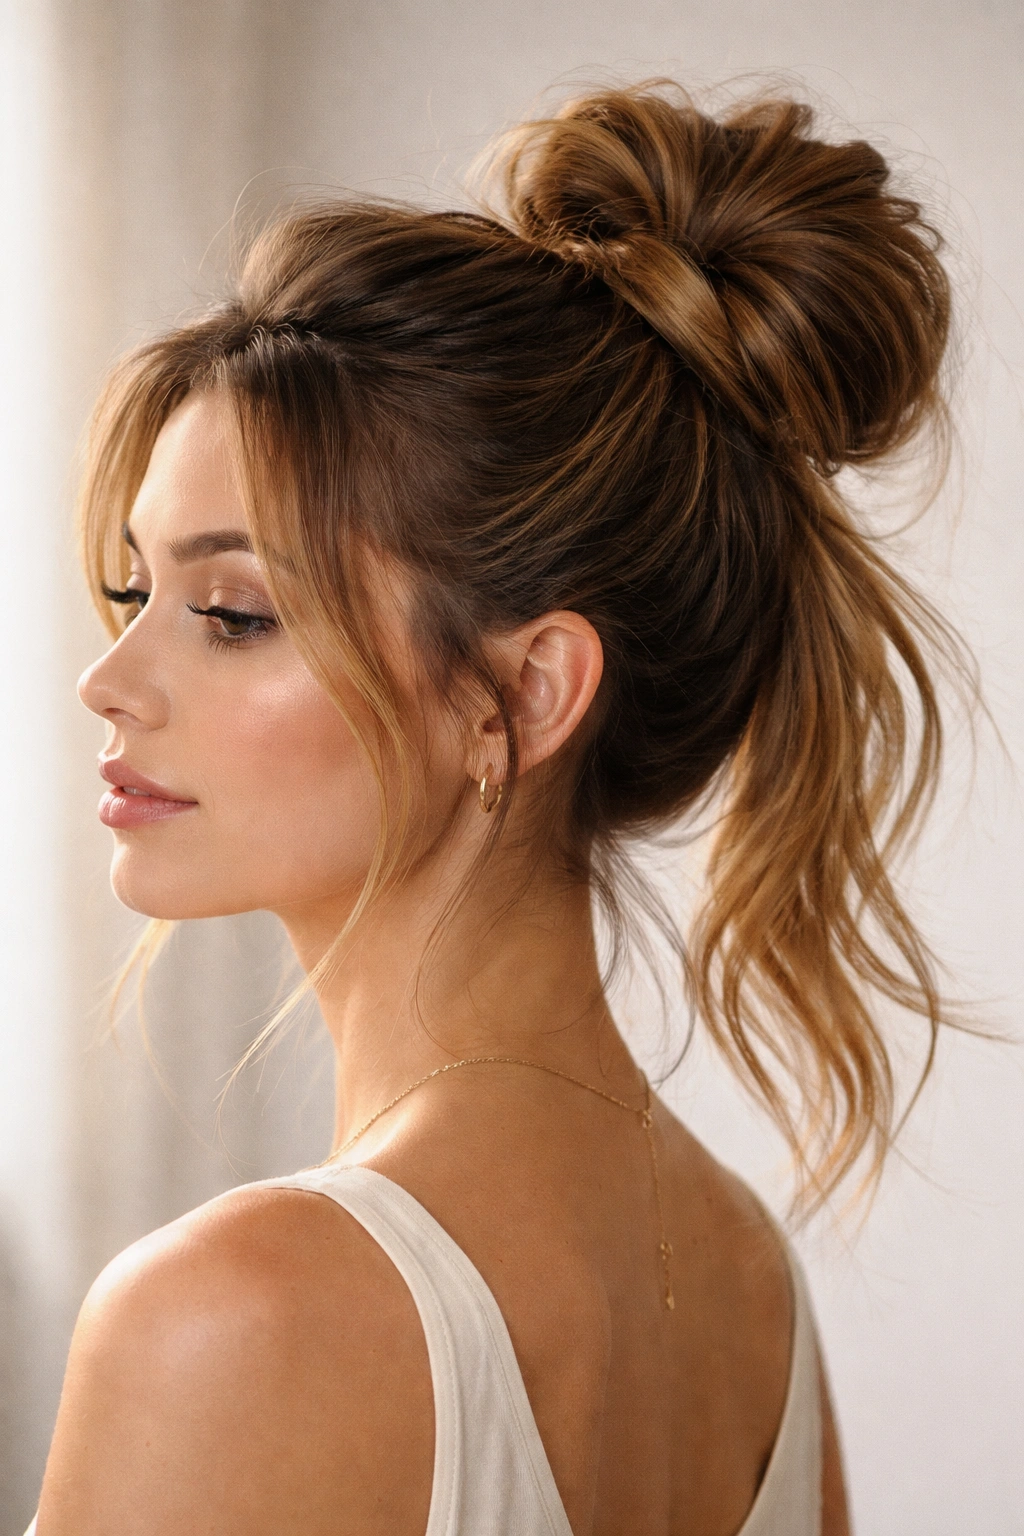
Sometimes you cannot decide between a bun and a ponytail. This style lets you have both. It is a fantastic option for second-day hair when your roots are looking a bit flat and you need to hide the fact that you skipped a wash. The “messiness” is actually structural—it creates height and volume that makes your hair look thicker than it is.
Styling Tips
Pull the top half of your hair into a high ponytail, but on the last loop of your elastic, do not pull your hair all the way through. Leave the ends tucked into the elastic to form a small, chaotic bun. Take the remaining hair from underneath and twist it around the base of that bun. Secure with a few pins. The contrast between the tight bun and the loose, flowing tail gives you a balanced look that feels effortless.
4. Bubble Ponytail
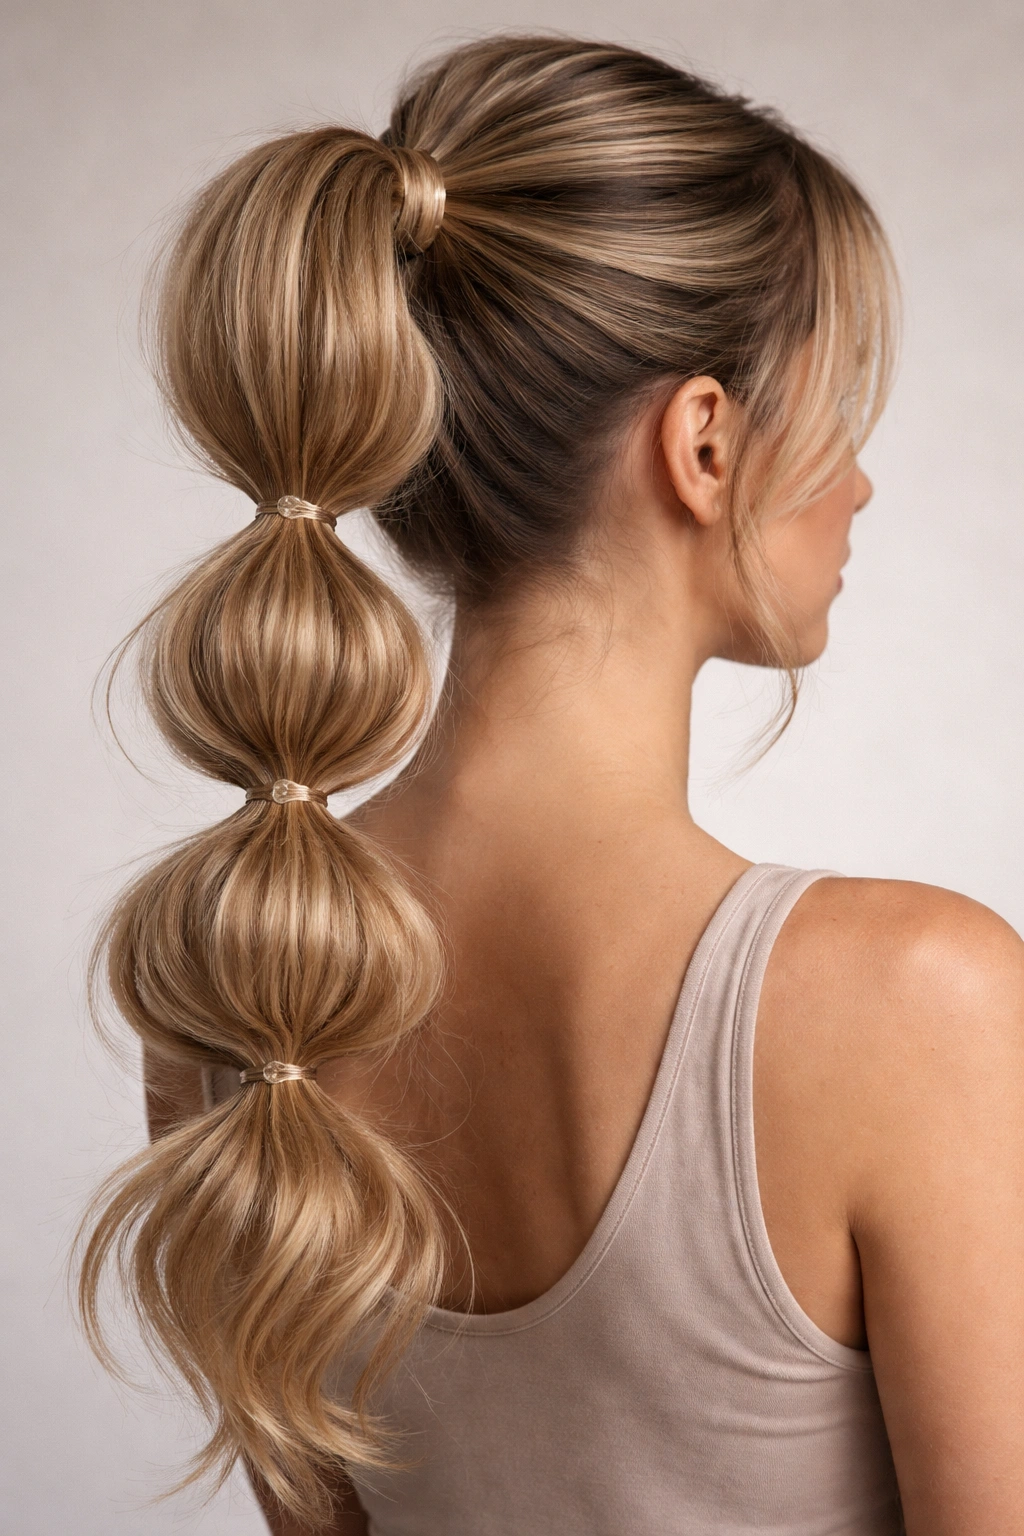
The bubble ponytail is a lifesaver for medium hair because it creates the illusion of fullness and length, even if your hair is relatively fine. It works by sectioning the length of your ponytail and puffing out each segment. You are essentially creating a series of soft, connected spheres that run down your back.
The Secret to Success
The key here is thin, clear elastics and a bit of teasing. Start with a regular high pony. Place an elastic about two inches down the tail, then gently pull the hair between the two elastics outward to create that “bubble” shape. Repeat this all the way down. If you do not pull the hair out to create volume, you are just left with a segmented ponytail, which looks flat. Don’t be afraid to pull aggressively; the messier it looks, the better the bubble holds its shape.
5. Retro Bouffant Pony
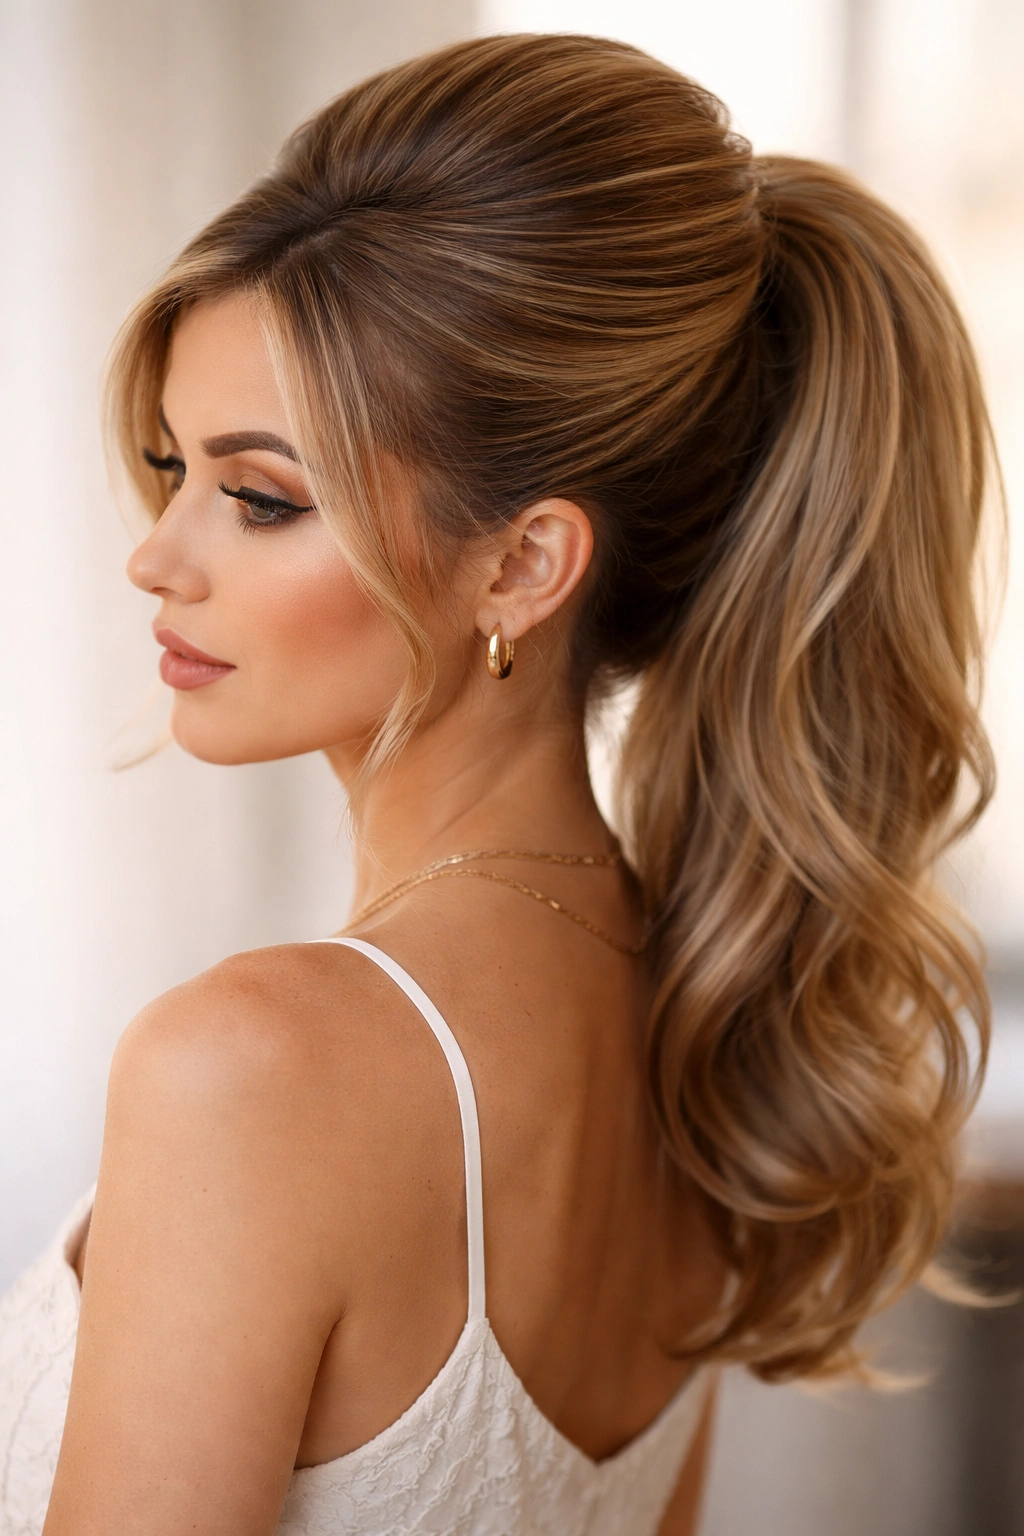
There is something undeniably chic about 1960s volume. For medium hair, this style works because it uses backcombing to create a foundation that the rest of the hair supports. It keeps your hair off your neck while providing a glamorous, editorial silhouette.
Preparation is Everything
You need grit for this. Apply a dry texturizing spray generously to your roots and the crown area before you start. Take a rat-tail comb and tease the hair at the crown, pushing it toward your scalp in small sections. Smooth the top layer over the teased section with your brush, then gather everything into a mid-height ponytail. Do not brush the teasing out completely; the tangles are actually what hold the volume in place.
6. Twisted Side Pony
A side pony can easily look dated if it isn’t styled with intention. The trick is to incorporate twists at the base to make it look like you put in extra effort. This style works best on hair with a bit of natural wave or curl, as it hides the twist a little better and makes the transition from the scalp to the ponytail look seamless.
Execution
Part your hair to the side. Gather a two-inch section near your forehead and twist it backward toward the nape of your neck, pinning it as you go. Repeat this on the other side, then gather all your hair, including the twisted sections, and secure it into a low ponytail behind your ear. It’s romantic, soft, and keeps your hair out of your face without feeling like you are wearing a helmet.
7. Knotted Low Pony

This is for when you want something clean and architectural. It is not about volume; it is about smooth, polished lines. The knot detail at the base gives it a boutique look that makes simple outfits appear more expensive.
Step-by-Step
Start with a low ponytail at the nape of your neck. Take two small sections of hair from the ponytail itself. Tie them into a knot over the top of the elastic. If you have enough length, tie a second knot. Secure the ends underneath the ponytail with a hidden bobby pin. It looks intricate, but it is just a basic square knot tied with your own hair.
8. Wrapped Base Pony
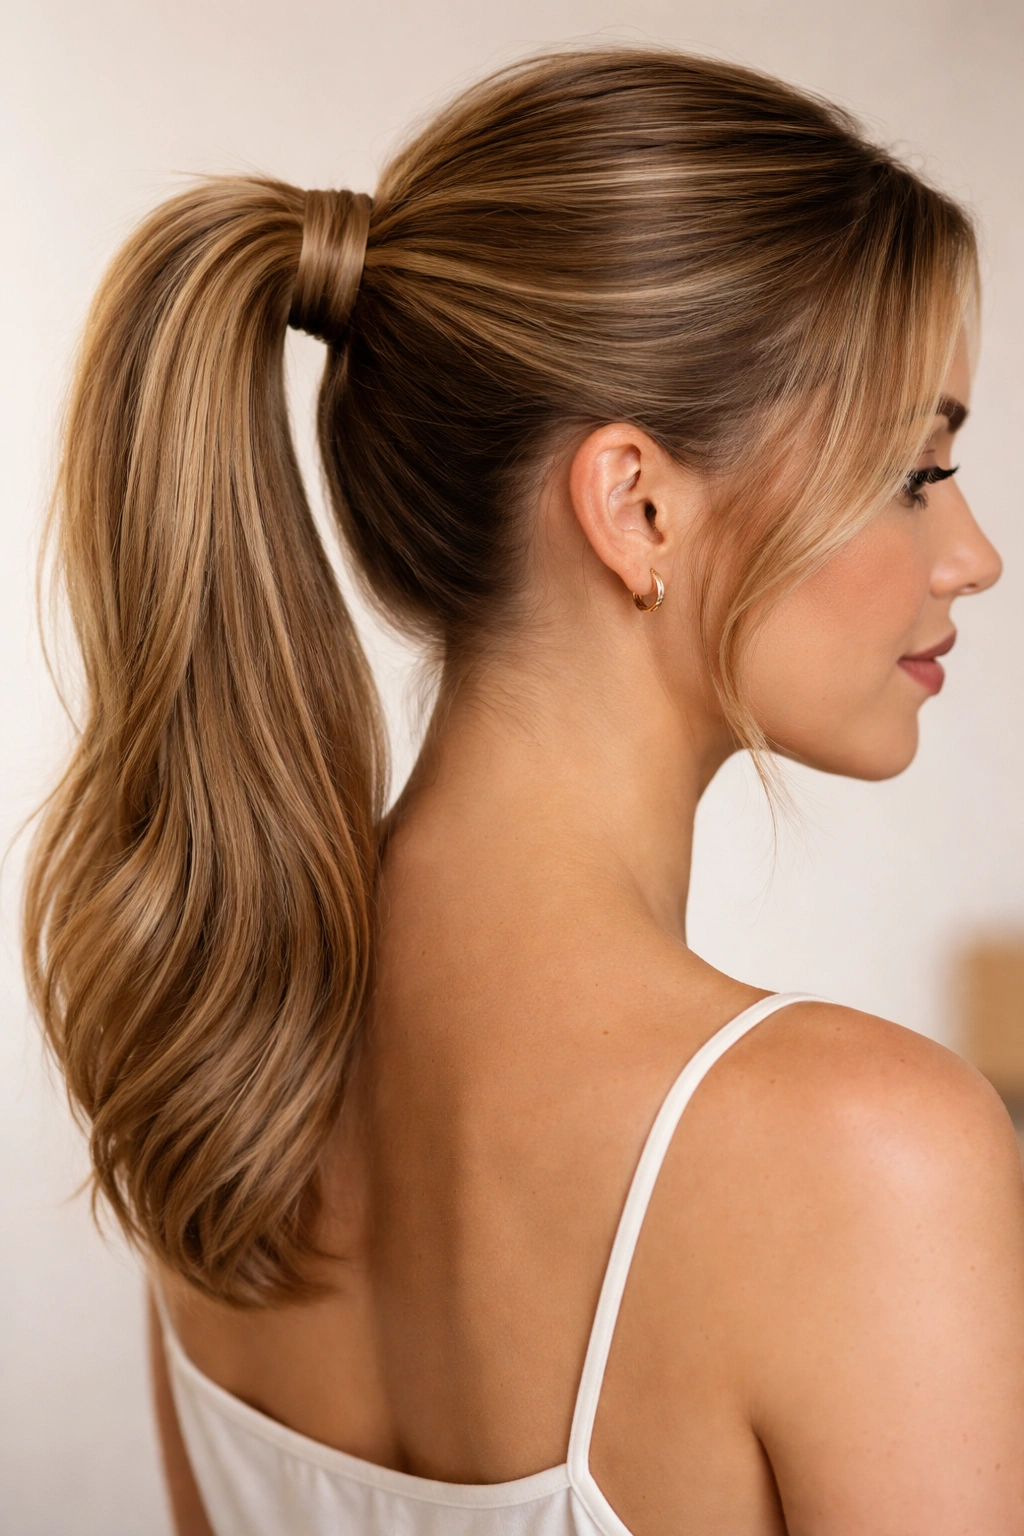
Sometimes, the simplest detail makes the biggest difference. The wrapped base ponytail is the standard for a reason: it covers the cheap elastic and turns your hair into the accessory. This is the baseline technique you should master if you want to elevate any ponytail style.
The Technique
Secure your ponytail with a thin elastic that matches your hair color. Take a half-inch section of hair from the underside of the tail. Wrap it tightly around the elastic. Once you reach the end of the section, tuck it into the elastic using a hair-colored pin. If your hair is too short to wrap fully, you can use a small, decorative hair cuff instead. It achieves the same clean look without the struggle.
9. Scarf-Tied Pony
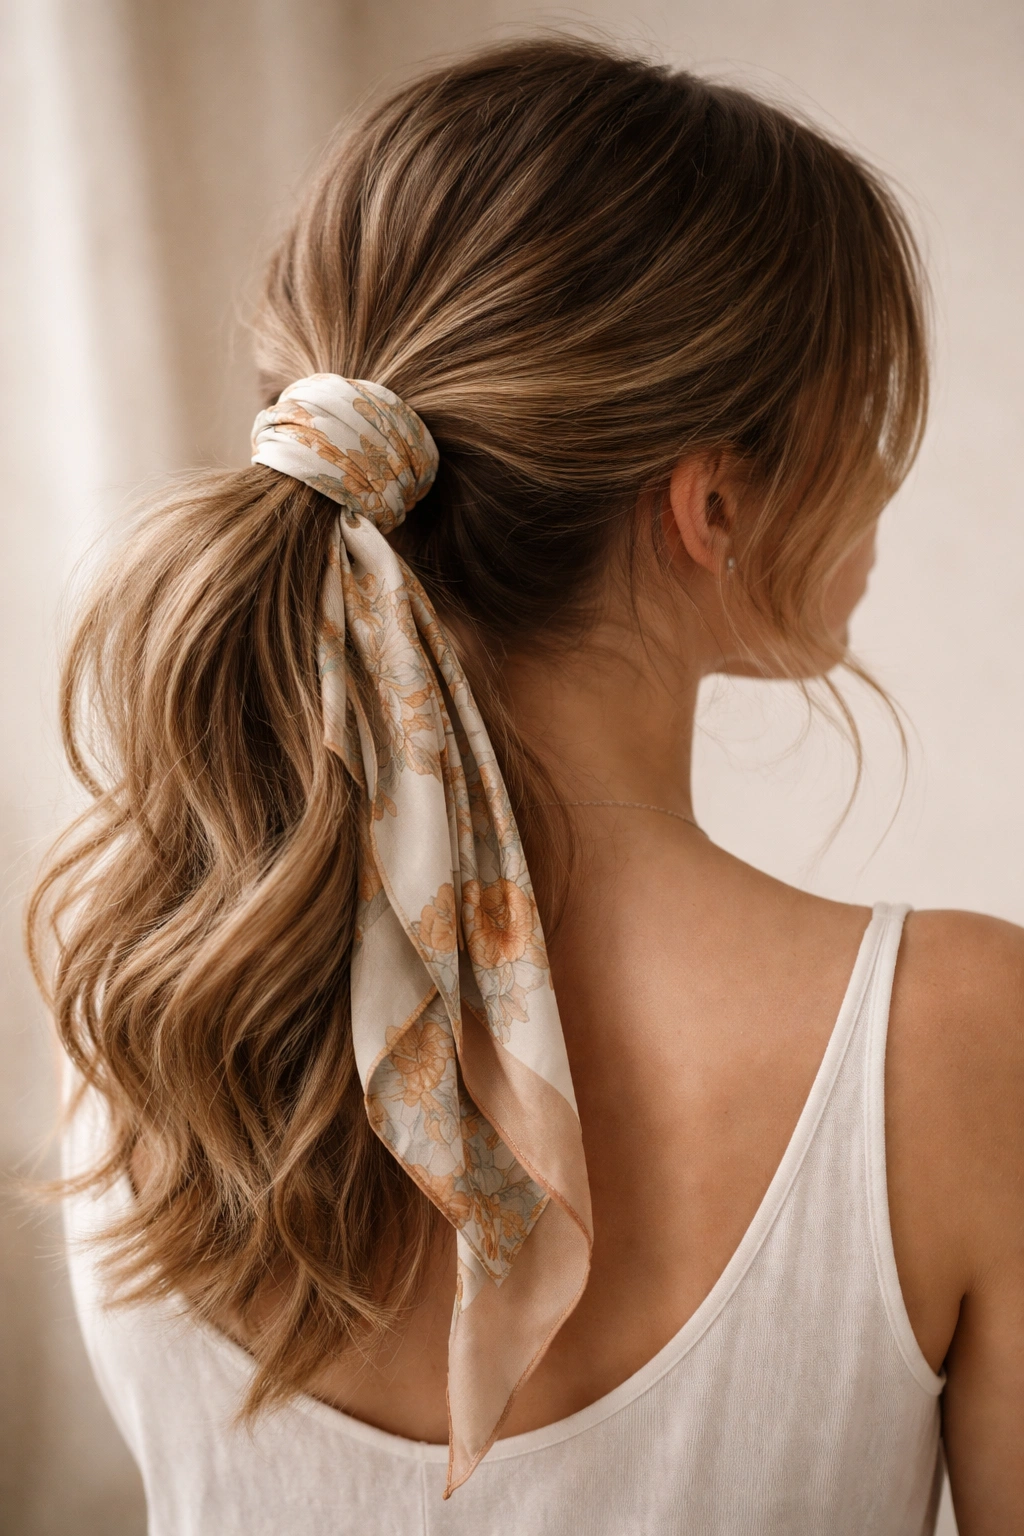
When you want to add color or texture but don’t want to spend time braiding or teasing, a scarf is your best friend. This style is perfect for those days when you’re in a rush but still want to look put-together. It hides a multitude of sins, including greasy roots or a messy elastic.
Application
Pull your hair into a basic ponytail—high or low, it doesn’t matter. Take a silk or cotton scarf, fold it into a thin strip, and tie it around the base of your ponytail. Let the ends of the scarf hang down mixed in with your hair. The weight of the scarf adds a nice drape to the look. If you are using a lighter silk scarf, you can tie it in a bow for a softer, more playful aesthetic.
10. Fishtail Crown Pony
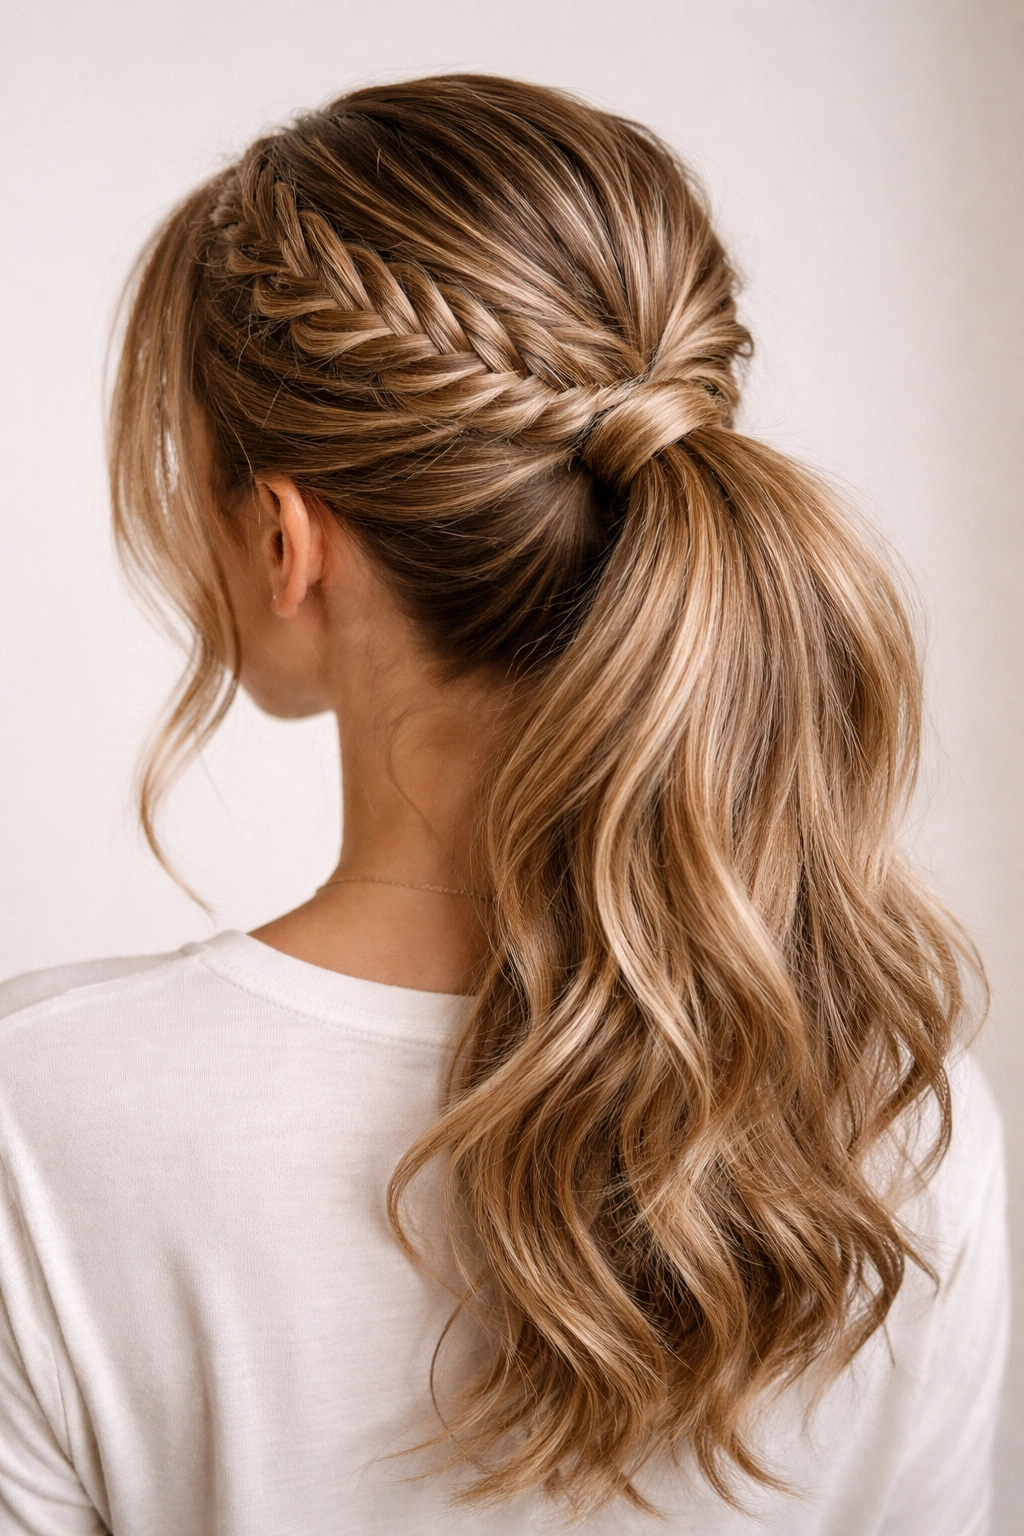
The fishtail braid can be intimidating, but you don’t need to do a full-length braid to get the benefit of the look. Using the fishtail technique for a crown or a partial accent creates a much more intricate pattern than a standard three-strand braid, and it looks beautiful on medium hair.
How to Do It
Section off the top portion of your hair as if you were doing a half-up style. Create a fishtail braid using that section. Once you reach the back of your head, pull the rest of your hair up into a ponytail, incorporating the end of the fishtail braid into the elastic. The braid sits flat against the head, which is perfect for preventing that “bumpy” look that often happens with thicker braids on medium-length hair.
11. Double Dutch Braid Pony
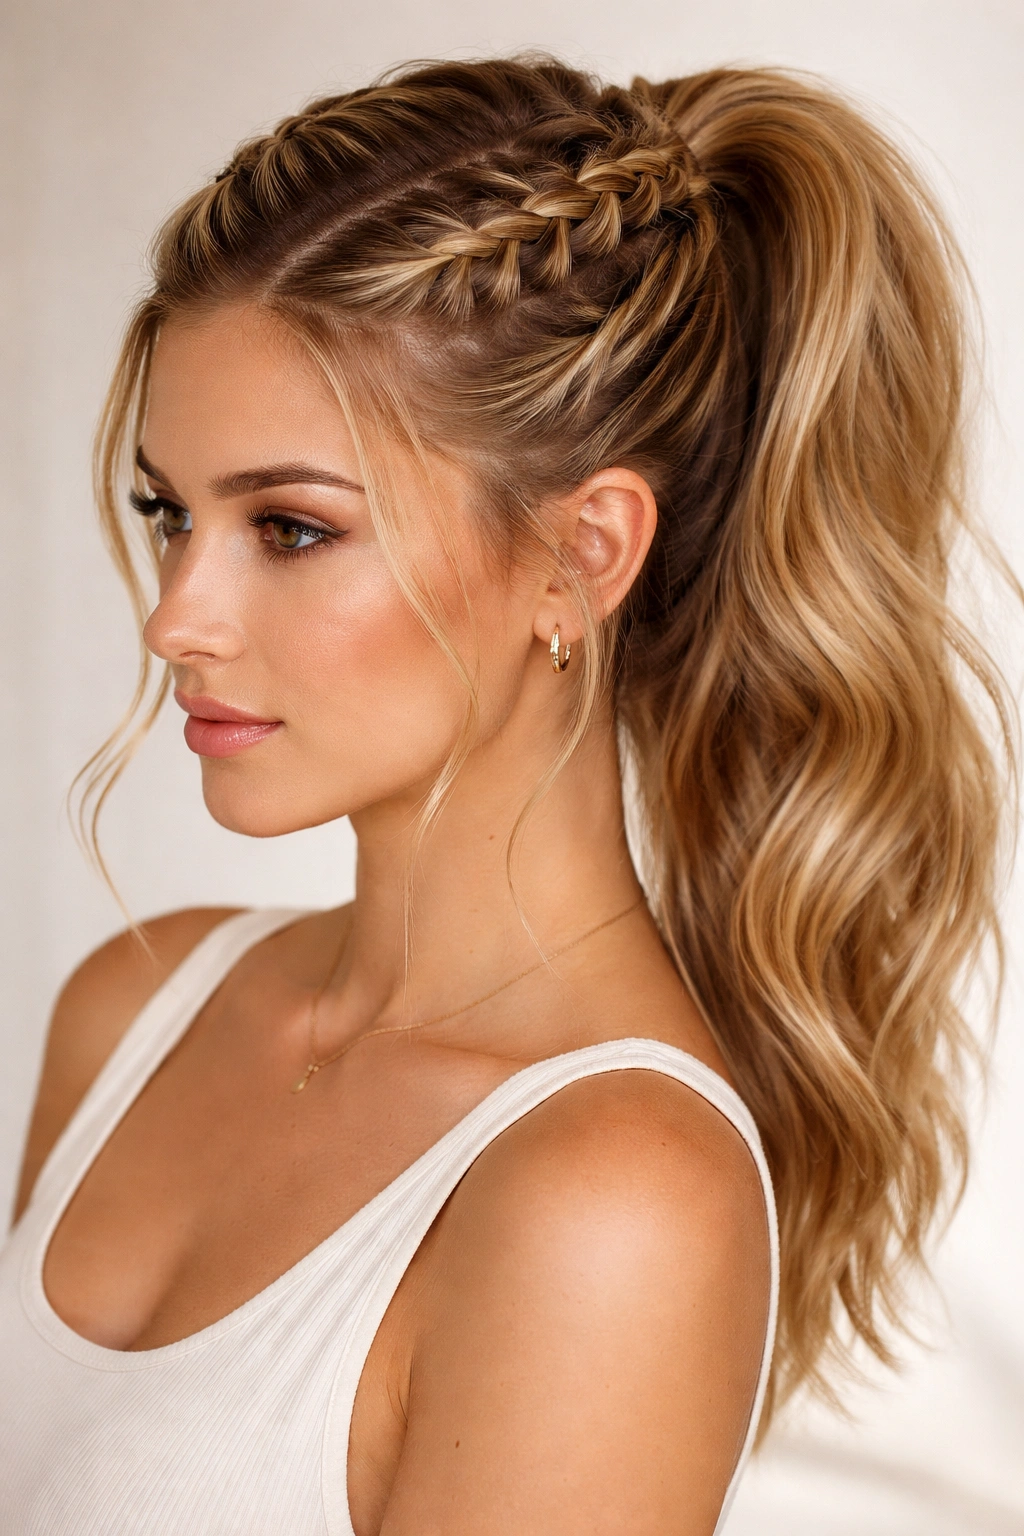
Dutch braids—where you cross the strands under instead of over—pop out from the head, creating a high-contrast, structured look. When you combine them with a ponytail, you get a sporty yet put-together vibe. This is excellent for keeping hair off your face while exercising or running errands.
The Process
Part your hair down the center. Create two Dutch braids, one on each side, starting from your forehead. Stop braiding when you reach the back of your head and secure them into a single, combined ponytail. Pull at the edges of the braids to loosen them up—this is called “pancaking”—and it makes your hair look twice as thick as it actually is.
12. The “Lived-In” Messy Pony
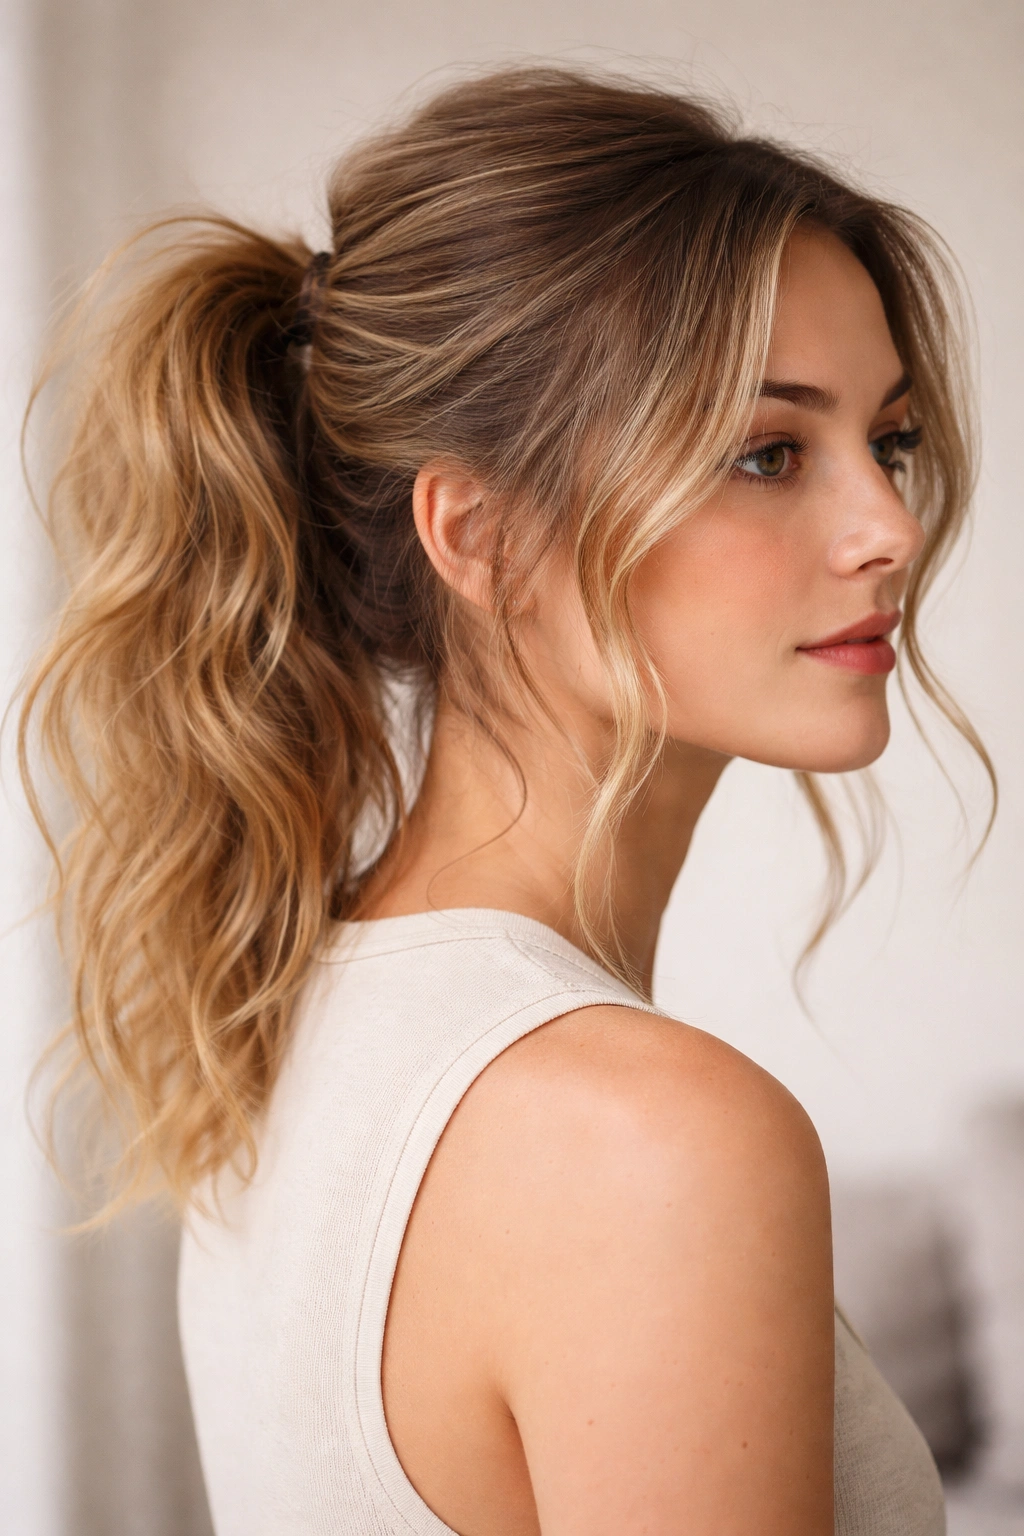
There is a fine line between “messy chic” and “I just rolled out of bed.” The difference is texture. You cannot achieve this look with pin-straight, freshly washed hair. It will just look stringy.
Texture Tips
Start by spraying your hair with a dry texture spray or a bit of sea salt spray. Use a curling iron to add a few random bends to your hair, but don’t worry about being perfect. Gather the hair into a mid-height ponytail, but do it with your fingers rather than a brush. Leave a few face-framing tendrils out to soften the look. Pull slightly at the hair on top of your head to create a bit of a slouchy, relaxed shape.
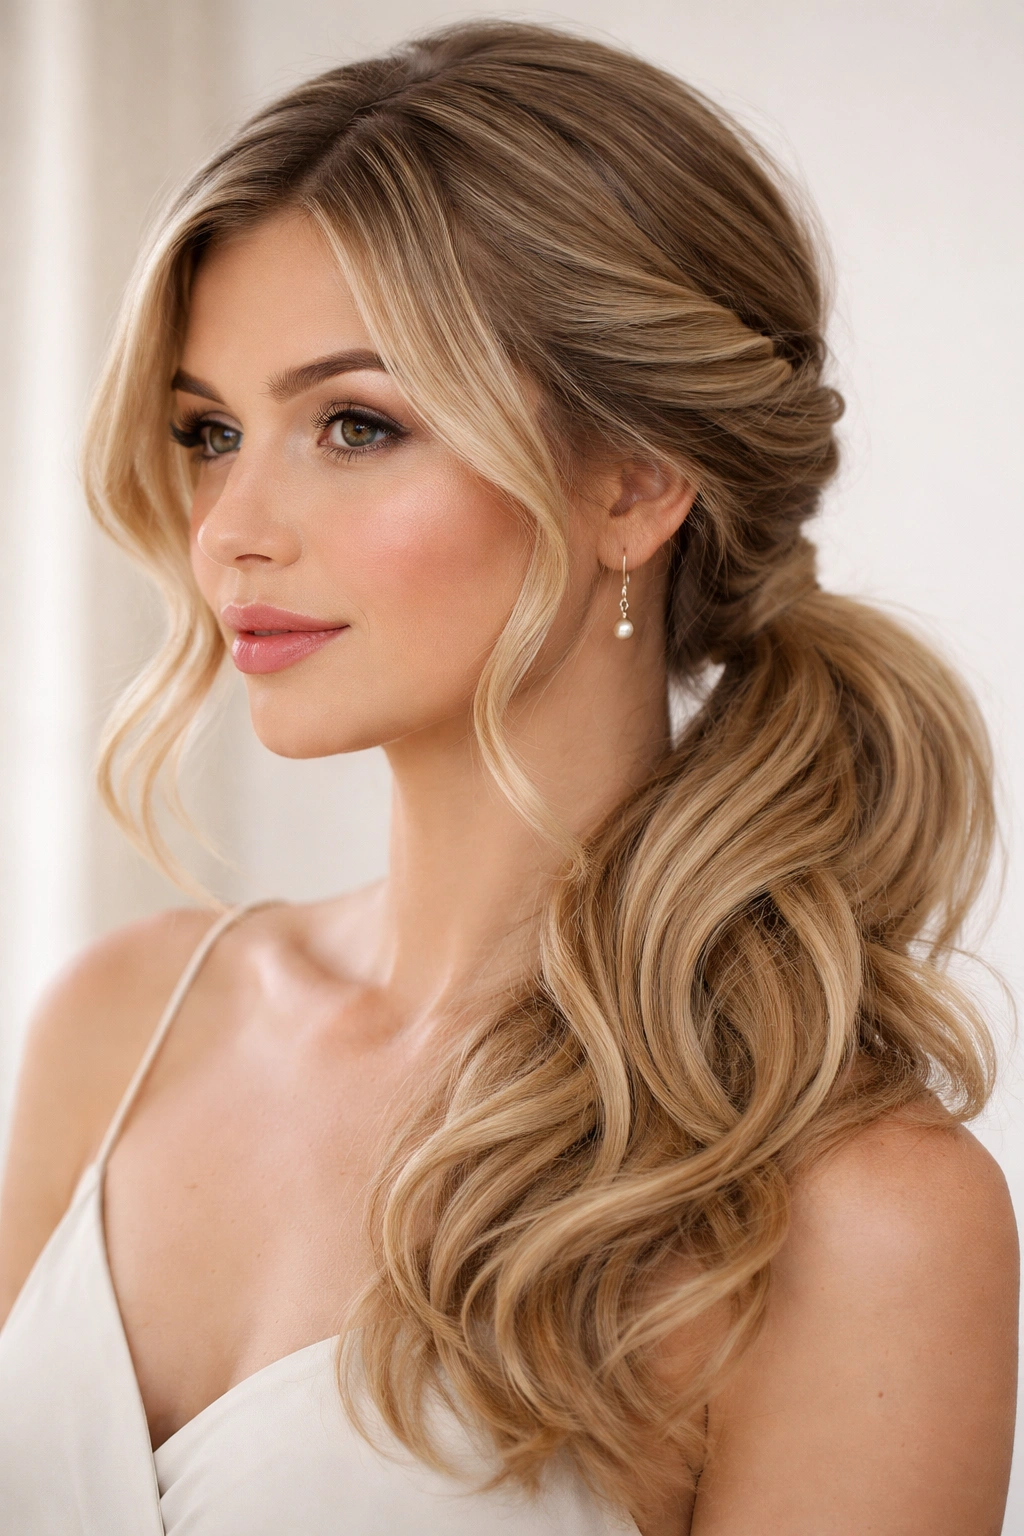
13. Romantic Side-Swept Pony
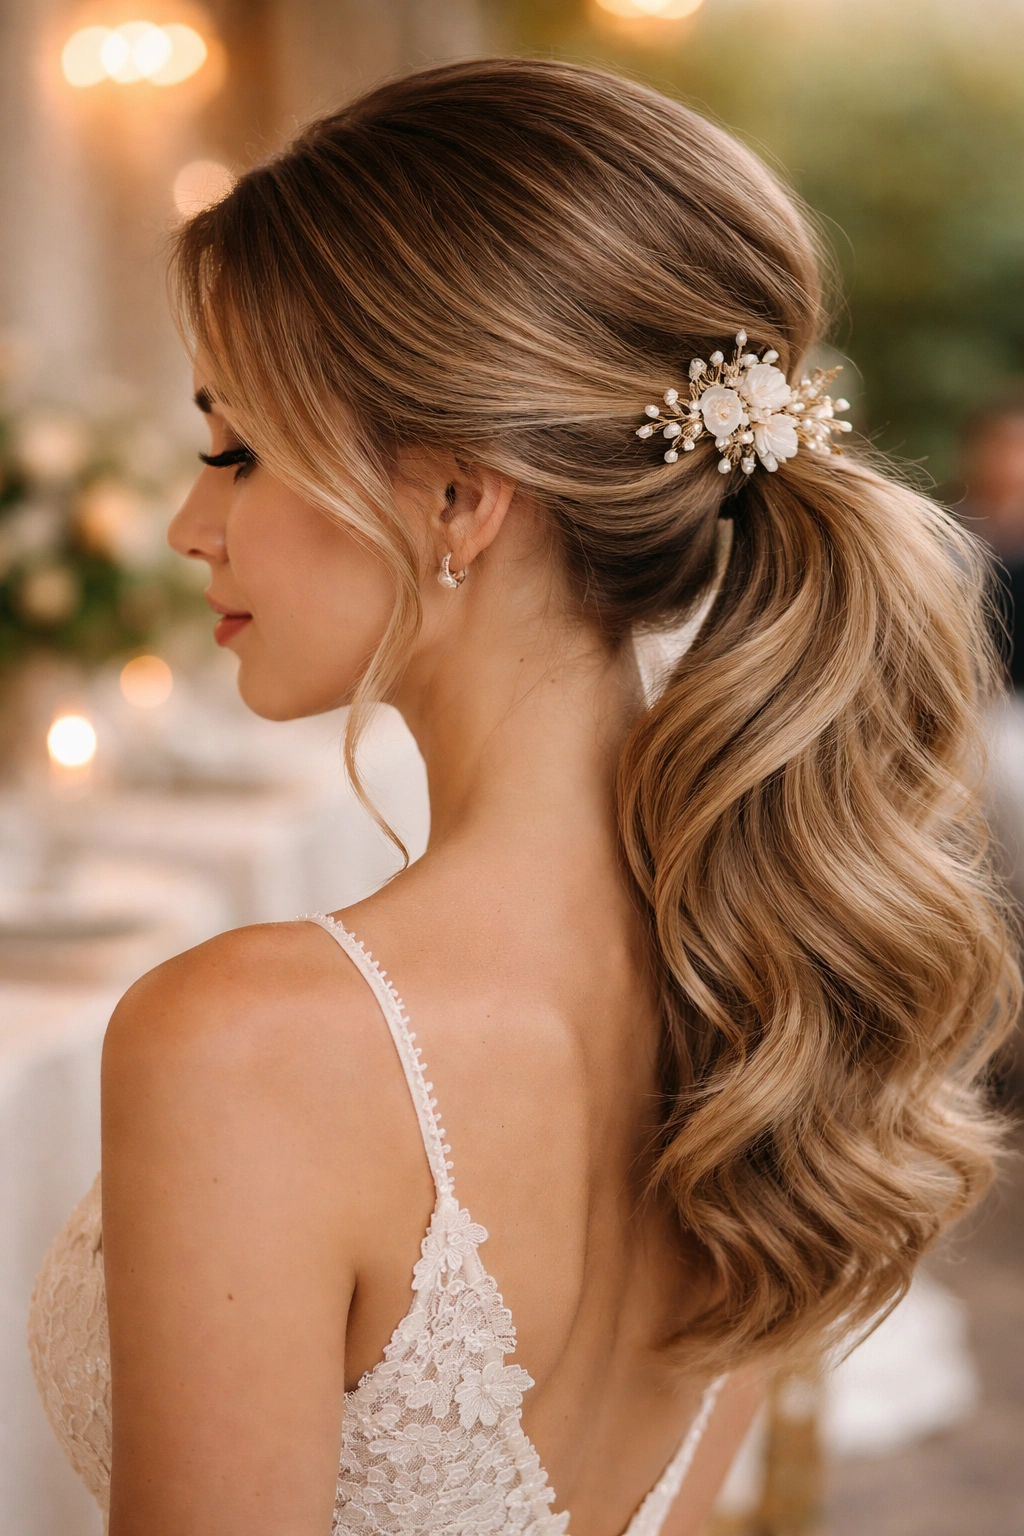
This is the go-to style for weddings or formal events. It feels soft and intentional. By pulling the hair to the side, you frame your face differently and highlight your jawline.
How to Style
Create a deep side part. Sweep all your hair to the opposite side of your head. Secure it with an elastic at the nape of the neck. To add that romantic feel, use a curling wand to create soft, loose waves throughout the ponytail. If you want to make it look even more formal, take a section of hair from the pony, wrap it around the base, and tuck in a small floral hair clip or a decorative comb right above the elastic.
14. The Tucked-In Faux Bob Pony
If you have medium hair and you are craving a shorter look, the faux bob is the way to go. It tricks the eye into thinking you’ve chopped your hair, without the commitment. It’s elegant, classic, and looks incredible with a high collar or a winter scarf.
Execution
Tie a low ponytail at the nape of your neck, but don’t pull the hair all the way through on the last loop. Leave the ends tucked into the elastic. Then, take the remaining loose hair, fold it under, and pin it to the nape of your neck using several bobby pins. Fan the hair out slightly so it hides the pins. It should look like a soft, rounded bob from the front.
15. Voluminous Clipped-Up Pony
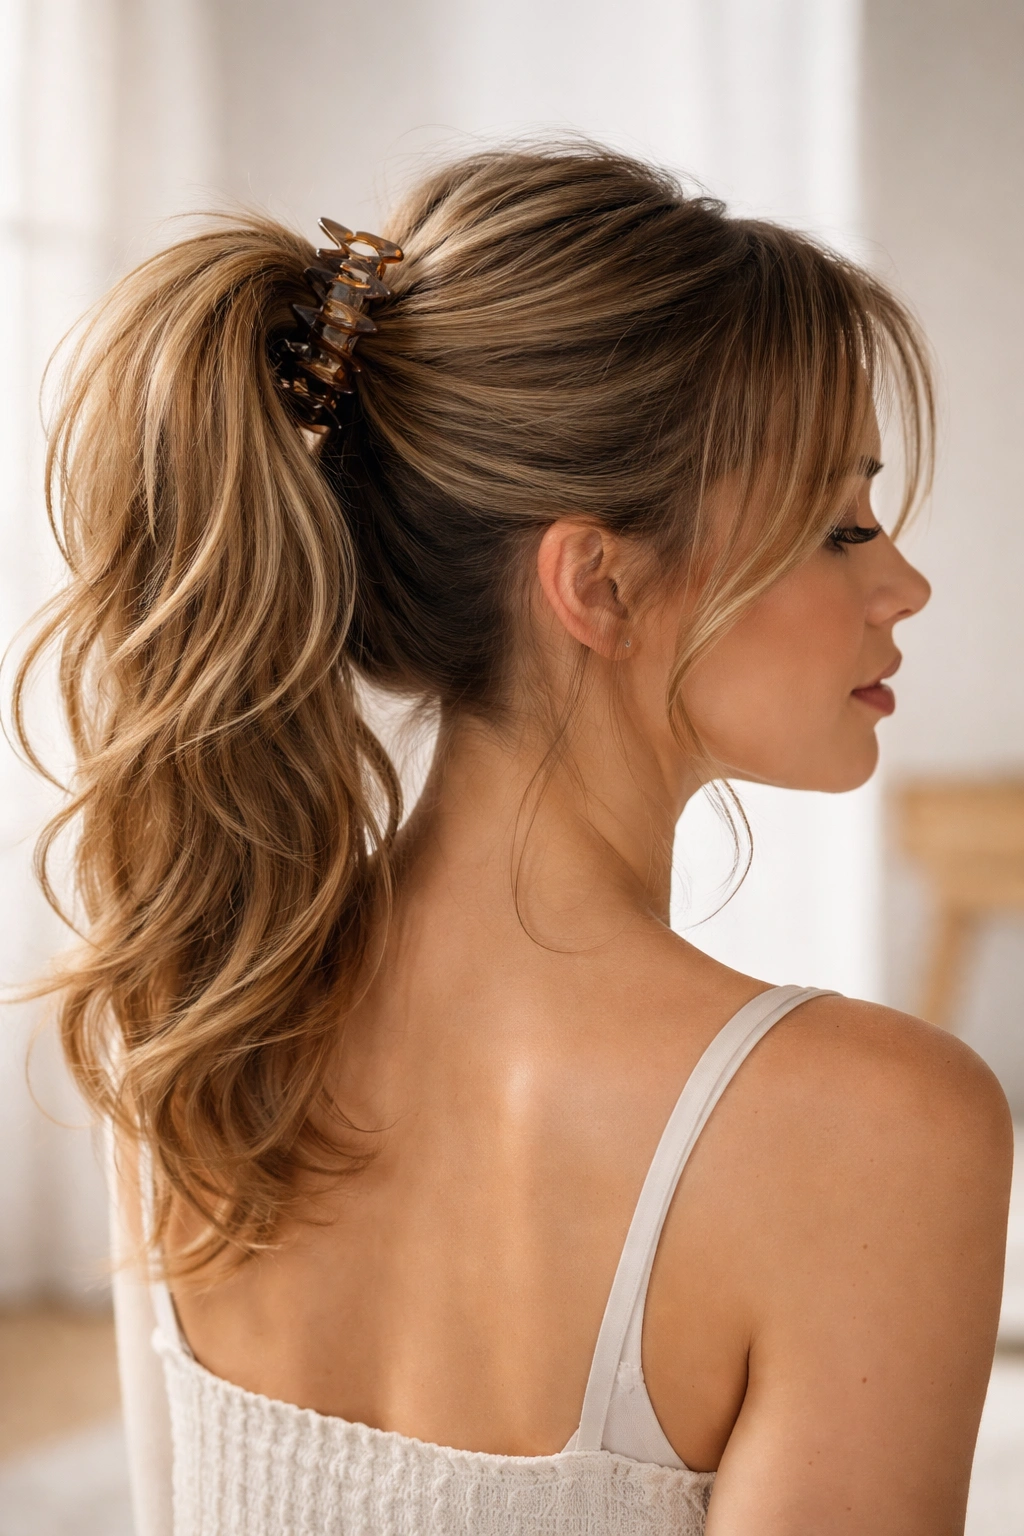
Sometimes, the answer is just a big claw clip. This style mimics a ponytail but provides much more volume than a standard hair tie ever could. It’s an instant fix for flat hair and feels very 90s-inspired.
Styling
Gather your hair into a ponytail, twist it upward, and instead of folding it into a bun, let the ends fall over the top of the clip. It looks like a hybrid between an updo and a pony. The key is to use a large enough clip. If your clip is too small, your hair will just spill out. Let a few wispy pieces fall around your ears to keep it looking soft.
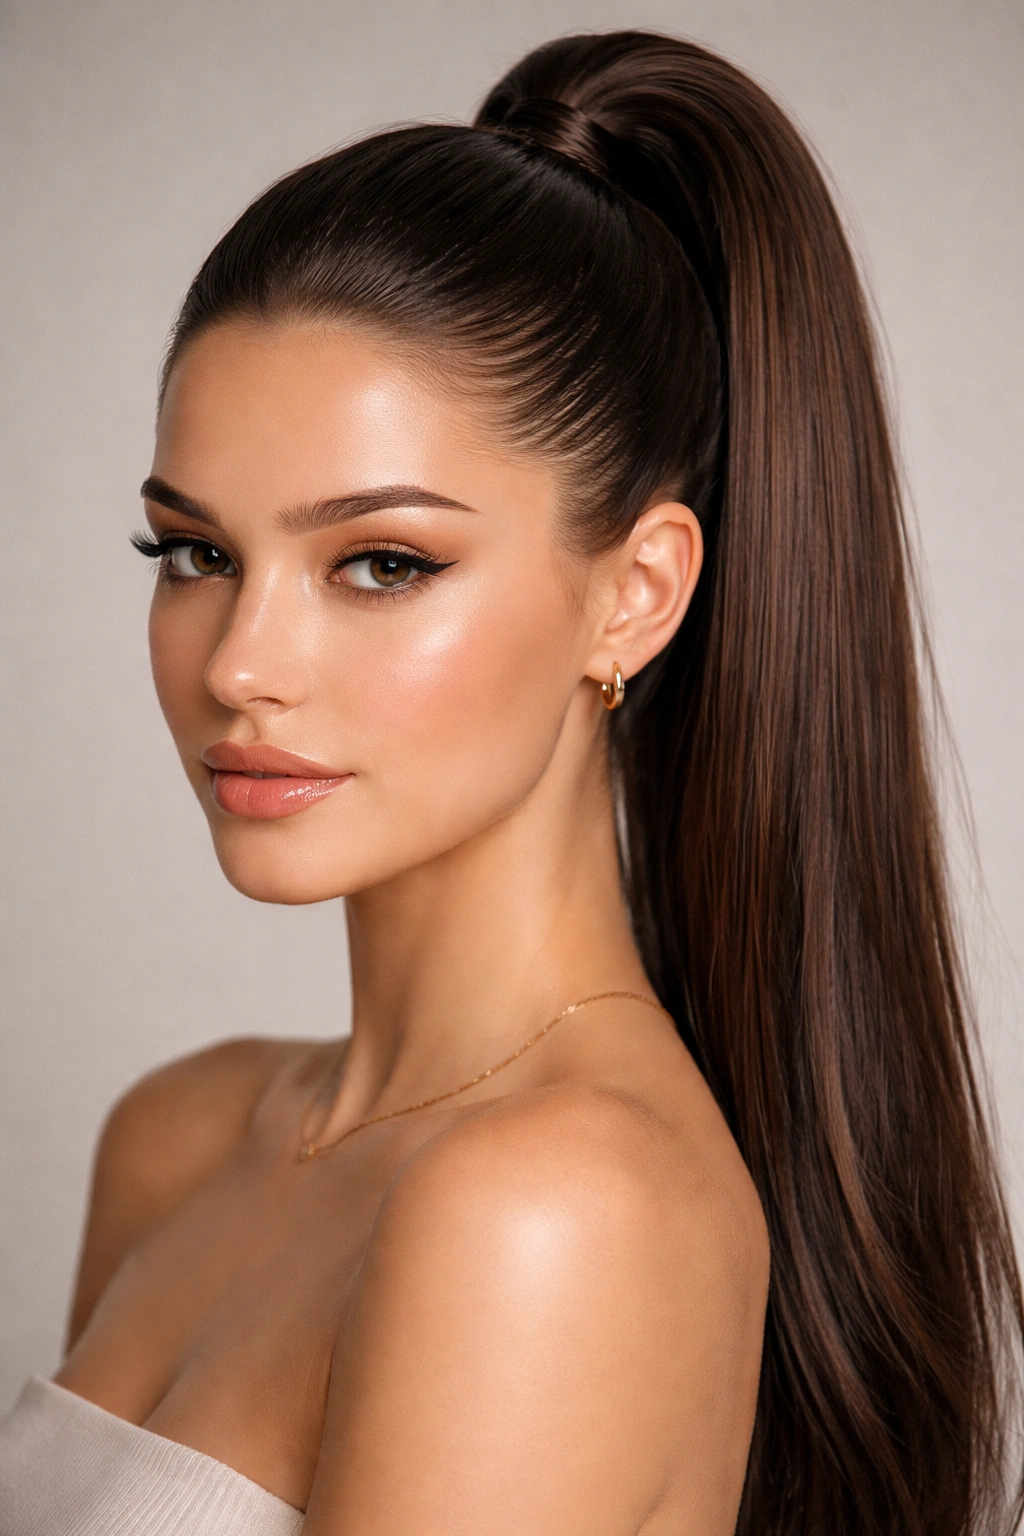
16. Sleek Middle-Part Pony
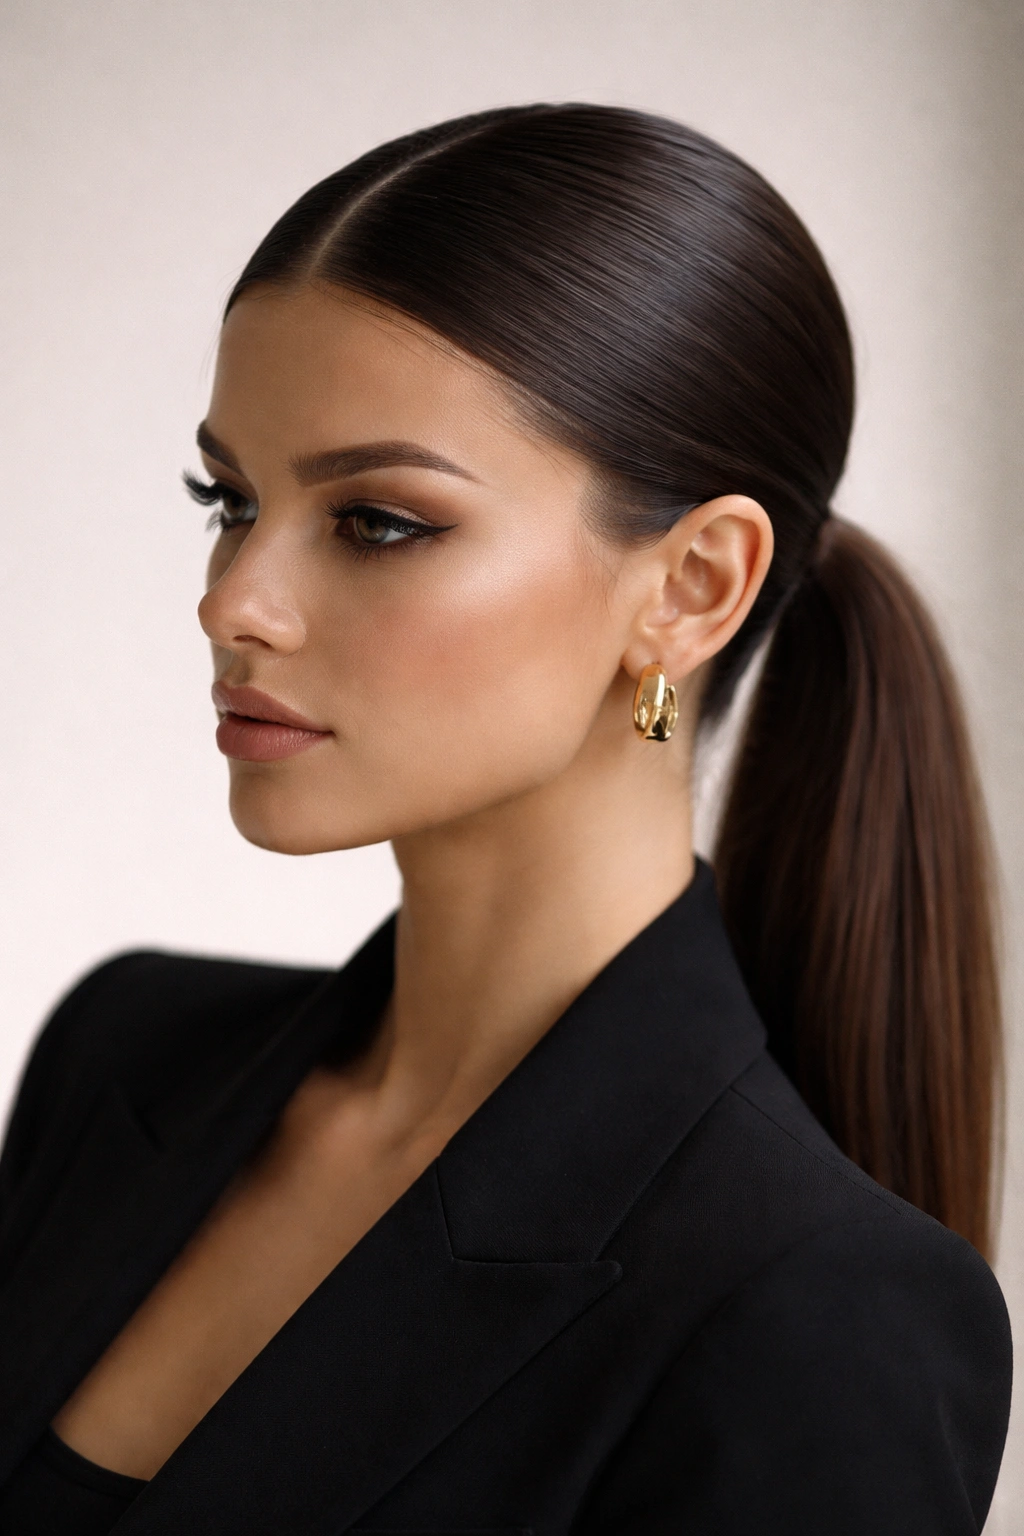
The middle part is a power move. It is severe, clean, and highlights your features. This is a very “model-off-duty” look. It requires zero fluff and maximal sleekness.
Achieving the Look
Use a rat-tail comb to get a razor-sharp center part. Apply a smoothing serum to your palms and run them over the hair as you brush it back. Secure it low at the nape of the neck. If you have baby hairs, use a clean mascara wand sprayed with hairspray to smooth them down. It’s about precision. Don’t fight the sleekness; lean into it.
17. The Bohemian Half-Up Knot
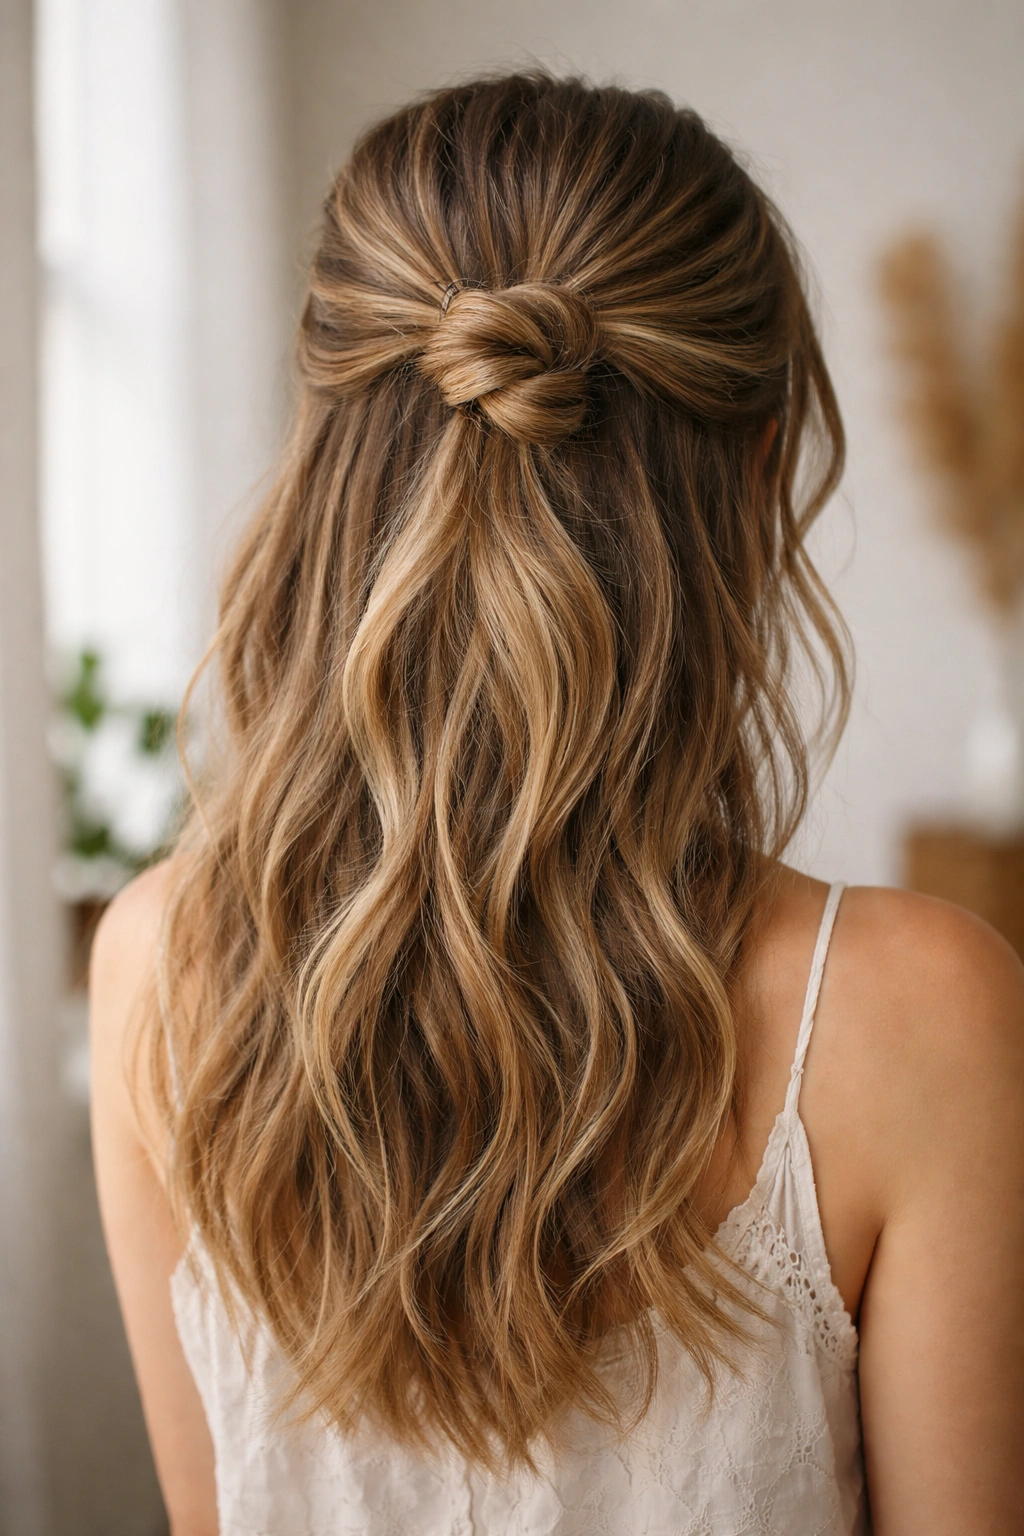
This is a specific variation that works great for medium-length hair because it utilizes the top section, leaving the rest to hang and show off your length. It feels like a half-up, half-down style but has more structure.
How to Do It
Take the top section of your hair—from your temples up—and gather it into a ponytail. Instead of pulling it into a bun, twist the hair around the base until it forms a tight knot. Use a decorative pin or a few U-shaped pins to secure it. Let the rest of your hair hang down loose. It’s the perfect compromise for when you want your hair out of your face but still want to feel like you have long hair.
18. Soft Waves Pony
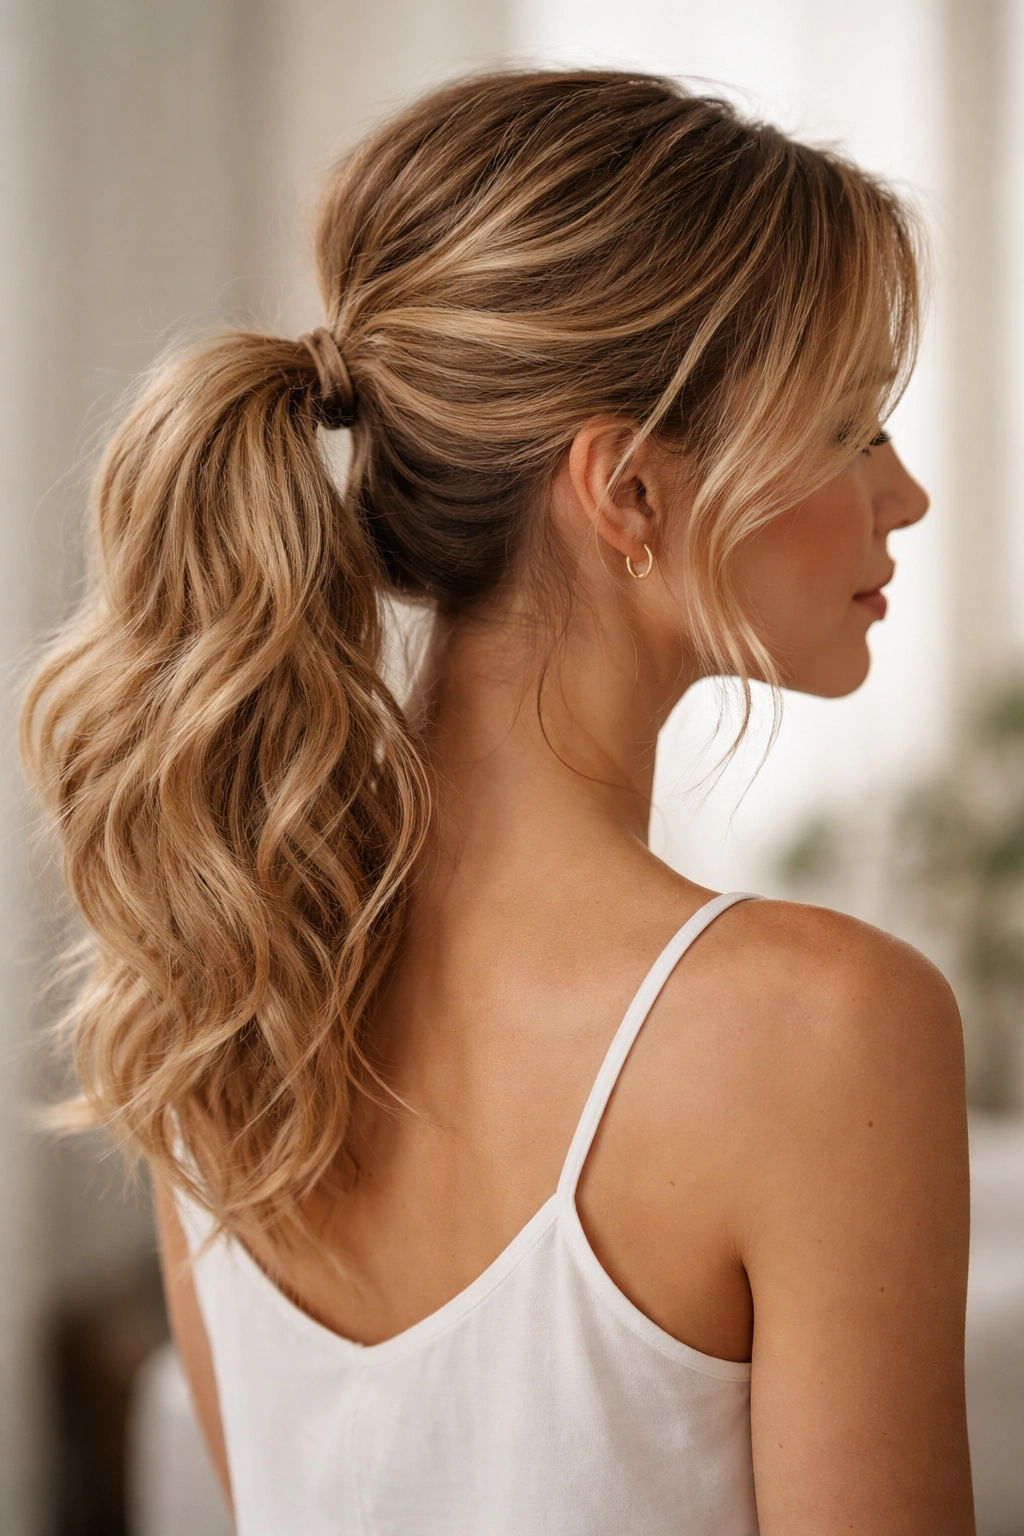
If you have naturally wavy hair, you are halfway there. If you have straight hair, you’ll need to put in a little work with a curling iron. The goal is to create texture that makes the ponytail look alive and bouncy, rather than stiff.
Style Advice
Curl your hair in alternating directions—some toward your face, some away. This creates a more natural, tousled look. Once curled, do not brush the curls. Run your fingers through your hair to break them up, then gather into a ponytail. Don’t pull it too tight. You want the curls to be the star, so keep the base slightly loose.
19. Pin-Up Victory Roll Pony
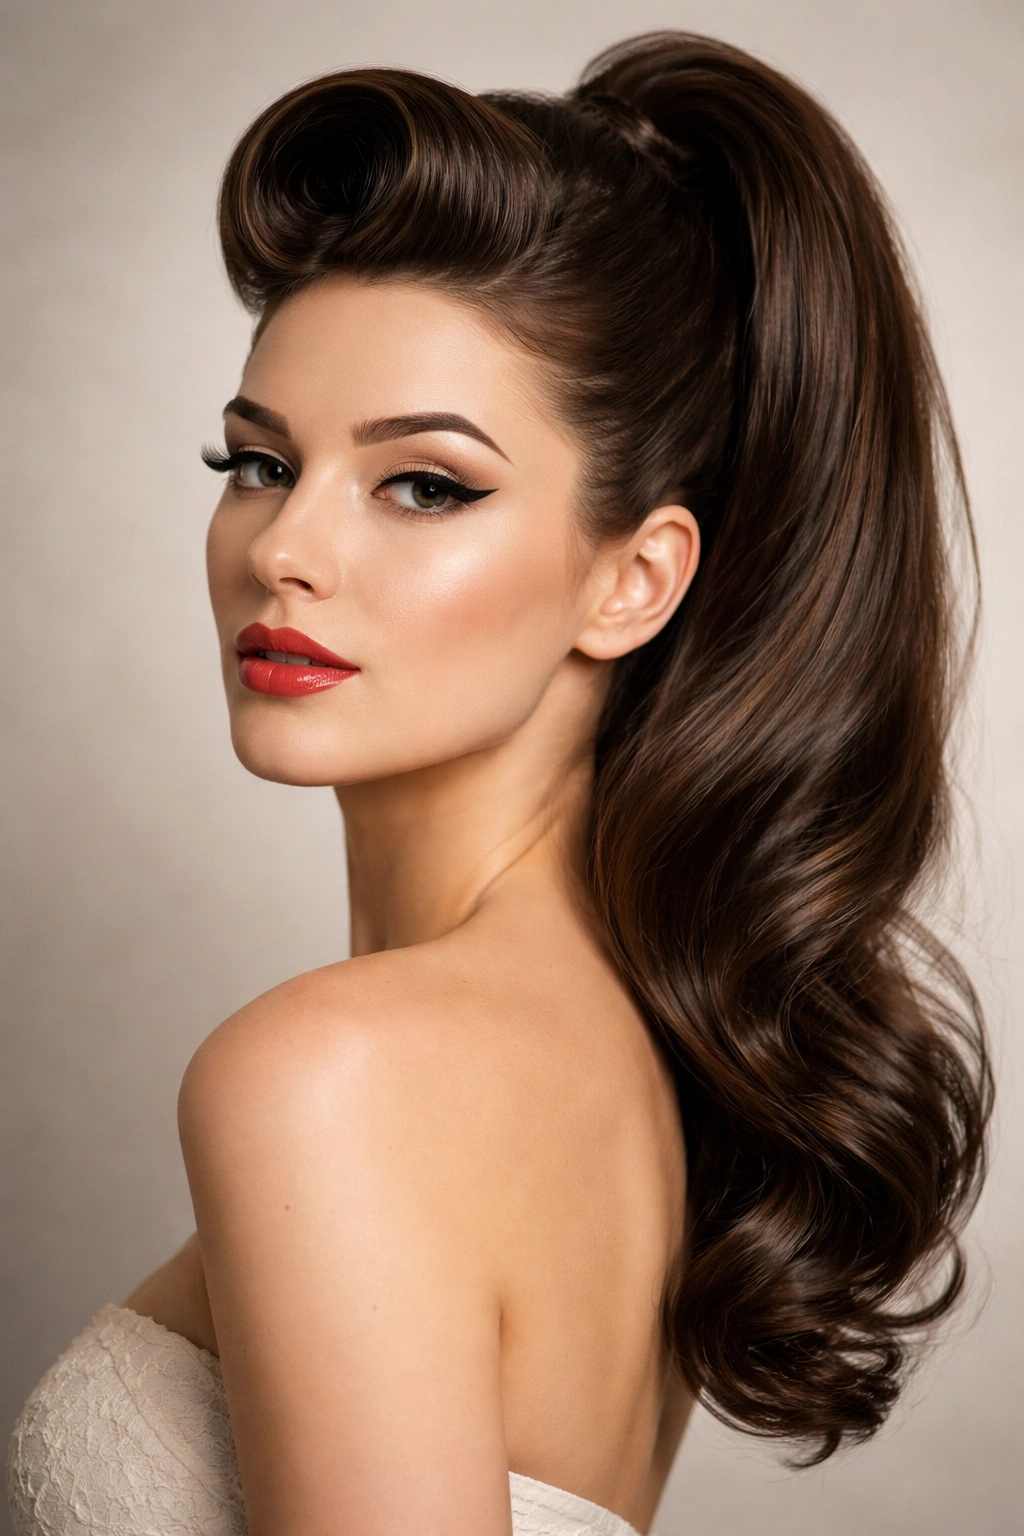
This is for when you want drama. It requires a bit of retro styling but adds height that is absolutely unmatched. It feels vintage and confident.
The Technique
Take a large section of hair at the front and use a round brush or a curling iron to roll it inward toward your forehead. Pin it securely so it holds that “roll” shape. Do the same with the other side if you want a symmetrical look, or just do one big roll. Gather the rest of your hair into a high ponytail. It’s a very stylized look, so keep your makeup clean and classic to match the vibe.
20. Intricate Woven Pony
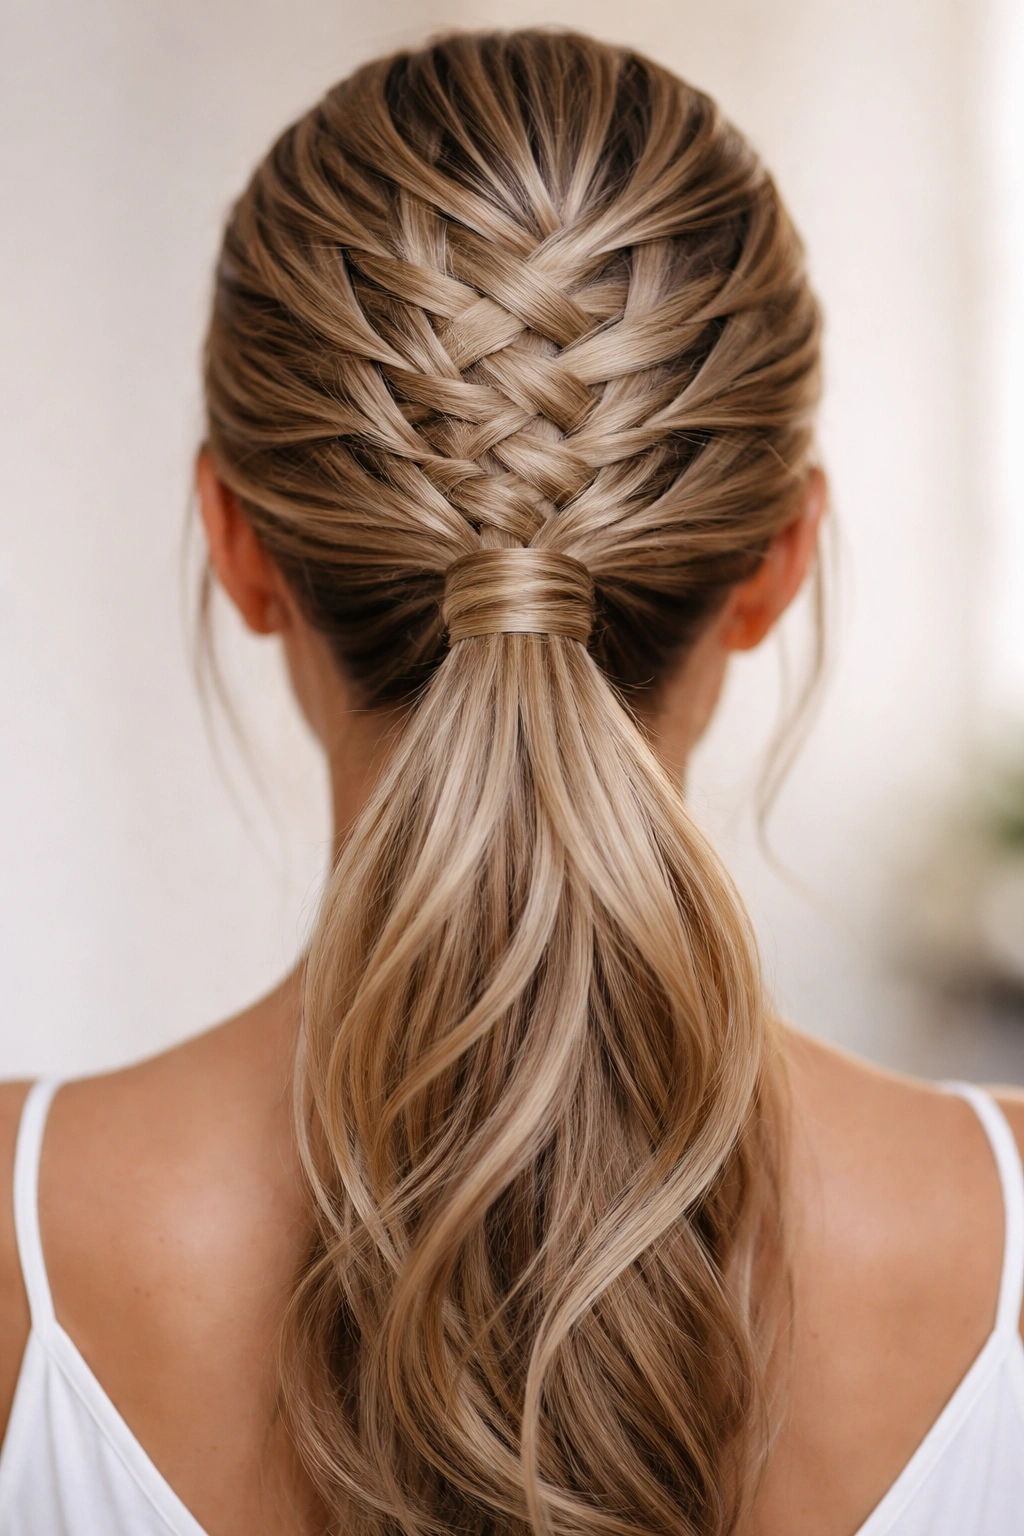
This takes time, but it looks incredibly sophisticated. It involves crisscrossing thin sections of hair over each other before securing them into a ponytail. It’s the kind of style that people will ask how you did because it looks so complex.
How to Execute
Take a small section of hair near your hairline on the left and pull it across the back to the right, pinning it. Then take a section from the right and pull it across to the left, pinning it over the first one. Continue this weaving motion until you’ve gathered all the hair toward the back, then secure the remaining tail into a pony. It creates a beautiful, basket-weave effect that is surprisingly stable.
21. Modern Chic Tucked Pony

This is an evolution of the low pony. It’s clean, sophisticated, and perfect for office settings. It’s the low-maintenance cousin of the braided styles.
Styling
Tie a low ponytail. Take the tail of the ponytail, lift it up, and tuck it through the space between the elastic and your scalp (creating a topsy-tail). Then, take the loose ends and tuck them underneath the ponytail, securing with pins at the nape of the neck. It creates a sleek, hidden finish where you can’t see the elastic or the ends of your hair. It’s very polished.
22. The “Headband” Braid Pony
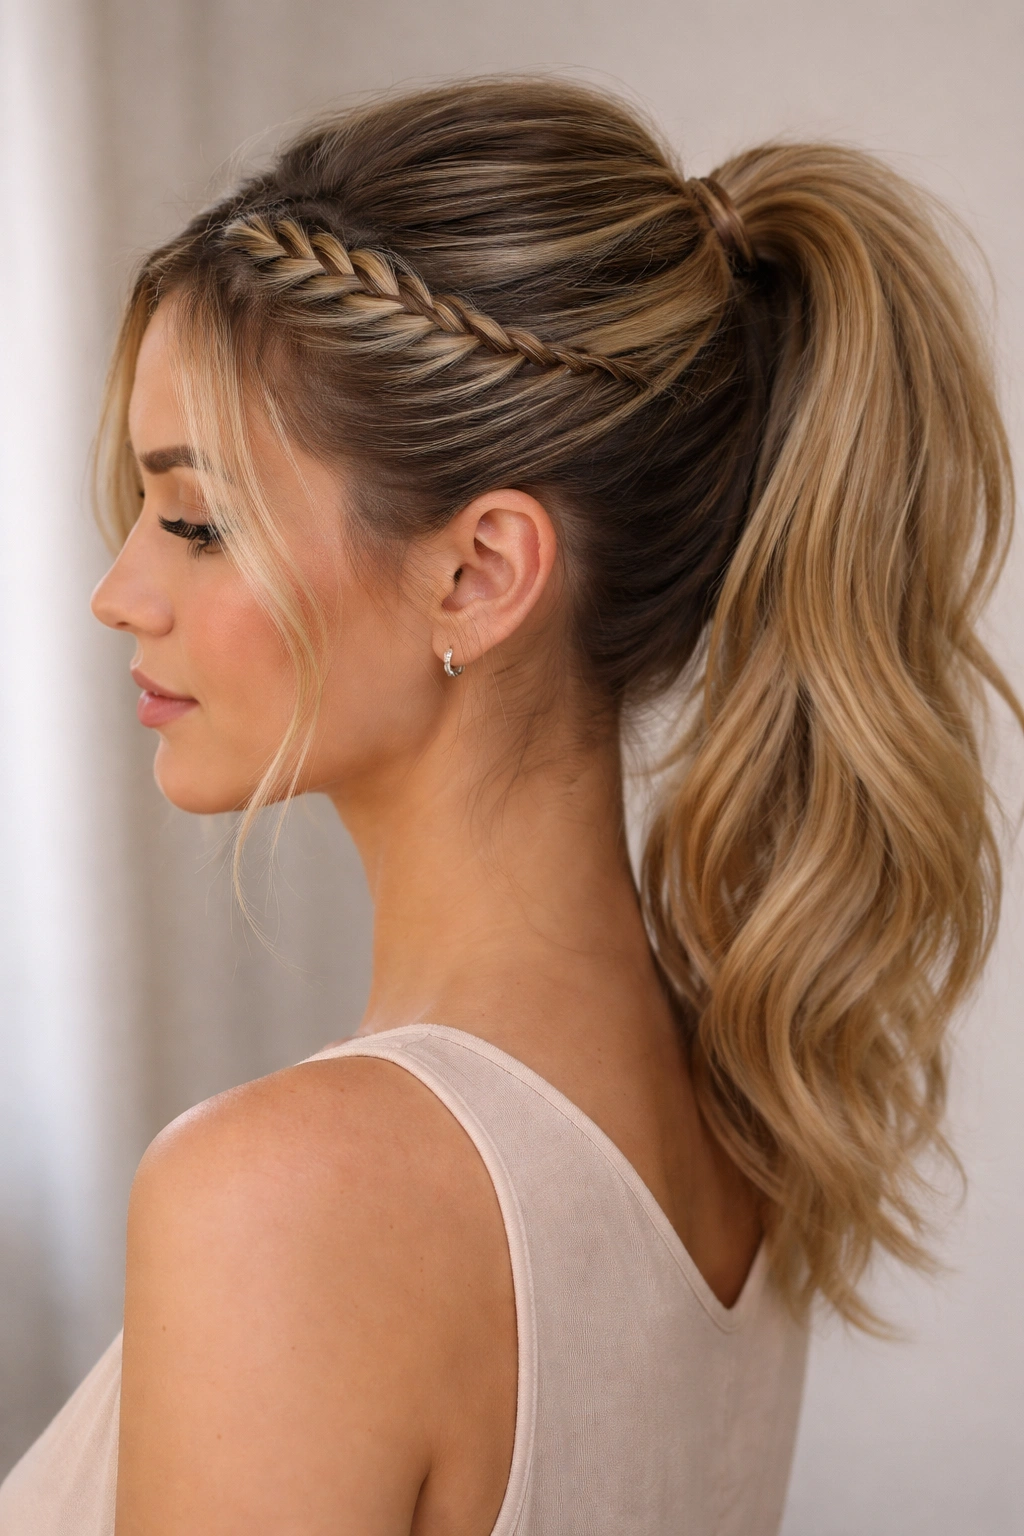
If you have bangs or shorter layers around your face that won’t reach a high ponytail, this is the solution. It uses a braid to sweep those shorter pieces back.
The Fix
Start a braid at your part and work it along your hairline, picking up those shorter, stubborn pieces as you go. When you reach your ear, stop braiding and pin the braid against your head. Pull the rest of your hair back into a ponytail, including the pinned braid. It keeps your fringe secure while giving you the height of a ponytail.
23. The Minimalist Gold-Cuff Pony
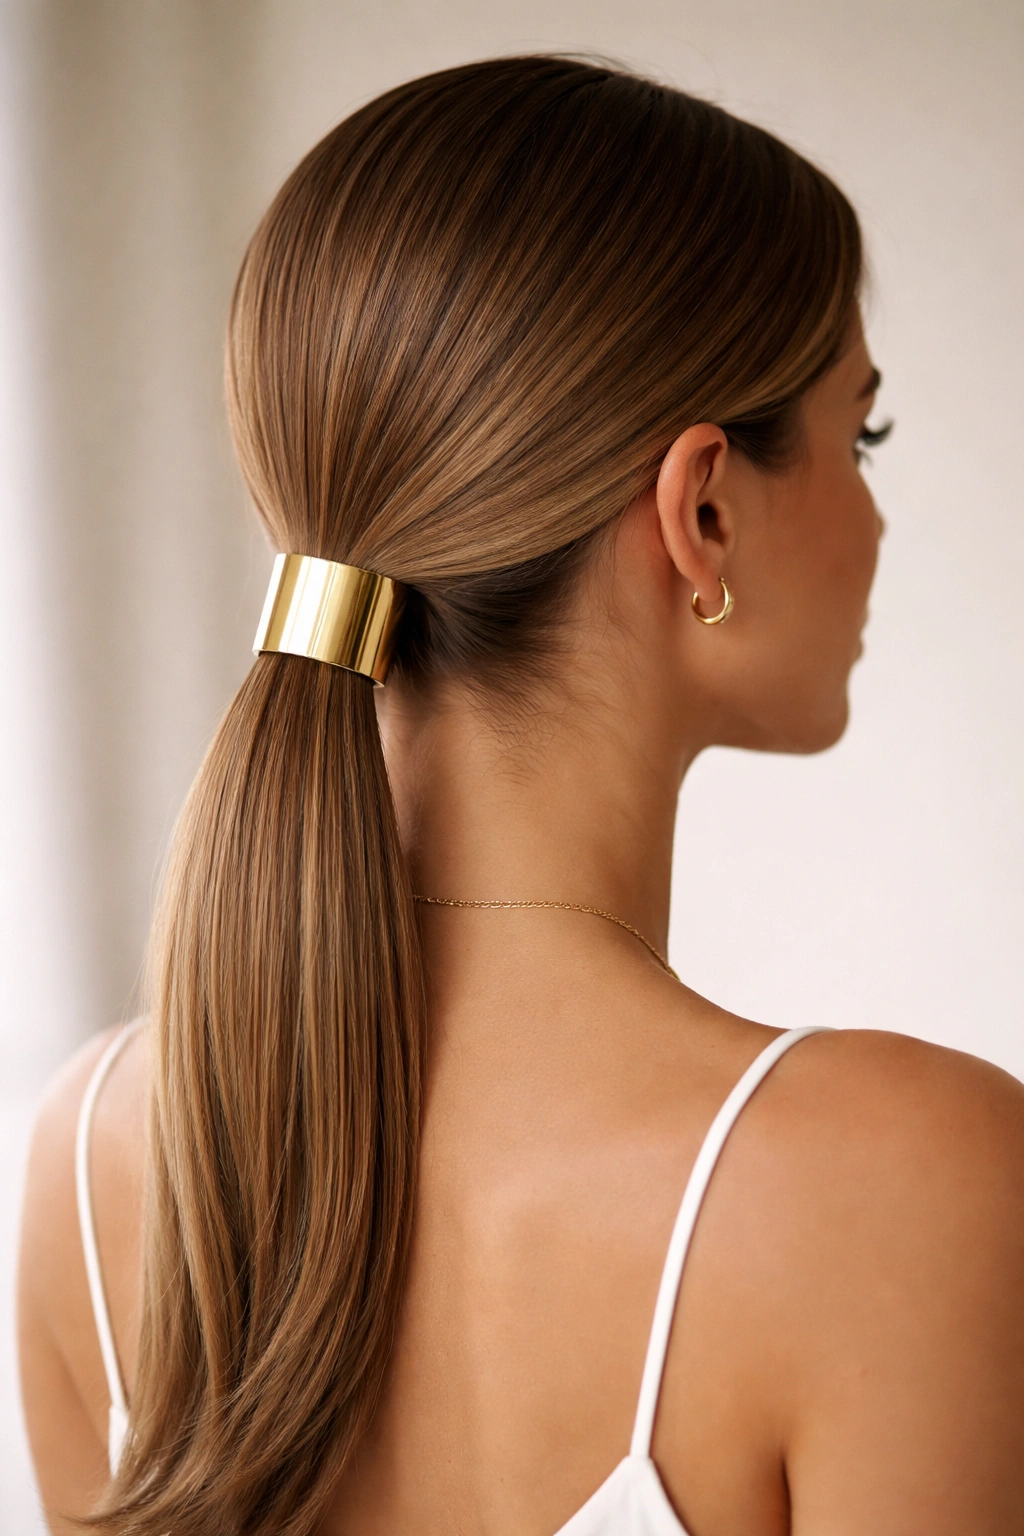
Sometimes, the styling is not in the hair itself, but in the accessory. If you are having a bad hair day, don’t try to force your hair into an intricate weave. Go for minimalism.
The Strategy
Slick your hair back perfectly. Use a hair cuff—a piece of metal or thick plastic that snaps around your ponytail. It hides the elastic and adds an architectural, modern element. It works best on medium hair because the weight of the cuff doesn’t cause the ponytail to sag, as it might with much longer, heavier hair. Keep the pony itself straight and glossy.
24. The Double-Tiered Pony
This is an old hairstylist trick to fake length and volume. If your ponytail feels too short or too thin, break it into two.
The Technique
Divide your hair horizontally into two sections—top and bottom. Secure the top section into a ponytail. Then, secure the bottom section into its own ponytail directly underneath the first one. The top pony will drape over the bottom one, hiding the second elastic and creating the illusion of a much longer, thicker ponytail. It adds incredible volume to the base.
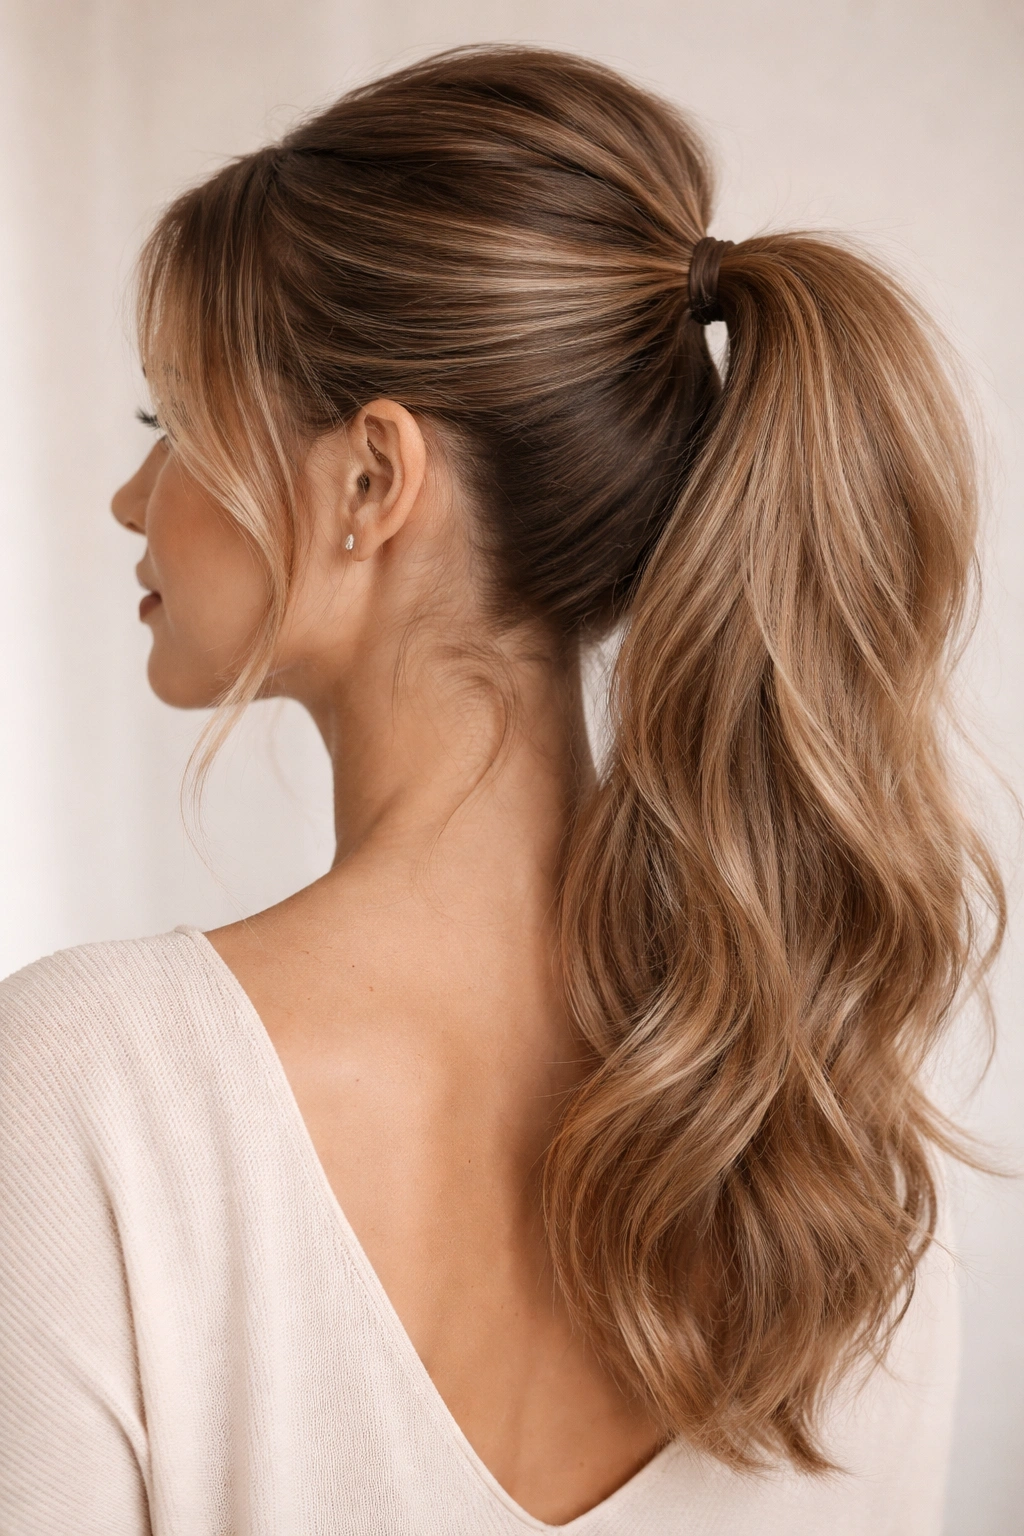
25. The Face-Framing Tendril Pony
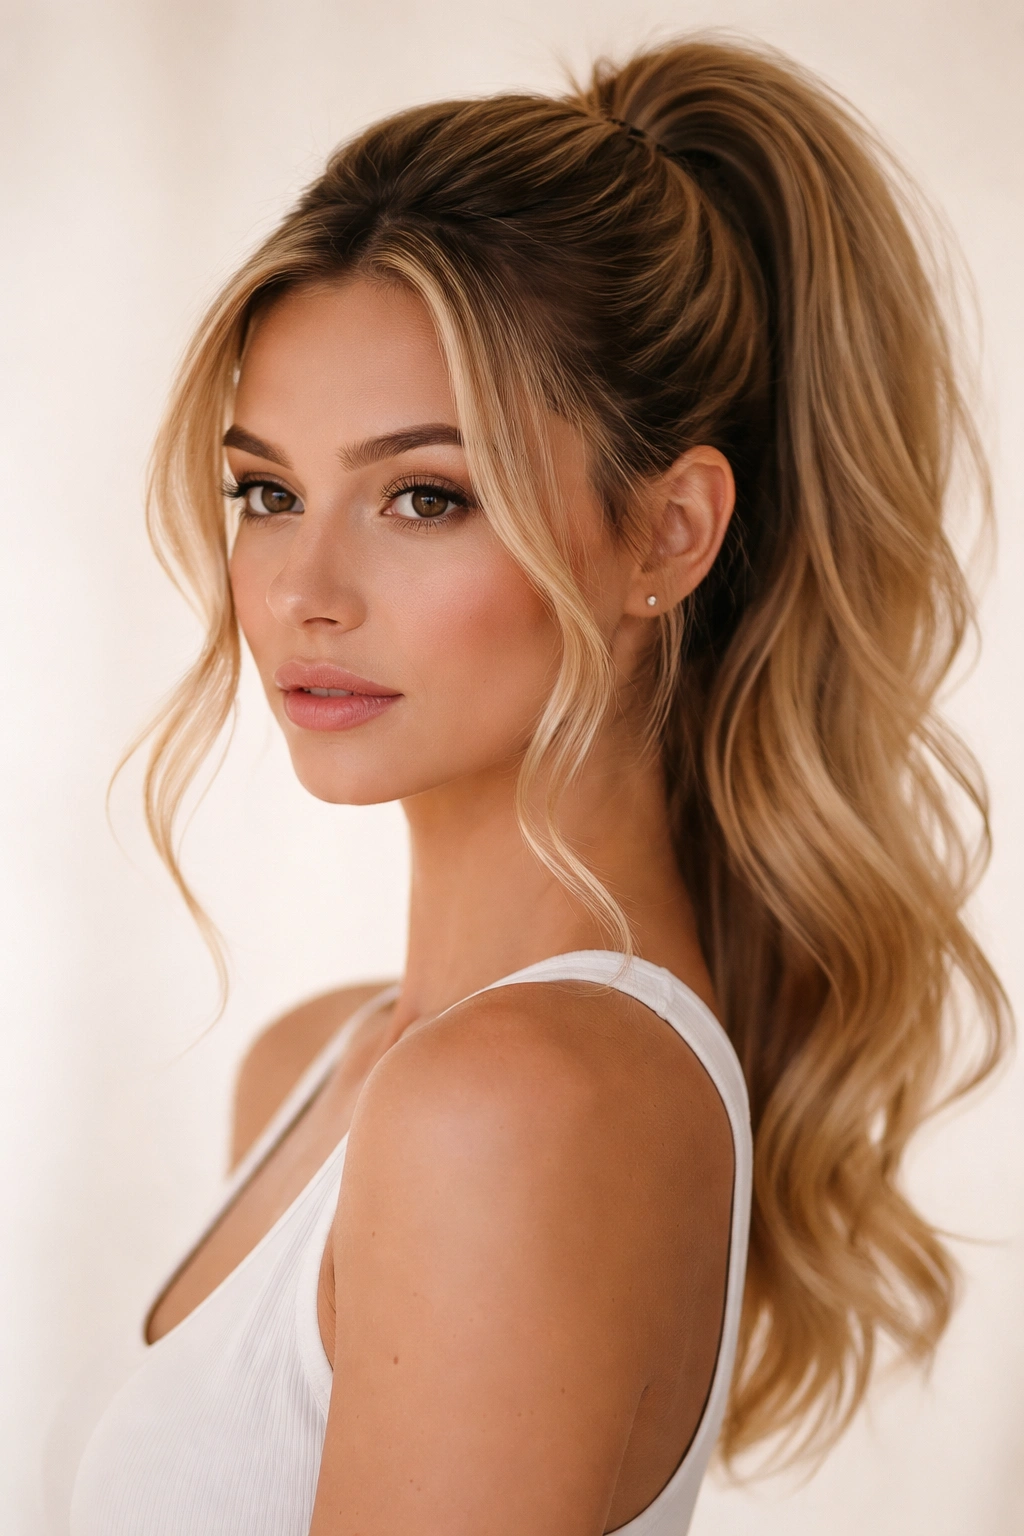
The secret to making any ponytail look intentional rather than “I’m going to the gym” is in the front pieces. You need to leave out the right amount of hair to frame your face.
The Details
When you pull your hair back, use the tail of a comb to gently pull out small strands around your temples and ears. Don’t grab big chunks; you want thin, wispy pieces. Then, take a small curling iron and just give those pieces a light wave. It softens the entire look and makes a severe ponytail feel much more accessible and feminine.
26. Textured Scrunchie Pony
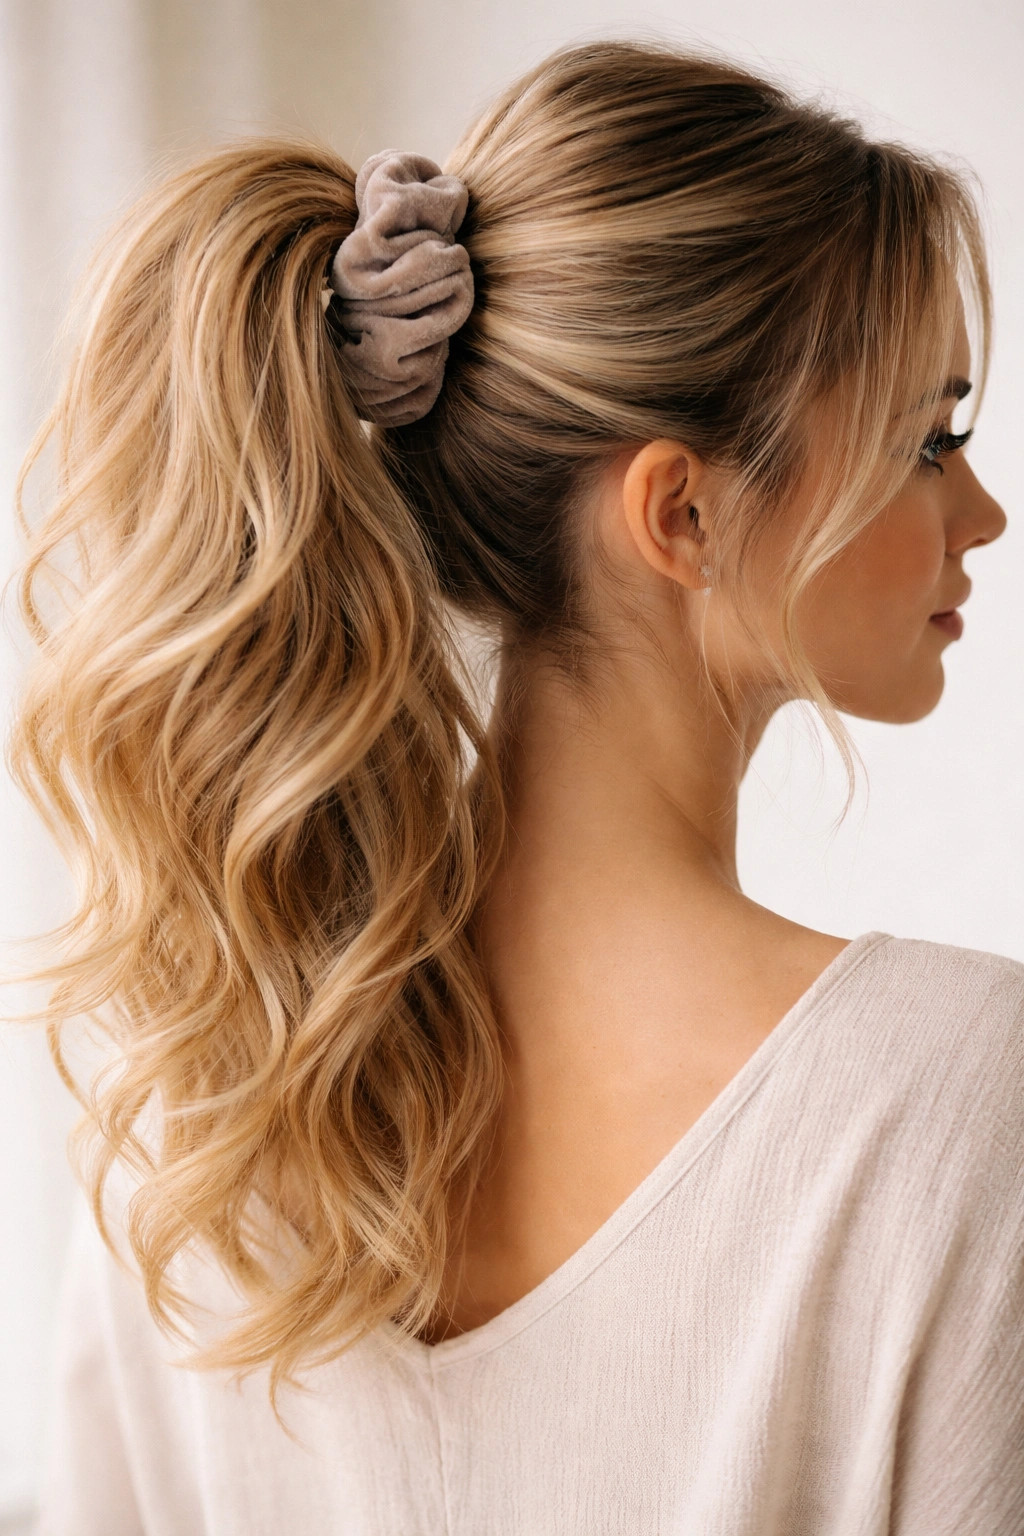
Scrunchies are back, and they are functional. They are much gentler on your hair than elastic bands, which is huge if you are trying to grow your hair out or maintain health.
Why It Works
The texture of a velvet or silk scrunchie adds visual bulk. If you have medium hair, a large scrunchie can actually make your ponytail look fuller by comparison. Go for a high pony, secure it with a clear elastic for hold, and then put the scrunchie over it. It looks cute, relaxed, and adds a pop of color to an otherwise simple style.
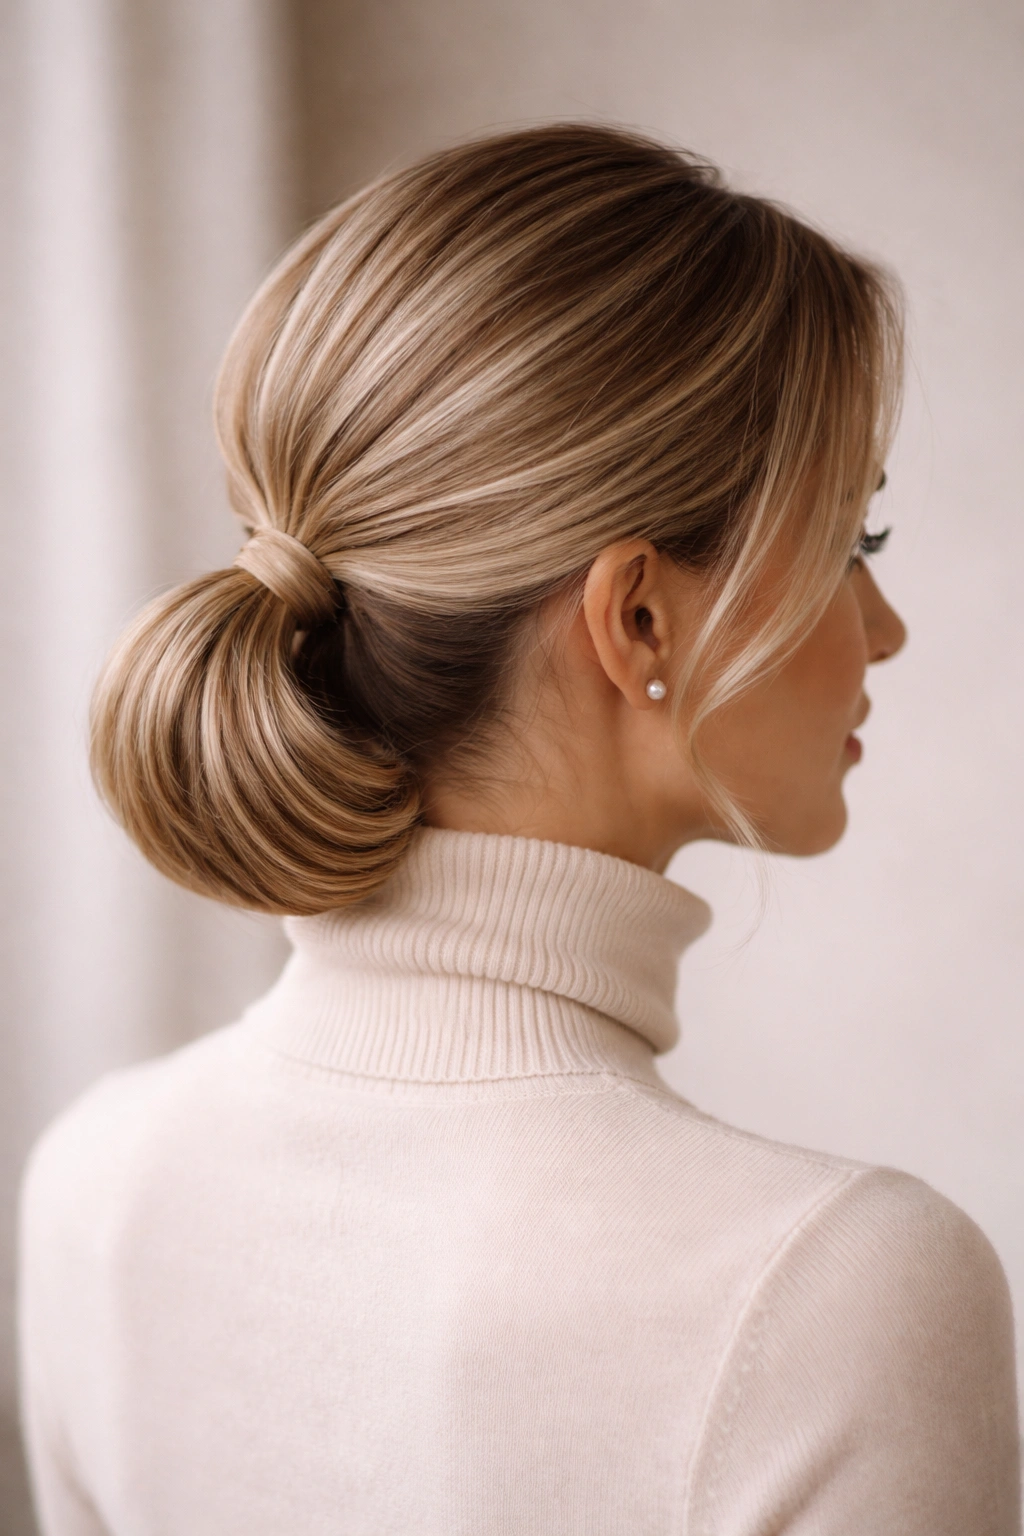
27. The Elegant Low-Nape Twist
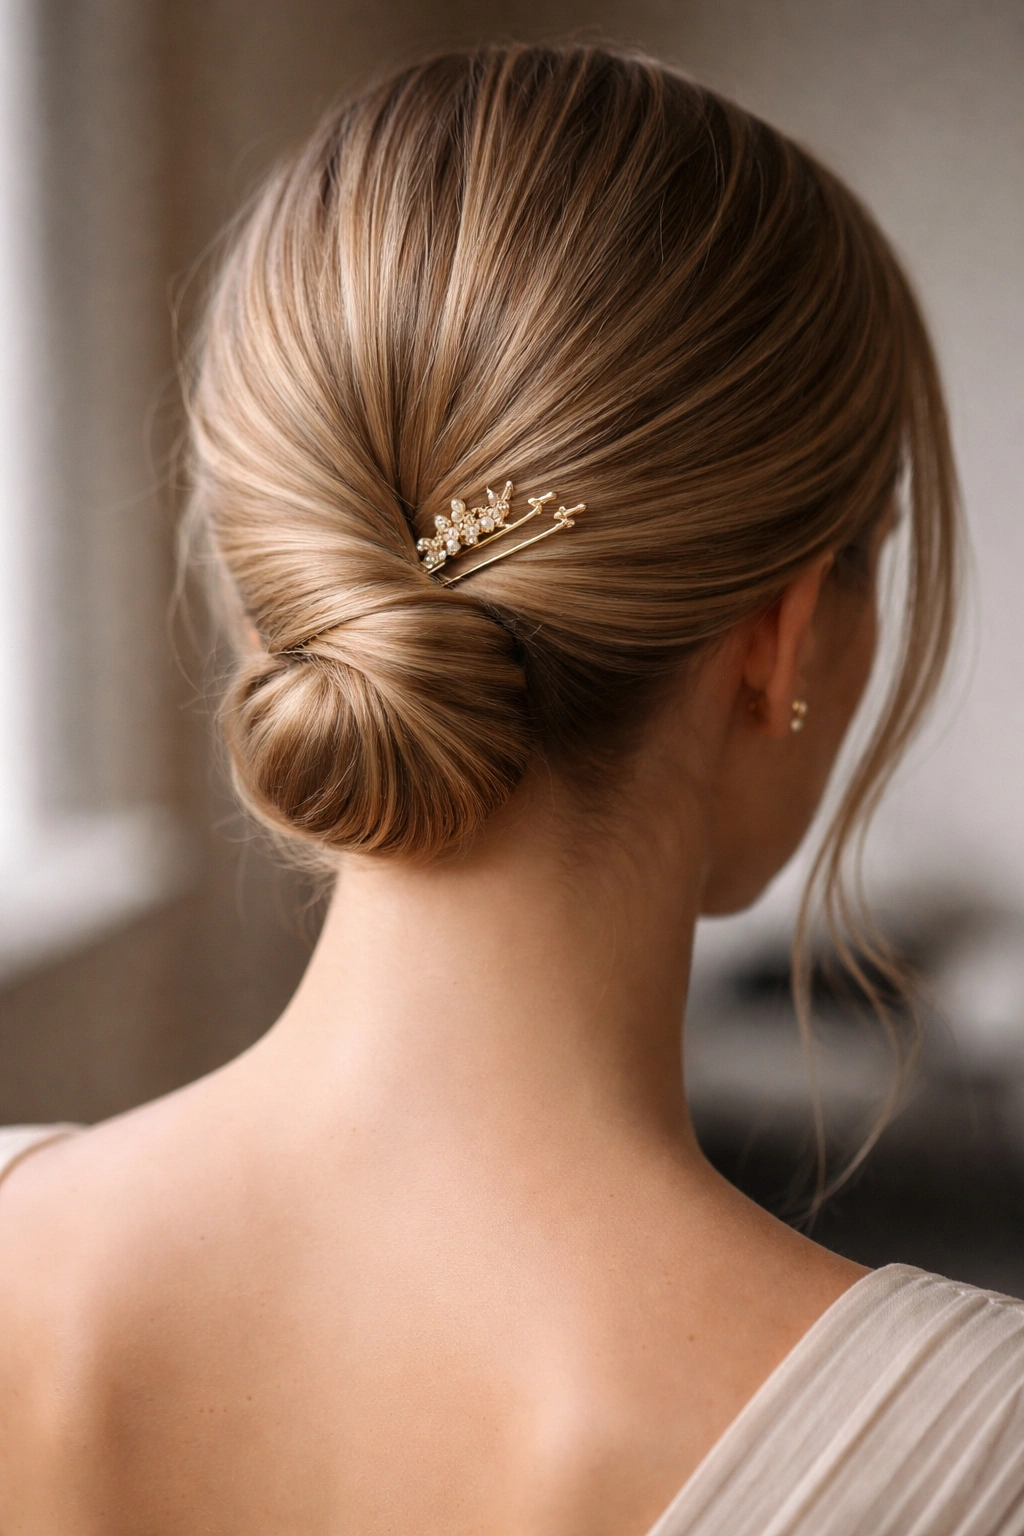
This is the most understated style on the list. It looks like you spent twenty minutes on it, but it takes about thirty seconds. It is the definition of “quiet luxury” hair.
The Finish
Gather your hair into a low ponytail. Don’t use a hair tie. Instead, twist the entire length of your ponytail, then coil it into a small, tight knot at the nape of your neck. Secure it with a large, decorative hair fork or two large pins that cross over each other. It keeps the hair secure and looks like a sophisticated variation of a chignon. It’s perfect for a black-tie event or a casual Sunday.
Final Thoughts
You now have twenty-seven different ways to stop wearing the exact same ponytail every single day. The common thread here isn’t a specific hair type or a hidden talent; it is the willingness to experiment with small, actionable changes. The way you part your hair, the way you pin a section, or the choice of accessory can completely alter the architecture of your style.
Stop viewing your medium hair as a transitional length that is just waiting to grow out. It is a fully realized style that works exceptionally well for these kinds of updos and ponies. Take an extra five minutes in front of the mirror to actually place your pins and smooth your flyaways, and you will notice that the result feels less like an afterthought and more like a deliberate choice.