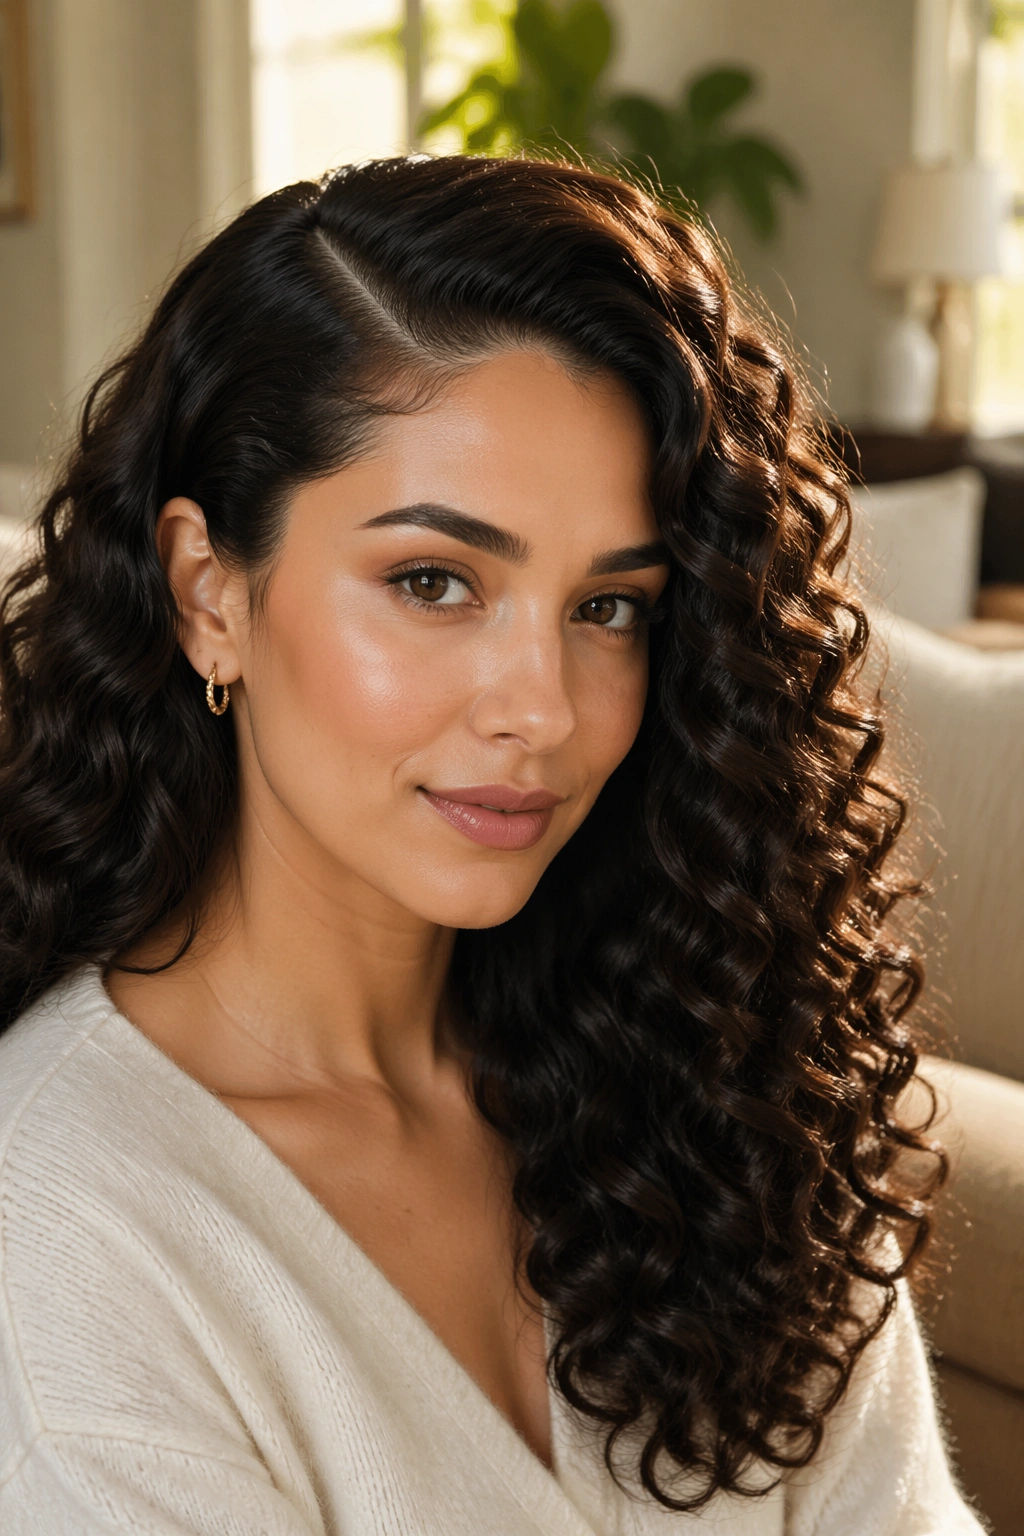
Old money hairstyles for curly hair work because they respect the curl instead of flattening it into something bland. The look is never about making hair look stiff or shellacked. It’s about clean parting, controlled volume, healthy shine, and one or two details that feel chosen instead of piled on.
That’s the part a lot of people miss. Curly hair does not need to be tamed into submission to look polished. It needs shape. A good side part, a low nape placement, a neat tuck behind the ear, a pearl pin that sits in the right place — those small moves do more than a heavy hand full of spray ever will.
And yes, texture matters. The best versions of these styles look expensive because they are specific: a curl clump is separated on purpose, a front piece is left soft on purpose, the crown is lifted just enough and no more. If you’ve ever looked at a curly updo and thought it felt too prom, too bridal, or too busy, the fix is usually restraint.
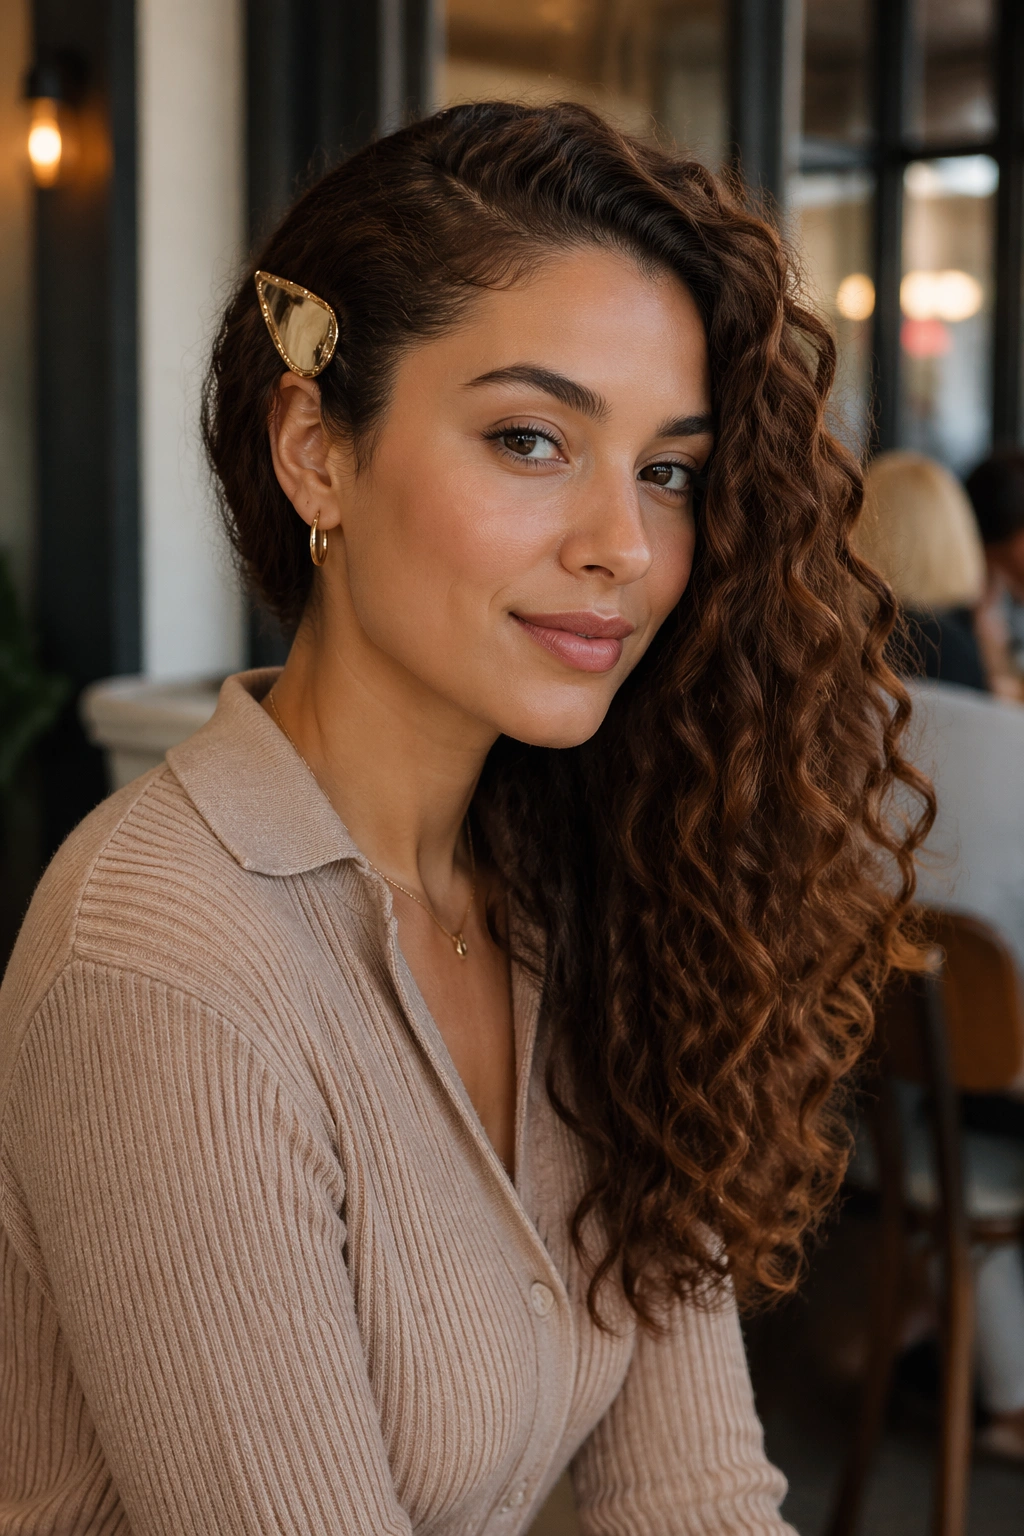
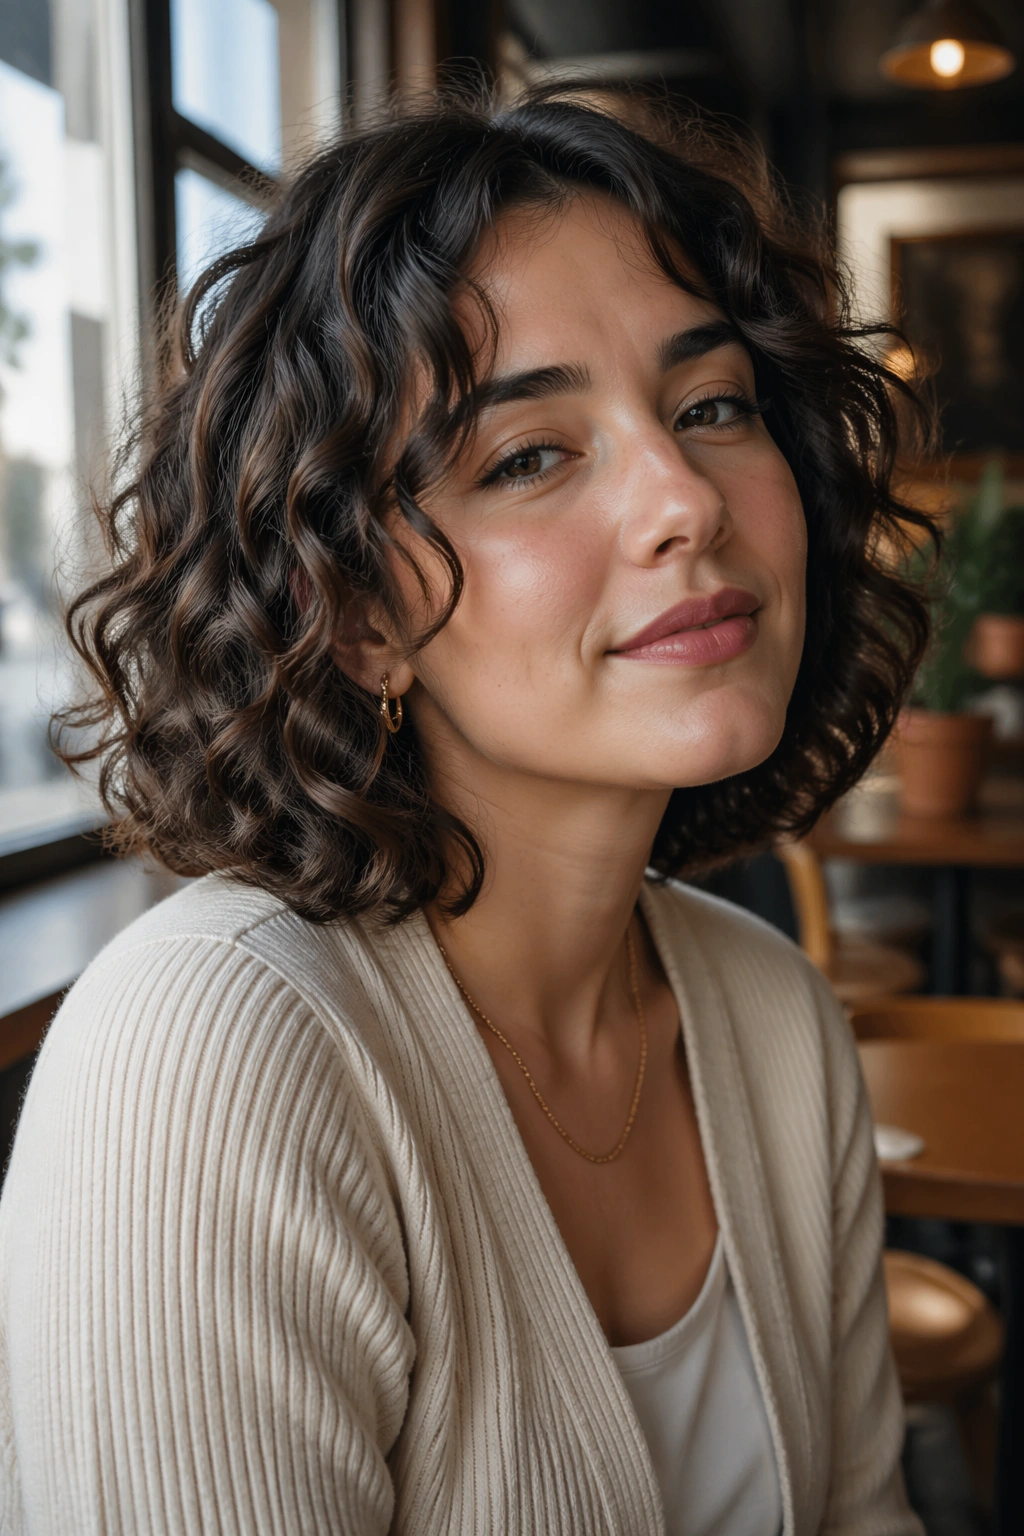
1. Deep Side Part With Glossy, Defined Curls
A deep side part is one of the cleanest ways to give curly hair an old money feel. It creates structure before you even touch the rest of the style, which is half the battle with curls. The hair falls in a deliberate sweep instead of spreading evenly in every direction, and that alone changes the whole mood.
Why It Feels So Polished
The part should sit somewhere between the arch of the eyebrow and the outer corner of the eye. Any farther and it can start to look theatrical. Any shallower and you lose the effect. The goal is a shape that reads as intentional, not dramatic for the sake of it.
A small amount of curl cream through damp hair helps, but don’t drown the roots. You want the crown to stay controlled and the mid-lengths to keep their bounce. If the roots are too heavy, the part collapses by lunchtime.
- Works best on shoulder-length curls and longer.
- Looks especially sharp with one side tucked behind the ear.
- Pairs well with a single pearl stud or thin gold hoop.
- Holds up nicely when you want the face to look open but still soft.
Pro tip: Set the part while the hair is still damp, then clip the heavier side at the root for 10 to 15 minutes. That tiny bit of support keeps the line from drifting.
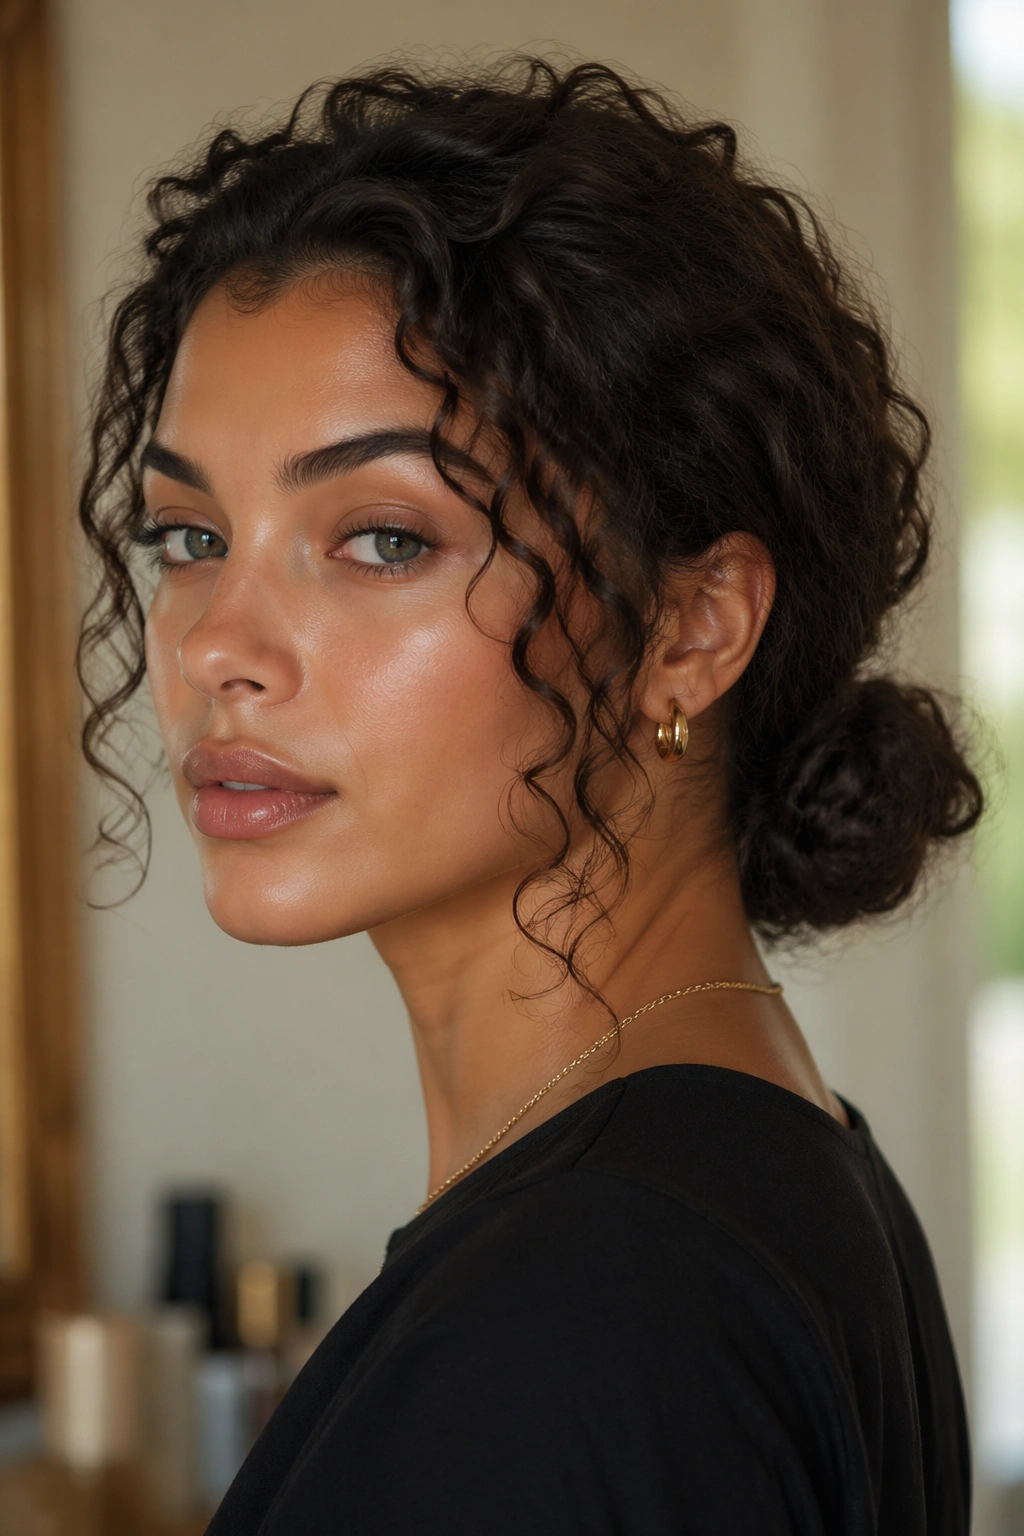
2. Low Curly Chignon
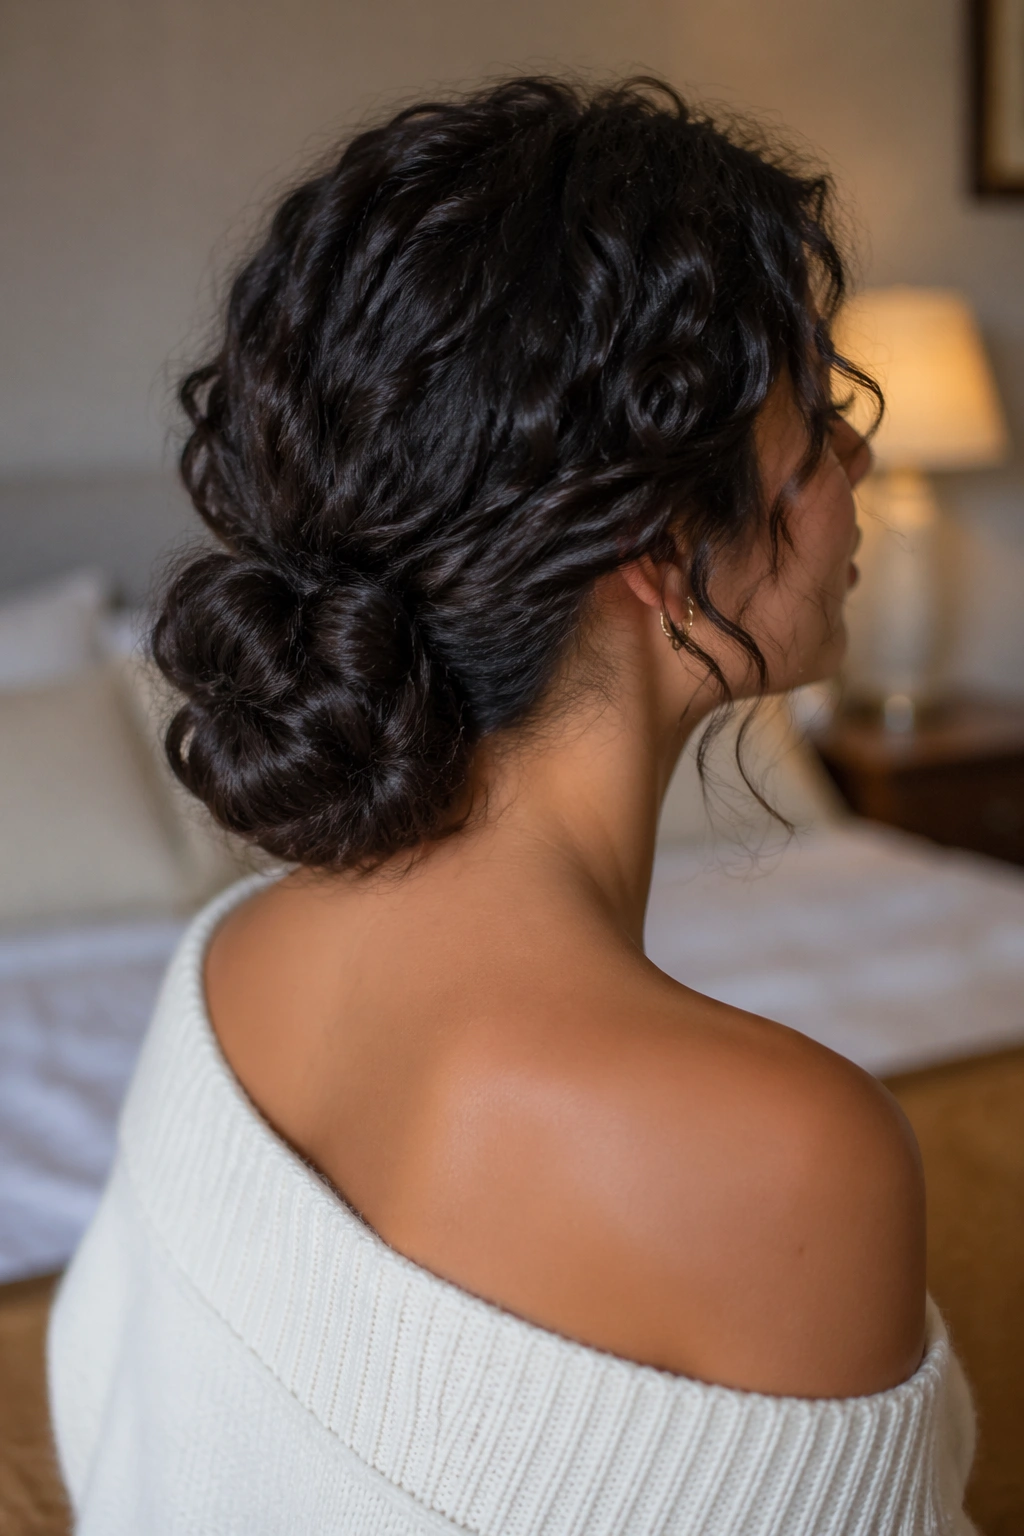
The low chignon is the style I reach for when curls need to look expensive without looking fussy. It sits close to the nape, which instantly feels more controlled than a bun placed high on the head. And because curly hair already has texture, the chignon does not need much help to look full.
The trick is to keep it low and a little soft around the edges. If every strand is pinned into a tight knot, the style loses that easy, classic feel. Leave a few curls free near the ears or the temples. Those little escapes keep the face from looking boxed in.
Pinning It the Right Way
Use 6 to 10 bobby pins, depending on thickness, and cross them over each other rather than stacking them in a straight line. That gives the bun more grip. If your hair is layered, tuck the shorter pieces into the base instead of trying to smooth them flat — that almost always ends in frustration.
A low chignon works well for dinners, gallery openings, weddings, or any day when you want your hair off your neck but still visible. It’s tidy. It is also forgiving, which I appreciate. Curly hair rarely behaves like a mirror-finish bun, and that’s fine.
3. Curly French Twist
Why does a French twist look so good on curls? Because the style loves a bit of natural padding. Straight hair often needs backcombing to fill it out, but curls already bring body, so the twist feels full without looking stuffed.
The polished version starts with smoothed sides and a soft, lifted crown. You do not want the top slicked so hard that it loses life. Brush only the outer layer of the hair, twist upward from the nape, and tuck the ends into the roll. A little texture through the inside of the style makes it look richer, not messier.
How to Keep It Soft, Not Stiff
Use a fine-tooth comb only where you need control, usually around the temples and the top side sections. After that, stop combing. Seriously. Too much brushing breaks up the curl pattern and gives you frizz that sticks out at the worst possible angle.
A French twist is especially good for medium to long curly hair that holds pins well. If your texture is loose, secure the roll with 4 to 6 strong pins placed vertically along the twist. If your curls are tighter, you may need a few more, but keep them hidden. The whole point is for the hair to look gathered, not engineered.
4. Half-Up Crown Lift
When curls need shape at the crown but you still want length on display, the half-up crown lift does the job. It gives the face room to breathe and keeps the upper half of the hair from falling flat against the cheeks. That small lift can make even a simple sweater or button-down look more finished.
This style works best when the top section is gathered from just above the temples, not from the very front hairline. Pulling too much hair up makes it feel childish. Pulling too little makes it disappear. The sweet spot is usually a section about 2 to 3 inches deep on each side.
- Secure with a small barrette, a narrow clip, or a clear elastic hidden by a curl.
- Leave two or three front spirals loose if you want a softer frame.
- Lift the crown gently with your fingers after securing it.
- Use a touch of lightweight spray, not a sticky helmet of product.
A half-up style reads old money when it looks deliberate but not fussy. The hair should still move. If the curls bounce when you turn your head, you’ve probably got it right.
5. Curly Low Ponytail With Wrapped Base
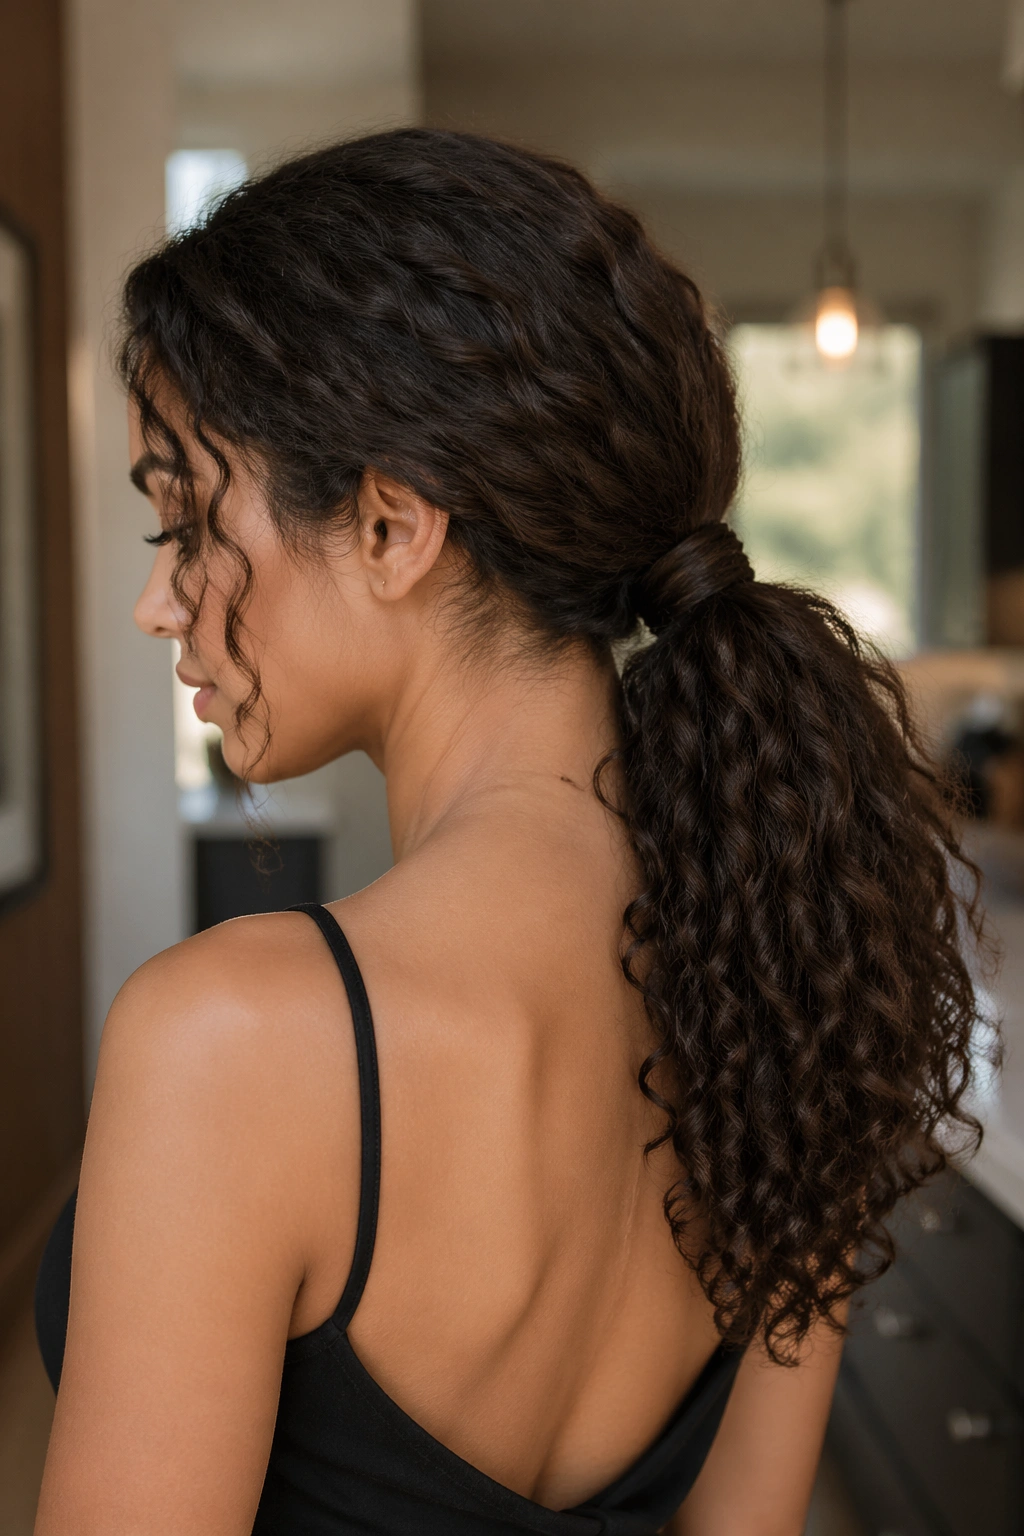
A low ponytail is only boring when it’s pulled tight and left bare. With curly hair, it can look elegant fast if you place it low, smooth the top carefully, and wrap the base with a section of hair. That one detail changes everything.
Keep the ponytail at the nape or just above it. Higher placement starts to feel sporty. Lower placement feels composed. If your roots are especially soft or fluffy, smooth the top with a brush and a pea-size amount of styling cream before gathering it. Don’t chase every flyaway. A few are fine. A frozen-looking top is not.
Then take a small 1-inch piece of hair from underneath the ponytail and wrap it around the elastic. Pin the end underneath with a bobby pin. That hides the scrunchie or tie and gives the whole style a more finished look. It is a tiny move, but it matters.
For curly lengths, the tail itself should keep its natural spring. Brush the ponytail out only if you want a softer, fuller look. If you prefer more definition, leave the curls alone and let the texture do the work. Either way, the wrapped base is the part that makes this style feel refined.
6. Side-Swept Barrette Sweep
Unlike a full updo, a side-swept barrette sweep keeps the hair visible while still controlling it. That balance is why it works so well for an old money look. You see the curl pattern, the face stays open, and one polished accessory carries the whole style.
The barrette should be substantial enough to look intentional. One curved gold clip or a single pearl barrette usually does more than three tiny pins that look like they were added because they were available. Pin back one side from the temple or just above the ear, then let the rest of the curls fall over the opposite shoulder.
Who It Flatters and Why
This style is a smart pick for medium-length curls, bobs, and lobs. It also works well if one side of your hair has more volume than the other. Pinning the fuller side back can help the shape feel balanced.
It’s especially useful with necklines that already have some structure — a boat neck, a crisp collar, a simple knit with a clean line. You do not need a dramatic accessory. One well-placed barrette is enough. In fact, too much jewelry near the hairline starts to fight the look.
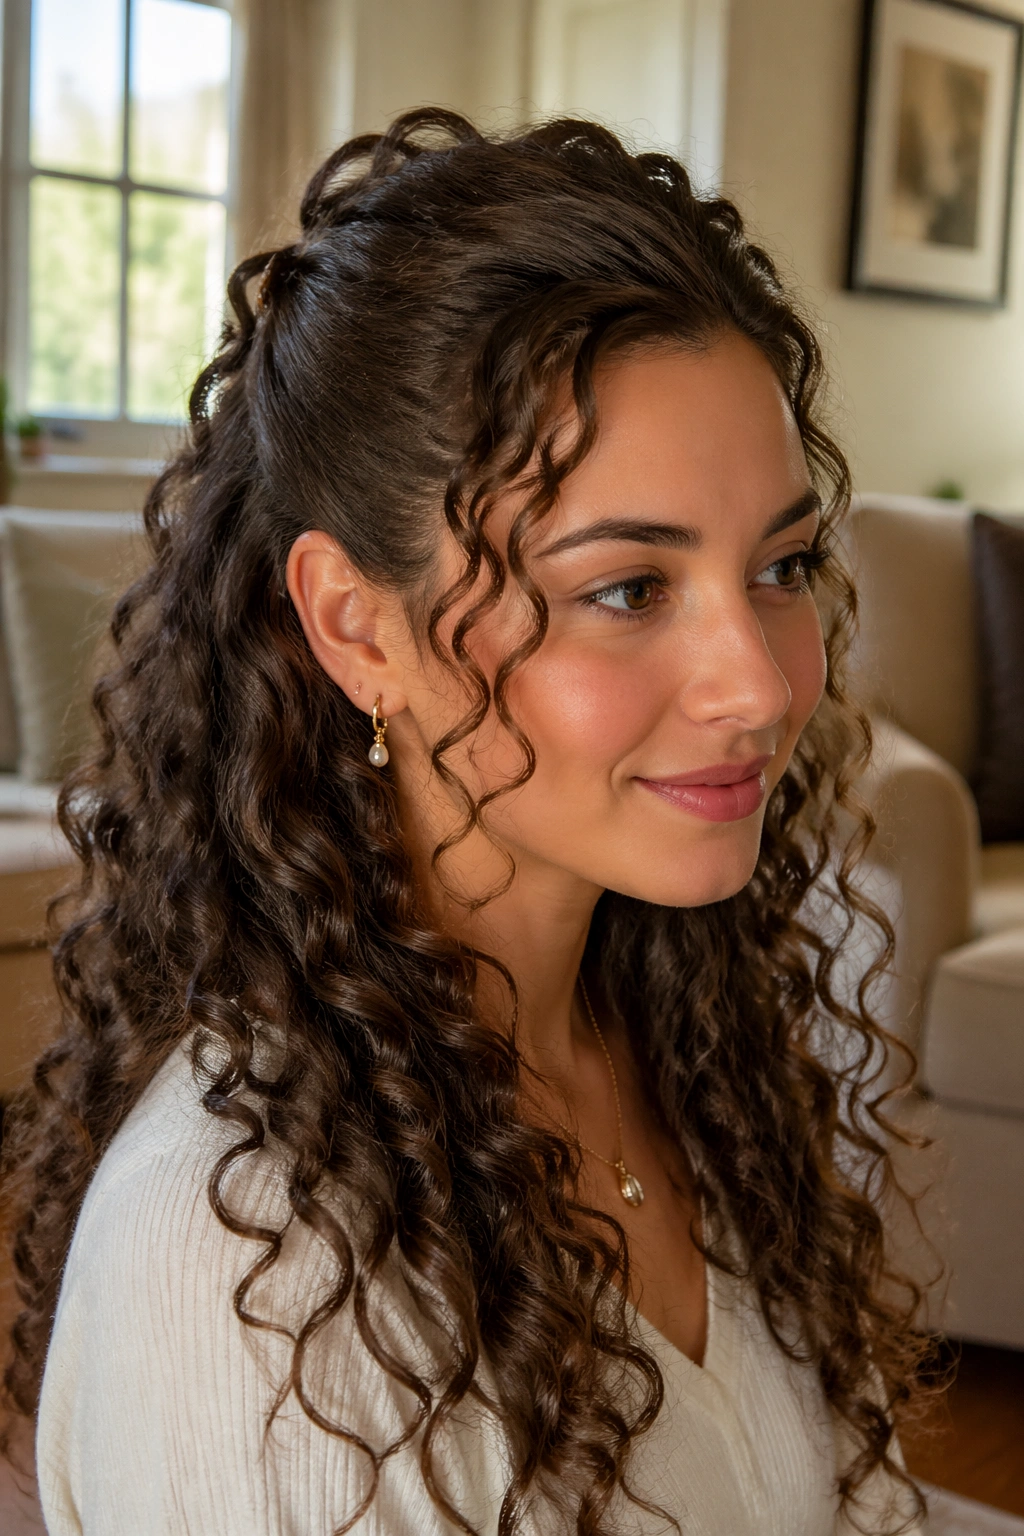
7. Center-Parted Curls Tucked Behind the Ears
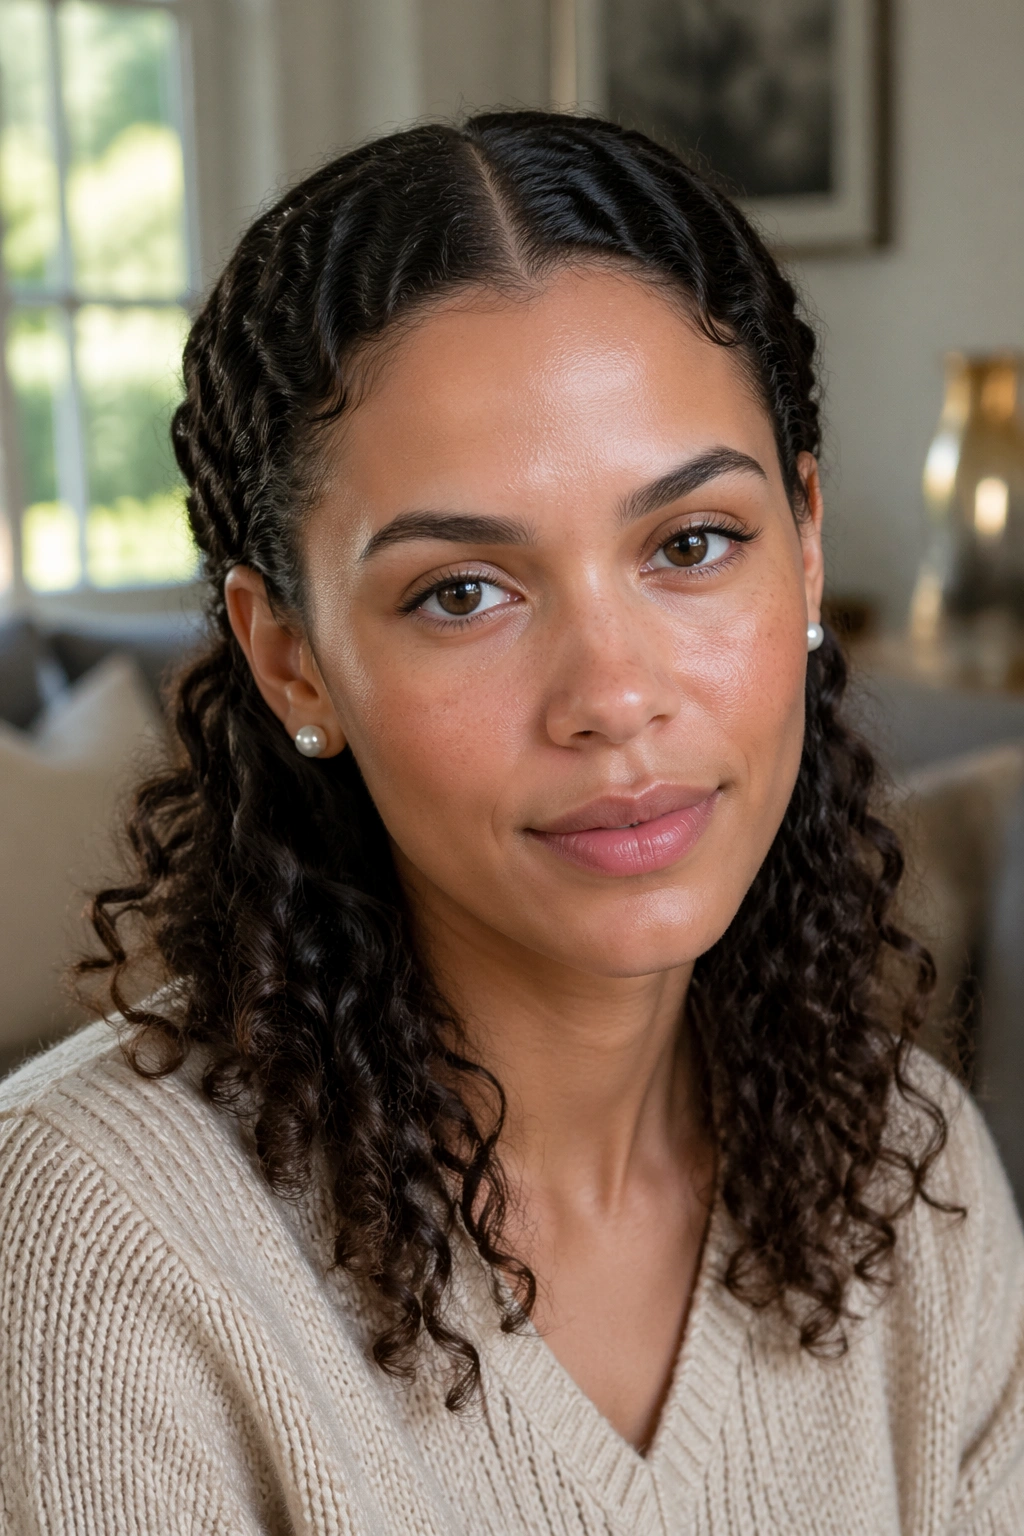
A center part can look severe on straight hair. On curly hair, it can look calm and expensive. The line down the middle gives the style symmetry, and the tucked sides keep the hair from swallowing the face.
The cleanest version starts with hydrated curls and a soft, even part from the forehead to the crown. Then tuck the front sections behind the ears so the cheekbones and jawline stay visible. If your hair is dense, you may need a tiny pin hidden behind the ear to stop the tuck from slipping. That’s normal.
The style is especially good for oval and longer face shapes, but it works on many people because the curls soften the strictness of the center line. If your curls are tighter, only tuck the front inch or two on each side. You want the ears to peek through, not the whole side of the head to disappear.
A small earring helps here. Pearl studs, tiny hoops, or a single drop earring all fit the mood. Skip anything that competes with the hair. The point is a neat frame, not a costume.
8. Brushed-Out Curly Blowout
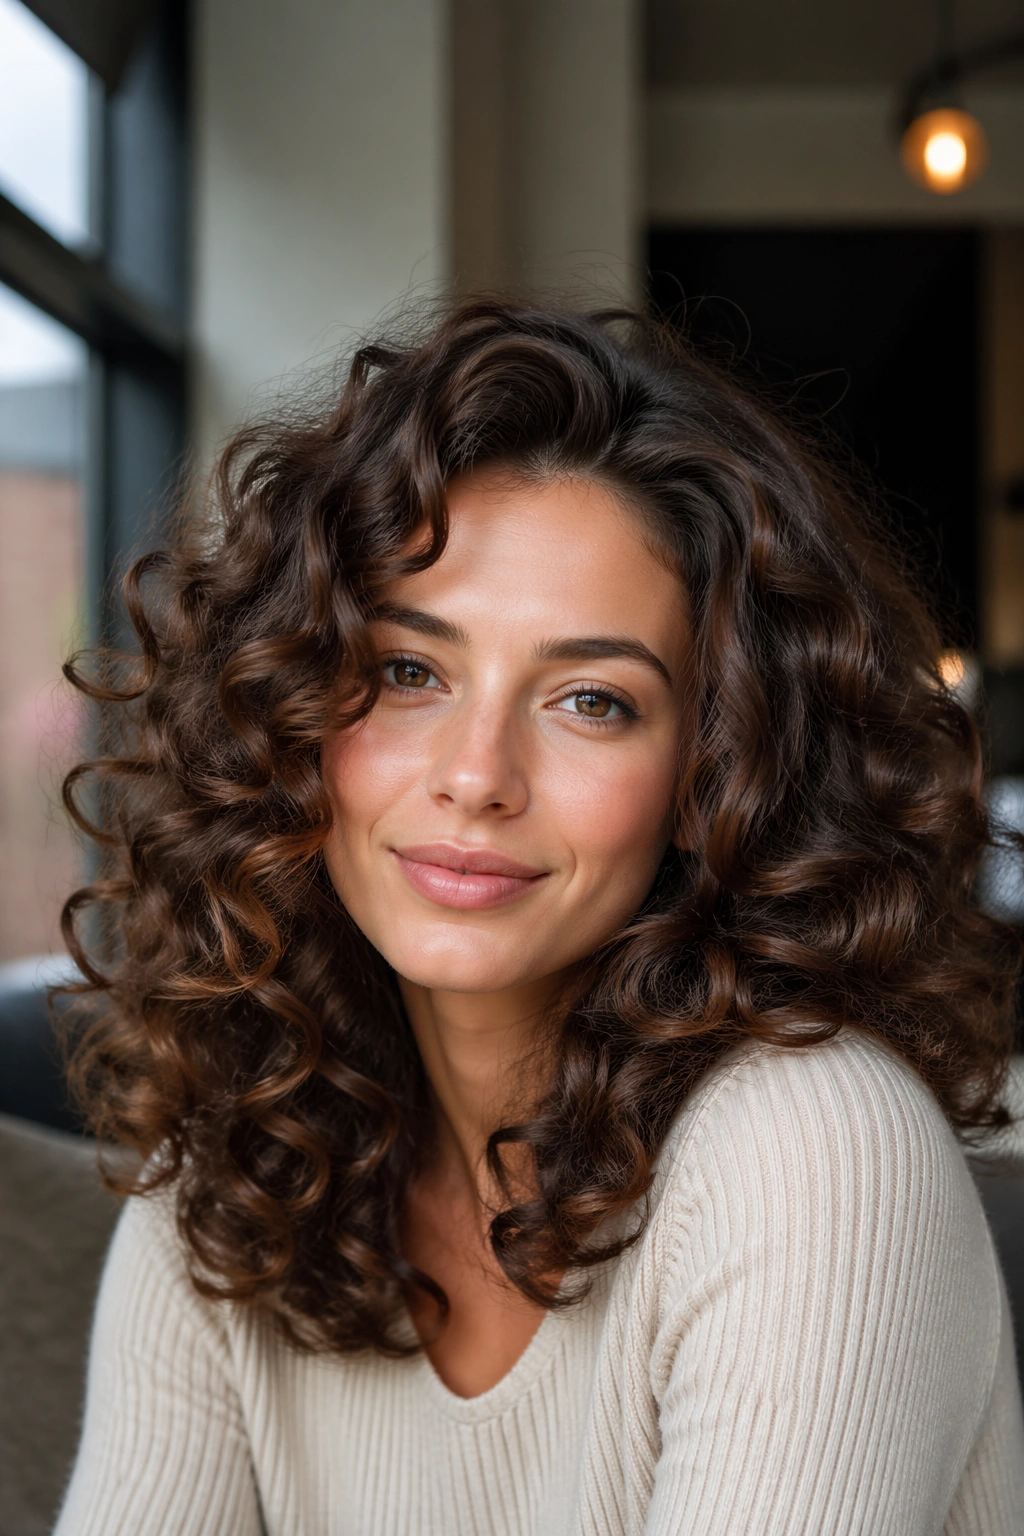
Some curls look better brushed out. That sounds almost rude to say out loud, but it’s true. When the curl pattern is looser, or when you want a softer old money finish, a brushed-out blowout gives you volume, sheen, and movement without the crisp ringlet look.
The key is timing. Brush only after the hair is fully dry. If you brush damp curls, you’ll create frizz and destroy the shape before it has a chance to settle. Start with a diffuser or air-dried hair, then use a paddle brush or vent brush to loosen the curls from the ends upward.
When to Brush and When to Stop
This style works best on loose curls, wavy-curly textures, and layered cuts. Very tight curls can also wear it, but the result will be bigger and less uniform. That can still be lovely, just different.
- Brush in sections, not all at once.
- Hold the ends while you brush the mid-lengths to reduce puffiness.
- Finish with a light mist of flexible hairspray from about 10 inches away.
- Add one drop of shine serum to the palms and smooth only the outer layer.
The brushed-out blowout is a good choice when you want hair that looks soft around the shoulders and a little fuller than a defined curl set. It has a grown-up feel that works for lunches, meetings, and evenings out. Not every curl needs to be ringlet-perfect.
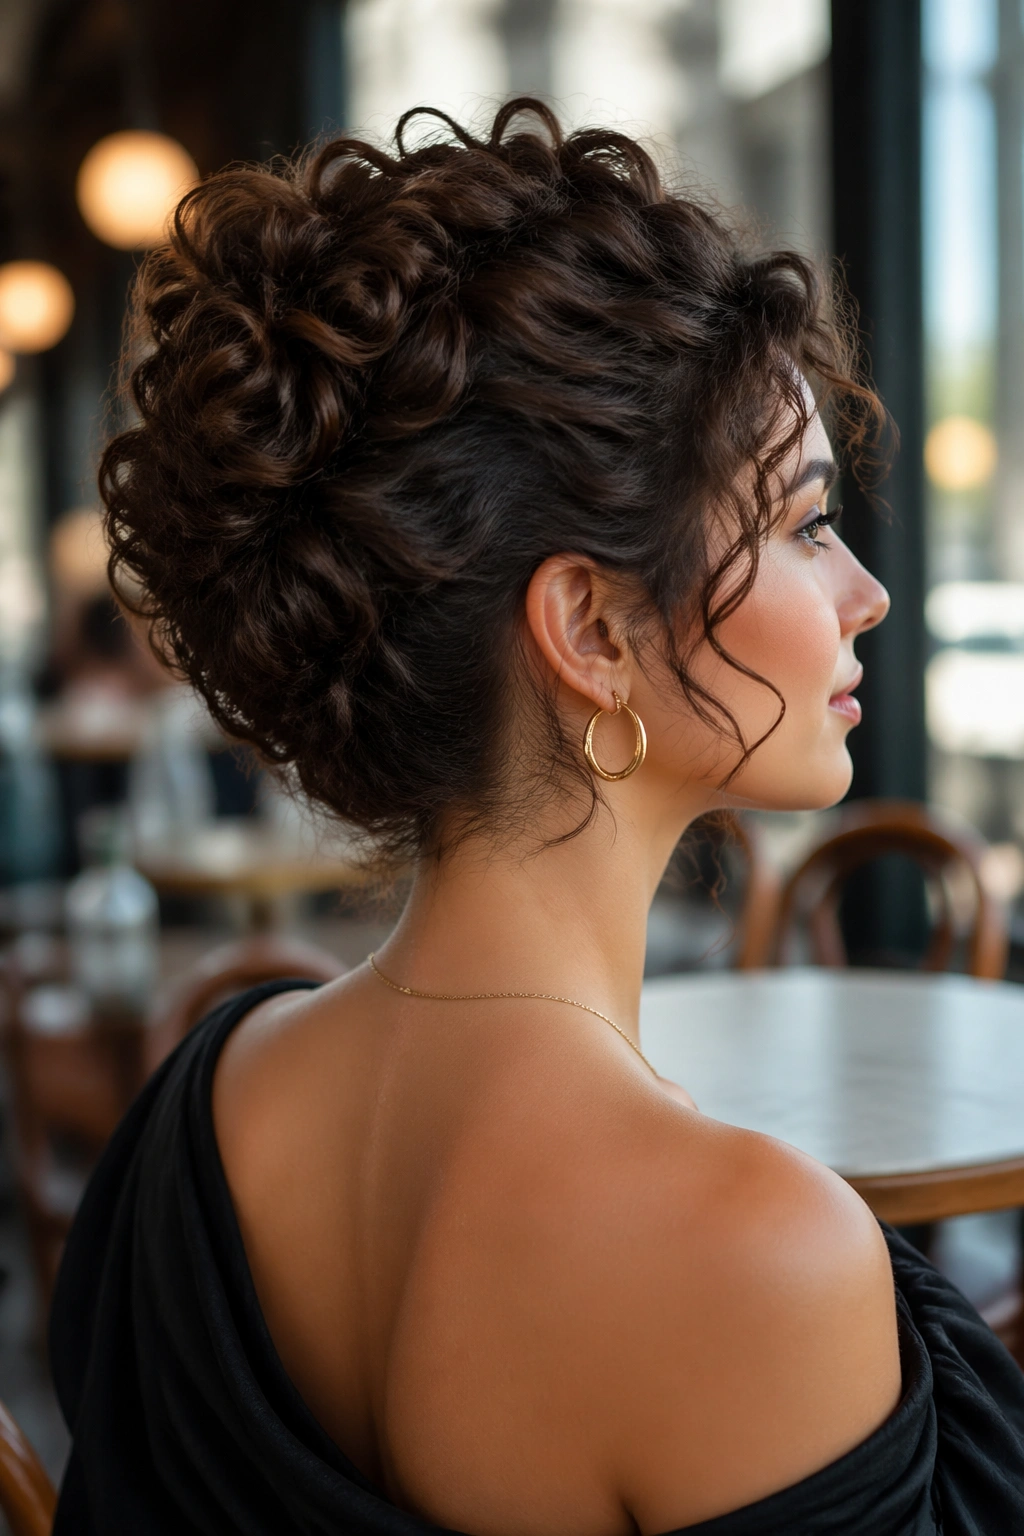
9. Twisted Halo Updo
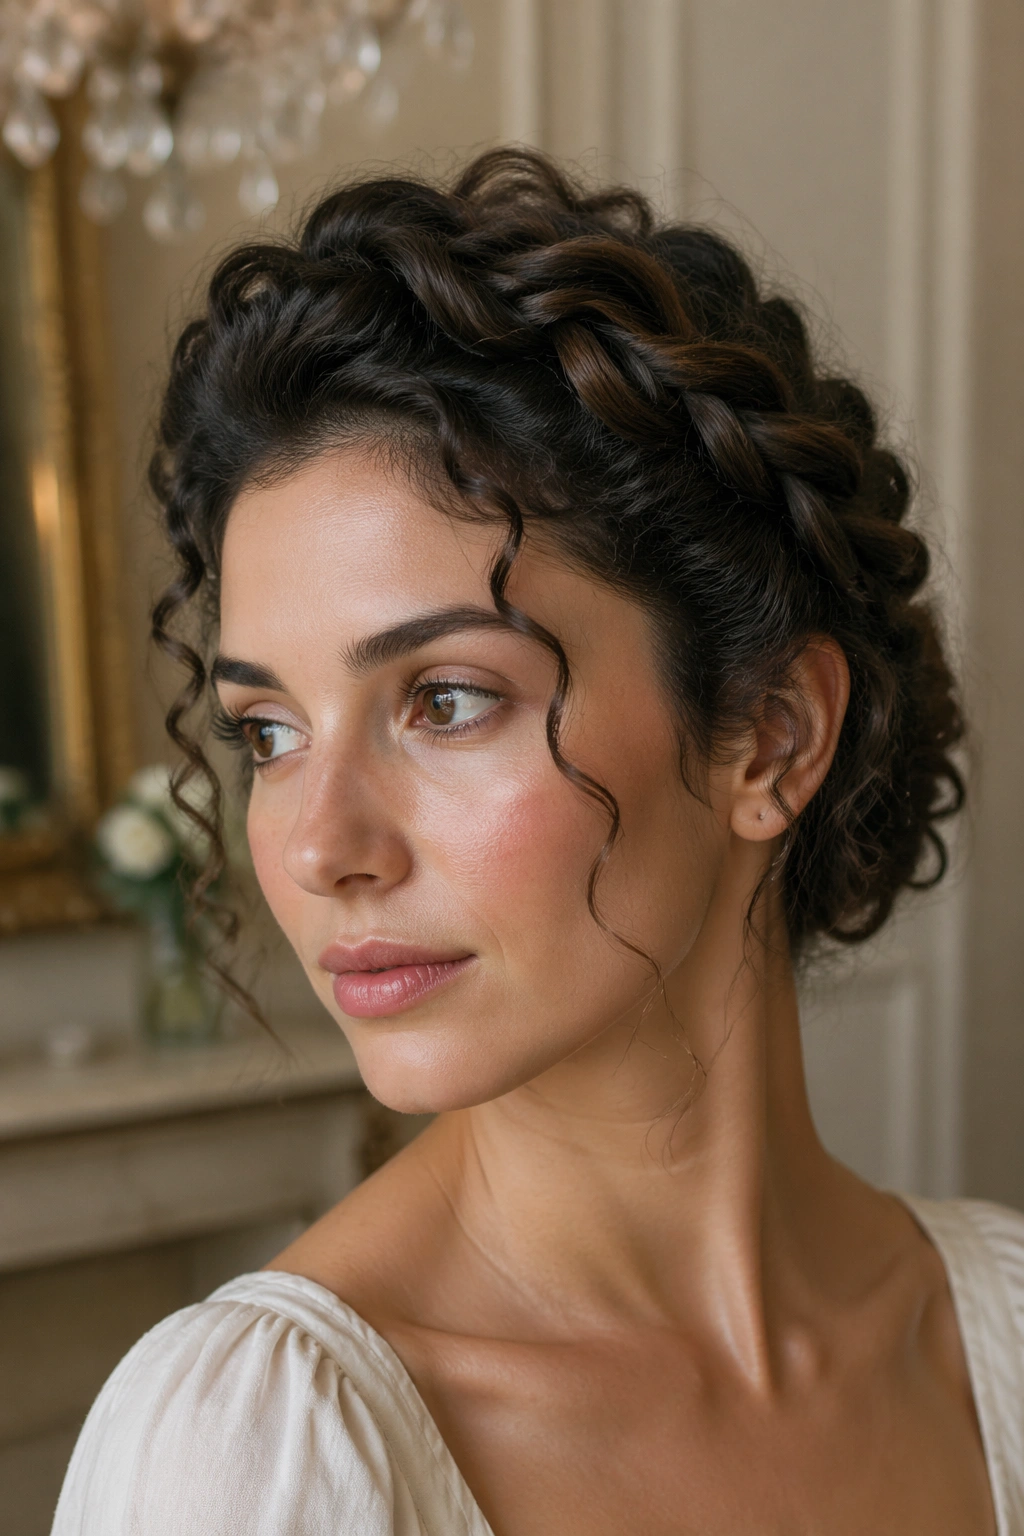
This is the style that saves you when the outfit is simple and the hair needs to carry the look. A twisted halo updo wraps the curls around the head in a way that feels old-world without crossing into costume. It looks put together from every angle, which is why I keep coming back to it for longer events.
Start with two side sections, one from each temple. Twist them back along the sides of the head, then pin them where they meet near the back or slightly off-center. The rest of the curls can be gathered into a low coil, a tucked bun, or left in a soft loop depending on length. The crown should stay slightly lifted, not pressed flat.
The Trick With the Twists
If your hair is slippery, prep it with a little mousse before styling or mist the sections lightly with water and set spray. That gives the pins something to grab. For tighter curls, do not over-smooth the twists. A bit of texture makes them easier to hold and gives the halo more depth.
This style is especially good for long curls and medium curls with enough length to twist across the head. It pairs well with dresses that have open necklines, because the hair frames the face without crowding the shoulders. A halo updo also survives a long evening better than a loose style. Once it’s pinned correctly, it tends to stay where you put it.
10. Shoulder-Grazing Curly Lob With Soft Ends
A shoulder-grazing curly lob can look far more polished than a longer style that has no shape. The cut itself matters, yes, but the way it’s worn matters just as much. When the ends sit near the shoulders and the curl pattern is clean, the whole style feels intentional and neat.
Unlike a blunt, one-length cut that can balloon out at the sides, a lob with soft layers lets the curls fall in a cleaner line. That line is what gives it the old money feel. It’s especially good if you prefer hair that looks good with very little fuss in the morning.
How to Wear the Shape
A side part or a soft center part both work here. What matters more is how the curls settle around the jaw and collarbone. If the front tends to puff out, tuck one side behind the ear or clip it back with a slim barrette. If the ends fray, a small amount of curl cream on wet hair usually helps them clump together in a tidier way.
This is one of the best choices for people who want a low-maintenance style that still reads as finished. It also works across a wide range of curl patterns, from loose spirals to tighter waves. The shoulder length keeps the look grounded. Long hair can feel more formal; this length feels cleaner and easier to manage.
11. Low Knot With Face-Framing Pieces
The low knot is the quieter cousin of the chignon. If the chignon feels soft and a little romantic, the knot feels sharper and more controlled. It sits low, usually at the nape, and the shape is smaller and neater, which makes it a strong choice for curly hair when you want the texture to look intentional instead of loose.
The important thing is not to drag every curl into the knot. Leave a few face-framing pieces out in front, ideally one on each side, and let them bend naturally instead of forcing them into perfect spirals. Those front pieces stop the style from feeling severe. They also soften the profile in a way that flatters most face shapes.
A low knot works well for thicker curly hair because it can hold its shape without needing a huge amount of padding. If your hair is fine, build the knot by folding the length over itself before pinning, rather than twisting it too tightly. A too-tight twist collapses fast and can leave the style looking thinner than it really is.
Common mistake? Placing the knot too high or making the front too slick. That pulls the eye upward and changes the whole mood. Keep it low, keep it neat, and let the curls near the face do some of the talking.
12. Silk Scarf Half-Up Style
Can a silk scarf look old money on curly hair? Absolutely — if the rest of the styling stays quiet. The scarf should feel like the final detail, not the whole performance. A muted navy, ivory, black, camel, or espresso tone usually works better than a loud print that steals attention from the curls.
This style starts like a simple half-up look. Gather the top section, secure it with a small elastic or pin, then tie a narrow silk scarf or ribbon around the base. Let the ends fall softly, or knot them in a neat bow if that suits the outfit. The scarf should sit low enough to feel elegant, not perched on the crown like a gift wrap detail.
How to Tie It So It Stays Put
- Choose a scarf that is 1 to 2 inches wide when folded.
- Anchor the half-up section with a small clear elastic first.
- Tie the scarf over the elastic, then tuck the knot underneath if needed.
- Keep the rest of the curls loose and defined, not brushed out too much.
This one works best when the hair has some shine and the scarf has a matte or soft sheen. Too much gloss everywhere starts to look overdone. A silk scarf, one polished barrette, or a single clean part is often enough. That’s the thread running through all of these styles, really: simple shapes, tidy placement, and curls that still look like curls.