Short curly hair has a way of looking like two different head shapes on two different mornings. One day it sits close and neat; the next, it swells at the sides, collapses at the crown, and somehow makes the neck feel shorter than it is.
That awkward middle is normal. Curls do not grow in a straight line, and they do not all stretch the same way. The nape often looks late, the top often looks early, and the temples can do their own weird little thing for months.
The styles that work best during the grow-out are the ones that respect that mismatch. They give the curls a job, keep the ends from rubbing raw against collars and zippers, and make the shape look intentional even when the length still feels uneven.
If you have been pinning one side down, fluffing the other, and hoping the mirror gets kinder, you are not doing anything wrong. You just need a few styles that make short curls behave without flattening them.
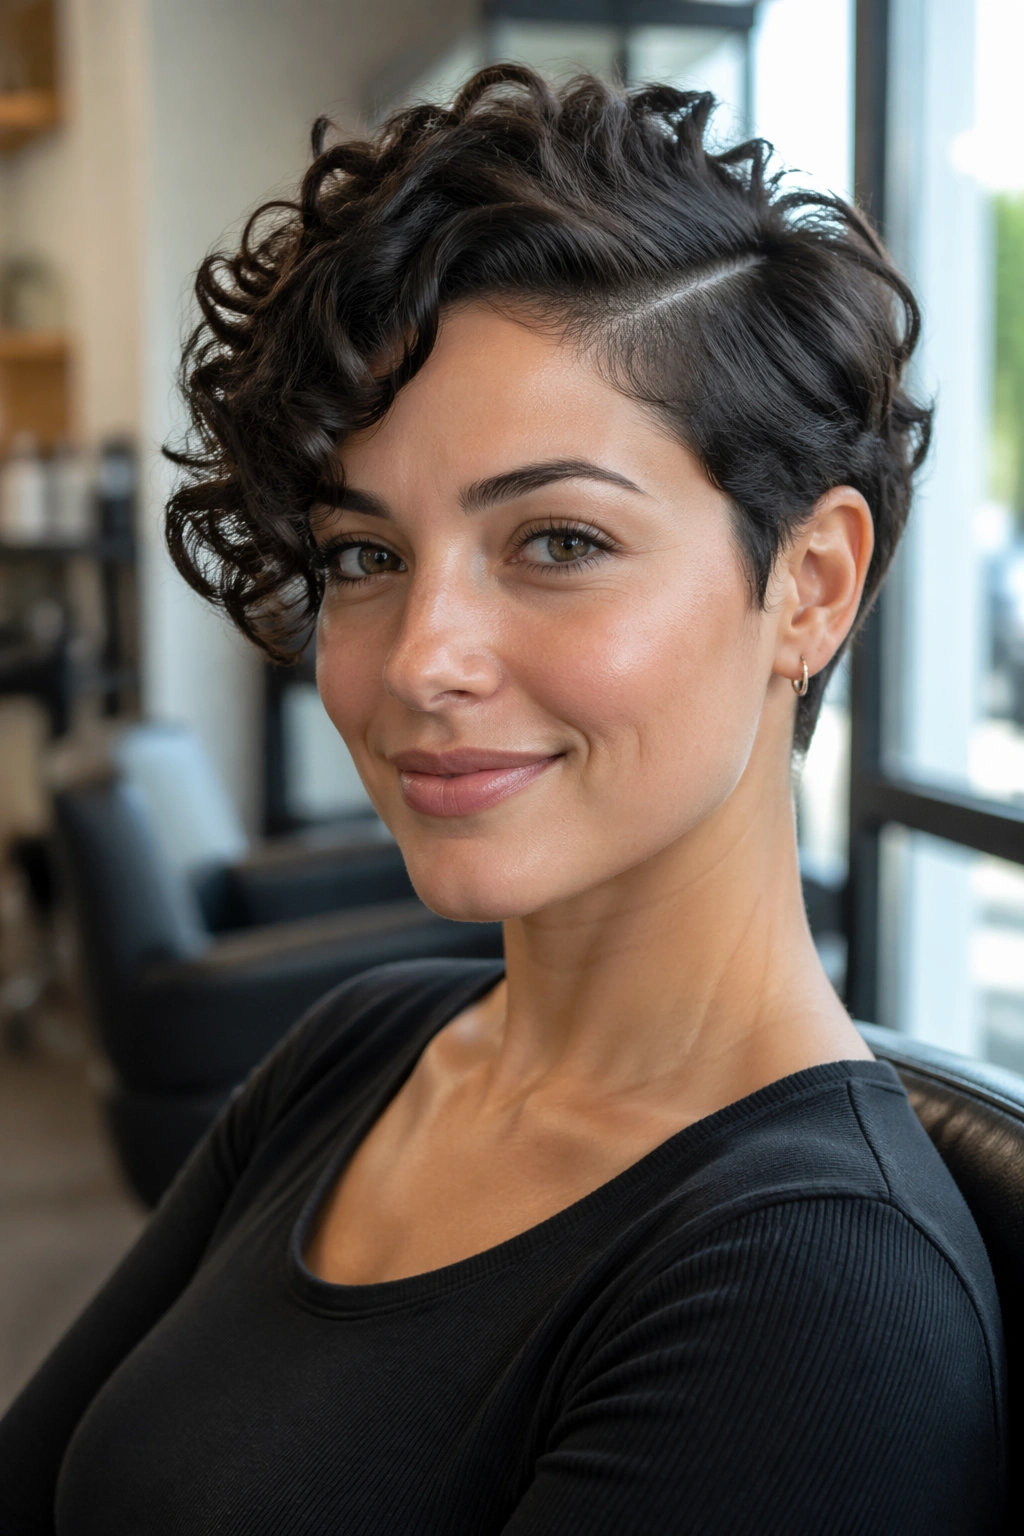
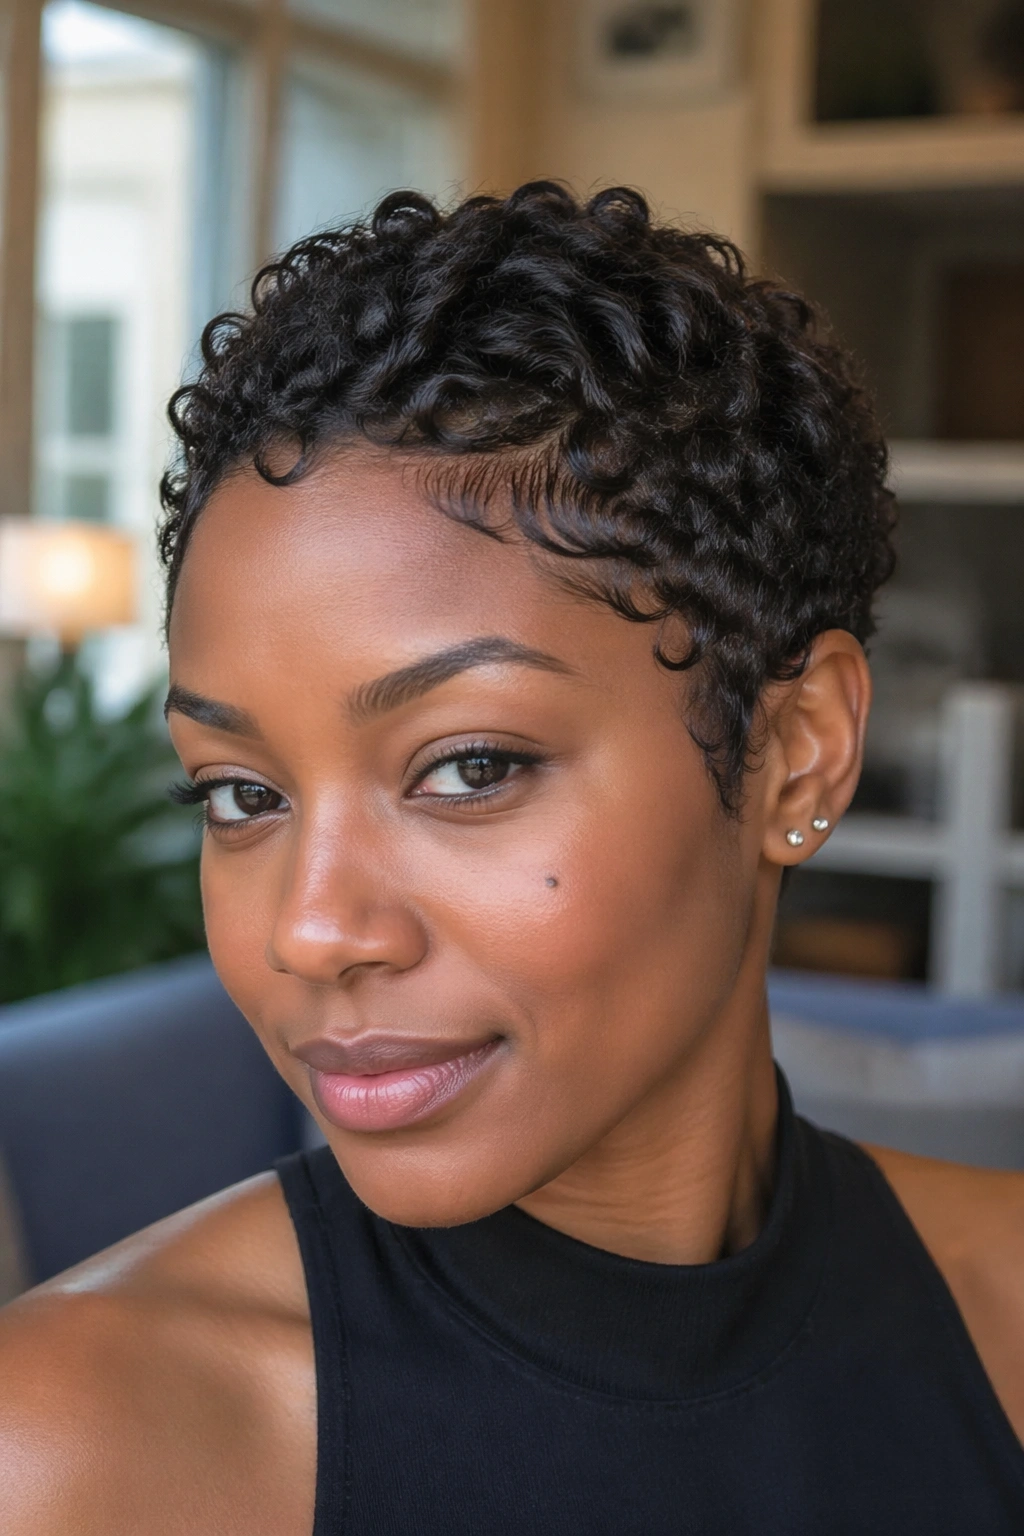
1. The Soft Finger-Coiled Pixie
Finger coils are the fastest way to make a short curly cut look deliberate. They work especially well when the top still sits close to the scalp and the sides are in that fuzzy in-between stage. Instead of fighting the shape, you tighten it.
Use a leave-in on damp hair, then follow with a small amount of curl cream or light gel. Take tiny sections, maybe the width of a pencil, and wrap each one around your finger until it springs into a neat coil. Don’t rush this part. Coils look best when the section is small enough to define, not just vaguely encourage.
A lot of people try to coil every single strand the same way and end up with a helmet. That is the wrong move. Leave a few pieces looser around the hairline and at the crown so the style still has movement. The contrast is what makes it feel soft instead of stiff.
This style is useful on days when you want your grow-out to look polished without spending an hour on it. Once dry, you can separate a few coils at the ends for a fuller look. The trick is to keep the roots calm and let the ends do the work.
2. A Side-Parted Crop for Growing Out Short Curly Hair
A side part does more for growing out short curly hair than most people expect. It shifts the visual weight, hides uneven length on one side, and gives the whole cut a cleaner line without needing more length.
Why It Works
The part creates a built-in shape. If your curls are still short enough to spring up in different directions, the side sweep lets them fall into one direction instead of arguing with each other. That alone can make a half-grown pixie look like a planned crop.
What Helps Most
- Use a light mousse or foam on damp curls so the roots do not dry too puffy.
- Place the part where the flatter side already wants to lie. Fighting a stubborn swirl is wasted time.
- Pin the shorter side back with two small clips if the hair keeps slipping forward.
- Finish with a tiny bit of oil on the ends only if they look dry. Too much oil near the roots makes the style collapse.
This is one of those styles that looks best when the curls are not trying too hard. If the top has a little lift and the side part is clean, it reads as sharp rather than messy. That small shift in direction can buy you weeks of sanity.
3. The Mini Twist-Out
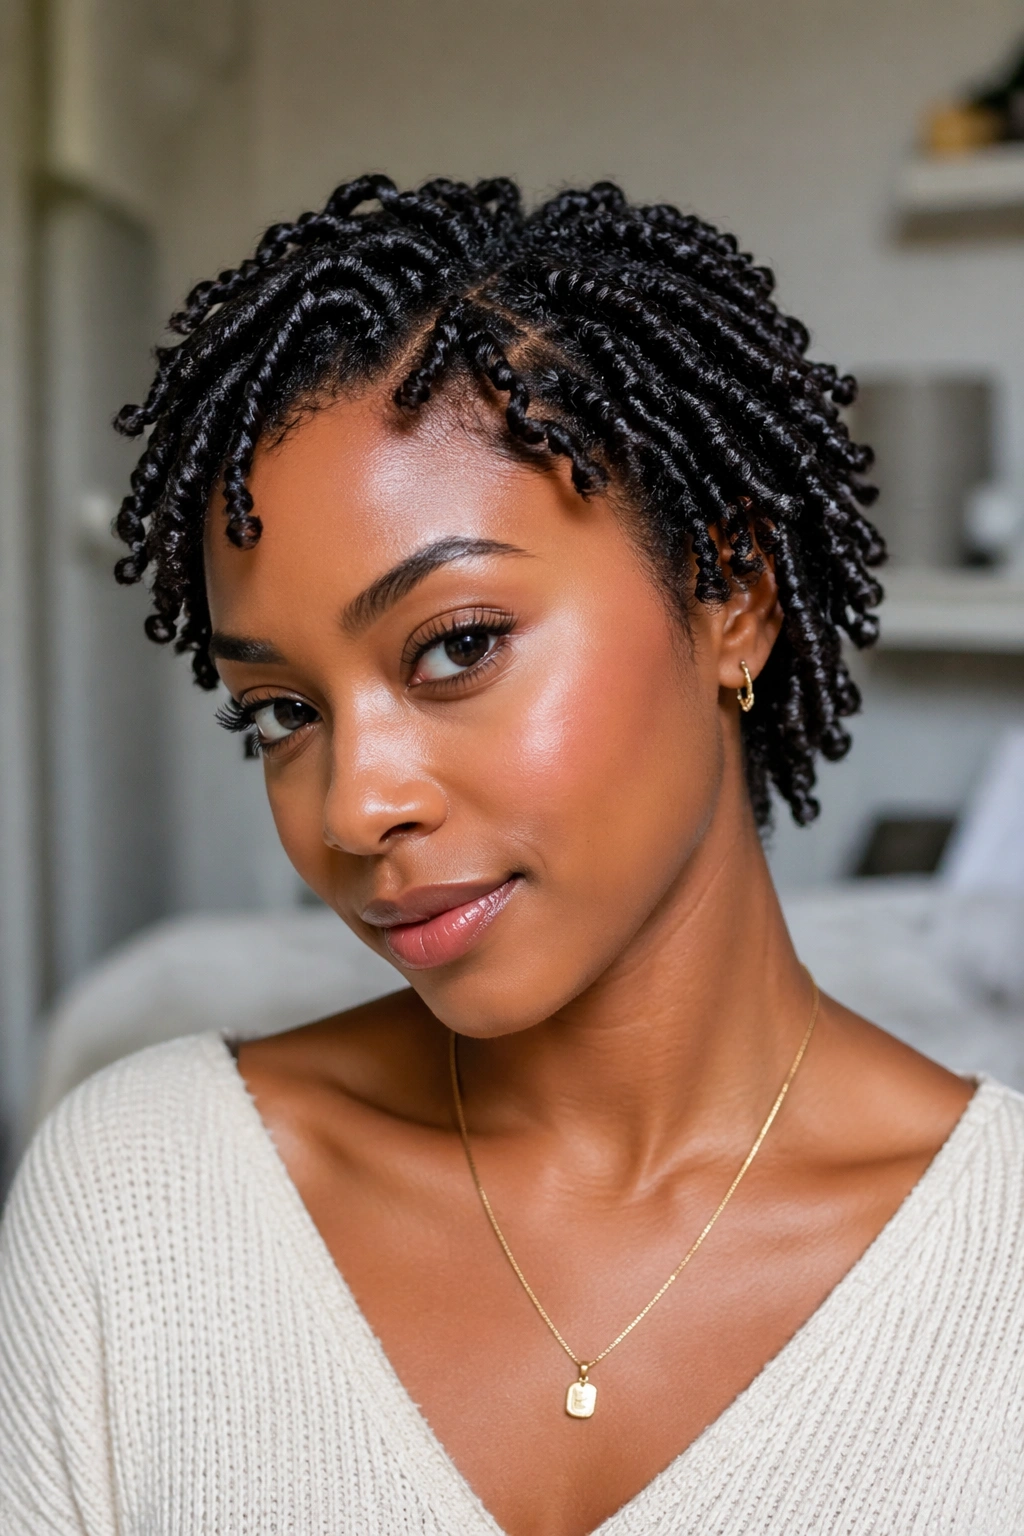
Why do mini twist-outs work so well during the awkward middle? Because they stretch curls just enough to show the length you have, while still keeping the texture you want.
Start with hair that is damp, not soaking. Add leave-in, then a small amount of styling cream or mousse. Make two-strand twists in sections that are small enough to hold shape but big enough to finish without a full evening lost to the mirror. If the hair is very short, the twists may only be a few inches long. That is fine. Short twist-outs often look better when they are compact.
How to Wear It
Let the twists dry completely before taking them down. Half-dry twists are a frizz factory. Once they are dry, separate them gently with oiled fingertips, then leave the roots a little fuller so the style doesn’t look flat at the scalp.
Twist-outs are especially useful if your hair shrinks hard when it dries. They give you a little stretch without forcing your curls into a stretched-out pattern that feels fake. And unlike a blowout, they still look like curly hair. That matters when you want the grow-out to feel like your hair, not a costume.
4. Half-Up Pineapple With Loose Ends
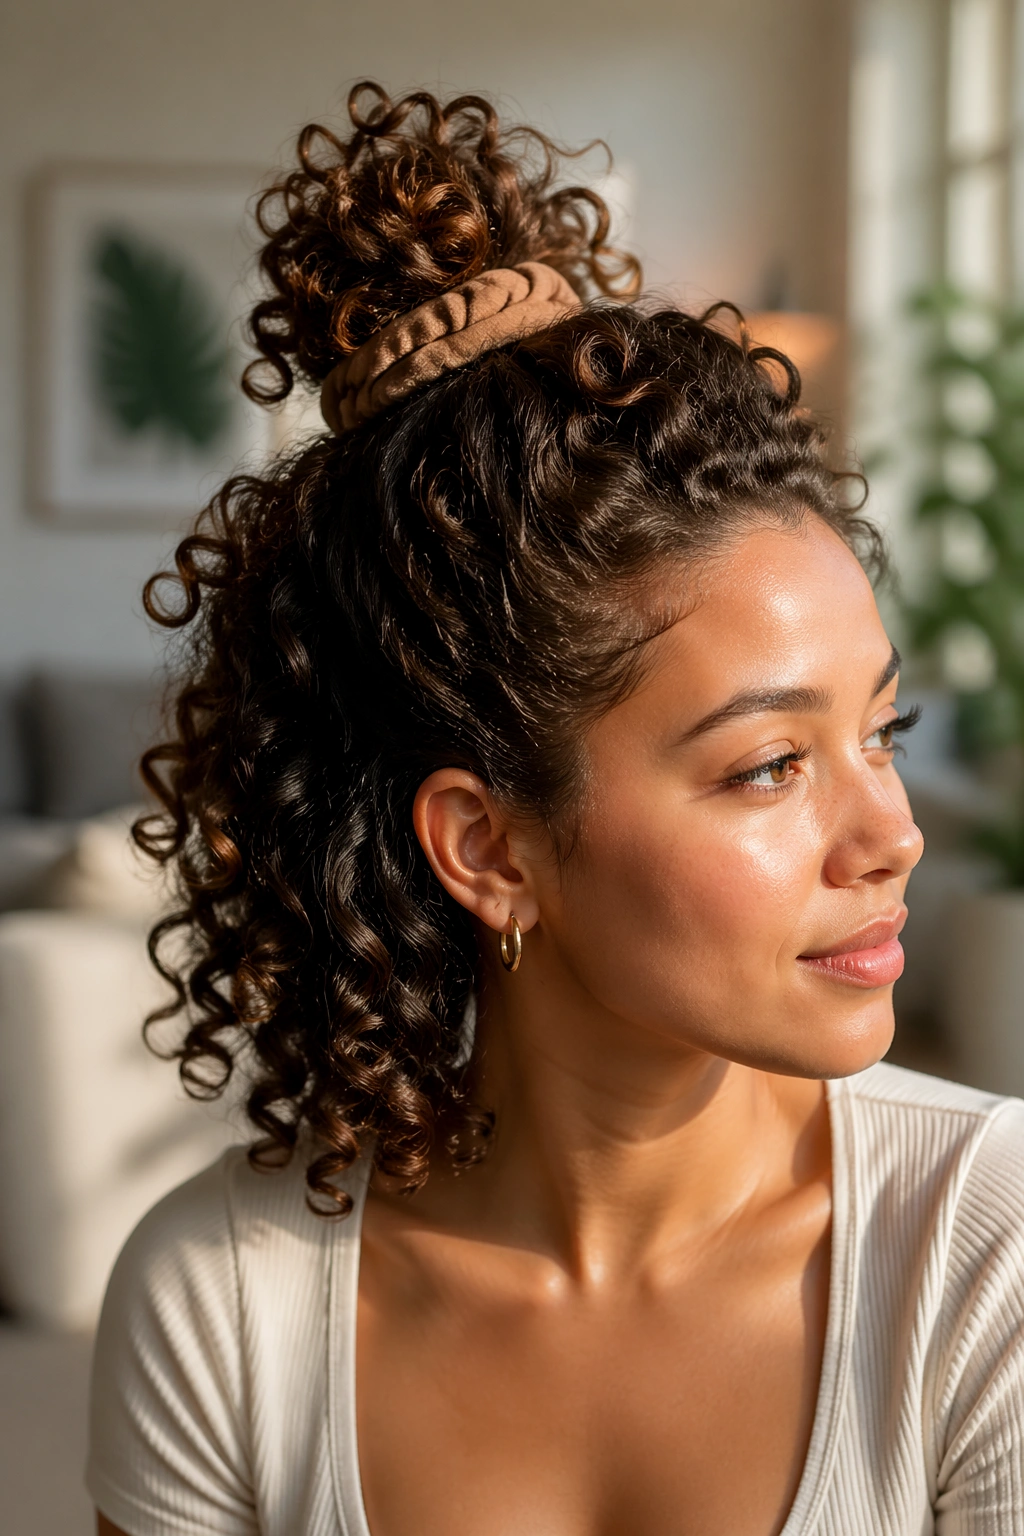
If the crown is long enough to gather but the nape still refuses to cooperate, the half-up pineapple is a relief. It lifts the busiest part of the cut, keeps the top off your face, and leaves the lower curls free to do whatever they want.
The key is placement. Pull the top section high enough to create lift, but not so high that it stretches the roots tight. A soft scrunchie is better than a skinny elastic here. Skinny bands tend to snag the curls and leave a dent that takes forever to smooth out.
Leave the bottom half loose and shape it with your fingers. You do not need perfect symmetry. In fact, the style looks better when the lower curls are a little varied because it keeps the whole thing from looking stiff. A side piece near the temple can soften the line if the top section feels too sharp.
This is a good go-to when you want the front to look neat and the back to stay curly. It also hides a lot of growth stages at once. One section looks lifted, another section looks soft, and nobody has to know you are managing three different lengths under one hairstyle.
5. The Curly Frohawk
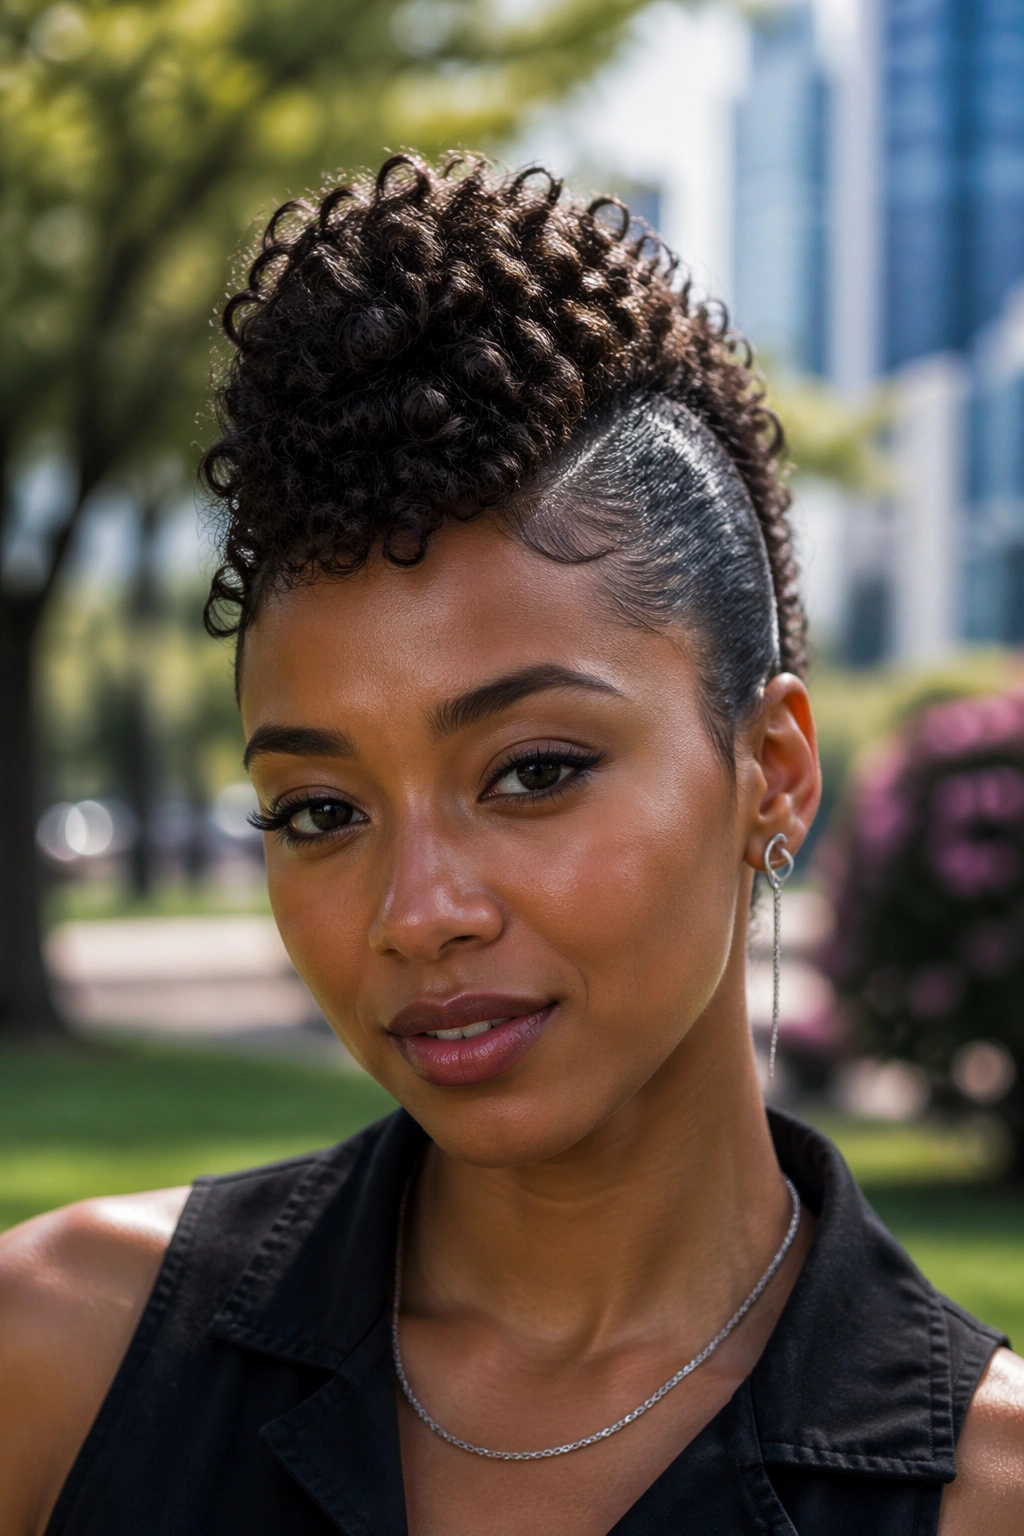
A curly frohawk is one of the best styles for days when you want shape without flattening the hair into obedience. Unlike slicking everything back, this keeps the curl where it looks strongest: the center strip.
The sides can be pinned close with bobby pins, small clips, or a little gel if the hair is long enough to lay down. The middle stays free and gets the volume. That contrast gives the style its punch. It also works especially well when the sides are shorter than the top, which is often exactly what growing-out hair looks like.
This style is not precious. It can be neat or a little rough around the edges, and both versions work. If your curls are thick, the center strip may need a few pins underneath to keep it from drifting sideways. If your curls are looser, a mousse at the roots helps the shape stay lifted longer.
I like this style for people who are bored with “just pin it back” advice. It is sharper than a puff, less formal than a slick-back, and more forgiving than a strict part. It gives the grow-out some attitude, which is often what the middle stage needs.
6. The Rounded Mini Afro for Growing Out Short Curly Hair
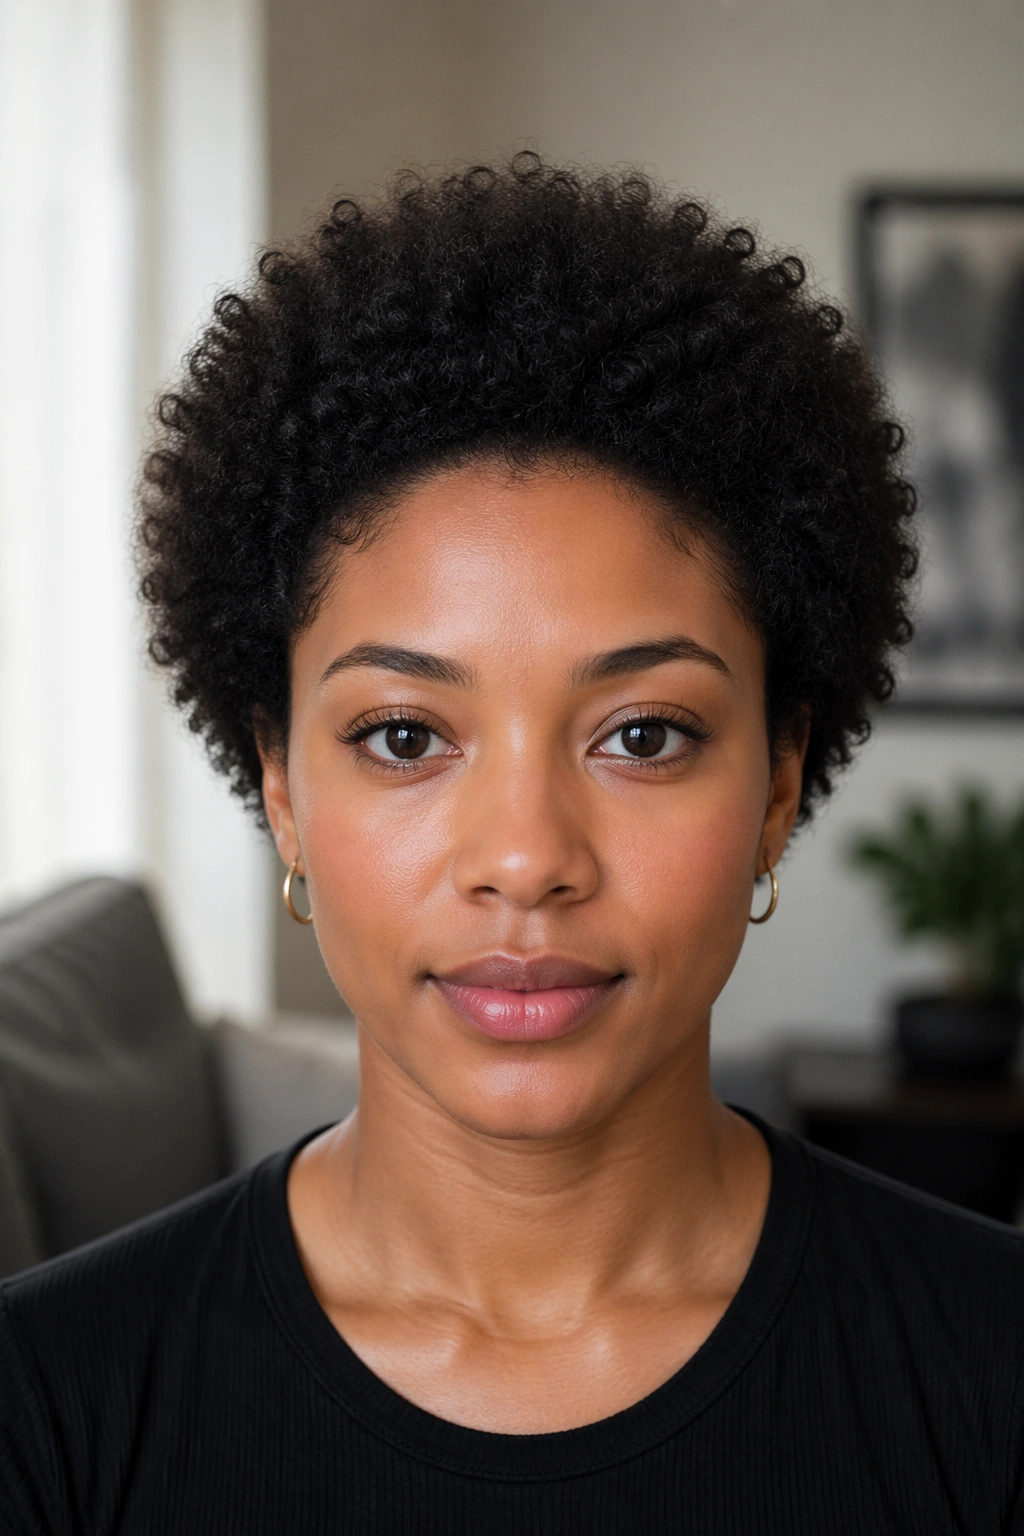
A rounded mini afro is what happens when you stop apologizing for the width. Short curly hair can look cramped if you keep trying to force it into a narrow silhouette, and that fight usually ends with frizz, dents, and a bad mood.
The round shape gives the curls room to stack. That is the whole point. A little pick at the roots can help lift the crown, but the real work is in keeping the outline even. If the sides flare out too much, a small trim at the temples can pull the shape back in without stealing much length. A lot of people wait too long to trim those edges, then wonder why the head looks boxy. It is usually the outline, not the curl pattern.
This style works best when the ends are healthy enough to sit together instead of fraying apart. A light cream and a touch of gel can keep the outer layer smooth while the inside stays soft and full. You do not need a heavy product pile. Too much product on a mini afro makes the shape sag in the middle.
A rounded grow-out style is honest. It does not pretend the hair is longer than it is. It just makes the short length look rich and full, which is a much better deal. There is something satisfying about letting the curls win the argument for once.
7. The Wide Headband Tuck
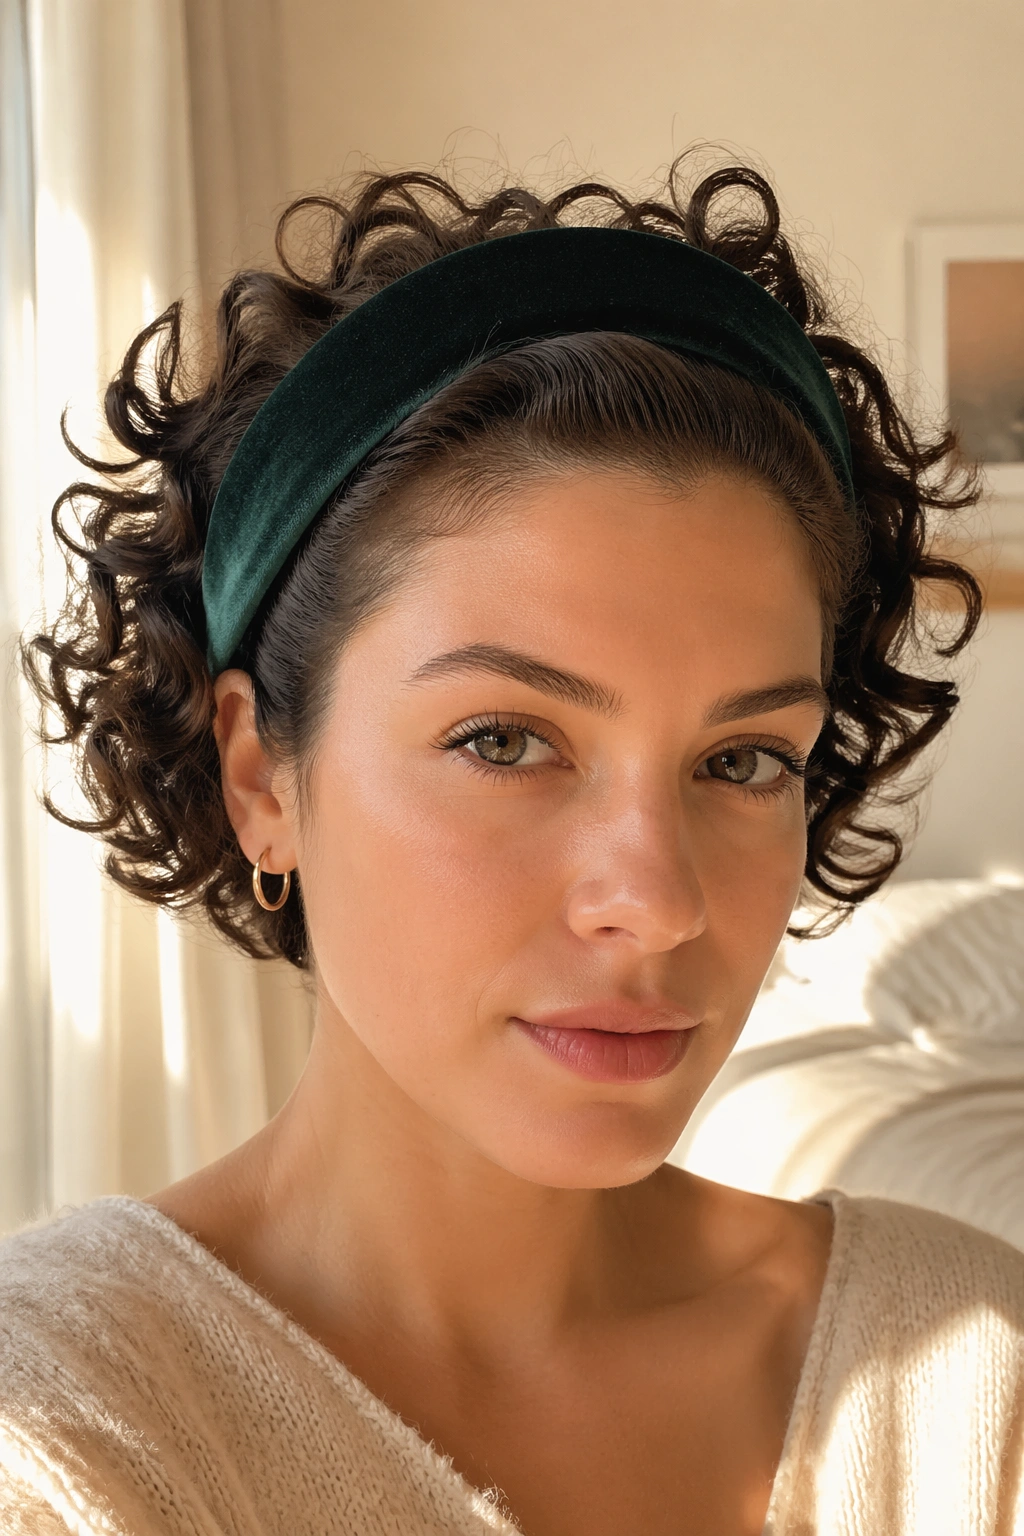
A wide headband is the fastest way to make short curls look settled instead of half-finished. It is one of those styles people dismiss until they need it, and then they wear it all week.
Choose a band that is at least 1.5 inches wide and has a little grip inside. Too thin, and it cuts into the hair. Too slick, and the curls slide right out. Place it just behind the hairline, then use your fingers to tuck the front pieces up or down depending on how much length you have. If the curls are very short, let them puff slightly over the band. That softness looks better than a forced flattening.
This style is helpful on days when the front is still in that odd length between fringe and grown-out bangs. It pulls the eye upward and away from the uneven bits. A satin-lined band is kinder to the hair if you wear it a lot, and it keeps the edges from getting roughed up.
Not every headband style has to look sporty. A dark velvet band, a neutral knit band, even a simple black one can read as polished if the curls around it are clean and defined. The point is not to hide the hair; it is to frame it without making a fuss.
8. Flat Twists Across the Front
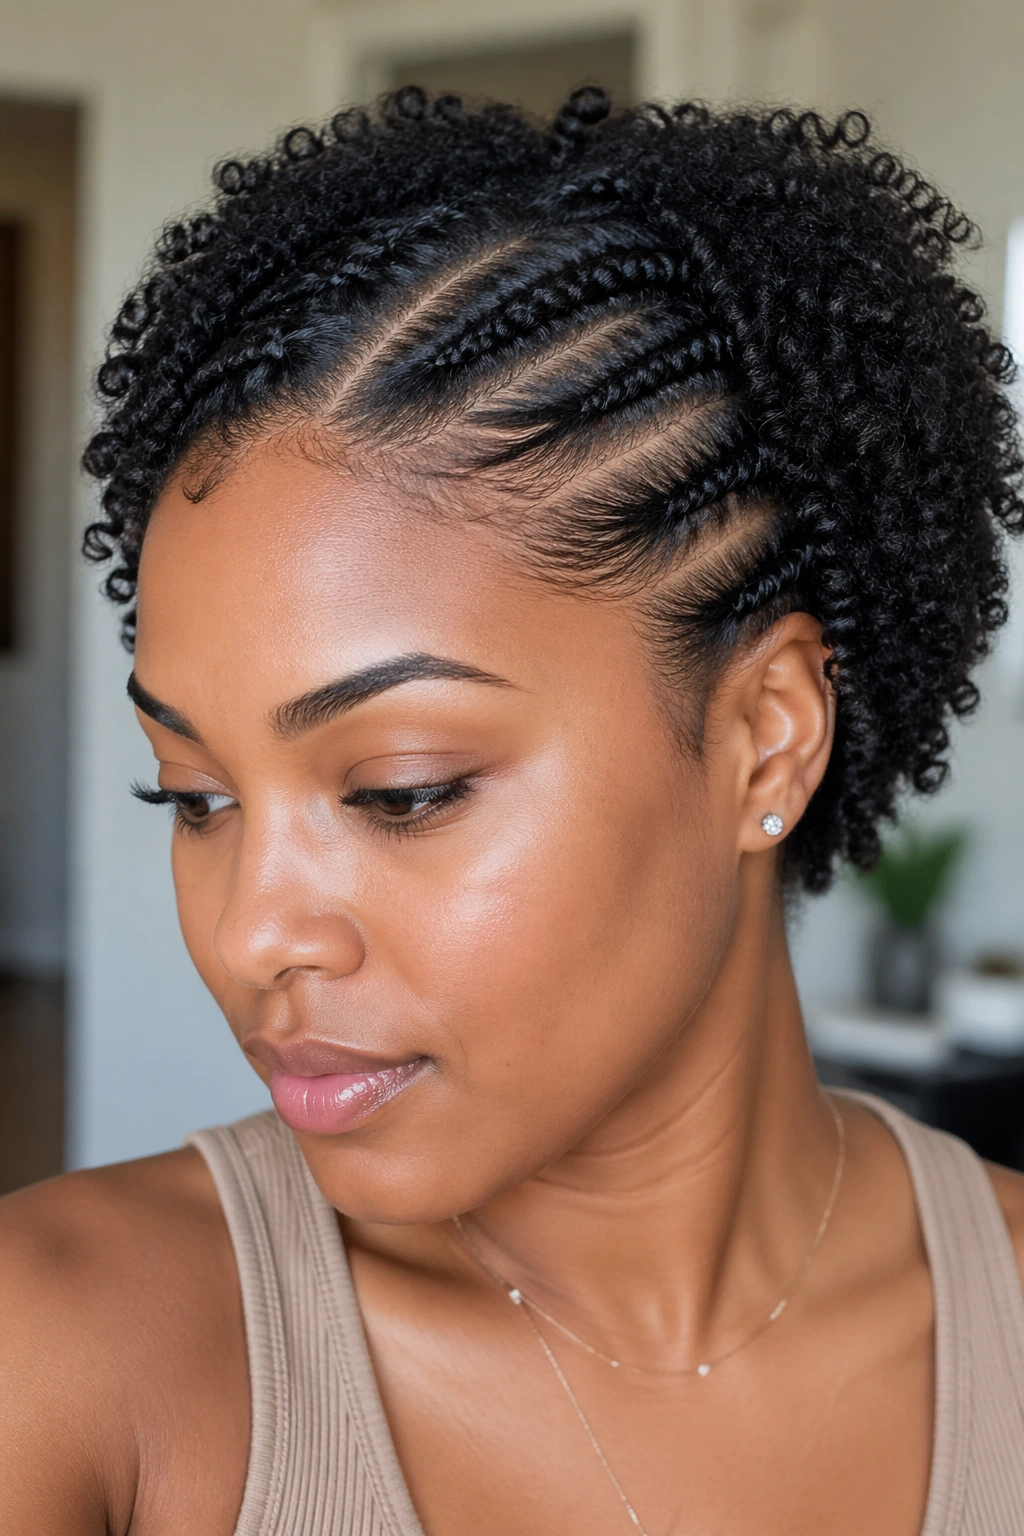
Flat twists buy you shape without flattening the whole head. That is why they work so well when the front is longer than the sides but not long enough to stay where you want it.
Where to Place the Twists
Put two to four flat twists across the front hairline, starting near the temple and moving back. If the bangs are still short, twist them into the nearest section instead of trying to force a neat bang shape. The goal is control, not perfection.
What to Leave Loose
- Leave the back curls free so the style still feels soft.
- Keep the twists loose at the scalp so you do not get tension lines.
- Use a small amount of gel only on the first inch of each twist if the roots puff up fast.
- Pin the ends under the curls if they stick out awkwardly.
Flat twists are a smart choice on wash day because they hold shape for a while and still look good the next morning. They also make the front feel intentional, which is half the battle with a grow-out. A few neat lines at the hairline can calm the whole style down.
9. A Deep Side Part With a Barrette Sweep
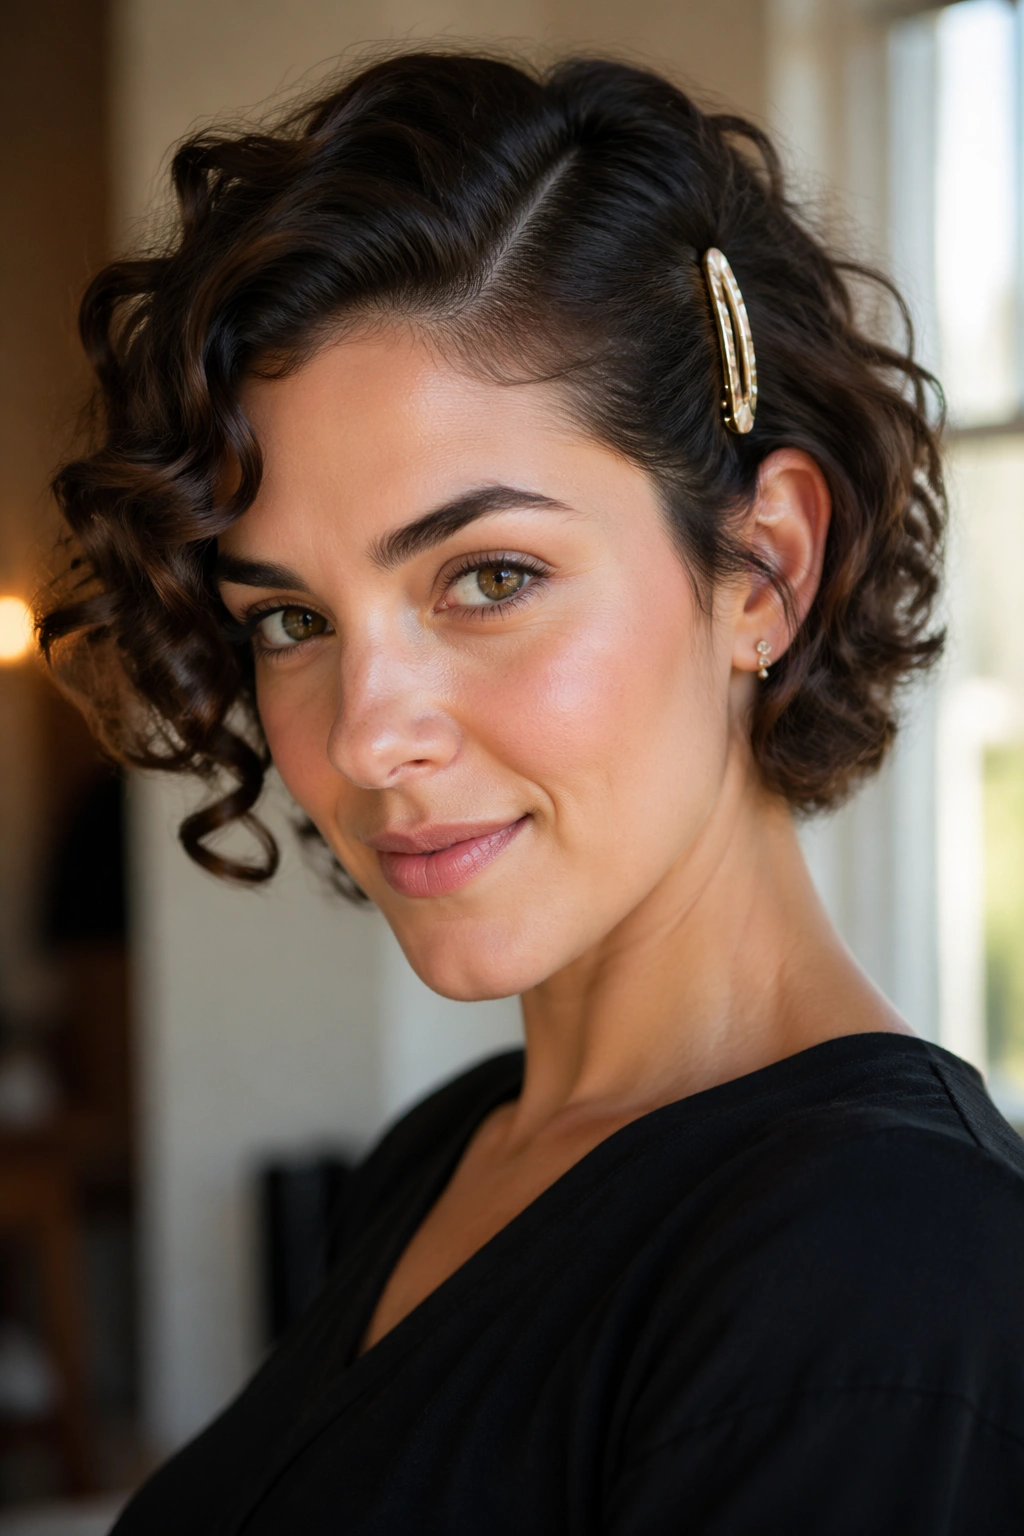
A deep side part changes the mood of short curls almost instantly. It stretches the silhouette, hides some of the uneven bulk, and gives you a cleaner profile without needing to press the hair flat.
The part works even better with one barrette, or two stacked if the hair is thick. Slide the clip where the hair wants to stay, not where you wish it would stay. That sounds small, but it matters. Curly hair has its own sense of gravity, and fighting it all day is a lousy use of energy.
What Makes It Hold
- Start with damp hair and a leave-in so the curls have slip.
- Use a rat-tail comb only if the part needs to be crisp; fingers are fine for softer results.
- Clip the heavier side back just behind the temple, not on top of it.
- Let the opposite side fall forward a little to frame the cheekbone.
This is a good style when you want a little drama without adding height. It can look office-friendly, date-night friendly, or just plain neat on a bad-hair day. The barrette is doing shape work here, not decoration.
10. Mini Bantu Knot Accents
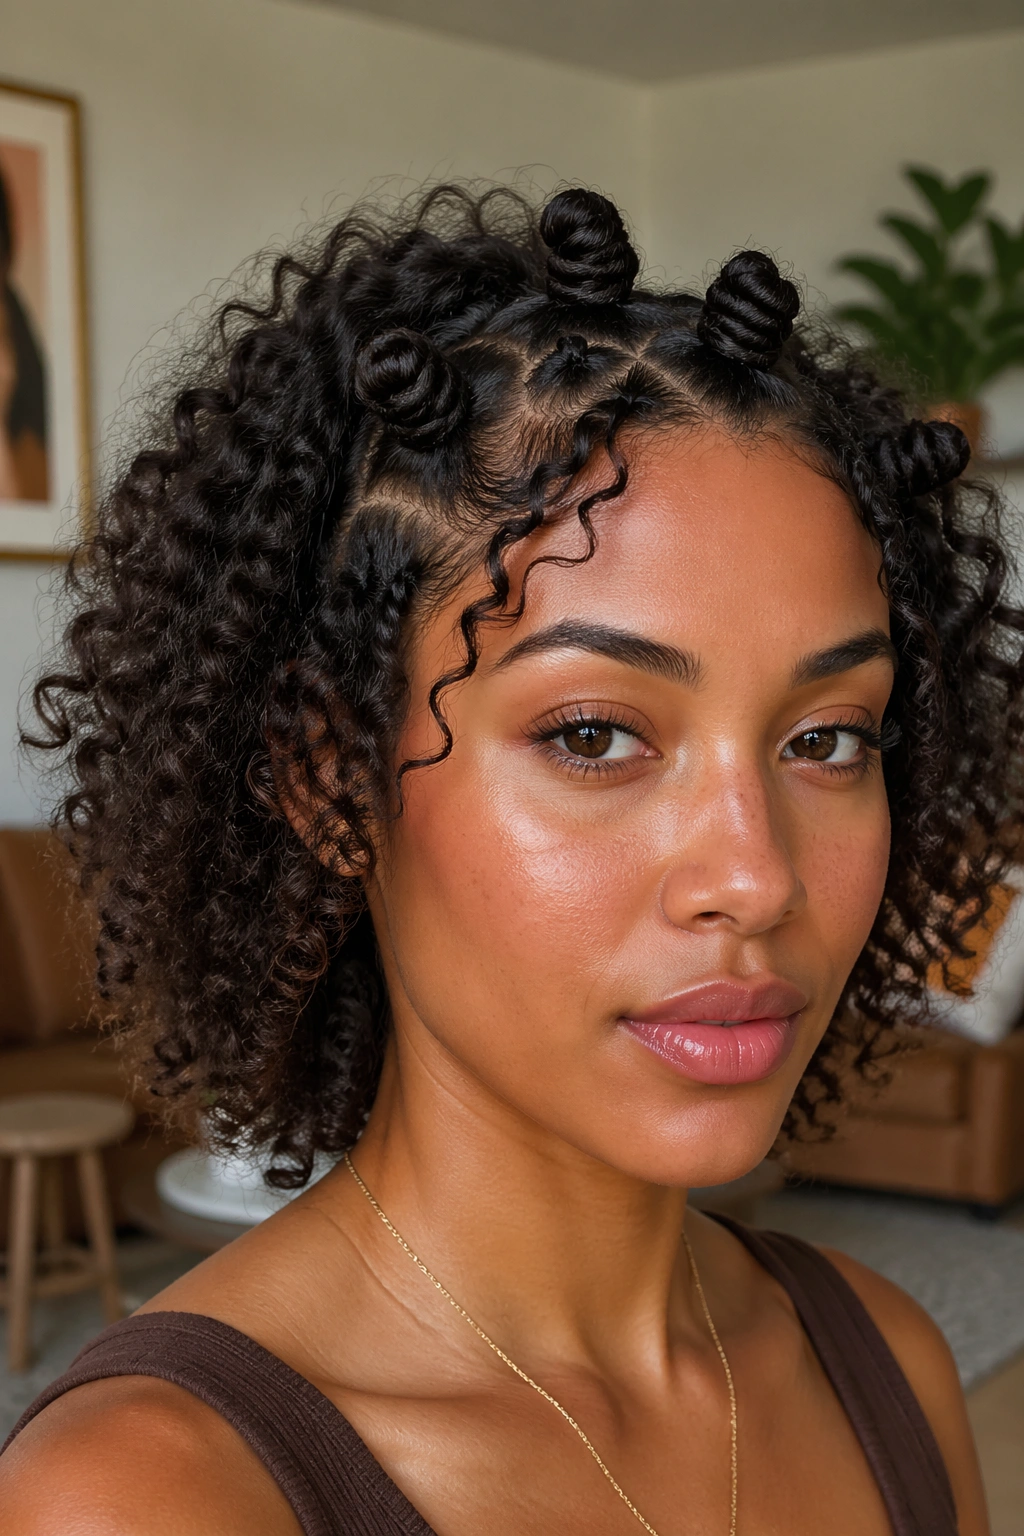
Mini Bantu knots are useful when only part of the hair is misbehaving. You do not need a full head of knots to make the style work. Three or four small knots at the front or crown can solve the awkward pieces and leave the rest curly.
The charm of this style is that it turns uneven growth into a feature. A short front section that refuses to stay down becomes a neat knot. A frizzy crown gets tucked into a small coil. The loose curls around it make the whole thing look styled rather than improvised.
This is a style that rewards a little precision. Each knot should be snug enough to stay put, but not so tight that the scalp feels pulled. A touch of gel at the base helps the knots stay tidy. If the ends are too short to wrap neatly, pin them under with a small bobby pin instead of forcing them.
Mini knots are not for every day, and that is fine. They do their best work when you need the front controlled and the rest of the hair left alone. Sometimes the cleanest fix is one tiny knot at the exact place the hair is causing trouble.
11. The Wet-Look Curly Slick-Back
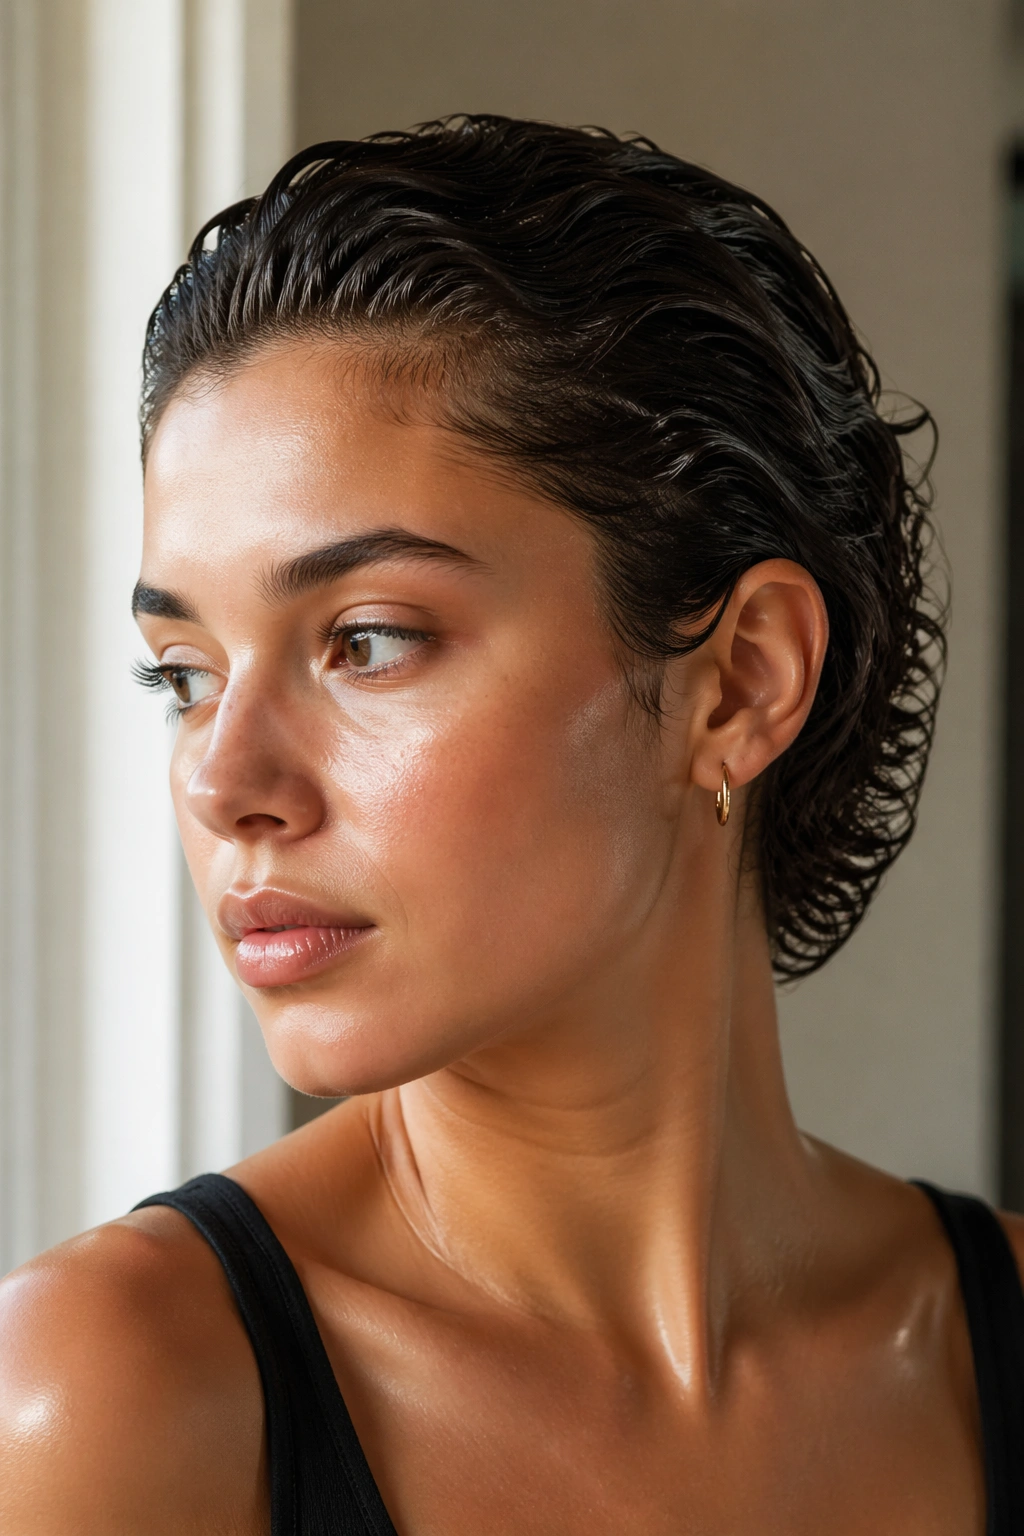
A wet-look slick-back is different on curly hair than it is on straight hair, and that difference is the whole point. You still see texture. You still see curl memory. You just see it in a neater frame.
Use a strong-hold gel on damp hair, then smooth the top and sides back with a brush or wide-tooth comb. The surface should look glossy and flat, but the ends can stay curly, tucked into a low puff or left loose if the length allows. That bit of texture keeps the style from looking too severe.
This style is best for evenings, sharper outfits, or days when you want the hair completely off the face. It also works when the grow-out is in a messy phase and you would rather control the silhouette than spend twenty minutes coaxing every curl into place. The catch is simple: repeated slick-backs can dry the hair out if you do not cleanse the gel well after. So don’t live in this style every day.
I prefer it on hair that has enough length at the top to smooth back without looking strained. Very short curls can still do it, but the result reads more sculpted than sleek. That is not a flaw. It is the whole charm of curly hair in this style.
12. The Low Nape Puff
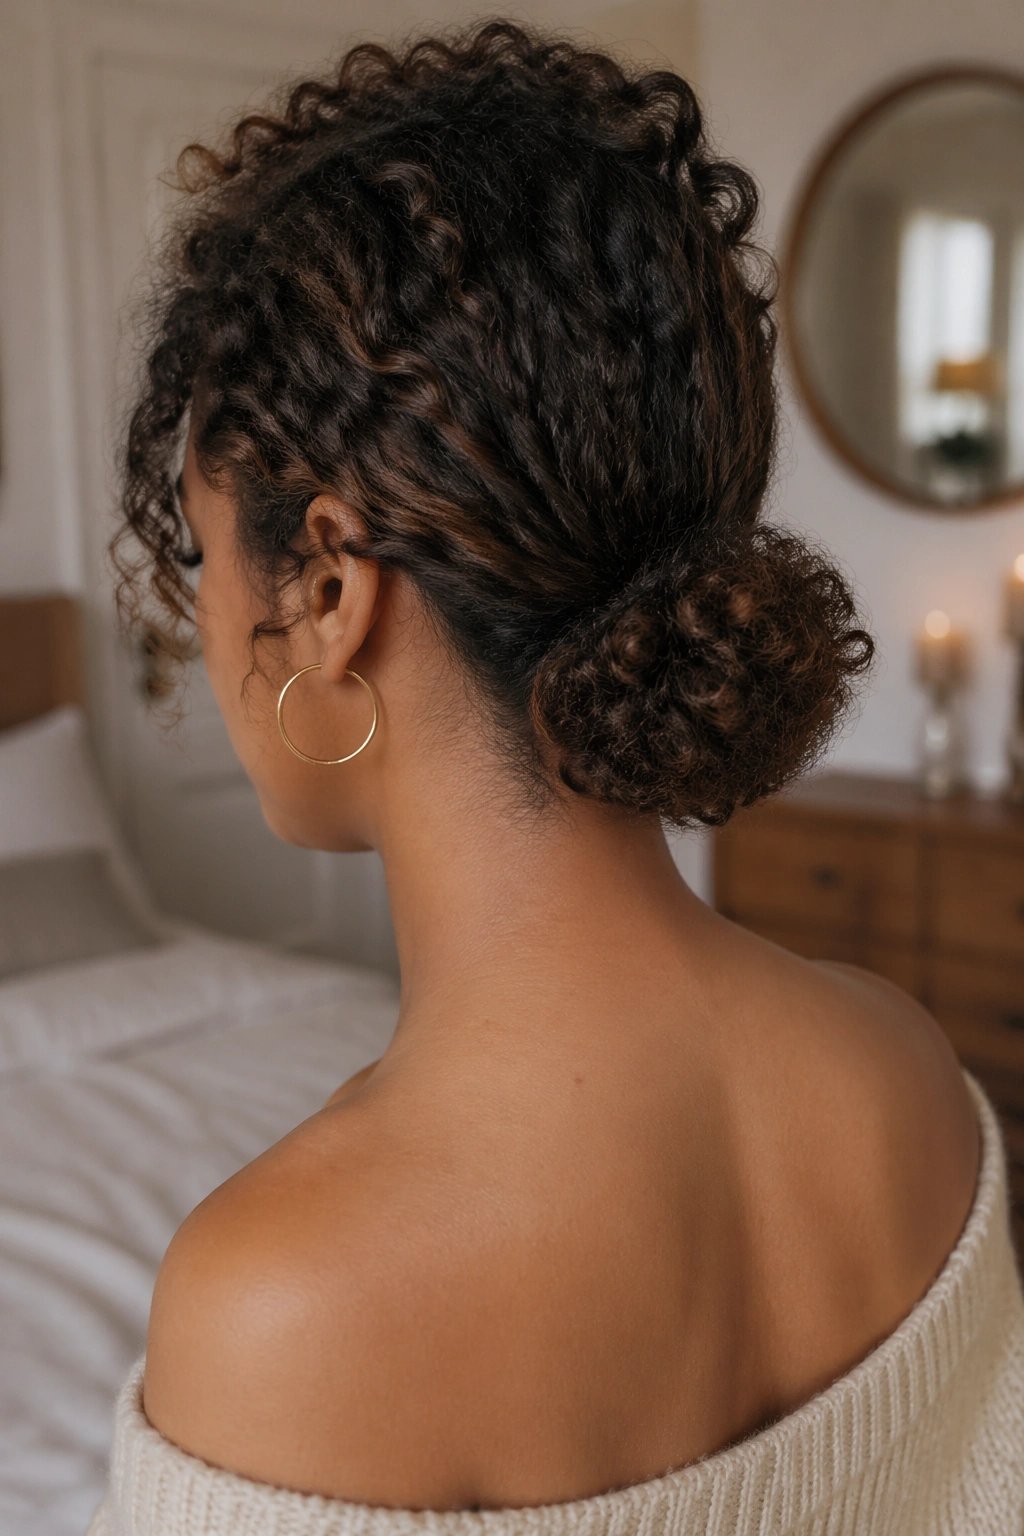
A low nape puff is one of the easiest styles for the stretch between a short crop and a real bob. The hair at the back is gathered low, close to the neck, while the top and sides stay soft.
This style feels tidy without being strict. It keeps the shortest curls from springing out everywhere, which is often the biggest annoyance during the grow-out. If the hair is moisturized first, the puff sits smoother and the ends puff less around the elastic. A satin scrunchie works well because it does not yank at the base.
The low placement is what makes it flattering. A high puff can show off all the uneven bits at once, but a low one gathers them into a cleaner shape. If you have a tapered neckline, this style also shows off the nape in a nice way instead of hiding it under a bunch of bulk.
You can dress it up with small earrings or keep it plain. Either way, it looks intentional. That is the useful thing about a low puff: it buys you time without making the hair look like it is waiting for permission.
13. Shaggy Shape With Face-Framing Pieces
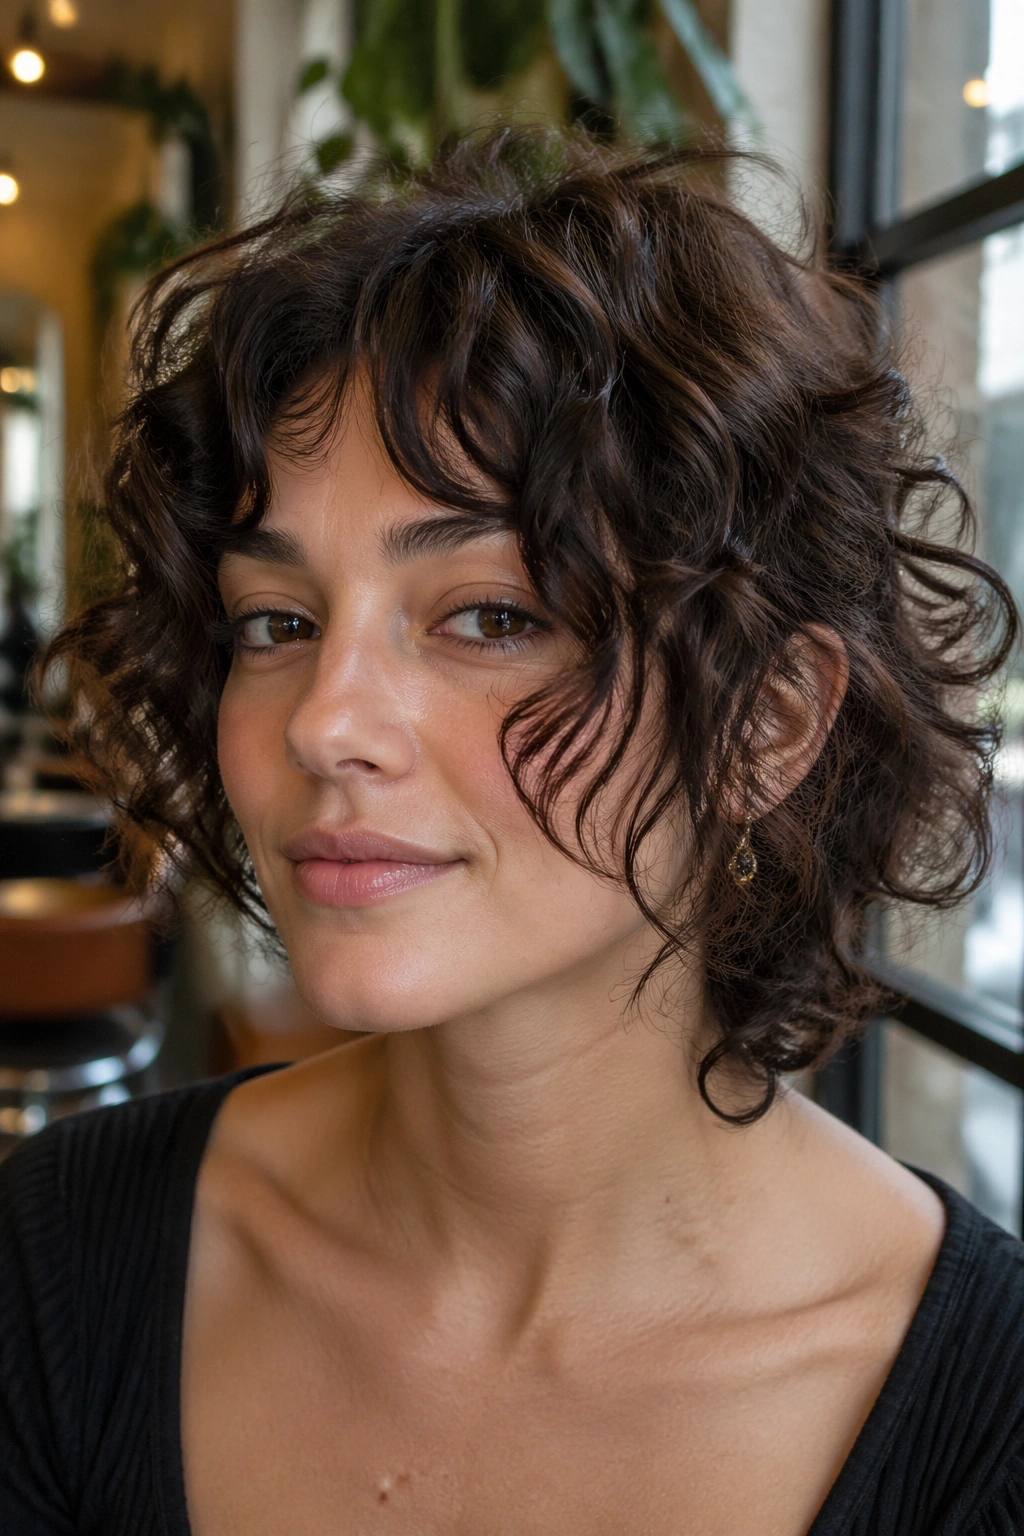
A shaggy grow-out shape is for the moment when the hair has enough length to fall around the face but not enough to sit still. Instead of trying to smooth that into one even line, you use the unevenness.
Why This Shape Helps
The front pieces graze the cheekbones, the crown keeps some lift, and the lower layers stop the whole head from ballooning out. That combination makes short curly hair look lived-in rather than stuck between lengths. It also works well if your curls are different sizes across the head, which is common and annoying and, frankly, completely normal.
What to Ask For at a Trim
- Keep the front pieces long enough to frame the jaw.
- Remove bulk under the crown if the top keeps mushrooming.
- Leave the ends soft rather than blunt.
- Preserve a bit more length at the sides if the face needs width.
I like this look because it does not ask the hair to be one thing all day. It can be messy, defined, full, or a little wild. That flexibility matters when you are growing out a short cut and the lengths are changing faster than your routine can keep up. A shaggy shape makes the awkward stage look like a style choice.
14. Chin-Skimming Curly Bob for the Last Stretch
The chin-skimming curly bob is usually where the grow-out stops feeling like a project and starts feeling like a haircut. Once the curls brush the jawline, the shape has enough weight to fall with some purpose.
This is a good time to round the ends a little and keep the outline soft. A bob that is too blunt can make curly hair look boxy, especially if the curl pattern is tight or springy. A slightly curved shape, with the front pieces a touch longer than the back, tends to sit better and move more naturally. That little bit of length difference is doing a lot of work.
You do not need to force the curls into perfect order here. A side part, a middle part, or even a slightly off-center part can all work, depending on how the hair grows. The point is to let the bob read as a finish line, not a checkpoint. A light leave-in, a touch of gel on the outer layer, and a quick diffusing session can be enough. If you air-dry, scrunch the ends once the hair is about 80 percent dry so the curl pattern stays awake.
This is the style that usually makes people stop asking when you are “going to do something with your hair.” The answer, quietly, is that you already did. The grow-out is over when the shape starts to feel chosen.