There was a time when the word “gel” made every curly-haired person shudder. It brings up memories of the early 2000s: crunchy, stiff, white-flaking nightmares that turned soft ringlets into helmet hair. It was a texture crime. For a long time, the curly community steered clear of the stuff entirely, opting for heavy creams and oils that left our hair feeling weighed down and perpetually greasy.
But here is the reality we have come to understand: gel is not the enemy. It was just misunderstood. When applied correctly, a high-quality styling gel is the only product that provides true, long-lasting hold without sacrificing definition. It acts as a shield, locking moisture inside the hair shaft while keeping frizz from escaping into the humid air. The trick isn’t about using less; it is about knowing how to apply it, which products pair well with your curl pattern, and knowing how to break the cast once your hair is dry.
Whether you have tight coils, loose waves, or bouncy spirals, incorporating gel into your routine creates structural integrity for your styles. It turns a “good hair day” into a “three-day-perfect-hair” reality. If you have been hesitant to pick up that jar of clear liquid again, these fifteen styles might just change your mind. We are moving past the crunchy phase and into an era of sculpted, defined, and remarkably healthy-looking curls.
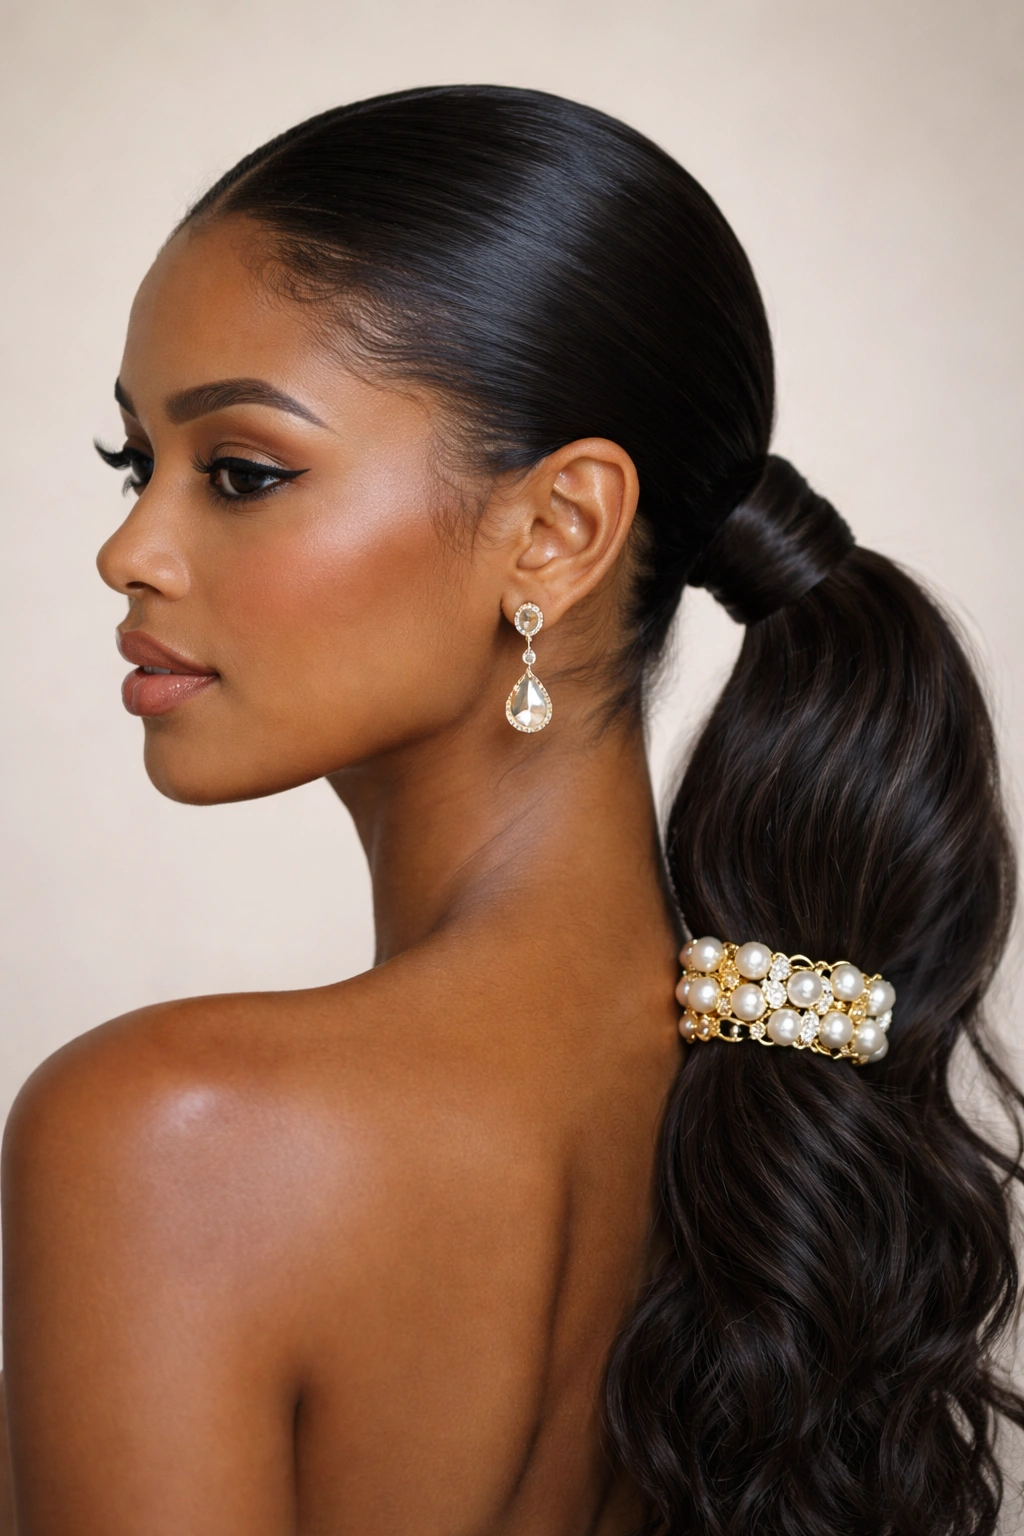
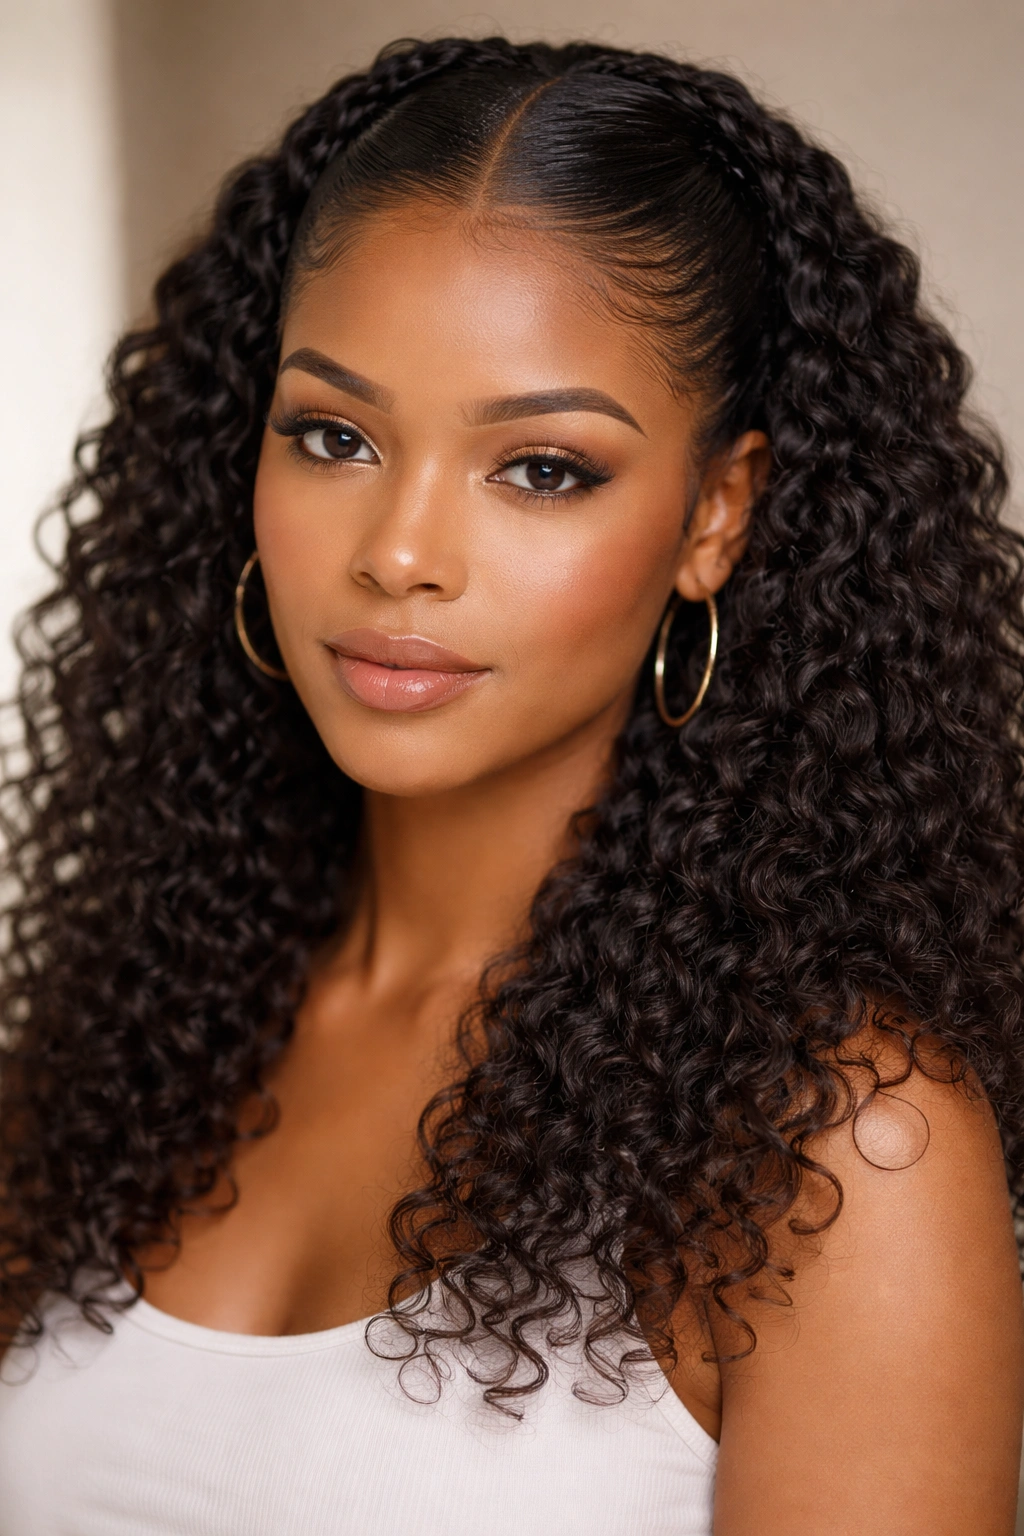
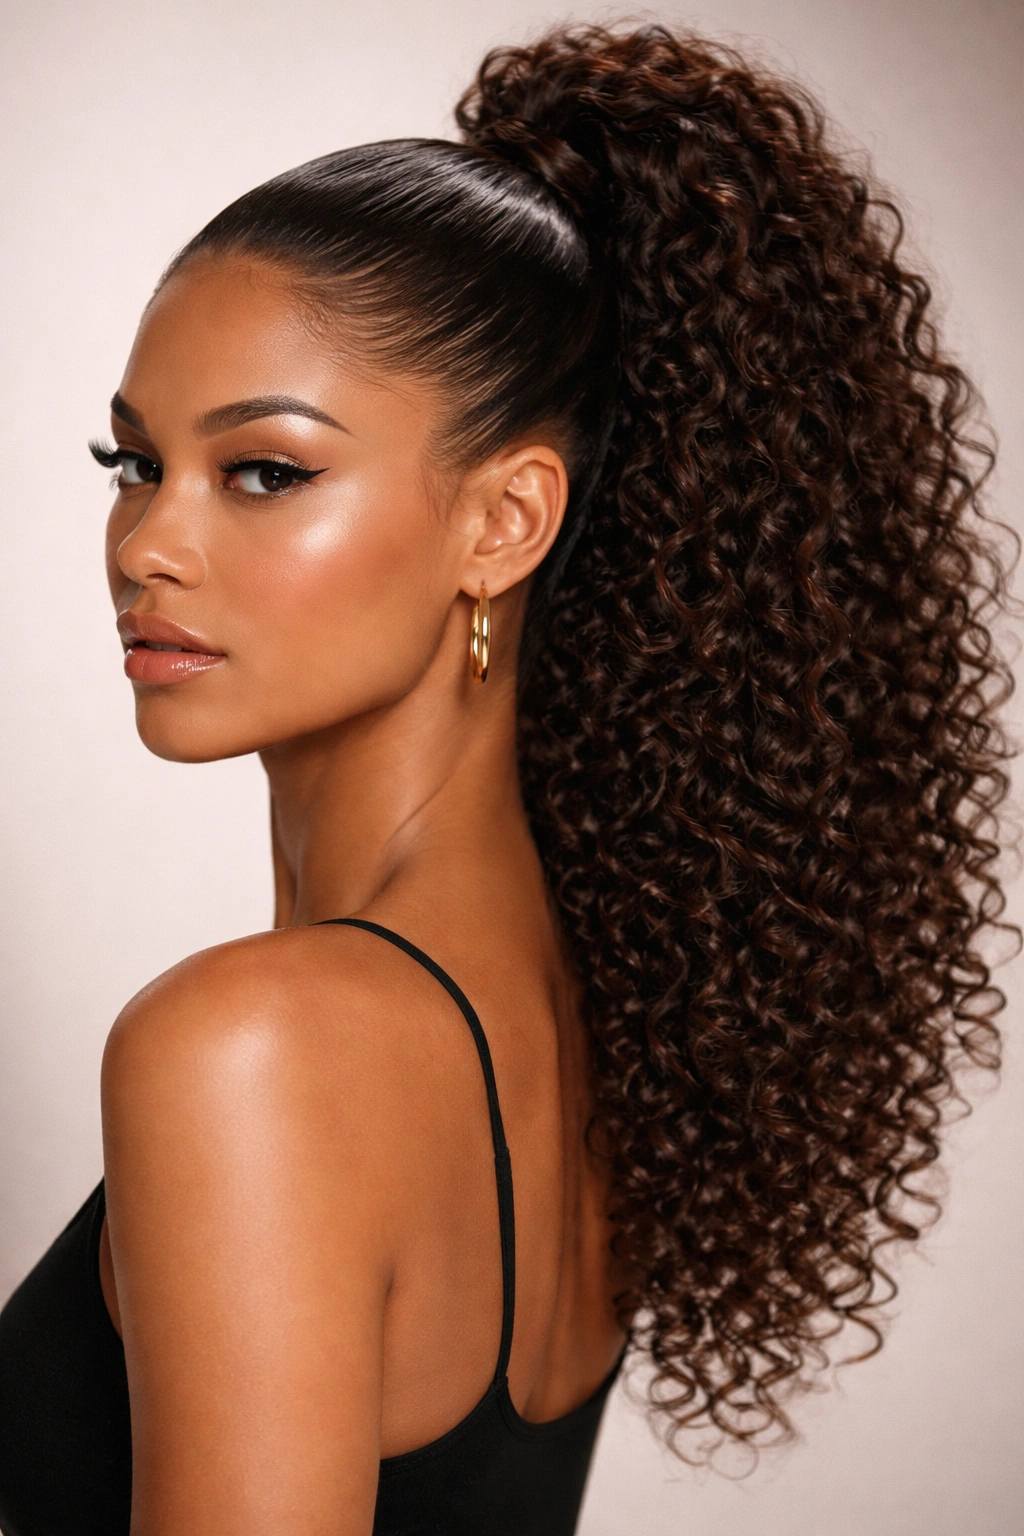
1. The Sculpted High Ponytail
This is the ultimate “power look.” It pulls your curls away from your face, highlighting your cheekbones, while leaving the ponytail full of volume and bounce. The secret here is tension and product distribution. You cannot just slap gel on the surface and expect it to hold; you have to work it into the roots.
How to Achieve the Sleek Base
Start with damp hair. You want the roots to be manageable but not soaking wet. Apply a strong-hold gel to your palms and smooth it over your hairline and the crown of your head. Use a boar-bristle brush—not a plastic one—to pull the hair upward. The natural bristles help distribute the gel evenly and smooth out any bumps that usually appear near the nape of the neck.
Pro Tip: If your hair has a tendency to form “lumps” in the back, flip your head upside down while you brush the hair toward the crown. This gravity-assisted method makes gathering the hair into a smooth base much easier. Once secured with a snag-free elastic, apply a tiny bit more gel to the ponytail’s base to lock down any stray flyaways that escaped the brush.
2. The Classic Pineapple Updo
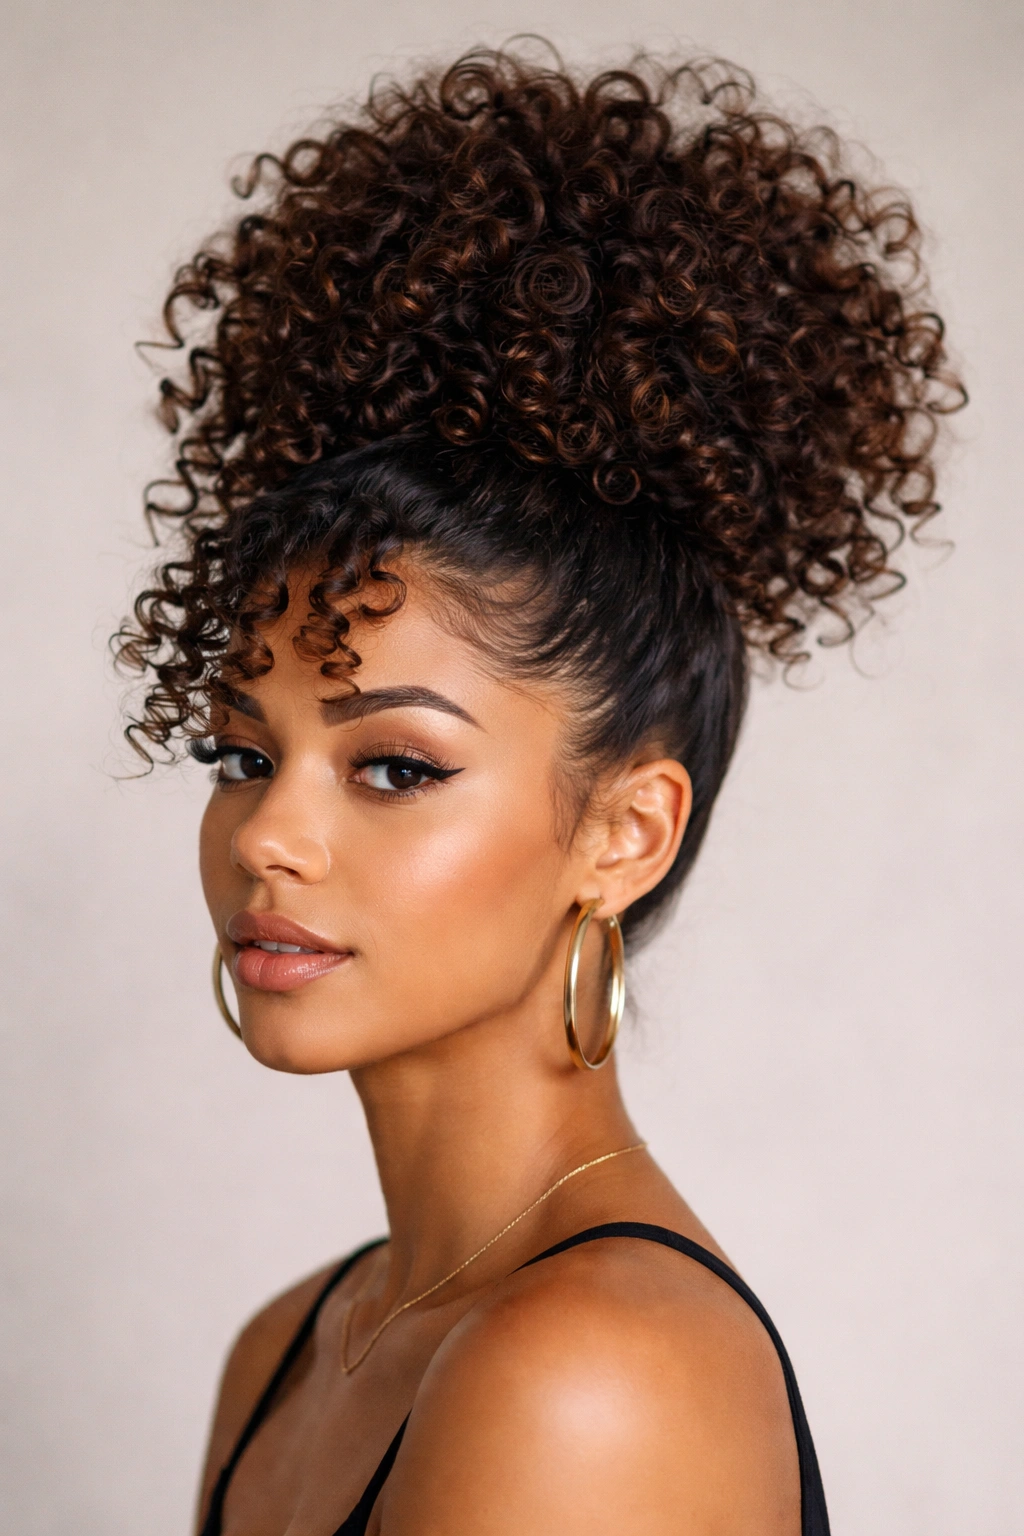
The pineapple is more than just a sleep style; it is a way to preserve your curl pattern while keeping your hair out of your face during the day. When using gel, you can elevate the pineapple from “bedtime mess” to a deliberate, high-fashion look.
Why It Works for Second-Day Curls
Gel adds the necessary grip to prevent the curls from sliding out of the high bun. On second or third-day hair, your curls might be losing their shape. Refreshing them with a light mist of water and a pea-sized amount of gel allows you to re-scrunch the curls on top of your head, giving them new life.
Gather your hair at the very top of your head. Use a silk or satin scrunchie to secure it loosely. You do not want to pull it tight—the goal is to let the curls spill forward over your forehead like the leaves of a pineapple. Use your fingers to coil a few of the front curls around themselves, adding a dab of gel to the ends to ensure they stay defined and bouncy throughout the day.
3. The Precision Swoop and Low Bun
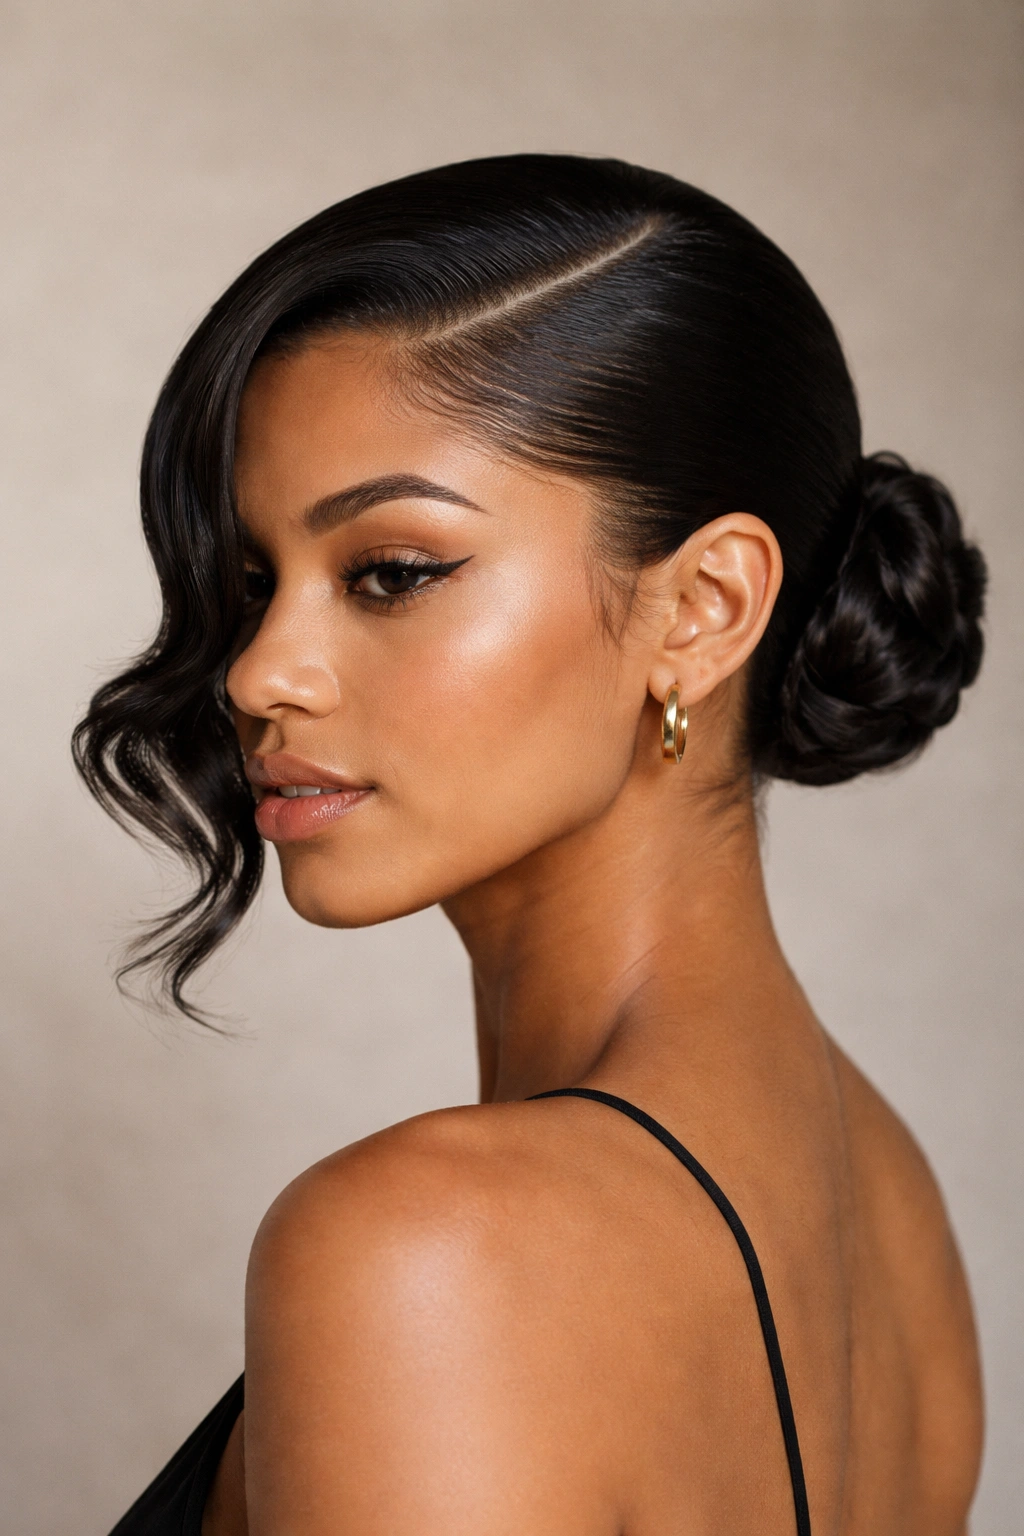
This style relies on dramatic geometry. It is perfect for formal occasions or when you simply want to look put-together with minimal effort. The focal point is the deep side part, which allows a heavy section of curls to “swoop” across your forehead, creating a frame for your eyes.
Steps for the Perfect Swoop
- Part your hair deeply on one side while it is still damp.
- Apply a generous amount of firm-hold gel to the smaller side of the part and brush it back tightly toward the nape of your neck.
- Leave the larger section (the “swoop” side) mostly product-free for the moment.
- Gather the hair into a low ponytail or bun at the nape.
- Once the bun is secured, take the larger front section and smooth a light-hold gel through it. Use a tail comb to shape the curve of the swoop across your forehead.
Crucial detail: Do not touch the swoop until it is completely dry. If you mess with it while it is wet, you will invite frizz, which is the exact opposite of what this clean, structured style requires.
4. The Half-Up Top Knot
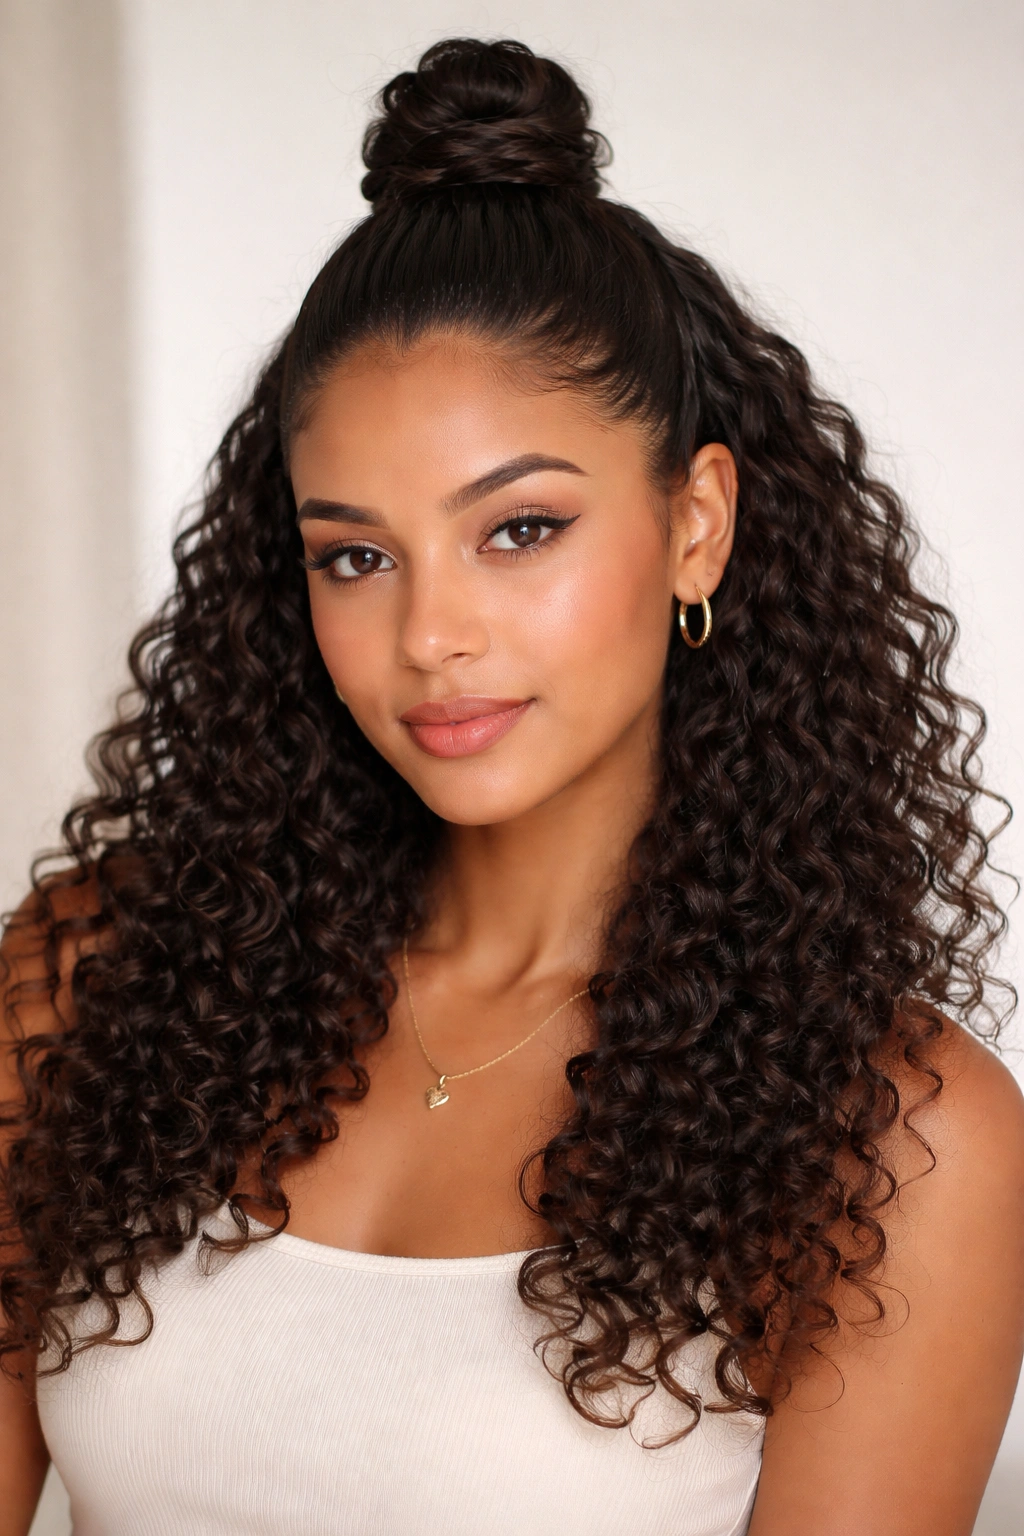
If you cannot decide between wearing your hair down or up, this is the solution. It is playful, youthful, and incredibly practical for keeping curls out of your eyes. Using gel here ensures the half-up section stays tight and polished, while the bottom half remains soft and natural.
Balancing the Textures
The contrast between the slicked-back top and the flowing bottom is the key. Section off the top half of your hair—from temple to temple. Apply gel to this section and pull it into a small bun at the crown. Do not worry about the bun being perfect; a messy, coiled bun often looks better with curls.
For the bottom half, you have choices. You can rake through a curl-defining cream, or if you want extra hold, add a light layer of gel to the damp, loose curls. Scrunch them upward to encourage their natural pattern. The gel in the top section keeps the style looking intentional, while the loose curls in the back provide the movement that makes curly hair so dynamic.
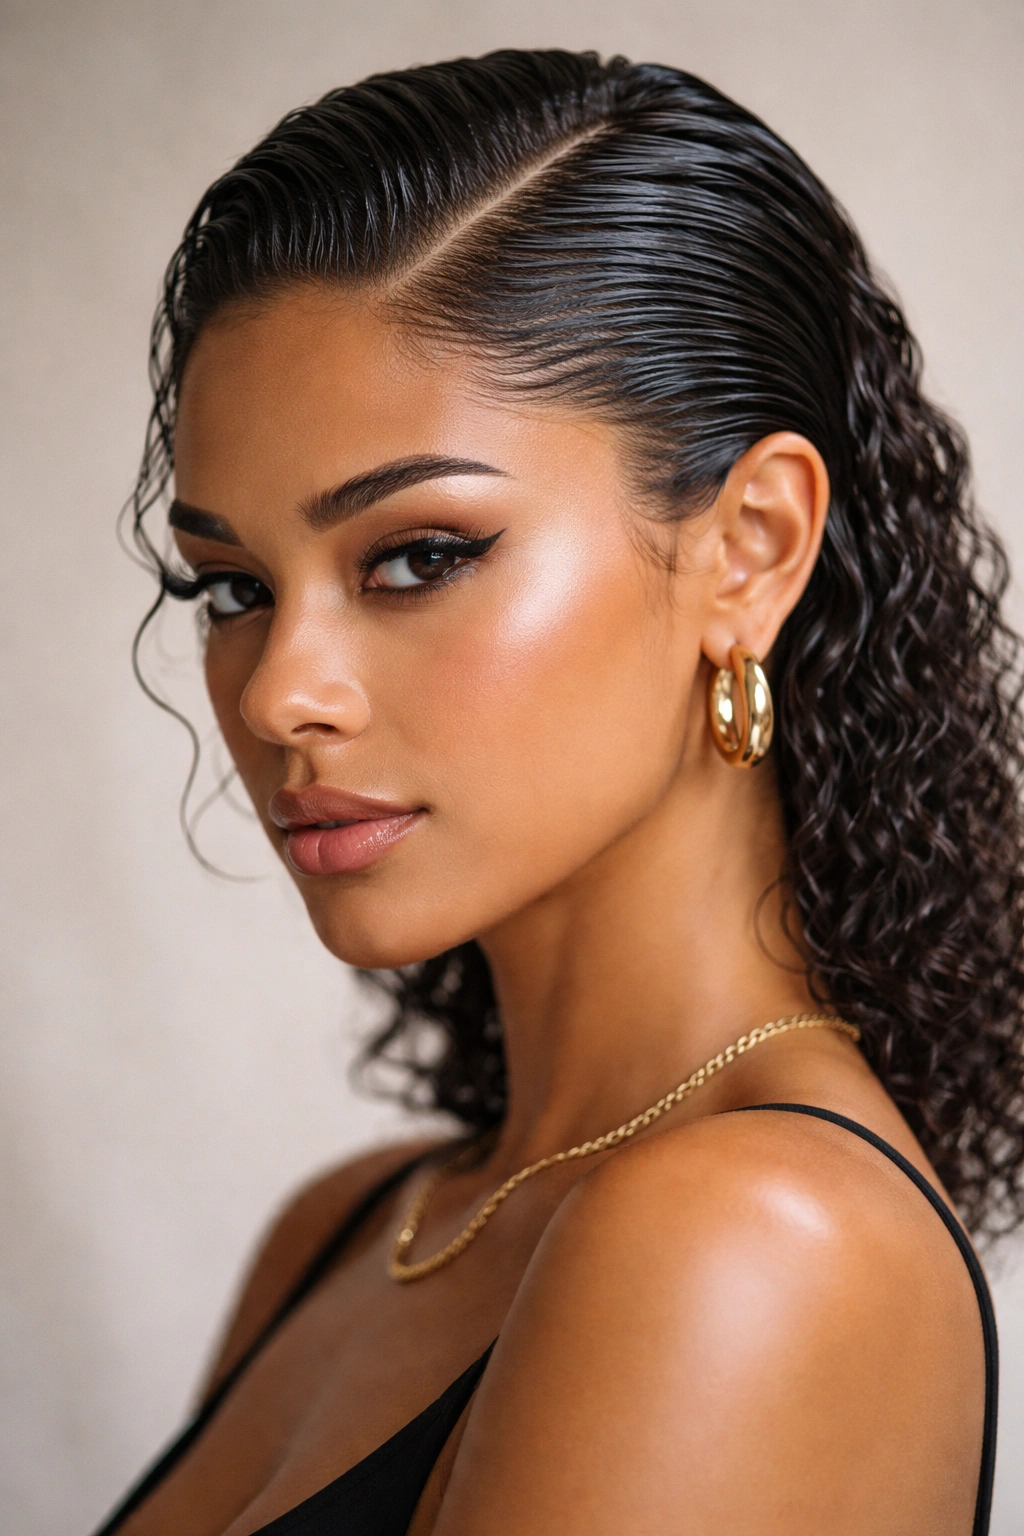
5. The Slicked-Back Wet Look
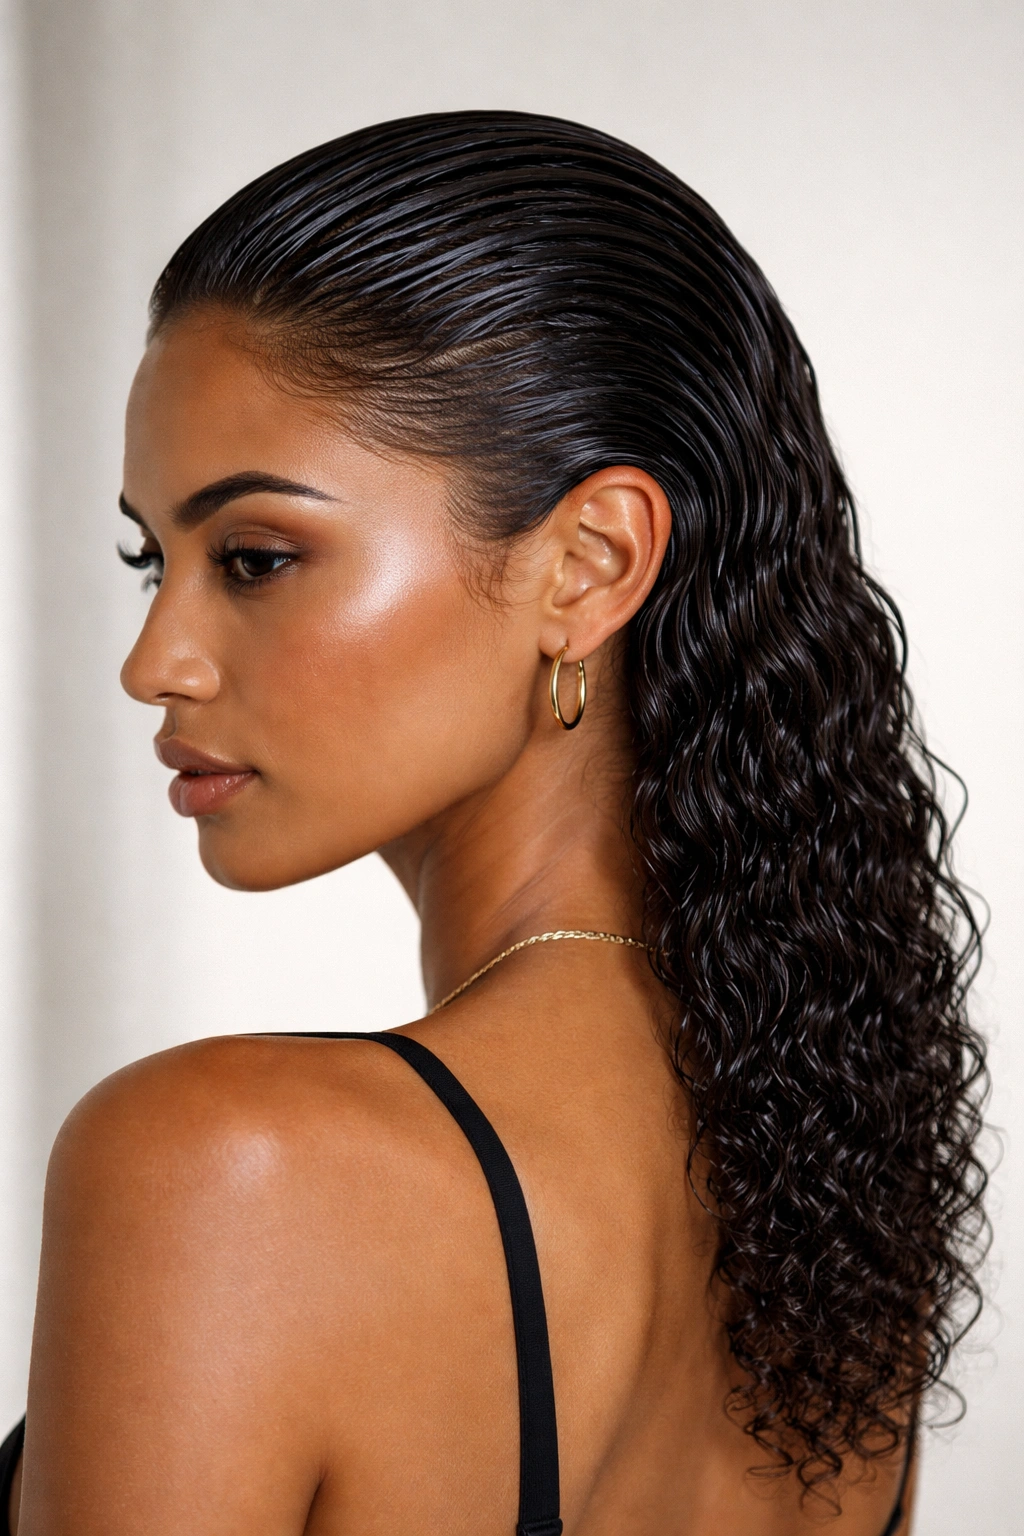
This is the runway style that everyone thinks they can’t pull off, but they actually can. It is bold, edgy, and surprisingly low-maintenance. The key to the wet look is using a gel that has a glossy finish rather than a matte one.
Product Selection is Everything
You need a gel with a high shine index. Many strong-hold gels dry down to a dull matte finish, which will make your hair look dry and crunchy. Look for labels that mention “high gloss,” “moisturizing,” or “alcohol-free.”
Apply the gel to damp hair, starting at the roots and working it through to the ends. You want to saturate the hair so it looks wet. Use a wide-tooth comb to rake the hair straight back from your forehead. You can tuck the sides behind your ears or leave them loose. Once you have the shape you want, do not touch it. Let it air dry completely. The gel will form a hard cast; once the hair is 100% dry, you can gently squeeze the ends—but leave the roots alone to maintain that “fresh-out-of-the-water” aesthetic.
6. The Double Puff (or Space Buns)
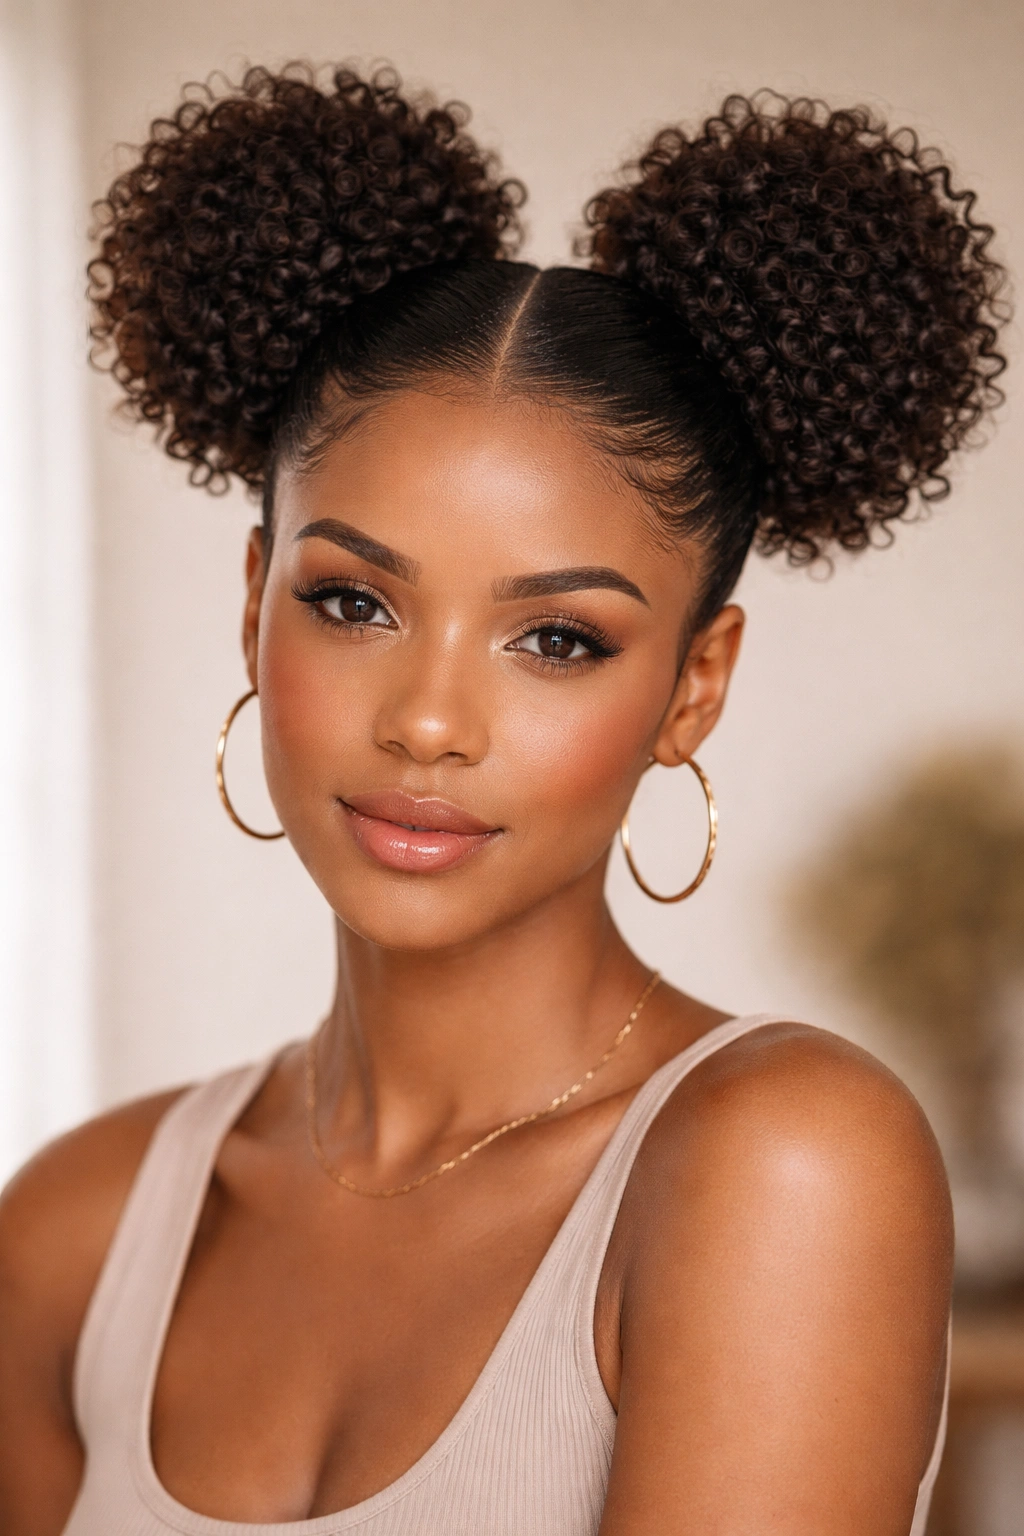
Double puffs are a fun way to manage your hair while showcasing the volume of your curls. This style works best on tighter curl patterns (type 3c to 4c) that hold structure well. Gel is vital here to keep the roots flat and the puffs isolated.
Defining the Part
The crispness of your part will make or break this look. Use the end of a rattail comb to create a sharp, straight line down the middle of your head. If your part is jagged, the style looks sloppy. Once parted, apply gel to the roots of each section.
Brush the hair into two separate, high ponytails. If your hair is prone to shrinking, keep the ponytails a bit loose at the base so you don’t snap the strands. You can leave the puffs as they are, or twist the hair into small knots. Use a bit of edge control gel on your hairline to blend everything together, ensuring the transition from the scalp to the puff is seamless.
7. The Faux Hawk with Gel-Defined Sides
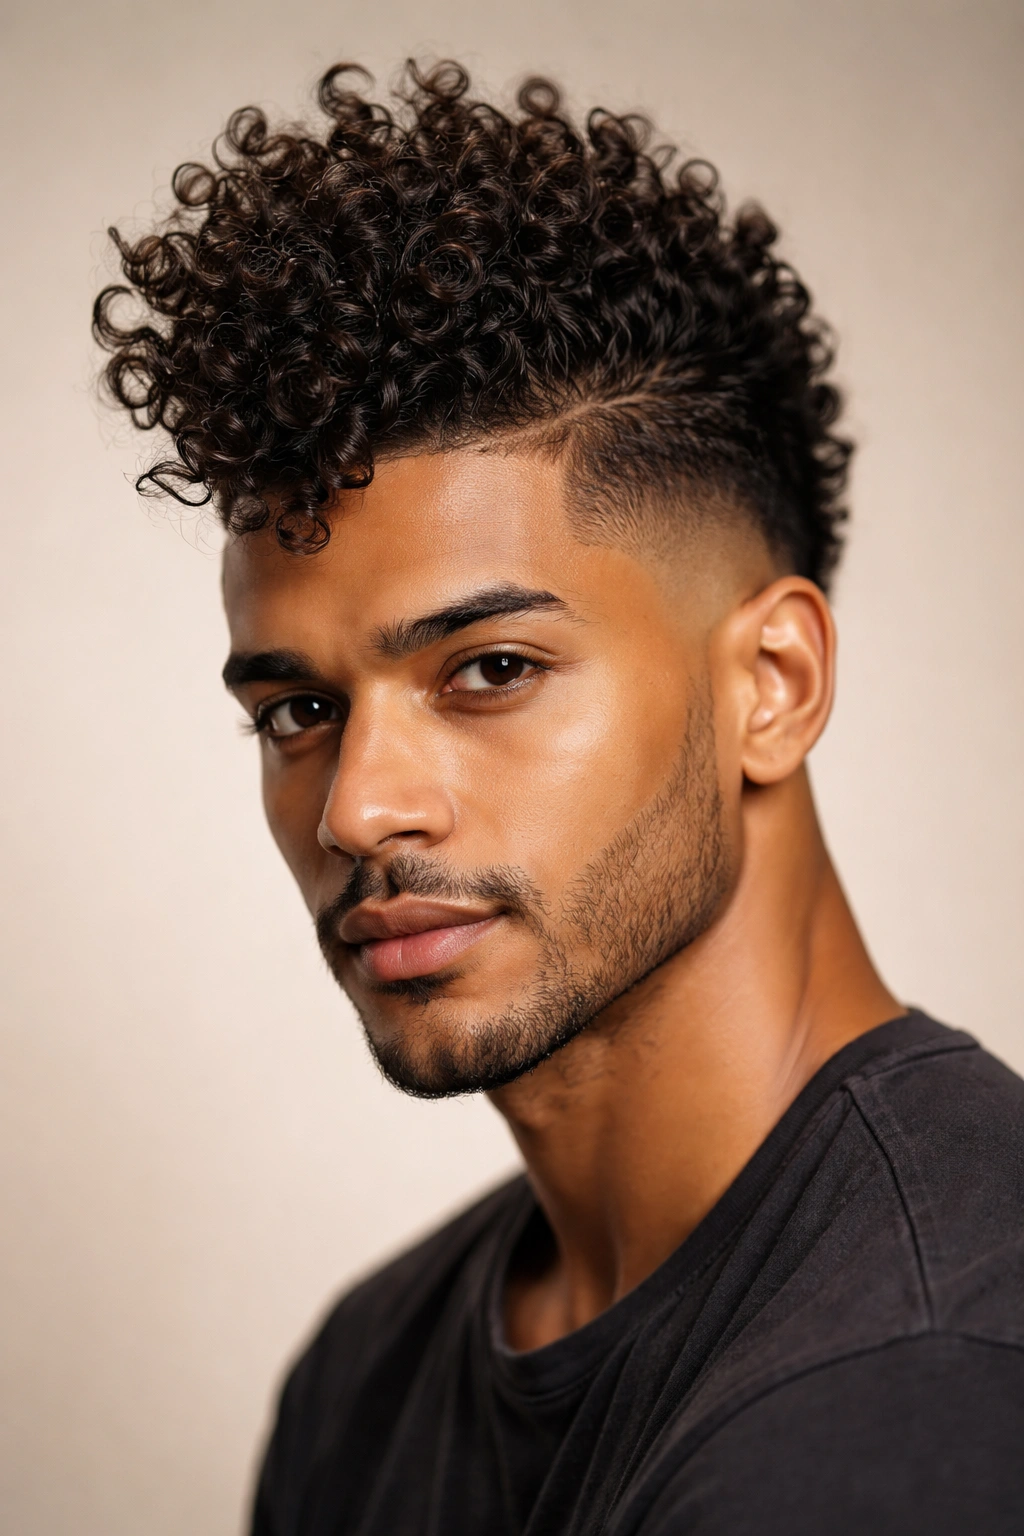
Want the look of an edgy undercut without picking up the clippers? A gel-defined faux hawk creates that aggressive silhouette using your own natural volume. This is all about manipulation and hold.
Sculpting the Center
Section your hair into three parts: left, right, and center. Apply a very strong, maximum-hold gel to the left and right sections. Brush them tightly toward the center of your head, pinning them with bobby pins as you go to keep them flat against your scalp.
Now, take the center section—the “hawk”—and apply a curl-defining mousse or light-hold gel. You want this section to be the star, so let it sit high and proud. You can use a pick to add volume at the roots of the hawk. Because the sides are slicked down with the heavy gel, the contrast in height will make the center look significantly more voluminous than it actually is.
8. The Braided Crown with Sleek Edges
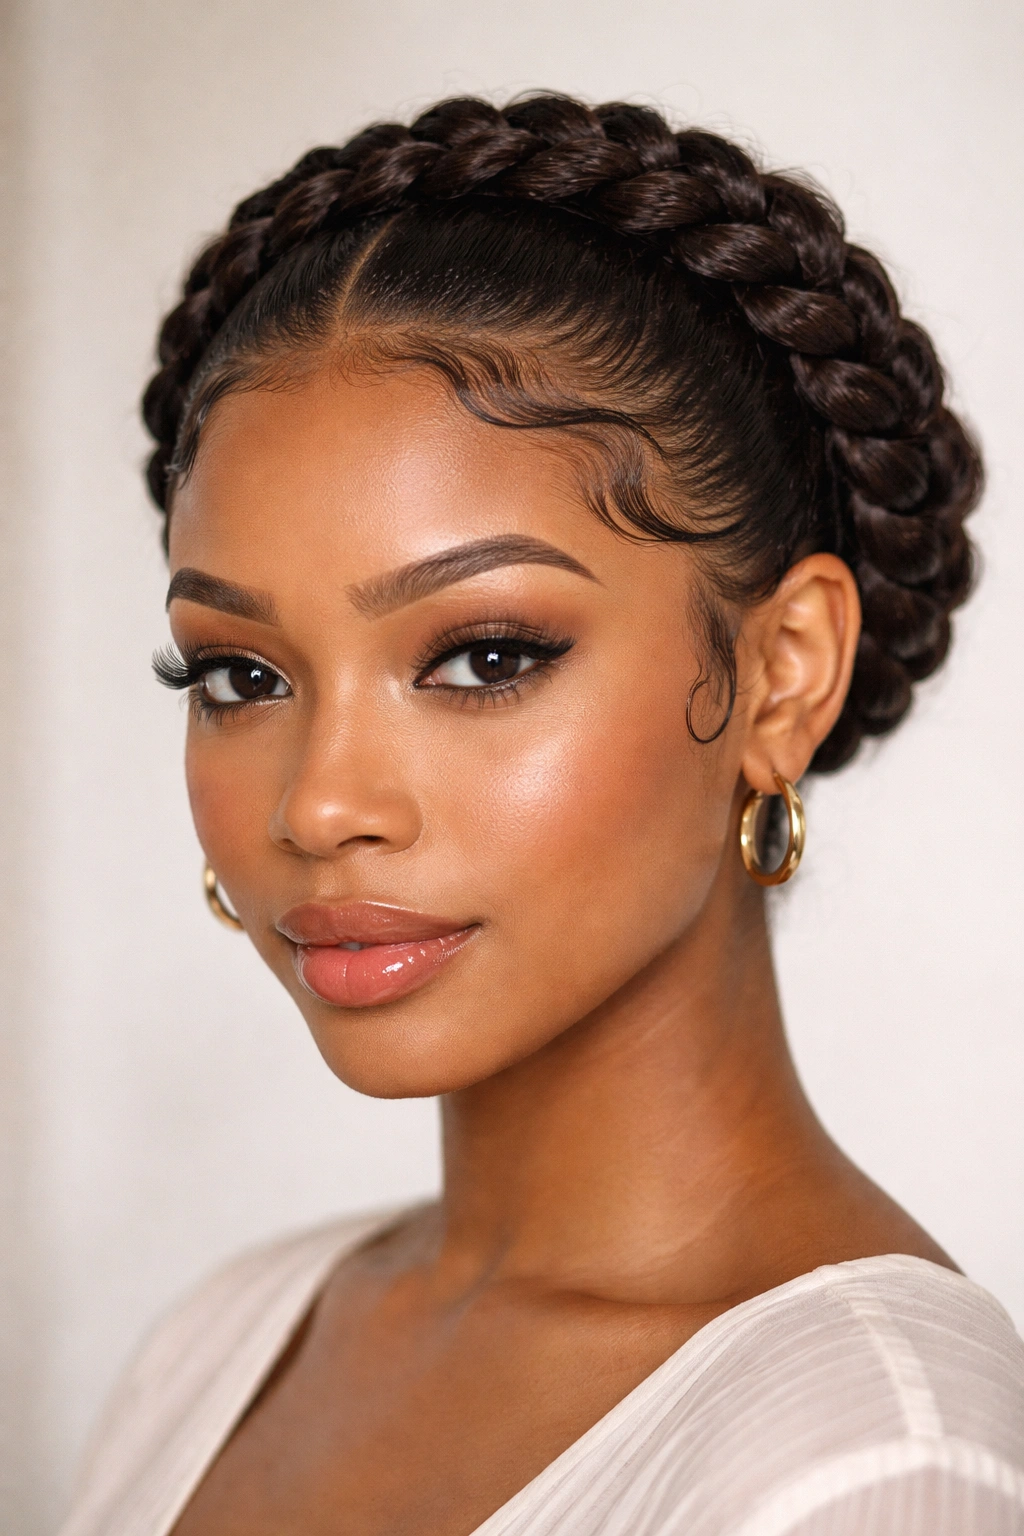
This is a protective style that looks incredibly elegant. Whether you are heading to a wedding or just want to keep your hair out of your face for a week, a braided crown is versatile. The gel comes into play for your edges and the perimeter of your hair.
The Foundation of the Braid
Before you begin braiding, apply a light-hold gel to your roots. This smooths down the “halo” of baby hairs that often pop up when you try to braid dry, clean hair. As you braid, you are not just weaving hair; you are smoothing the foundation.
Once the braids are complete, take a small, soft-bristle brush and a specialized edge gel. This specific type of gel is thicker and stickier than standard styling gel, designed to lay edges flat for long periods. Sweep your baby hairs into little swirls or swoops along your hairline. This small detail frames the face and elevates the entire braided look from simple to sophisticated.
9. The Messy Top Knot with Face-Framing Tendrils
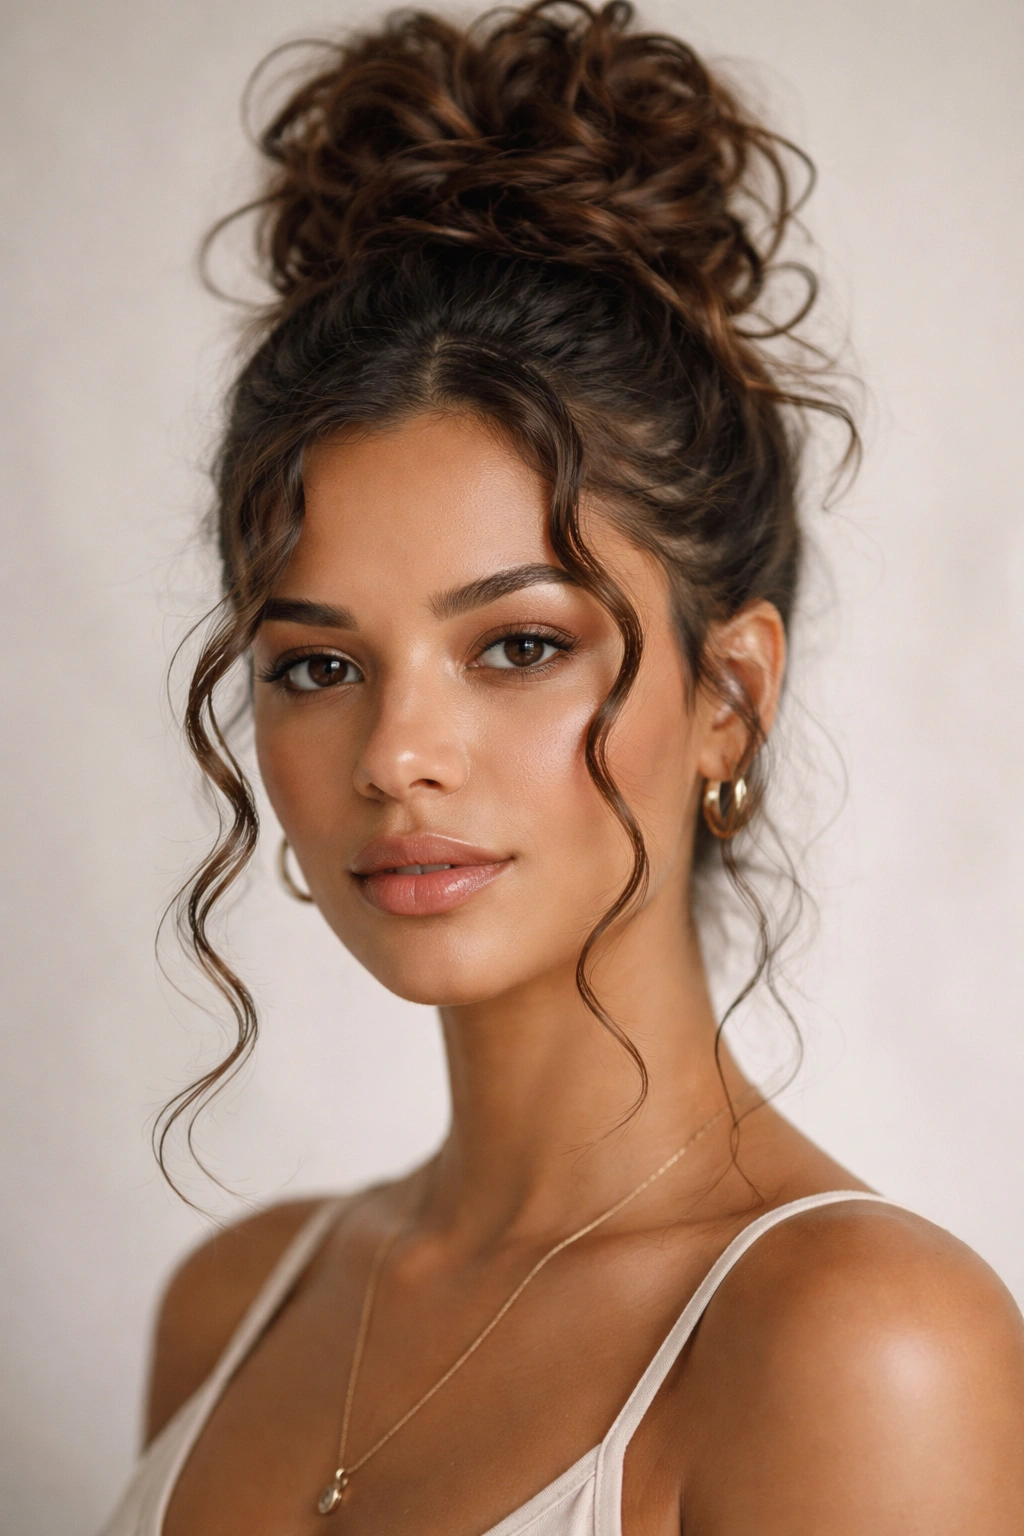
Sometimes you want a style that looks effortless, but we all know “effortless” actually requires some planning. The key to this look is letting two or three curls hang loose around your face while the rest of the hair is pulled up.
Strategic Placement
Don’t just grab a handful of hair and call it a top knot. Isolate two curls near your temples before you gather the rest of your hair. Pin those curls out of the way. Apply gel to the rest of your hair and pull it into a messy bun at the crown.
Once the bun is set, release the two tendrils. Apply a tiny amount of gel to these curls specifically—twist them with your finger while they are wet to ensure they don’t frizz. These framed curls act as a soft contrast to the sleekness of the bun. The gel ensures they remain defined ringlets throughout the day, rather than turning into fuzzy, undefined messes.
10. The Sleek Low Ponytail with Accessories
A low ponytail is the standard “I’m in a rush” style, but it can be a high-fashion statement with the right technique. By slicking the hair back with gel and adding an accessory, you turn a functional style into a deliberate choice.
Elevating the Ponytail
Smooth your hair back using a firm-hold gel, ensuring there are no bumps at the crown. Secure it at the nape of your neck. Now, here is where the accessory comes in: wrap a piece of your own hair around the elastic to hide it, or add a gold cuff, a ribbon, or a decorative barrette.
The gel makes the hair look glossy and expensive. If you have curls in the ponytail, use a small amount of gel to “finger-coil” the ends of the ponytail so they hang in uniform spirals. This attention to detail makes the look appear much more polished than a generic hair tie.
11. The Side-Parted Curly Bob
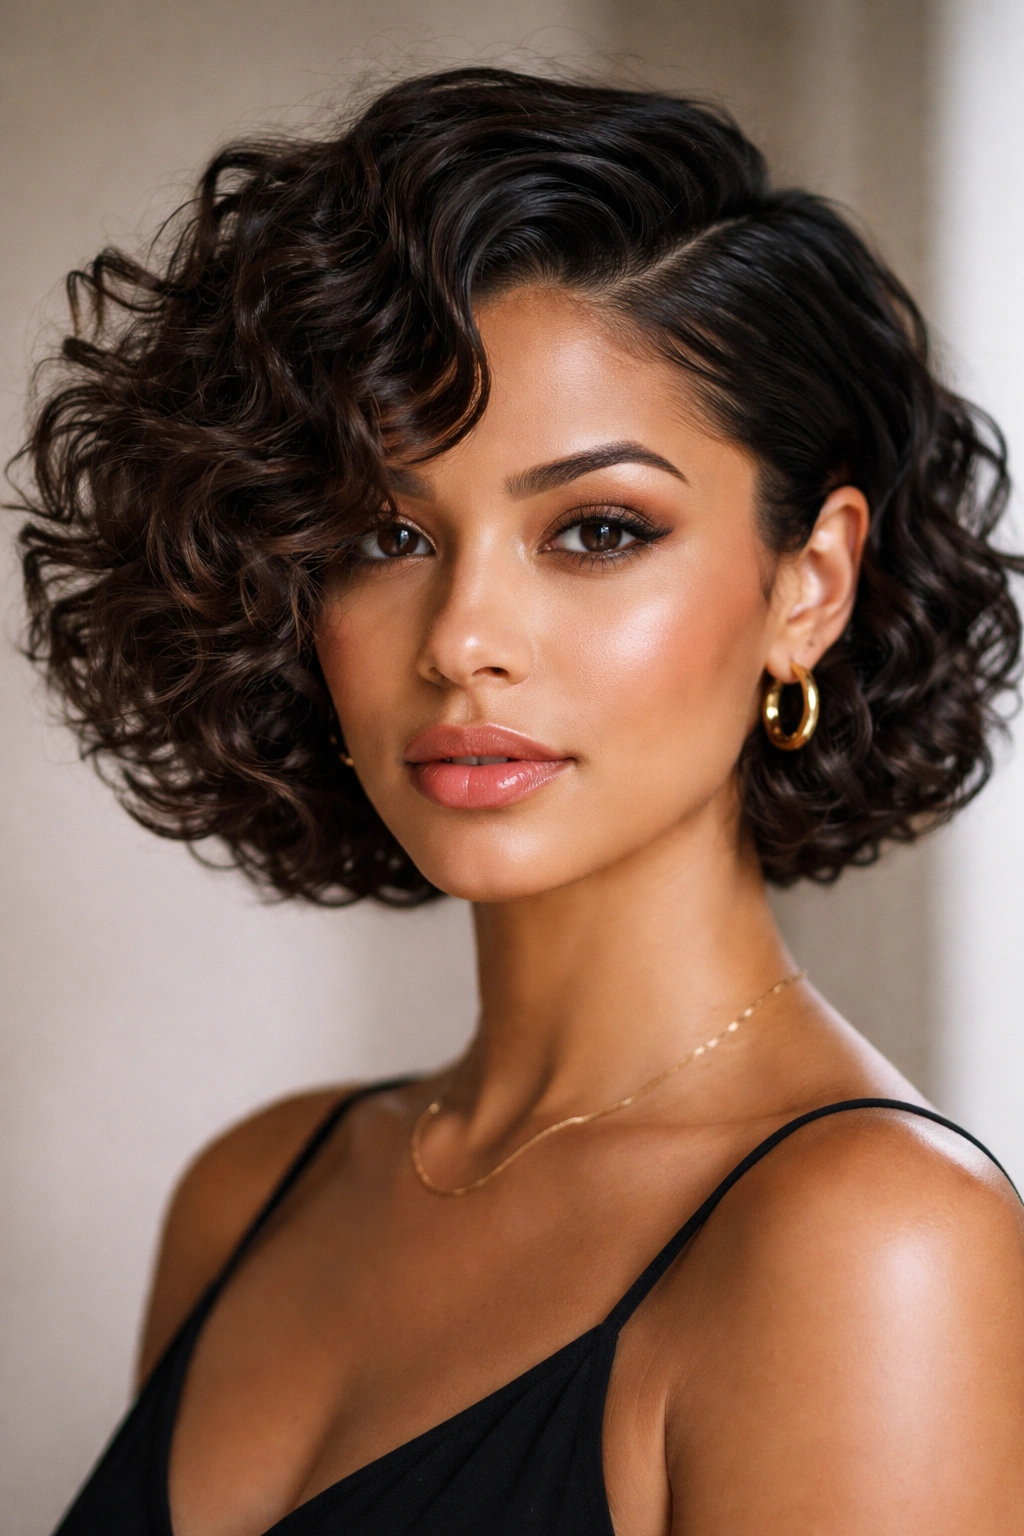
If you have a shorter cut, a side part can completely transform your face shape. Gel is the tool that helps you force the hair to lay in a direction it might not naturally want to go.
Training the Hair
With a deep side part, one side of your head will have more volume, and the other will have less. Use a strong-hold gel on the “less” side—the side you are pushing away from your face. Apply the gel while the hair is damp and use a clip to hold the hair in place while it air dries.
Once the hair is completely dry, remove the clip. You will find that the hair stays in that swept-back position, defying gravity and its own natural texture. This creates a balanced, asymmetrical look that frames the face beautifully. It is a bold, artistic choice that highlights your features rather than hiding them behind a curtain of curls.
12. The Claw Clip Half-Up
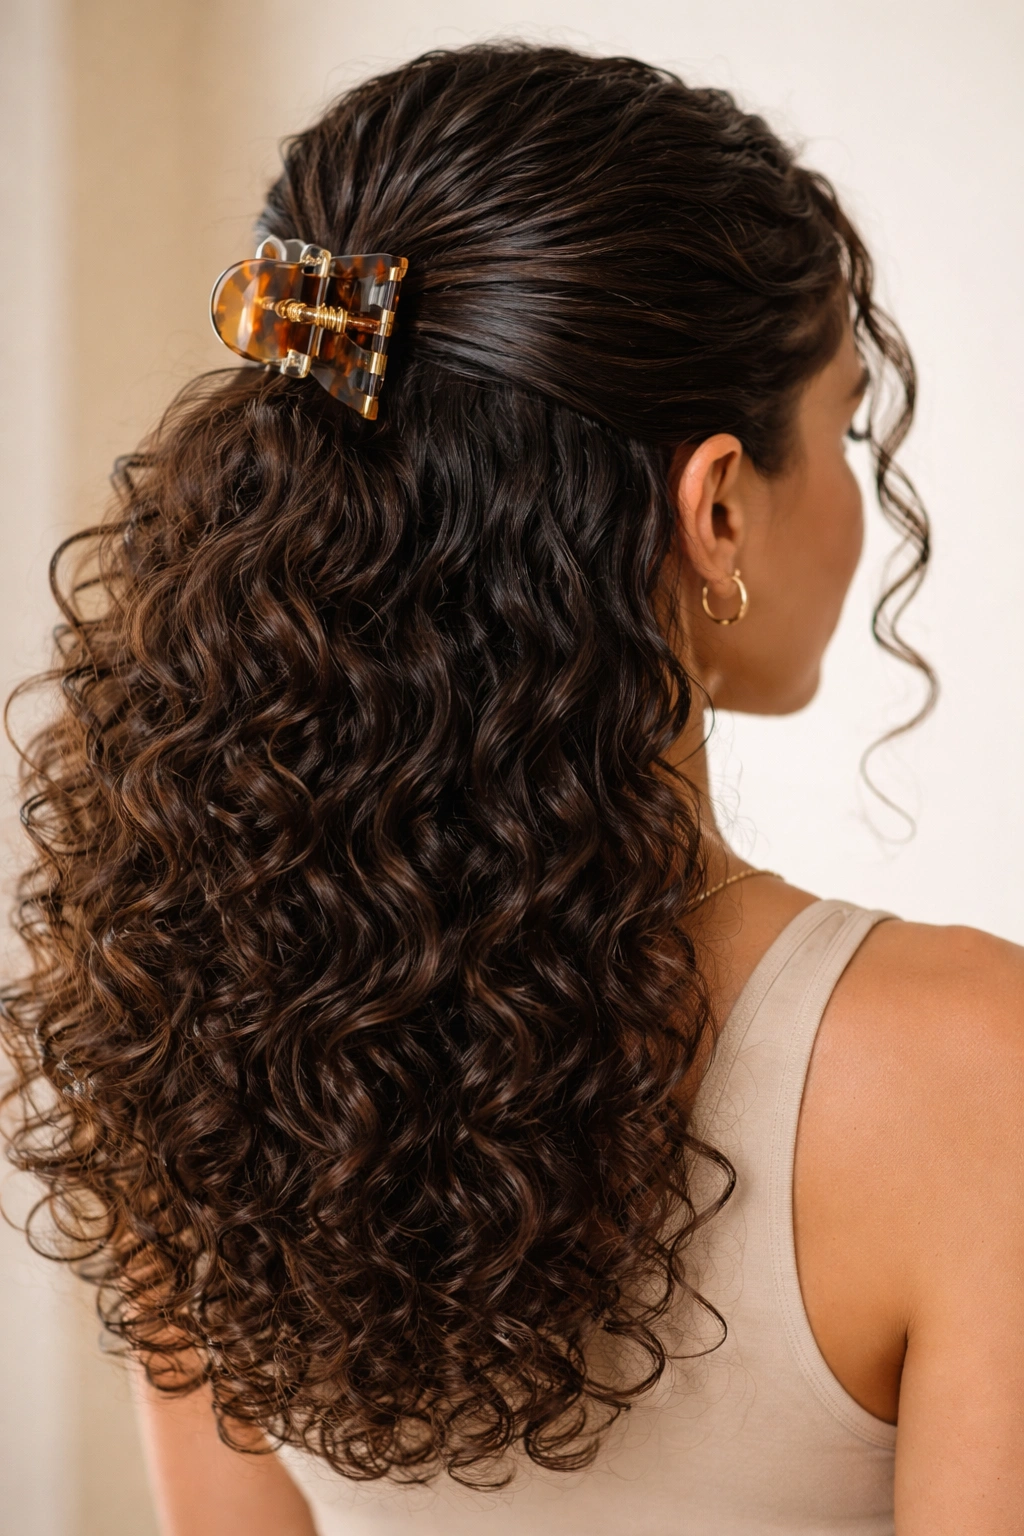
The claw clip is the comeback queen of hair accessories, and it works wonderfully with curly hair. The problem is that curls are slippery, and claw clips often slide right out. Gel is the secret to making this style last all day.
Providing the Grip
Apply a medium-hold gel to the top section of your hair before you gather it. The gel creates a slight “tackiness” that allows the hair to grip the teeth of the claw clip more effectively. When you twist the hair and secure the clip, the gel-coated strands will stay woven into the clip’s teeth rather than sliding out the back.
This prevents that annoying feeling of having to readjust your clip every hour. As a bonus, the gel keeps the hair smooth as it transitions from your hairline into the clip, ensuring that the half-up section doesn’t look messy or disheveled by the end of the day.
13. The “Deep Part” Slick Back
This style is for when you want to feel untouchable. It requires a lot of gel, confidence, and a comb. It is a look that screams “high-fashion” and works best for events where you want your face to be the primary focus.
The Comb-Through Technique
Apply a generous amount of firm-hold gel to your roots and the mid-lengths of your hair. Using a fine-tooth comb, start at your hairline and pull the hair straight back. You want to see the tracks of the comb in the hair—that texture is part of the look.
Continue combing until all the hair is laying flat against the scalp. Secure the back with pins or leave it loose, depending on your preference. The key is to keep the gel wet-looking until it dries naturally. Once dry, you have a rigid, architectural style that will not budge, even if you are out in the wind or humidity.
14. The Braid-Out with Sleek Roots
A braid-out is great for volume, but sometimes the roots can look a bit too fuzzy, especially if you have been wearing the braids for a few days. Combining a braid-out with sleek, gelled roots is the perfect compromise between volume and order.
Blending the Textures
After you take out your braids, do not touch the ends yet. Instead, apply a small amount of gel to your roots and smooth them down with a soft brush. You are essentially creating a border of sleek, controlled hair around your hairline and part, which contains the wild volume of the braid-out.
This “controlled chaos” approach prevents you from looking like you just rolled out of bed. It frames the voluminous, braided texture with a clean, polished perimeter. It is the best of both worlds—the definition of the braid-out ends with the structure of a professional gel application at the root.
15. The “Scrunch Out The Crunch” Wash-and-Go
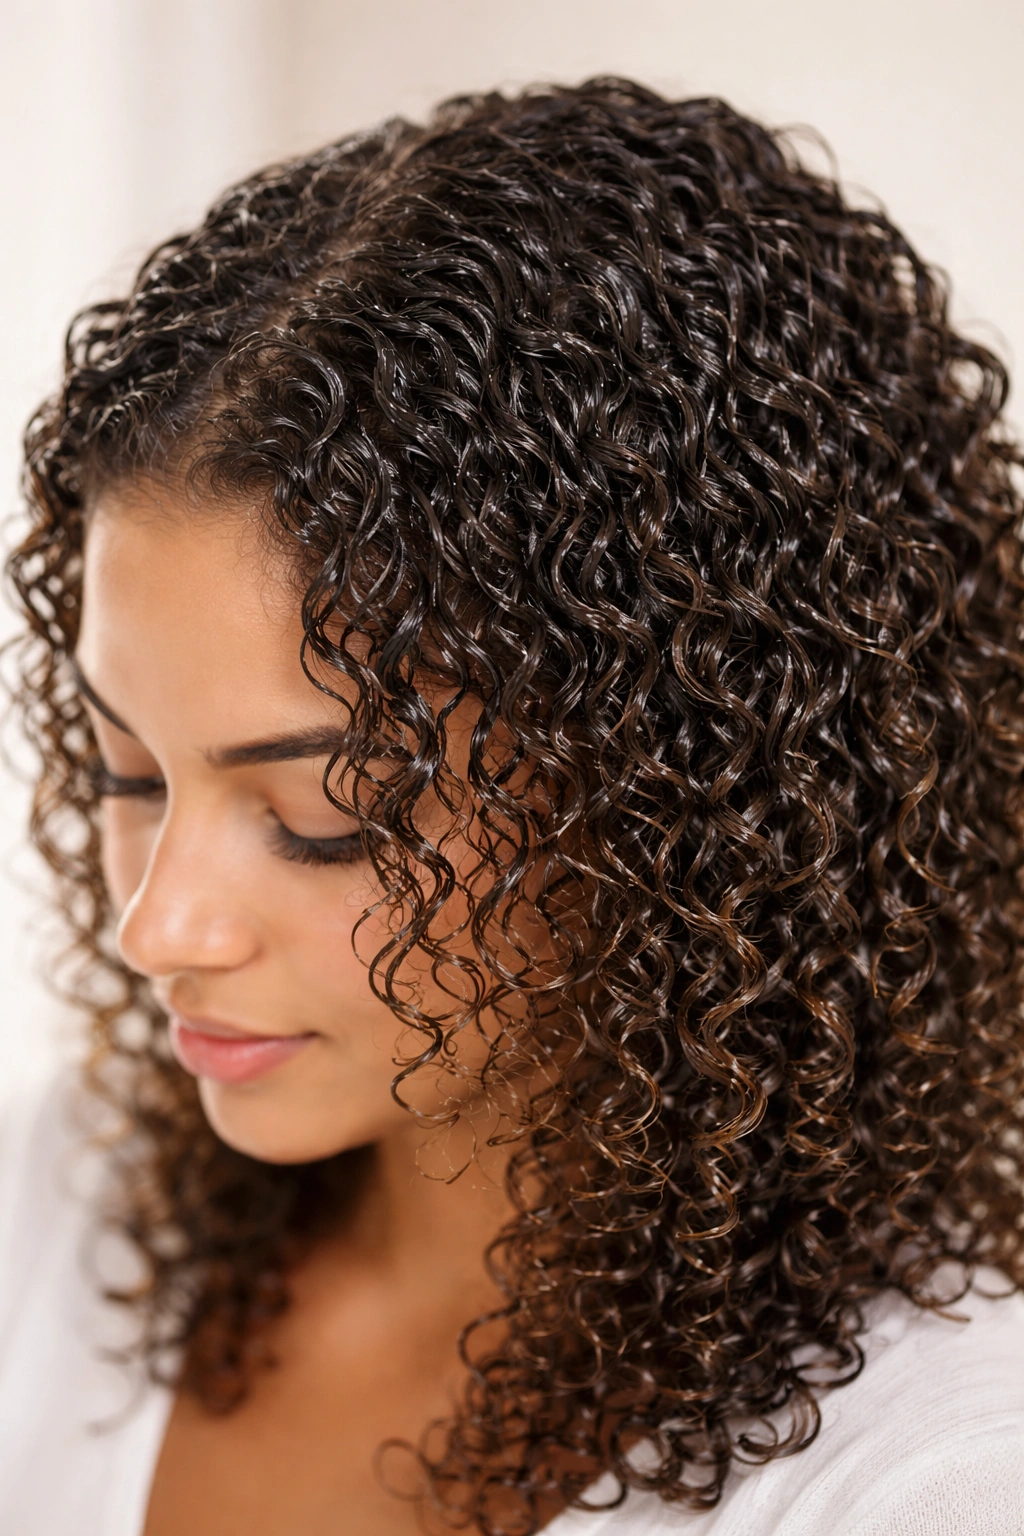
We cannot talk about gel hairstyles without addressing the foundational “wash-and-go.” If you struggle with the “crunchy” feeling, this final entry is the most important lesson you will learn. A wash-and-go using gel is the gold standard for curl definition.
The Science of the Cast
When you apply a generous amount of gel to soaking-wet hair and let it air dry, it forms a “cast”—a hard, crispy outer shell. Many people mistake this for the final result and think, “I hate this, my hair is stiff.” Do not panic. The cast is just a temporary shield.
Once your hair is 100% dry—and I mean bone dry—the gel has done its job of setting the curl. Now, you must “scrunch out the crunch.” Take a light oil (like jojoba or argan) on your palms, cup your curls, and gently squeeze upward. The oil breaks the hard gel cast, leaving you with soft, touchable, and incredibly defined curls that will last for days. It is the magic trick that turns an intimidating gel experience into a professional-level finish.
Choosing the Right Gel for Your Curls
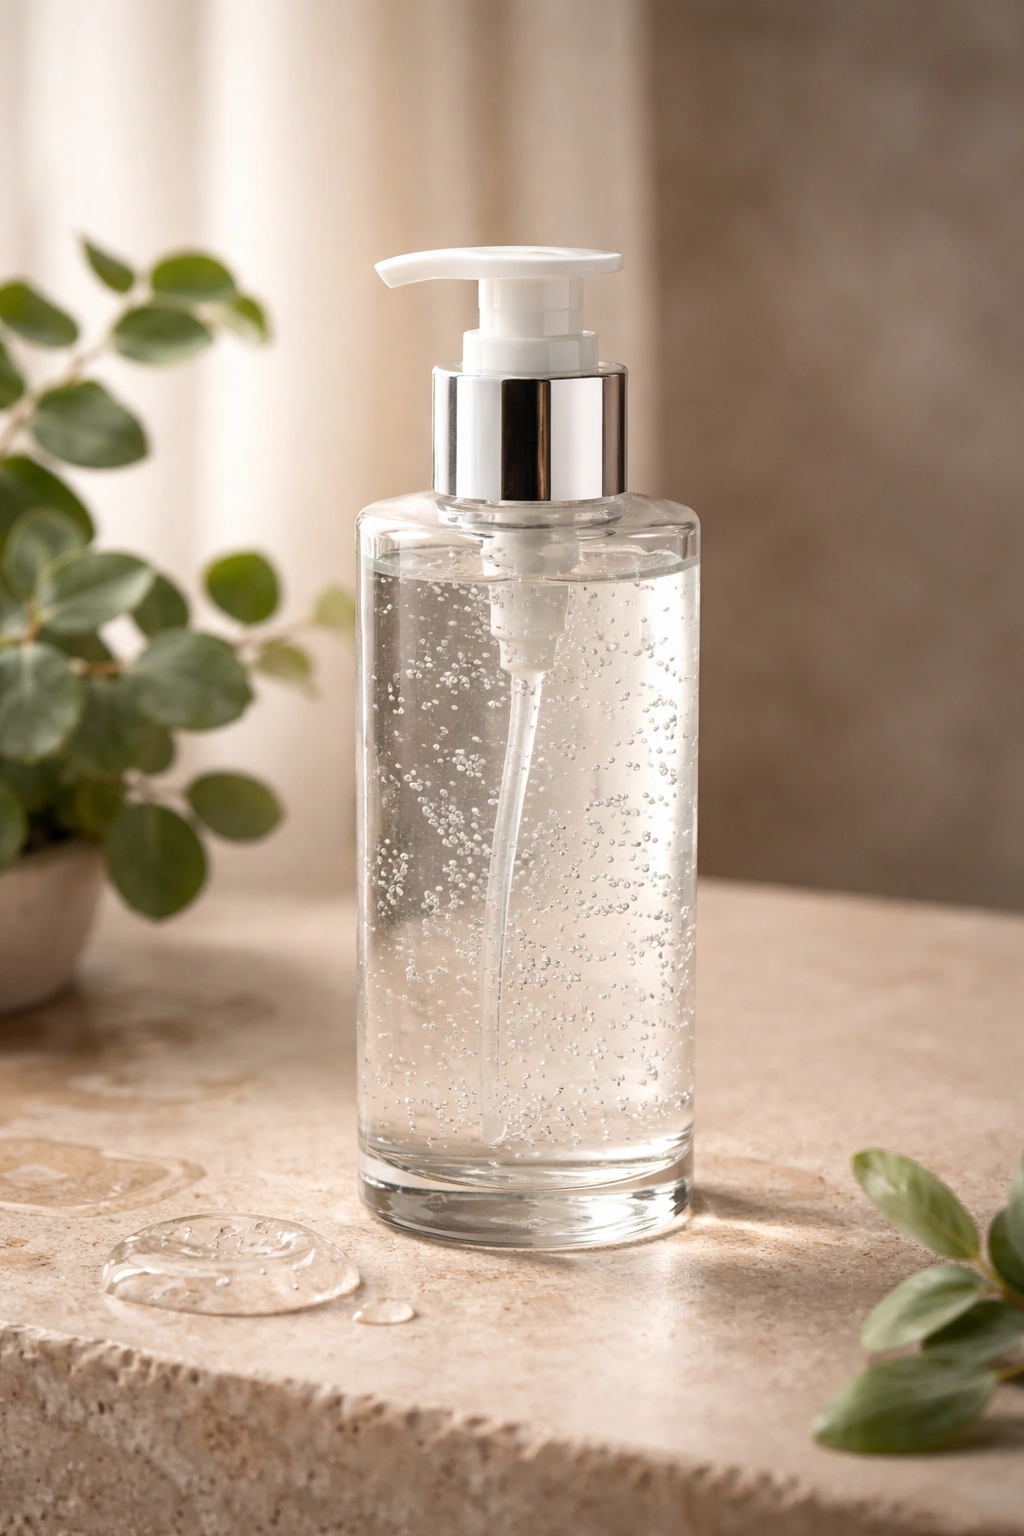
Not all gels are created equal, and understanding the ingredients is the only way to avoid the dreaded white-flake syndrome. Generally, you want to avoid gels that contain heavy alcohols, which are drying. Instead, look for gels that list water as the first ingredient and contain humectants like glycerin or honey.
If your hair is fine, stick to light-hold gels or styling jellies. They provide definition without collapsing your volume. If your hair is thick and coarse, you need a heavy-hitter with high viscosity. These gels provide the structural integrity required to hold your curls in place for multiple days. Always test a small amount on the back of your hand; if it feels sticky and tacky, it will likely work well to hold your hair. If it feels watery and thin, it’s probably a lighter-hold product.
Handling the “White Flake” Problem
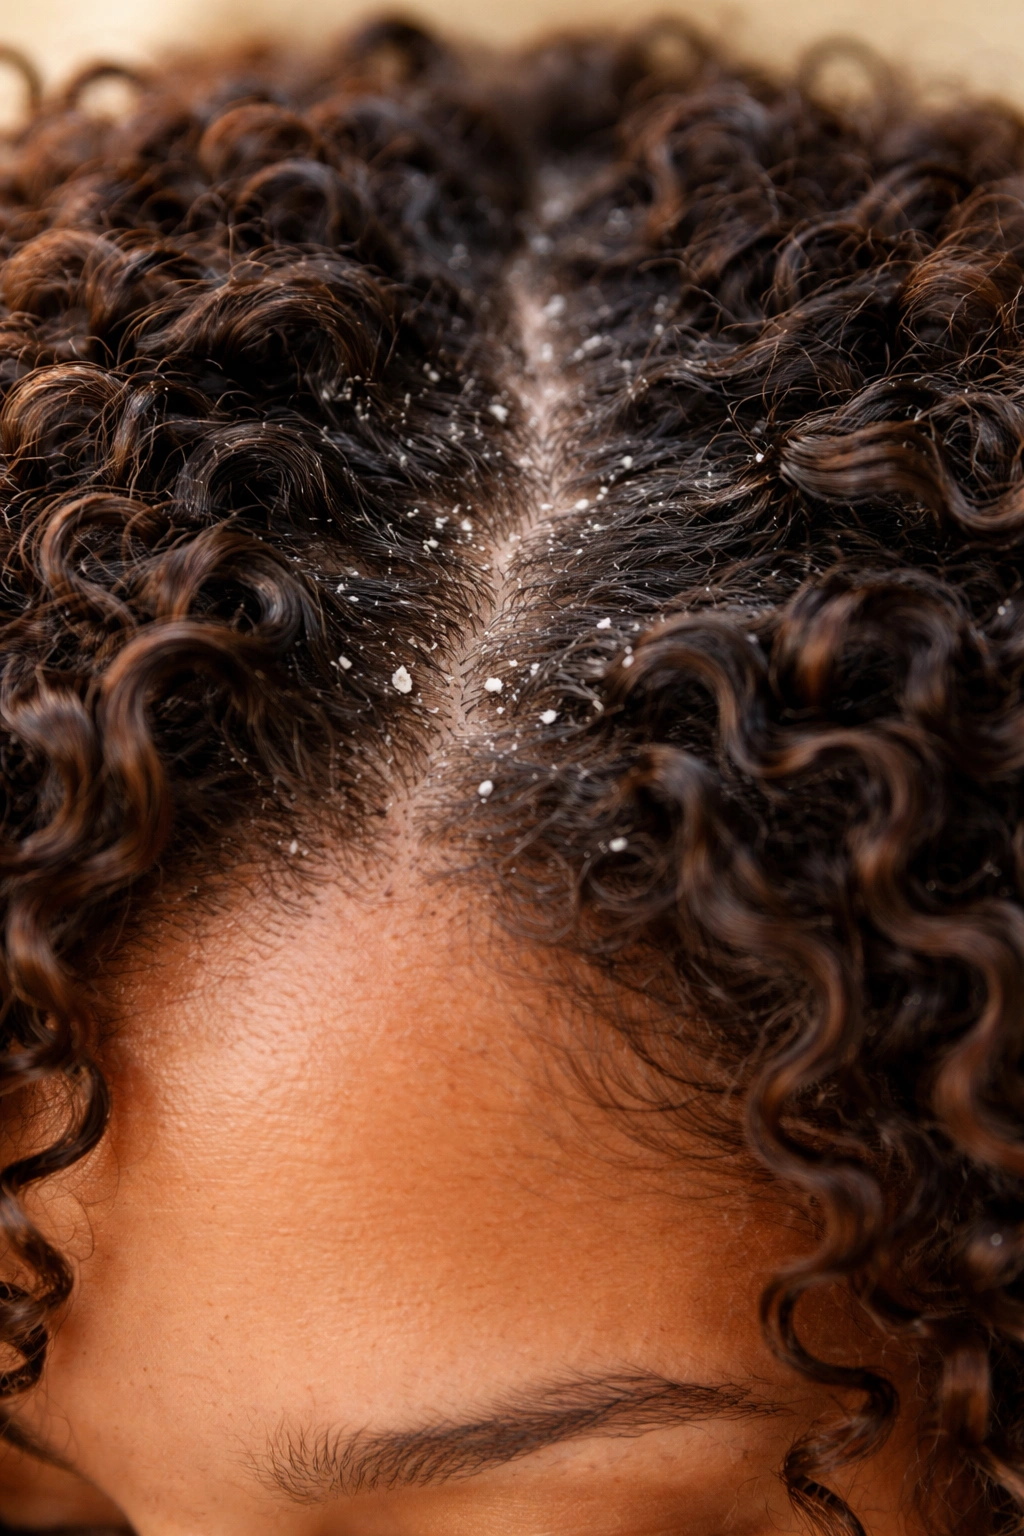
There is nothing worse than finishing your hairstyle only to realize your roots are covered in white, flaky residue. This usually happens for one of two reasons: either the gel is poor quality, or it is incompatible with your leave-in conditioner.
Before you blame the gel, check your layering. If you use a creamy, oil-based leave-in conditioner, it might be reacting with the water-based gel. This chemical reaction creates those tiny white balls. To avoid this, try mixing a tiny amount of your leave-in and your gel in your palm before applying it to your hair. If it stays clear, you are good to go. If it turns cloudy, they don’t mix well, and you should switch to a lighter leave-in or a different gel.
Final Thoughts
Curly hair is a journey, and gel is a tool that requires practice. You will have days where you use too much, and days where you don’t use enough. That is okay. The goal is to move away from fearing the product and toward understanding how it can serve your hair.
When you treat gel as a sculpting medium rather than a “fix-it” product, your options for styling expand significantly. You stop trying to fight your natural texture and start working with it, using the gel to emphasize what your hair is already doing. Whether you are aiming for a sleek, corporate look or a wild, voluminous wash-and-go, there is a way to use gel to get exactly the result you want. Start with less than you think you need, experiment with your application techniques, and always remember to scrunch out the crunch. Your curls will thank you.