The first day after you straighten curly hair can feel a little fragile. The hair looks smooth, but it still has memory: a bend at the root, a bit of spring at the ends, and just enough texture to make pins either grip or slide right out.
That mix is useful. Straightened curls often hold ponytails, buns, braids, and clips better than pin-straight hair, but only if you choose styles that work with the hair’s shape instead of fighting it. Pull too hard and the crown goes flat. Load on too much oil and everything starts slipping around by lunchtime.
Humidity is the rude guest in the room.
The best hairstyles for straightened curly hair make room for smooth lengths, soft lift at the roots, and a little grip where you need it most. Some are polished enough for dinner. Some are the kind of easy styles that rescue a blowout on a day when you do not feel like starting over.
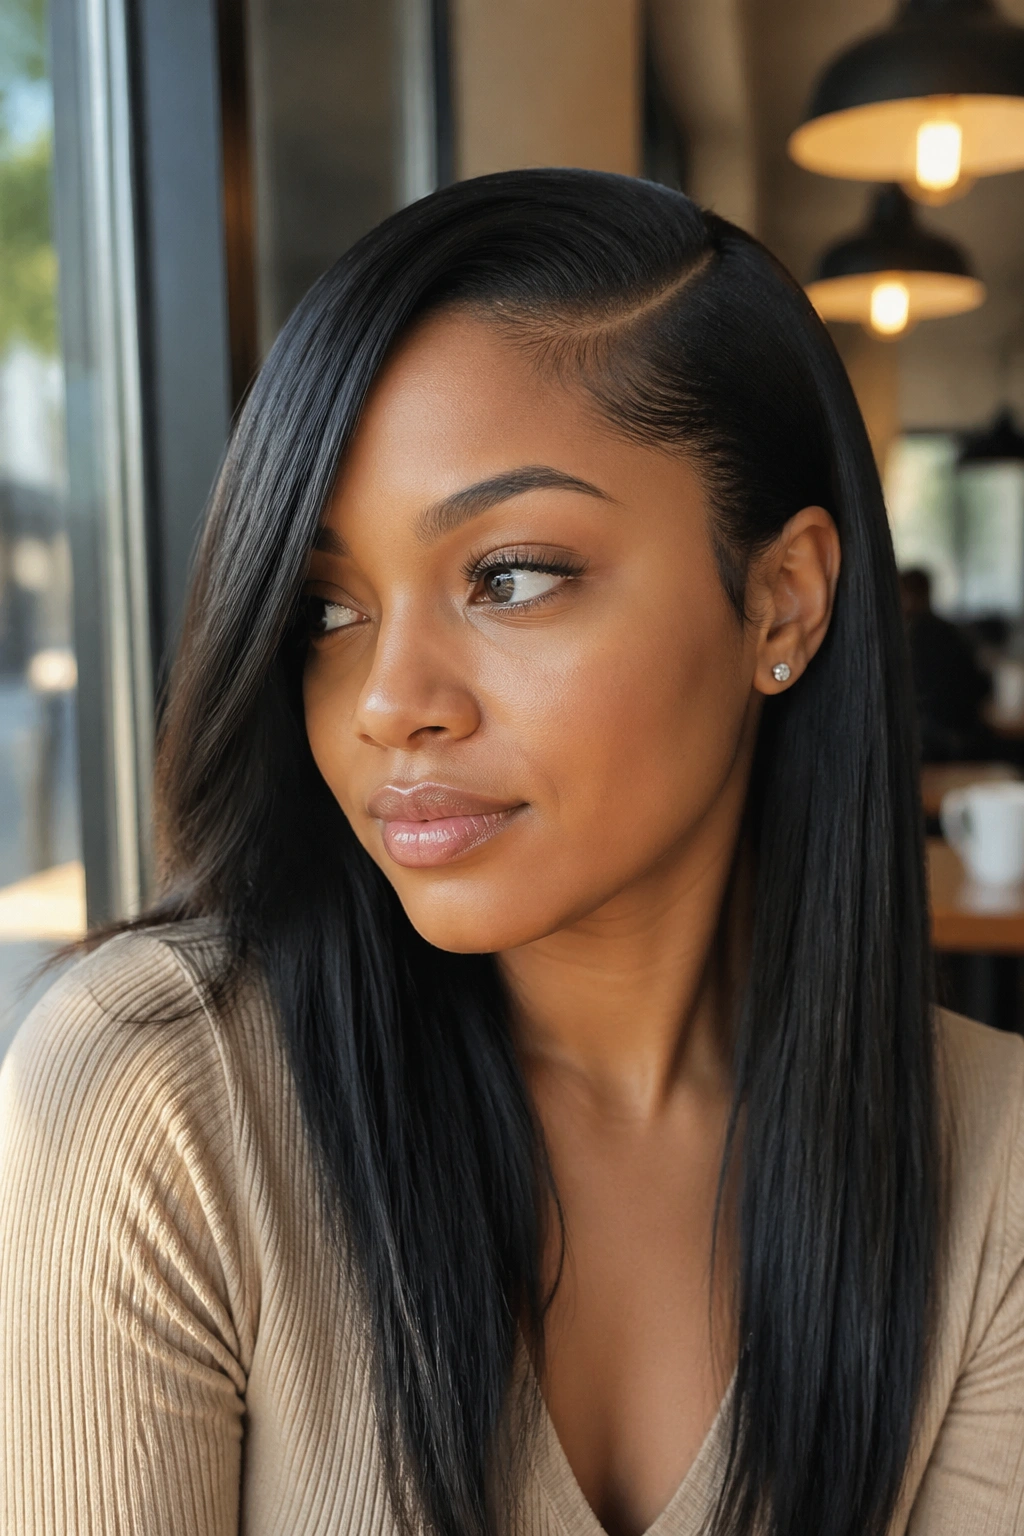
1. Sleek Center Part
A clean center part is the fastest way to make straightened curls look deliberate. It gives the hair one long, simple line, which helps when your roots still have a little puff and your ends want to flip on their own. On hair that’s been straightened from curly, that contrast can look messy. With a center part, it looks sharp.
Why the Center Line Works
A center part creates symmetry, and symmetry does a lot of heavy lifting. If one side has a tiny kink or a soft frizz halo, the eye lands on the line first. A rat-tail comb gives the neatest result, though a fingertip part can work if the hair is already cooperative.
- Trace the part from the middle of the forehead straight back to the crown.
- Brush each side flat with a boar-bristle brush.
- Use only 2 or 3 drops of serum on the mid-lengths and ends.
- Finish with a light mist of flexible-hold spray, not a heavy shell of lacquer.
Pro tip: clip the front sections flat for 5 minutes while the hair cools. That small pause keeps the part from drifting.
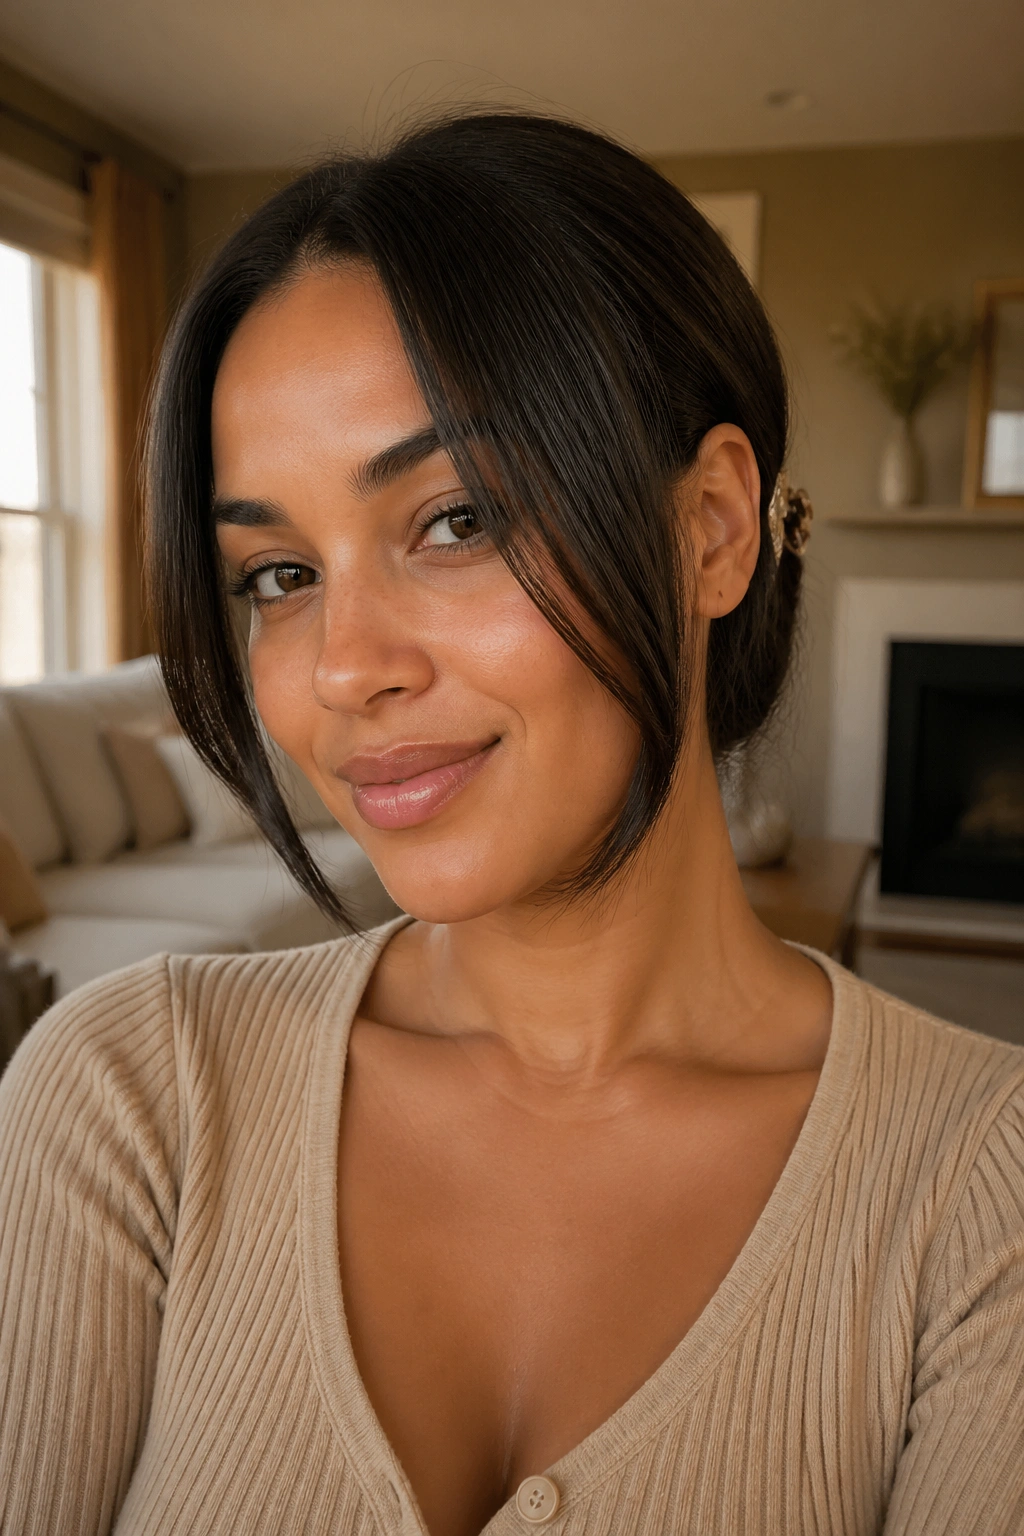
2. Deep Side Part
Want a little more lift than the center part gives? Move the part just 1 to 2 inches off center. That tiny shift changes the whole shape of the style, especially on straightened curly hair that still has some volume at the crown. It softens the face and gives the hair a little sweep instead of a strict line.
A deep side part also helps if one side has more frizz than the other. Brush the heavier side down first, then tuck the lighter side behind the ear or let it fall forward in one smooth curtain. The asymmetry hides uneven straightening in a way that feels intentional, not patched together.
This one works best when the roots are clean and not overloaded with oil. Too much product at the part makes the whole thing collapse. A tiny bit of smoothing cream at the hairline is enough.
3. Low Wrapped Ponytail
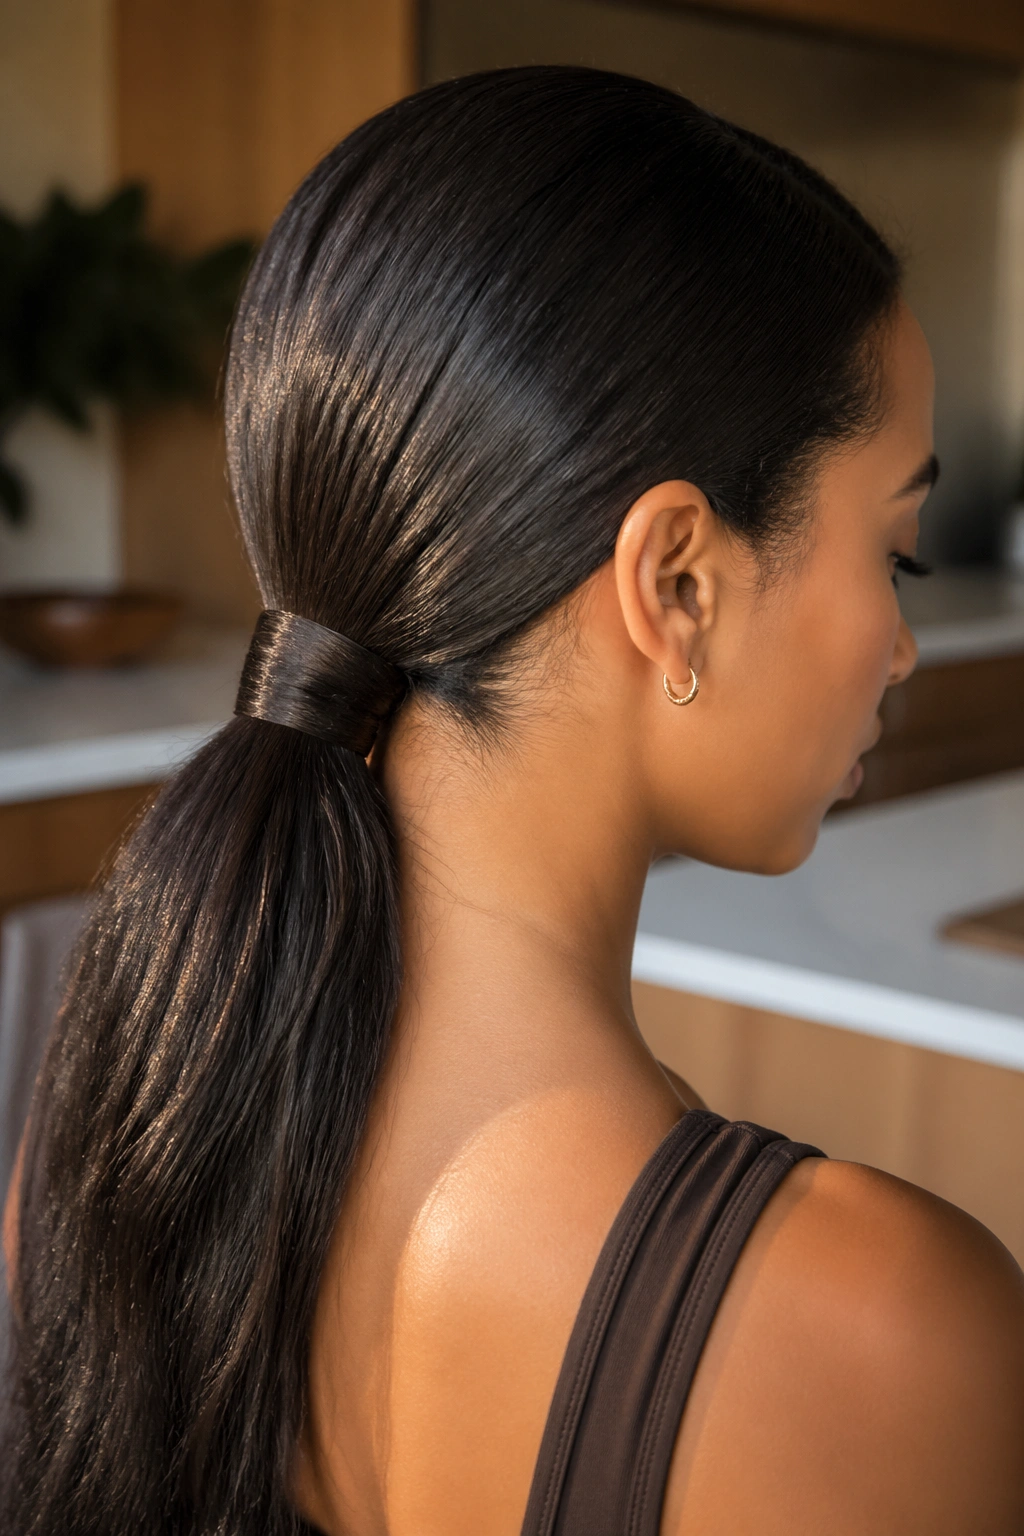
A low wrapped ponytail is the style you reach for when your hair looks good, but not quite “down” good. It sits neatly at the nape, keeps the length controlled, and hides the elastic with one small strand of hair. On straightened curls, that wrapped section usually blends in better than it would on slick, pin-straight hair because the texture gives the wrap a little grip.
The Wrap Trick
Start with a low ponytail secured by a snag-free elastic. Take a 1-inch strip of hair from underneath the ponytail, smooth it between your fingers, and wrap it around the base until the elastic disappears. Pin the end underneath with a bobby pin.
A few details matter here:
- Keep the ponytail low, almost at the nape.
- Brush the top very flat before tying it off.
- Wrap the strand tightly enough that it does not unravel.
- Aim the ponytail slightly to one side if your layers are short.
Watch for this: if the elastic sits too high, the style starts looking school-ish instead of polished. Lower is better.
4. Sleek Low Bun
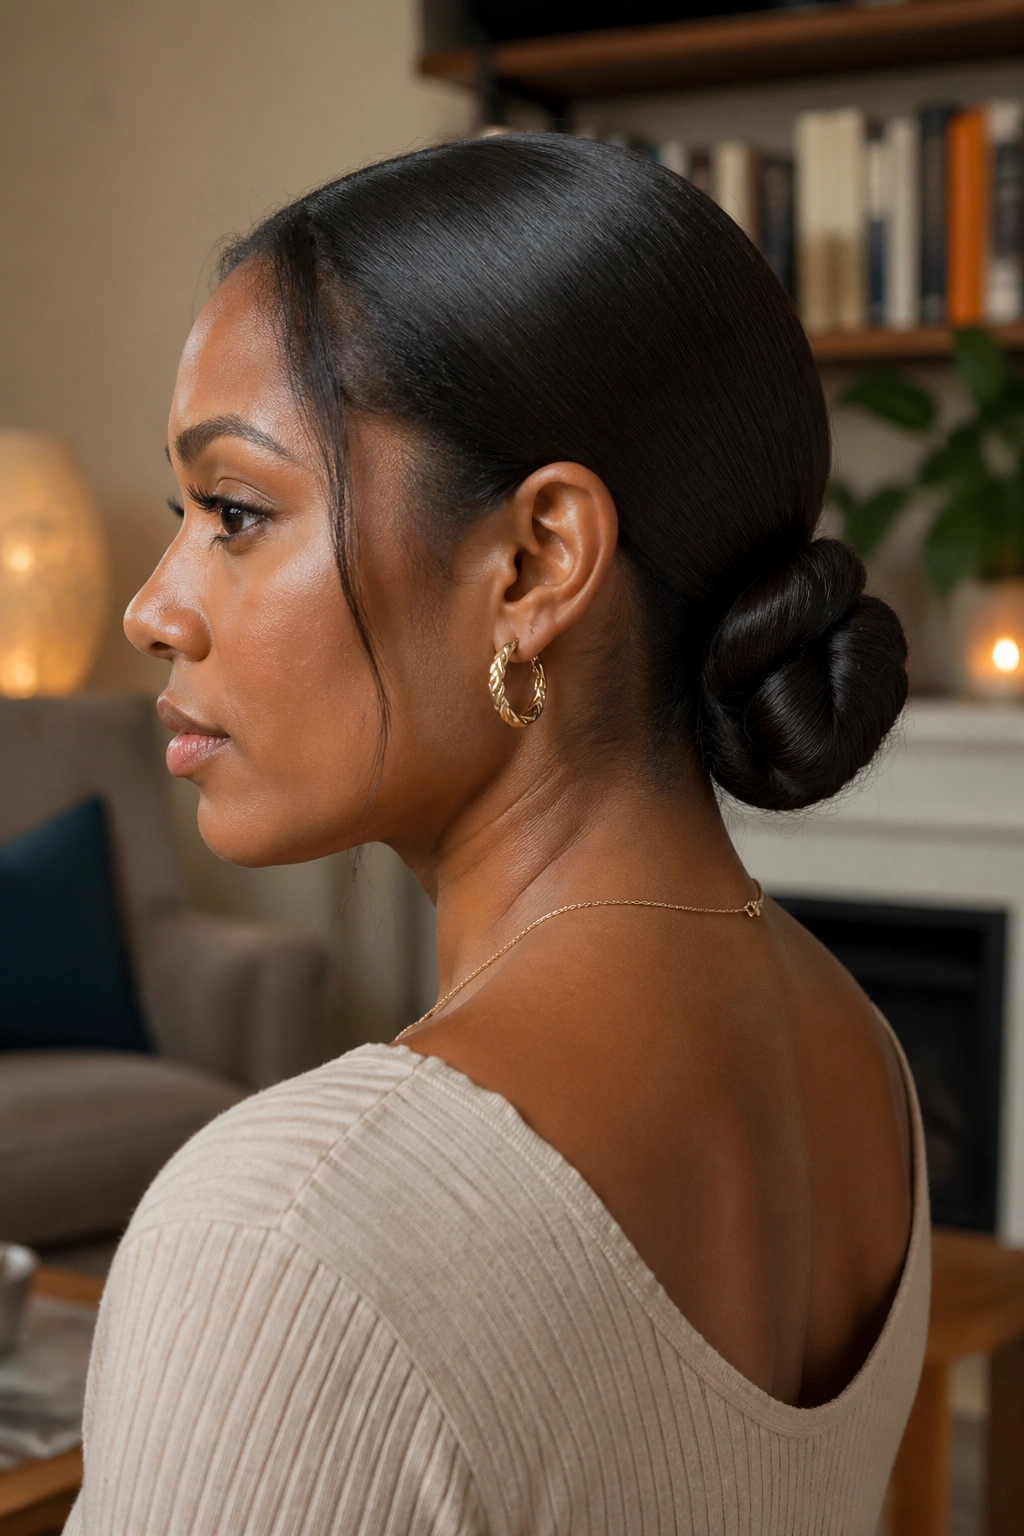
The low bun is one of the best hairstyles for straightened curly hair when you want the ends out of the way. It feels neat without looking stiff, and it hides little differences in texture that would be obvious if the hair were hanging loose. If your blowout has started to lose its day-one perfection, this style is forgiving.
Pull the hair into a low ponytail first, then twist the length around the base. Thick or layered hair often works better in two twists rather than one huge coil. That keeps the bun flatter and stops random ends from poking out like wires.
If the hair is extra smooth, use a second elastic over the finished bun before pinning it. Not tight. Just enough to keep the shape from sliding down. A bun that sits too high tends to look severe, and a bun that sits too tight can leave a dent across the back of the head.
5. Claw Clip Twist
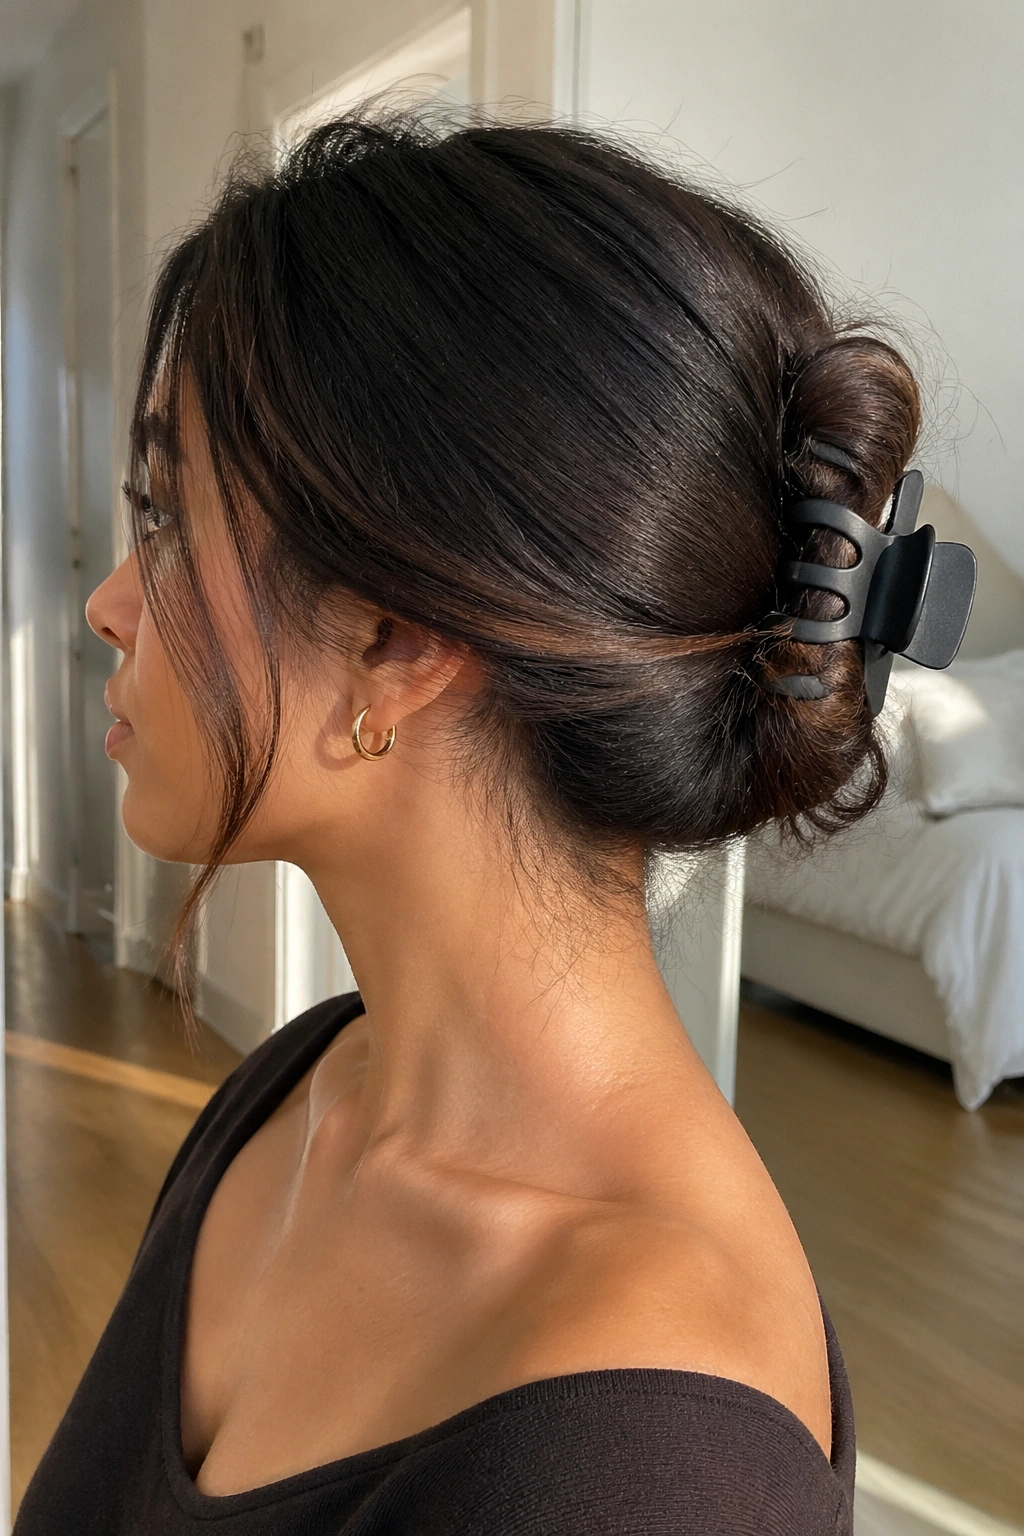
A claw clip is the answer when you want straightened curls off your neck in under a minute. It works because heat-smoothed hair usually has a bit of slide, and a good clip gives it something to hold onto without pulling at the roots. The trick is choosing the right size. Small clips are decorative. Larger ones actually grip.
What Makes the Clip Hold
Gather the hair low, twist it once or twice, and fold the length upward. Tuck the ends in, then clamp the clip over the twist so the teeth catch both the base and the folded section. Matte clips tend to hold better than glossy ones because they do not slide as easily.
If you have layers, leave a few face-framing pieces out. That keeps the style from looking too boxy. And if the twist feels loose, use one hidden bobby pin at the base before clipping it shut.
This is the style for errands, long workdays, and any afternoon when your neck is tired of your hair.
6. Half-Up Knot
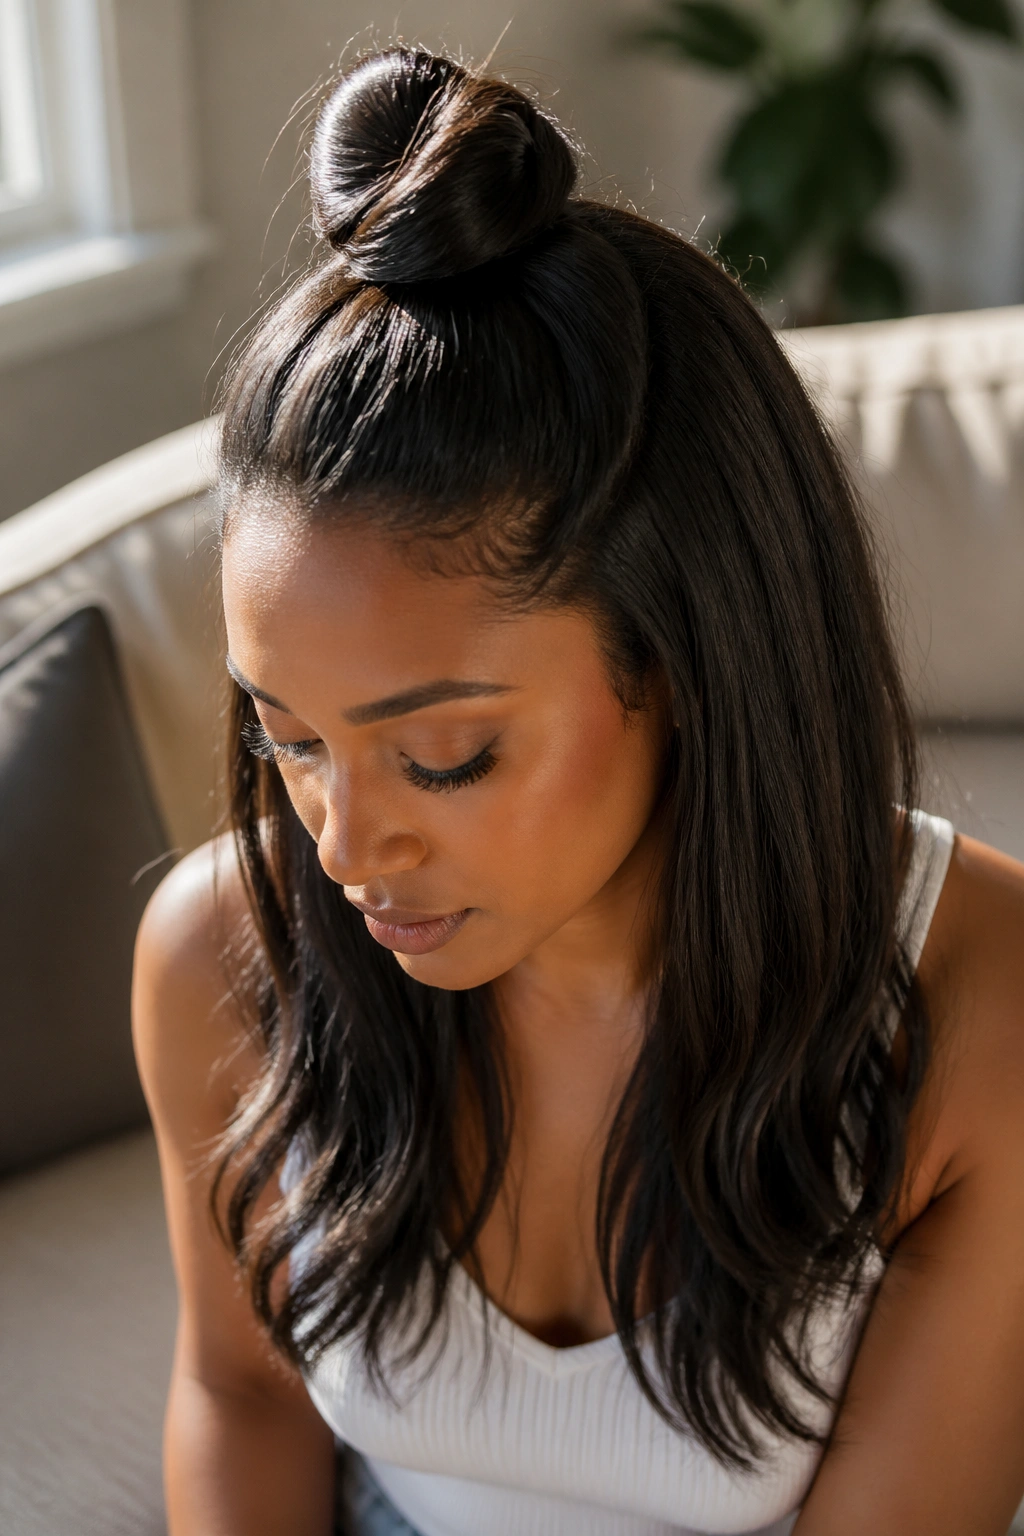
A half-up knot gives you the clean feel of an updo without giving up all the length. It is especially useful on straightened curly hair when the crown is a little puffy but the ends still look sleek. You get lift on top, softness underneath, and no need to flatten every last strand.
How High to Place the Knot
Take the top third of the hair, from temple to temple, and gather it at the crown or just behind it. Twist once, then coil the section into a small knot and secure it with a thin elastic or two bobby pins crossed in an X.
Keep the knot slightly loose. A tiny bit of movement looks better than a hard little ball sitting on top of the head. Leave the front pieces soft around the face if you want the style to feel less rigid.
A half-up knot also works well when the hair has that in-between texture that straightened curls often get after a few hours. It hides the root story and leaves the good part visible.
7. Bubble Ponytail
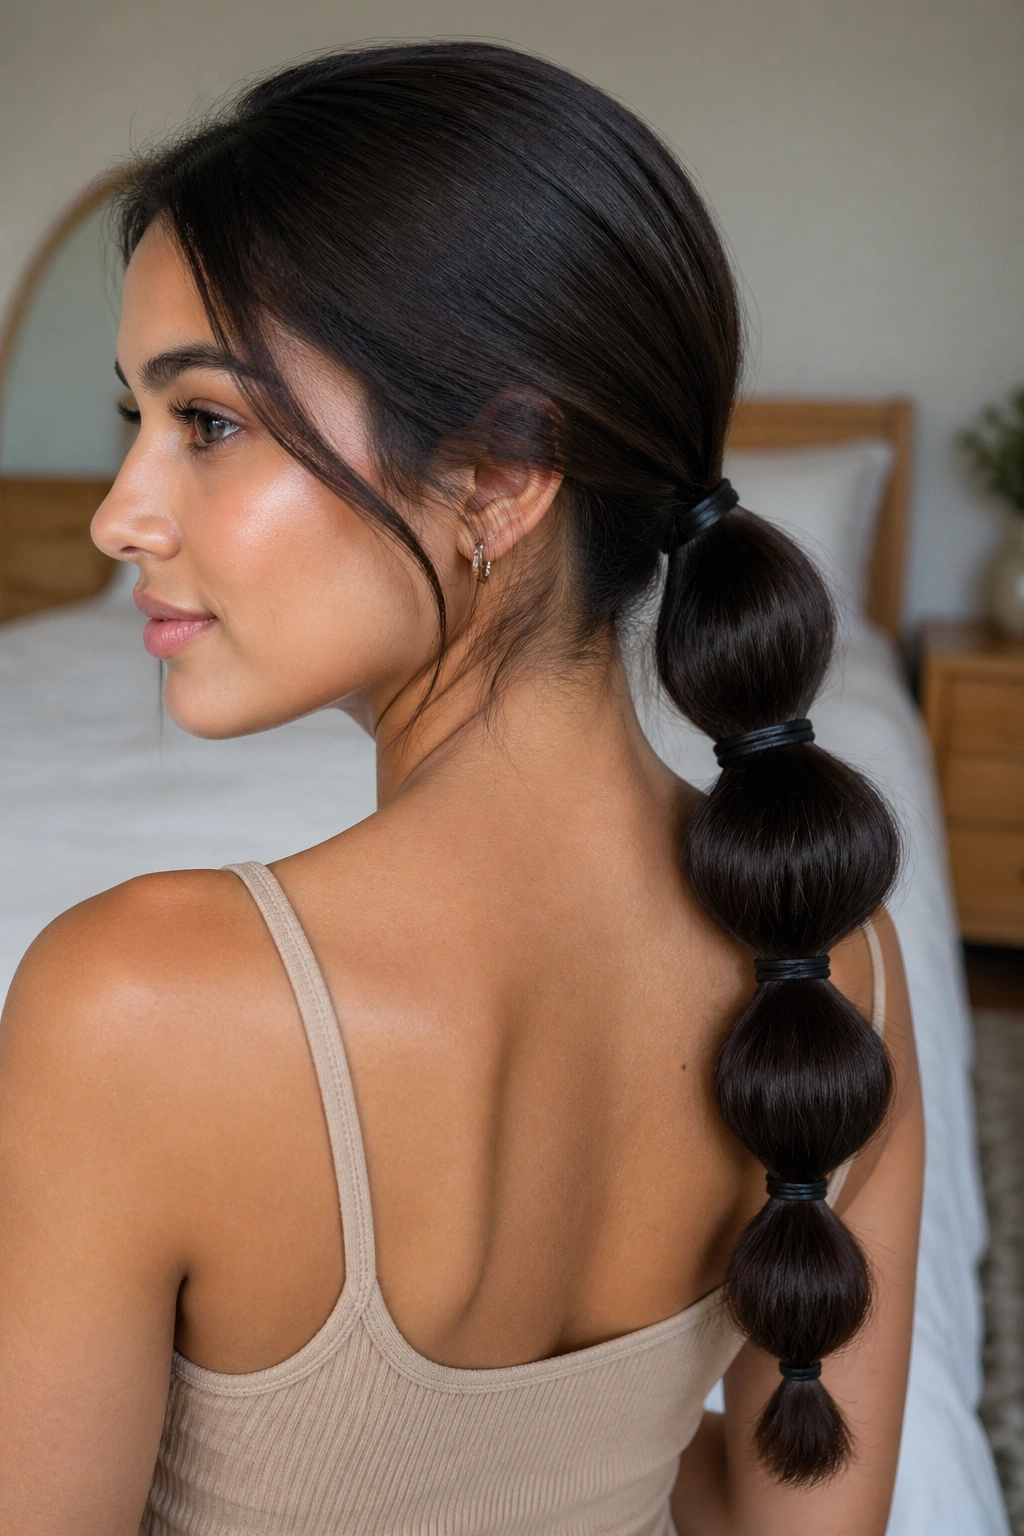
The bubble ponytail looks fussy at first glance. It is not. On straightened curly hair, it can actually be quicker than a braid because the smooth surface helps the sections stay rounded instead of collapsing.
Start with a medium or low ponytail and secure it tightly. Add small elastics every 2 to 3 inches down the length. Then tug each section gently outward to create a round “bubble.” You do not want giant balloons. You want soft, even puffs that read as tidy and playful.
How to Puff the Sections
Use two fingers on each side of a section and pull outward evenly. Do not yank from the center or the bubbles go lopsided. If the hair is layered, lightly mist the ends with water and smooth cream before shaping the last bubble.
A bubble ponytail is a good choice when the straightened texture is still smooth but not sleek enough for a pin-straight ponytail. It hides a bit of frizz, and it has enough structure to survive a long day.
8. French Twist

If your hair reaches past the shoulders, the French twist earns its reputation. It looks formal, but it is built on simple mechanics: smooth the hair up, twist it along the back of the head, tuck the ends inside, and pin the whole thing in place. Straightened curls actually help here because the hair has enough texture to stay put once it is folded.
Pins matter more than people think. Use U-pins or long bobby pins, not tiny decorative clips that slip out by dinner. Hold the twist snug against the head while you pin vertically into the seam of the twist. That seam is where the style holds best.
A French twist can look severe if it is too tight. Leave a little softness at the front, especially around the ears and temples. The goal is neat, not rigid. Hair that was recently straightened has enough shine to carry the style without extra decoration.
9. Braided Ponytail
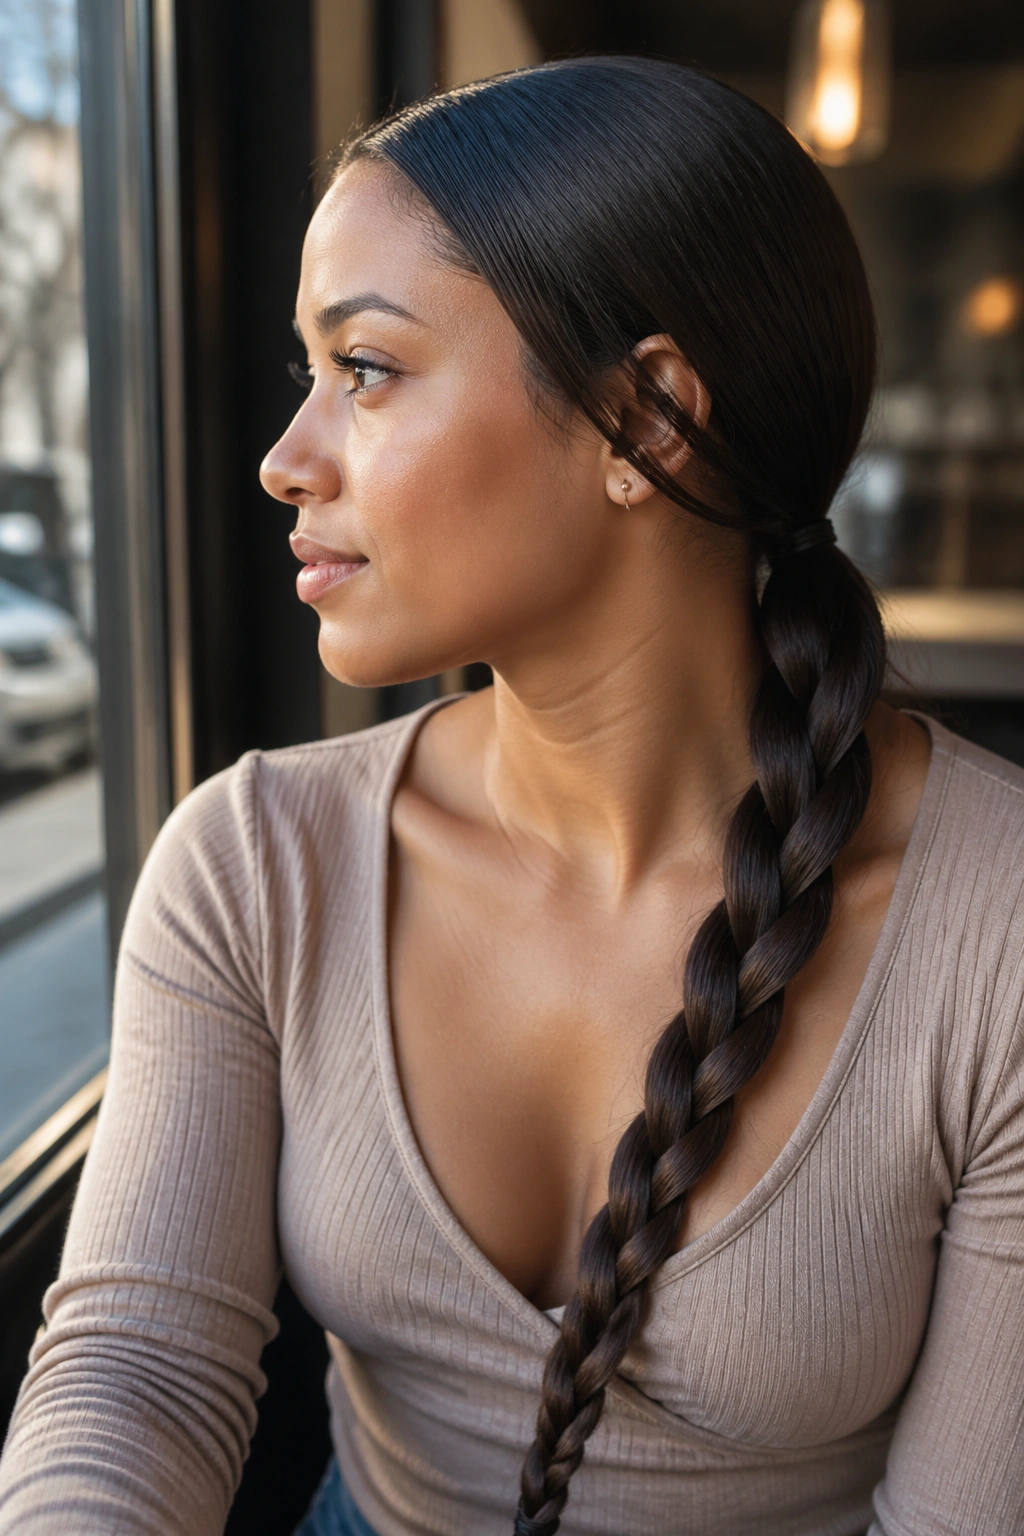
Need something that still looks neat when the ends start to revert a little? A braided ponytail is hard to beat. It keeps the length controlled, hides uneven ends, and works whether your braid is sleek or slightly relaxed. On straightened curly hair, the braid often stays tidier than it would on ultra-smooth hair because the strands have a little natural grip.
A classic three-strand braid is faster than a fishtail and usually better for everyday wear. Tie the hair into a low ponytail first, then braid all the way down and secure it with a small elastic. If the hair is layered, start the braid a little lower so the shorter pieces do not escape near the top.
The small win here: you can smooth the top with a dime-size amount of cream and leave the braid itself a little softer. That contrast keeps the style from looking too tight or overworked.
10. Rope Braid Ponytail
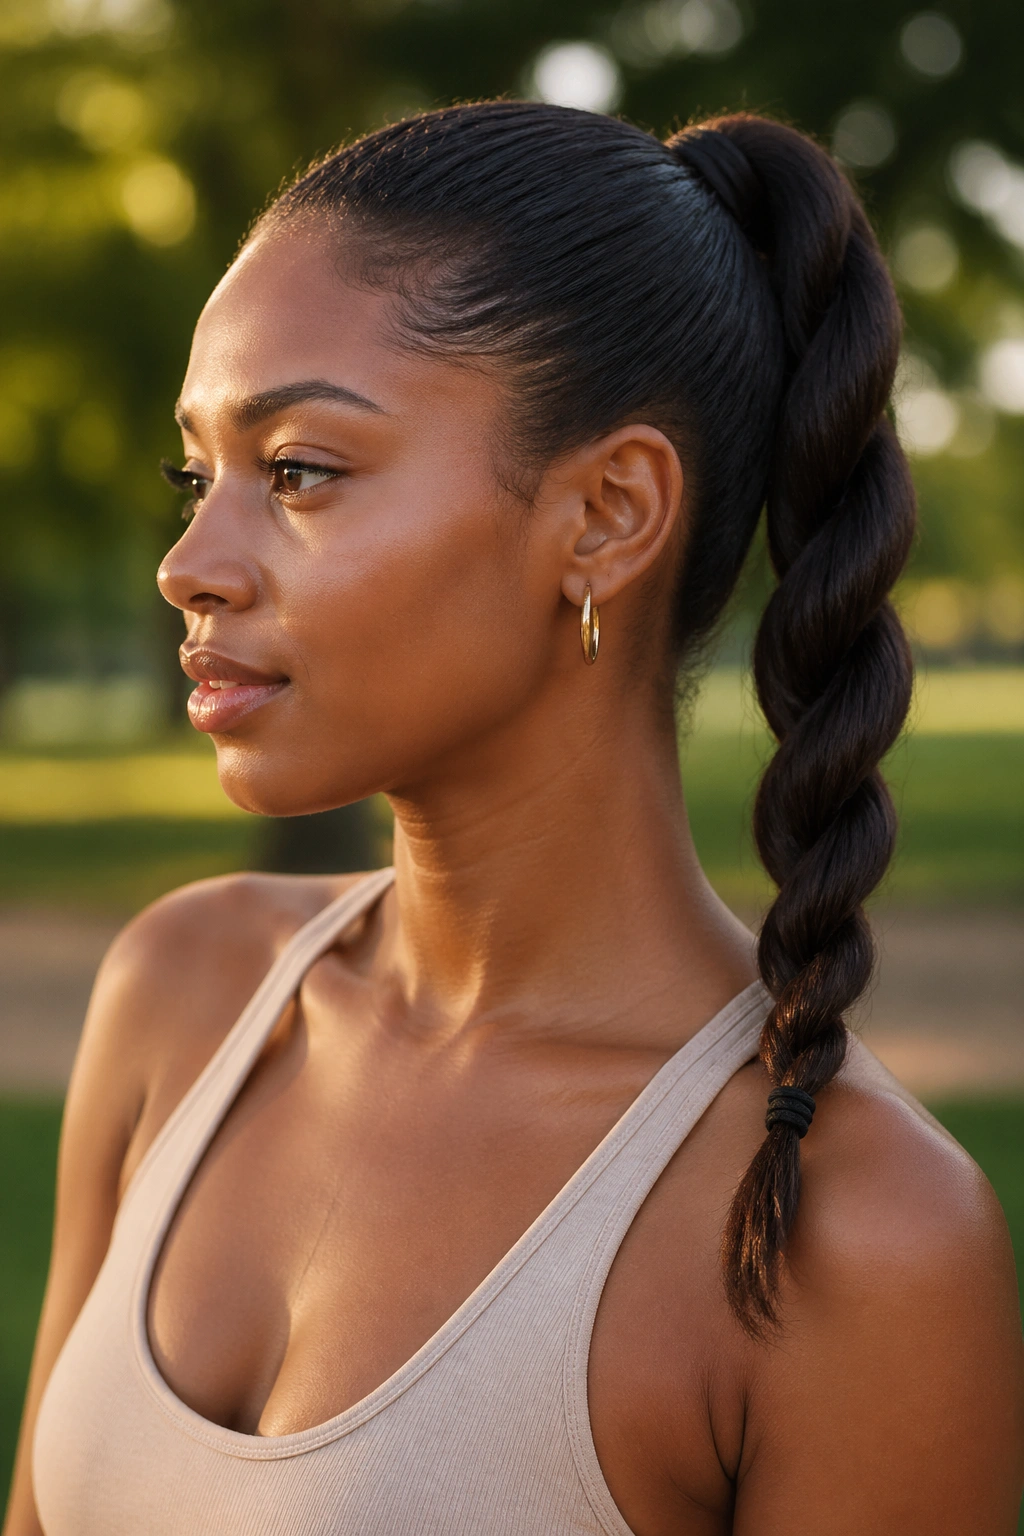
Unlike a three-strand braid, a rope braid gives straightened curls a clean spiral shape. It looks more styled than a plain ponytail, but it takes less hand coordination than a fishtail braid. If your arms get tired halfway through styling, this one is easier.
Split the ponytail into two equal sections. Twist both sections in the same direction, usually clockwise, then cross them over each other in the opposite direction. That counter-twist is what keeps the rope shape from falling apart. Secure the end with a small elastic and tug the braid lightly to even out the twist.
This style works best when the hair is medium to long. The pattern reads more clearly on length. If the ends want to slip, smooth a tiny bit of styling paste onto your palms first. Not much. Just enough to keep the last 2 inches from unraveling.
11. Face-Framing Layers with Tucked Ends
Sometimes the smartest move is not an updo at all. Straightened curly hair looks fresh when the front pieces stay loose and the rest gets tucked behind the ears or clipped back just enough to stay out of the way. It keeps the length visible, shows off shine, and makes soft layers do the work.
Accessories That Make It Work
Choose one small barrette, two bobby pins, or a thin clip with enough grip to hold the sides back. Heavy accessories drag the hair down and make the whole style feel overdone. A lighter hand is better here.
- Tuck one side behind the ear and pin it low.
- Leave a few face pieces loose if the haircut has layers.
- Use a tiny bit of serum only on the ends.
- Lift the roots at the crown with your fingers, not a brush.
This style is especially good when the hair is straightened but still has body. It lets the texture breathe a little instead of flattening it into a sheet.
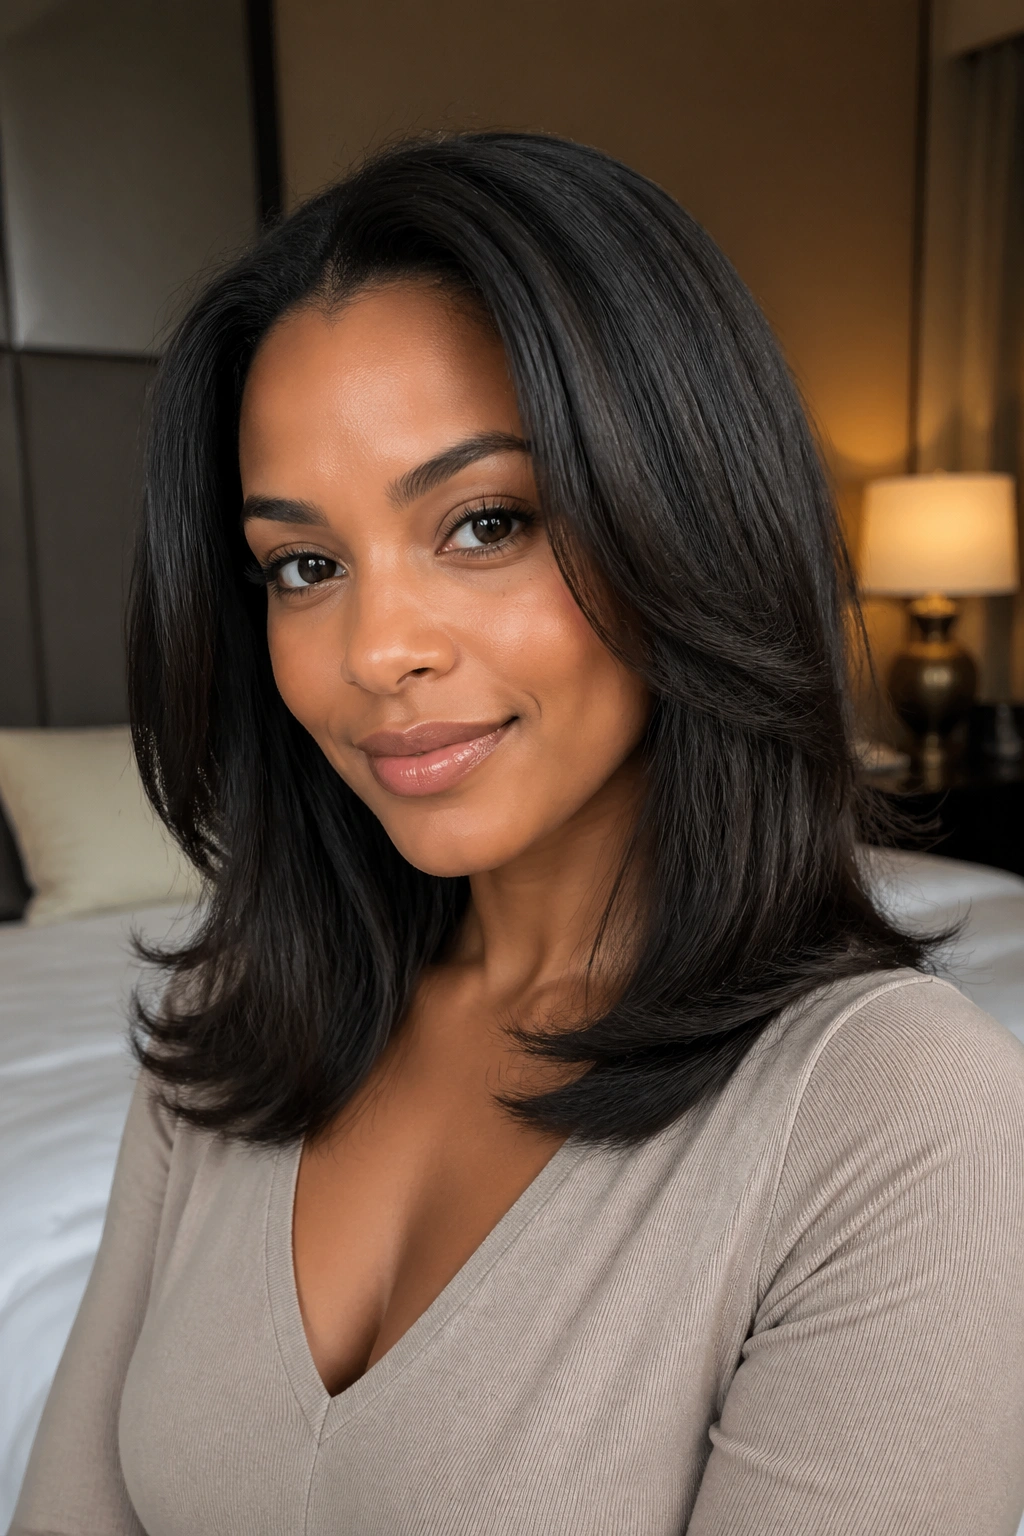
12. Flipped-Out Ends Lob
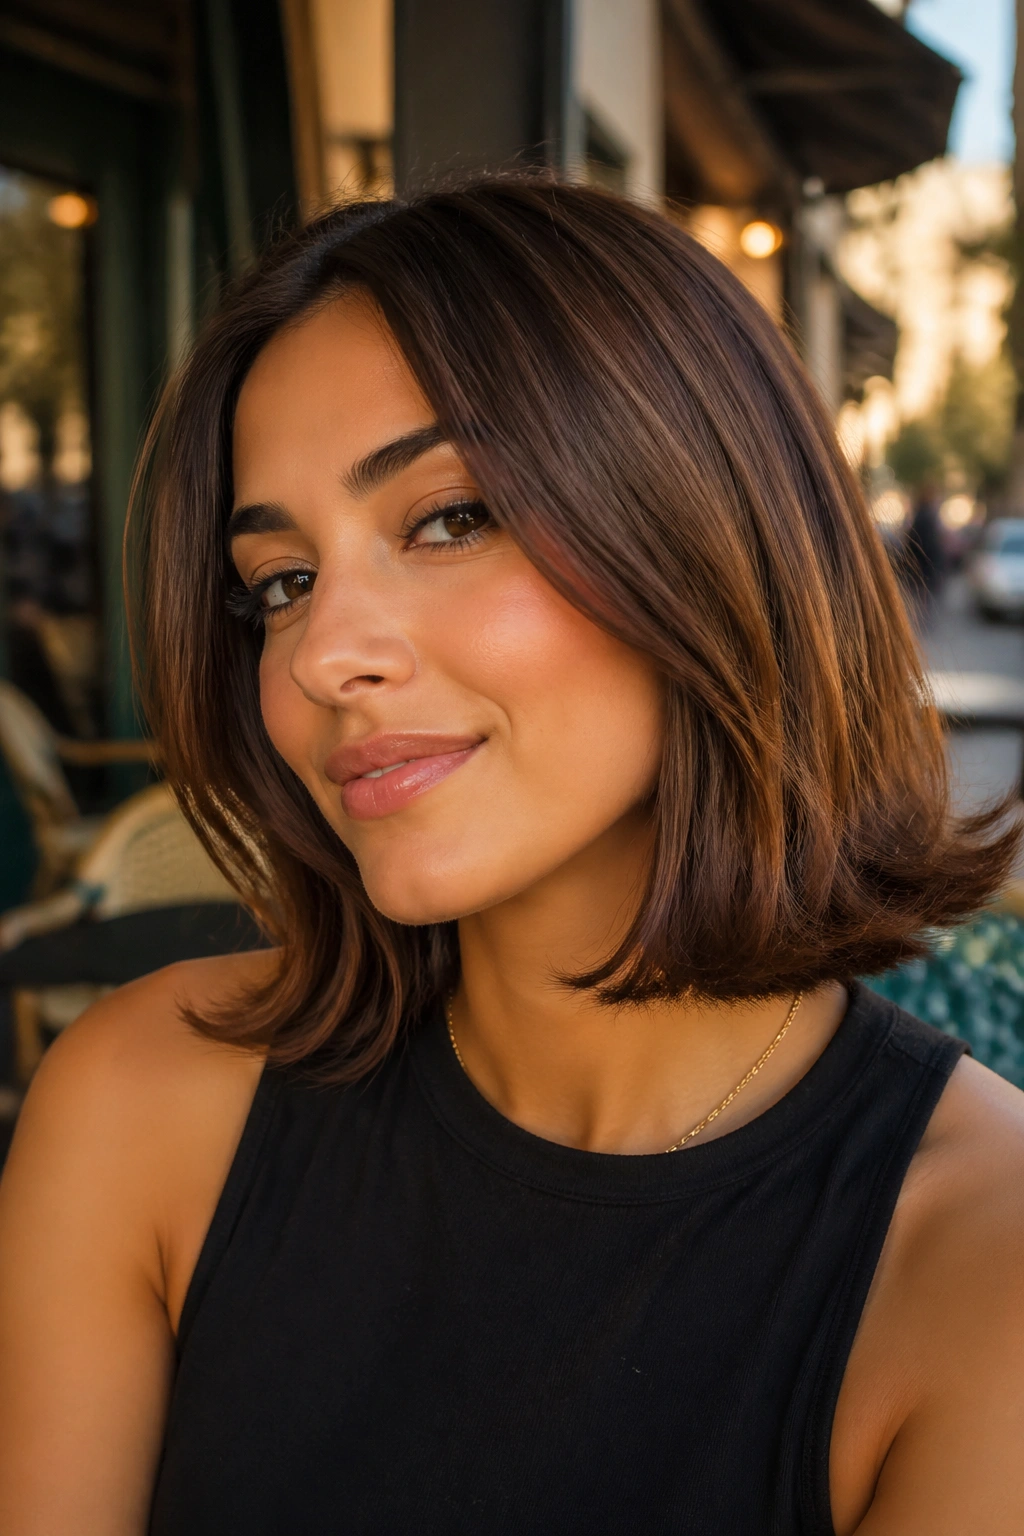
The ends that curve outward are the whole point here. A flipped-out lob gives straightened curly hair a polished shape without trying to force every strand into a dead-straight line. Shoulder-length cuts love this style because the flip keeps the haircut from looking heavy at the bottom.
How to Flip the Ends Evenly
Work in 1-inch sections with a flat iron or a round brush. As you reach the last inch of each section, turn your wrist away from the face so the ends swing outward. Keep the motion small. Big flips start looking retro fast, and not always in a good way.
If your layers are uneven, flip everything in the same direction first, then smooth the front pieces away from the face so the haircut reads as one shape. A little shine spray on the ends helps the style look finished.
This is one of those styles that makes straightened curls feel less rigid. The bend gives the hair movement without making it look like you changed your mind halfway through.
13. Crown Braid

A crown braid is a smart fix when you want your face clear and the rest of the hair tucked away. It also plays nicely with straightened curly hair because the strands are smooth enough to braid cleanly but still have enough texture for the braid to stay put. That combination matters.
Start with a side part and braid along the hairline on one side, or braid two sections from each side and pin them together across the back. Either way, use small bobby pins to anchor the braid every few inches. One or two pins will not do the job if the hair is thick. Use more than you think.
Building Grip at the Roots
A touch of dry shampoo or texturizing spray at the crown helps the braid hold. Spray at the roots, wait a few seconds, then braid. Too much product makes the hair gritty. Too little and the braid loosens before you leave the house.
The crown braid is one of those styles that looks more complicated than it is. That is part of its charm.
14. Space Buns
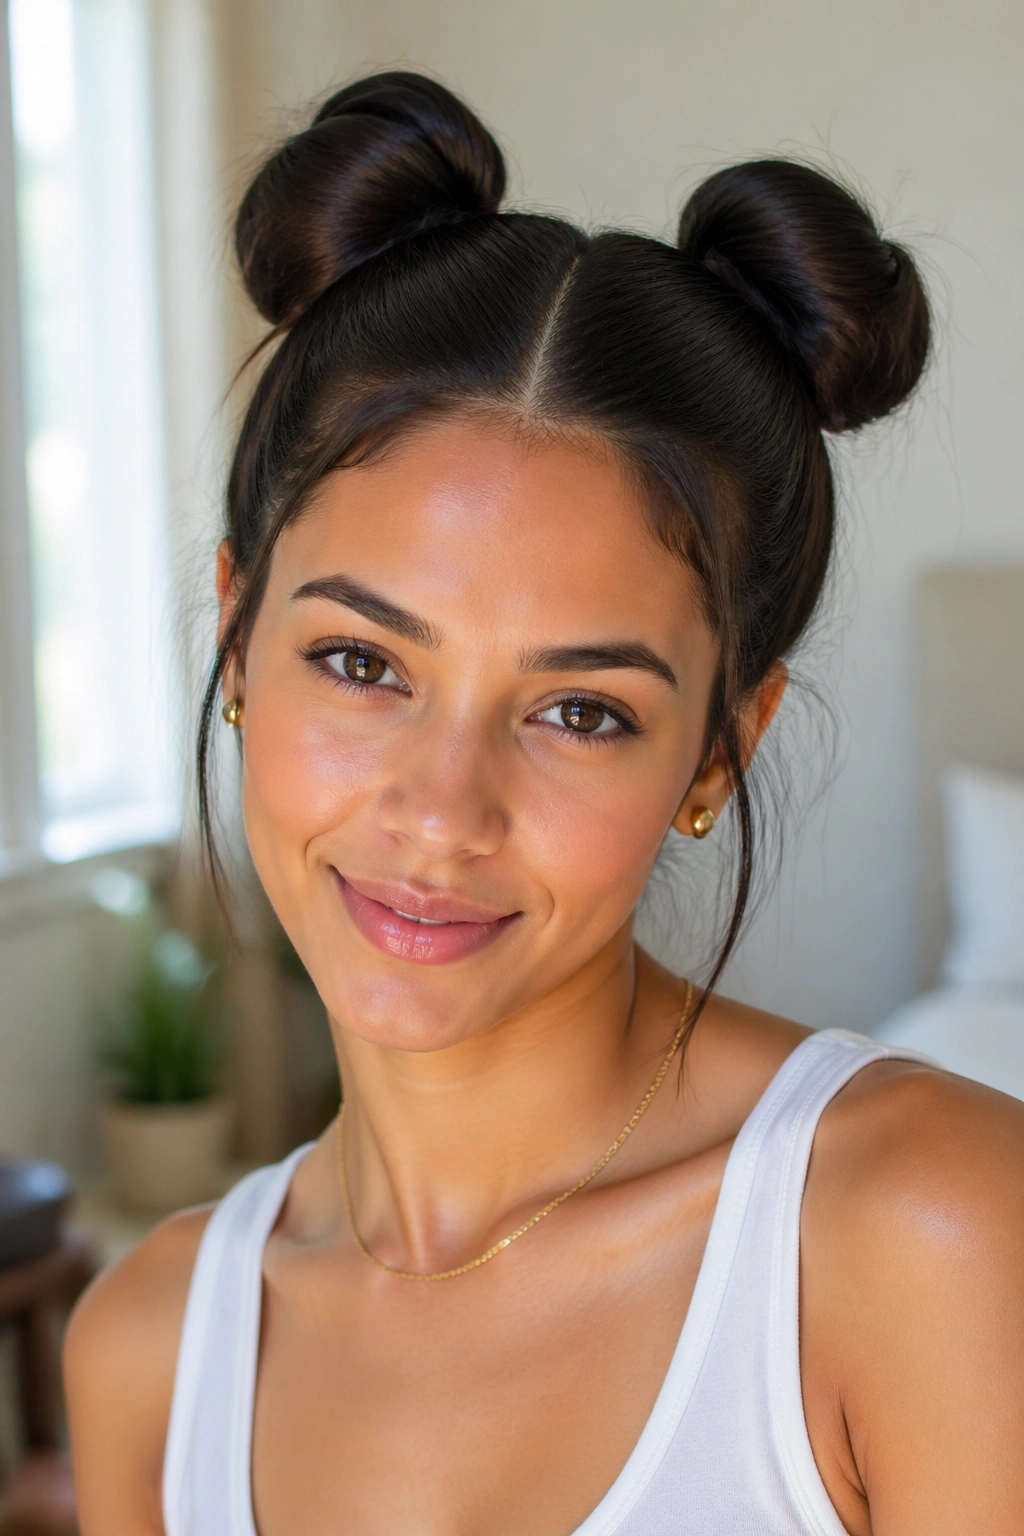
Need something playful that still keeps the hair controlled? Space buns do that job well. They work on straightened curly hair because the smooth lengths make the buns easy to shape, while the natural body of the hair gives the buns more size than you’d get from ultra-fine, pin-straight strands.
Part the hair cleanly down the middle and gather each side high or low, depending on the mood. Twist each section into a bun and secure it with an elastic plus a few pins. High buns feel more energetic. Low buns feel calmer and less cartoony.
If you want the style to look softer, leave two small pieces around the face. If you want it cleaner, brush those pieces back and tuck them under the bun base. The trick is balance. Too neat, and the style can look stiff. Too loose, and the buns lose their shape.
15. Headscarf Ponytail

A headscarf does more than decorate the look. It helps protect straightened curly hair from friction, wind, and a bit of humidity, which is why this style makes sense when you want the blowout to last longer. A silk or satin scarf works best because it slides less and feels gentler against the hairline.
Choosing the Right Scarf
Look for a scarf that’s at least 2 inches wide if you want to tie it around the base of a ponytail. Narrow strips tend to twist awkwardly. A square scarf can work too, especially if you fold it into a band and knot it under the ponytail.
Tie the ponytail first, then wrap the scarf around the base or weave it through the length. Keep the knot low and secure. If the scarf is slippery, cross the tails twice before tying them off.
This style is especially useful on second-day hair, when the roots need help but the rest of the hair still looks good. It buys you one more wear out of the straightened texture without much trouble.
16. Pin-Straight Side Sweep
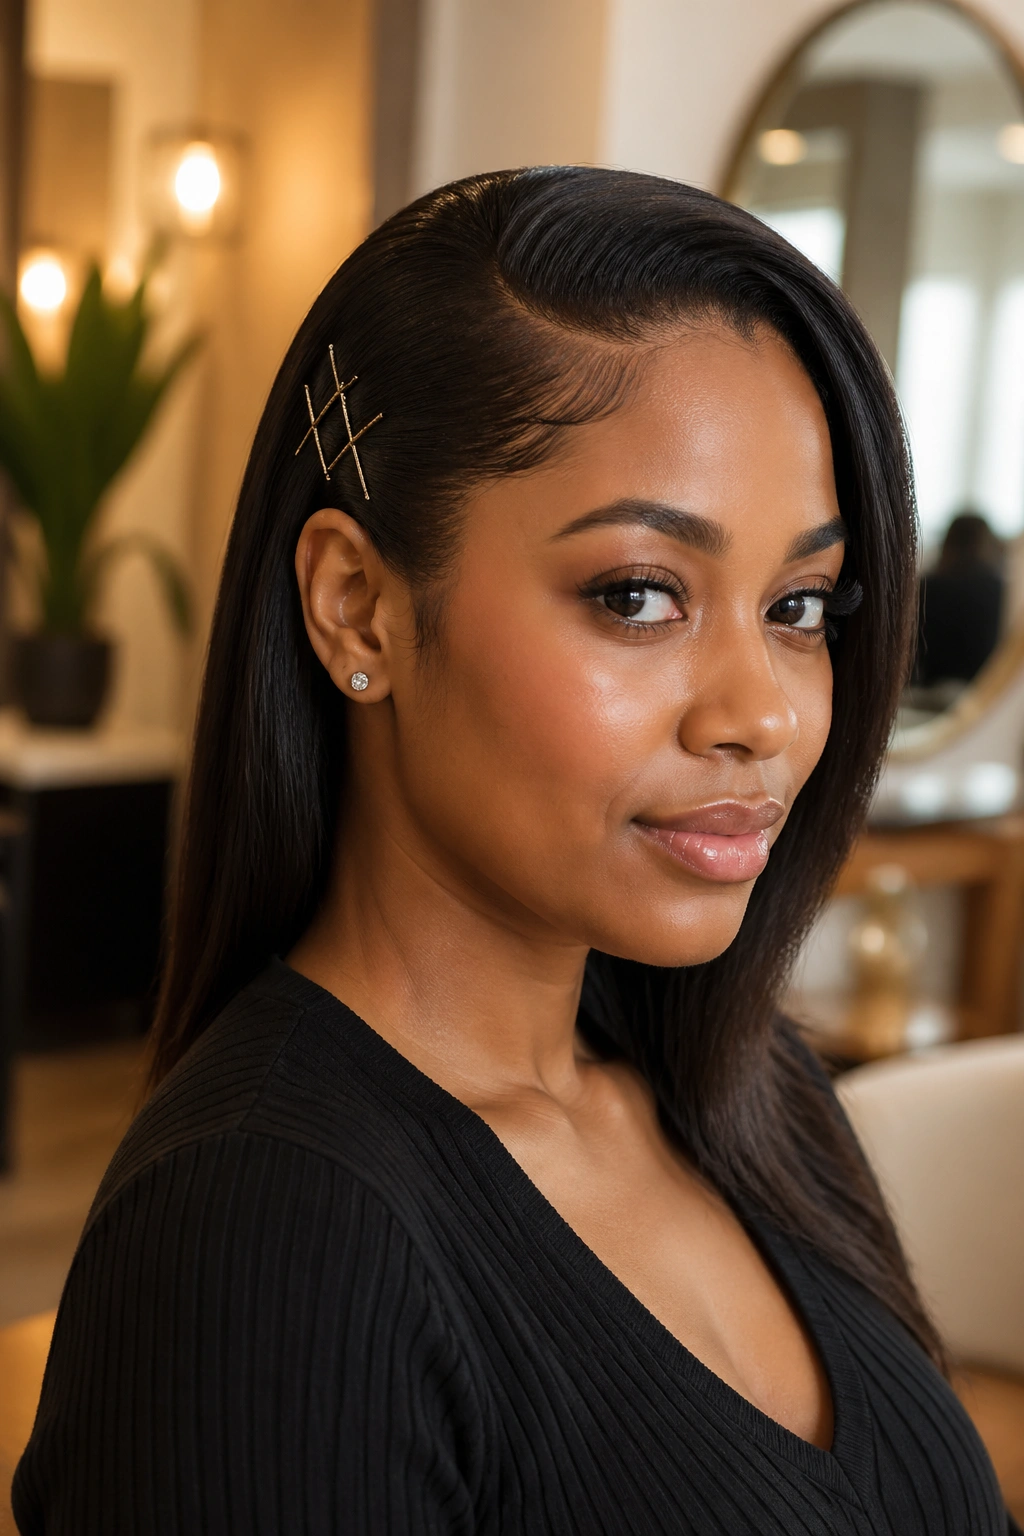
A side sweep is one of the easiest ways to make straightened curls look polished when the top layer is behaving and the rest is not. Instead of fighting for perfect symmetry, you let the hair fall to one side and pin it into place under the ear or at the nape.
Use a comb to direct all the hair to your preferred side, then anchor it with 2 to 4 bobby pins placed in an X shape. That crossed pattern holds better than a single pin. A small decorative barrette can sit on top if you want the style to feel finished, but the pins do the real work.
This style is especially useful when one side of the hair has a little more volume than the other. The sweep makes that difference feel intentional. A tiny bit of pomade on the hairline helps the front stay smooth, but keep it away from the lengths or the hair loses movement.
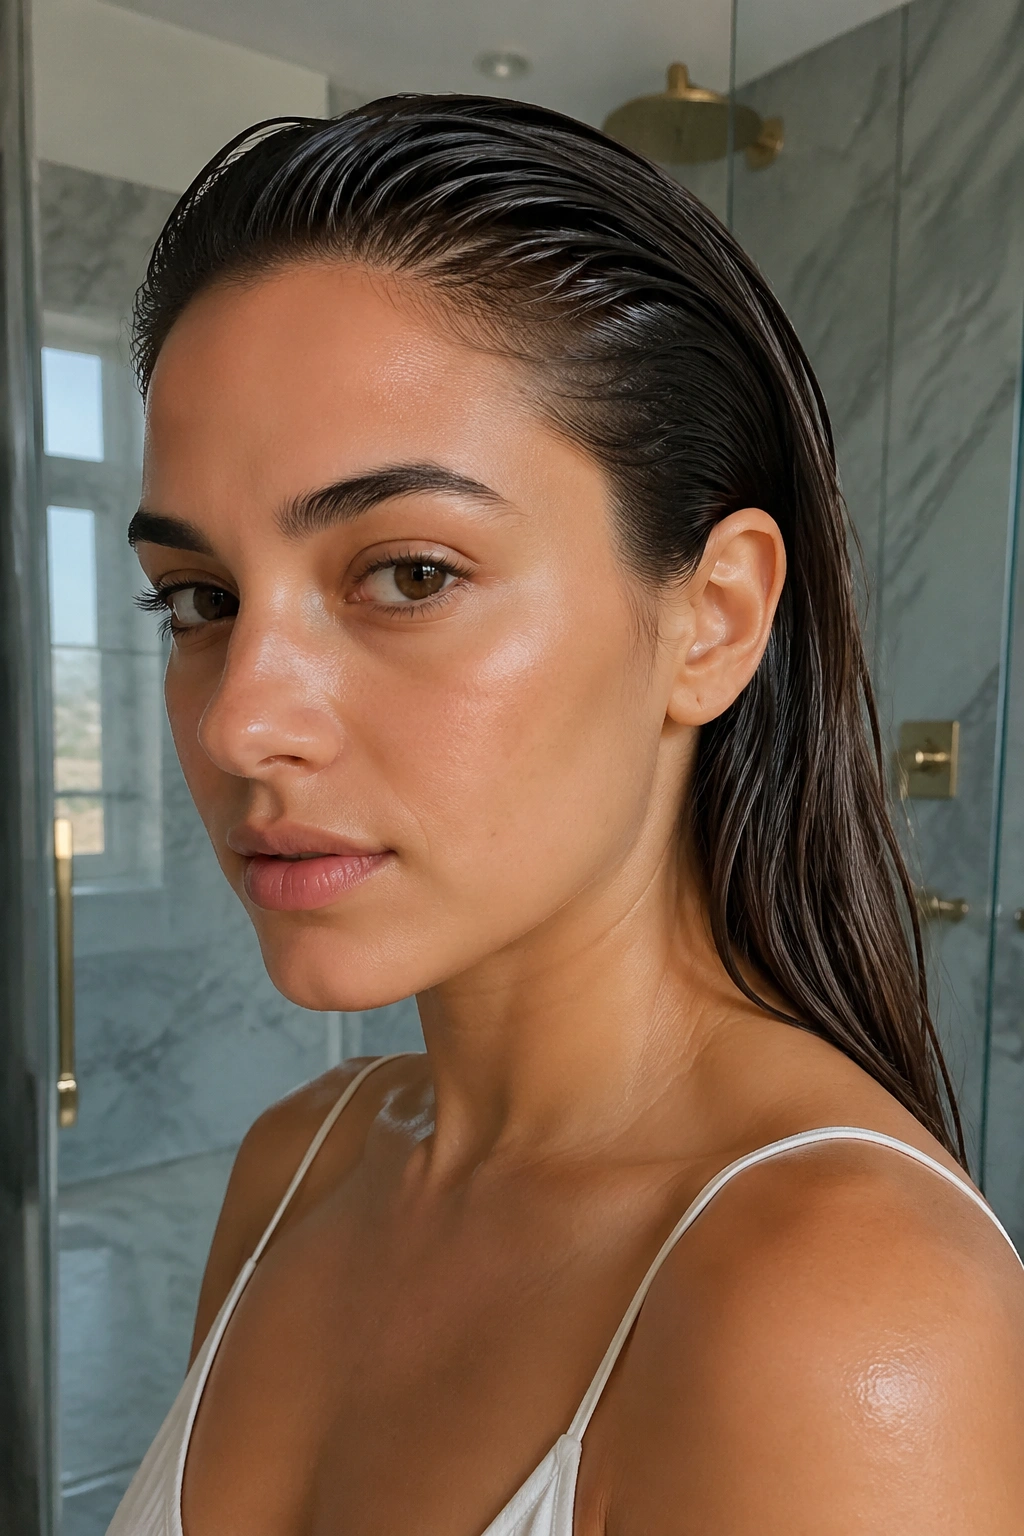
17. Wet-Look Back Sweep
A wet look can be a smart move on straightened curls, not a risky one, if you keep the product amount small. The style works because the glossy finish hides a little frizz and makes the hairline look crisp. It also keeps the front pieces out of your face without needing a full bun.
Keeping It Glossy
Start with damp or freshly washed hair if you can. Work a small amount of gel through the top and sides with a brush, then comb the hair straight back. Use a touch of serum on the ends only. Too much on the roots makes the style separate and can leave flakes once it dries.
- Apply gel in a thin layer, not a thick cap.
- Brush the hair back in long strokes.
- Tuck it behind the ears or secure it in a low knot.
- Let it set without touching it.
This look is best when you want the hair to feel deliberate and tidy. It is sharp, not fussy.
18. Soft Bent-Ends Blowout
Straightened curly hair does not have to chase poker-straight perfection. A soft bend at the ends can look cleaner, softer, and more expensive-looking than a dead-flat finish that shows every tiny kink. This style is especially good when your ends naturally want to curve anyway, because you are working with the hair instead of fighting it.
When a Bend Looks Better Than a Pin-Stick Finish
Use a round brush or a flat iron on small sections about 1 inch wide. Keep the tool moving, then flick the ends inward or outward just slightly. The bend should be subtle. If it looks like a curl, you went too far. If it disappears completely, the hair can look unfinished.
A soft bent-ends blowout is useful on medium-length cuts, layered styles, and hair that has enough body to hold shape without feeling stiff. It also hides small differences in straightening better than an ultra-sleek finish does. I like this one because it feels honest. The hair is still straightened, but it keeps a little of its own character.
Final Thoughts

Straightened curly hair gives you more styling options than people sometimes expect. The texture is smooth enough for clean lines, but it still has enough memory to hold a clip, a braid, or a wrapped ponytail better than very silky hair would.
If you want the least fuss, start with the low wrapped ponytail, claw clip twist, or face-framing tuck. If you want something sharper, the center part, low bun, and French twist do the heavy lifting. And if you want to make a blowout last without forcing it into one exact shape, the bubble ponytail, crown braid, or soft bent ends are worth keeping in rotation.
The small things matter. A good bobby pin. A clean part. A dab of serum only on the ends. That is usually enough.