



S curl styles for natural hair have built a serious reputation — and for good reason. That signature wave-meets-coil pattern is one of the most flattering shapes a Black woman’s hair can take, working with the natural texture rather than against it. Whether you’re rocking a TWA or working with shoulder-length coils, s curl styles can give you definition, movement, and volume all at once. The style is versatile enough to dress up or down, protective enough to preserve your ends, and beautiful enough to stop traffic.
What Makes S Curl Styles So Flattering on Natural Hair
The s curl gets its name from the shape each strand takes when properly defined — a gentle, undulating wave that looks like the letter S. But what makes this shape so flattering isn’t just aesthetics. It’s physics.
Natural hair has a built-in tendency to curl back on itself. That natural spring is what creates shrinkage, yes — but it’s also what gives s curl styles their incredible bounce and body. When you encourage that shape instead of fighting it, the result is a style that moves naturally, holds its definition longer, and looks intentional rather than accidental.
S curls tend to be more elongated than tight coils, which means they reduce the visual effect of shrinkage without needing heat or excessive manipulation. That’s a huge win. You get length and definition without compromising the integrity of your curl pattern.
The shape also works across a wide range of curl types. Whether your natural texture is 3b, 3c, 4a, or somewhere in between, you can achieve an s curl look — it just takes different techniques and products depending on your specific pattern.
Understanding Your Natural Curl Pattern Before You Start
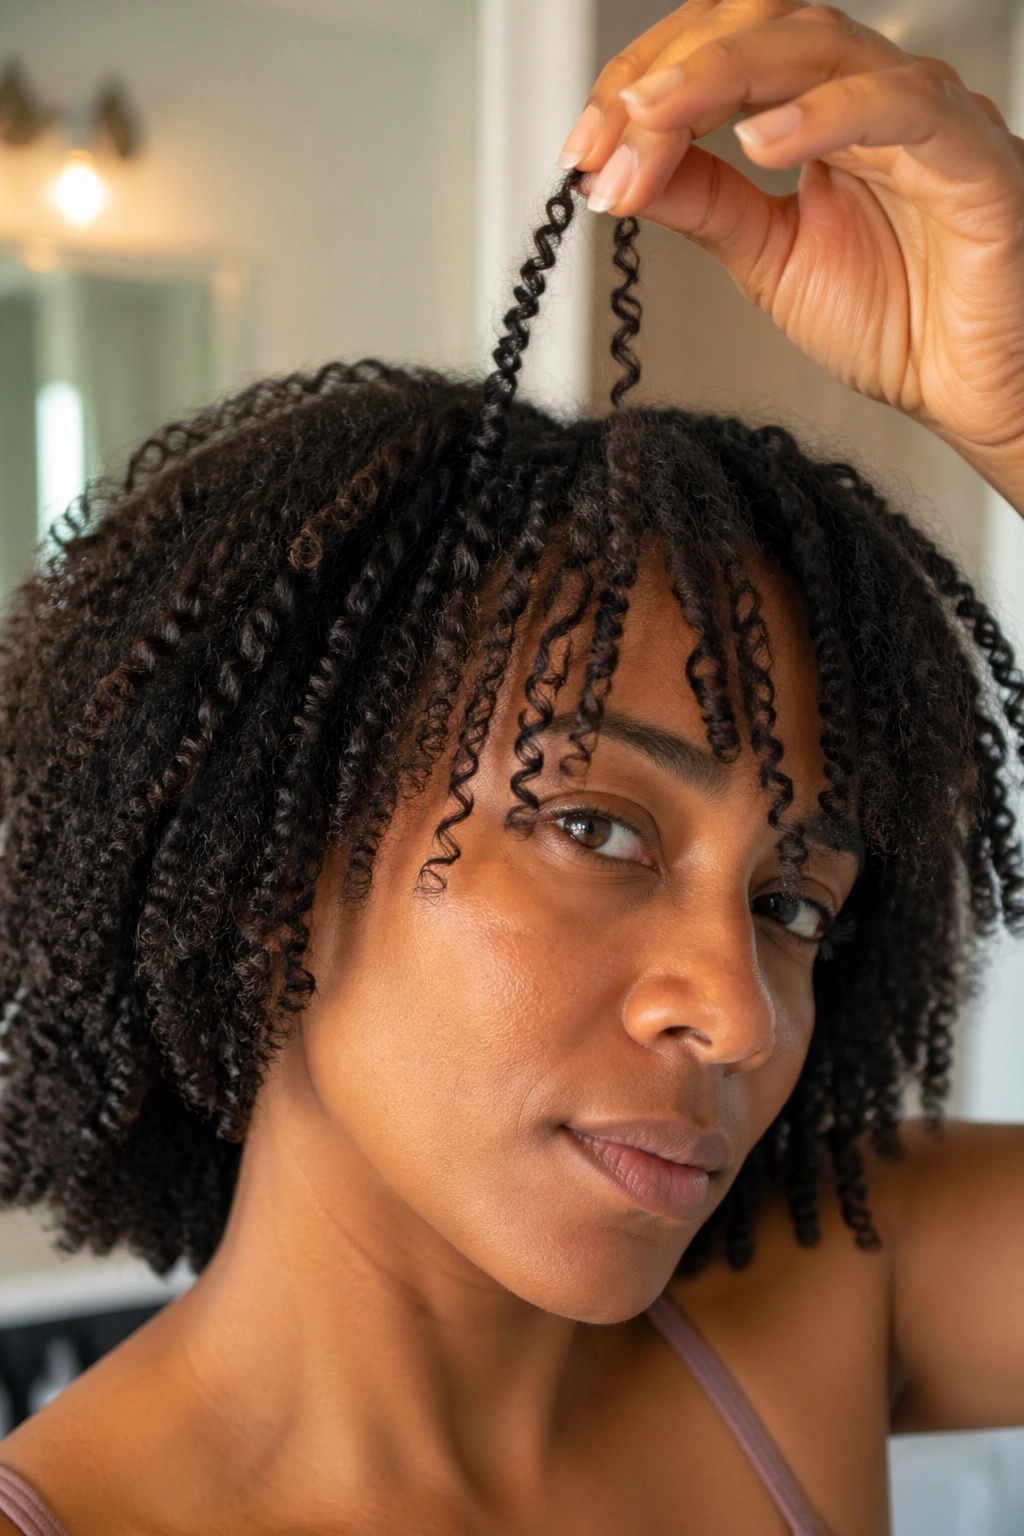
Before you pick a style off this list, take a moment to actually understand what your hair is already doing. That’s not a step most people take seriously enough, and it costs them hours of frustration.
Your curl pattern is your starting point, not your limitation. A 4c texture can absolutely rock s curl styles — it just needs a different approach than 3c hair does. Tighter coils benefit from more moisture, more product, and techniques like shingling or finger coiling. Looser curl patterns may need less product and more diffusing.
Look at your hair when it’s freshly washed and completely product-free. What shape does each strand naturally form? Does it spring into coils? Does it wave? Does it zig-zag? That baseline tells you how much encouragement your hair needs to form a true s curl pattern.
Also pay attention to your hair’s porosity. High-porosity hair absorbs products quickly but loses moisture just as fast — so you’ll need heavier leave-ins and sealants to hold your s curl definition. Low-porosity hair is the opposite: it resists moisture at first but holds it well once absorbed, so lighter products and heat (like a warm diffuser) help open the cuticle and let products penetrate.
The Best Products for Defined S Curl Styles
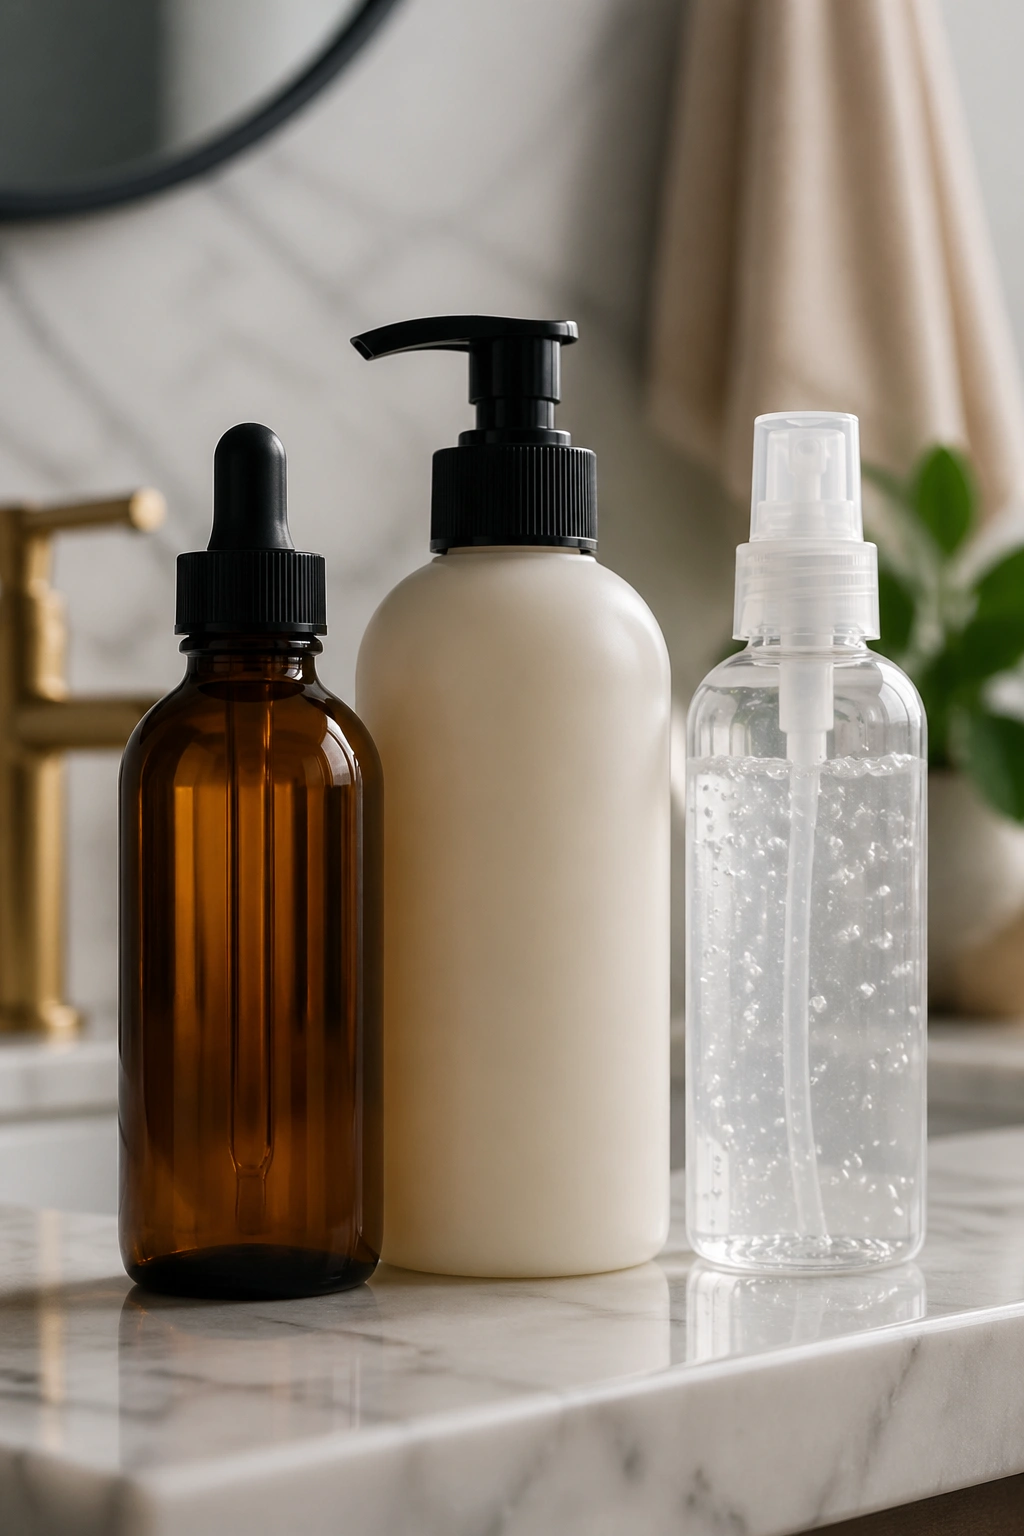
Products are everything when it comes to s curl definition. The right combination can mean the difference between a style that pops for three days and one that puffs out within the hour.
Start with a solid moisture base. A hydrating shampoo followed by a deep conditioner sets the stage for any curl style — but for s curls specifically, moisture is non-negotiable. Dry hair won’t form clean s shapes. It’ll frizz, clump unevenly, and lose definition fast.
Layer your products strategically. The LOC method (liquid, oil, cream) works beautifully for s curl styles because it locks moisture in at each layer. Apply your leave-in conditioner first, then a lightweight oil to seal, then a curl cream or custard to define. Some naturals swap the last two steps (LCO method) and find it works better for their porosity — experiment to find what your hair loves.
For hold, a light-to-medium gel applied over your cream is what creates that crisp, defined s curl pattern. Ecoslay Orange Marmalade, TGIN Butter Cream, Camille Rose Curl Maker — these are cult favorites for a reason. But honestly, drugstore options like Kinky Curly Curling Custard or Cantu Define & Shine hold their own against the premium picks.
How to Prep Your Hair for Maximum S Curl Definition
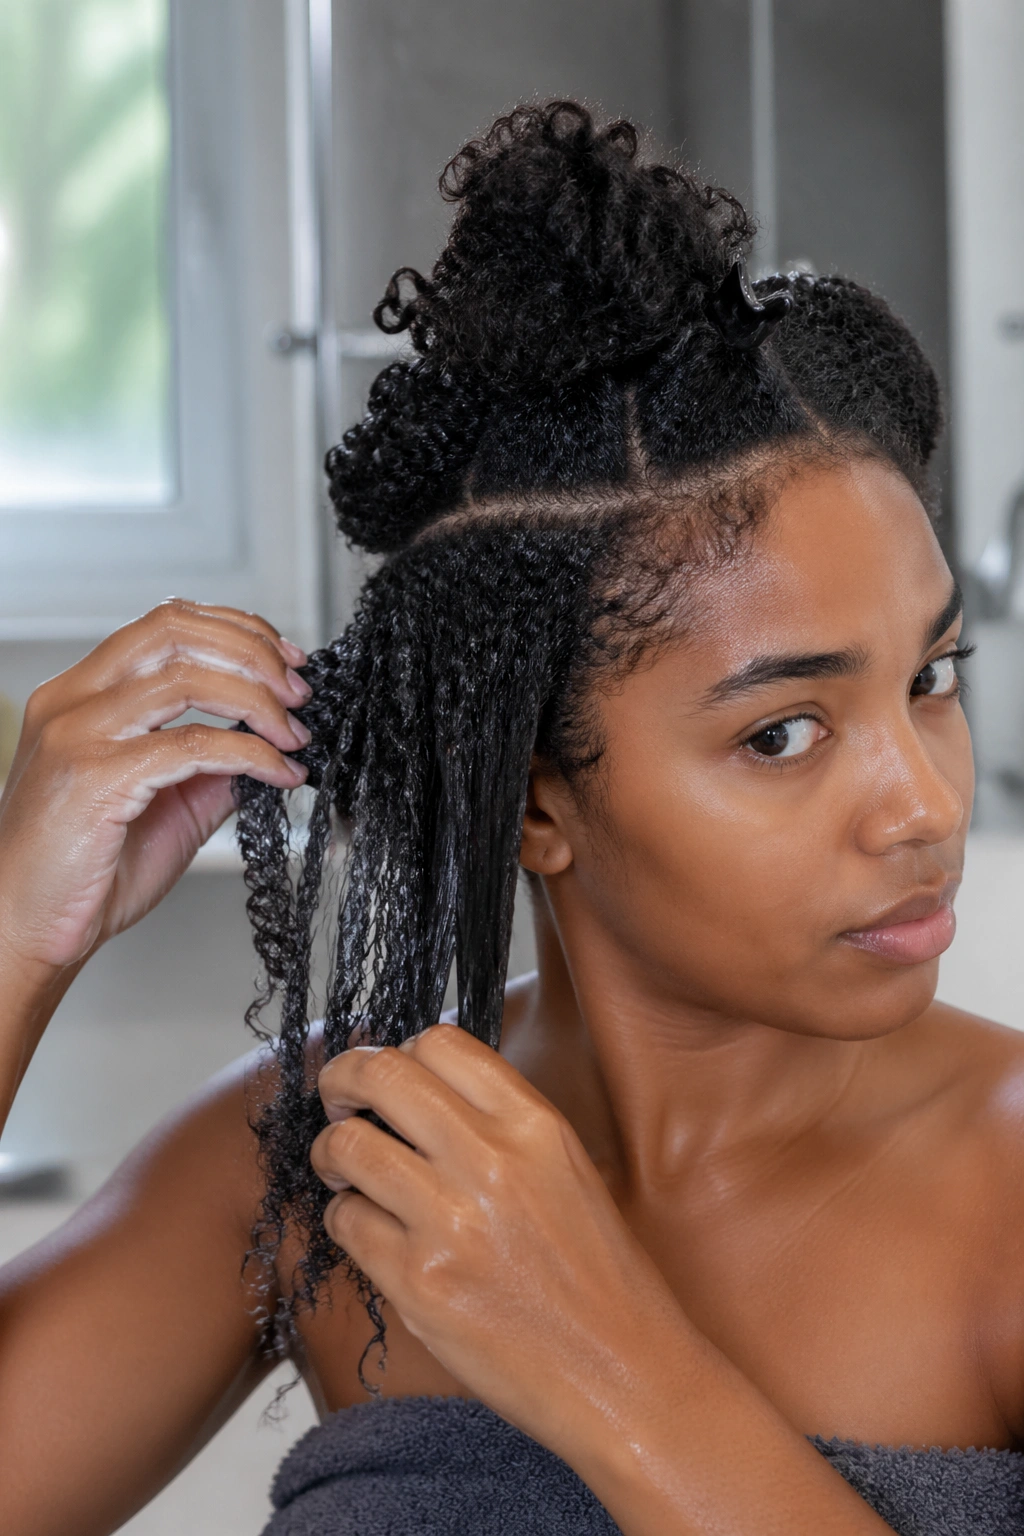
Prep is where most s curl attempts go wrong. People skip steps, rush the process, or apply products to damp-but-not-wet-enough hair — and then wonder why the definition doesn’t last.
Wash-and-go is the gold standard foundation for s curl styles. Start with freshly cleansed, deeply conditioned hair. Section it into four to eight parts depending on your thickness. Work product into each section while the hair is still dripping wet — not towel-dried, not air-dried for ten minutes first. Wet.
Shingling is one of the most effective techniques for s curl definition: apply your styling product strand by strand, smoothing it down from root to tip and encouraging the hair to clump together in its natural s pattern. It’s time-consuming, but the results are unmatched.
Alternatively, the rake-and-shake method works well for naturals who want more volume with less separation. Rake your product through a section with your fingers, then shake the ends gently to encourage curl formation. Less definition, more fluffy volume — still a gorgeous s curl look.
Diffuse on low heat or air dry completely before touching your hair. Touching it while it’s still drying is how you introduce frizz.
Why S Curl Styles Work for Every Occasion
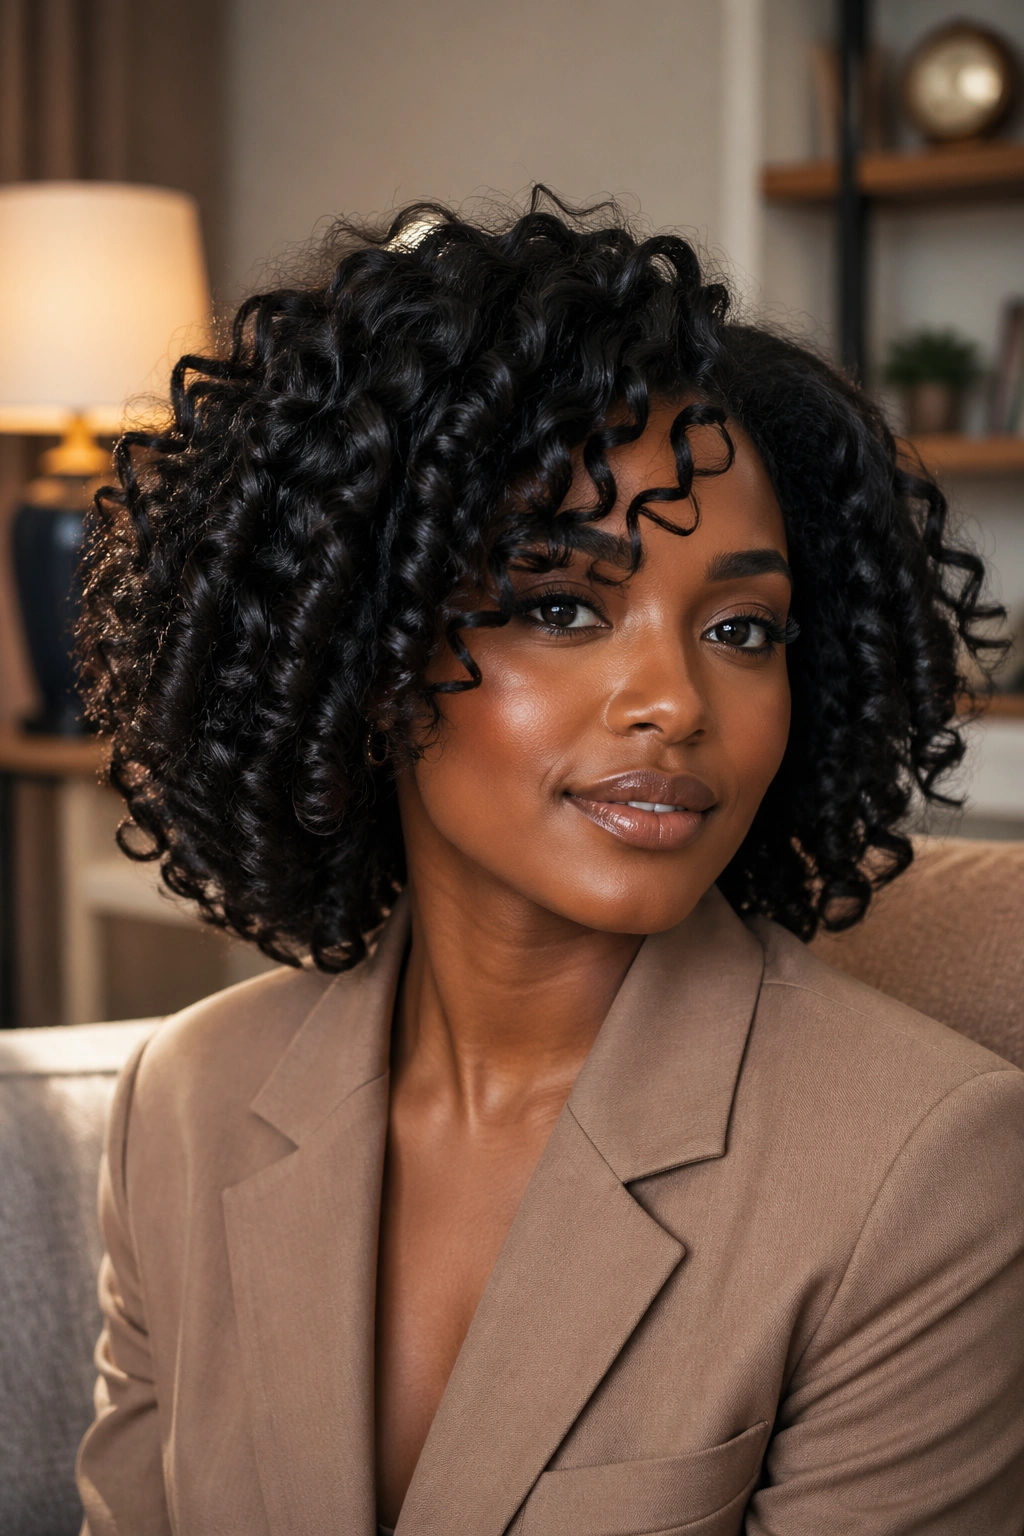
One of the most underrated things about s curl styles is how range they actually have. People treat them like a casual, everyday look — and they absolutely are — but they also clean up beautifully for formal events, work presentations, or nights out.
Defined s curls with shine serum have a red-carpet-ready quality. Add a decorative headband or some strategic pinning and suddenly you’ve got a style that looks completely intentional and polished. No one needs to know you prepped it two days ago.
On the other end of the spectrum, second and third-day s curls with a little refreshing spray and a pineapple from the night before give you an effortless, lived-in look that photographs beautifully. The movement you get from slightly looser, older s curls is genuinely stunning.
S curl styles also pair well with accessories. Silk scarves tied as headbands, gold hair cuffs on individual coils, pearl pins worked into the style — all of these elevate the look without requiring you to restyle from scratch.
1. Classic Wash-and-Go S Curls
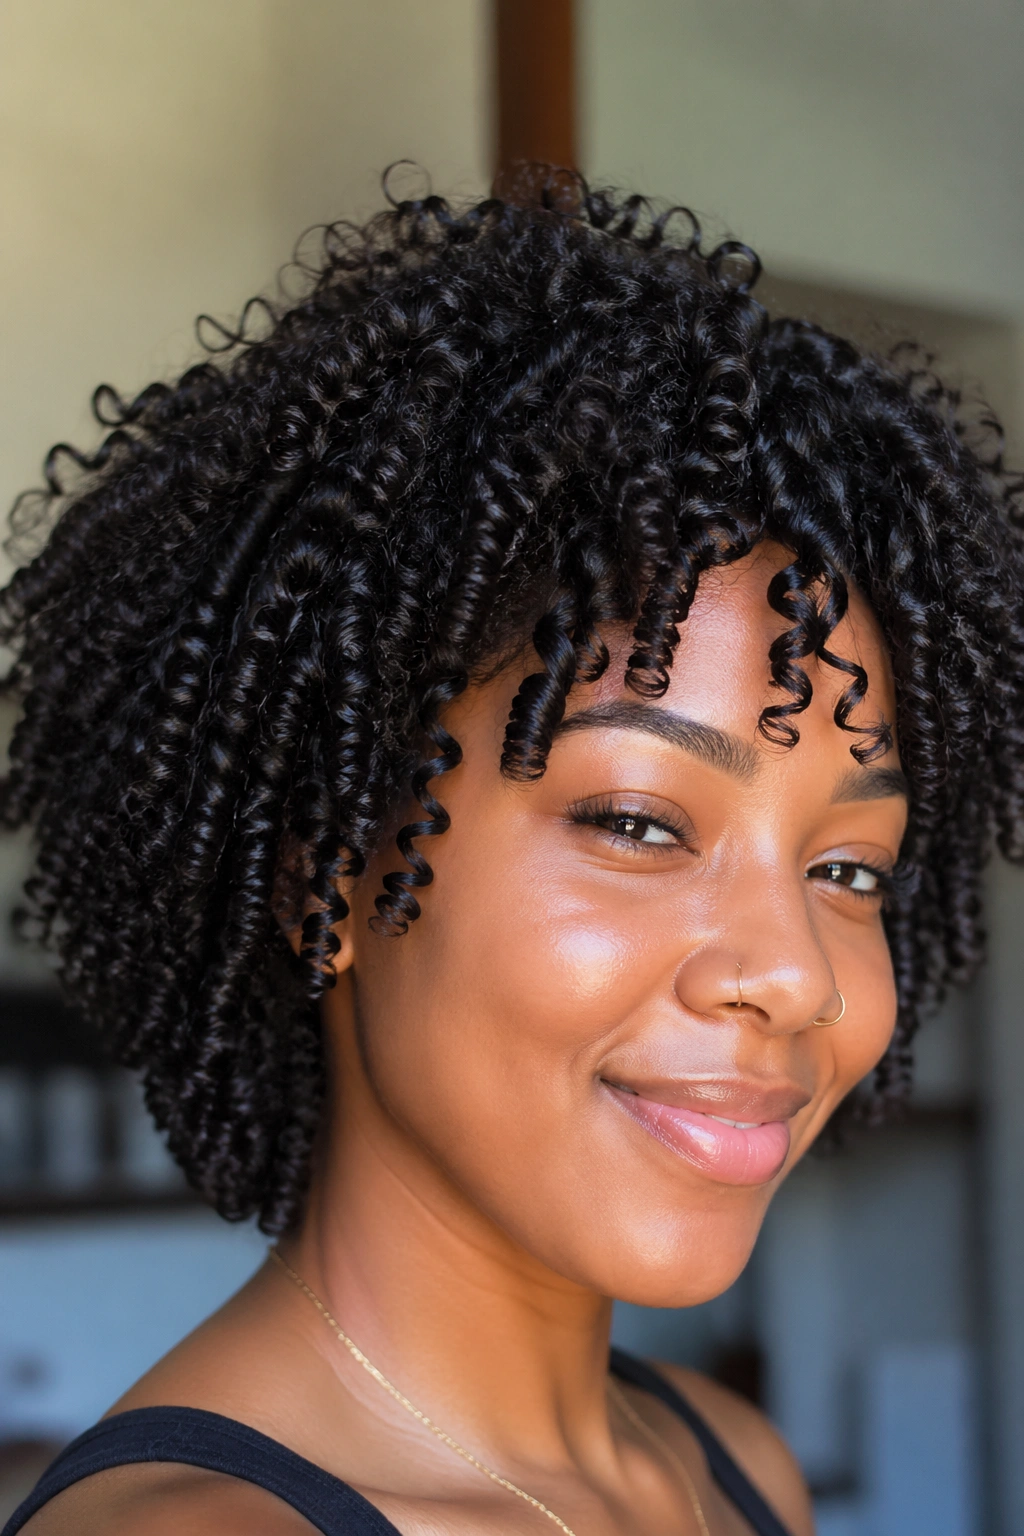
The wash-and-go is the foundation of every s curl look on this list. It’s not complicated — it’s just done right or it isn’t.
Start with soaking wet hair. That’s the most important sentence in this whole entry. Products applied to wet hair distribute evenly, penetrate better, and allow each strand to form its natural s pattern as it dries. Apply your leave-in conditioner section by section, then layer your curl cream or custard on top, and finish with a defining gel.
How to Achieve Classic Wash-and-Go S Curls
- Wash with a hydrating shampoo or co-wash
- Deep condition for at least 20 minutes
- Apply leave-in conditioner to soaking wet sections
- Layer curl cream and defining gel
- Diffuse on low or air dry completely
Pro tip: Don’t touch your hair until it’s 100% dry. Patience is the secret ingredient.
2. Shingled S Curl Wash-and-Go
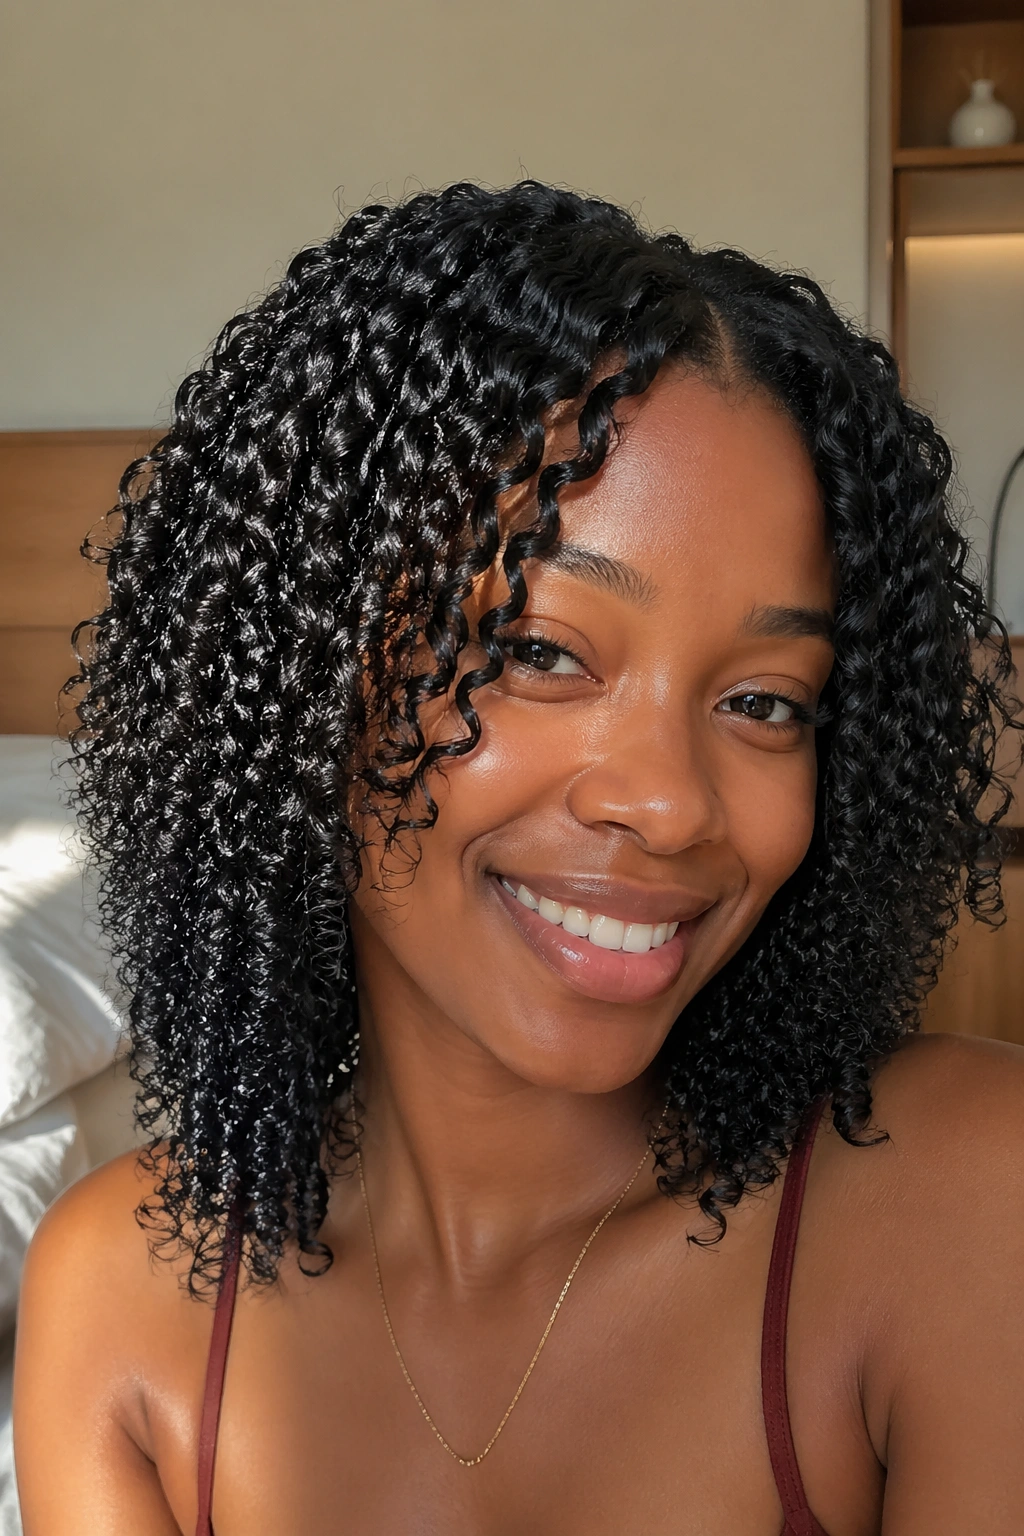
Shingling takes the classic wash-and-go and turns the definition dial all the way up. This technique separates individual curls and coats each one with product from root to tip.
Work in small sections — one to two inches wide — and use your fingers or a wide-tooth comb to apply product. Smooth it downward, encouraging each strand to lay in its s pattern. The sections will clump together into defined groups as they dry.
This method takes longer than a standard wash-and-go, but the payoff is definition that lasts days longer and an overall look that’s much more polished. It’s especially effective on 4a and 4b hair that tends to frizz easily.
3. S Curl Twist-Out
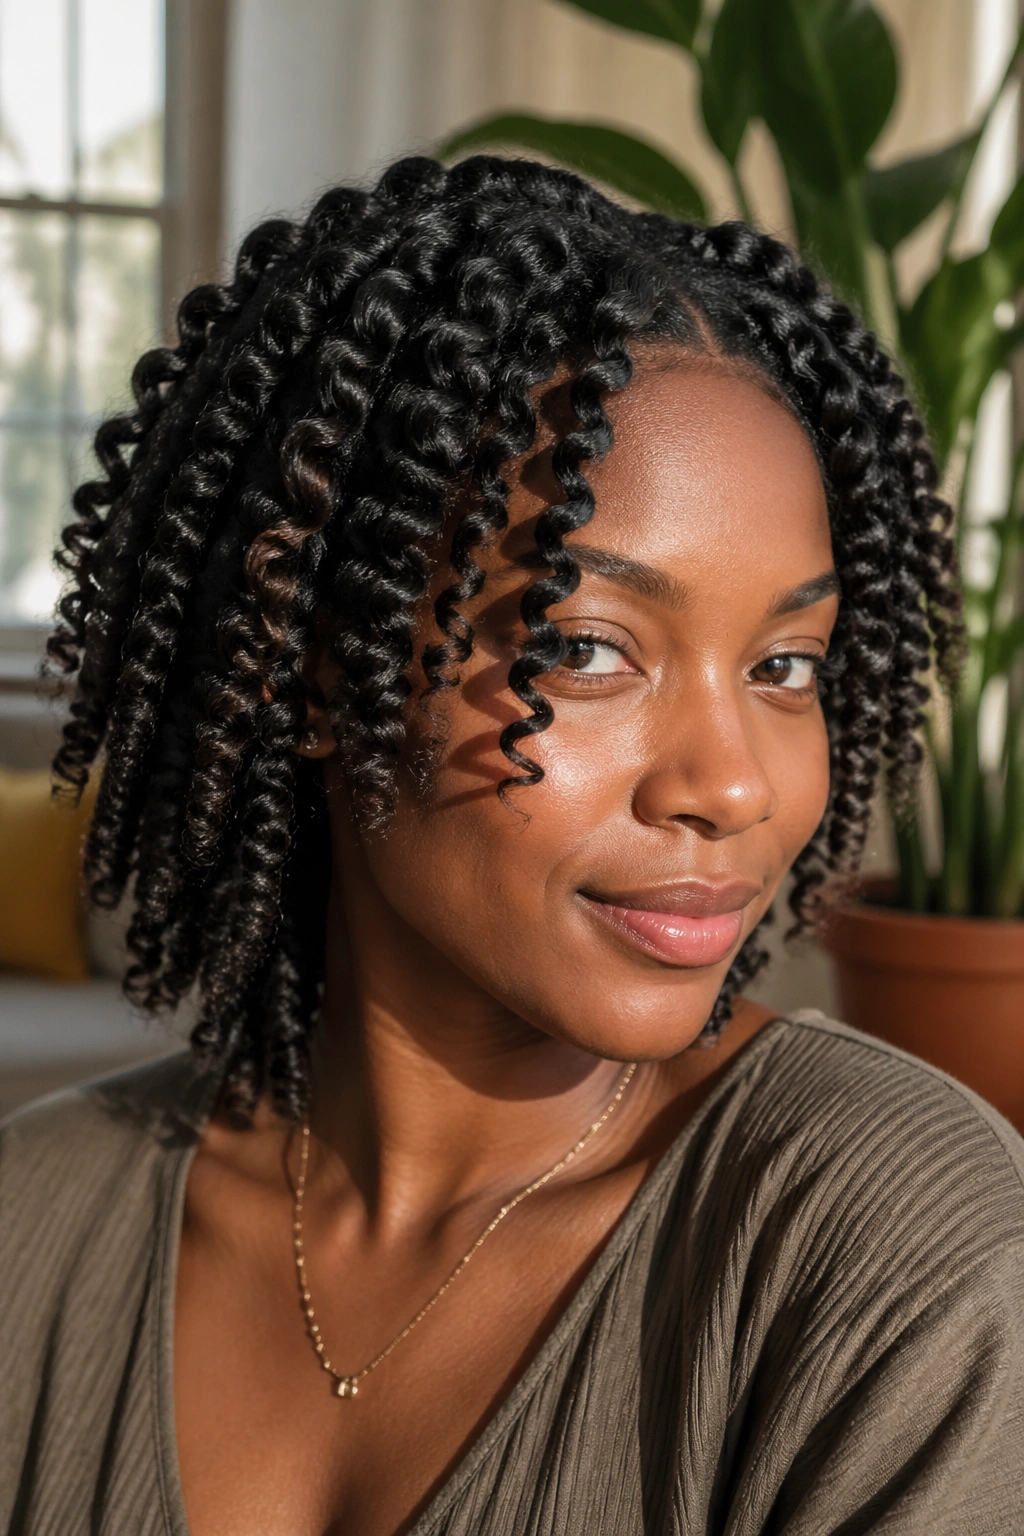
The twist-out is how you get s curl definition without a wash day. Section your dry or slightly dampened hair, apply your favorite styling cream, and twist each section from root to tip. Sleep in the twists overnight (or sit under a hooded dryer for faster results) and unravel them the next morning.
How to Achieve an S Curl Twist-Out
- Apply cream or butter to each section before twisting
- Twist tightly for more defined s curls, loosely for a more relaxed wave
- Unravel by pulling gently from the bottom up
- Separate carefully with a little oil on your fingers
The key is in the unraveling. Go slowly. Rush it and you’ll have frizz instead of definition. Seal the style with a light oil or shine serum once it’s fully separated.
4. S Curl Braid-Out
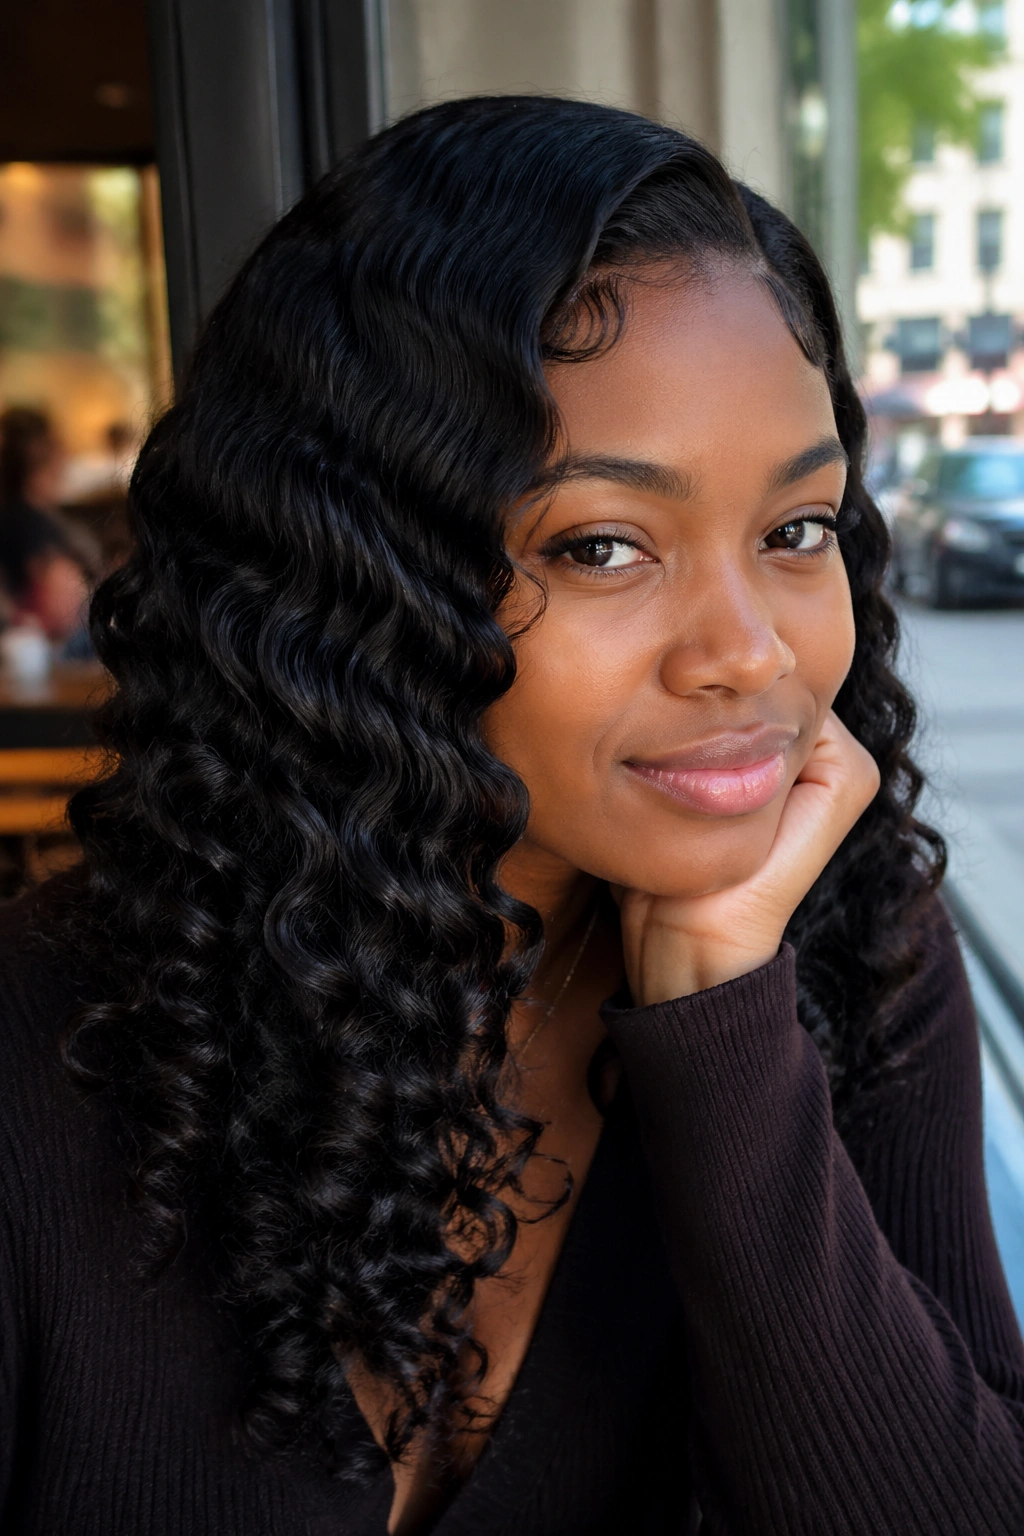
Braid-outs create a slightly different s curl pattern than twist-outs — more elongated, with a more pronounced wave pattern throughout the length of the hair. They’re ideal for naturals who want length with definition.
Braid damp hair in medium-sized sections, apply a styling cream or custard, and let it dry completely before unraveling. The smaller the braid, the tighter the resulting s pattern. Larger braids give you bigger, more relaxed waves.
This style works beautifully on length — the longer the hair, the more dramatic and flowing the braid-out s curl pattern becomes.
5. Finger-Coiled S Curls
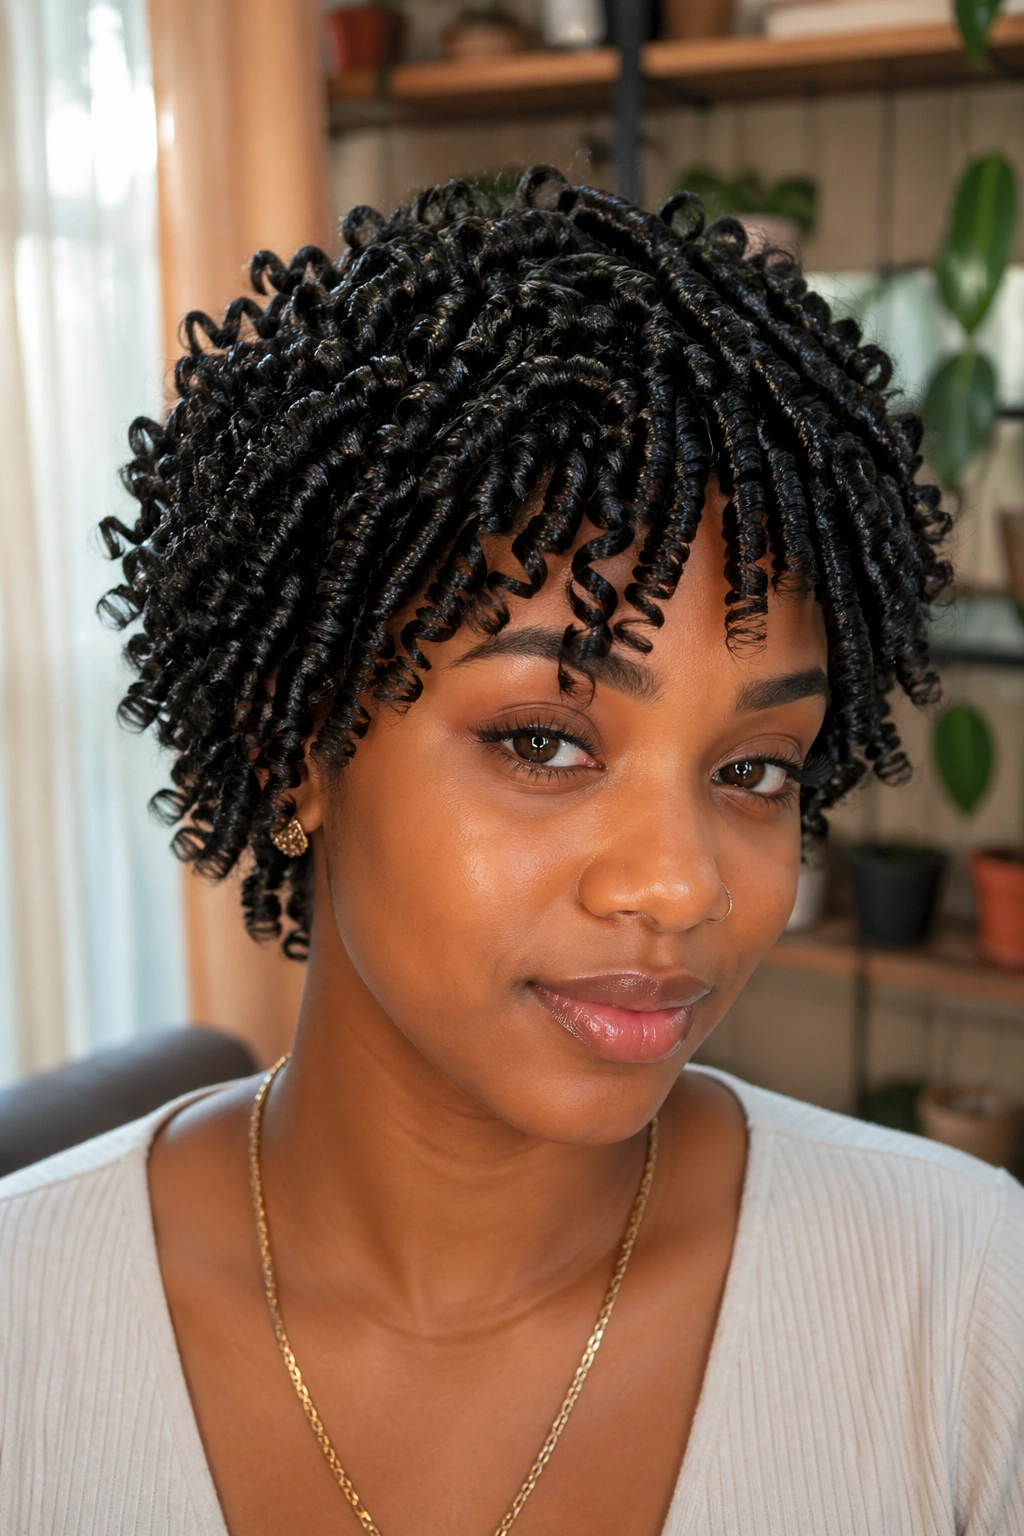
Finger coiling is the technique that gives you the most control over how your s curls take shape. Wrap individual sections of hair around your finger as you apply product, guiding each strand into a coil. As it dries, the coil settles into a defined s pattern.
This method is time-intensive but produces some of the most beautiful, precise curl definition possible. It’s especially effective for 4c naturals who want to showcase curl definition that doesn’t happen easily on its own.
Work in very small sections — about the width of a pencil — and use a curl cream or custard with good slip. Gel on top locks everything in place.
6. S Curl Puff with Defined Edges
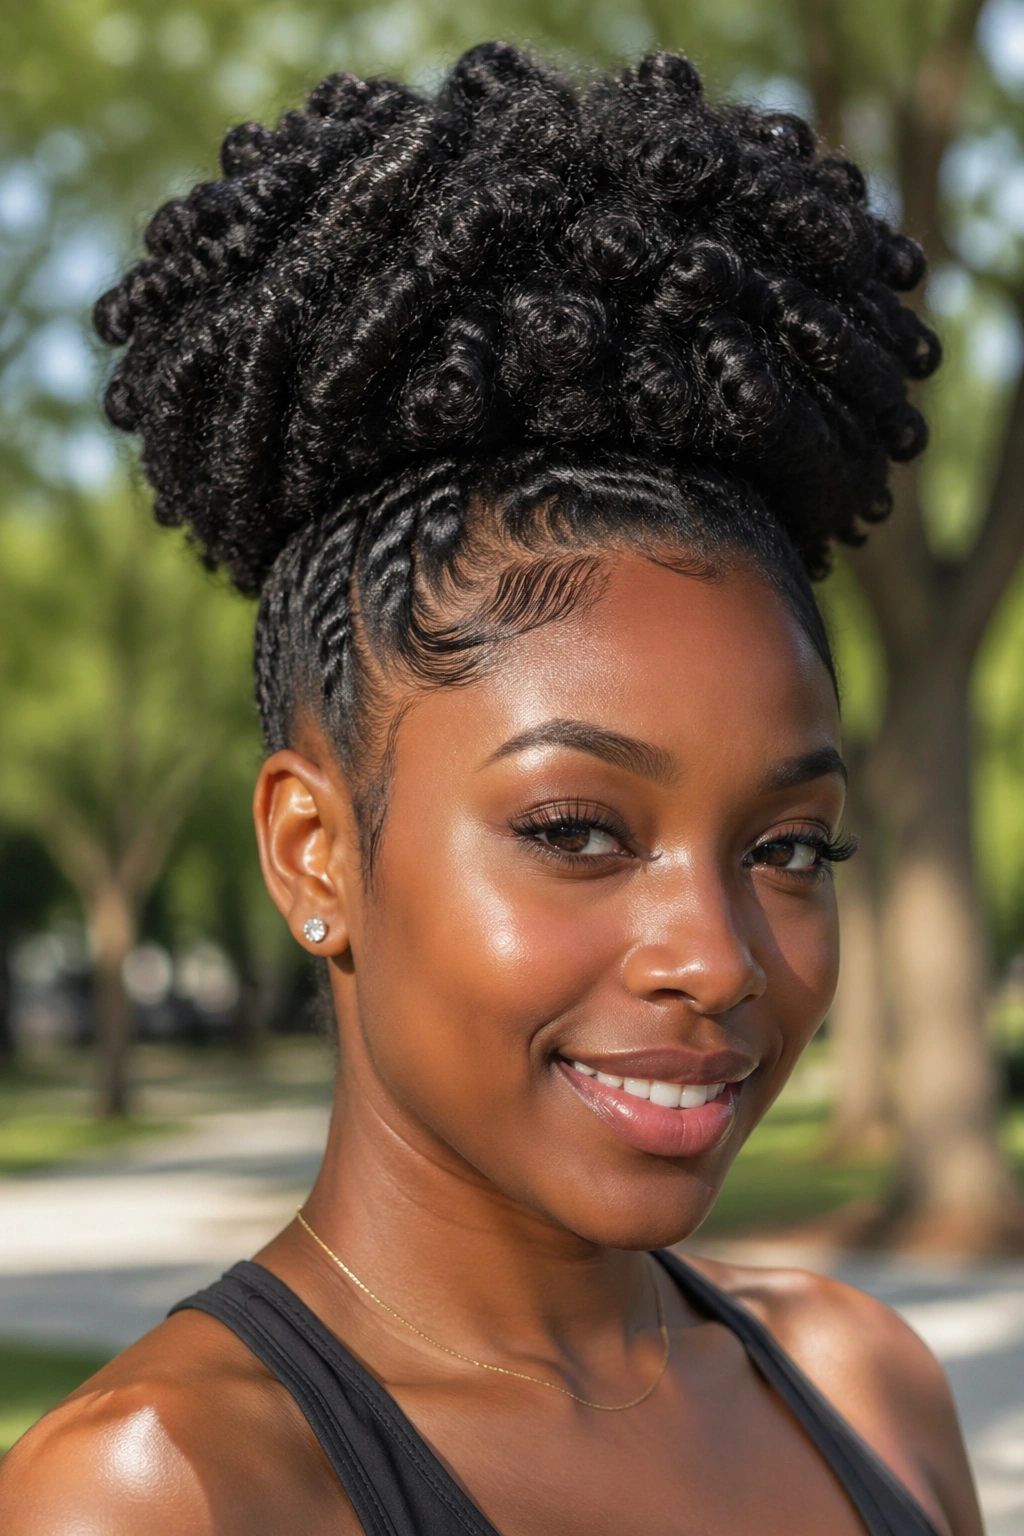
Pull your wash-and-go into a high puff and suddenly you’ve got a whole different look. The key is making sure your s curls are well-defined before you pull them up — this isn’t a style for undefined or frizzy hair days.
How to Style an S Curl Puff
- Gather hair loosely into a high puff using a satin scrunchie
- Use edge control to lay your edges in waves or swoops
- Pull a few curls loose around the face for softness
- Secure with bobby pins if needed
The puff works best on second or third-day s curls when the hair has settled into its shape and has a little more body.
7. S Curl Half-Up Half-Down
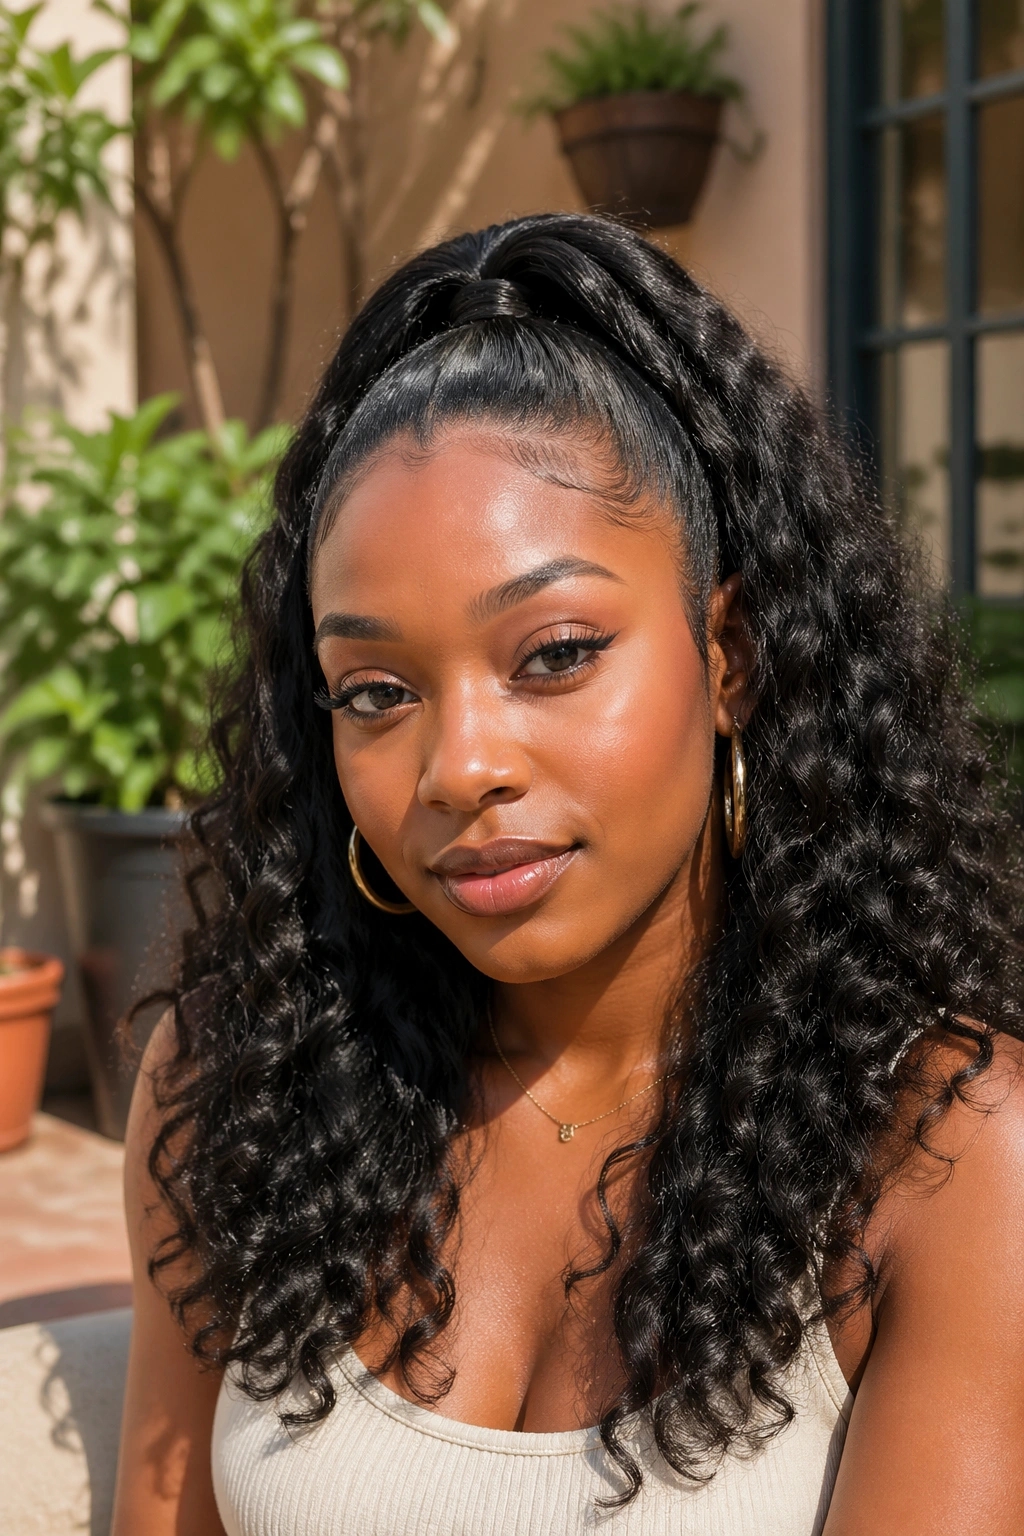
This style combines the ease of a puff with the length and movement of a wash-and-go. Pull the top section of your hair into a high half-pony or twisted bun, and let the bottom half hang freely in its s curl glory.
It’s a great option for naturals who want their hair out of their face without committing to a full updo. The contrast between the structured top and the free-hanging s curls below creates a really dynamic, intentional look.
Add a satin scrunchie, a fabric headband, or some decorative hair pins to the top section for a polished finish.
8. Bantu Knot-Out S Curls
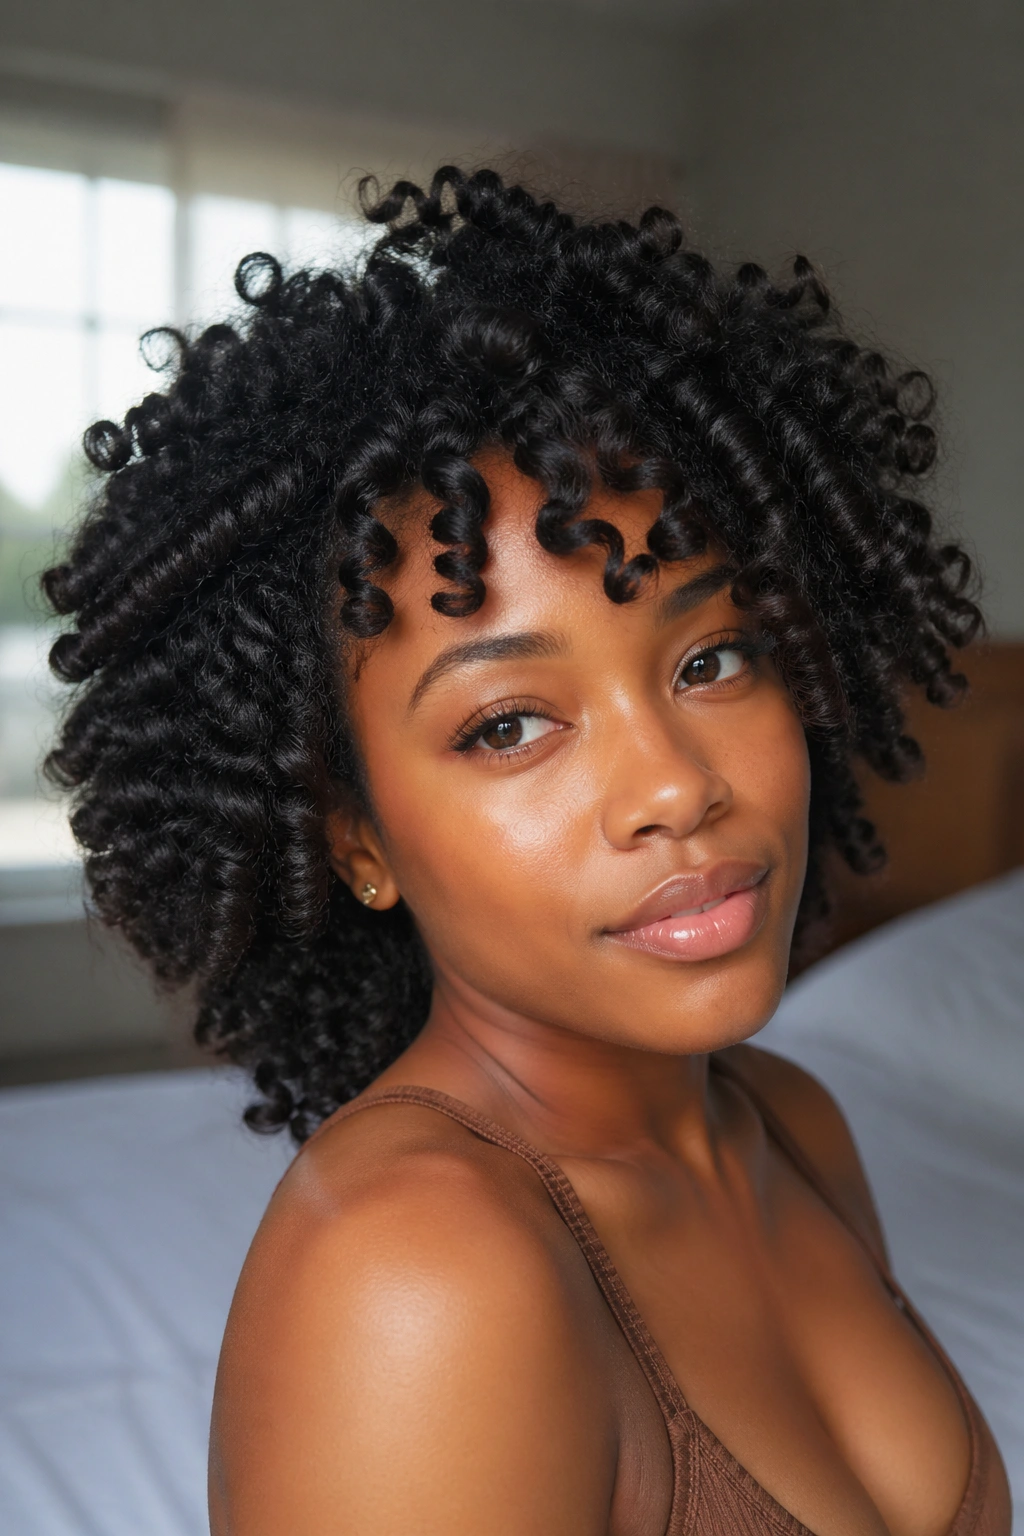
Bantu knots create the most voluminous, spiral-shaped s curl pattern of any overnight method. The tighter you coil the knot, the tighter the s curl. The looser the knot, the more relaxed the wave.
Apply your styling product, coil each section tightly into a small bun, and secure it close to the scalp. Leave overnight. When you unravel in the morning, you’ll have springy, defined s curls with serious volume.
Don’t rush the unraveling. Let the knots fully cool and set before opening them. Warm knots will drop their curl pattern much faster.
9. S Curl Tapered Cut
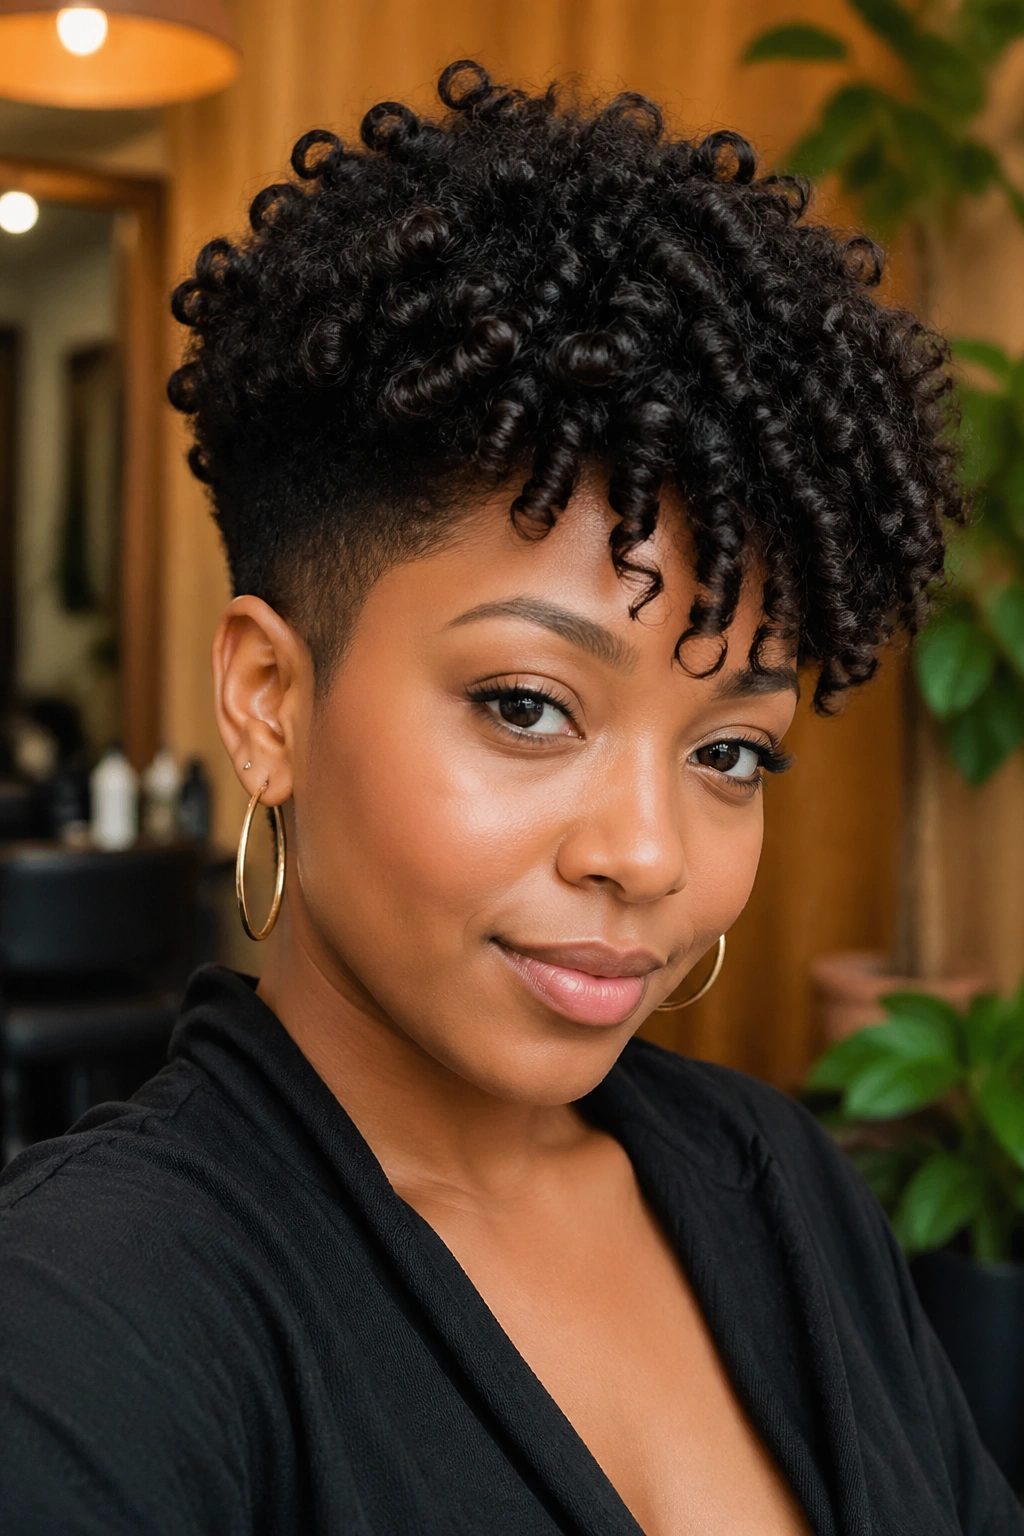
A tapered cut gives s curl styles incredible structure. Shorter sides and back with more length on top create a shape that frames the face beautifully — and defined s curls on top take on a totally different character with that cropped perimeter.
This style particularly suits naturals with 3c to 4b textures who want a low-maintenance option that still looks polished. The taper keeps the style neat without requiring daily manipulation, and s curl definition on the longer top section pops against the shorter sides.
Work with a natural hair stylist who understands how to cut curly hair dry — not straight — so they’re cutting the actual shape you’ll wear.
10. S Curl Mohawk
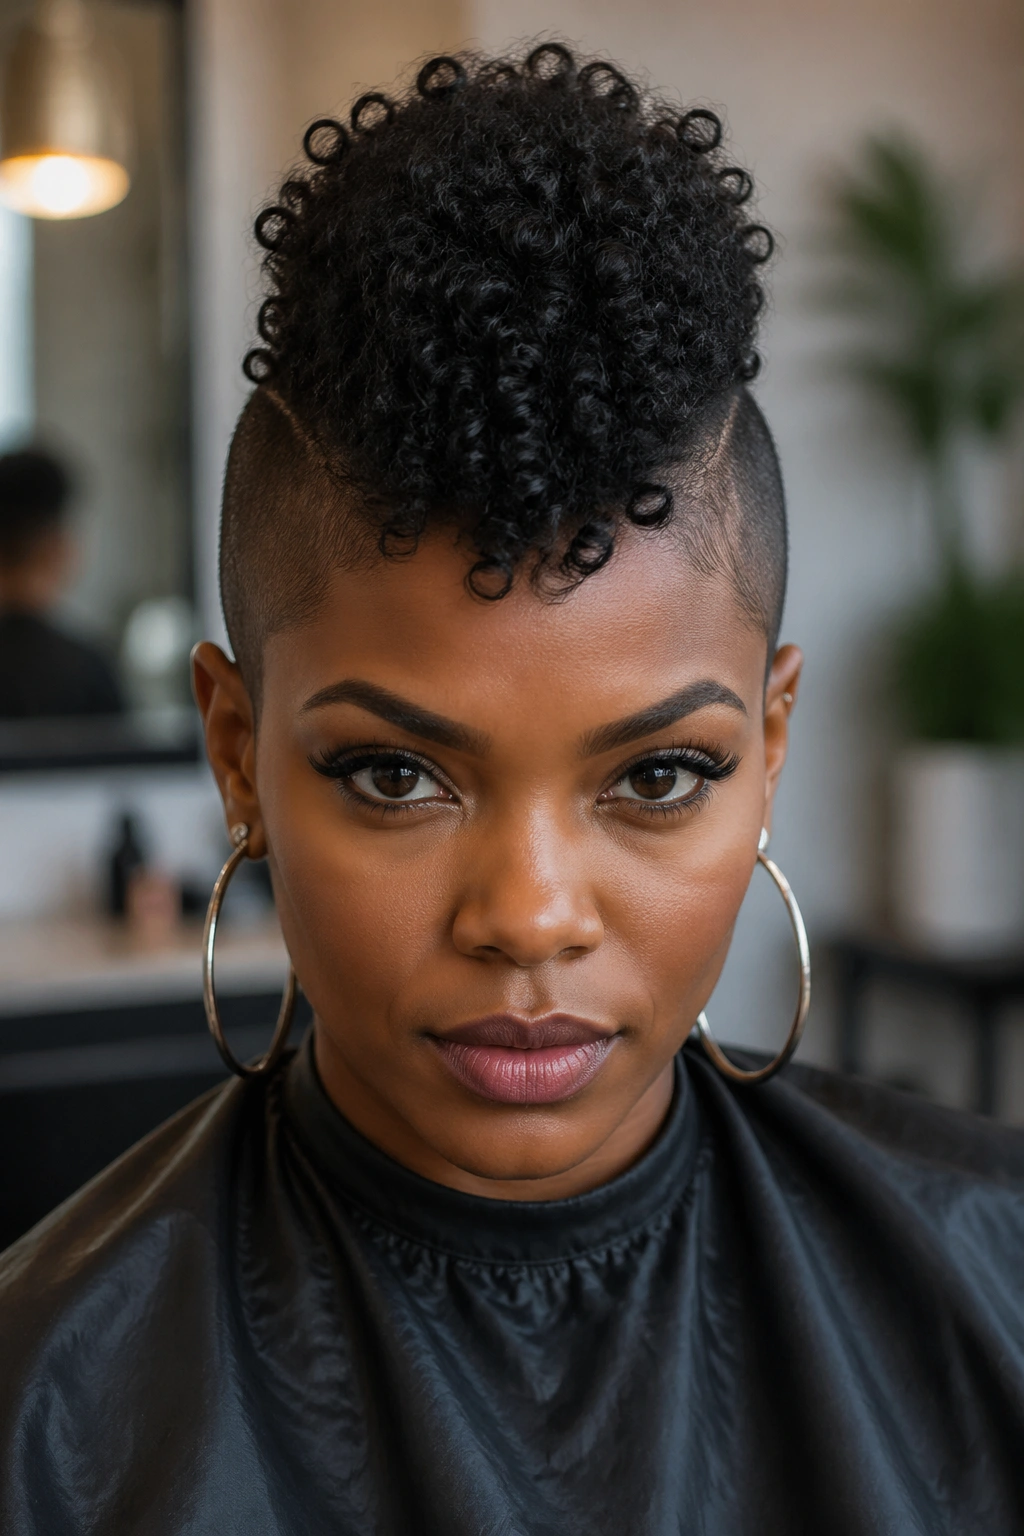
Gather the sides of your hair up with bobby pins or braids and let the top section run in a strip of defined s curls from forehead to nape. The mohawk silhouette is bold, graphic, and incredibly flattering on naturalistas.
How to Style an S Curl Mohawk
- Pin or braid the side sections flat against the head
- Leave a strip of defined s curls running down the center
- Apply edge control to smooth the sides
- Use a light-hold spray to set the top section
The mohawk works best on wash day when your s curl definition is at its freshest. But a refreshed second-day style can absolutely pull this off too.
11. S Curl Frohawk
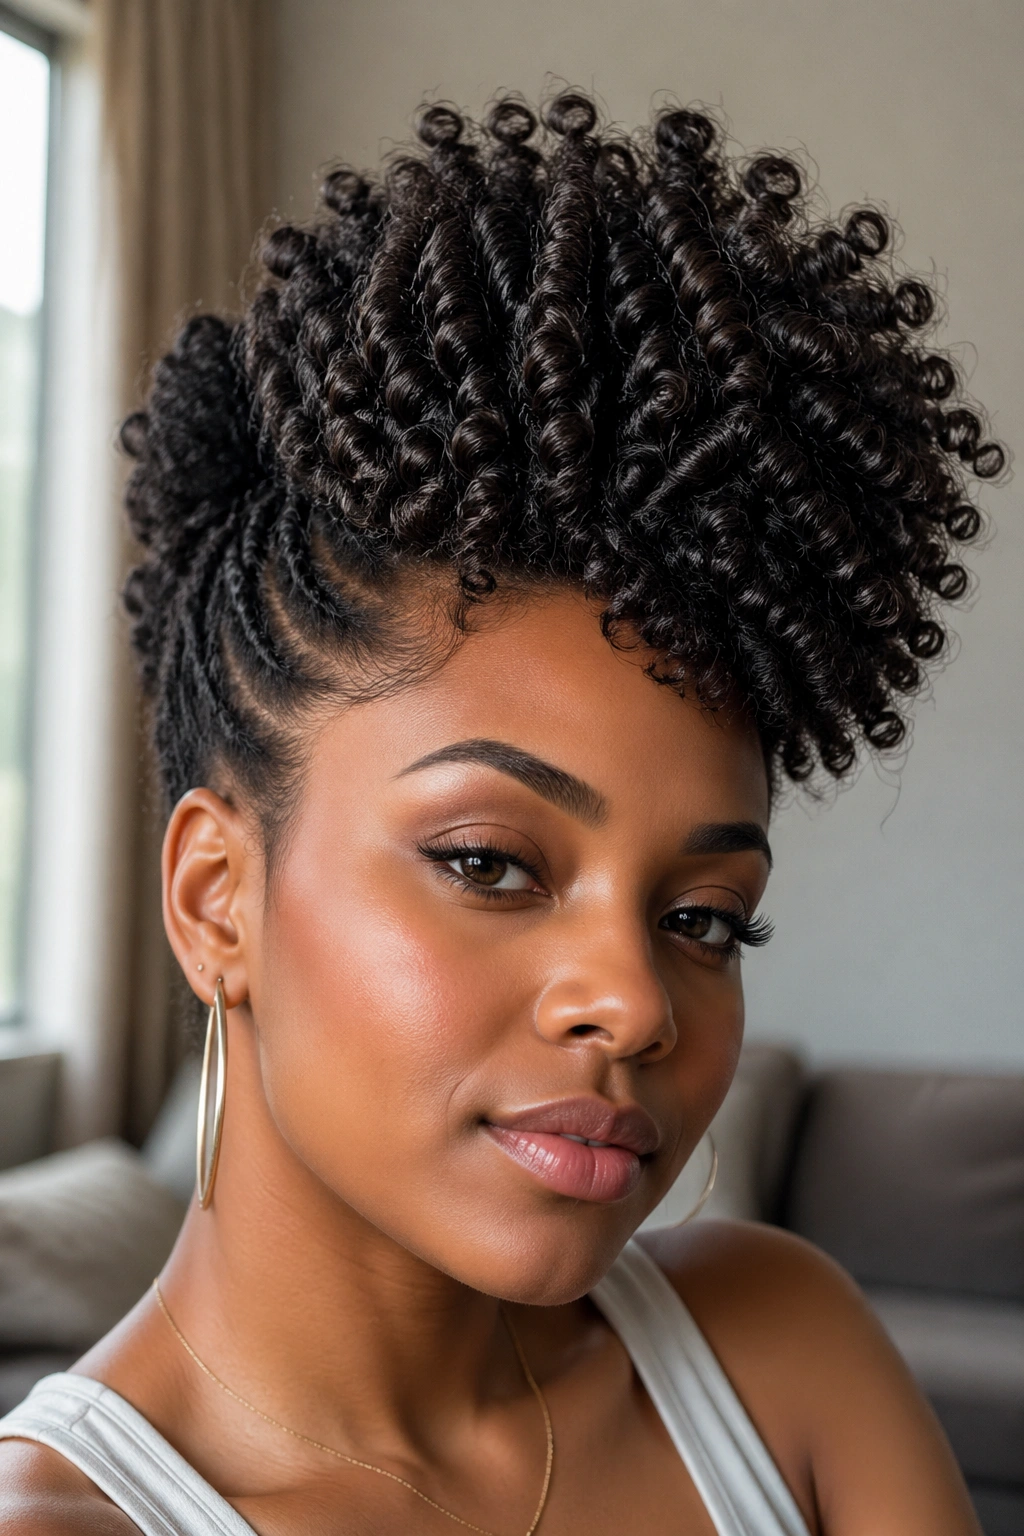
The frohawk is the mohawk’s bouncier, less-structured cousin. Instead of pinning the sides flat, you brush or sweep them upward toward the center strip — creating a fan of hair that gradually builds into the top section.
This look has incredible volume and presence. It’s one of those styles that photographs beautifully from every angle because the three-dimensional shape catches light differently depending on where you’re standing.
Frohawks suit fuller, thicker textures best — but fine-haired naturals can achieve the look with the right volumizing mousse.
12. S Curl Space Buns
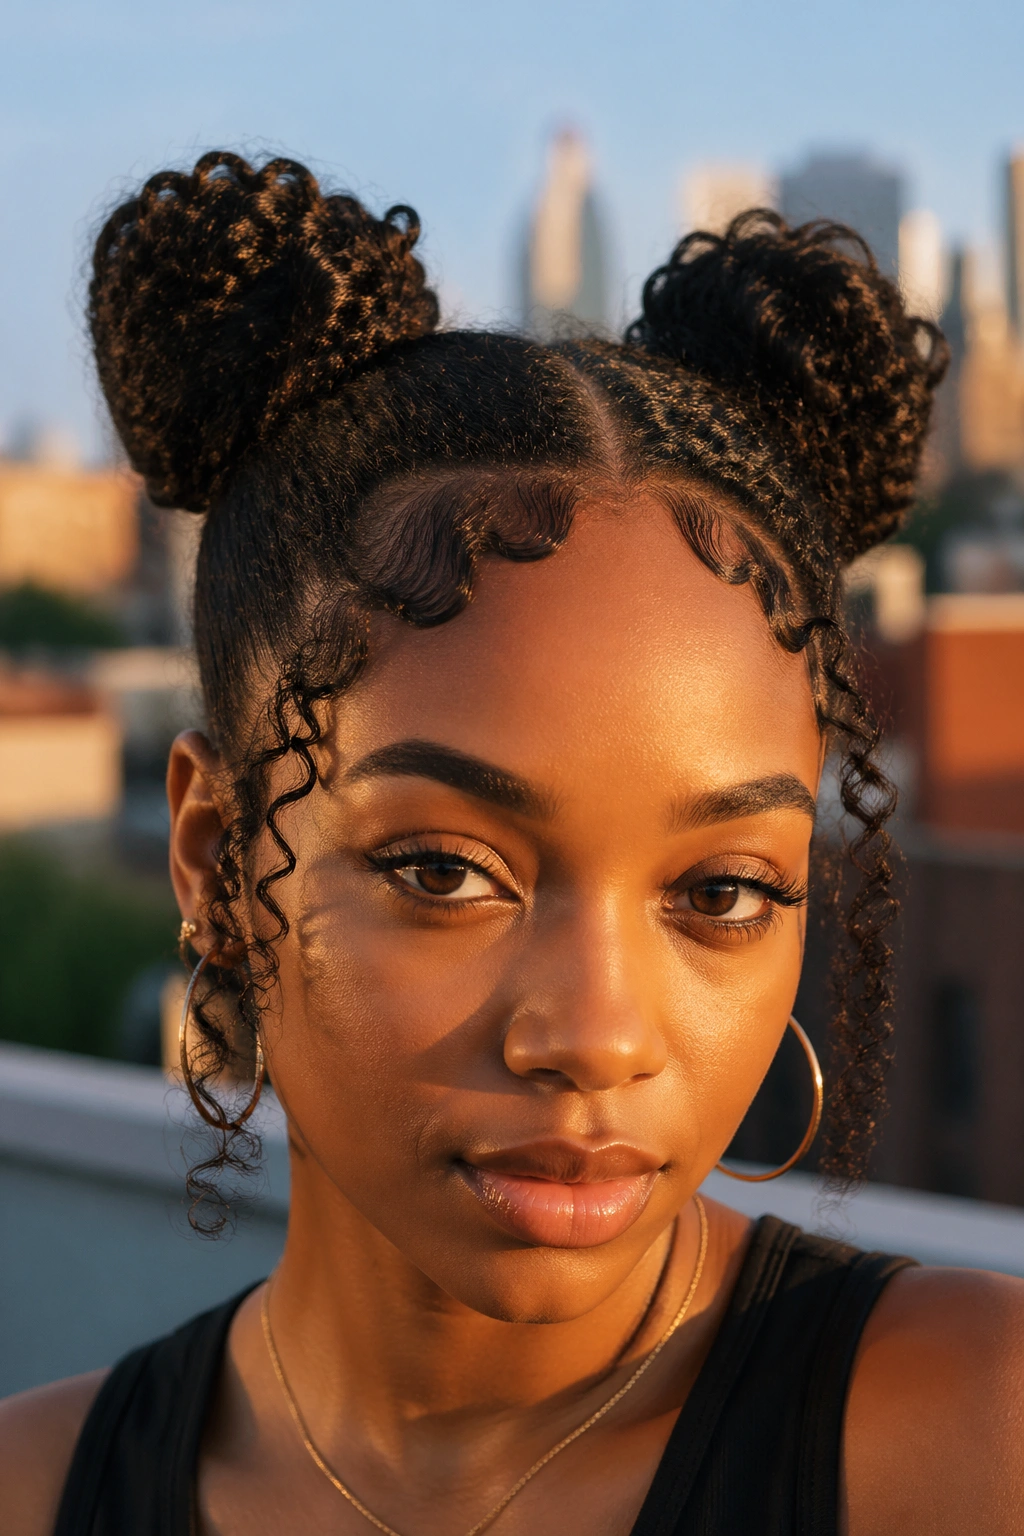
Divide your s curl wash-and-go into two equal sections and twist each into a bun positioned high on either side of your head. The s curls that escape the bun or peek out around the edges create the most adorable, playful effect.
Space buns are genuinely fun — they’re a style you can wear to the grocery store or to a rooftop party and feel equally at home. They’re also protective: your ends are tucked away, and the style holds for days with minimal refreshing.
Use a satin scrunchie for each bun to protect your edges.
13. S Curl Updo with Face-Framing Pieces
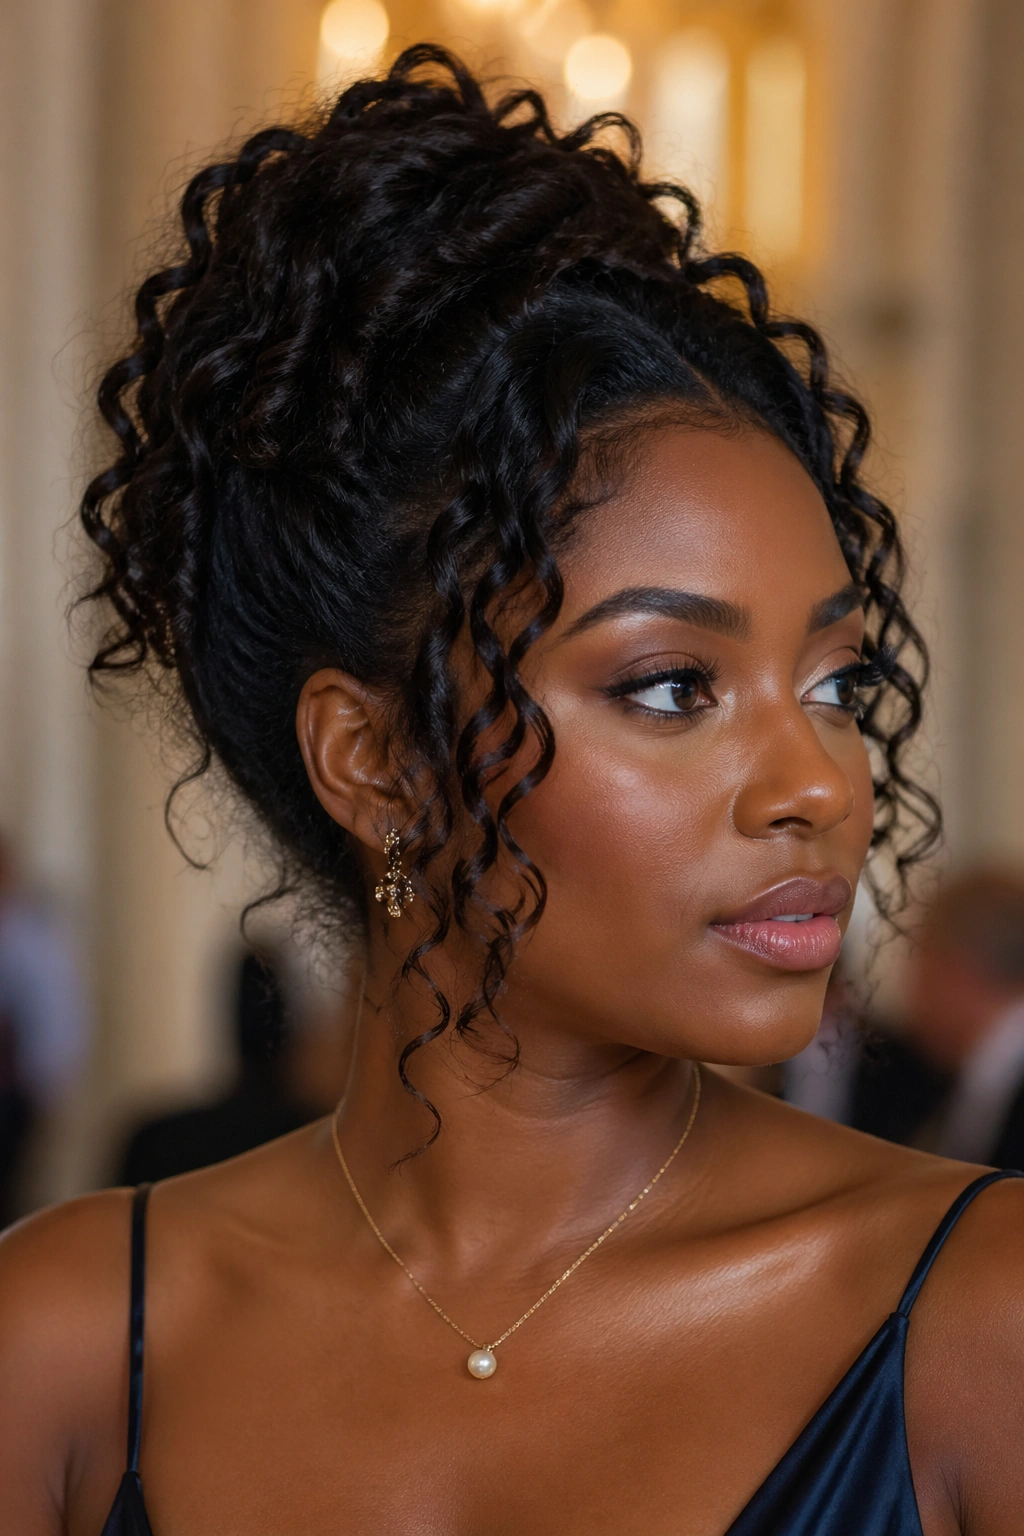
Pin your s curls up into a loose updo — nothing too structured, just gathered and secured with a few pins — and pull a few coils loose around your hairline to frame your face. The loose pieces soften the whole look and give it that effortless quality that’s genuinely hard to achieve.
This style works beautifully for formal occasions. It’s elevated without looking stiff, and it holds remarkably well through a full event as long as you use pins and a light-hold spray.
Add some gold cuffs or decorative pins to the updo for extra dimension.
14. S Curl Side Part Style
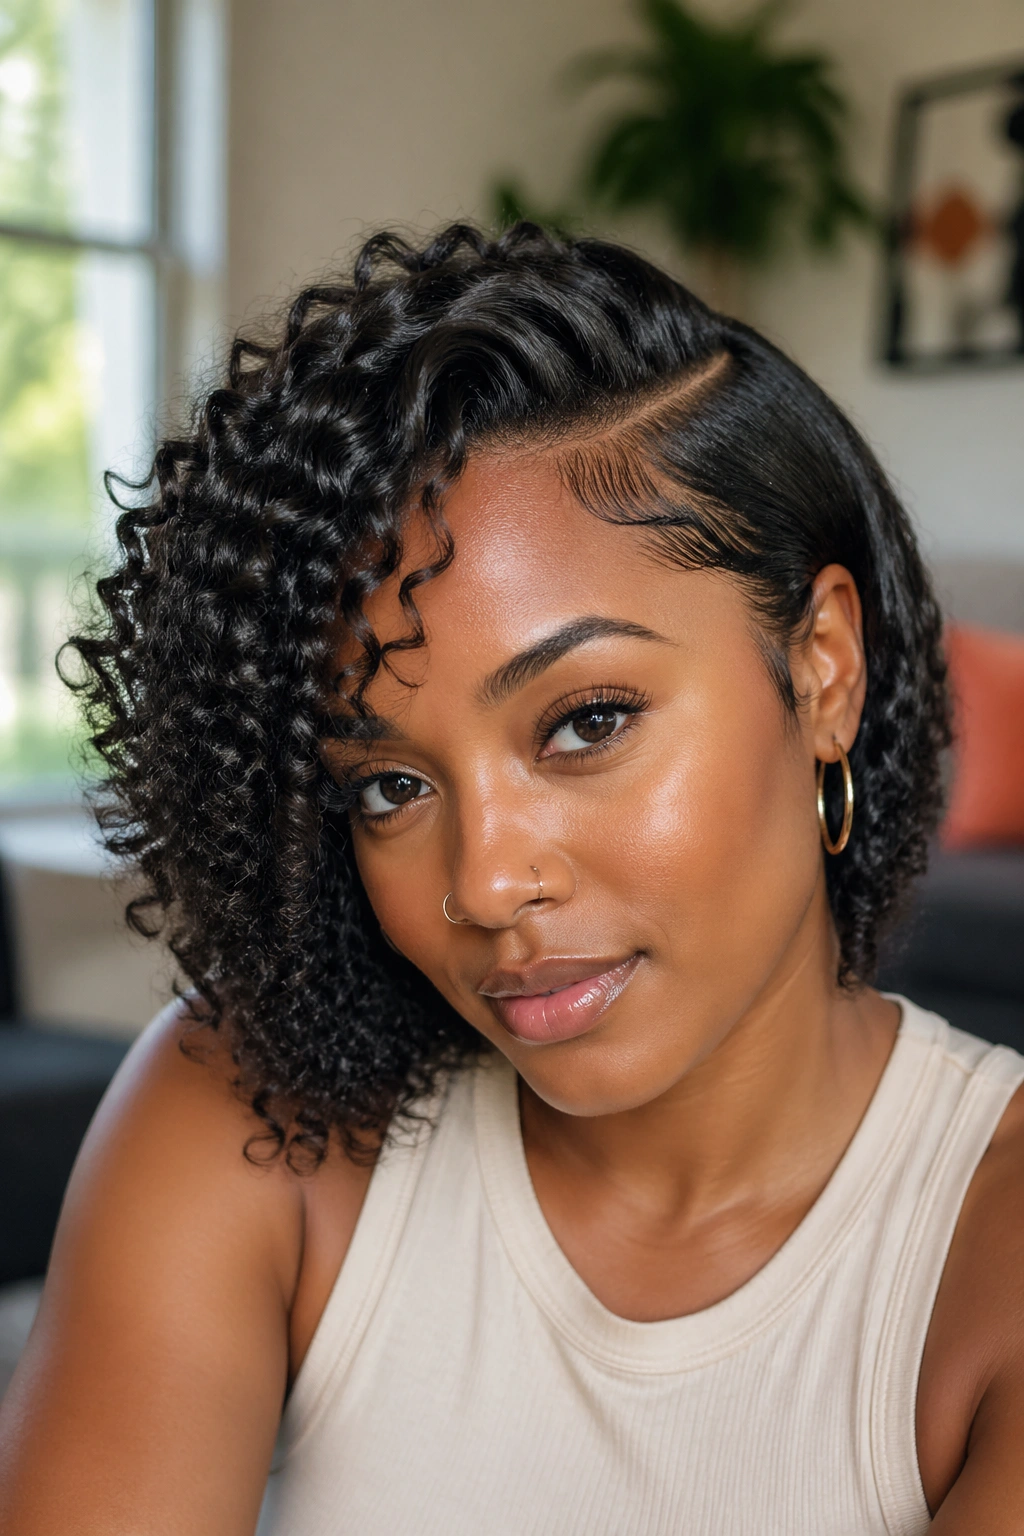
A deep side part completely changes the silhouette of your s curl wash-and-go. Instead of the symmetric fullness of a centered style, you get a dramatic sweep of curls to one side that feels intentional and chic.
Use a rat-tail comb to create a clean part from your hairline to about mid-scalp, then sweep the heavier side down and to the front. Define the hairline on both sides with edge control. The result is graphic and polished in a way that looks like you spent much more time on it than you actually did.
15. S Curl Defined Locs Starter
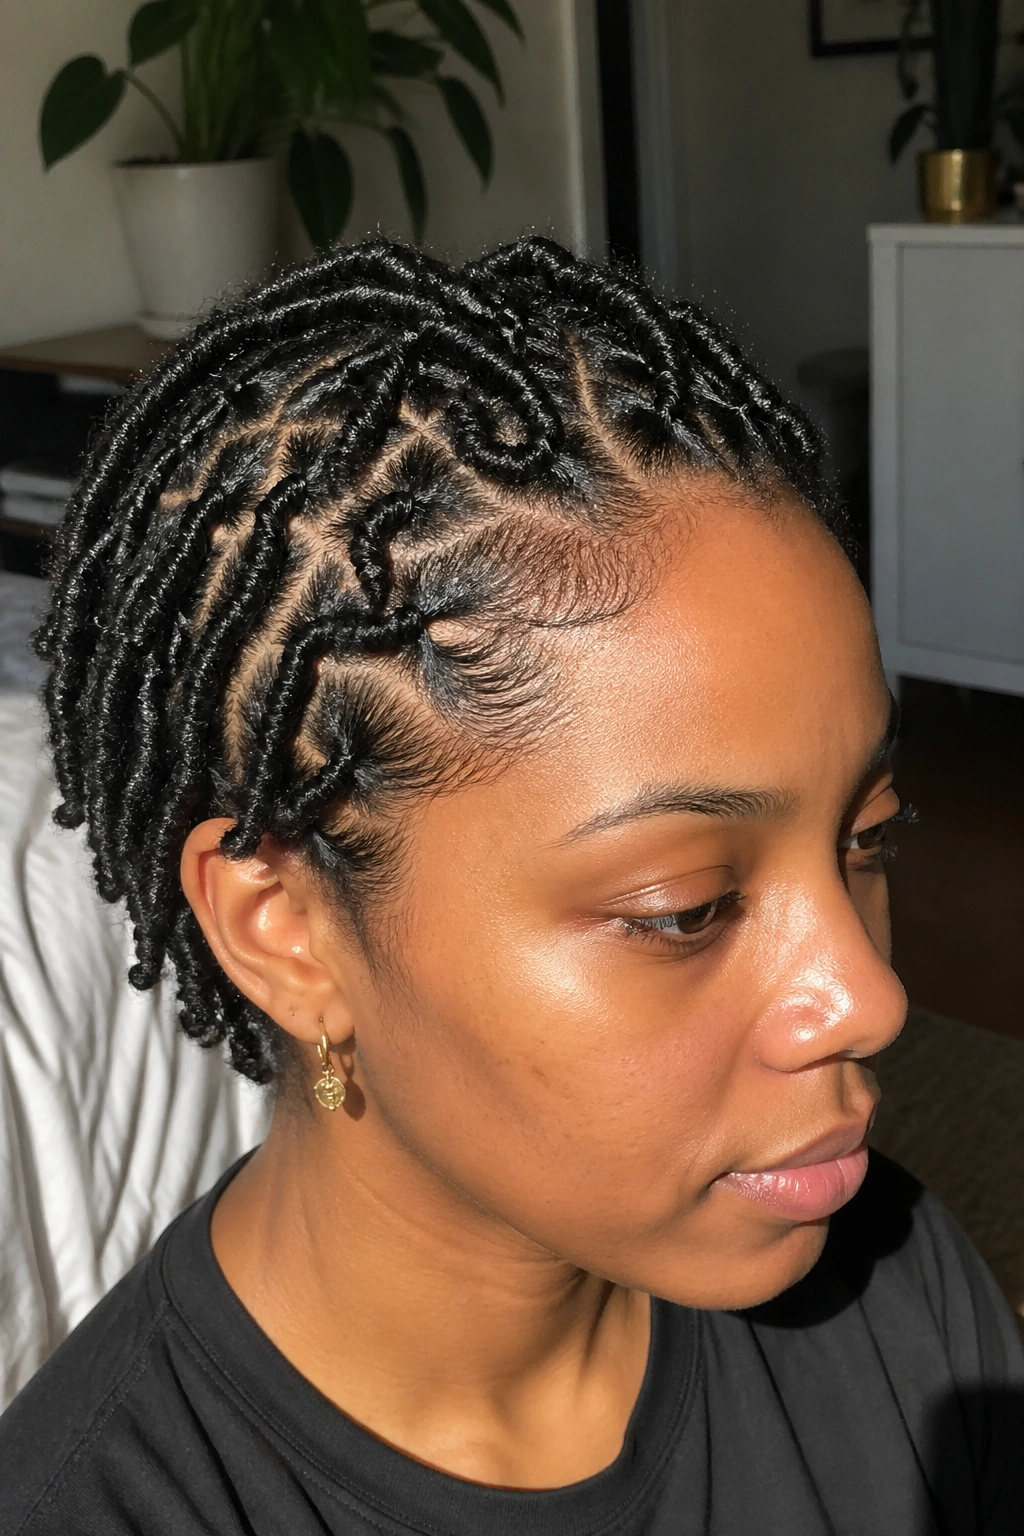
If you’re in the beginning stages of locs, s curl styles using the coil method can be your best friend. Finger-coiled sections naturally form the foundation for starter locs — and in the meantime, they look stunning as a defined curl style.
Starting locs with coils rather than twists gives you a more defined, rounded loc pattern in the long run. And during the starter stage, those coiled sections sit beautifully on the head as an intentional style rather than a transitional in-between look.
Use a loc gel or locking pomade for hold, and let the sections fully dry before touching.
16. S Curl Protective Updo
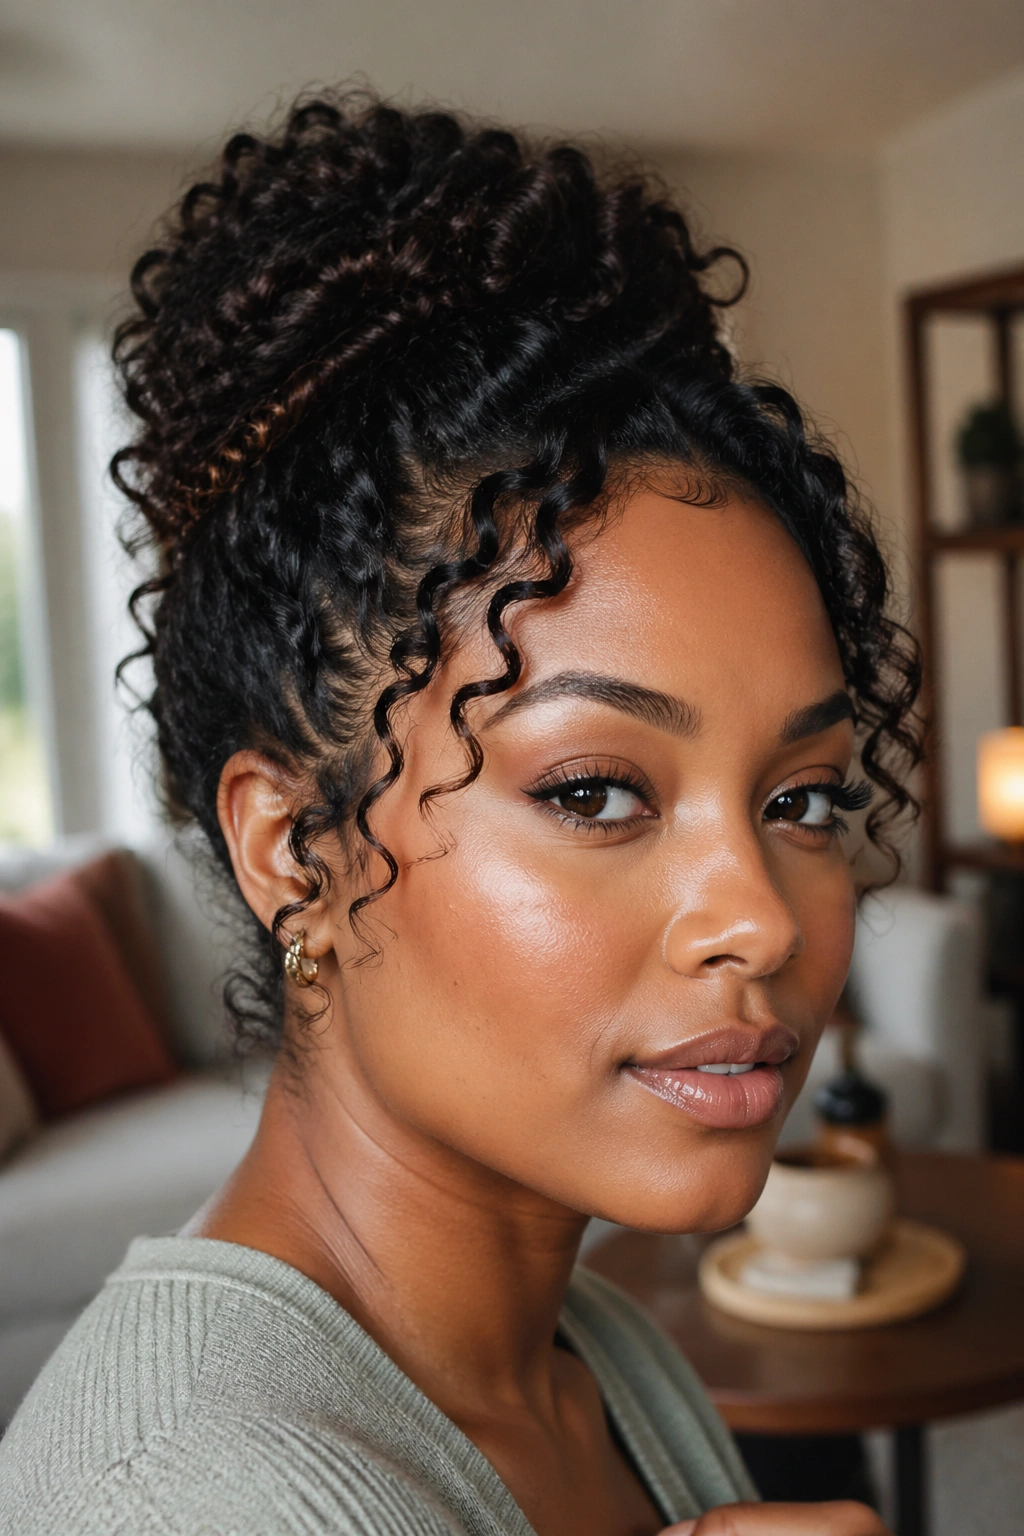
Pull your s curls into a loose protective style — a gathered bun, a low puff, or a gathered ponytail — and focus on protecting your ends while still showcasing that curl definition around the hairline and face.
Protective s curl updos are ideal for weeks when you don’t have time for wash day but want your hair to still look polished and intentional. Refresh the edges with a little water and edge control, and the style looks fresh for days.
Don’t pull too tightly — tension at the hairline over time contributes to traction alopecia. Gentle hold is always enough.
17. S Curl with Headband
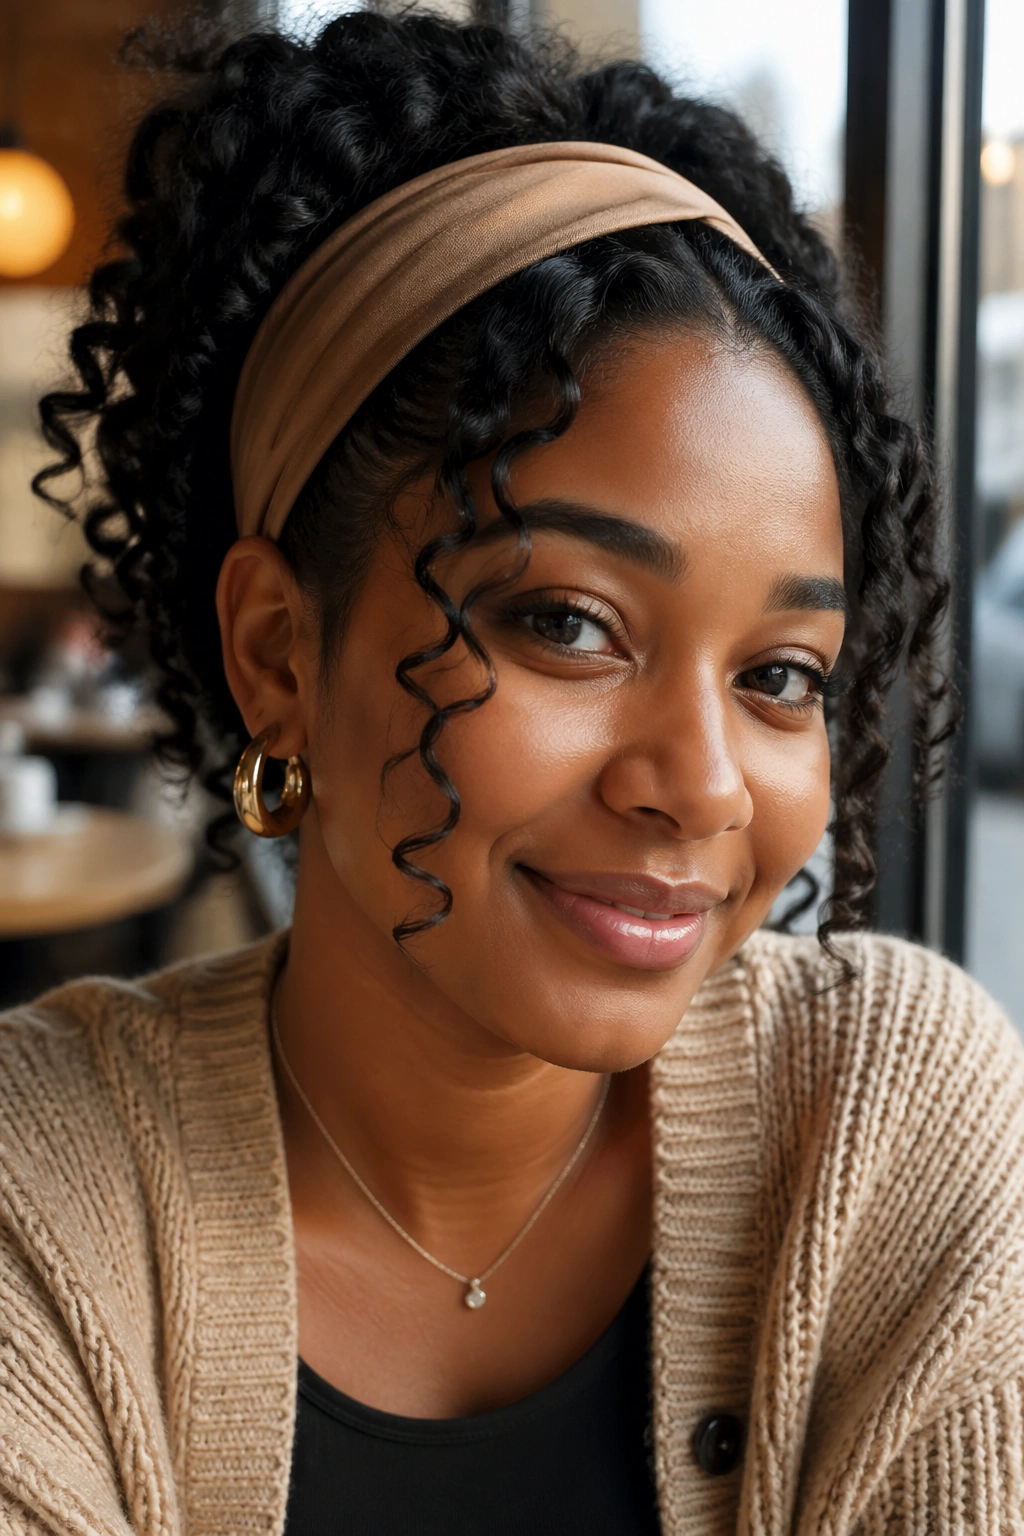
A wide fabric headband — especially a satin-lined one — is one of the easiest accessories to add to a s curl style. It pulls the hair back from the face slightly, adds a pop of color or pattern, and gives the overall look a finished quality without any extra effort.
Headband Styling Tips for S Curls
- Position the headband about an inch from your hairline for a flattering look
- Let some curls escape at the temples for softness
- Choose satin-lined bands to prevent frizz and breakage
- Coordinate colors with your outfit for a put-together aesthetic
18. S Curl High Pineapple Style
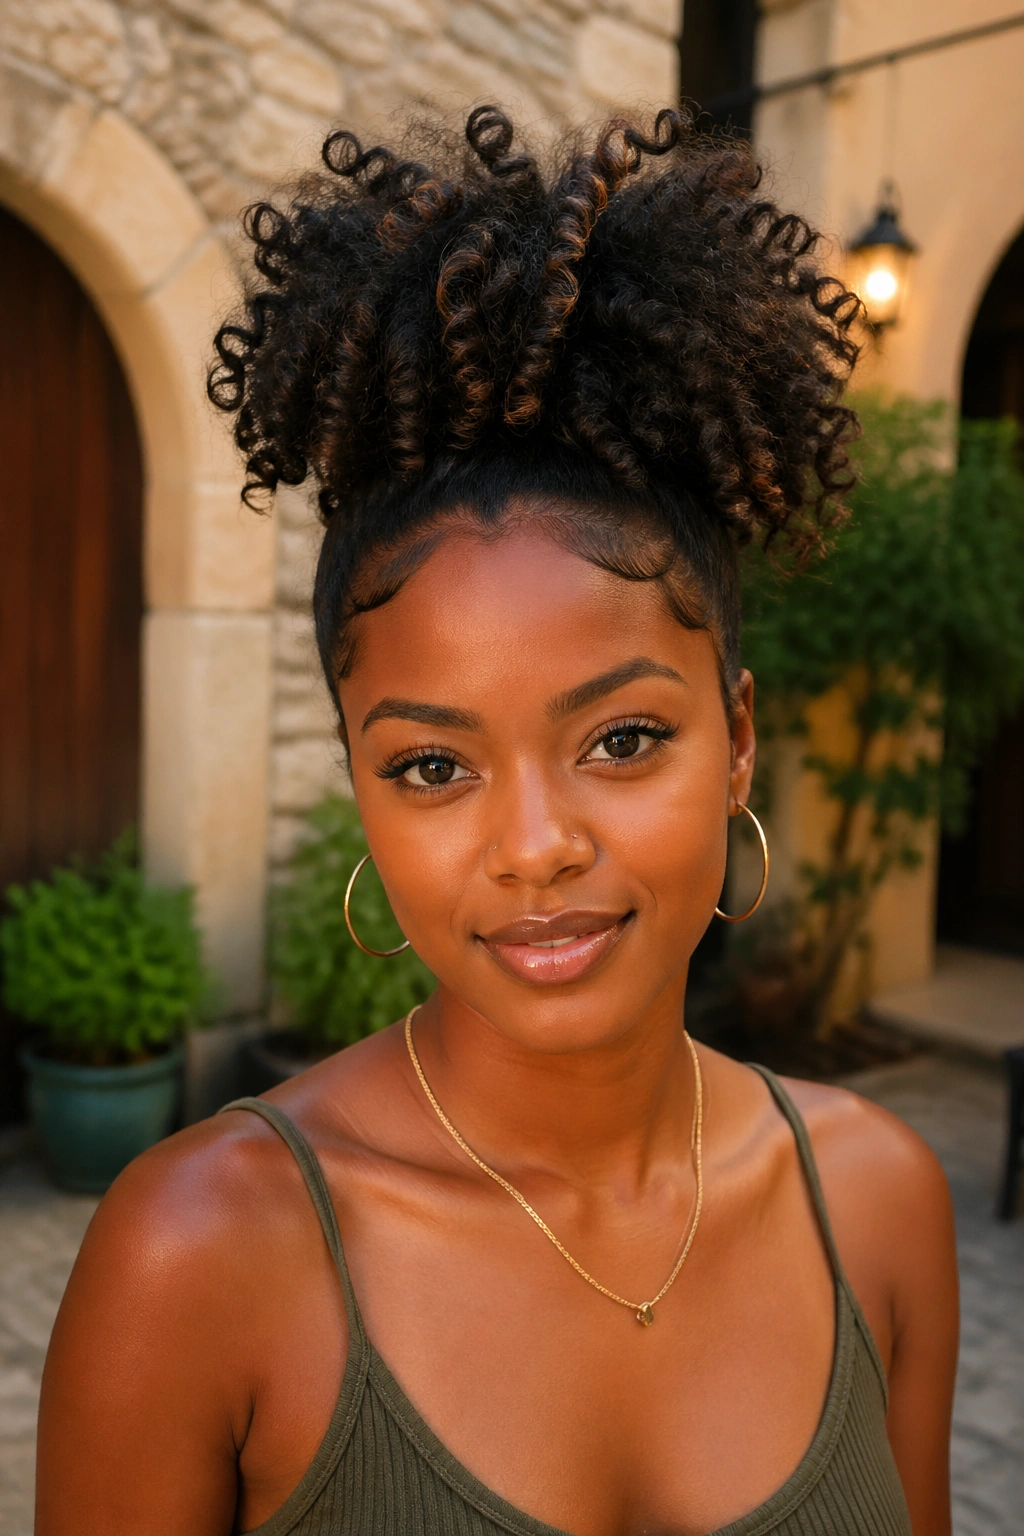
The pineapple isn’t just a nighttime protective style — it’s a full daytime look. Gather your s curls high on top of your head in a loose pineapple shape, secure loosely with a satin scrunchie, and let the curls cascade outward.
The key to a good daytime pineapple is the placement and volume. Pull it high — almost at the very top of the crown — and don’t secure it too tightly. You want the curls to fan outward rather than droop downward.
This style looks absolutely incredible on longer natural hair where the s curls have length to play with.
19. S Curl Twist-Out on Stretched Hair
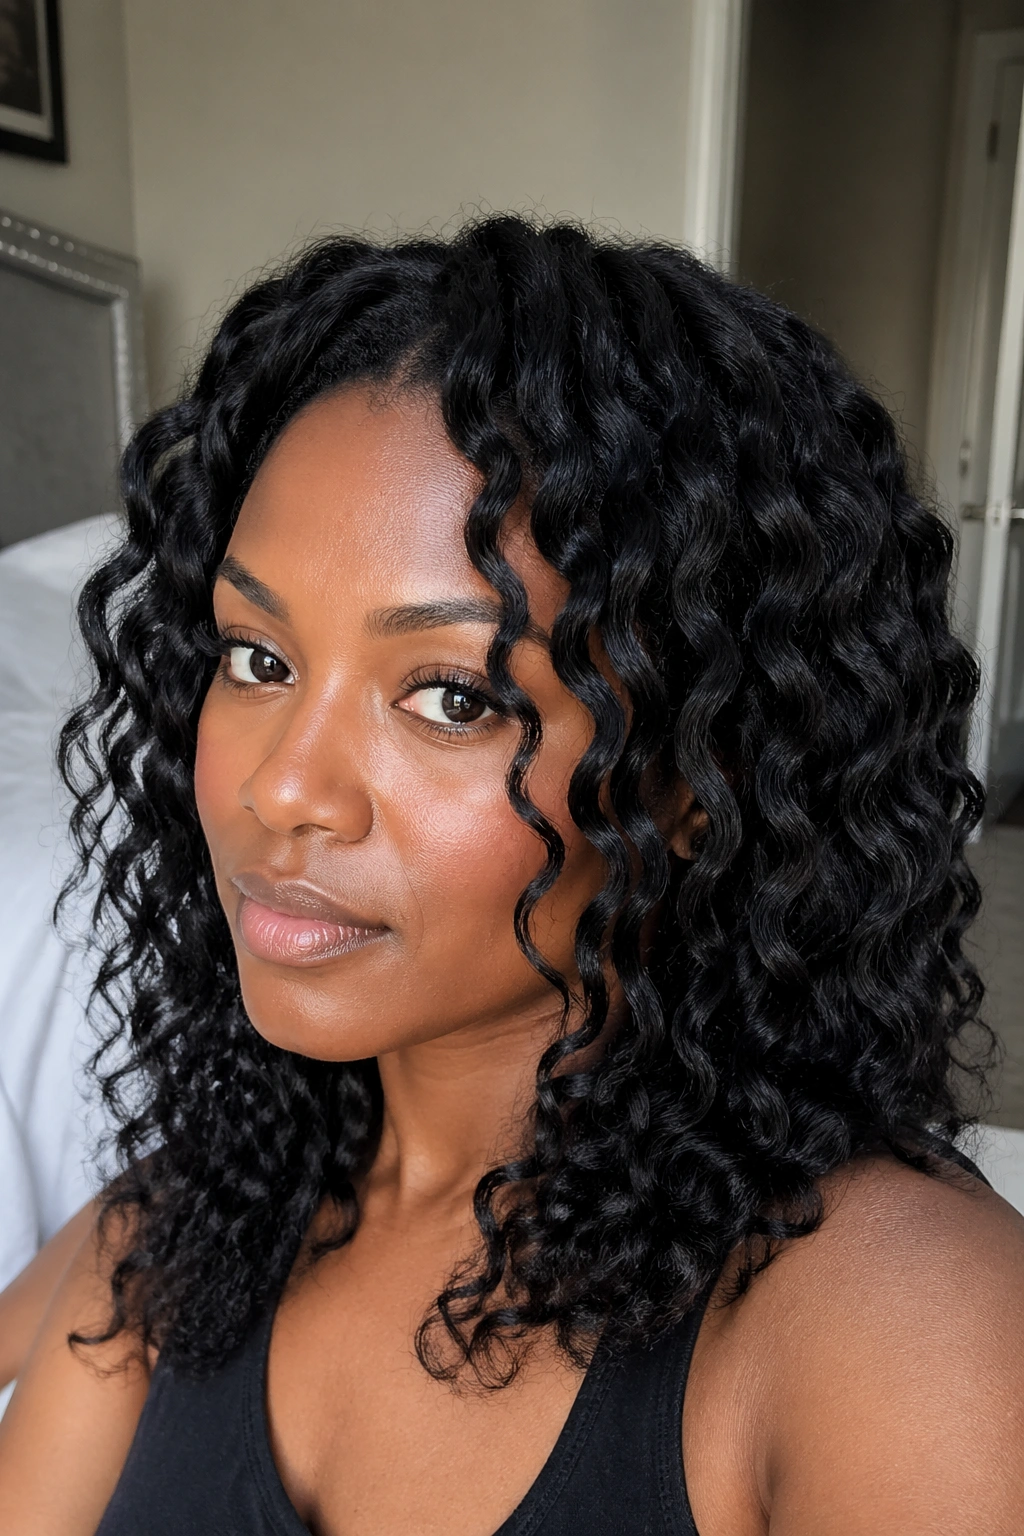
Stretching your hair before doing a twist-out gives the resulting s curls significantly more elongation and less shrinkage. You can stretch using African threading, banding, or simply braiding damp hair loosely and letting it air dry.
Once the hair is stretched and dry, apply your styling cream and twist. The resulting s curl pattern will be looser and more wave-like than a twist-out on fully shrunken hair — which is a completely different and equally beautiful look.
This technique is perfect for naturals who love the s curl shape but want more length visible in the final style.
20. S Curl Defined Bob
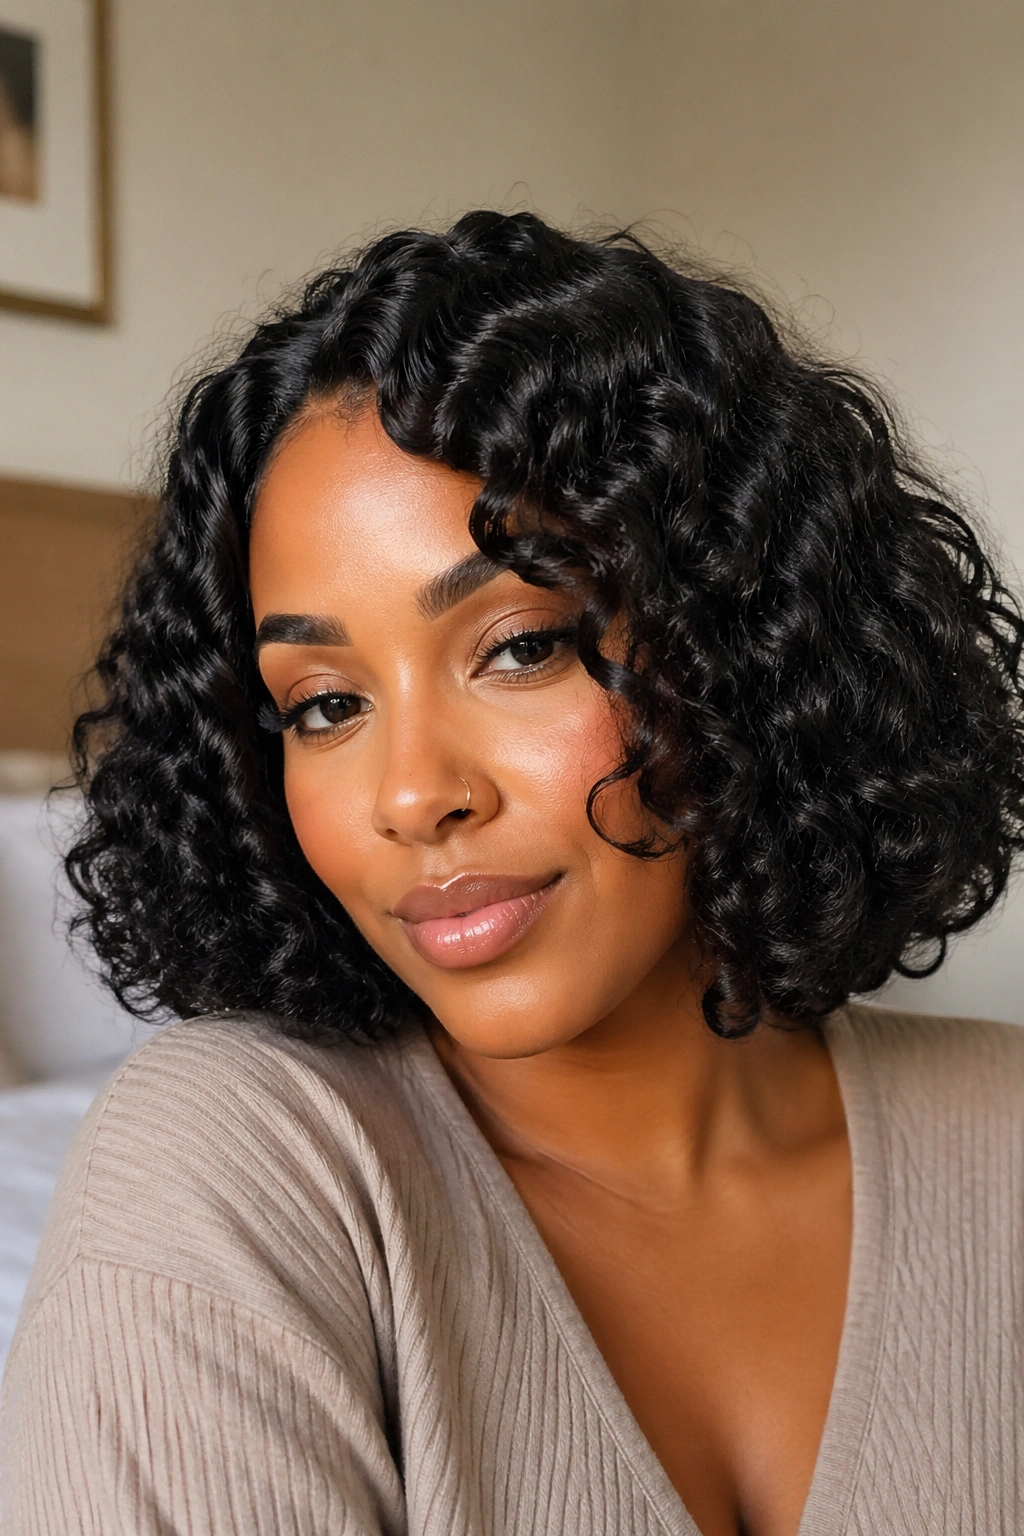
If your natural hair falls around chin to shoulder length, a defined s curl bob is one of the most sophisticated looks you can wear. The curls have just enough weight to hang with some movement, and the bob silhouette gives the style a structured, intentional shape.
Styling a Defined S Curl Bob
- Apply product section by section from root to tip
- Encourage the ends to curl under slightly for a classic bob shape
- Use a diffuser to set the shape
- Finish with a light-hold serum for shine
The key is ensuring the ends are well-defined rather than frizzy — use a little extra product on the last few inches and smooth them with your fingers as the hair dries.
How to Refresh S Curl Styles Between Wash Days
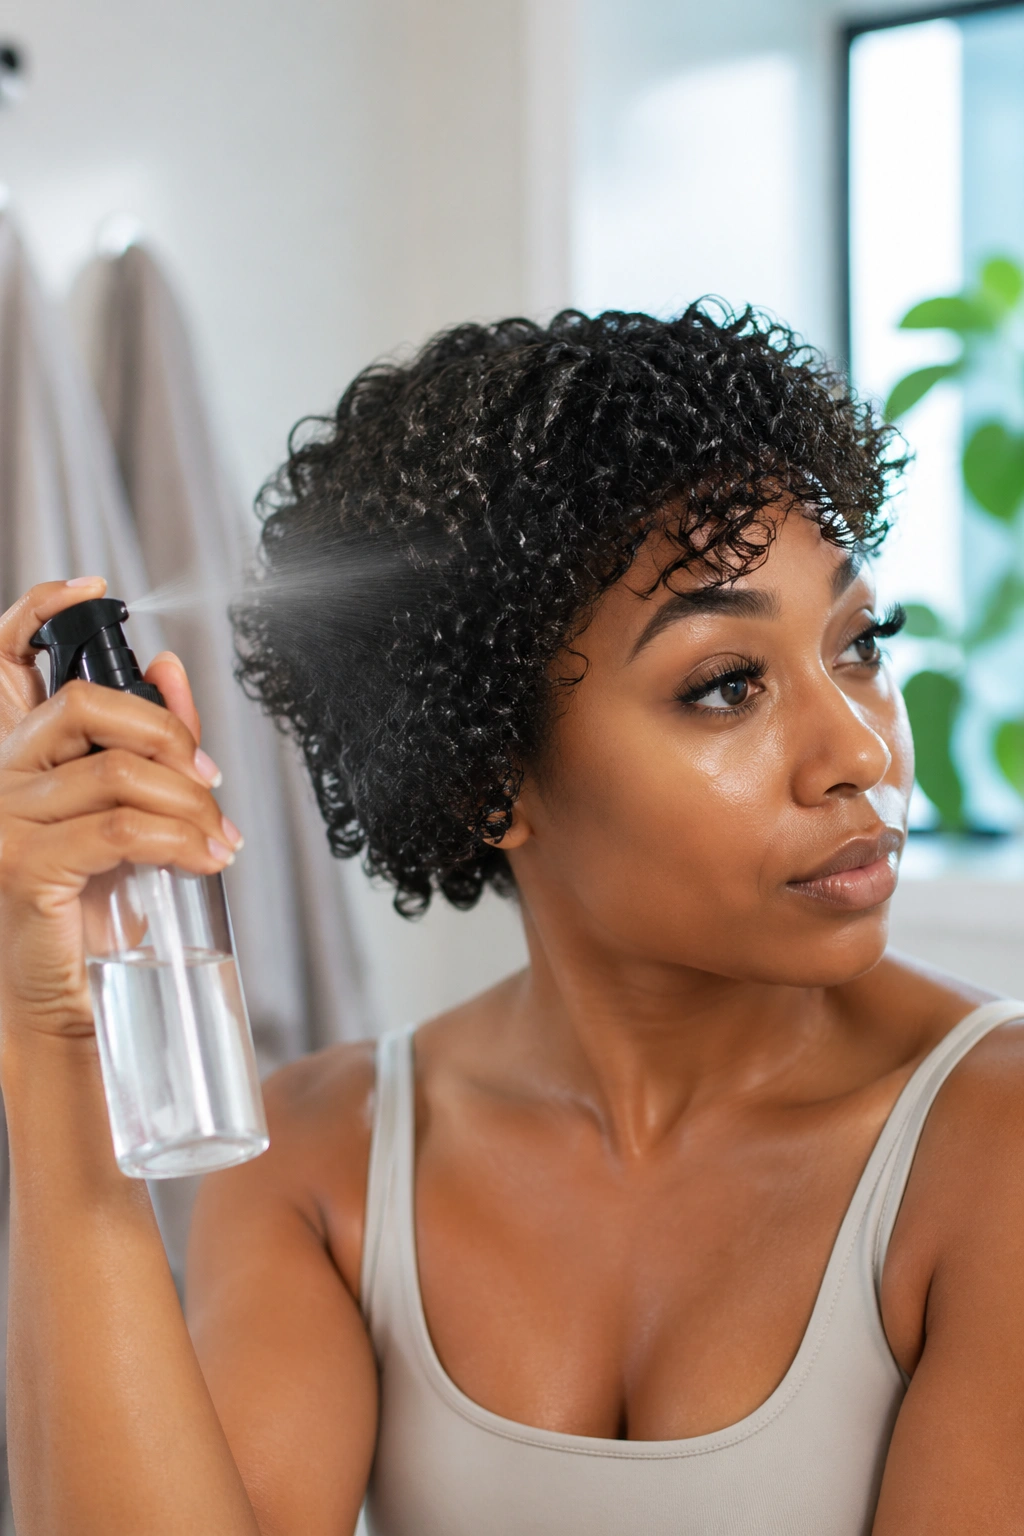
The secret to getting maximum life out of your s curl styles is knowing how to refresh properly — not just spritzing water and hoping for the best.
Water alone reactivates curl pattern, but it can also introduce frizz if you’re not careful. Mix water with a small amount of leave-in conditioner in a spray bottle for a refresh spray that adds moisture and definition at the same time.
Focus on the sections that have gone the most limp or fuzzy. Lightly mist those areas, smooth your palm gently over the surface to resettle the curl pattern, and let it air dry or diffuse briefly. Don’t over-saturate — you want to refresh, not restart from scratch.
Protecting S Curl Styles at Night
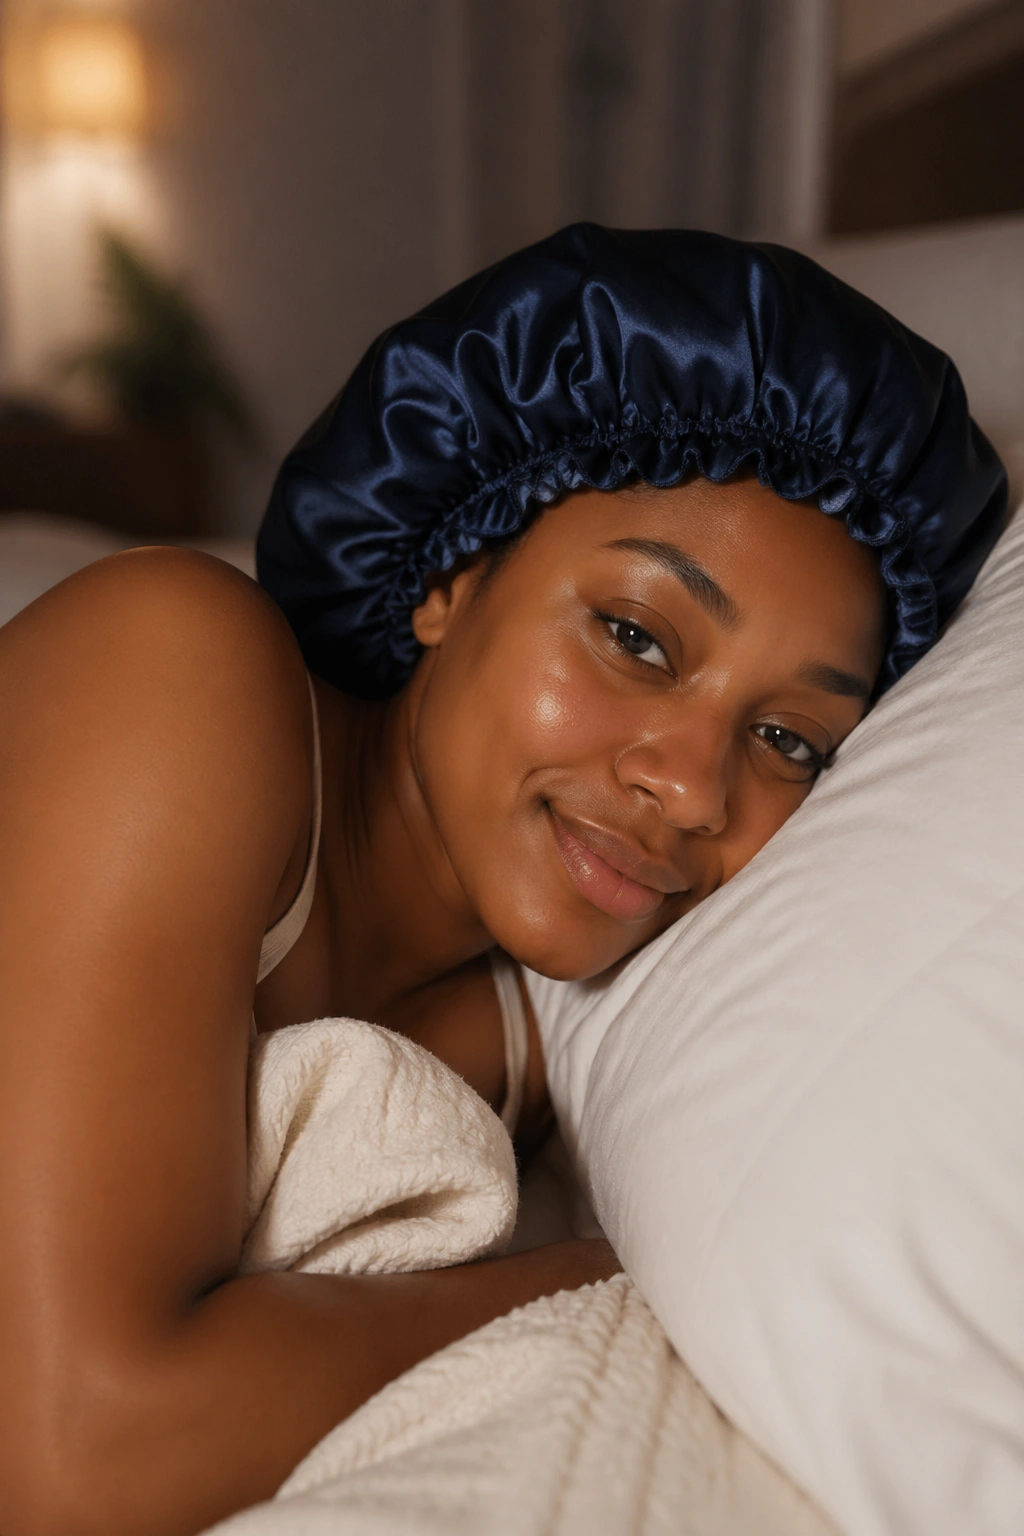
Nighttime protection is where a lot of naturalistas lose their s curl definition. Cotton pillowcases are the enemy — they absorb moisture from your hair and create friction that destroys curl clumping overnight.
Switch to a satin or silk pillowcase immediately. It’s one of the simplest, most impactful changes you can make for your natural hair health and style longevity.
Pineapple your hair every night — gather it loosely at the crown and secure with a satin scrunchie. This preserves the length and prevents the curls from being crushed flat overnight. In the morning, shake it out and add your refresh spray if needed.
A satin bonnet is the most protective option — especially for finer or more delicate textures that are sensitive to friction.
Common S Curl Mistakes and How to Fix Them
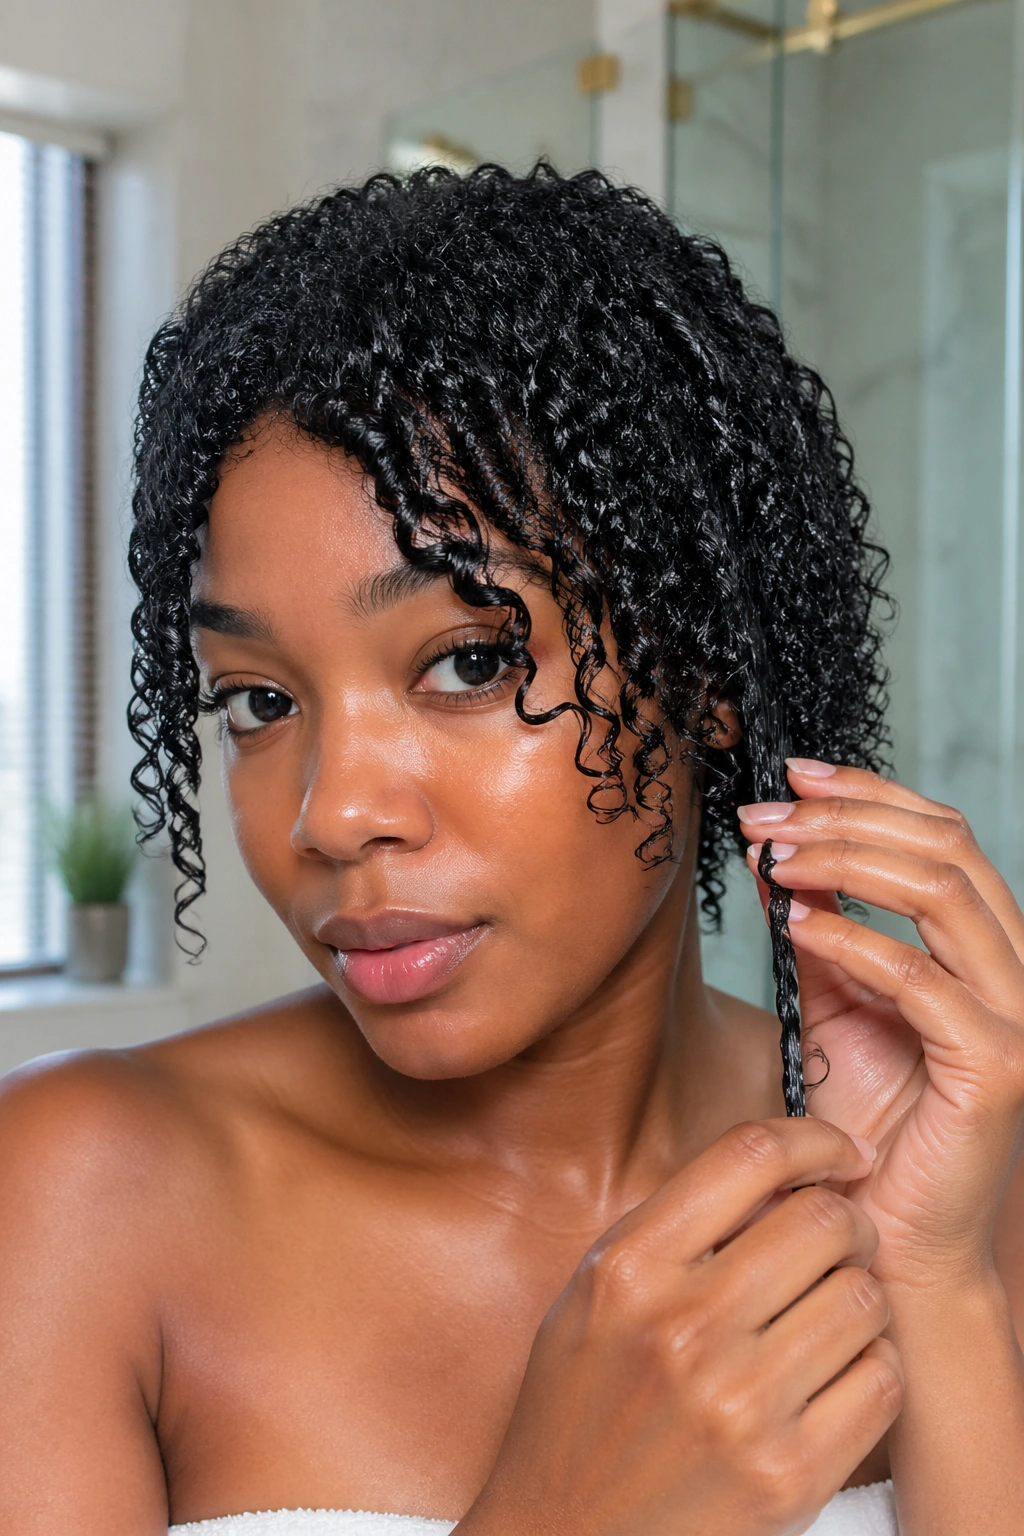
Even with great products and solid technique, a few common mistakes can undermine your s curl styles. Knowing what to avoid saves you a lot of frustrating wash days.
Applying products to hair that’s too dry is the number-one s curl mistake. Once your hair starts drying, the cuticle begins to close and products can’t penetrate properly. Always work on dripping wet hair.
Touching your hair while it’s still drying is the second most common mistake. Every time you run your fingers through drying hair, you’re separating the curl clumps and introducing frizz. Set your style, then leave it alone until it’s completely dry.
Using too much product is also counterproductive. More product doesn’t equal more definition — it equals buildup, heaviness, and a style that loses its shape faster. Start with less than you think you need and add more if necessary.
Building a Sustainable S Curl Hair Routine
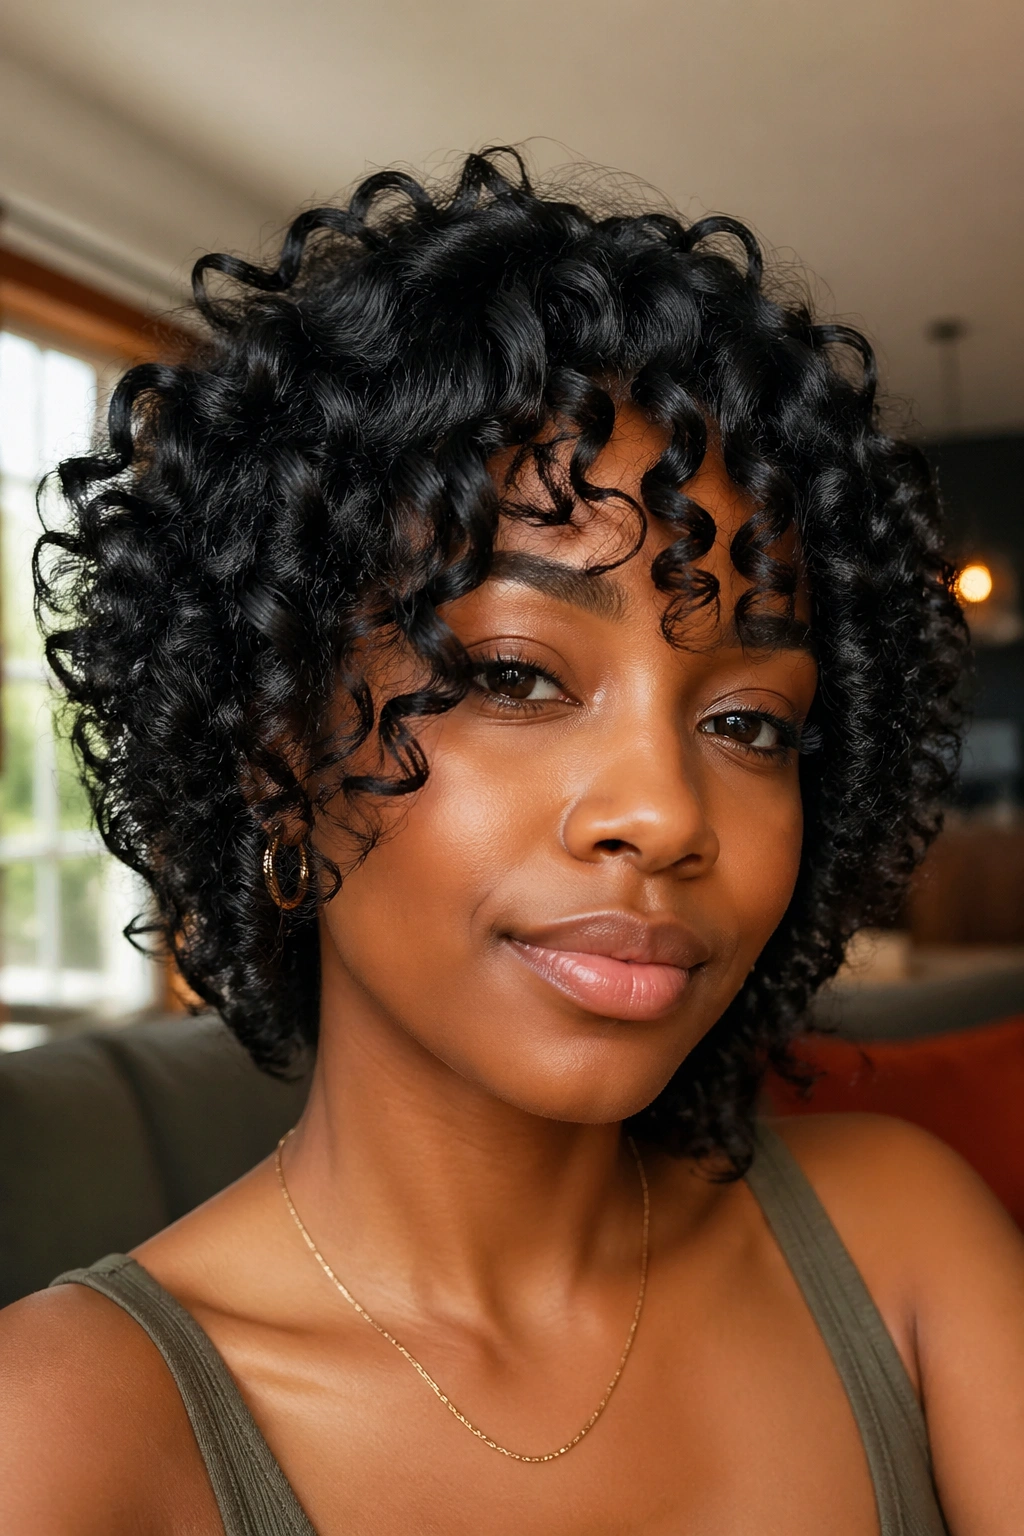
Consistency is what takes your s curl styles from occasional successes to reliable results every single time. That means building a routine around your hair’s specific needs rather than following someone else’s regimen exactly.
Track what works. When a style turns out beautifully, write down what you did — which products, how wet your hair was, which technique you used, how long you diffused. That information is gold.
Establish a regular deep conditioning schedule — at least once a week for most naturals, twice a week for drier or higher-porosity hair. Moisture is the foundation of every s curl style on this list. Without it, none of the techniques matter.
Be patient with yourself as you learn your hair. Natural hair care has a learning curve, and what works for the naturalista in your favorite tutorial might not work exactly the same way for you. Adjust, adapt, and keep experimenting until you find your personal formula.
