



Flat iron curls on natural hair are one of those styles that consistently produce jaw-dropping results — and once you’ve mastered the technique, you’ll understand why so many naturals keep coming back to them despite the heat. The flat iron curl is smoother than a wand curl, more flowing than a finger curl, and creates a look that reads as simultaneously polished and effortlessly beautiful. On natural hair — especially when done correctly with proper preparation and protection — flat iron curls produce defined spirals with a silky finish that showcases the hair’s true length and movement.
Why the Flat Iron Curl Is a Different Beast from Wand Curls
A lot of naturals think wand curls and flat iron curls are interchangeable. They’re not. The tools are different, the wrapping technique is different, and the results are distinct.
A wand is a simple cylinder. You wrap the hair around it and hold. The curl you get is shaped by the barrel’s diameter and your wrapping tension.
A flat iron is two heated plates that clamp together. To create a curl with a flat iron, you clamp the hair in the plates, rotate the iron inward or outward, and slide it down the length of the strand while maintaining the rotation. The hair takes the shape of the curl from the clamping and rotating motion of the plates. The result is a curl with a slightly different character — often smoother at the surface, with a very clean wave pattern, and with a silkier finish than a wand curl.
Flat iron curls on natural hair also tend to create a style that looks more straight-inspired — the finished curl sits differently than a coil-inspired wand curl, with more flow and less spring. This makes them excellent for naturals who want a more elongated, sleek-adjacent look without fully straightening their hair.
The Learning Curve Is Real
Flat iron curls have a steeper learning curve than wand curls. The wrapping motion — rotate the iron inward, hold the rotation, slide down — requires coordination and a feel for the iron’s movement that takes practice to develop. The first few attempts might produce more waves than curls, or the curls might be inconsistent in direction or size. This is normal. Give yourself four to five sessions before judging your ability to do this style.
Choosing the Right Flat Iron for Natural Hair Curls
Not every flat iron creates curls equally well. The shape of the iron, the plate material, and the plate edge profile all affect how well the iron creates a curl versus just straightening the hair.
Plate width: Narrow plates — three-quarters of an inch to one inch — are better for curling because they create more versatile tension and a tighter wrap. Wide plates — two inches and beyond — are designed for straightening and don’t curl as easily or as cleanly.
Rounded edges: Flat irons with rounded barrel edges rather than sharp, flat edges are significantly better for creating curls. The rounded edge allows the iron to rotate smoothly during the curling motion without creating sharp angles or creases in the hair. If you’re buying a flat iron specifically for curl creation on natural hair, look for this feature.
Plate material: Ceramic, titanium, and tourmaline plates are all effective. Ceramic distributes heat evenly, which is good for avoiding hot spots. Titanium heats up faster and holds temperature better, which is useful for thick, dense natural hair. Tourmaline emits negative ions that help reduce frizz. Any of these works well — what matters more is consistent heat distribution and the quality of construction.
Temperature Control Is Non-Negotiable
A flat iron without precise temperature control is a tool that shouldn’t be used on natural hair. Temperature matters too much to leave to chance.
For fine or color-treated natural hair: 300°F to 350°F. For medium-density natural hair: 350°F to 380°F. For thick, coarse, high-density natural hair: 380°F to 420°F. For Type 4 hair with high density: 400°F to 430°F — but never higher.
The key metric for finding your temperature isn’t a number — it’s the result. If you pass the iron over a section with proper heat protectant and the section comes out frayed, frizzy, or smells acrid, the temperature is too high. If the hair isn’t curling after a full, deliberate pass, it might be too low. Adjust in 10-degree increments until you find the setting that produces a clean curl without visible damage signals.
Heat Protectant — More Important Than Any Other Product
If there’s one thing to remember about flat iron curls on natural hair, it’s this: the heat protectant is the most important product in the entire process. Not the smoothing serum, not the curl cream, not the holding spray. The heat protectant.
Apply it generously and evenly to every single section before the iron touches it. Don’t apply it to the whole head at once and then start curling — the protectant on the first sections may have dried before you reach them, losing some effectiveness. Apply to each section right before you curl it.
A good heat protectant for natural hair should coat the strand without creating buildup, should withstand the heat range you’re working at, and should provide both thermal protection and some smoothing benefit. Look for cyclomethicone, dimethicone, or silicone-based formulas for the best thermal barrier.
No heat protectant on natural hair means eventual heat damage. The cuticle is permanently damaged by unprotected heat over time — the texture changes, the coil pattern alters, and in severe cases the damage can’t be reversed. The heat protectant is not optional.
How to Section and Work Through Natural Hair
Section the hair into four to six parts before beginning. Clip each large section out of the way and work one at a time. Within each large section, take subsections that are no wider than one inch — smaller for finer or more delicate hair. This small section size is essential for flat iron curls specifically because the iron needs to maintain even contact with every strand in the section throughout the curling motion. Larger sections result in some strands curling and others remaining partially straight.
Work from the nape upward, front to back. Always curl the underneath sections first so that when you place the next section down over them, the top sections frame the finished style.
1. Classic Flat Iron Curls
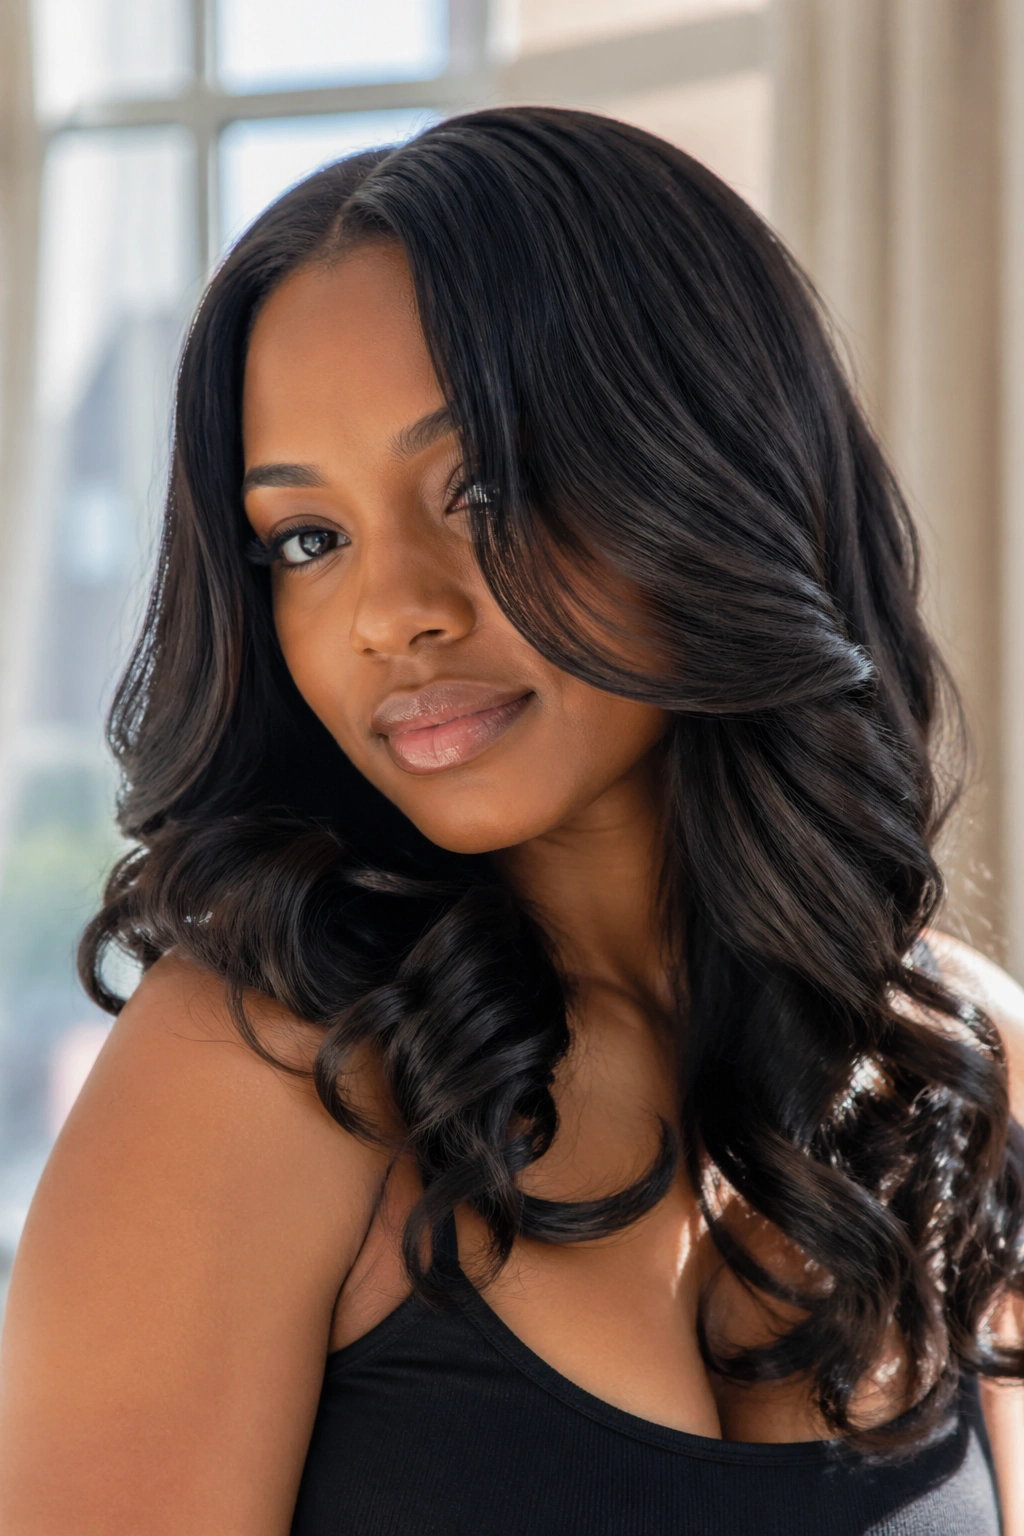
Classic flat iron curls are the signature of this technique — smooth, flowing spirals with a silky surface finish that catches light beautifully. On natural hair, this style showcases length and movement in a way that’s simultaneously elegant and free.
Take a one-inch section of heat-protected hair. Clamp the iron about two inches from the root. Rotate the iron inward (toward the face for forward curls, or outward for backward curls) and glide the iron smoothly down the length of the section while maintaining the rotation. Keep your speed consistent — not too fast (the curl won’t set) and not too slow (the heat exposure time increases). Release at the end and let the curl cool without touching it.
How to Execute Perfect Classic Flat Iron Curls
- Start with the iron rotation established before you begin sliding — the rotation sets the curl direction
- Keep your elbow elevated so the iron tracks cleanly through the section rather than at an angle
- Use consistent speed throughout each pass — any speed variation creates an uneven curl
- Don’t release and immediately touch the curl — let it cool in your palm or on a clip
Once cooled, separate gently with fingertips for a finished style that flows and bounces beautifully.
2. Bouncy Flat Iron Curls
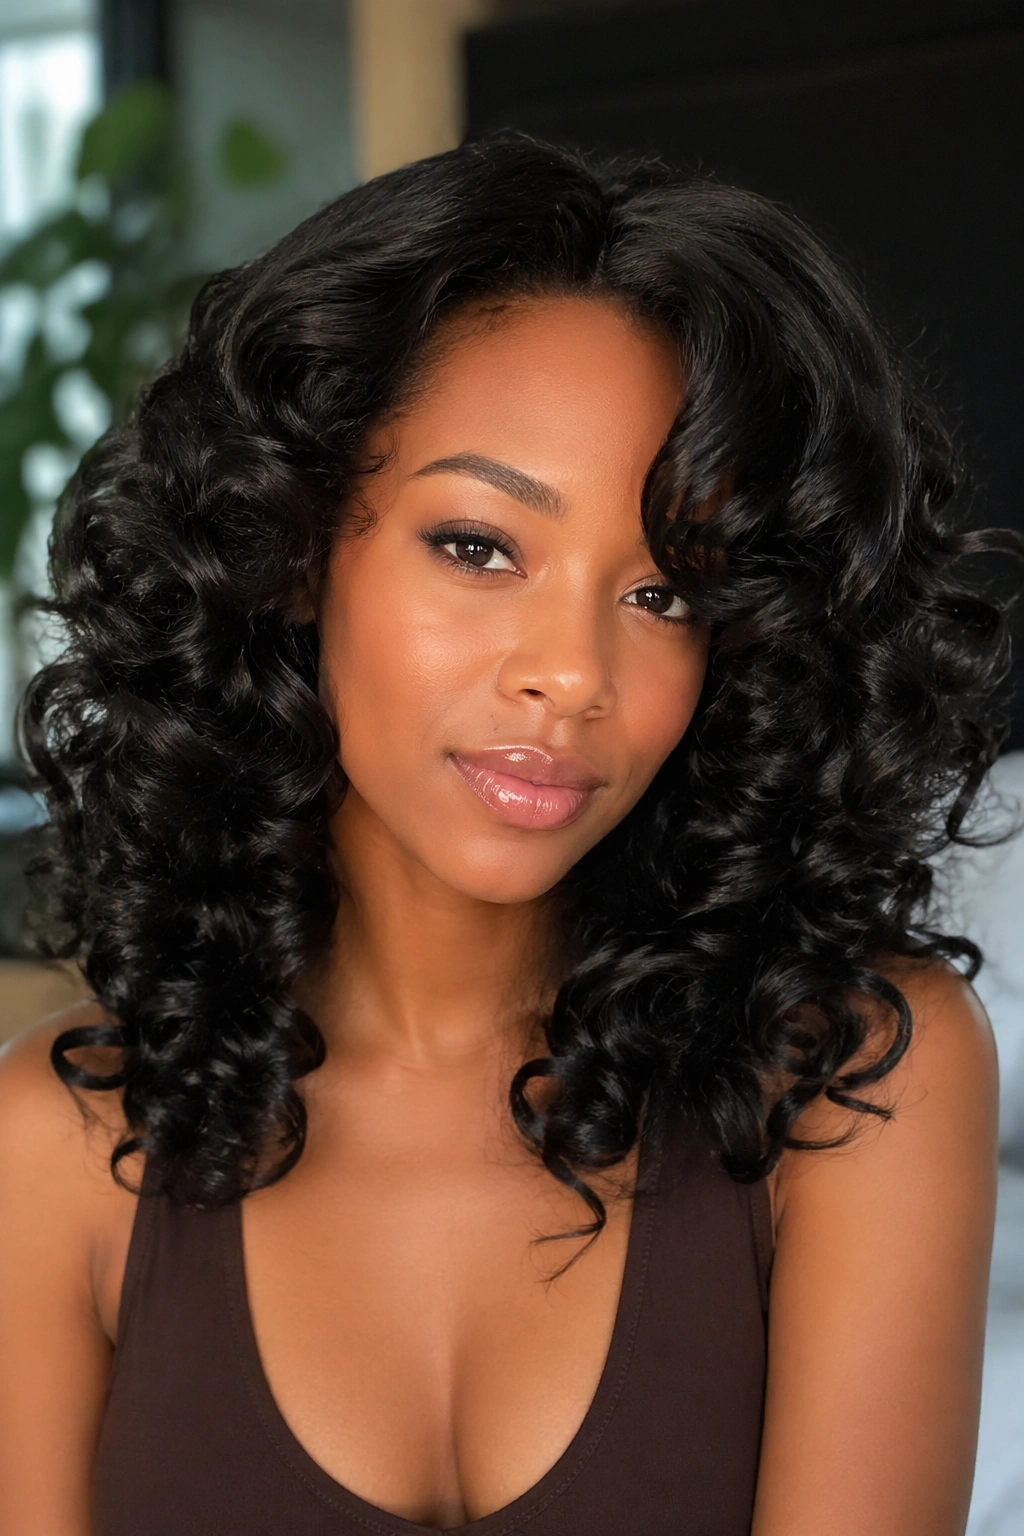
Bouncy flat iron curls have more volume and spring than classic curls — the difference is in the technique, specifically in how tightly you rotate the iron and how small your sections are.
Use sections that are three-quarters of an inch rather than a full inch. Rotate the iron more tightly and move at a slightly slower speed. The combination of smaller sections and tighter rotation produces curls with more spring and bounce than classic flat iron curls. When the full head is done and the curls are cooled, use a wide-tooth pick to very gently lift the roots at the crown — just half an inch — to add volume at the base.
The finished style has a much fuller, bouncier silhouette than classic curls, with more movement and energy in the way each curl sits.
3. Sleek Flat Iron Curls for a Formal Look
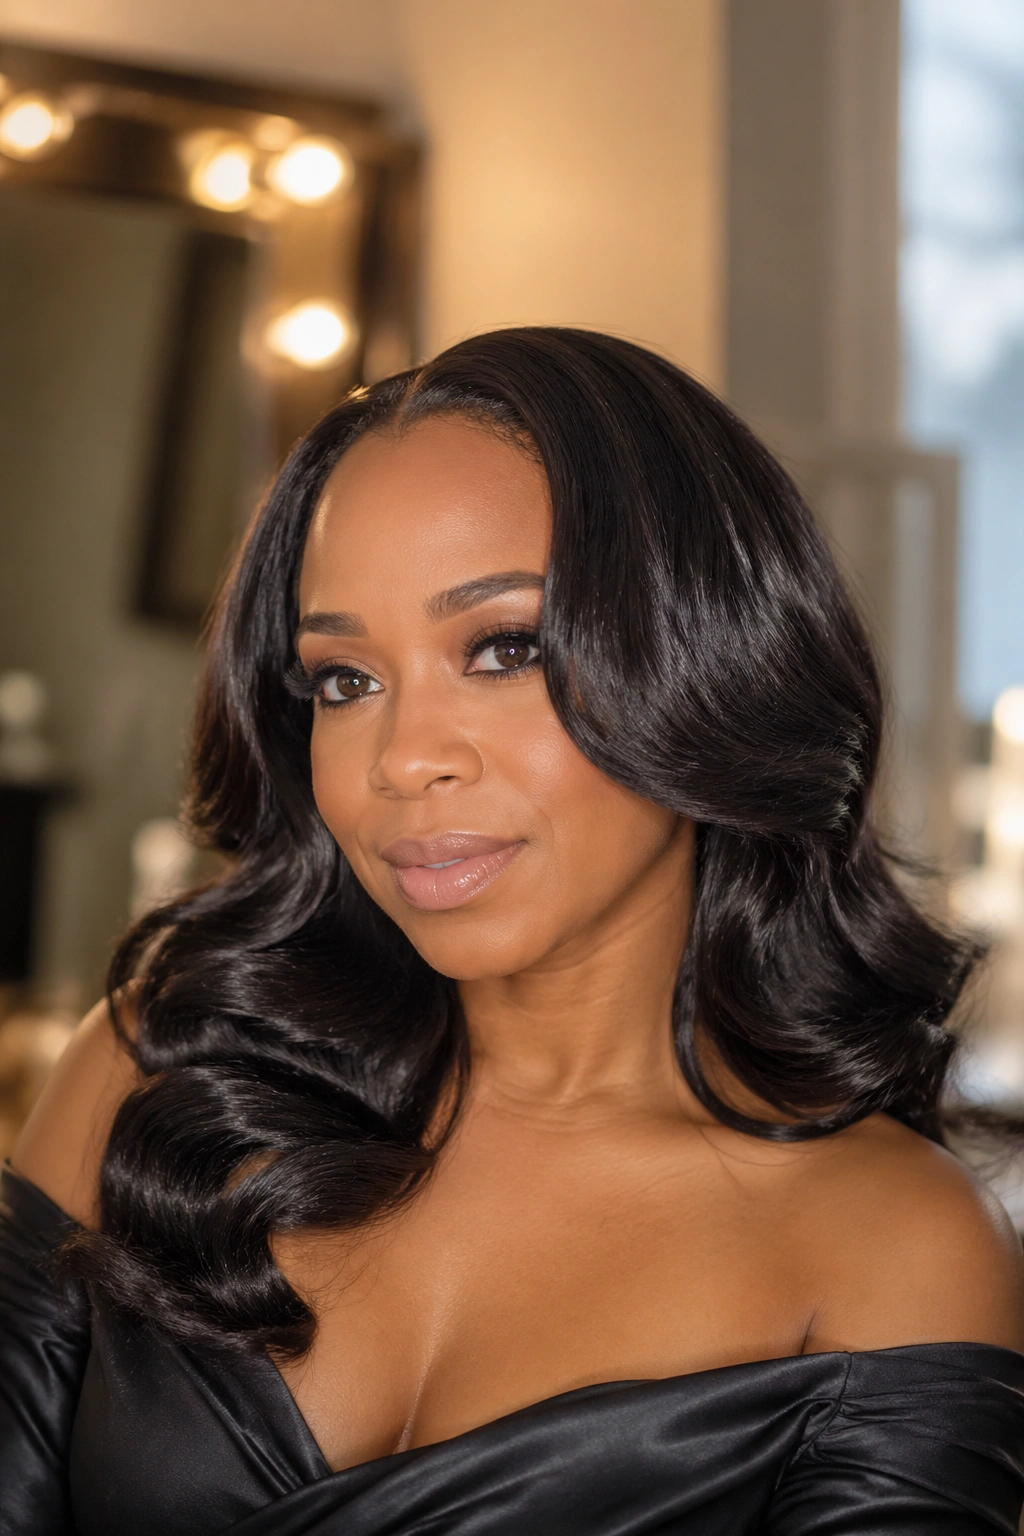
When the occasion calls for polished, this variation delivers. Sleek flat iron curls are smooth, uniform, and controlled — the kind of style that reads as professionally styled without looking overdone.
The key difference from classic curls is the addition of a light smoothing serum applied to each section before the heat protectant. The serum fills the surface of the cuticle, creating a smoother substrate for the iron to move across. The resulting curl has a higher-gloss surface and less visual texture variation, which reads as sleek and deliberate.
Work in the same one-inch sections as classic curls, but move the iron slightly more slowly to allow the serum-coated hair more time to set against the iron surface. The finish is noticeably silkier than unserum-ed sections.
4. Loose Flat Iron Waves
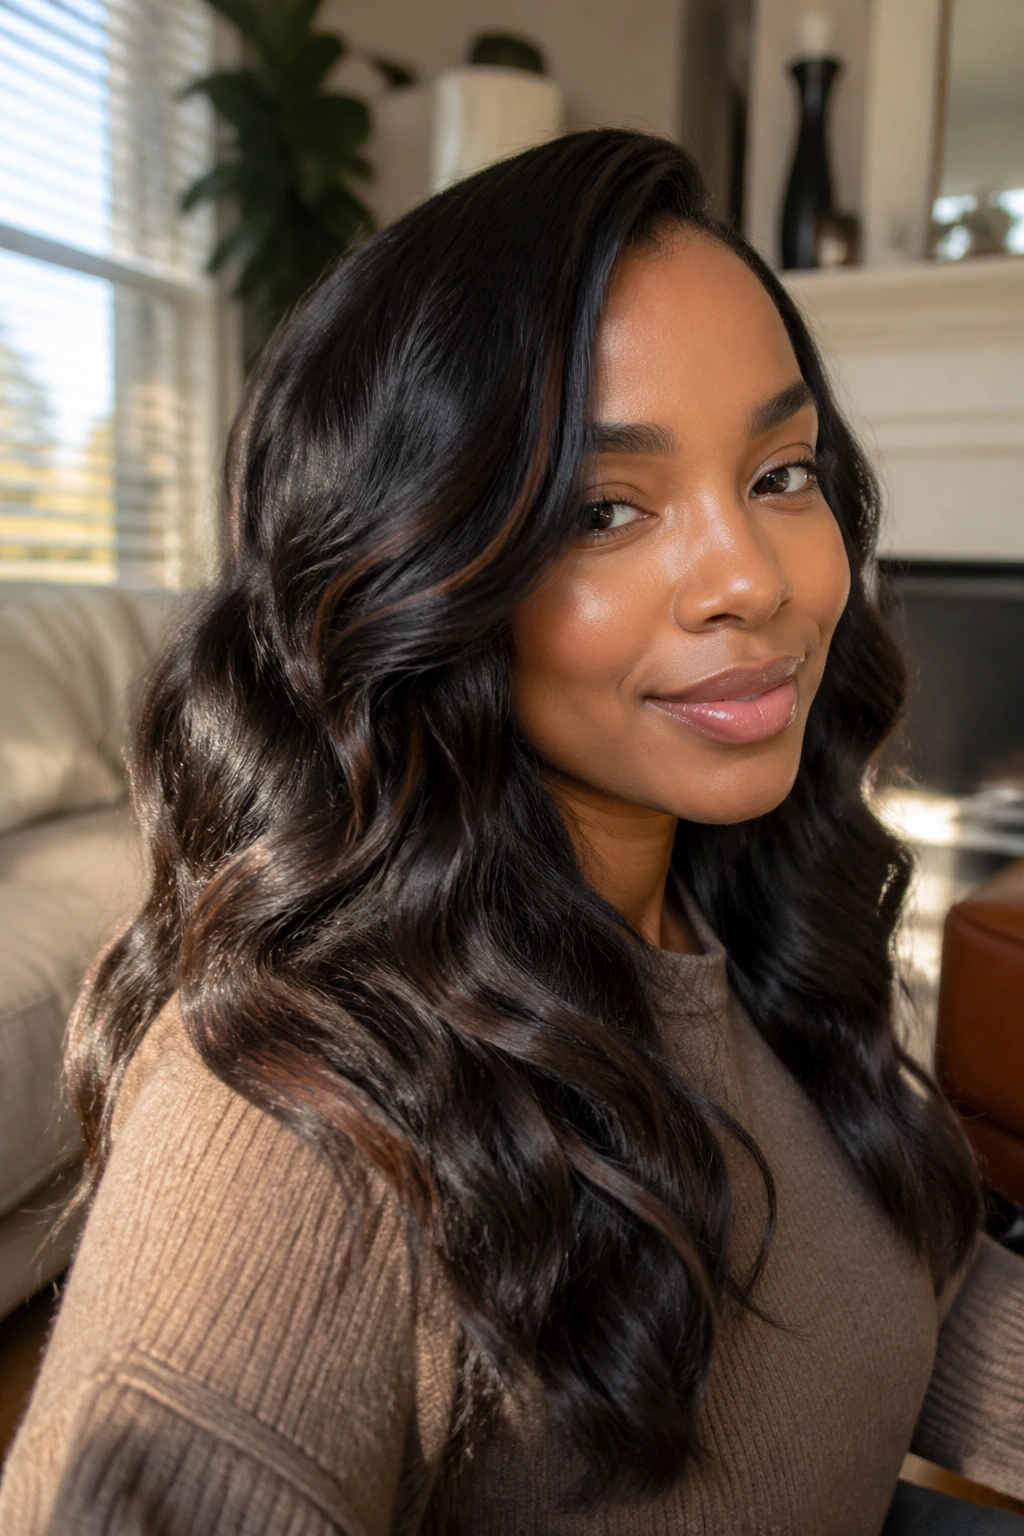
Flat iron waves are the larger, more relaxed version of flat iron curls — and they produce a look that’s equal parts sophisticated and effortless. Think flowing, gentle bends in the hair rather than distinct spirals.
Use a wider section — about one and a half inches — and rotate the iron less tightly than you would for a spiral curl. Instead of a full 360-degree rotation, make a 180-degree rotation and glide through. The result is a soft C-bend in the hair rather than a full spiral. Alternating the direction of the bend on adjacent sections — one section curled forward, the next backward — creates a natural wave pattern that looks organic and flowing.
This look is especially beautiful on longer natural hair where the waves have room to extend and cascade.
5. Flat Iron Curls on Blown-Out Natural Hair
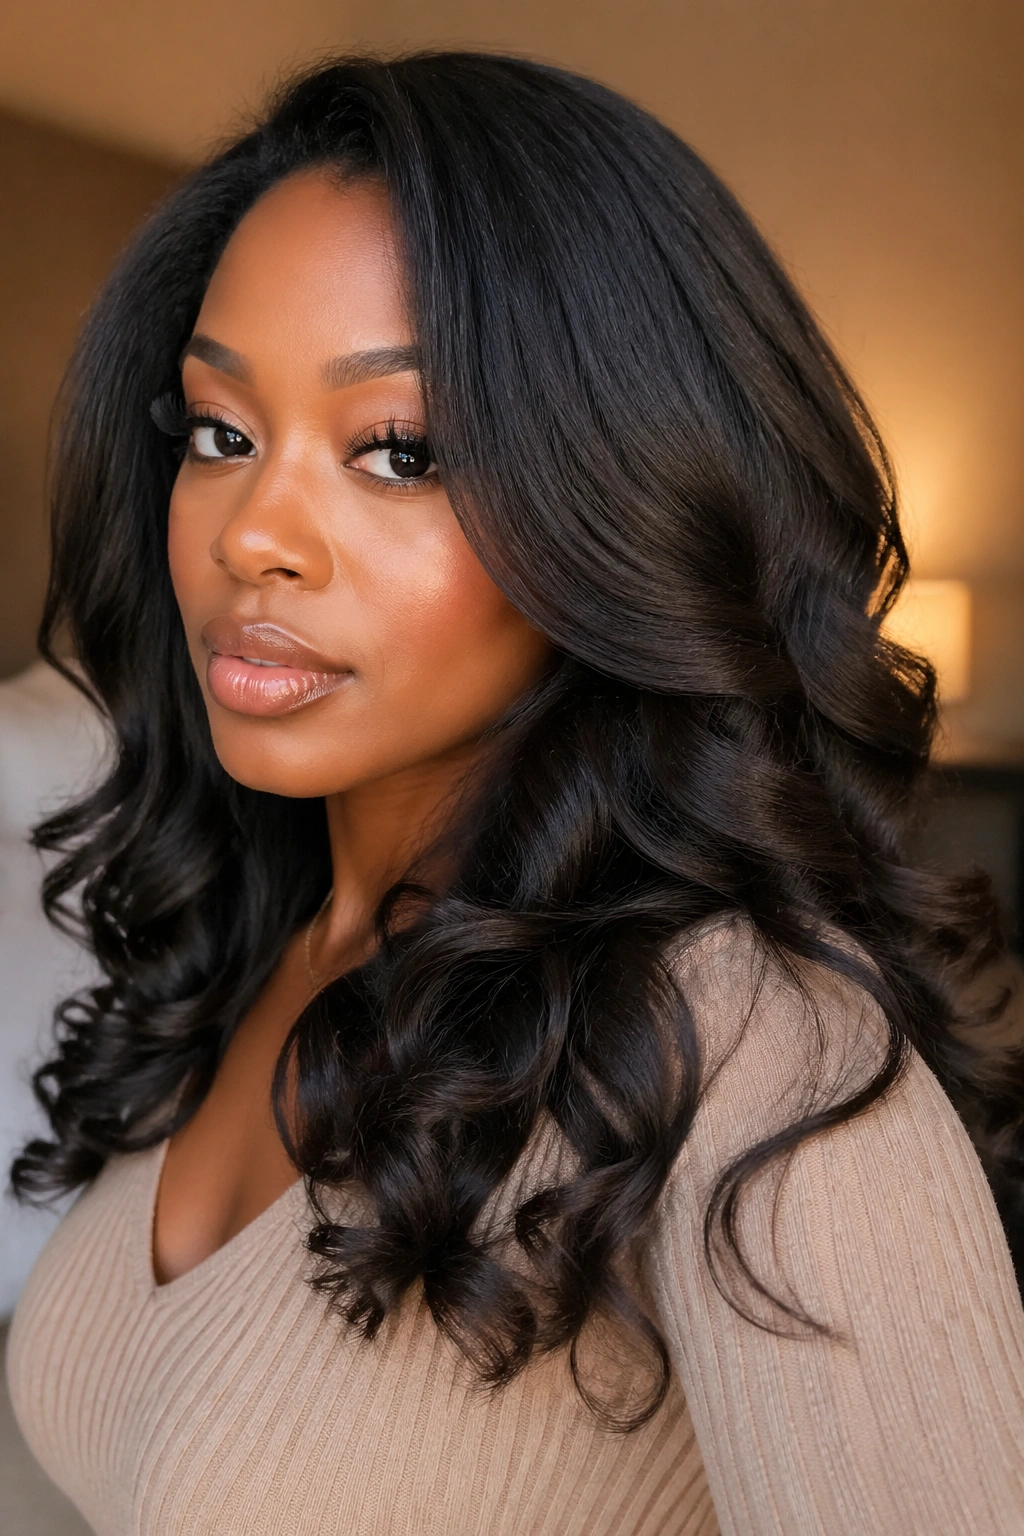
Blown-out hair is the ideal base for flat iron curls on most natural hair types. The blowout stretches the coil pattern, giving the flat iron a smoother, more manageable starting point, and the resulting curls are more uniform and longer-lasting than curls done on unblown-out natural hair.
Blow-dry the hair on medium heat using a concentrator nozzle, working in sections. The goal is stretched and smooth, not bone-straight. Once blown out, apply heat protectant to each section and proceed with the flat iron curl technique. The combination of a blowout and flat iron curls produces the cleanest, most polished version of this style — smooth spirals with maximum definition and length.
6. Flat Iron Curls with a Side Part
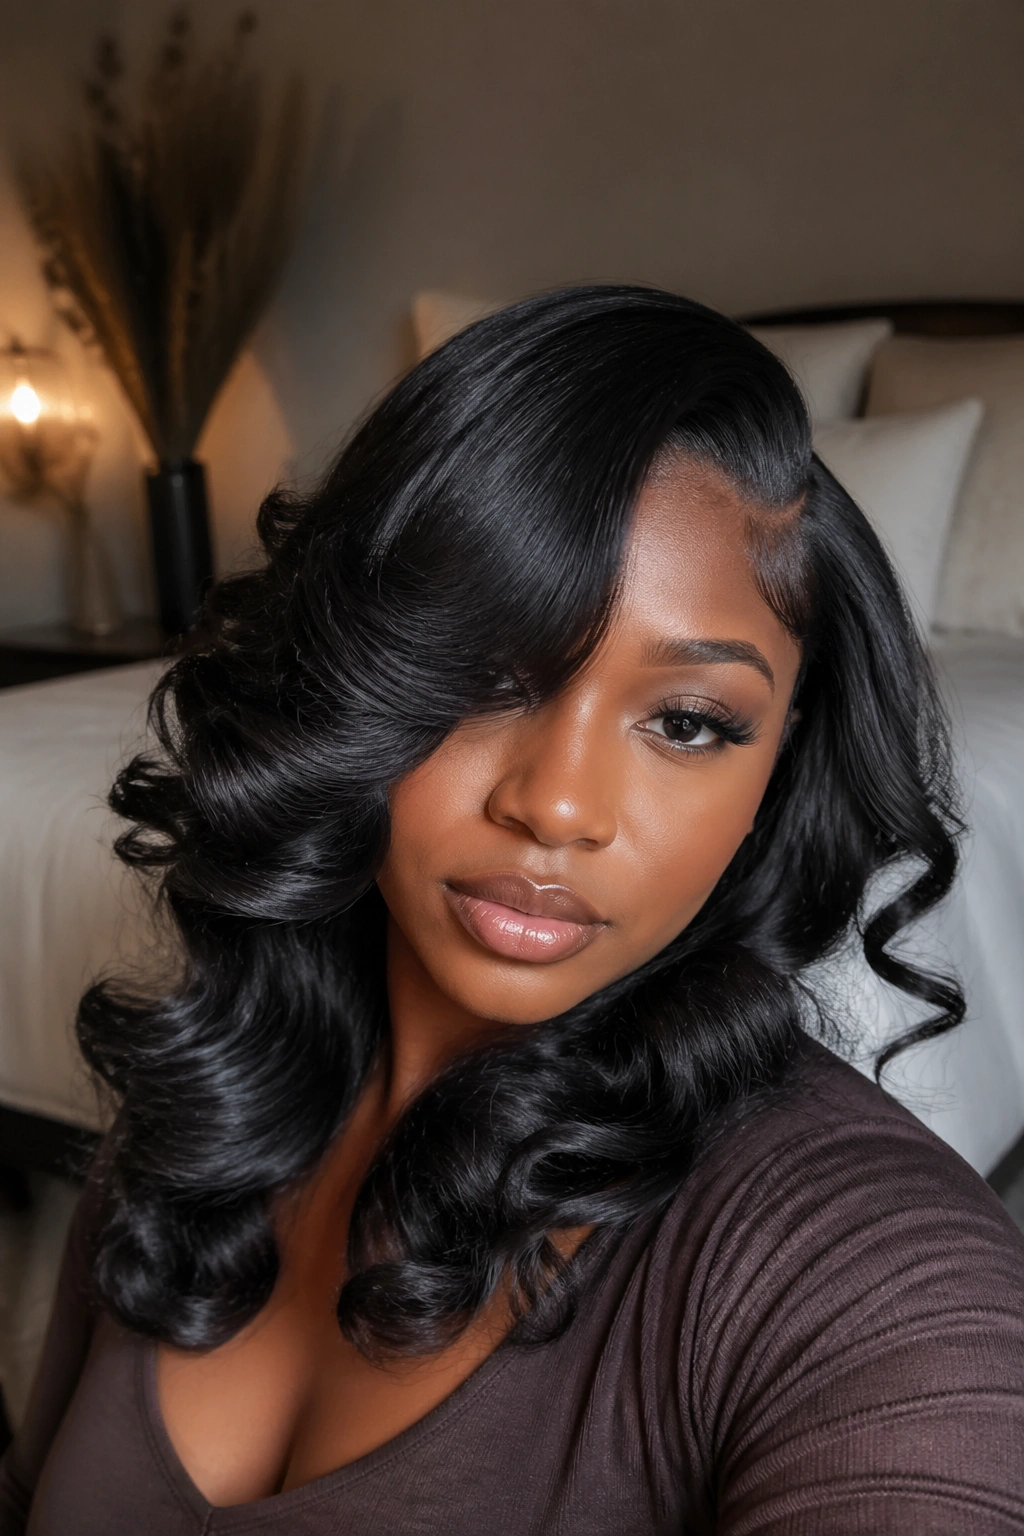
The side part is a flat iron curl’s best friend. The asymmetry it creates transforms the uniform curl set into something with drama, dimension, and visual interest that a center-parted or part-free set simply doesn’t have.
Create your deep side part before curling. Part from the hairline on one side all the way back to behind the ear using the handle of a rat-tail comb. Then proceed with curling — on the heavier side, curl all sections away from the face. On the lighter side, curl toward the face for a face-framing effect.
When done, the curls on each side frame the face differently, creating a sweep and flow that’s asymmetrical and visually sophisticated. Smooth the edges on the lighter side with a tiny amount of edge control for extra polish.
7. Flat Iron Curls Half-Up Style
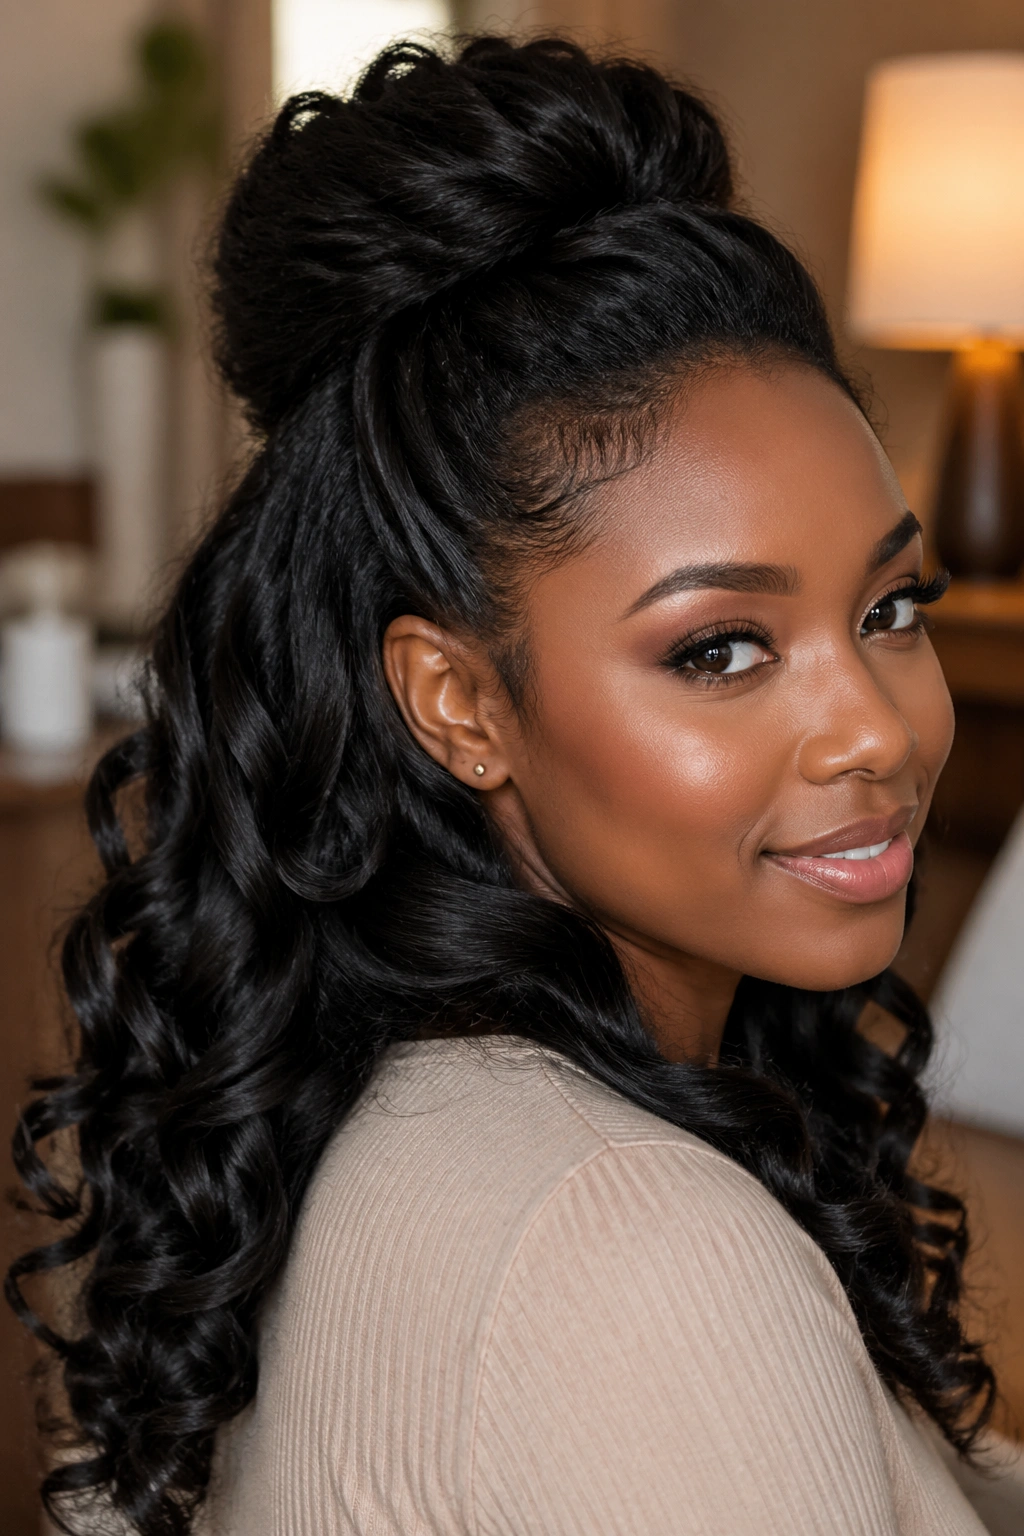
A half-up style with flat iron curls is versatile enough for a business lunch and a Saturday night out. It combines the elegance of an upstyle with the free, flowing quality of loose curls below.
Curl the entire head. Once all curls are cooled, take a generous section from the crown — from temple to temple — and gather it at the top of the head. Secure with a silk scrunchie or a few criss-crossed bobby pins in a loose, voluminous shape. Don’t smooth it too tightly — the natural volume from the flat iron curls inside the gathered section is what makes the top half look full and interesting. Let the bottom half of curls flow freely.
Pull a few face-framing curls forward from the gathered section to soften the style at the face.
8. Flat Iron Curls for a Ponytail
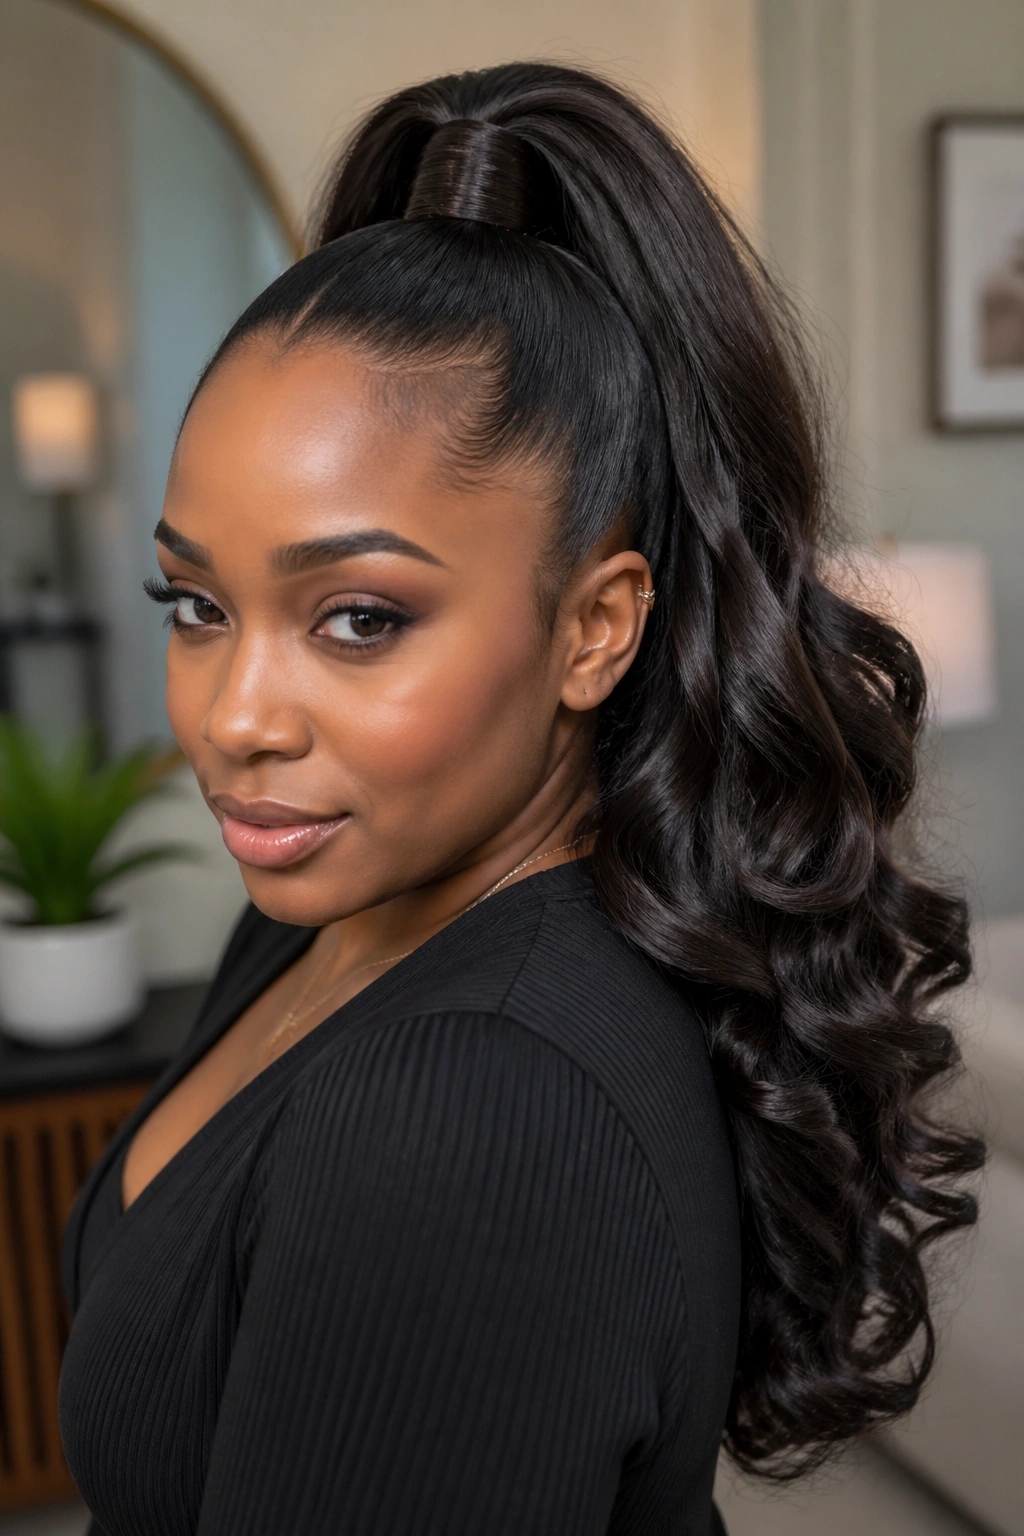
A flat-iron-curled ponytail is one of the most classic, most requested styles in natural hair — and it’s easy to understand why. The combination of a sleek, gathered ponytail with flowing curls cascading from it is irresistible.
Curl the hair that will become the ponytail body first. Gather everything at the desired height — high at the crown for drama, low at the nape for elegance — and secure with a soft elastic. Wrap a small section of curled hair around the elastic to conceal it and pin underneath. For extra volume, gently shake the ponytail so the curls separate and spread. For a sleeker look, leave them as-is.
Smooth the hair at the base of the ponytail — the transition from the loose hair to the gathered ponytail — with edge control for a polished, professional finish.
9. Flat Iron Curls on Transitioning Hair
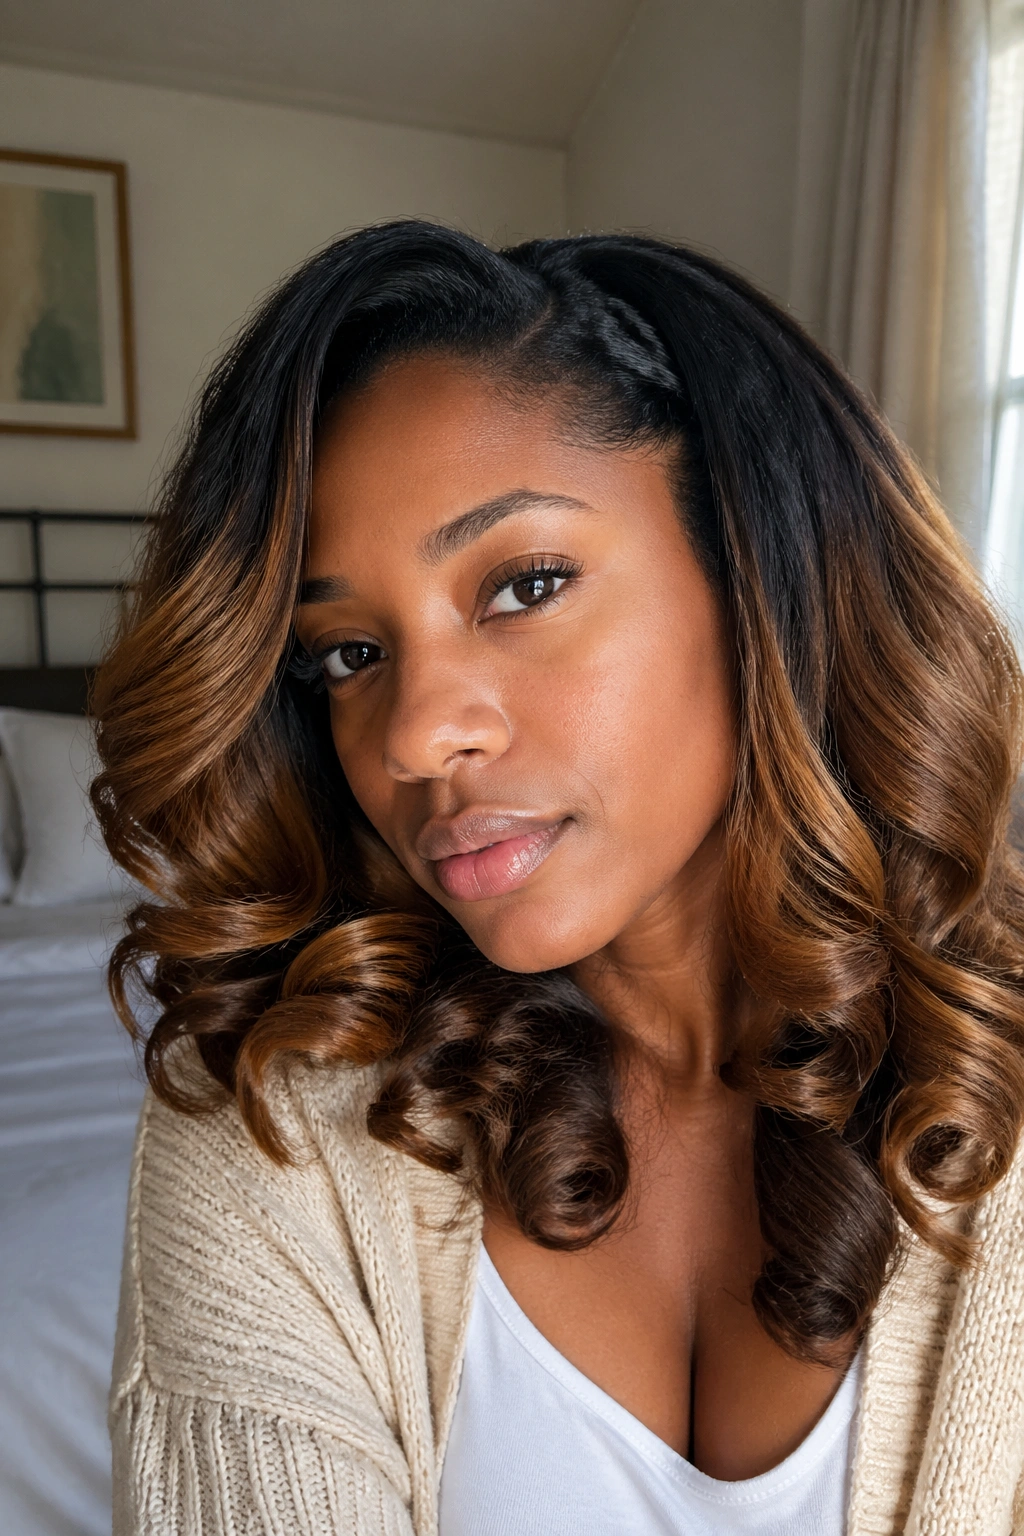
Transitioning hair presents a specific challenge for flat iron curling: you’re working with two different textures in the same section, and they don’t behave the same way under the iron. The natural new growth has one response, the chemically processed ends have another.
The approach that works best is using a lower temperature than you would for fully natural hair — 320°F to 360°F depending on the density of the new growth. Apply heat protectant generously to both the new growth and the processed ends, paying special attention to the ends which are the most fragile portion of transitioning hair.
Work in smaller sections — about three-quarters of an inch — for more even heat distribution across both textures. The result won’t be perfectly uniform across the two textures, but with a careful technique, the contrast between them can be minimized to a beautiful, blended look.
10. Big, Dramatic Flat Iron Curls
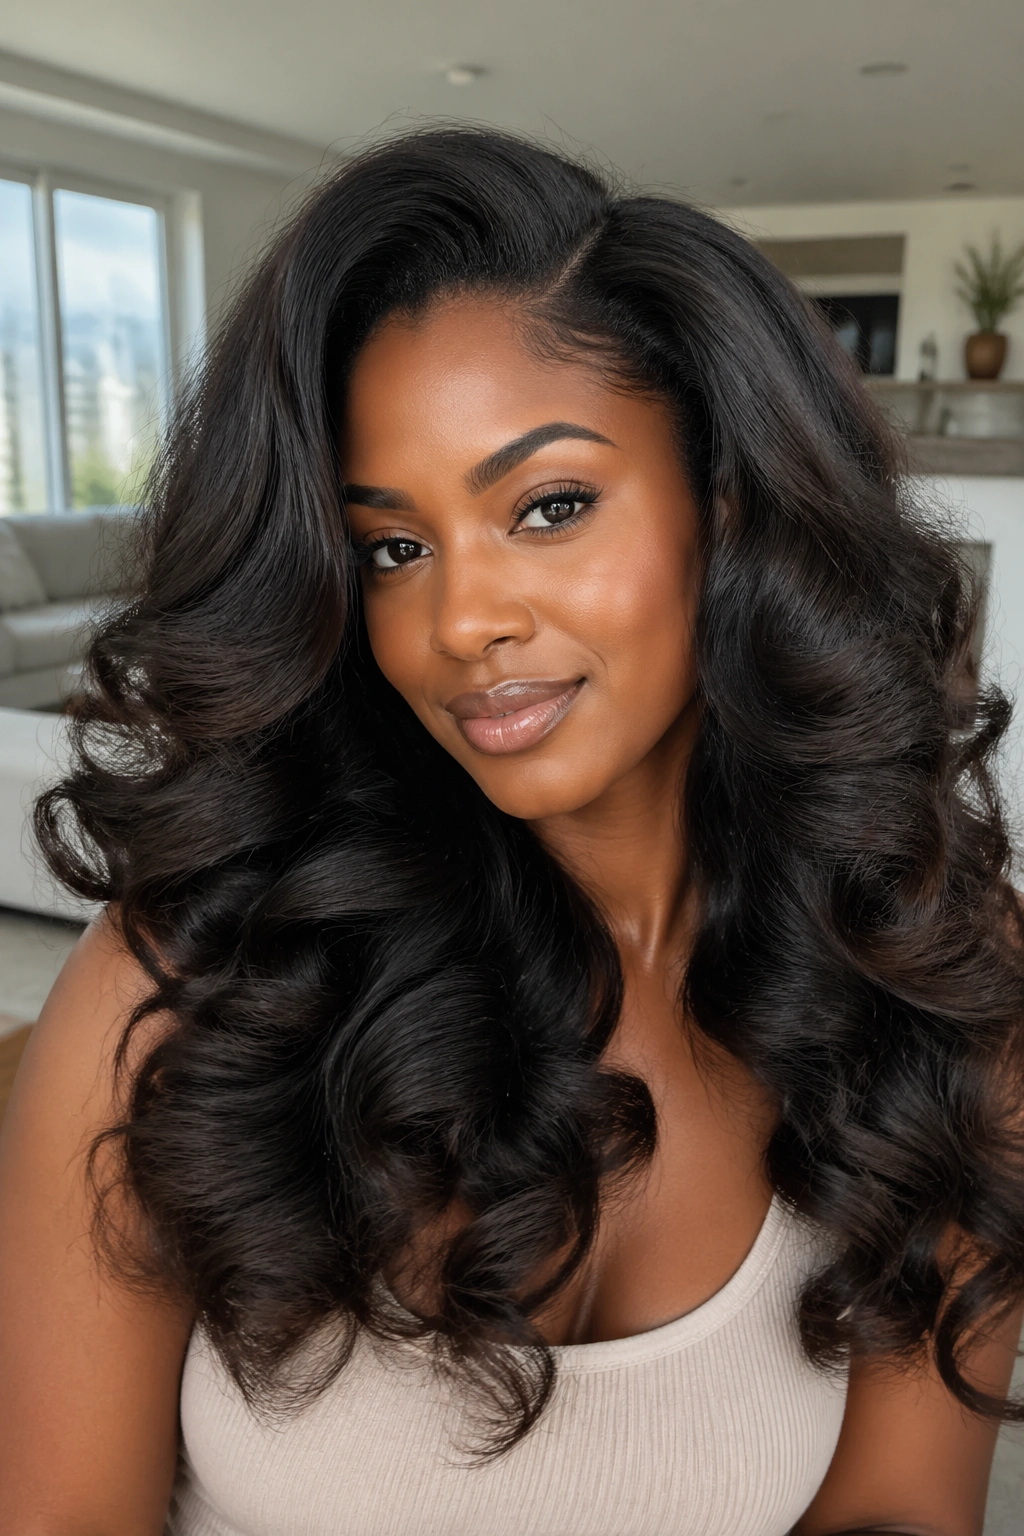
Some days call for maximum impact. Big flat iron curls — using large sections and a deliberately loose rotation — create a dramatic, high-volume look that fills the space around you with gorgeous, flowing spirals.
Use sections of one and a half to two inches and rotate the iron with less tightness than you would for standard curls. Move at a moderate speed. The resulting curls are large, open spirals with volume rather than tight, defined ringlets. Once the full head is done and cooled, shake the curls free gently — don’t finger-separate, just let them fall where they naturally want to go. Use a pick to add lift at the roots.
This style looks especially stunning on high-density natural hair where the volume of strands fills each large spiral column and creates an impressively full, dramatic silhouette.
11. Flat Iron Curls for Color-Treated Natural Hair
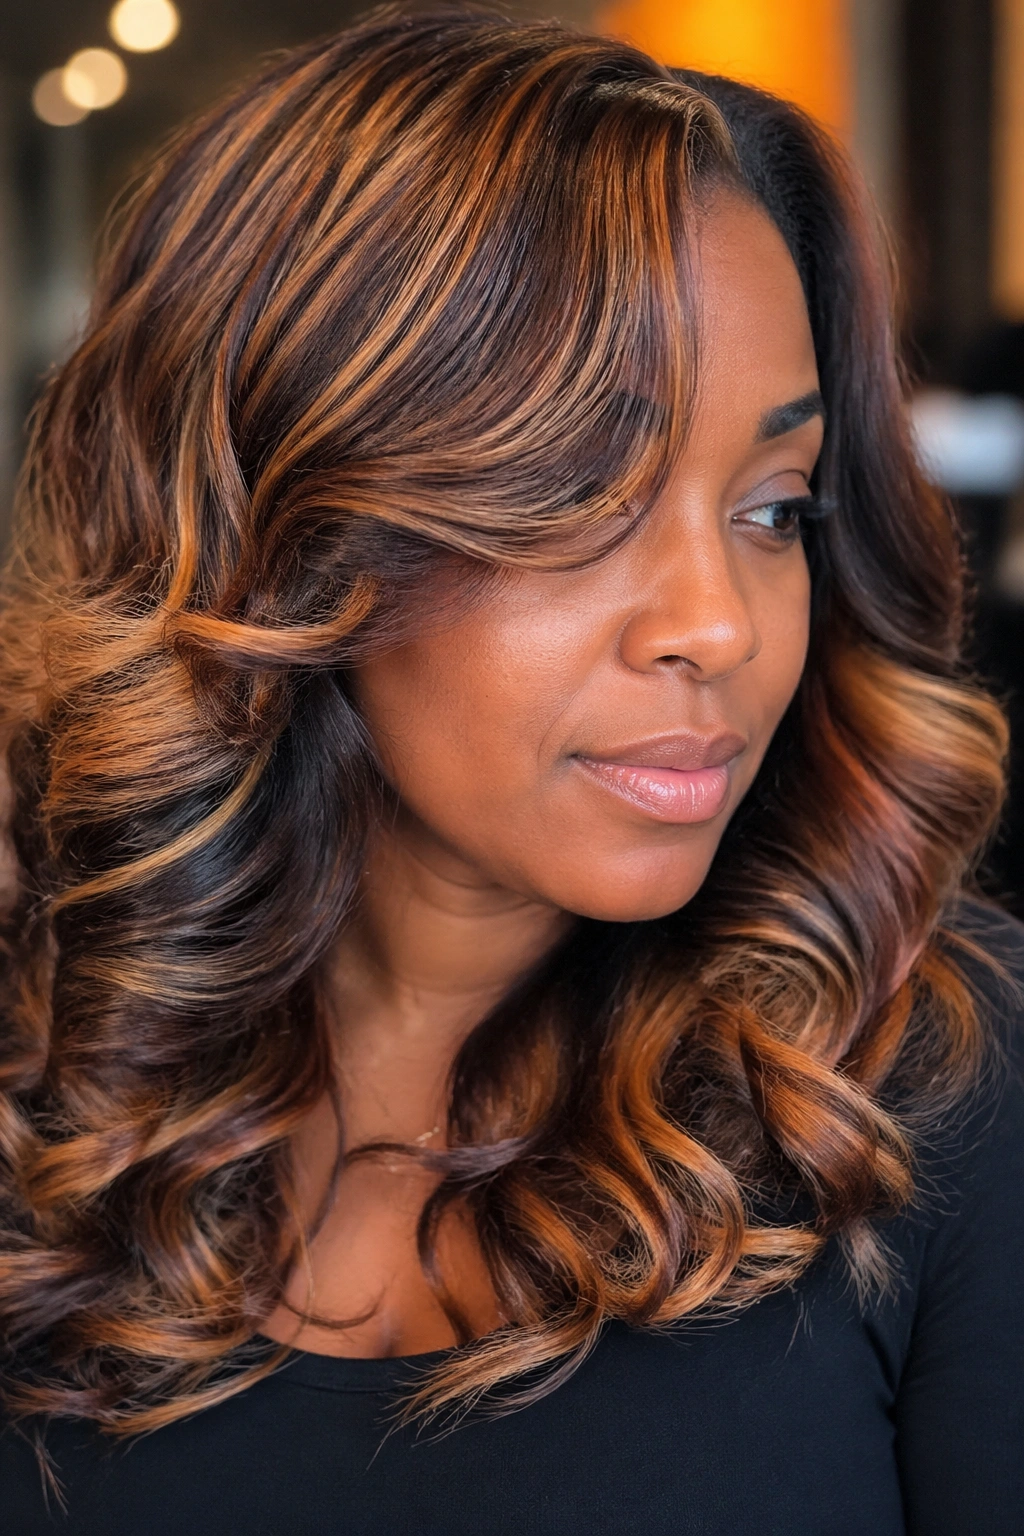
Color-treated natural hair and heat styling require extra care, but they’re not incompatible. The key is that every single step needs to be more deliberate, more generous with protection, and less aggressive with temperature.
For color-treated hair — especially lightened or bleached hair — use a temperature no higher than 350°F. Apply a protein-containing heat protectant that also provides strengthening benefit, since color processing weakens the protein bonds in the hair shaft. Work in smaller sections than you would on virgin hair so the heat exposure per strand is more controlled and even.
The finished curls on color-treated hair often look extraordinary because the color shifts and highlights pop at every angle the curl reveals. Worth every extra precaution.
12. Flat Iron Curls and an Accessory
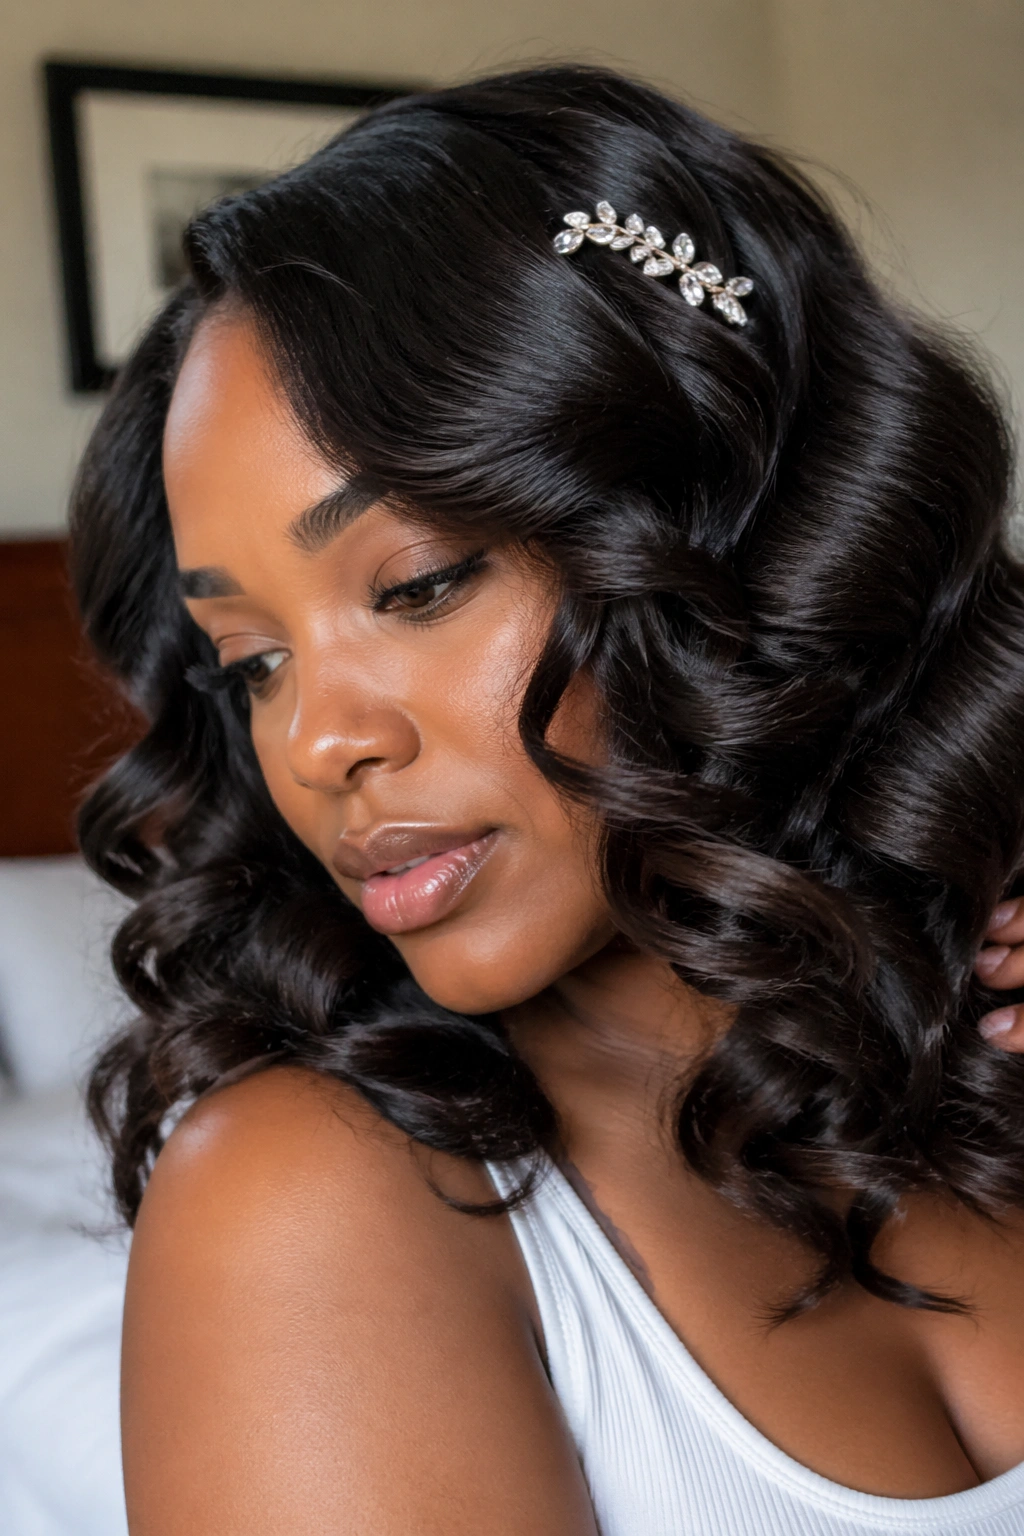
The right accessory transforms a flat iron curl set from beautiful to extraordinary. On natural hair specifically, accessories in a curled set add a layer of intentionality that makes the style feel complete.
For formal occasions, a jeweled or metallic hairpin tucked into the curls on one side creates a focal point. For everyday wear, a wide satin headband pushed back slightly from the hairline lets the flat iron curls frame the face below it. For a creative editorial look, a silk scarf draped over the curls and tied at the nape creates a romantic, flowing effect.
The accessory should complement, not compete with, the curls. The curls are the main event — the accessory is the finishing touch that makes the look feel intentional.
13. Flat Iron Curls for Natural Hair Length Check
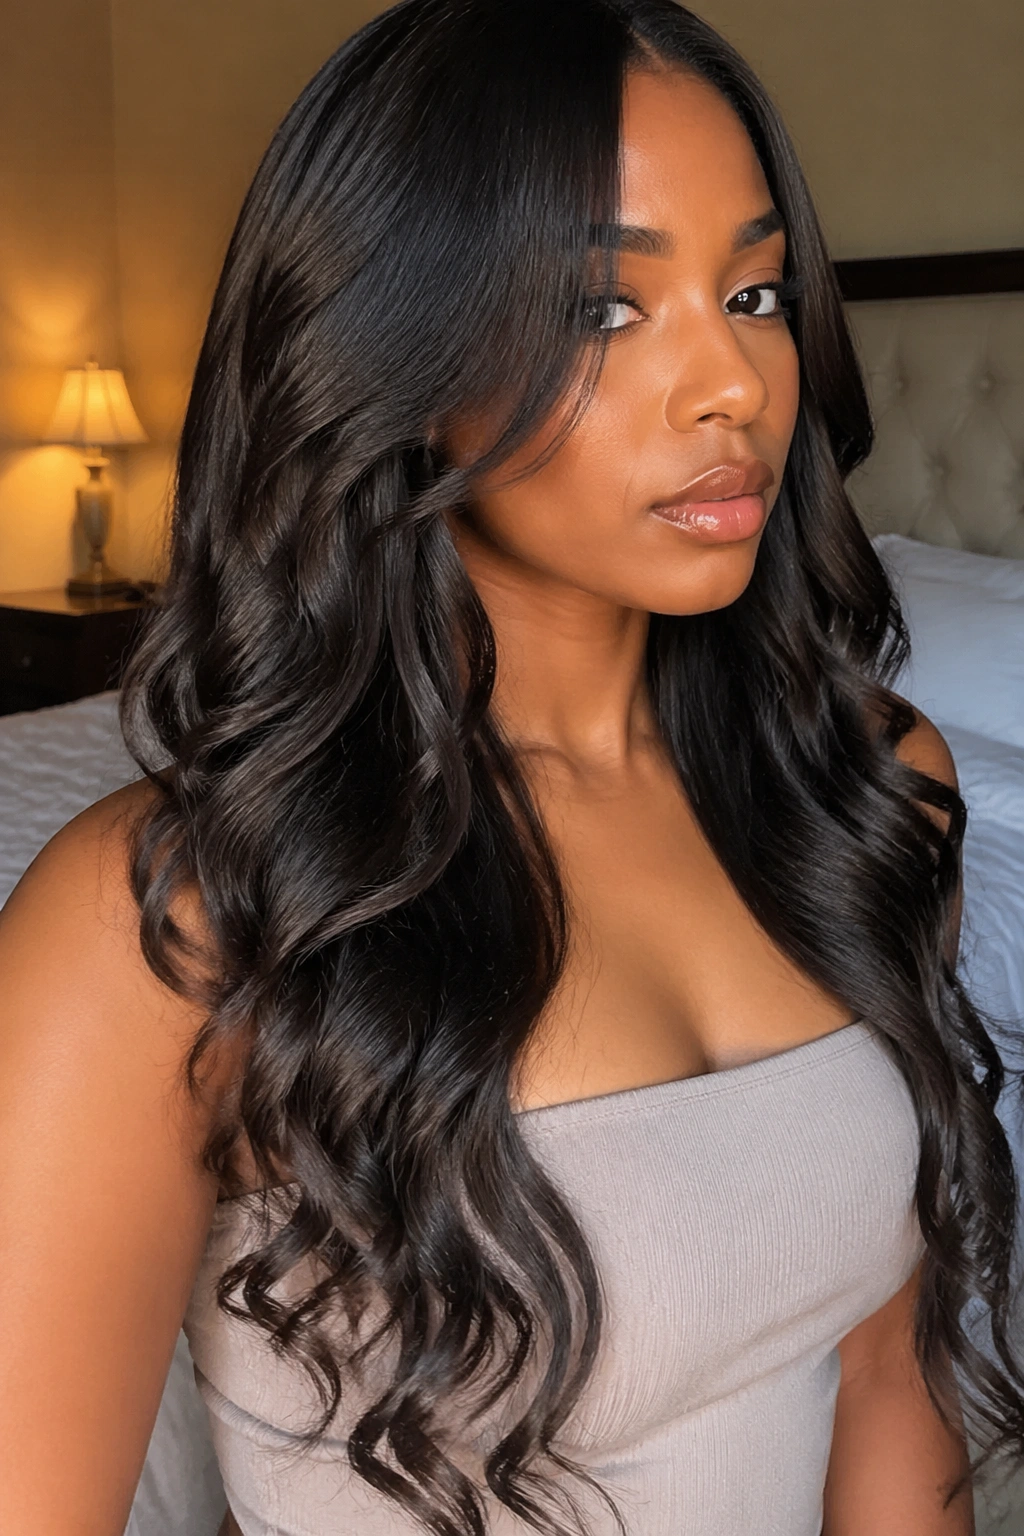
Flat iron curls are one of the best ways to get an accurate read on how much length your natural hair has accumulated, especially for Type 4 naturals whose shrinkage can hide significant growth. The elongation from the flat iron curl set shows the hair’s actual length, not its shrunken everyday state.
This is meaningful beyond vanity. Seeing the actual length of your natural hair in a flat iron curl set can be profoundly motivating for naturals who are on a length retention journey and sometimes struggle to see progress through the constant shrinkage of their natural coil pattern.
If you style in flat iron curls once every four to six weeks, you can track your growth in a way that’s visible and encouraging. Many naturals find that the visual confirmation of growth motivates them to maintain their protective practices even more consistently.
14. Corkscrew Flat Iron Curls
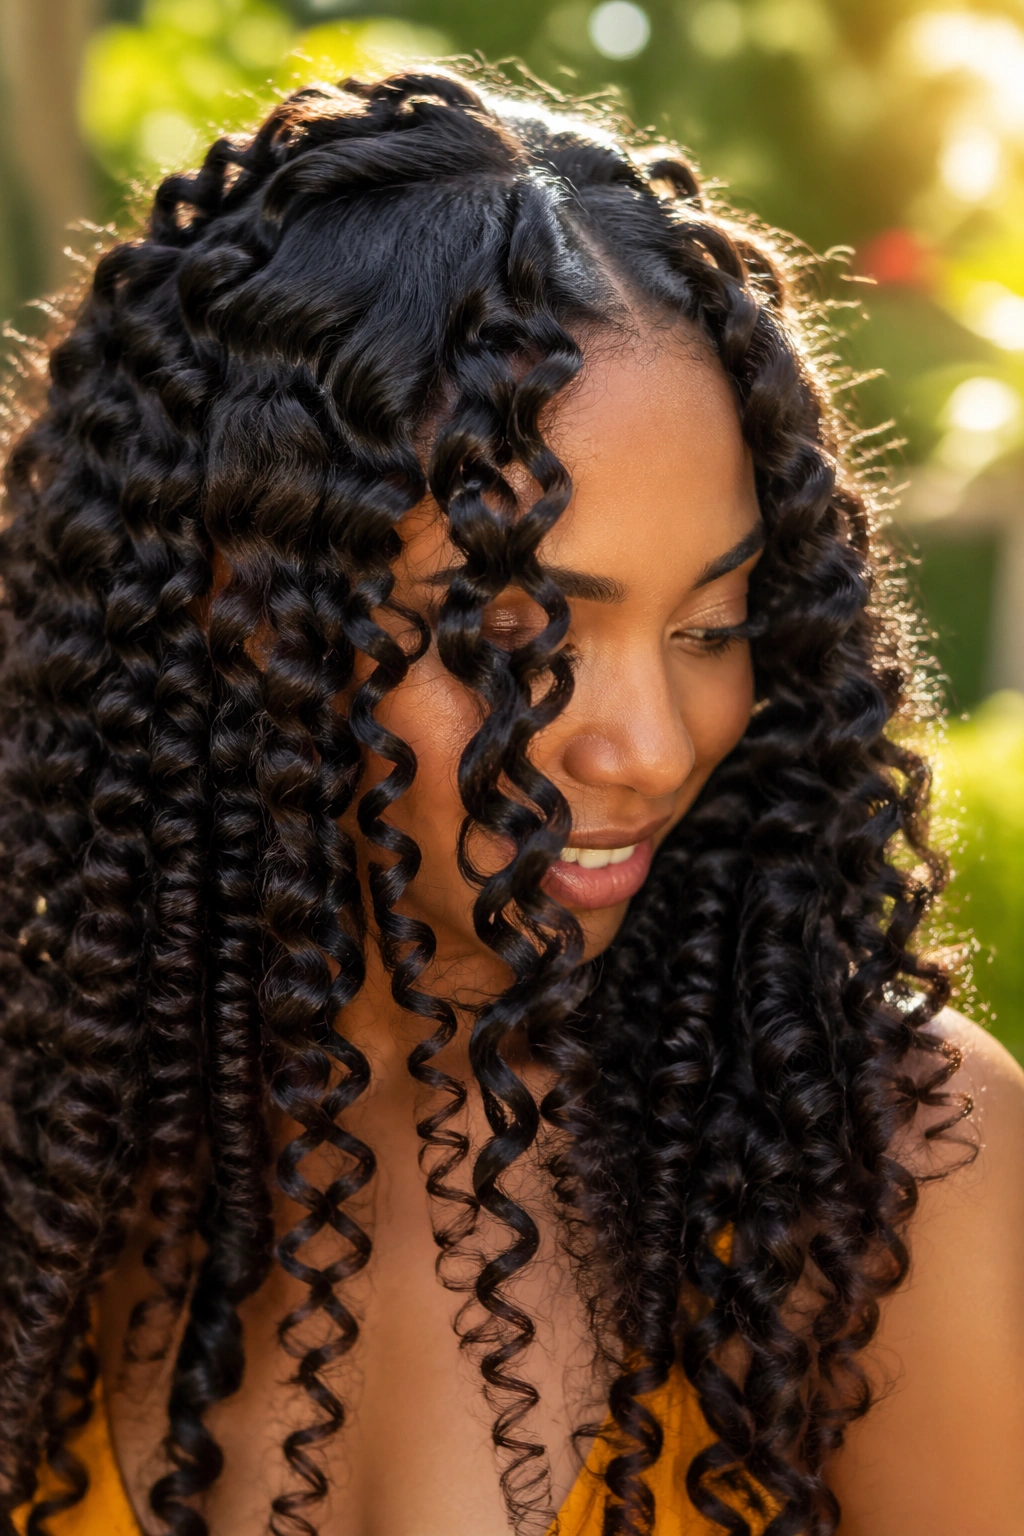
Corkscrew curls from a flat iron? Yes — and the technique produces tight, springy spirals that look almost like rod curls but with the silky surface finish of a flat iron style.
The technique is the same as classic flat iron curls but with a tighter rotation and slower movement. Rotate the iron a full 360 degrees as you approach the section base, and move very slowly down the length of the section so each part of the strand gets full contact with the tight rotation. Work in tiny sections — half an inch at most.
The resulting corkscrew spirals are tight, defined, and have the same bounce and spring as a rod set but with the flat iron’s characteristic surface smoothness. This is a beautiful style for natural hair that wants more definition than the classic curls provide.
15. Undone Flat Iron Curls
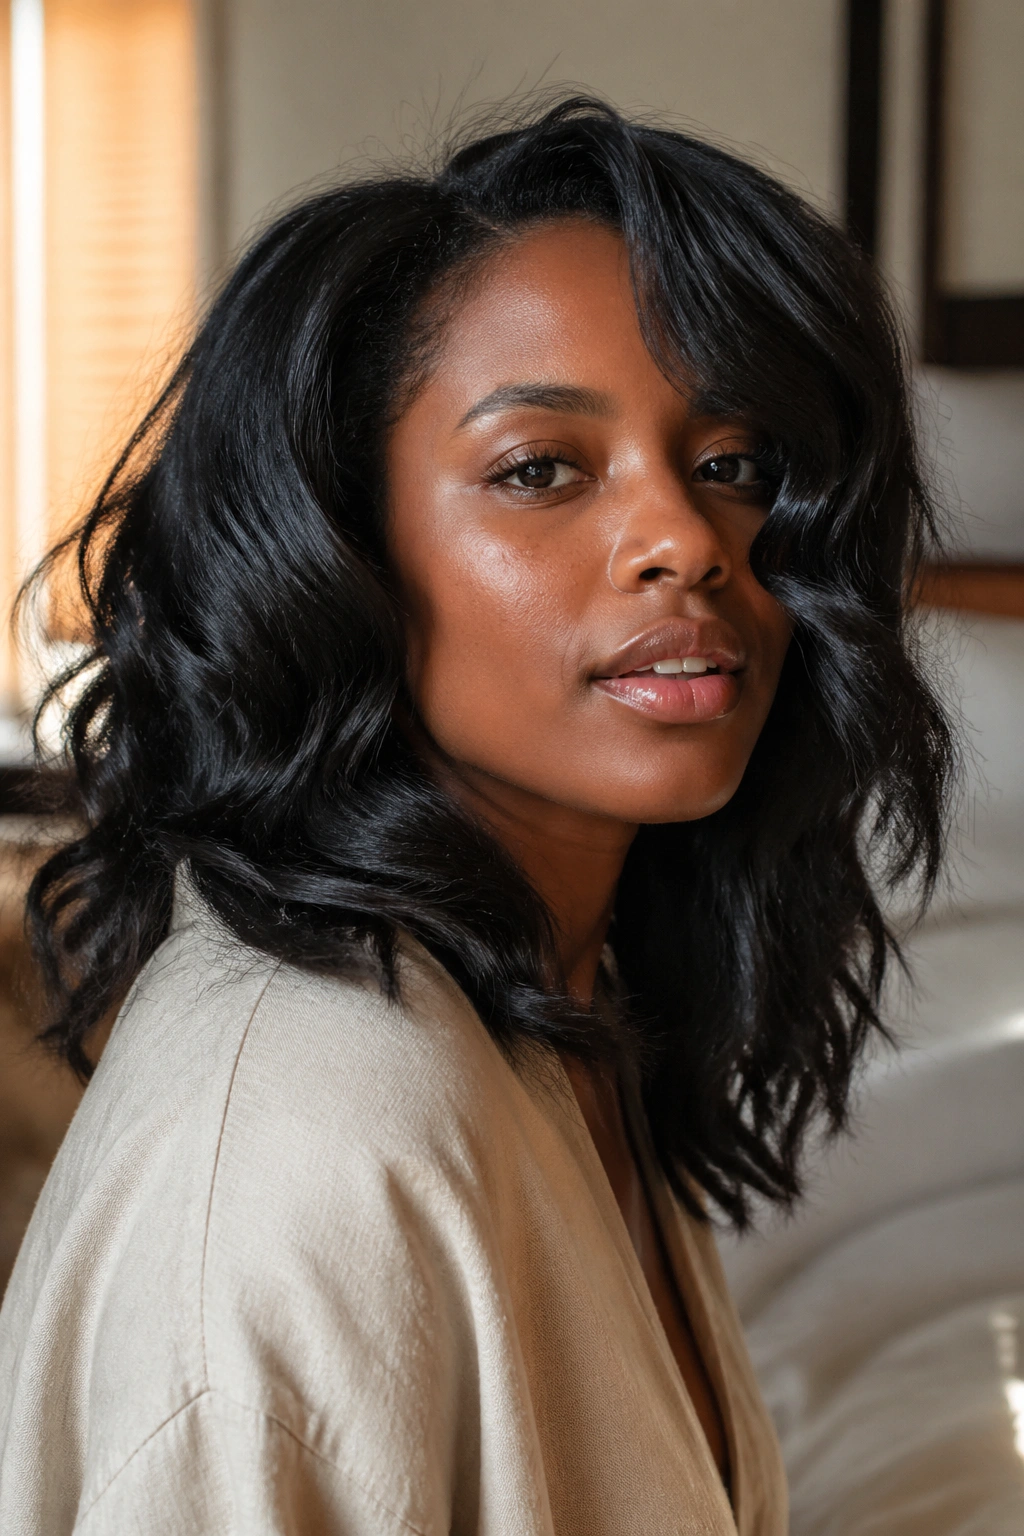
The “undone” flat iron curl look is the intentionally imperfect, lived-in version of the style. Not every section is curled in the same direction. Not every curl has the same tightness. Some sections are more wavy than curly. And the result looks gorgeous precisely because of the imperfection.
Curl the hair but vary your approach deliberately: curl some sections forward, others backward. Use a tighter rotation on some sections and a looser one on others. Leave occasional sections as waves rather than full spirals. Once done, shake the whole style loose gently — let the curls fall where they want. Add a light touch of smoothing serum to the outer surface.
The undone look is actually harder to execute convincingly than the precise version, because deliberate imperfection requires control. But when done well, it’s one of the most naturally beautiful-looking flat iron curl styles there is.
16. Flat Iron Curls on the Crown Only
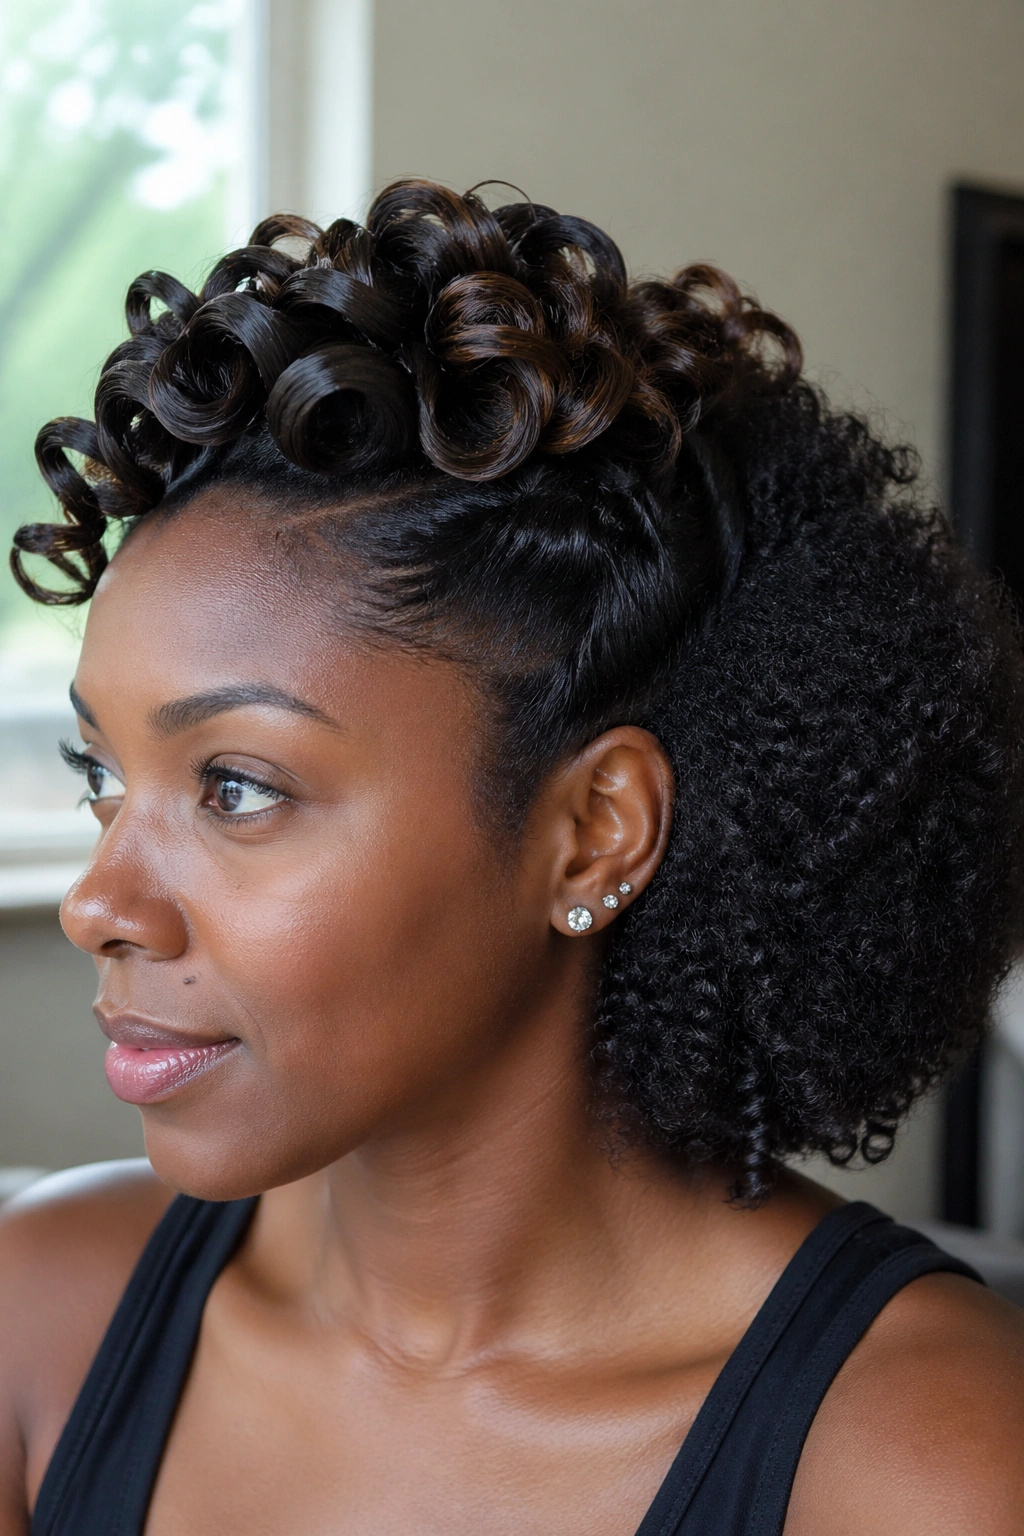
For days when time is short or heat exposure needs to be minimized, curling only the crown section while leaving the rest of the hair in its natural state is a smart hybrid technique.
The crown and the top of the head are what people see first when they look at you — the sections that are most visible and most photographed. Flat iron curl just this section, using your standard technique. Let the sides and back sit in their natural or stretched state, in a puff, or in a loose coil pattern.
The contrast between the defined, smooth flat iron curls on top and the natural texture below creates an interesting dimensional effect, and the partial heat exposure means you’re being more conservative with your heat application.
17. Flat Iron Curl Maintenance Over Several Days
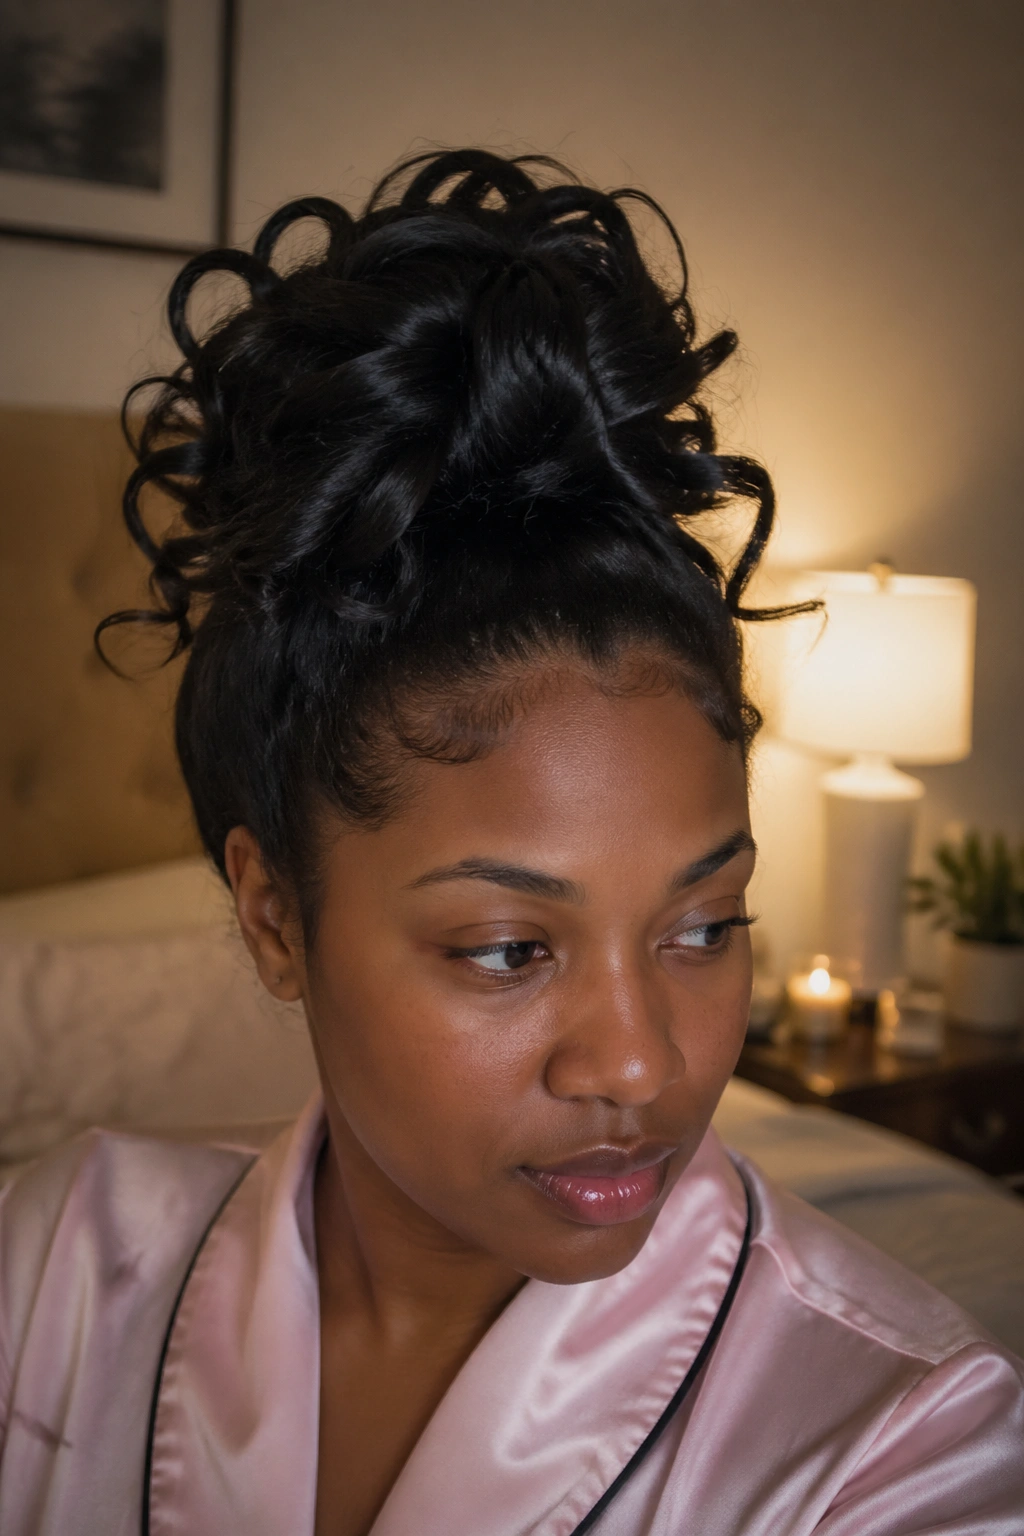
Flat iron curls don’t have quite the longevity of rod curls or straw curls — they tend to last two to four days on most natural hair types with proper maintenance. But those days can be extended with the right approach.
Every night: gentle pineapple at the top of the head, satin bonnet, no exceptions. In the morning: release, light mist if needed, scrunch gently if sections have softened. For sections that have completely lost their curl, re-curl those sections specifically on a slightly lower temperature than your original session to minimize additional heat stress.
Avoid touching the curls throughout the day. Every time you run your fingers through the curls, you’re loosening the pattern and adding frizz. A few deliberate separations in the morning are fine — constant touching during the day is not.
18. How to Take Down Flat Iron Curls Safely
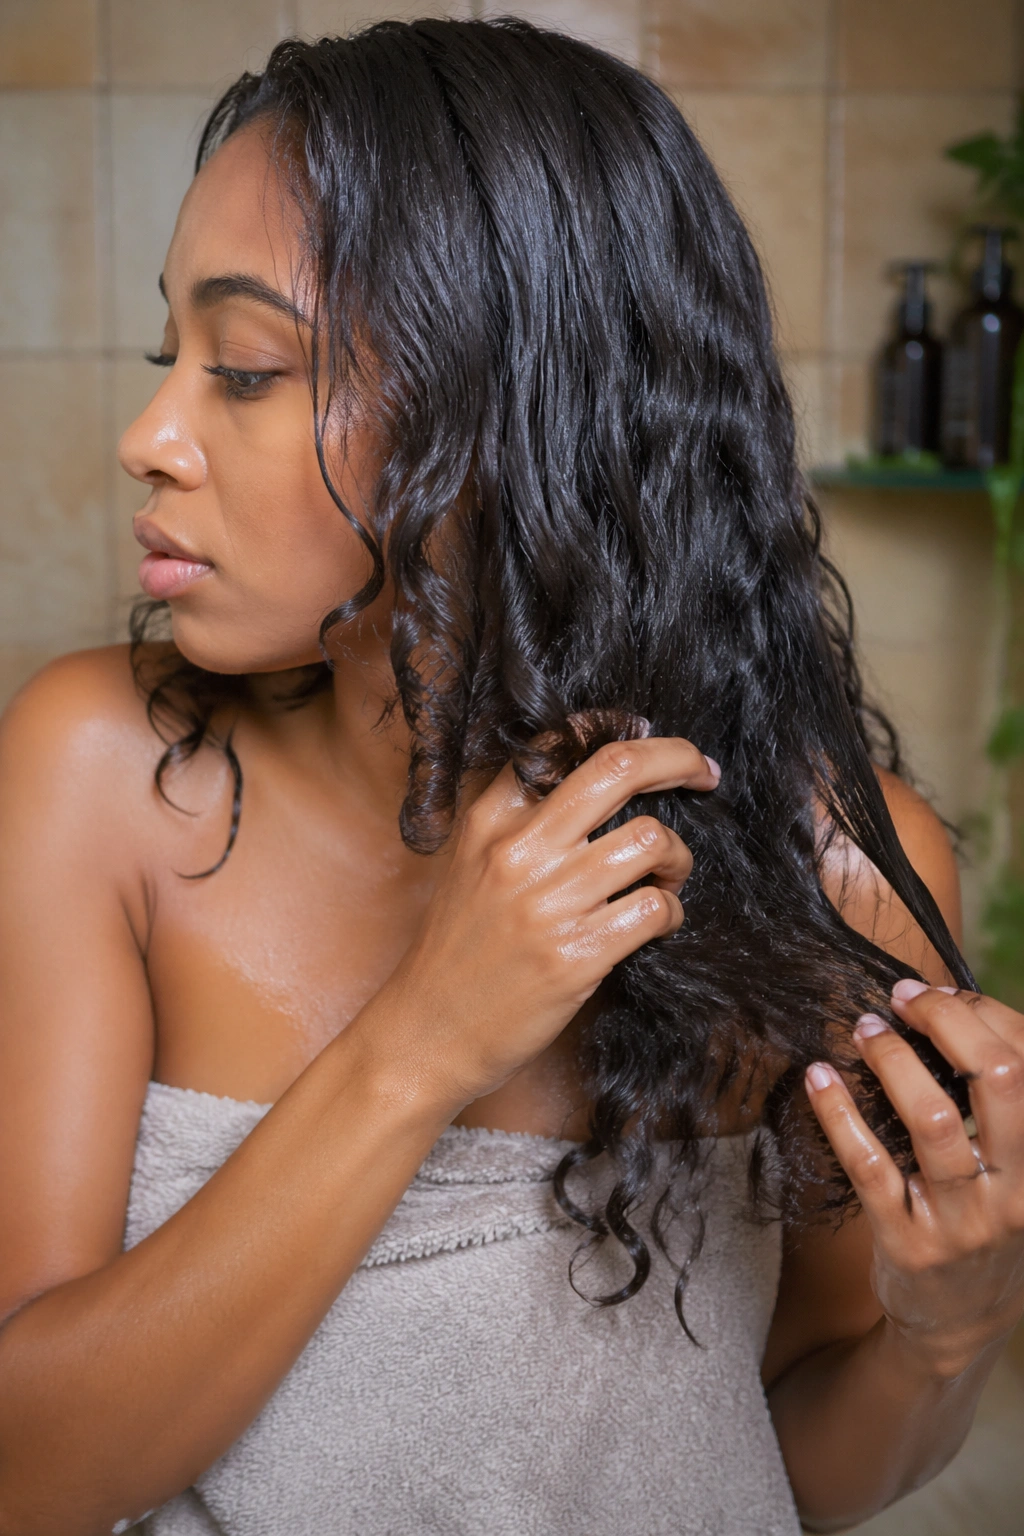
The takedown after flat iron curls requires gentleness and moisture. Flat-ironed natural hair, while beautiful, has been through a heat process that can leave the strand slightly more vulnerable than it was in its natural state. The takedown should be gentle and moisturizing.
Mist the hair generously with water until it’s pliable. Apply a detangling conditioner or a generous amount of leave-in. Let it sit for a few minutes. Then, using only your fingers, gently separate the curls and begin working through tangles from the ends upward. Follow with a wide-tooth comb in sections, still working from ends to roots.
Once the hair is fully detangled and loose, proceed to wash day. The wash day after a flat iron curl session is an important reset — use a moisturizing shampoo, deep condition thoroughly, and let the hair recover fully before considering the next heat session.
19. Flat Iron Curls vs. Wand Curls — An Honest Comparison
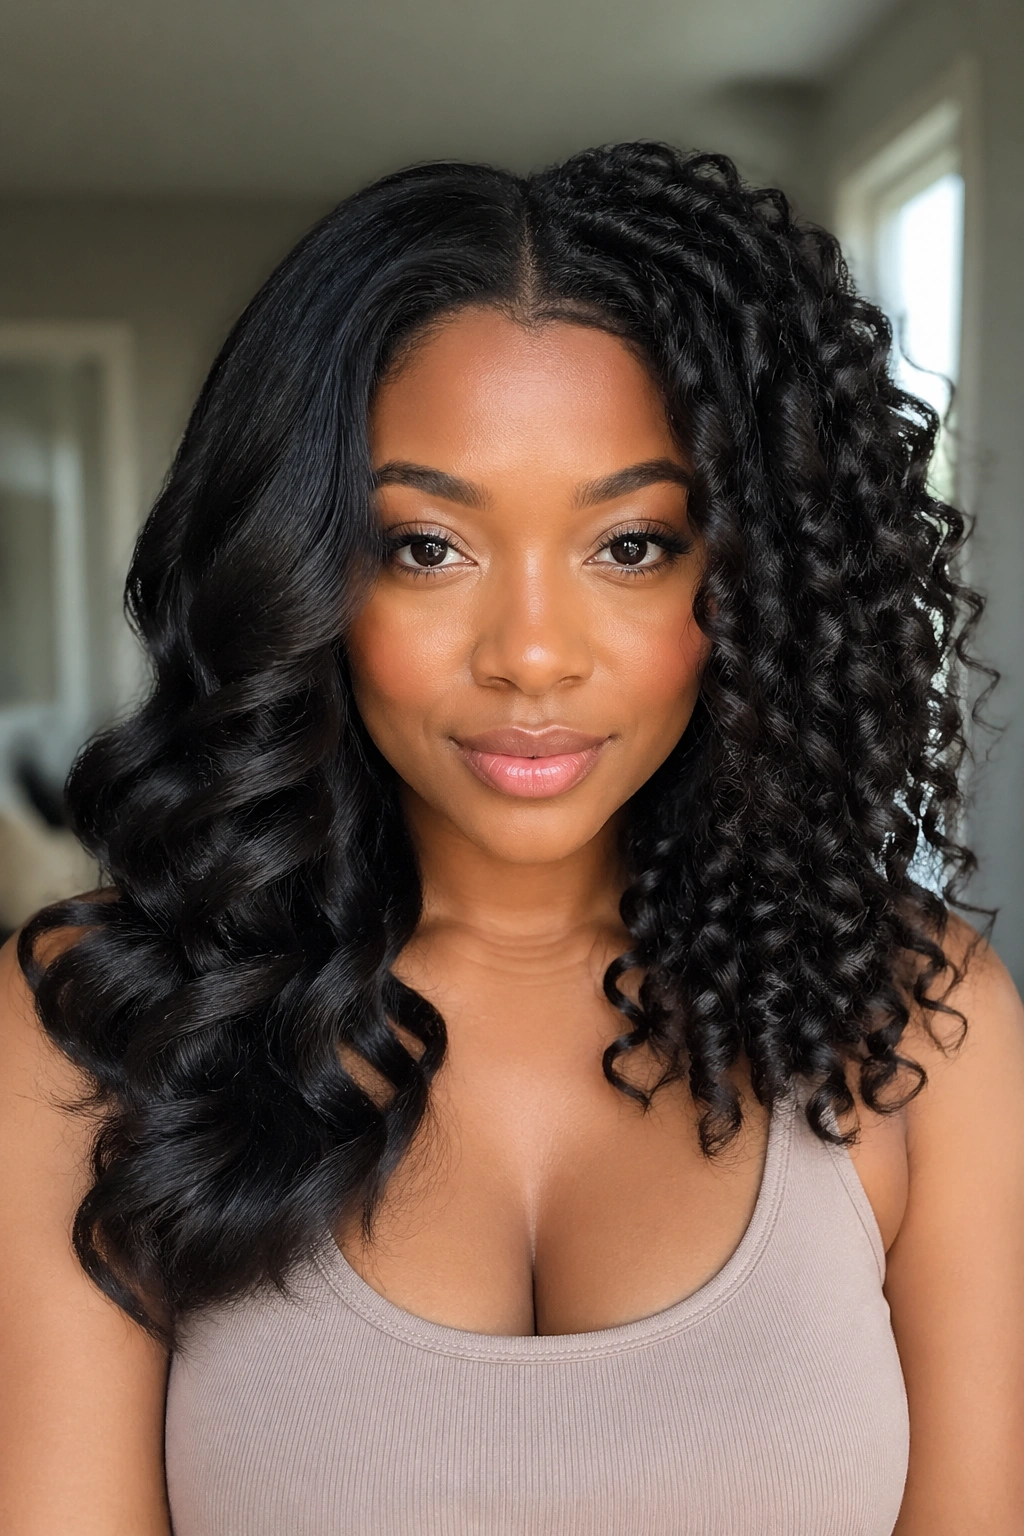
Both techniques produce beautiful curls on natural hair. They’re not better or worse than each other — they’re different, and understanding those differences helps you choose the right tool for the specific result you want.
Flat iron curls: More polished and silky surface finish. Requires a specific rotating technique that takes more practice. Better for elongated, flowing styles. Works well on all natural hair lengths. Produces a more “straight-adjacent” result.
Wand curls: More organic and coil-inspired. Simpler wrapping technique. Better for bouncy, springy spirals. Can be a bit more frizzy at the surface but more naturally textured. Better for the look of natural hair texture amplified.
Many naturals have both tools and use each for different occasions — the wand for casual, textured styles and the flat iron for formal, polished occasions. That’s the ideal approach.
20. Flat Iron Curls — Preventing Heat Damage Long-Term
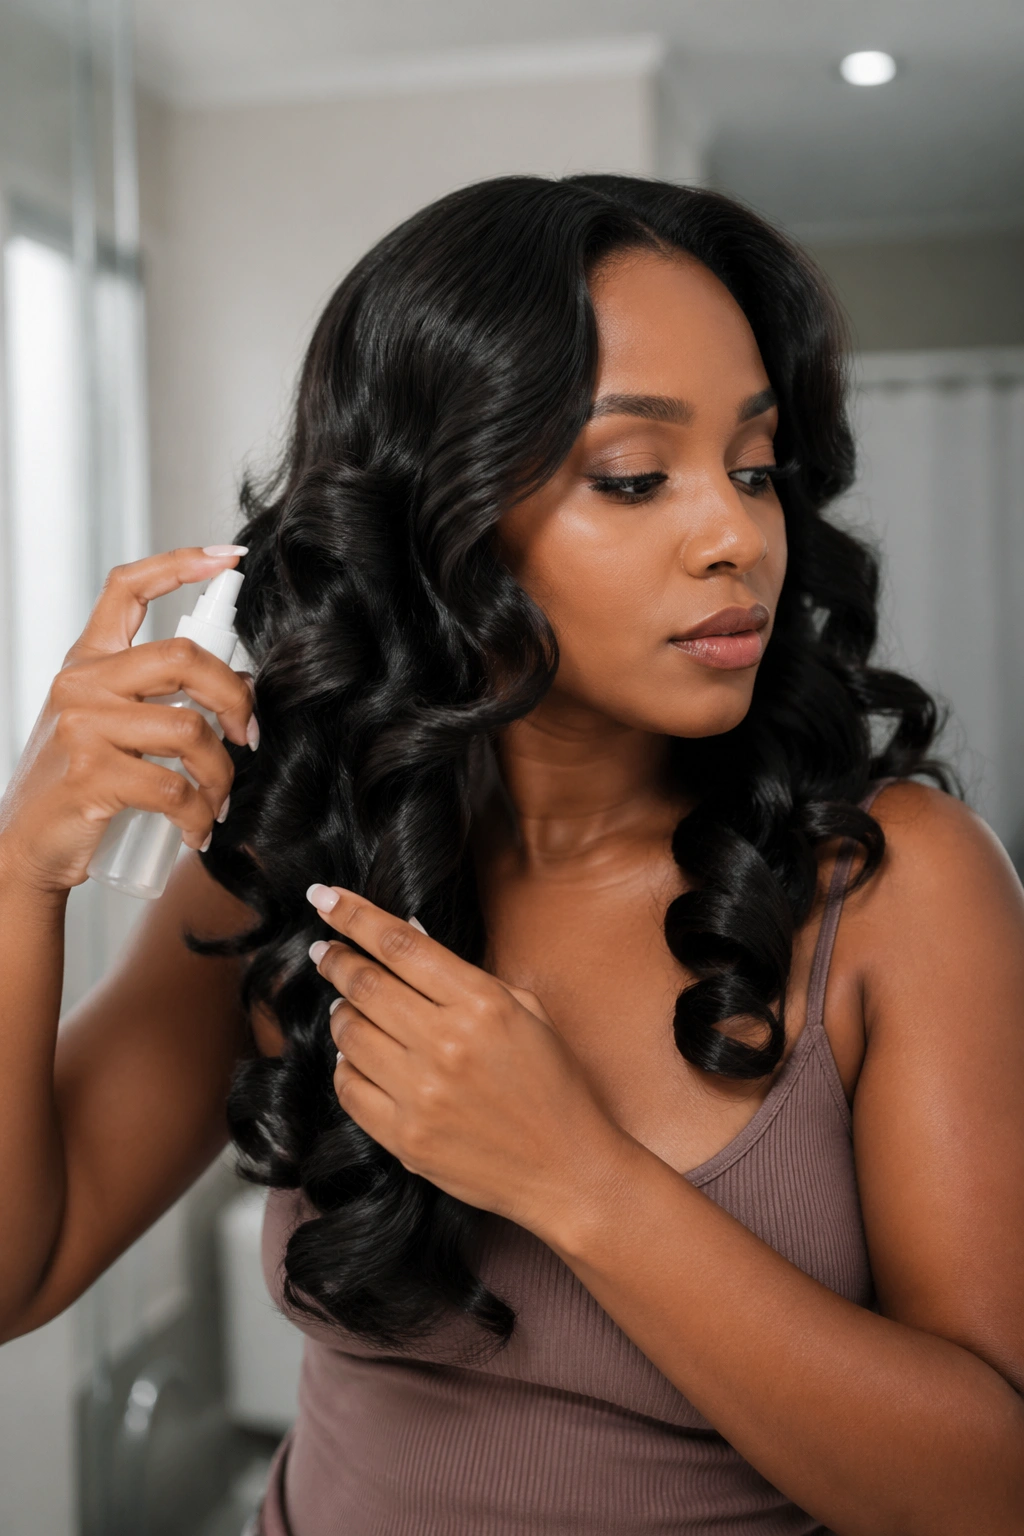
The concern with flat iron curls isn’t a single session — it’s cumulative heat over time. Natural hair that’s flat-ironed regularly without adequate moisture practices and heat protection will experience heat damage eventually. It’s not a question of if, but when and how much.
Building heat damage prevention into your routine looks like this: deep condition before every heat session. Always use heat protectant on every section. Space flat iron sessions at least three to four weeks apart. Give the hair a protein treatment once a month when you’re regularly heat styling to restore the protein bonds that heat gradually weakens. Never use heat on wet or even damp hair — wait until the hair is fully dry.
Follow these practices consistently and flat iron curls can be a regular part of your natural hair styling without compromising the long-term health of your strands.
21. Flat Iron Curls for All Natural Hair Lengths
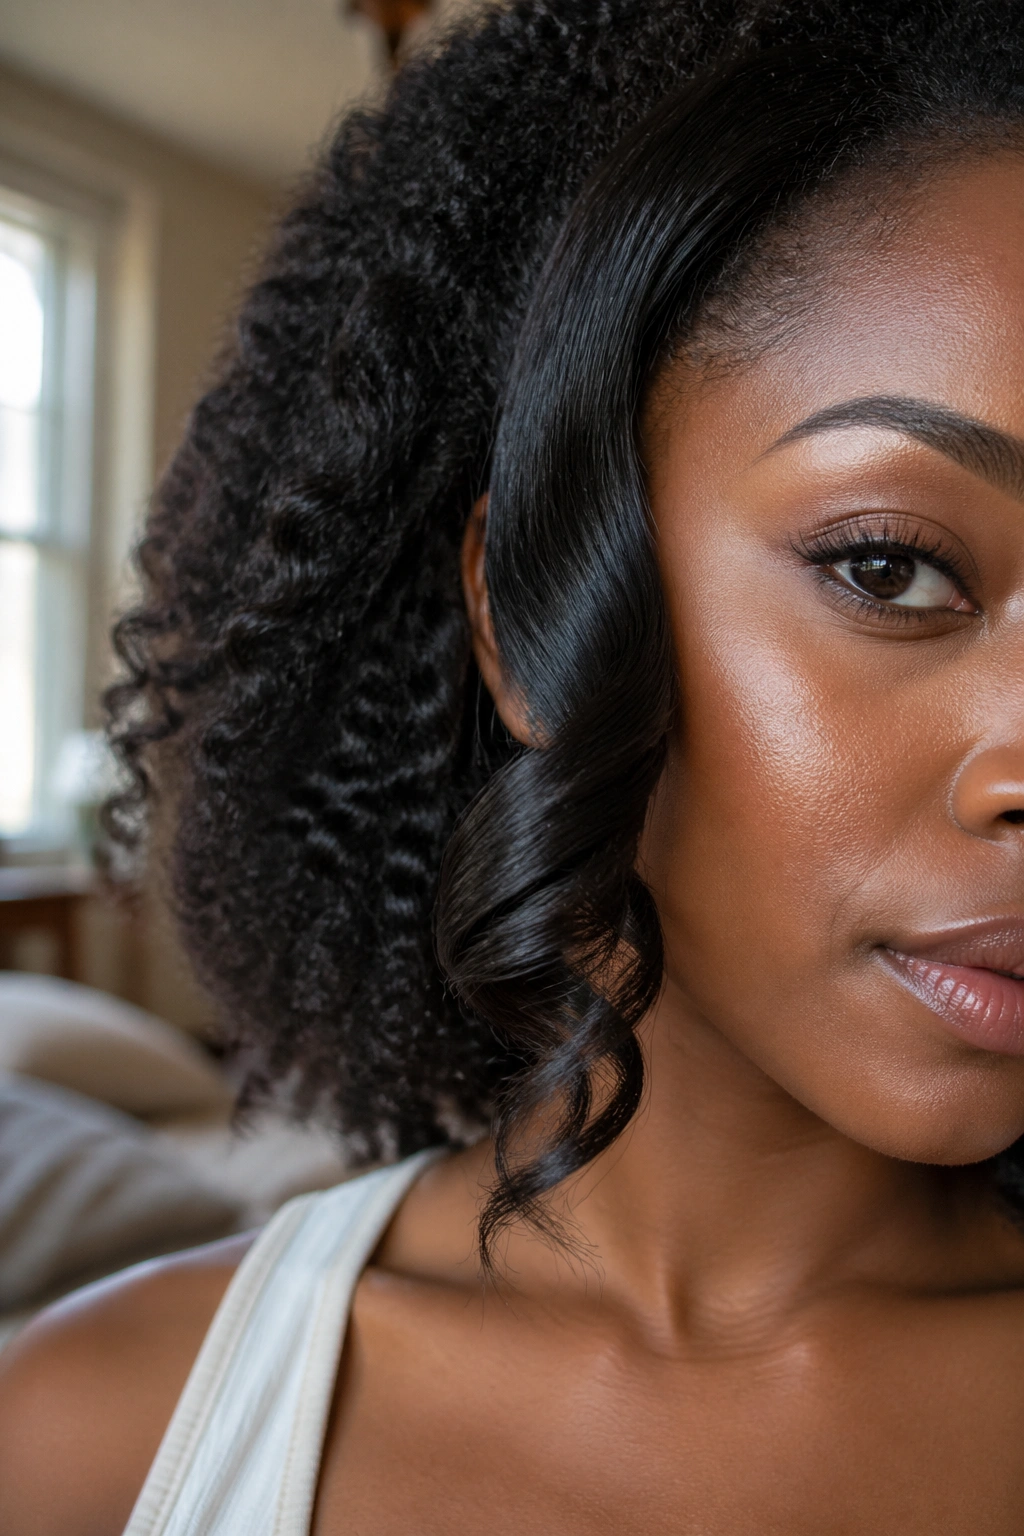
Short natural hair benefits from flat iron curls more than many naturals realize. On a TWA or short tapered cut, the flat iron curl adds definition and shape that makes the close-cropped look feel intentional and styled rather than simply unstyled short hair.
Use a narrow flat iron — half an inch to three-quarters — on short natural hair. Work in tiny sections and use a tight rotation. Even one full rotation of the iron produces a visible curl on hair that’s two to three inches long. The resulting style has an impressively detailed, polished look for such a short length.
For medium to long natural hair, the options expand dramatically. Medium hair allows for a range of curl sizes and styles. Long hair lends itself to the most dramatic, flowing flat iron curl sets — the kind that cascade beautifully over the shoulders and back.
22. Product Finishing for Flat Iron Curls
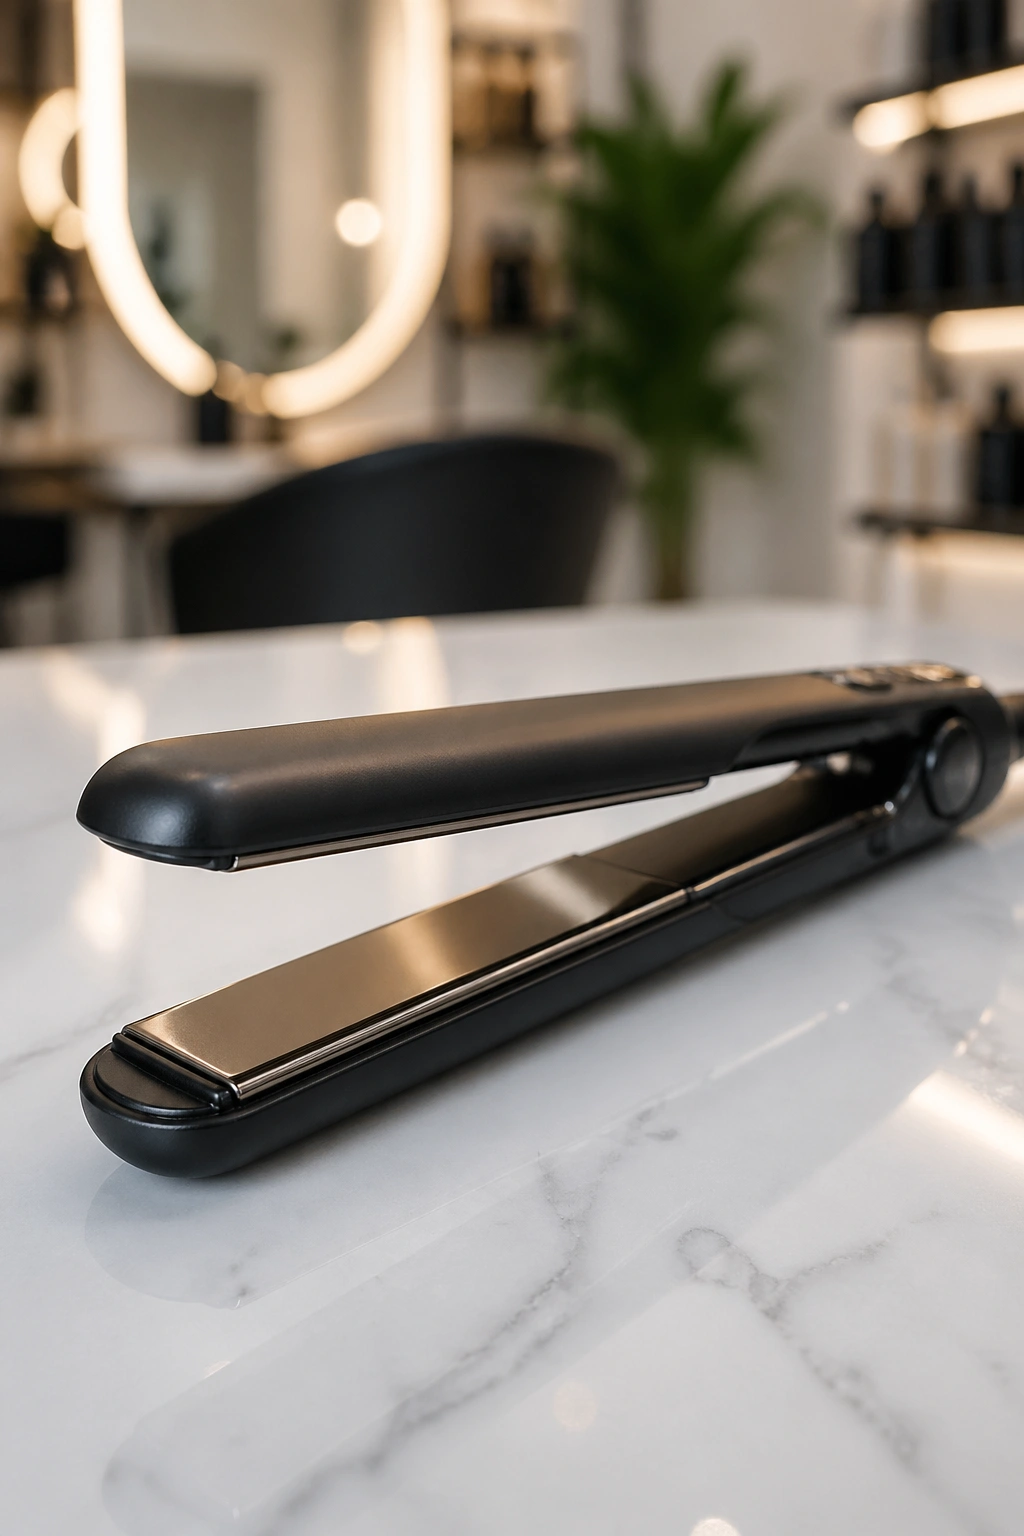
The products you apply after the flat iron curl set is complete matter nearly as much as the products applied before and during. The finishing step seals the style and determines its longevity, shine, and overall visual quality.
A light anti-frizz serum or a small amount of a lightweight oil applied to the outer surface of the curls adds shine and reduces surface frizz without weighing the style down or disrupting the curl pattern. Apply it to your palms first, rub together, and then run your hands very lightly over the outer surface of the curls — don’t push product into the interior of the curls, just smooth the surface.
For extra hold, a light mist of a flexible-hold finishing spray adds a finishing layer of structure that helps the curls maintain their shape throughout the day.
23. Flat Iron Curls for a Photoshoot or Social Media Content
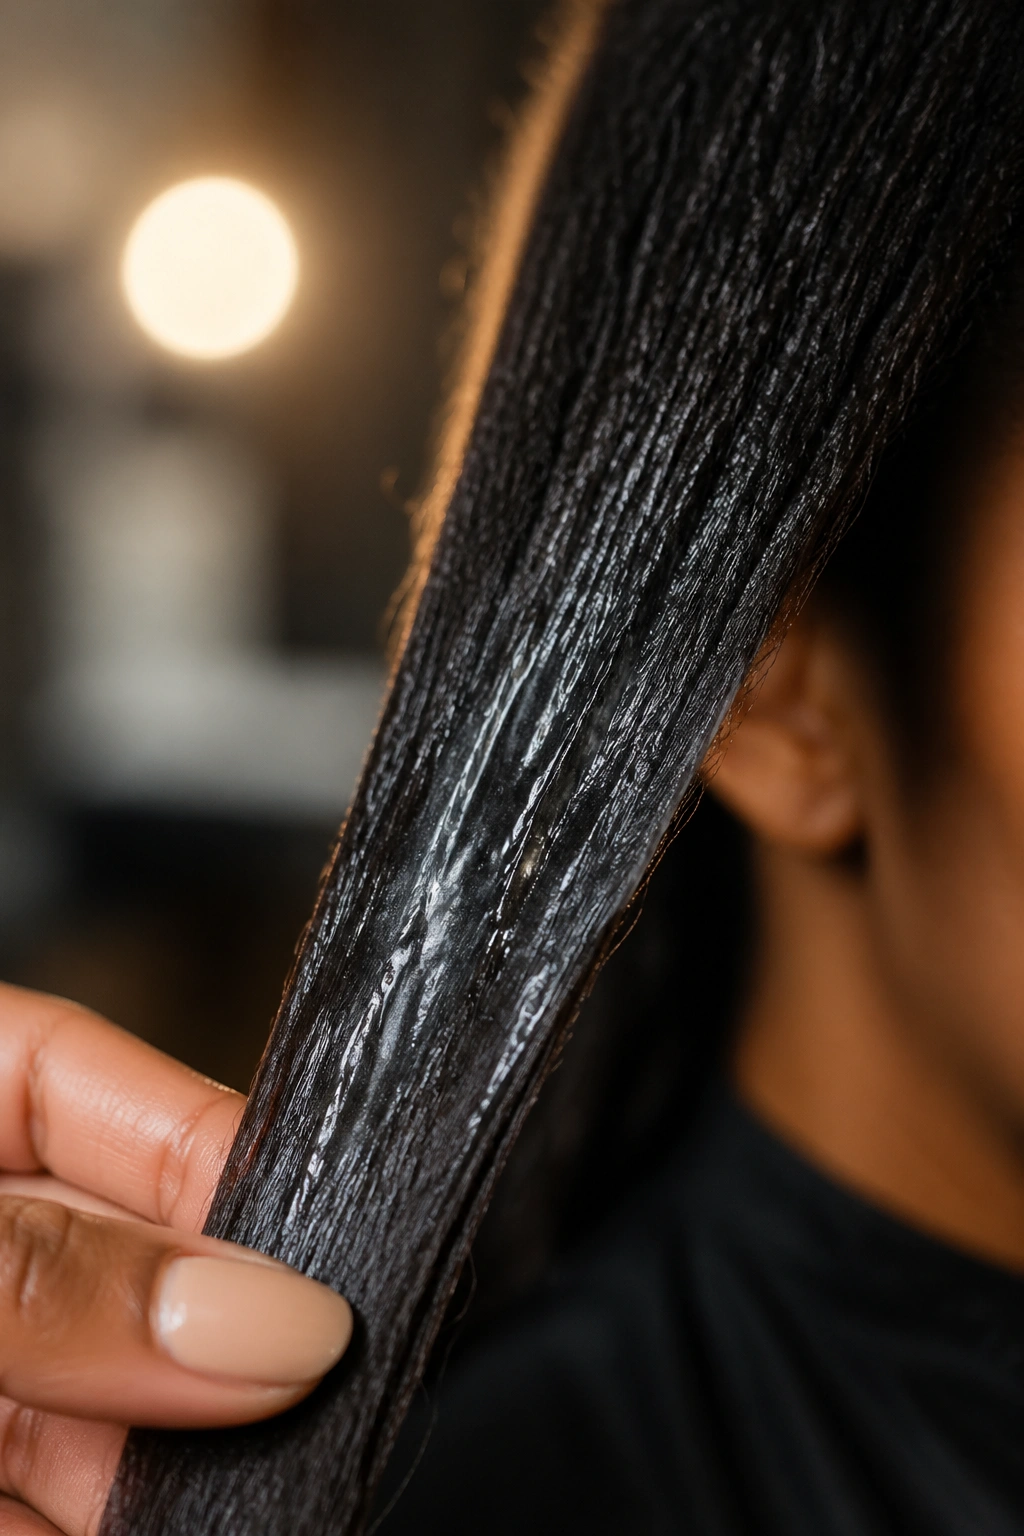
Natural hair content creators and photographers know that certain styles translate on camera better than others. Flat iron curls — with their smooth, reflective surface and clean spiral structure — are among the most photogenic styles in natural hair.
The surface of a flat iron curl catches light differently at every angle, creating what cinematographers call “depth” and “dimension.” A single light source from one direction can make a full head of flat iron curls look like something from a professional photoshoot. This is why flat iron curls appear so frequently in editorial natural hair content — they’re simply spectacular on camera.
For your best photo results with flat iron curls: work in small sections for maximum definition. Add a high-shine serum to the surface. Photograph in natural light when possible. Position the light source to one side rather than directly in front — side lighting emphasizes the three-dimensional curl structure beautifully.
24. Building a Sustainable Flat Iron Curl Routine
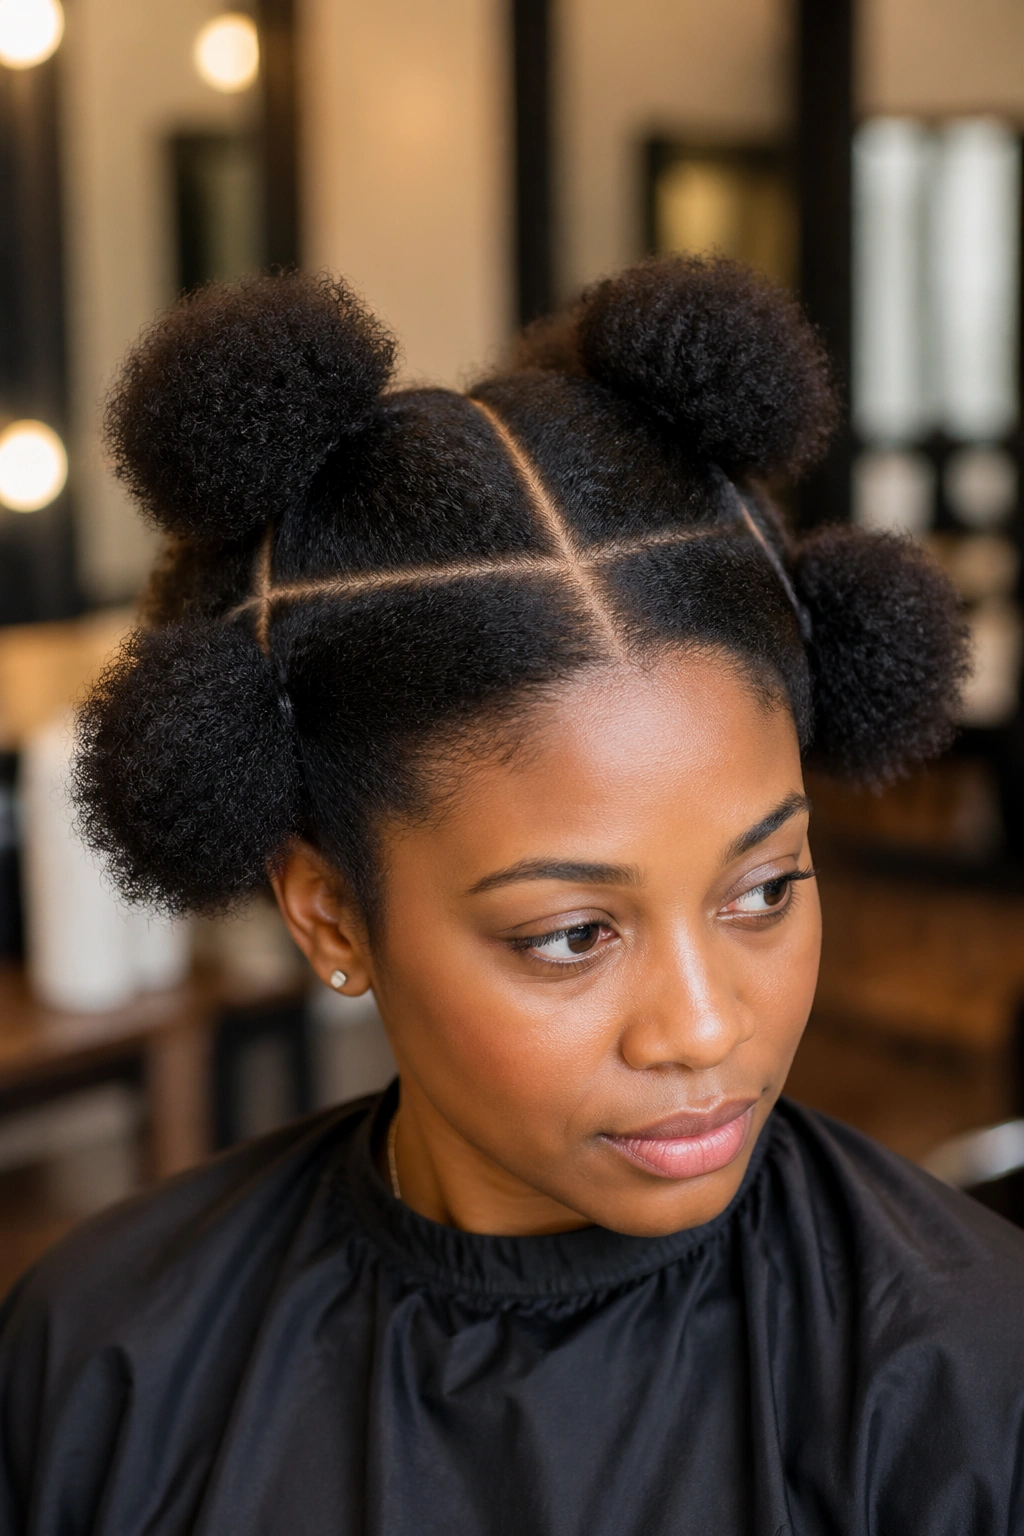
A sustainable flat iron curl routine is one that keeps your natural hair healthy over the long term while allowing you to enjoy this beautiful style as frequently as your hair can handle.
The foundation of sustainability is knowing your hair’s tolerance for heat. Some naturals can flat iron monthly with zero detectable damage because their hair is thick, coarse, and high-density with excellent moisture practices in between. Other naturals with finer, more fragile hair begin to notice changes in their coil pattern after just a few sessions if they’re not diligent about protection and recovery.
Pay attention to your hair’s signals: if the coil pattern begins to loosen in sections where you’ve been applying heat, if the strand feels rougher and less elastic, or if the hair begins to break more frequently — these are signs that you need to extend the time between heat sessions and amplify your recovery practices.
Work with your hair’s specific tolerance, not with a general guideline. The sustainable routine is the one your hair tells you it can handle — not the one you want it to be.
