



Blowout curl styles for natural hair sit in a gorgeous middle ground between the full stretch of a traditional blowout and the definition of a curl set — giving you length, volume, and visible curl texture all at once. Whether you want the fluffy, stretched look of a diffused blowout or the polished glamour of blown-out hair that’s been re-curled on rods, blowout-based styles offer natural women a whole range of options that are absolutely worth knowing. And when you do them right, the results are nothing short of stunning.
What a Blowout Does for Natural Hair Curls
A blowout on natural hair doesn’t have to mean completely straight, bone-flat hair. For most naturals, the goal of a blowout isn’t to eliminate curl texture entirely — it’s to stretch the hair, reduce shrinkage, and give you a foundation that’s easier to work with for curl styles that need a little more length to show off properly.
When you blow out natural hair on low to medium heat and follow with a curl set on flexi rods or rollers, you get curls with significantly more visible length than the same curls would show on unblown-out hair. A 4b pattern with heavy shrinkage that might shrink to four inches can show eight or ten inches of curl on a blowout-and-curl set. That length changes the entire character of the style — curls cascade, move, and have a presence they simply can’t achieve when shrinkage is pulling them up tight.
Blowout curl styles are also genuinely versatile. From a stretched wash-and-go to a blown-out twist-out to a full blowout-and-roller-set, there’s a whole range of looks available depending on how much heat you apply, how fully you stretch the hair before styling, and which curl technique you use after.
Heat Safety for Natural Hair Blowouts
The conversation about heat on natural hair is nuanced, and anyone who tells you it’s completely off-limits is being overly restrictive — but so is anyone who tells you there are no consequences. The key is heat with intention and proper protection. Done occasionally, on the lowest effective heat setting, with a quality heat protectant, blowout curl styles are a perfectly valid option for natural hair.
Heat protectants work by forming a barrier between the heat and your hair’s protein structure. They don’t make heat completely harmless, but they significantly reduce the temperature at which damage begins to occur. Apply your heat protectant on clean, fully detangled hair before any heat touches it — never add heat to hair that isn’t protected.
The heat setting matters enormously. Your blow dryer has heat settings for a reason. Most naturals should be using low to medium heat — not maximum. Yes, it takes longer on low heat, but the difference in damage levels between high heat and medium heat over multiple uses is substantial. Your hair’s long-term health is worth the extra ten minutes.
Hair that’s been heat-damaged — that loses its curl pattern and no longer coils back after washing — is experiencing a form of damage that isn’t fully reversible. Heat damage changes the protein bonds in the hair shaft permanently. The only fix is growing out the damaged sections and cutting them off. This is why protecting your hair before every heat session is non-negotiable, not optional.
The Difference Between a Blowout and a Blown-Out Stretch
Not every blowout is the same, and understanding the spectrum helps you choose the right approach for the style you want. At one end is a full tension blowout — using a comb attachment or brush while blowing hot air to stretch the hair as straight as possible. This gives maximum length but also applies the most heat stress.
In the middle is a low-tension blowout — using fingers or a wide-tooth comb attachment on medium heat, stretching the hair but not pulling it taut. This gives good length while retaining some curl texture and using less aggressive heat.
At the other end is a stretched air-dry — banding the hair while damp to reduce shrinkage without any blow-dryer involved at all. Technically not a blowout, but it achieves some of the same length benefits for curl styles without any heat at all.
For blowout curl styles, a low-tension blowout or stretched air-dry followed by a curl set gives you the best combination of length, definition, and hair health. The full tension blowout is better suited to sleek, straight styles than to the curl styles we’re focused on here.
Choosing the Right Products for Blowout Curl Styles
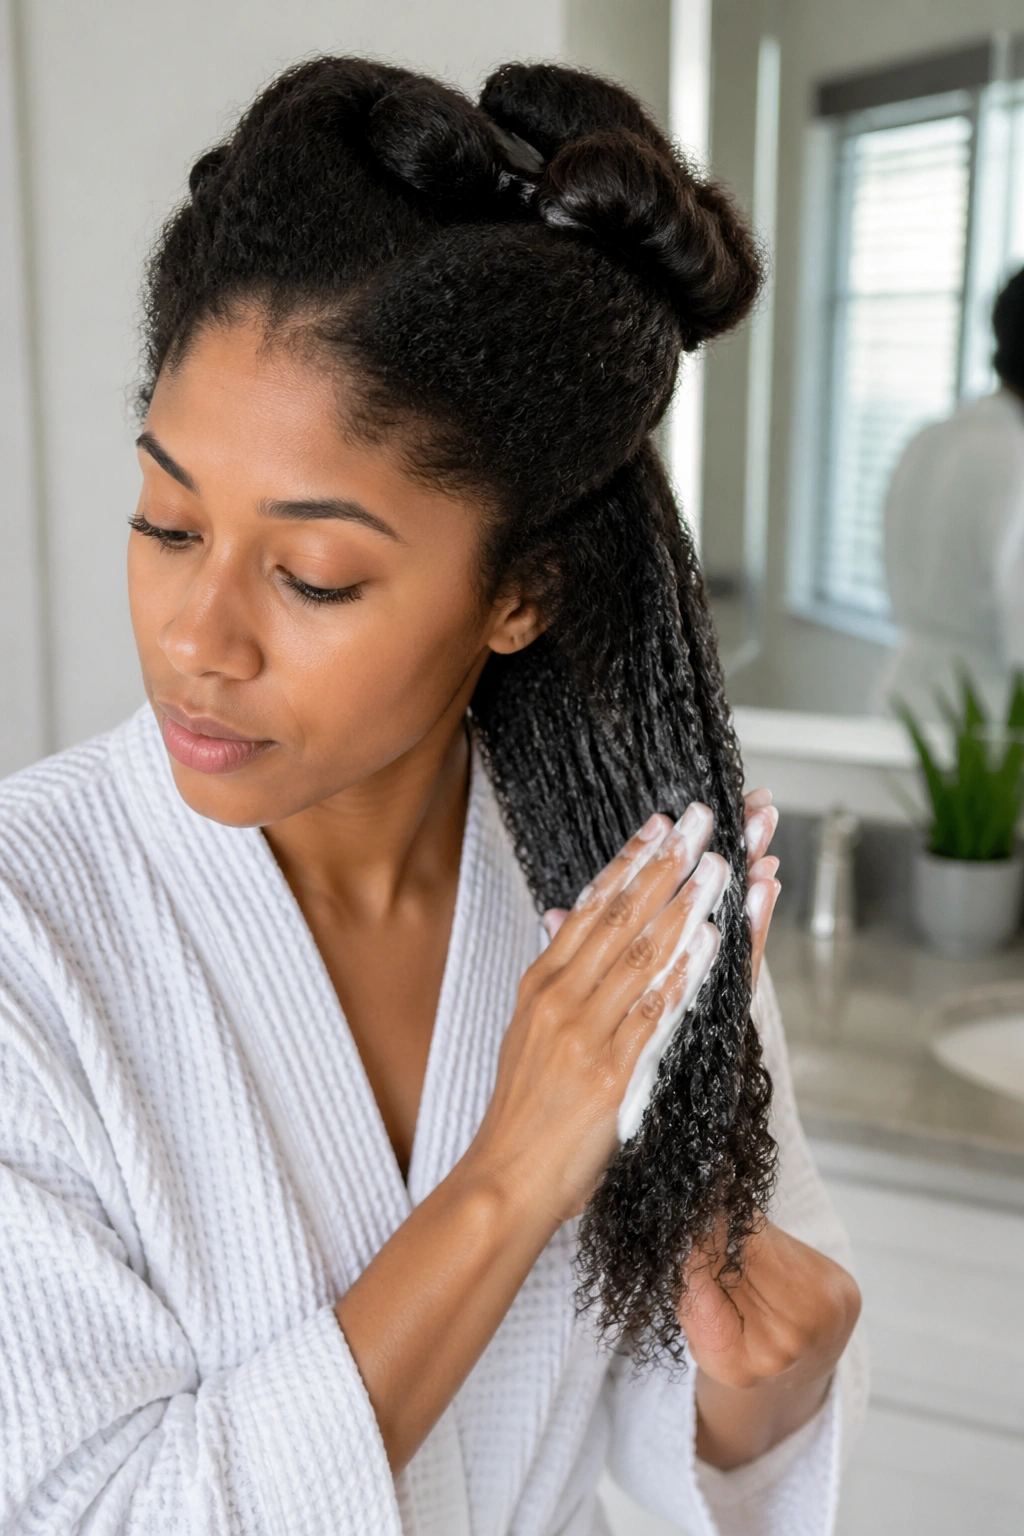
The product approach for blowout curl styles differs from a wash-and-go or standard twist-out because you’re working with stretched, pre-blown hair rather than wet hair in its natural state. Your products need to work with both the stretched texture and your intended curl method.
A heat protectant is mandatory before any blow-dry. After blowing out, your hair will be somewhat dry and stretched — this is when you add your styling products for the curl phase. Use a lightweight mousse or setting lotion before your rod set or roller set, since these are specifically designed to work on damp-to-dry hair and create the holding environment that produces defined curls.
If you’re doing a blow-and-diffuse wash-and-go — which starts as a wet style — your standard leave-in, curl cream, and gel routine still applies. The difference is that you’re diffusing for maximum stretch rather than maximum definition, which means using a lower heat setting for longer and focusing the diffuser at the roots rather than the ends.
Best Hair Lengths for Blowout Curl Styles
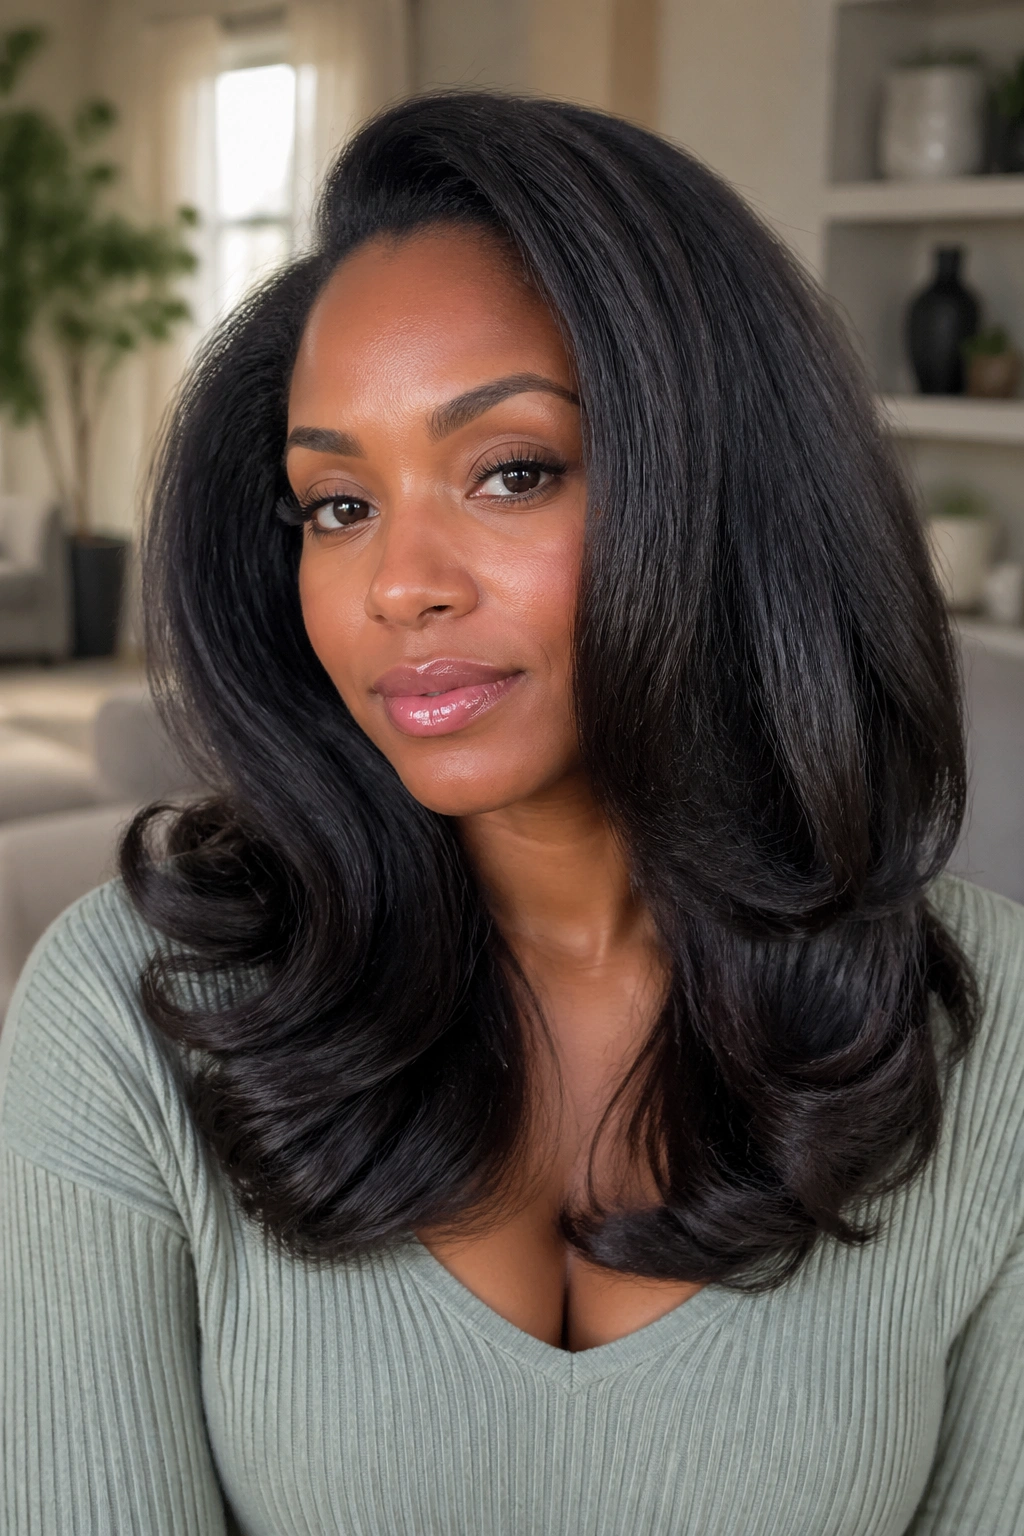
Blowout curl styles genuinely shine on medium to longer natural hair. The stretched length that a blowout creates shows the most dramatic transformation and the most movement on hair that has enough to show once the shrinkage is reduced.
That said, shorter natural hair is not excluded from blowout curl styles — it just produces a different effect. A blowout on a short natural — teeny-weeny afro stage or small afro — can create beautiful definition and an almost sponge-curl effect that looks clean, polished, and distinctive. The curls might not cascade, but they’ll be visible, defined, and free of the heavy shrinkage that sometimes makes shorter naturals feel like their hair isn’t “showing.”
For medium-length hair — say, collarbone to shoulder-length when stretched — blowout curl styles are at their most versatile. You have enough length for curls to have real movement, but the hair isn’t so long that maintaining a blowout curl set becomes a major project.
1. Blow-and-Diffuse Volume Style
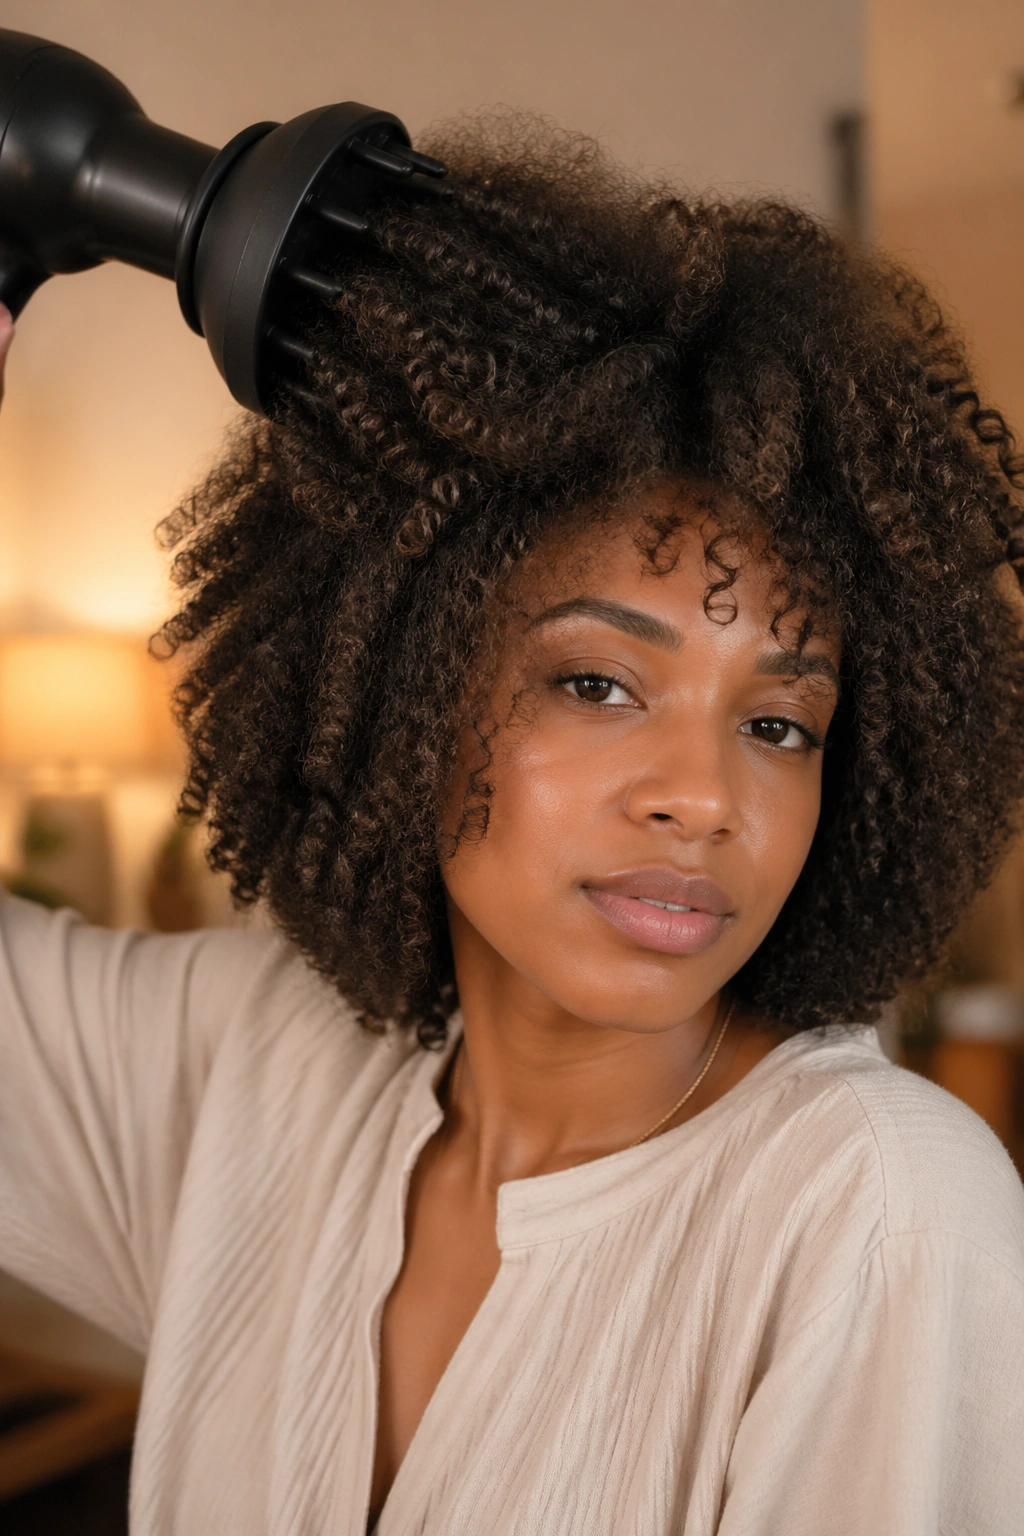
The blow-and-diffuse style is the most direct path to a stretched, voluminous natural curl look — you’re essentially blowing out for volume and then diffusing to set the curls in their most expanded, fullest form.
Start with freshly washed, conditioned hair. Apply your heat protectant and a curl cream or custard on soaking wet hair. Then begin diffusing on medium heat, focusing on the roots first. The goal isn’t to fully blow your curls out — it’s to stretch them through warm airflow while keeping the curl definition intact. The diffuser’s bowl helps your curls expand as they dry rather than shrinking tight.
Building Root Volume
- Flip upside-down and diffuse the roots first for maximum lift
- Hold the diffuser steady against the hair rather than moving it constantly
- Work in sections for more even drying
- Allow hair to cool briefly between diffusing passes — this sets the volume
Key insight: Medium heat takes longer but protects more. If your hair feels hot to the touch, you’re using too much heat — back it down immediately. Your hair should feel warm, not hot.
2. Blowout Twist-Out
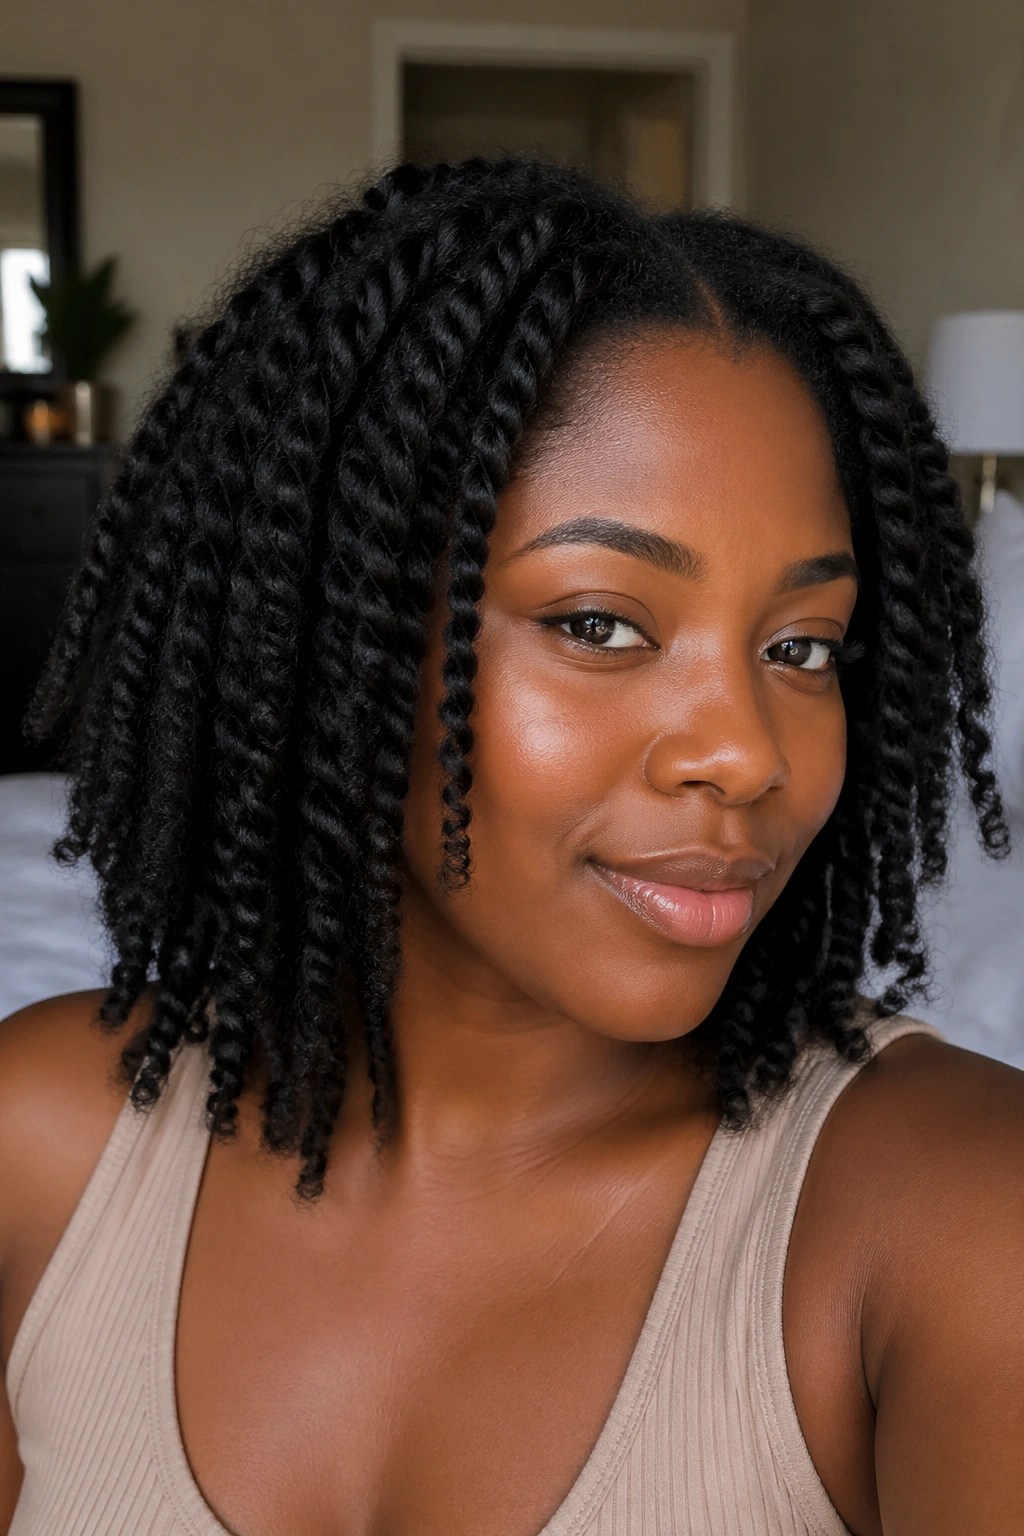
A twist-out done on hair that’s been blow-dried first — rather than air-dried wet hair — produces significantly different results. The pre-blown-out texture is more stretched and uniform, which means your twists set a more consistent pattern, and when you take them down, your curls have noticeably more length and a distinctive, polished quality.
Blow out your hair using low to medium heat with a heat protectant. Work in sections, using your fingers or a wide-tooth comb attachment to stretch the hair without pulling it taut. Once blown out, apply your curl cream or butter to each section and two-strand twist from root to tip. Let the twists set — ideally overnight — then unravel and separate. The combination of stretched texture and twist-set curl produces a look that has both volume and defined structure.
3. Blown-Out Flexi Rod Set
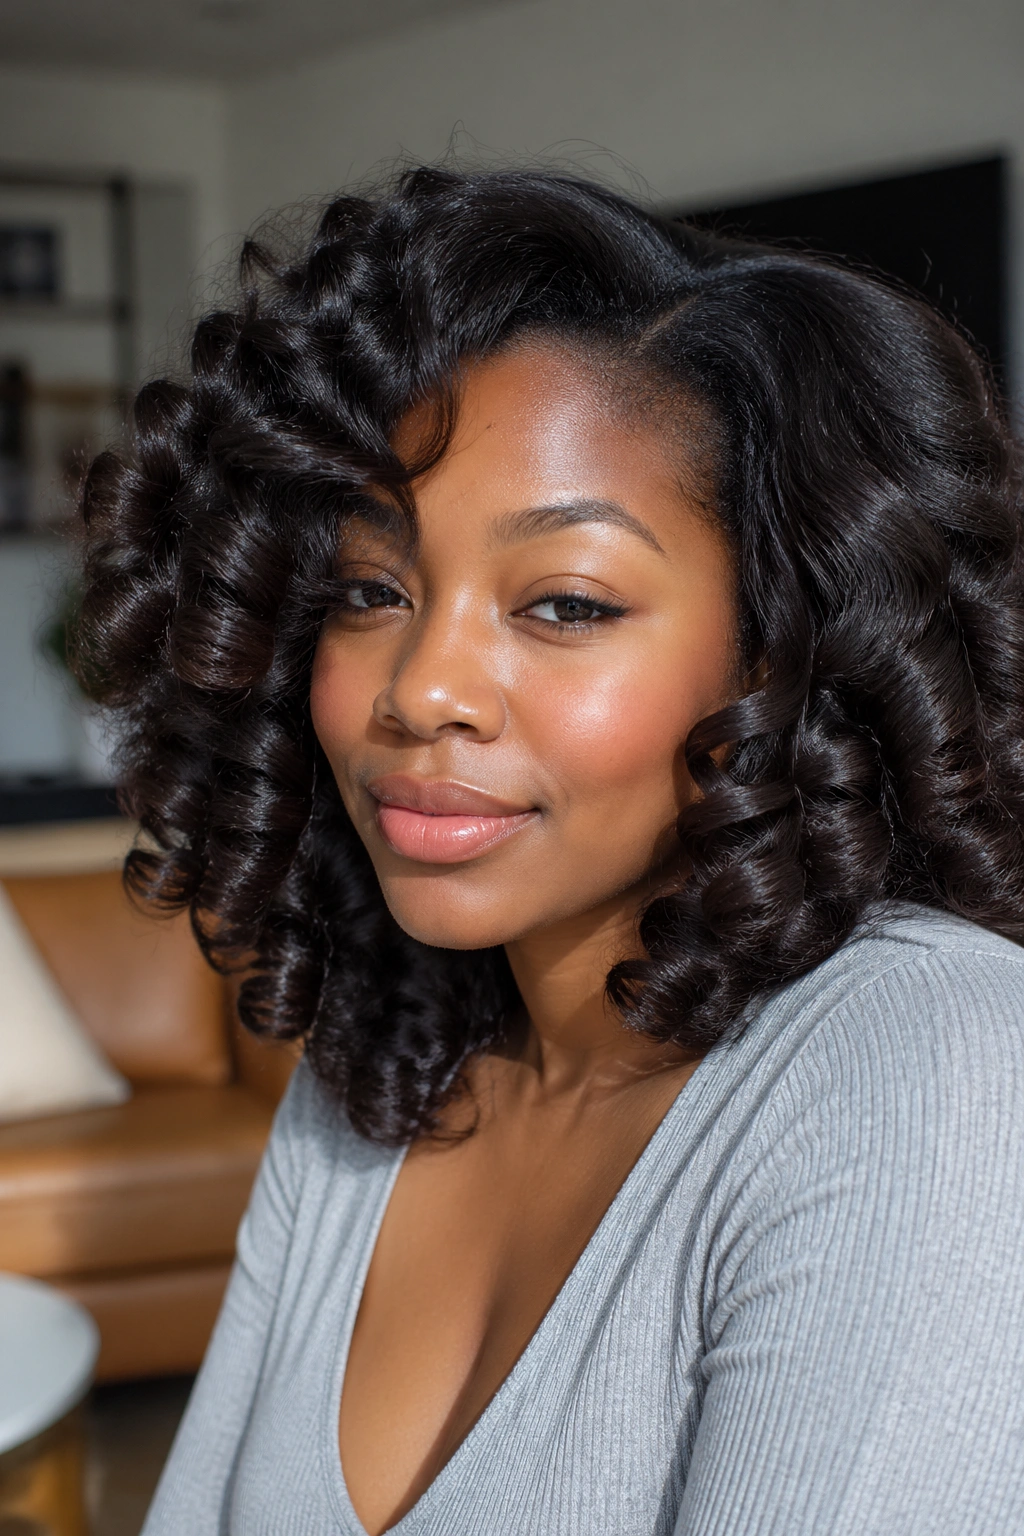
One of the most popular and consistently beautiful blowout curl styles is the blown-out flexi rod set. The heat from blowing out stretches your natural hair, and the flexi rods set a perfect, round curl into that stretched foundation — the result is curls with significantly more length and volume than a rod set on unblown-out hair.
Blow out your hair first — not bone straight, just stretched. Apply a lightweight setting mousse or lotion to each section, then roll on your flexi rods from tip to root. Because your hair is already stretched, you don’t need to use as much tension while rolling. Let the rods set overnight or use a hooded dryer for faster results. Take them down slowly and separate with oiled hands for a beautiful, voluminous, bouncy curl.
4. Stretched Wash-and-Go
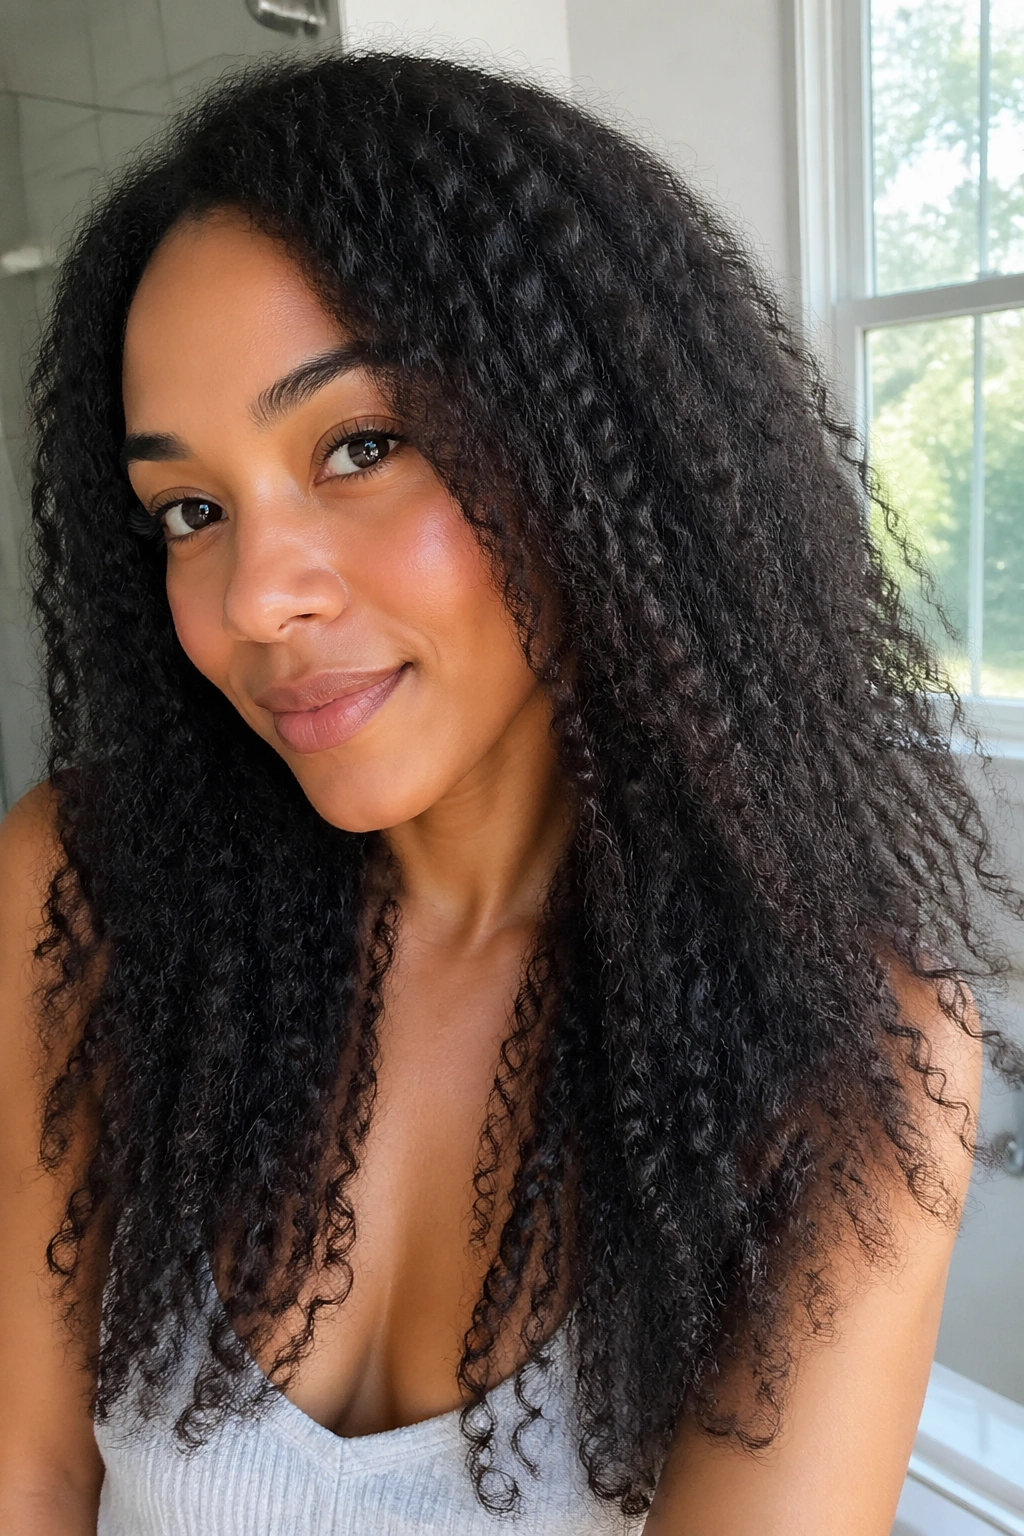
A stretched wash-and-go uses the blow dryer on its lowest or coolest setting to add just enough heat to prevent maximum shrinkage as your wash-and-go dries. It’s a gentler blowout than a full stretch — you’re not trying to fully elongate the hair, just encouraging the curl pattern to hang a little longer as it dries.
Apply all your wet-hair styling products as normal. Then, instead of air-drying or diffusing for definition, use the blow dryer on cool or low heat with a diffuser, moving it slowly through your hair while it’s still wet. The warm air prevents the hair from shrinking back fully as it dries, leaving you with a wash-and-go that shows noticeably more length and has slightly more stretched, elongated curl definition than a fully air-dried version.
5. Blown-Out Braid-Out
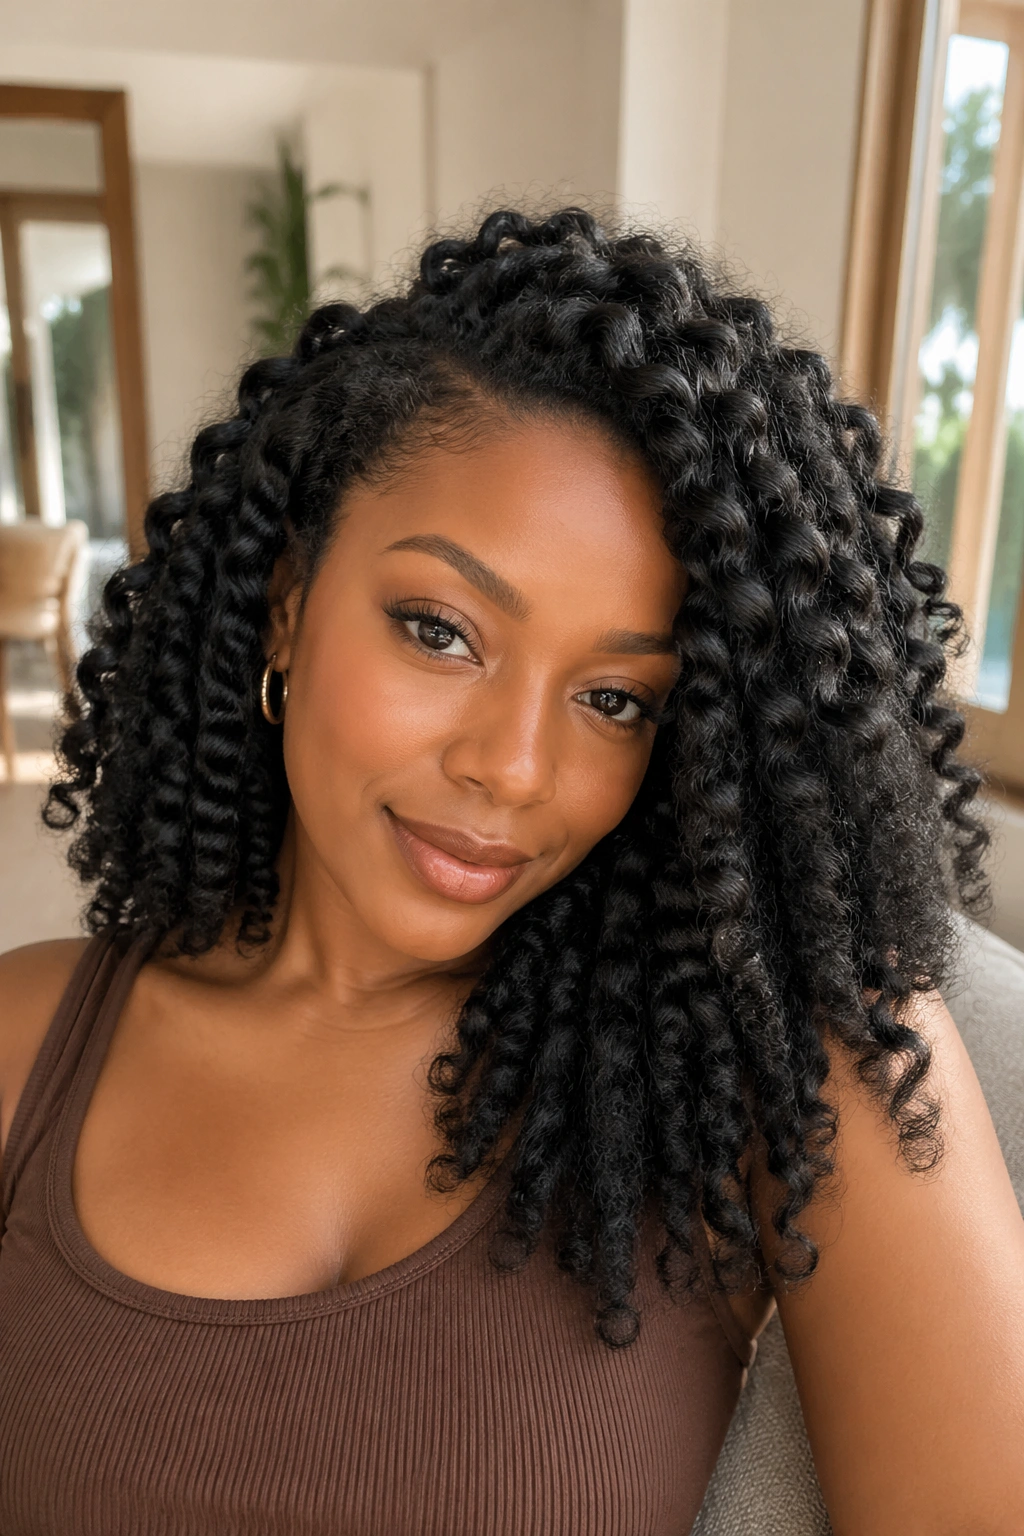
A braid-out on blown-out hair produces a style that’s part defined wave, part voluminous blowout — and the combination is particularly stunning on 4b and 4c hair types that can sometimes struggle to show length in a standard braid-out.
After your low-tension blowout, apply your curl butter to each section and braid from root to tip. You can use larger braids than usual because the stretched texture means the wave will be more visible and defined even in a larger section. Let the braids dry completely, then unravel and separate. The braid-out wave on blown-out hair is bigger, looser, and more defined than on shrunk natural hair — a genuinely beautiful combination.
6. Diffused Blowout for Loose Curls
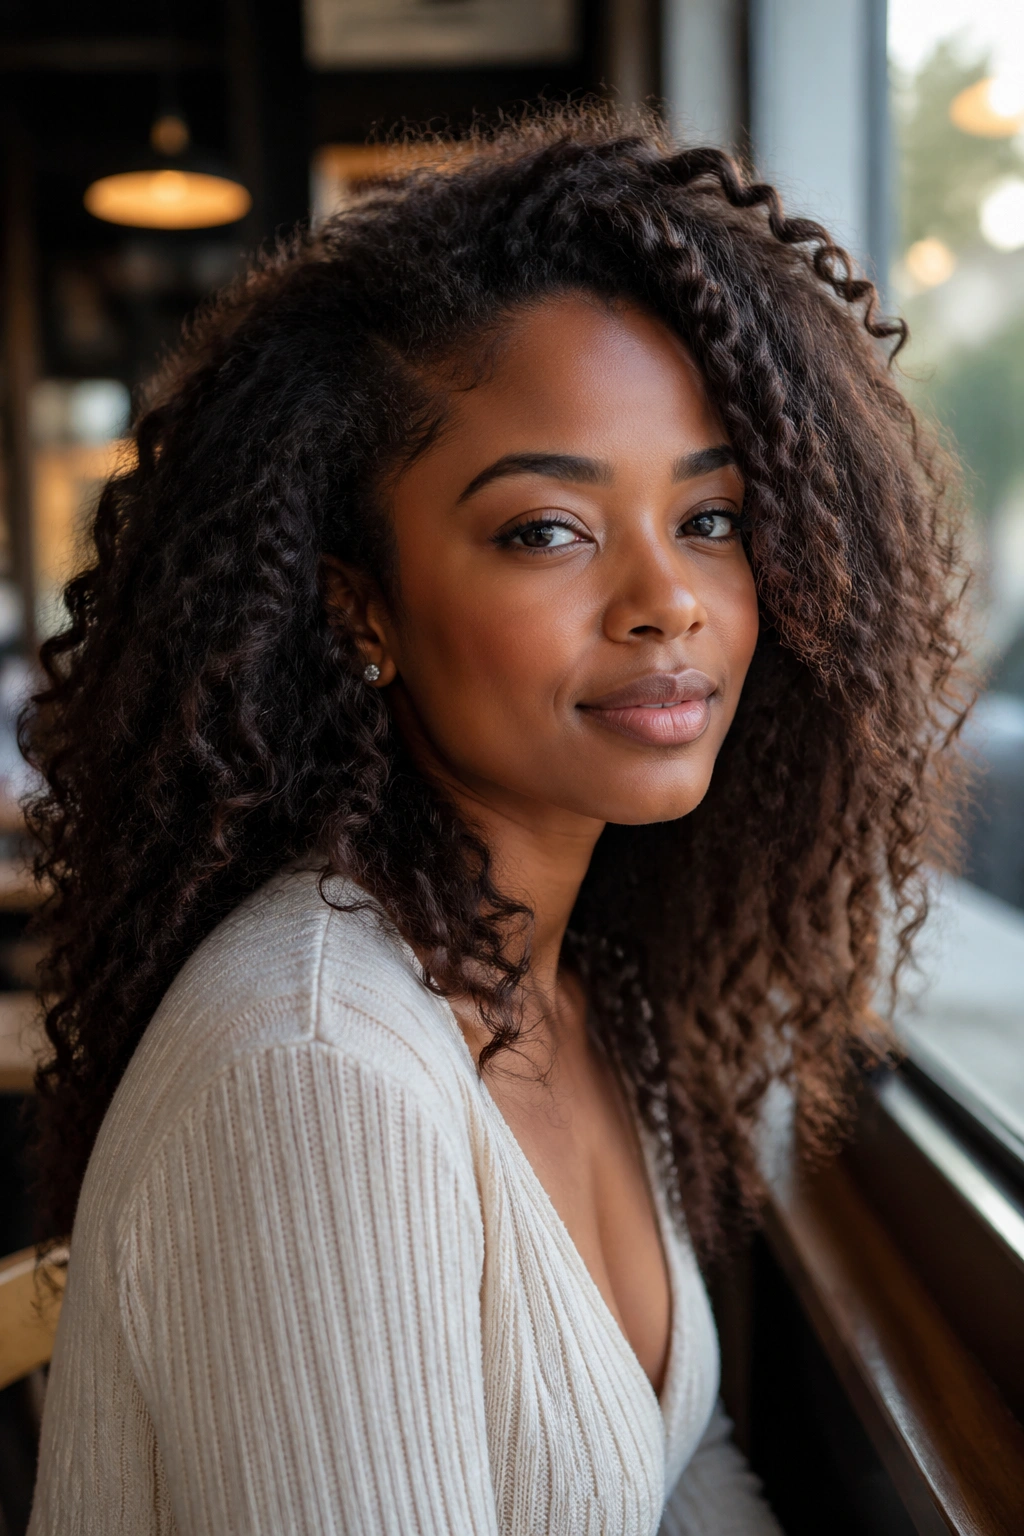
Rather than setting your blown-out hair on rods or in twists, simply diffusing it during the blowout process — using the diffuser to shape and set the curls as you go — creates a looser, more relaxed version of a blowout curl style. The curl pattern stays, just in a stretched, more open form.
Apply your products as you would for a regular wash-and-go, then diffuse on low to medium heat. Rather than diffusing to preserve tight curl clumps, use a gentle scrunching motion into the diffuser bowl to encourage the curls to form but in a slightly stretched, looser version of their natural shape. The result is a soft, airy, stretched curl that has movement and volume without the crispness of a fully defined style.
7. Half-Up Half-Down Blowout Curls
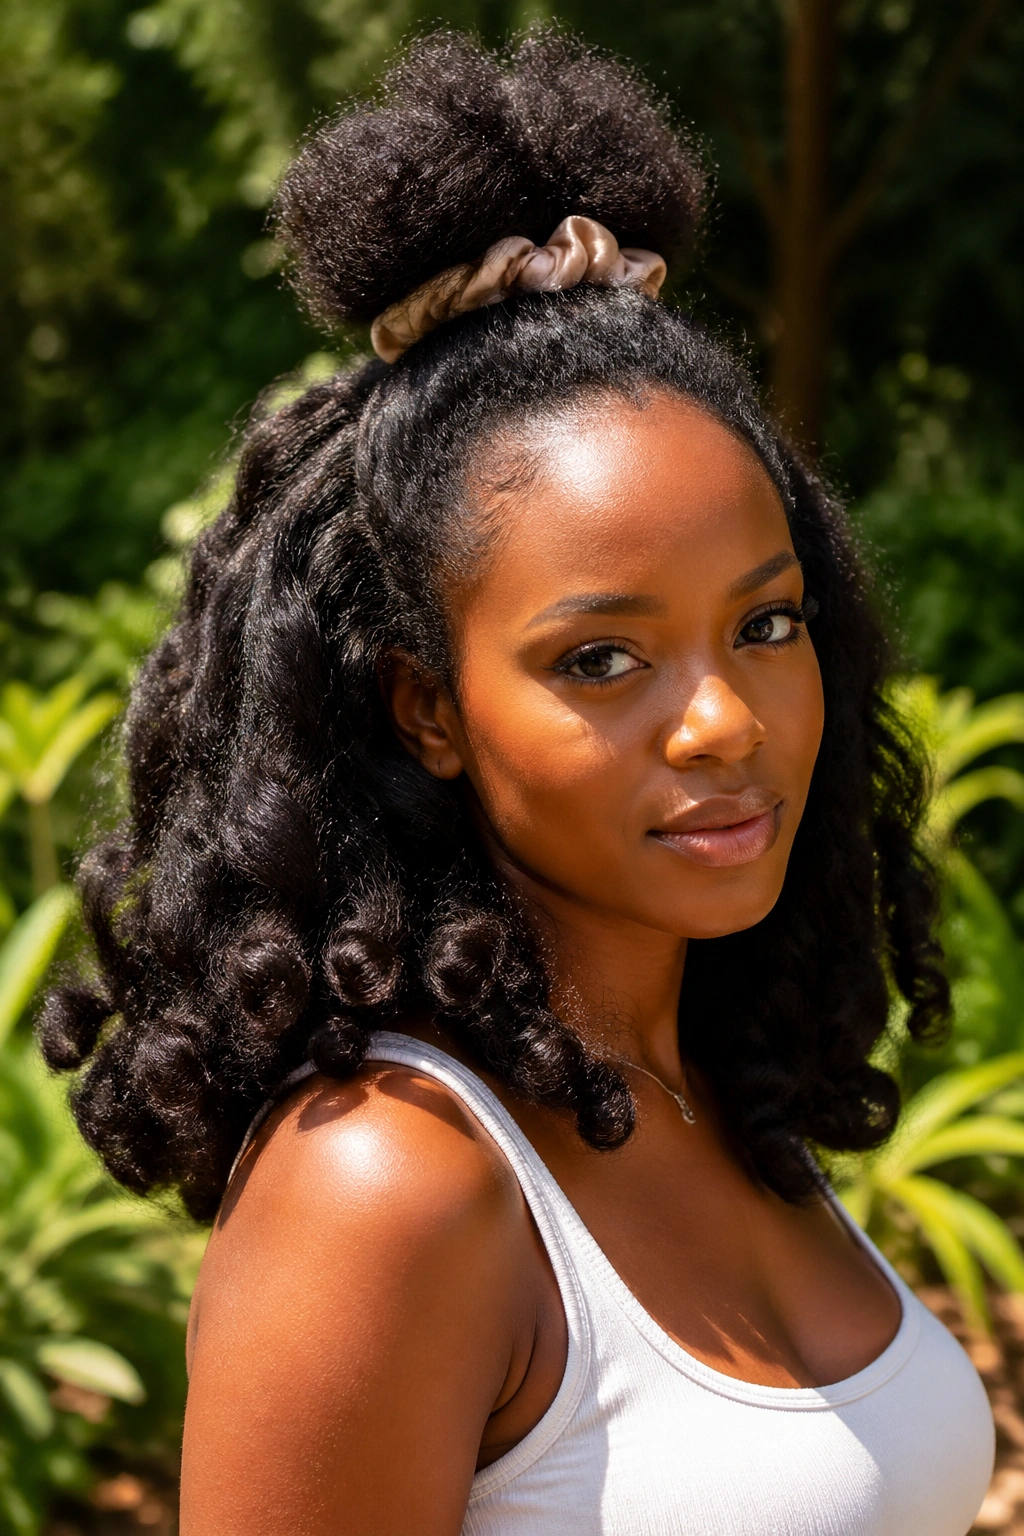
Taking the top half of your blowout curl style up into a puff or bun while leaving the bottom in full blown-out curls creates a style with two distinct visual zones — and the combination is endlessly flattering.
After creating your blowout curl style, gather the top half into a loose, high puff or bun and secure with a satin scrunchie. The curls in the top section should puff outward rather than being compressed flat. The bottom half hangs in its fully blown-out curly glory, showing all the length and volume the blowout created. Add accessories at the division point for a polished finish.
8. Blown-Out Frohawk
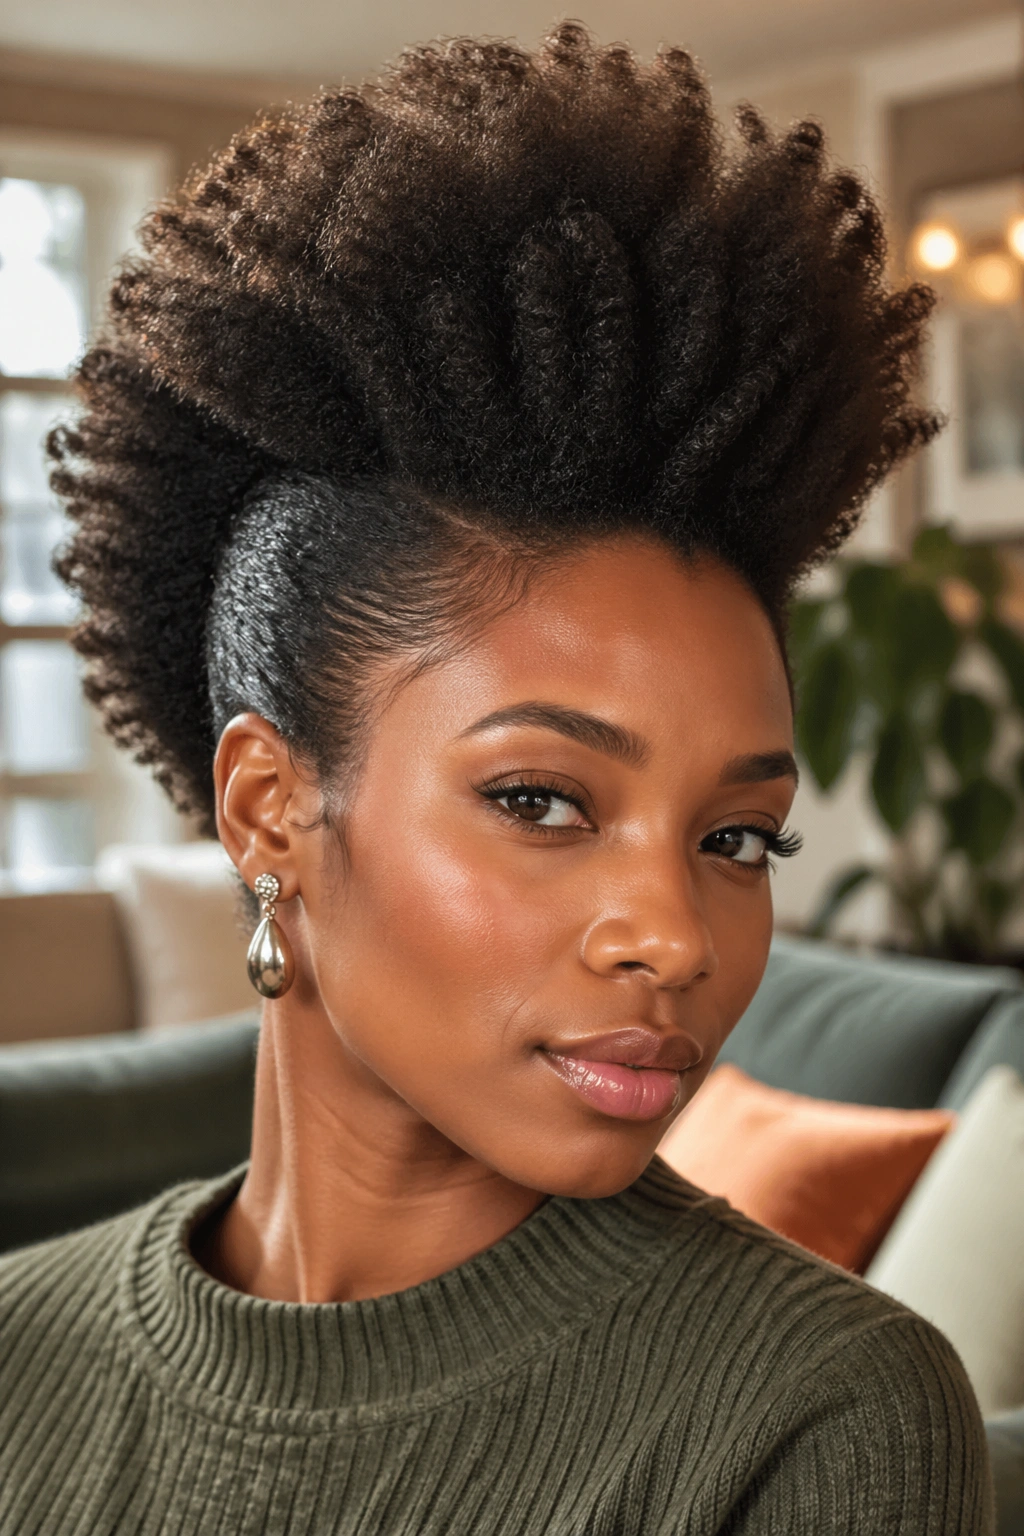
A blowout frohawk uses the stretch of the blowout to create a frohawk silhouette with more visible length than you’d get from the same style on fully shrunken natural hair. The sides are slicked or flat-twisted close to the head, while the center section — blown out and full — stands tall and proud.
Blow out your entire head first, then immediately flat-twist the sides while the hair is still slightly warm and cooperative from the blow-dry. Leave the center section free and style it for maximum volume — a little additional diffusing, a pick for lift, and some light hold product at the root will do it. The blown-out center section will have more visible height and texture than it would without the pre-blowout step.
9. Blown-Out Puff
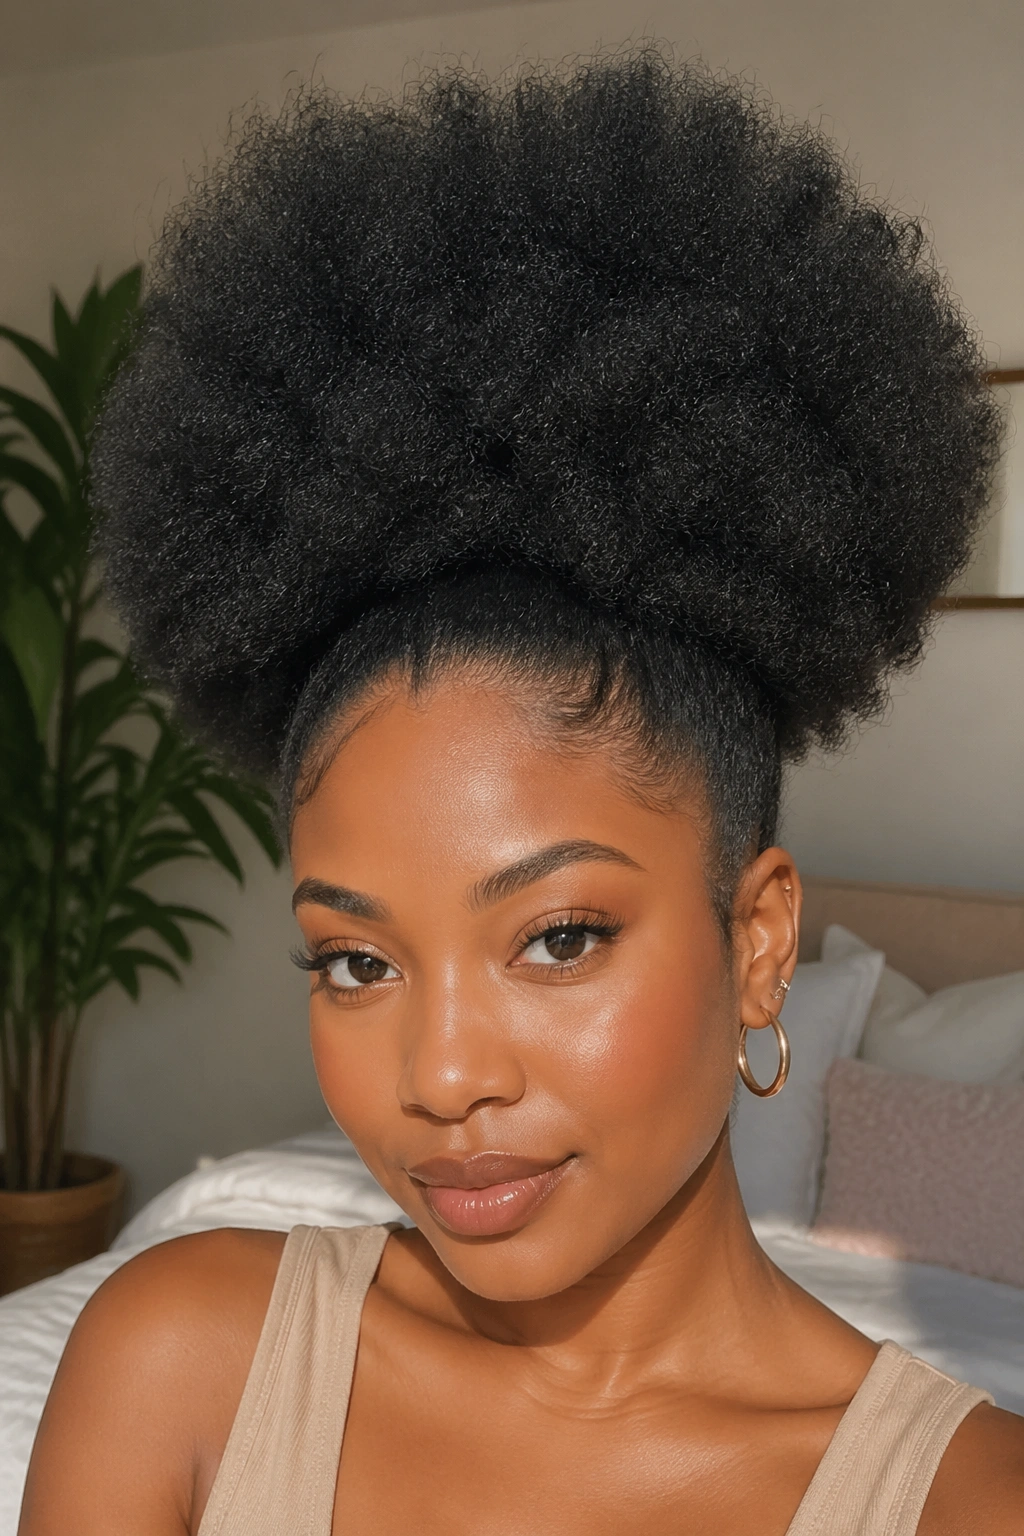
A puff on blown-out hair has a distinctive character — bigger, softer, and with more visible texture than a puff on unblown natural hair. If your natural curl pattern tends to shrink so much that puffs look small, a blowout puff is the answer.
After blowing out your hair with heat protectant on low to medium heat, gather everything into a high puff position. Before securing, use your fingers to expand the gathered hair outward in every direction. Secure loosely with a satin scrunchie. The blown-out texture means the puff will be notably larger, fluffier, and softer than usual — a genuinely beautiful upgrade to the classic style.
10. Roller Set on Blown-Out Hair
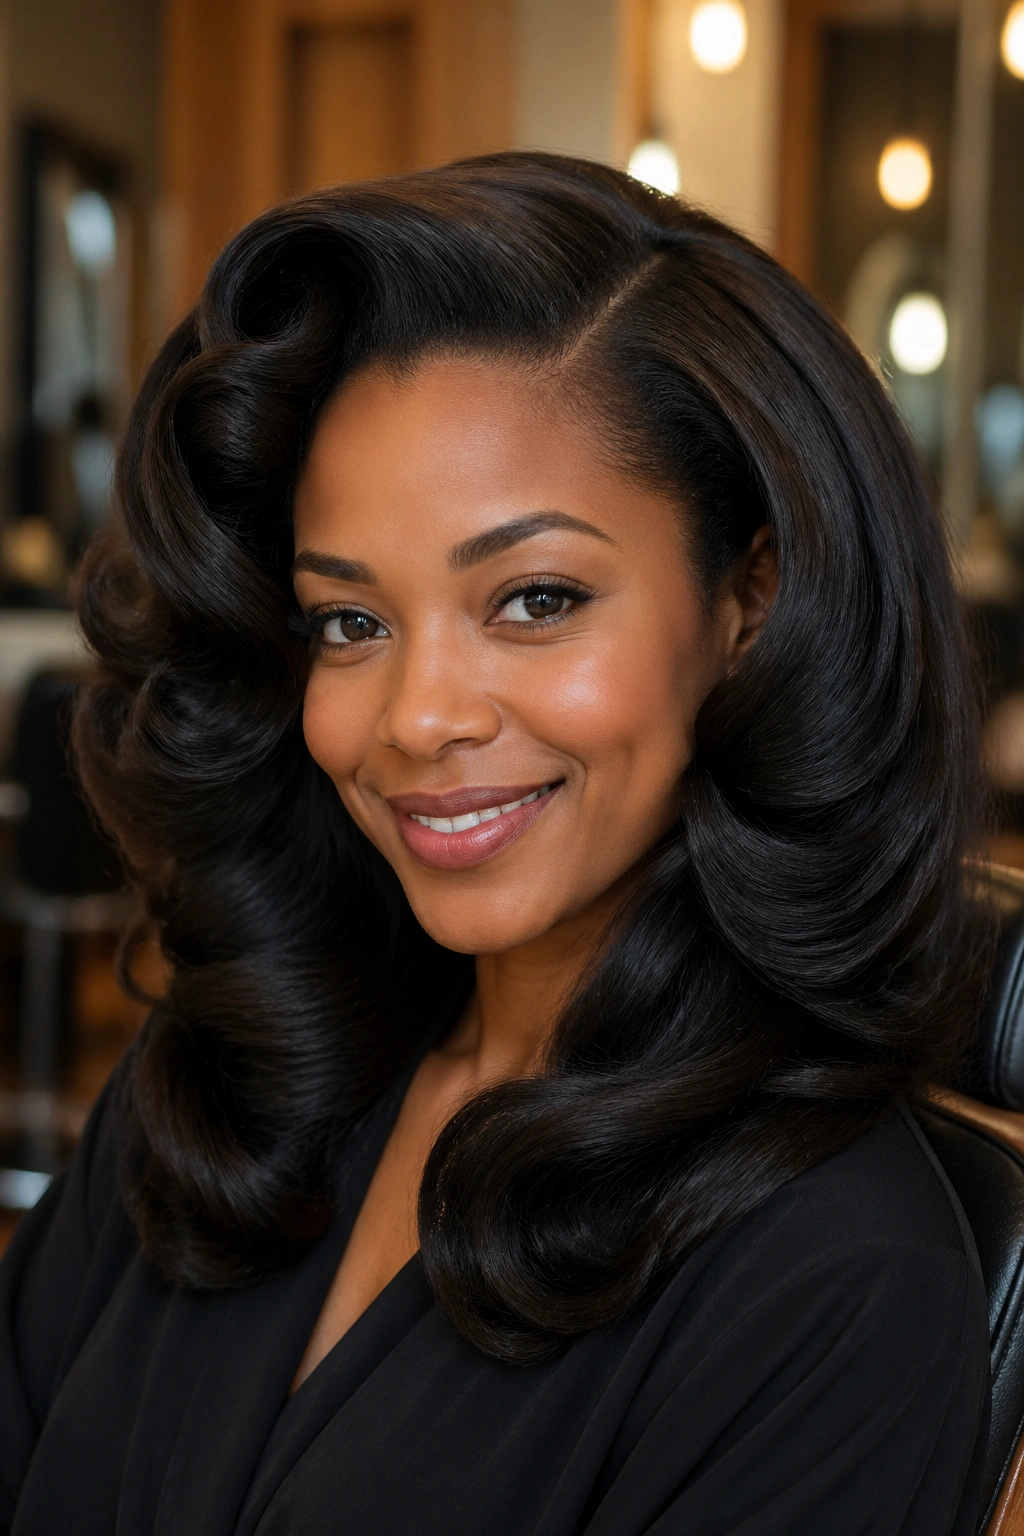
Setting smooth rollers on blown-out hair produces big, smooth, polished curls with extraordinary shine — the kind of curl that looks genuinely professional. The blowout stretches the hair’s natural curl and makes it more cooperative for the roller, which then adds a new, smooth round curl on top.
Roll each section from tip to root on damp-from-product hair, pinning securely. Sit under a hooded dryer until completely dry. Take down and separate with fingers only — this style doesn’t benefit from a pick. The result is smooth, bouncy, voluminous curls with a polished finish that’s dramatically different from the rougher texture of most heat-free styles.
11. Blown-Out Bantu Knot-Out
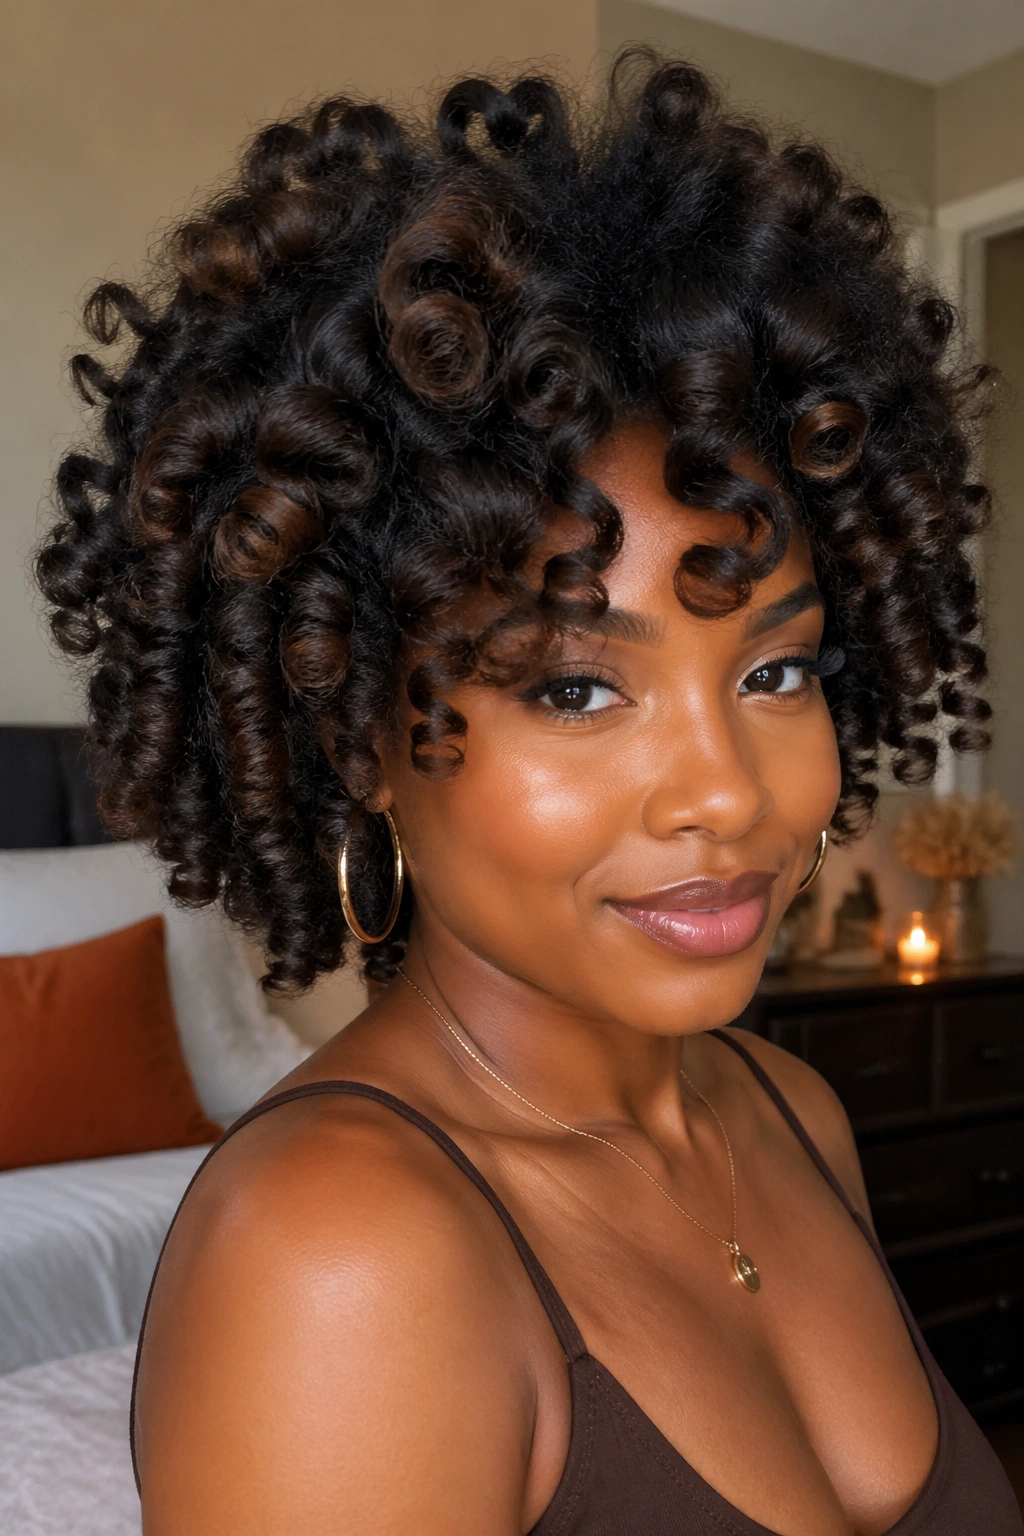
A bantu knot-out on blown-out hair produces a softer, bigger, and more relaxed version of the standard bantu knot-out — because the blown-out texture has less natural coil tension to fight against when forming the curl.
After blowing out on low heat, apply curl cream to each section and coil into bantu knots. Let dry fully overnight. When you unravel in the morning, you’ll find the curl pattern from the bantu knot is present but softer and larger than it would be on fully shrunken, unblown hair. Separate with oiled hands for a big, romantic, blown-out curl result.
12. Feathered Blowout
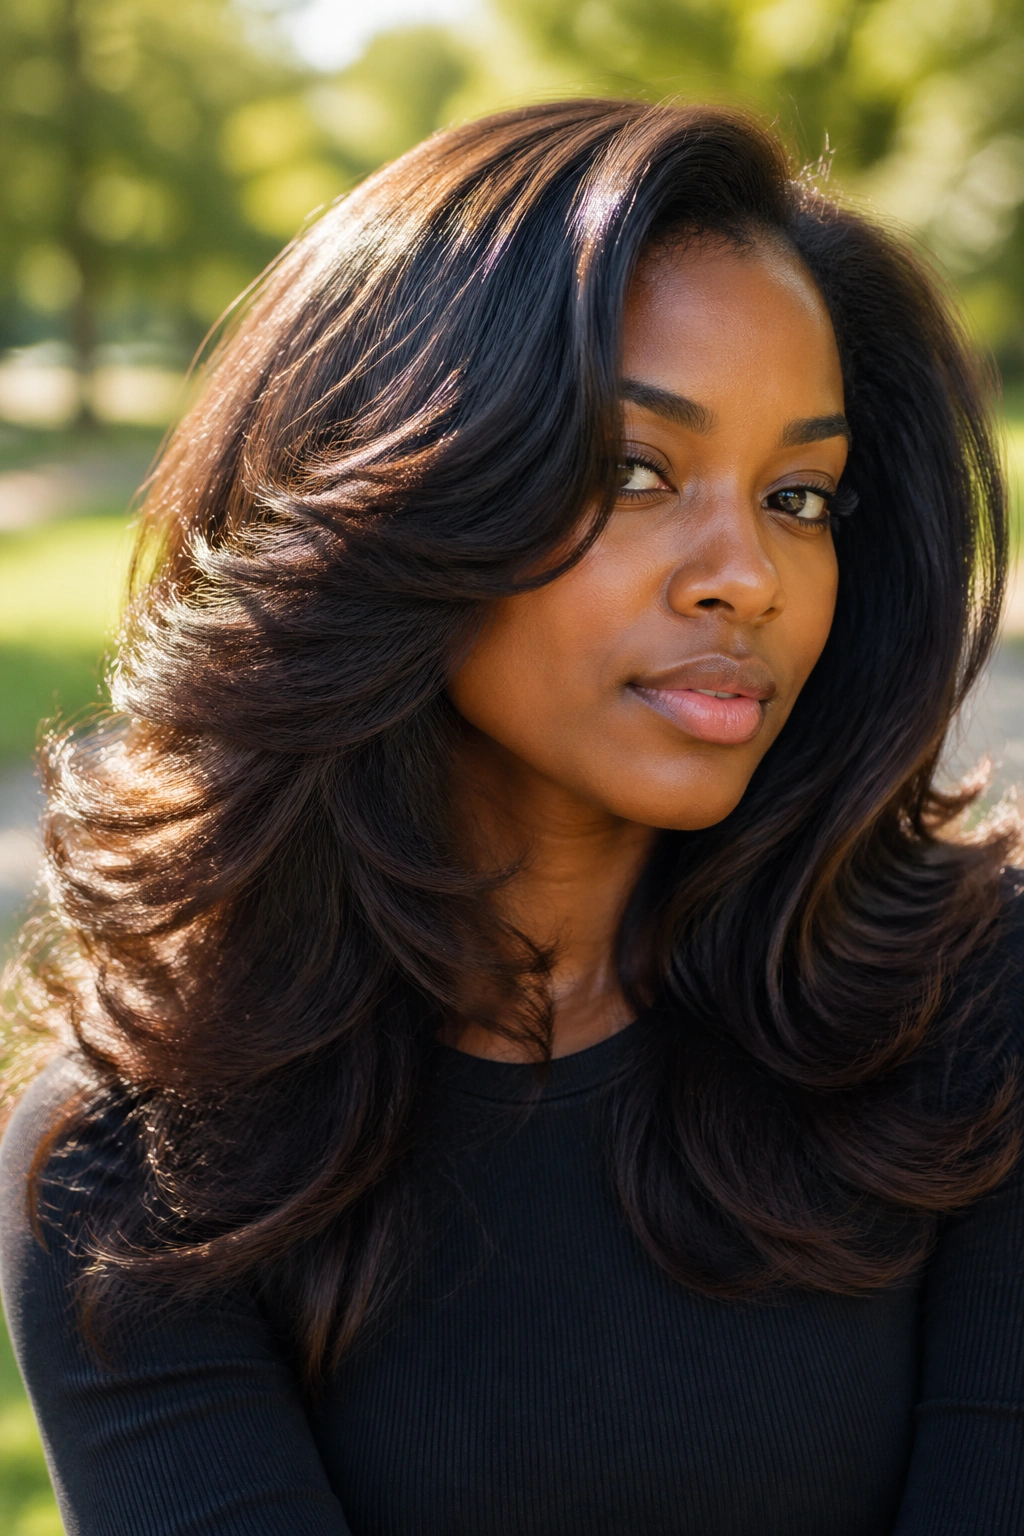
A feathered blowout is a style that leans into the stretch of the blowout rather than trying to add curl definition after. The goal is a big, full, feathered silhouette — like the natural hair equivalent of a 70s feather-cut blowout — where the hair is voluminous and slightly wavy without being fully curled.
Blow out on medium heat using a wide-tooth comb to stretch sections slightly, then direct the hair with your hands as you go — directing the root away from the scalp and the ends outward in feather-like layers. No rods or twists follow this step. Just a strategic blowout with hand-shaping creates a big, airy, feathered look that’s distinctly different from every other style on this list and genuinely striking.
13. Blowout Crown with Natural Ends
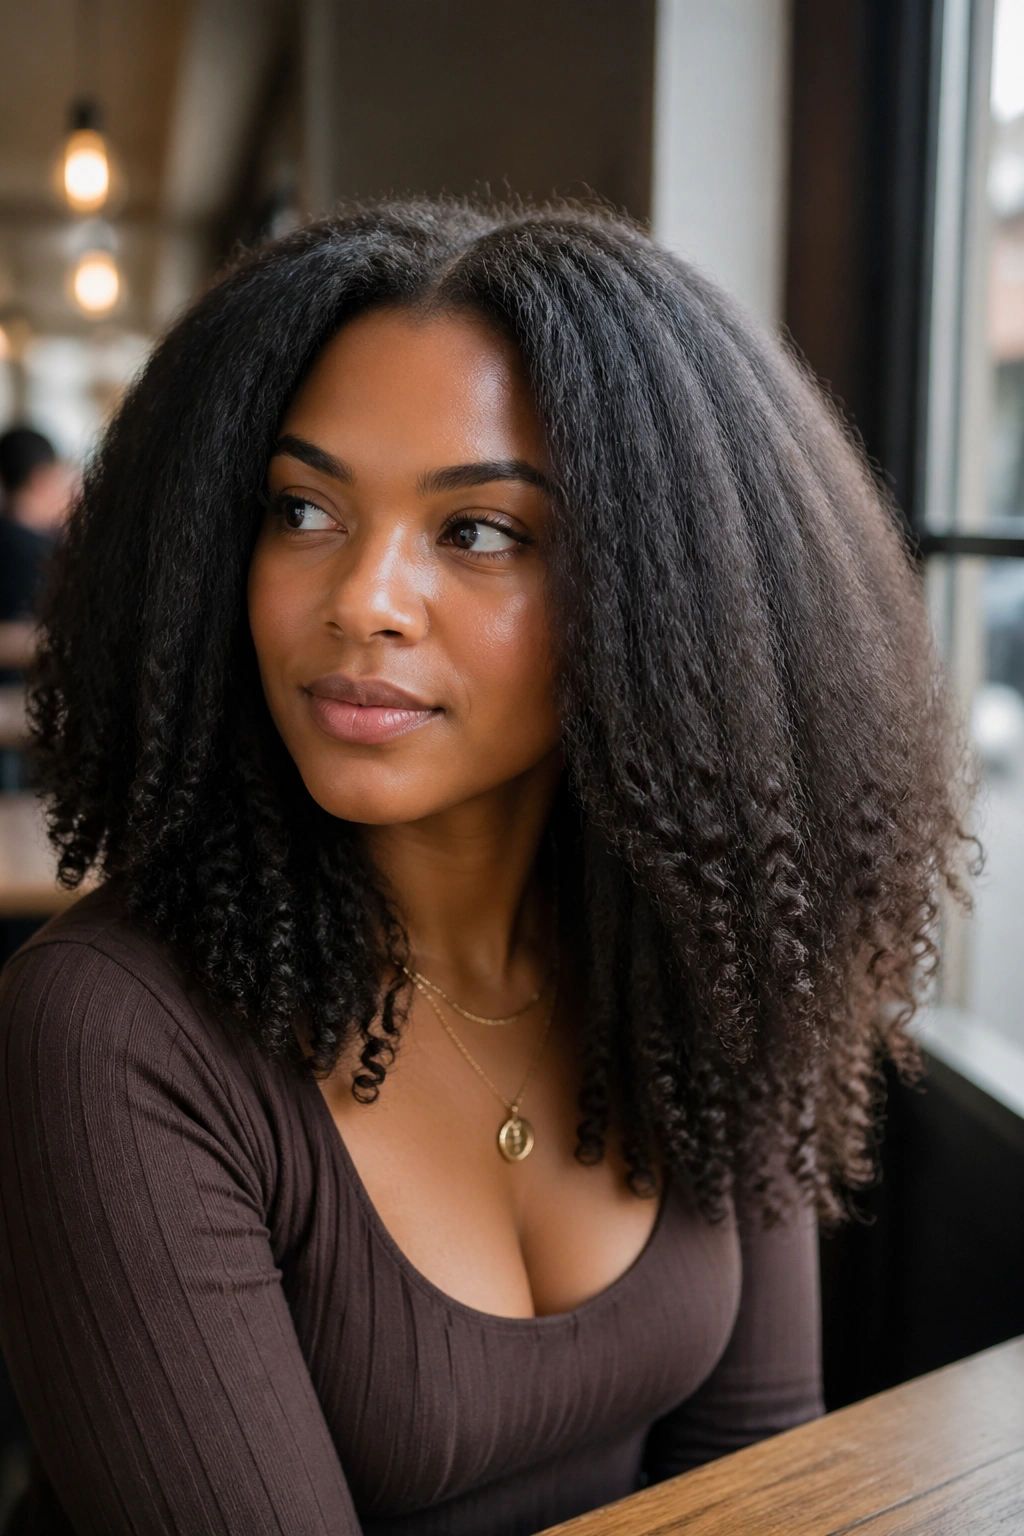
Blowing out the mid-lengths and crown of your hair while leaving the ends in their natural curl state creates a two-texture style that’s uniquely beautiful — volume and stretch at the body of your hair, natural coil definition at the tips.
Apply heat protectant throughout and blow out from root to mid-length only, keeping the blow dryer and comb away from your ends. The ends will retain their natural curl definition while the root-to-mid area is stretched and voluminous. The contrast between stretched and natural in a single style is visually interesting and protects your most vulnerable section — your ends — from heat entirely.
14. Blowout Afro
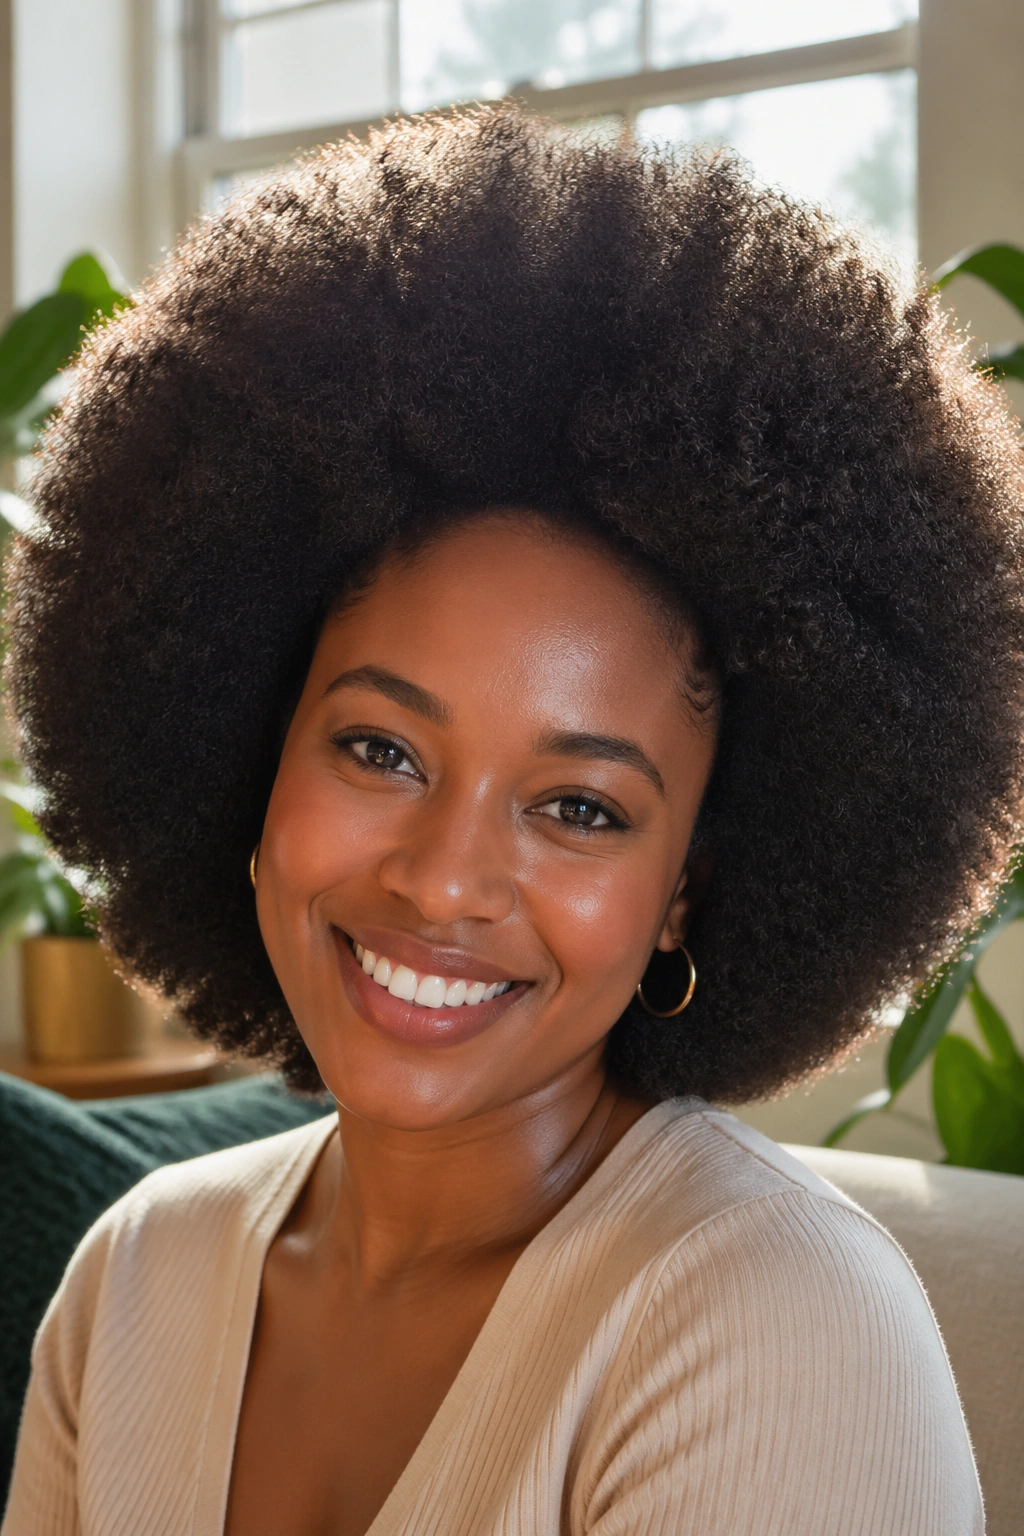
A blowout afro is what happens when you blow out your natural hair and then pick it out into a full, round afro shape rather than adding any additional curl styling. The result is a big, soft, halo-like afro that has more visible volume and more even texture than a standard air-dried afro.
Blow out on low to medium heat, following with a wide-tooth comb or Denman brush to distribute the volume evenly. Once blown out, use an afro pick to shape the hair into a full, round silhouette. The blow-dry creates even, consistent volume throughout rather than the uneven, patch-heavy volume you sometimes get from a purely heat-free afro. It’s a classic look taken up a notch.
15. Blowout Bun
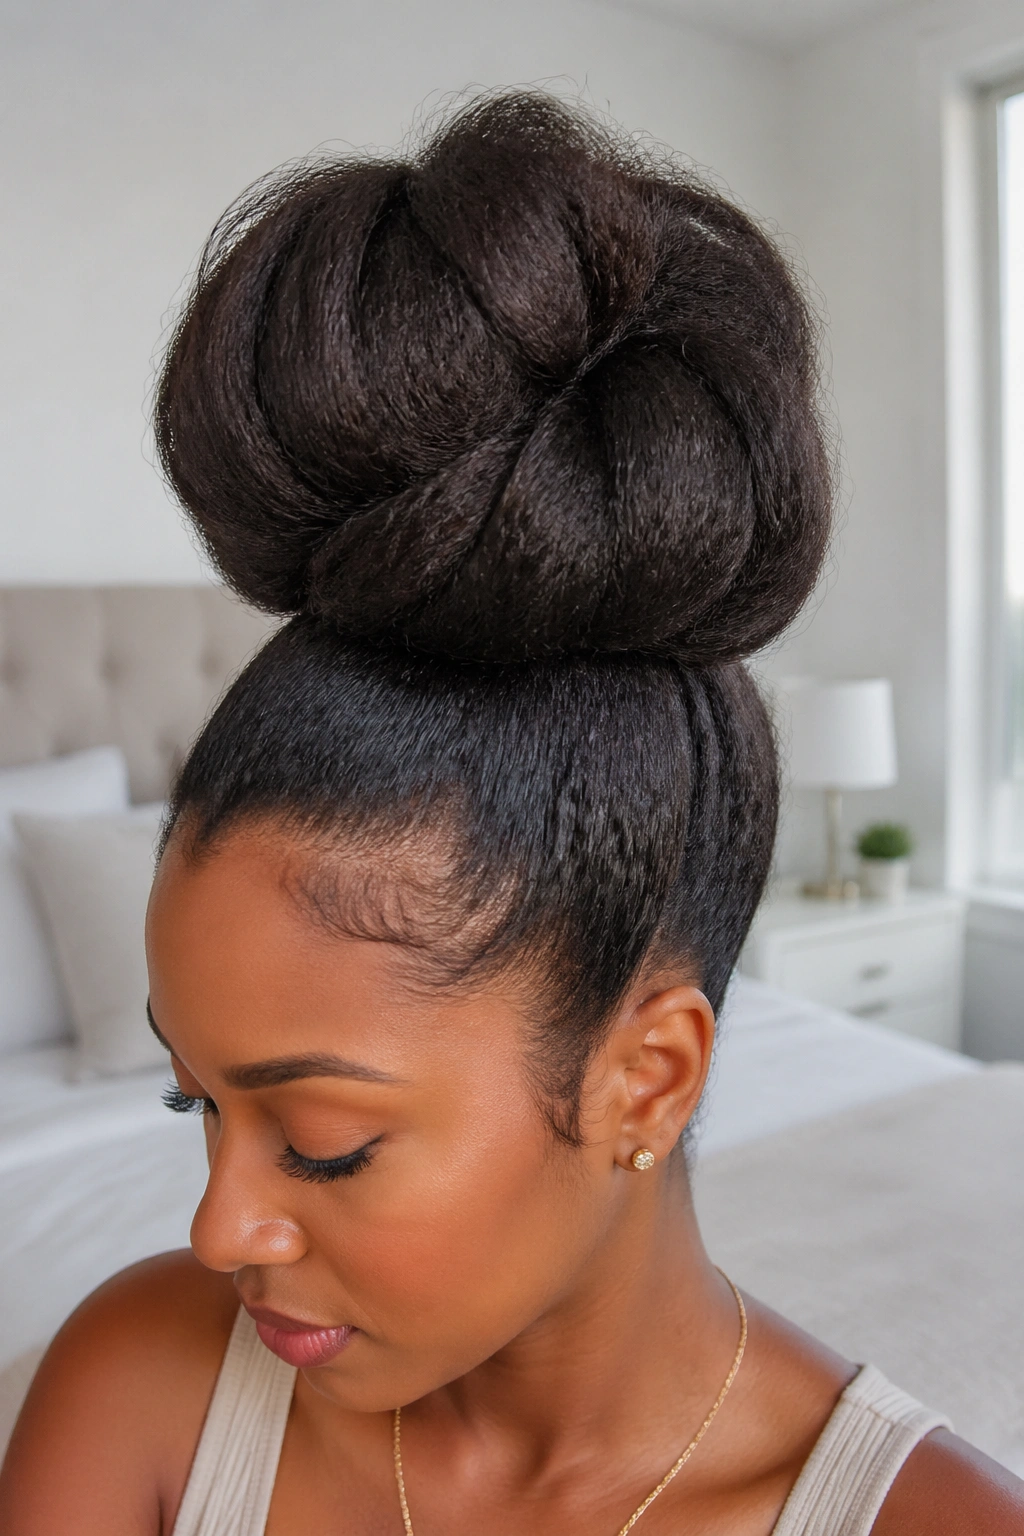
A blown-out bun takes the drama of a blowout and concentrates it into a high, voluminous bun that shows off the fullness of your natural hair from every angle. Because blown-out hair is stretched and voluminous, the bun will be noticeably bigger than a bun on unblown natural hair.
Gather your blown-out hair into a high bun and secure loosely. Pull the bun outward in all directions before pinning sections to maintain maximum volume. The bun shouldn’t be compact — it should be full and expansive, almost like a topknot that’s been deliberately oversized. Smooth the roots for a polished contrast, or leave them natural for a more relaxed look.
16. Section Blowout with Flat Twist Combo
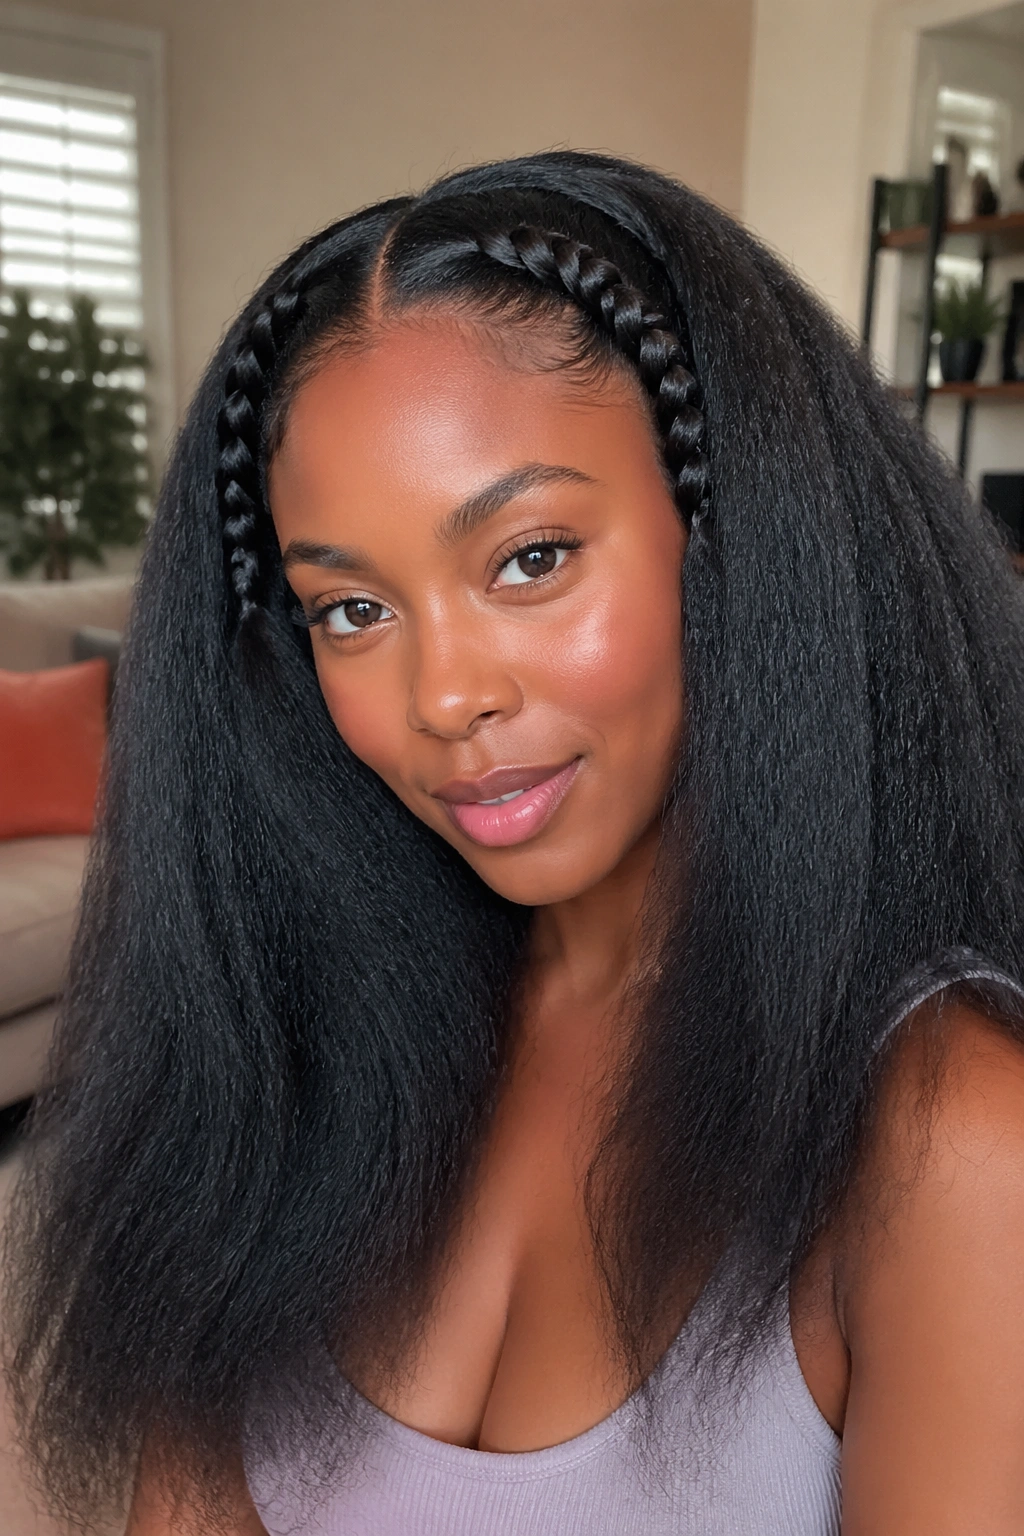
Blowing out the majority of your hair while keeping one or two sections in protective flat twists creates a hybrid style that’s part stretched, part protective, and entirely interesting. The flat-twisted sections add texture and intentionality while the blown-out sections show volume.
Flat-twist two sections at the front or sides before blowing out the rest. Blow out the untwisted sections as normal. The result is a style where neat flat twists contrast with the big, voluminous blown-out texture on the rest of your head — a combination that looks intricate without requiring much additional effort.
17. Blowout Curl Refresh Method
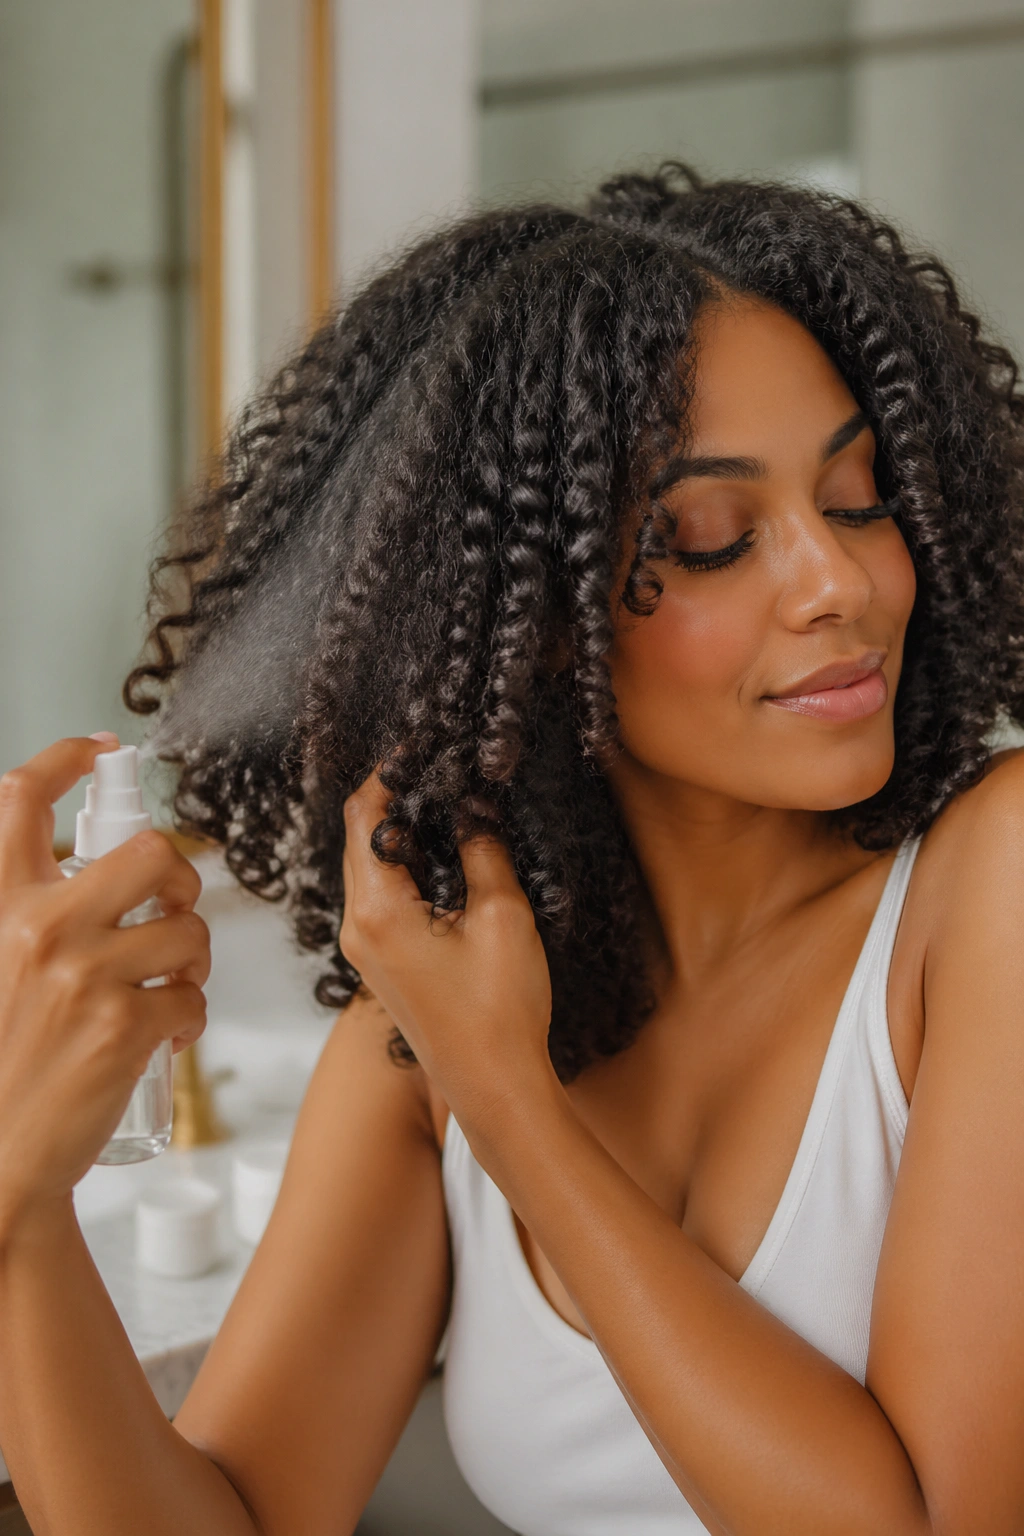
On day two or three of a blowout curl set, refreshing the style with a light mist and some additional curl activation can give you another day or two of beautiful style without any additional heat.
Spritz your hair lightly with a water-and-leave-in mixture. Scrunch gently, focusing on sections that have lost definition. If necessary, re-twist or re-wrap individual sections that need resetting and let air-dry. Finish with a very light mist of oil or sheen spray for shine. Your blown-out curl style should come back to life without needing to restart the whole process.
18. Blown-Out Finger Coils
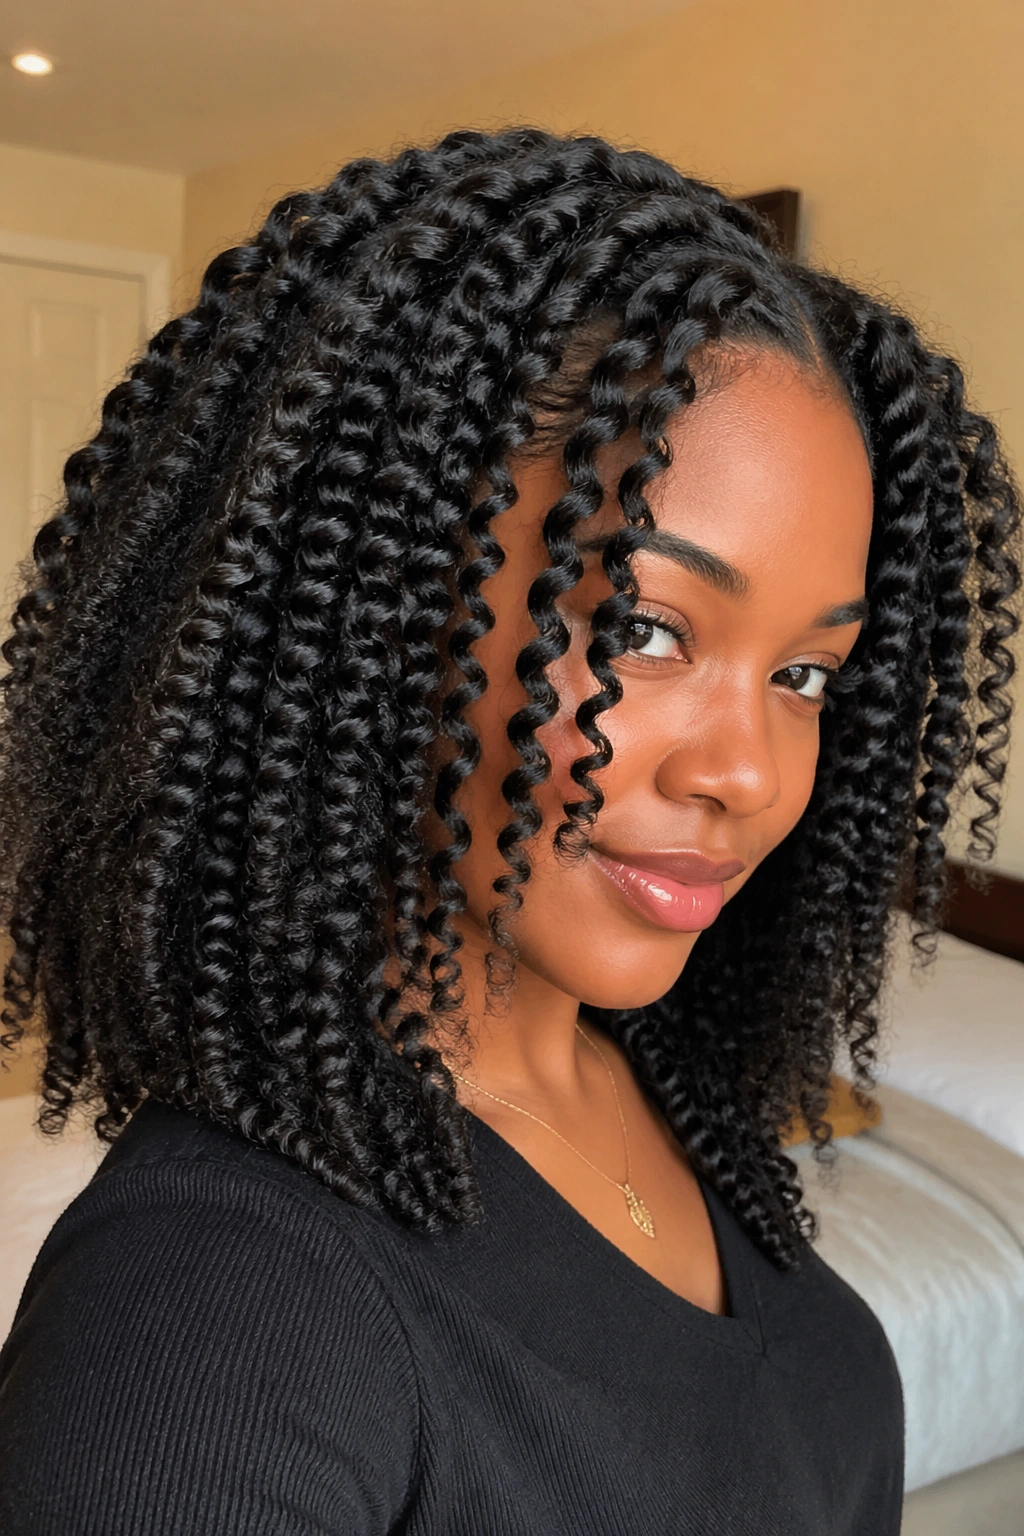
Finger coils installed on blown-out hair produce a distinctive look — rounder, more uniform coils with more visible length than coils done on fully shrunken natural hair. The blown-out foundation gives the coils a different, slightly silkier character.
After blowing out, apply a defining gel or cream to each section and coil around your finger as you normally would. Because the hair is already stretched, the coils will be slightly larger and more elongated than on unblown hair. Let dry fully before touching. The result is a defined, elongated coil style with the characteristic length-enhancement of a blowout underneath.
19. Blown-Out High Ponytail
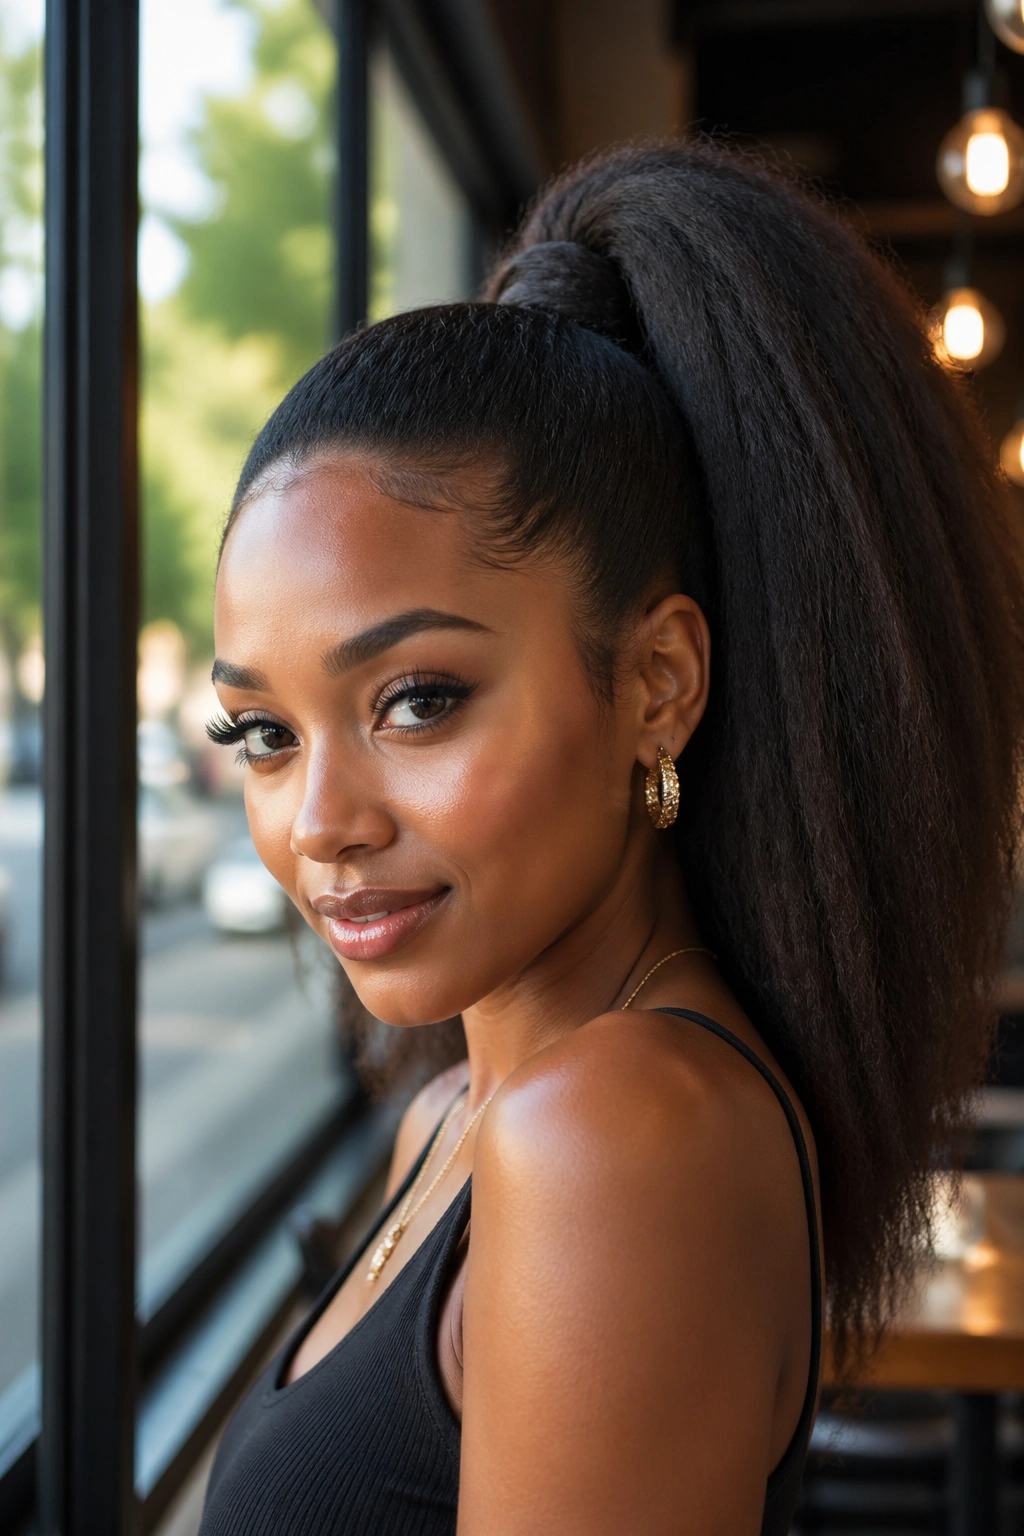
A blown-out high ponytail has serious visual impact — the stretched hair creates a ponytail with obvious length and volume that shrinkage can hide. This is particularly transformative for naturals with significant shrinkage who rarely wear their hair in down or ponytail styles.
After blowing out, gather your hair into a high ponytail using a soft, large scrunchie. The blown-out texture means the ponytail will be noticeably fuller and longer than usual. You can leave it straight and slick from the blowout, or add flexi rods or twist the ponytail and unravel for curls within the pony. Wrap one section around the base to cover the elastic.
20. Blowout with Curling Wand
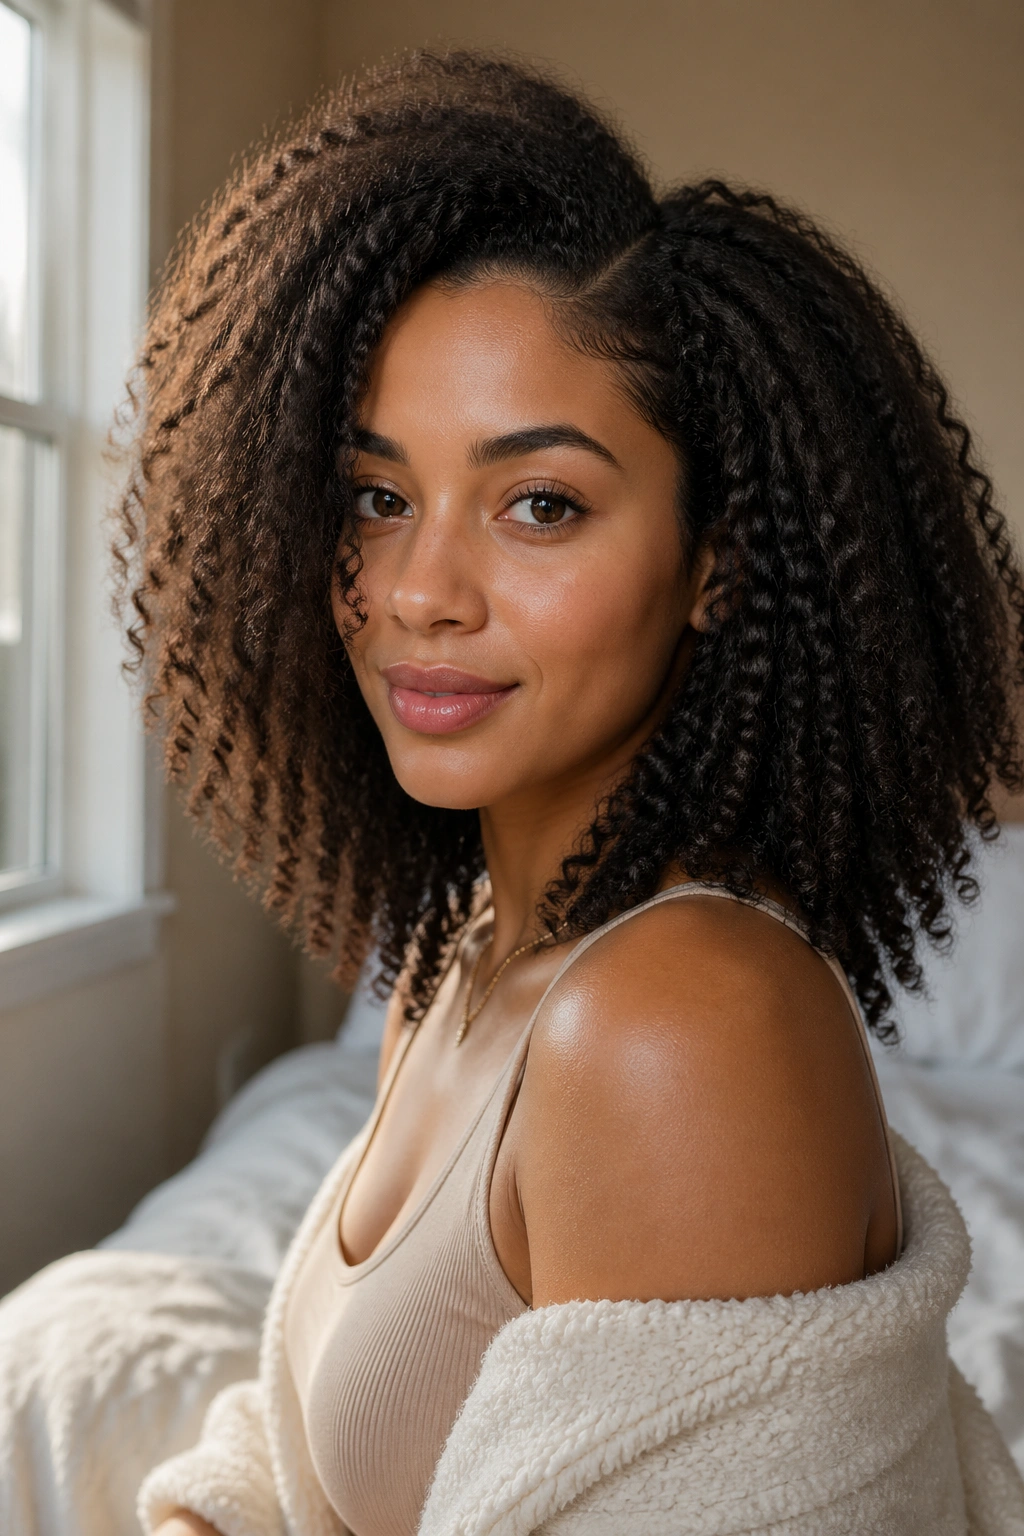
Using a curling wand on blown-out natural hair creates a style that mimics the look of a professional heat-styled curl set — smooth, polished curls with significant volume and shine that hold their shape beautifully. This is a more heat-intensive option, but for special occasions, the results are genuinely spectacular.
After a low-tension blowout with heat protectant, add another layer of heat protectant before using the curling wand. Work in sections, wrapping each blown-out section around the wand barrel and holding for 8-12 seconds before releasing. Allow each curl to cool in your hand before releasing it fully — this sets the curl and improves longevity. Separate gently with fingers for volume and finish with a light oil for shine.
21. Blowout Curl Updo for Special Occasions
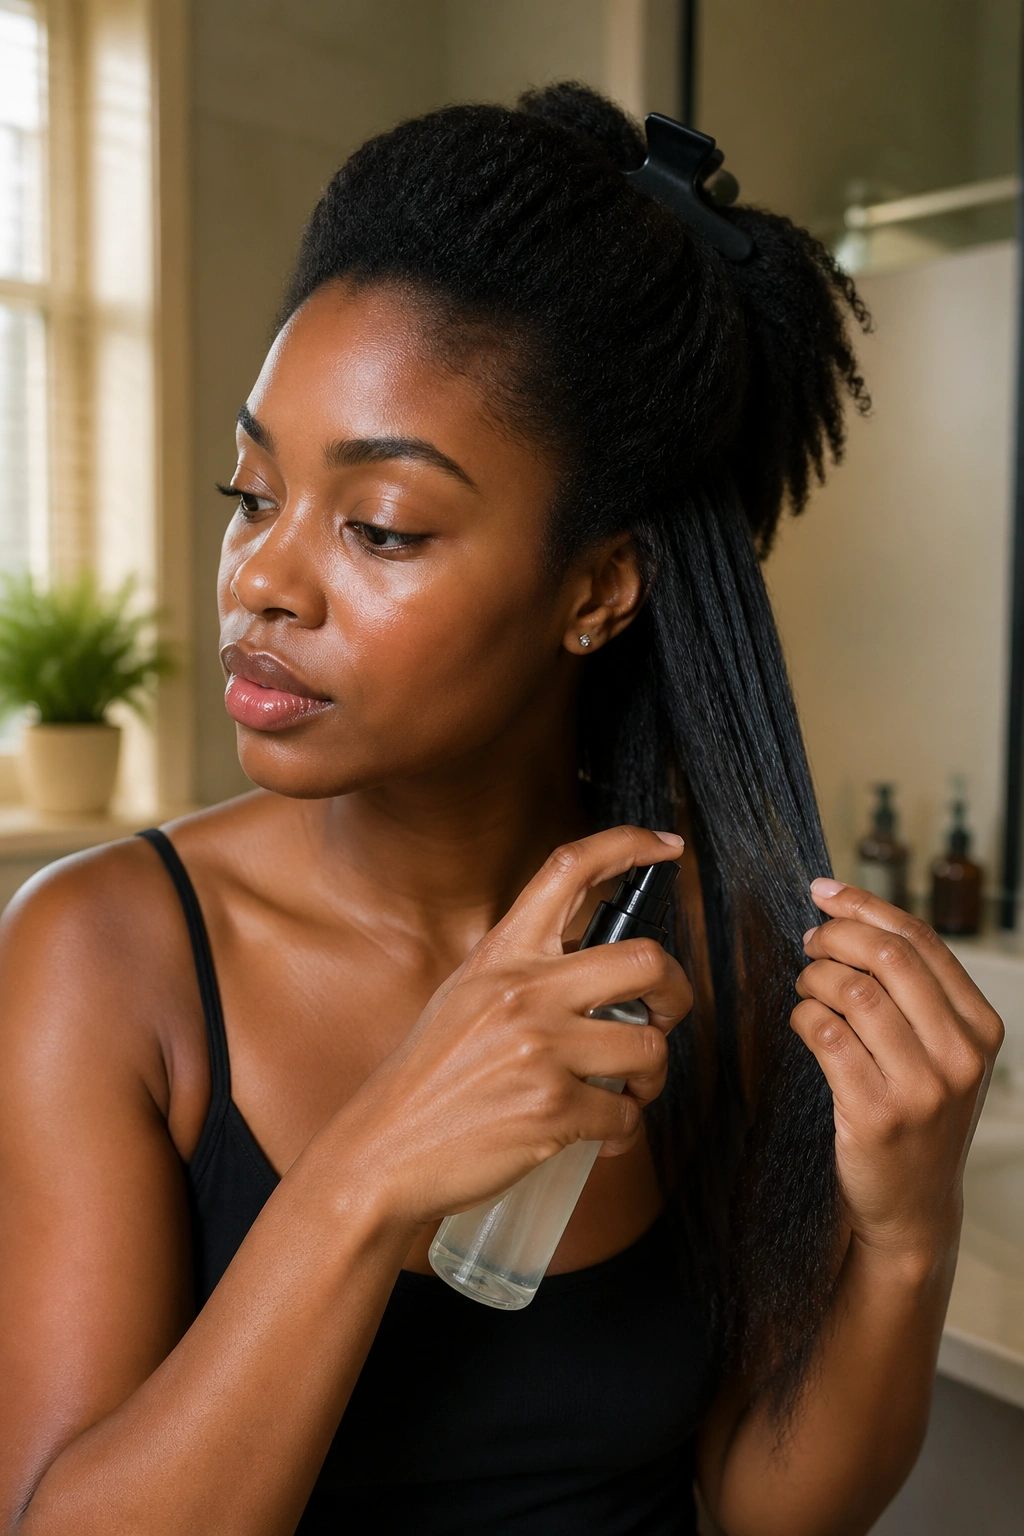
For weddings, formal events, and milestone celebrations, a blowout curl updo gives you the elegance of a professional updo with the distinctive beauty of your natural curl texture — and the blowout’s stretch means your curls will be visible and defined throughout the style.
Create your blown-out curl style first — using flexi rods, bantu knot-out, or whatever method produces your best results. Then gather sections of your curls and pin them into an updo shape — loose, romantic, with curls escaping deliberately around the face and neck. The length that the blowout provides means you have more hair to work with when creating the updo, which translates to a fuller, more dramatic finished look.
Long-Term Hair Health When Using Blowout Styles
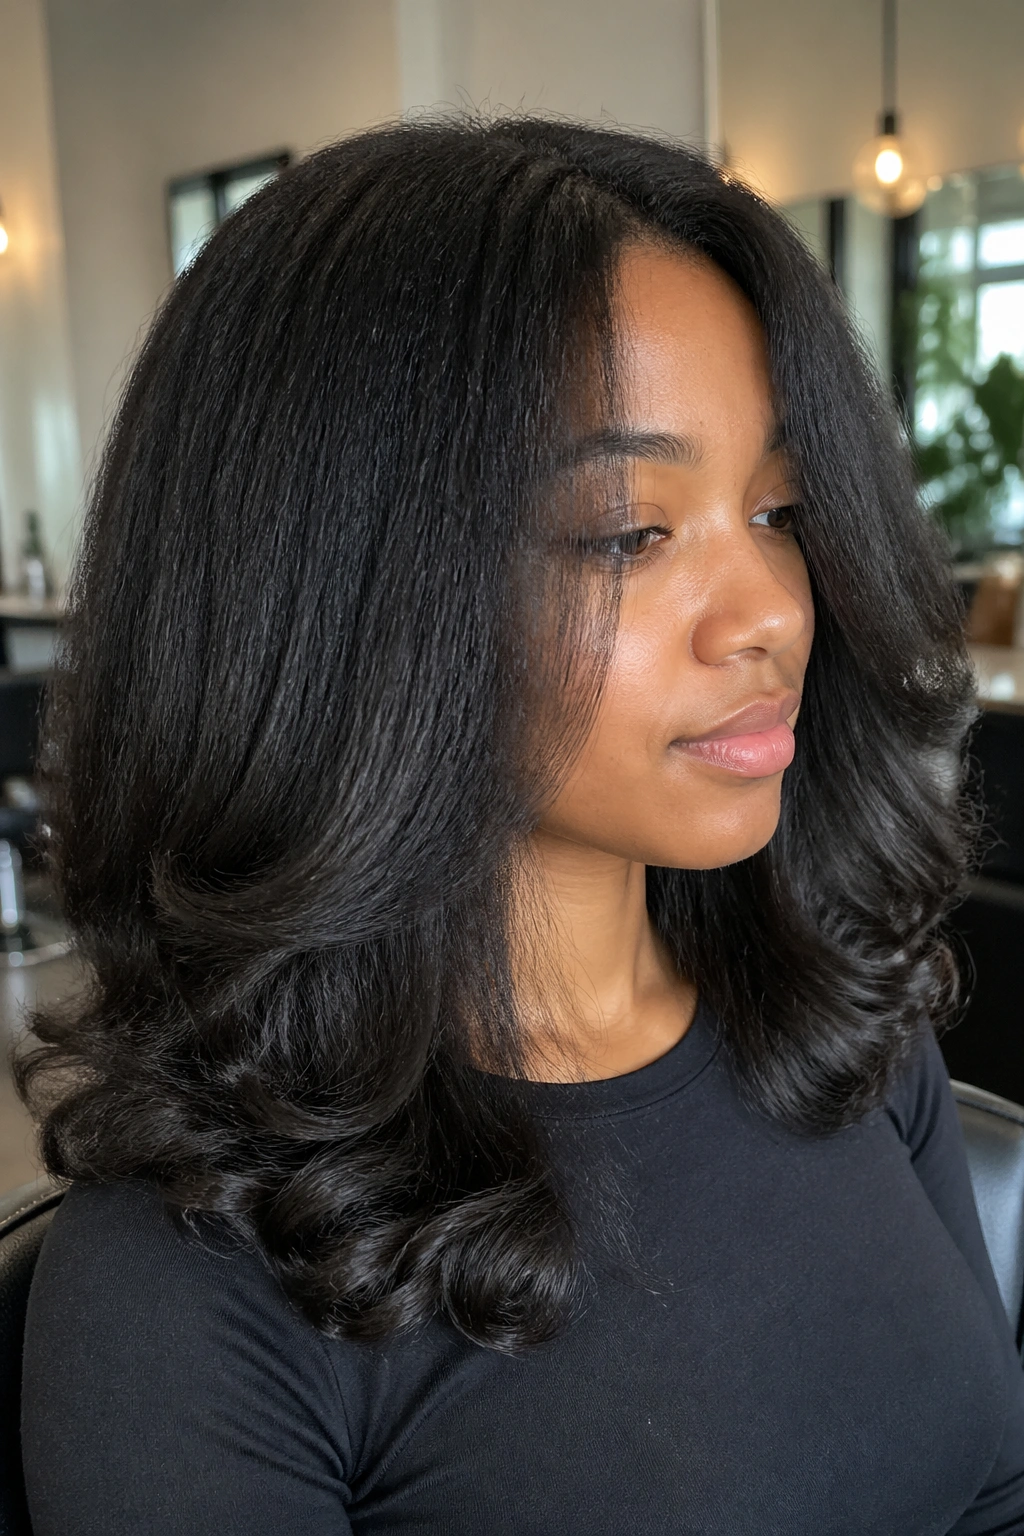
The biggest mistake naturals make with blowout curl styles isn’t using heat — it’s using heat without structure or spacing. Heat needs to be an intentional, spaced-out choice rather than a weekly habit. Stretching blowouts to once a month or less gives your hair time to recover between heat applications and keeps heat damage from accumulating.
Protein treatments become more important when you incorporate regular heat styling. Heat stresses the protein bonds in your hair’s shaft, and a protein treatment every 4-6 weeks — or after every heat application if you’re doing them frequently — helps restore some of that structural integrity. Balance protein treatments with deep moisture conditioning so your hair stays elastic and soft, not stiff.
Trimming heat-treated ends more regularly than you might with completely heat-free hair is also wise. Heat application tends to create more dryness at the ends first, and those dry ends will split over time. A small trim every 8-10 weeks keeps your blowout curl styles looking polished and maintains the health of the strands you’re working so hard to style beautifully.
