A twist out on afro natural hair is one of those techniques that seems simple on paper but has a hundred variables that determine whether you get a gorgeous result or a pile of frizz. The concept is straightforward: you twist sections of your natural hair, let them fully dry, then unravel. What you’re left with is an elongated, defined curl pattern — more stretched and structured than your natural wash-and-go but softer and more fluid than anything you’d get with hard-hold gel alone.
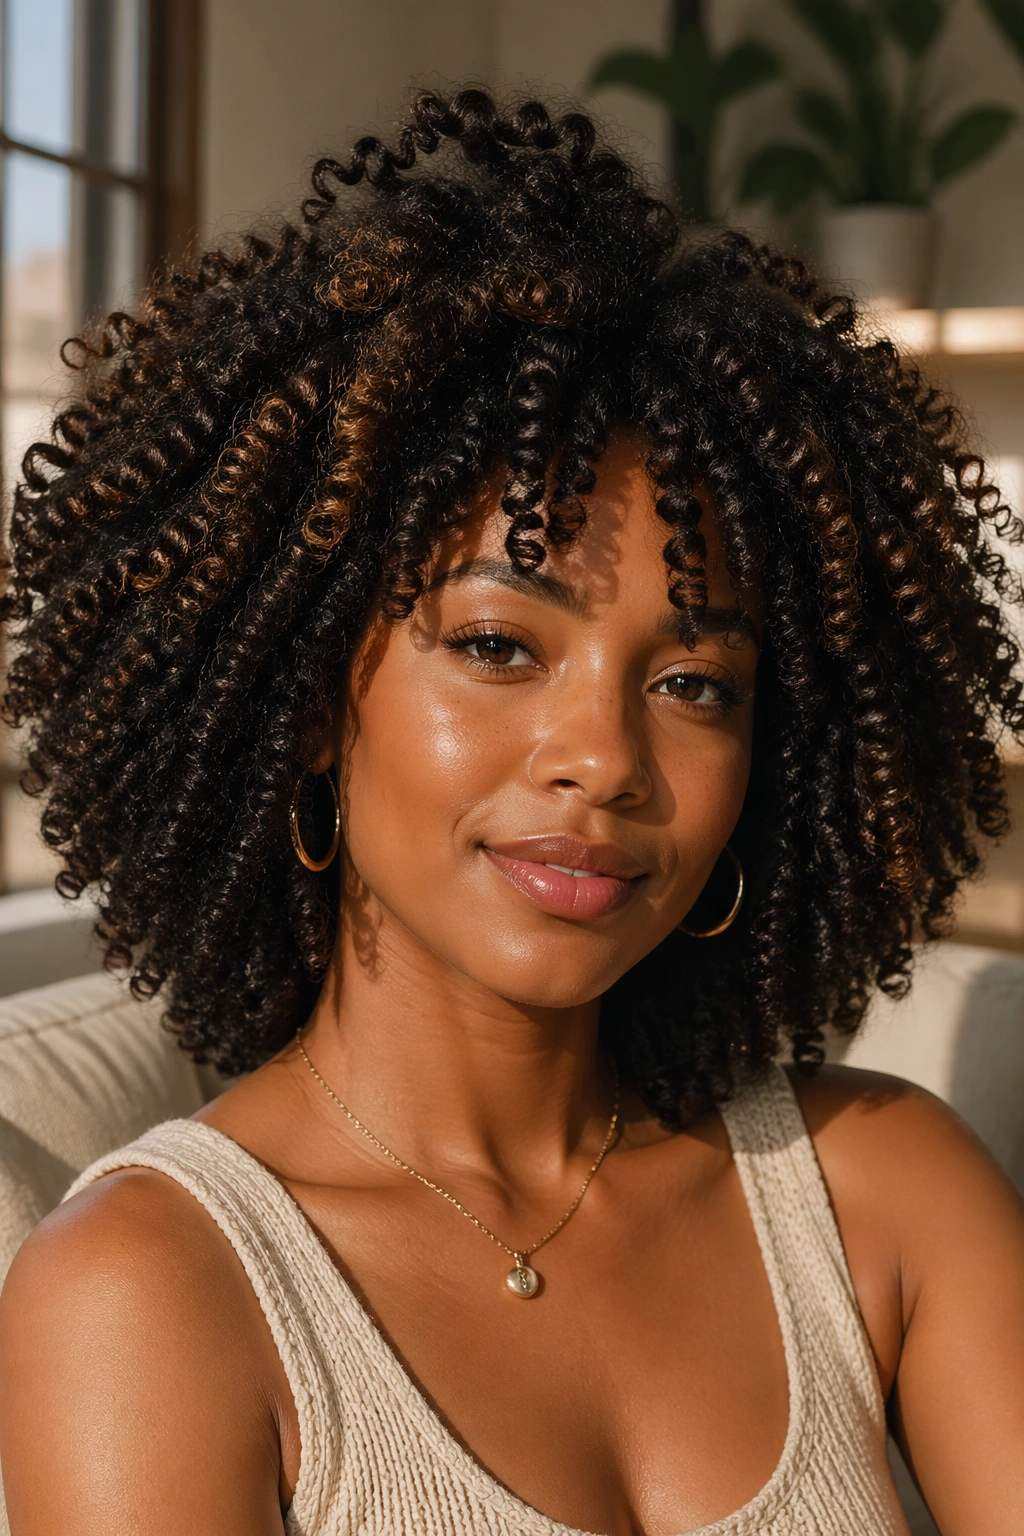
The appeal runs deep. Twist out looks work on 3C through 4C hair — the technique adapts to your specific pattern rather than demanding your hair conform to a specific ideal. On 4C hair, a twist out is often the primary way to show curl definition and elongation on hair that otherwise shrinks dramatically. On 3C hair, a twist out produces soft, bouncy waves with serious volume. Same technique, completely different results — both of them valid, both of them striking.
What a Twist Out Actually Does to Your Hair
Understanding the mechanism helps you troubleshoot when things go wrong. When you twist damp, product-coated sections of hair and let them dry in that twisted configuration, two things happen. First, the physical wrap of the twist reshapes the curl — instead of its natural coil or z-pattern, the curl is forced into a gentler spiral following the path the twist created. Second, the product you applied dries into a light cast around the curl, holding that reshaping temporarily.
When you unravel the twist, you’re revealing that reshaped curl. The “definition” you see is really elongation — your curl’s natural pattern stretched slightly by the twist direction and held that way by product memory. The longer you leave the twist to dry before unraveling, the more firmly set that elongation will be. Unravel too early, while still damp, and the curl springs back toward its natural pattern. That’s not always a bad thing — a slightly damp unravel gives you a fuller, softer result — but it’s different from the fully elongated look you’d get from a completely dry unravel.
The Products That Make or Break the Style
Product choice matters more for a twist out than for almost any other natural hair style. The wrong product doesn’t just reduce definition — it can create frizz, flaking, or buildup that makes the whole thing fall apart.
The go-to layering approach: start with a leave-in conditioner, follow with a styling cream or curl pudding, and finish with a light oil to seal. Each product plays a role. The leave-in adds moisture and slip. The cream provides the weight and hold that helps the curl maintain its shape. The oil seals the moisture in and reduces frizz.
What you want to avoid: heavy butters applied too thickly (they weigh the curl down and prevent it from elongating), hard-hold gels if you want a soft result (great for definition but creates a cast that needs to be broken), and layering too many products (buildup suffocates the curl and creates white residue). Less is genuinely more here. Test with two products before adding a third.
Section Size: The Single Most Important Variable
More than products, more than technique, more than anything else — the size of your sections determines your twist out result. This deserves its emphasis because it’s the thing most people adjust last when they should adjust it first.
Larger sections produce bigger, softer, more voluminous results. The twist wraps a larger bundle of hair, so when unraveled, the curl is wide rather than fine. Think waves rather than ringlets. Larger sections also unravel faster and last longer in very humid conditions because there’s more hair mass holding the shape together.
Smaller sections produce tighter, more defined, more delicate results. The curl is finer and more structured. More sections means more twists means more time to install, but also more definition and a fuller appearance when fully opened. On 4C hair, smaller sections often give the best definition because you’re working with a curl that wants to be compact — the smaller section gives it space to actually form while still being elongated.
Find your sweet spot by experimenting. Start with medium sections — about the width of two fingers — and adjust from there based on what you see.
Drying Methods That Change the Final Look
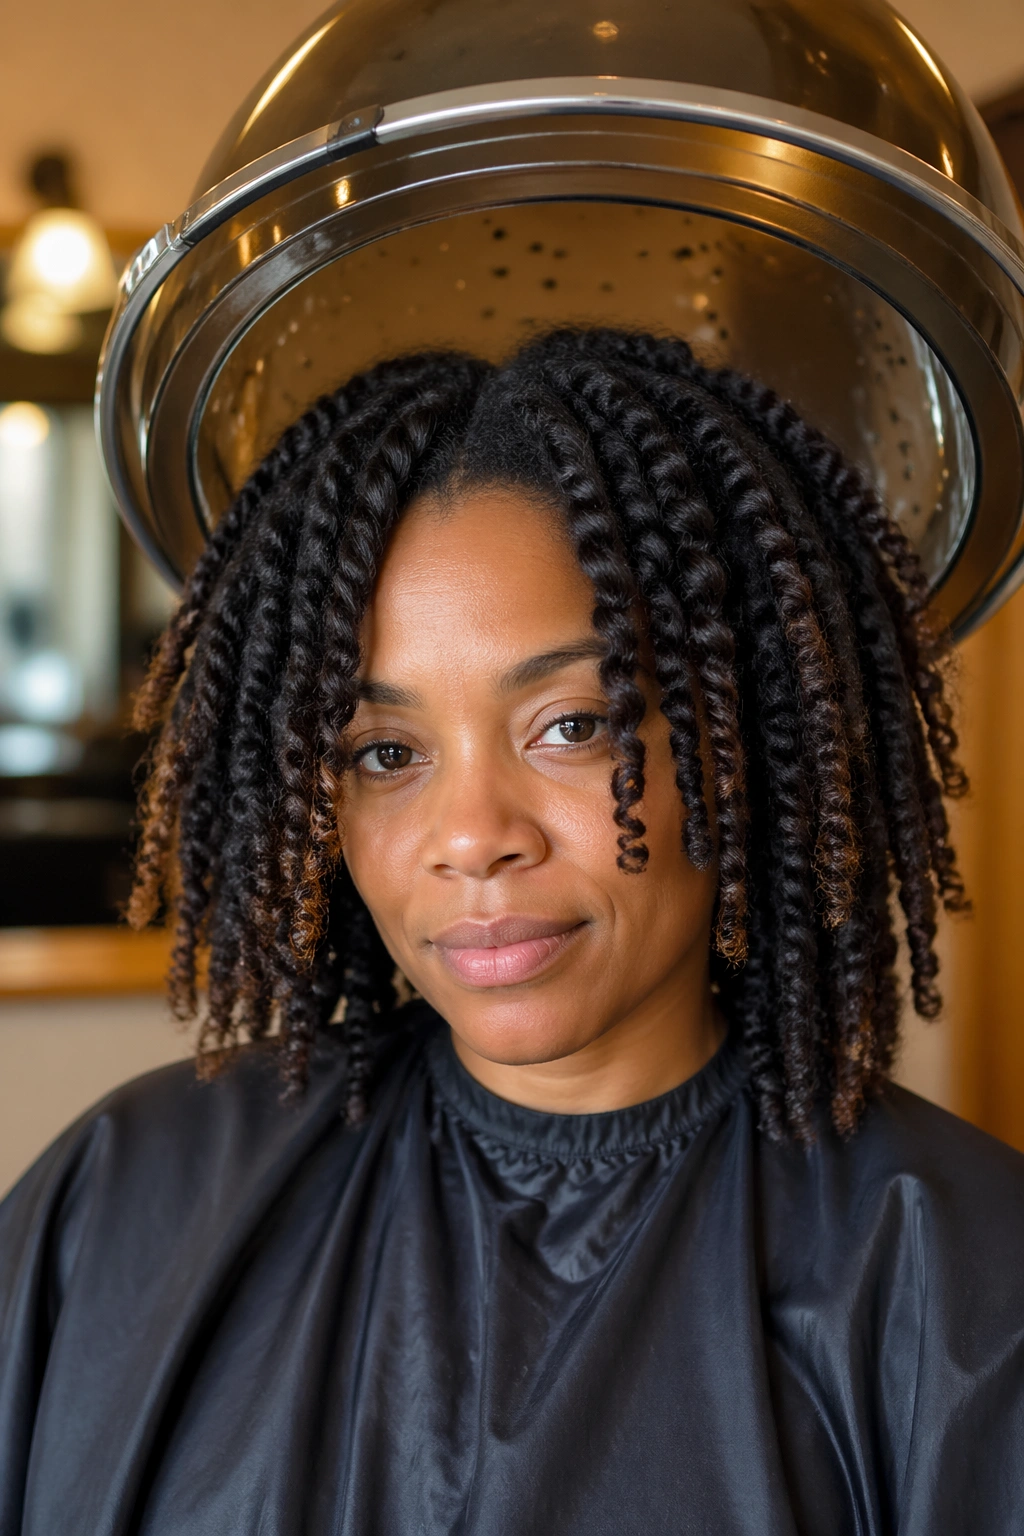
How you dry your twists changes the result dramatically. Air drying is the simplest and produces the most defined, elongated result — the twist sets slowly and thoroughly, and the curl memory is strong. The downside is time — on thick, dense hair, air drying twists can take 4-6 hours, sometimes longer.
Sitting under a hooded dryer speeds this up significantly. 45-60 minutes under medium heat dries the twists from the outside in. The result is often slightly more condensed than air-dried twists — the heat sets the outer curl quickly, but the inside may still be slightly damp. Seal the twist with a minute or two of cool air to finish.
Diffusing works for some naturals and doesn’t work at all for others. If your hair doesn’t frizz easily during movement, diffusing while the twist is still intact can give a beautifully bouncy result. If your hair frizzes at the slightest touch while damp — wait. Diffuse only once the twist is 80% dry.
Timing the Unravel Right
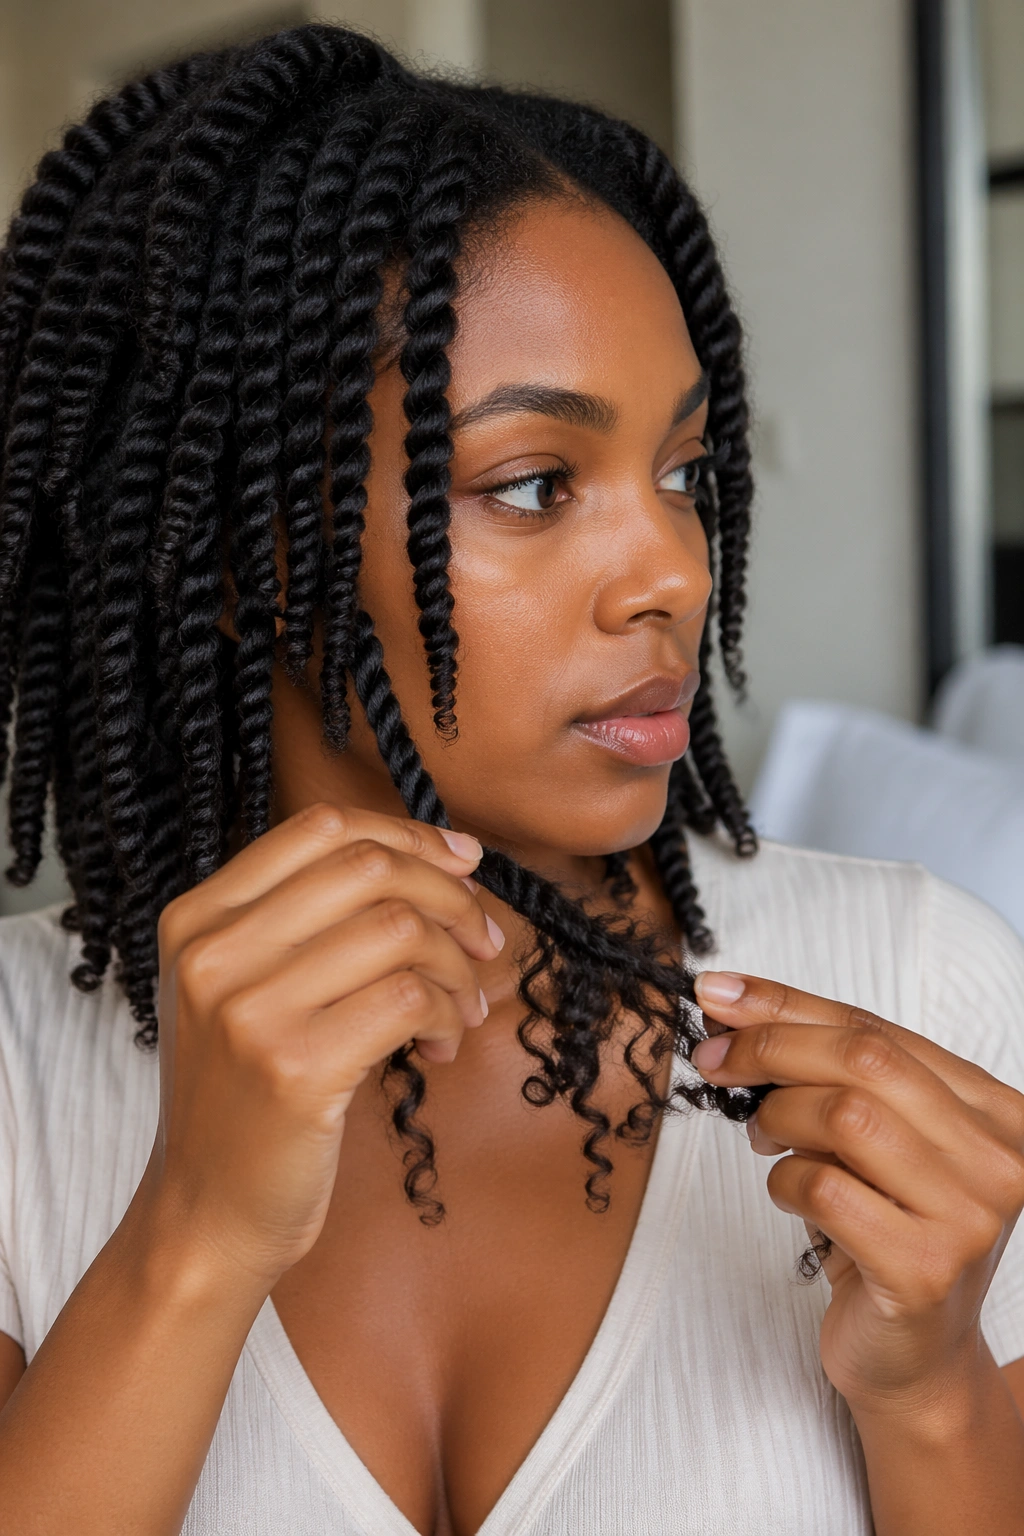
Early or late, it matters. Unraveling before the twist is fully dry gives you a fuller, more voluminous result with softer definition. Good for naturals who want maximum volume and don’t mind slightly less structure. Not good if you’re in a humid environment — underdried twist-outs collapse in humidity fast.
Unraveling after the twist is bone dry gives you maximum definition but sometimes tighter, more separated curls. The cast from your product is fully formed, and you have to break it deliberately to get a softer finish (more on that below).
The one mistake to absolutely avoid: unraveling while still very wet. If you can feel dampness more than two inches from the root, the twist hasn’t set. Leave it. Going to sleep with twists in is the most reliable way to ensure full drying — install in the evening, sleep in a satin bonnet, unravel in the morning.
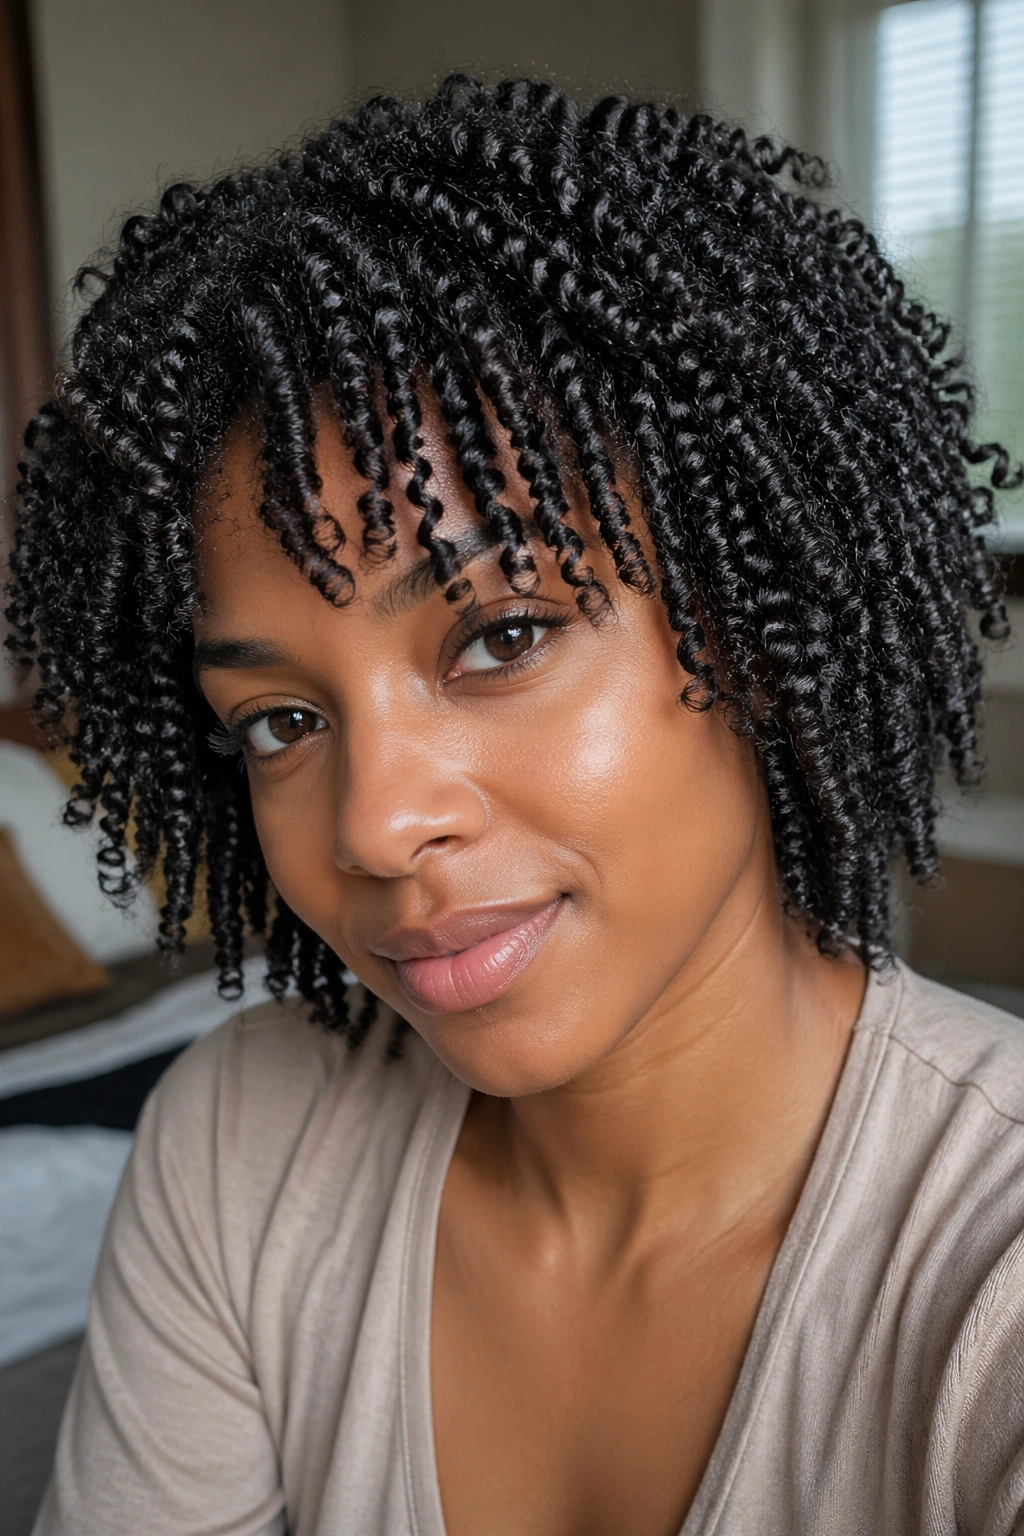
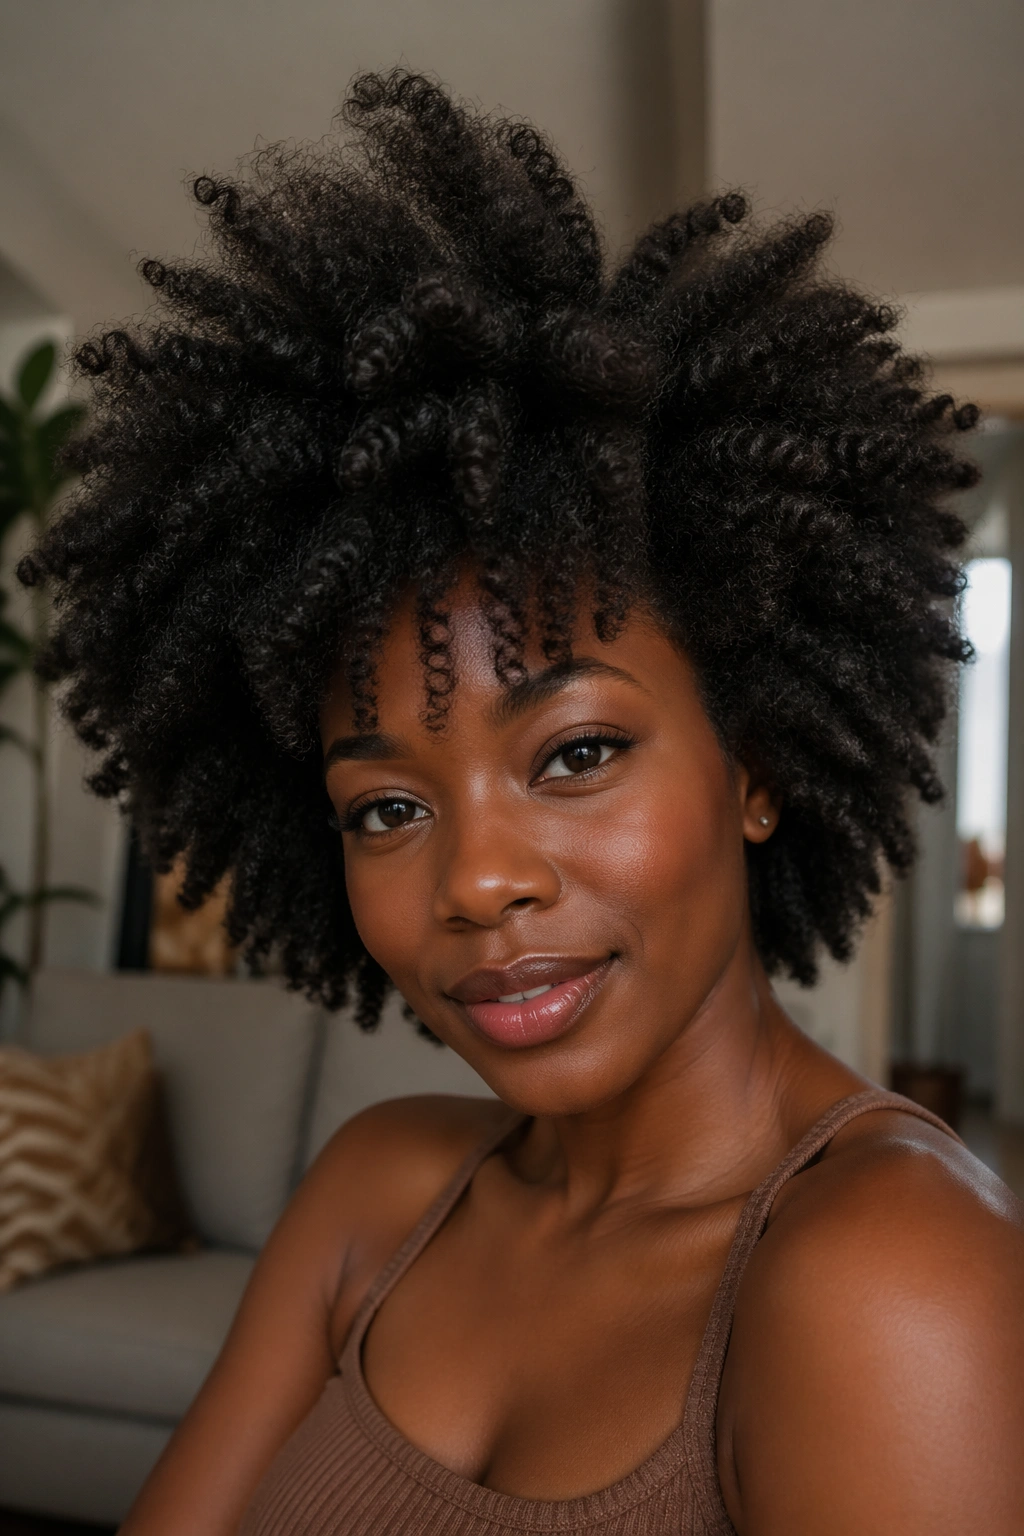
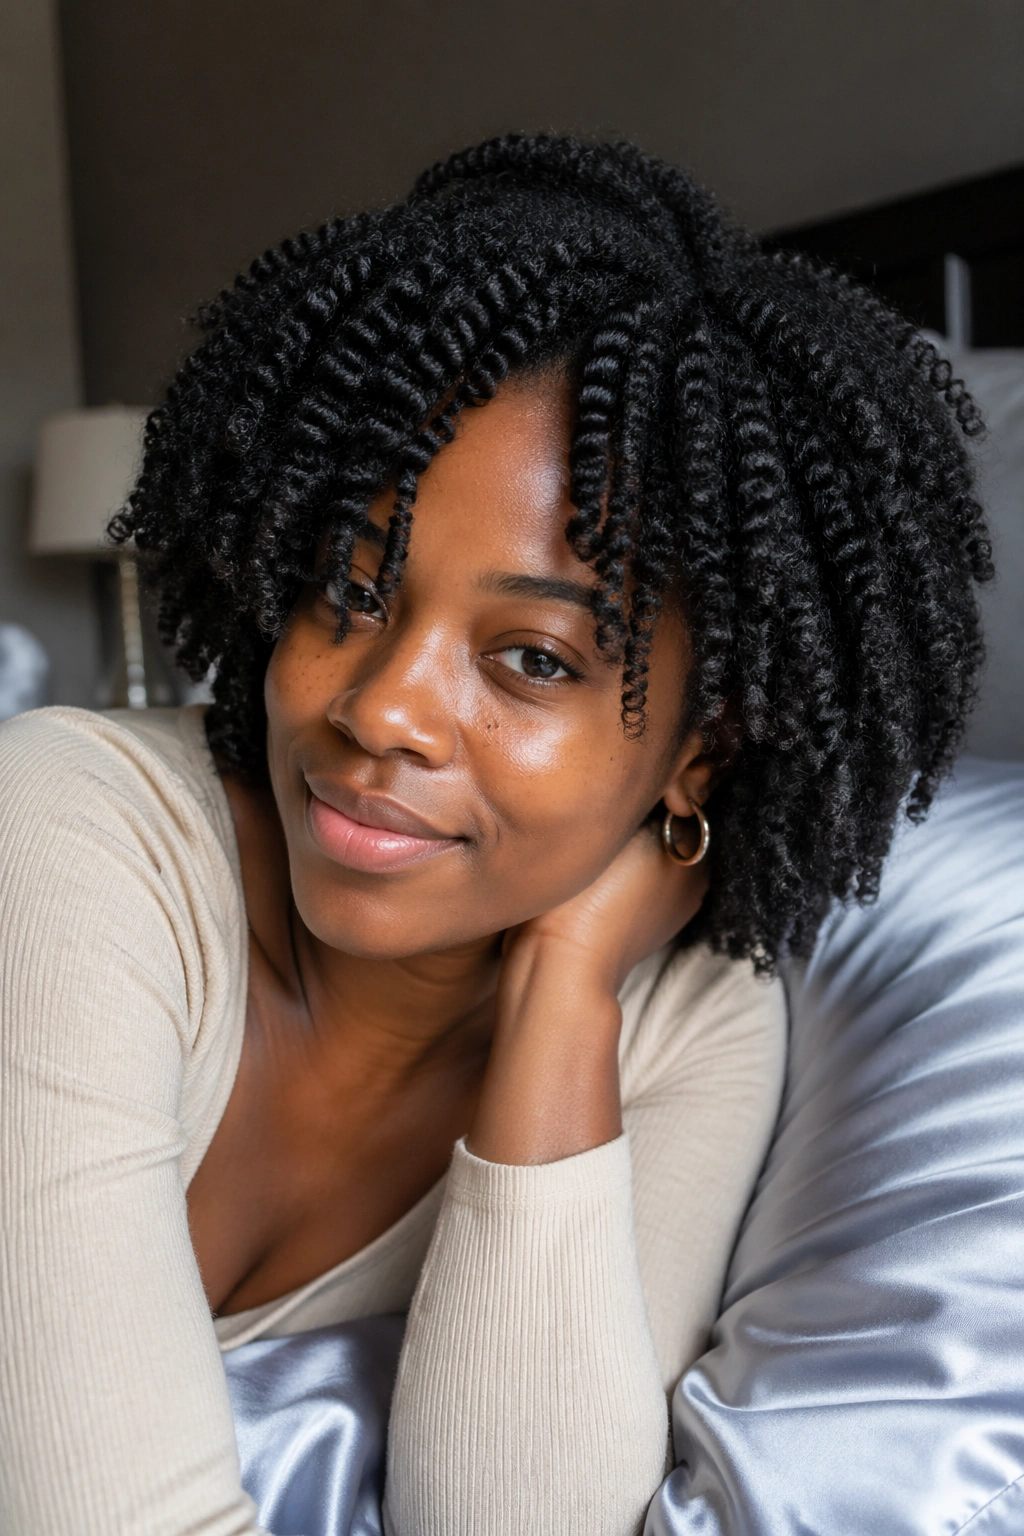
1. Classic Twist Out Worn Full and Loose
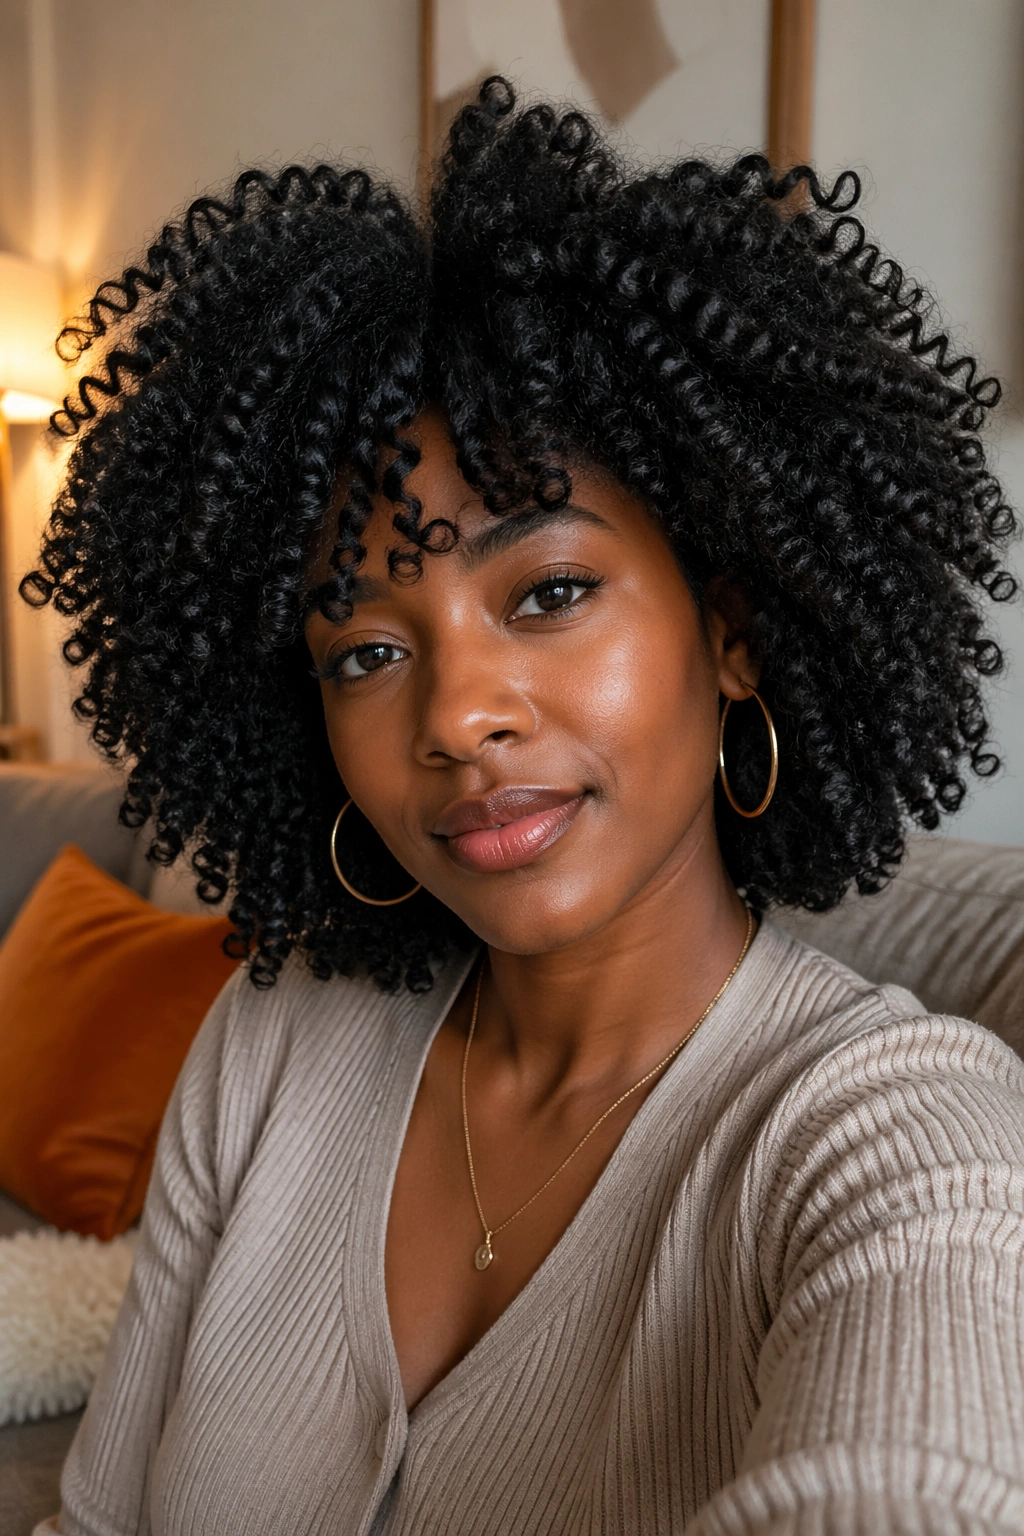
Unravel all twists and separate gently — using just your fingers, not a comb — starting from the ends and working toward the root. Don’t pull; unfurl. Once each twist is open, gently separate the curl into two or three separate ringlets by pulling the root section apart slightly. Then shake your head and let the curls settle into their natural arrangement.
Why It Works
This is the foundational twist out — the one everything else builds from. Worn fully loose and open, a well-executed twist out is one of the most beautiful presentations of natural afro hair. The definition is there but it’s not stiff. The volume is there but it’s not amorphous. There’s a structure to it that reads elegant. Wear it to literally any occasion.
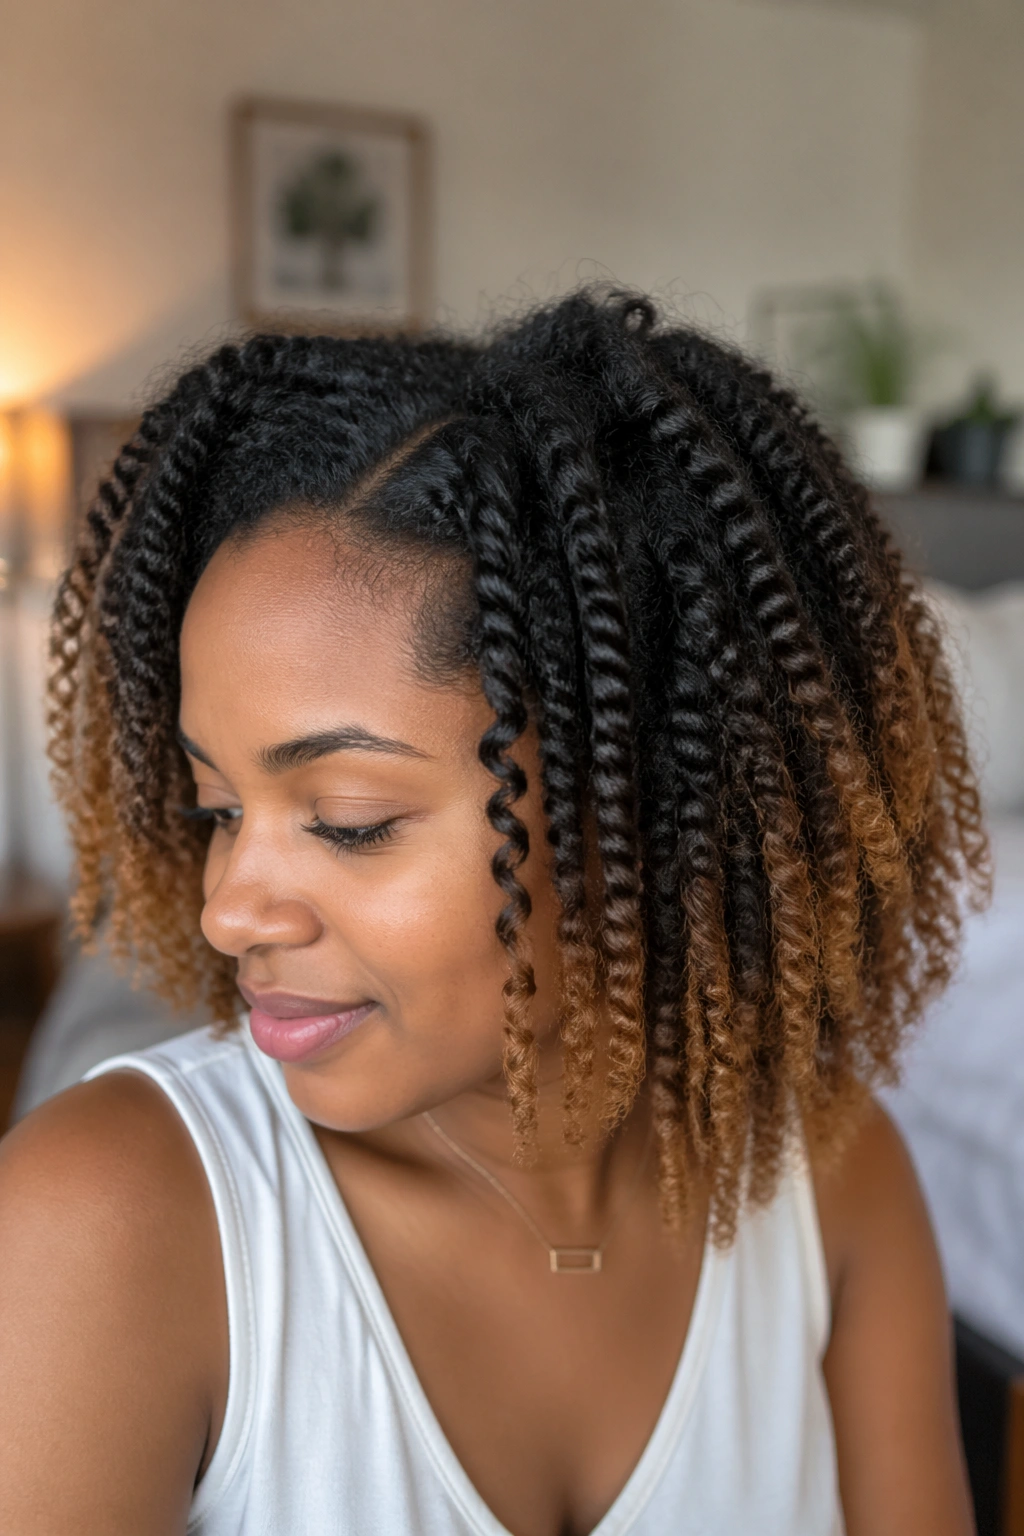
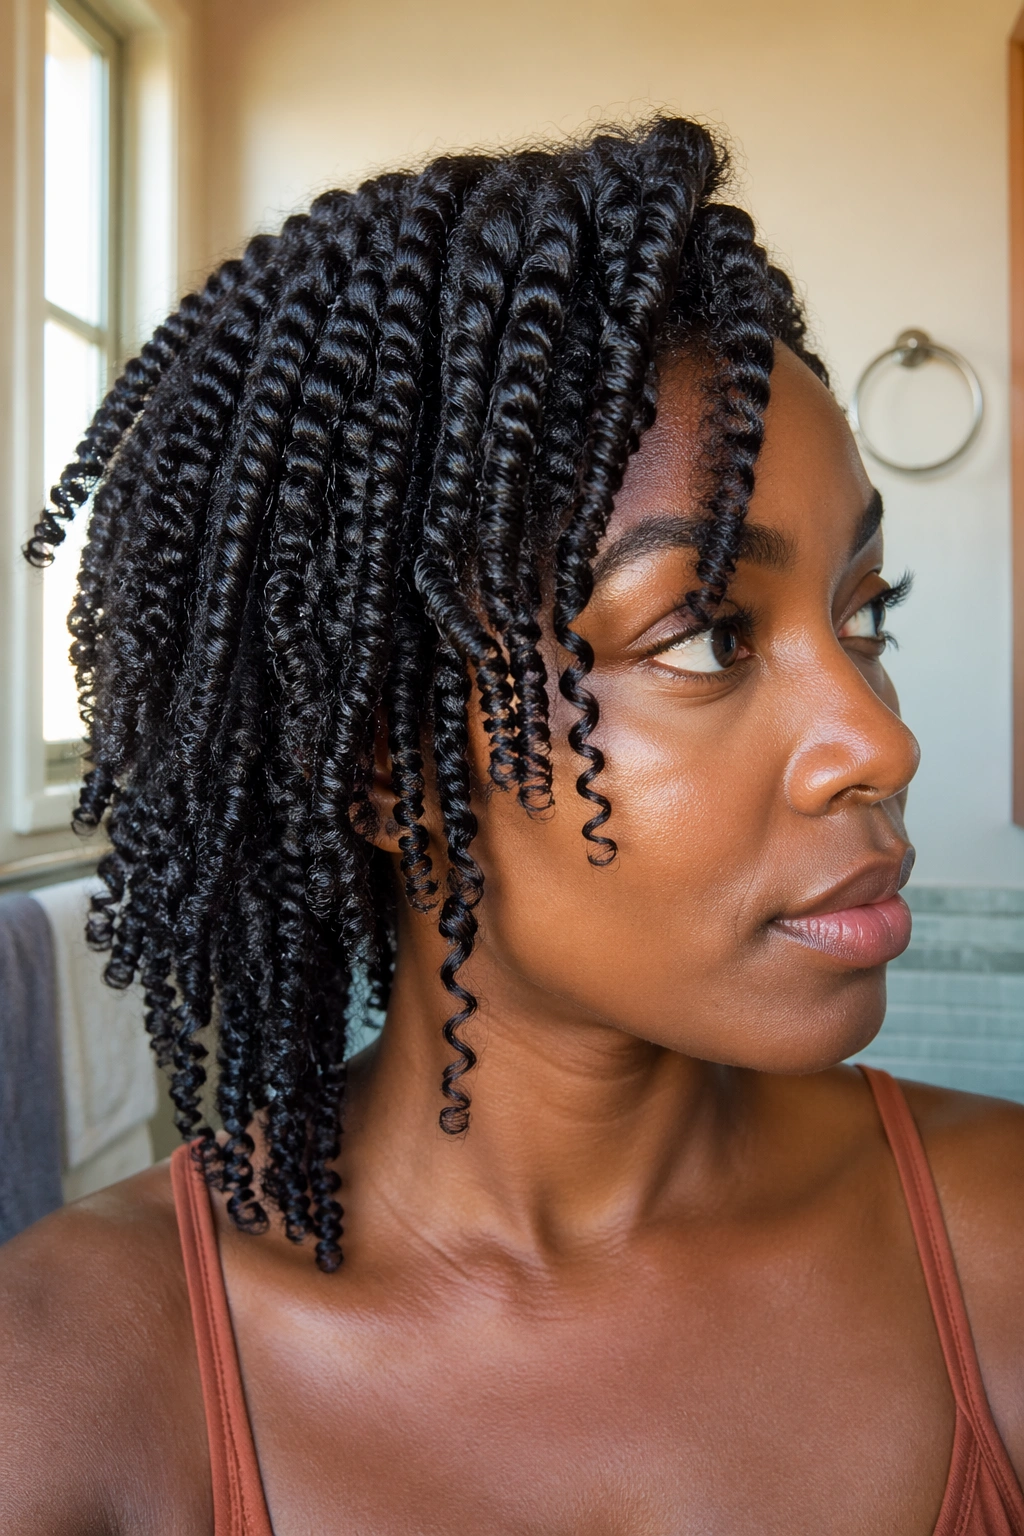
2. Stretched Twist Out
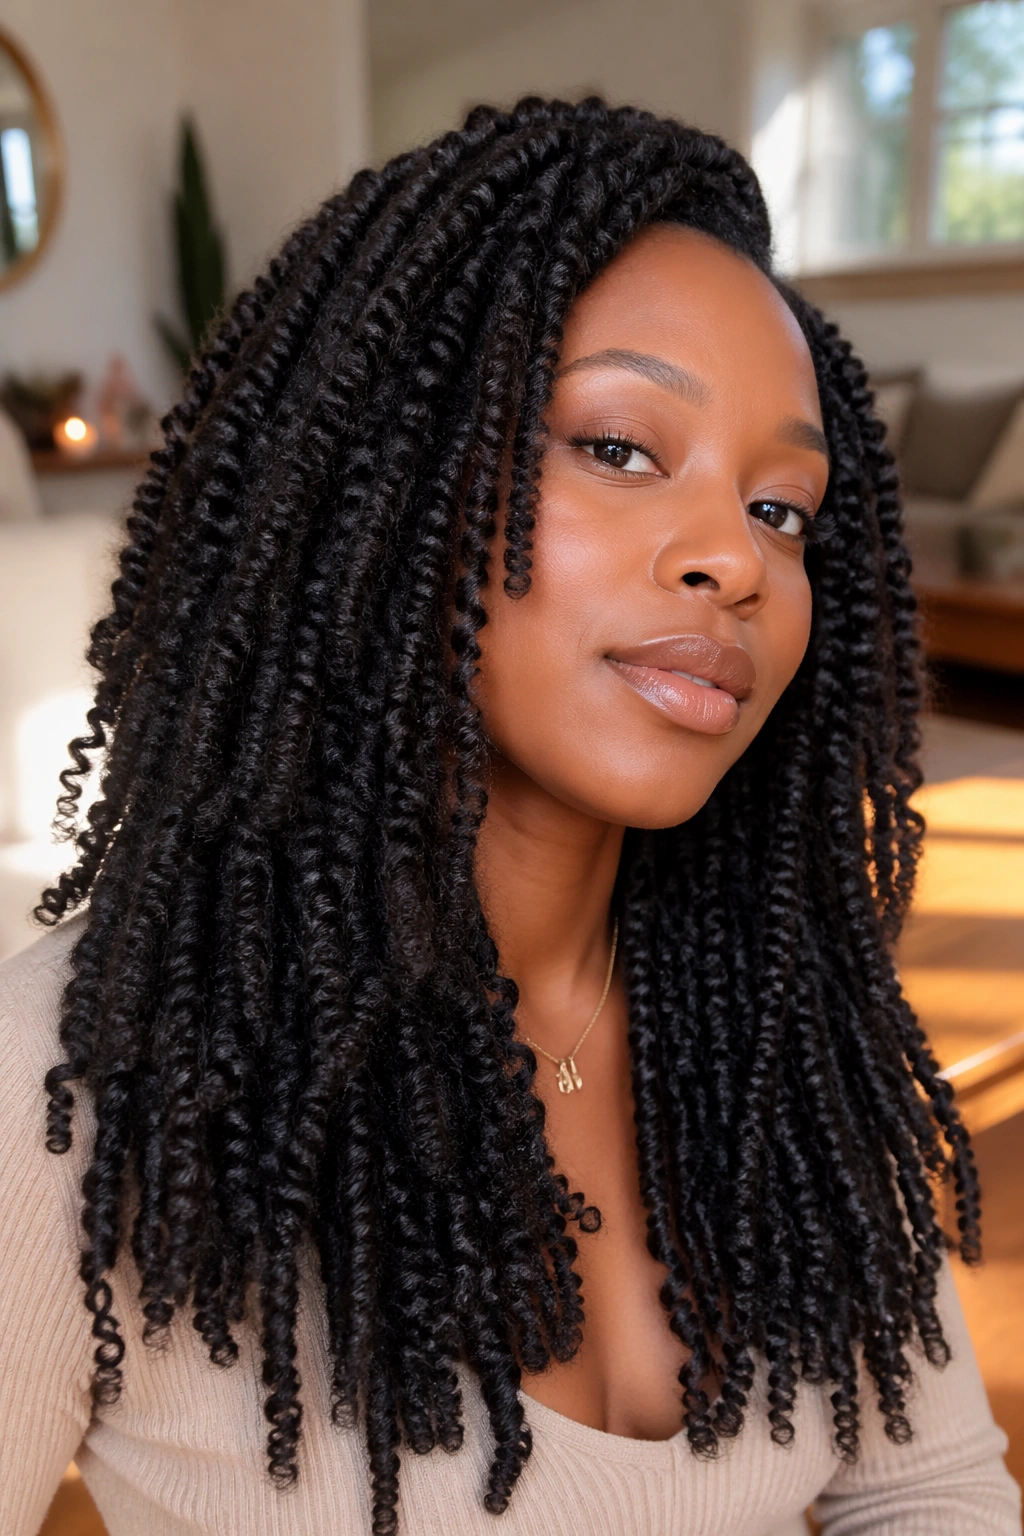
Before twisting, stretch your hair first — band it with multiple elastics from root to tip, or blow out gently at the roots with a low-heat diffuser. Then twist the pre-stretched hair. The resulting twist out will be significantly more elongated — sometimes two to three times the length of an unstretched version on 4C hair.
If you’re wearing a twist out to a formal occasion and you need length, stretching first is the approach. The curls look almost like a defined wash-and-go on looser textures, but on 4C hair, the elongation is the whole point. The trade-off: stretched twist outs can have slightly less volume than unstretched ones because the curl is longer and therefore occupies less vertical space.
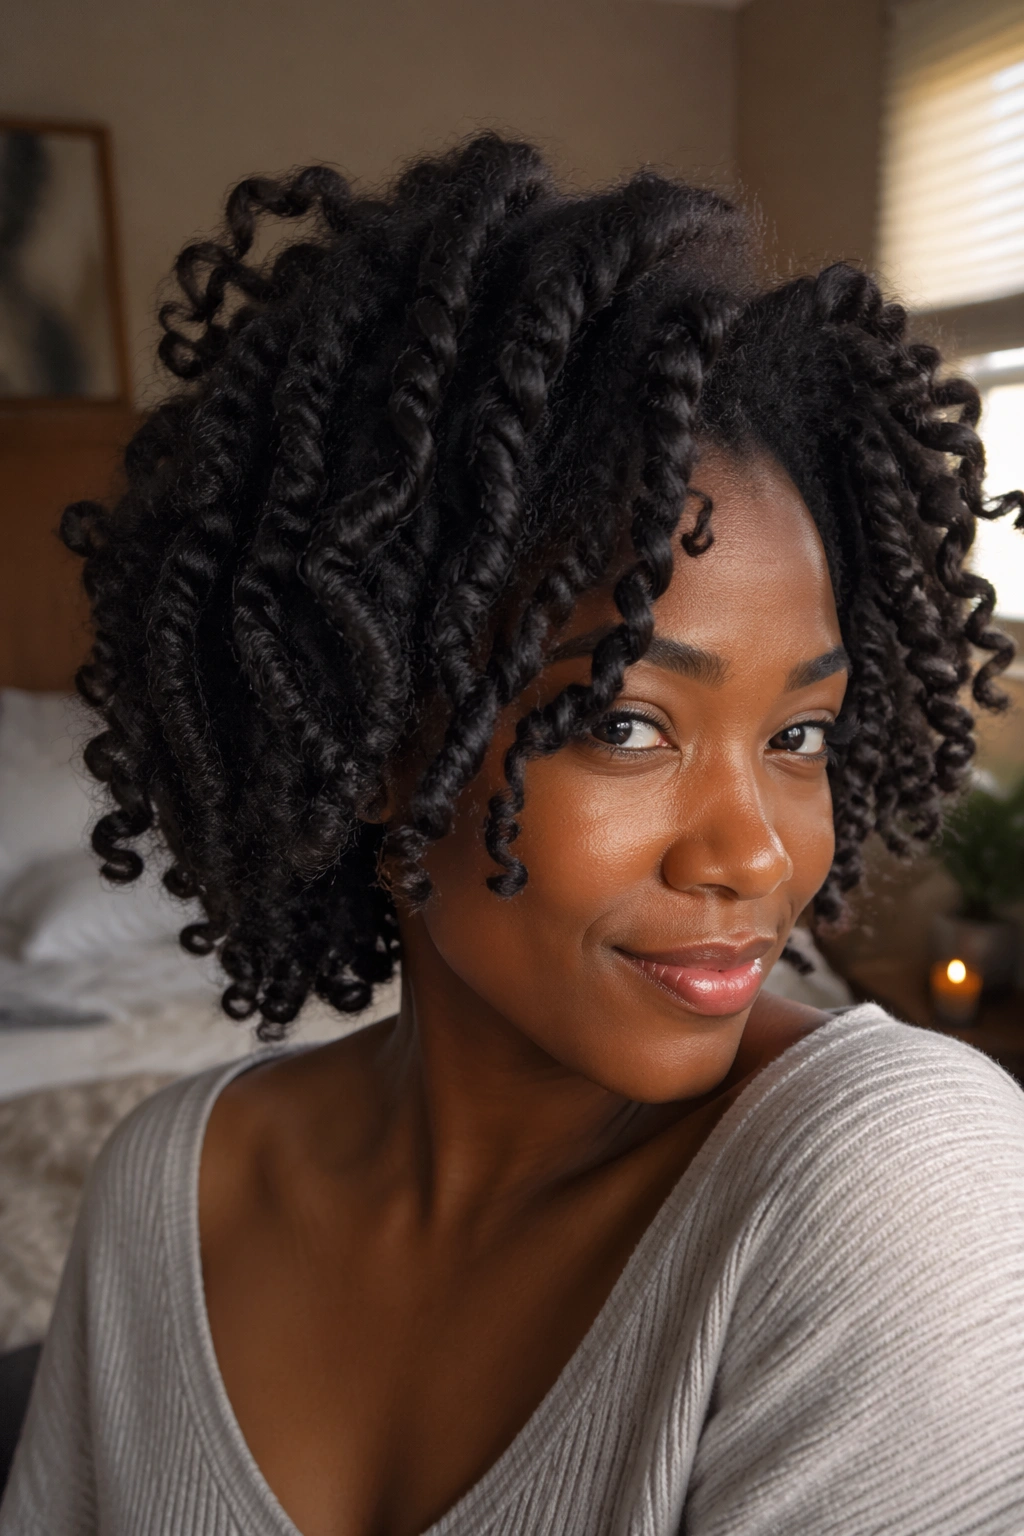
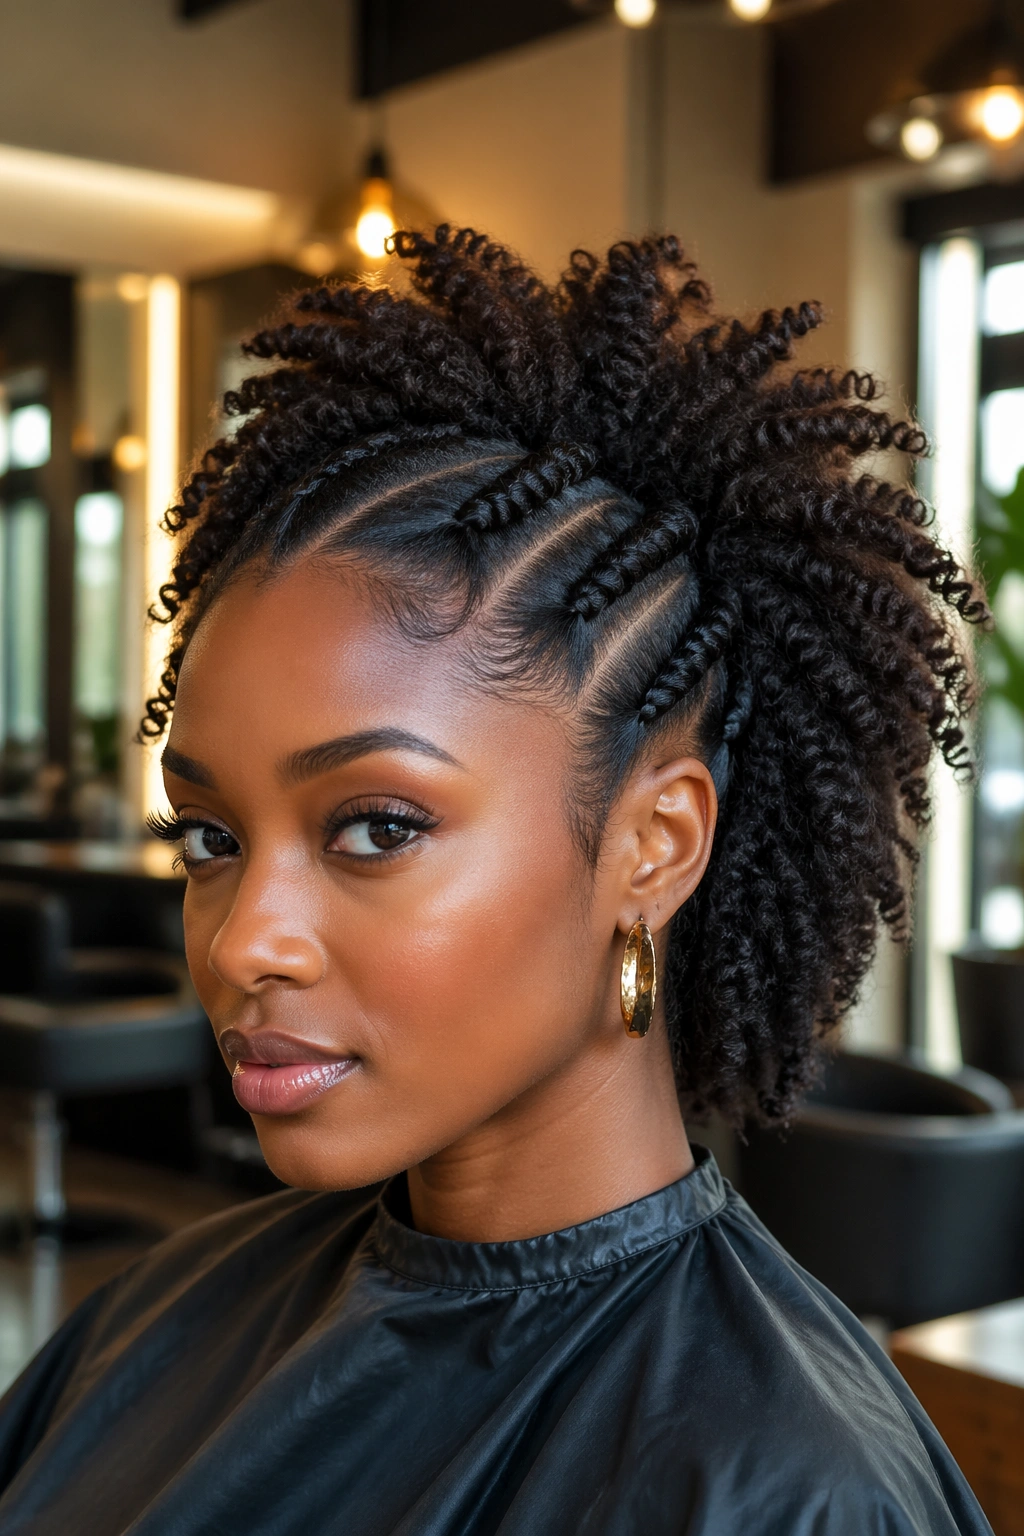
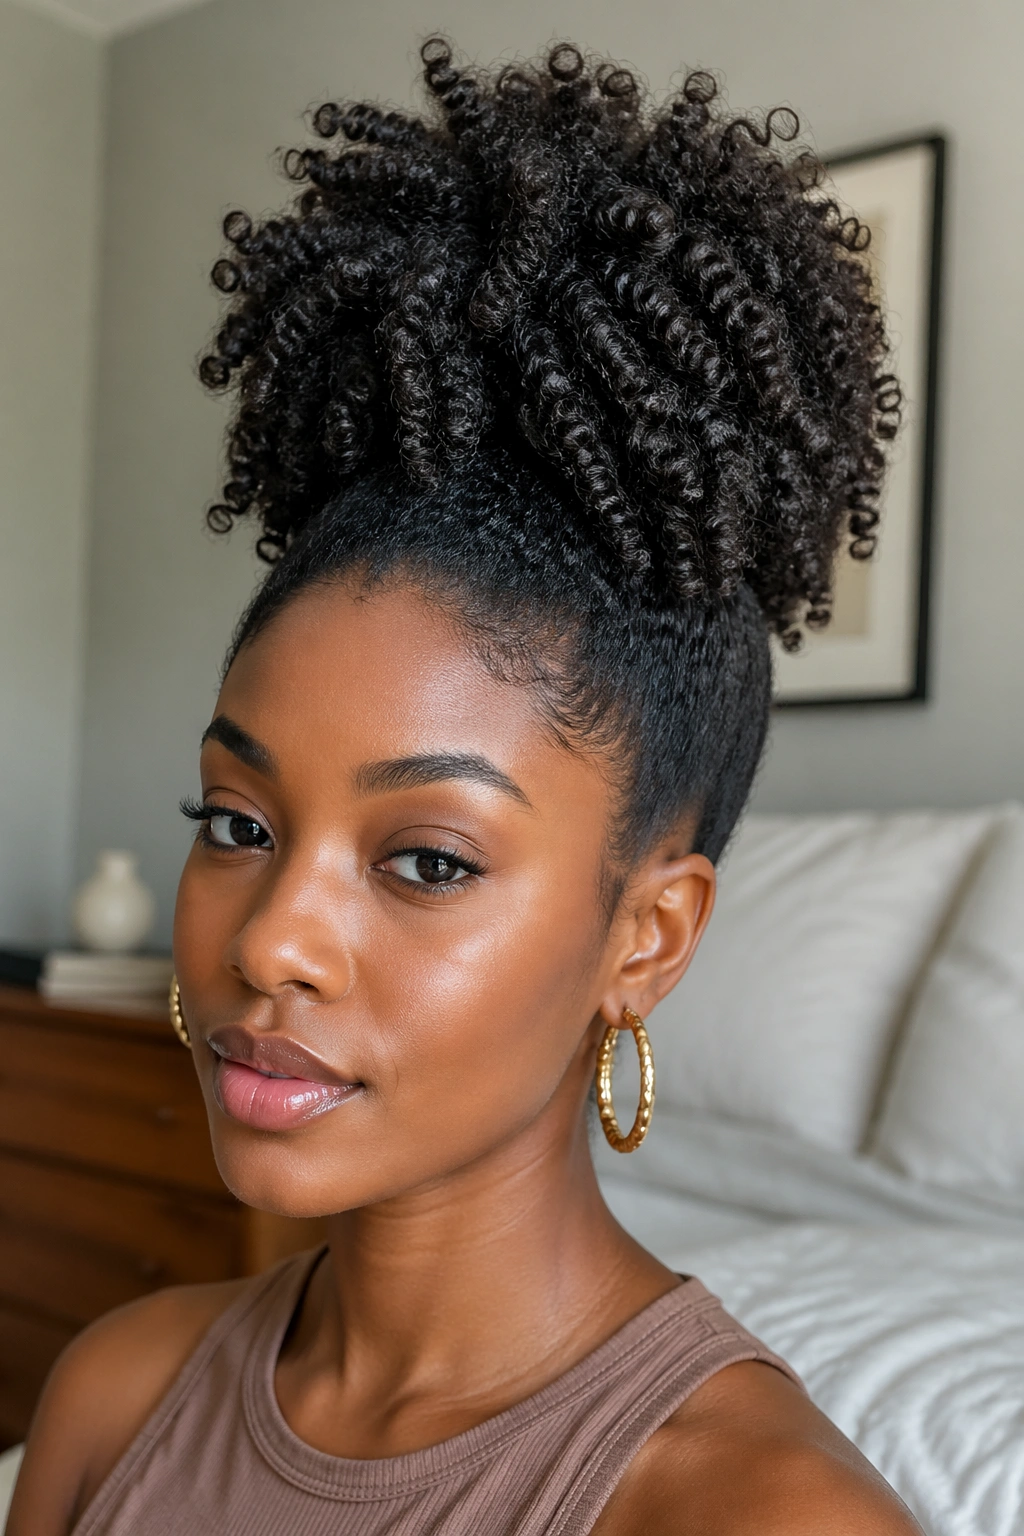
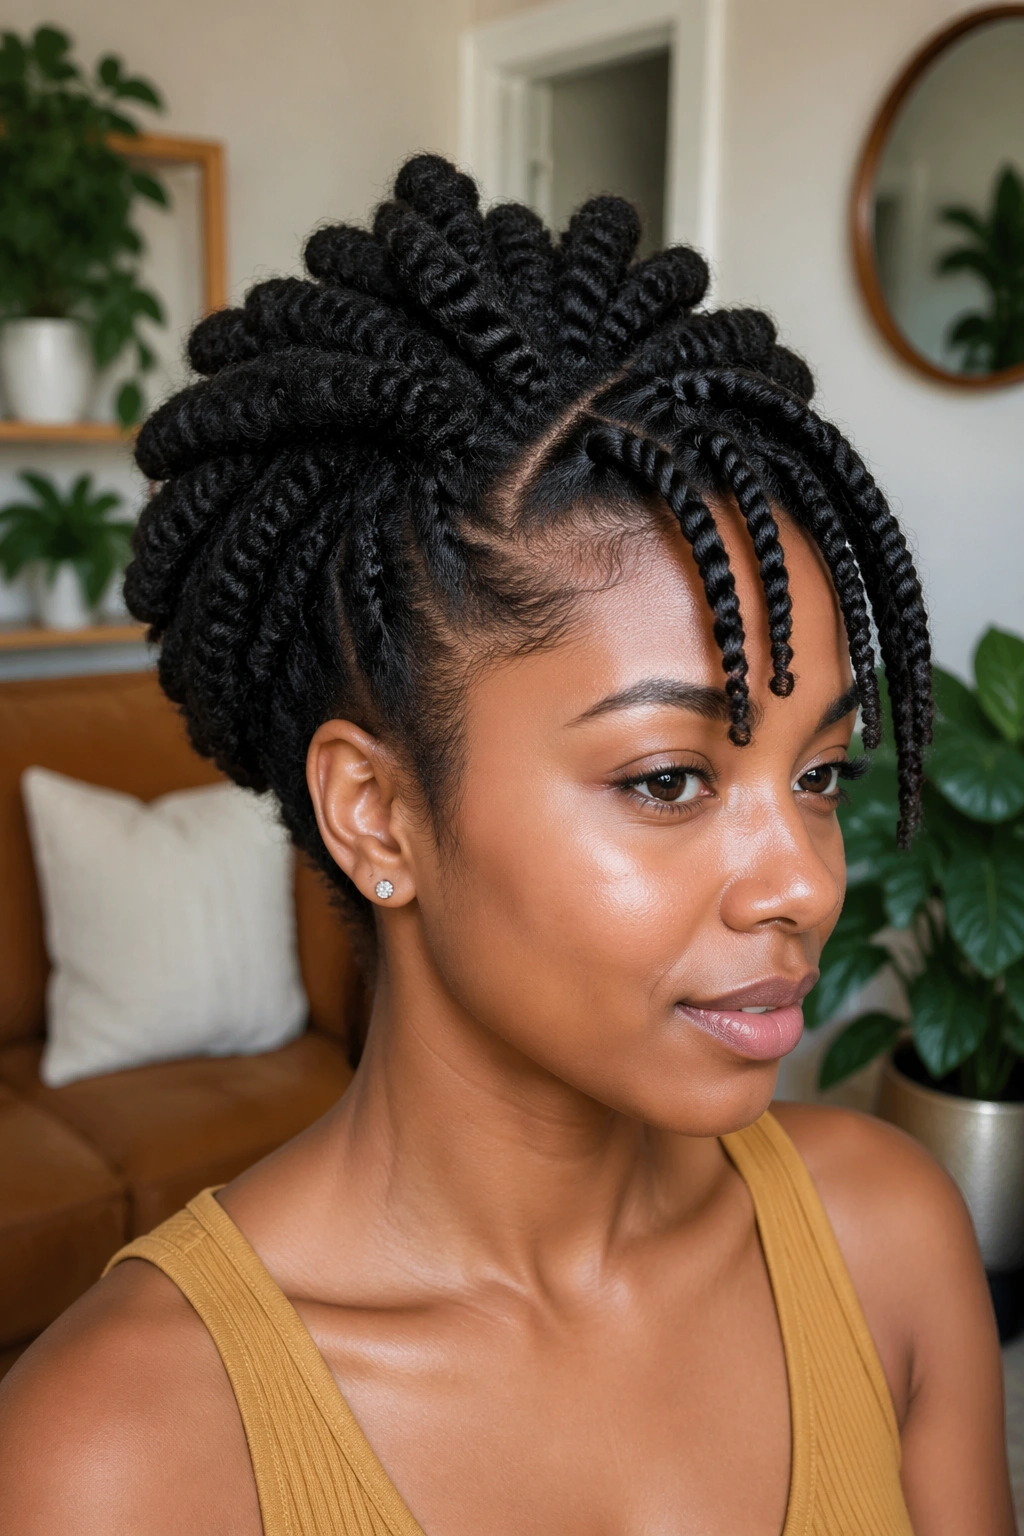
3. High Volume Twist Out Puff
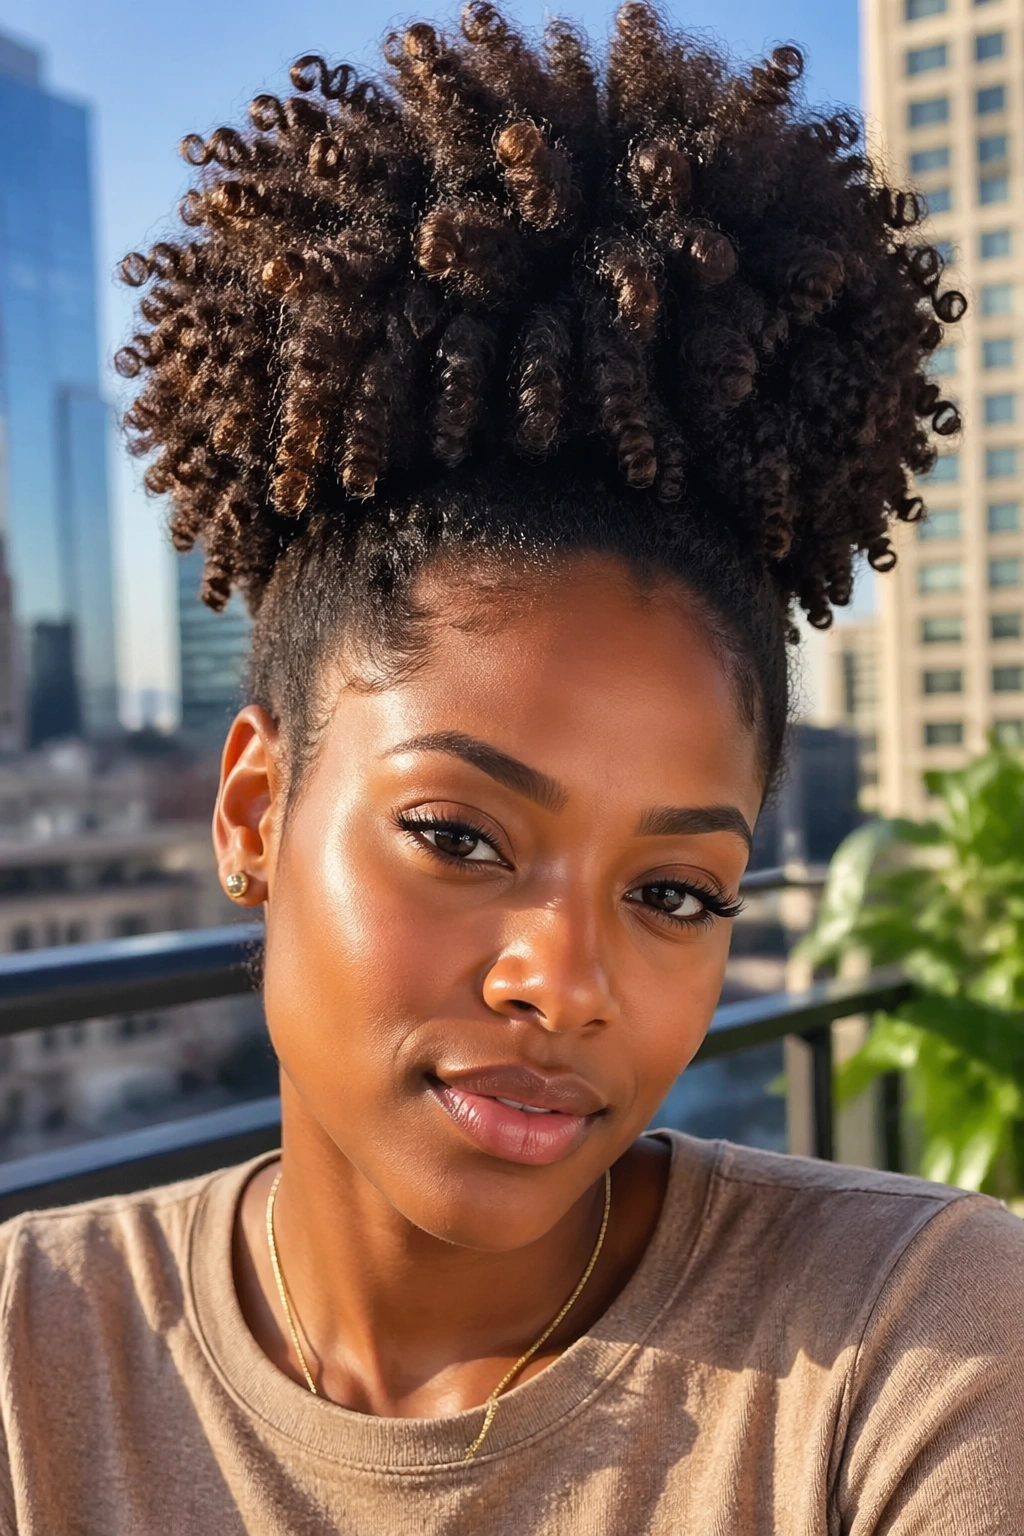
Unravel your twist out fully, then gather everything into a puff at the crown. What you get is a puff with twist-out-defined texture throughout — not the uniform fluffiness of a standard puff, but individual defined curls that create a more interesting surface. You can see each curl’s shape within the gathered mass.
The timing consideration: this works best on day-one or day-two twist out hair. By day three, the definition softens enough that the puff looks like a standard fluffy puff rather than a defined-curl puff. If you planned to wear your twist out loose but the definition isn’t what you hoped, gather it into this puff — it reads better at this stage than loose hair with faded definition.
4. Twist Out Half-Up
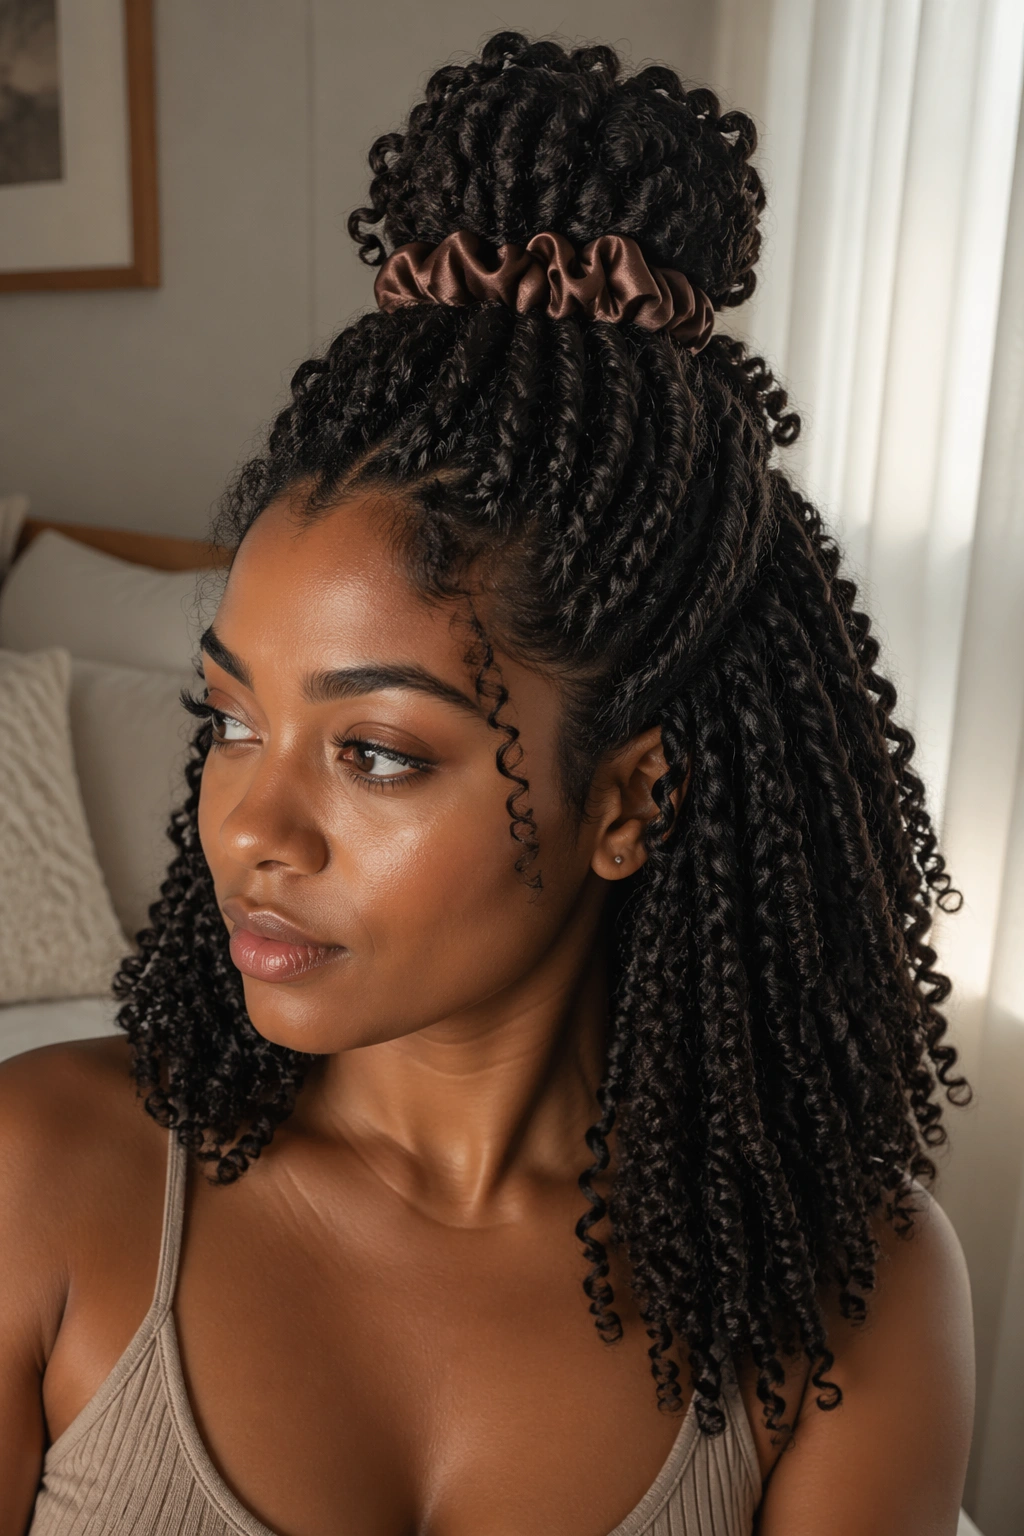
Gather the top half of your opened twist out — everything from the temples up — and secure it at the crown with a satin scrunchie. Leave the bottom half loose. The gathered top section forms a small puff with defined curl texture; the loose bottom half shows the full length and definition of your twist out.
This is versatile in the best way. It keeps hair away from your face when you need it out of the way, but the loose bottom still shows off the style. The transition from the gathered section to the loose section creates a visual change in density — gathered on top, open below — that adds dimension to the look.
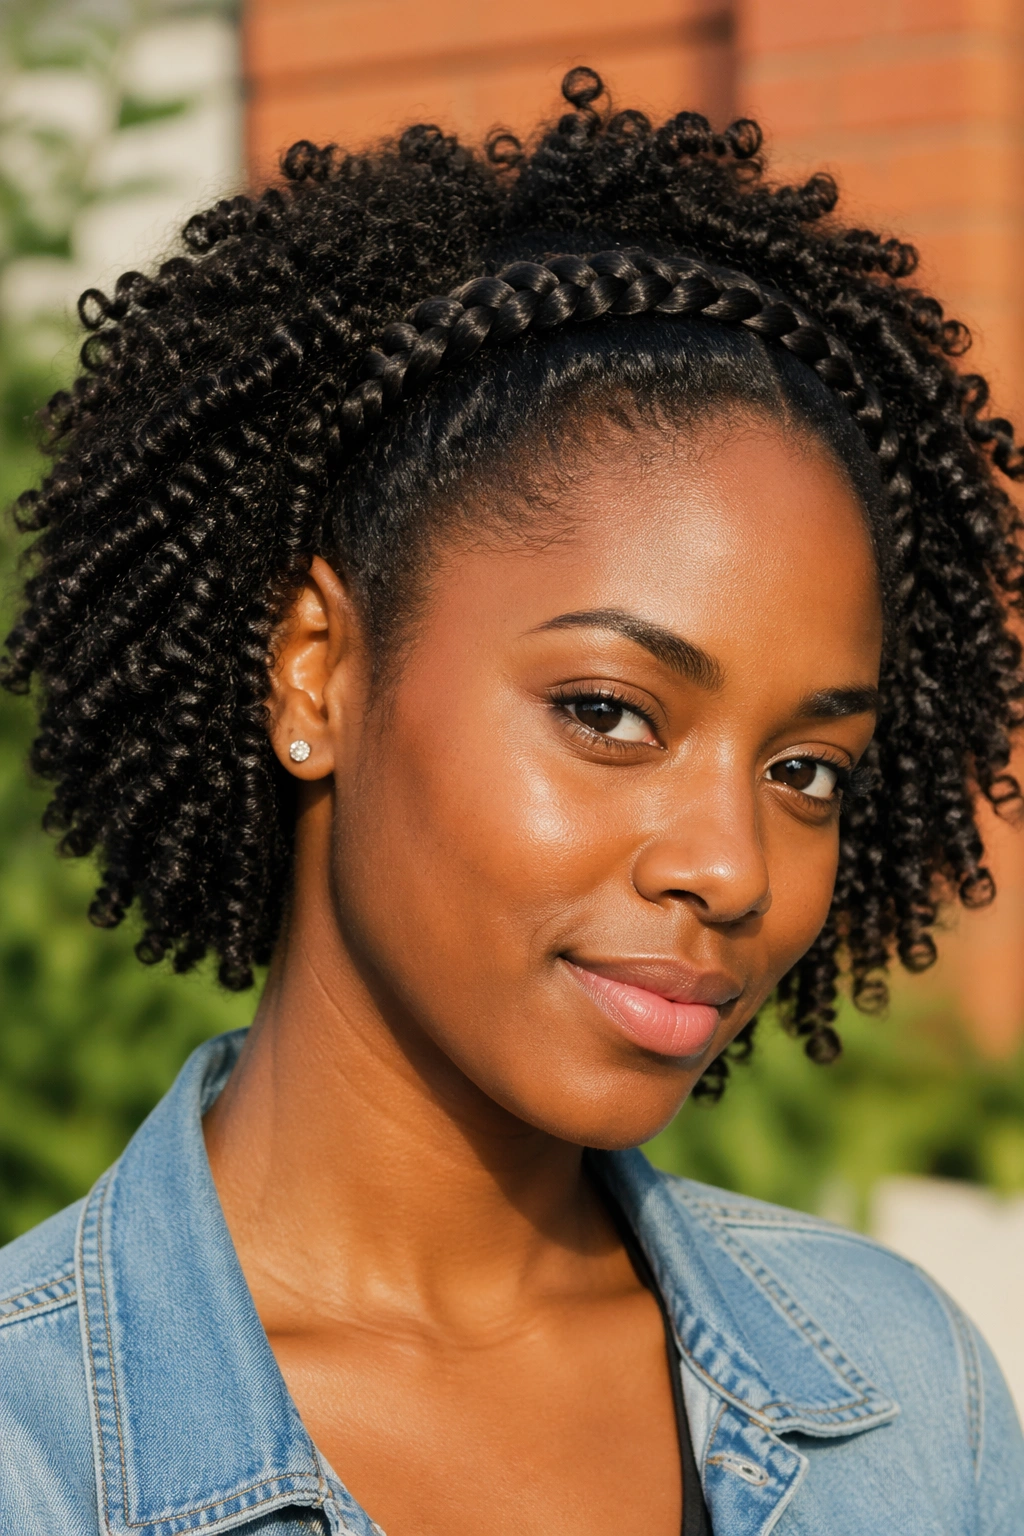
5. Flat-Twisted Front with Twist Out Back
Before unraveling your back sections, leave the front sections twisted. Flat twist them into a design across the front — two flat twists from the temples meeting at the back, for example — and secure the ends. Then unravel all the non-flat-twisted sections into your twist out. The flat-twisted front frames the face in a controlled, designed way while the twist-out sections behind it provide volume and texture.
How to Get the Most From It
The flat twists at the front need to match the scale of your regular twists to look intentional rather than mismatched. If your twist out sections are medium-sized, use medium flat twists at the front. The color and texture will match because it’s all your natural hair. The contrast is in technique — flat versus round twist — and that contrast is the visual interest.
6. Defined Twist Out on Short Natural Hair
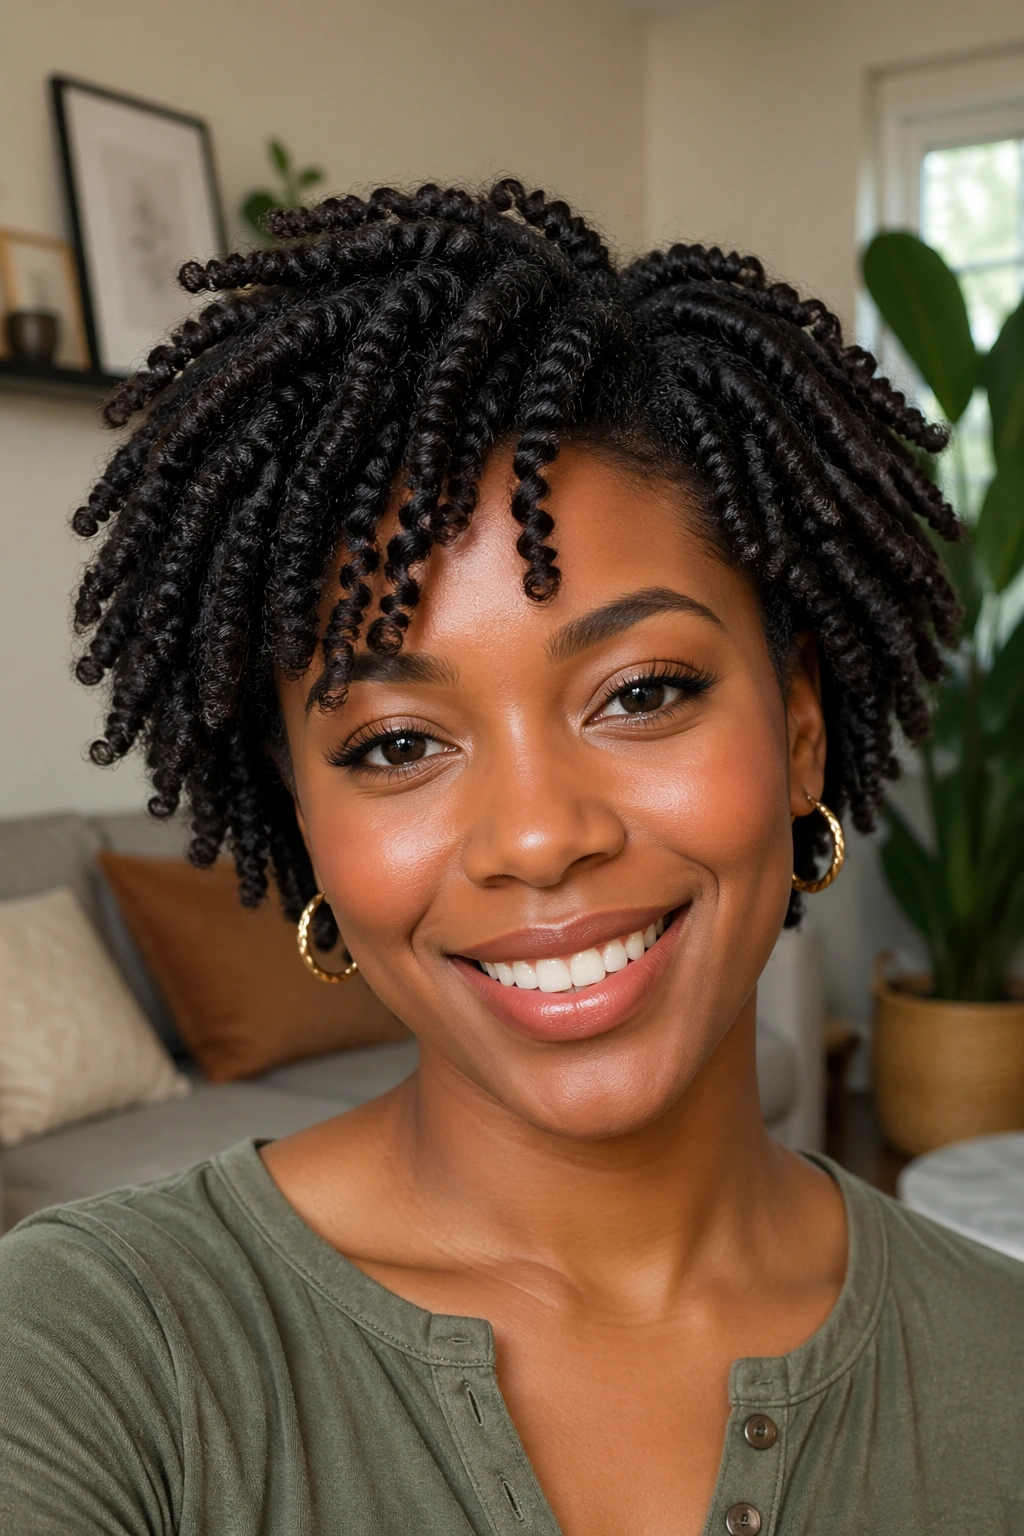
Twist outs work on shorter hair — the technique is the same, the twists are just smaller and the sections are closer to the scalp. On hair that’s 2-4 inches, the resulting twist out is more of a defined coil situation than a curl — shorter curls rather than flowing ringlets. But defined short coils on natural afro hair are stunning in their own right.
Product application is critical on shorter twist outs. With less length to absorb and distribute product, it’s easy to apply too much — which weights short curls down and prevents them from springing up properly. Use half the amount you think you need. The curl memory forms faster on shorter hair anyway; it doesn’t need as much help from product.
7. Two-Section Twist Out (Banded)
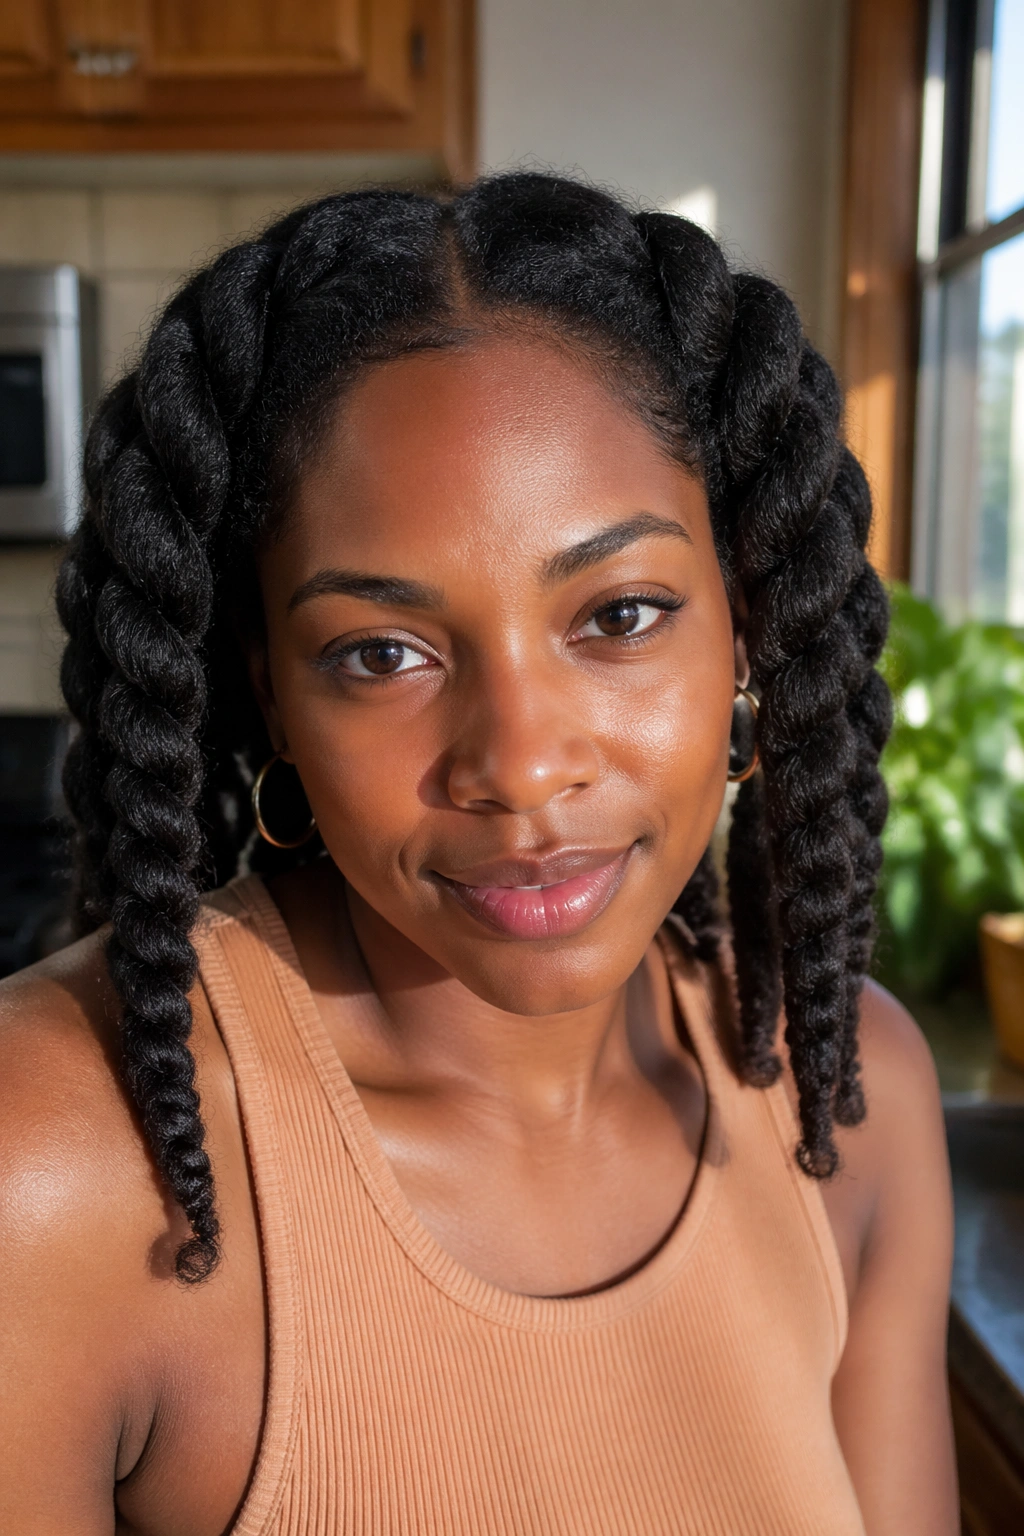
Instead of twisting in sections throughout your hair, divide your hair into two halves — left and right — and do one large twist on each side. Let them dry and unravel. The result is a giant, voluminous wave effect rather than individual curls. This is more of a blow-out or wave pattern than a defined curl result, but it’s a legitimate variation with its own aesthetic.
Who benefits most: naturals who want the volume of a twist out without the time investment of many small sections. Two large twists take 5 minutes to install. The wave pattern you get is soft, full, and easy to work with.
8. Twist Out with Defined Edges
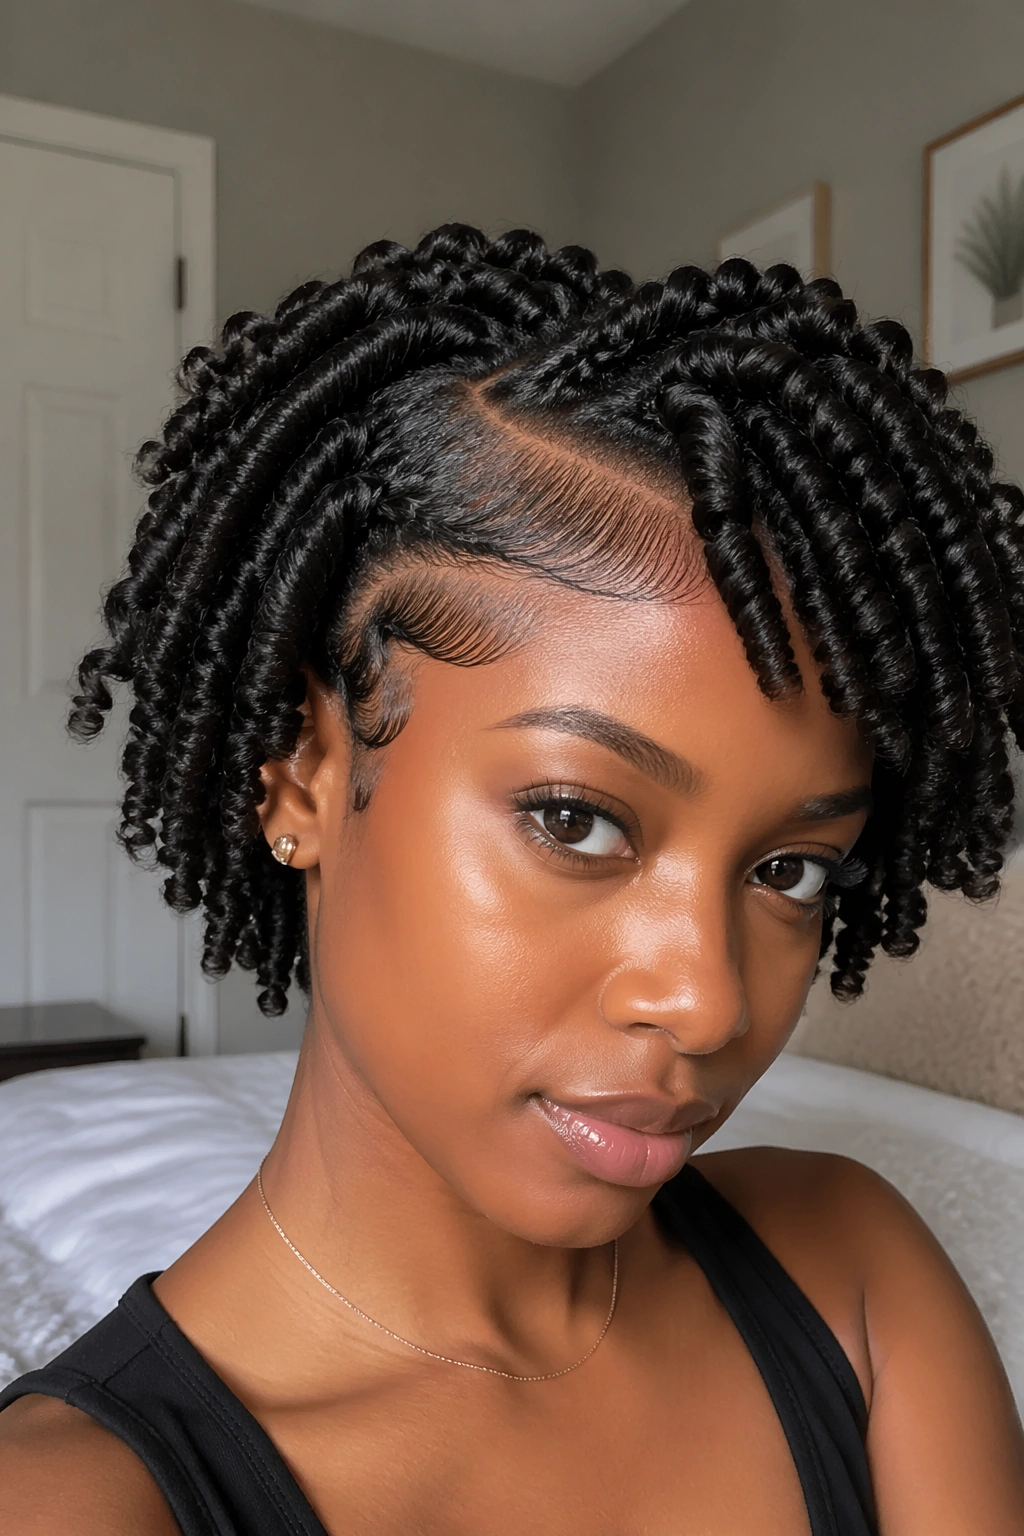
Unravel your twist out as usual, then spend 5-10 minutes working your edges with edge gel and an edge brush. Create a specific pattern — waves, swoops, geometric shapes — and let them dry before going out. The contrast between the free, flowing twist out and the precisely defined edges creates a style that looks composed and intentional.
The product specificity here: use edge gel, not the same styling cream you used for your twist out. Edge gel has a stronger hold and dries harder, which is what you need for edges to stay in place. The twist out section should feel soft; the edges should feel set. Different products for different purposes.
9. Twist Out in a High Top Puff
After unraveling your twist out, gather all the hair to the very top of the head — literally as high as possible — and secure with a fabric elastic. Fluff aggressively from the root. The height of the gather creates a very tall puff with twist-out curl texture visible throughout. On 4C hair, this is one of the most dramatic ways to wear a twist out because the volume goes up rather than out.
The key difference from the standard twist-out puff: position. The higher the gathering point, the more vertical the silhouette. This works best on hair with some density — fine hair might not have enough weight to stay in the very-high-gathered position and will fall forward.
10. Side-Parted Twist Out

After unraveling, use a wide-tooth comb or your fingers to create a deep side part through your twist out. Comb or separate the curls on one side to fall over the forehead — like a side-swept bang — and let the rest fall away from the part naturally. The dramatic side part changes the shape of the style completely, giving it a more vintage, romantic quality.
This doesn’t require any additional product or tools beyond what you’ve already used. It’s a styling choice made after unraveling, in 60 seconds. The deep side part creates asymmetry — more volume on one side — that reads very different from the centered, symmetrical standard twist out.
11. Twist Out with a Crown Braid Accent
Leave one section of hair near the front untwisted during installation. After unraveling the rest of your twist out, take that front section and create a simple braid across the crown — front to back or side to side — using just your natural hair. Pin the end. The crown braid sits against the twist out background as a simple, graphic detail.
The braid is a visual line across a textured background. It doesn’t need to be complicated — three strands, braided straight, pinned at the end is enough. The contrast between the flat, smooth braid and the open, free twist out curls creates the interest.
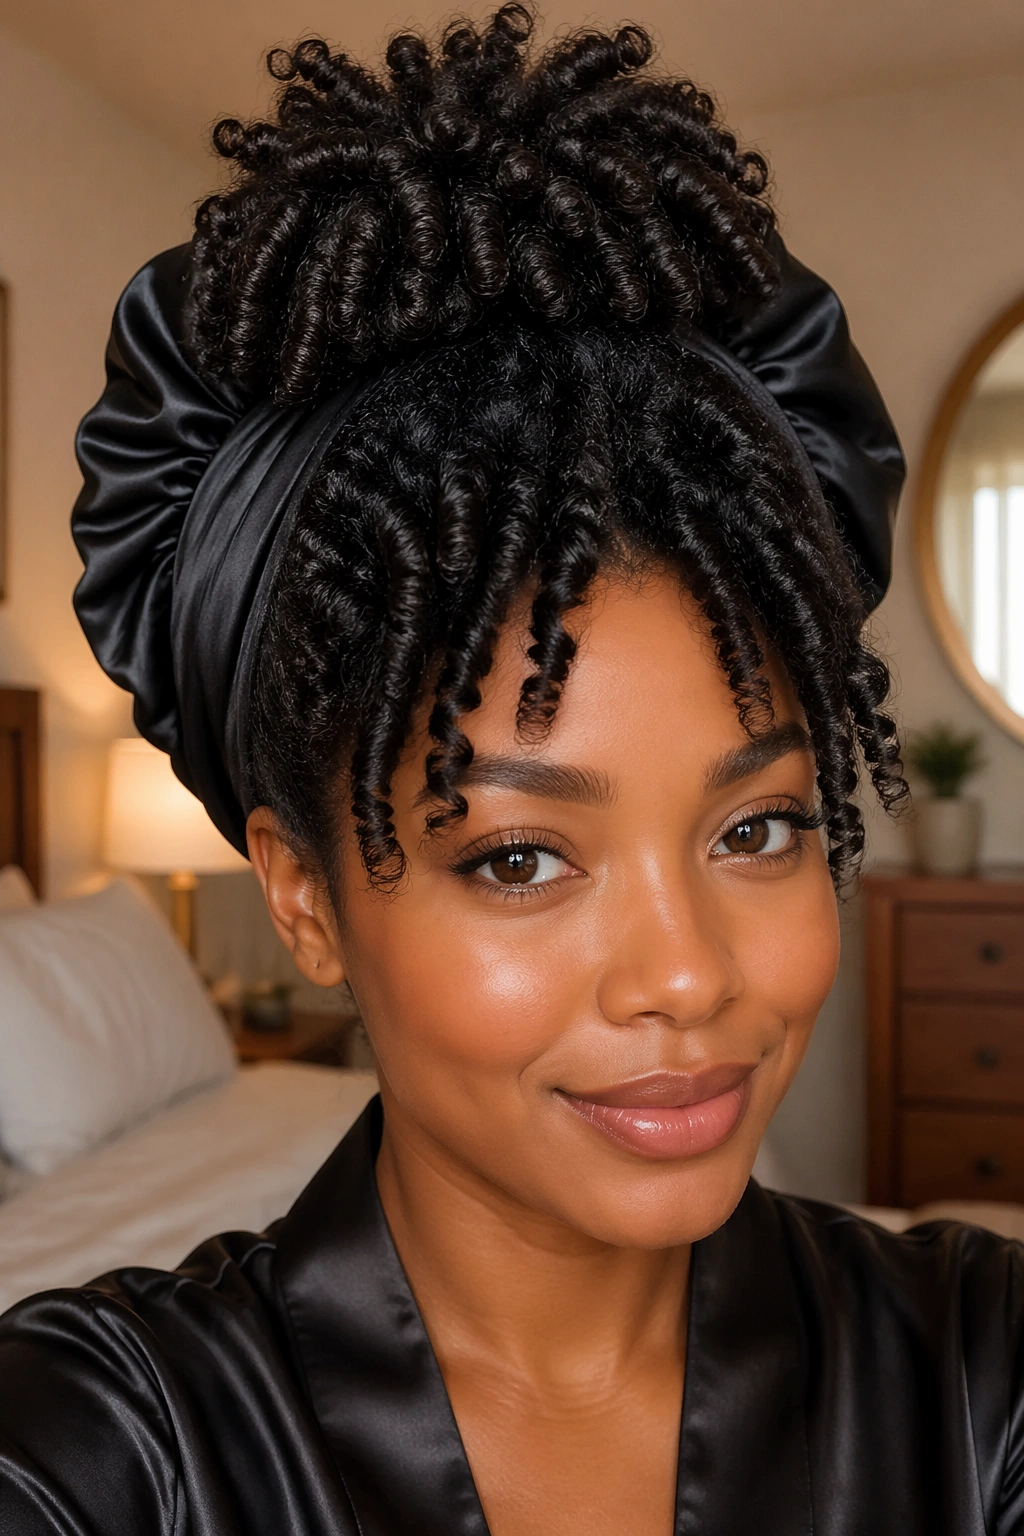
12. Twist Out with a Protective Finish (Bantu Knots Overnight)
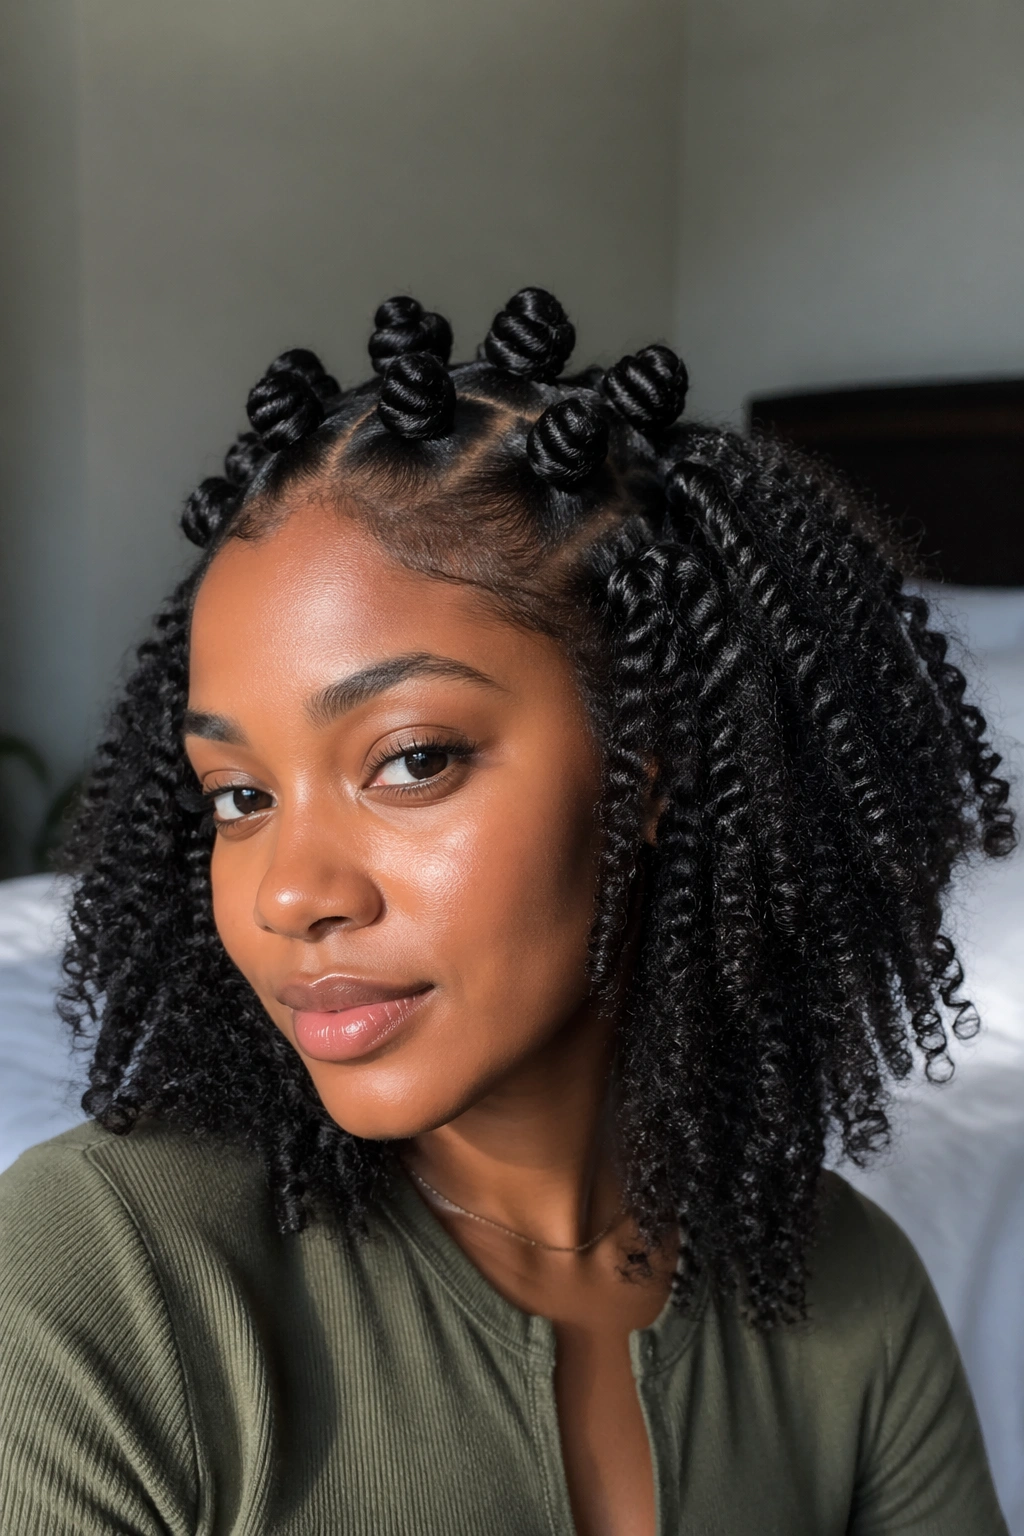
This is a two-technique approach for extending the life of your twist out. At bedtime after day one or day two, separate your twist out into sections and roll each section into a Bantu knot — twisted around itself and tucked under. Sleep in your satin bonnet. In the morning, unravel the Bantu knots.
What you get on morning two is a tighter, freshened version of your twist out — the overnight Bantu knots reset the curl definition that had started to soften. The result is a curly look that has elements of both a twist out and a Bantu knot-out simultaneously, which is genuinely one of the more interesting textures you can achieve on natural afro hair.
13. Flat Twist Out
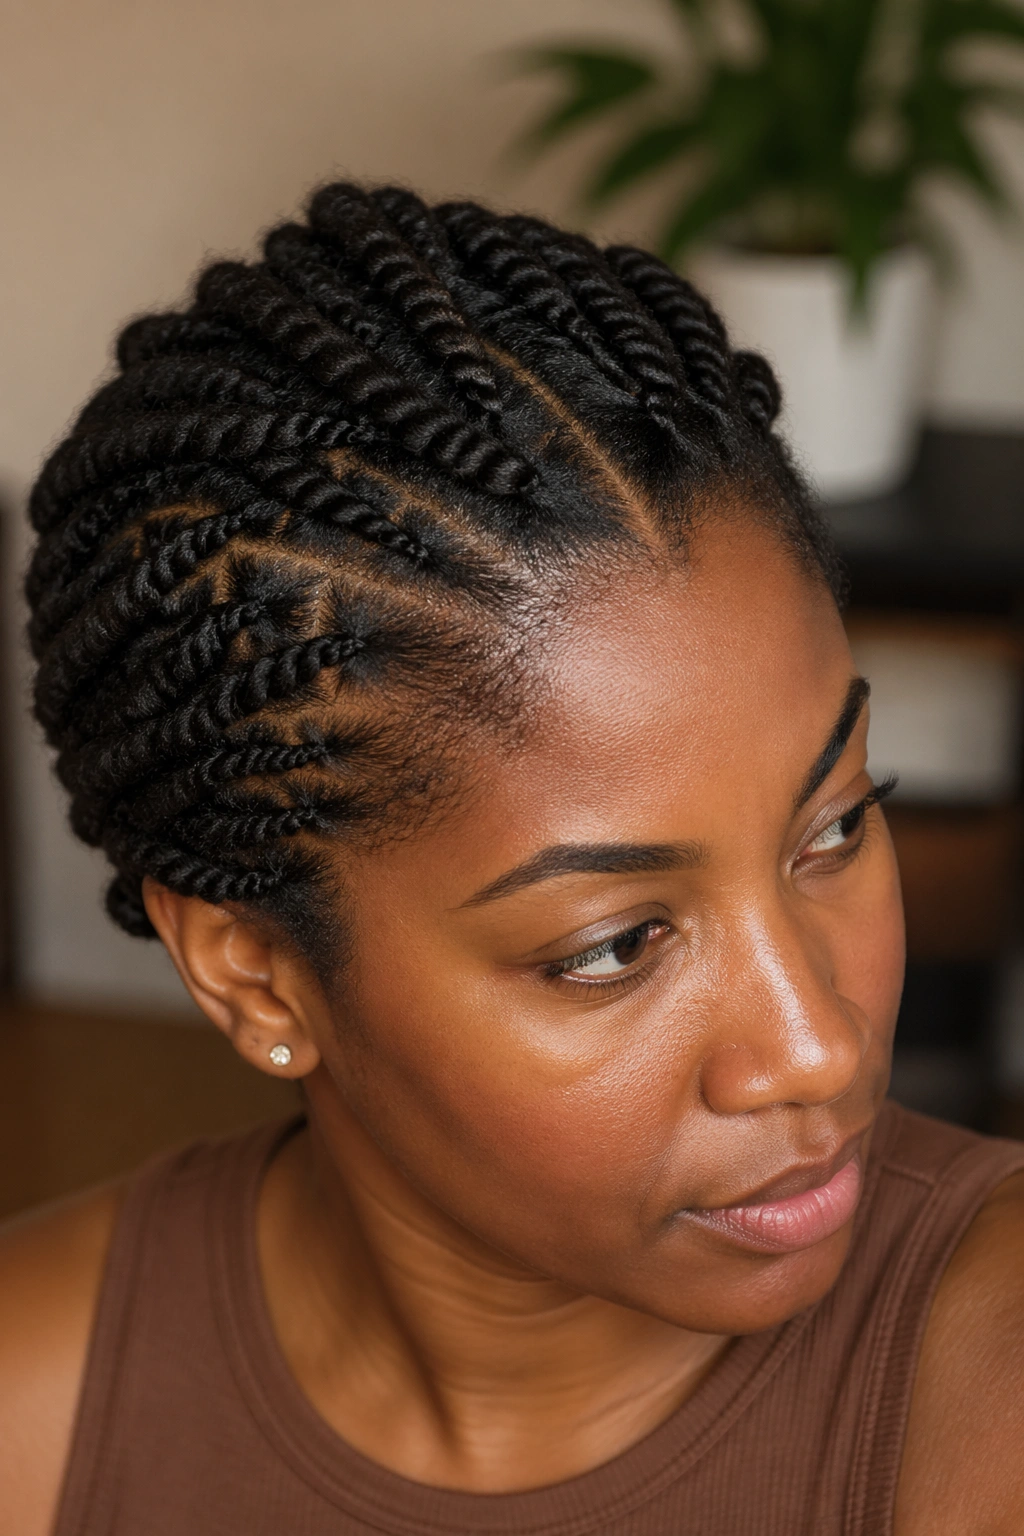
Instead of round two-strand twists, use flat twists for installation. A flat twist is done against the scalp — taking two sections and crossing them over each other while simultaneously picking up hair from the scalp, like a cornrow but with two strands instead of three. The flat twist sits flat against the head during drying and when unraveled produces a wave pattern rather than a curl pattern.
The Catch
Flat twist outs take longer to master than regular twist outs because the flat twist technique itself requires practice. But once you know how to flat twist, this variation gives you a significantly different texture result — wider, smoother waves rather than tight curls. Think of it as the difference between a spiral perm and a wave perm. Same basic technique, very different outputs.
14. Twist Out Bun with Loose Tendrils

Gather your twist out into a low bun at the nape but leave several individual curls or twists loose around the face — at the temples, behind the ears, or at the nape itself. The bun provides structure; the loose tendrils soften it and frame the face.
This is the style for naturals who want their twist out to work in a formal or professional context without fully pulling everything up into an updo. The loose pieces around the face read as deliberate — they’re not fly-aways, they’re framing elements. Keep them moisturized so they stay defined throughout the day.
15. Twist Out Fro
Unravel your twist out and then deliberately separate and pick the roots to build height and volume — the same technique as picking a natural afro. Work from root outward, lifting the roots away from the scalp. The defined twist-out curls at the ends remain intact while the root section puffs outward.
The result is a hybrid between a defined twist out and a full afro. The outer edges of the style have curl definition; the root zone has lifted, volumized, fro-like fullness. If your natural afro goes wide before it goes tall, this technique — picking after twist out — helps achieve vertical height while maintaining the texture.
16. Rod Set Twist Out
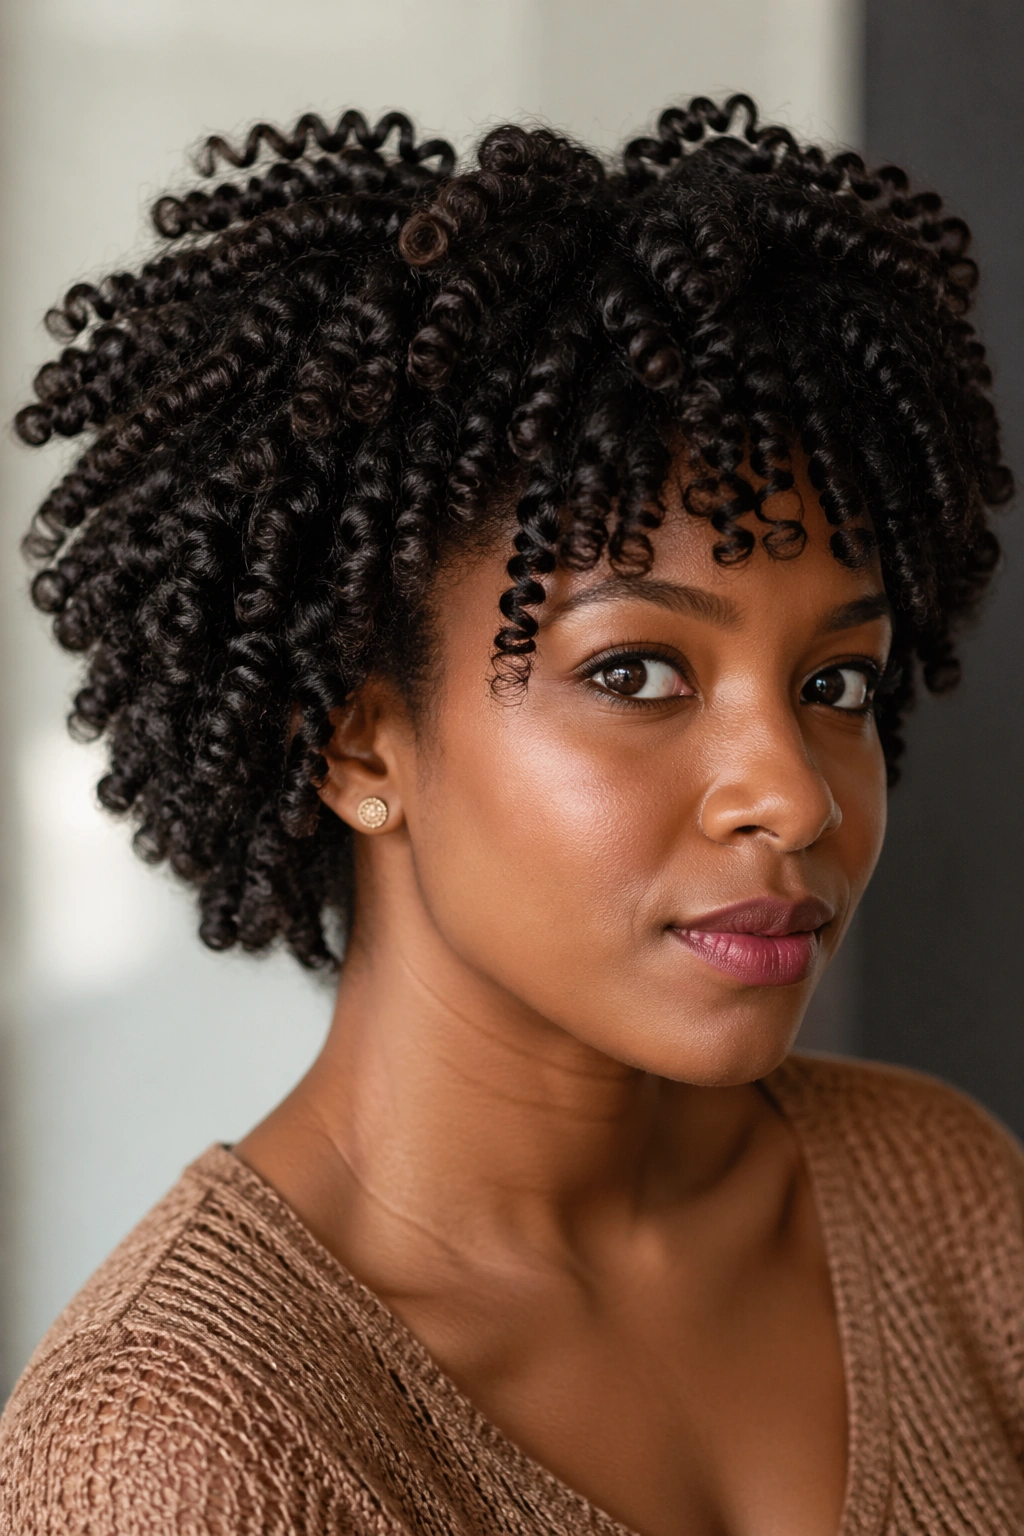
Instead of twisting your hair into two-strand twists for setting, set it on small flexi rods or perm rods first, let it dry, then remove the rods and separate gently. This is technically a rod set rather than a twist out, but the principle is the same — you’re setting the curl while damp and revealing the pattern afterward.
What you get: tighter, more uniform curls than a standard twist out, with a bounce and spring that’s more pronounced. Flexi rods on natural 4C hair produce one of the tightest, most defined curl patterns possible without heat. On 3C hair, they produce perfect ringlets. This is worth knowing as an alternative when your standard twist out isn’t giving you the definition you want.
17. Twist Out with Highlights
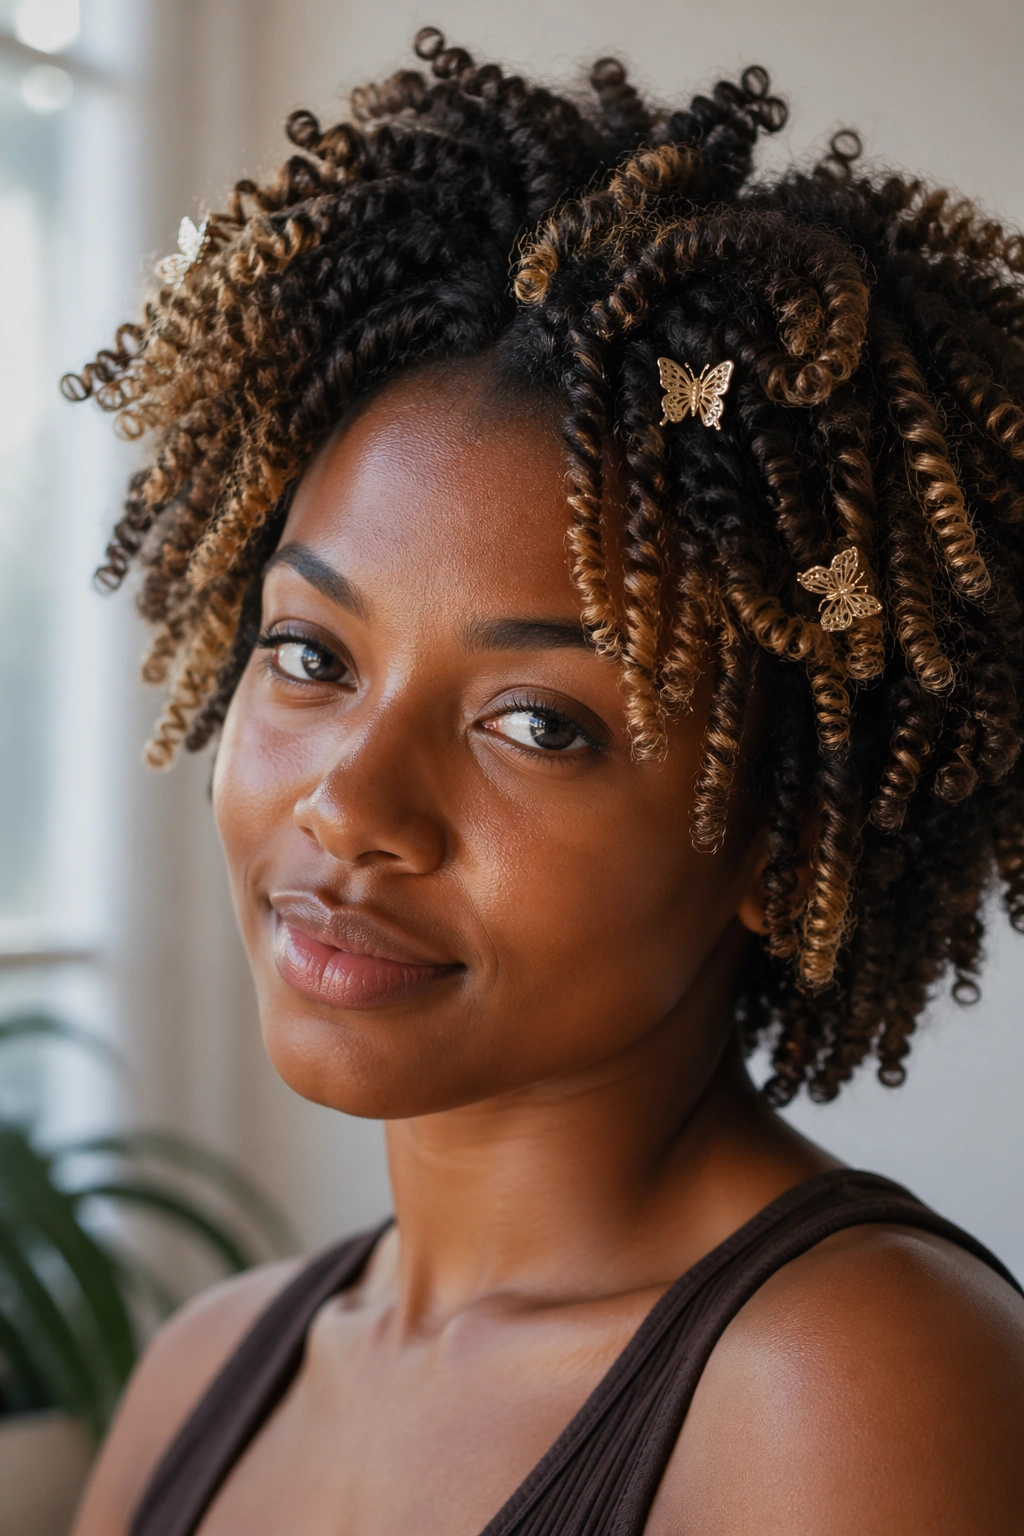
This doesn’t require any color treatment — it refers to accessorizing individual twist-out curls with small clips or pins that have metallic or jeweled finishes. Slide 3-4 small butterfly clips or pin-back ornaments into the curl clusters nearest your face, at the temples and crown. They catch light and create a scattered sparkle effect throughout the twist out.
The effect is most visible in motion — as you turn your head, the ornaments glint at different angles. Simple, inexpensive, and completely reversible. Take them out and your twist out is just your twist out again.
18. Protective Twist Out — Loose Pinned Style
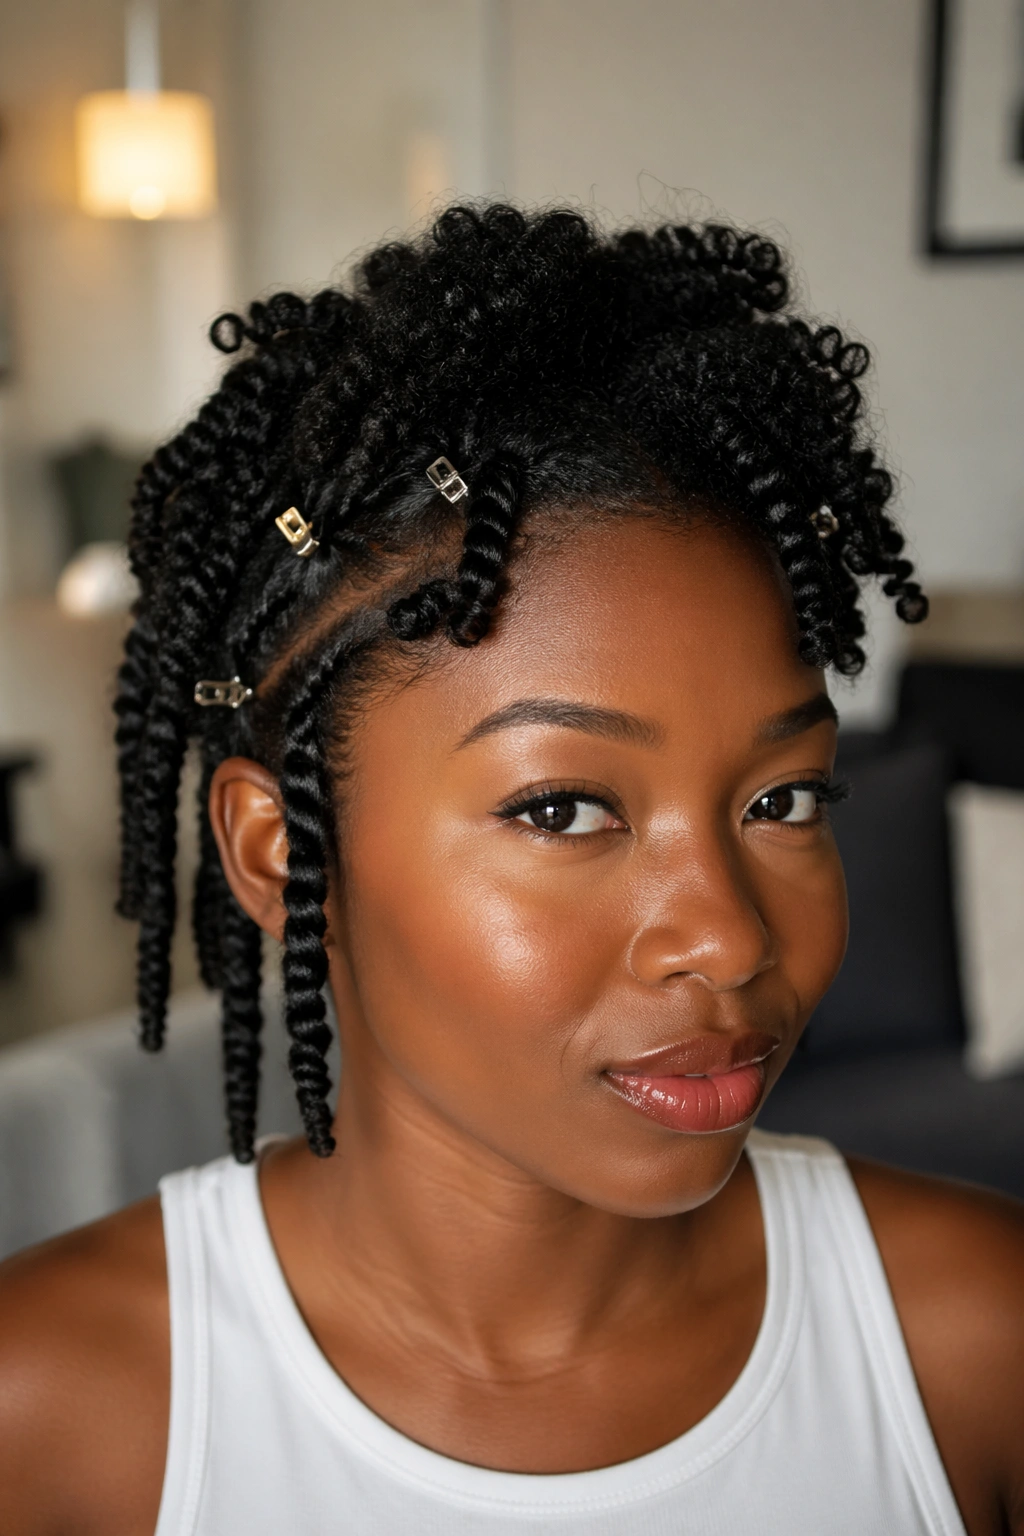
This is for naturals who want the look of a twist out without the full exposure. Rather than fully unraveling all twists, open only the top third of each twist — enough to see the curl pattern and create soft, defined texture at the surface — and leave the bottom two-thirds twisted. Secure the unraveled portions with small pins if they start to separate too much.
The partially-unraveled twist sits somewhere between a twist out and a flat-twisted style. The ends are protected and enclosed; the tops provide texture and definition. It’s a partial-protection hybrid that works well as a transitional style when you’re deciding whether to fully open or keep the twists in.
19. Twist Out with a Silk Scarf Finish
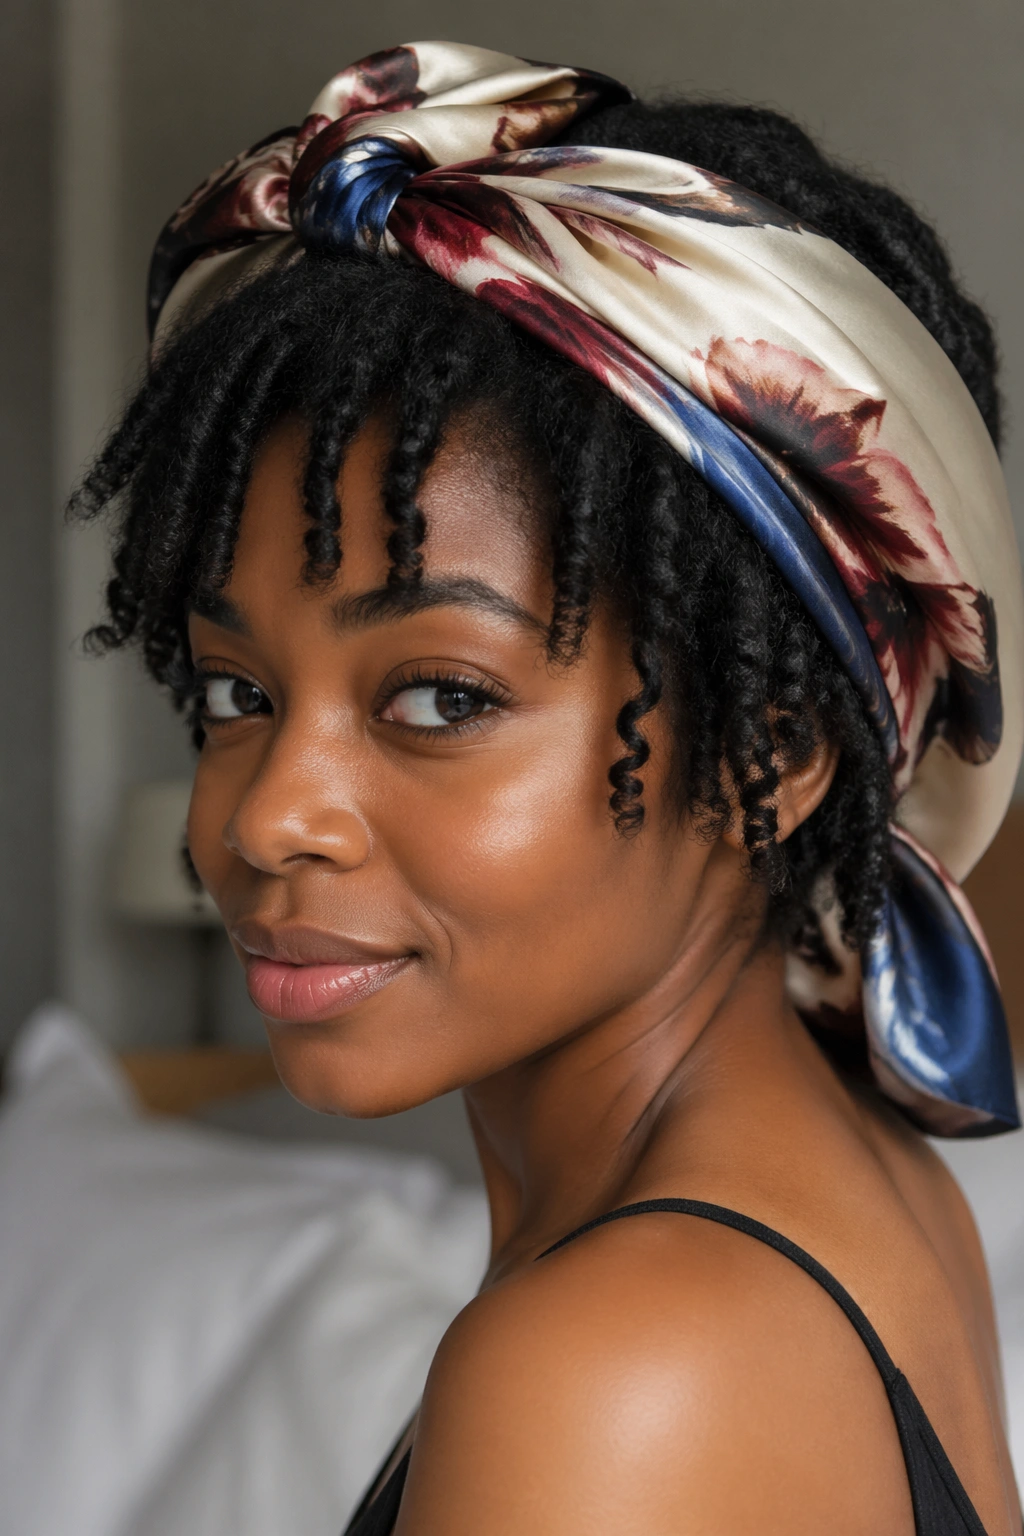
After opening your twist out and achieving the definition you want, take a large silk scarf and tie it loosely over the twist out for 15-20 minutes. The scarf flattens the frizz that forms at the surface while leaving the curl definition intact underneath. Remove the scarf and the surface of your twist out is significantly smoother and shinier.
This is a finishing technique, not a styling one. You’re not changing the style, you’re refining it. It’s the equivalent of setting your makeup with a powder puff — the structure underneath stays the same; the surface just looks more finished. Use a silk or satin scarf, not cotton, which absorbs product and creates more frizz.
20. Twist Out on Transitioning Hair
For naturals who are transitioning from chemically relaxed to fully natural hair, twist outs work but require some adjustments. The two textures — natural root growth and relaxed ends — behave very differently. The natural root will twist and unravel with defined coils; the relaxed end won’t coil at all, it’ll just straighten slightly.
The honest expectation: your twist out on transitioning hair will look different at the root than at the tip. The root section will have definition; the end section will be smoother and straighter. This isn’t a failure — it’s the natural result of two textures in one twist. Many people find transitioning twist outs beautiful in their own right. The clear delineation between the two textures tells the story of where your hair is right now.
21. The Night-One Reset Twist Out
On the first night after doing your twist out, protect your hair by gathering it loosely at the top with a soft elastic — the pineapple technique — and covering with a satin bonnet. In the morning, the definition is mostly intact. Shake and go.
Night two: separate any clumped or compressed sections very gently, using a tiny amount of water and styling cream on your fingertips, then re-pineapple. Night three: a light water spritz over the whole style, then re-pineapple. By day three, the twist out has softened from perfectly defined into a looser, more voluminous cloud — which is, honestly, one of its best stages. The tightest definition has relaxed into something that reads genuinely natural and unguarded. Day-three twist out is underrated.
What Causes Twist Outs to Frizz and Fail
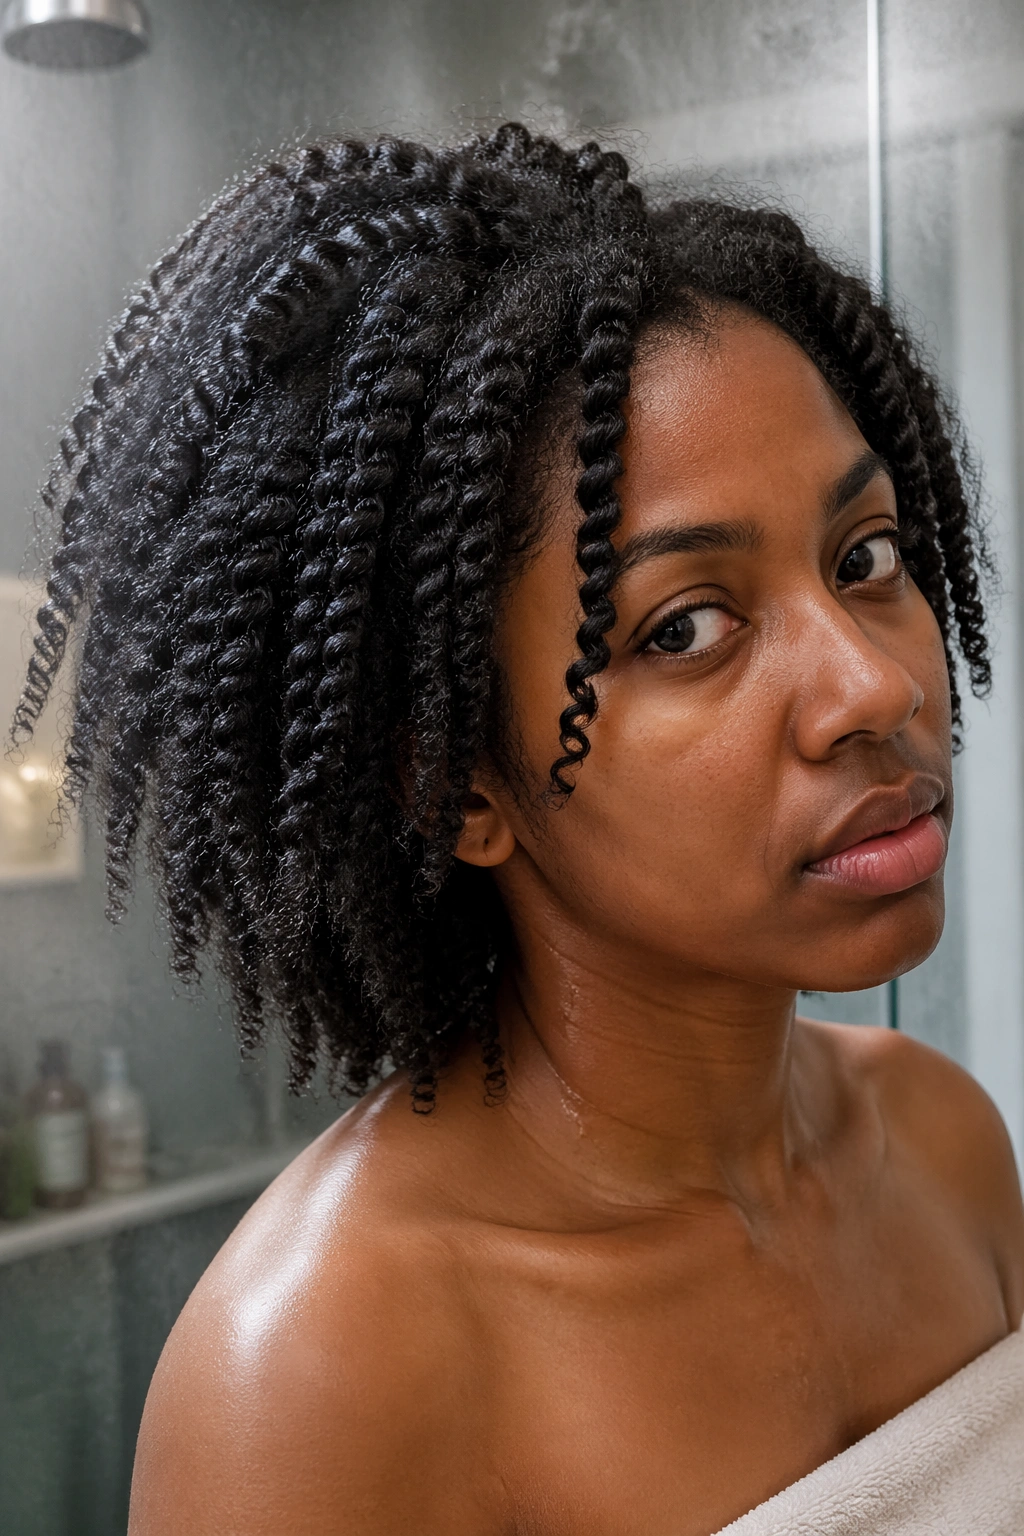
Three main causes, in order of frequency.
Unraveling before fully dry. Wet or even damp twists haven’t set their curl memory — the moisture in the hair is still active and allows the curl to spring back toward its natural pattern as soon as the twist is removed. Always check from root to tip before unraveling.
Using too much product. Heavy products that don’t dry down — thick shea butter creams in large amounts, oils applied before the styling product — prevent the hair from drying properly and the curl memory can’t form. Lighter product applications dry faster and hold better.
Unraveling too aggressively. Pulling a twist apart from the top causes immediate frizz. Always start from the end and work toward the root, unfurling gently. The curl has a direction it wants to unravel in — follow it rather than fighting it.
There’s a fourth one that rarely gets mentioned: unraveling in the wrong environment. If your bathroom is steamy from a recent shower when you go to unravel your twists, the humidity in the air is already actively working against you. The curl memory has barely formed before it’s being disrupted. Let the bathroom air out — door open, fan on, 15 minutes — before you begin. It sounds like a small detail. It makes a noticeable difference.
How to Make a Twist Out Last
The enemy of a twist out’s longevity is friction and humidity. Friction from pillowcases, clothing collars, and car headrests roughens the cuticle and causes frizz. Always use a satin pillowcase or bonnet at night without exception.
Humidity is harder to fight but not impossible. A light anti-humidity serum or a few drops of argan oil smoothed over the surface of your twist out before going outside creates a thin barrier that slows moisture absorption from the air. Not eliminates — slows. In very high humidity environments, expect some frizz regardless of what you do. Embrace the softer definition as its own valid stage of the style.
The day-by-day management is about working with the style as it changes rather than trying to maintain it exactly as it was on day one. Each day it’s different. Each version is worth wearing.
Don’t touch your hair unnecessarily throughout the day. Every time you run your fingers through a twist out, you’re introducing friction and disrupting the curl formation. One deliberate fluff in the morning, adjustments as needed if you’ve been wearing it gathered — and then leave it alone. The naturals with the longest-lasting twist outs are usually the ones who wear the style and then stop managing it.
Choosing Your Twist Size for a Specific Result
This section exists because the “what section size should I use” question has no universal answer — but there are guidelines.
If you want maximum volume: use large sections. Two-finger width or wider. The wide, open curl from a large twist spreads outward when unraveled, building the kind of horizontal volume that photographs dramatically. On thick 4C hair, large sections produce a cloud-like result that almost reads like a blown-out afro with definition.
If you want tight ringlets: use smaller sections. Thin sections produce finer curls. On 3C and 4A hair, small sections produce beautifully defined, springy ringlets that maintain their shape for days. On 4C hair, small sections produce a more compact, densely defined result.
If you want length: stretch before twisting. No section size achieves elongation the way pre-stretching does. Band the hair in sections with multiple elastics, leave for a few hours, remove, then twist those stretched sections. The resulting twist out hangs significantly longer than an unstretched one.
If you want definition AND volume: layer your approach. Do smaller sections on the front and crown — where you want the most visible definition — and larger sections toward the back and nape, where volume underneath lifts the whole style.
The Twist Out for Different Hair Densities
Fine-haired naturals and thick-haired naturals have fundamentally different experiences with the same technique. It’s worth acknowledging that directly.
Fine natural hair — lower density, individual strands that are thin in diameter — produces twist outs that are beautifully light and airy. The curls are delicate. They move easily. But they’re also more prone to frizzing quickly and losing definition by midday, especially in humidity. Fine-haired naturals benefit from a slightly firmer hold product — not a hard gel, but a medium-hold cream rather than a light pudding — and smaller sections to give each curl enough structure to hold its shape independently.
Thick, dense natural hair — high density, coarse individual strands — produces twist outs with real staying power. The curls are substantial enough to hold their shape through weather and movement. The challenge is often the opposite of fine hair: too much density can mean the inner twists don’t dry as quickly, leaving you with frizz in the middle of the style where the twist was still slightly damp at unravel. Give dense hair extra drying time — an additional 30-60 minutes under a dryer beyond when the outer section feels dry.
When a Twist Out Is the Wrong Choice
There are situations where a twist out genuinely isn’t the best option, and being honest about them saves frustration.
If you need a style that will survive a workout — heavy cardio, sweating at the roots, direct water exposure — a twist out is the wrong call. The sweat will revert the roots and frizz the length within 45 minutes. A puff, a braided style, or wearing your natural wash-and-go will hold up better. Save the twist out for rest days or days when you can avoid significant sweat.
If your hair is already very dry and stressed — from heat damage, from a long stretch between deep conditioning treatments, from transition damage — a twist out on that hair will either not define at all or will frizz immediately because the cuticle is too damaged to hold the curl memory. Deep condition first. Wait a week. Then try the twist out on healthy, moisturized hair.
If you’re in an extremely high-humidity climate — consistently above 80% humidity — twist outs will require significant product support to maintain any definition. They can still work, but expectations need to be realistic. Some frizz is inevitable. A slightly more voluminous, less-defined version of your twist out is what high humidity gives you. Work with it rather than fighting it.