



Half up wand curls for natural hair bring together two of the most flattering elements in Black hair styling: the structured elegance of a half up look and the glossy, defined spirals that a wand curling iron creates. When you add deliberate wand curls to a natural hair half up style, the result is something between polished and playful — a look that feels intentional without being stiff, glamorous without being unapproachable.
What Wand Curls Actually Do for Natural Hair
A wand curling iron is a curling tool without a clip. You wrap the hair around the barrel manually and hold it in place for several seconds to set the curl. The result is an open, springy spiral rather than the tighter, more compressed curl that a traditional clamp iron produces.
For natural curly hair, wand curls do something specific and beautiful: they elongate and define the curl pattern without completely altering it. Where your natural curls might coil tightly and shrink, a wand curl stretches that coil into a longer, more visible spiral. The result looks like your natural curl pattern at its absolute best — same shape, same bounce, but more defined, more glossy, and with noticeably more length.
Wand curls also add consistent curl direction to hair that might have mixed or undefined texture. For women whose natural hair has sections that curl differently — some tight, some loose, some waves mixed in — wand curls create visual uniformity that makes the whole look feel cohesive. In a half up style, that cohesion matters because the eye moves between the gathered top section and the loose down section, and consistent curl direction throughout makes the style feel intentional.
Choosing the Right Wand Size for Your Natural Hair
The size of the wand barrel determines the size of the curl you’ll create, and that choice should be informed by your natural curl pattern and the size of the style you’re trying to achieve.
Small barrels (3/8 to 5/8 inch) create tight, corkscrew-style spirals. These mimic type 4a and 4b curl patterns closely and look most natural on those hair types. They’re also ideal for shorter natural hair, where larger barrels can’t wrap enough hair to form a complete curl.
Medium barrels (3/4 to 1 inch) are the most versatile option. They create spirals that work across curl types — tight enough to look natural on type 3c hair, defined enough to look intentional on type 3a hair. Most half up wand curl styles on natural hair use a medium barrel for the down section.
Large barrels (1 1/4 to 1 1/2 inch) create loose, beach-wave-style spirals. These look most natural on type 3a and 3b hair where the natural curl pattern is already loose and open. On tighter curl types, large barrel wand curls can look a bit disconnected from the natural texture.
For the gathered top section of a half up style, you often don’t need the wand at all — the top section is secured in a bun, twist, or clip. But if you want wand curl definition in the front pieces that frame the face (the sections at the temples or along the hairline), a smaller barrel typically works better than a large one.
Heat Protection Is Non-Negotiable
Using a wand curling iron without heat protectant on natural hair is one of the fastest ways to cause heat damage — and heat damage to natural curls can mean permanently altered curl patterns that take months or longer to grow out.
Apply a heat protectant before any heat styling session. Look for products that offer protection up to the temperature you’re using your wand. Most heat protectants on the market protect up to 450°F, which covers the range of most curling irons. Apply to damp or dry hair before styling — some heat protectants perform better on damp hair, while others are designed for dry application. Check the product instructions.
Temperature matters more than most naturals realize. Type 4 natural hair can handle higher temperatures (350-375°F) because the tighter coil structure provides some inherent resistance. But type 3 hair — looser curls — can show heat damage at temperatures above 300°F. Know your hair type and adjust accordingly.
Never use the wand on wet hair. Wait until hair is completely dry — or at most damp-dry at the roots — before heat styling. Using direct heat on wet hair creates steam inside the hair shaft, which causes extreme damage to the cuticle layer.
Prep Routine for Wand Curling Natural Hair
How you prepare your natural hair before using a wand iron determines how well the curls form, how long they last, and how much shine they have.
Wash with a moisturizing shampoo and follow with a deep conditioner. Rinse thoroughly. Apply a leave-in conditioner while the hair is still wet, working it through section by section. Apply a light oil — argan, jojoba, or avocado — over the leave-in to seal in moisture. Allow hair to dry.
Once fully dry, apply a heat protectant to each section just before you curl it. Working section by section — rather than applying to the whole head at once — ensures the protectant is still active when the heat hits each section.
If you want your wand curls to have extra shine and definition, apply a small amount of a shine serum or a curling cream to each section after the heat protectant and before wrapping it around the wand. This adds slip that helps the curl form cleanly and gives the finished curl a glossy appearance.
Setting and Preserving Wand Curls
Wand curls set properly when they’re allowed to cool completely before you touch them. This is a step most people rush and it costs them hours of curl hold. After removing each section from the wand barrel, immediately coil the warm curl into a pin curl and clip it flat against the head. Leave it clipped for at least five to ten minutes — longer if you have time.
Once all curls are set and clipped, let everything cool for an additional ten to fifteen minutes. Then remove the clips and gently separate the curls with your fingers — not a comb. Use the tips of your fingers rather than the whole hand to avoid disturbing the curl structure too much.
For the half up portion: do the wand curling on the down section first, set and cool the curls, then gather and secure the top section while the down curls are cooling. This sequence lets you check the overall look before locking in the gathered section.
1. Half Up Puff With Wand Curl Cascade
The gathered section forms a full, round puff at the crown — all natural texture, no wand. Below, every section of the down portion has been wand-curled into consistent, glossy spirals that cascade down the back and over the shoulders.
This style creates a beautiful contrast: the voluminous, textured puff on top versus the uniform, elongated wand curls below. The puff reads as natural and celebratory; the wand curls read as styled and intentional.
Getting the Contrast Right
Don’t wand-curl the sections you’re going to gather into the puff. Let those stay as their natural texture. The contrast between the natural puff and the wand curls below is the style’s defining feature — if you wand-curl everything, you lose that visual tension.
Spend extra time on the wand curls at the very top of the down section — these are the ones most visible in the style and determine how seamlessly the transition from puff to curls reads.
2. Flat Twist Half Up With Full Wand Curls Below
Two flat twists sweep from the front of the hair to the crown, secured with a clip. Every section of the down portion — sides, back, all of it — is wand-curled into defined spirals.
Wand curls in the down section of this style create a glossy, polished backdrop for the textured flat twists on top. The flat twists have a graphic, raised quality that photographs beautifully next to the softness of the wand curls.
Use a medium-hold gel on the flat twist sections to keep them smooth and lying flat. On the wand curl sections, use a curling cream under the heat protectant for extra definition and shine.
3. Braided Crown Half Up With Wand Curls
Two cornrows sweeping from the temples across the crown, while the down section features uniform wand curls. The cornrows provide structure; the wand curls provide glamour.
This combination always reads as special-occasion ready. The cornrows are formal and precise; the wand curls are romantic and feminine. Together, they create the full range of natural hair beauty in a single style.
Add small gold cuffs along the cornrows for an elevated finish. Position a few wand-curled sections to frame the face just in front of each ear.
4. Half Up High Bun With Wand Curl Frame
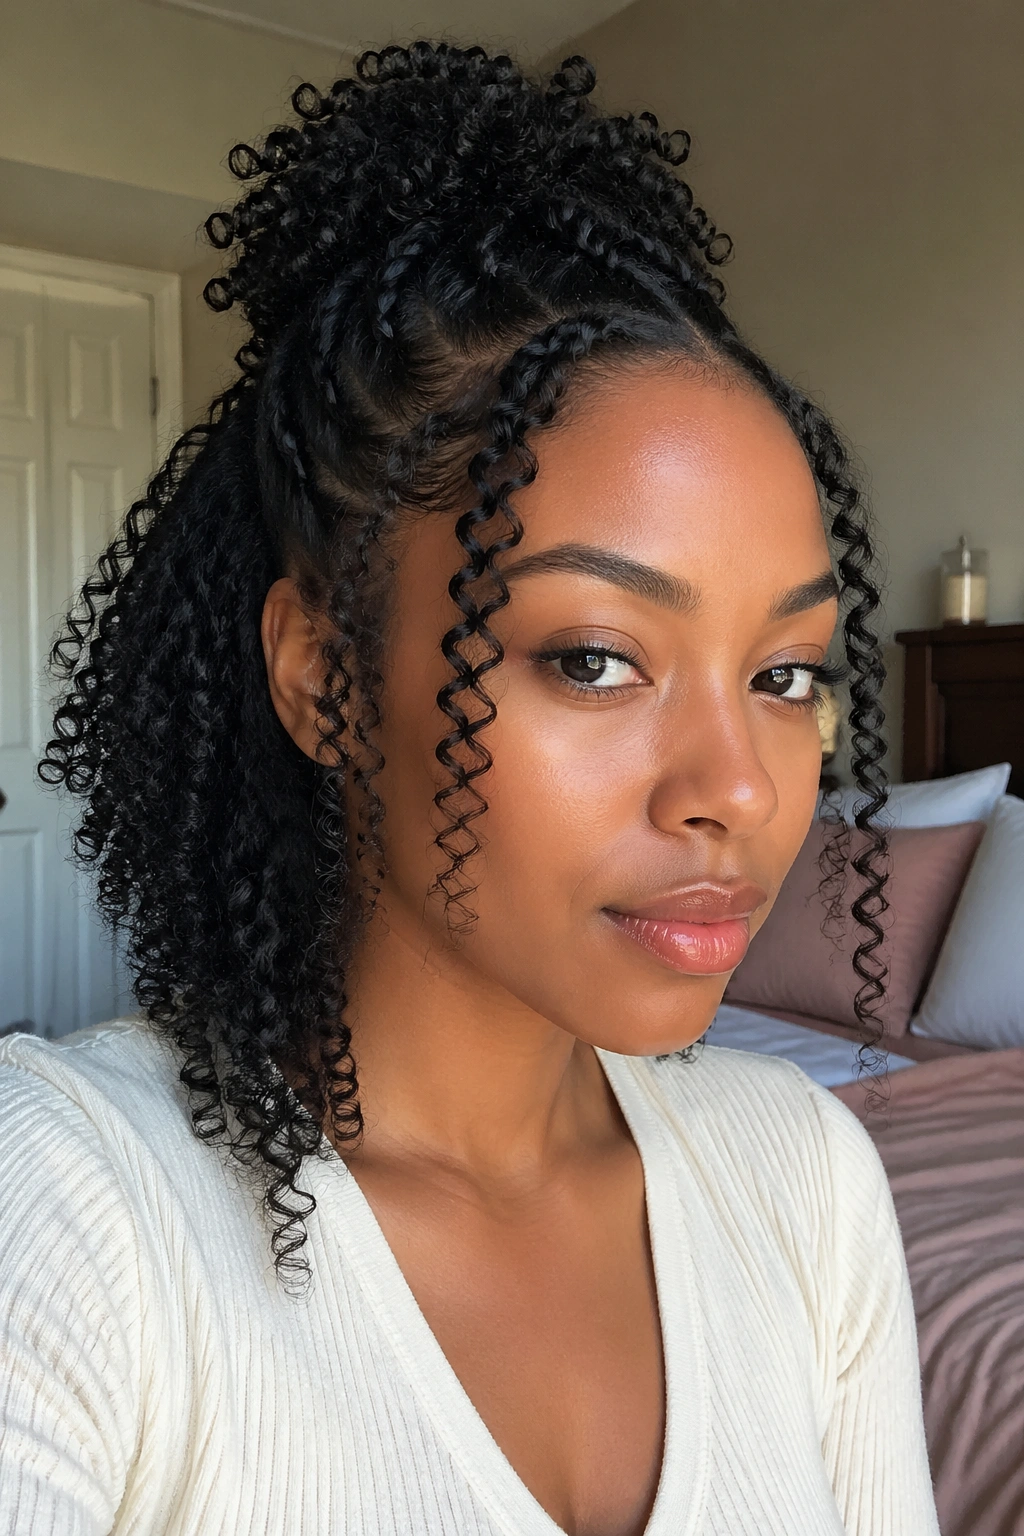
The gathered section forms a high bun at the crown — neat, smooth, deliberate. Several sections just outside the bun are wand-curled and encouraged to frame the face, creating a beautiful curl frame around the gathered section.
The curl frame around the bun is the key detail. These wand-curled pieces should be at the temples and just above the ears — positioned so they’re clearly visible when looking at the style face-on. They soften the hard lines of the bun and create a transition between the structured gathered section and the curly down section.
Use a slightly smaller wand barrel for the framing pieces than for the main down section. Tighter, more defined spirals frame better than loose waves.
5. Half Up With Wand Curled Tendrils at Temples
Most of the hair is gathered into a simple half updo. But two or three sections at each temple are wand-curled into tight, defined spirals and left free. These curled tendrils hang down beside the face, creating a beautiful frame.
This is the minimalist wand curl approach — you’re not curling the entire down section, just the face-framing pieces. It’s less time-consuming than a full wand curl session and has a softer, more romantic effect.
The tendrils should be wound tightly around a smaller barrel (3/4 inch or smaller) and held for ten to twelve seconds for maximum definition. Once cooled and released, they should spring into tight, bouncy spirals that frame the cheekbones.
6. Half Up With Wand Curls Set in Pin Curls
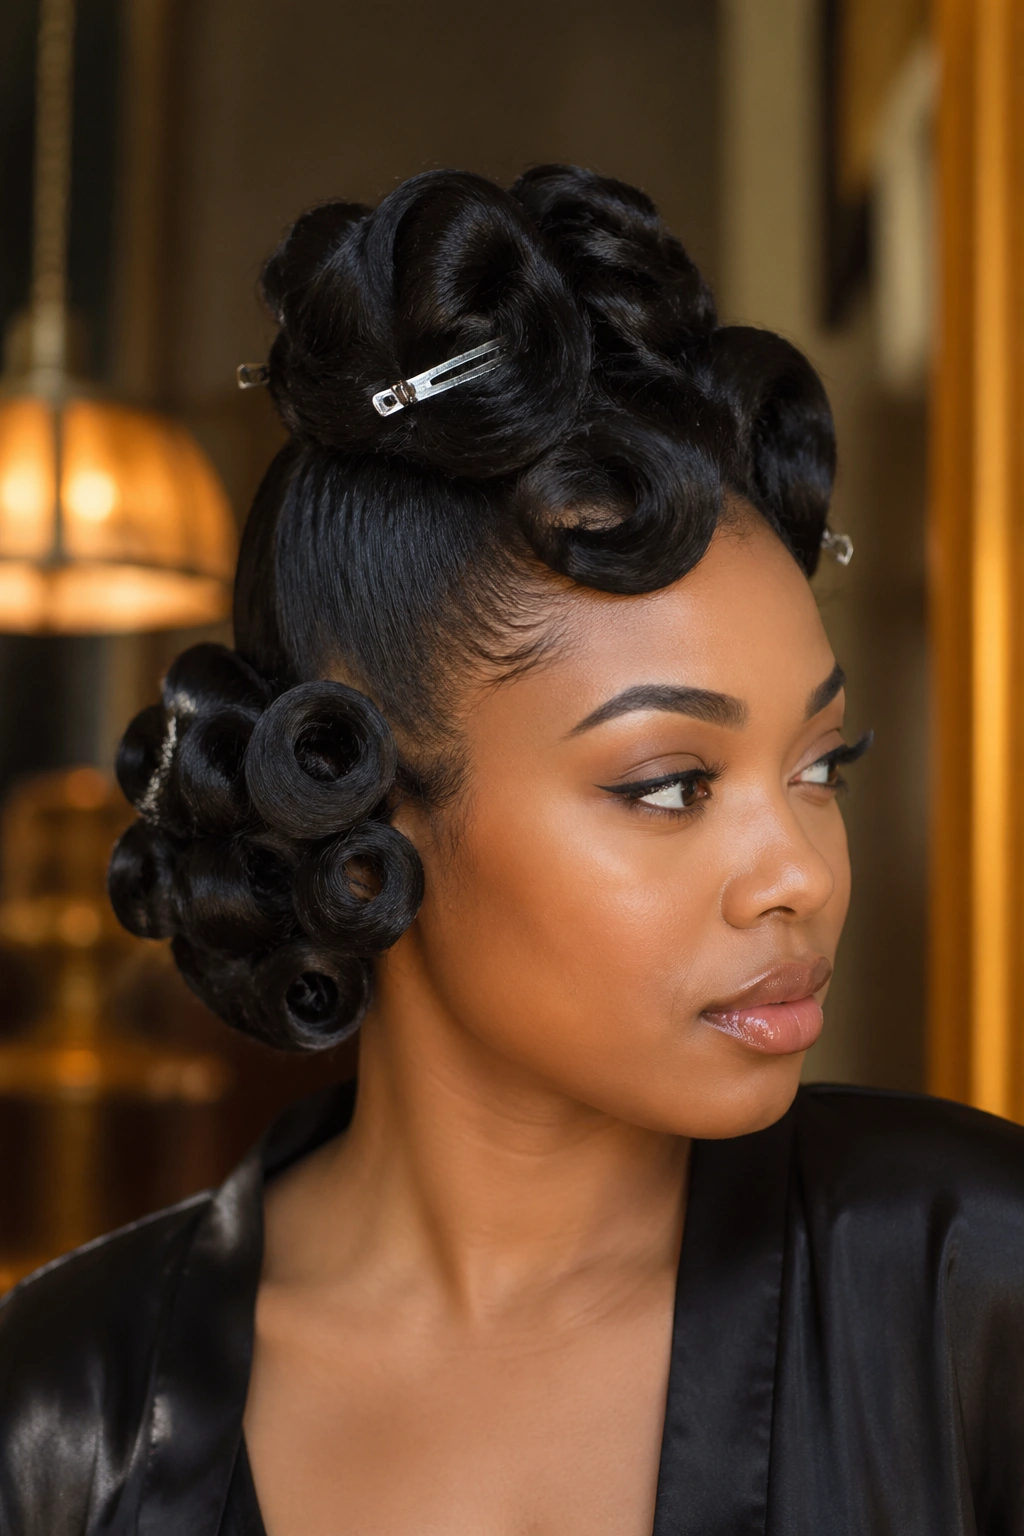
What if your wand curls aren’t just loose spirals but are set as pin curls — creating a vintage-inspired, defined ringlet effect? This takes the standard half up wand curl style into retro glamour territory.
After removing each section from the wand, immediately coil the warm curl tightly against the scalp and clip it. Instead of releasing it as a loose spiral, allow each section to cool completely as a tight, flat pin curl. When you release the clips — all at once, after everything has completely cooled — the hair springs into tight, uniform ringlets rather than open spirals.
The result is a voluminous, retro-glamorous half up style that photographs like a 1950s fashion editorial.
7. Side-Swept Half Up With Wand Curls on One Side
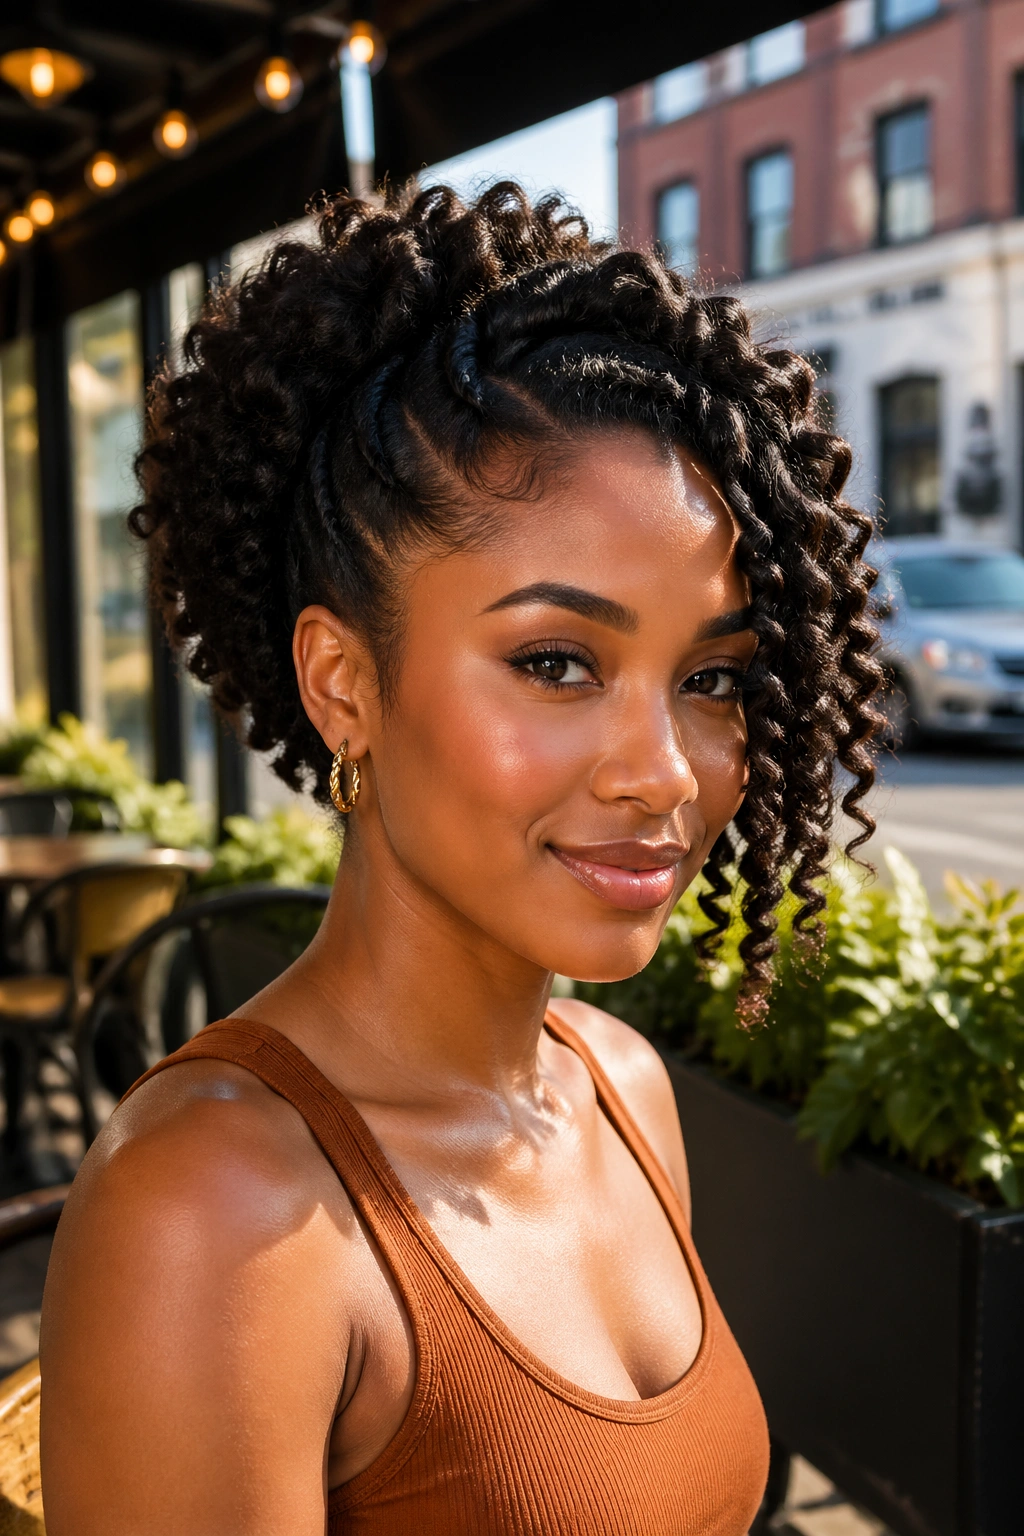
The gathered section sweeps all hair to one side. On the opposite side, several sections of hair that weren’t caught in the sweep are wand-curled and positioned to frame the face. The sweeping gathered section and the loose wand-curled pieces on the opposite side create a dramatic asymmetric look.
This style is one of the most photographically interesting half up wand curl options. From one angle, you see the structured sweep of the gathered section. From the other, you see the loose, defined wand curls. Every angle offers something different.
8. Rope Twist Half Up With Wand Curls
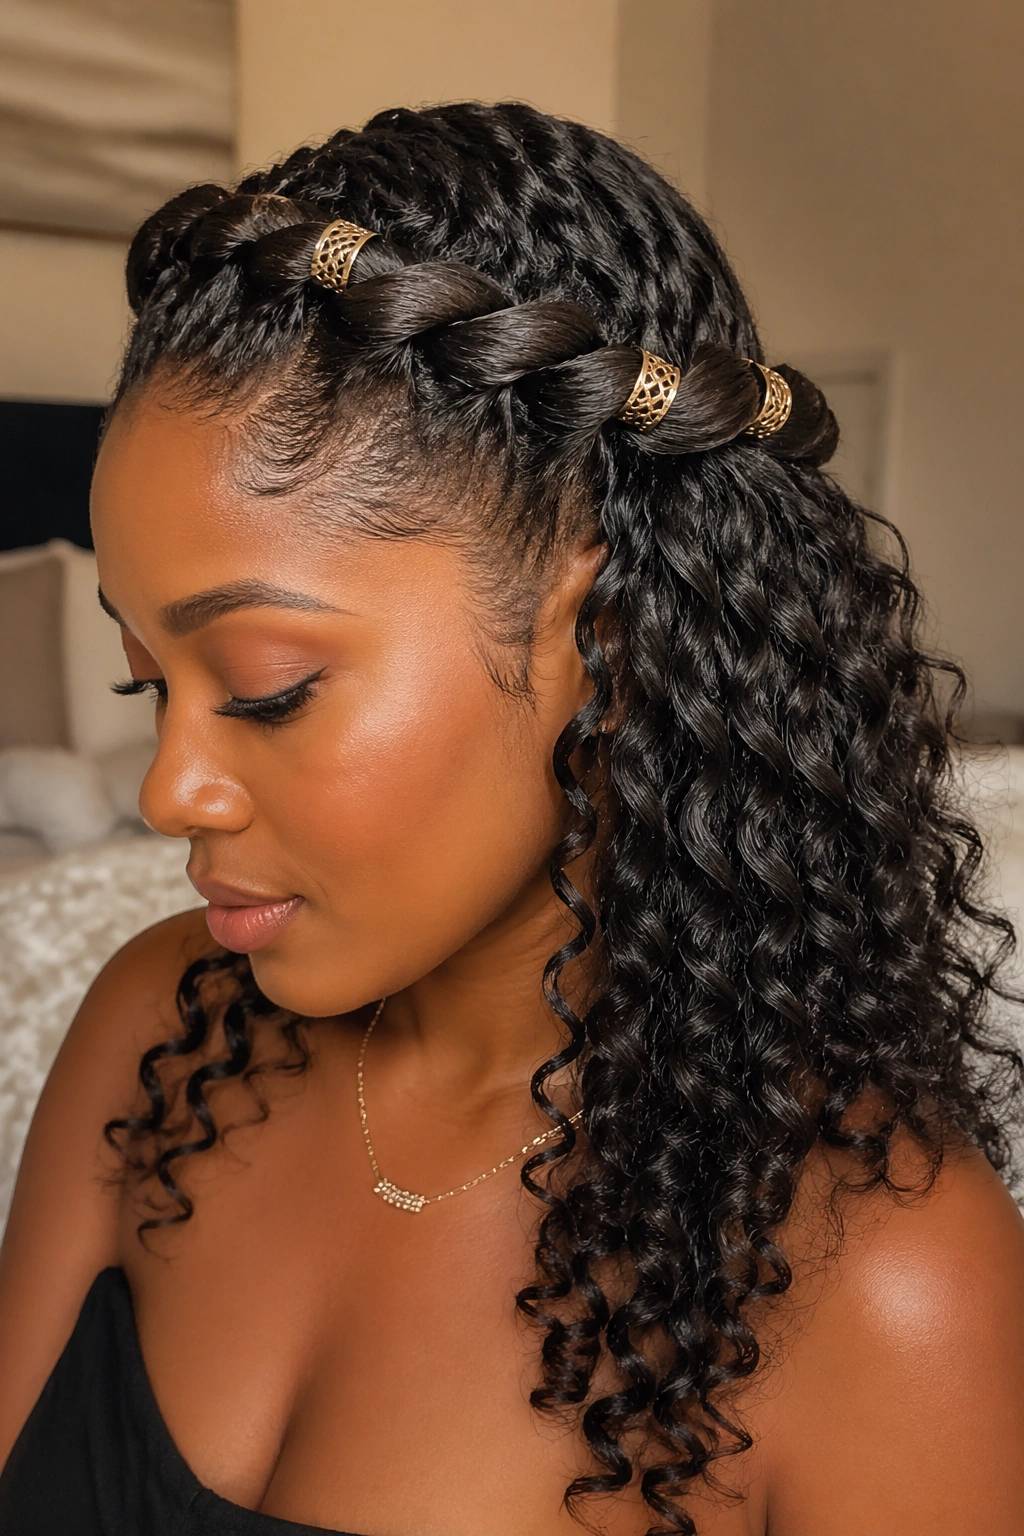
A rope twist sweeps from one side of the head across the crown, secured on the opposite side. The rest of the hair is wand-curled in the down section.
The rope twist has a smooth, uniform surface that contrasts beautifully with the defined spirals of the wand curls below. Metallic cuffs placed along the twist add a formal touch.
For natural hair, make the rope twist with slightly dampened hair — it’s easier to work with and creates a neater twist. Let it dry in place before considering the style complete.
9. Half Up With Wand Curls on Stretched Natural Hair
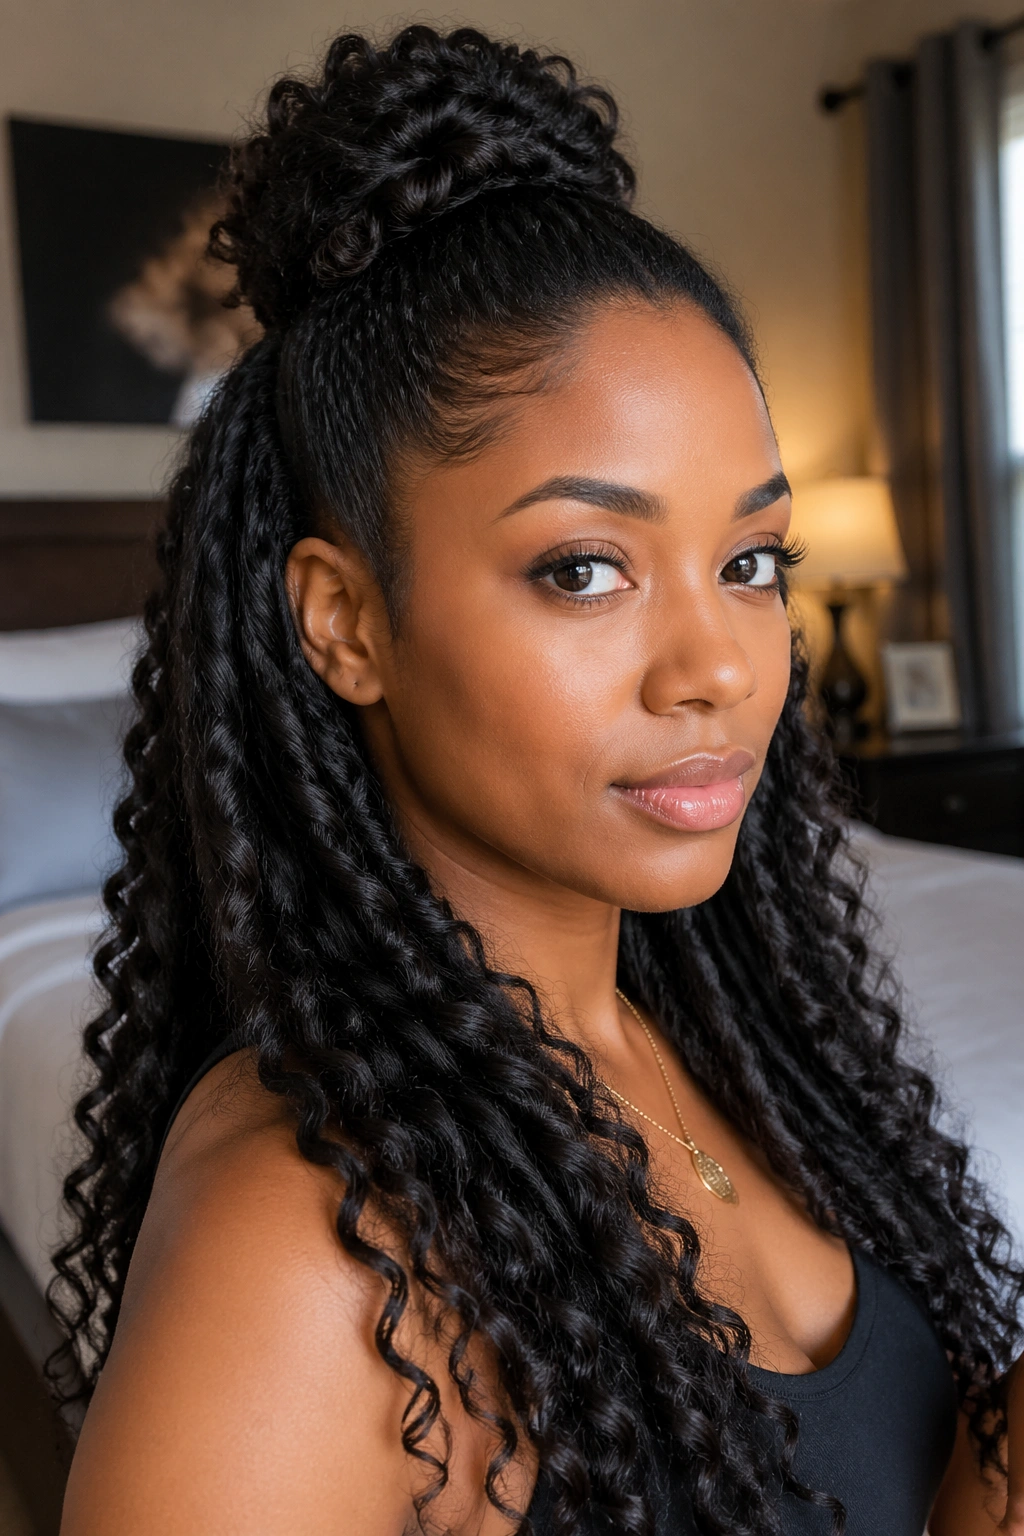
Stretching the hair before wand curling changes the entire outcome. Instead of wand curls layering over tightly coiled natural hair (which can sometimes look denser than intended), wand curls on stretched hair result in dramatically longer, more visible spirals.
Stretch the hair overnight using the banding method or African threading. In the morning, the hair is stretched, and you can wand-curl the down section for elongated, cascading spirals. Then gather the top section into the half up portion.
The length difference is significant. Type 4c hair with 75% shrinkage that hits the shoulder when stretched can show wand curls that reach the mid-back.
10. Half Up With Wand Curls and Accessories
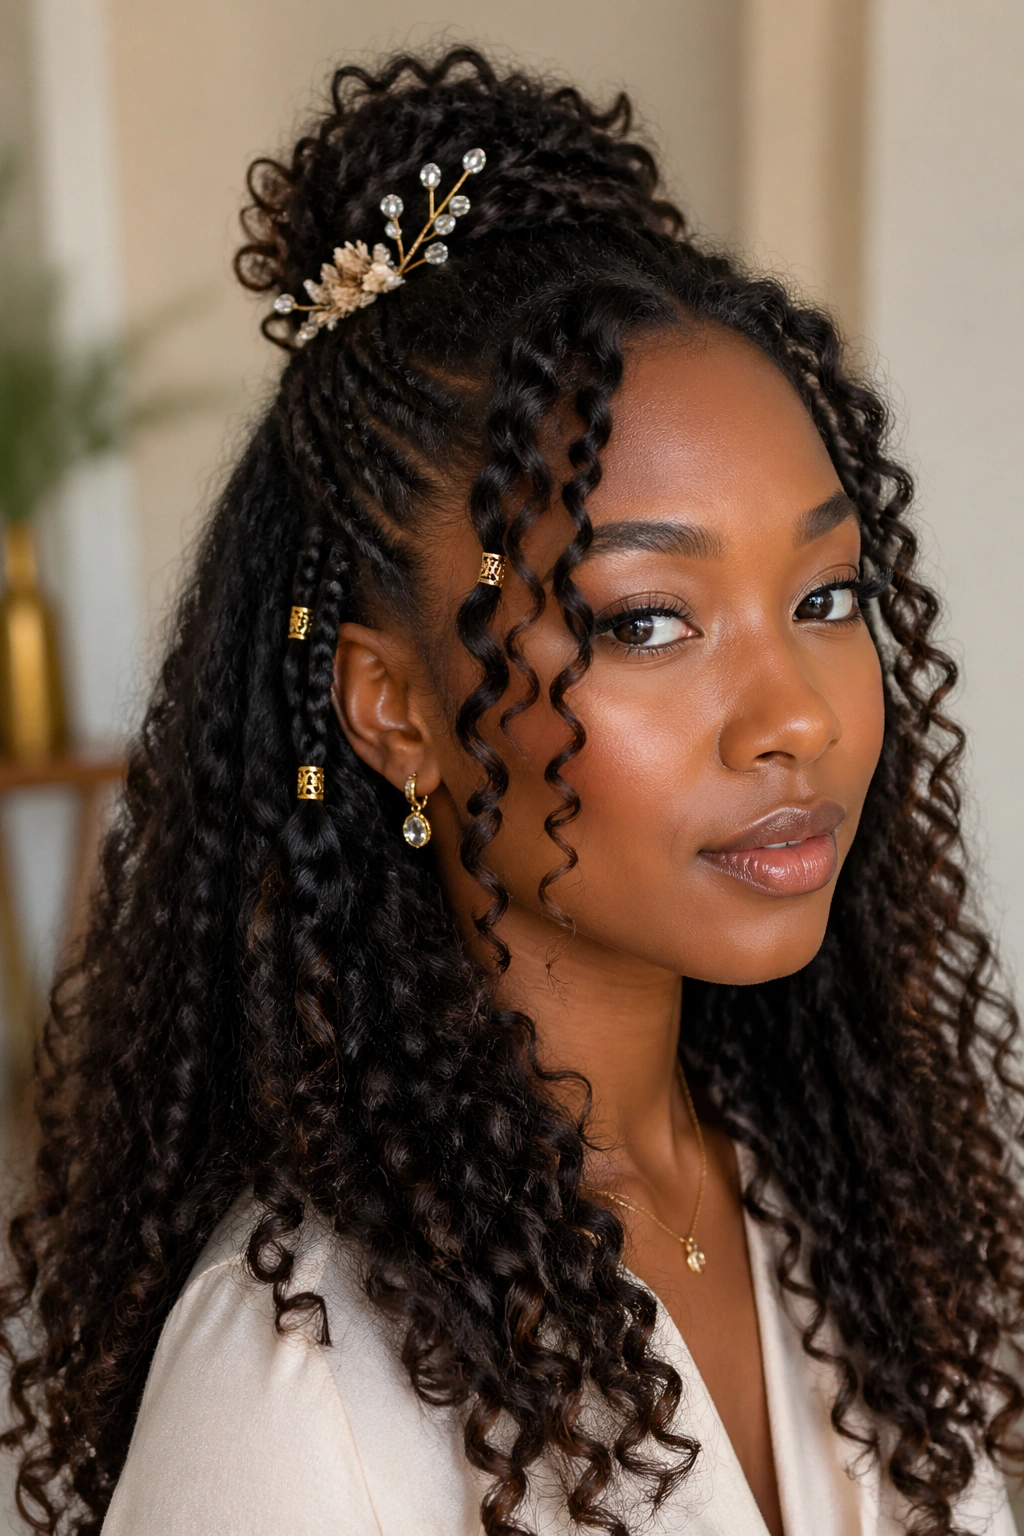
This style is less about a specific structure and more about how accessories transform a wand curl half up look. A basic half up with wand curls in the down section becomes distinctly special-occasion when you add the right accessories.
For formal occasions: crystal drop bobby pins scattered through the wand curls at different heights. For bohemian occasions: small dried flower clips placed throughout. For cultural celebrations: gold cuffs on a few of the front wand-curled sections. For everyday glam: a bold printed scarf at the gathered section.
The wand curls themselves don’t change — the accessories do all the work of transforming the occasion.
11. Half Up With Wand Curls and Defined Edges
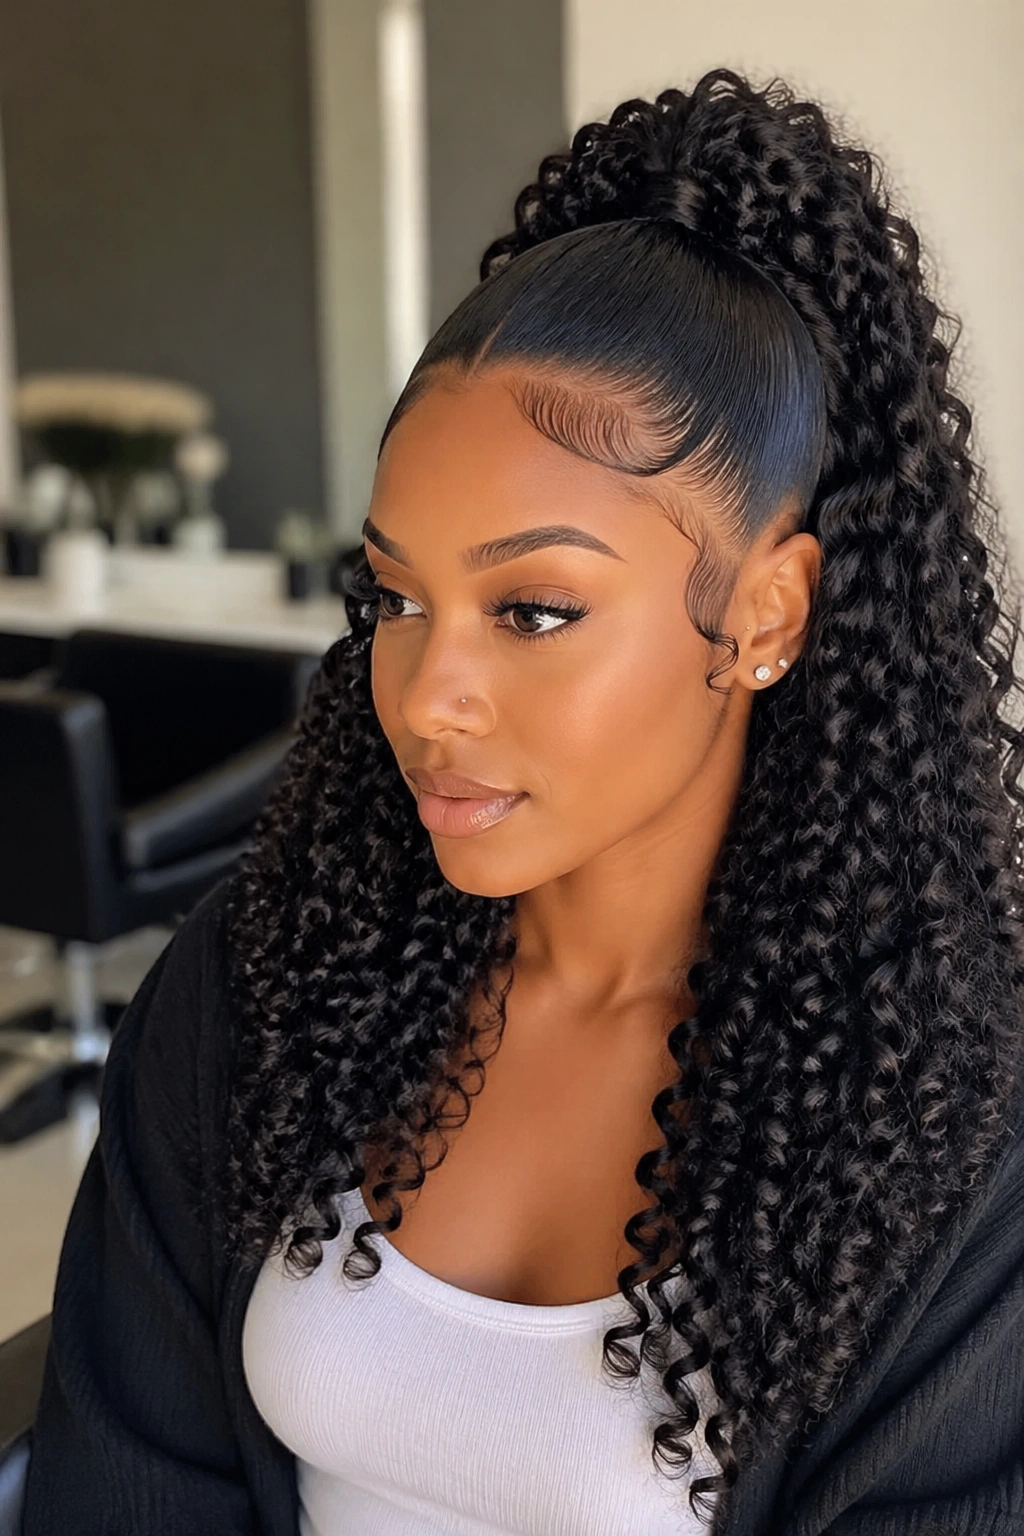
The half up structure is simple: top section gathered, bottom section loose. But the defining feature of this particular style is the edges — immaculately laid, precise, almost graphic in their smoothness against the voluminous wand curls and the gathered top section.
Spend real time on edges for this style. Apply edge control in thin layers. Use a small edge brush to smooth in short, deliberate strokes following the direction of the natural hair growth. Let each layer dry fully before adding the next. Use the back of the brush for final smoothing. The edges should lie flat with no puffing at the roots.
The contrast between the sleek, laid edges and the voluminous wand curls is everything.
12. High Half Ponytail With Wand Curl Ends
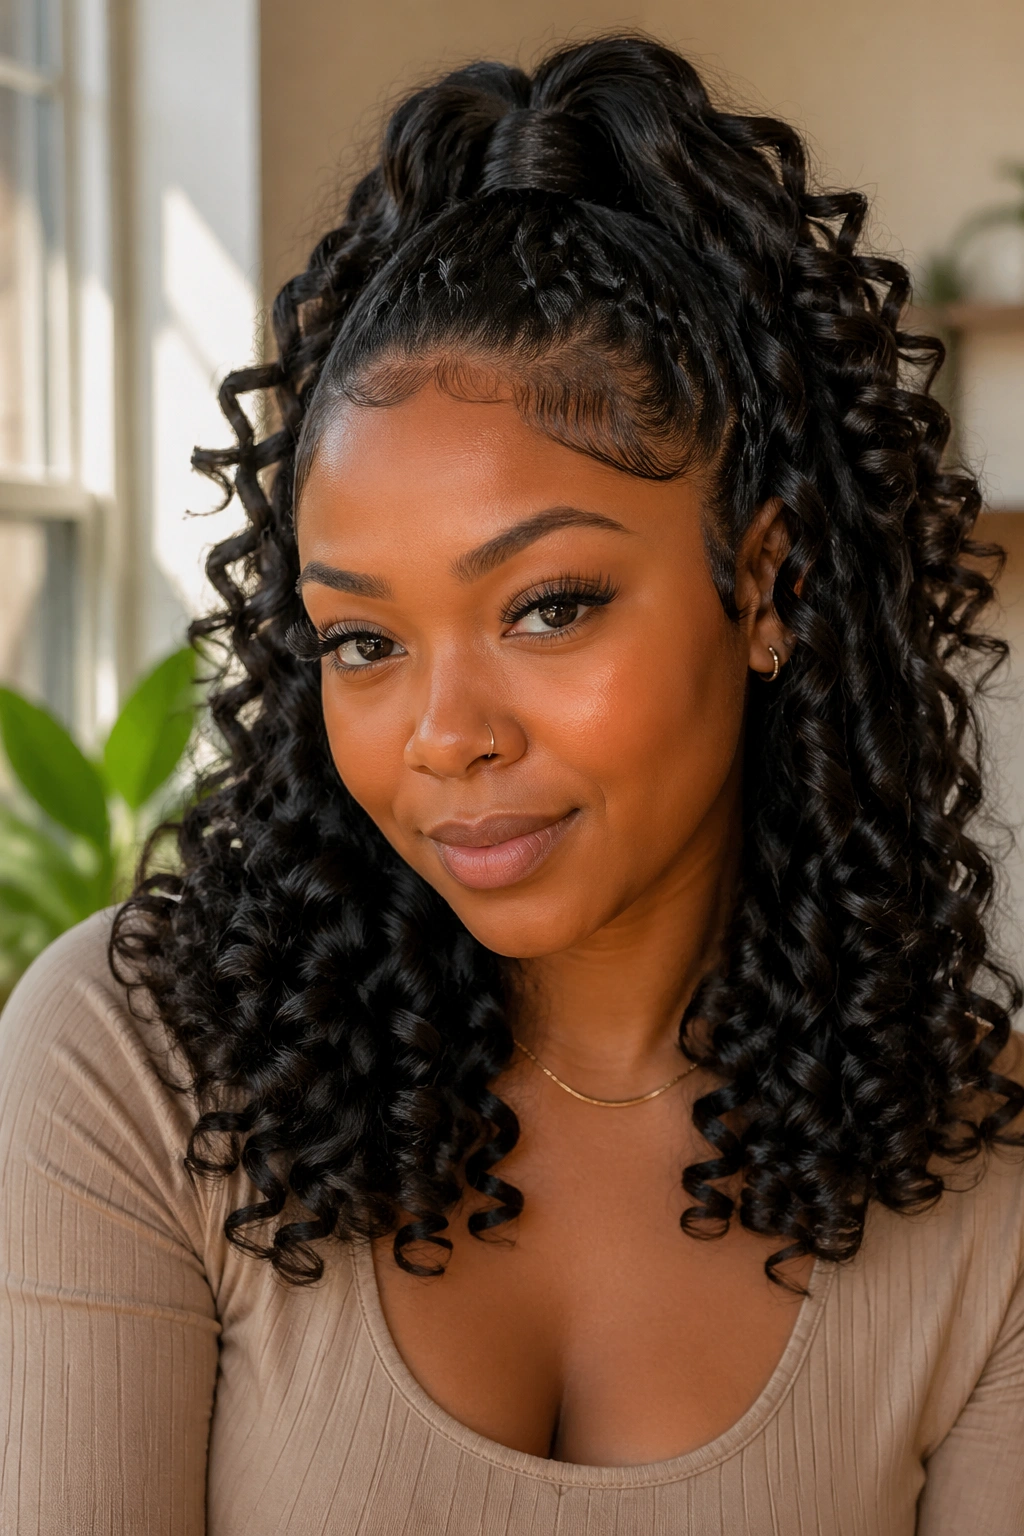
The top section is gathered into a high half ponytail. The ends of the ponytail — the hair that hangs from the elastic — are wand-curled into tight, defined spirals rather than left as loose natural texture. The down section is also wand-curled to match.
Wand-curling the ends of the ponytail creates a tailored finish that a loose, undefined ponytail end doesn’t have. The spiral ends bounce and move as you walk, adding dynamism to what could otherwise be a static style.
13. Half Up With Wand Curls and Sleek Top Section
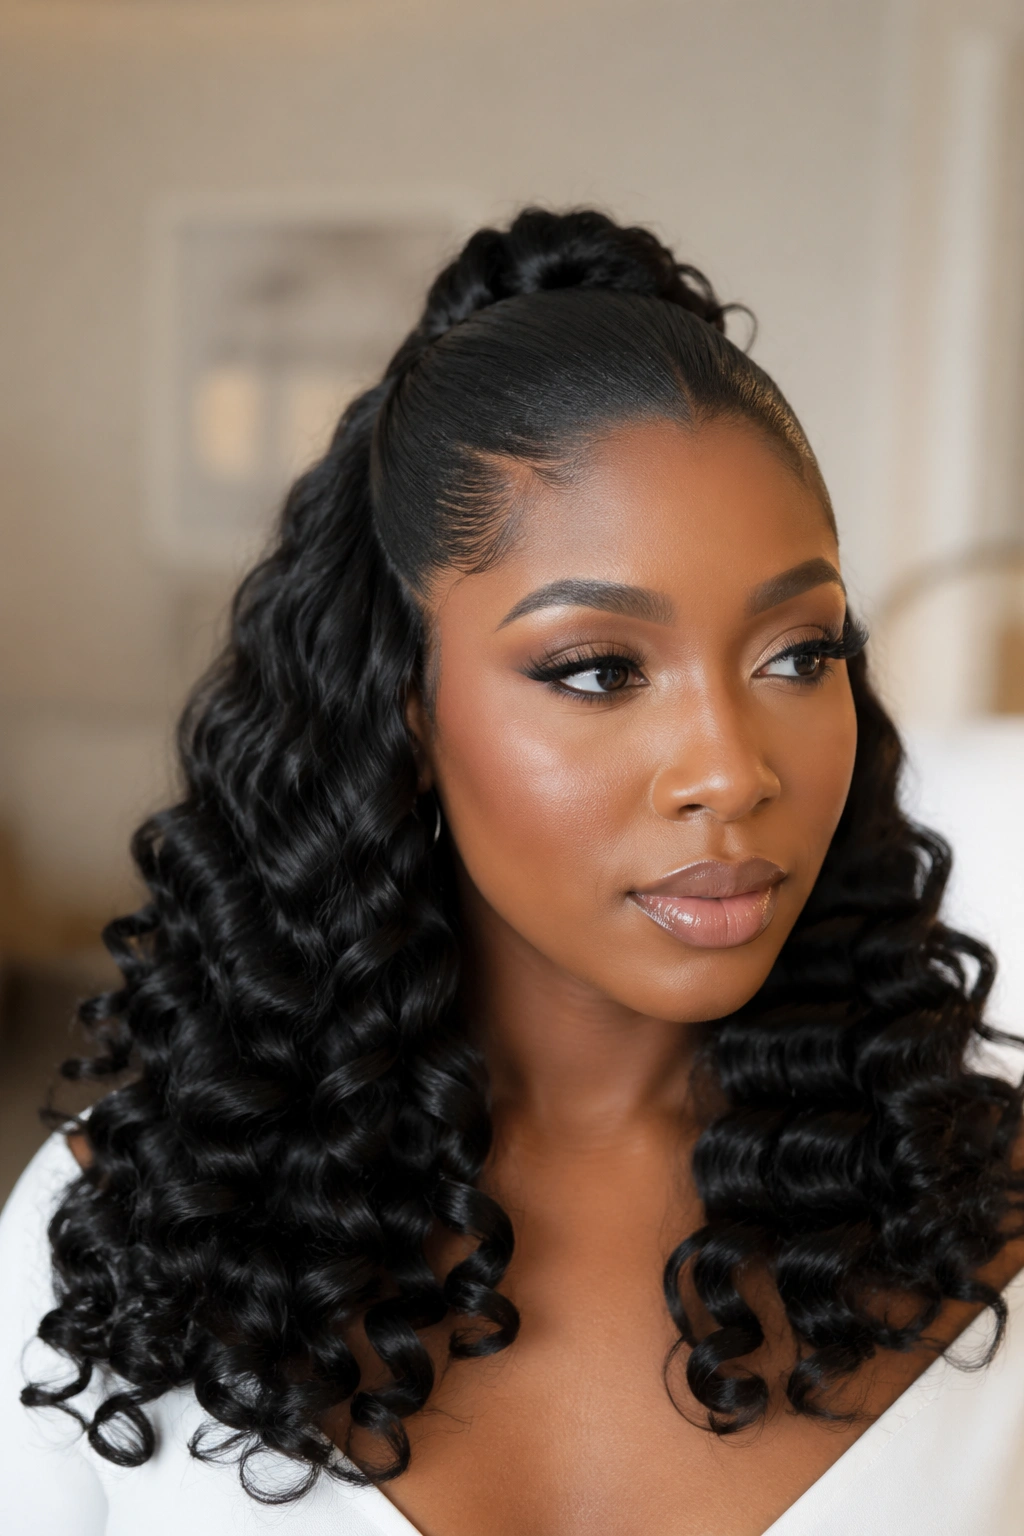
The down section is a full display of glossy, uniform wand curls. The top section is gathered and smoothed — not left as natural texture but smoothed with a brush or dense-bristle brush to create a sleek, flat appearance at the crown. This sleek-versus-textured contrast is the same principle as the sleek bun with curly cascade, but in a half up configuration.
Use a small amount of gel on the gathered section and smooth it thoroughly before securing. The smooth section reads as intentional; the wand curls below read as expressive. The combination is more formal than wand curls alone.
14. Double Bun Half Up With Wand Curls
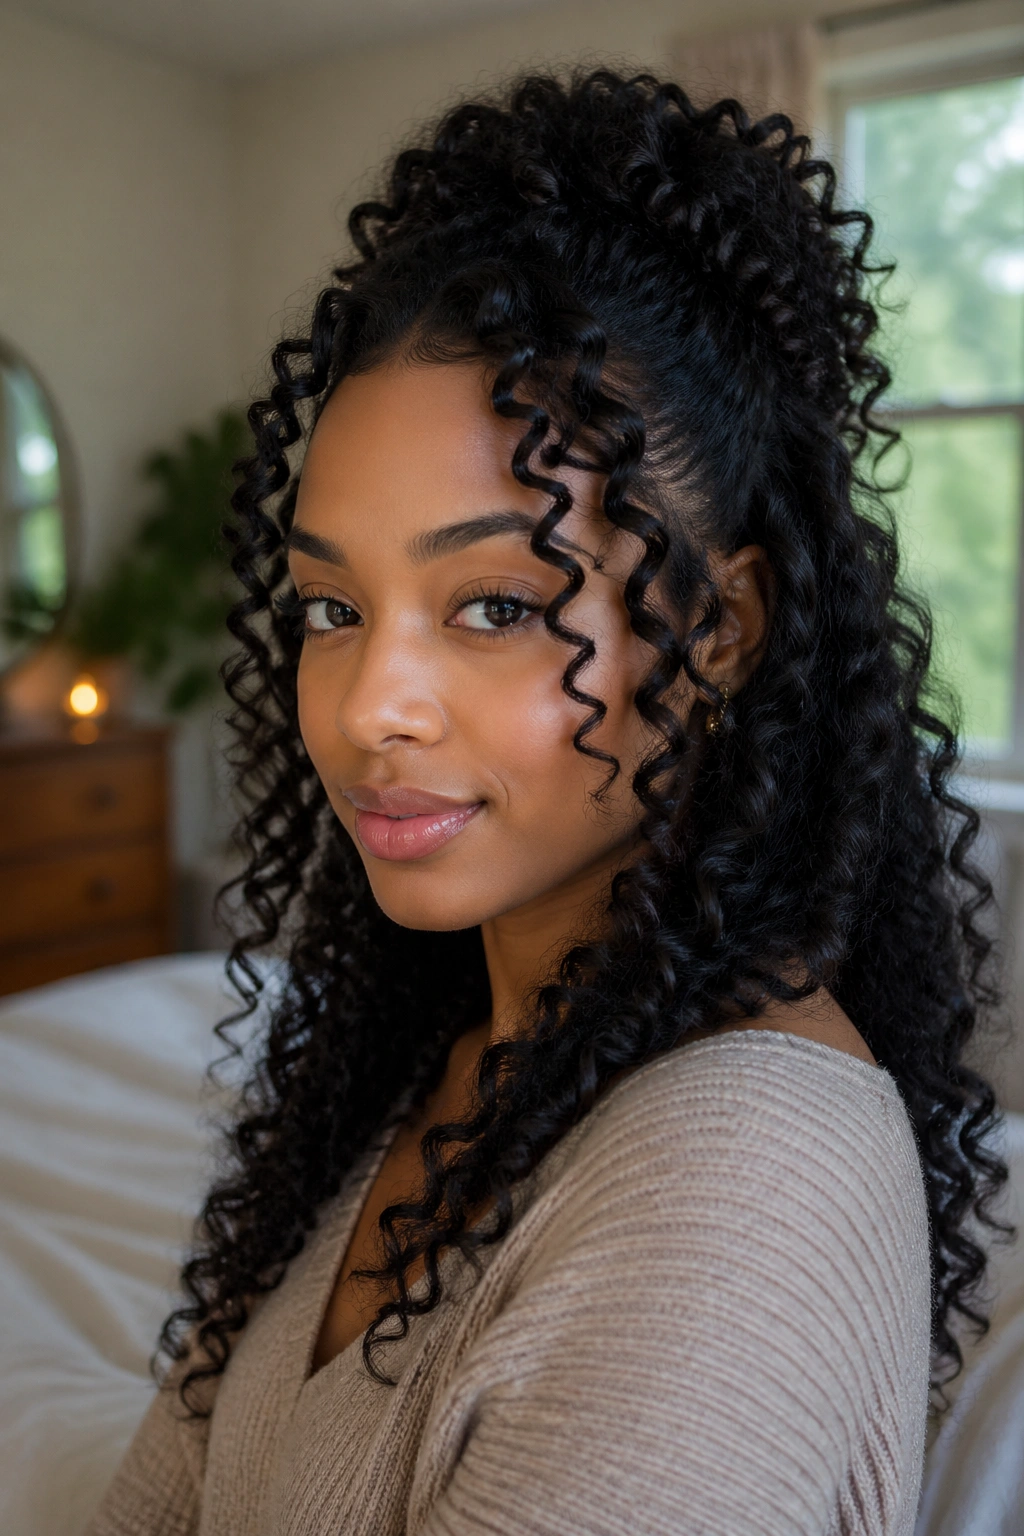
Two small buns at the top of the head — gathered from the front section and secured symmetrically — while the down section is covered in glossy, defined wand curls. The buns are playful and youthful; the wand curls are polished and glamorous. This combination sits in an interesting place between casual and formal.
Make the buns small enough to be clearly visible but not so small they look like mere bumps. Each bun should have some visible texture — don’t over-smooth them. Position them symmetrically, equidistant from the center part.
15. Half Up With Wand Curls and Side Part
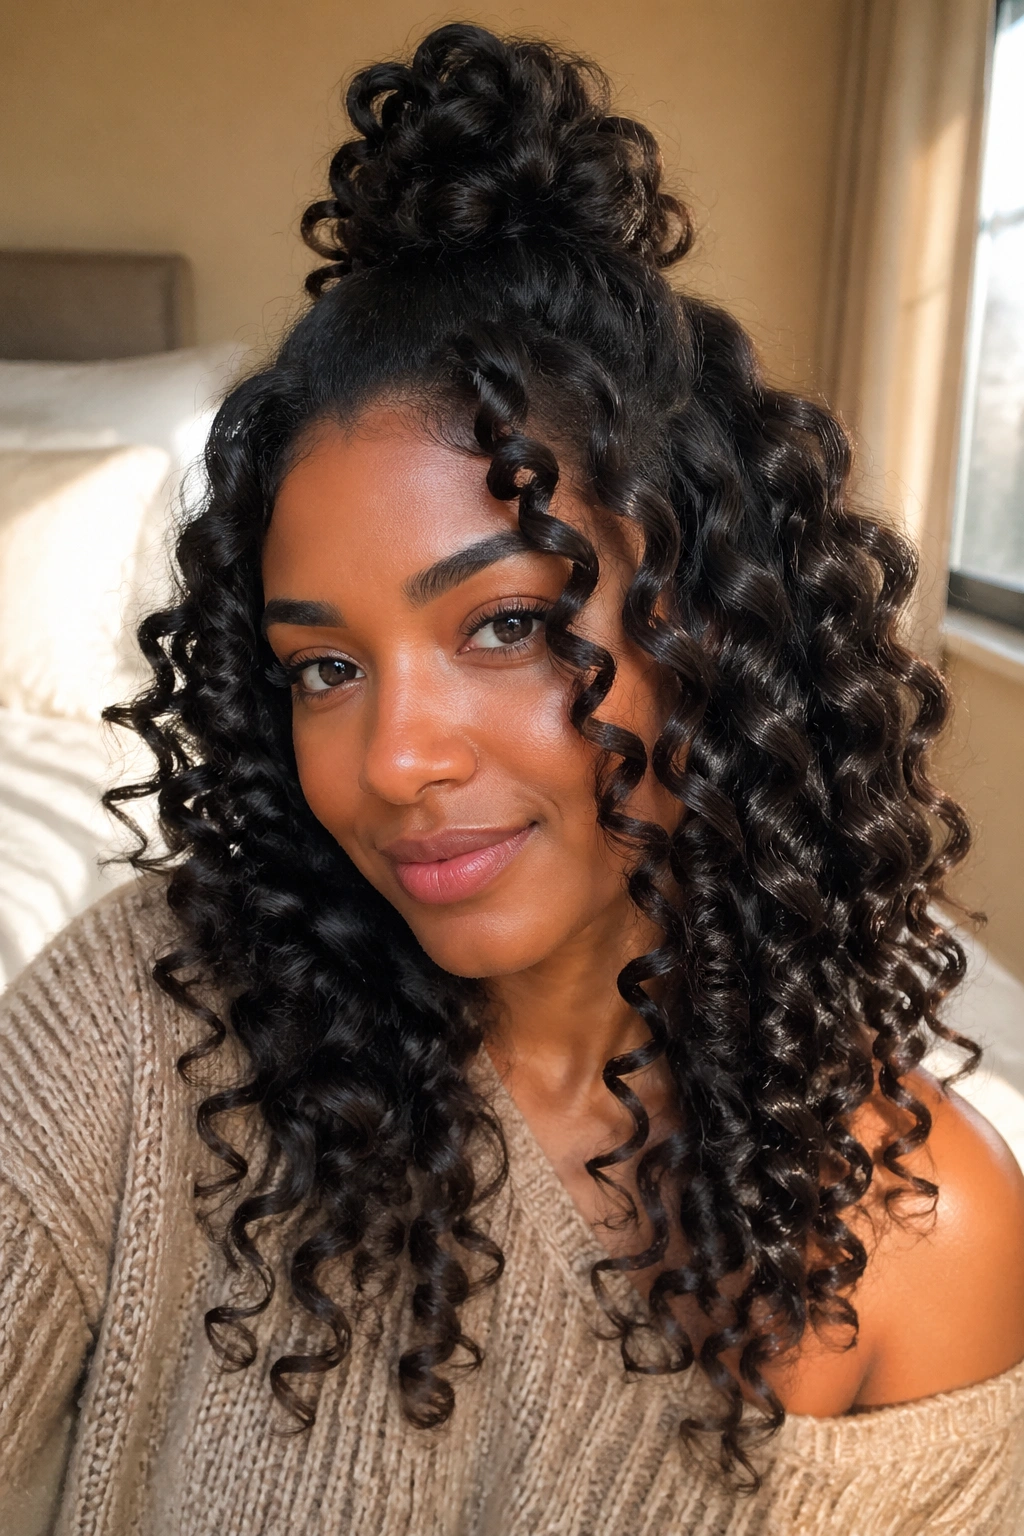
A deep side part divides the top section, with the larger front portion swept across to the other side and pinned. The gathered portion sits asymmetrically at the crown, swept to one side. The down section is covered in wand curls that cascade to the same side as the gathered section.
The side part + side-swept gathered section + one-directional wand curl cascade creates a unified sense of direction and flow in the style. Everything moves the same way — left, or right, depending on the part. This directional consistency makes the style feel cohesive and intentional.
16. Half Up With Wand Curls and Headband Braid
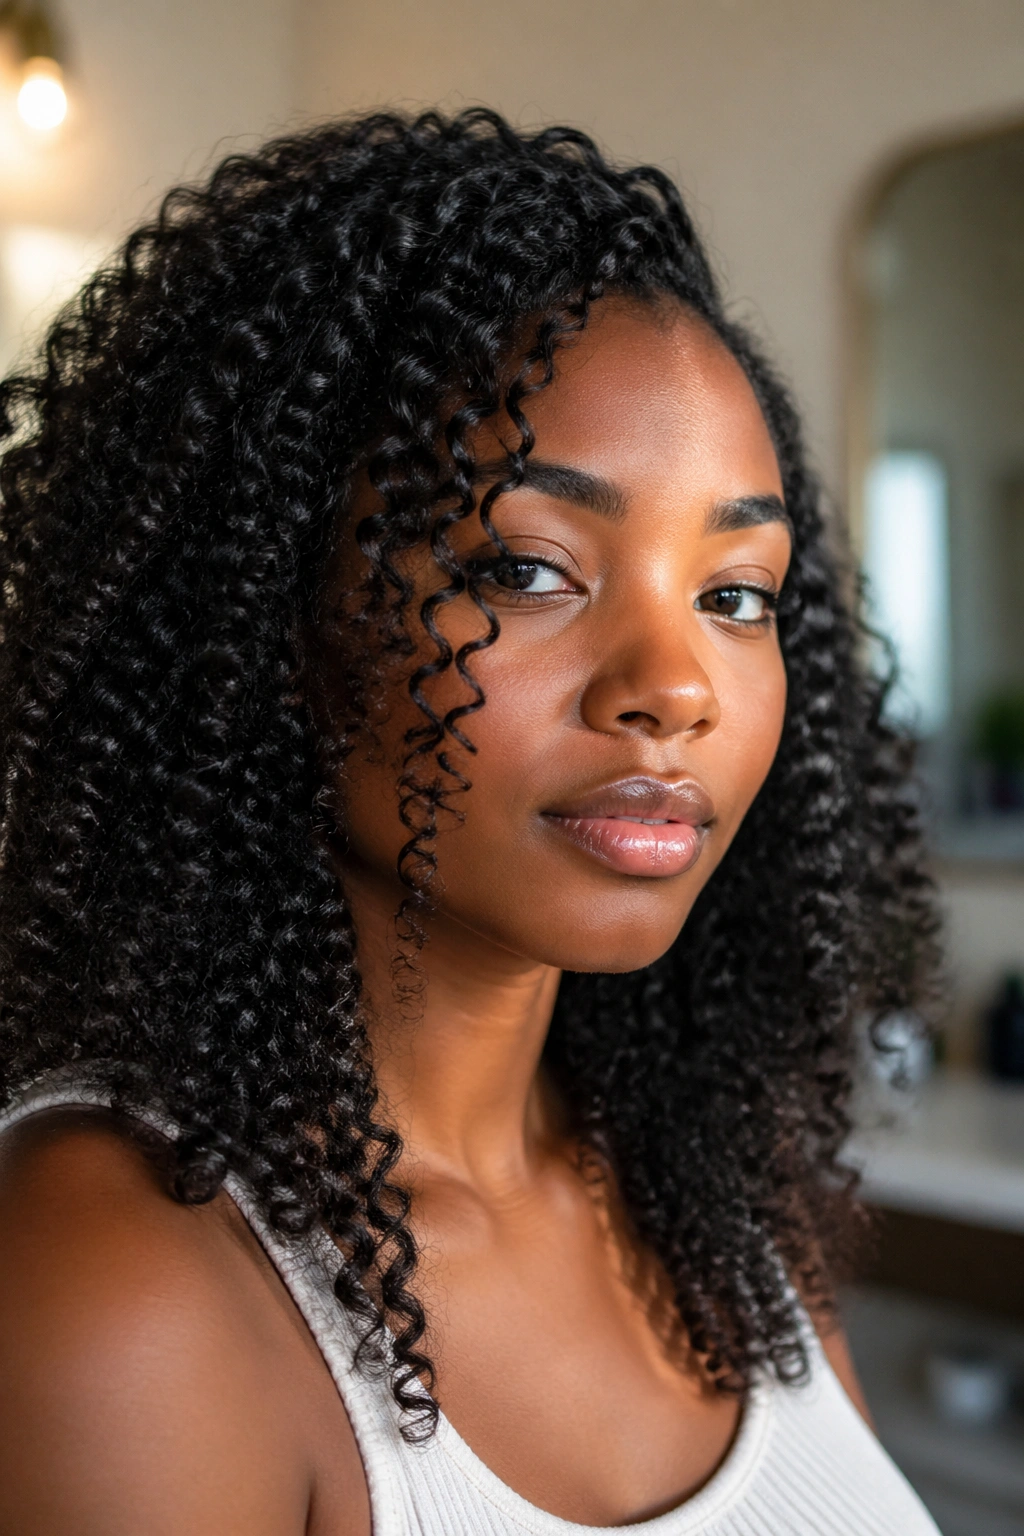
A single braided headband running from one ear across the top of the head to the other ear, serving as the “up” portion of the half up style — while the down section is covered in wand-curled spirals.
The braided headband keeps the face clear and provides structure at the crown, while the wand curls in the down section flow freely. This style is relatively easy to execute and very effective — the braid provides the structure and the wand curls provide the glamour.
17. Half Up With Wand Curls for Natural Hair Over Protective Style
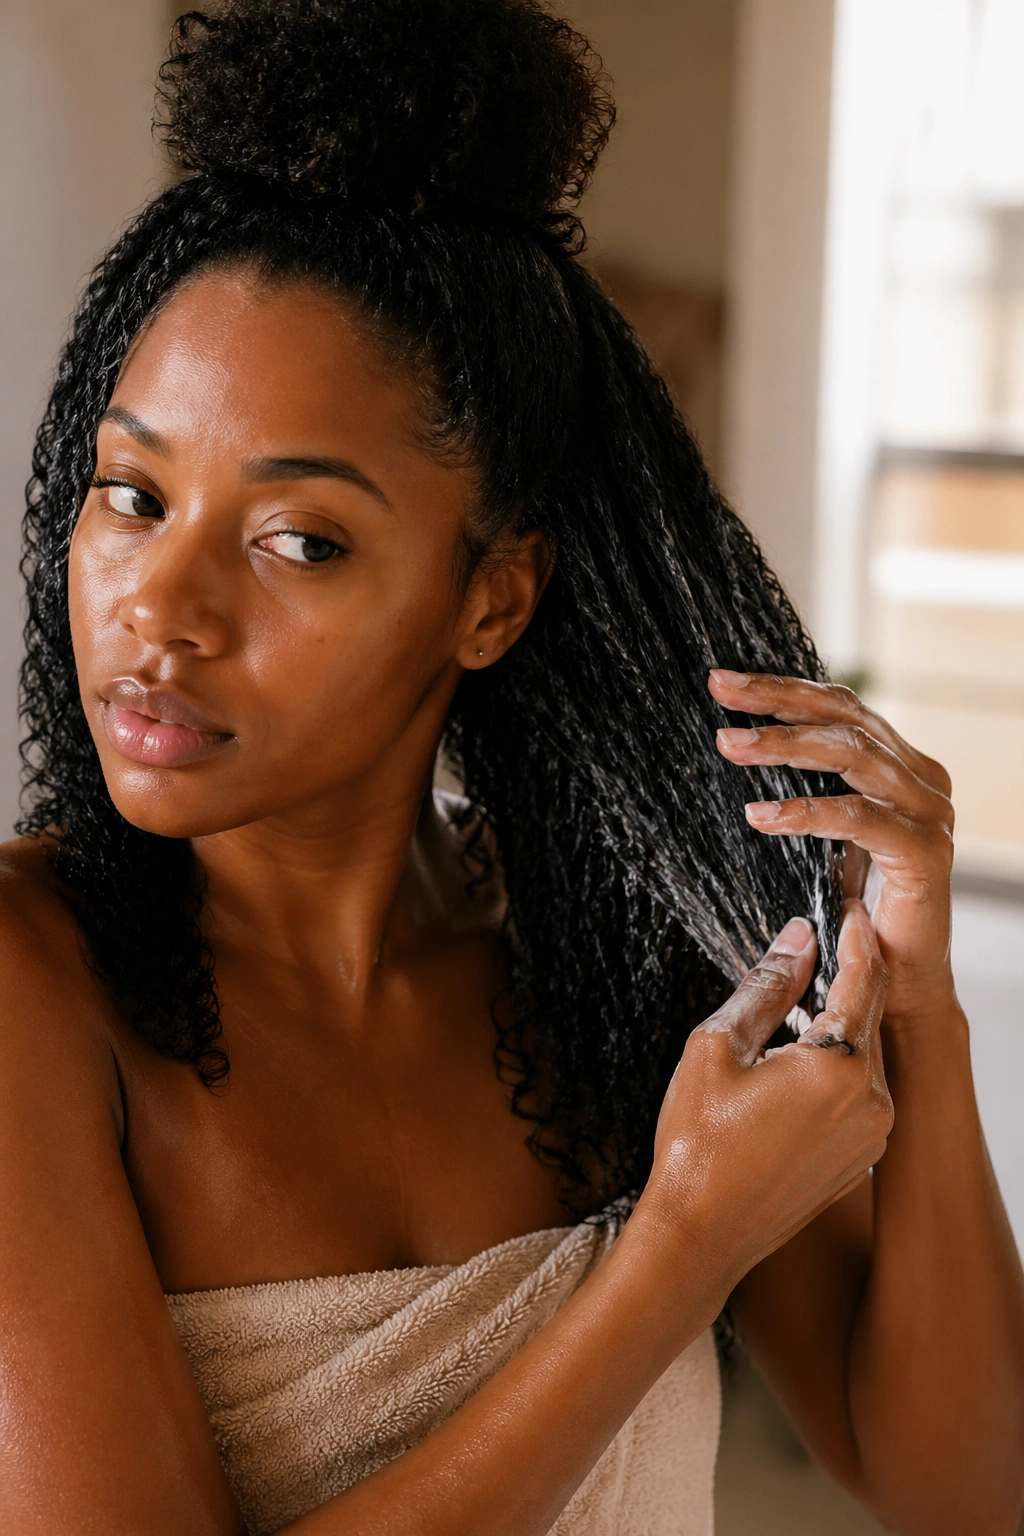
If you’re transitioning from a protective style (faux locs, box braids, cornrows), you may have a mix of natural texture and stretched hair that benefits from wand curling. Once the protective style is removed, natural hair often needs time to revert to its full curl pattern. Wand curling provides definition and uniformity while the hair recovers.
A half up with wand curls on transitioning or recently protective-styled hair allows you to look polished while the natural curl pattern reestablishes itself. Apply deep conditioner, let the hair absorb moisture, then wand-curl once fully dry.
18. Half Up With Wand Curls and Floral Accessories
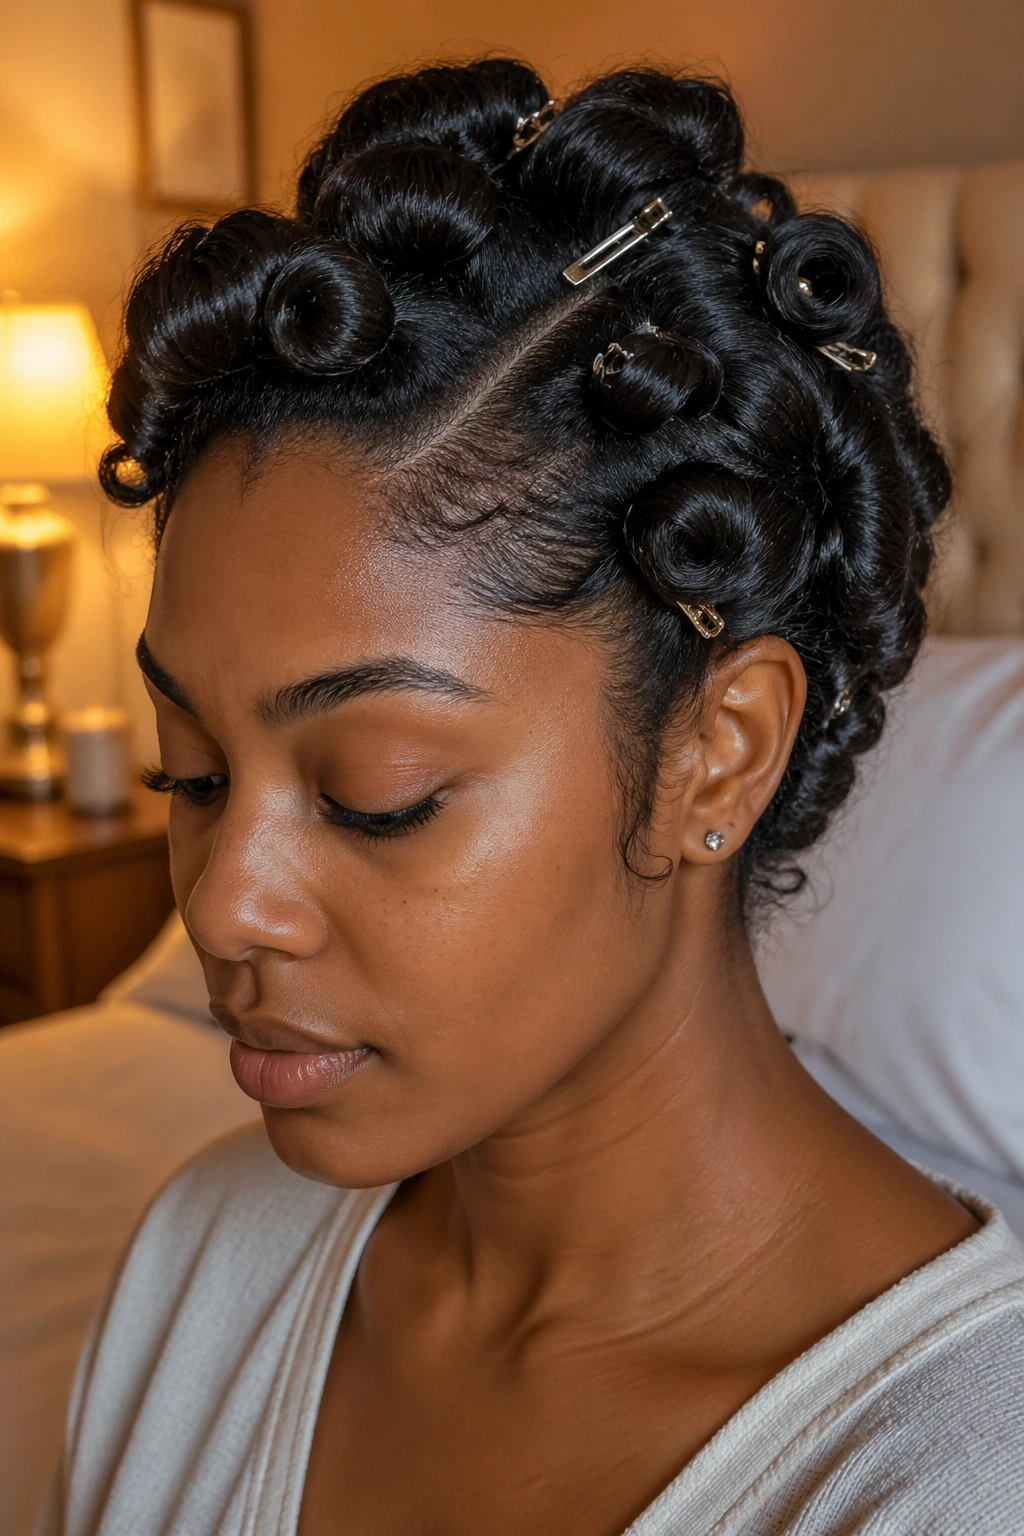
Wand curls are the perfect backdrop for floral hair accessories — the spiral shape of the curls creates natural nooks where flower clips or pins can sit securely, and the glossy surface of well-done wand curls makes the flowers look brighter and more vivid by contrast.
Place flowers throughout the down section at irregular heights. Position one or two at the gathered section as well, at the base where the hair transitions from secured to free. Fresh flowers are beautiful but difficult to keep all day — pressed flowers or fabric flowers last much longer and still look gorgeous against wand-curled natural hair.
19. Half Up With Wand Curls and Protective Base
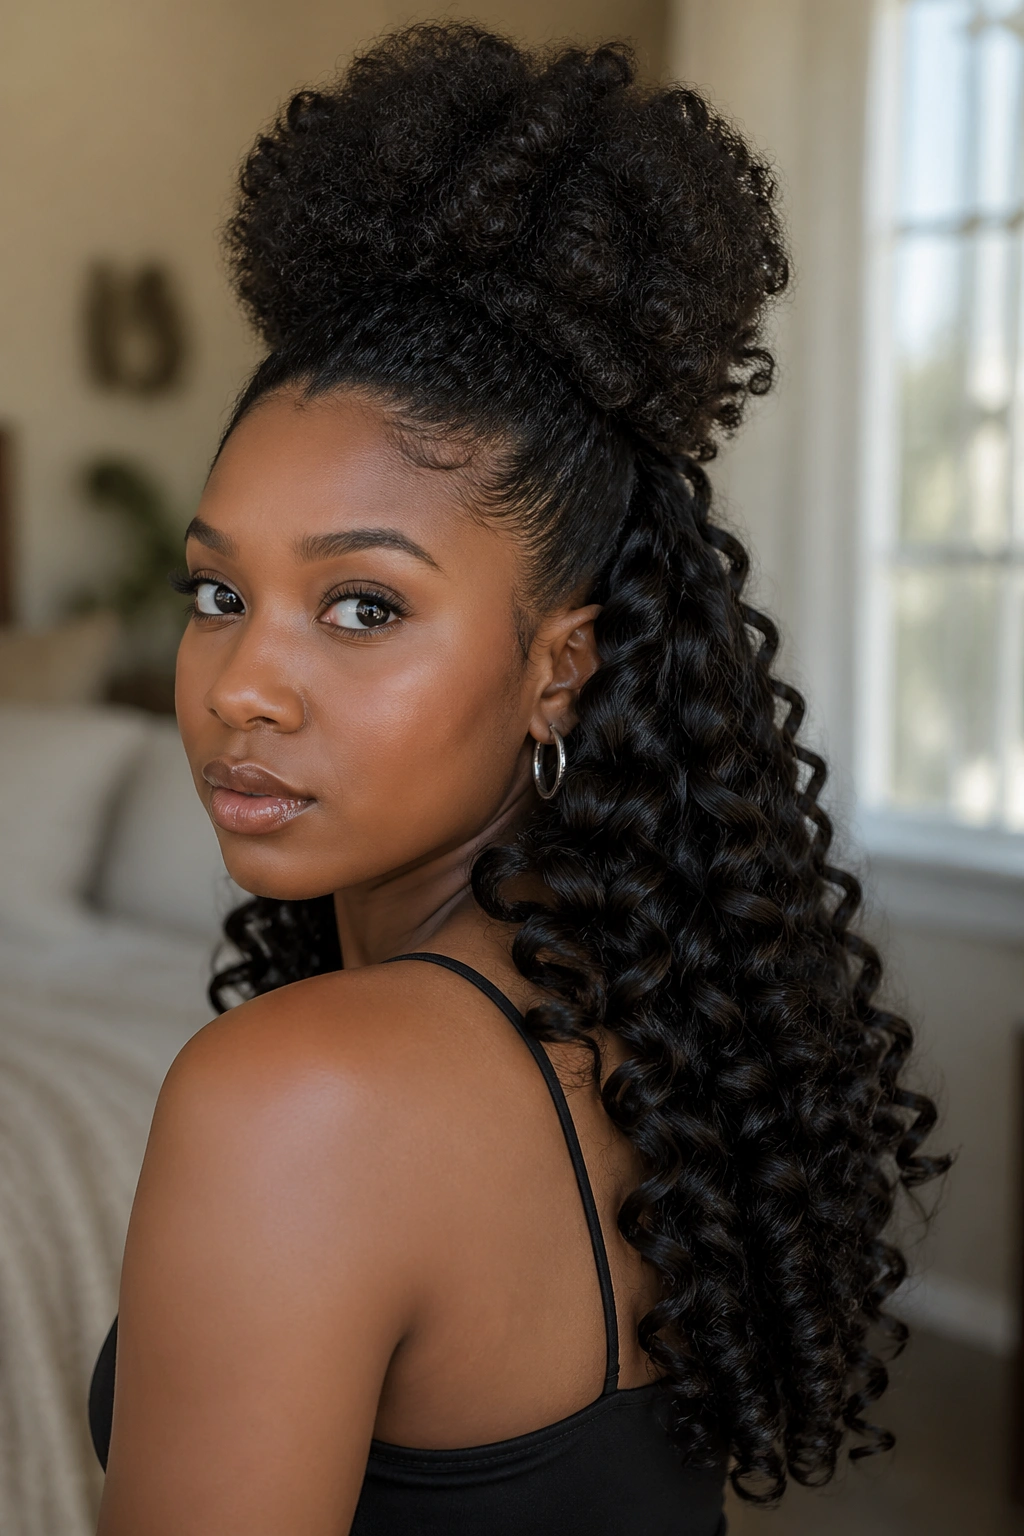
This style protects the scalp and roots by keeping the root area in a protective state — cornrows or flat twists near the scalp — while the ends are wand-curled into visible spirals. The half up gathered section covers the protective base at the crown, while the wand-curled ends in the down section are what the world sees.
This is a particularly good approach for women who are protective styling but want to attend an event that calls for a more styled look. The foundation is protective; the presentation is glamorous.
20. Wand Curl Half Up With Elongated Front Pieces
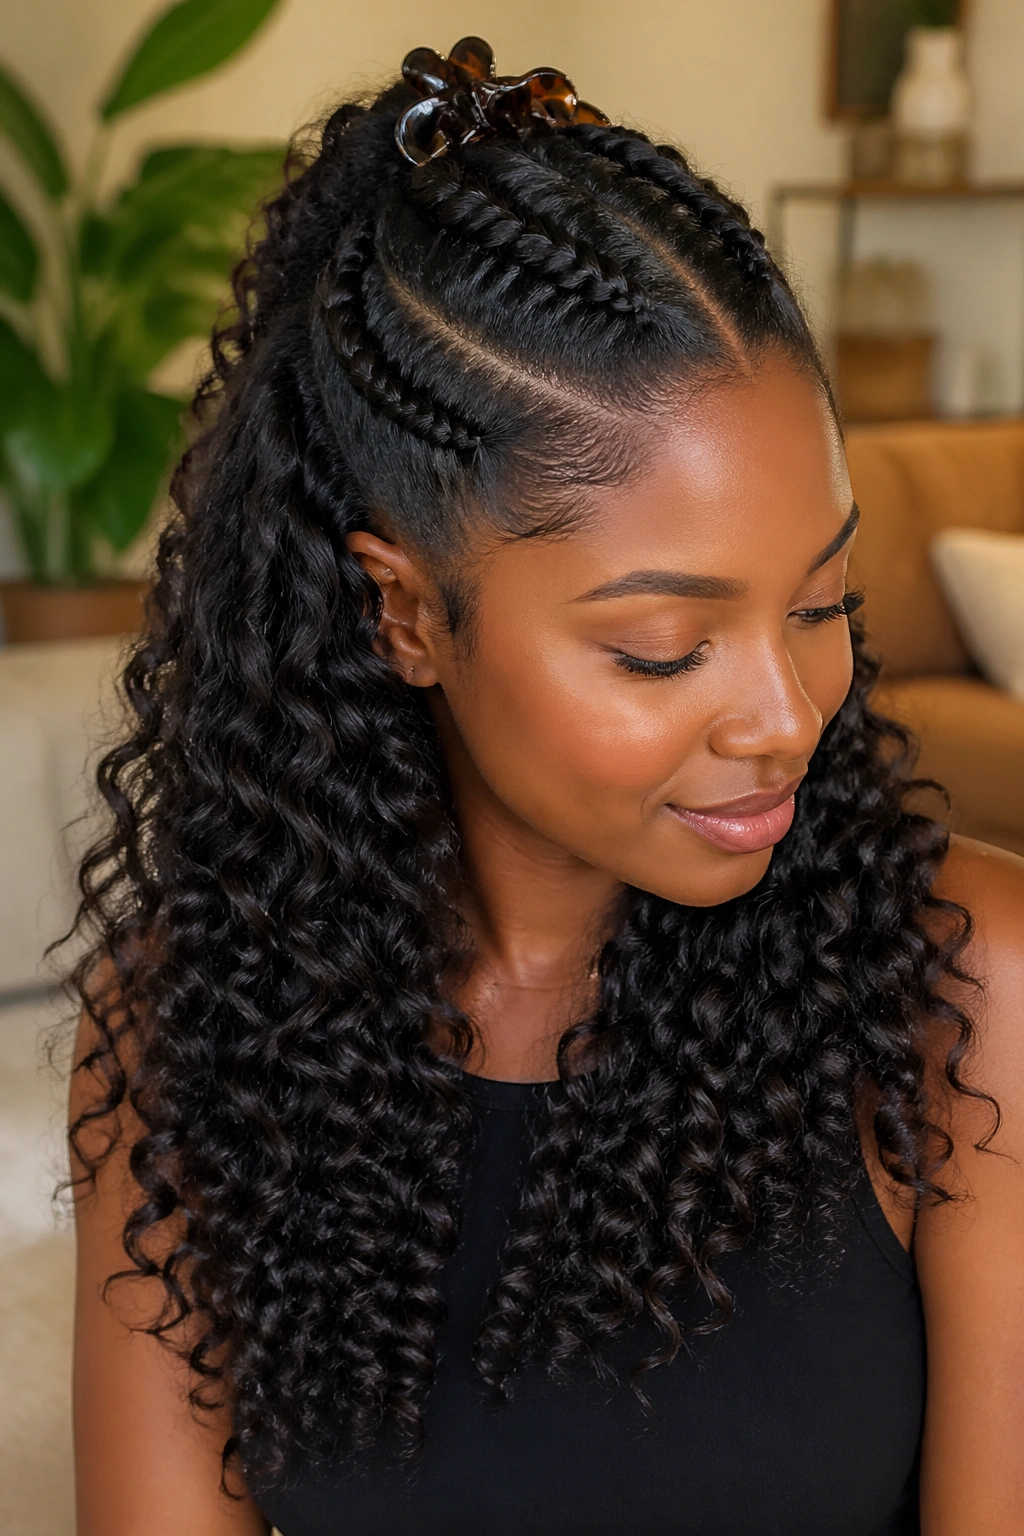
Two or three elongated, wand-curled sections are left hanging at the front — longer than the rest of the style, reaching past the chin or to the shoulder. These elongated front pieces frame the face and create a dramatic visual contrast against the shorter, fuller curl volume behind them.
For natural hair, achieving this elongated effect requires stretching those front sections before wand curling. Banded or threaded sections, once wand-curled, extend significantly beyond their natural shrunken length.
21. Half Up Puff to Wand Curl Gradient
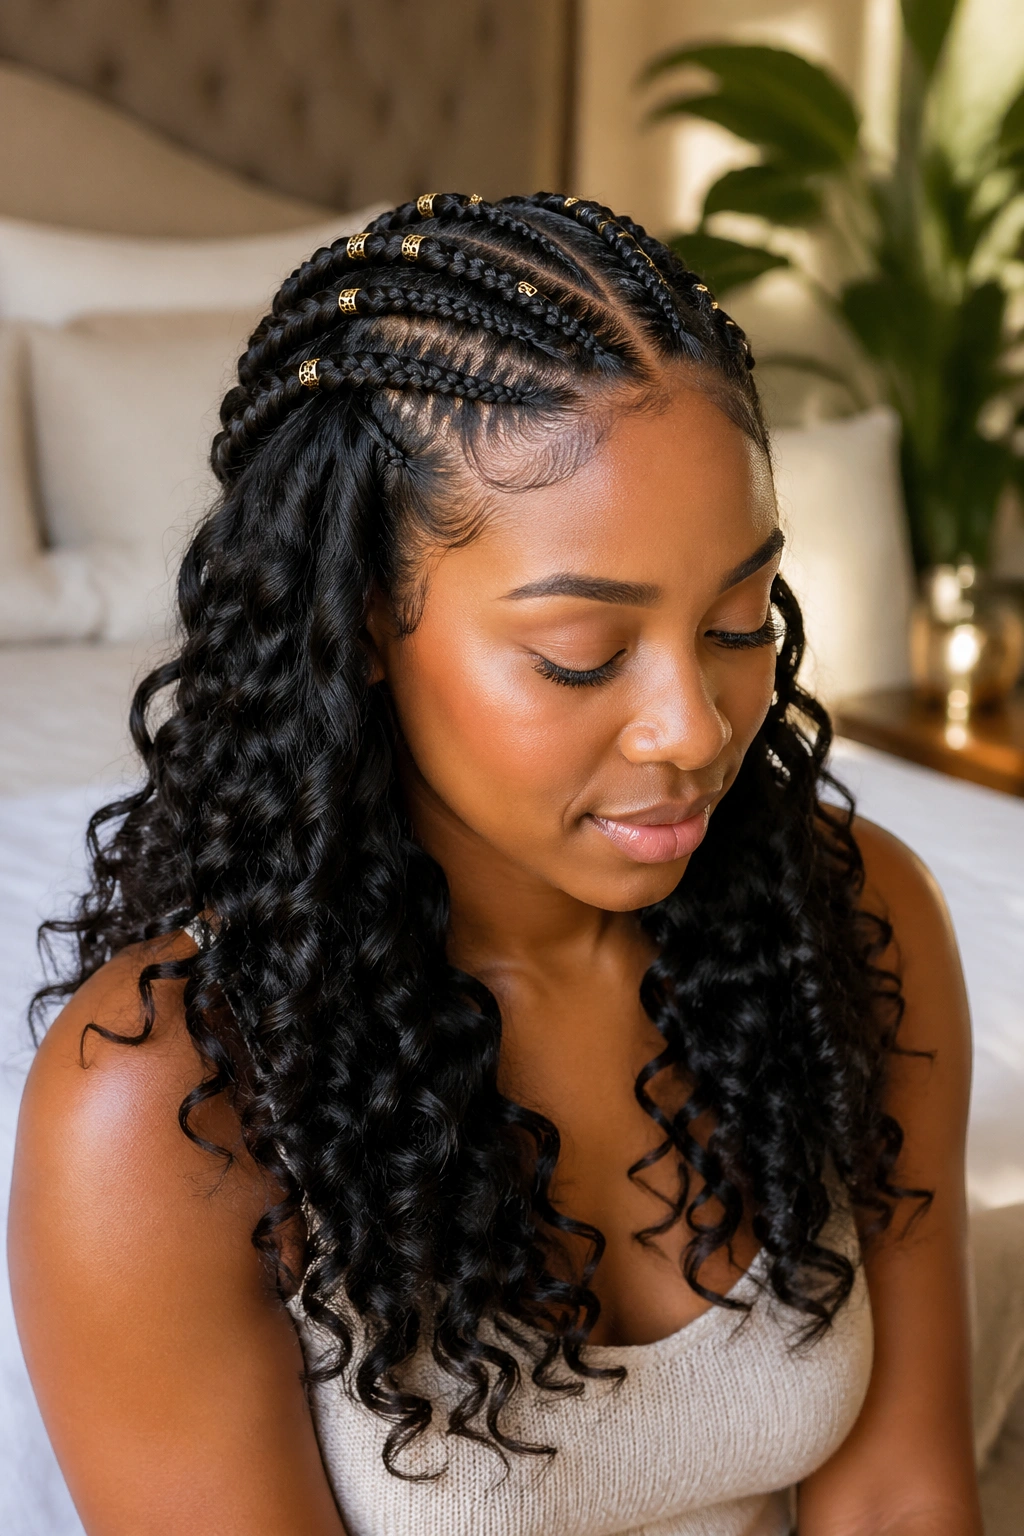
The gathered section at the crown is a full natural puff — completely unaltered, showing the hair at its most natural. As you move down into the down section, the curls transition from natural texture at the roots to wand-curled spirals at the mid-shaft and ends. This gradient — natural at top, defined at bottom — is subtle but beautiful.
Achieve this by applying wand heat only to the lower portion of each down section. The roots stay as natural curl texture; the lengths and ends receive the wand curl definition. The transition between the two textures should be soft and gradual, not abrupt.
22. Half Up With Voluminous Wand Curls and Crown Flat Twist
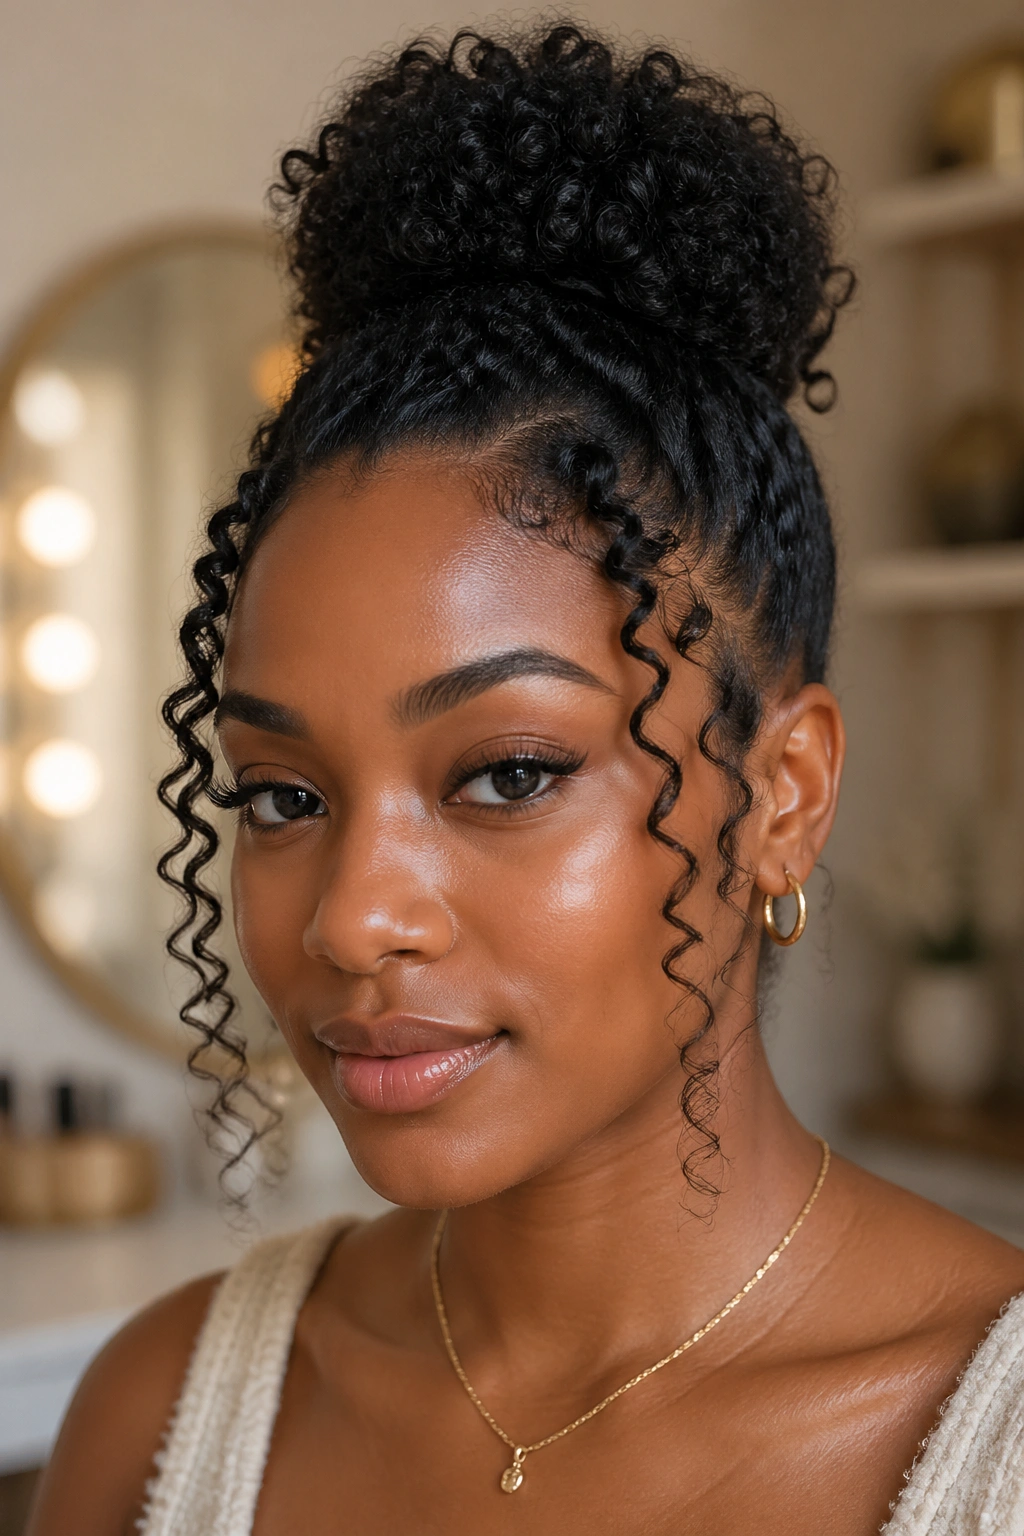
The crown area features a single flat twist running from the front hairline straight back to where it releases into the gathered section. The gathered section is a loose half ponytail. The entire down section is covered in voluminous, bouncy wand curls.
The flat twist at the crown is the style’s signature detail — a single line of defined texture running through an otherwise all-curly look. It creates a graphic element that prevents the style from reading as simply “hair down with curls.”
Maintaining and Refreshing Wand Curls
Wand curls on natural hair typically last one to three days, depending on your curl type, the products you used, and the climate. To extend the life of your curls, avoid sleeping with them loose — either pineapple (gather loosely at the very top of the head) or braid the down section loosely before bed. Cover with a satin bonnet.
In the morning, refresh by spritzing the down section lightly with water and a small amount of curl refresher. Scrunch gently upward. Avoid applying too much product — product buildup from day two onward can make the curls feel heavy and look dull.
For any specific sections that have straightened out or lost their curl definition, a quick re-wrap around the wand (or even your finger, for smaller sections) revives the spiral. Apply a tiny amount of heat protectant before re-curling even for a quick refresh.
Avoiding Heat Damage While Wand Curling Natural Hair
Heat damage accumulates over time. A single wand curling session won’t ruin your curl pattern, but regular high-heat use without proper protection eventually will. Space your wand-curling sessions out — once every one to two weeks maximum for most natural hair types. Use lower heat settings when possible. Deep condition after every heat styling session to replenish moisture.
Watch for early signs of heat damage: sections of hair that don’t revert to their natural curl pattern after washing, hair that feels perpetually dry or straw-like, or a visible change in texture in areas where heat is most frequently applied (often the perimeter and top sections). If you notice these signs, take a break from heat styling entirely and focus on moisture restoration until the curl pattern recovers.
Your natural curl pattern is worth protecting — because the wand curls look best when they have a healthy, defined natural curl to work with.
