



Straw curls on natural hair are having a well-deserved moment — and honestly, they’ve earned it. There’s something almost magical about the technique: you take ordinary drinking straws, roll your natural hair around them, wait for the hair to dry, and unwrap to reveal tight, bouncy, beautifully defined spirals that last for days. No heat. No wand. No expensive equipment. Just straws and the right products — and the results rival anything a professional heat tool can produce. For naturals who want defined curls without daily heat exposure, straw curls are one of the smartest techniques in the toolkit.
Why Straw Curls on Natural Hair Deserve More Attention
Straw curls sit in a unique position in the natural hair styling world. They’re technically a no-heat method, which puts them in the protective styling category for many naturals. But they produce results that look like they came from a hot styling tool — tight, uniform spirals with visible definition and serious staying power.
The reason they work so well on natural hair is texture compatibility. Straw curls on natural hair create spirals that echo and enhance the coil pattern that’s already there. A Type 3 curl gets more definition and elongation. A Type 4 curl gets visible spiral structure that might otherwise require heat to achieve. The straw provides just enough structure during the drying process to set a beautiful curl without requiring any external heat source.
They’re also more accessible than most people realize. The materials are cheap and widely available. The technique is learnable in one sitting. And once you’ve done it a couple of times, you can set an entire head in about an hour — then wait for the magic to happen as the hair dries.
What Type of Straw Works Best
Not all straws are created equal for this purpose. Regular drinking straws — the standard-width ones, about a quarter inch in diameter — produce tight, uniform spirals that work beautifully for Type 3 and Type 4 natural hair. Wider straws (like bubble tea straws) give you a looser, bigger curl. Thinner coffee stirrers produce extremely tight, very defined mini-spirals.
Most naturals find regular drinking straws hit the sweet spot — tight enough to produce a defined curl, wide enough to wrap comfortably without the hair fraying or being difficult to work with. Flexible straws with the accordion bend at one end actually make it easier to secure the ends — you fold the accordion bend over the wrapped hair to hold it in place during drying.
The Products That Make or Break Straw Curls
With a no-heat technique like straw curls, the products carry the full weight of setting the curl. There’s no heat to force the coil into shape — the product has to do all the work of defining, setting, and holding the curl while the hair dries.
A good straw curl product combination has three components: slip, definition, and hold. Slip lets you smooth each section around the straw without disruption or frizz. Definition helps the coil pattern form cleanly. Hold keeps the curl in its spiral shape after the straw is removed and the hair is on its own.
The most effective combination for most natural hair types is a curl-defining gel or custard applied generously to each section. Some naturals add a layer of leave-in conditioner underneath the gel for extra moisture and slip. Avoid heavy butters right before straw setting — they provide slip but minimal hold, and the curl will flop the moment the straw comes out.
The gel matters more than most people think. Underdo the product and the straw curl won’t hold. Overdo it and you get crunchy, stiff-looking curls that don’t soften even after scrunching out the cast. The right amount coats every strand in the section without saturating it — the section should look wet and product-coated, not drenched.
How to Section Hair for Straw Curls
Sectioning strategy affects every aspect of the finished style — how uniform the curls look, how long the process takes, and how well each section wraps around the straw.
Divide the hair into four to six large sections and clip each to keep it organized. Work through one large section at a time, creating smaller subsections within it. The width of each subsection should be about the same diameter as the straw — roughly a quarter inch. This sounds extremely small, and it is. But this is the reason straw curls look so dramatically defined: each individual curl is one straw-width of hair, so every spiral is uniform and individually distinct.
If you want larger, looser spirals rather than tight ringlets, increase the subsection size to half an inch. The straw will still produce a defined curl, just with a wider spiral column and slightly less tightness.
Work from the nape upward, as with most natural hair sets. This approach keeps the work you’ve already done organized and keeps the unset sections out of the way.
Wrapping the Hair Around the Straw — Step by Step
The actual wrapping technique is simpler than it looks, but it does require practice to become efficient. Here’s the process:
Take your quarter-inch subsection of product-applied natural hair. Hold the straw in one hand and the hair section in the other. Place the tip of the hair at the bottom of the straw and begin rolling the hair around the straw in a consistent spiral motion — similar to how you’d wrap a ribbon around a gift curling ribbon. Keep the hair tightly coiled against the straw surface as you spiral upward.
Once the full section is wrapped around the straw, fold the accordion tip of the straw over the hair to hold it in place (if using a flexible straw), or use a small clip or bobby pin to secure the end. The hair should be snug against the straw — not so tight that it creates tension on the scalp, but tight enough to maintain the spiral shape.
If using straight straws without a flexible end, secure both ends with a small rubber band or clip. The straw just needs to hold until the hair dries.
1. Classic Tight Straw Curls
The classic tight straw curl is what most people picture when they hear the technique described. It’s the tight, uniform spiral that covers the entire head — a full set of identical coils that together create a textured, defined look that lasts four to five days with proper maintenance.
Work in quarter-inch sections throughout the entire head using regular-width drinking straws. Apply a generous amount of curl gel to each section, smooth it through, and wrap from tip to root. Secure each straw and move on. Once the full head is set, sit under a hooded dryer for 45-60 minutes, or let the hair air dry completely — this takes four to eight hours depending on your hair’s density and length.
How to Get the Most Defined Classic Straw Curls
- Section the hair while it’s still wet from washing — wet hair is easier to divide evenly
- Apply gel while the hair is damp, not dry, for better product absorption
- Work quickly through each section so the product doesn’t dry before you’re done wrapping
- Let the hair dry completely before removing a single straw — partial drying leads to frizzy, undefined curls
The wait is the hardest part. But it’s non-negotiable.
2. Straw Curls with a Moisturizing Base
Not all straw curl sets start with the same foundation. For natural hair that tends toward dryness — especially high-porosity or 4C hair — adding a moisturizing base under the setting gel dramatically improves the quality of the finished curl.
On freshly washed, conditioned hair, apply a lightweight leave-in conditioner to every section before adding the curl gel. The leave-in provides the moisture and slip layer that the gel alone may not offer. Let the leave-in absorb for a few minutes, then apply the gel over it and proceed with wrapping. The combination of moisturized strands and hold-providing gel produces curls that are defined and soft — not crunchy, not dry, not stiff.
This two-layer approach is especially important for 4C hair that can become brittle if it dries without adequate moisture.
3. Half-Up Straw Curl Set
For days when you don’t have the time or energy for a full-head straw curl set, a half-up version gives you defined curls where they’re most visible — at the top and front of the head.
Divide the hair roughly in half: the upper half (crown, sides, and front) and the lower half (nape and back). Straw set the upper half completely. Leave the lower half in its natural state — in a loose puff, twist-and-coil, or simply unset. Gather the back section into a loose low puff or bun and secure it. The straw curls on the upper half frame the face and are the first thing anyone sees.
This style lets you get the visual impact of straw curls with about half the time investment. It’s an excellent weekday style.
4. Straw Curls on Stretched Natural Hair
Stretching the hair before straw setting gives you longer, more elongated curls than setting directly on shrunken natural hair. For Type 4 naturals particularly, this technique makes the difference between curls that show some length and curls that show your actual length.
Use the banding method or a low-heat blowout to stretch the hair before setting. Once stretched, the hair sections wrap around the straw more smoothly and the resulting curl has a longer spiral column. The finished style shows significantly more length than straw curls set on unstretched 4C hair.
This is a great approach for special occasions when you want to wear your hair long and defined without heat styling on the actual curl formation.
5. Straw Curls for Volume on Fine Natural Hair
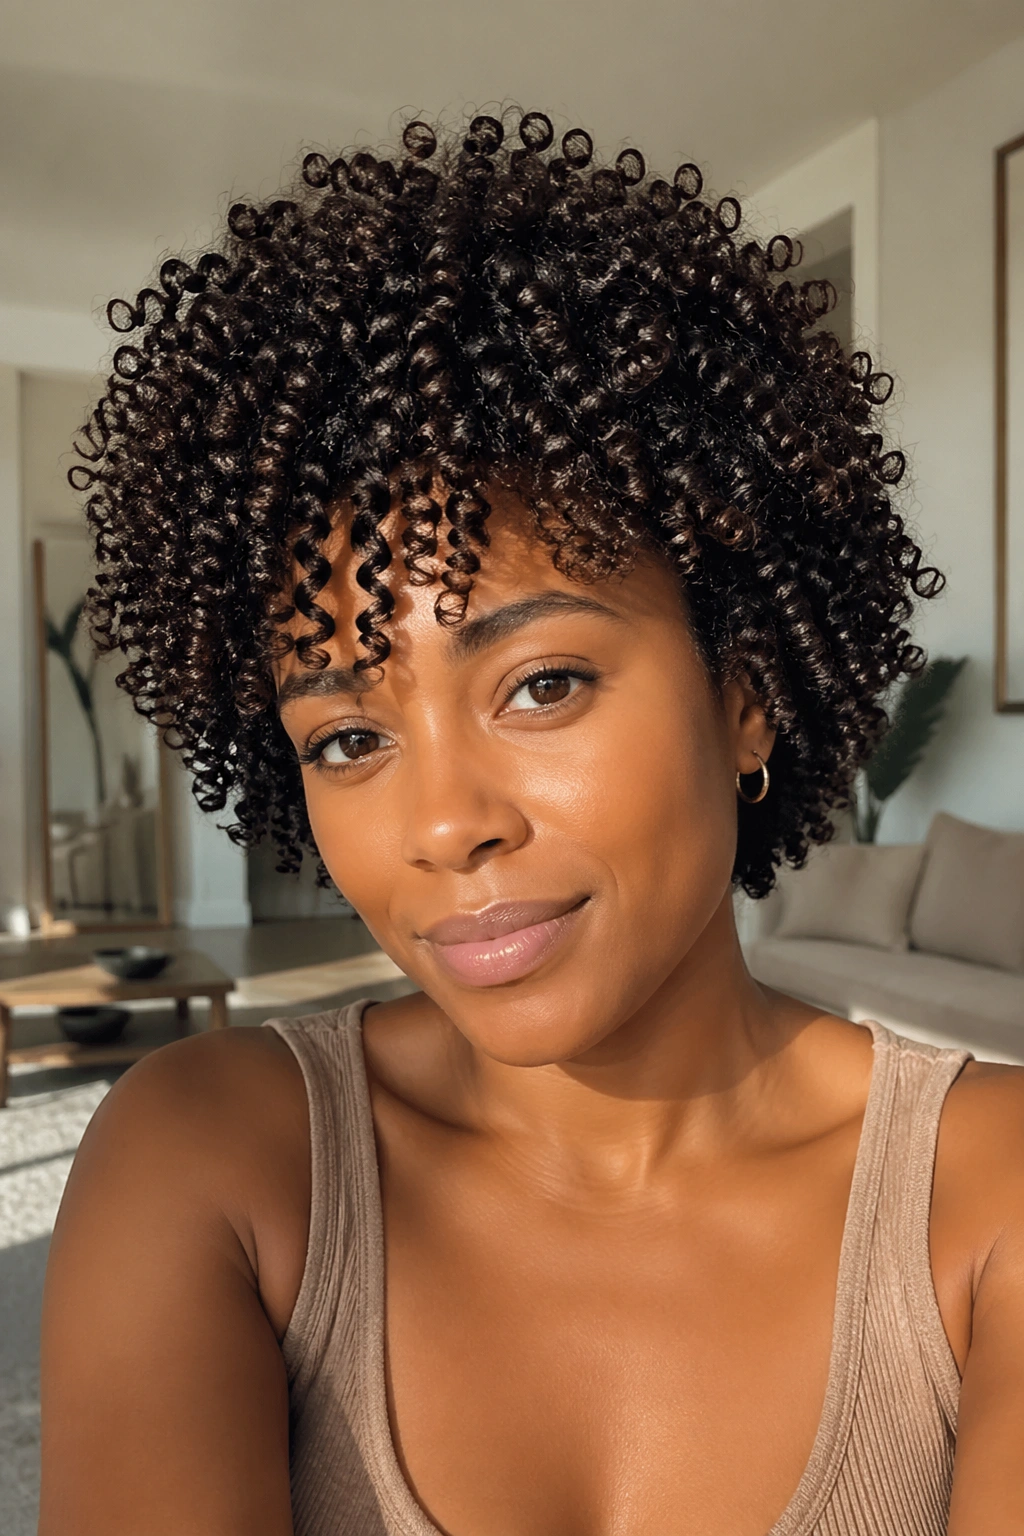
Fine natural hair often struggles with volume — the strands themselves are thin, so even with a lot of them, the hair can lay flat rather than forming the full, bouncy shape that many naturals want. Straw curls are one of the best volume-creating techniques for fine natural hair.
The tight individual spirals created by straw curls each have their own spring and bounce. When hundreds of them cover the head simultaneously, they lift from the scalp and create significant volume through collective movement. For fine-haired naturals, this is the magic trick.
Use thinner straws if possible — coffee stirrers rather than regular straws — for the finest, most densely packed spirals. The smaller diameter means more individual curls per square inch, which means even more volume.
6. Straw Curls with a Hooded Dryer for Efficiency
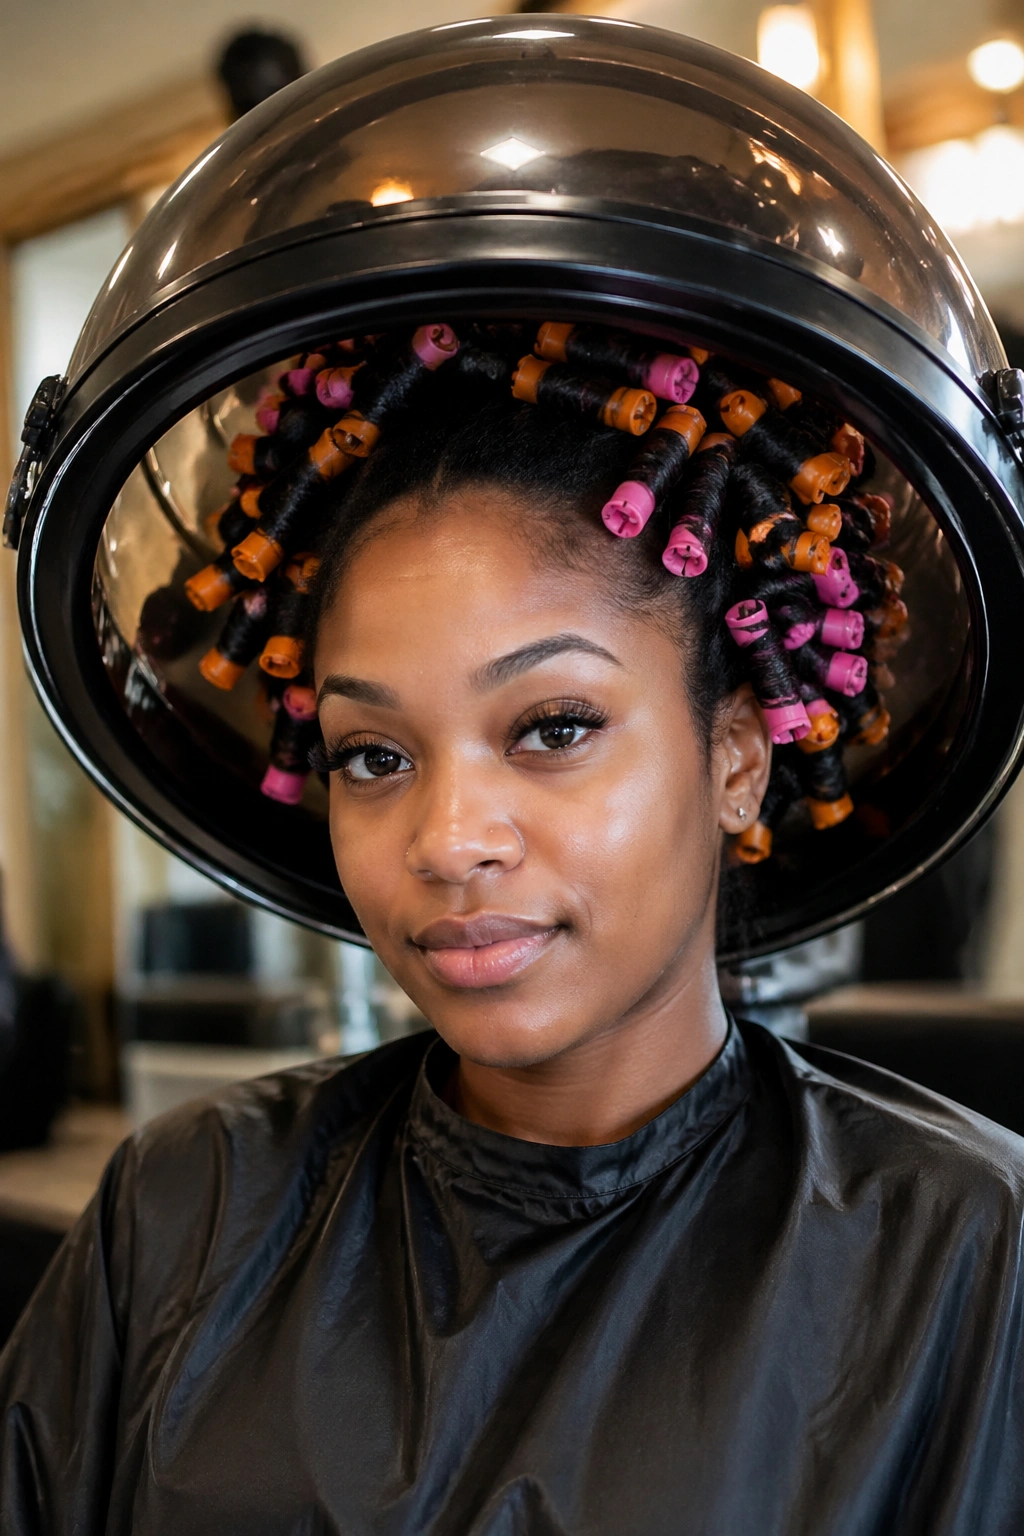
Air-drying straw curls takes patience. If sitting with a head full of straws for multiple hours doesn’t appeal, a hooded dryer is the solution. It cuts drying time from four to eight hours down to 45-90 minutes, and many naturals find that the even, consistent heat of a hooded dryer actually produces slightly better-defined curls than air drying.
Set the dryer to medium heat — not high. High heat on a no-heat technique defeats the purpose, and too-high temperatures can alter the effectiveness of some gels. Sit under the dryer until the hair is completely dry. Test by removing one straw and pressing the curl gently — if it springs back without any dampness, the set is done.
Once completely dry, remove all straws and separate the curls gently with oiled fingertips.
7. Large Straw Curls for a Looser Style
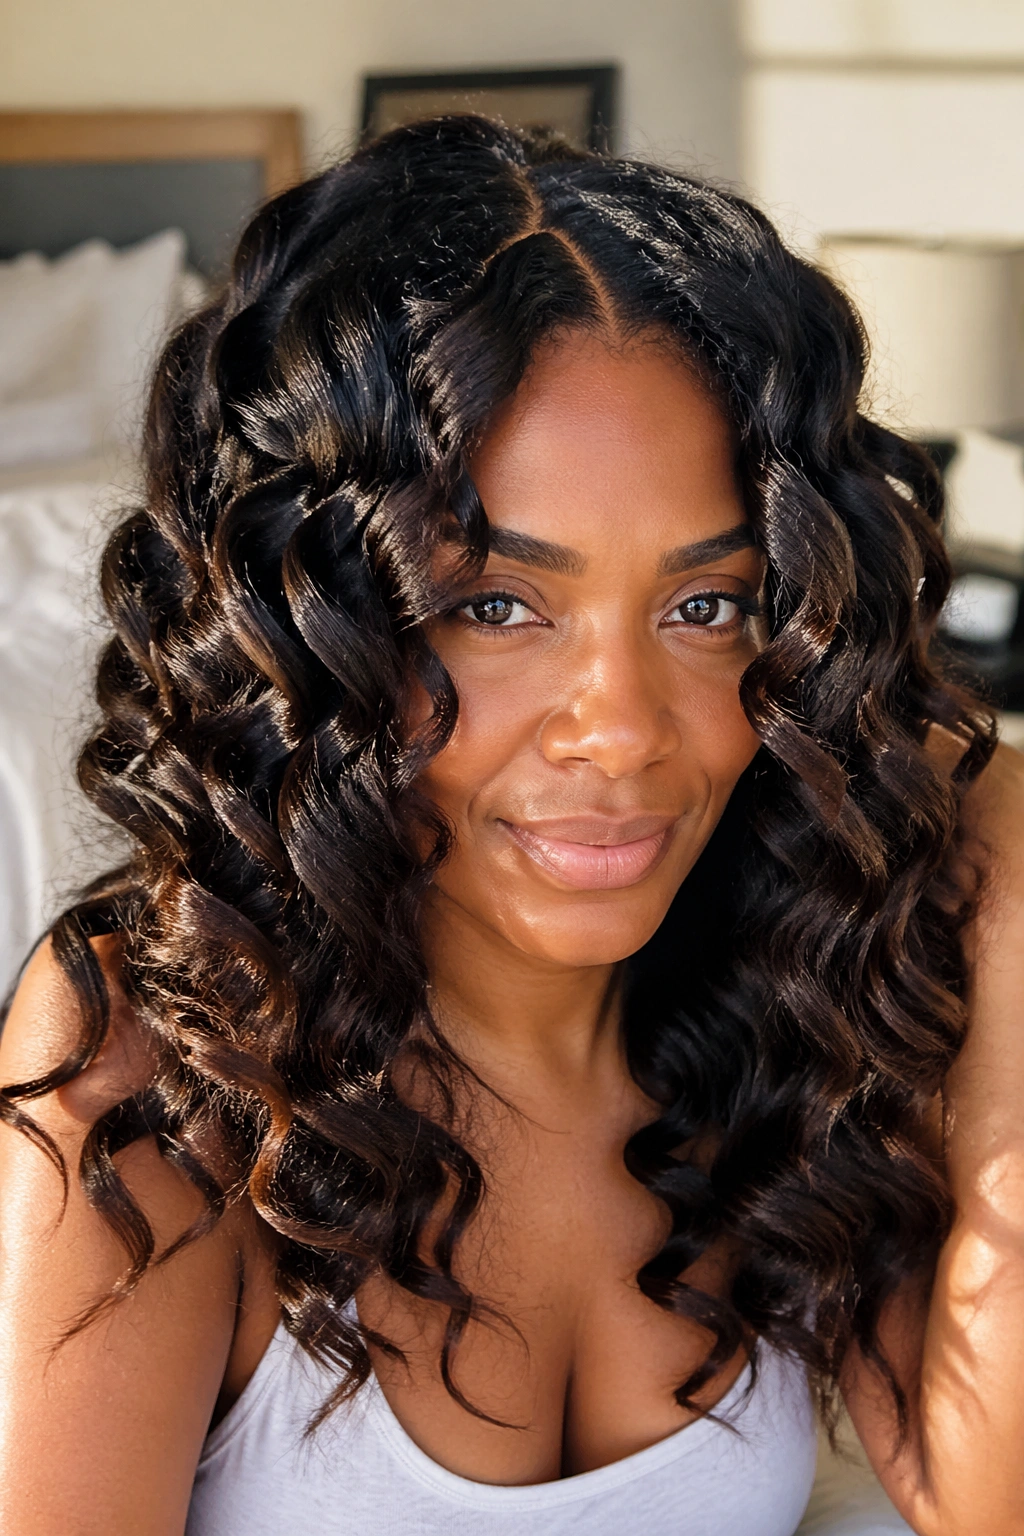
Big straws give you big curls. Bubble tea straws, large craft straws, or any wide-diameter straw produces a loose, open spiral that’s more like a beach wave than a tight ringlet. This gives straw curling a versatility that many naturals don’t realize it has.
Work in larger sections — about half an inch to three-quarters — and wrap loosely around the wide straw. The resulting curl has a soft, romantic quality rather than the defined, tight look of classic straw curls. This is a beautiful option for naturals who want some wave definition but prefer a more relaxed aesthetic.
The wider the straw, the softer the resulting curl. Combine different straw sizes throughout the head — wider straws at the crown for volume, thinner straws at the sides for definition — for a multi-textured, dimensional look.
8. Overnight Straw Curl Set
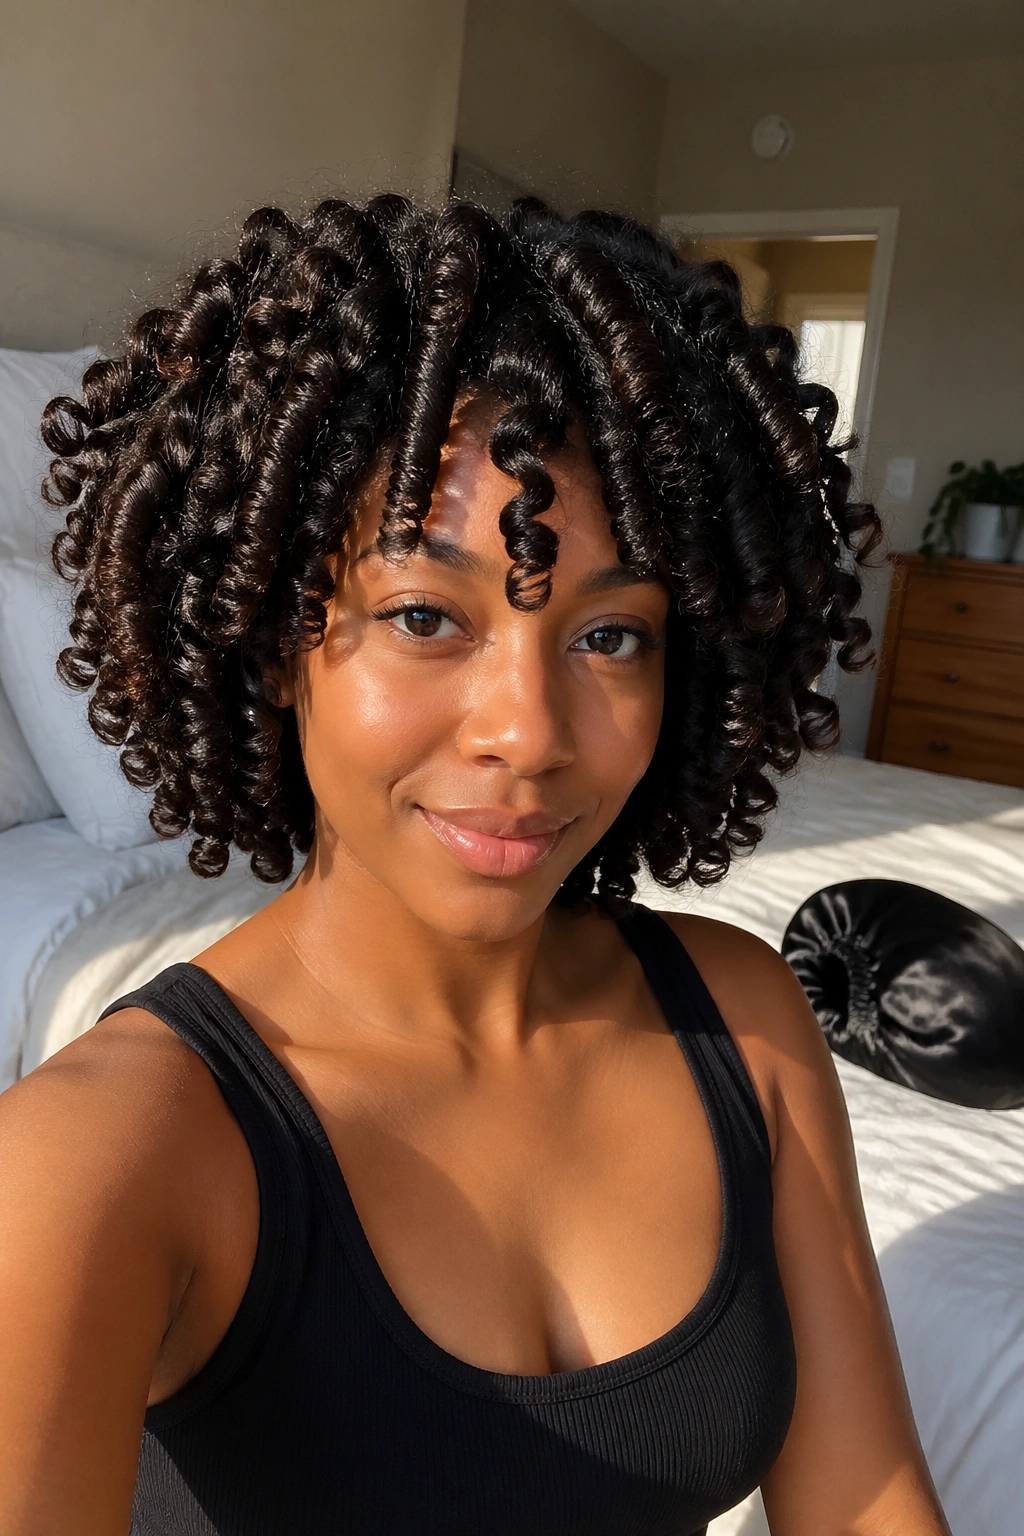
Setting straw curls before bed is one of the most efficient ways to incorporate this technique into a busy schedule. Apply product, wrap the straws, cover with a satin bonnet, and sleep. In the morning, remove the straws to reveal a finished style — no waiting around during the day, no time wasted.
Make sure the hair is properly saturated with product before wrapping — overnight sets on underprepared hair dry inconsistently, with some sections fully set and others still damp in the morning. Apply product more generously than you would for a daytime set, since you’re relying on air drying through the night rather than a dryer.
In the morning, confirm the hair is completely dry before removing straws. If any sections are still damp, remove those straws and let those sections air dry for another 30 minutes before separating.
9. Straw Curls on Color-Treated Natural Hair
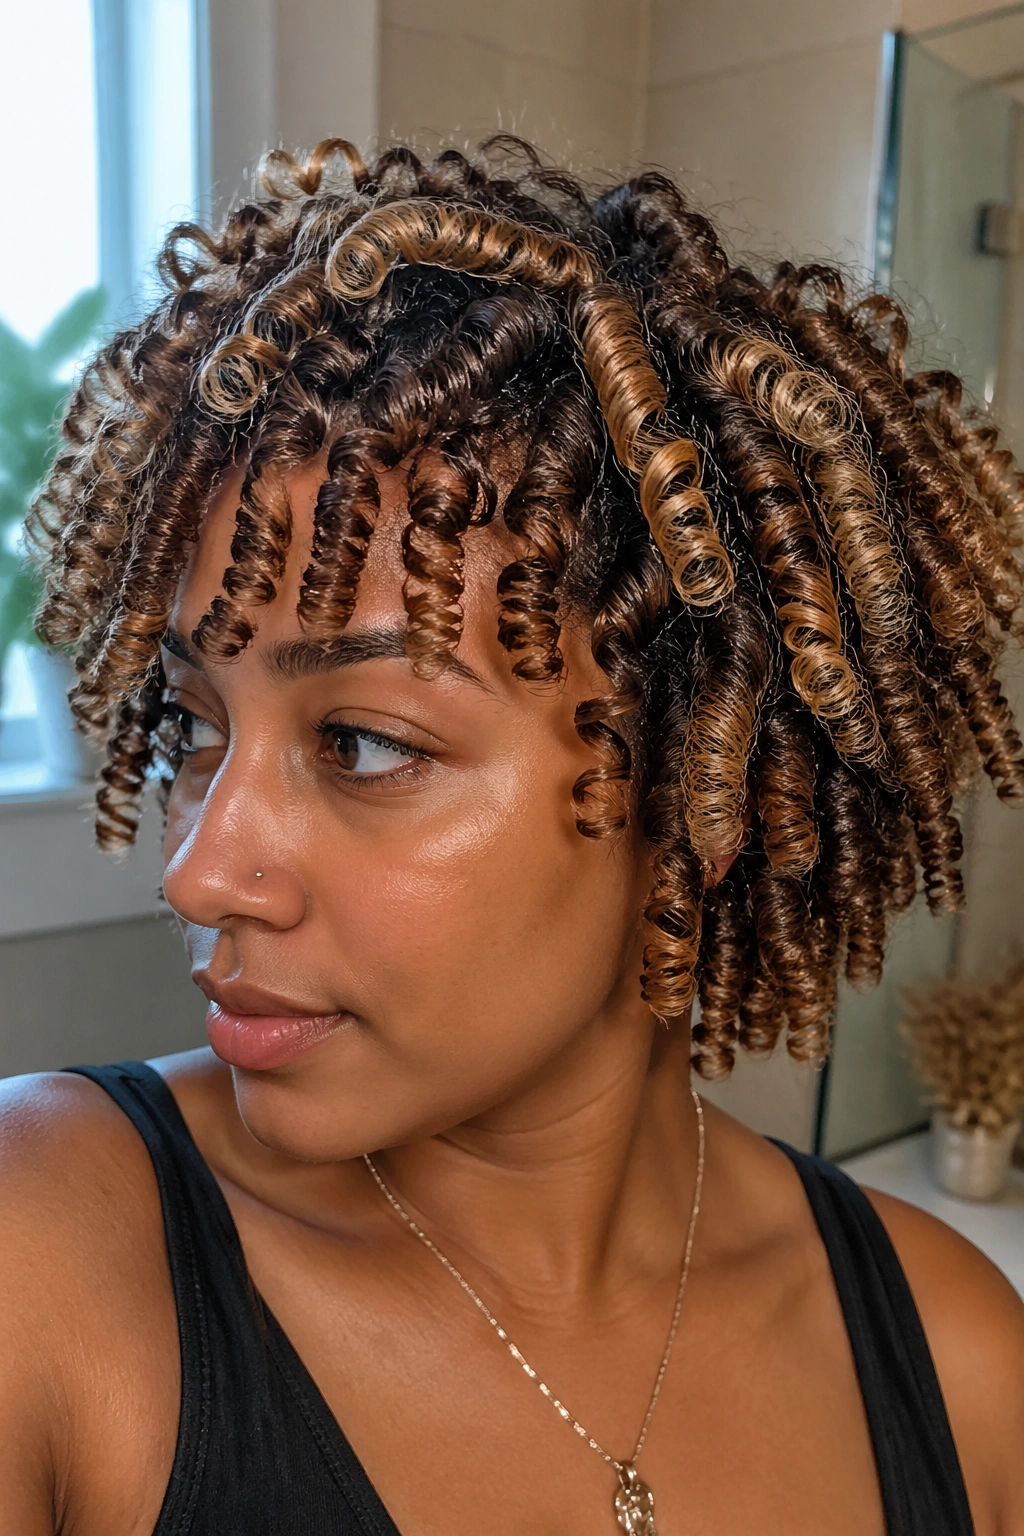
Color-treated natural hair and heat styling are a complicated relationship. Straw curls eliminate that complication entirely by creating defined curls without any heat. For naturals who’ve lightened, highlighted, or chemically colored their hair and want to minimize heat exposure, straw curls are an ideal technique.
The only adjustment needed for color-treated hair is extra moisture in the product layering. Chemically processed hair — regardless of the specific process — is more porous and loses moisture more readily than virgin hair. Use a generous leave-in conditioner under the setting gel, and consider adding a few drops of a lightweight oil to the section before wrapping to prevent dryness.
The finished straw curls on color-treated hair look extraordinary — the spiral shape catches the multiple tones in color-treated hair differently at every angle, creating a luminous, dimensional effect.
10. Straw Curls for a Natural-Looking Defined Curl
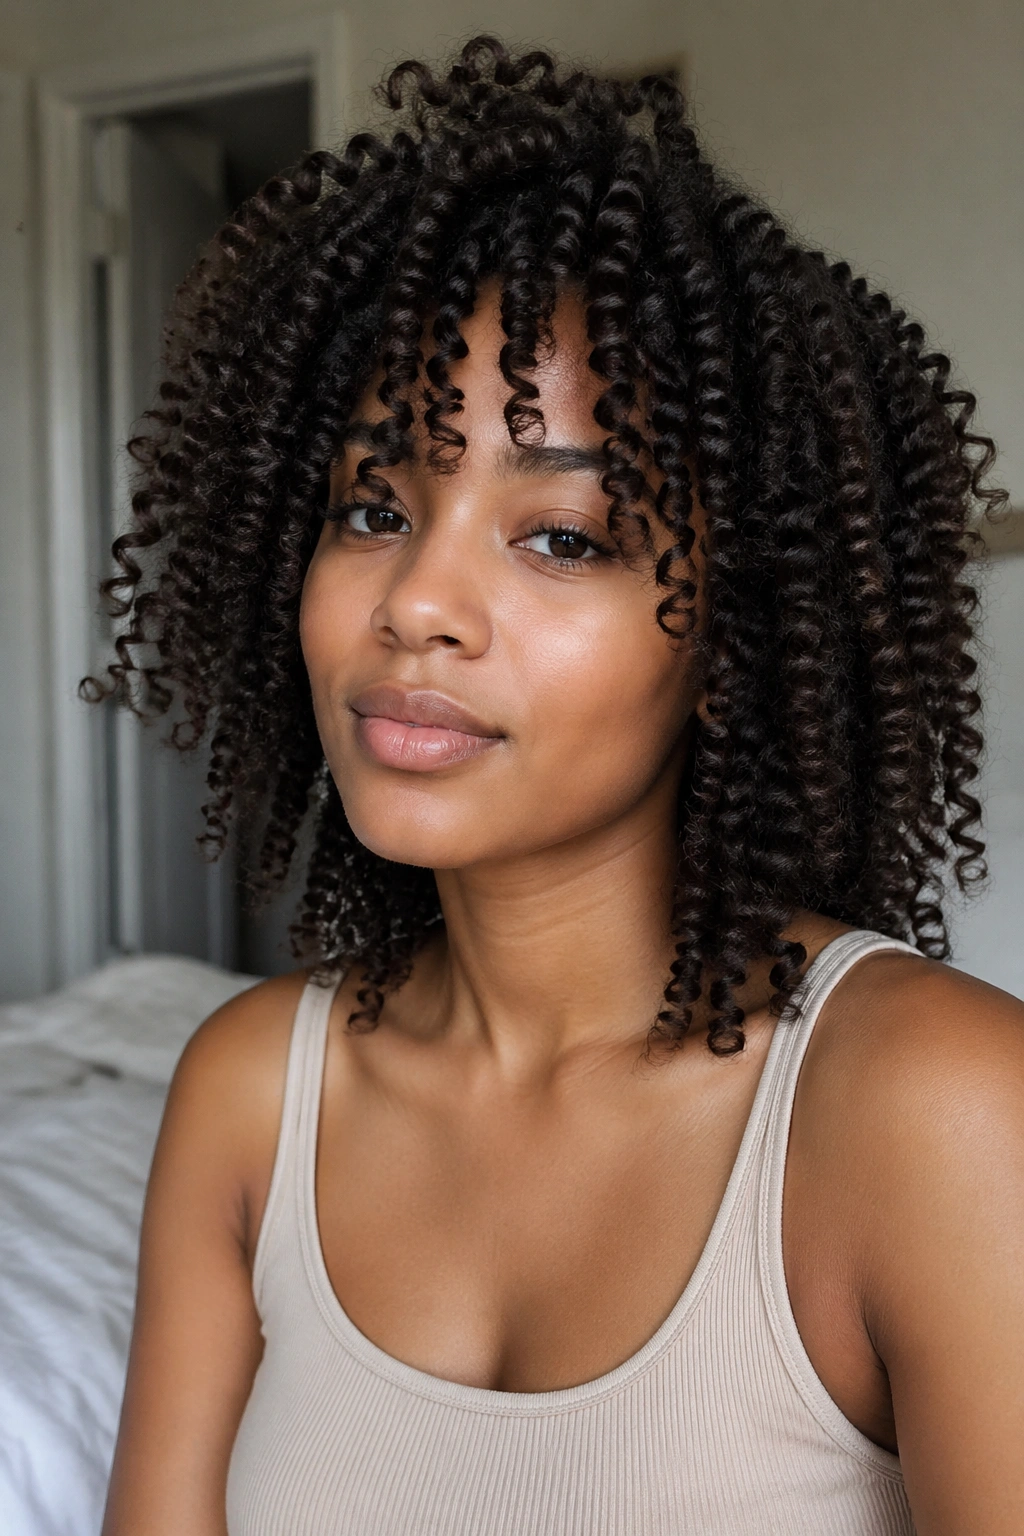
Not every straw curl needs to be separated into a perfectly defined ringlet. Leaving the straw curls unseparated — removing the straws and simply fluffing gently with your fingers — produces a denser, more clumped look that mimics the appearance of a natural curl pattern with more definition than a plain wash-and-go.
This technique gives you definition without the perfectly uniform ringlet look that full separation produces. It’s less polished and more organic — which many naturals prefer for everyday wear.
The trick to this look is using slightly larger sections than classic straw curls and separating just enough to let the curls breathe and fall naturally, without individually defining every single spiral.
11. Straw Curl Updo
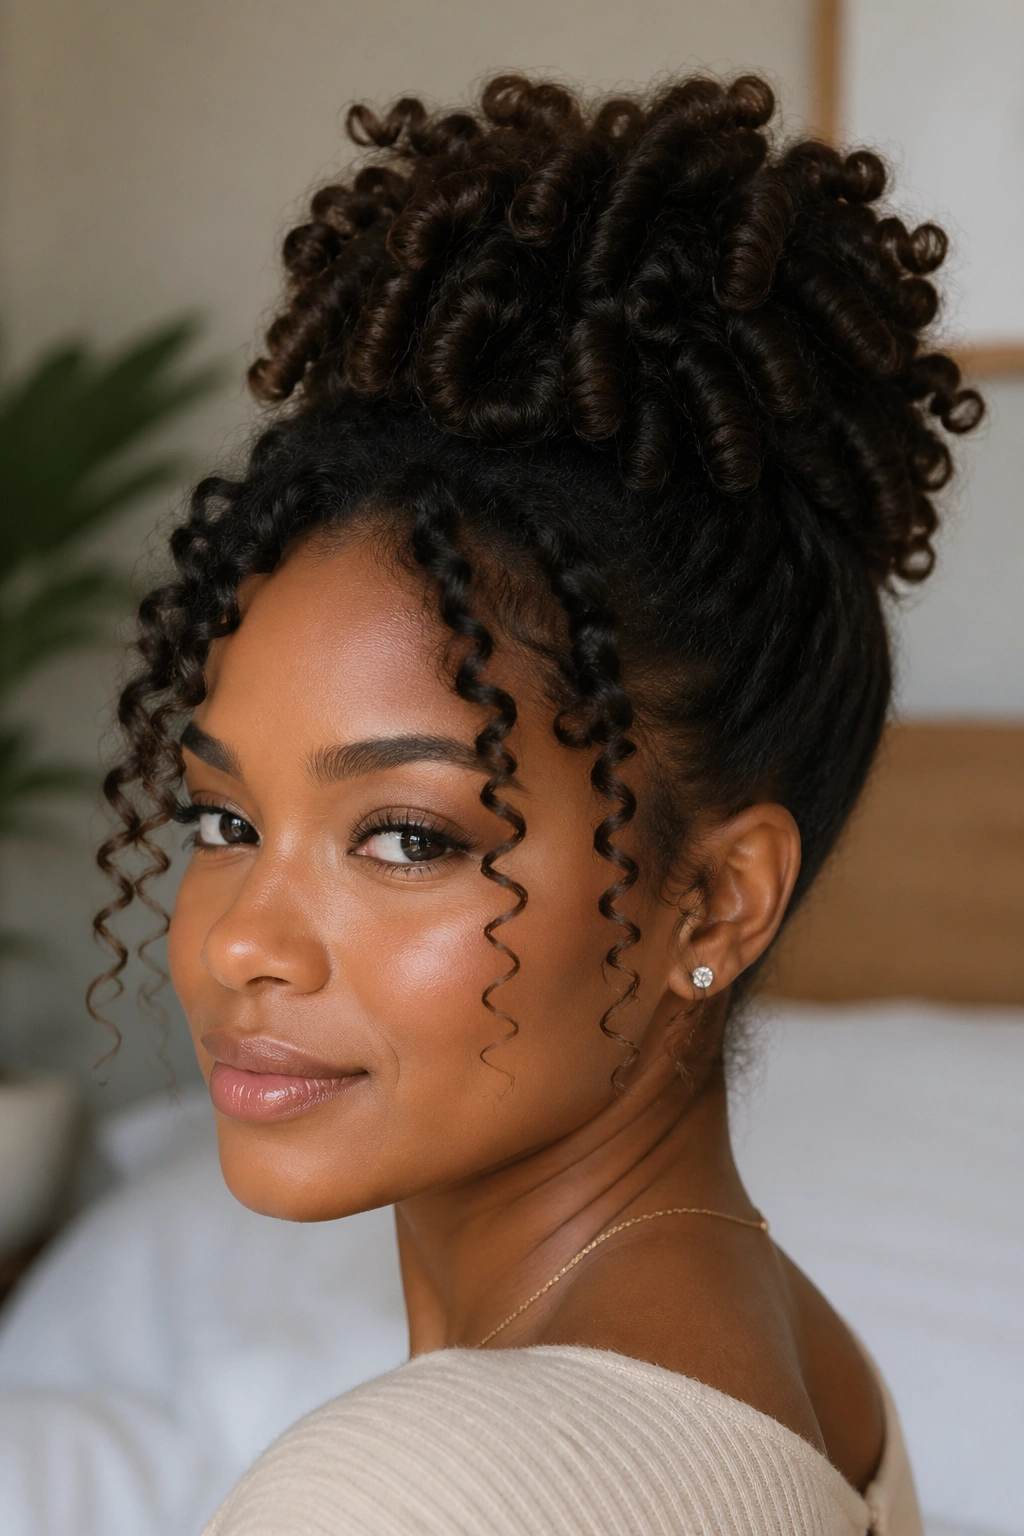
Straw-curl hair makes beautiful updo material because each individual coil holds its shape well and doesn’t collapse when gathered and pinned. A straw curl updo is an event-worthy style that requires very little effort once the initial set is complete.
After removing straws and separating curls, gather the hair into a loose, high puff, a low twisted bun, or a side-swept arrangement and secure with bobby pins. The straw curls stay defined even within the updo because the gel has set them firmly. Pull a few individual curls loose around the face and at the nape to soften the style.
This is one of the best formal-occasion styles for natural hair because it looks thoroughly intentional and styled while still celebrating the texture.
12. Mixing Straw Sizes for a Textured Effect
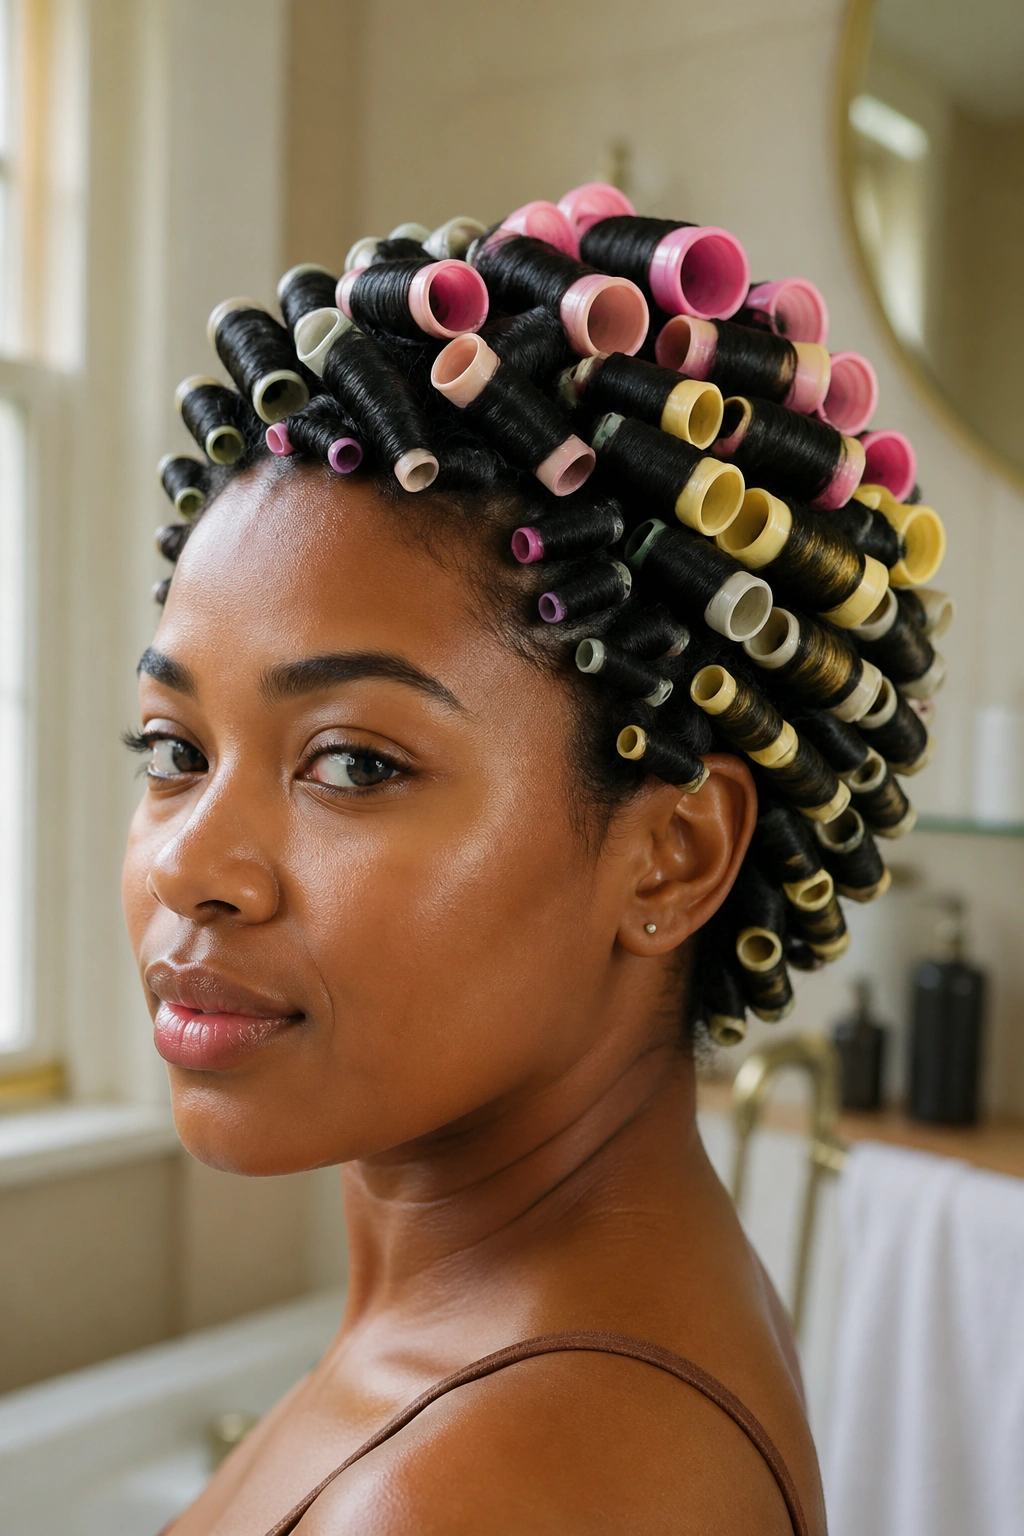
Who says every straw has to be the same diameter? Mixing multiple straw sizes throughout the head creates a multi-textured, dimensional look that looks like you have naturally varied curl sizes — which is actually how many natural hair types grow.
Use thinner straws at the crown and front sections where definition is most visible. Use regular straws at the sides and back. Use wider straws at the top for volume. The result is a style with visual variety — some sections have tight ringlets, others have looser spirals, and the combination together looks dynamic and natural rather than perfectly uniform.
This technique is especially beautiful on naturals with multiple natural curl pattern types across their head, as it can mirror and enhance the variation that already exists.
13. Straw Curls on a Wash Day Routine
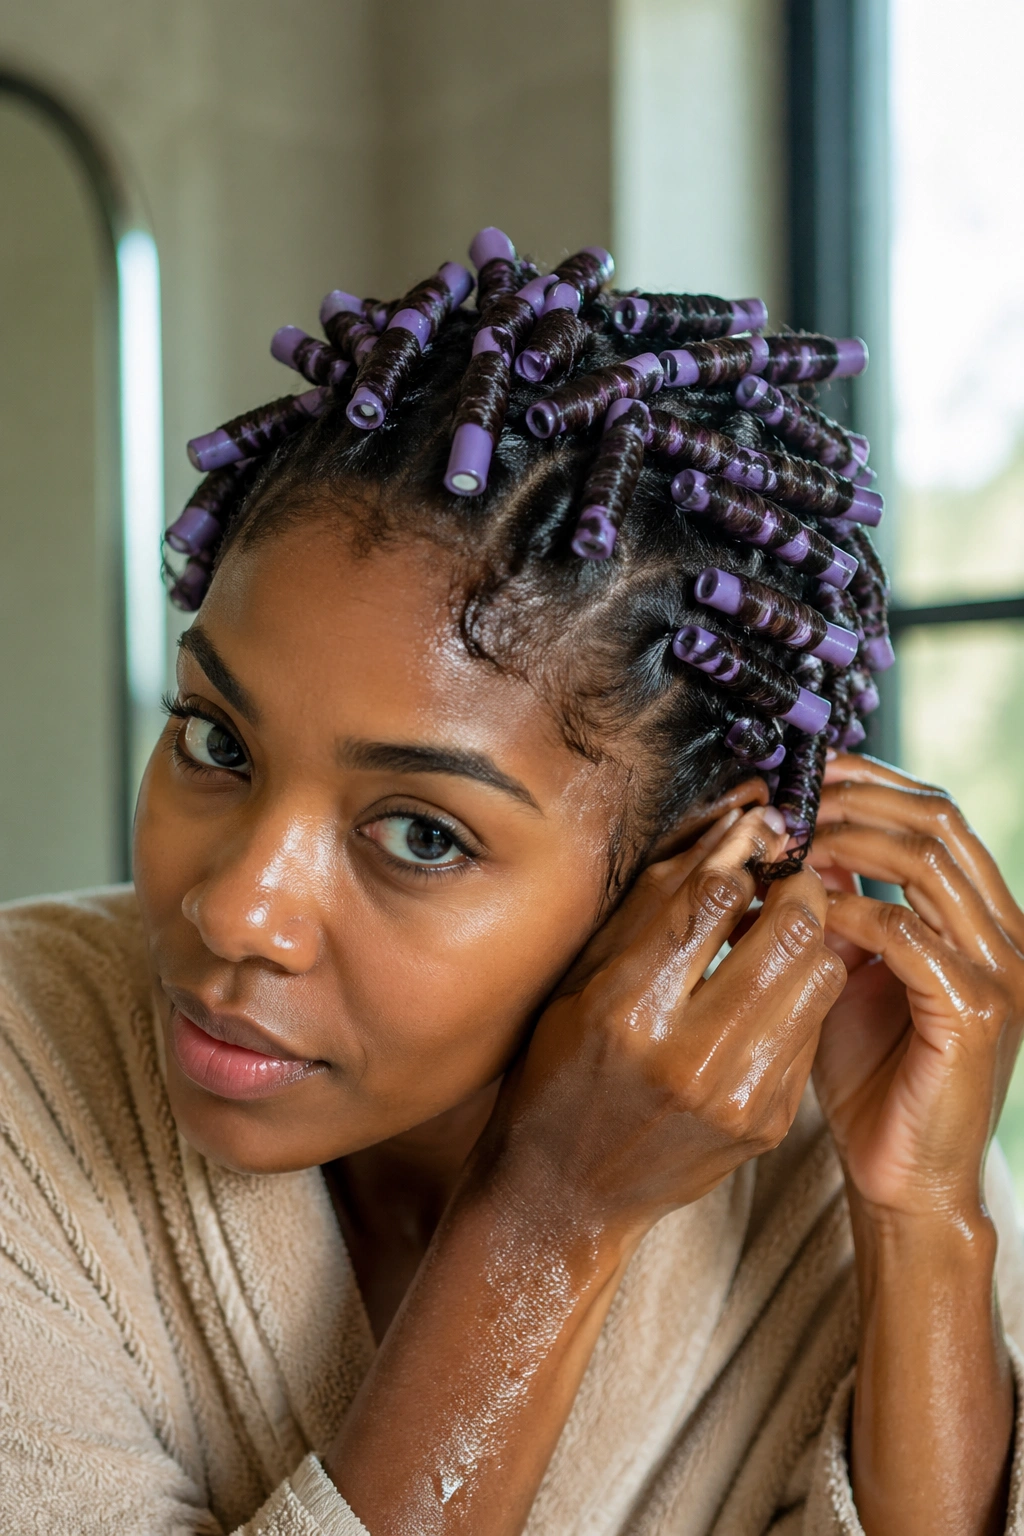
Incorporating straw curls into your wash day routine makes the process feel intentional and productive rather than like extra work. After washing, deep conditioning, and detangling, the hair is at its ideal state for straw curling — clean, moisturized, and cooperative.
Section the hair immediately after the rinse-out conditioner and begin applying your setting gel and wrapping straws while the hair is still wet. The soaking wet state gives you maximum slip and manageability during the wrapping process. Proceed to dry under a hooded dryer or air dry.
By making straw curls part of wash day rather than a separate styling day, you reduce overall manipulation and eliminate the extra step of rewetting or refreshing the hair just for styling.
14. Straw Curls on the Go — Quick Partial Set
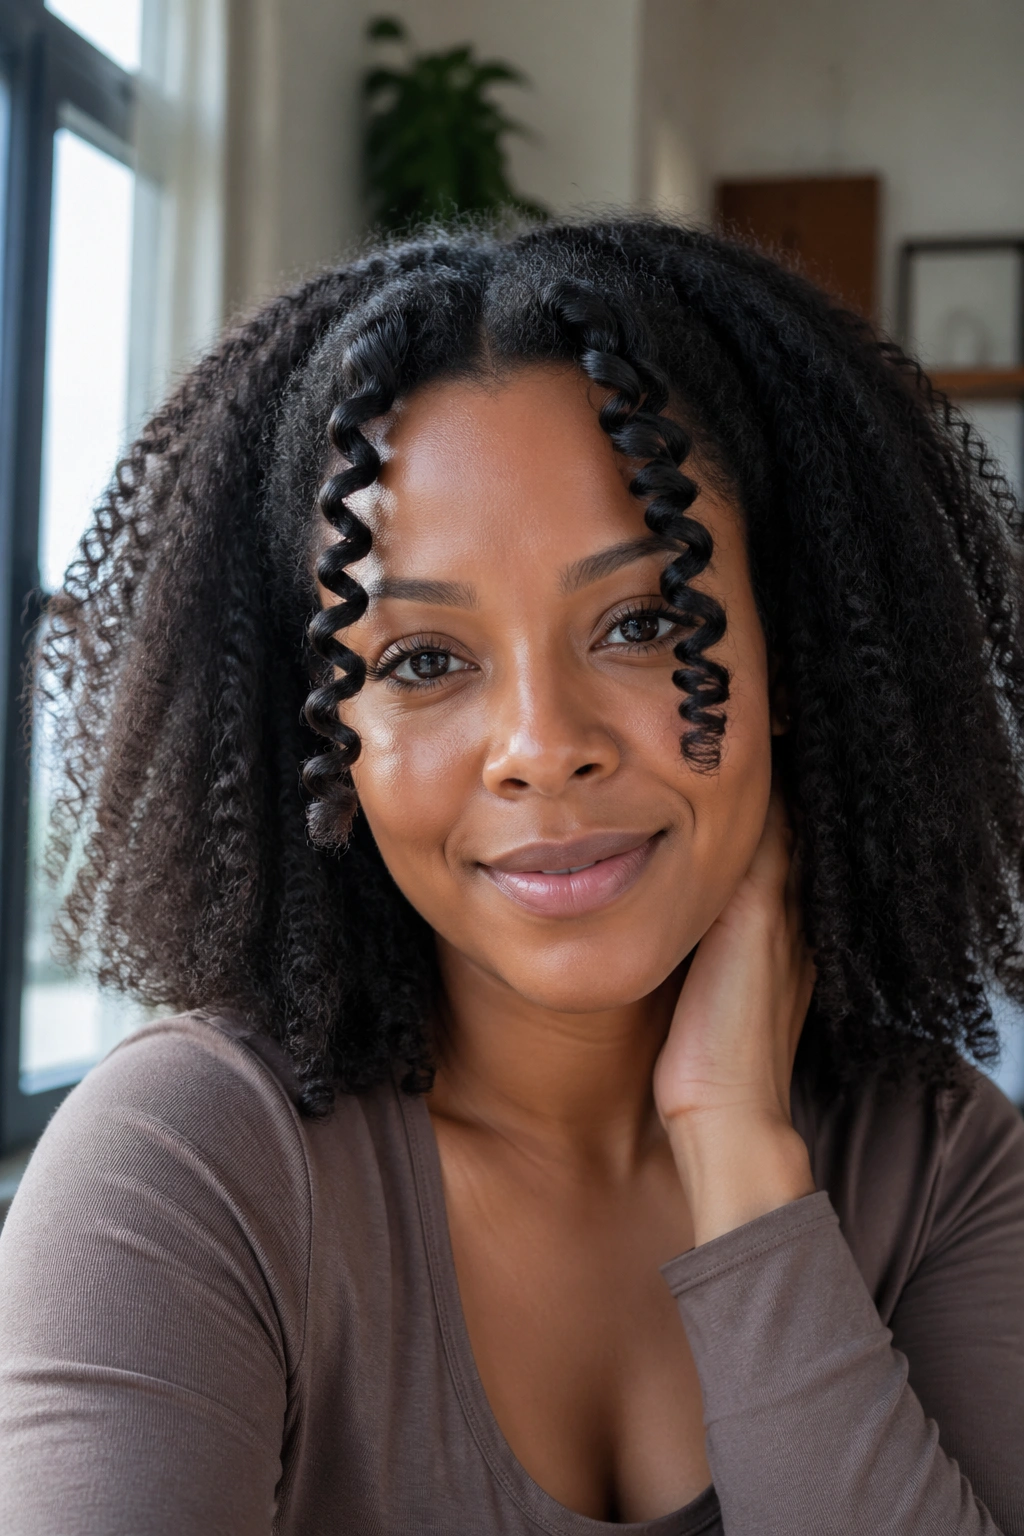
When time doesn’t allow a full straw curl set, a strategic partial set on the most visible sections of the hair gives you the visual impact of the style without the full time investment.
Focus on: the front two sections flanking the face, the top section at the crown, and the sides. These are the sections that everyone sees first and that frame your face. Leave the back section in its natural state or in a puff or loose bun. The partial straw curl set takes about 20-30 minutes to apply versus the hour or more required for a full set, but the visual impact from the front is almost identical.
This is the technique to know for rushed mornings when you still want a polished, defined look.
15. Straw Curls for Kids’ Natural Hair
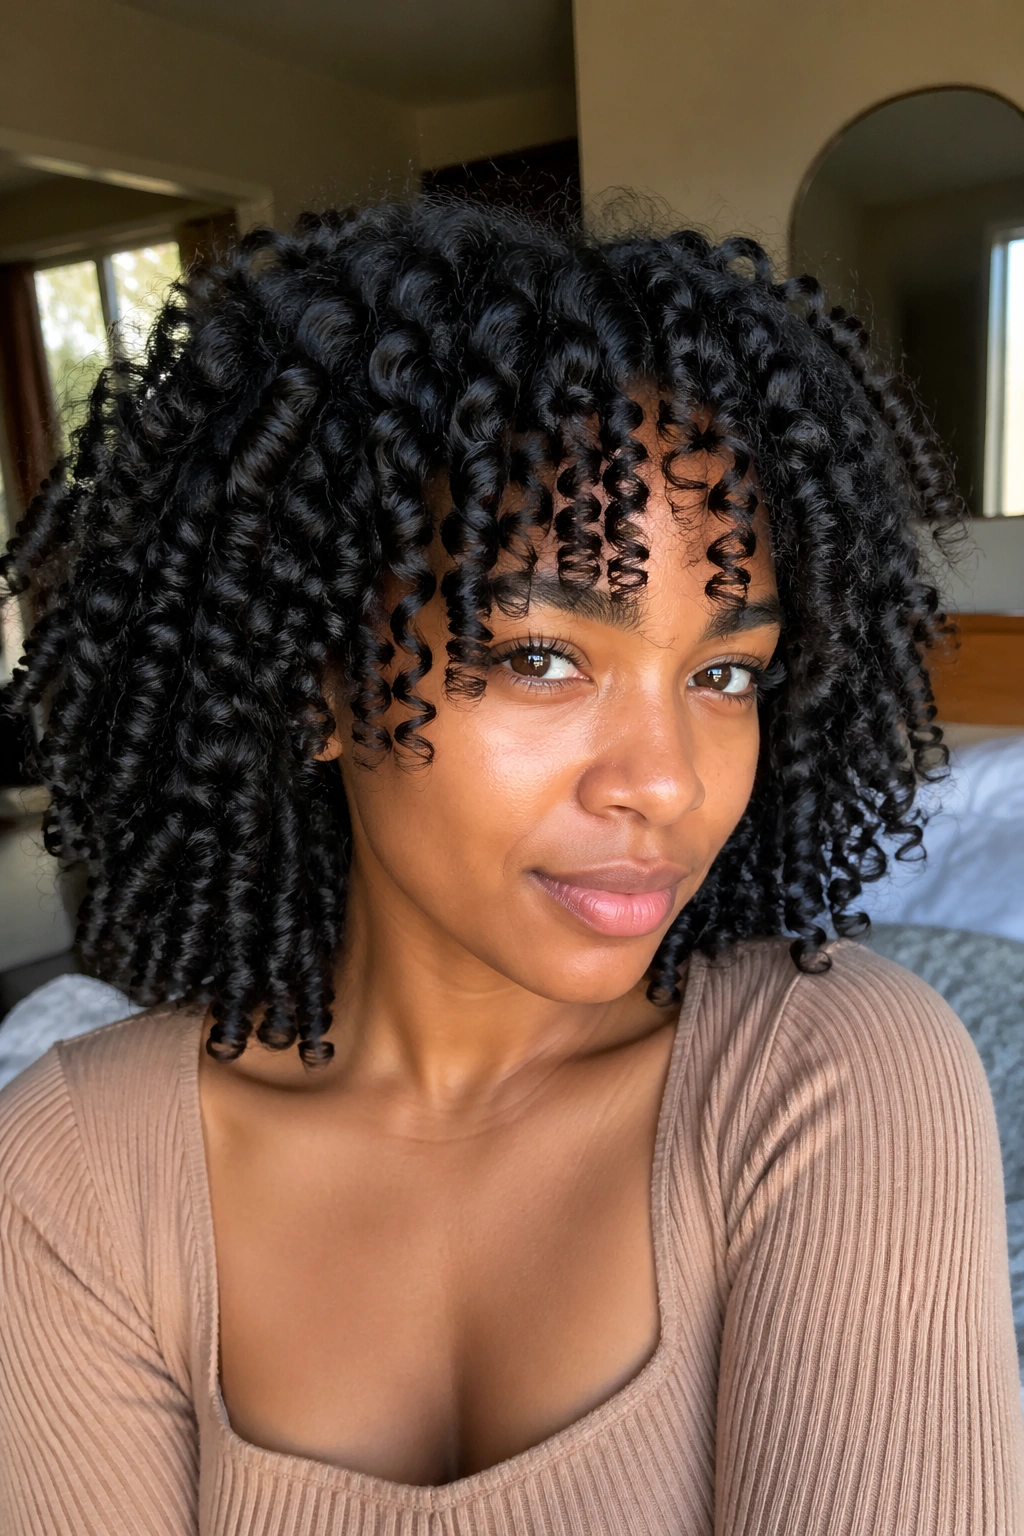
Straw curls are one of the best techniques for children’s natural hair precisely because they involve no heat. For parents who want a defined, styled look for their child’s natural hair without putting any heat near their scalp or strands, straw curls are the perfect solution.
Children’s natural hair is often finer and more delicate than adult natural hair. Use thinner straws and gentler product — a light curl cream or a children’s-specific natural hair gel rather than a firm adult gel. Work in small, manageable sections and keep the wrapping snug but not tight.
The style is long-lasting, looks adorable, and causes no damage. Remove straws after full drying, separate gently, and the child’s curls will be defined and beautiful.
16. Wand Curl vs. Straw Curl — Which Is Better for Natural Hair?
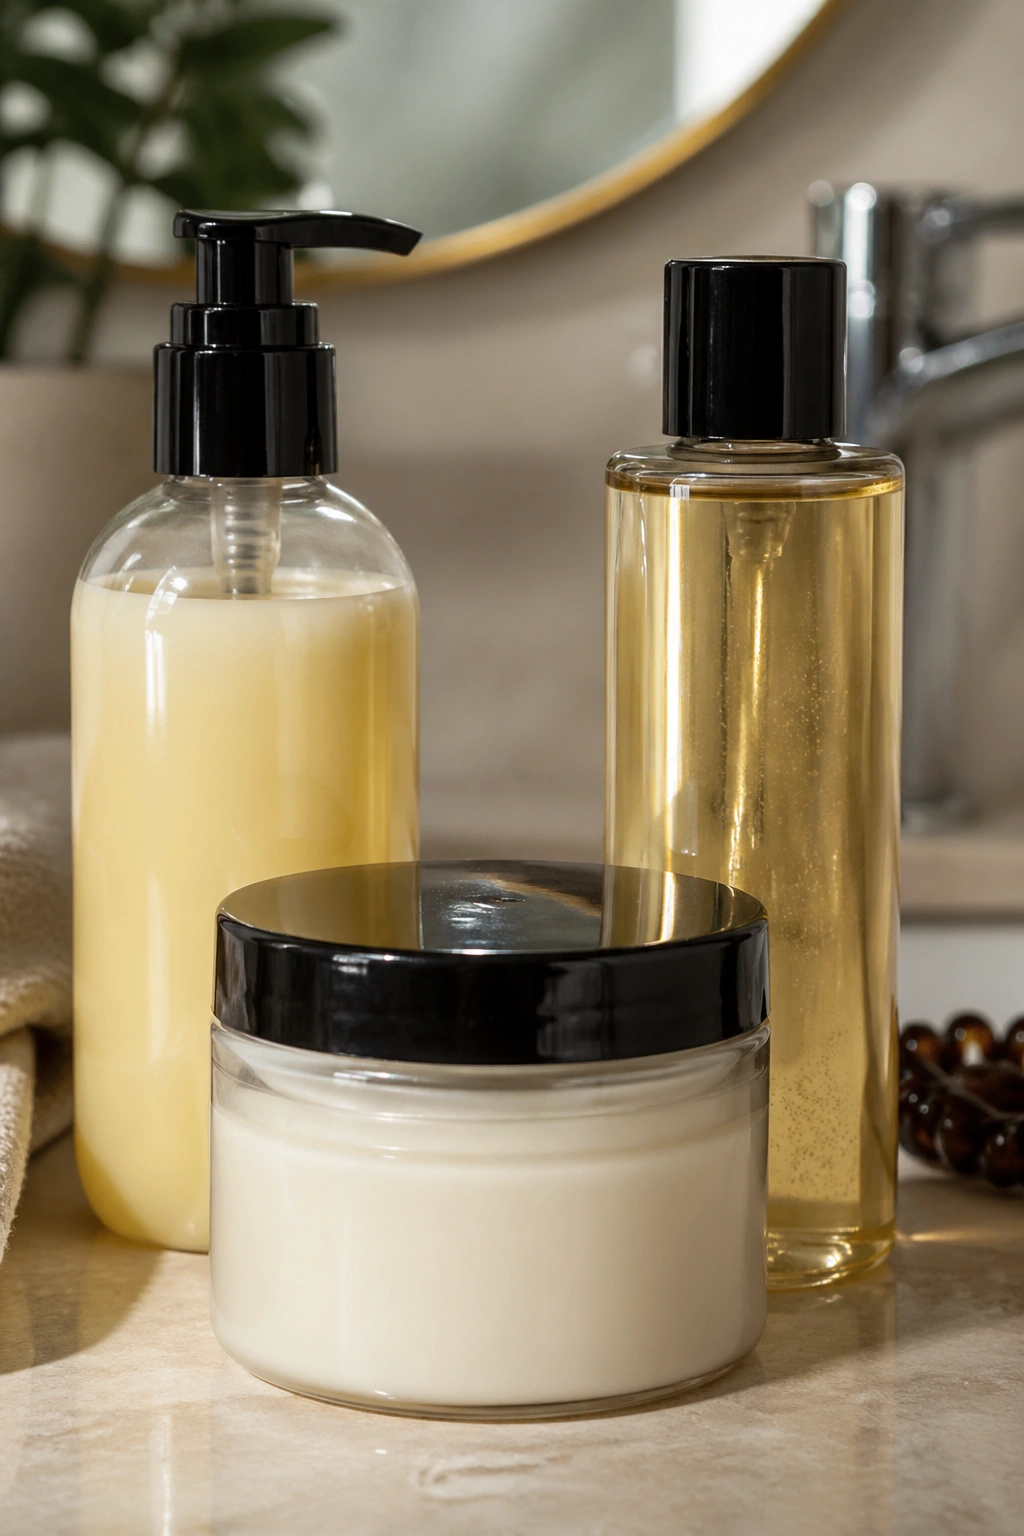
The honest comparison matters because many naturals try one and assume the other will produce identical results. They don’t.
Wand curls require heat, which means they can cause damage if misused but produce a more consistent result on all hair lengths. They dry instantly — the style is ready as soon as the curls cool. They work especially well on stretched or blown-out hair.
Straw curls require no heat, which eliminates heat damage risk entirely. But they require a significantly longer drying time. They tend to work better on natural hair that’s been freshly washed and product-loaded, and they produce an incredibly defined, organic-looking curl that many naturals prefer aesthetically.
The choice depends on your priorities: speed and heat, or time and no heat. Many naturals use both techniques strategically depending on the occasion and the state of their hair.
17. How to Separate Straw Curls Without Frizz
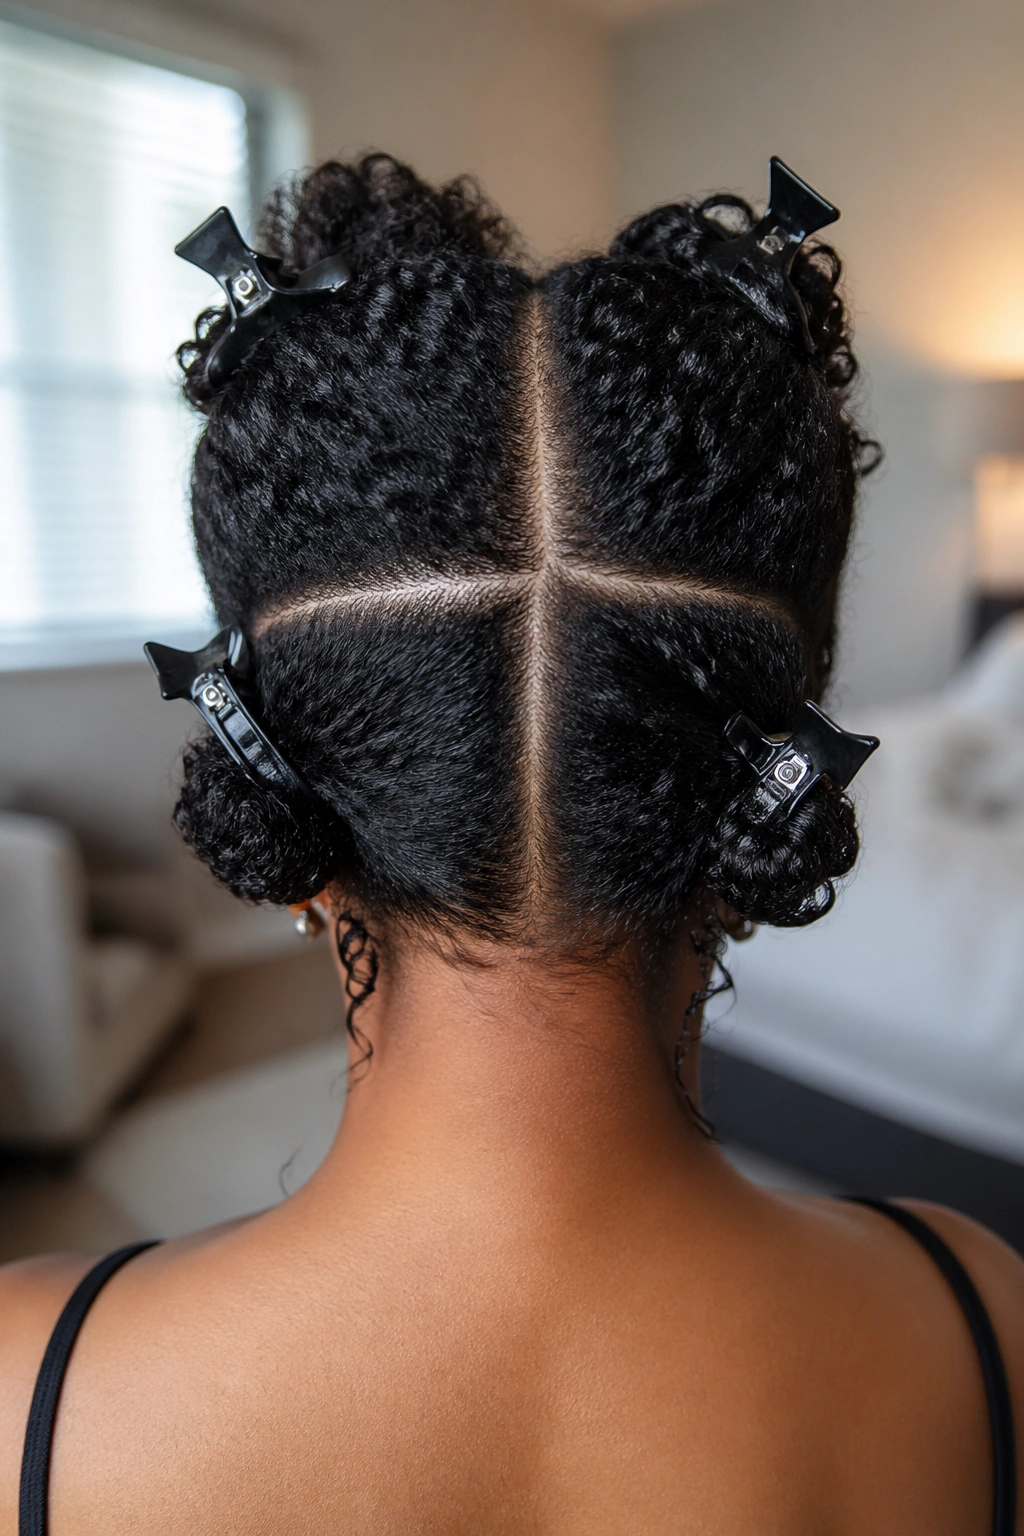
The removal and separation process is where many straw curl sets go from gorgeous to disappointing. Done wrong, separation causes frizz. Done right, it reveals perfect, defined spirals.
Wait until the hair is completely dry before removing a single straw. Damp hair separates poorly and frizzes almost instantly. Once dry, apply a few drops of a lightweight oil to your fingertips. Gently remove each straw — unrolling it or sliding it out while supporting the curl so it doesn’t snap open. Once all straws are out, use your oiled fingertips to very gently separate the curls from the ends upward.
Work slowly. The goal is to break the curl clumps gently, not to pull or rip them apart.
18. Maintaining Straw Curls Through the Week
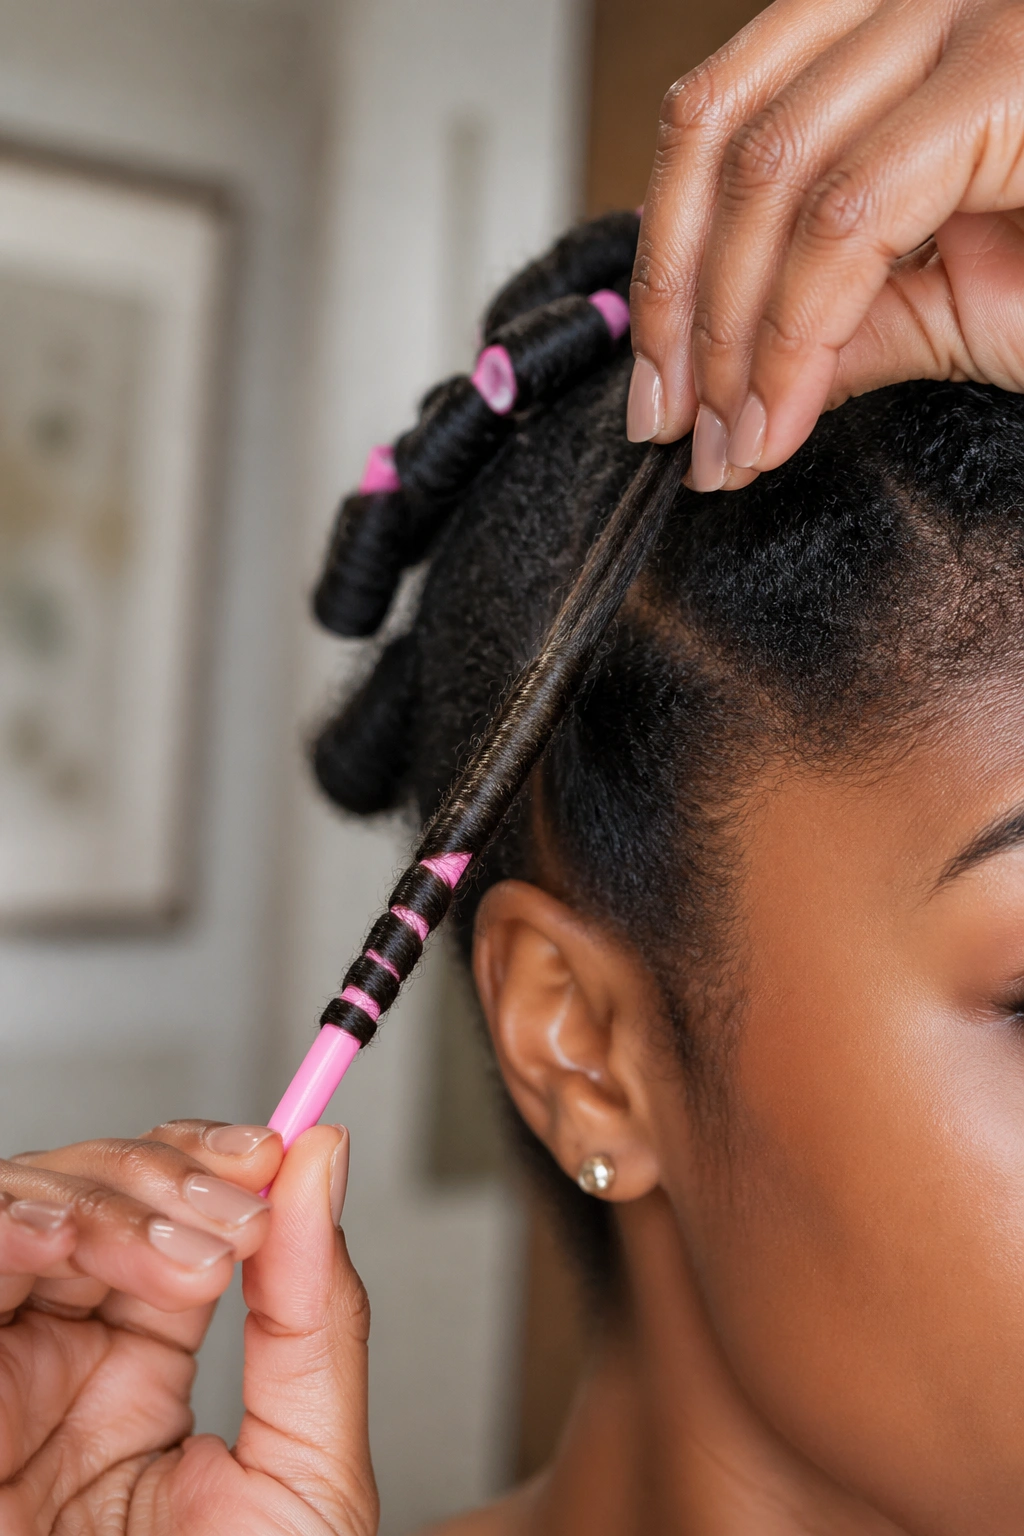
Good straw curl maintenance is the difference between a style that lasts two days and one that lasts five or six. The routine is simple but needs to be consistent.
Every night: gather the hair into a loose pineapple at the top of the head, secured with a soft scrunchie. Cover completely with a satin bonnet. This protects the curl pattern from friction and compression during sleep.
Every morning: release the pineapple, shake loose gently, and assess. Mist any sections that need refreshing with a water bottle. Scrunch lightly from ends upward. For any sections that have completely lost definition, apply a small amount of fresh gel and re-coil around your finger (finger curling works as a refresh for straw curls as well).
The straw curl structure holds up well as long as you don’t over-manipulate it or sleep without protection.
19. Straw Curls with Edge Styling
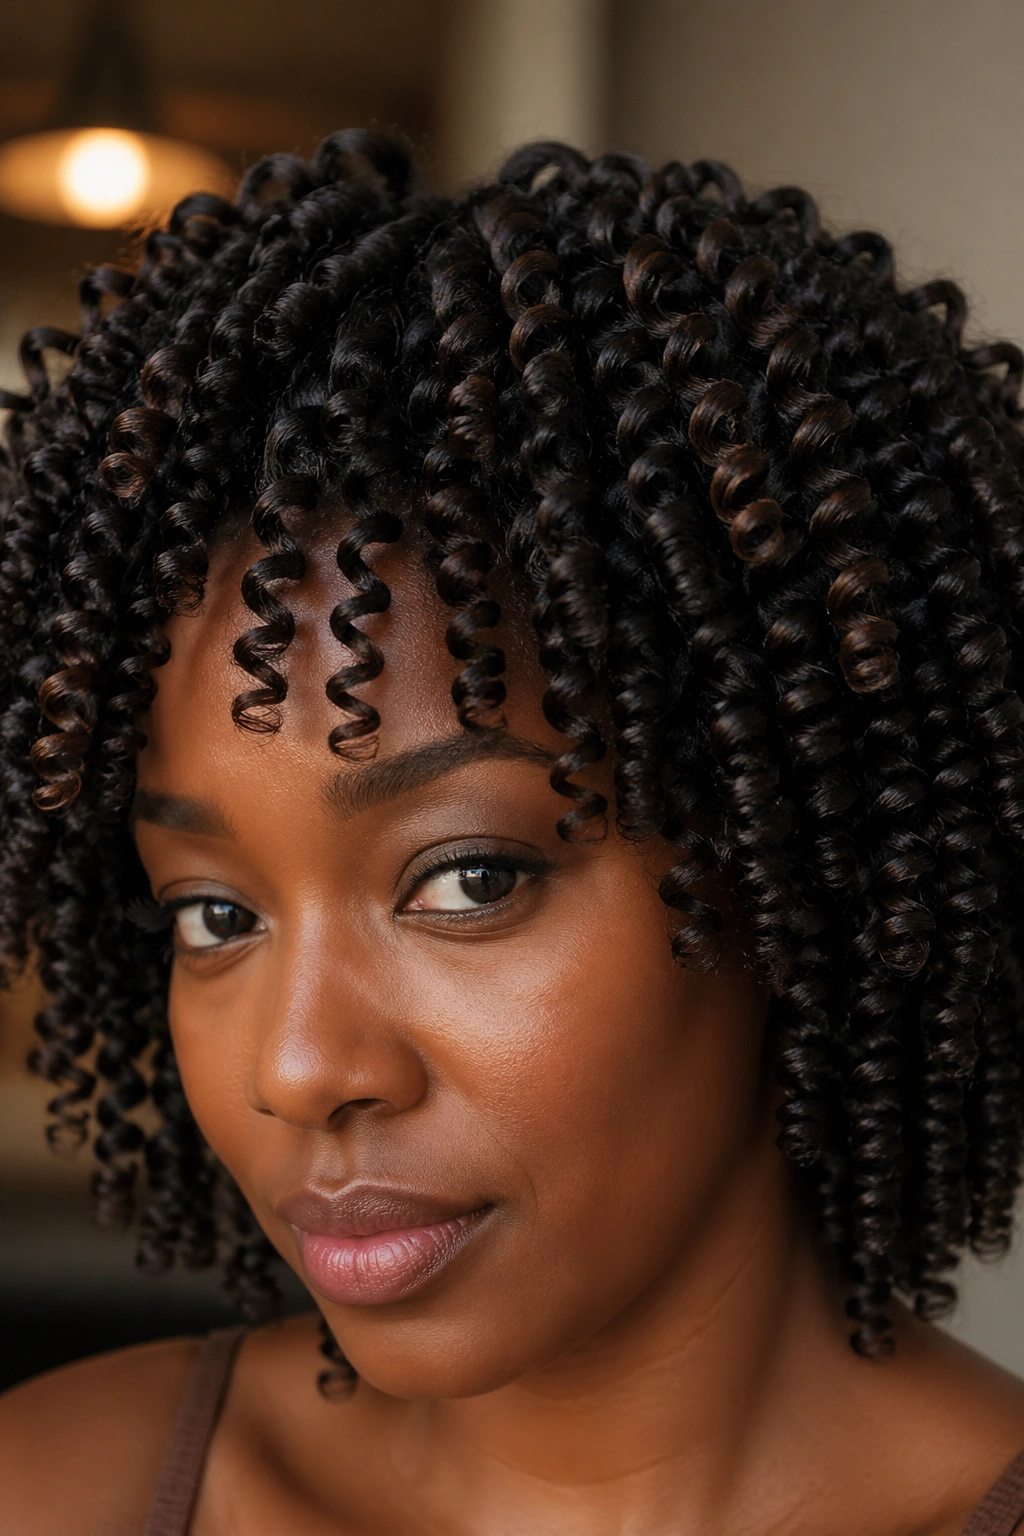
Natural hair edges styled in deliberate waves, swirls, or baby hair designs alongside a full straw curl set create a complete, finished look that’s deeply grounded in Black hair aesthetics.
After removing straws and separating curls, apply a medium-hold edge control gel to the edges using a fine-tooth edge brush. Create your desired edge design — straight laid edges, soft waves, small swirls at the temples, or baby hair loops. Let the edges dry completely (a few minutes) before touching them. The structured, artistic edges frame the full straw curl set perfectly and add a level of intentional styling that elevates the whole look.
20. Refreshing Straw Curls as a Twist-Out
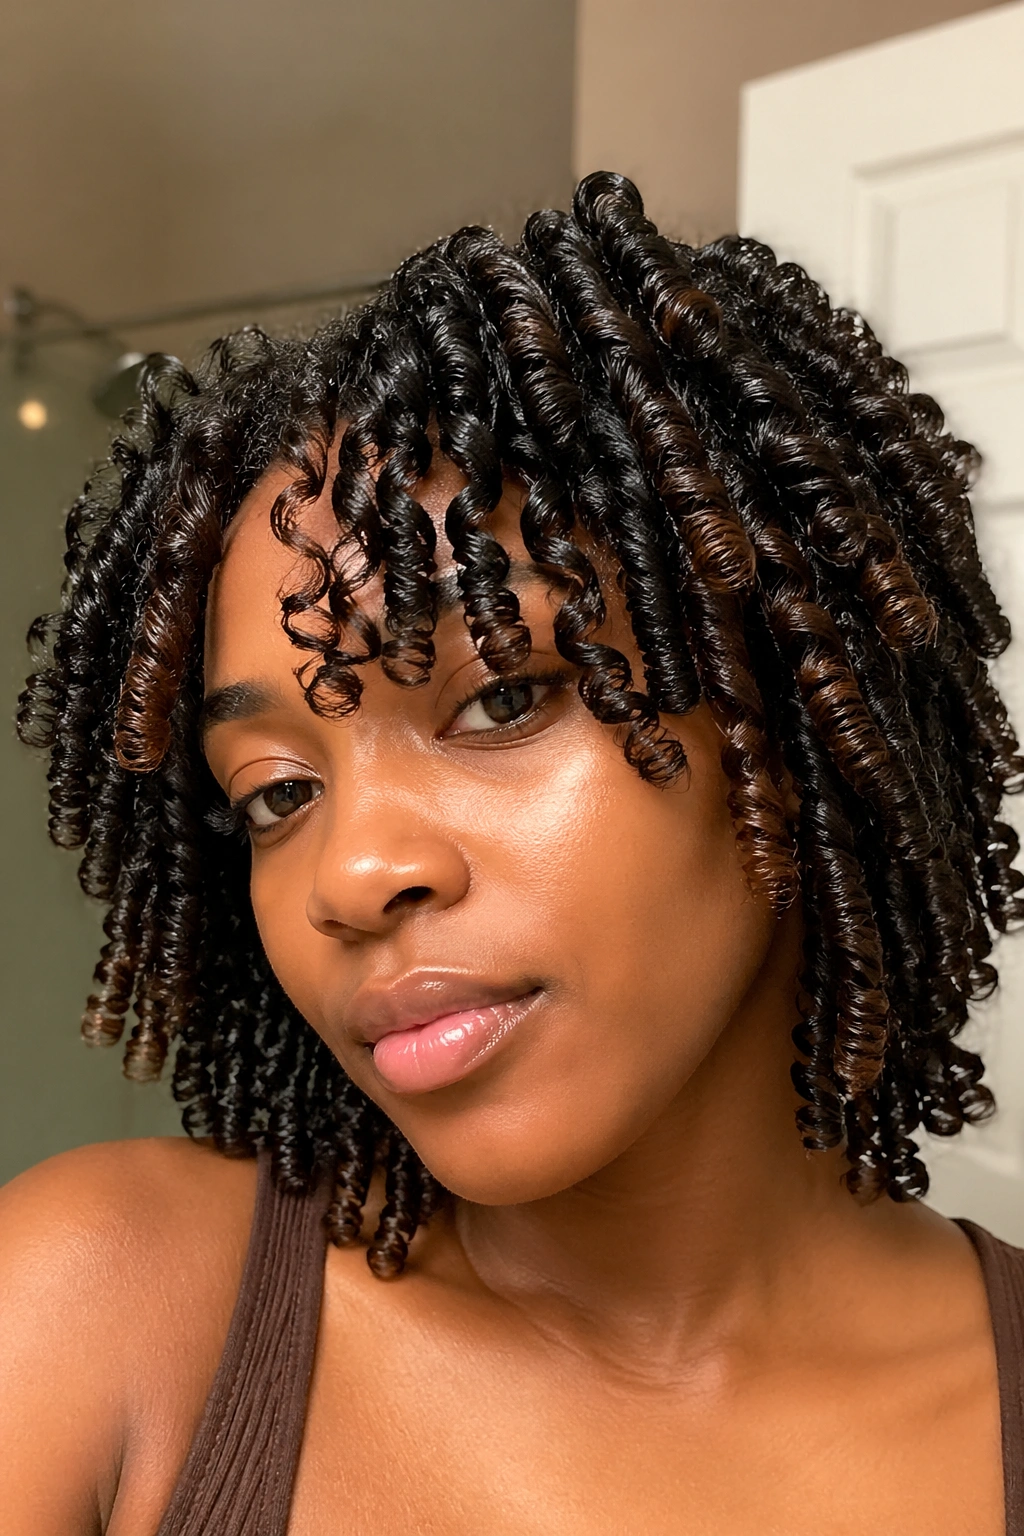
On day three or four, when straw curls have loosened into a beautiful, blended texture, refreshing them as a twist-out rather than trying to restore them to day-one tightness gives you a completely new style from the same base.
Take the loosened straw curls and twist them in pairs — two curl sections twisted around each other — throughout the entire head. Leave the twists in for several hours or overnight. Unravel to reveal a beautiful twist-out pattern that builds on the already-defined texture of the straw curl base. This approach gives you your second distinct style from a single wash day without any product reapplication or rewashing.
21. Common Straw Curl Mistakes and How to Avoid Them
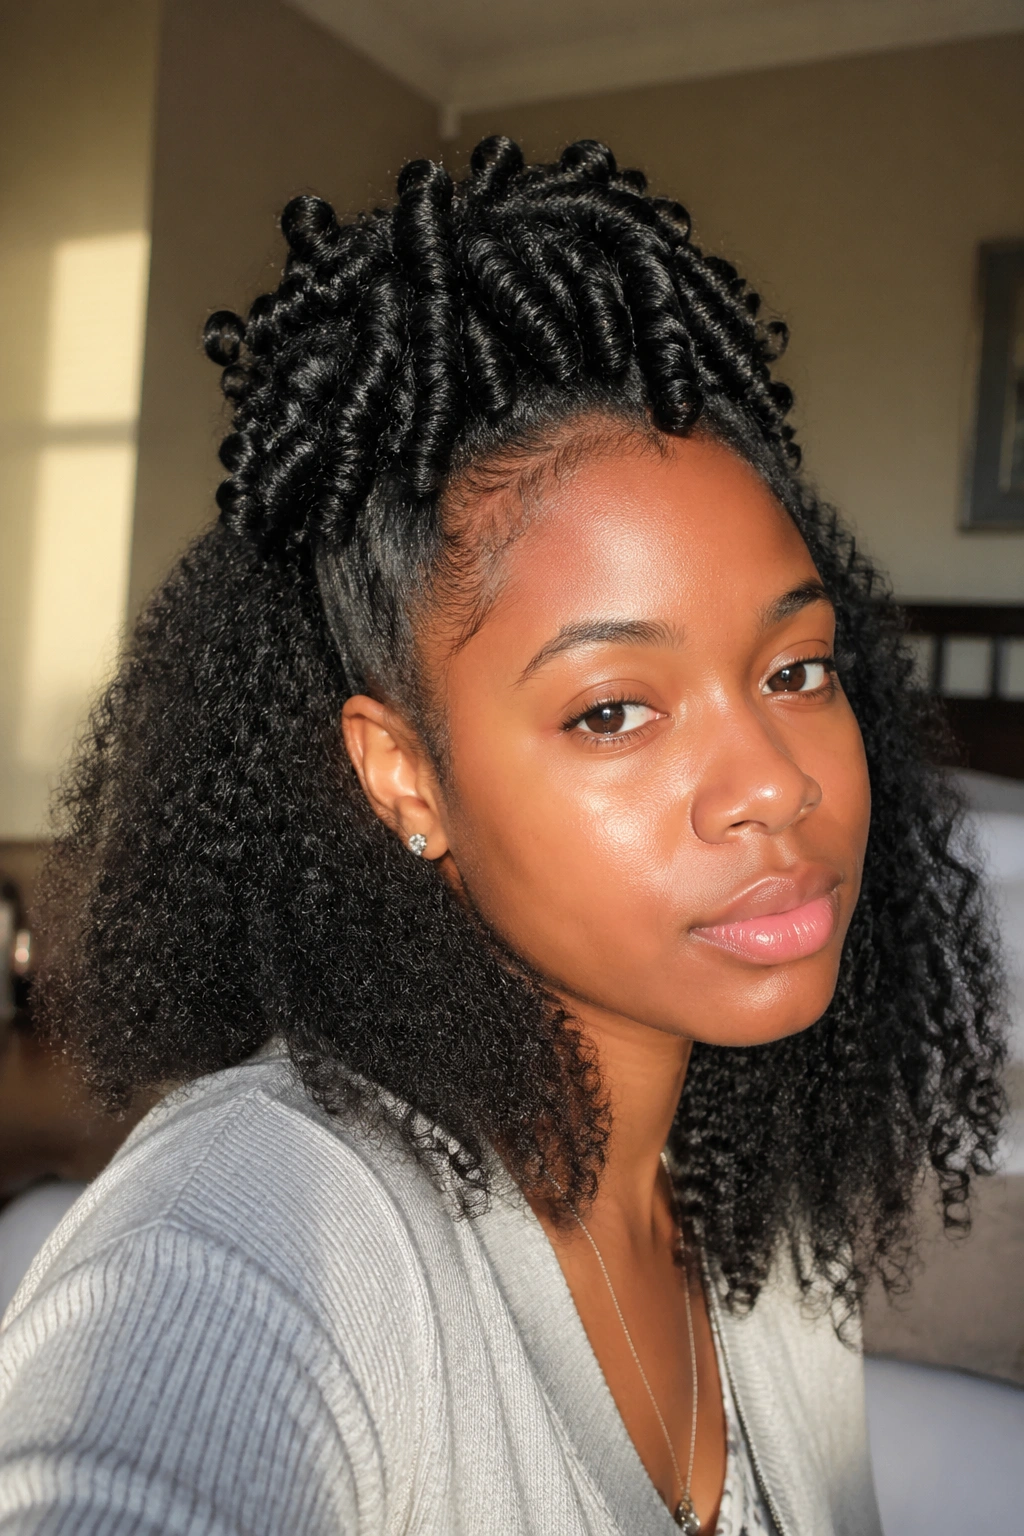
Learning from common mistakes saves you from frustrating, wasted styling sessions. These are the issues most naturals hit their first few times with straw curls.
Removing straws while the hair is still damp. This is the most common mistake. The curl hasn’t fully formed yet, and removing the straw allows it to revert and frizz before it’s set. Solution: test each straw by pressing the wrapped hair gently — if it feels cool and springs back, it’s dry enough.
Too little product. Without enough hold, the curl falls apart the moment the straw is removed. Apply product more generously and work it through every strand in the section.
Inconsistent section sizes. Random sections produce random-looking curls. Use a rat-tail comb to create even sections throughout the head.
Skipping the nighttime routine. Going to sleep on unwrapped straw curls on a cotton pillowcase destroys them in one night. The bonnet and pineapple aren’t optional — they’re the reason the style lasts.
22. Why Straw Curls Are Worth Learning
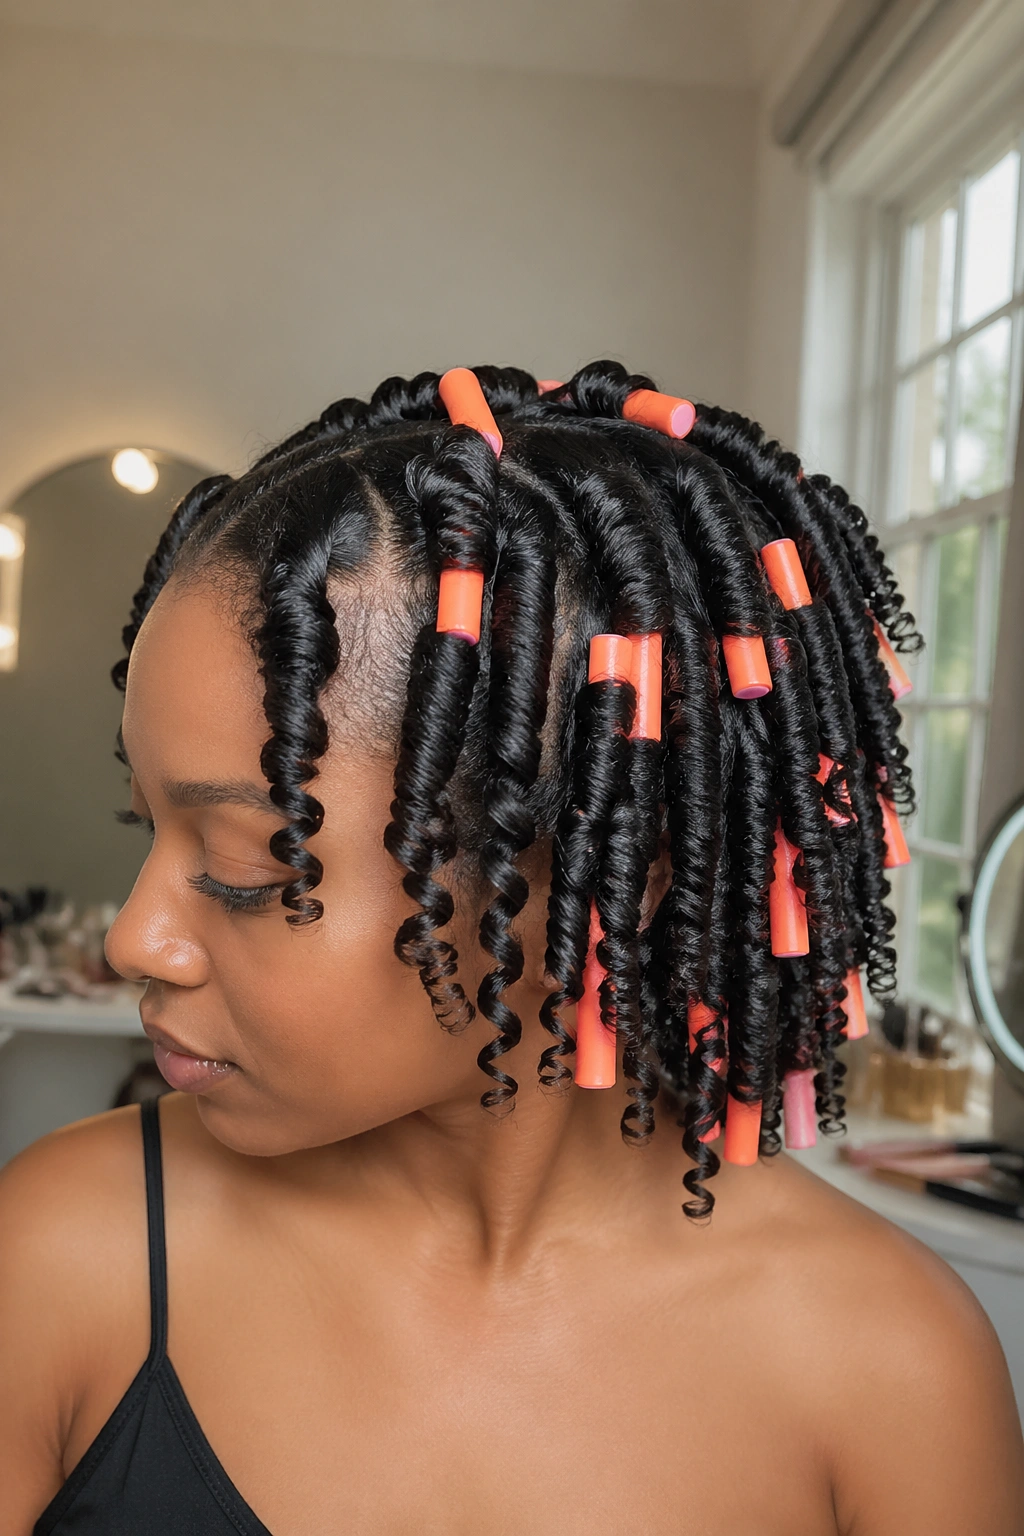
Any natural hair technique with a learning curve is worth asking: is this actually worth the investment? For straw curls, the answer is an unqualified yes.
The longevity is real — a well-set straw curl set on natural hair routinely lasts four to six days with proper maintenance. The definition is extraordinary — few no-heat techniques produce spirals this precise and uniform. The heat-free benefit is significant — every wand curl session avoided is a session of heat stress the hair didn’t experience. And the cost is genuinely minimal — the main ingredient is straws, which cost almost nothing.
The technique takes a couple of sessions to master, but once you do, straw curls become a reliable, gorgeous option in your natural hair repertoire. Not the only technique — but absolutely one worth knowing.
