



Finger curls on natural hair are one of those techniques that separate the naturals who truly understand their hair from those who are still learning. There’s no tool involved — no barrel, no rod, no foam twist. Just your fingers, your product, and an intimate knowledge of how your specific coil pattern responds to manipulation. Done right, finger curls produce the most organic, free-looking defined curls you’ll ever wear. Done on stretched or wet hair in the right product combination, they mimic the curl pattern your hair was born with — only more defined, more uniform, and more spectacular.
What Finger Curls Actually Are and Why They Work
A finger curl is exactly what it sounds like: you take a small section of hair, apply product, and coil that section around your finger to create a defined spiral that sets as the hair dries. No heat required. No special equipment. Just the original styling tool — your own hands.
But the technique is more nuanced than the description suggests. The way you wrap the hair around your finger, how much product you use, whether you start from the root or the tip, whether the hair is soaking wet or damp — all of these variables produce measurably different results. Finger curls require repetition and observation to master. You have to learn how your hair responds specifically, not just how natural hair responds generally.
What makes this technique so powerful for natural hair is that it works with the coil pattern rather than imposing a shape from the outside. A wand barrel or perm rod creates a curve that the hair is forced to conform to. A finger curl follows the path your coil pattern naturally wants to travel — it just gives it more structure and definition. The result looks like the most beautiful version of your natural texture, not a styled version of someone else’s.
The Secret That Most Tutorials Skip
The number one reason finger curls fail — they don’t hold, they frizz, they look messy rather than defined — is inconsistent product application. Every section needs the same amount of product, applied in the same way. Not a little here, a lot there. Uniform application is the foundation of a uniform curl pattern. This sounds simple, but it’s the single most important technical detail in the entire process.
The Right Products for Finger Curls on Natural Hair
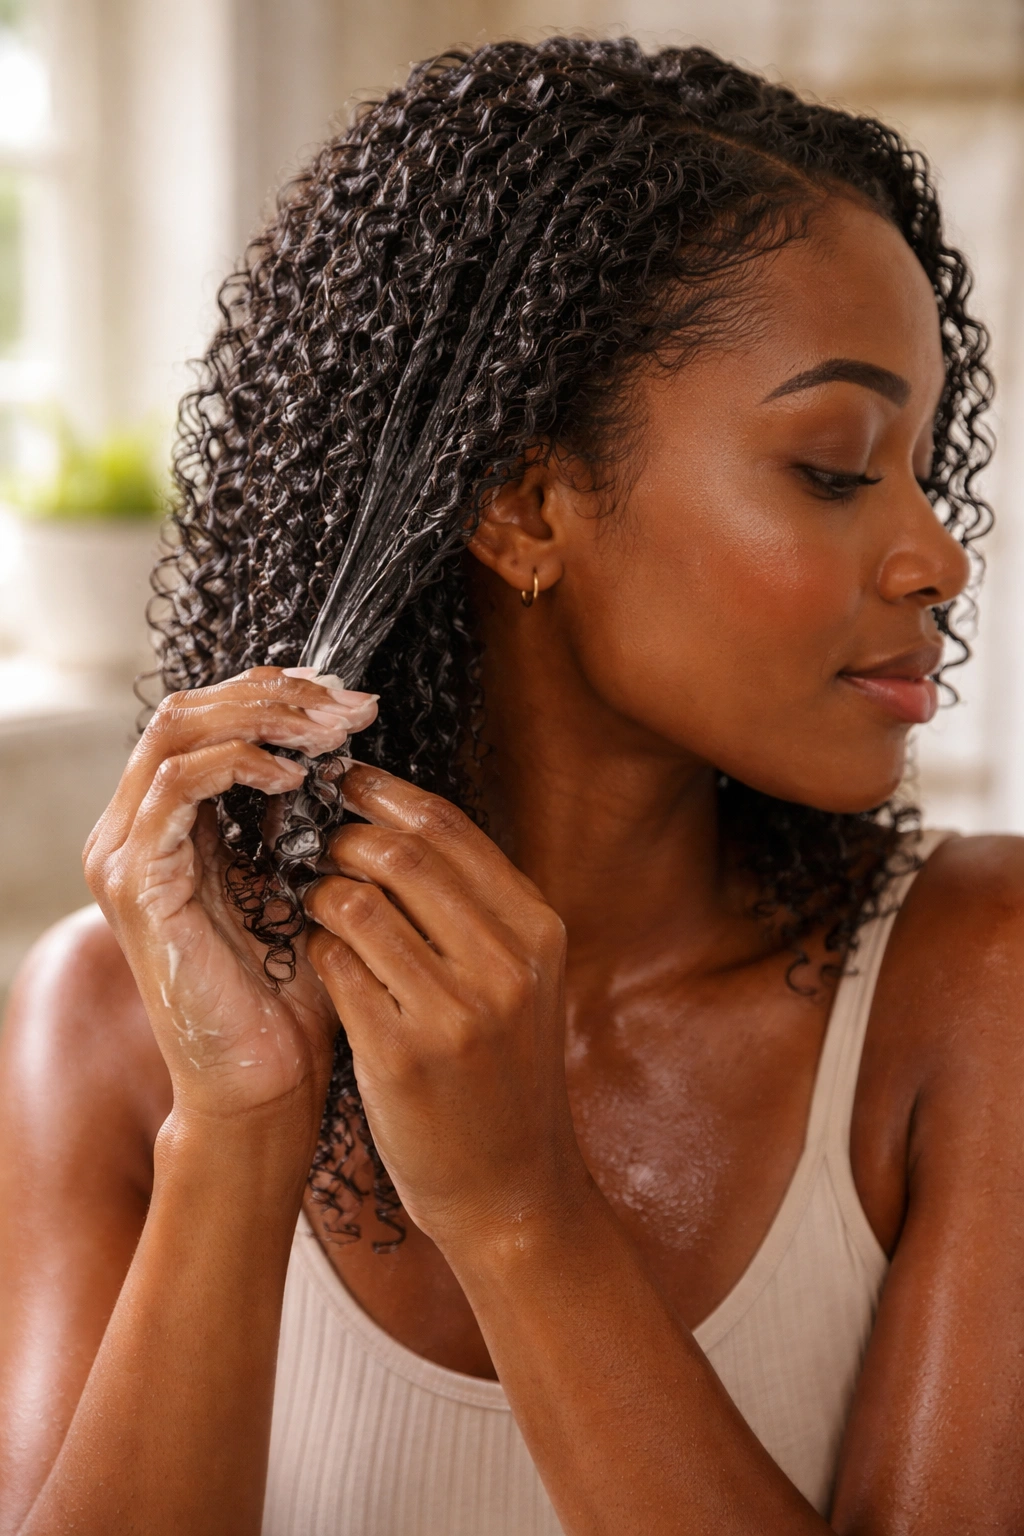
Product selection for finger curls is more important than for almost any other natural hair technique. You need something with enough slip to let you manipulate the section smoothly, enough hold to set the curl as it dries, and enough moisture to keep the coil pattern flexible and defined rather than crunchy and stiff.
The most common and effective product combination is a curl cream or custard paired with a gel. The curl cream provides the moisture and slip; the gel provides the hold and definition. Apply the curl cream first to the damp or wet section, then follow with a pea-sized amount of gel, rake it through the section, and then begin coiling around your finger.
If you prefer a lighter product load, a good single-product option is a firm-hold curl defining cream that has both slip and hold built in. These are sometimes labeled as curl jelly or curl pudding.
Avoid oil alone for finger curls. Oil provides slip but no hold, meaning the curl will slip off your finger and separate before it has a chance to set. Oil belongs as a finishing product, not a setting product.
Working Wet vs. Damp — Which Is Better?
Working on soaking wet hair gives you maximum slip and manageability. The product distributes more evenly, and the hair is at its most elastic. But soaking wet hair also takes much longer to dry, which means your curl is coiled around your finger for longer before it sets — and if you move around or the curl gets disturbed before it dries, the definition is lost.
Working on damp hair — wet enough to be pliable but not dripping — gives you a faster dry time and better initial hold. The tradeoff is slightly less slip. For beginners, damp hair is generally easier to work with. For experienced finger-curlers working with very dry or coarse natural hair, soaking wet hair may give better results.
Sectioning Strategy for Perfect Finger Curls
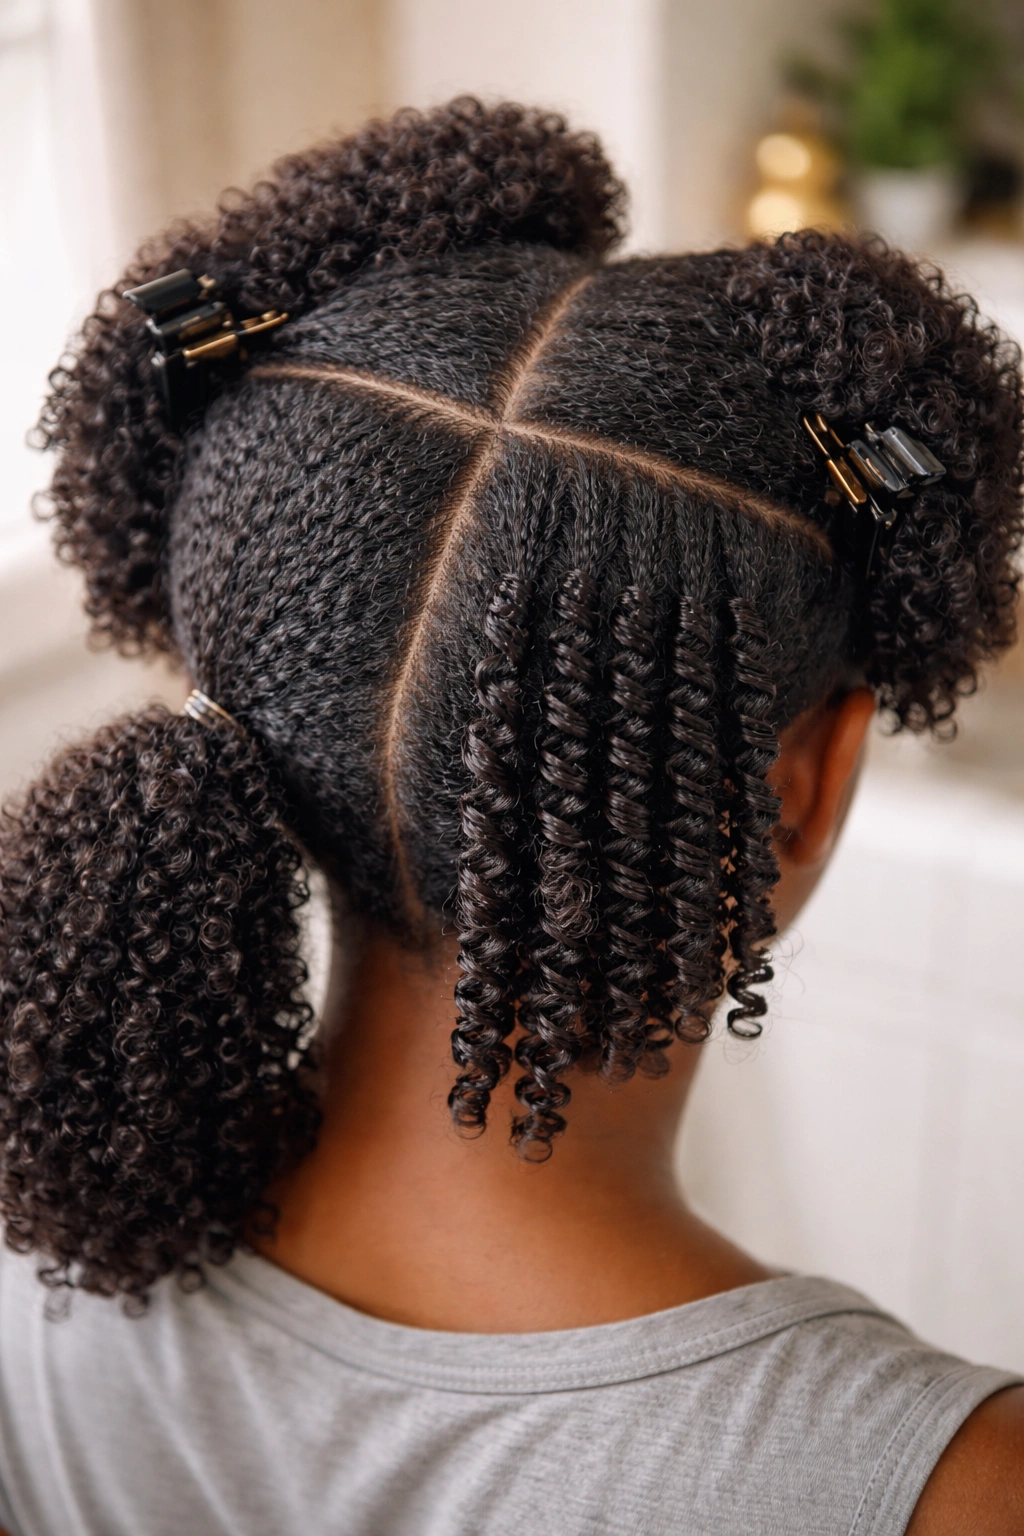
How you divide the hair before you begin determines the overall look and uniformity of the finished style. Random sectioning leads to random results. Strategic, consistent sectioning gives you the uniform, defined look that makes finger curls so beautiful.
Start by dividing the hair into four large sections and clipping or twisting each to keep it out of the way. Work in one large section at a time. Within each large section, create smaller subsections — about three-quarters of an inch to one inch wide — to work with. The size of these subsections determines the size of the finished curl: smaller subsections give tighter, more defined coils; larger subsections give looser, more relaxed spirals.
Use a rat-tail comb to create clean, even part lines between subsections. Consistency in subsection size is as important as consistency in product application. If some sections are half an inch and others are two inches, your finished style will look uneven and haphazard regardless of how well you execute the curling technique itself.
How to Actually Execute the Finger Curl Technique
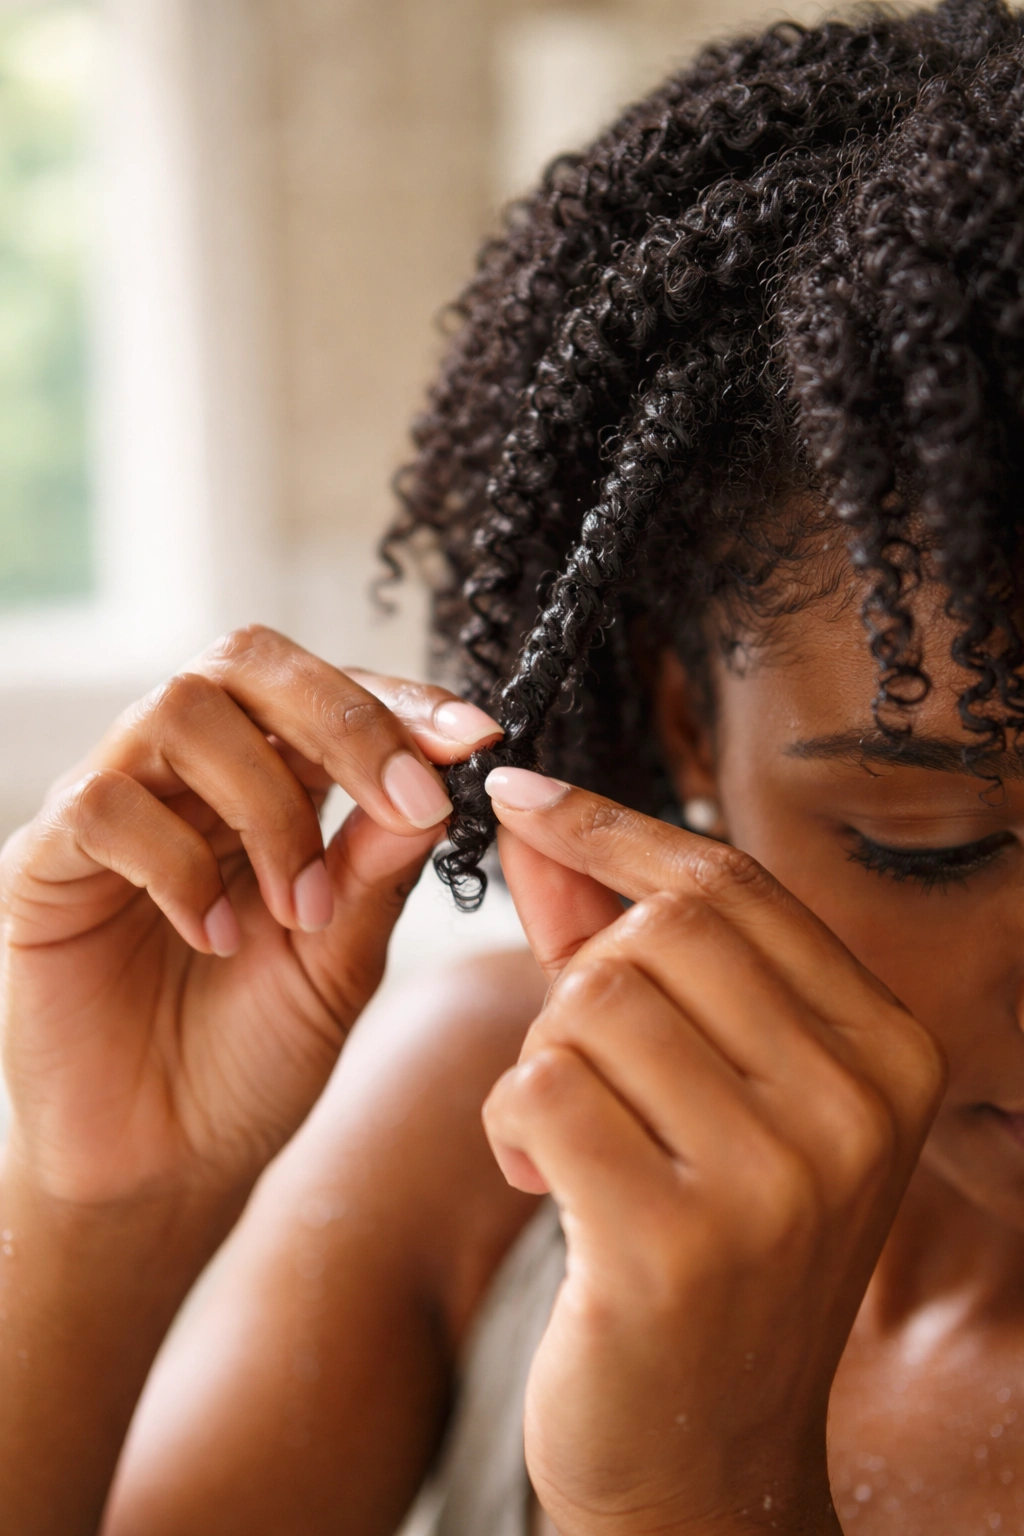
Now the actual technique. Apply your product combination to the subsection, making sure every strand is coated from root to tip. Take the section and begin coiling it around your index finger, starting from the tip and spiraling upward toward the root. Keep the coil tight and consistent as you wrap upward. At the root, pin or clip the curl in place if needed, or hold the coil for a few seconds to let it begin to set before releasing.
Some naturals prefer to coil from root to tip — starting at the scalp and spiraling the hair around the finger downward. This method tends to create curls with more root volume and a slightly different shape. Try both directions and see which gives you better results on your specific texture.
Once you release the curl, don’t touch it. Don’t adjust it. Don’t smooth it. Let it sit and dry undisturbed. This is the patience part of finger curling, and it’s genuinely the hardest part for most people.
1. Classic Defined Finger Curls
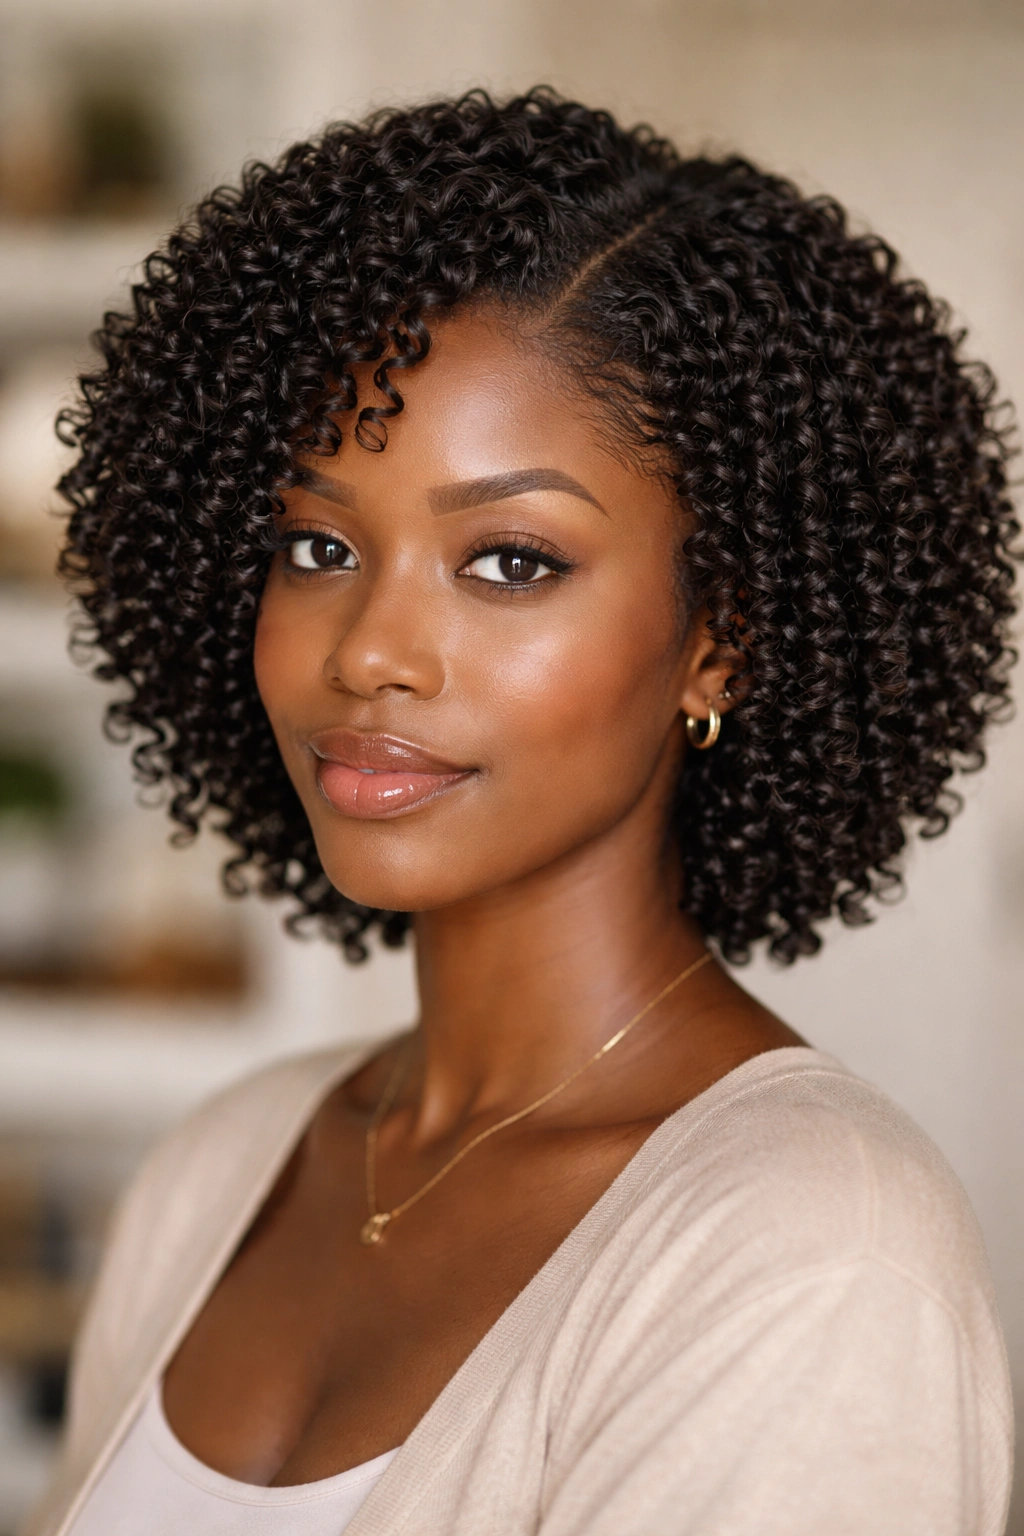
The classic defined finger curl is the standard — the foundational style that every variation builds from. This is the look where every coil is perfectly formed, uniformly sized, and visibly distinct from the curls around it. On natural hair, it looks like your coil pattern distilled into its most perfect expression.
Work on damp natural hair with a curl cream and gel combination applied to each section. Coil three-quarter-inch sections around your index finger from tip to root, maintaining consistent tension. Release each curl carefully and pin at the root with a small clip to hold the shape as it dries. Once the entire head is set, sit under a hooded dryer for 30-45 minutes or let air dry completely (this can take several hours).
How to Achieve Classic Finger Curls
- Apply product generously but not heavily — the hair should be coated, not saturated
- Use a medium-hold gel rather than a firm gel for a soft, defined result rather than a crunchy one
- Coil in the same direction on every section — either clockwise or counterclockwise
- Remove the clips only when the hair is completely dry — not damp, not slightly wet, completely dry
The payoff for the patience is a head of curls that looks like it took hours at a high-end salon.
2. Wet Finger Curls for Maximum Definition
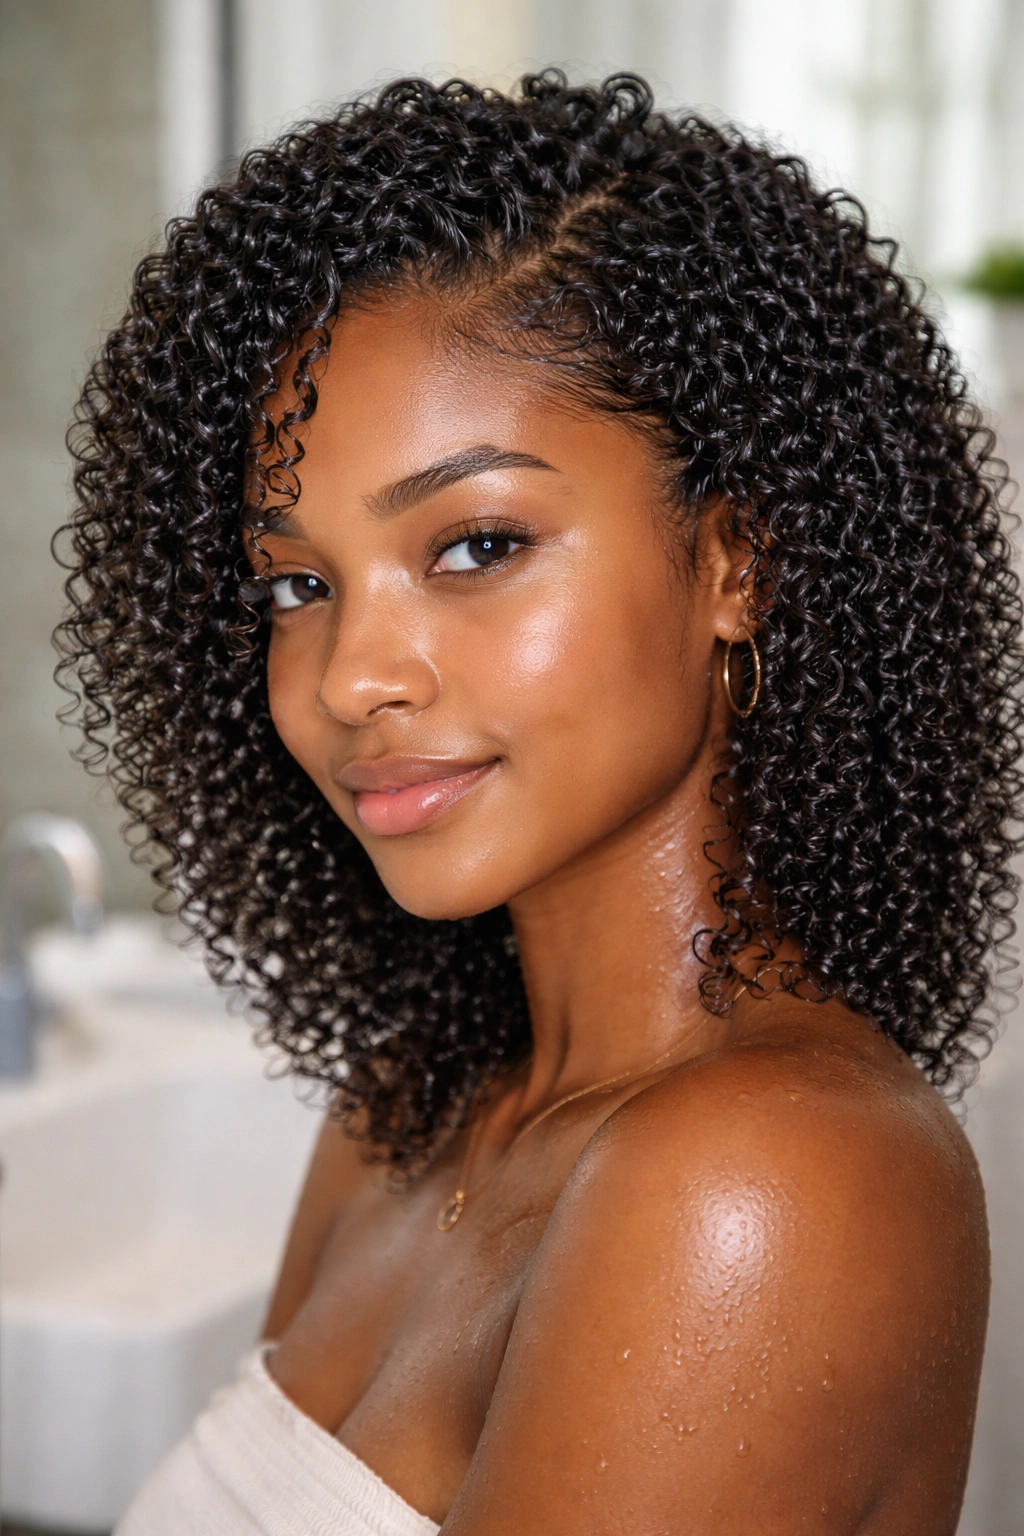
Working on completely wet, freshly washed hair produces the most defined finger curls possible. The hair is at its most elastic state, it accepts product more deeply, and the resulting coil is typically tighter and more defined than what you get on damp hair.
The technique is the same as classic finger curls, but the experience is slightly different. The hair is heavier, the product distributes more freely, and the sections are more cooperative. The tradeoff is time — wet hair finger curls can take four to eight hours to dry fully without a hooded dryer. Under a dryer, you’re looking at 45-60 minutes.
This is the method to choose when you want the most dramatic, defined result — for events, photos, or occasions when you want the style to look its absolute best.
3. Stretched Natural Hair Finger Curls
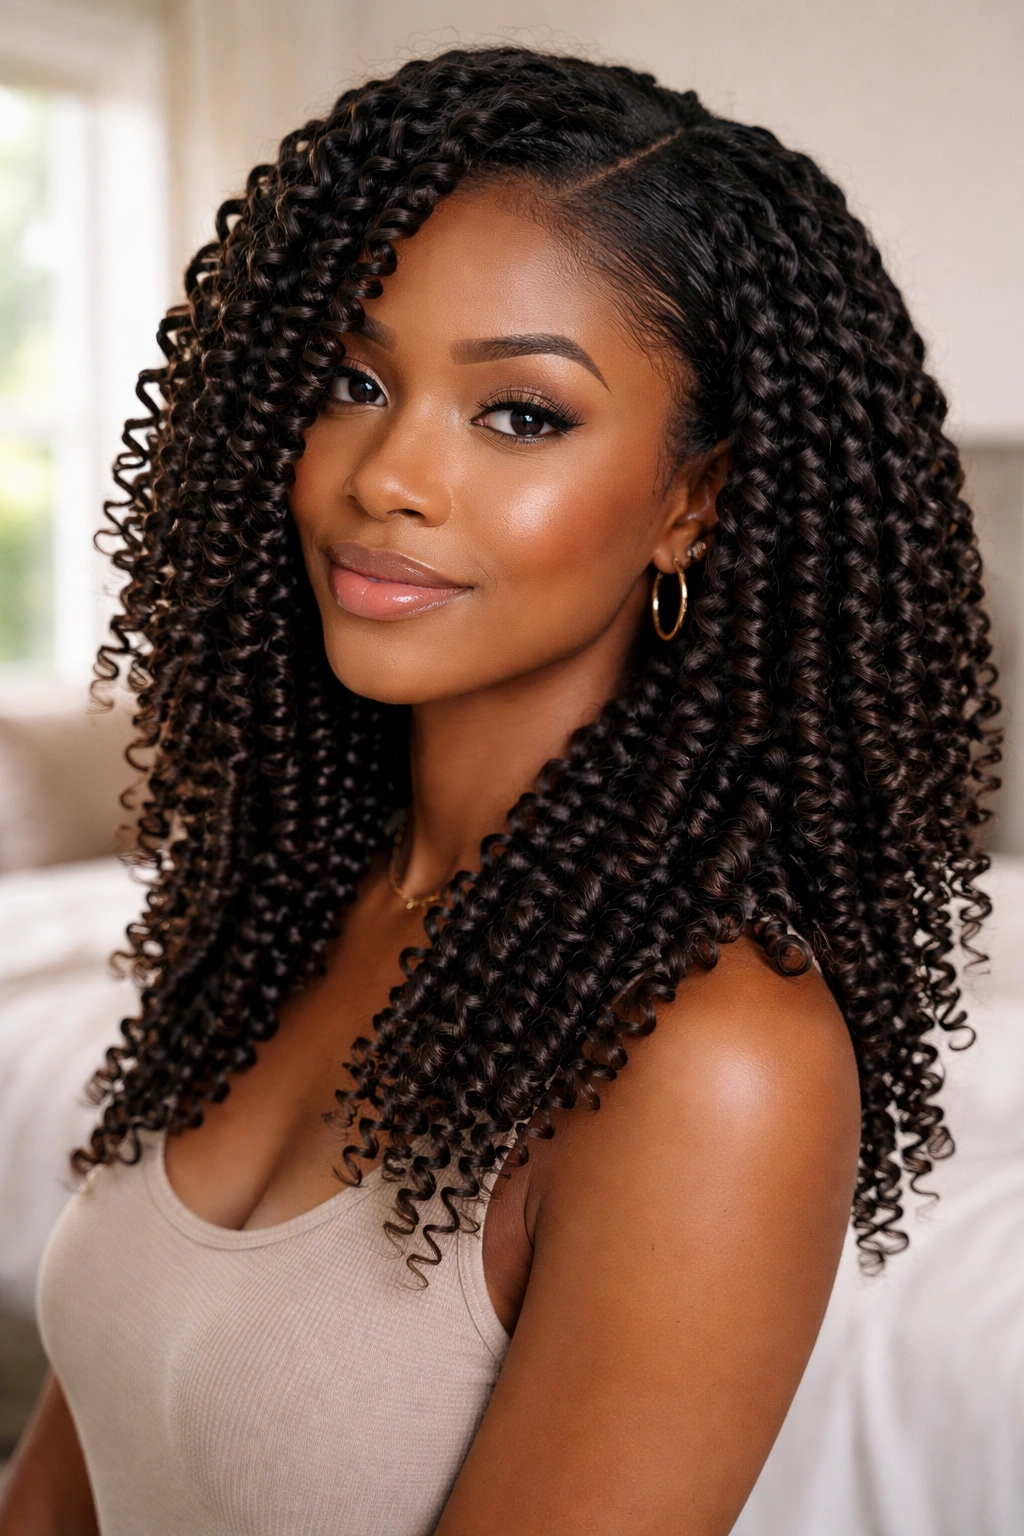
Finger curling stretched hair — hair that’s been blown out or banded before styling — gives you elongated curls that show more length than curls done on unstretched hair. For Type 4 naturals who want to demonstrate length while keeping a defined, coiled look, this is the technique.
Lightly stretch the hair first using a low-heat blowout or the banding method. Apply heat protectant if using a blowdryer. Once stretched, the hair should be smooth and elongated but not flat. Apply curl cream and gel to each section and coil around your finger. Because the hair is already elongated, the resulting curl is longer and hangs more than a curl done on naturally shrunken hair.
The downside: stretched curls may not be as tight or as precisely defined as wet-set finger curls. The upside: the length display is worth it for many naturals.
4. Finger Curls as a Wash-and-Go Enhancement
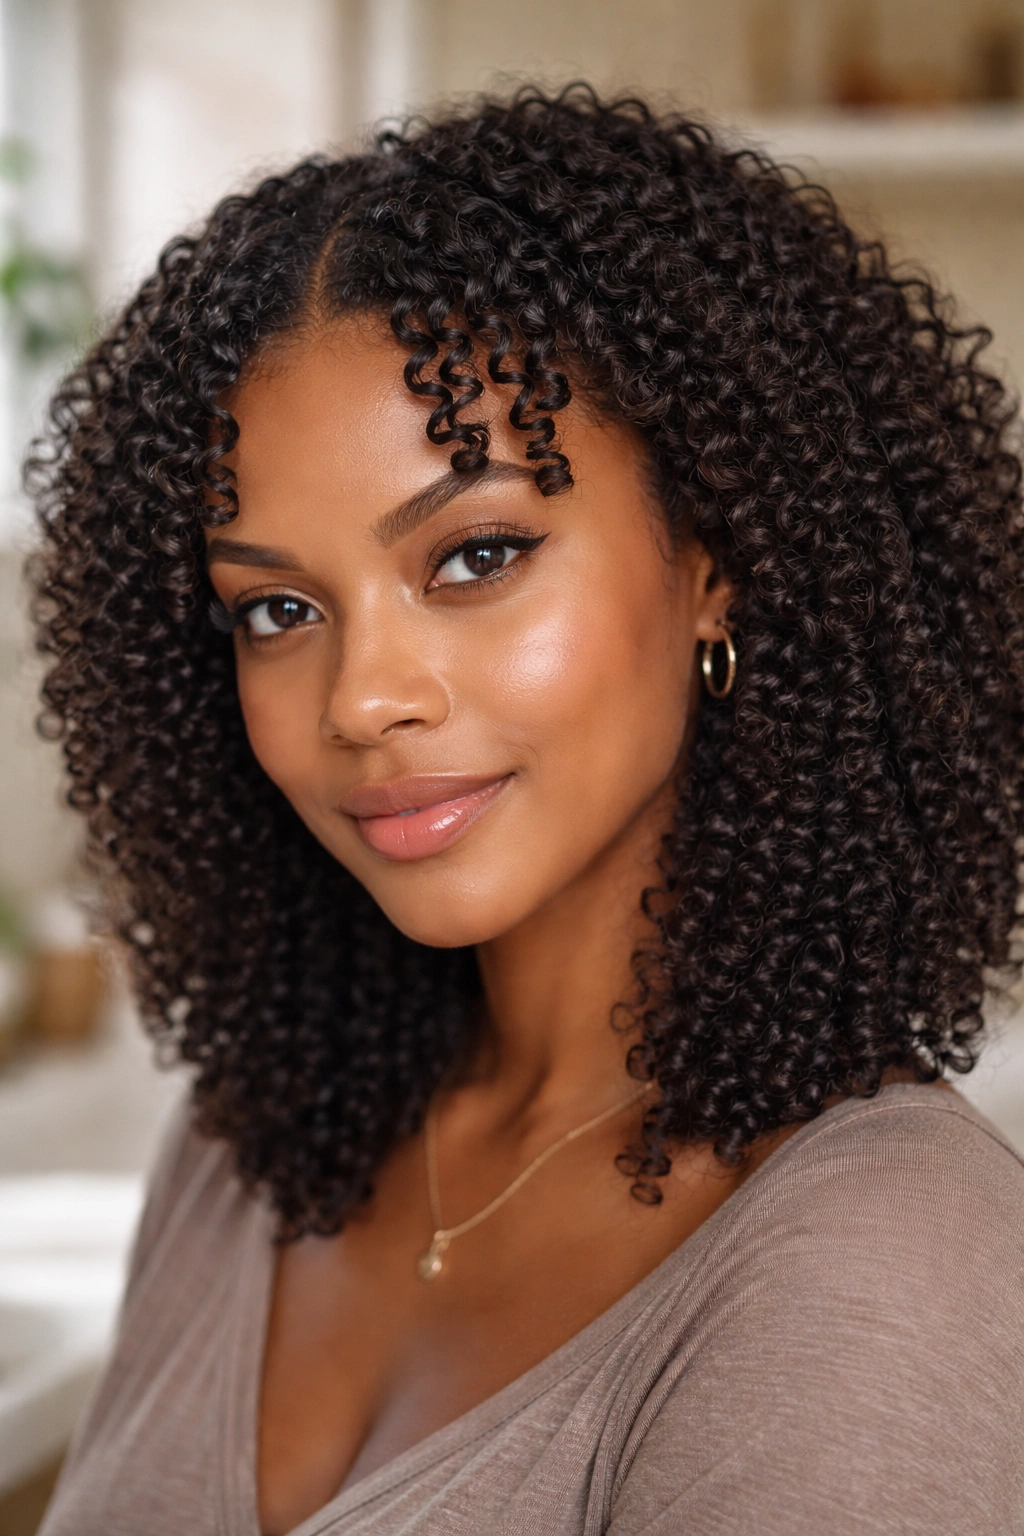
A wash-and-go is already a form of finger curling for some naturals — but intentional, section-by-section finger curling on a wash-and-go base takes the style to a completely different level.
After washing and conditioning, apply your wash-and-go products to the entire head as you normally would. Then, before the hair dries, go back through in sections and individually coil any sections that need more definition. Focus on the front sections and the sections that frame the face — these are the most visible and benefit most from the extra attention. The rest of the hair can be left to its natural wash-and-go pattern.
This approach is much faster than doing full finger curls on every section, while still giving the visible portions of the style the extra definition and uniformity that makes finger curls so beautiful.
5. Finger Curls on Short Natural Hair
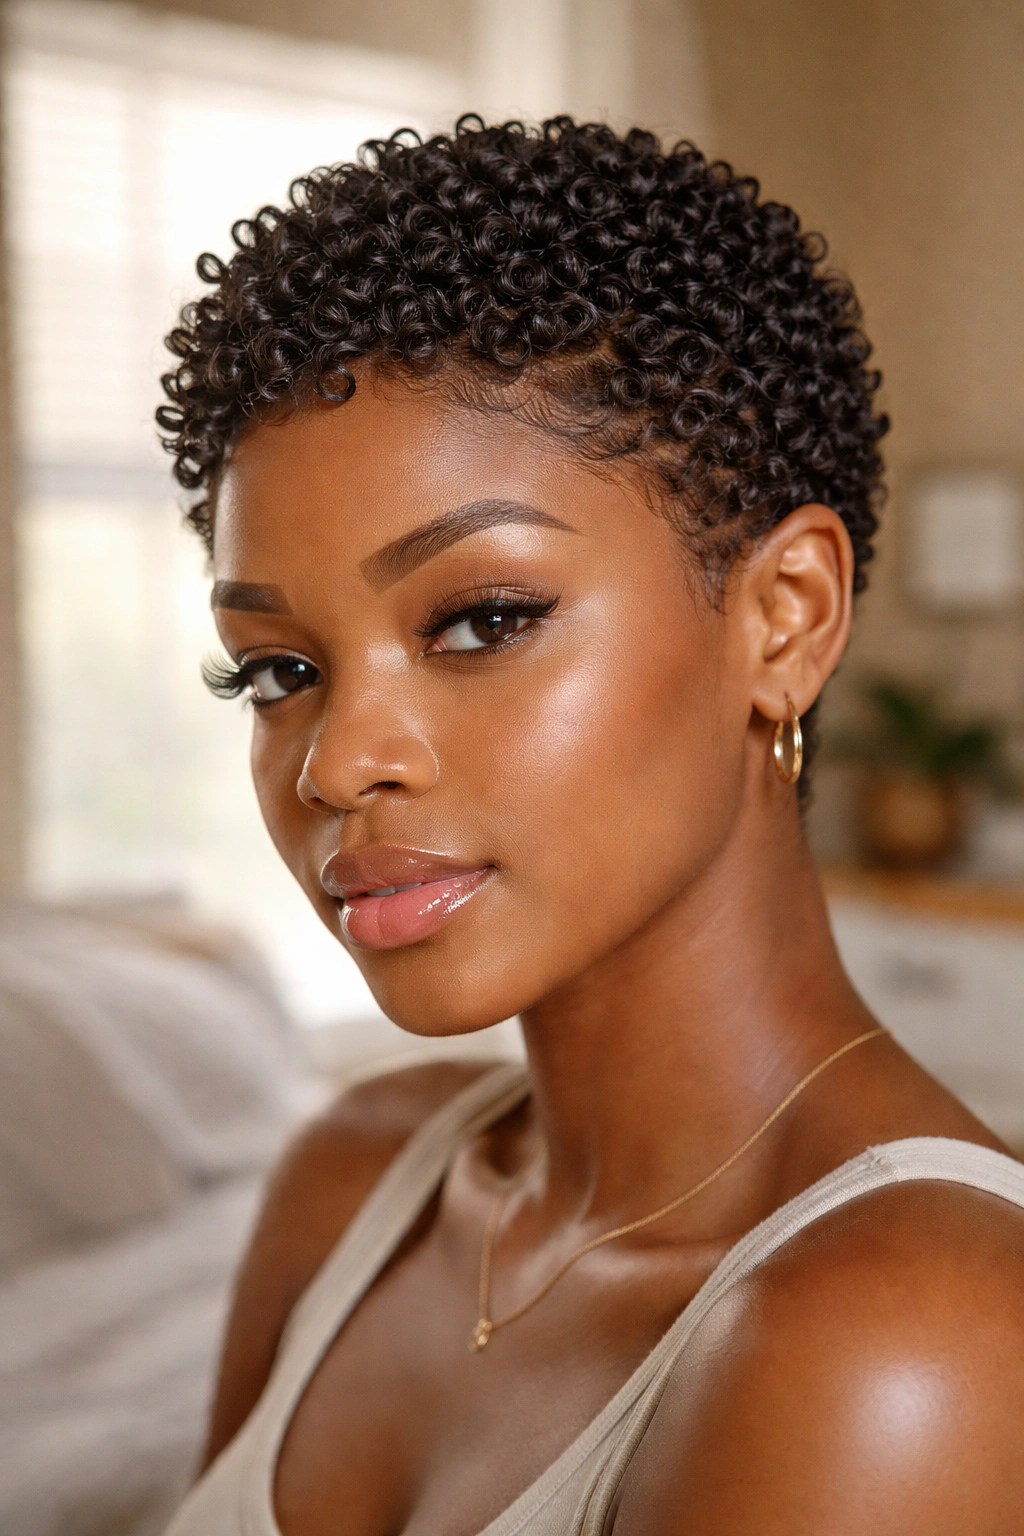
Short natural hair — TWA, a close-cropped cut, or anything above the chin — is an excellent candidate for finger curls. In fact, finger curls on short natural hair often produce more dramatic results than on longer hair because the small, tight curls have nowhere to hide and every single one is visible.
Apply curl cream to very small sections — about half an inch wide. Coil each section around your index finger or, for very short hair, around a pencil or a smaller tool. On hair that’s too short for a full spiral, simply press the section against the scalp in a C-curve and hold for a few seconds before releasing. Even this minimal manipulation adds definition and shape that makes the short style look intentionally styled.
This is also a beautiful technique for the early stages of natural hair growth — it gives the just-growing-out hair definition and personality rather than looking like unstyled new growth.
6. Two-Strand Twist and Finger Curl Combination
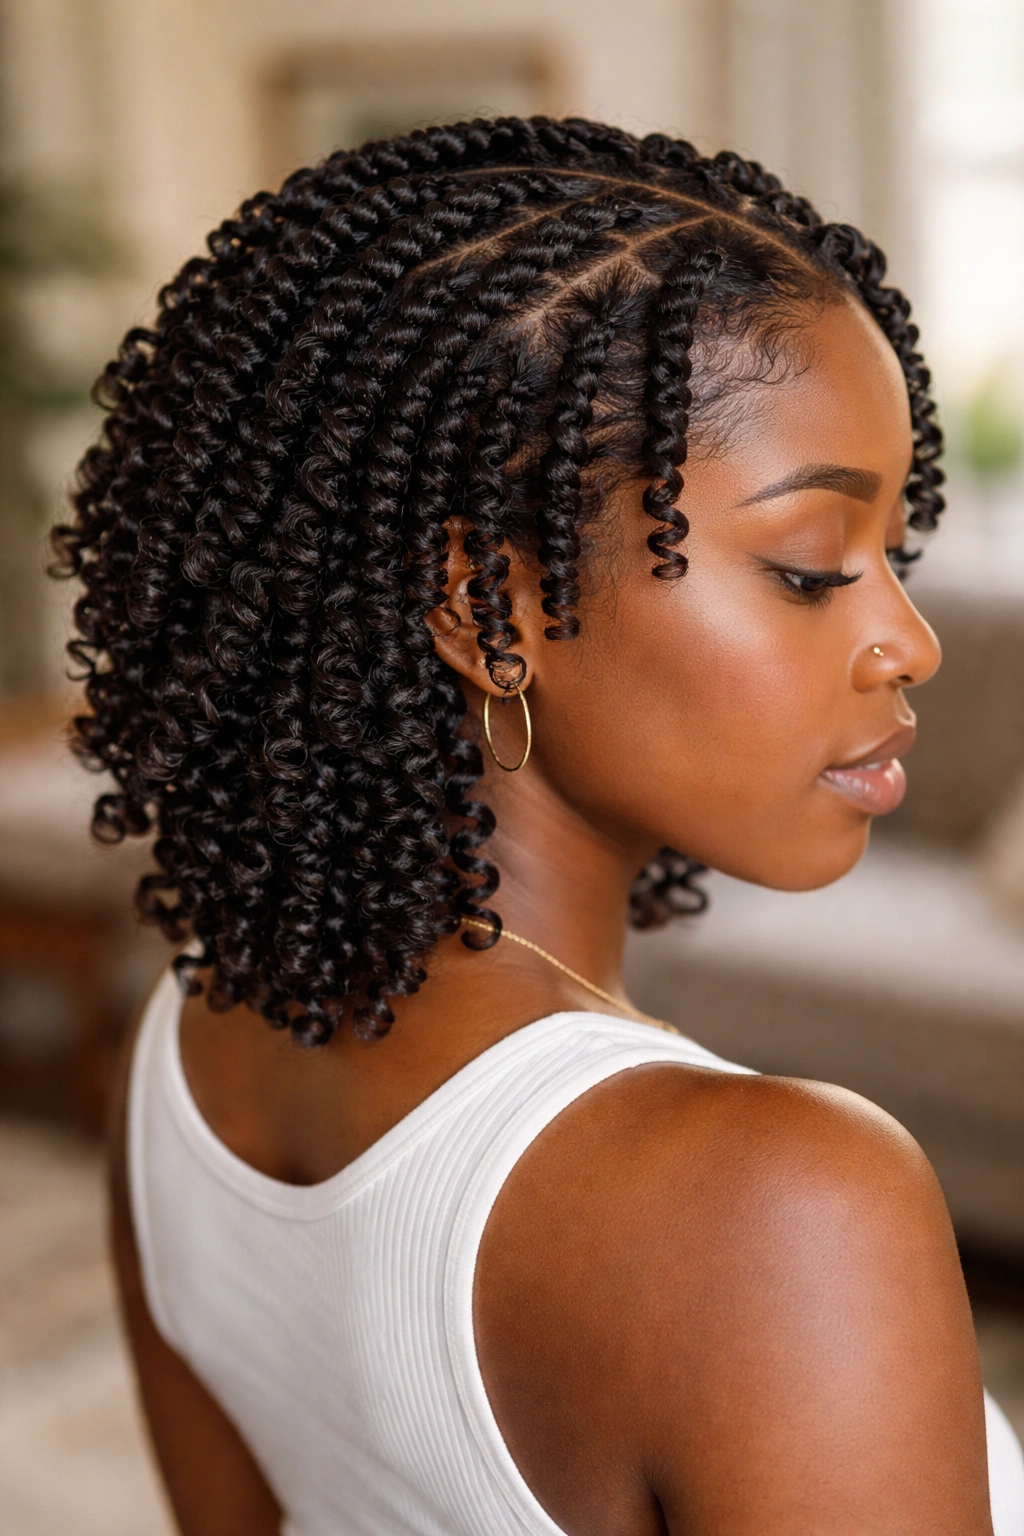
Combining the two-strand twist with finger curls in a single style gives you a multidimensional look that’s absolutely stunning. The structure and definition of twists combined with the organic, coiled look of finger curls creates something completely unique.
Divide the hair into two categories before styling: the sections you’ll twist and the sections you’ll finger curl. A natural approach is to twist the front sections — the ones closest to the hairline — for a neat, framed look, and finger curl the sections behind them. Or twist the top section for a structured crown and finger curl the sides and back.
Apply the same product to both sections for a cohesive look, and make sure the twists and the finger curls are approximately the same size so the style looks intentional rather than mismatched.
7. Chunky Finger Curls for Volume
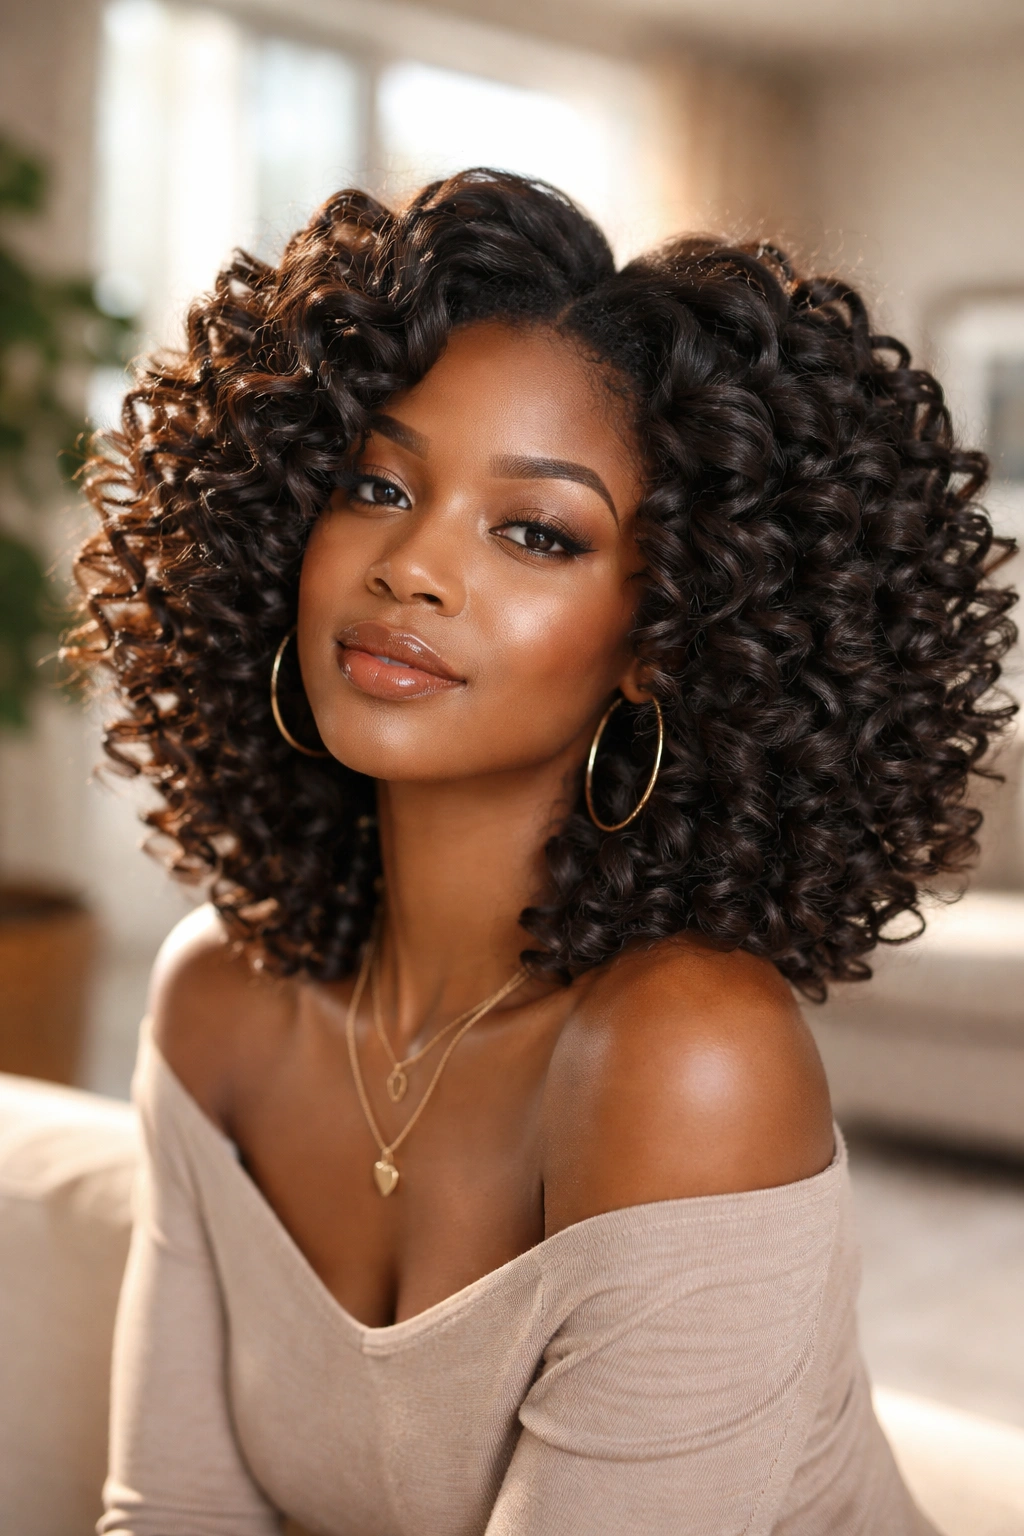
Bigger sections mean bigger curls and more volume. Chunky finger curls on natural hair look plush, full, and gorgeous — and they go up significantly faster than smaller sections.
Work with sections one and a half to two inches wide. Apply a generous amount of curl cream and gel. Coil the large section around two fingers rather than one — this creates a wider curl column than a single finger. Hold for several seconds and release. The resulting curl is a wide, soft spiral that has more visual presence than a tight ringlet.
This is a great technique for high-density natural hair where the volume of strands fills the larger curl column beautifully. It’s also the faster version of finger curling for days when you want a defined style without the time investment of working in tiny sections.
8. Finger Curl Perm Rod Hybrid
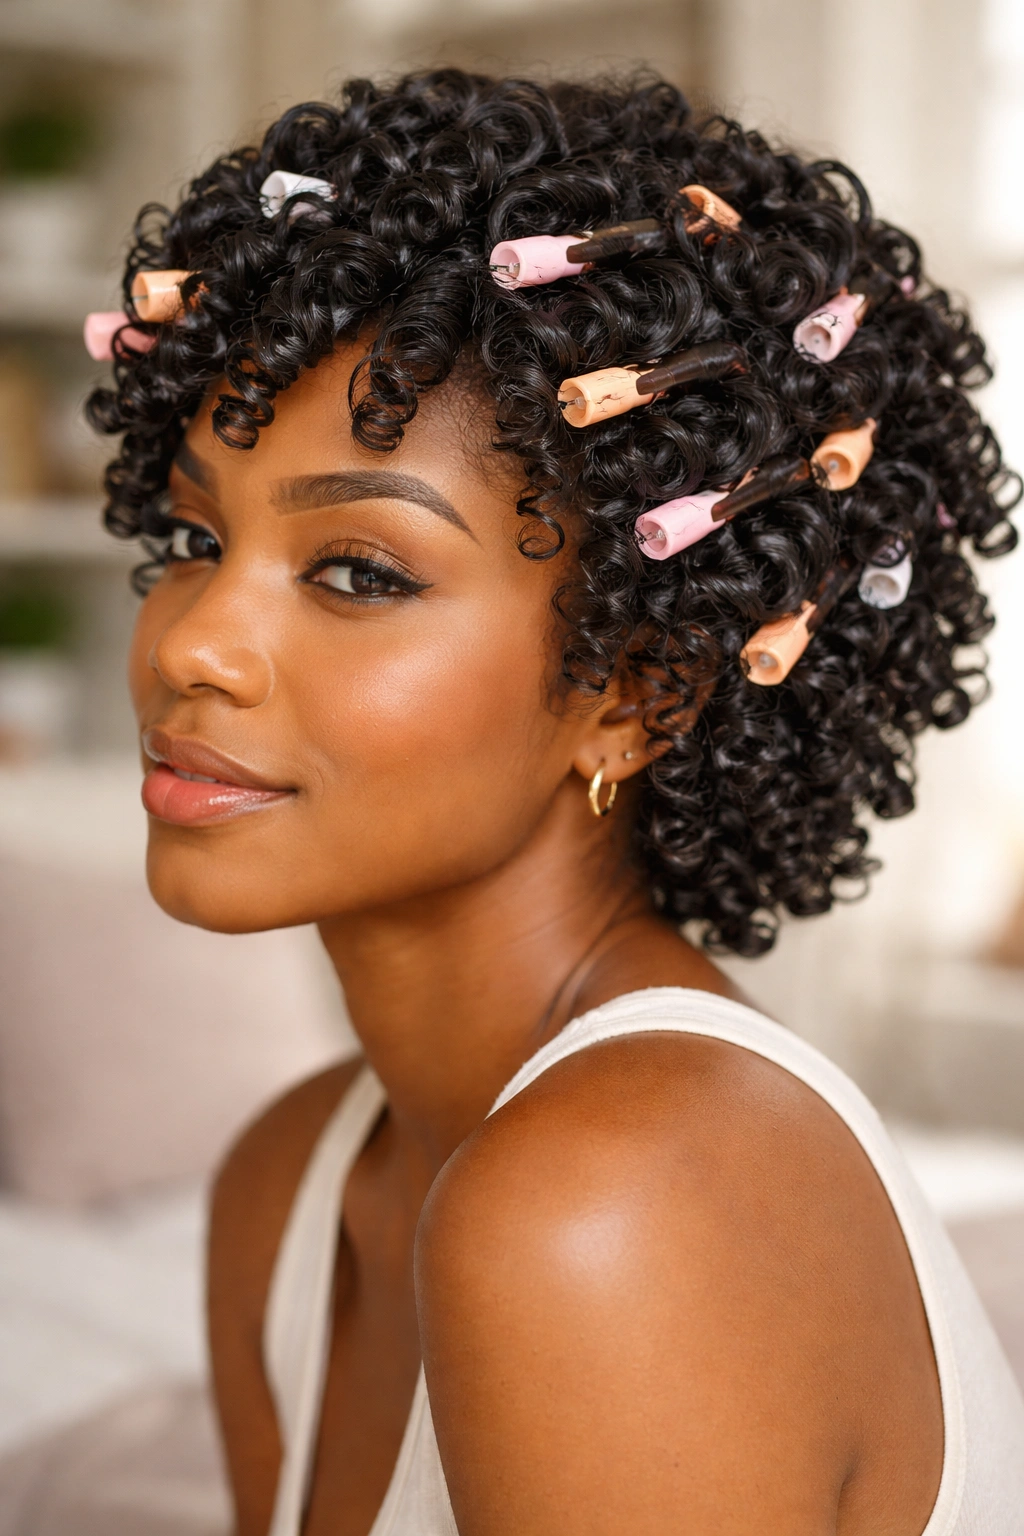
This hybrid technique uses finger curls to set the curl direction and then pins it with a perm rod to ensure the set holds and dries evenly. It gives you a more precise curl shape than finger curls alone, without the flat result you sometimes get when relying entirely on the rod.
Coil each section around your finger using your standard technique. While the curl is still coiled around your finger, slide the perm rod underneath the curl from tip to root, and the curl wraps around the rod as you remove your finger. Secure the rod and move on. When the hair is dry and you remove the rods, the resulting curls have the organic look of finger curls with the clean, uniform shape of perm rod curls.
The best of both techniques — the organic direction from your finger, the structure from the rod.
9. Finger Curls on Lightly Dampened Wash-and-Go
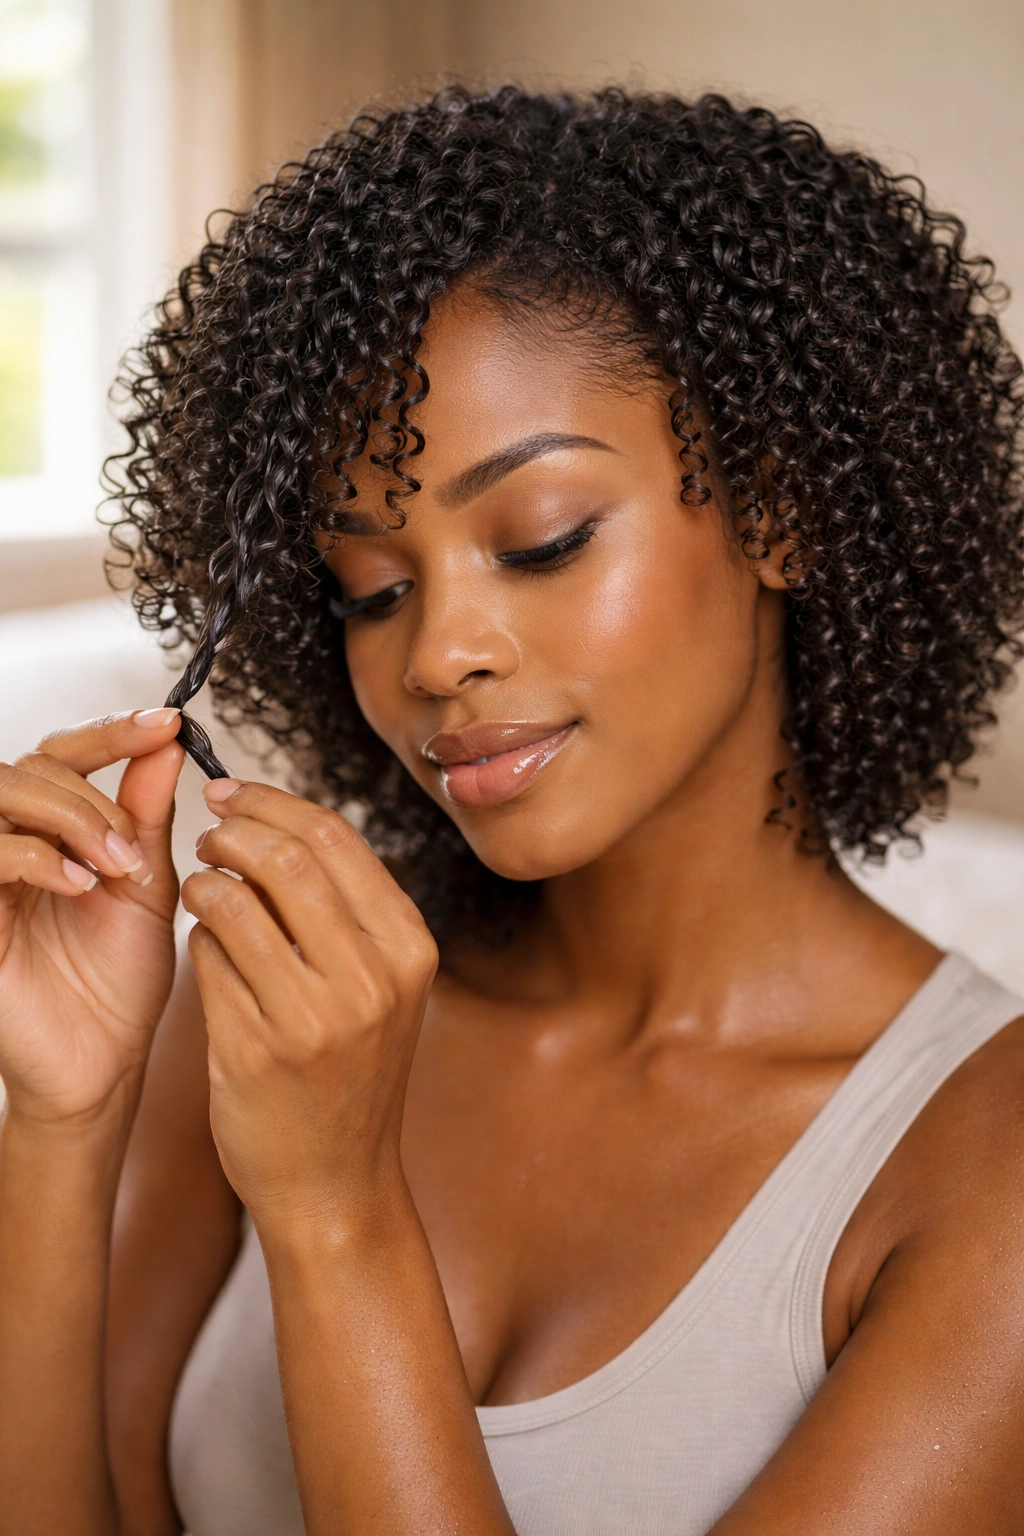
This is the refresh technique that experienced wash-and-go wearers use to extend a style beyond what a simple water spray can accomplish. On day two or three of a wash-and-go, take a spray bottle of water mixed with a tiny amount of leave-in conditioner and mist the hair lightly. Then go through the sections that have lost definition and re-coil them with a small amount of fresh gel.
This targeted refreshing approach — applying new product only to the sections that need it and re-coiling with your finger — extends the life of the wash-and-go by two to three more days without having to rewash and restart the entire style. It’s efficient, gentle, and produces a result that looks almost as good as day one.
10. Finger Curls for Type 3 Natural Hair
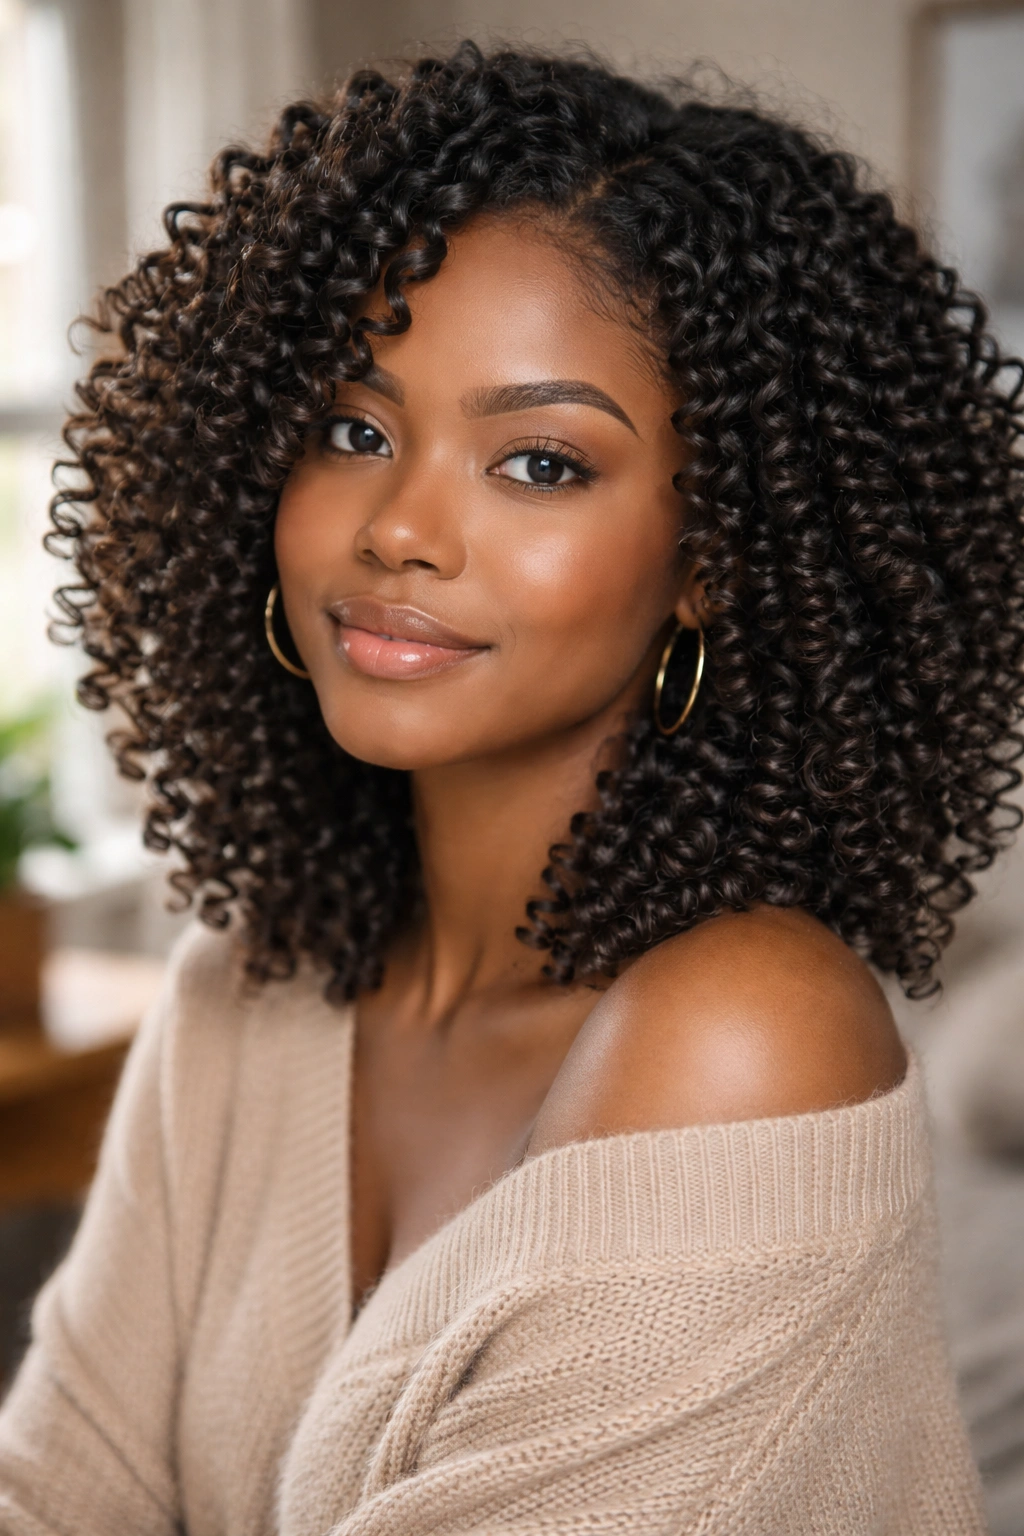
Type 3 natural hair — curl patterns that range from loose, springy curls (3A) to tighter corkscrew curls (3C) — takes to finger curling exceptionally well. The looser coil pattern is more cooperative during the wrapping process, and the results tend to be beautifully defined without as much product or effort as tighter textures require.
For Type 3 hair, use a lighter product load than you would for Type 4 — curl cream alone or a light gel is often sufficient. Work with sections that are similar in size to your natural curl clumps for the most cohesive result. The finger curl should reinforce and define the existing curl pattern rather than creating a new one.
Type 3 finger curls dry beautifully with air drying in most climates and tend to hold their definition longer than Type 4 finger curls.
11. Finger Curls for 4A and 4B Natural Hair
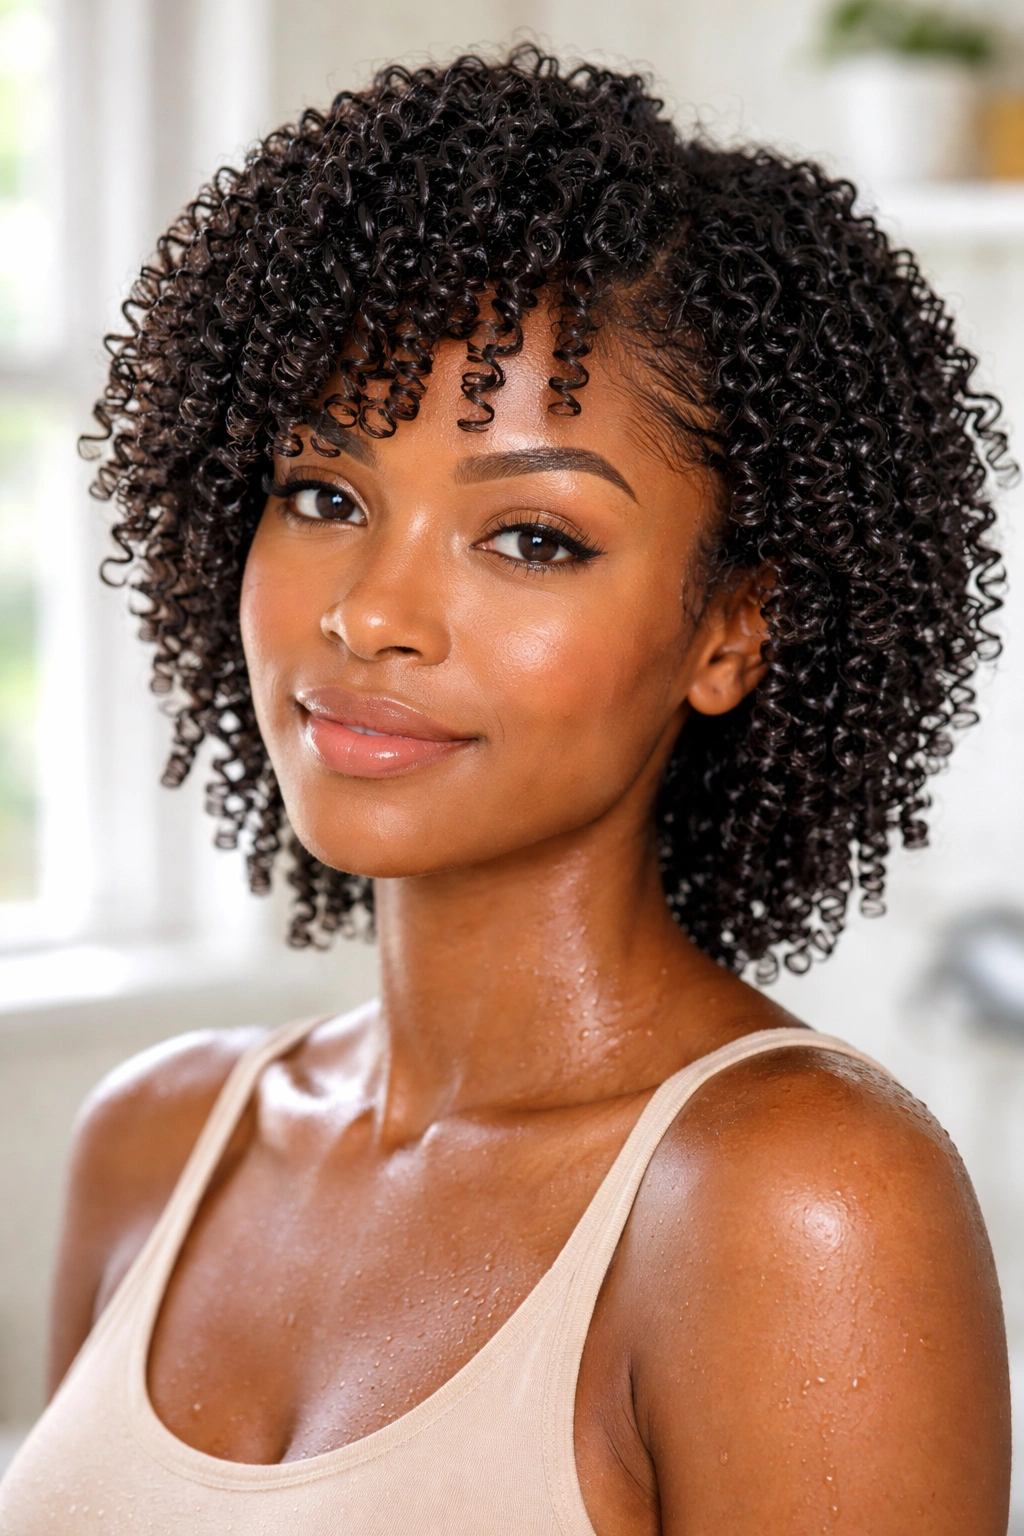
For 4A and 4B natural hair textures, finger curls are one of the best techniques for showing off the coil pattern with maximum definition. These textures have enough coil pattern to work with a finger curl beautifully, but enough tightness to benefit from the extra manipulation that finger curling provides.
For 4A hair, the coil pattern is tight but visible — finger curls enhance and define what’s already there. Use a medium-hold gel over a curl cream and work in three-quarter-inch sections. For 4B hair, the z-pattern makes the sections slightly more challenging to coil smoothly, but the resulting curls are extraordinary — tight, defined, and full of personality.
Both textures benefit from working on soaking wet hair rather than just damp, as the extra moisture gives the strand more elasticity during the coiling process.
12. Finger Curls with a Diffuser Finish
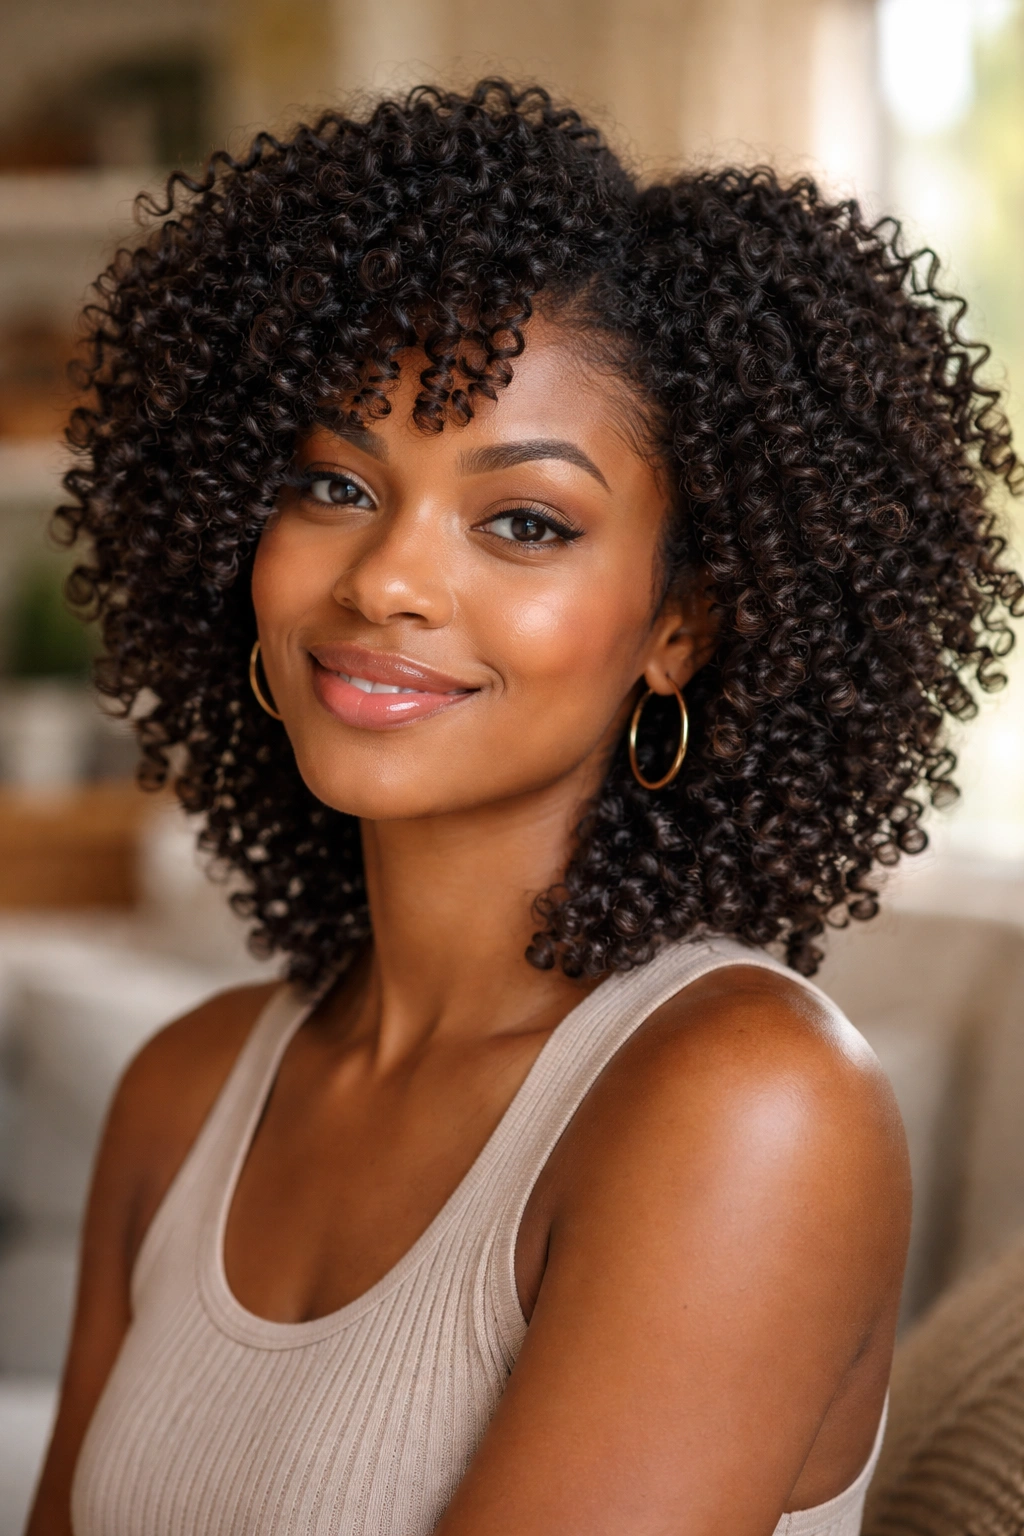
Using a diffuser to dry finger-curled natural hair is the step that separates a good result from a great one. Air drying is fine, but diffusing speeds up the process and adds volume that you don’t get from air drying alone.
After setting all sections with finger curls, use a hooded dryer or a diffuser attachment on your blow-dryer set to low heat and low airflow. Cup sections of curls gently in the diffuser bowl and hold in place for 30-45 seconds before moving to the next section. Don’t blow air directly into the curls at high speed — this disrupts the curl pattern and causes frizz.
Once the hair is 80-90% dry with the diffuser, remove the clips or pins if you were using them, and let the hair air dry the remaining amount. The combination of diffuser heat-setting and air drying gives you defined curls with excellent volume.
13. Pineapple and Finger Curl Refreshed Style
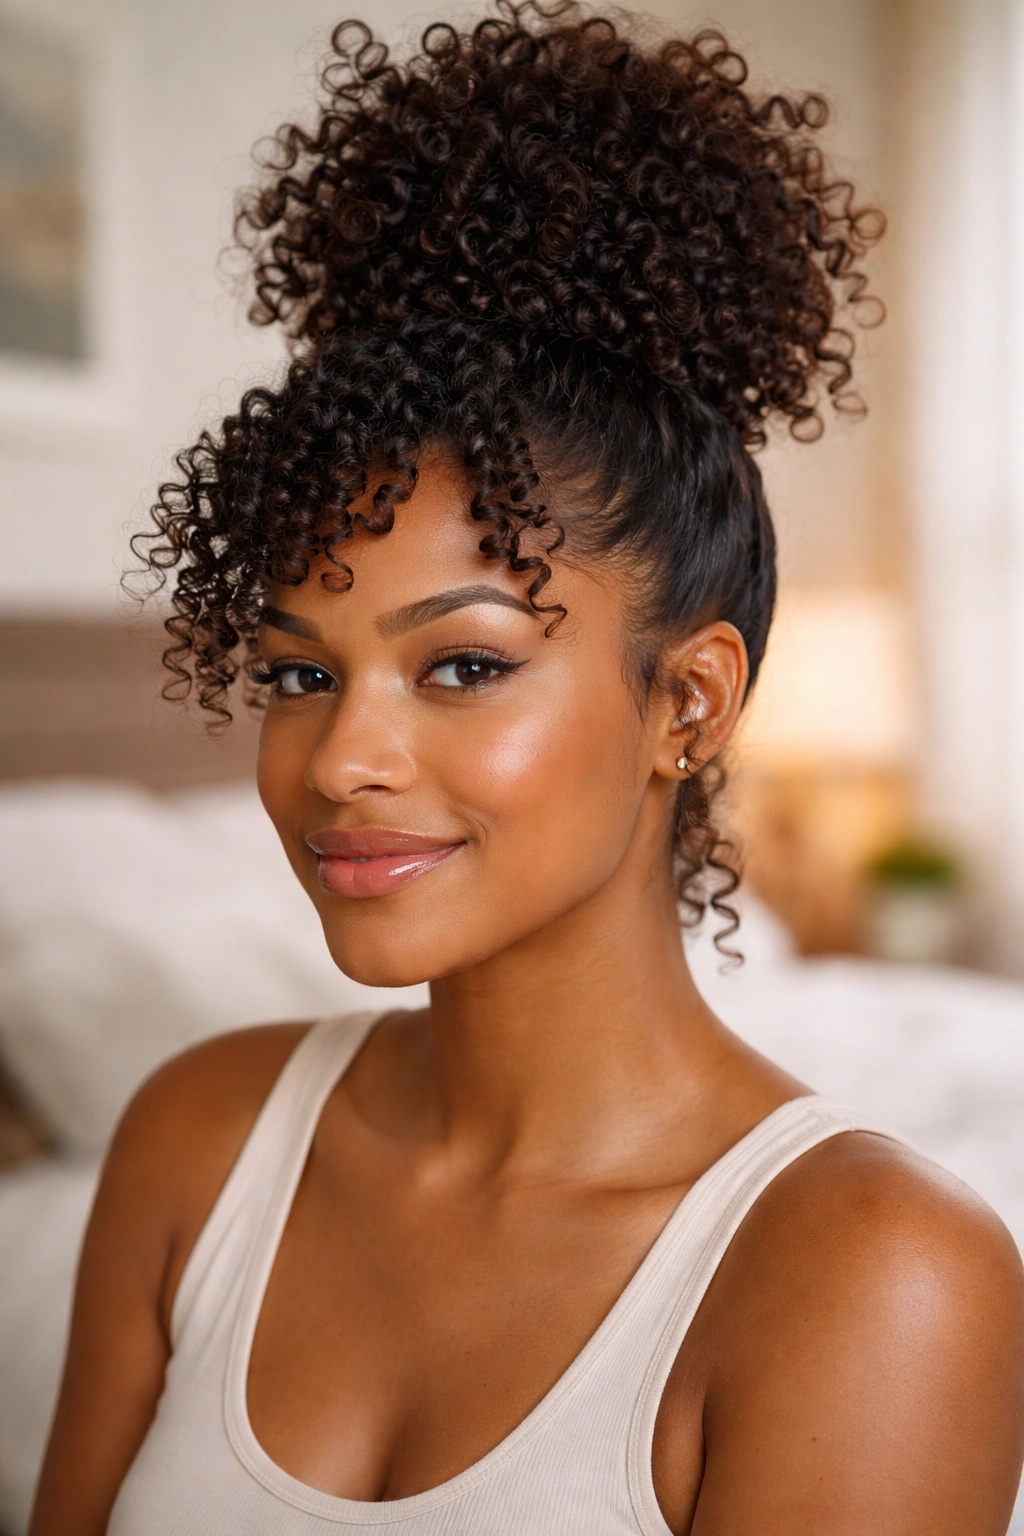
Day two finger curls on natural hair can look almost as good as day one when you use the right overnight maintenance strategy. The pineapple — gathering the curls loosely at the top of the head and covering with a satin bonnet — is the key.
In the morning, release the pineapple, shake the curls loose gently, and assess what needs refreshing. For most sections, a light mist of water is sufficient. For sections that have completely lost their definition, apply a small amount of fresh gel and re-coil around your finger, then leave undisturbed.
This targeted refresh approach honors the work you put in on day one and extends the style’s life without requiring a full re-do. On 4A and 4B hair, this process can extend finger curls for three to five days. On 4C hair, expect to refresh more frequently.
14. Finger Curls on Natural Hair — Flat Iron Prep Version
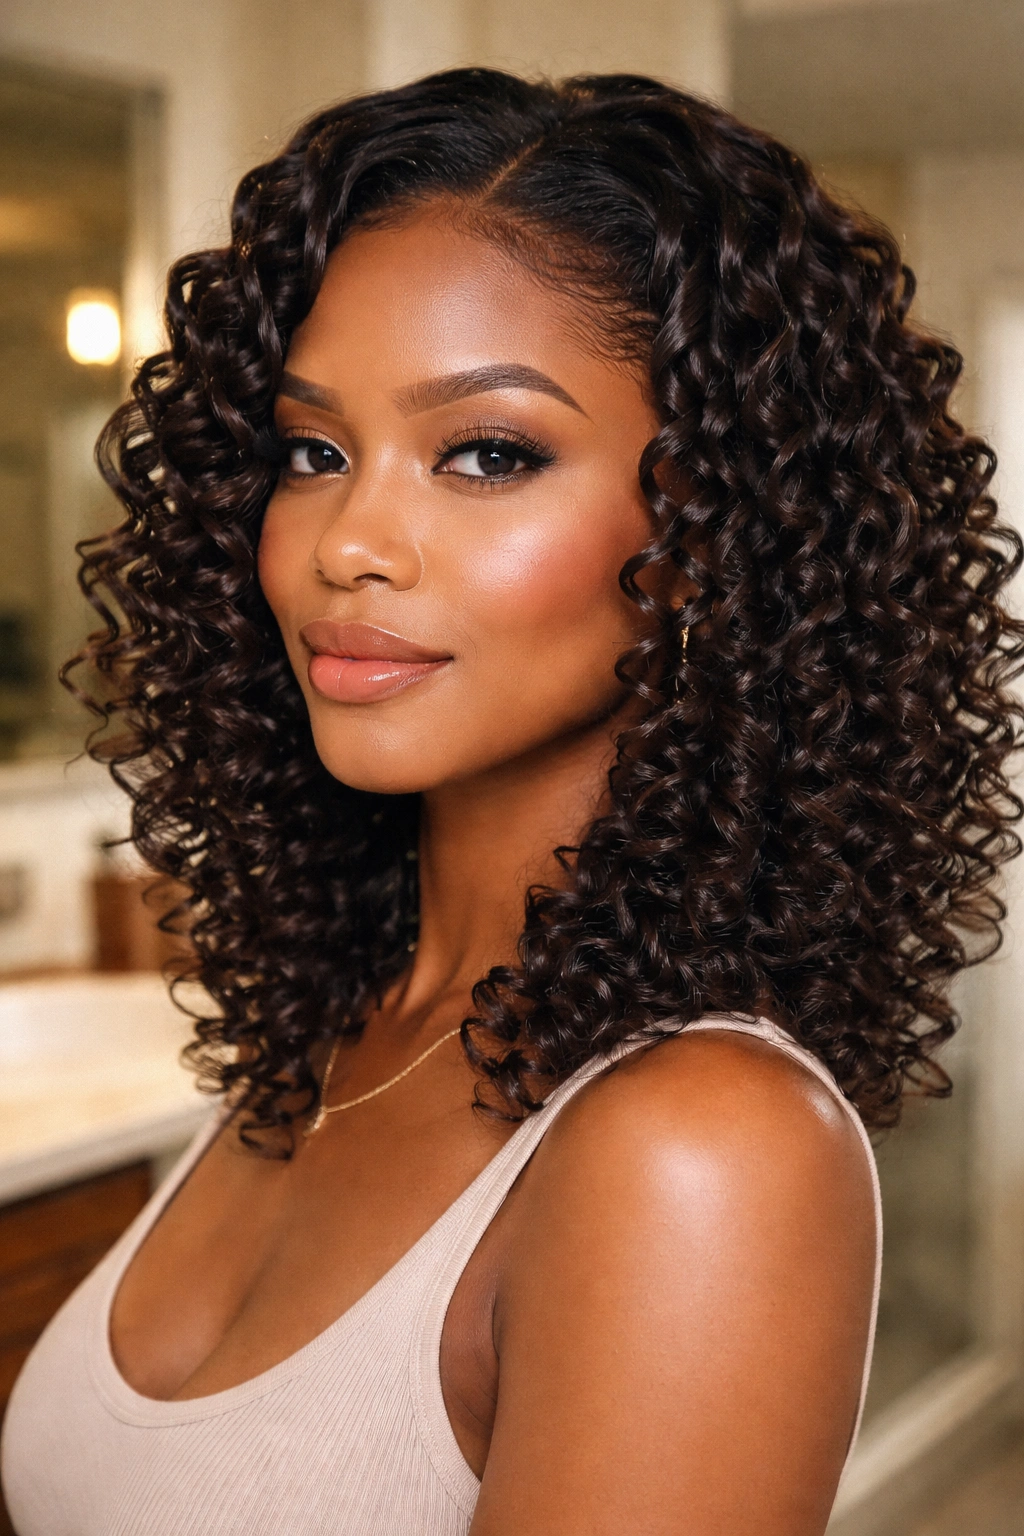
Some naturals get their best finger curl results on hair that’s been lightly flat-ironed to remove some of the coil before curling. This sounds counterintuitive — why flat iron before creating curls? — but the result is a different kind of finger curl than you get on fully natural texture.
Light flat ironing on low heat (around 300°F) just straightens the hair enough to make it more cooperative during the coiling process. The resulting finger curls are longer, more elongated, and have a slightly silkier appearance. They’re also more uniform since you’re working with a smoother starting texture.
This is not a technique for regular use — flat ironing adds cumulative heat stress even at low temperatures. But for special occasions when you want the longest, most defined finger curls possible, it’s an option to consider.
15. Finger Curls with Accessories
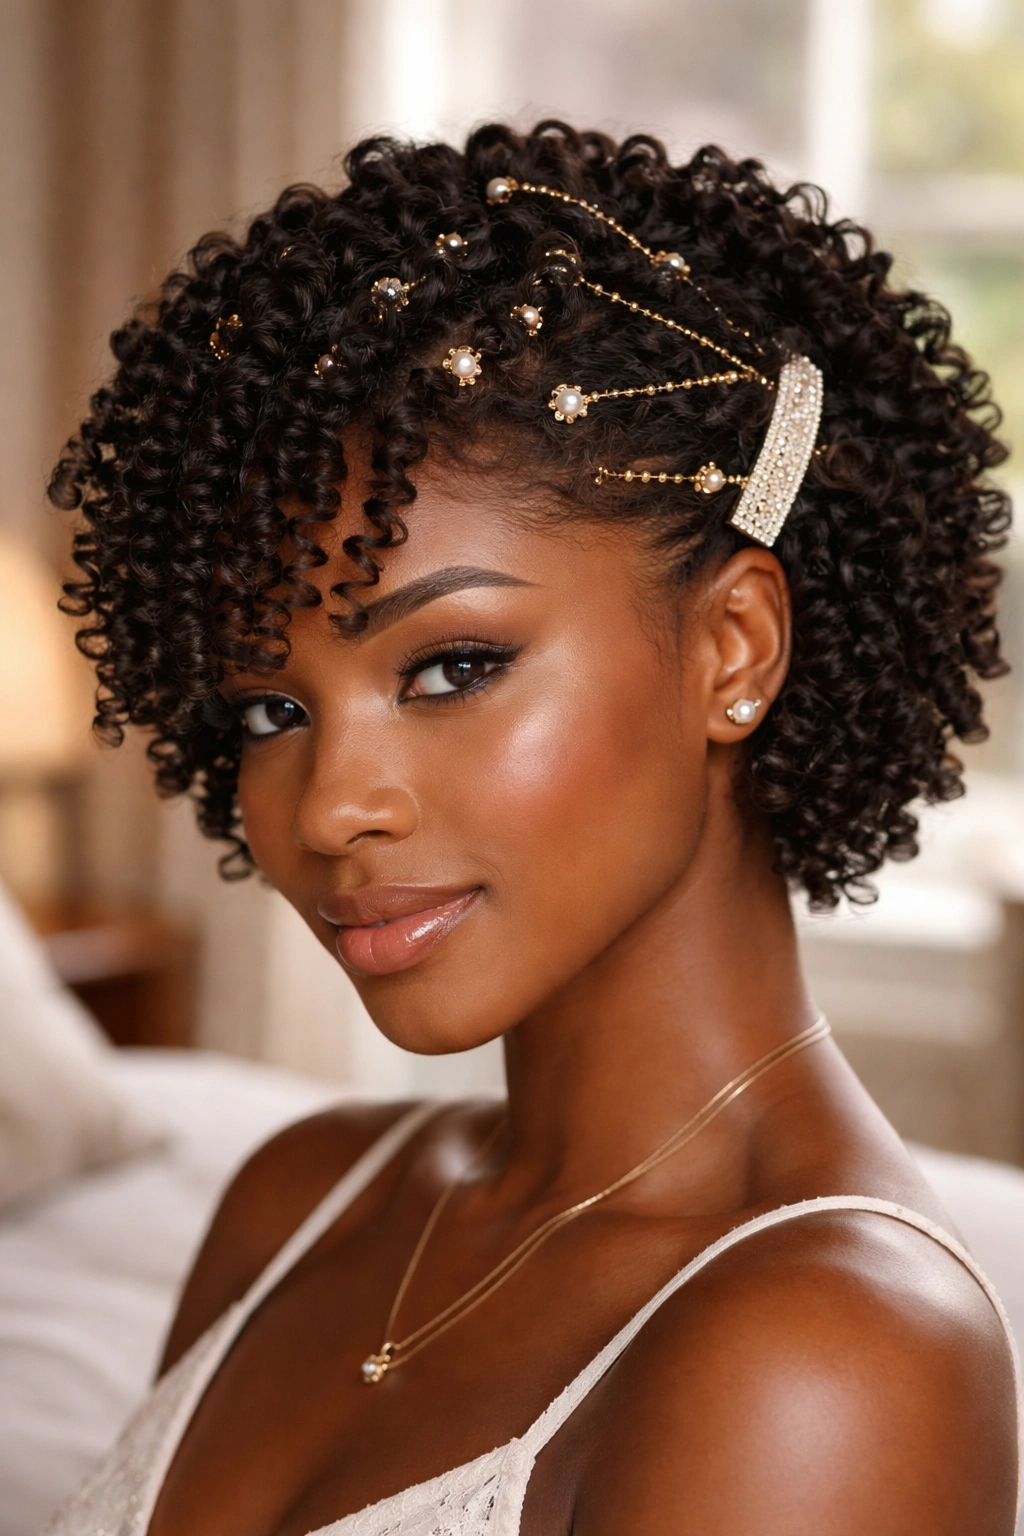
Finger curls are a stunning backdrop for hair accessories. The uniform, defined coil pattern creates a visual consistency that makes accessories pop in a way they don’t on less defined textures.
A few of the most effective accessory choices for finger-curled natural hair: beaded pins or clips nestled into individual curls, giving a scattered jewel effect across the style. A single large barrette positioned at the temple where you’ve swept a section of curls to one side. A delicate chain or gold wire woven through the front curls. A wide satin headband tied at the top, letting the finger curls below it be completely free.
The restraint matters — too many accessories compete with the curls themselves. One or two well-chosen pieces, placed deliberately, always looks more intentional than a collection of everything at once.
16. Finger Curls Updo
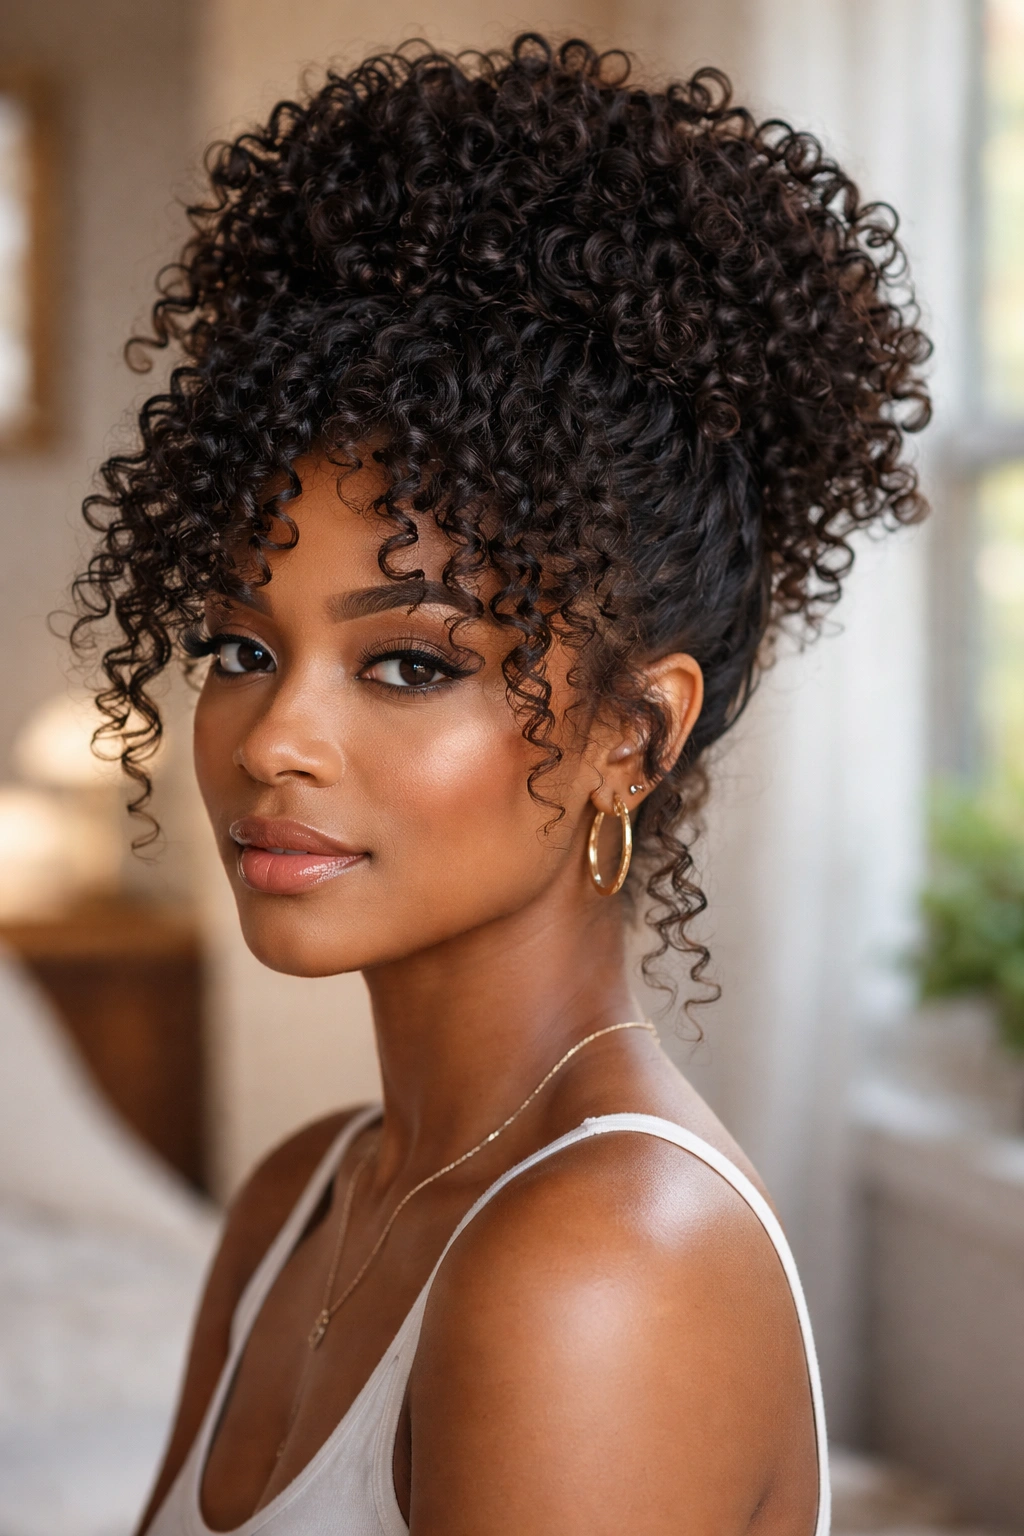
Gathering finger-curled hair into an updo is a style that looks painstakingly complex but is actually fairly simple once the curl set is complete.
After drying completely, gather the curls loosely at the nape or crown, being very careful not to disturb the individual curl definition. Use a large soft elastic or several bobby pins to secure the gathered mass. Then pull individual curls loose at the front and sides to frame the face — this is where the finger curl definition really shines, because each individual coil that you pull free stays perfectly defined.
Don’t try to smooth or compress the updo. The imperfect, textured volume is exactly the point. A finger curl updo should look like a beautiful, curated mass of defined coils — not a flat, compressed bun.
17. Finger Curl Frohawk on Natural Hair
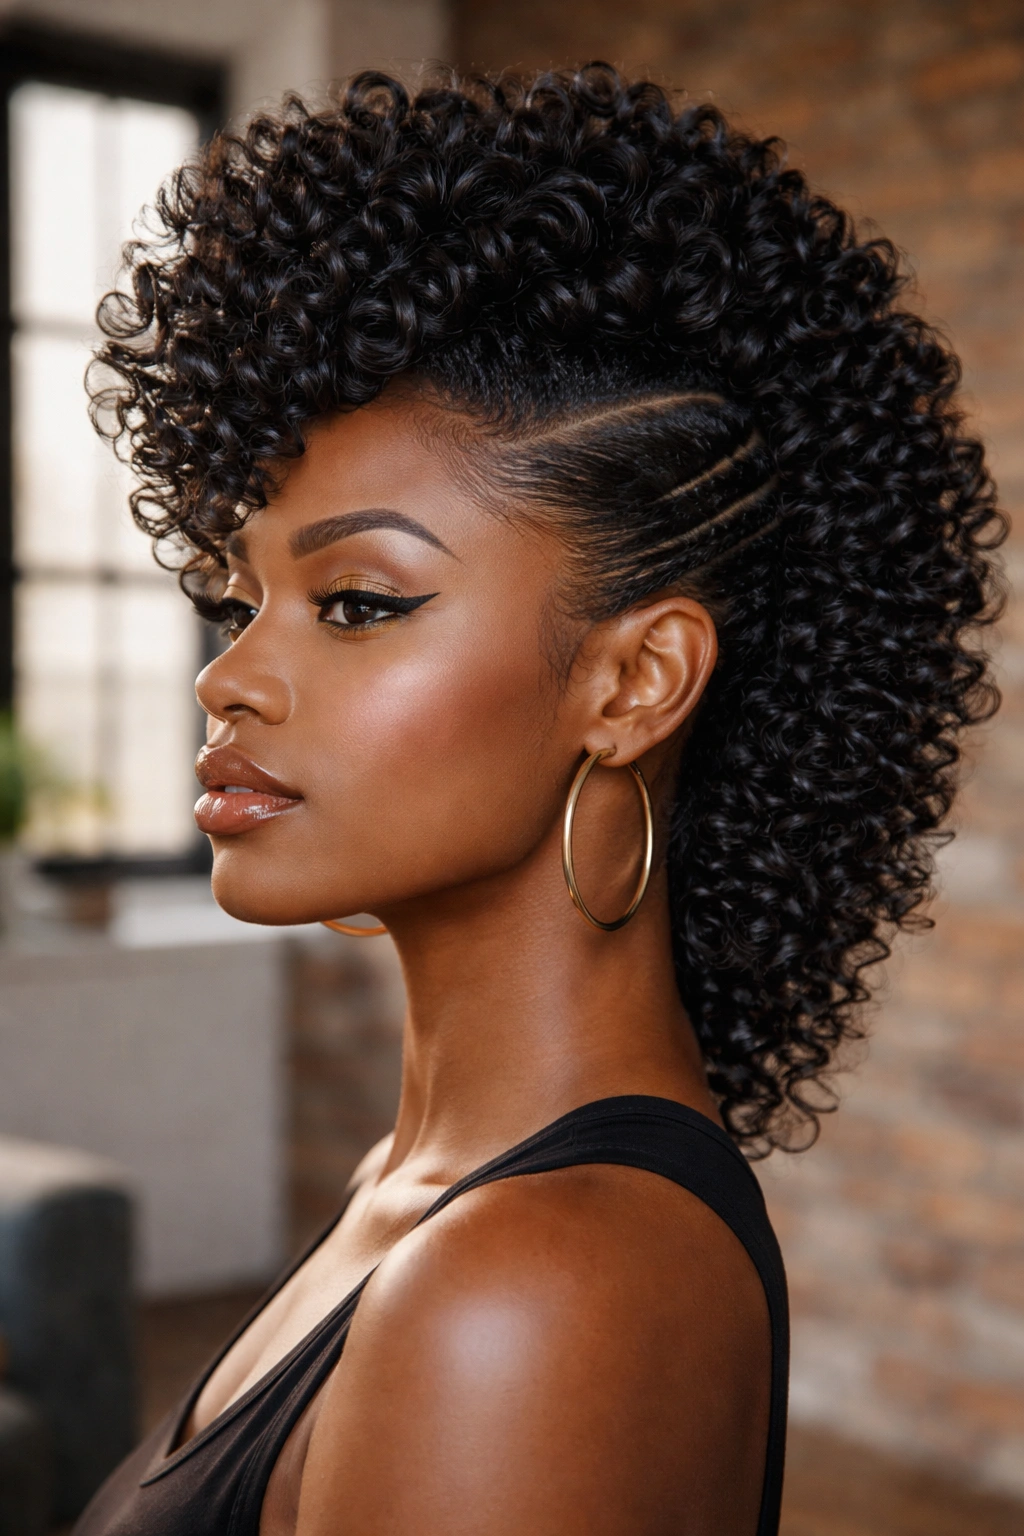
The frohawk — a style that creates the visual impression of a mohawk using your natural hair without cutting the sides — is a bold, creative style choice. With finger curls, it becomes extraordinary.
Curl the entire head using your standard finger curl technique. Once dry, use bobby pins to carefully sweep and pin the side sections upward, so they converge at the center top of the head. The pinned sides create the sleek, swept-up frohawk shape, while the center strip of finger curls flows freely from front to back. Smooth the sides with edge control before pinning for a cleaner, more graphic shape.
This style photographs dramatically well and has a strong, confident energy that suits any occasion requiring a bold visual presence.
18. Flat Twist Out Turned Finger Curl
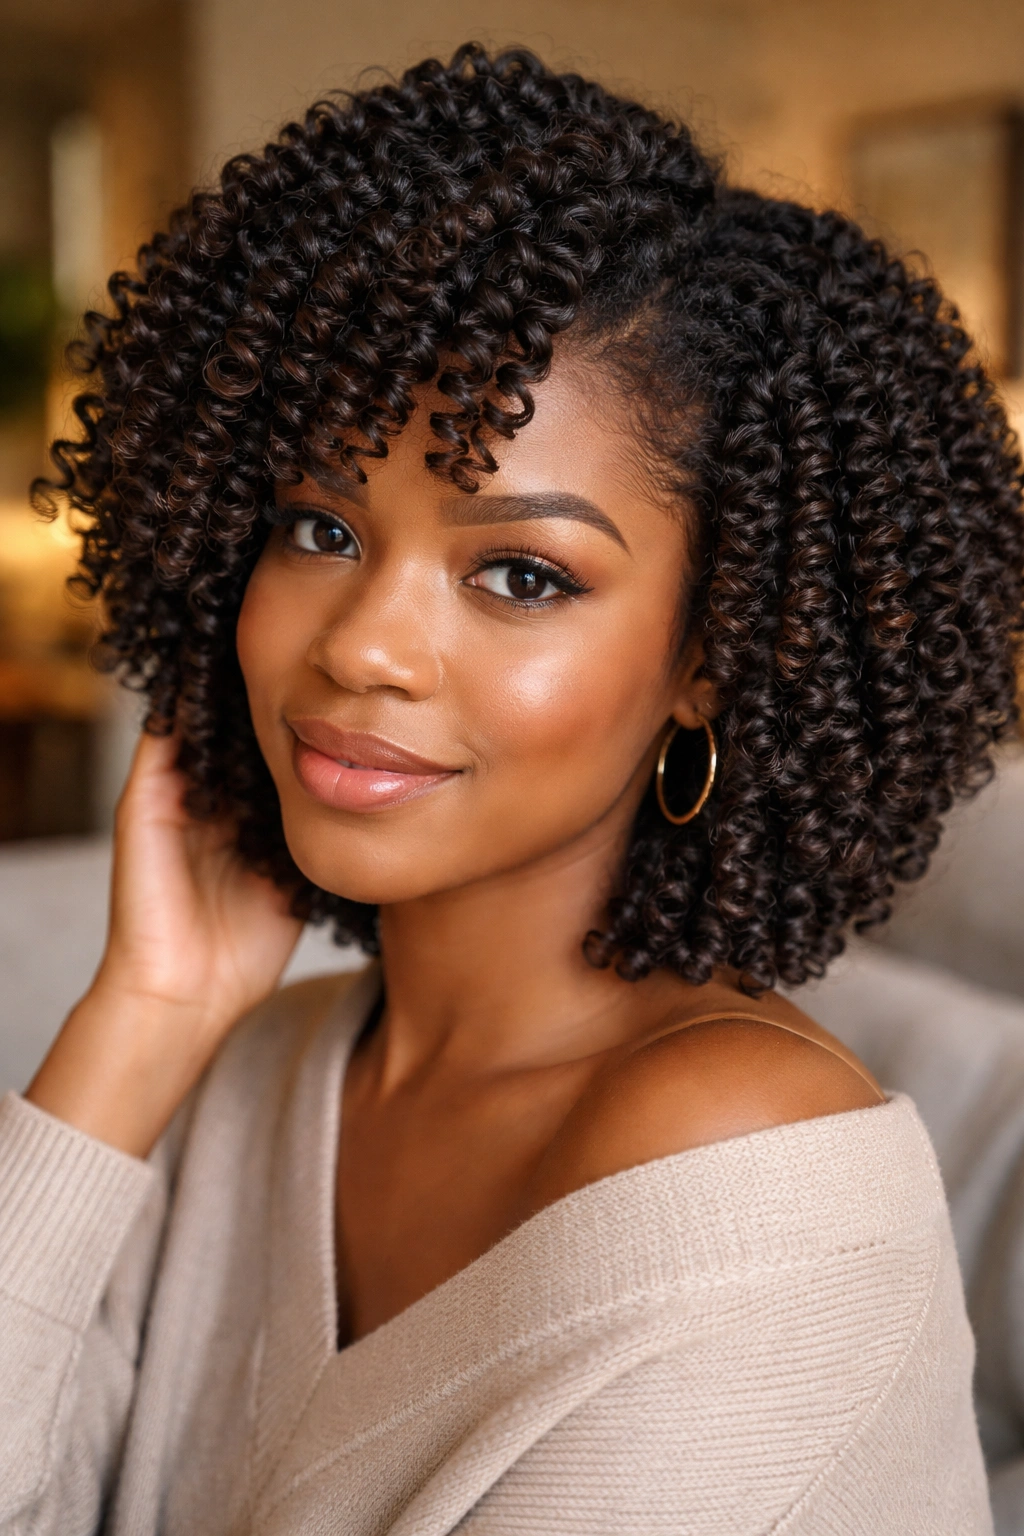
A flat twist out is already a beautiful style — but turning it into finger curls on the second day of the style is a clever way to extend the life of the twist out while changing the look.
On day one or two of a flat twist out, the sections are already somewhat stretched and defined. Take each section of the unraveled twist out and coil it around your finger with a light application of fresh gel. This re-sets the definition that may have softened, and changes the shape from the S-pattern of the twist-out to the coiled O-pattern of a finger curl. The result is a completely different looking style created from the same foundation.
It’s a great way to get two distinct styles from one wash day.
19. Finger Curl Touch-Up Technique
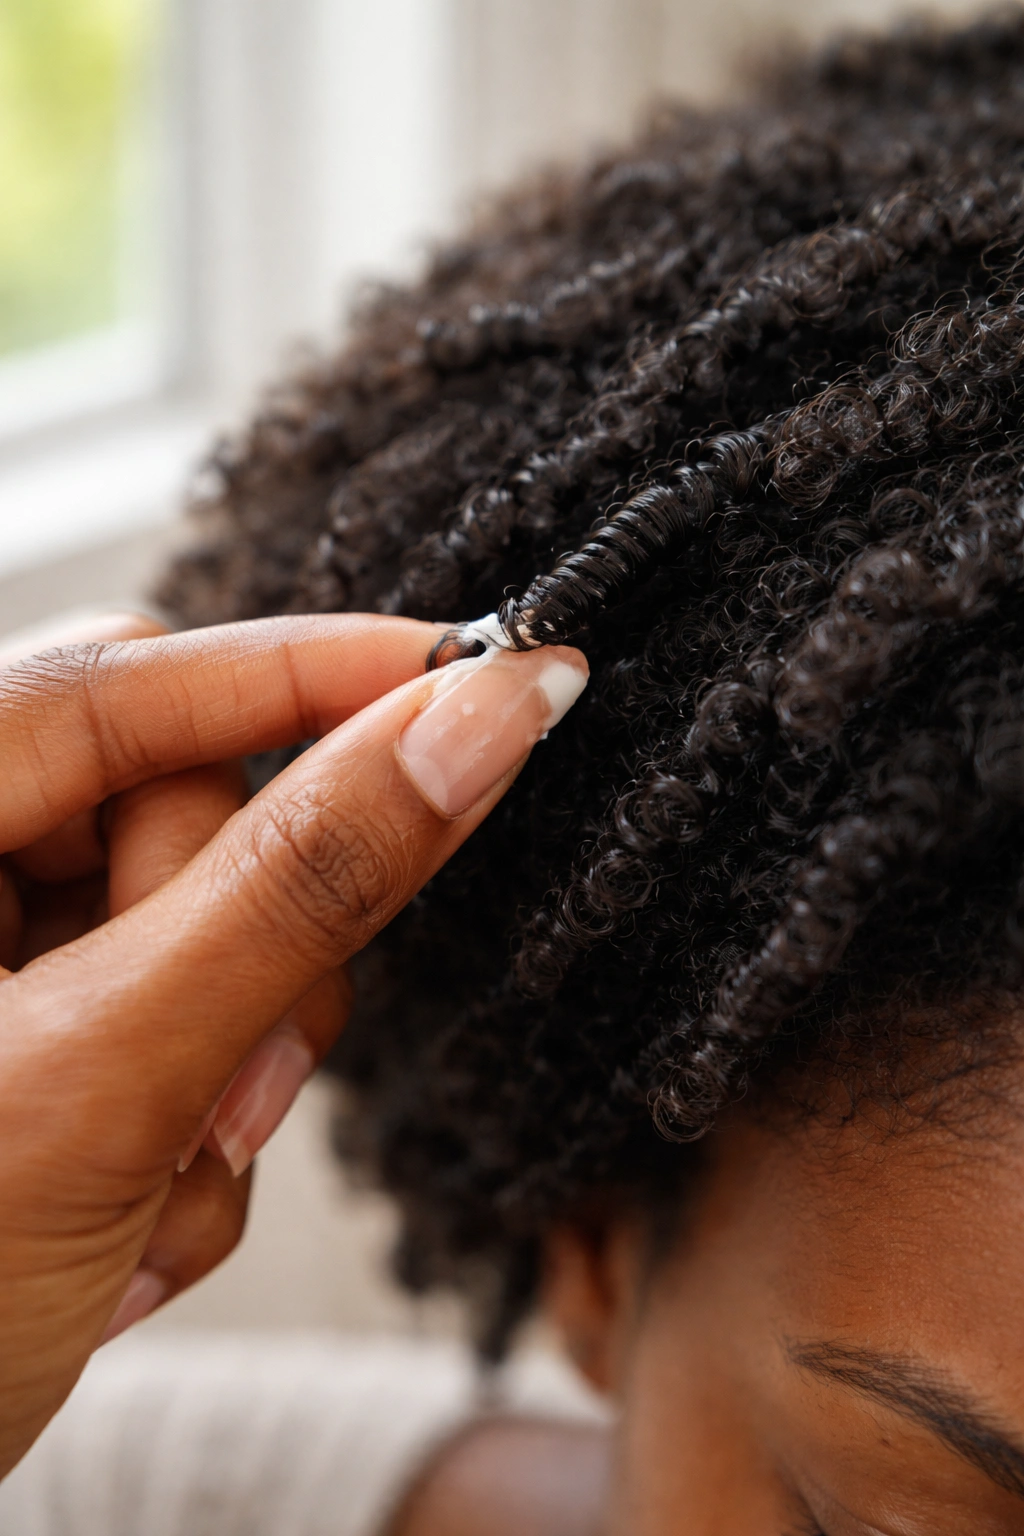
Not every curl on your head loses its definition at the same rate. Some curls stay perfect for days while others fall flat after twenty-four hours. Instead of restyling the entire head when a few curls give up, use targeted finger curl touch-ups to bring those sections back to life.
Mist the problem section lightly with water. Apply a small amount of fresh curl cream or gel. Coil the section around your finger carefully and hold for five seconds. Release and leave undisturbed. This spot treatment refreshes just the sections that need it without disturbing the rest of the style.
This technique is especially useful on high-density natural hair where the sheer amount of hair makes a full re-do time-consuming and unnecessary when most of the style is still intact.
20. Finger Curls as a Protective Style
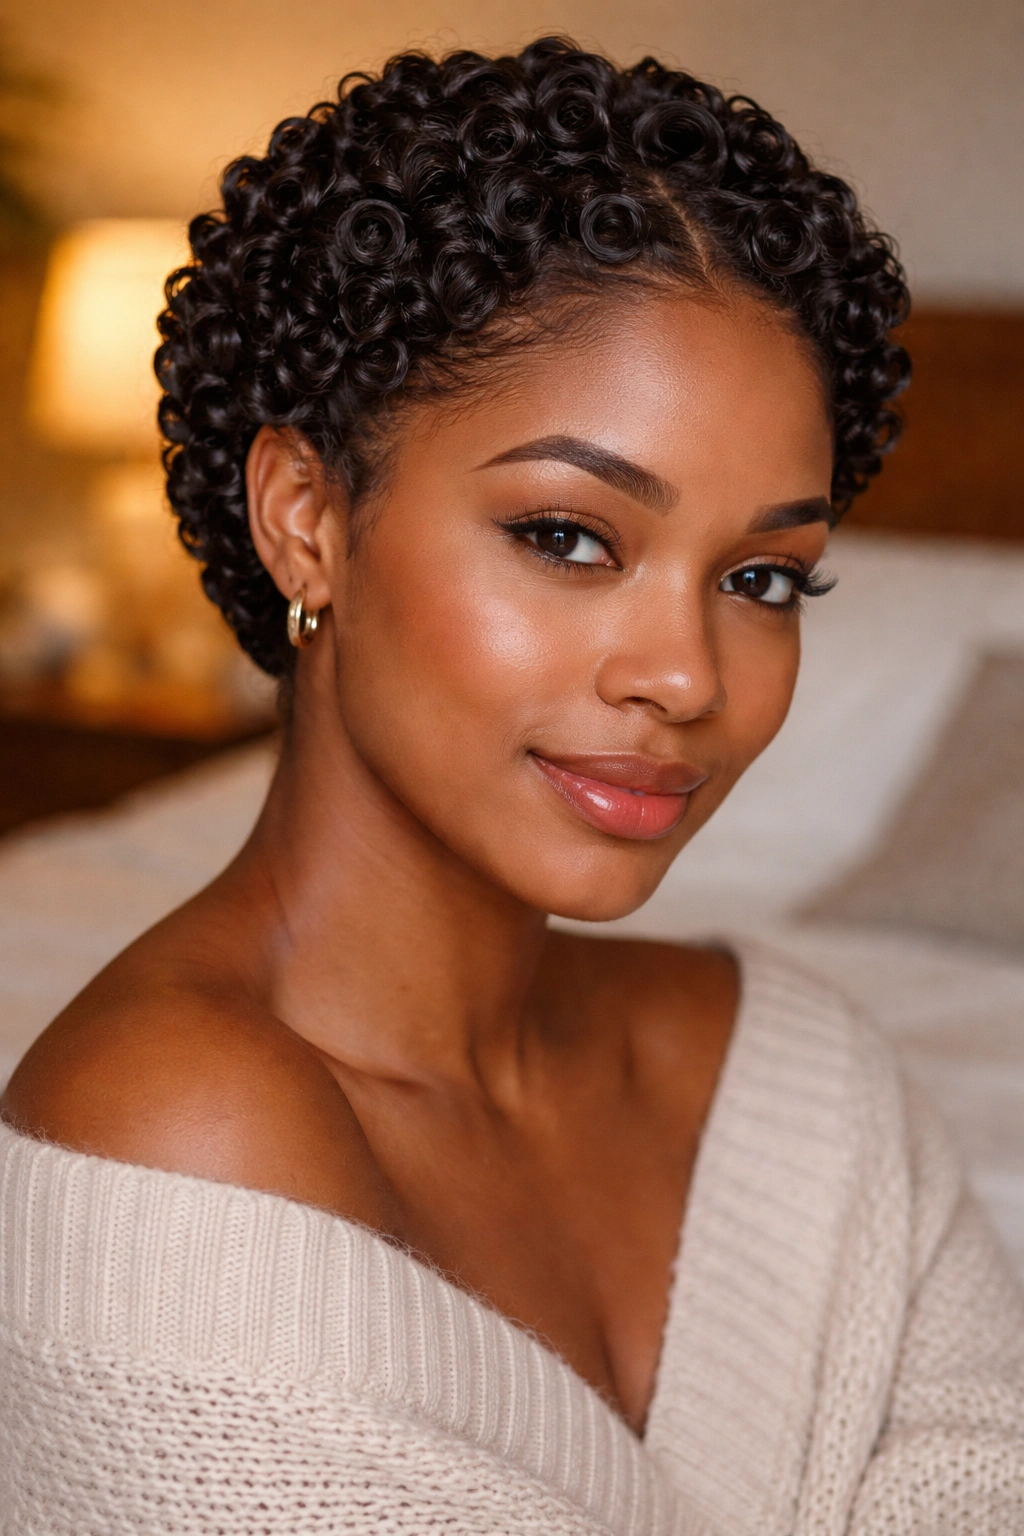
Any style that keeps the hands out of the hair and the ends protected qualifies as a protective style on a practical level. Finger curls, once set, require minimal manipulation — you’re not picking at them, combing them, or restyling them daily. You simply refresh lightly and protect at night.
This low-manipulation quality makes finger curls functionally protective for natural hair. The style keeps the coils defined and organized, reduces the tangling and matting that can occur in unstyled natural hair, and protects the ends by keeping them curled and defined rather than loose and exposed to friction.
The key to making finger curls genuinely protective rather than just hands-off is the nighttime routine: pineapple the hair, cover with a satin bonnet, and let it rest.
21. Finger Curl Techniques for Different Natural Hair Lengths
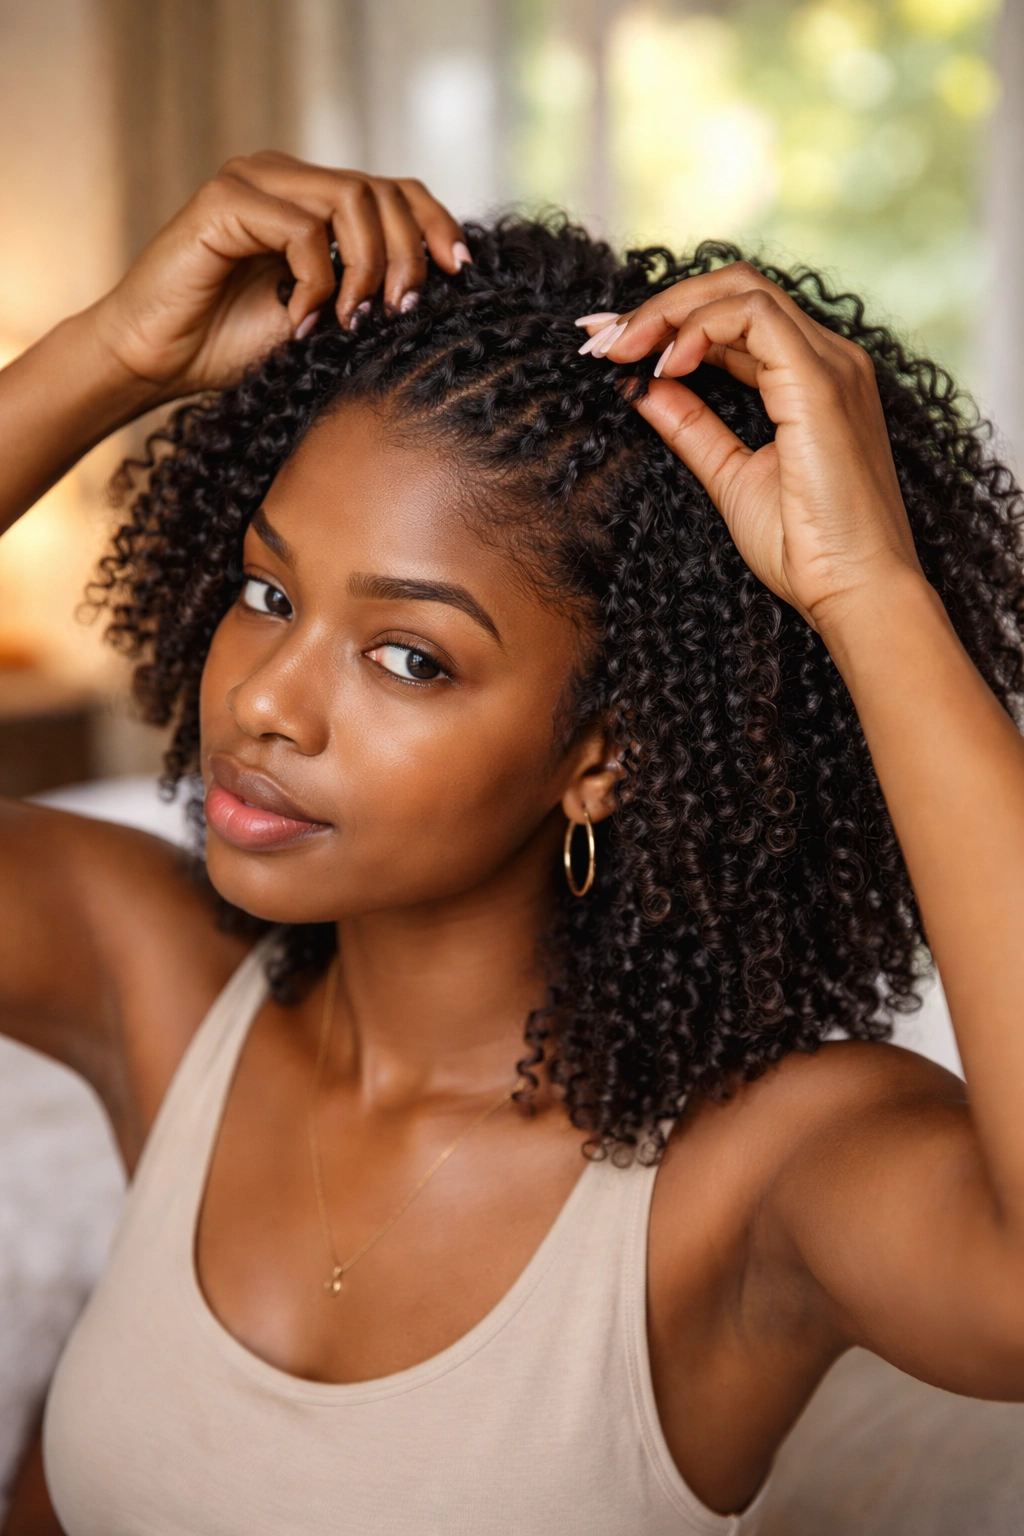
The technique varies meaningfully based on how long your natural hair is, and adapting your approach to your specific length produces much better results than using a one-size approach across all lengths.
Short (TWA to chin length): Use a pencil or small rod to assist with coiling when the hair is too short to grip easily around a full finger. Focus on consistency of direction rather than full spirals.
Medium (chin to shoulder length): The ideal length for finger curls. Enough hair to coil comfortably, not so much that the process takes all day. Standard technique applies.
Long (shoulder to beyond): Work in smaller sections than you would on shorter hair. Long, thick sections are harder to coil uniformly and harder to dry completely. Patience pays off at long lengths because the finished style is absolutely remarkable.
22. Common Finger Curl Mistakes and How to Fix Them
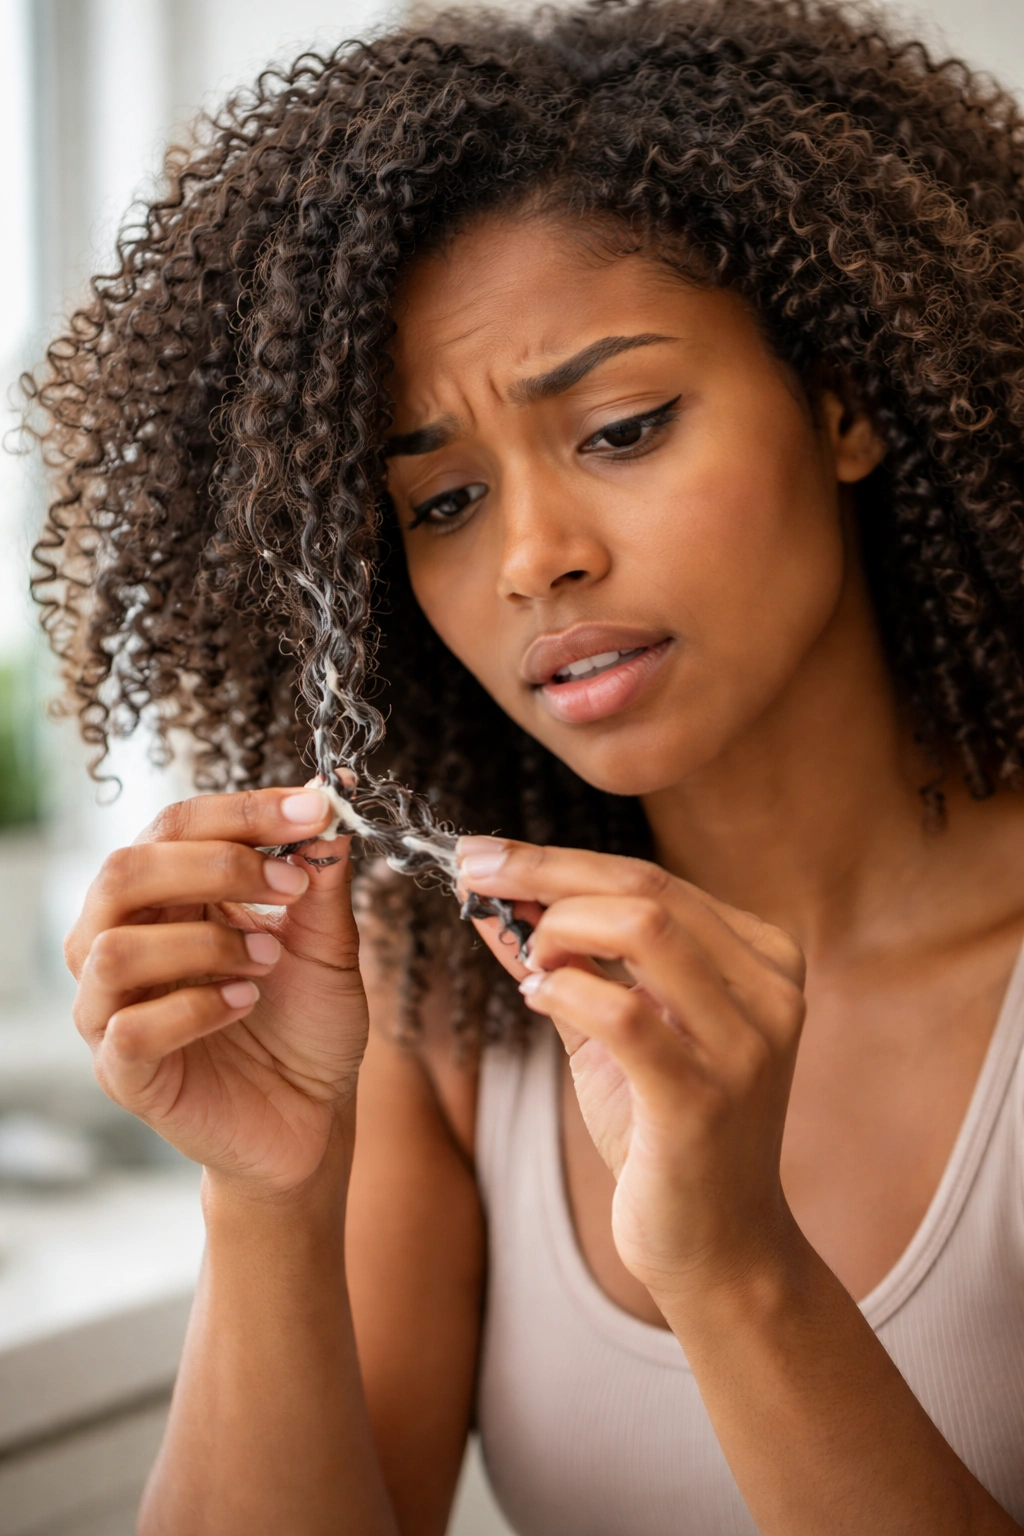
Learning from what goes wrong accelerates the learning process more than any tutorial can. Here are the most common finger curl problems and their specific solutions.
Curls that frizz as they dry: Too little product, or the hair wasn’t wet enough when you started. Next time, apply more gel over the curl cream and work on wetter hair.
Curls that don’t stay coiled: The product didn’t have enough hold, or you released the curl before it began to set. Hold each coil for a few more seconds before releasing, and try a firmer gel.
Uneven curl sizes across the head: Inconsistent sectioning. Use a rat-tail comb to create equal-sized sections every time.
Curls that look crunchy: Too much gel. Scale back the amount and use a medium-hold formula rather than a firm one. Once dry, scrunch lightly to break the cast.
23. How to Take Down Finger Curls Without Damage
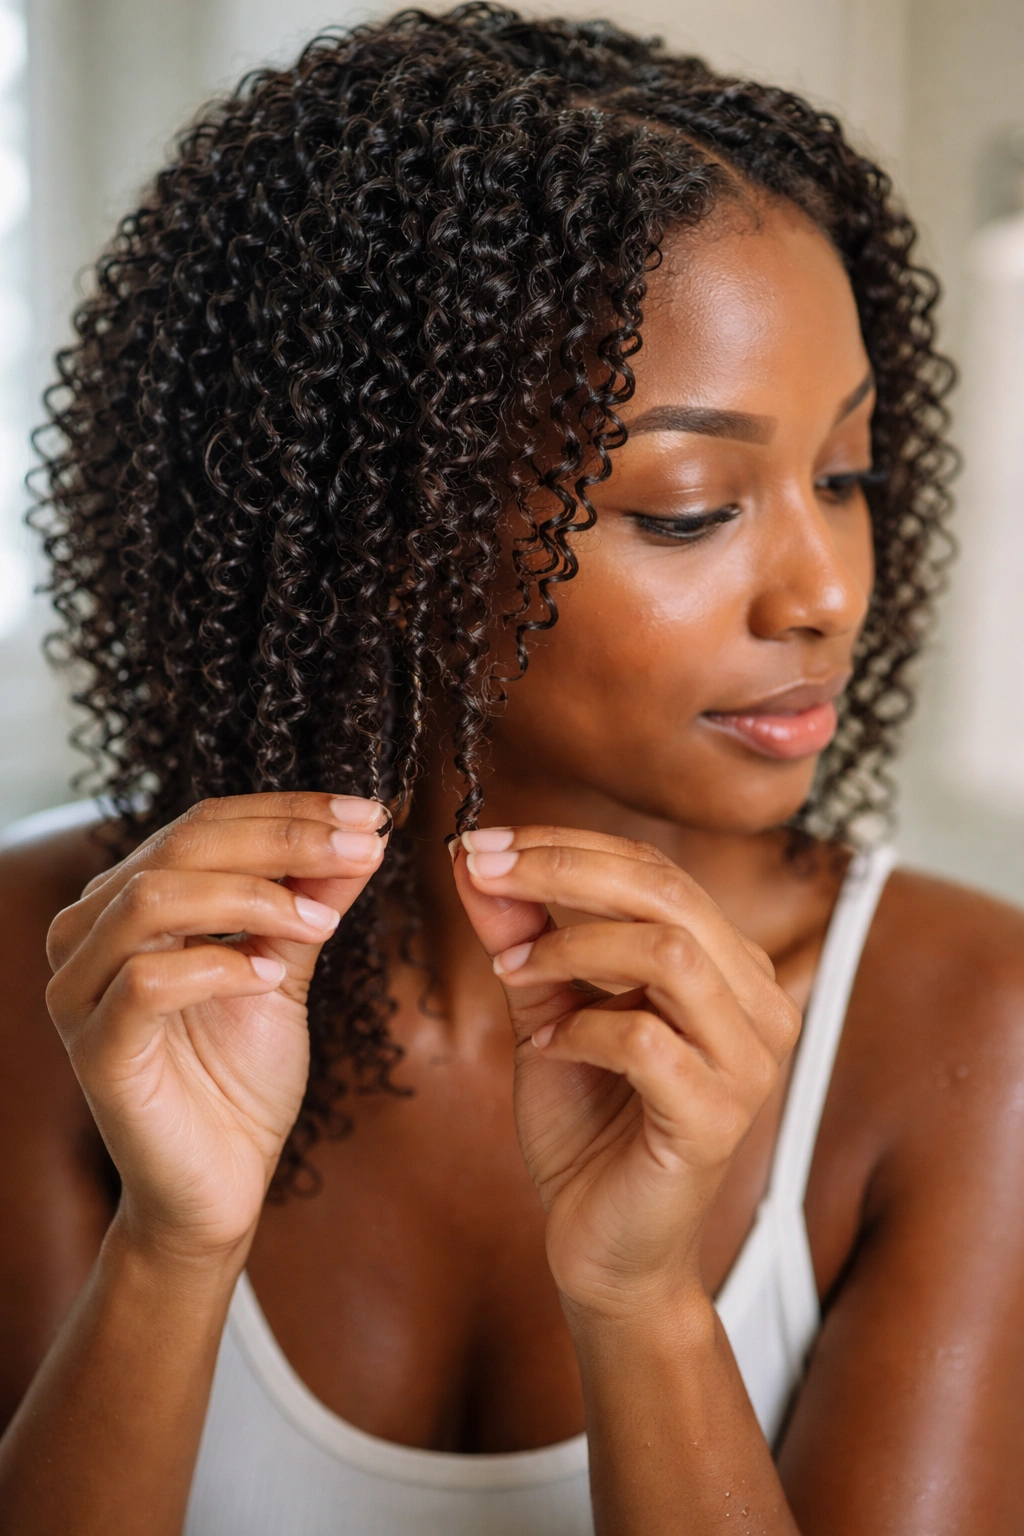
Taking down a finger curl set is a step that many naturals rush through, causing unnecessary breakage. The takedown is just as important as the setup.
First, never try to take down finger curls on dry hair. Mist the hair generously with water until it’s pliable — not soaking, but soft. Apply a detangling conditioner or a generous amount of leave-in. Let it sit for a few minutes to soften the product cast.
Then, using only your fingers, gently separate the curls from the ends upward. Work patiently through any knots or tangles, adding more water and conditioner as needed. Once the curls are separated, detangle each section with a wide-tooth comb from ends to roots before washing.
This patient approach preserves the hair’s integrity and prepares it well for the next wash and styling cycle.
24. Building a Long-Term Finger Curl Practice
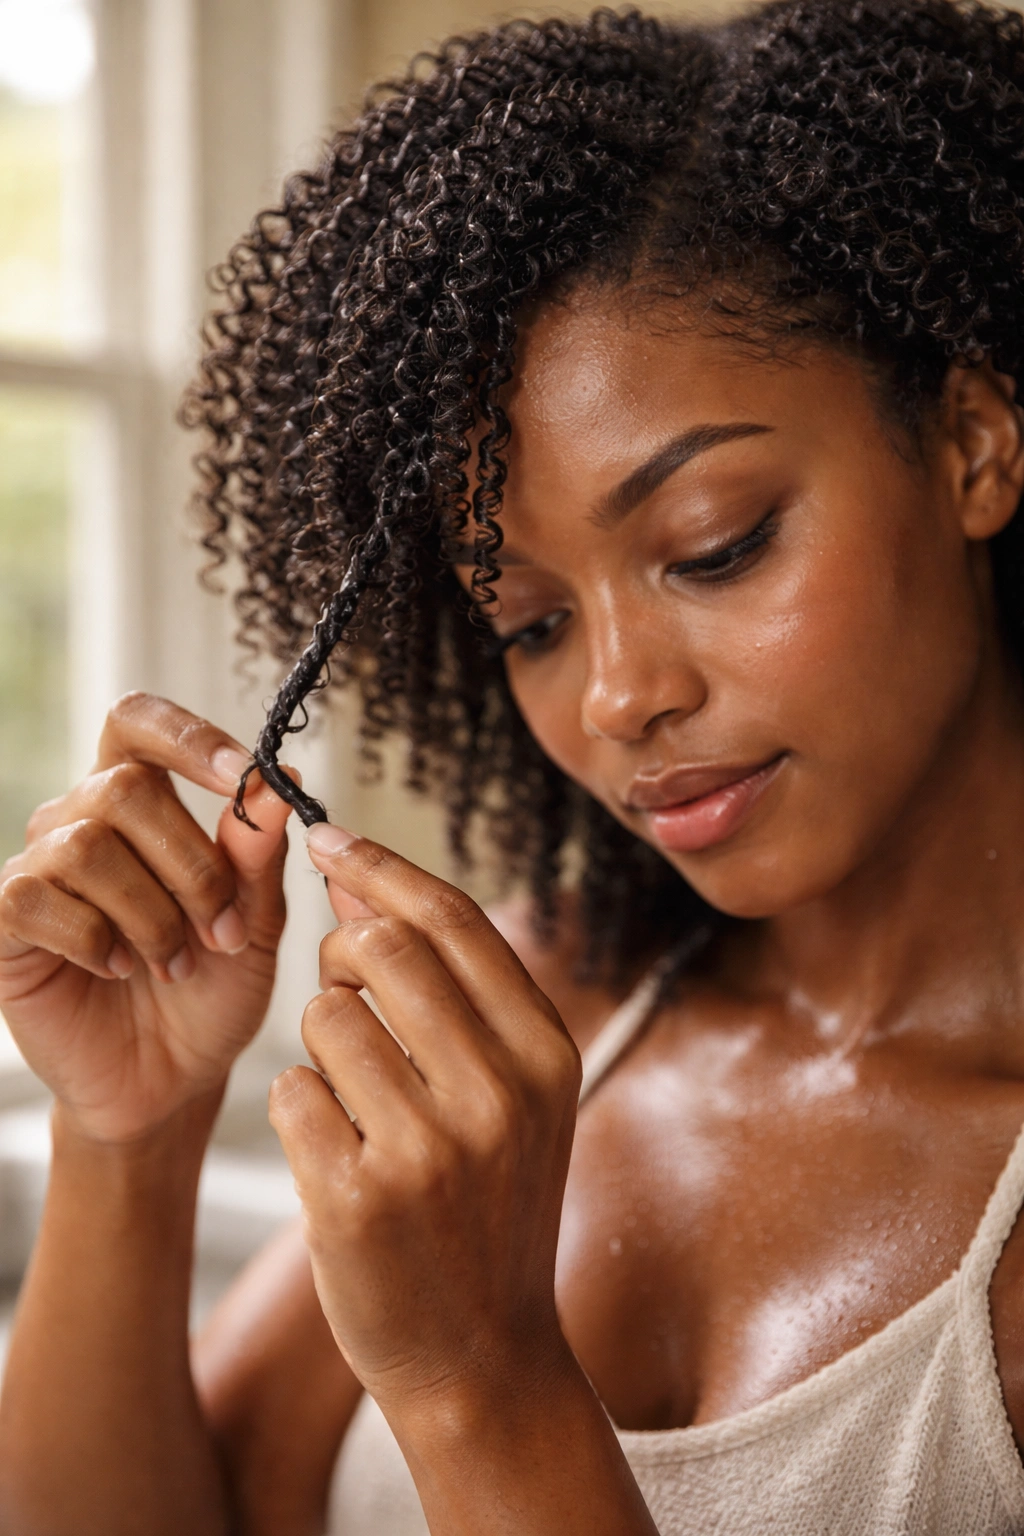
Finger curls reward consistency. The more you practice the technique on your own hair, the more familiar you become with exactly how your specific texture responds — which products it loves, which sections need more product, how long the drying time is, which direction the coil wants to go.
Over time, what starts as a two-hour process becomes a 45-minute routine. The muscle memory develops. The product judgment improves. The sections get more even. The result gets more consistently beautiful with every attempt.
Start by doing finger curls on just the front sections of your hair while leaving the rest in a puff. Once you’re comfortable with the technique, expand to full-head sets. Give yourself the space to practice without pressure, and you’ll find that finger curls become one of the most satisfying and rewarding techniques in your natural hair repertoire.
