Twists on short natural afro hair are my favorite intersection of low effort and high reward. You don’t need eight inches of length to make them work. You don’t need expensive products. What you need is the right technique, the right section size, and honestly, the willingness to let the first attempt look a little rough before you get the hang of it. Because you will. Twists reward repetition more than any other styling category I can think of.
I’ve been twisting my own hair on and off for over a decade, through TWAs, through awkward growth phases, through a second big chop when I got bored with length. The 22 twist styles for short natural afro hair I’m about to walk through are the ones I actually use, the ones I’ve watched friends use, and the ones that translate across different densities and curl patterns from loose 4A to tightly coiled 4C.
Short here means anywhere from freshly big-chopped TWA territory up to about four to five inches of unstretched length. If you’re beyond that length, some of these still work, but the sweet spot is that short-to-medium growth zone where people often feel stuck between styles.
One thing I want to say upfront. Twists are not “easy” the way people sometimes pitch them. They’re simpler than braids, yes, but they still require technique, patience, and decent product. Don’t let anyone tell you that twisting is a beginner-only skill — there’s real craft in how tight you hold, how you section, and how you finish each twist.
Why Twists Work So Well on Short Natural Hair
Short natural hair has a unique advantage for twist styles: less length means less potential for tangles, faster install times, and quicker drying. A full head of mini twists that takes three hours on long hair might take 45 minutes on a TWA. That time savings is real, and it’s one of the reasons twists became a staple for short naturals in the first place.
Twists also create the illusion of more length. The two-strand twist structure stretches the strand slightly as it winds, which counteracts some of the shrinkage 4C and tightly coiled 4B hair experiences when wet. After twisting and air drying, your “length” can visually increase by 20 to 40 percent without any heat or stretching tools.
There’s also the protective angle. Twists tuck your ends away from friction, weather, and the general wear-and-tear of daily life. Even worn for only three or four days, they give the ends of your hair a break from manipulation.
The bottom line: twists deliver style, length illusion, and a tiny bit of protective benefit in one package. That’s why they’re non-negotiable in my rotation.
Products Worth Keeping on Hand

You don’t need a dozen products to master twist styles. You need four, maybe five.
- A leave-in conditioner with slip — the kind that lets your fingers glide through without friction
- A twist cream or butter for definition and hold
- A light oil like jojoba, grapeseed, or argan for sealing and shine
- A water spray bottle for refreshing between installs
- Optional: flaxseed gel or a mild styling gel for added hold on fine hair
Skip the heavy gels unless you specifically want a crunchy set. Creamy products give softer, more natural finishes that move with your head.
One product note: read your ingredient labels. Anything with drying alcohol in the top five ingredients will sabotage your twists, making them feel stiff, dry, and brittle. Look for cetyl alcohol and stearyl alcohol (good — these are actually moisturizing) and avoid denatured alcohol and isopropyl alcohol (bad — these pull moisture out).
The Basic Twist Technique Everyone Should Know
Before specific styles, here’s the foundation. Every twist in this article builds on this basic motion.
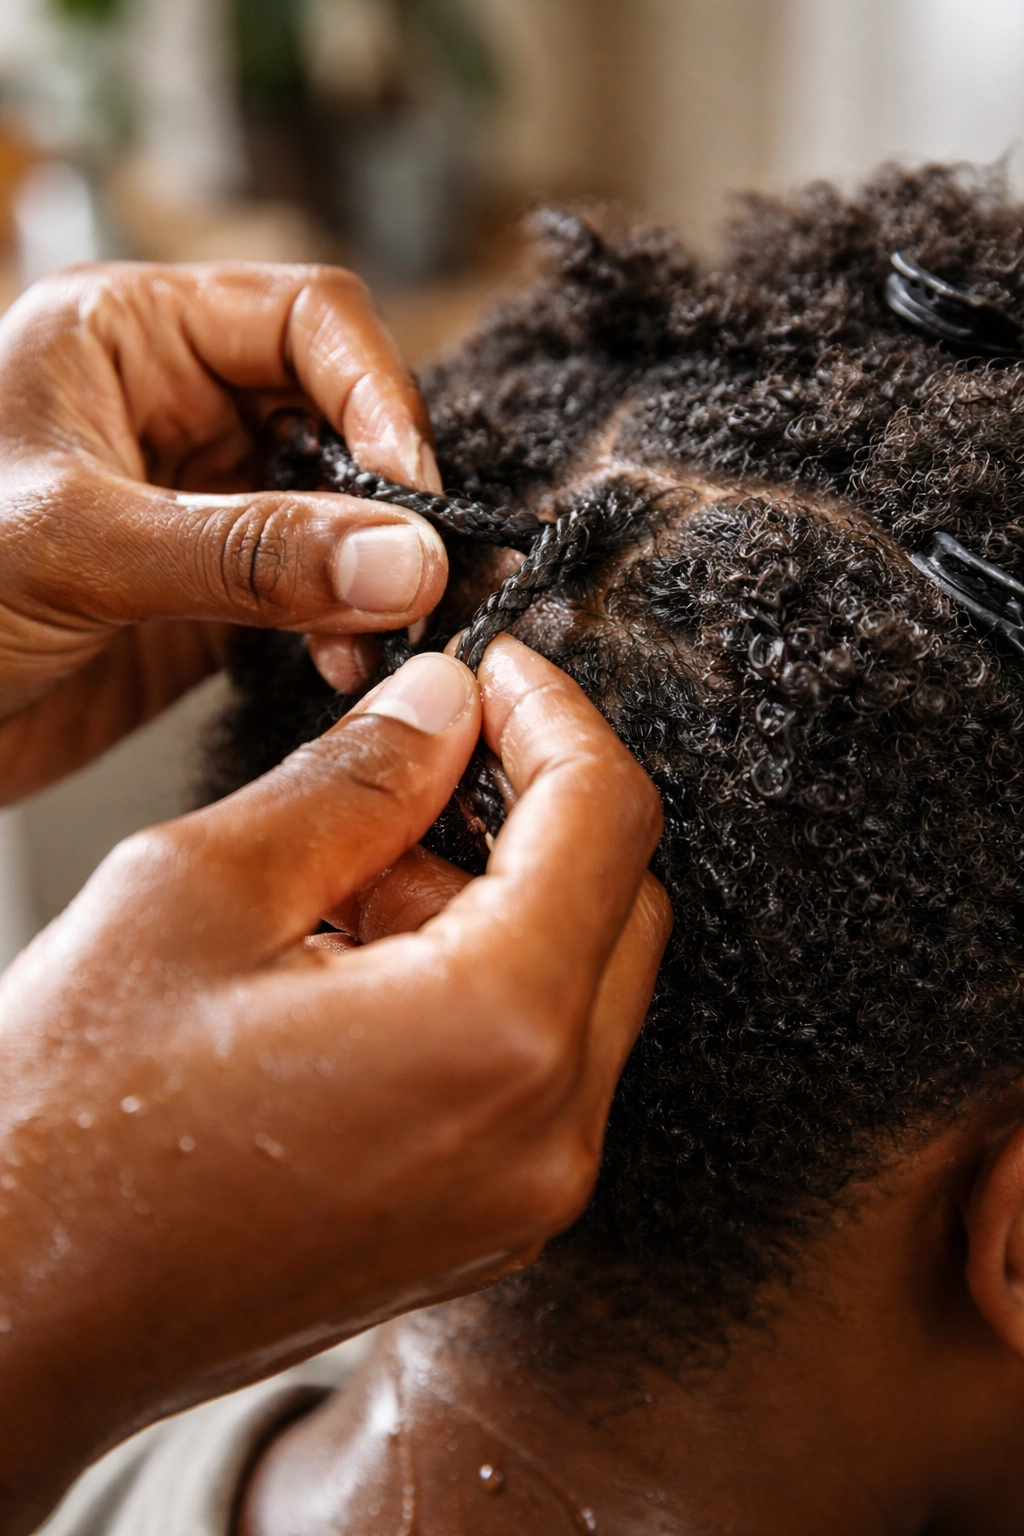
Take a small section of hair. Split it into two equal pieces. Cross the right piece over the left, then the left over the right, continuing down the length of the section. As you reach the ends, either let them spring free (for a freeform look) or palm-roll the ends between your hands to set them into a spiral shape.
The single most common mistake beginners make is twisting too loosely at the root. A loose root means the twist unravels or fuzzes within hours. Hold the root firmly, apply mild tension, and build the twist with consistent pressure all the way down.
The second most common mistake is twisting dry hair. Always twist on damp or wet hair with product applied. Dry hair resists the twist motion, splits the section unevenly, and produces a fuzzy, imperfect twist that won’t hold.
Prep Work Before You Start Twisting
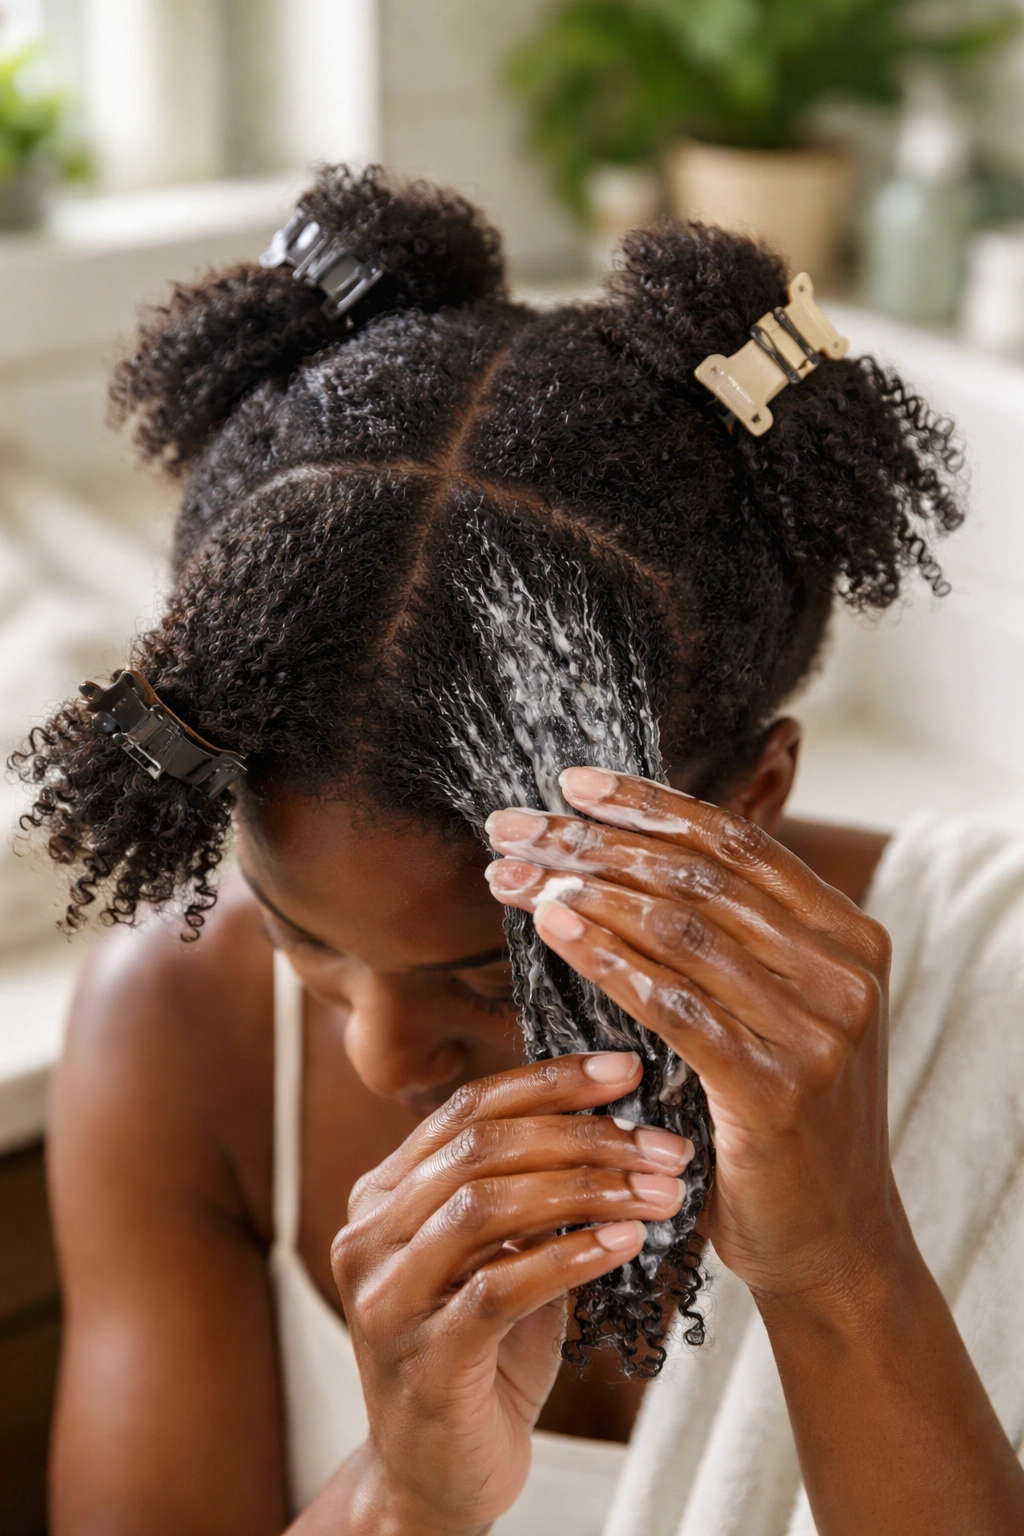
Wash and deep condition. Detangle gently in four sections with fingers first, then a wide-tooth comb. Leave the hair damp but not soaking — that sweet spot where it feels slippery but not drippy is where twists set best.
Apply leave-in conditioner section by section before you start twisting. Don’t apply the leave-in to your whole head at once and then start twisting from one corner — by the time you reach the last section, the leave-in has dried and your twist won’t take as well.
Keep your hair clipped out of the way as you work. A handful of sectioning clips is one of the most underrated tools in the twist game.
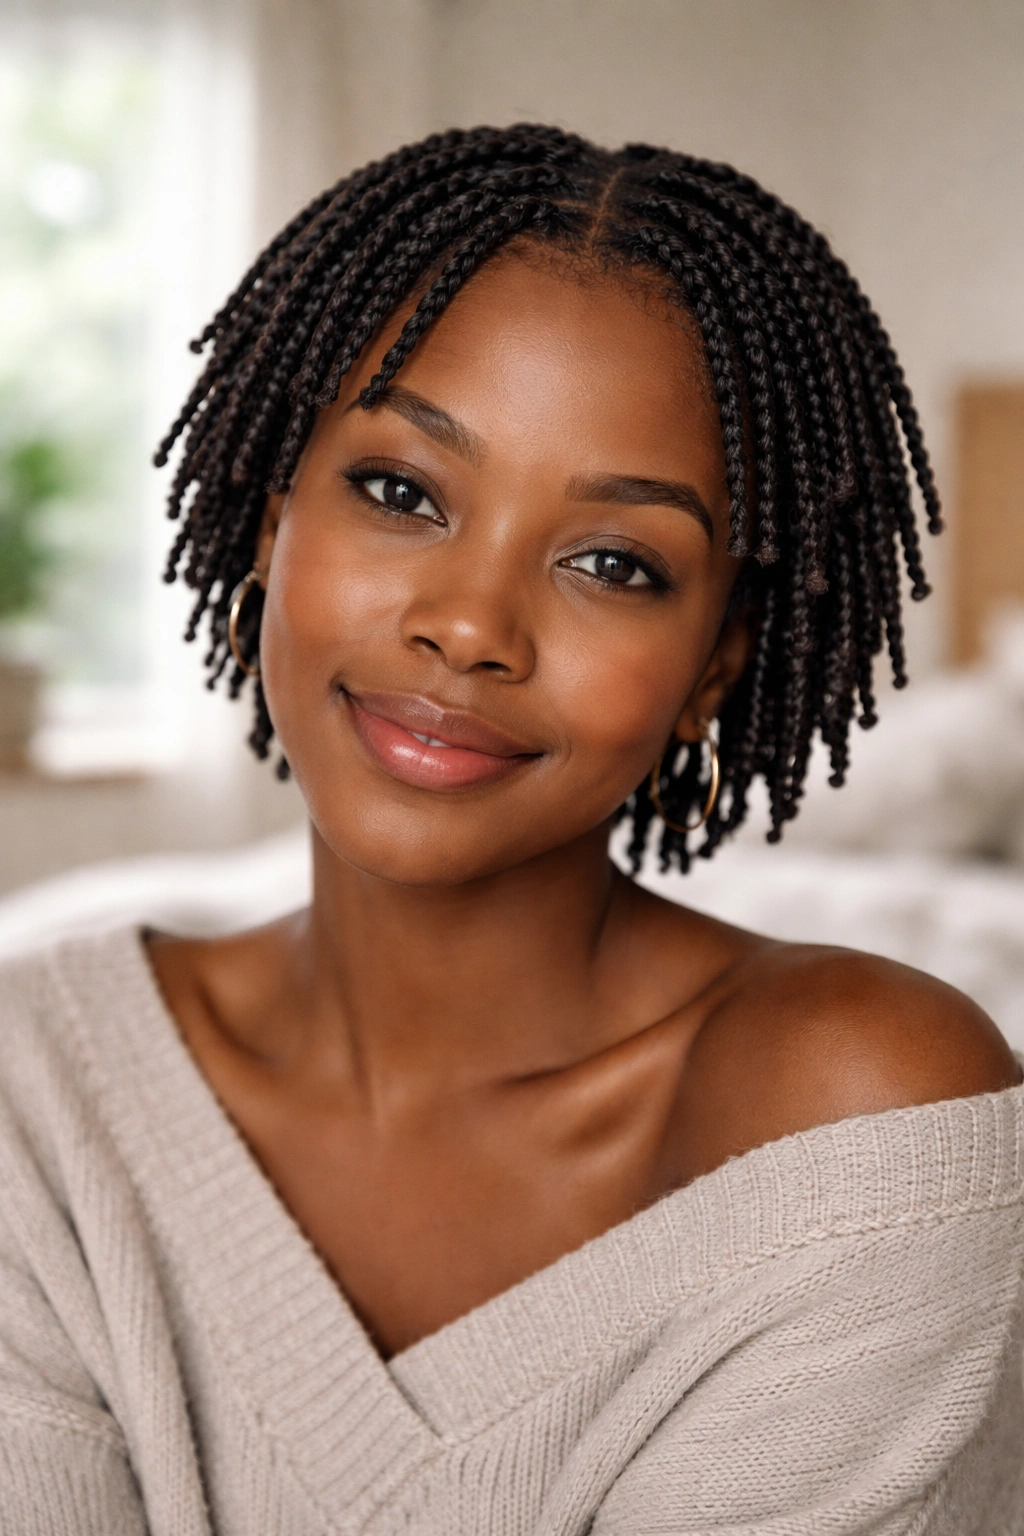
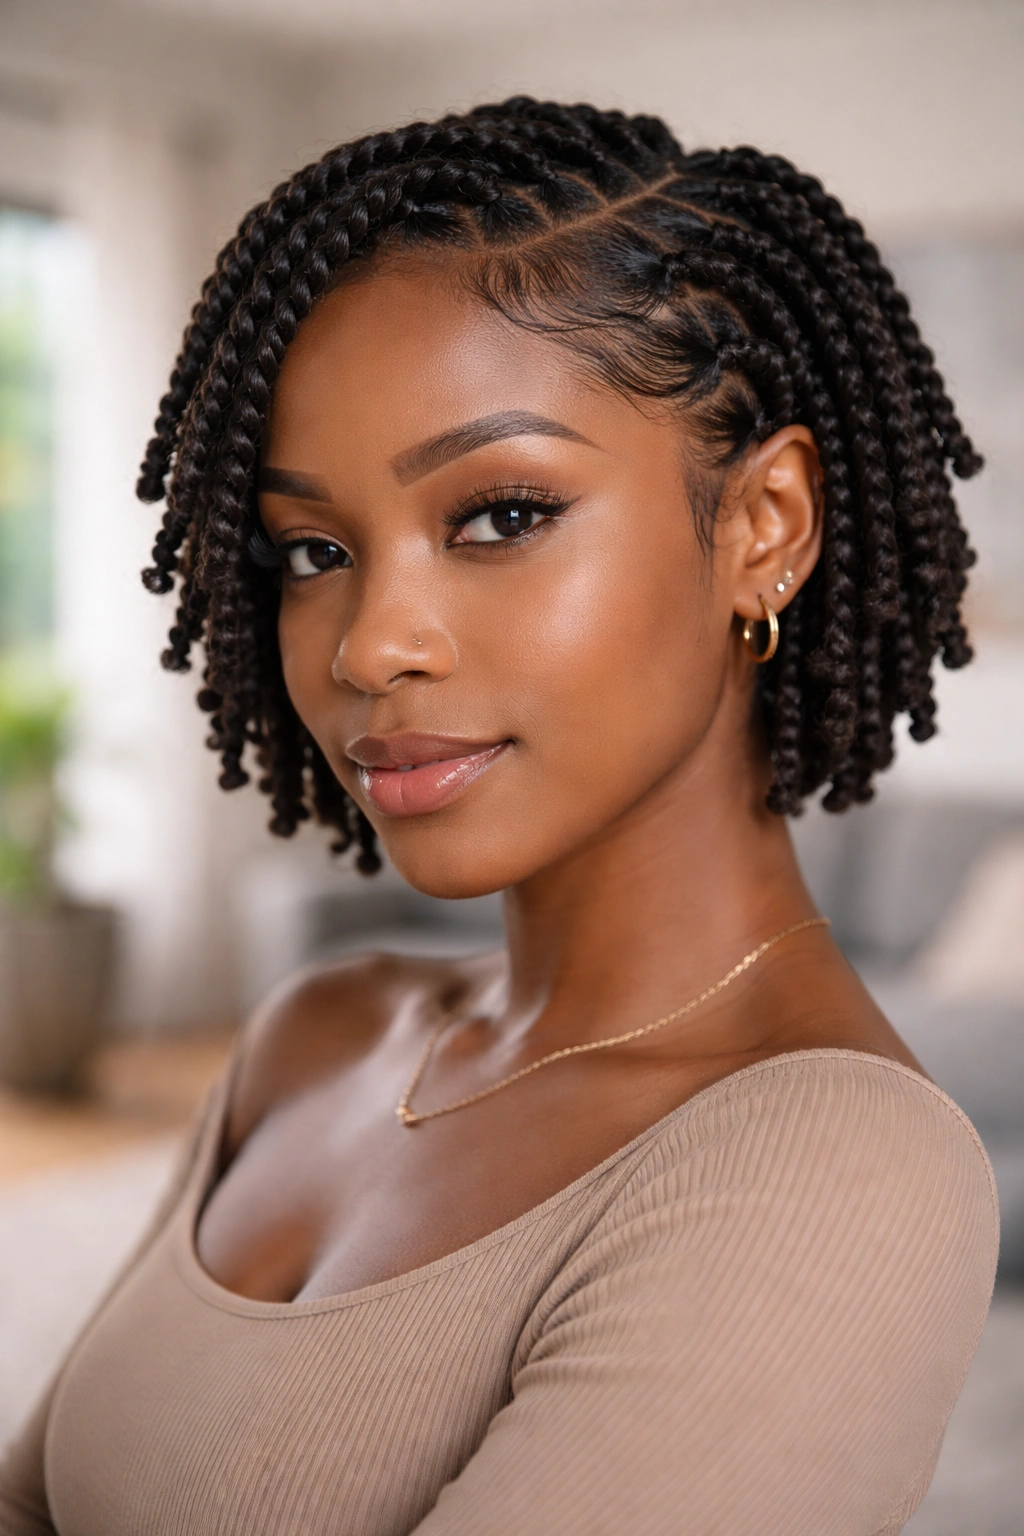
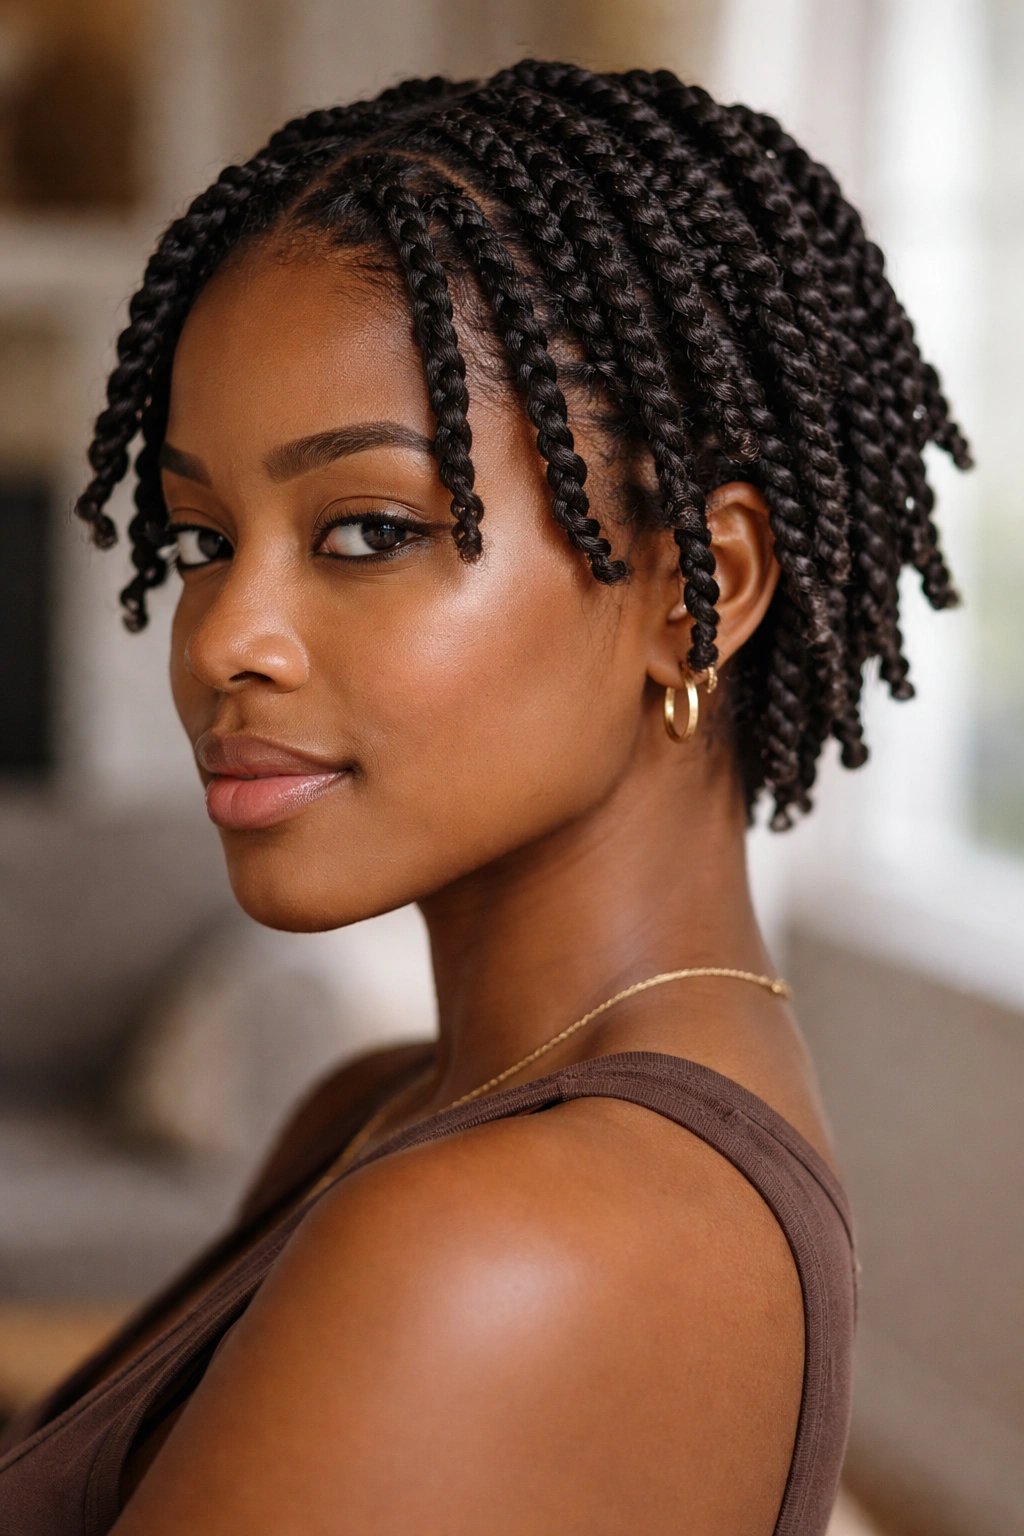
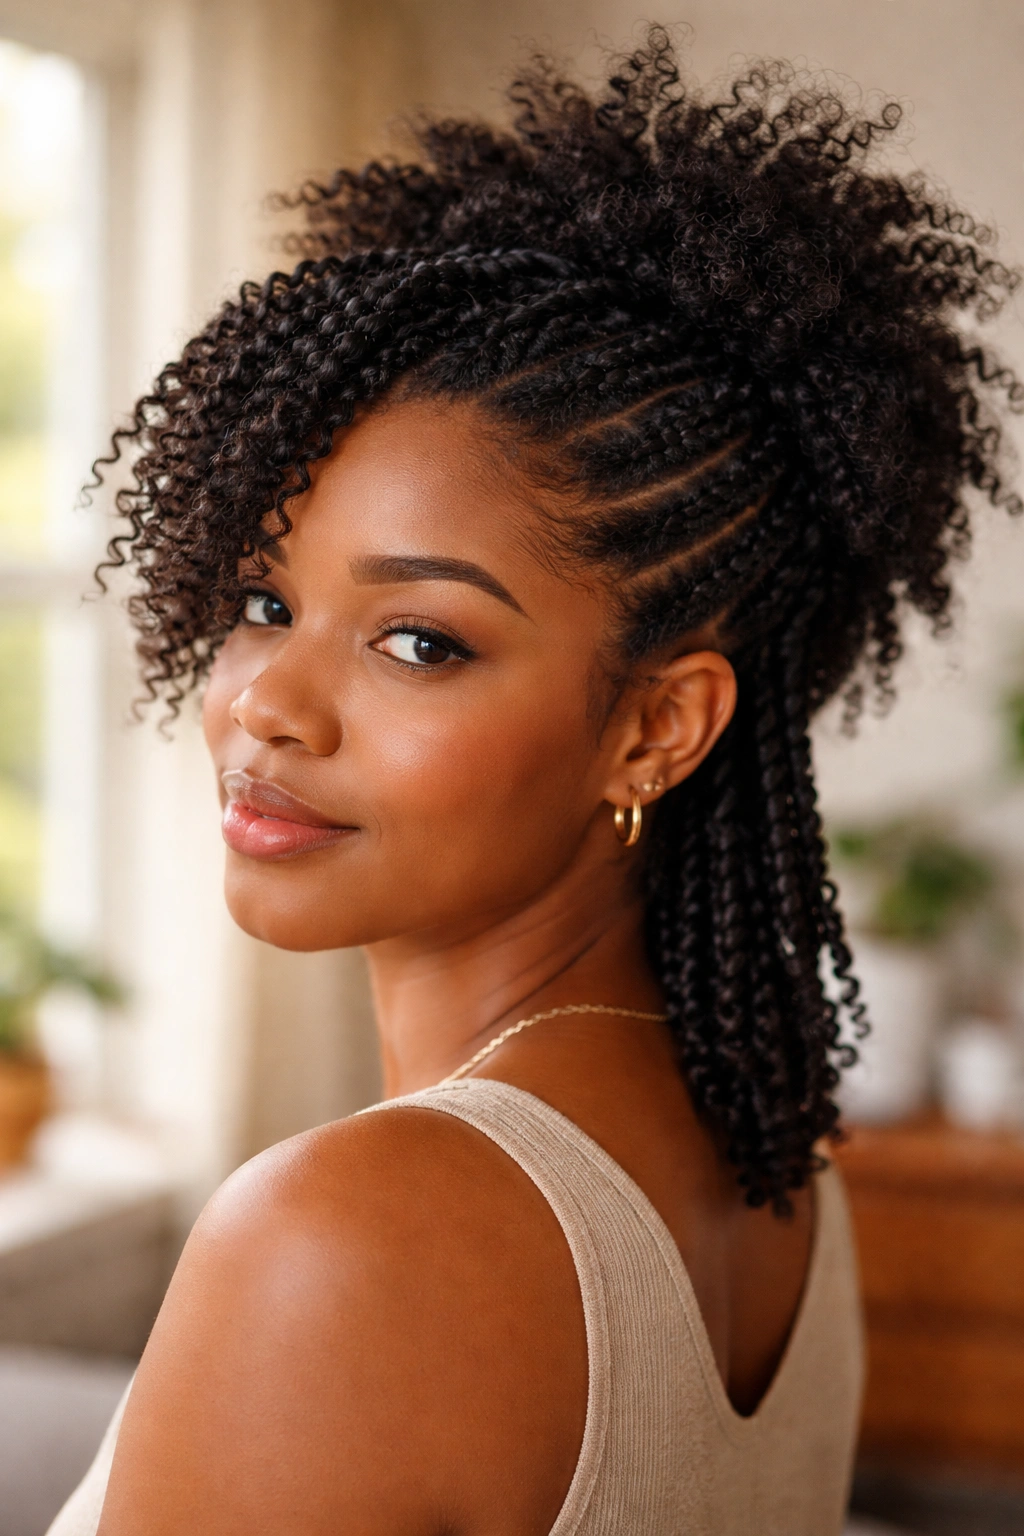
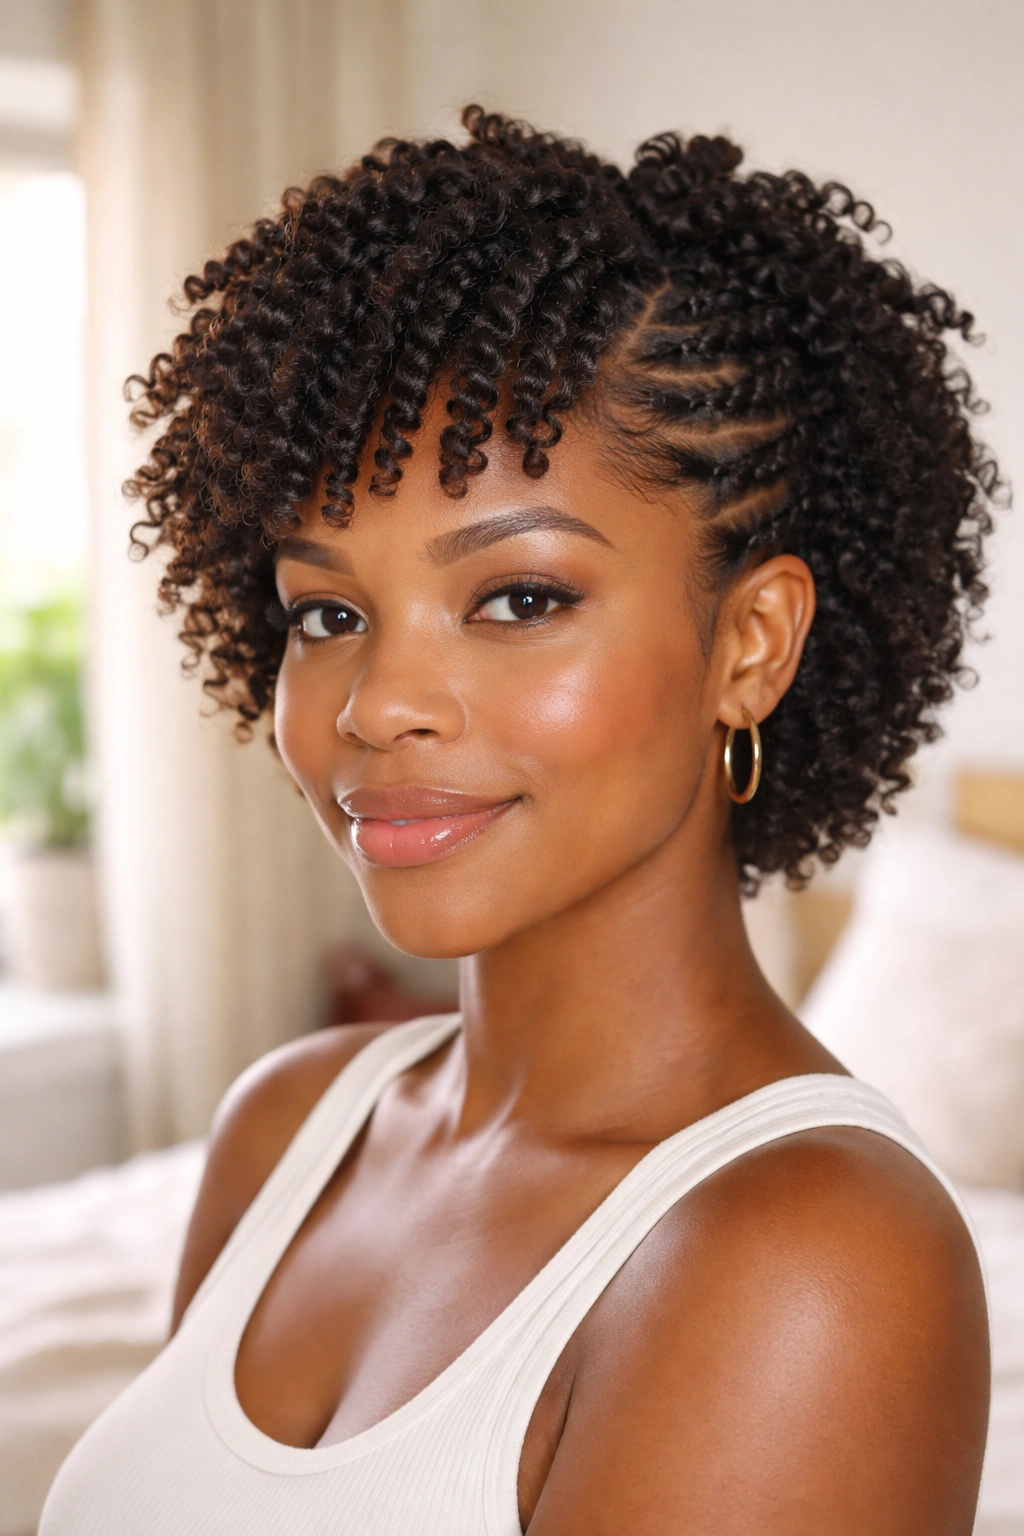
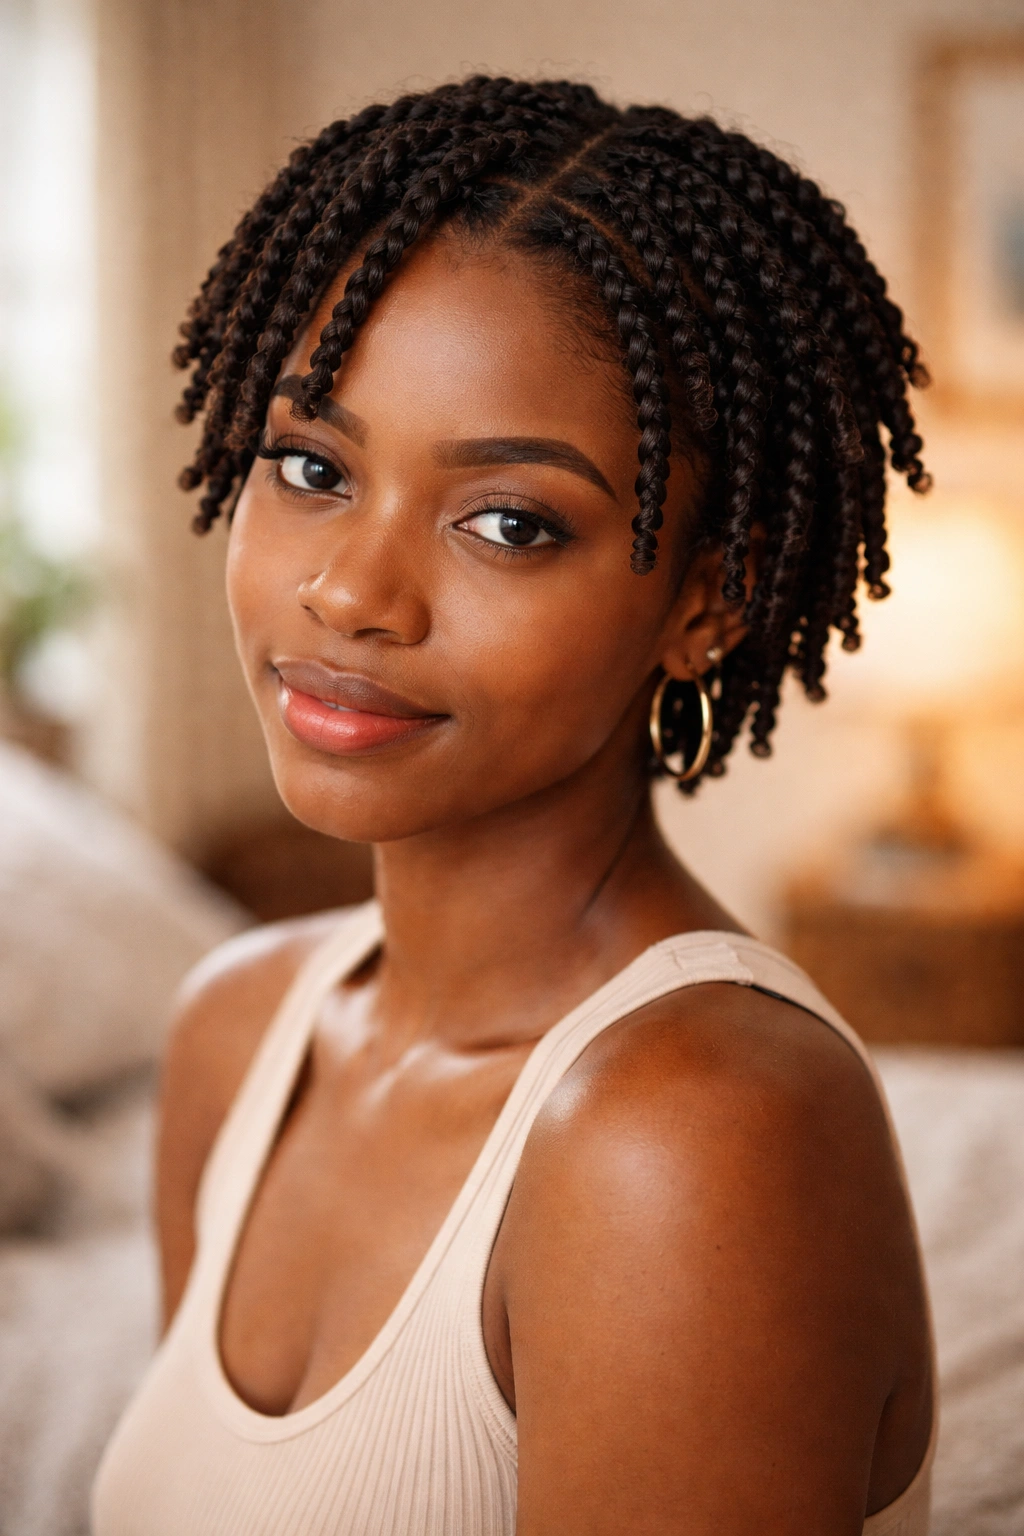
1. Basic Two-Strand Twists
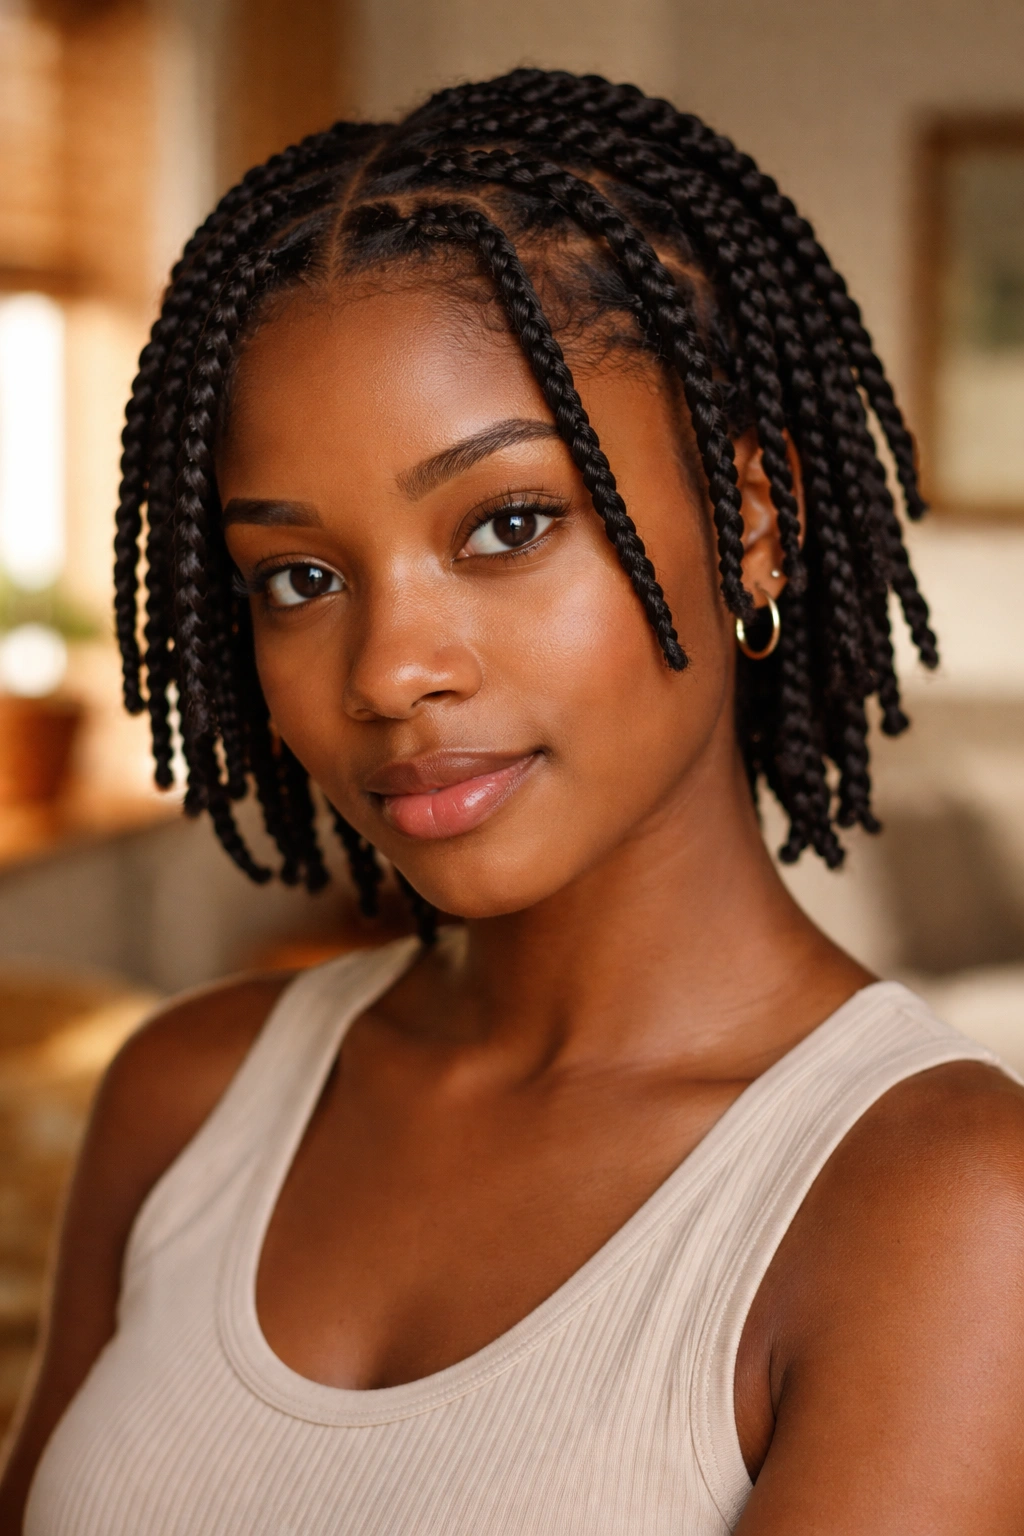
The basic two-strand twist is the foundation of every other style in this list, and mastering it matters more than trying any of the fancier variations. Small, even sections produce the cleanest look. Eight to twelve twists per section of your head creates the right balance between definition and install time for short natural hair.
Why Start Here
- Fastest style to install on short hair
- Can be worn as-is or taken down for a twist-out
- Lasts three to seven days as a protective style
- Works on every curl pattern from 4A to 4C
Pro tip: angle each twist slightly outward from the scalp when you start, rather than winding them straight down. The angled start gives the twists more natural movement and prevents them from looking flat against your head.
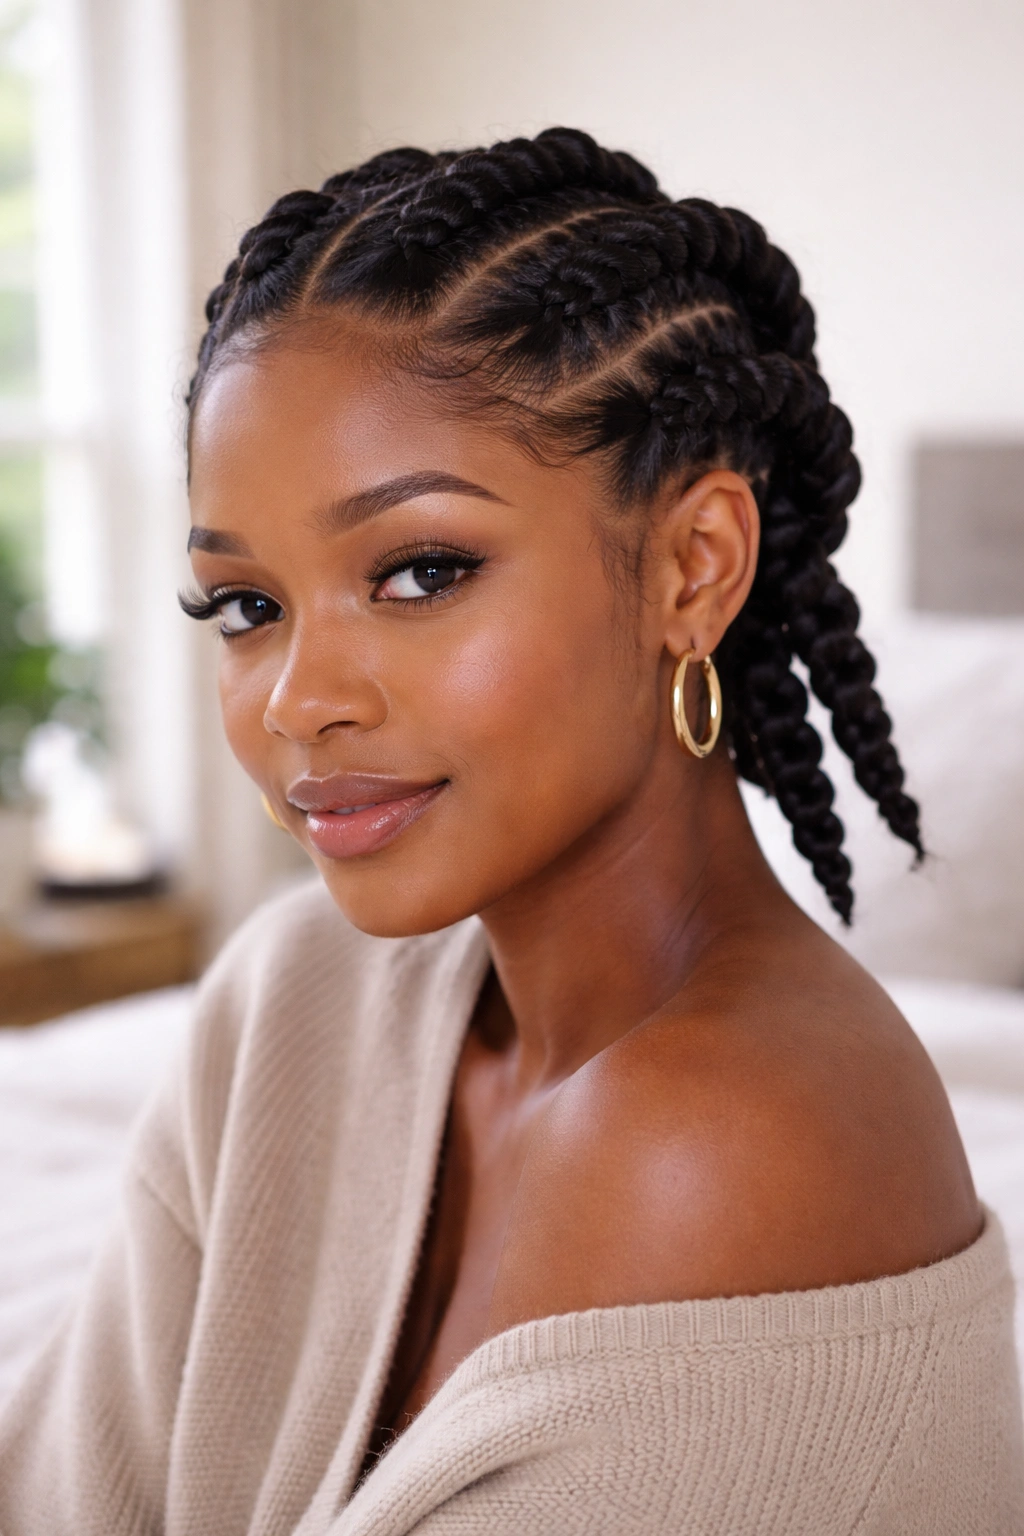
2. Flat Twists
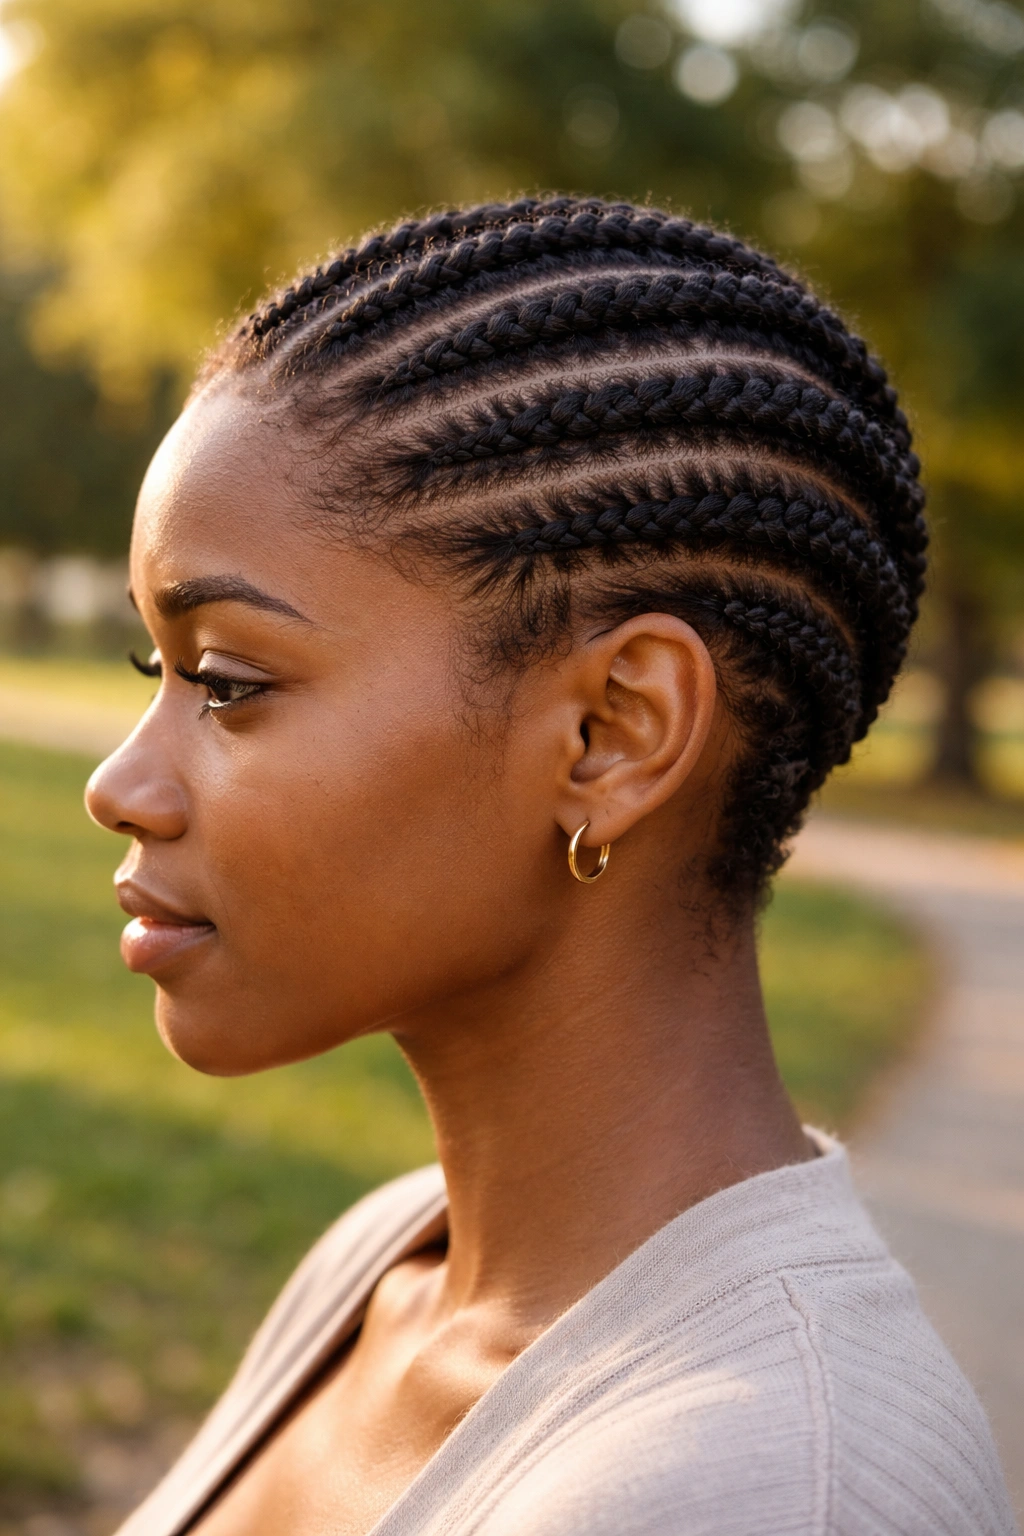
Flat twists are twists done against the scalp, similar to cornrows but using only two strands instead of three. They sit close to the head, creating smooth rope-like lines across your scalp, and they’re perfect for shorter hair because they don’t require much length to hold their shape.
The technique is simple once you see it. Start at your hairline. Pick up a small section of hair and divide it in two. Begin twisting, but as you twist, add small amounts of new hair to each strand from the scalp beneath you. The added hair keeps the twist anchored flat against your head as you move backward.
This is the most versatile twist technique on the list. Once you can flat twist confidently, half the other styles in this article become easier to execute.
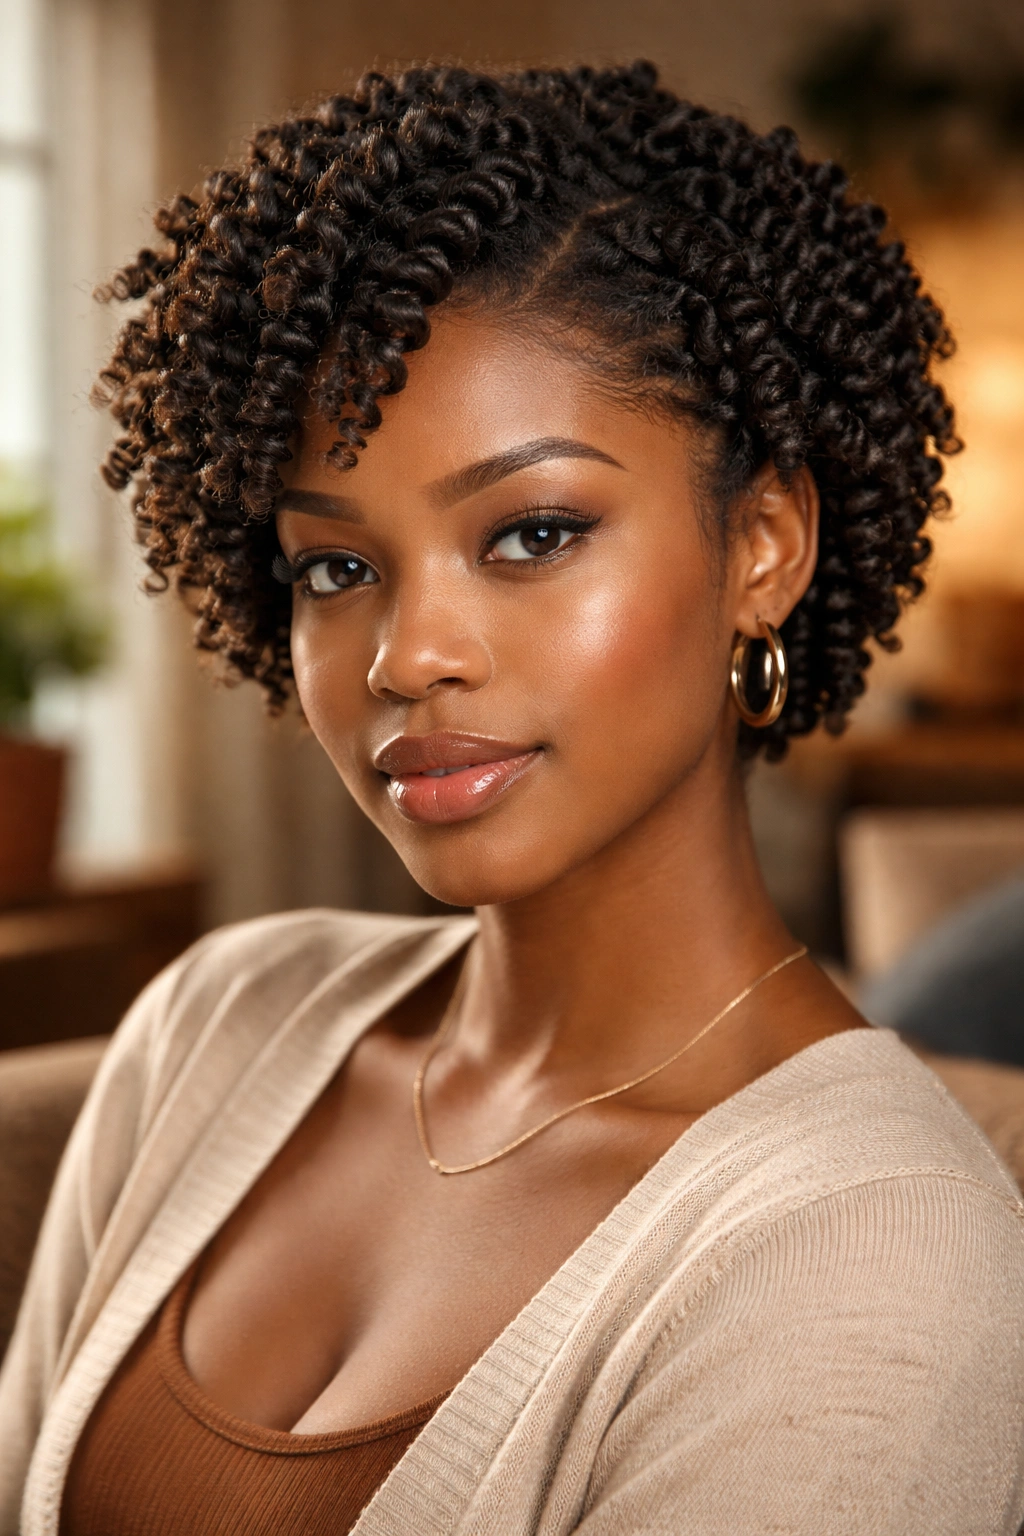
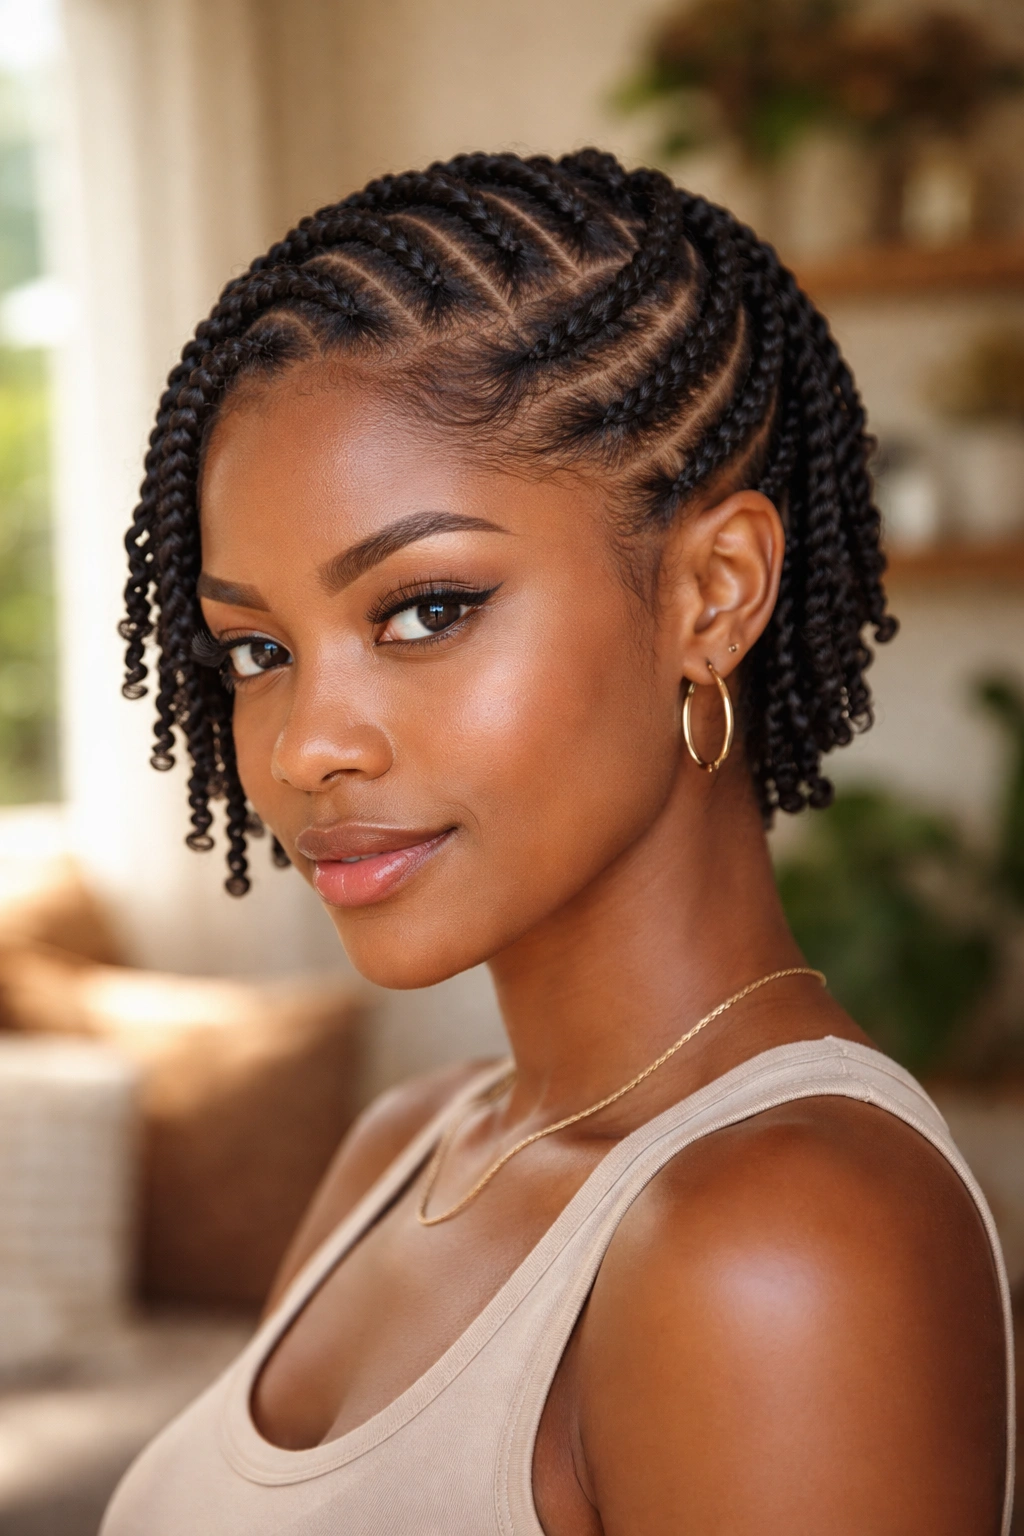
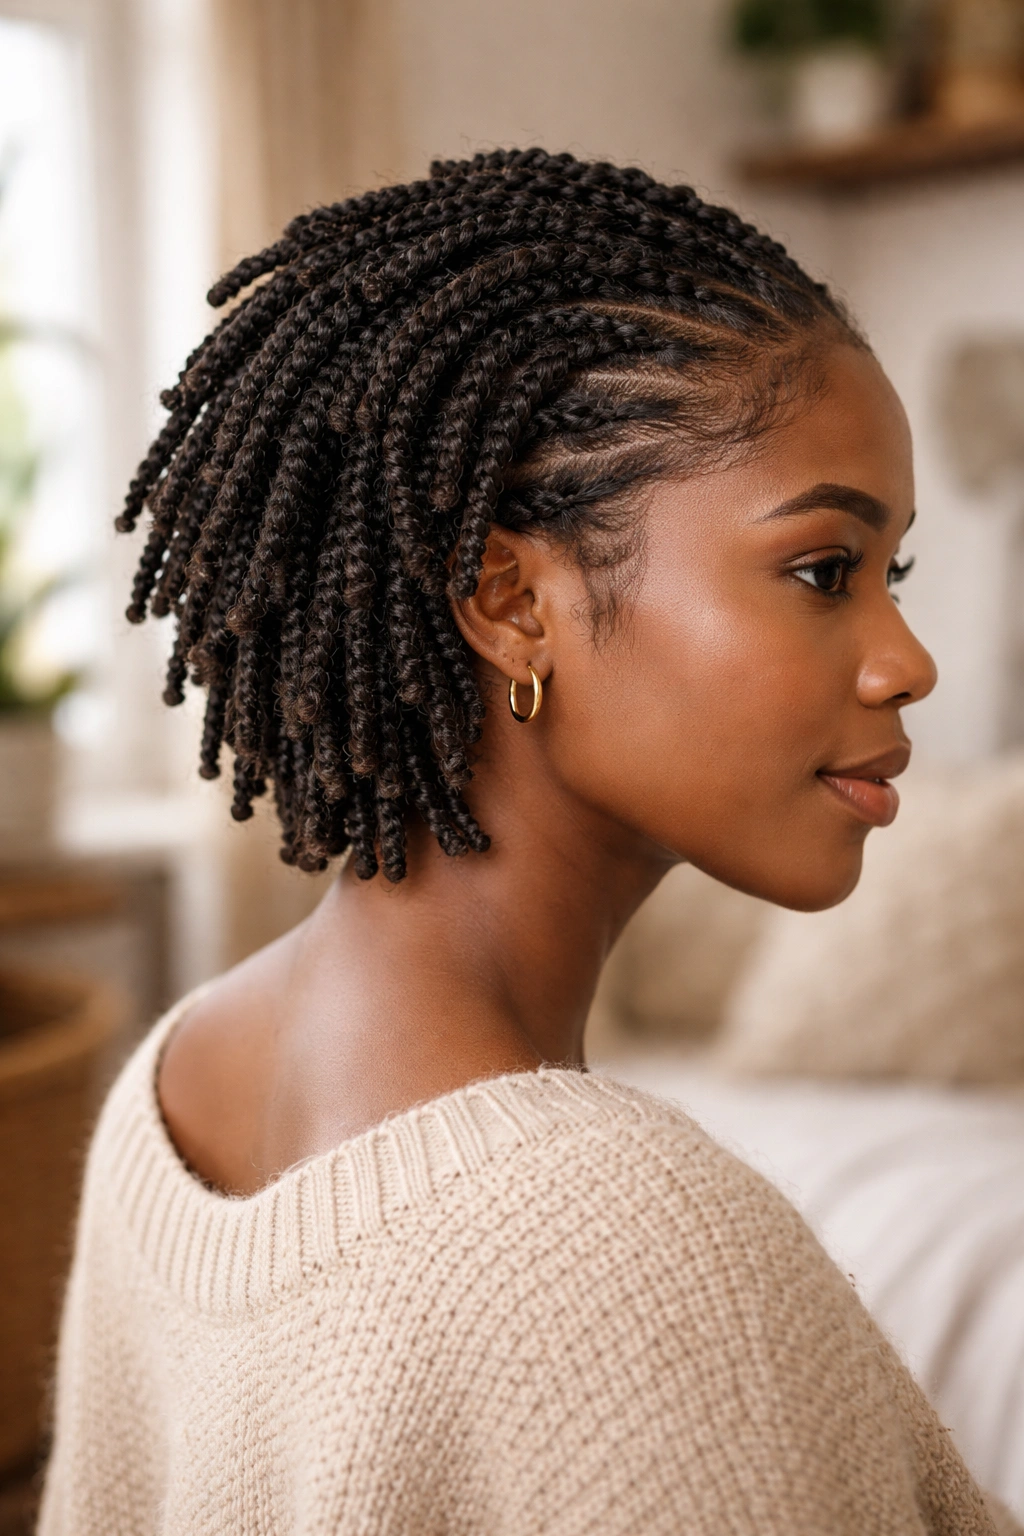
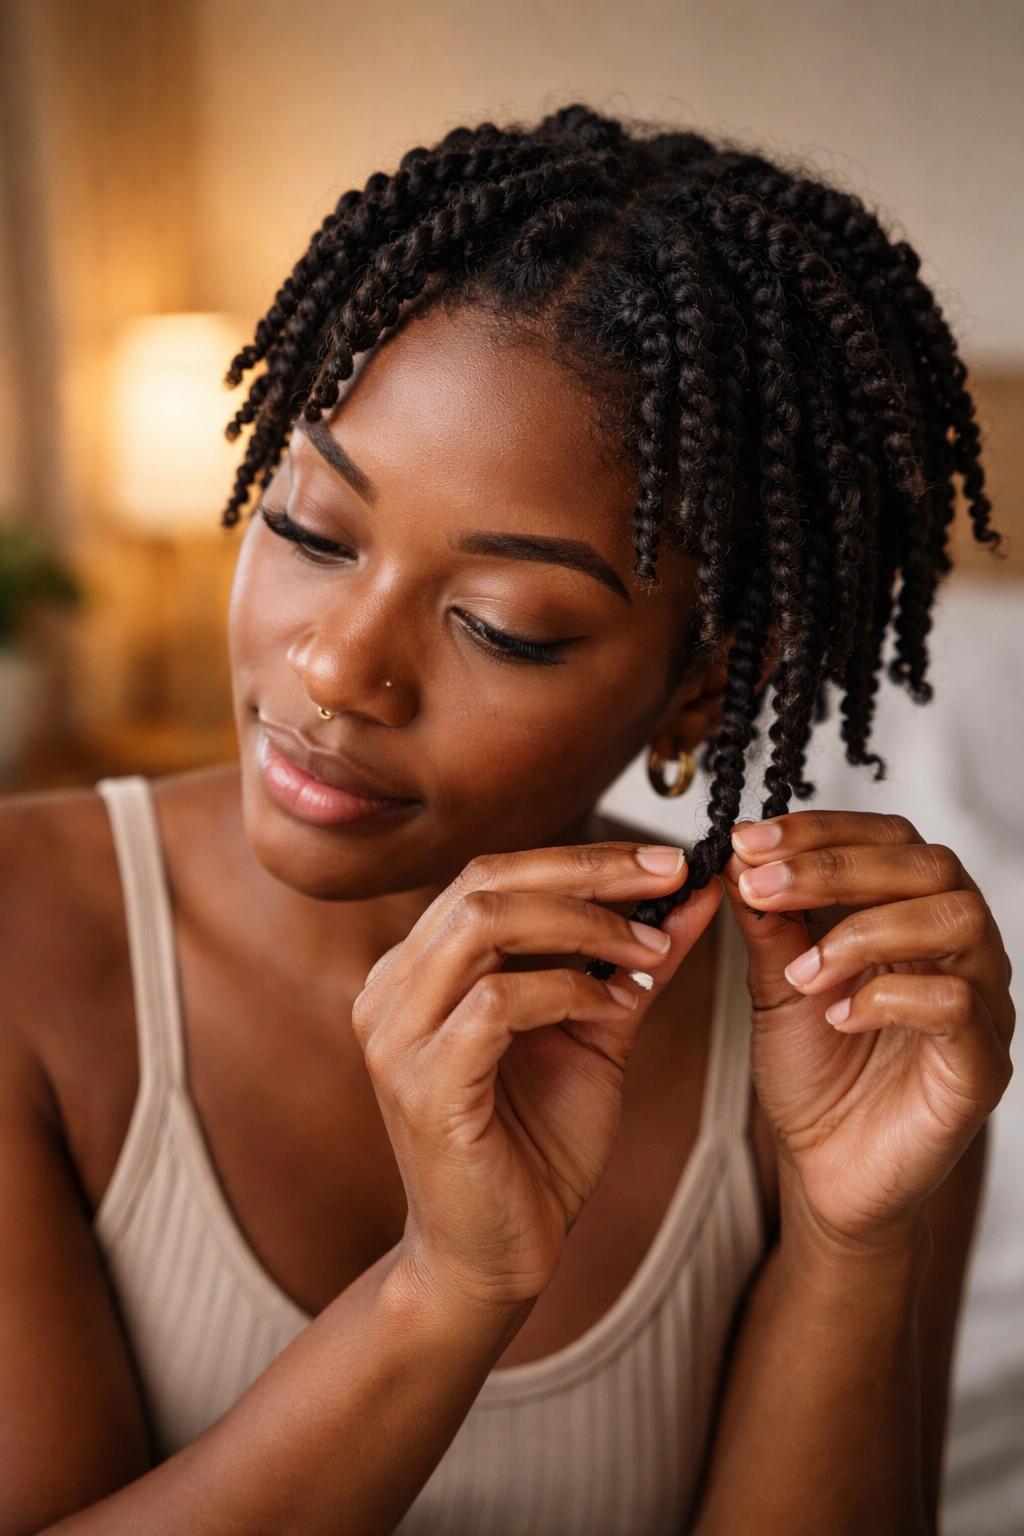
3. Mini Twists
Mini twists are essentially basic two-strand twists installed in very small sections — sometimes as small as a pencil eraser — across the entire head. On short natural hair, the install takes 90 minutes to two hours for a full head, which is a significant time investment.
But here’s the payoff. Mini twists can last one to two weeks as a protective style. That’s a week of wash-and-go level effort in the morning. During high-stress periods or travel weeks, mini twists are my go-to because the upfront investment buys me genuinely hands-off styling for days afterward.
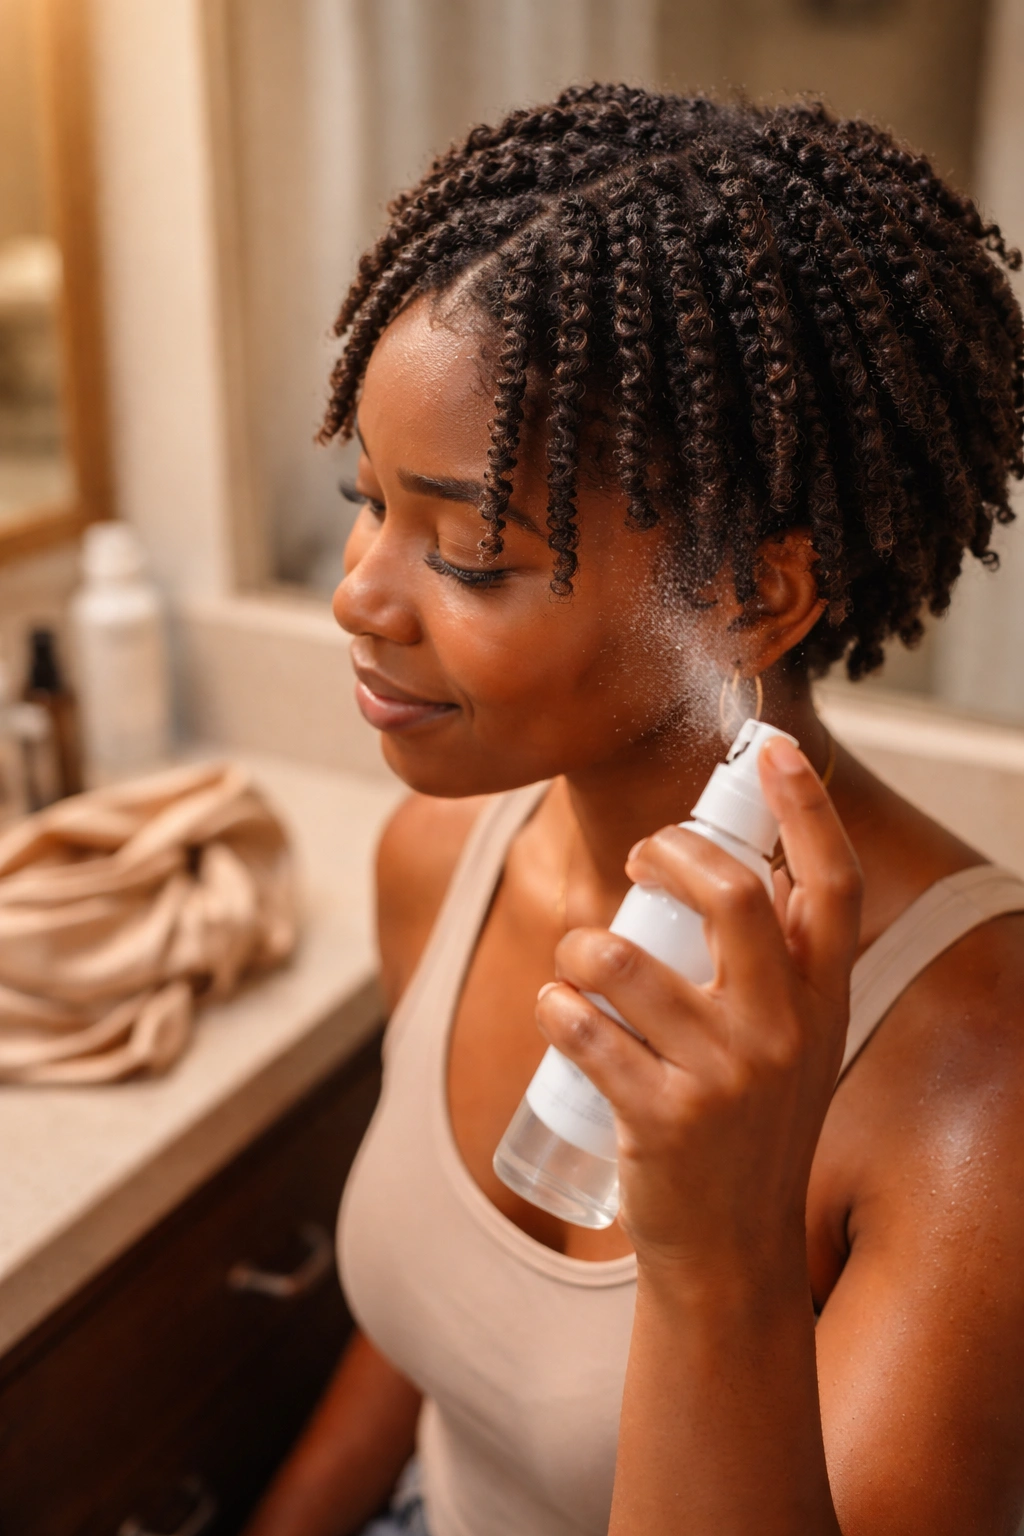
Sleep in a satin bonnet every single night to extend wear. Refresh with a water spritz and light oil every other morning to keep the twists from looking dry or dusty.
4. Chunky Two-Strand Twists
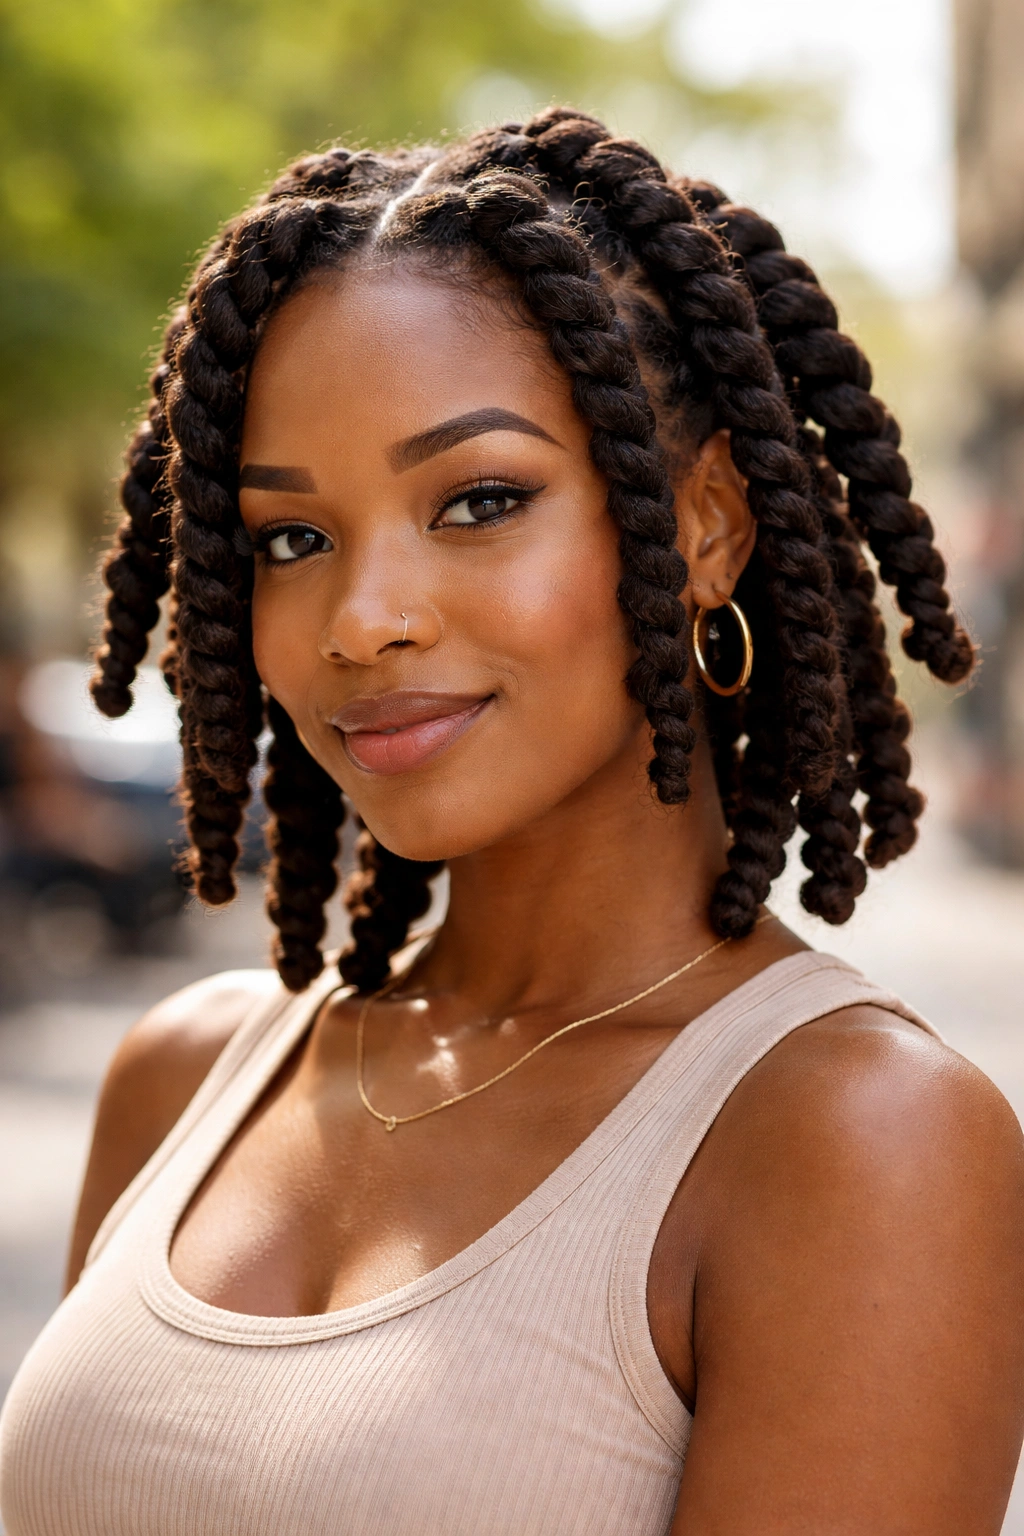
Unlike mini twists, chunky twists use large sections — think quarter-sized at the root — and typically only six to eight twists total cover the whole head. The install takes 20 minutes. The finished look is bold, textured, and reads as intentional casual rather than precise styling.
What’s different about chunky twists is that they’re not really for long protective wear. They’re for immediate wear. Install them in the morning, wear them all day as a statement style, take them down at night for a loose wavy texture the next day.
Who it’s best for: women who want big drama fast, women with thicker density that can fill out the large sections without gaps, and anyone who wants a twist-out without the overnight setup.
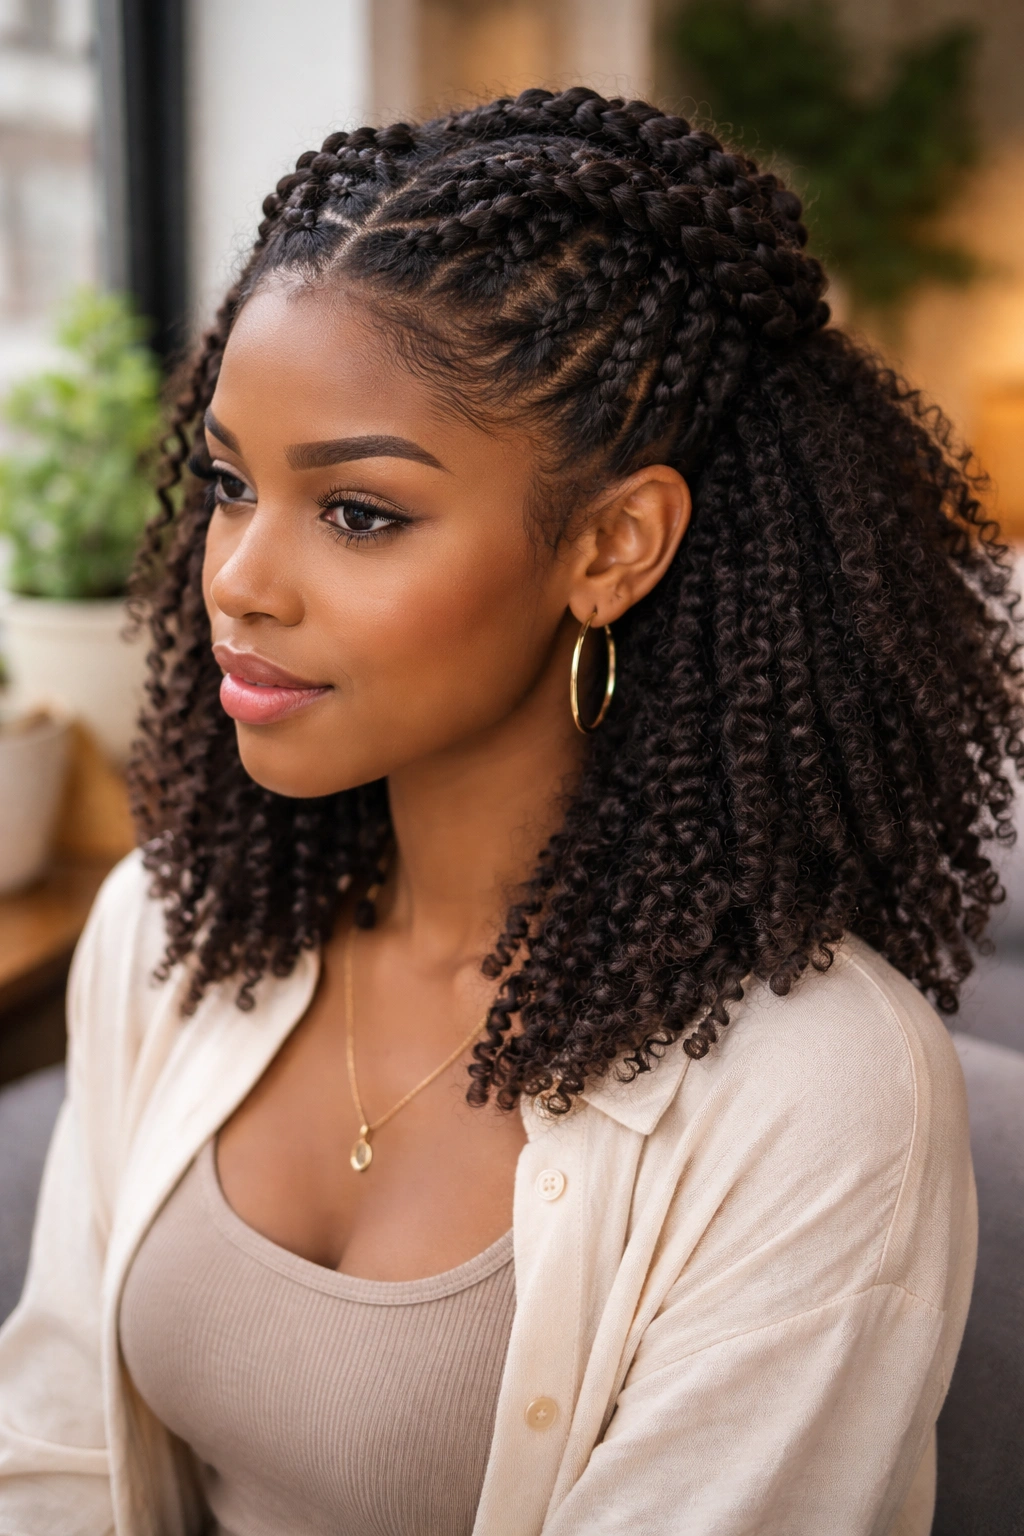
5. Twist-Out Technique
A twist-out is the style you get after you install twists, let them set, and then unravel them for the wavy, defined curl pattern they leave behind. On short natural hair, the setup is straightforward but the takedown is where people usually struggle.
The rule for takedowns: coat your fingertips in a tiny drop of oil before you start unraveling. Unravel from the tip of each twist upward, not from the root down. Gently separate each unraveled twist into two pieces — never three or four — because over-separation creates frizz that can’t be fixed.
The resulting texture gives you that defined wave pattern short naturals love, with more length than your wash-and-go state and a softness that reads as polished rather than shrunken.
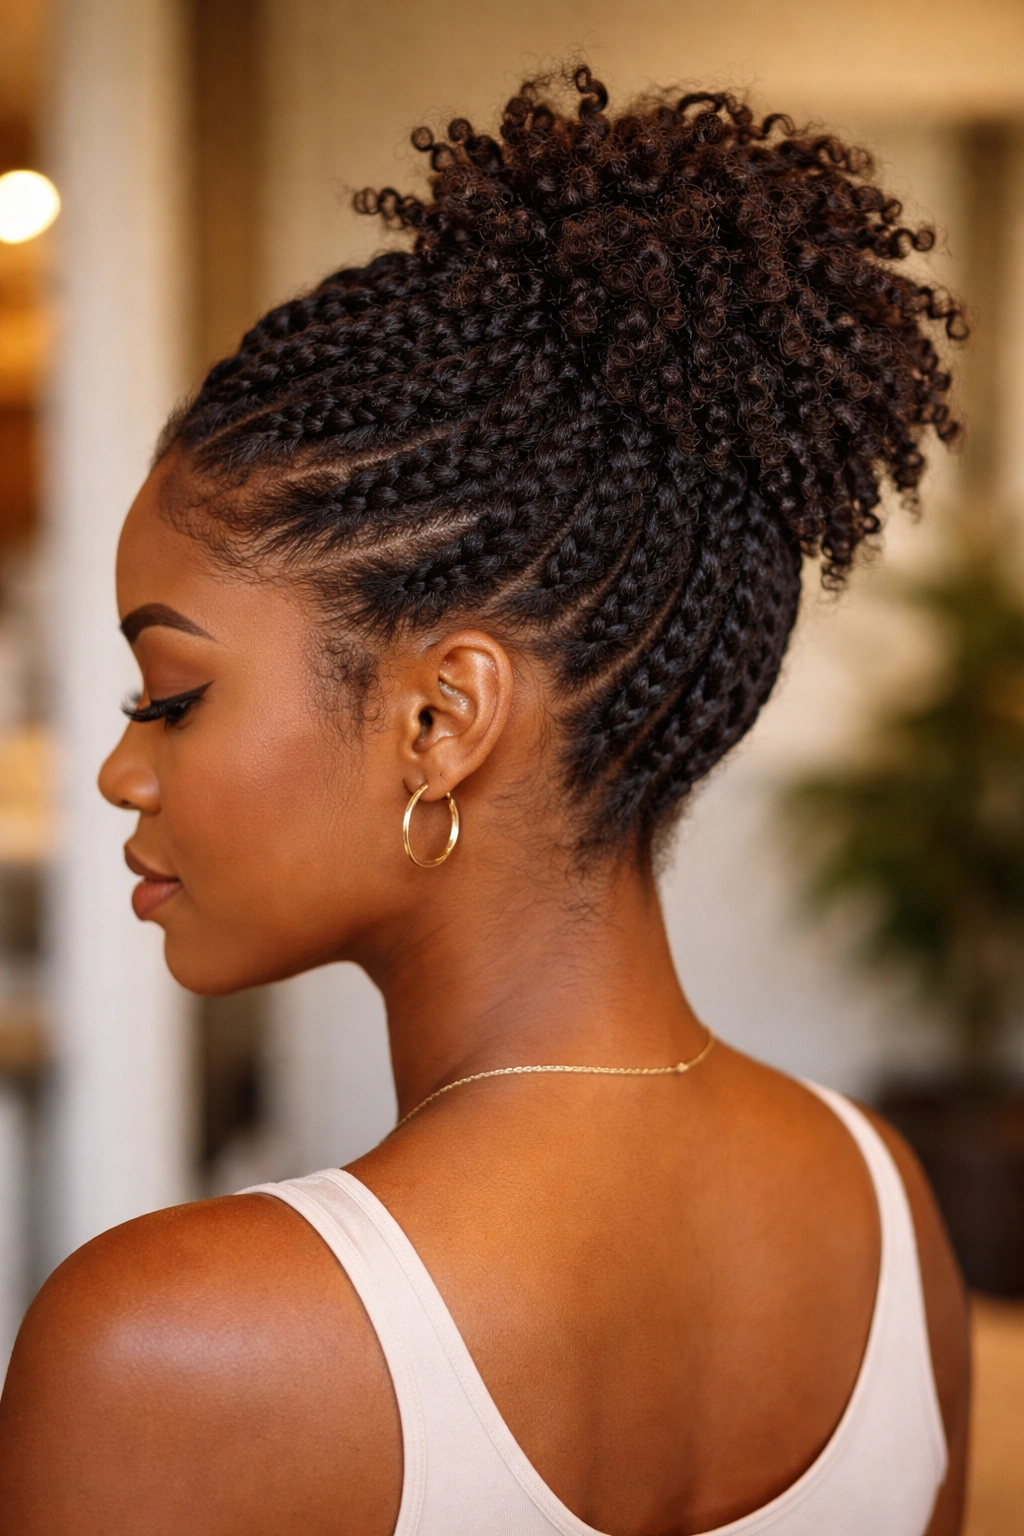
6. Half-Up Twist Crown
The half-up twist crown takes the top half of your hair — everything above your temples — and divides it into flat twists that connect at the back of your crown. The bottom half stays loose in its natural texture or as taken-down twist-outs.
How to Use It
Part a horizontal line from ear to ear at the top of your head. Clip the bottom half out of the way. Divide the top half into six or eight sections. Flat twist each section from your hairline backward, connecting them all at a single point at the center of your crown. Secure with bobby pins.
The result reads as intentional and structured in the front while leaving the back soft and feminine. Great for days when you want something more polished than a wash-and-go but don’t have time for a full styled install.
7. Twists with Edges
Bold claim: the right edge control can double the perceived quality of any twist style. I’ve watched flat twists look amateur with frizzy edges and then look professional the next day after smoothing the hairline with edge gel. Same twists, different edges, completely different impression.
The basic technique is this. Use a soft-bristled edge brush. Dip it lightly in edge control gel. Start at your hairline and brush the tiny hairs smoothly in whatever direction your twists flow. Work in thin layers — three light coats beat one thick application every time.
The reason layered application works is that each layer dries before the next goes on, giving you a firmer hold without the stiff, crunchy look that comes from one heavy dose of product. Be patient. The difference in the finished look is worth the extra 60 seconds.
8. Side-Swept Twists
What if I told you that shifting the direction of your twists from straight-down to angled sideways can completely change how your face looks? It sounds exaggerated until you try it. Side-swept twists create asymmetry that draws the eye diagonally across your face, softening strong jaws and elongating round cheeks.
The Technique
To install, part your hair on one side — a deep side part works best — and angle every twist in the direction of the longer side of your hair. All twists flow toward one shoulder instead of straight down. The visual effect is that your hair “sweeps” to one side rather than framing your face symmetrically.
Pair this with some of the twists pulled back behind one ear for an even more dramatic sideways flow.
9. Twists with Accessories
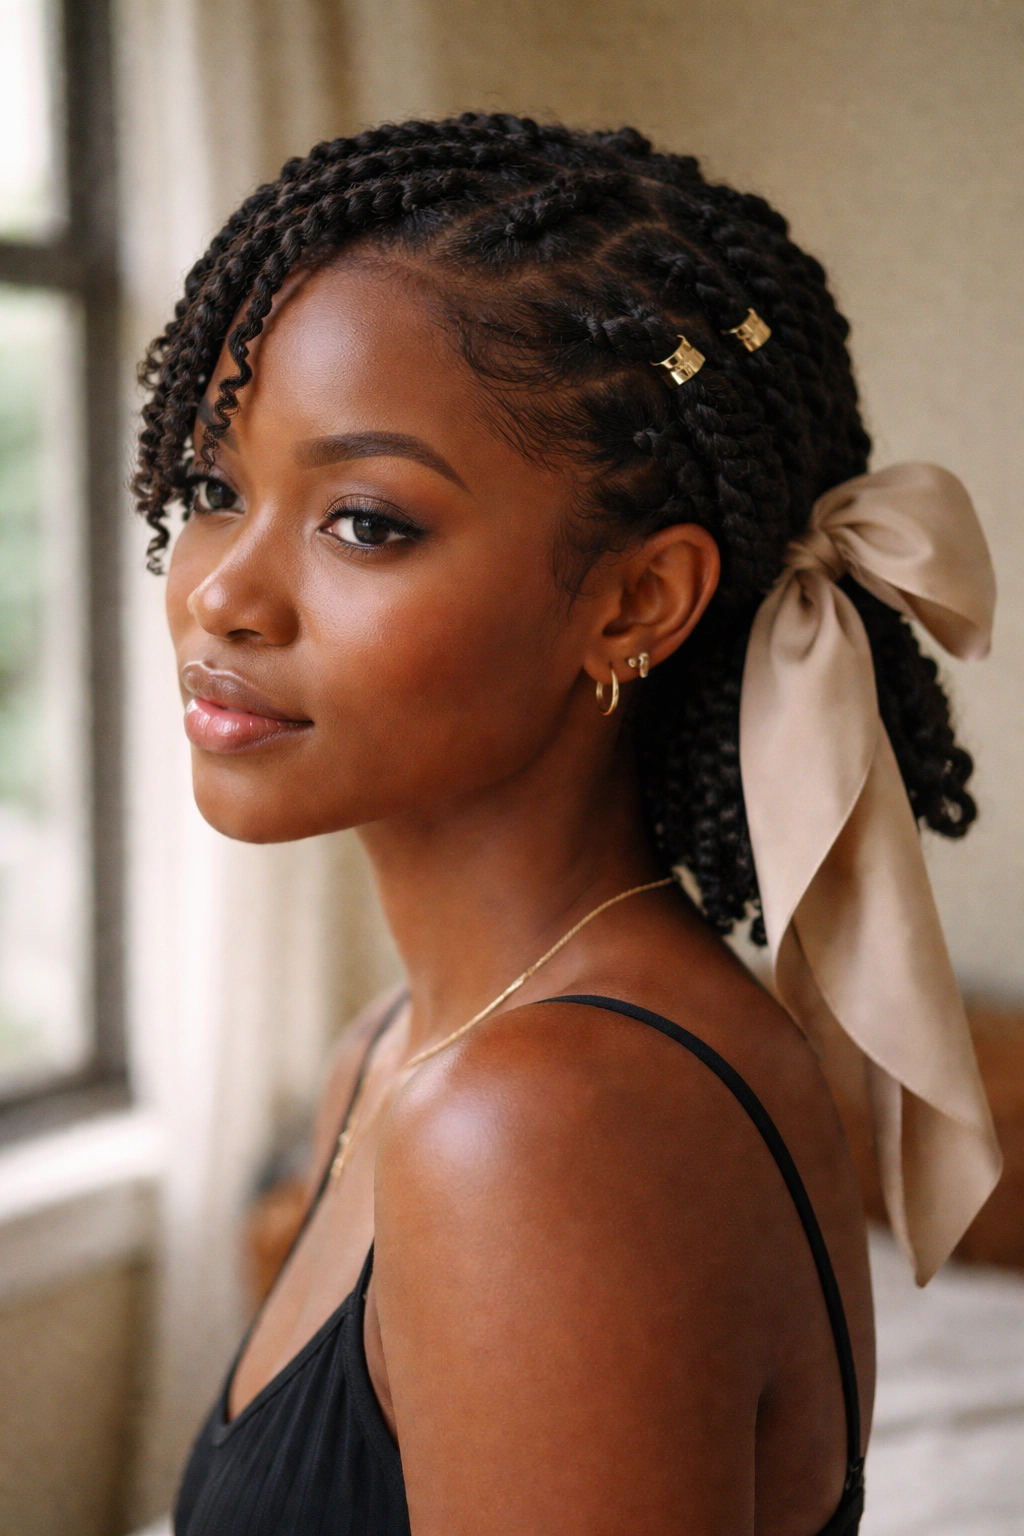
Sometimes the twist style is just the base layer, and the accessories are what carry the final look. Gold cuffs, beads, silk ribbons, feathers, small floral clips — each transforms plain twists into something editorial or occasion-ready.
The rule of three applies here. Don’t scatter twelve accessories randomly — pick three statement pieces and distribute them intentionally. Two gold cuffs on the right side of your head, one large ribbon tied at the back of your crown. Or five small beads grouped along a single side twist. Grouping beats scattering for visual impact every time.
Gold cuffs in particular photograph well because they catch light against dark textured hair. Slide them onto individual twists and pinch closed with pliers — they’ll stay put through several wears.
10. Two-Strand Twists with Curled Ends
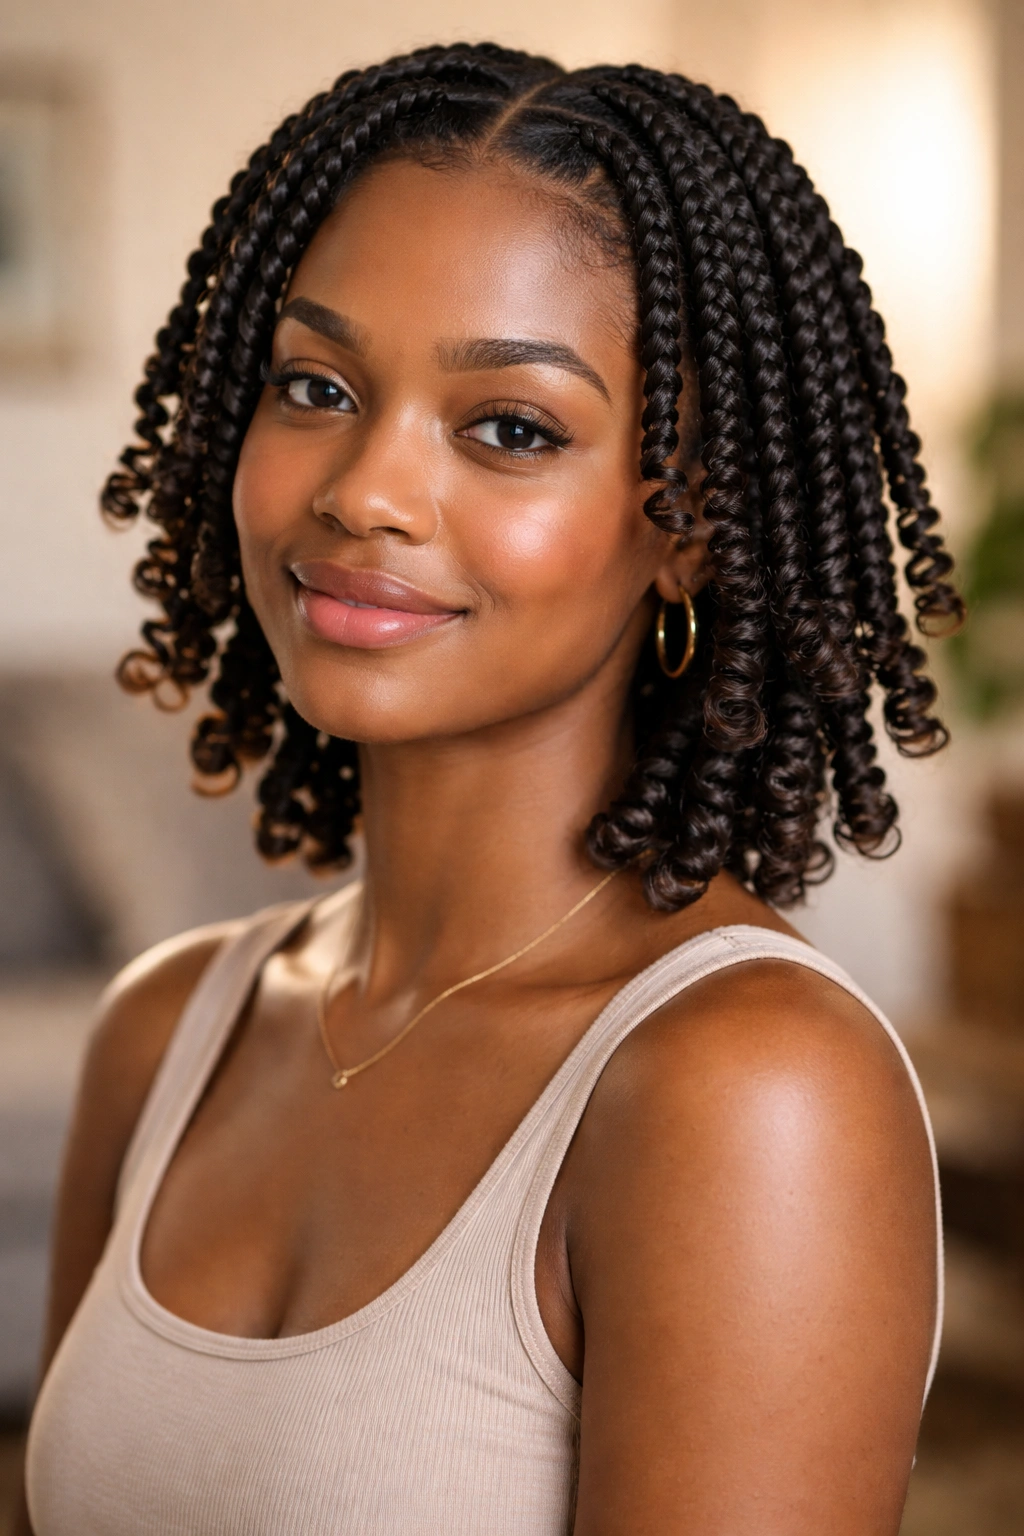
Here’s a variation on the basic two-strand twist that adds a softer finish at the ends. Instead of letting the twist end hang freely or palm-rolling it flat, you use a flexi-rod or a small perm rod to set the final inch or two of each twist into a rounded curl.
The contrast between the straight-twisted mid-section and the curled ends reads as feminine and finished. It’s a quick modification — maybe 15 extra minutes added to your total install time — and the result looks intentional in a way that plain-ended twists don’t.
Let the rods set overnight for best results. In the morning, remove the rods gently, let the curls spring into shape, and you’ve got twists with a subtle bounce at the tips.
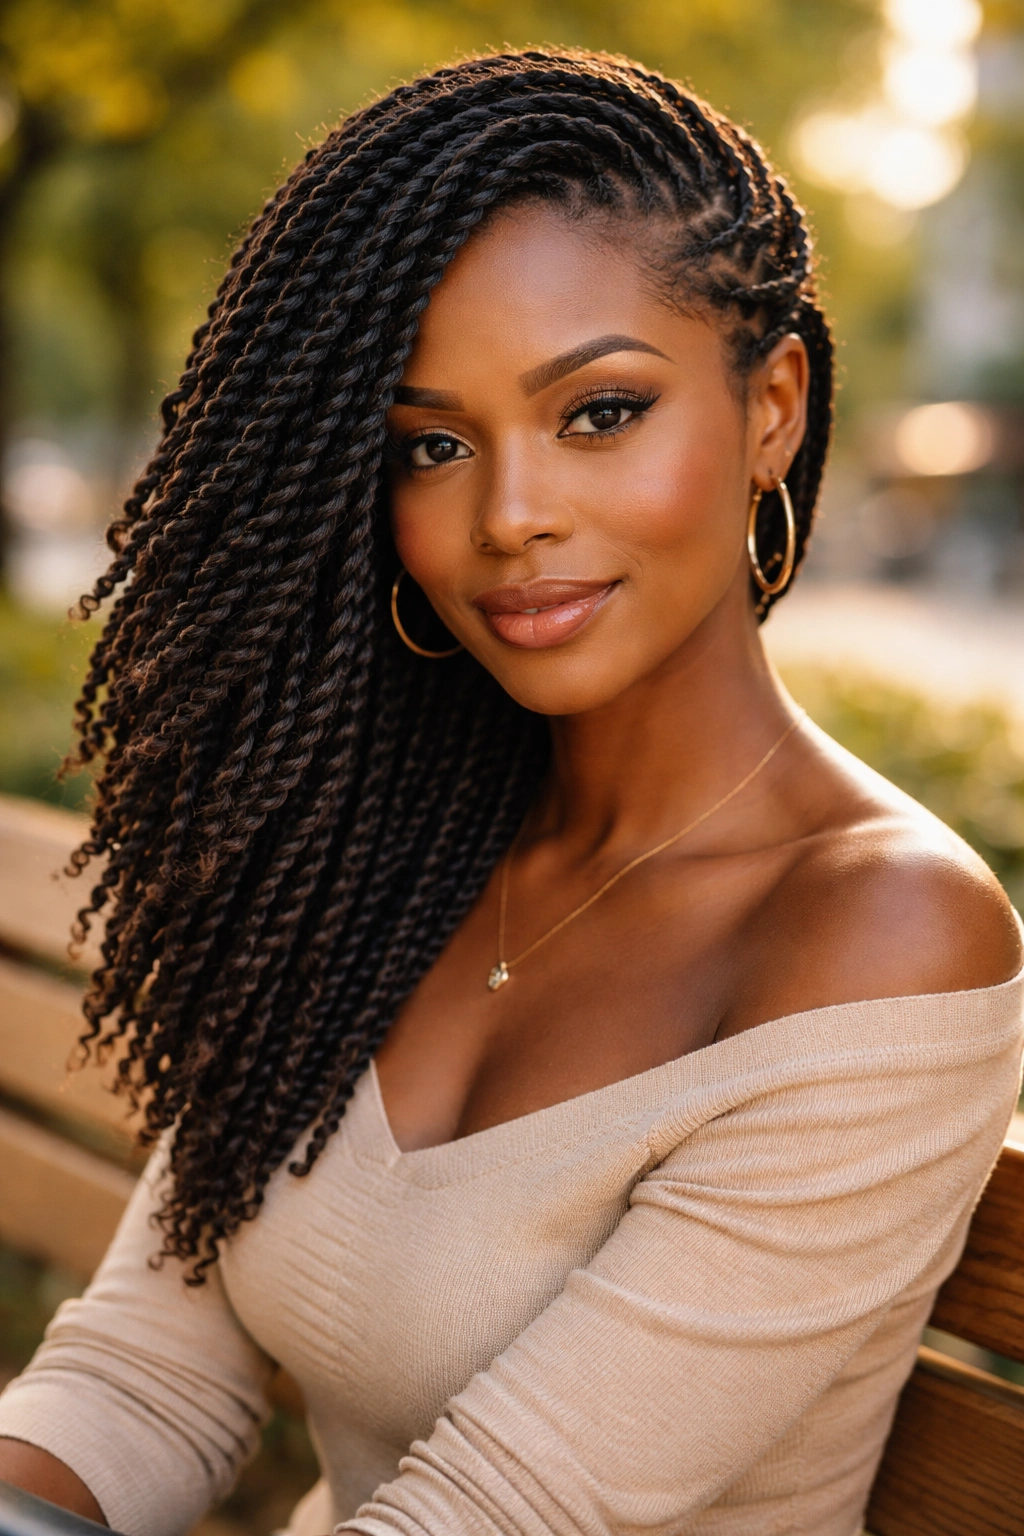
11. Three-Strand Twists
Three-strand twists use three strands of hair instead of two, creating a rope-like pattern that’s more intricate than a standard two-strand twist. On short natural hair, three-strand twists add visual texture and produce a wavier, more undulating takedown pattern than standard twists.
Install is slightly slower — maybe 25% longer than two-strand twists — because you’re managing more strands with each movement. Once you get the rhythm, it’s not dramatically harder, just different.
The takedown pattern is the real reason to try three-strand twists. The waves you get are longer, softer, and have more visible movement than two-strand takedowns. If you’ve been doing two-strand twist-outs and they feel stale, switch to three-strand for a fresh texture.
12. Twist Updo
Gather all your twists into a rounded updo at the crown of your head. Secure with bobby pins worked into the base. Let the twist ends poke out in all directions for an organic, textured finish.
Short natural twists don’t always give you enough length to fully “bun” the way longer hair does. The updo adapts to that reality — instead of a tight smooth bun, you get a fluffy, textured cluster of twists that looks deliberate and stylish.
The wear time on a twist updo depends on how carefully you sleep. With a satin bonnet and minimal movement, you can get two to three days out of the same updo before needing to rebuild.
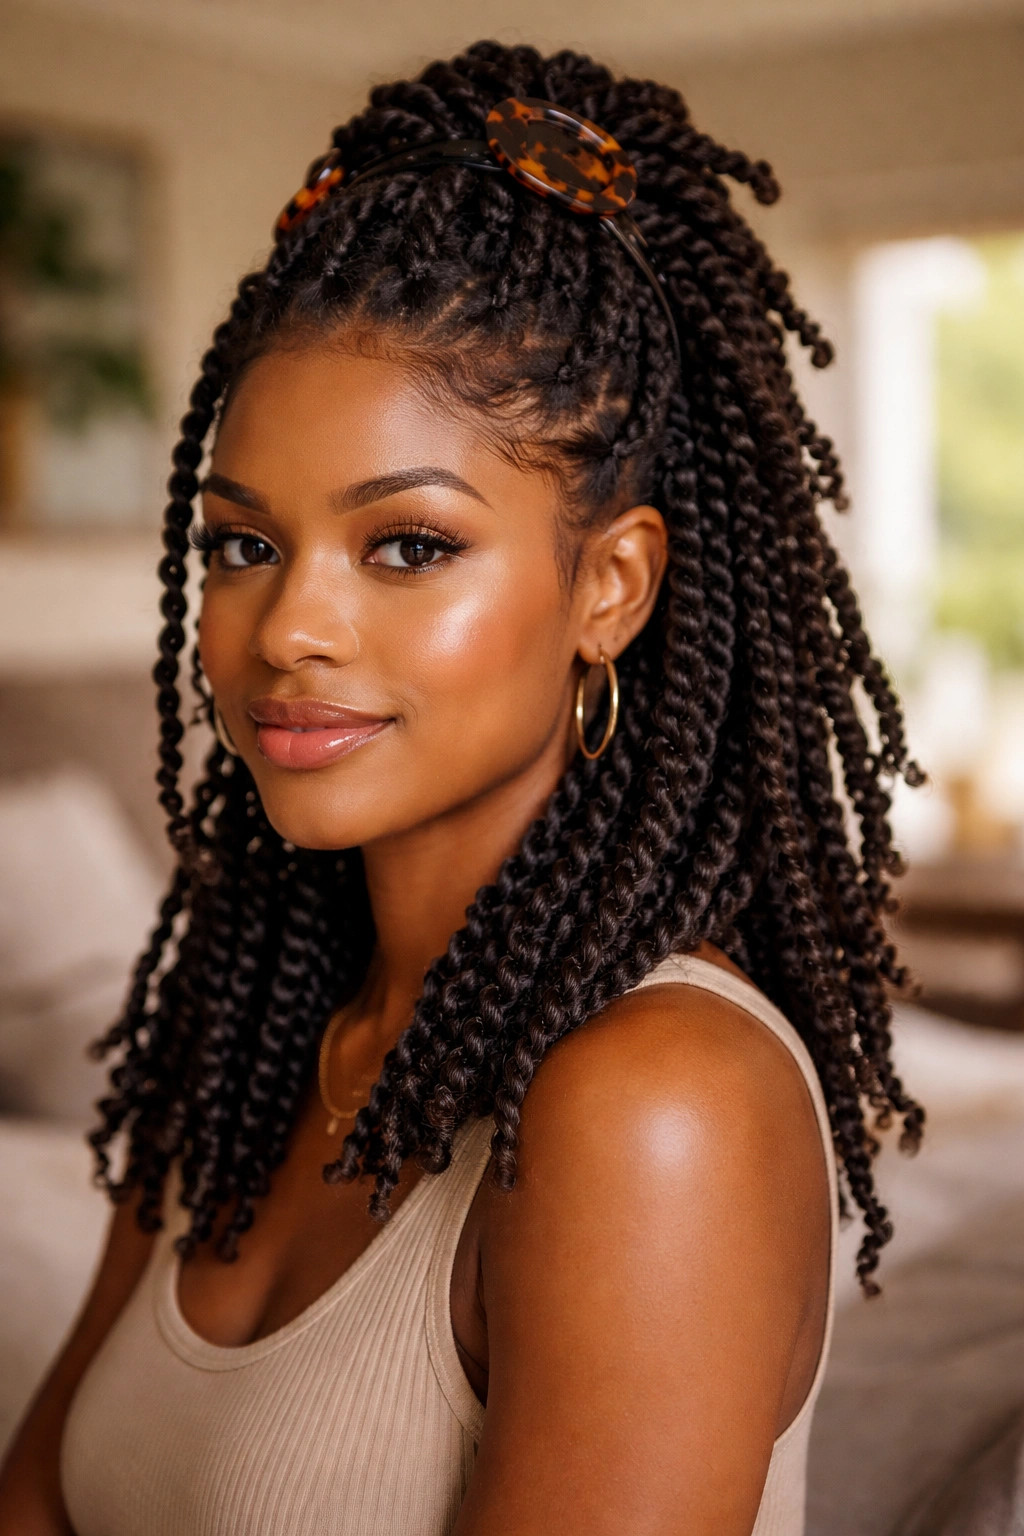
13. Half-Updo Twists
Where a full twist updo gathers everything at the crown, a half-updo pulls only the top half of your twists upward while leaving the bottom half to hang freely. The combination feels balanced — structured up top, flowing below.
This works especially well on medium-short natural hair where the bottom twists have enough length to drape visibly below the gathering point. On very short TWAs, the effect is less pronounced because all the twists are roughly the same short length.
Use one or two large tortoiseshell claw clips to gather the top section rather than bobby pins. The clips are faster to install, easier to remove, and less likely to pinch or pull.
14. Twist Pigtails
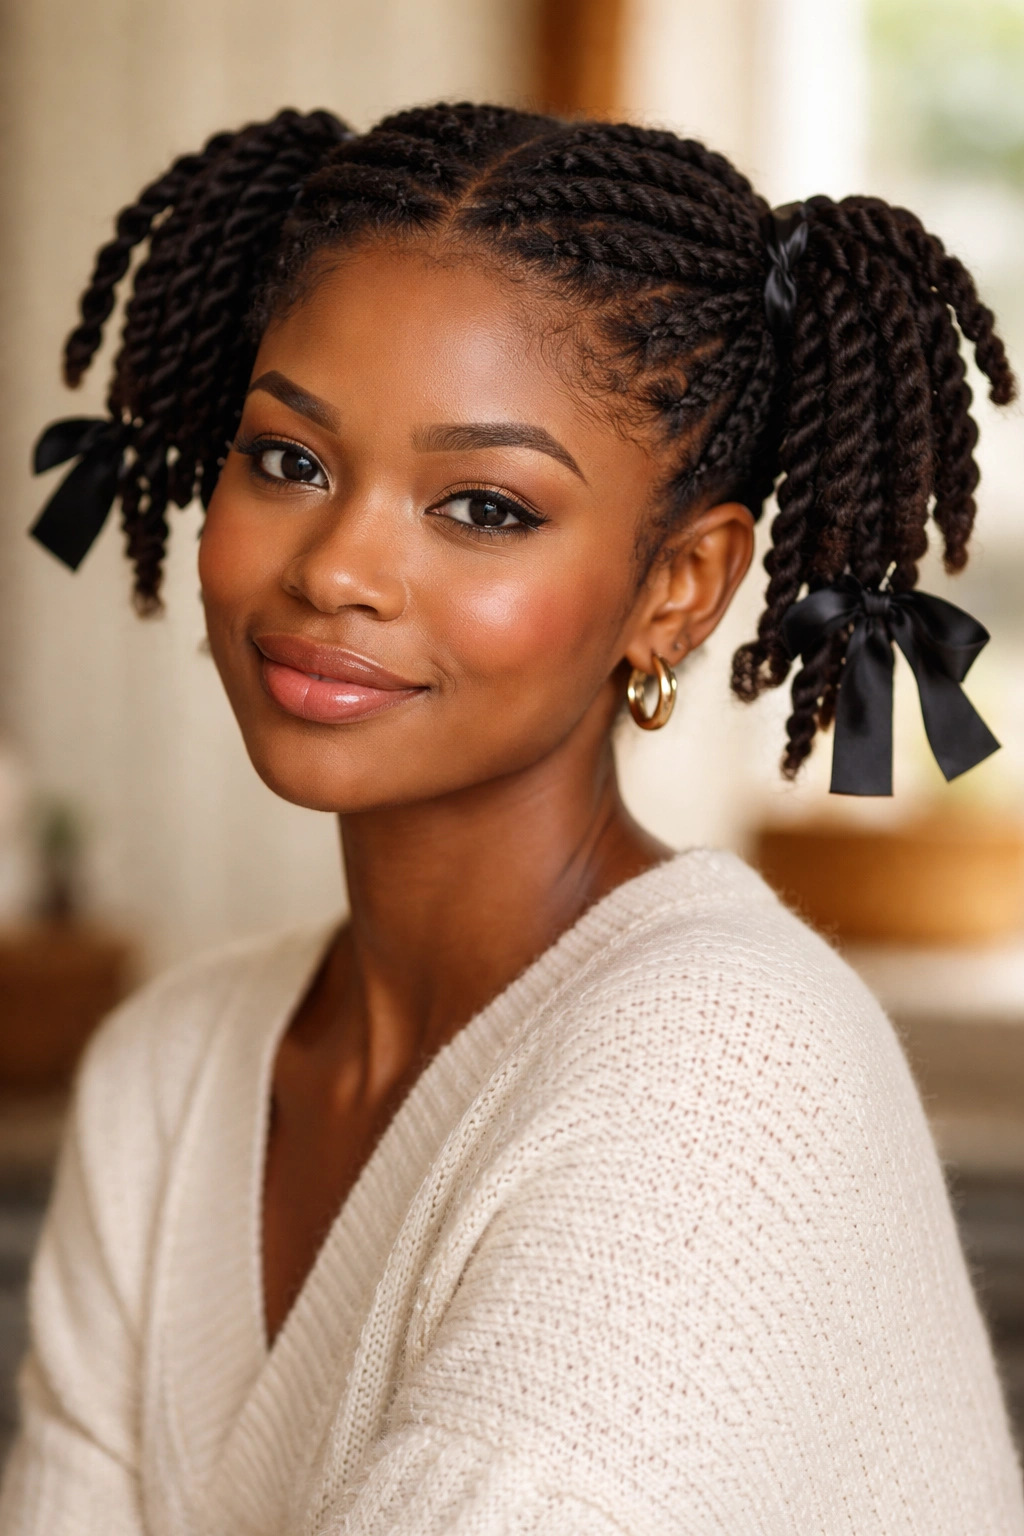
Two sections. Two groupings. Two twist clusters gathered on each side of the head, usually near the ears or at the crown.
Twist pigtails are playful, expressive, and work particularly well on shorter natural hair because the shorter length gives the pigtail clusters a rounded, full shape instead of the longer, swingy shape you’d get on longer hair. The short-hair version actually reads as more intentional stylistically.
Use small satin scrunchies or ribbons to secure each pigtail section. Avoid standard elastics — they snag on textured hair and leave creases that take hours to work out.
15. Twists with a Fro Front
Here’s a combination style that sounds unusual but looks beautiful in practice. Twist the back and sides of your head into clean two-strand twists, but leave the top front section — roughly the part above your eyebrows — loose in its natural afro state.
The contrast between the structured twists and the free afro creates dimensional interest. It reads as sculptural rather than messy because the contrast is deliberate. Your twist sections frame the puffed front like a setting around a centerpiece.
Who This Is For
- Natural hair lovers who want variety in one style
- Anyone with a well-defined forehead who wants a soft front frame
- Women who like the twist look but miss seeing their natural curl pattern
16. Jumbo Flat Twists
Jumbo flat twists use very large sections — each twist covers a two-to-three-inch wide strip of scalp. The whole head typically needs only four to six jumbo flat twists to be fully styled.
Install time is 25 to 35 minutes, which is genuinely fast. The large sections create dramatic visual lines across the scalp, and the look reads as intentional and bold without requiring the precision of tiny twists.
The downside is that jumbo twists can feel loose and unravel more easily than small ones because there’s less hair holding each twist in place. Use a stronger hold product than you would for small twists, and expect them to last three or four days rather than a full week.
17. Diagonal Flat Twists
Unlike straight-back flat twists, diagonal flat twists run at angles across your scalp — starting near one ear and ending near the opposite side of your crown, or forming a zigzag pattern, or curving into spiral shapes. The angles create visual movement that feels more dynamic than parallel straight twists.
This style is for women who’ve mastered basic flat twists and want to push their technique further. The angled work is harder to execute evenly — you need to keep tension consistent even when the twist direction changes — and the first few attempts will probably look uneven.
Practice on damp hair in front of a mirror. Once you can install three or four consistent diagonal twists, the full style becomes a lot easier.
18. Twist Bun on Short Hair
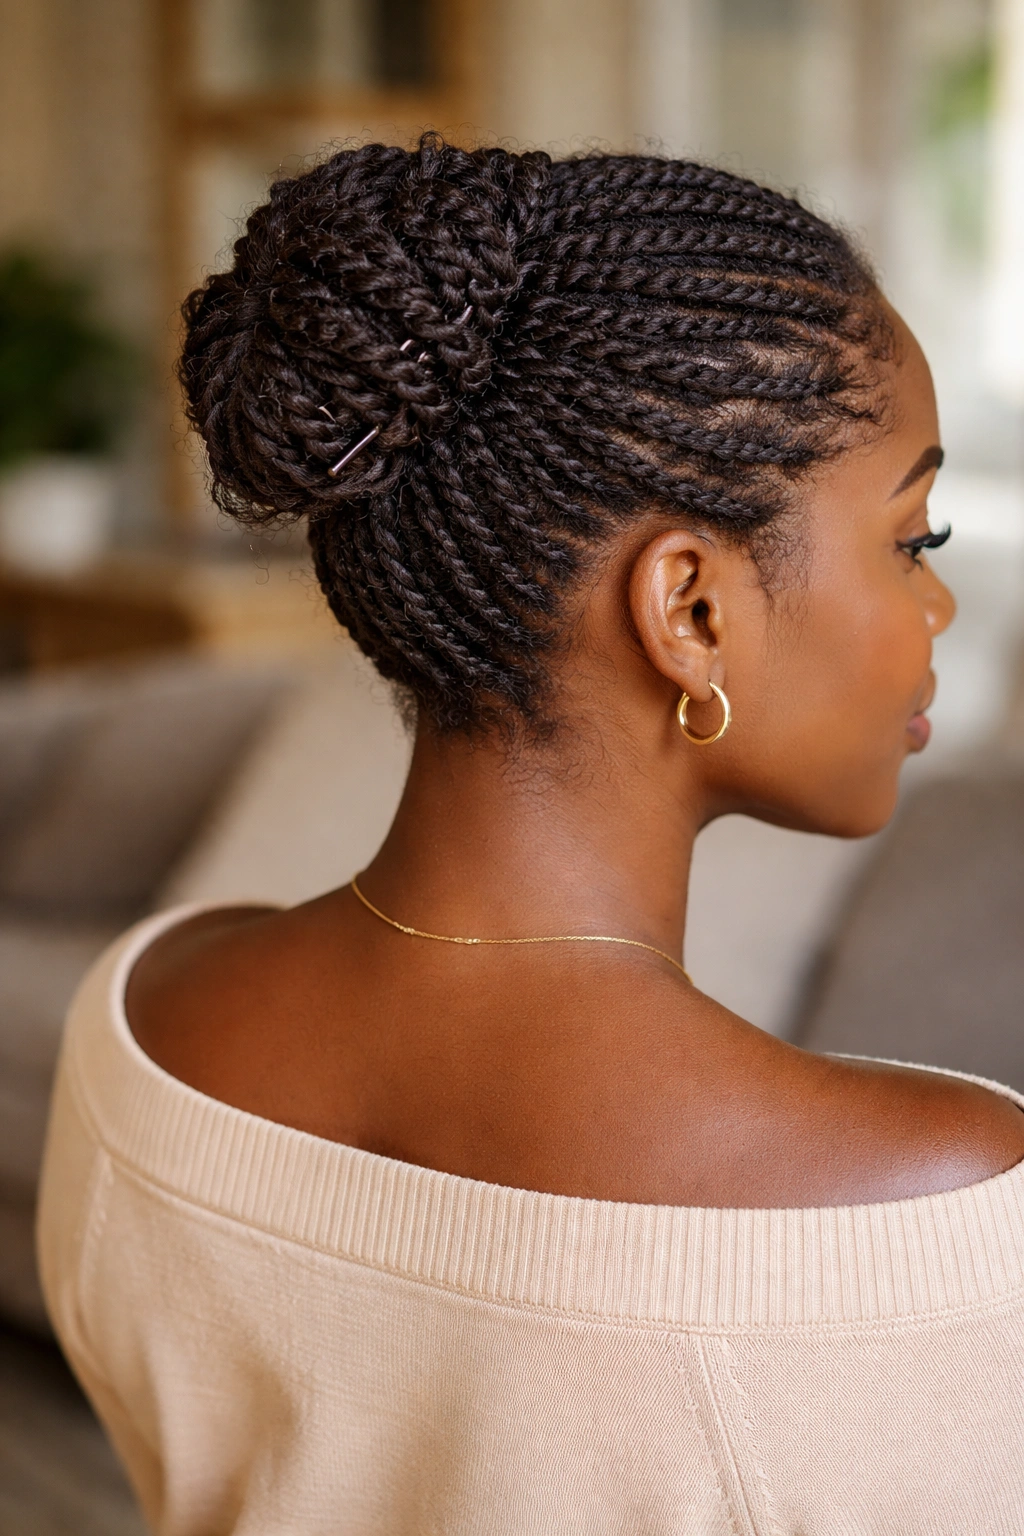
Bun-ing very short natural twists takes a different approach than bun-ing long hair. Because the twists are short, you can’t really wrap and pin them into a traditional bun shape. Instead, you gather them into a rounded cluster at the crown and pin the ends back into the cluster.
The result looks like a textured, chunky bun with twist ends visible throughout. It’s not as smooth as a long-hair bun, but it has its own character — it reads as creative and natural rather than trying to imitate something longer hair does better.
Use at least four bobby pins arranged in an X pattern underneath the bun to keep it stable. Short twist buns fall apart faster than long-hair buns without enough anchoring.
19. Twists with a Headband

A thick fabric headband placed over the front of your twisted head adds instant polish without changing the underlying twist style. Velvet, satin, and fabric-wrapped headbands all work well — avoid thin plastic bands, which slide around and pinch.
Position the band about an inch behind your front hairline. The twists directly behind the band should poke up slightly over the top edge, which creates dimension and keeps the headband from sitting flat against a uniform twisted surface.
This is an accessory trick that works even on wash days or days when your twists are getting a little fuzzy. The band distracts the eye from imperfections and refreshes the whole look in 30 seconds.
20. Partial Twist-Out
A partial twist-out is exactly what it sounds like — you install twists only on certain sections of your hair, typically the front and top, while leaving the sides and back in their natural wash-and-go state.
After the twisted sections set and you take them down, you end up with defined wavy twist-out texture on top mixed with your natural curl pattern elsewhere. The contrast reads as intentional and gives you the best of both worlds: the definition of a twist-out where it matters visually, without committing to a full head of twists.
Install time for a partial twist-out is half or less of a full install. Great for midweek styling when you want a refreshed look without dedicating an hour to the process.
21. Layered Twists
Layered twists exploit the uneven length of short natural hair that hasn’t been shaped into a uniform cut. Shorter pieces at the crown and longer pieces at the back — a common growth pattern for short naturals — become a visual feature when twisted into layered sections.
Part your hair horizontally into three tiers. Install small twists in the top tier, medium twists in the middle, and larger twists at the bottom. The size variation highlights the length differences and turns what would otherwise be “awkward growth” into an intentional stylistic feature.
It’s one of my favorite ways to work with growth-phase short natural hair where the lengths haven’t evened out yet.
22. Freeform Twists

Last on the list is the least structured option. Freeform twists skip the precise sectioning of traditional twists and instead use whatever hair falls into your fingers as you work. Some twists are large. Some are small. The overall effect is organic and textured, closer to locs than to conventional twists.
This isn’t the style to try when you need something polished. It’s the style to try when you want genuine low-effort wear and don’t mind a messier, more natural aesthetic. Installation is fast — maybe 20 minutes for a whole head — and the finished look reads as bohemian and effortless.
Who this is for: anyone who loves the twist aesthetic but feels intimidated by the precision of traditional installs. Freeform twists are forgiving, fast, and beginner-friendly in a way other styles on this list are not.
Maintenance for Twist Styles
Sleep on satin or tie a satin scarf every night. I cannot emphasize this enough. Cotton friction destroys twist definition overnight, and you’ll wake up to frizz that adds 20 minutes to your morning routine.
Refresh with water and a drop of leave-in every other day. Mist the twists lightly, then smooth with your hands. No heavy product — that builds up and makes the twists feel stiff and dry.
Don’t over-handle. Every time you touch your twists, you introduce a little friction that works against the shape. Touch them when you refresh, touch them when you restyle, and leave them alone the rest of the time.
When to Take Twists Down
Twists have a natural lifespan. Small mini twists last 10 to 14 days. Medium twists last 5 to 7 days. Large chunky twists last 3 to 5 days. Beyond those lifespans, the twists start unraveling, fuzzing excessively, or creating tension at the scalp that can damage the hair.
Listen to your scalp. If your scalp feels tender or itchy beyond normal dryness, it’s time to take the twists down. Don’t push through discomfort.
Take-down is where most people damage their hair. Be gentle. Unravel each twist with oiled fingers, detangle from the ends upward, and deep condition afterward. Rushing the takedown is how you lose inches.
Common Mistakes to Avoid

Twisting on dry hair is the biggest error. The twists won’t hold shape, they’ll frizz within hours, and they’ll be nearly impossible to install evenly. Always twist on damp hair with product applied.
Using too-large sections for your density. If your hair is on the finer side, large twists will unravel fast because there isn’t enough hair to hold the structure. Match your twist size to your density.
Ignoring your edges. Edges are the frame of every style. Smooth them with edge control and a soft brush as the final step, and your entire look levels up.
Final Thoughts
Twists are one of the most versatile techniques short natural hair has access to, and the 22 variations in this list barely scratch the surface of what’s possible once you master the fundamentals. Pick two or three from this list to try this week. Get comfortable with the basic technique before you start experimenting with combinations.
And give yourself grace. The first install of any new twist style will look amateur. The second will look better. By the fourth or fifth, you’ll have it. That’s how every twist style I know well got into my rotation — through the willingness to try it, fail a little, and try again.
Your hair is forgiving. Your twists will come together eventually. Keep going.