



There’s something undeniably striking about coil curl styles on natural hair — a precision and intentionality that makes each individual coil look like it was placed there on purpose. Coil curl styles on natural hair celebrate the tight, spring-loaded structure of Black hair in its most defined form. Whether you’re working a full head of finger coils, a sponge-defined texture, or a protective coil set that lasts weeks, the coil curl aesthetic is one of the most distinctive and beautiful expressions of natural hair. It’s bold, it’s defined, and it’s a genuine celebration of what natural hair actually does when it’s healthy, moisturized, and properly encouraged.
The Science Behind Coil Formation in Natural Hair
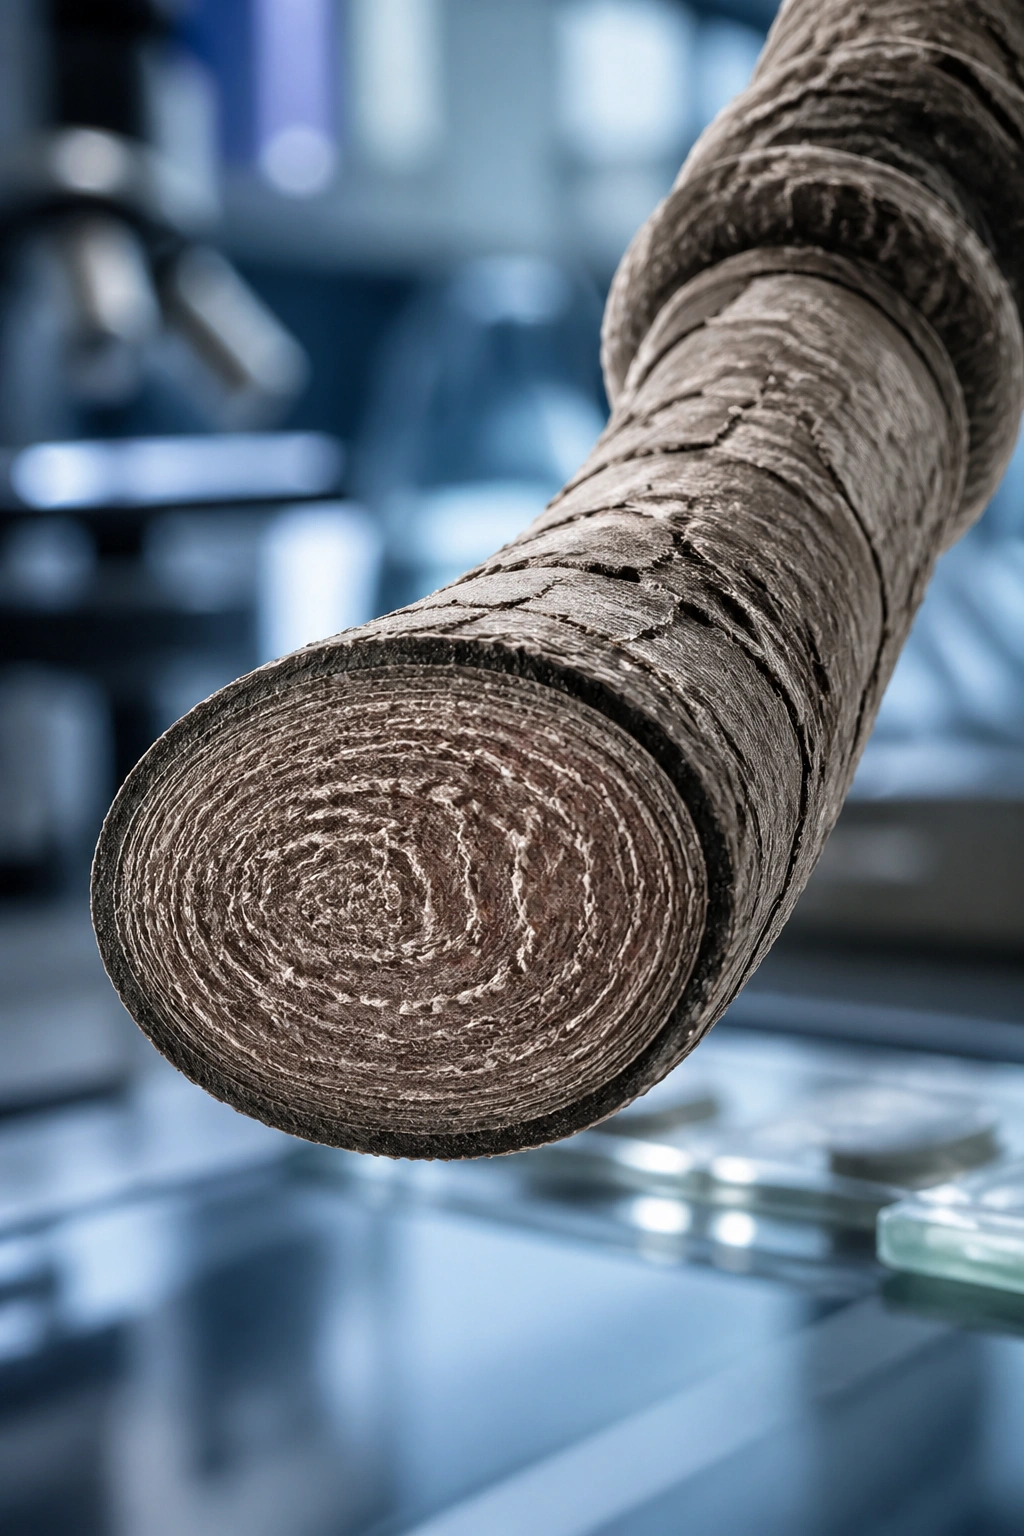
Natural hair doesn’t form coils randomly — the coil shape comes from the oval cross-section of each individual hair strand. While straight hair has a round cross-section, natural African-textured hair has an elliptical or flattened oval shape that causes it to curl back on itself as it grows. The more oval the cross-section, the tighter the resulting coil.
This means coil curl styles are working with the fundamental structure of the hair, not against it. That’s why well-executed coil styles hold so well and look so natural — you’re enhancing a pattern that’s already encoded in each strand, not imposing a foreign shape on them.
The degree of curl (how tight or loose the coil) depends on how oval the hair’s cross-section is, the number of twists per inch in the hair shaft, and the way follicles are oriented in the scalp. These are genetic characteristics — you can’t change your natural coil pattern, but you can absolutely enhance, define, and showcase it through proper technique and product use.
Water causes the hydrogen bonds in the hair shaft to re-form, which is why natural hair springs into its coil pattern when wet. This is the foundation of all coil curl styling: wet the hair, apply products that encourage and hold the coil shape, and let the hydrogen bonds re-form in a defined, intentional way.
Understanding Coil Size and What It Means for Styling
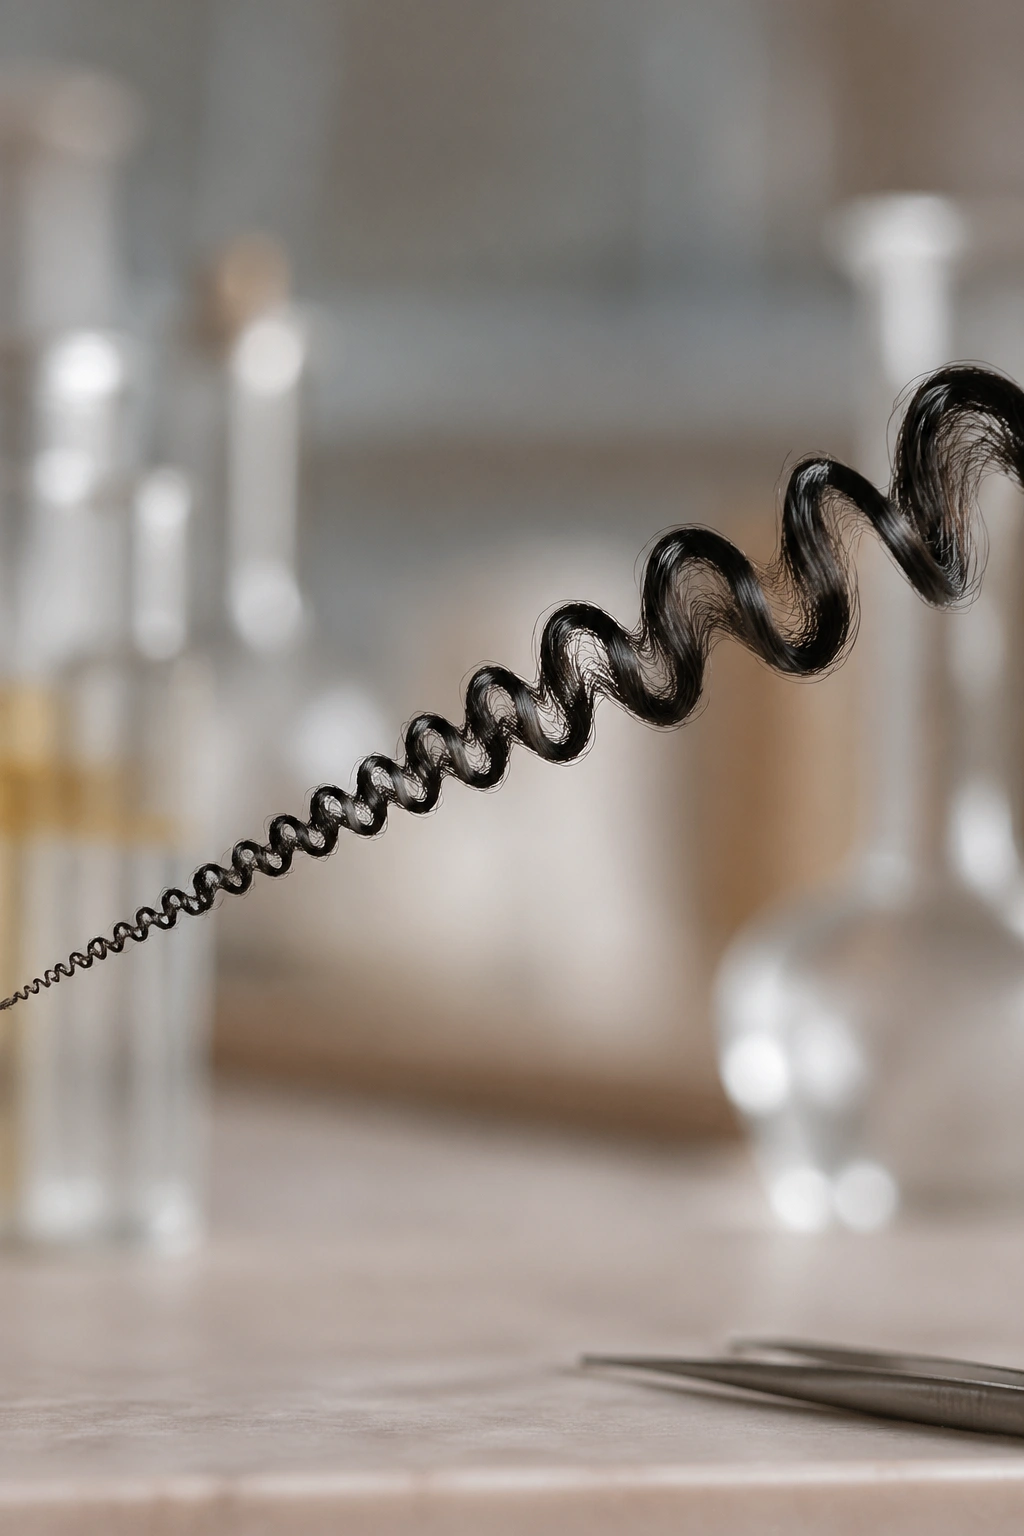
Coil size varies enormously across natural hair textures, and understanding where your hair falls on the spectrum helps you choose the right coil curl styles and techniques.
Micro coils — extremely tight, tiny coils often found in 4c textures — form naturally on the hair shaft without much encouragement. These coils create a dense, voluminous texture that looks spectacular when properly moisturized and defined. Micro coil styles benefit from extra moisture and lighter products that don’t weigh the tiny coils down.
Small coils — pencil-eraser to pea-sized — are common in 4a and 4b textures. These coils respond beautifully to finger coiling and sponge techniques, creating a head full of precisely defined, uniform ringlets that hold their shape for days.
Medium coils — the size of a pen to a pencil — typically found in 3c and 4a textures. These coils are large enough to show their full structure clearly and small enough to still have excellent definition. They’re the easiest to work with for coil curl styling.
Large coils — found in 3a and 3b textures — form looser, more relaxed coil patterns that can look beautiful with lighter product and less manipulation. They’re technically easier to style but can lose definition faster than tighter coil textures.
Essential Products for Coil Curl Styles
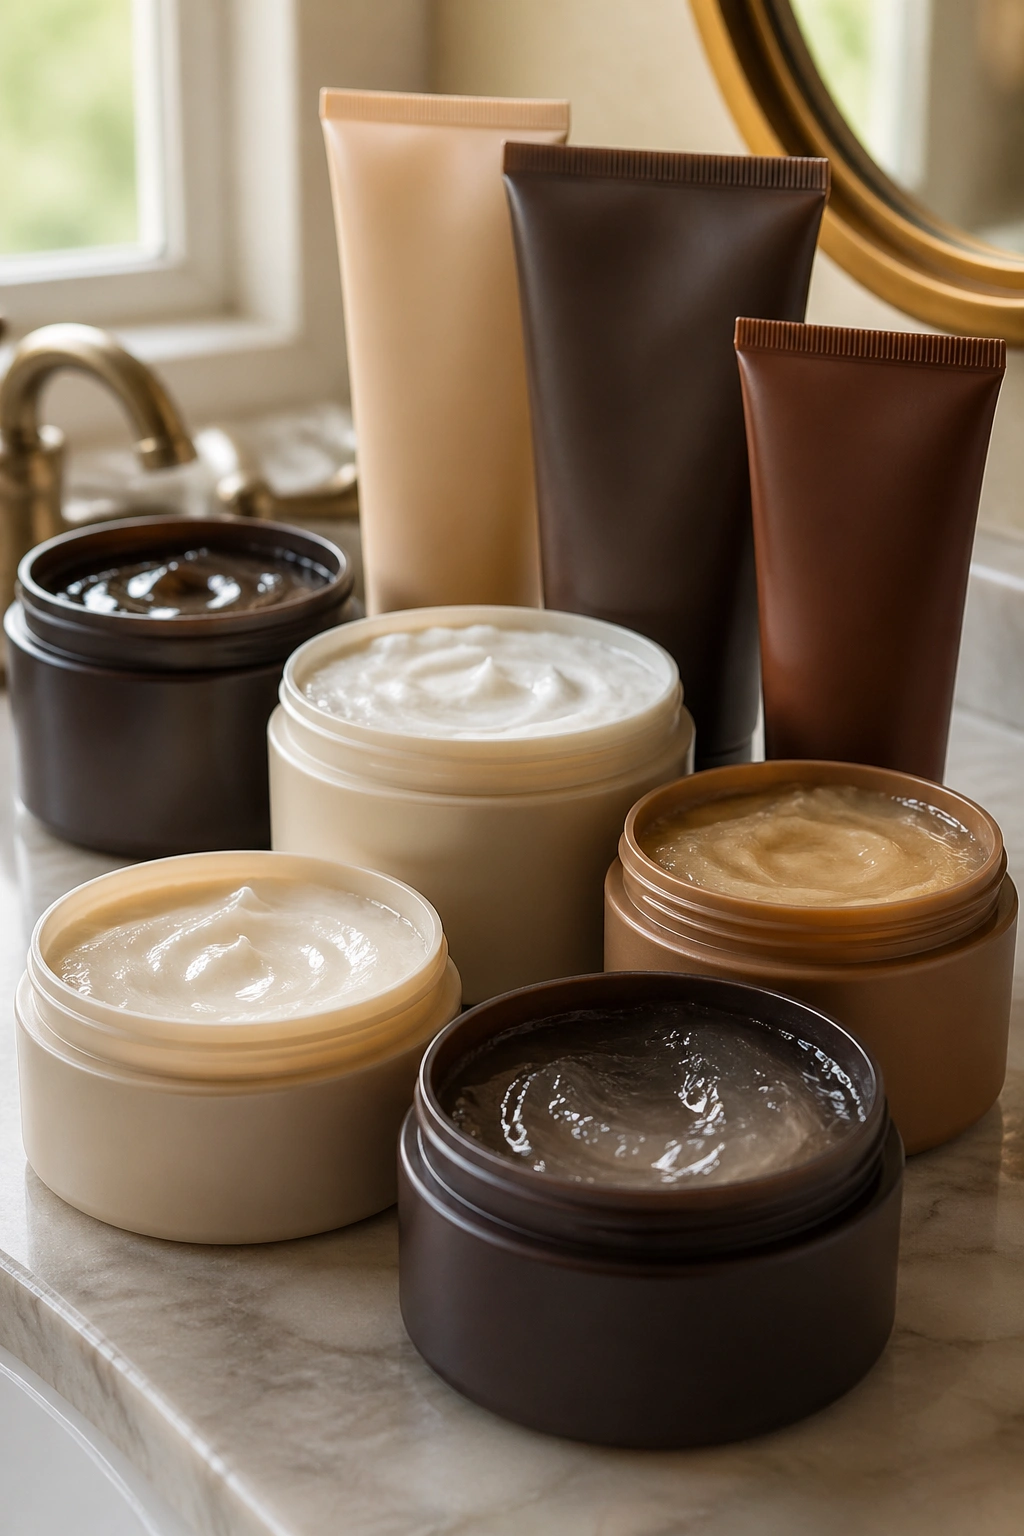
The right products are the difference between coils that hold for a week and coils that fall apart by the afternoon. Getting your product stack right is one of the most impactful investments you can make in your coil curl styling.
Curl custard is the coil curl stylist’s best friend. It has the perfect combination of hold, moisture, and slip to encourage the hair into defined coils while keeping each one plump and hydrated. Look for formulas with ingredients like aloe vera (which adds moisture and defines without stiffness), flaxseed extract (for flexible hold and shine), and conditioning agents like cetyl alcohol or behentrimonium methosulfate.
A curl cream layered under the custard provides moisture, while a gel on top provides additional hold and shine. This three-layer approach — cream, custard, gel — creates coil definition that can last through multiple days and several sleep cycles with proper nighttime protection.
For the very best results, apply all products to hair that’s still soaking wet. The water activates the products and helps them distribute evenly through each strand, which is what allows each coil to form cleanly and consistently.
Finger Coiling: The Foundation Technique
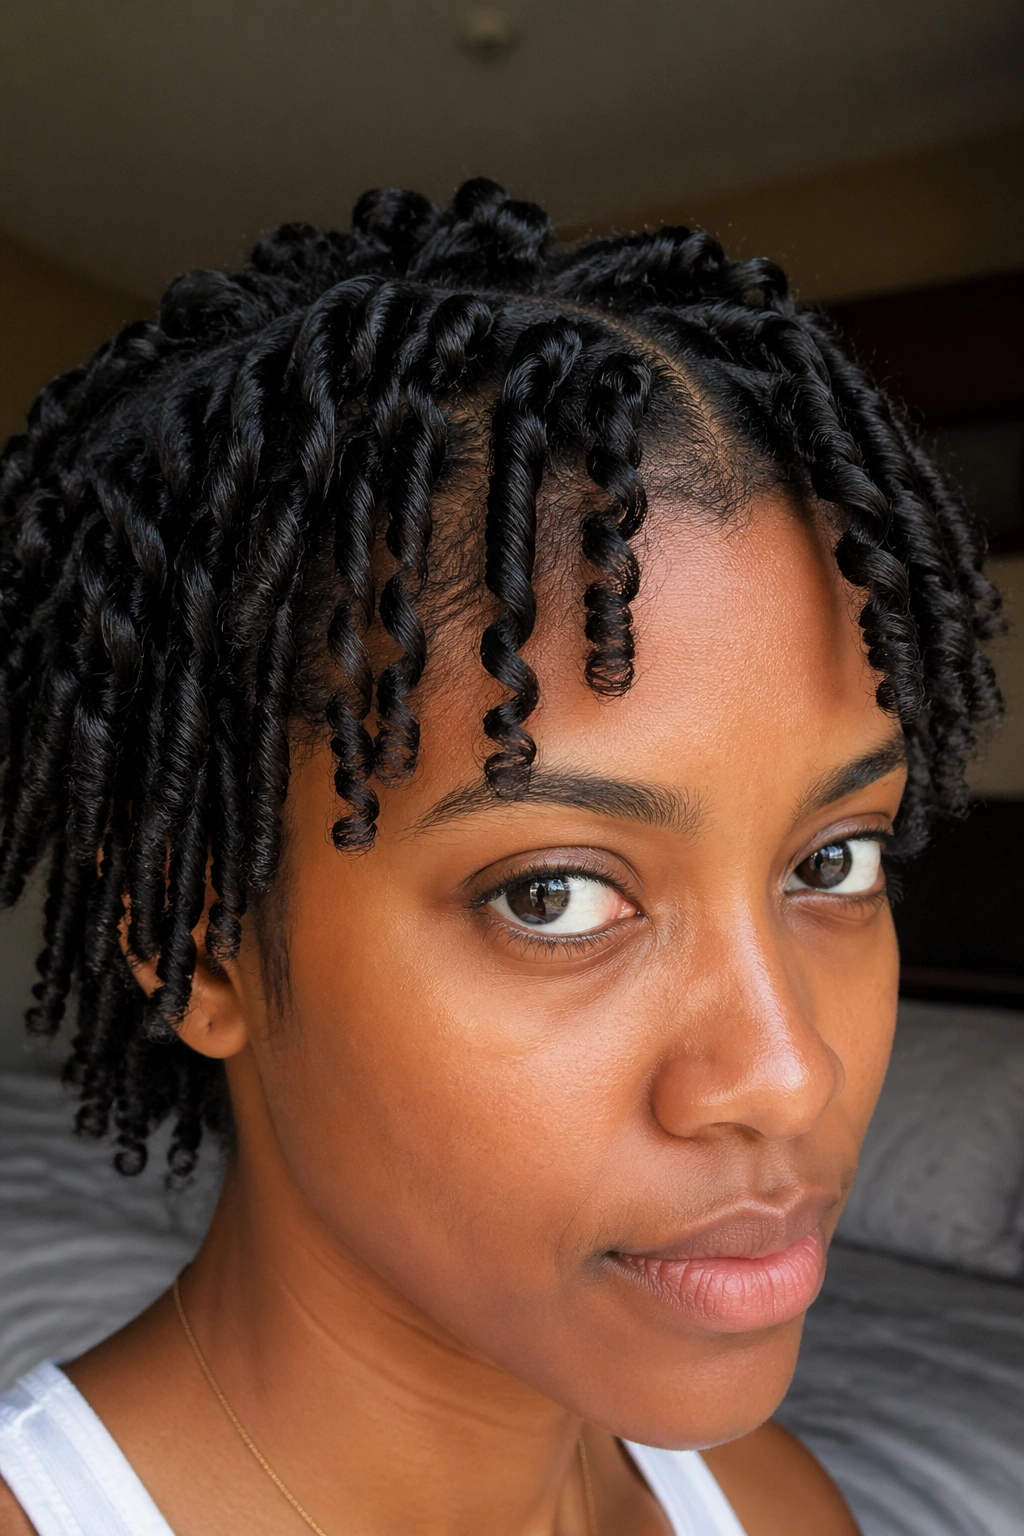
Finger coiling is the most precise and most time-intensive method for creating defined coil curl styles — and it’s worth every minute of that time investment for the results it produces.
The technique is straightforward: take a small section of product-coated hair (about the width of a pencil), wrap it around your finger starting at the roots, and pull your finger down the length of the hair as it coils around it. The result is a perfectly formed, individually defined coil.
The size of the section determines the size of the coil. Very small sections create tight, thin coils. Larger sections create thicker, more open coils. Most naturals use sections somewhere in between — about the width of a pencil to a pen — for the most versatile look.
Work systematically across the head, section by section. On medium-density hair, a full finger coil set can take two to four hours. On thick, dense hair, plan for longer. But the result — a head full of perfectly defined, individually formed coils — justifies every minute.
Protecting and Refreshing Coil Curl Styles
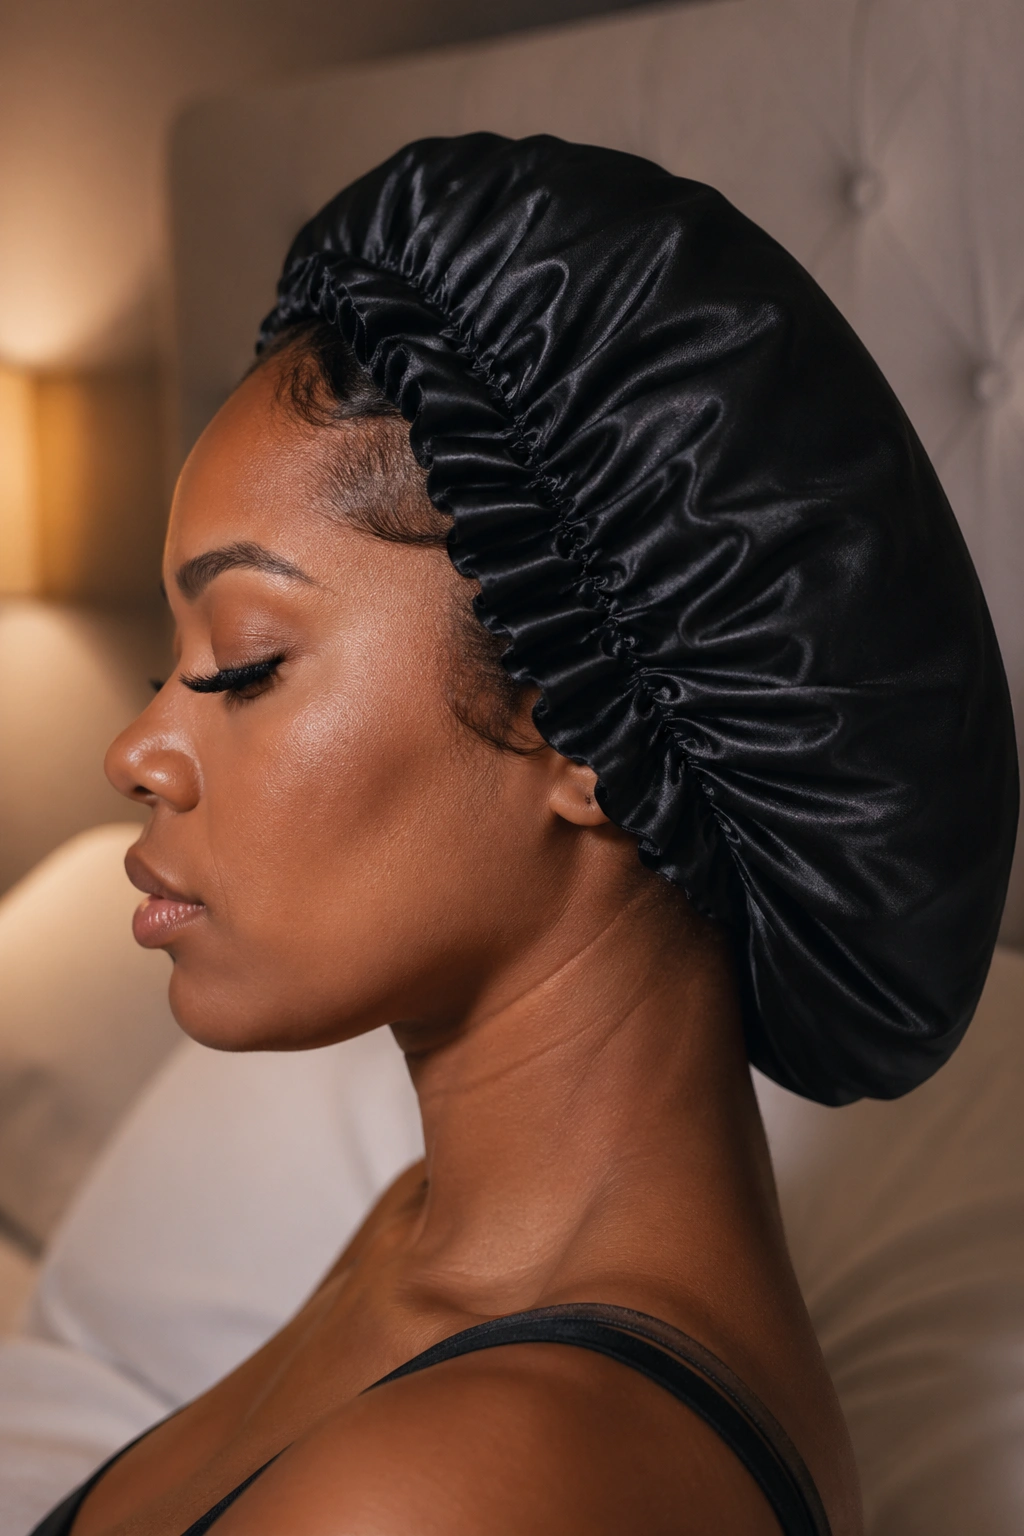
The longevity of coil curl styles depends almost entirely on how well you protect them at night and how skillfully you refresh them between wash days.
Pineappling is the first line of defense. Gather your coils loosely at the crown with a satin scrunchie before bed — loose enough that you’re not creating tension, high enough that the coils aren’t being crushed against your pillow. In the morning, release and gently shake the pineapple out.
A satin bonnet provides even better protection — it prevents all friction between your coils and any surface, including the scrunchie itself. For very fine or delicate coils, the bonnet alone (without a pineapple) is the most protective option.
For refreshing, mist lightly with a water and leave-in mixture and re-coil any sections that have lost definition. You don’t need to wet the whole head — just target the areas that need attention. Re-coiling a few sections takes only a few minutes and extends the style significantly.
1. Classic Full-Head Finger Coil Set
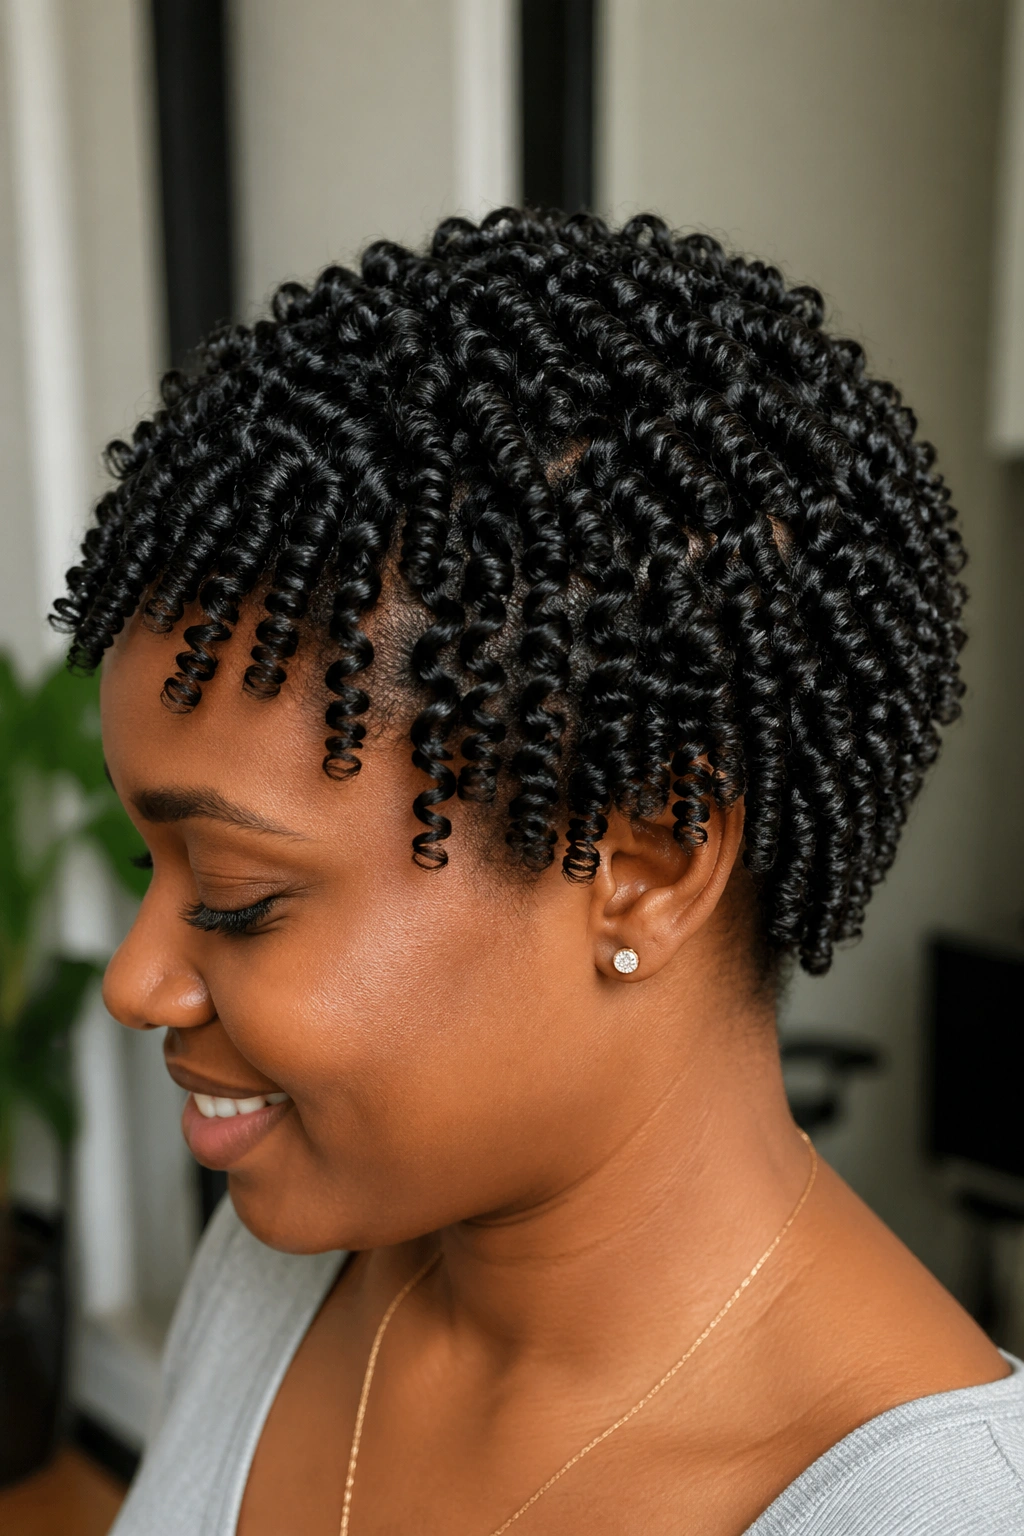
The full-head finger coil set is the definitive coil curl style — time-intensive, breathtakingly beautiful, and worth every second.
Section the hair into four quadrants before starting. Work on soaking wet, deeply conditioned hair. Apply your leave-in conditioner to each sub-section before reaching for your custard. Wrap each pencil-sized section around your finger from root to tip, maintaining consistent tension and encouraging each coil to stay compact.
Full-Head Finger Coil Steps
- Deep condition and rinse without towel-drying roughly
- Apply leave-in conditioner section by section
- Apply curl custard to each small section
- Wrap around finger from root to tip
- Repeat across entire head
- Diffuse or air dry completely without touching
The full-head finger coil set can last a full week with proper nighttime protection. It’s one of the most rewarding natural hair styles you can achieve.
2. Sponge Coil Style
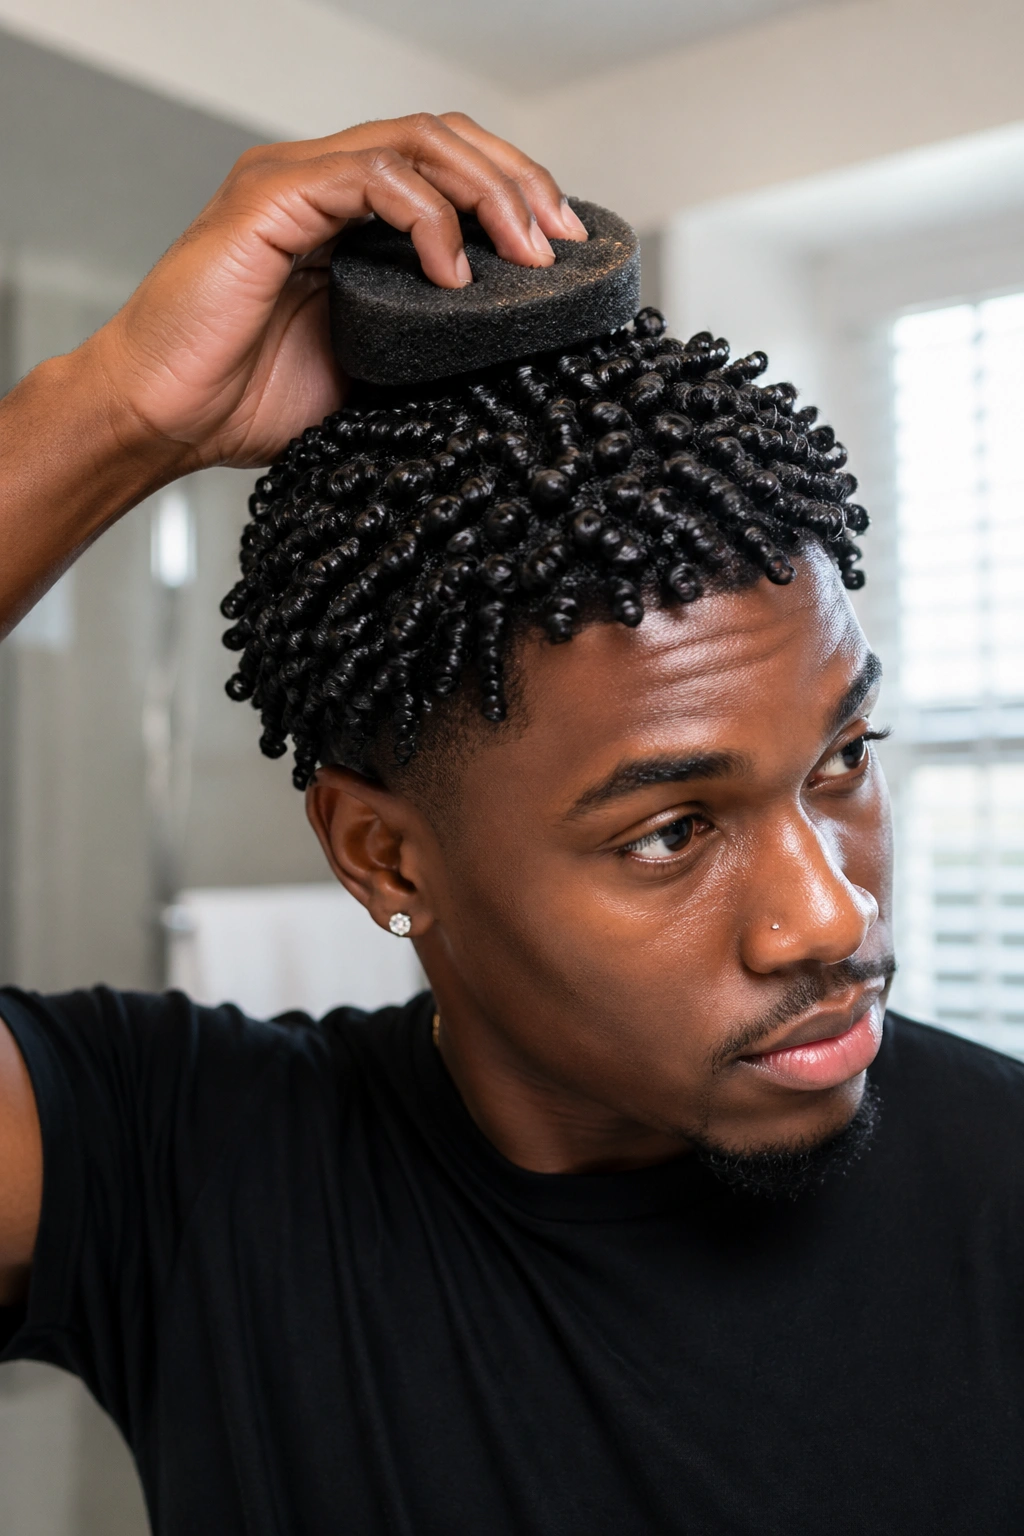
The sponge creates a coil pattern that’s less precisely defined than finger coiling but significantly faster — and still incredibly beautiful. The circular motion of the sponge against the hair creates uniform coils across the entire head in a fraction of the time.
Apply your products to damp hair in sections, then use the sponge in circular motions across each section. The smaller the holes in the sponge, the tighter the resulting coil. Let everything dry completely before touching.
The sponge coil style is the everyday version of finger coiling — same aesthetic, more approachable time commitment.
3. Two-Strand Twist Coil-Out
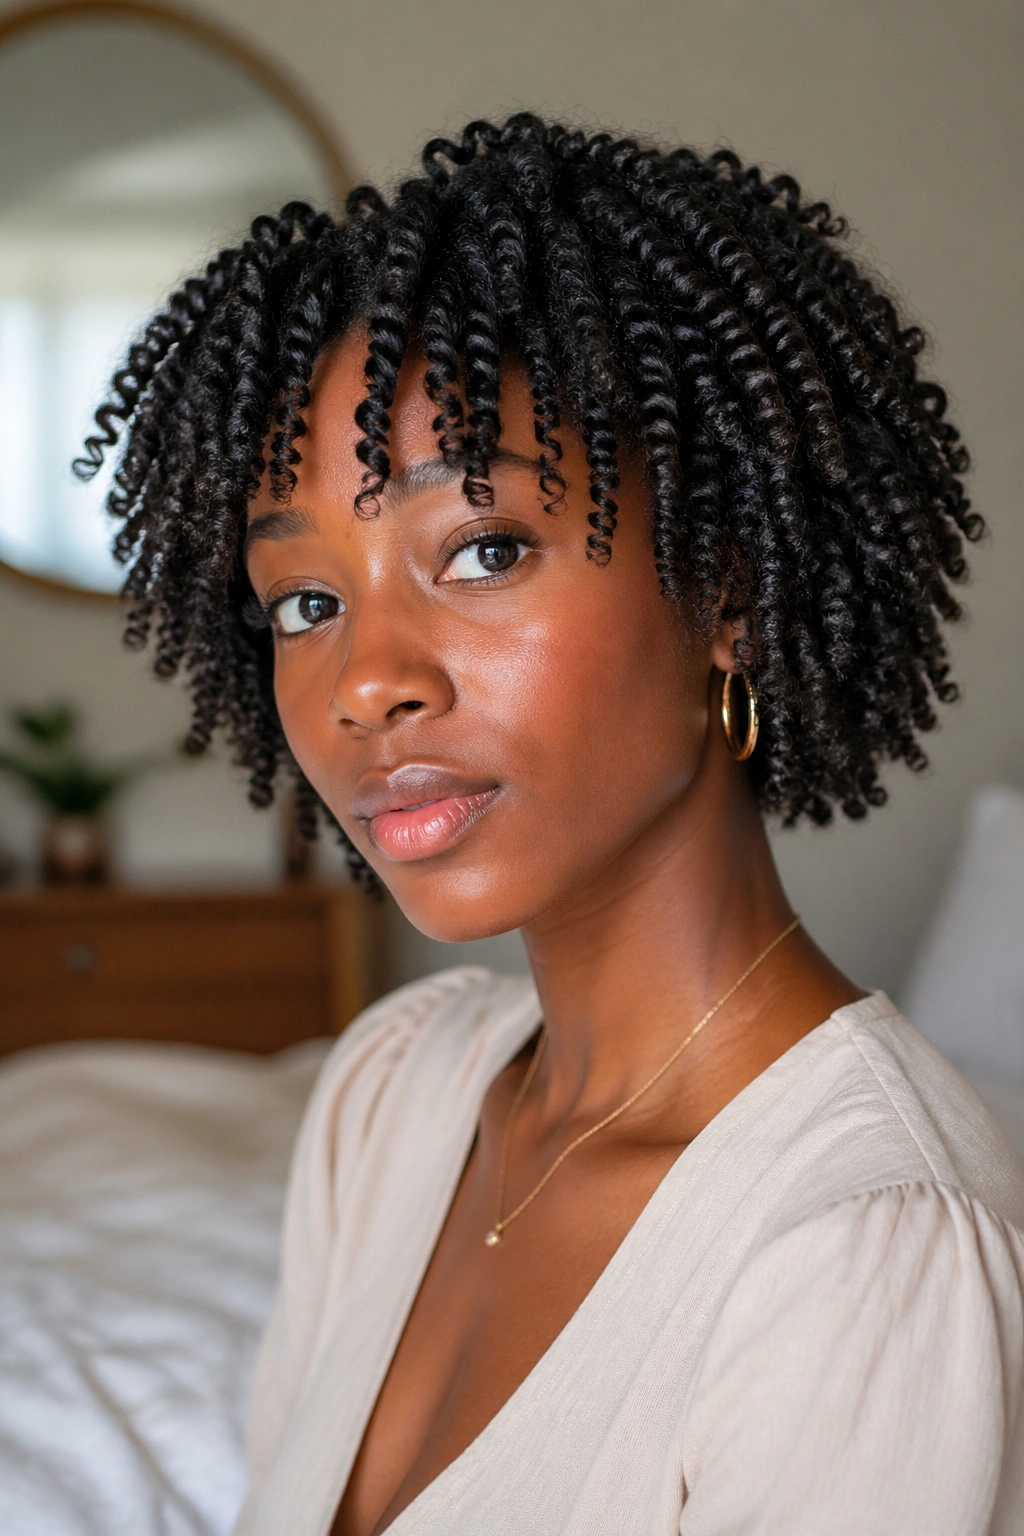
Set the hair in two-strand twists and unravel them the next morning for a coil pattern that’s different from both twist-outs and finger coils. The resulting pattern has the elongated quality of a twist-out but with more coil structure than a standard twist-out wave.
Twist Coil-Out Steps
- Apply leave-in and curl cream to each section
- Twist tightly from root to tip
- Let dry completely (overnight or under a dryer)
- Unravel slowly with oiled fingers
- Separate gently with fingertips — not a comb
The tighter you twist, the more defined the coil pattern. Use very small sections for the tightest, most coil-like results.
4. Coil Curl Wash-and-Go
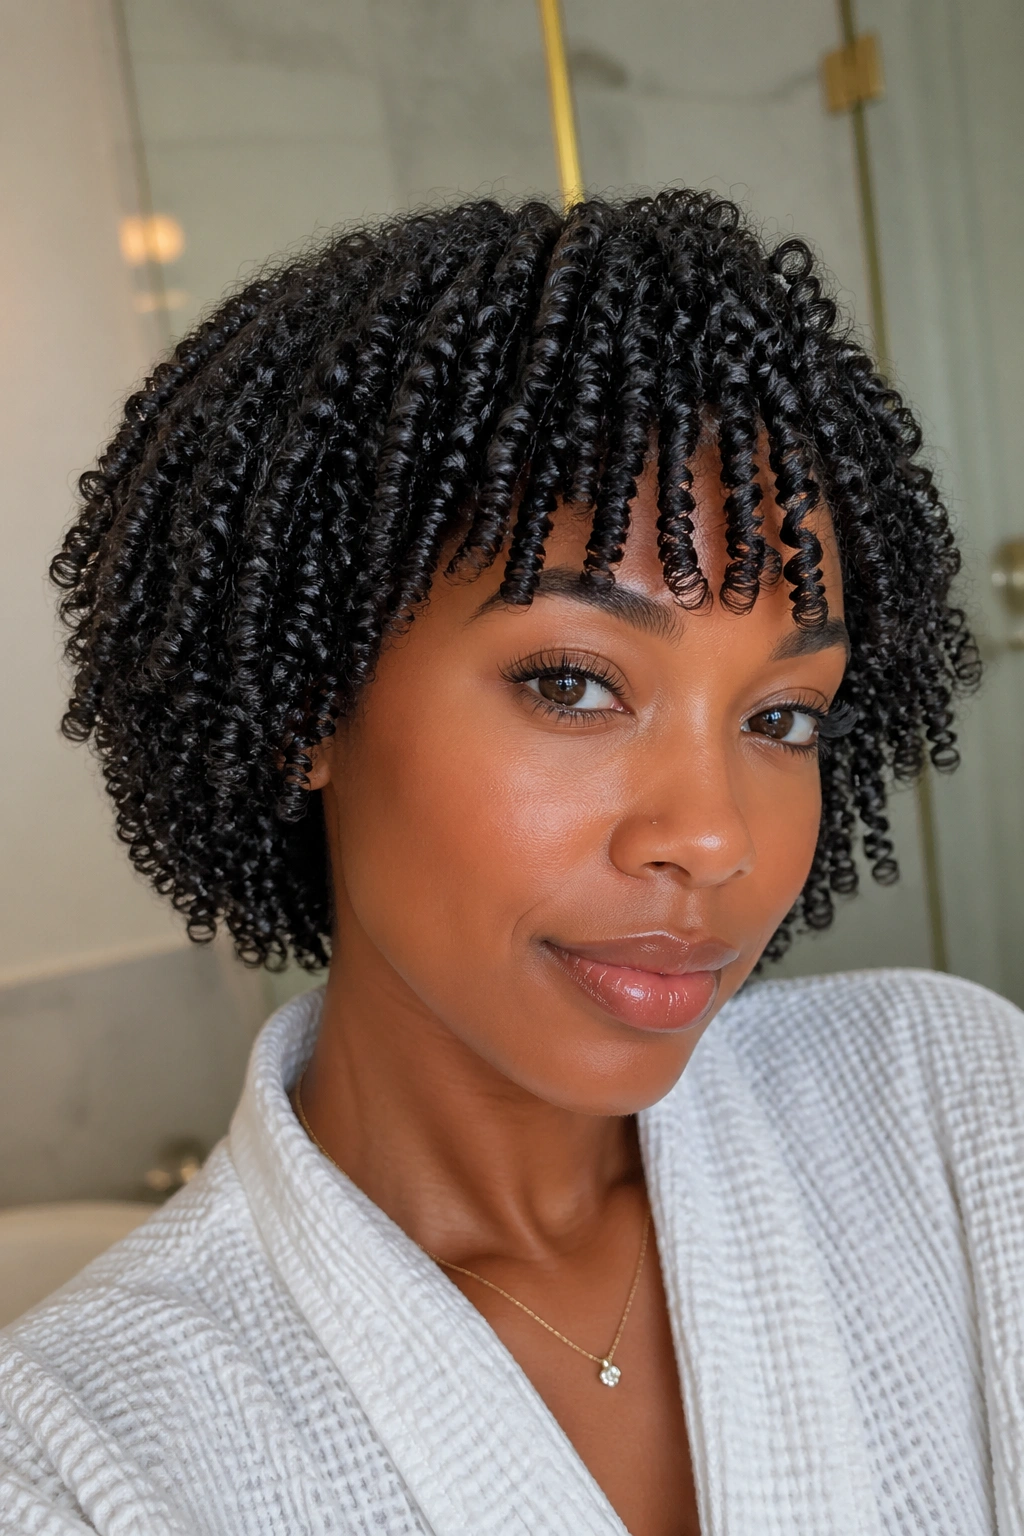
On textures where the natural coil pattern is tight and well-defined, a properly executed wash-and-go essentially creates a coil curl style on its own. The key is product application that encourages and defines the natural coil pattern rather than diffusing it.
Apply a generous amount of curl custard to each section of wet hair, smoothing it through from root to tip. Avoid raking or combing too aggressively — you want to encourage the natural coil clumping rather than disrupting it. Let the hair dry without touching for the most defined coil pattern.
5. Coil Curl Afro
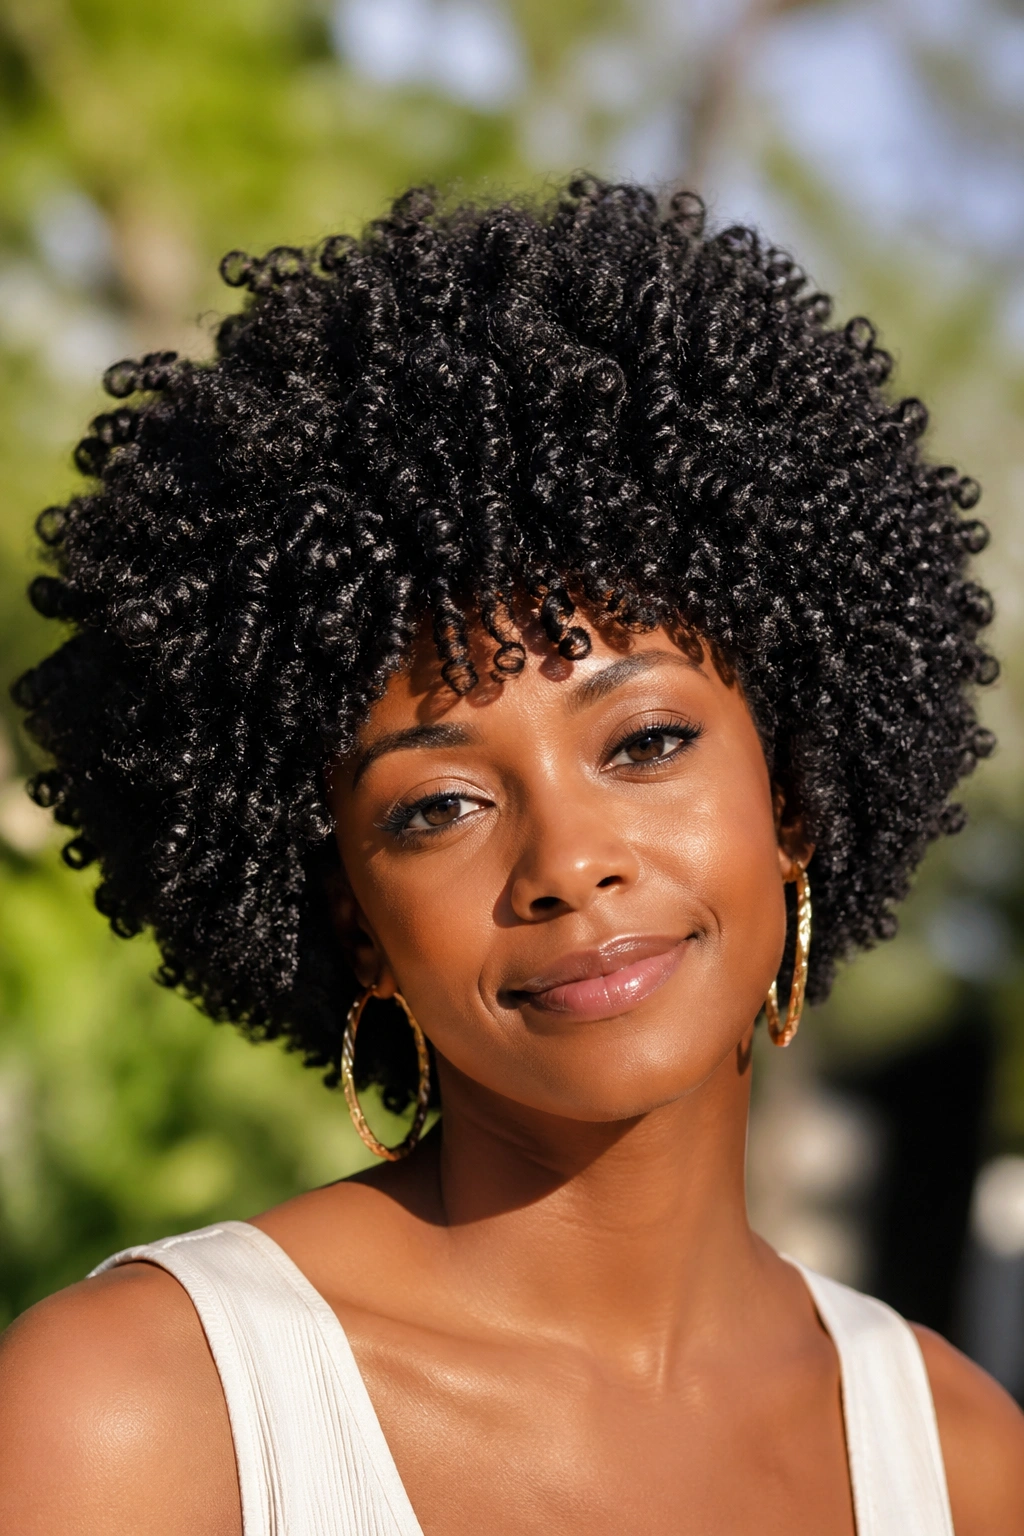
Let a full finger-coil set grow out and gain volume over several days for a full, round afro with visible coil definition on the surface. Or set a wash-and-go on naturally coil-textured hair and pick it gently at the roots with an afro pick after drying for a round shape with defined coils throughout.
The coil curl afro has a beautiful surface texture — you can see individual coils giving the afro its shape rather than just an undifferentiated puff of hair. It’s a bold, full style that photographs magnificently.
6. Coil Curl High Puff
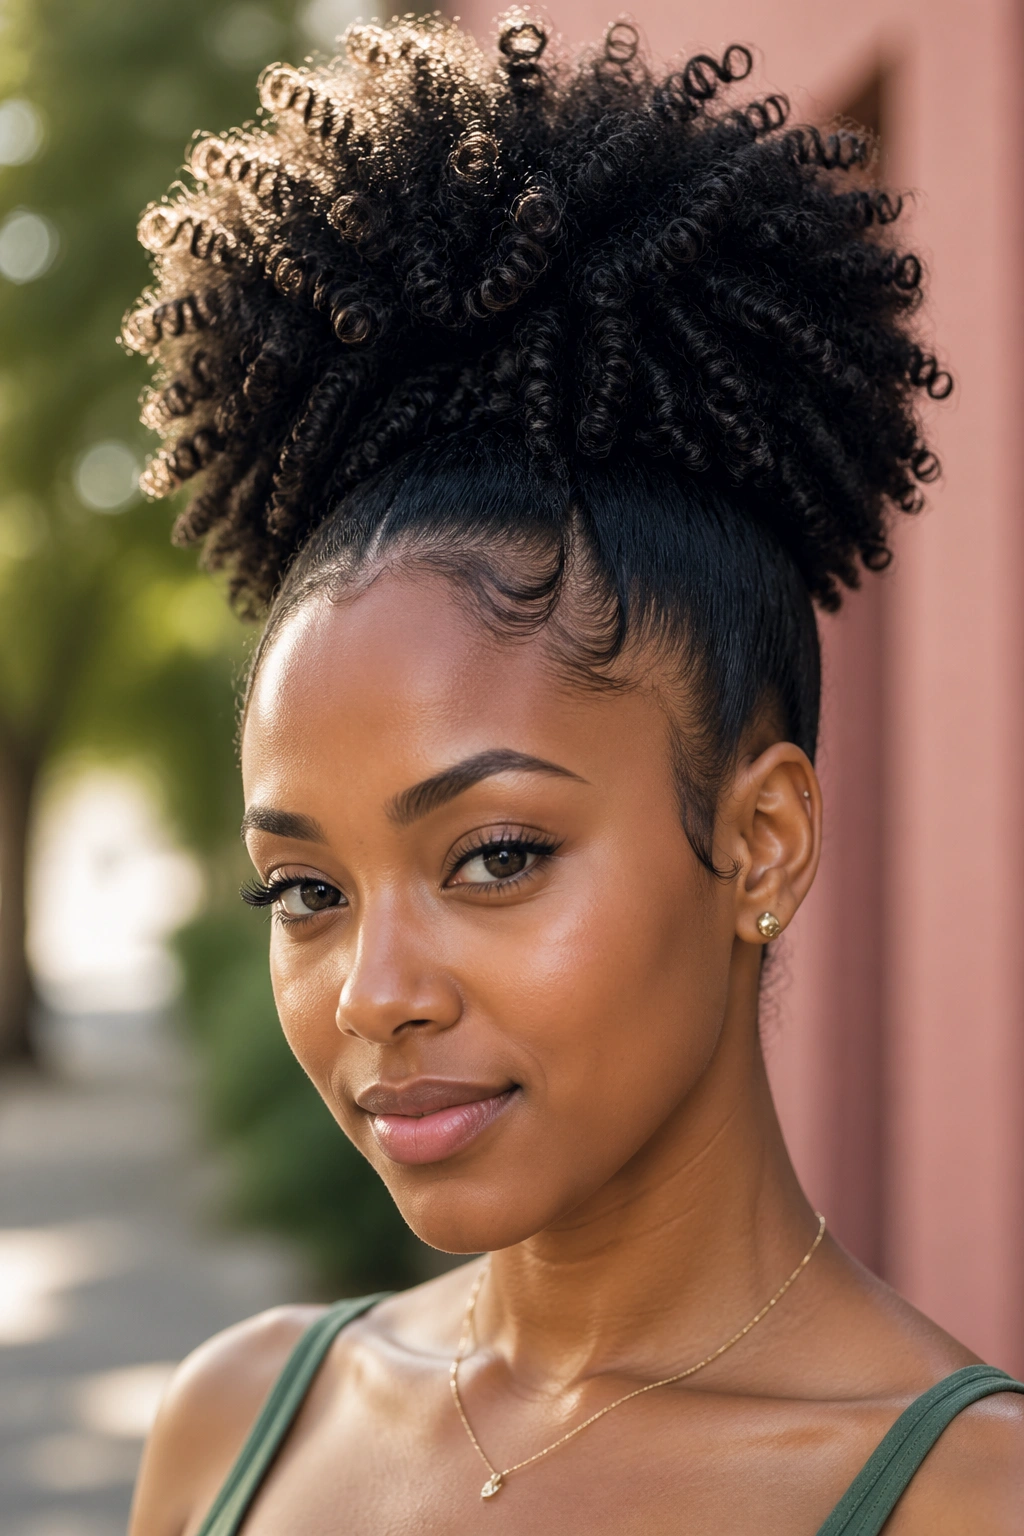
Gather a well-defined coil style into a high puff using a satin scrunchie. The individual coils maintain their shape even when gathered — so the puff has visible coil texture and definition rather than just being a mass of undifferentiated hair.
Use edge control to define and lay the edges around the puff. The contrast between the precise edge work and the textured, coil-defined puff above is a genuinely beautiful combination.
7. Coil Curl Defined Tapered Style
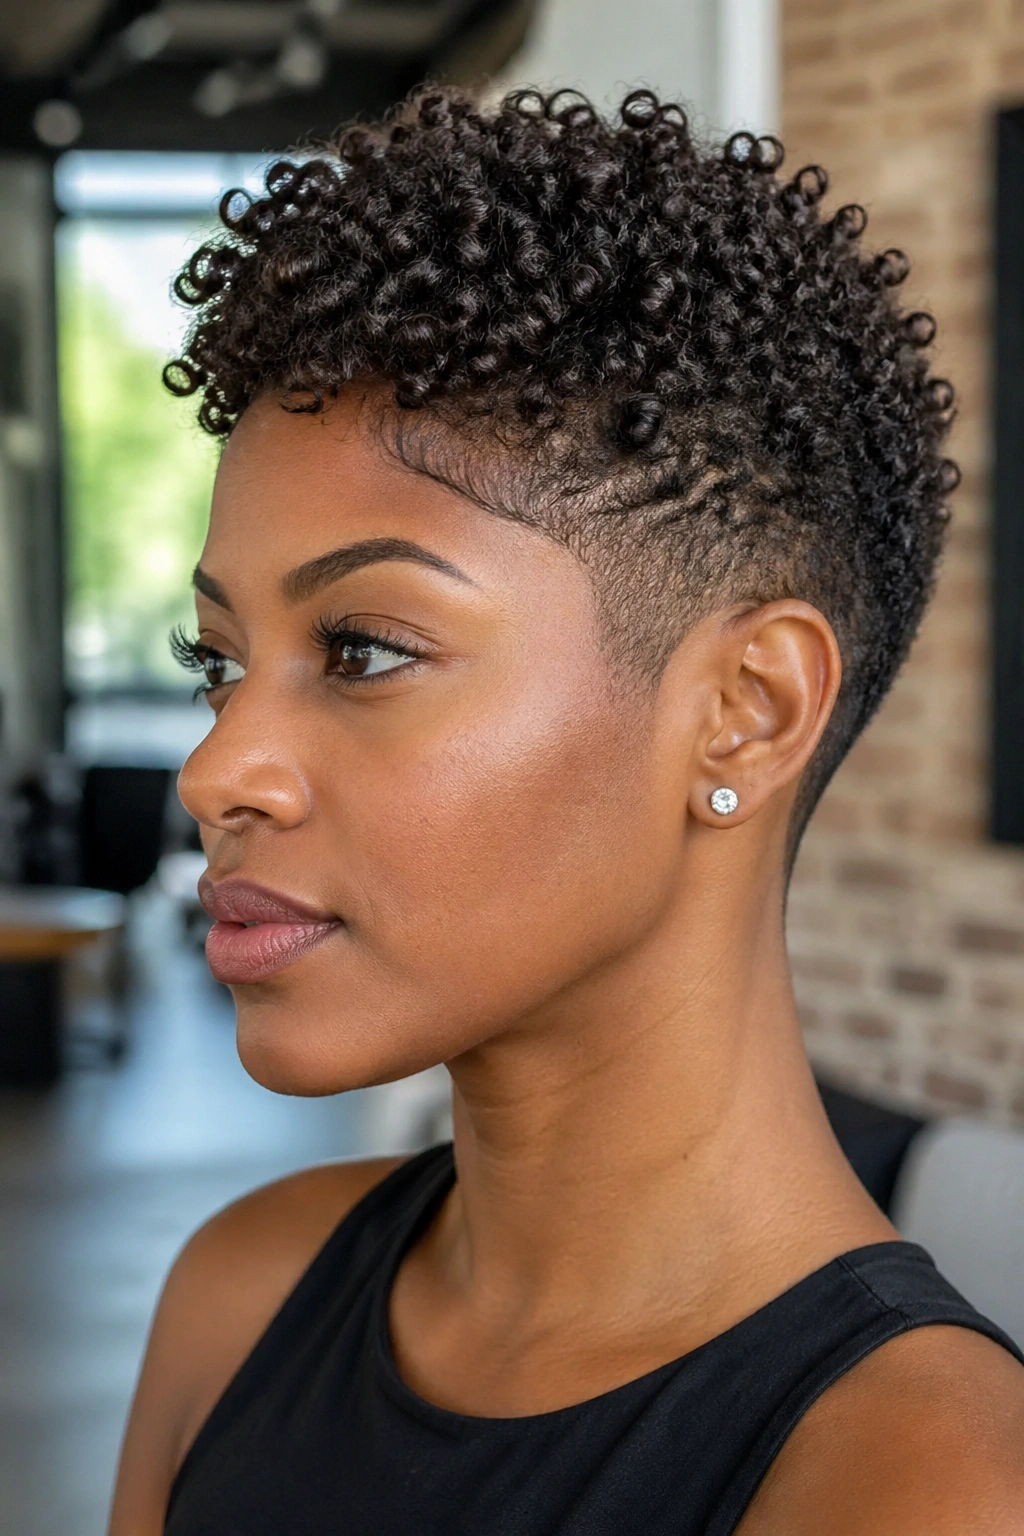
A tapered cut — shorter at the sides and back, fuller at the top — is the perfect structure for showcasing coil curl definition. Apply products and define the top section with finger coiling for precise, beautiful coils, while the shorter sides show the natural tight texture close to the scalp.
The visual contrast between the coil-defined top and the closer-cut sides creates a graphic silhouette that looks intentional and polished. It’s a low-maintenance approach to a high-impact style.
8. Coil Curl Protective Pony
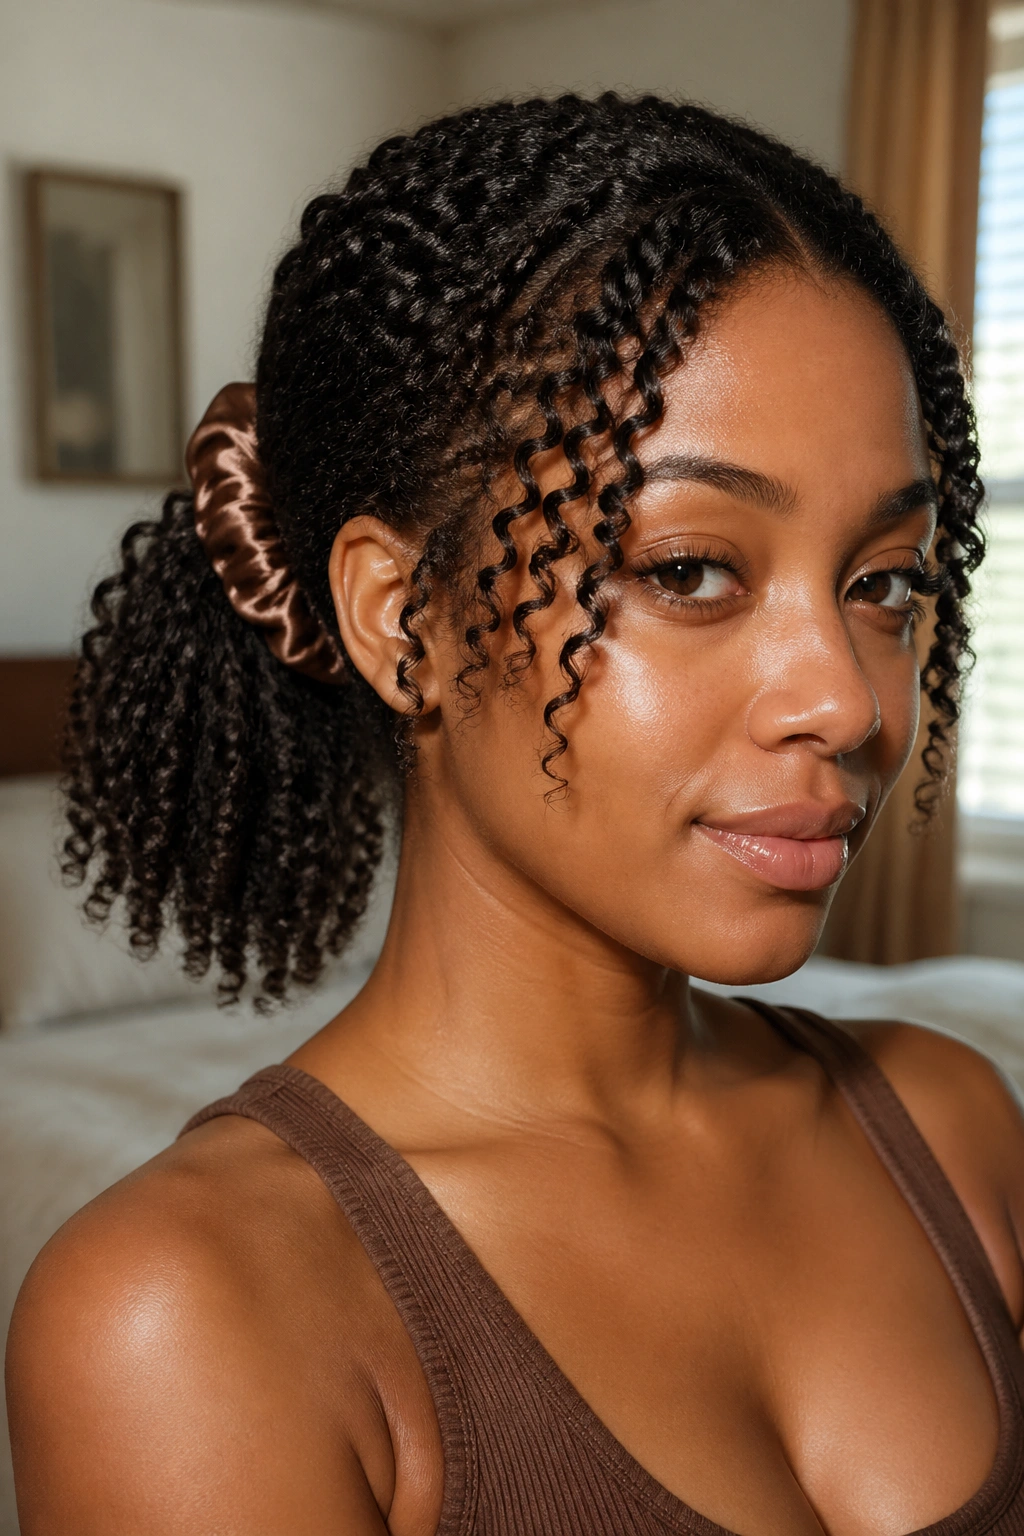
Pull your coil curl style into a loose, gathered ponytail secured with a satin scrunchie. This isn’t a sleek, tension-filled pony — it’s gentle and curl-preserving, designed to protect your ends while still showing off your coil definition at the hairline and crown.
Smooth the gathered section with a little edge control for a polished look. Let the coils at the nape hang loose if you have enough length for them to escape the scrunchie.
9. Coil Curl Side Part Style
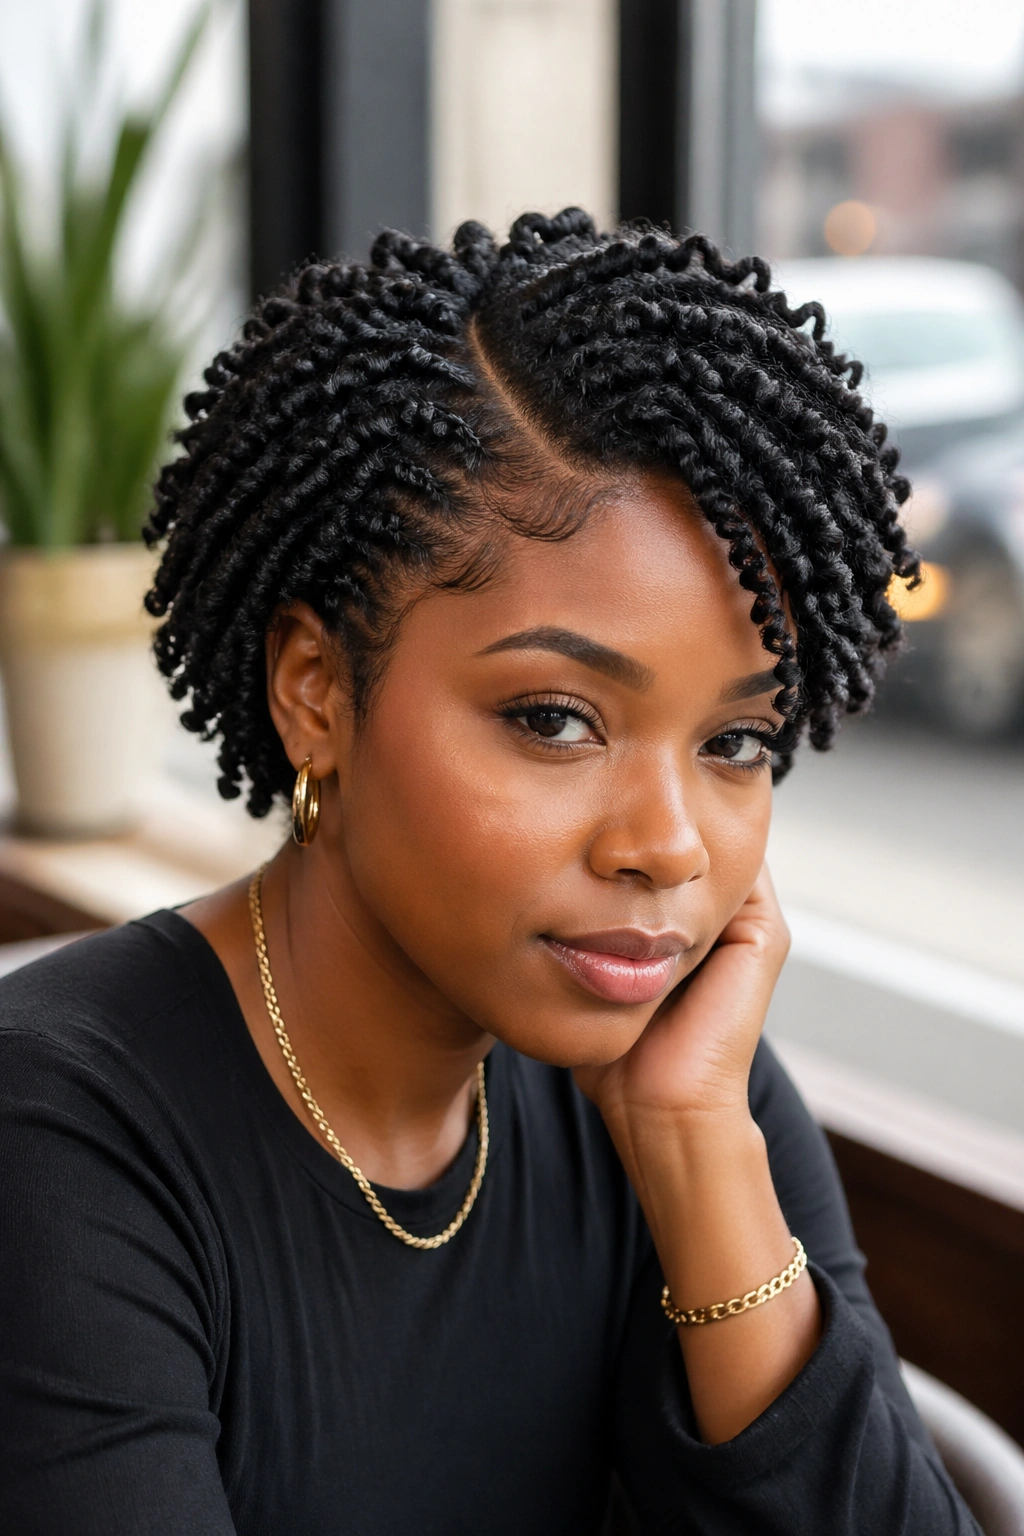
Create a deliberate deep side part before finger coiling or sponge coiling, then define each side in a slightly different direction to emphasize the parting. Use the rat-tail comb end to keep the part crisp throughout the styling process.
The side part gives a coil curl style a fashion-forward, asymmetric quality that feels more intentional and editorial than a classic centered style. Add edge control along the part line for a clean, polished finish.
10. Coil Curl Frohawk
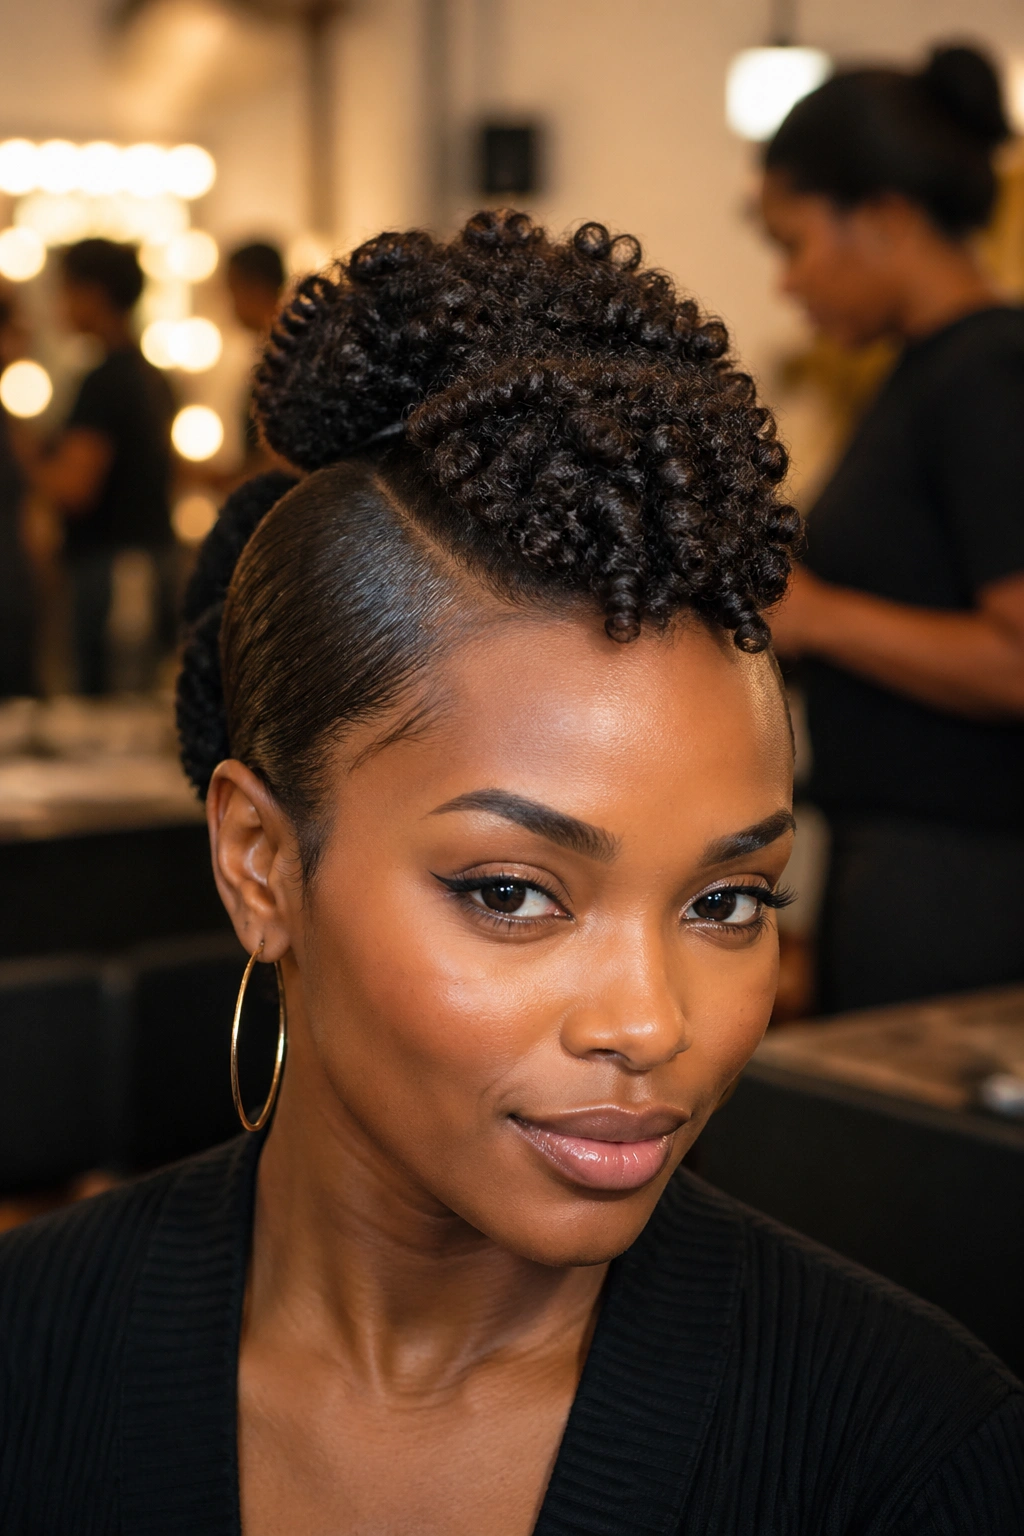
Define the entire head with coils, then pin or braid the side sections flat against the head while the center strip rises in a coil-textured mohawk. The uniform coil definition in the mohawk strip makes this style look remarkably precise.
Apply extra product to the center strip before the sides go up — you want that section to be the most defined part of the style, since it carries the most visual weight.
11. Coil Curl Half-Up Half-Down
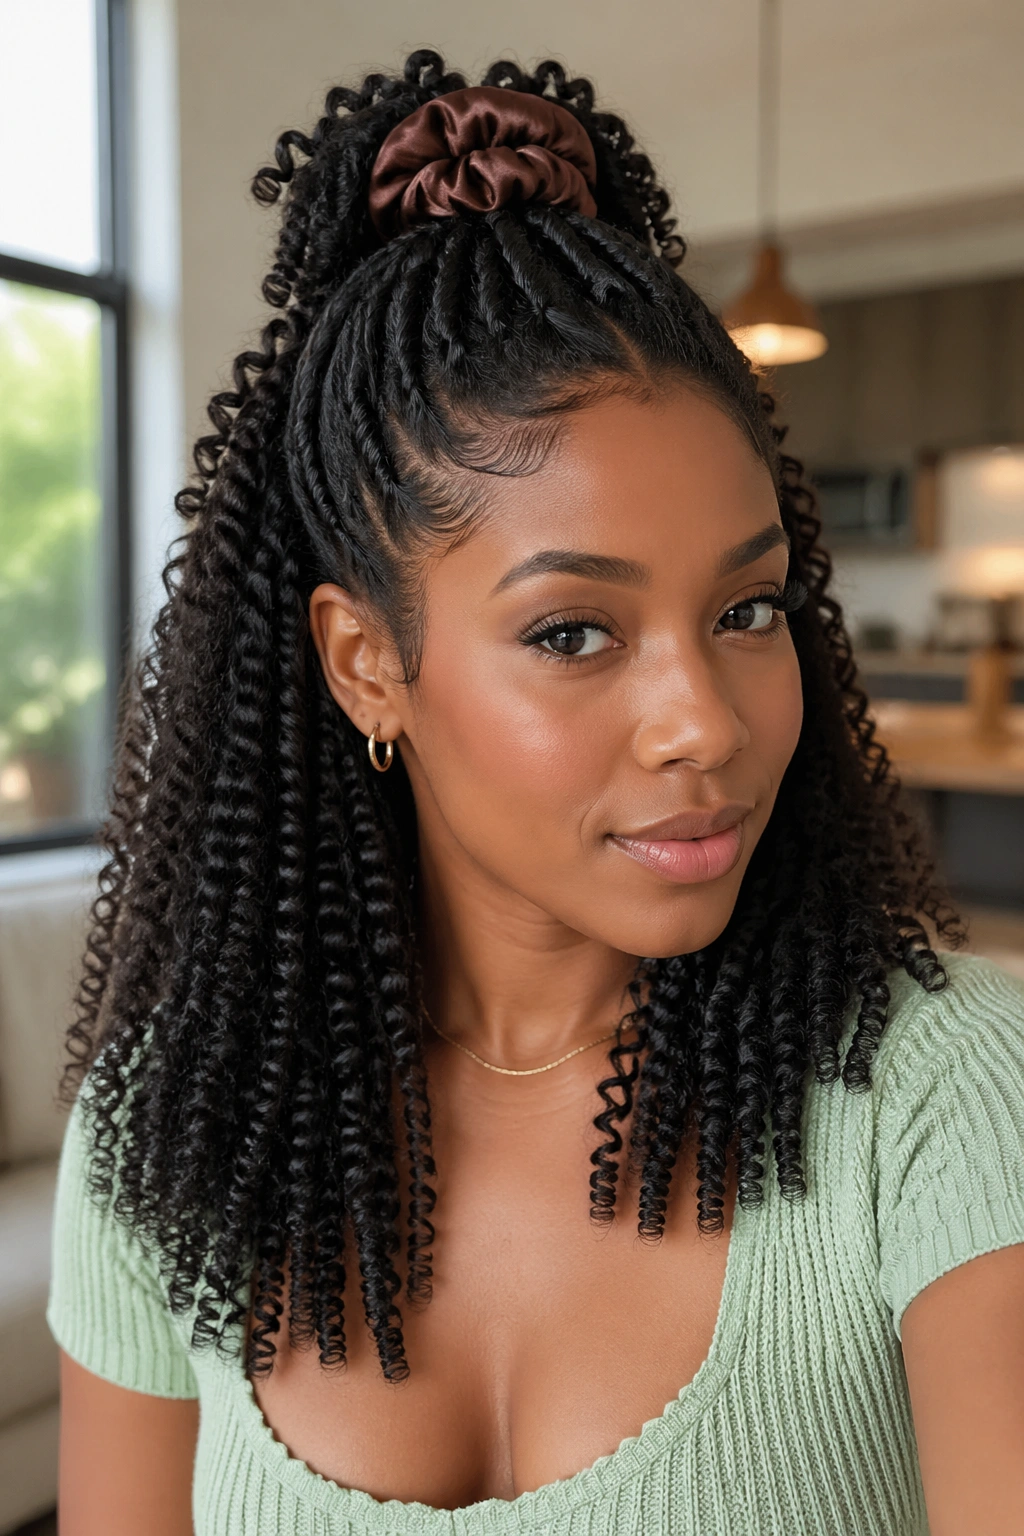
Gather the top half of a coil curl style into a high half-up pony or twisted bun, leaving the bottom section free. The free bottom half showcases your coil definition in all its glory — individual coils with weight, movement, and visible structure.
Use a satin scrunchie for the upper section and pull gently to avoid disrupting the coils below the gathering point.
12. Coil Curl Updo
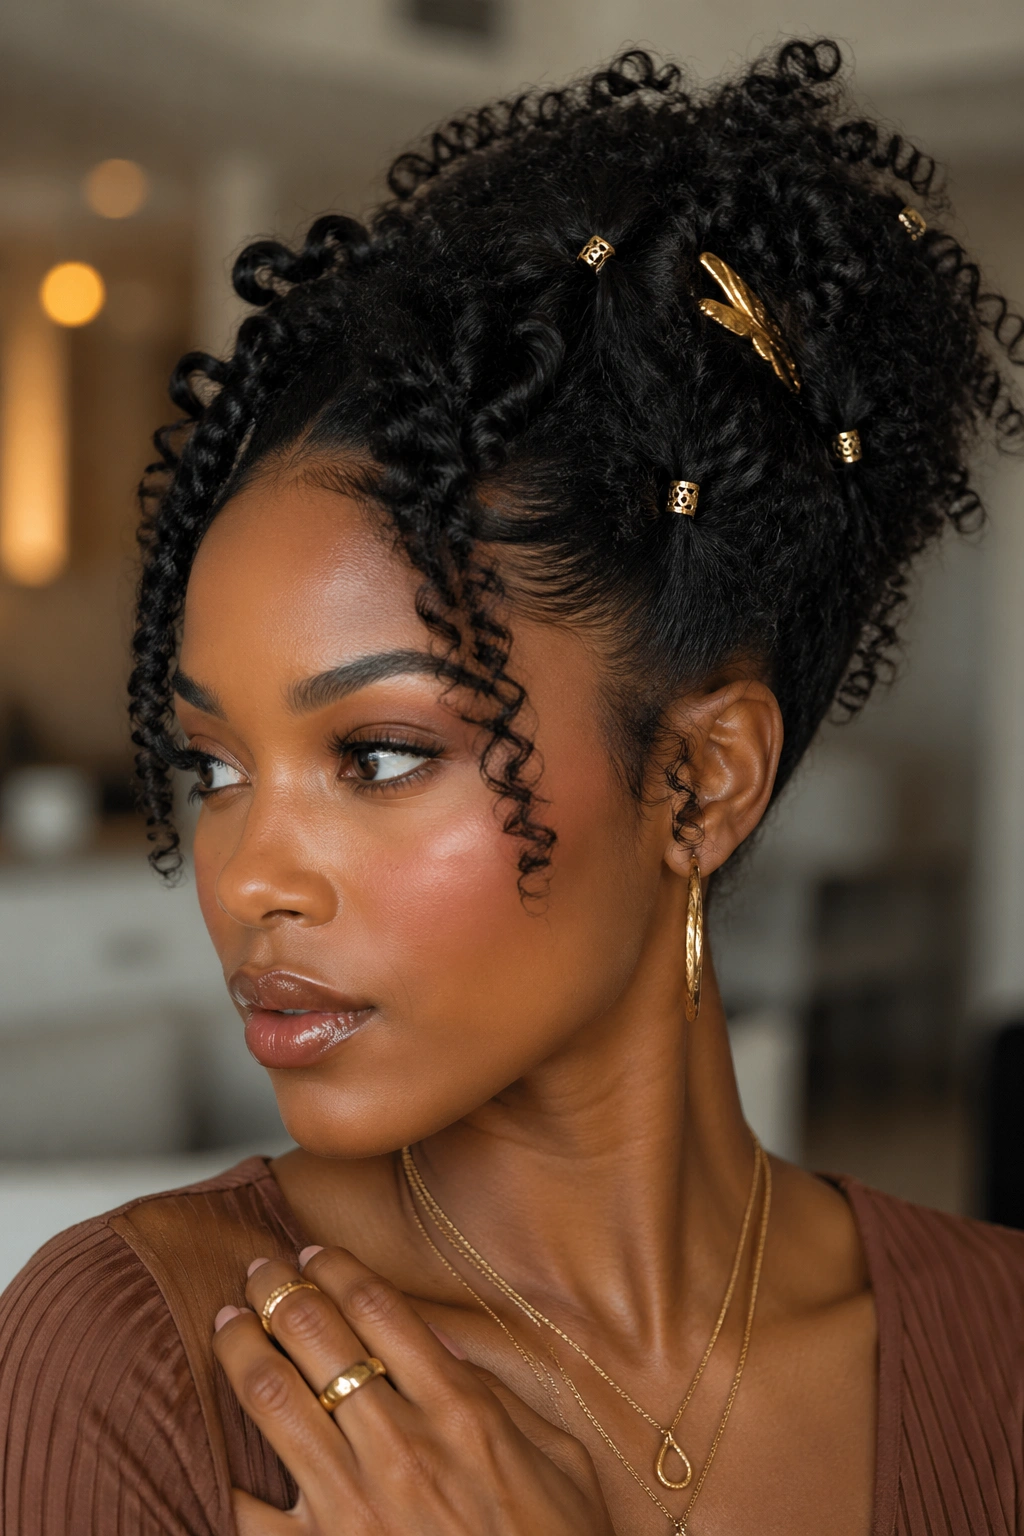
Pin your coil curls into a loose, textured updo where individual coils are still visible at the edges and crown. Add decorative accessories — gold pins, hair cuffs on visible coils — to make this style genuinely occasion-worthy.
This works best when the coils are at their most defined — wash day or day one of a freshly done coil set.
13. Coil Curl Space Buns
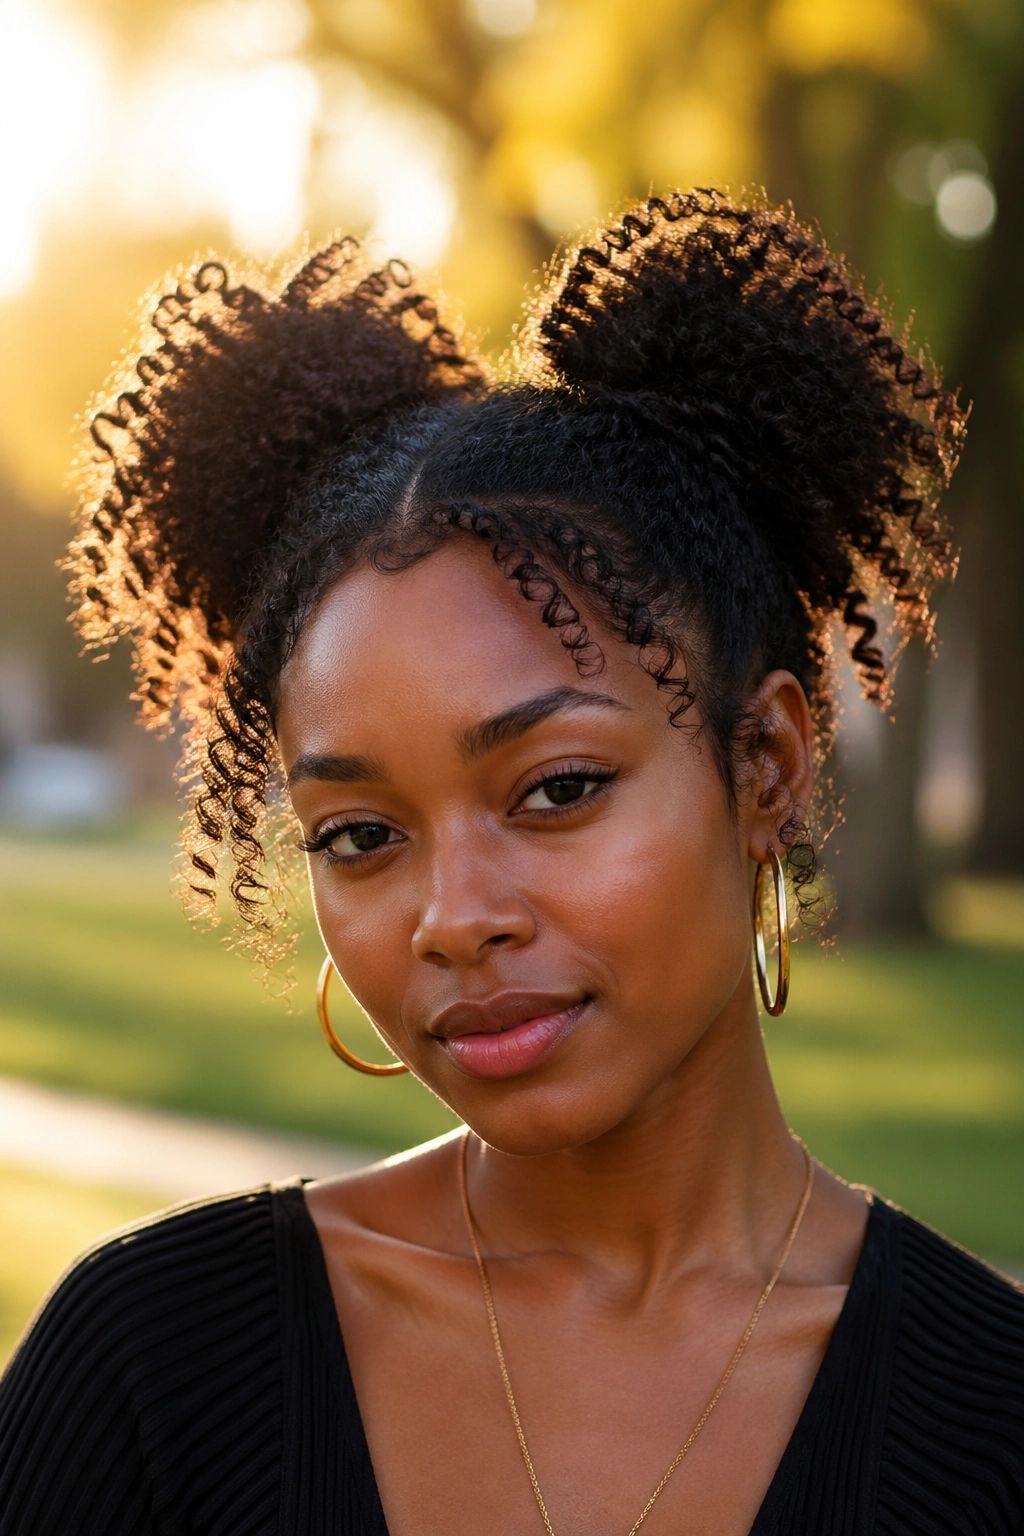
Divide coil curls down the center and create two high buns. The individual coils that escape around each bun carry their definition with them, creating a textured, playful halo effect around each bun.
Space buns with coil curls have a distinctive, joyful quality — they’re a style you can wear with anything from casual loungewear to a summer dress.
14. Coil Curl Bantu Knot-Out
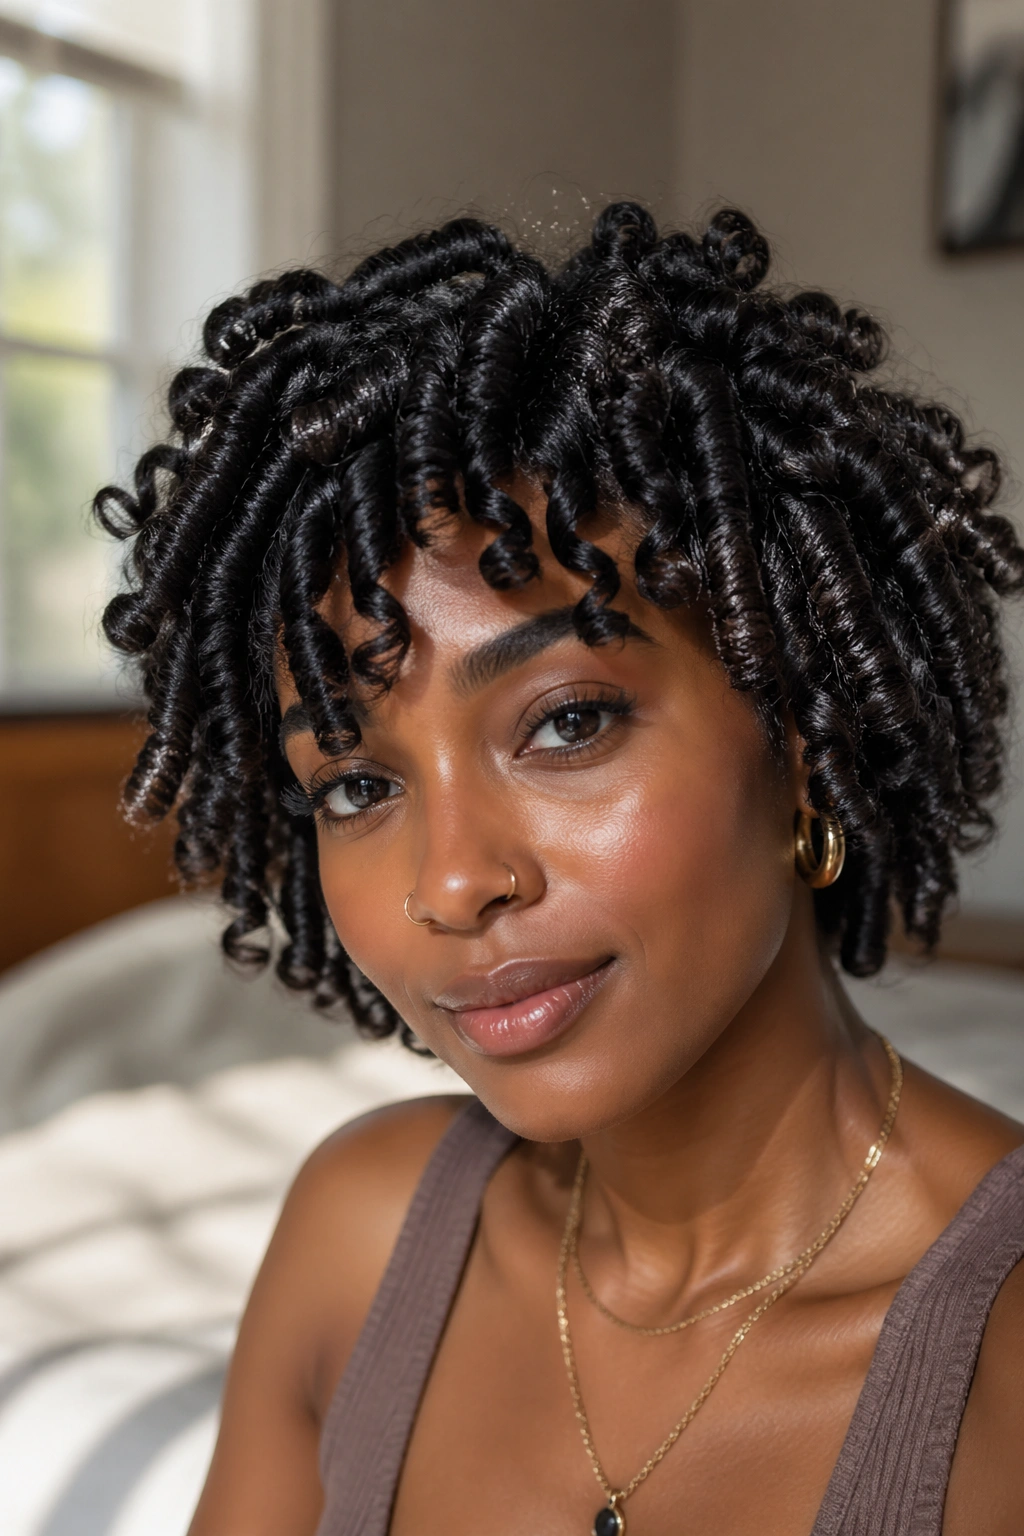
Set well-moisturized, product-coated hair in tight Bantu knots and unravel the next morning for a spiral coil pattern that’s different from both finger coils and twist-outs. The Bantu knot-out creates tight, spring-loaded coils that burst open as you separate them.
Use a shine serum on your fingers during the unraveling process for extra gloss and to prevent frizz.
15. Coil Curl Defined Loc Starter
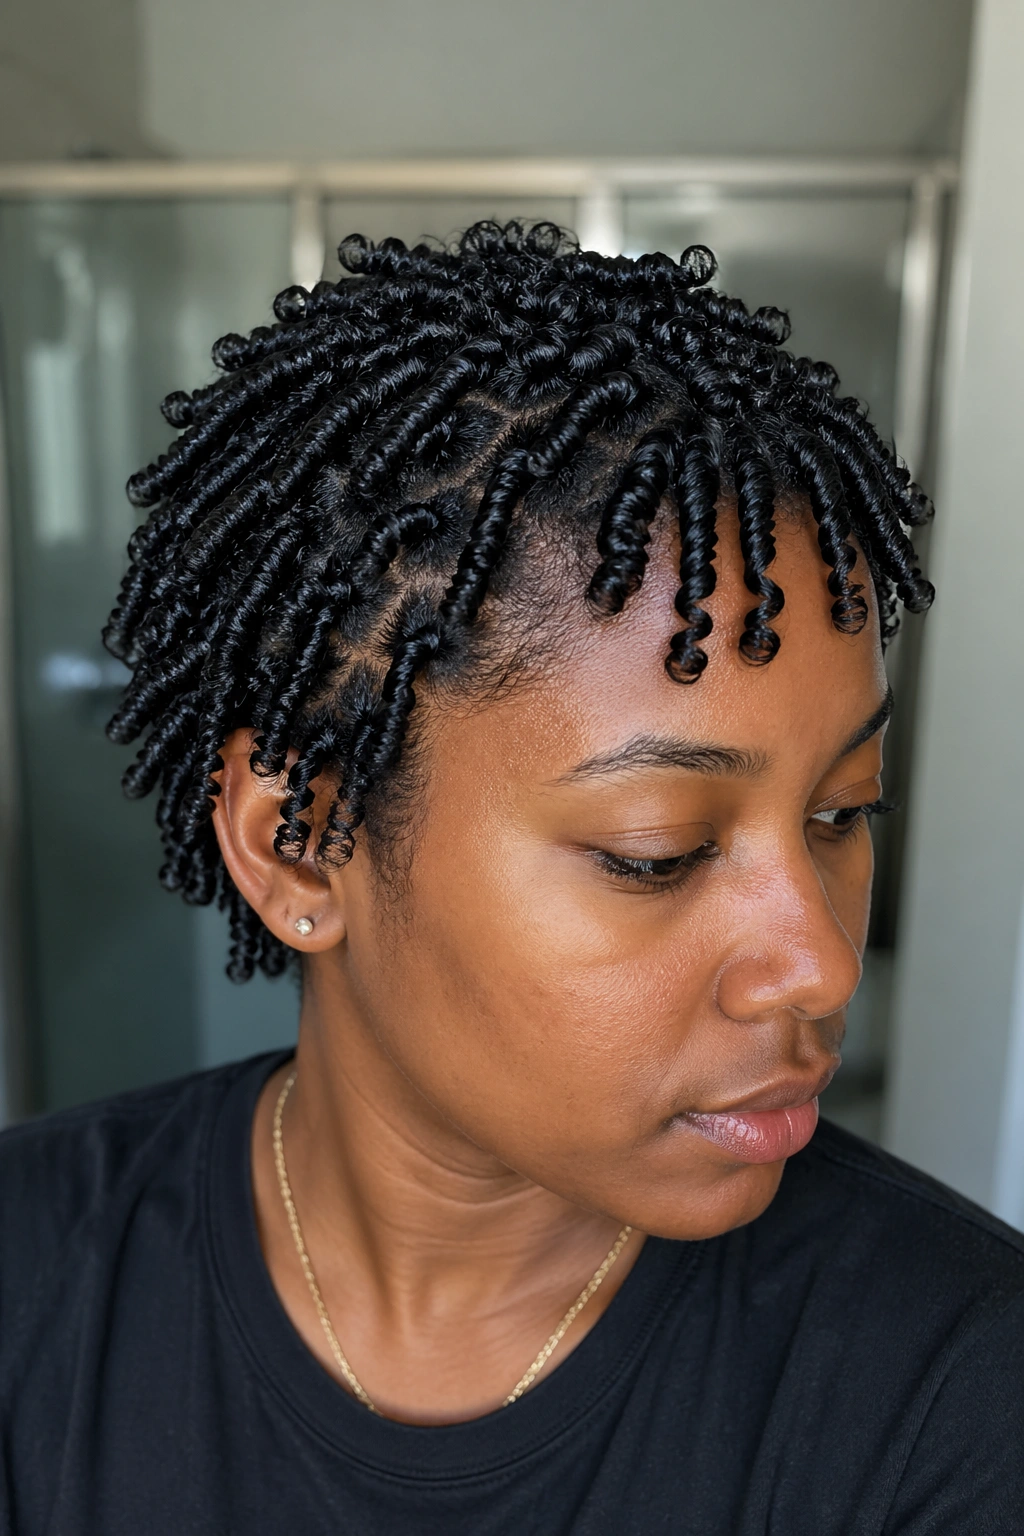
For naturals beginning their loc journey using the coil method, a properly executed finger coil set is actually the first stage of loc formation. Define each section with a loc gel, coil tightly, and let the coils begin the matting and locking process over time.
During the early starter loc phase, the coil pattern looks gorgeous as a standalone style — it’s only as the locs begin to mat that the definition changes character.
16. Coil Curl Refreshed Second-Day Style
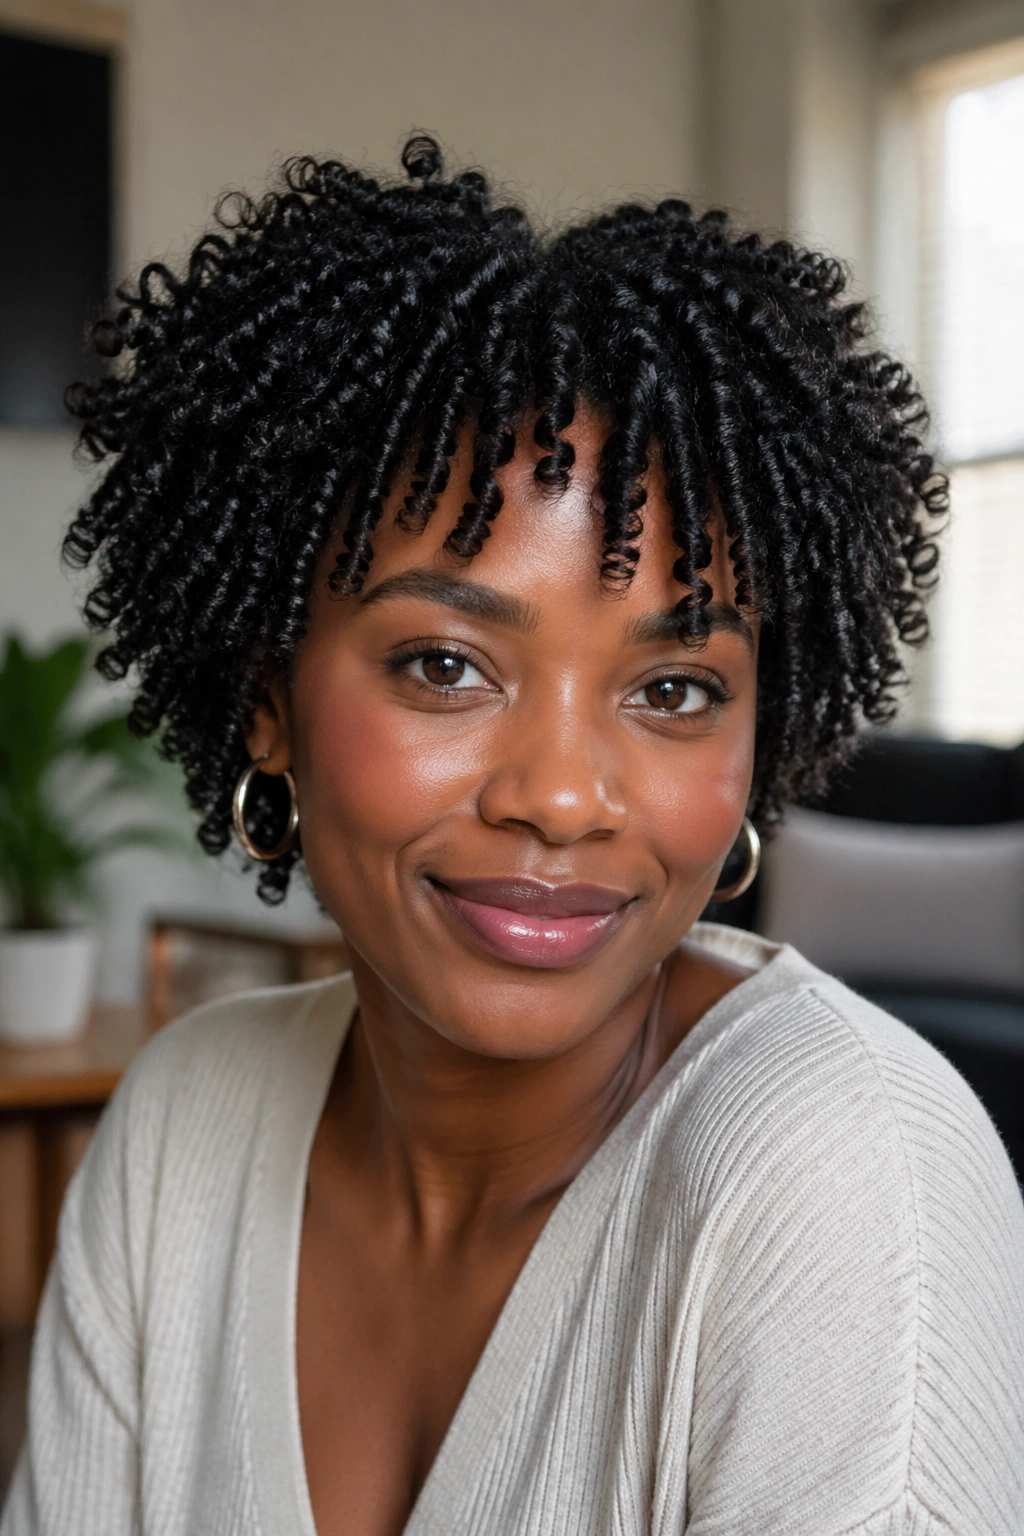
On the second or third day of a coil curl set, refresh only the sections that need attention. Mist lightly with water and leave-in, re-coil any sections that have lost definition with your finger, and let air dry. The refreshed sections blend seamlessly with the still-defined sections from day one.
This targeted refreshing approach is what makes coil curl styles so efficient and practical — you don’t have to redo everything to maintain a polished look.
17. Coil Curl Defined Crown Style
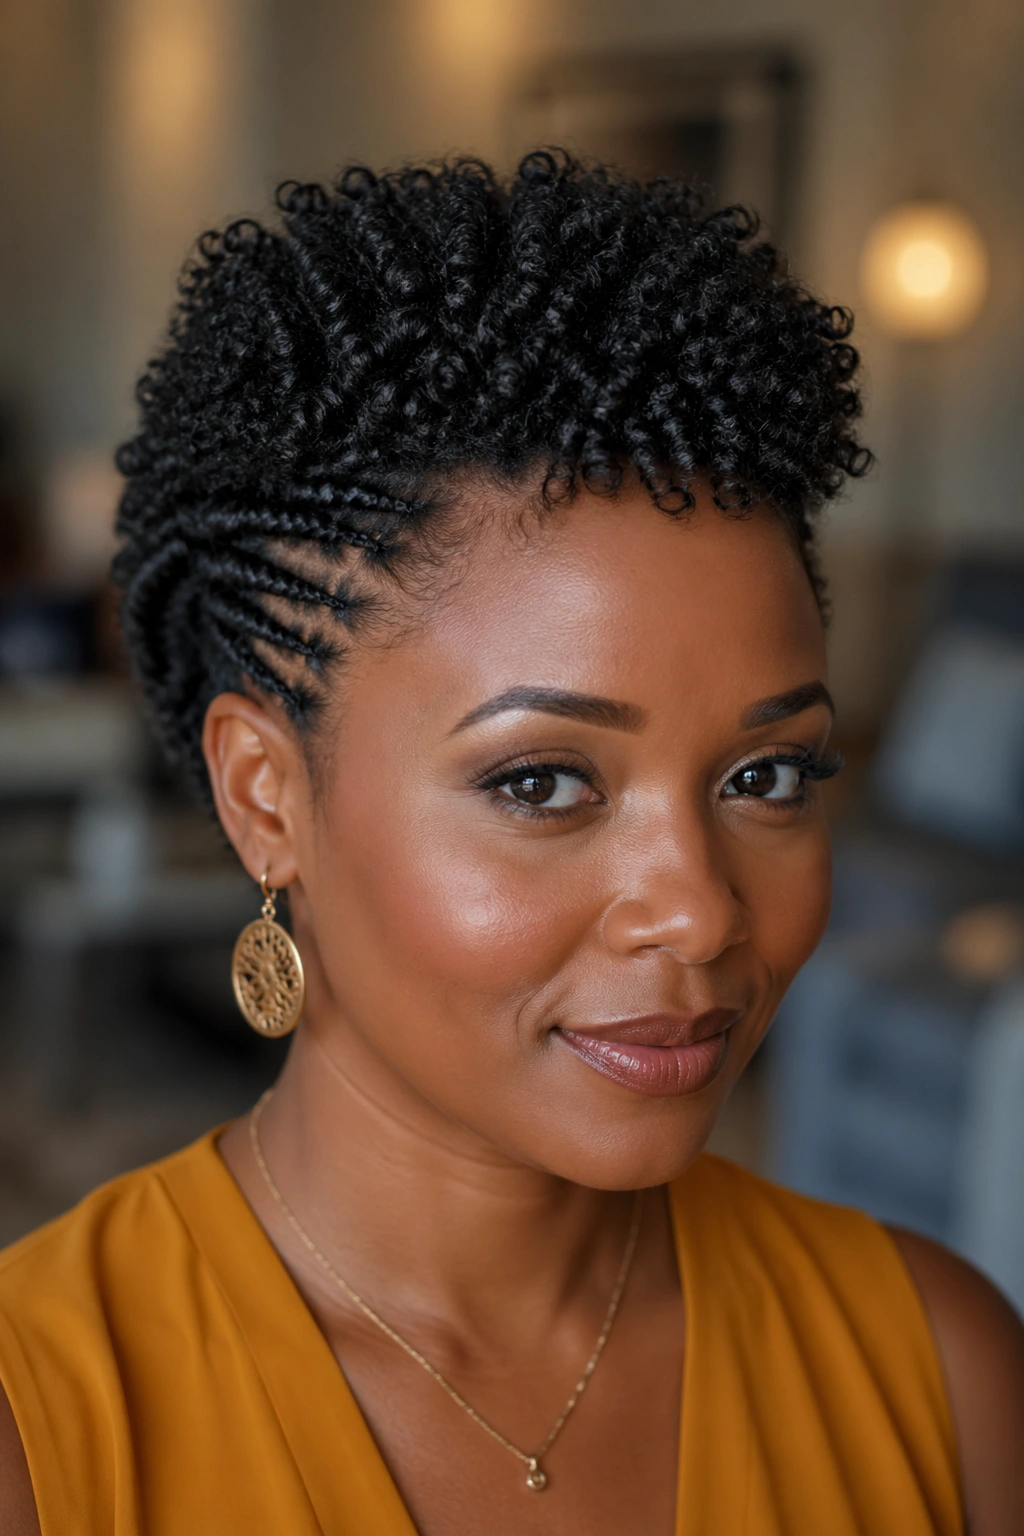
Leave the top and crown sections in a full coil curl style while pinning or braiding the perimeter sections away from the face. The defined coil crown has a regal, intentional quality — it looks like significantly more effort went into it than actually did.
This style is particularly flattering for formal occasions or professional settings where you want your natural hair to look polished and deliberate.
18. Coil Curl with Silk Wrap Accessory
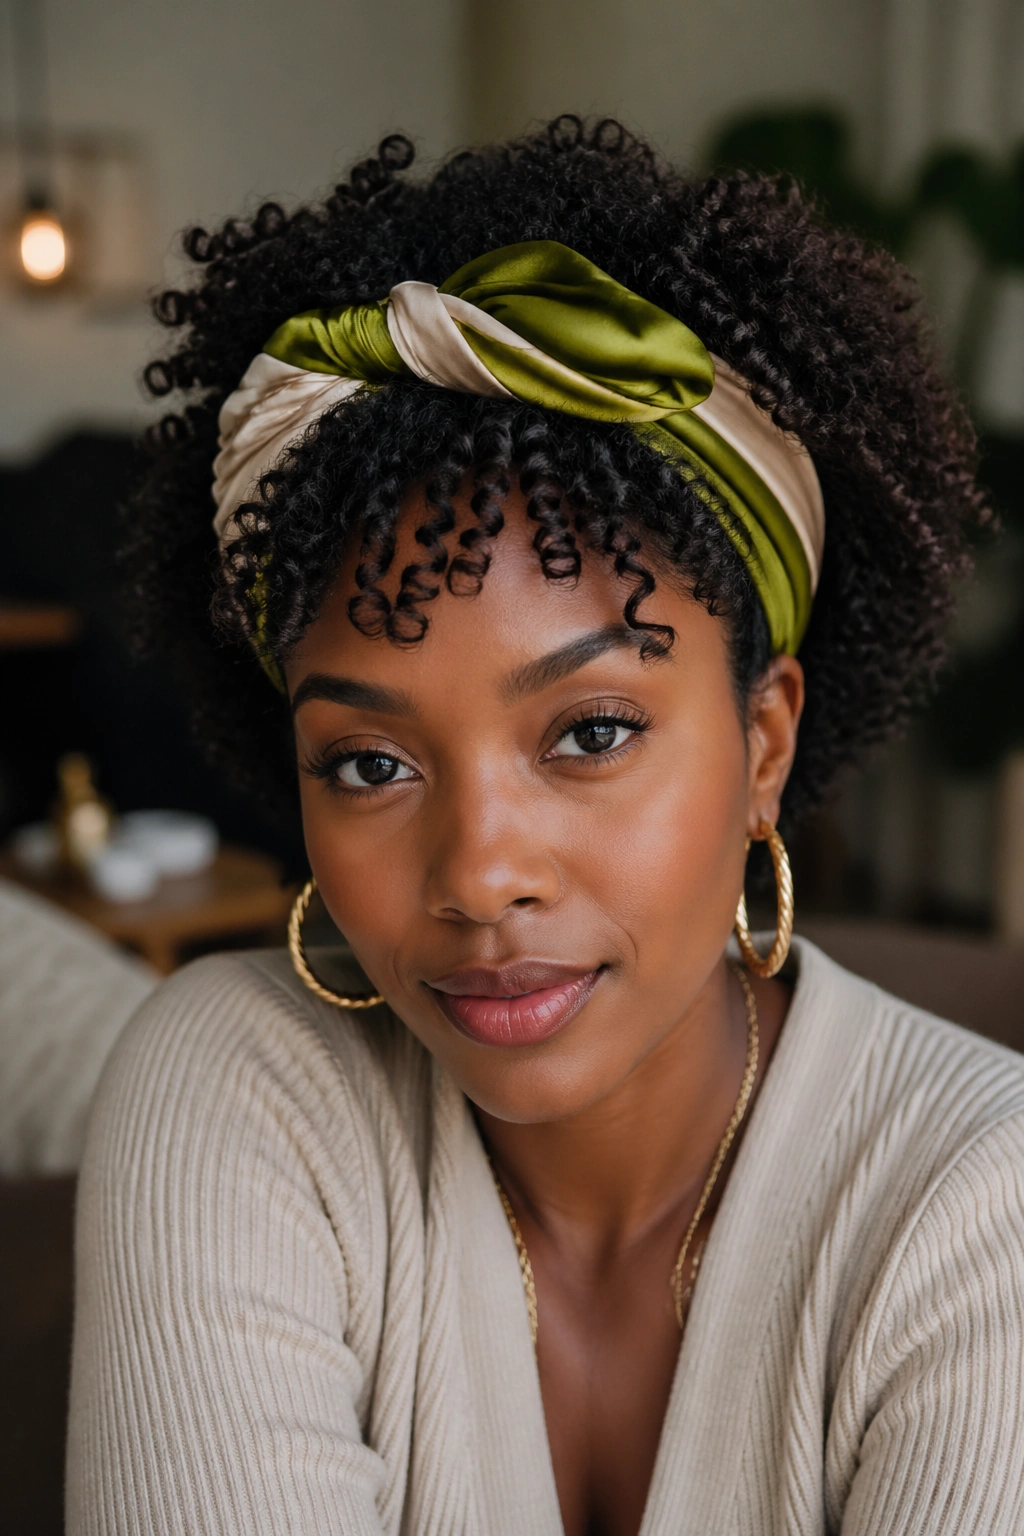
Wrap a silk or satin scarf around your hairline as a decorative accessory — positioned like a headband — and let your coil curl style cascade freely from behind it. The silk adds color and texture contrast against the defined coils in a way that looks genuinely chic.
Choose a scarf in a complementary or contrasting color to your outfit. Tie it at the top, at the side, or at the back of the head depending on which look suits you best.
19. Coil Curl Pineapple Updo
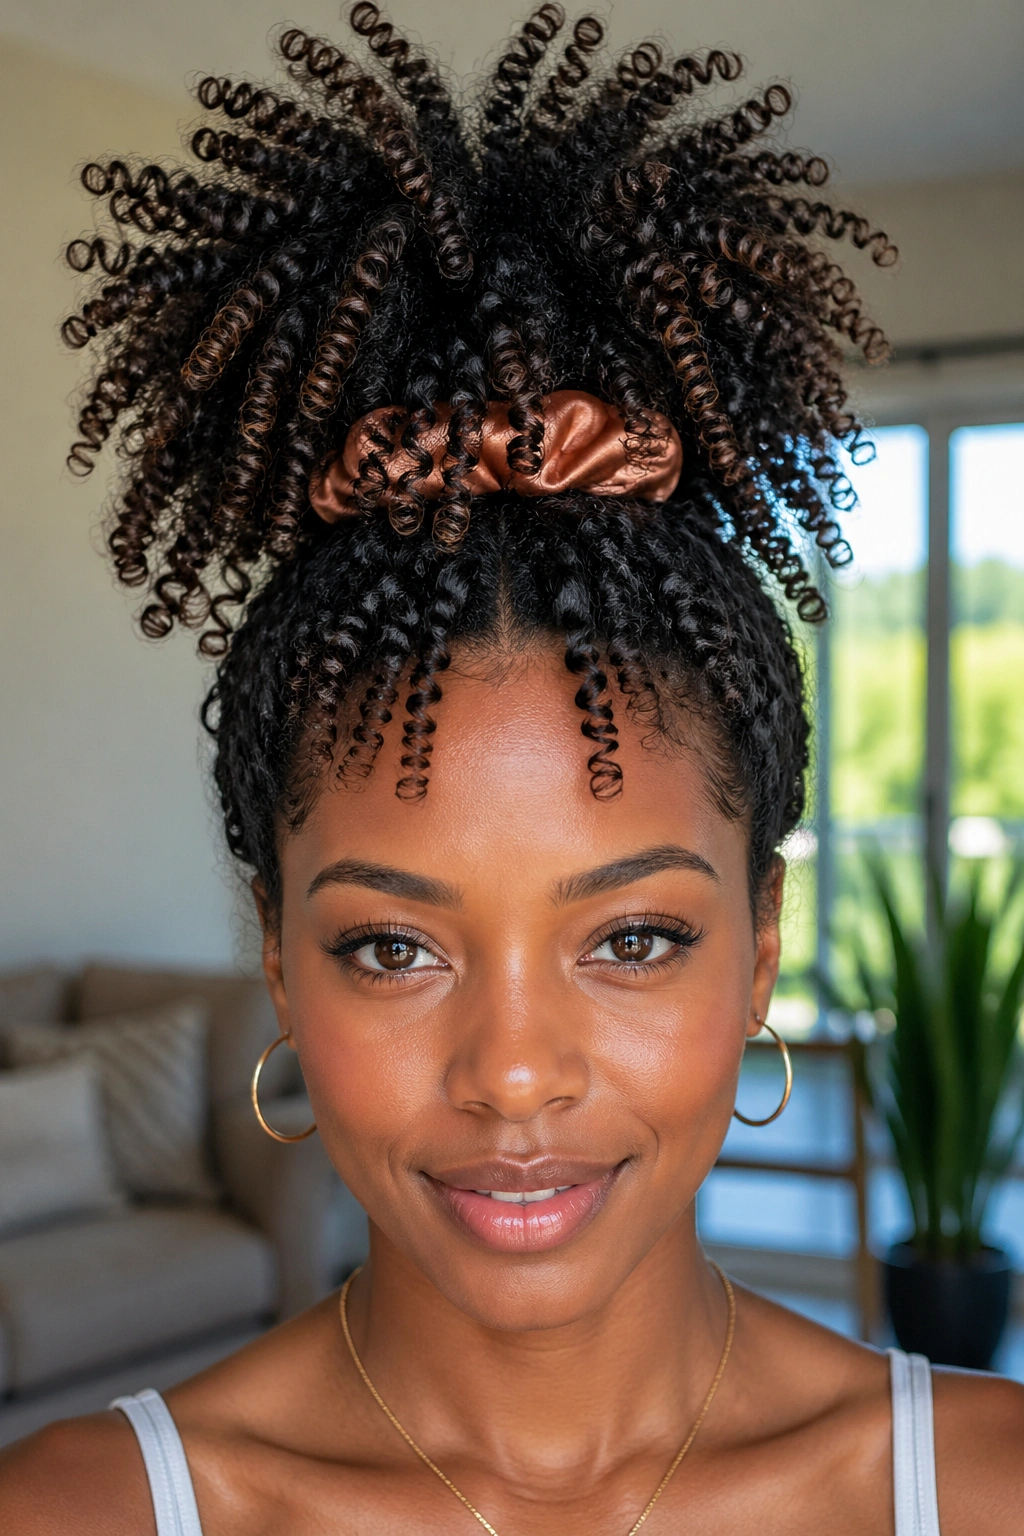
Create a deliberate pineapple that functions as a daytime style rather than just nighttime protection. Pull all your coils loosely to the very top of the crown, securing them high with a decorative satin scrunchie, and let the coils fan outward from the top like the leaves of a pineapple.
The coils in the pineapple retain their individual definition and movement — so the style has dimension and texture rather than just being a blob of hair gathered at the top.
20. Coil Curl Headband Style
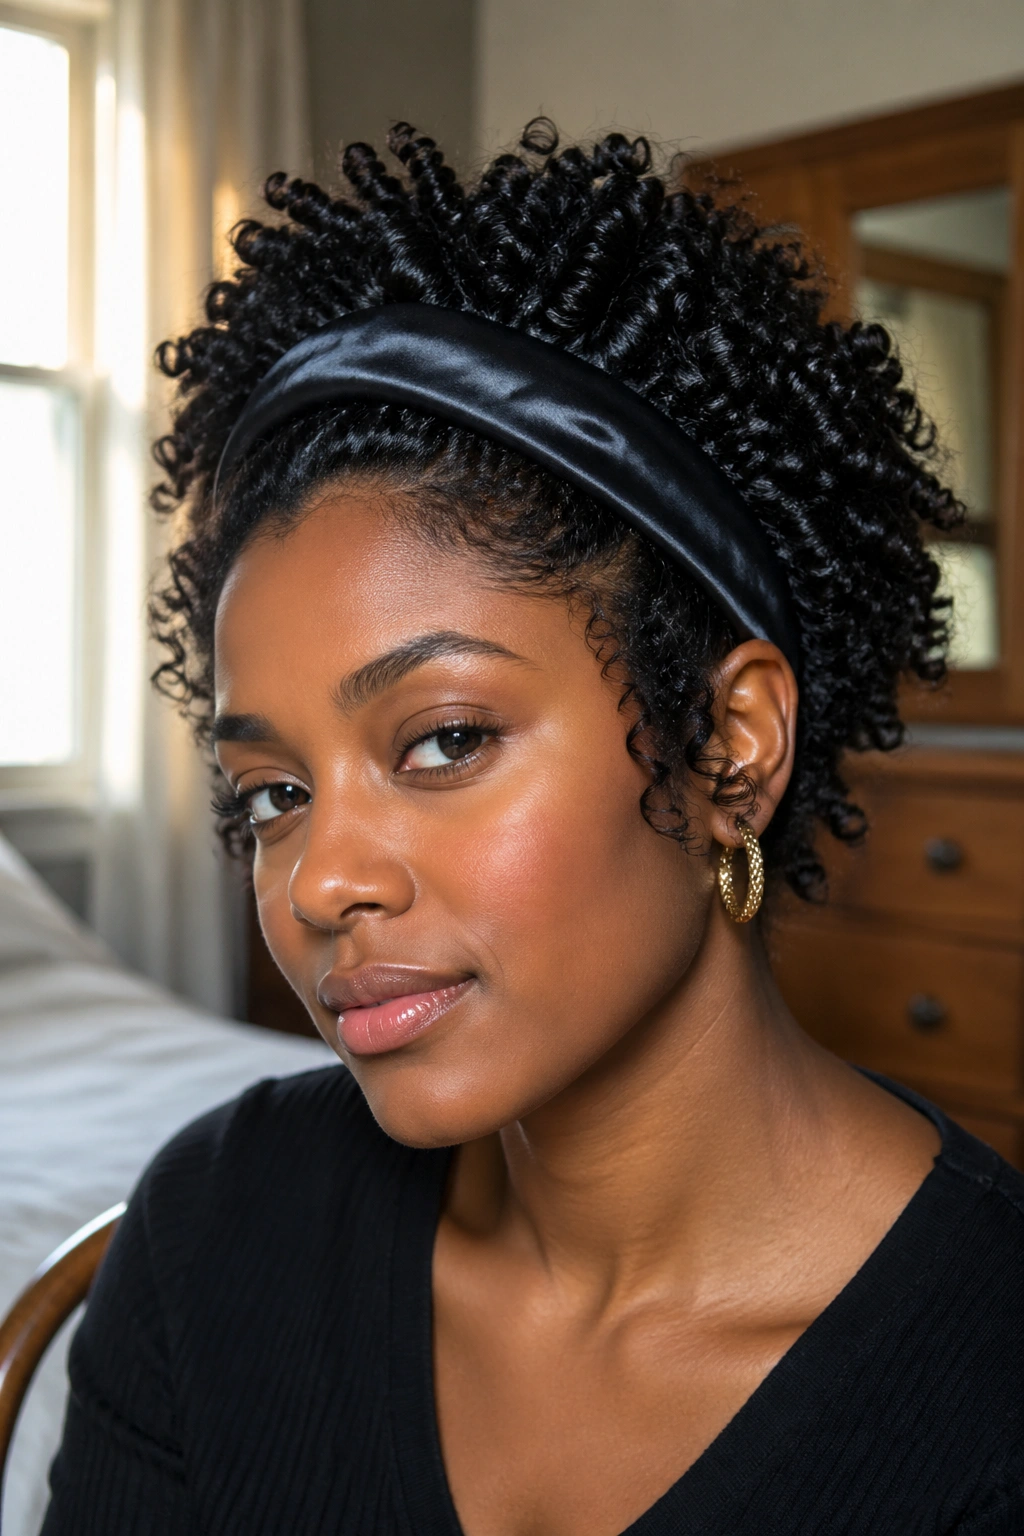
A wide, satin-lined headband adds instant polish to a coil curl style. Position it about an inch from the hairline, letting a few coils escape at the temples. The headband creates a clean, structured line that contrasts beautifully with the textured, defined coils behind it.
Choose headbands in rich colors — deep burgundy, royal blue, forest green — that complement your natural hair’s tones. Matching your accessories to your outfit creates a coordinated, intentional look.
21. Coil Curl Wet Look Style
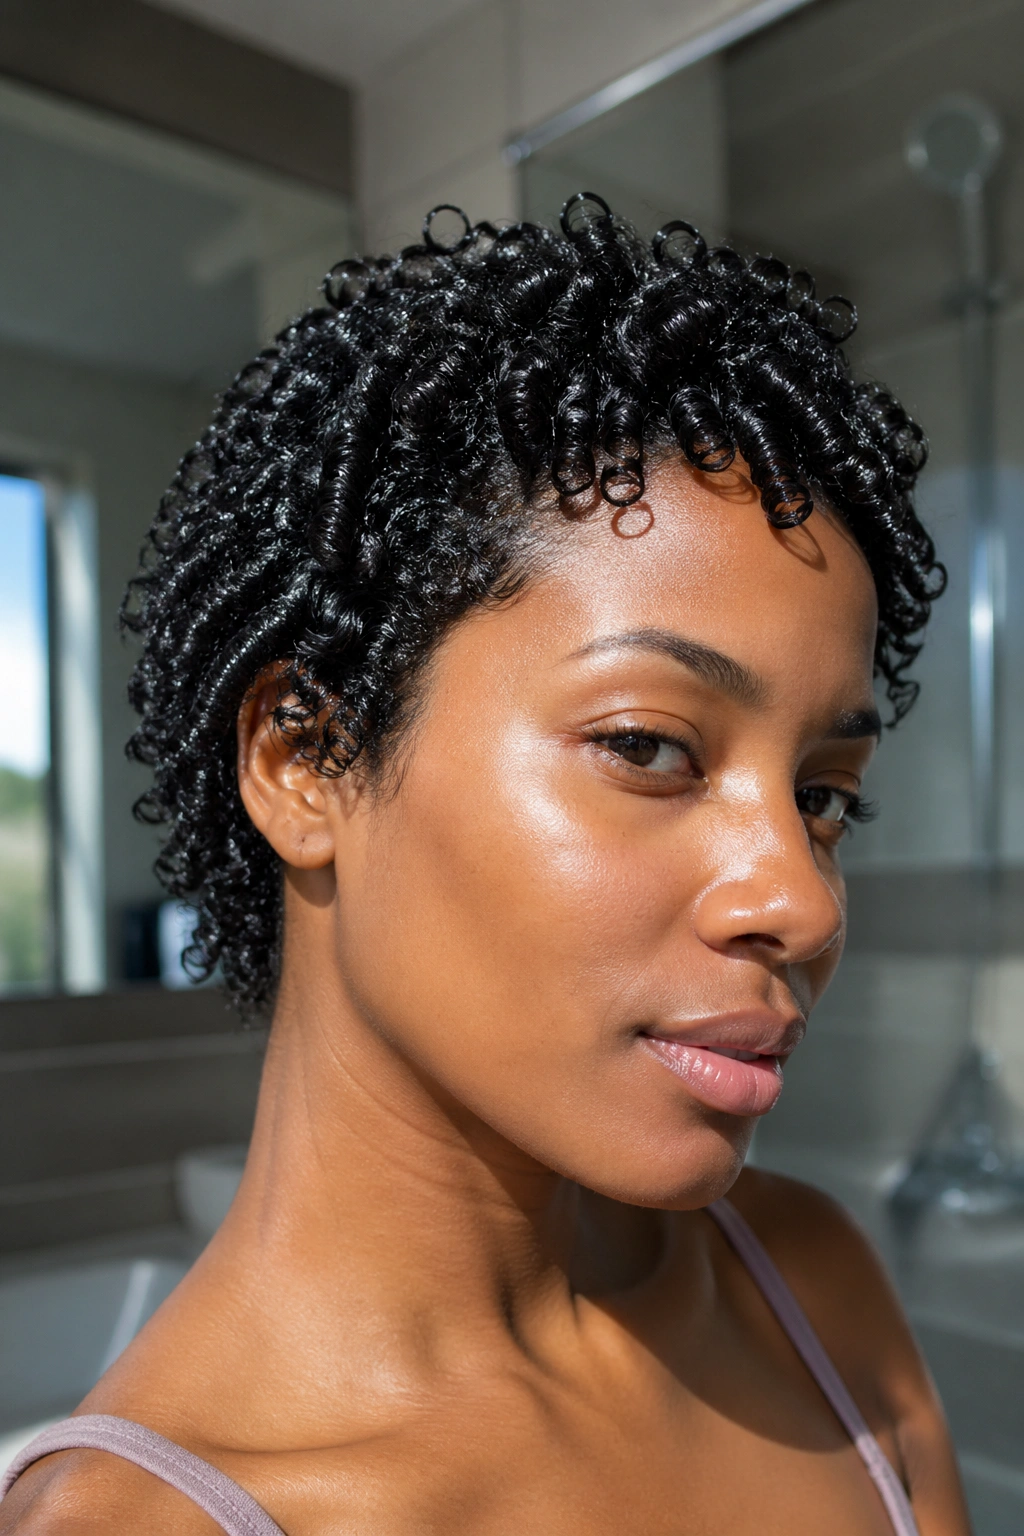
Apply an extra layer of gel over your defined coils and let the hair dry partially — maintaining a sleek, wet-look appearance — rather than waiting for full dryness. The wet-look coil style is polished, dramatic, and long-lasting.
The gel cast maintains each coil’s definition through the wet look phase and into full dryness — when you scrunch the cast out gently, the coils are still perfectly defined underneath.
22. Coil Curl Multi-Length Style
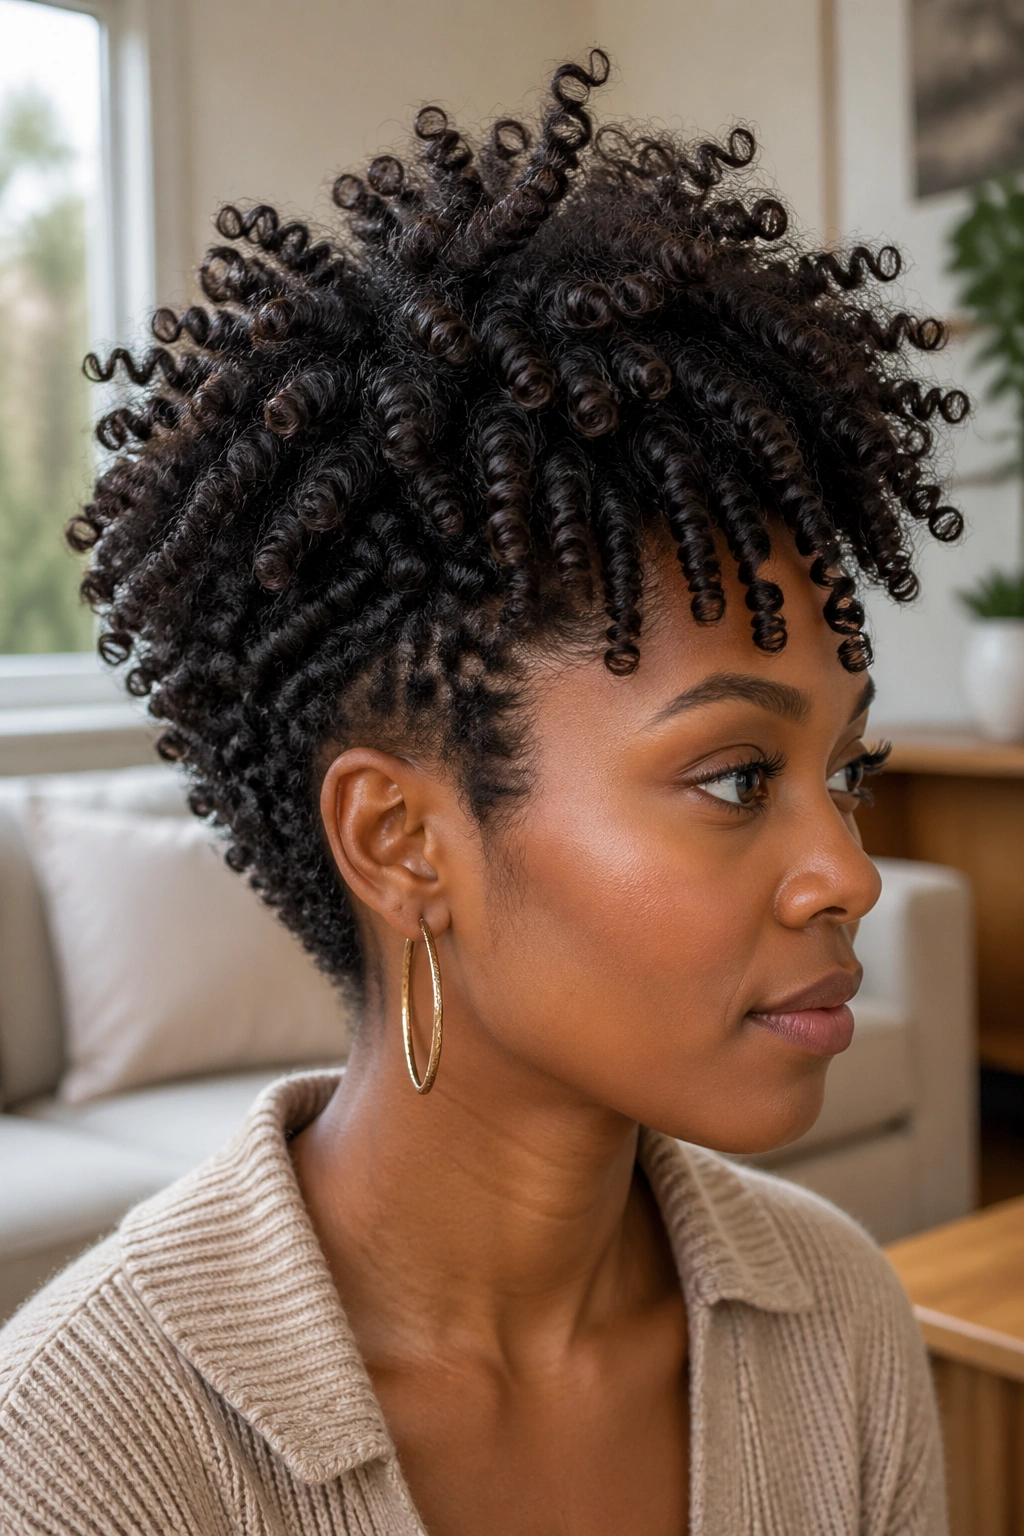
Define different sections of the head in different sized coils — smaller, tighter coils at the nape and sides, larger, more open coils at the crown and top — for a multi-dimensional style that plays with scale and texture variation.
This technique creates a style that’s more visually interesting than uniform coils across the entire head. The variation between coil sizes adds depth and movement to the overall look.
23. Coil Curl Stretched Style
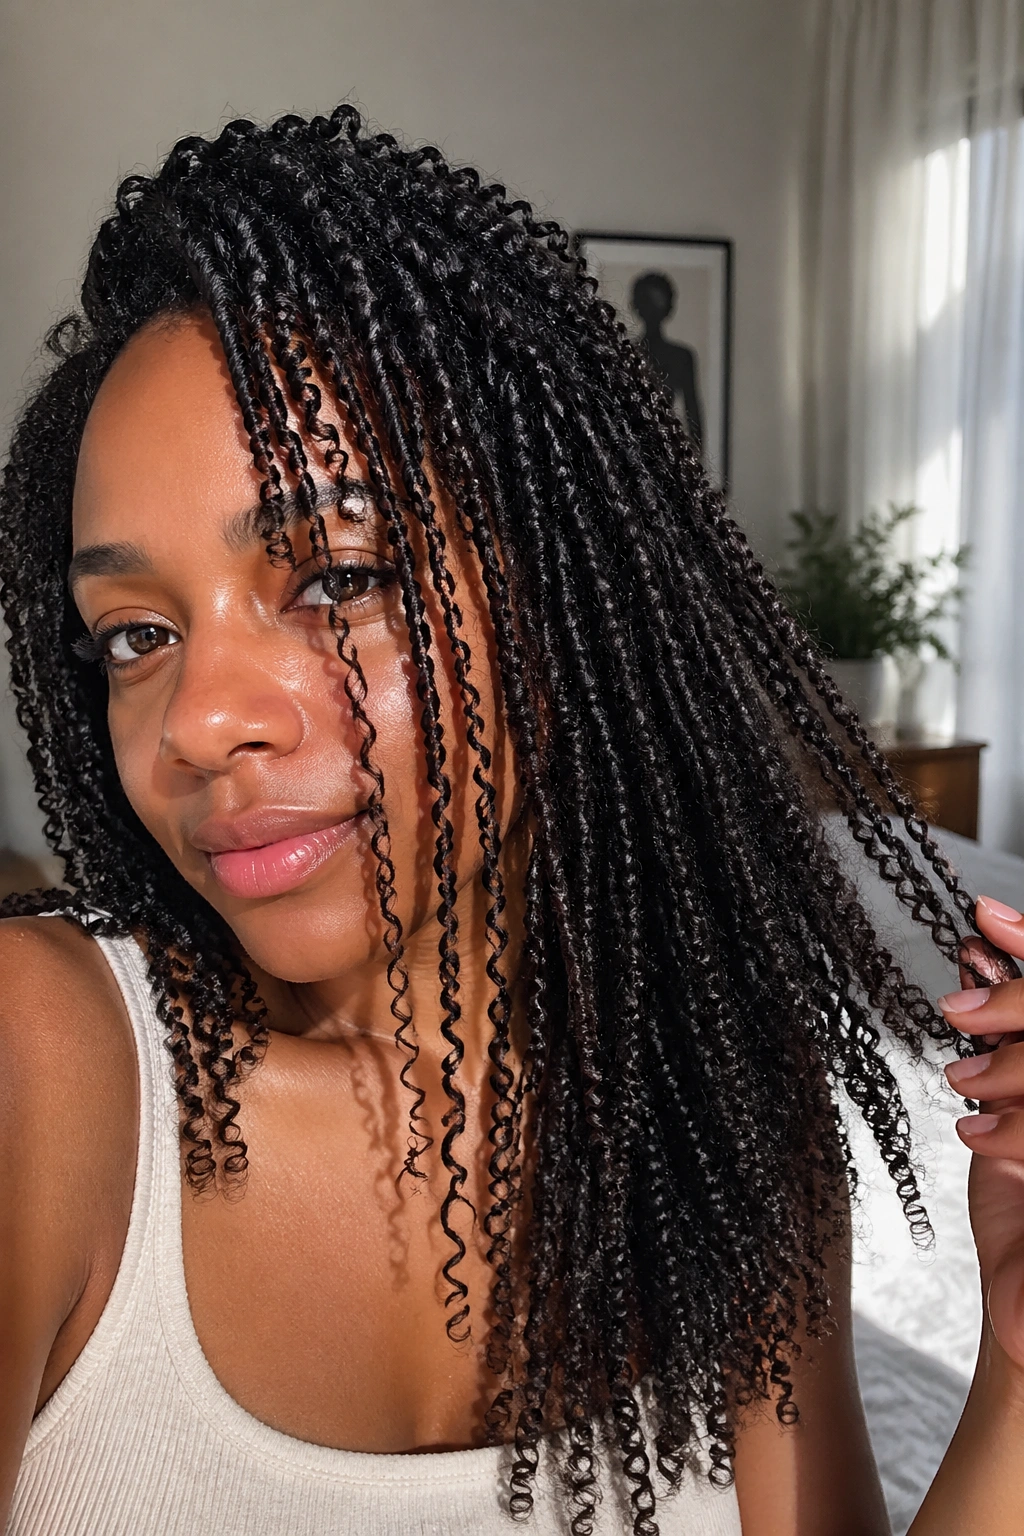
Apply products and define coils on stretched hair for a coil pattern that’s elongated and less compact than standard coil curls. The stretched base can be achieved through African threading, banding, or gentle blowout on a cool setting.
The resulting coils are longer and more wave-like while still maintaining the defined, intentional quality of a coil curl style. This is particularly beautiful on textures that tend toward extreme shrinkage.
24. Coil Curl High-Top Style
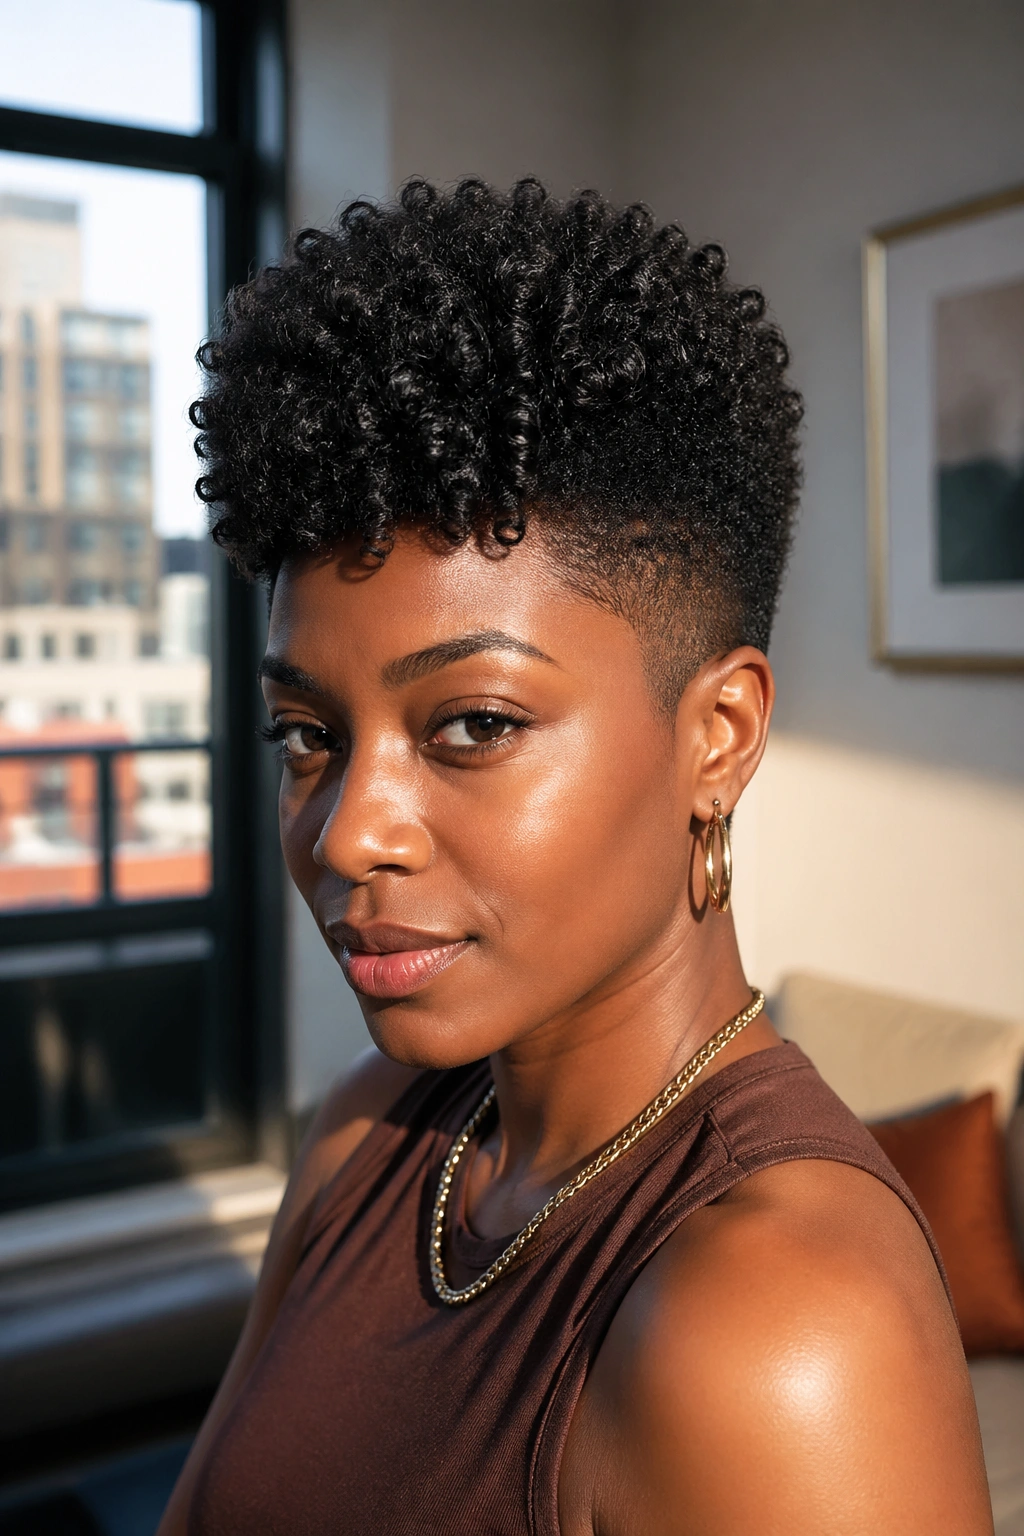
If you have a shape-up or taper on the sides, use a sponge or finger coiling technique on the top section for a high-top-inspired style with defined coil texture. The clean, shaped sides contrast beautifully with the coil-defined top, creating a structured silhouette with genuine style.
This look suits 4a and 4b textures particularly well — the tight natural coil pattern on the top section looks intentional and beautiful against the shaped perimeter.
25. Coil Curl Style with Gold Cuffs
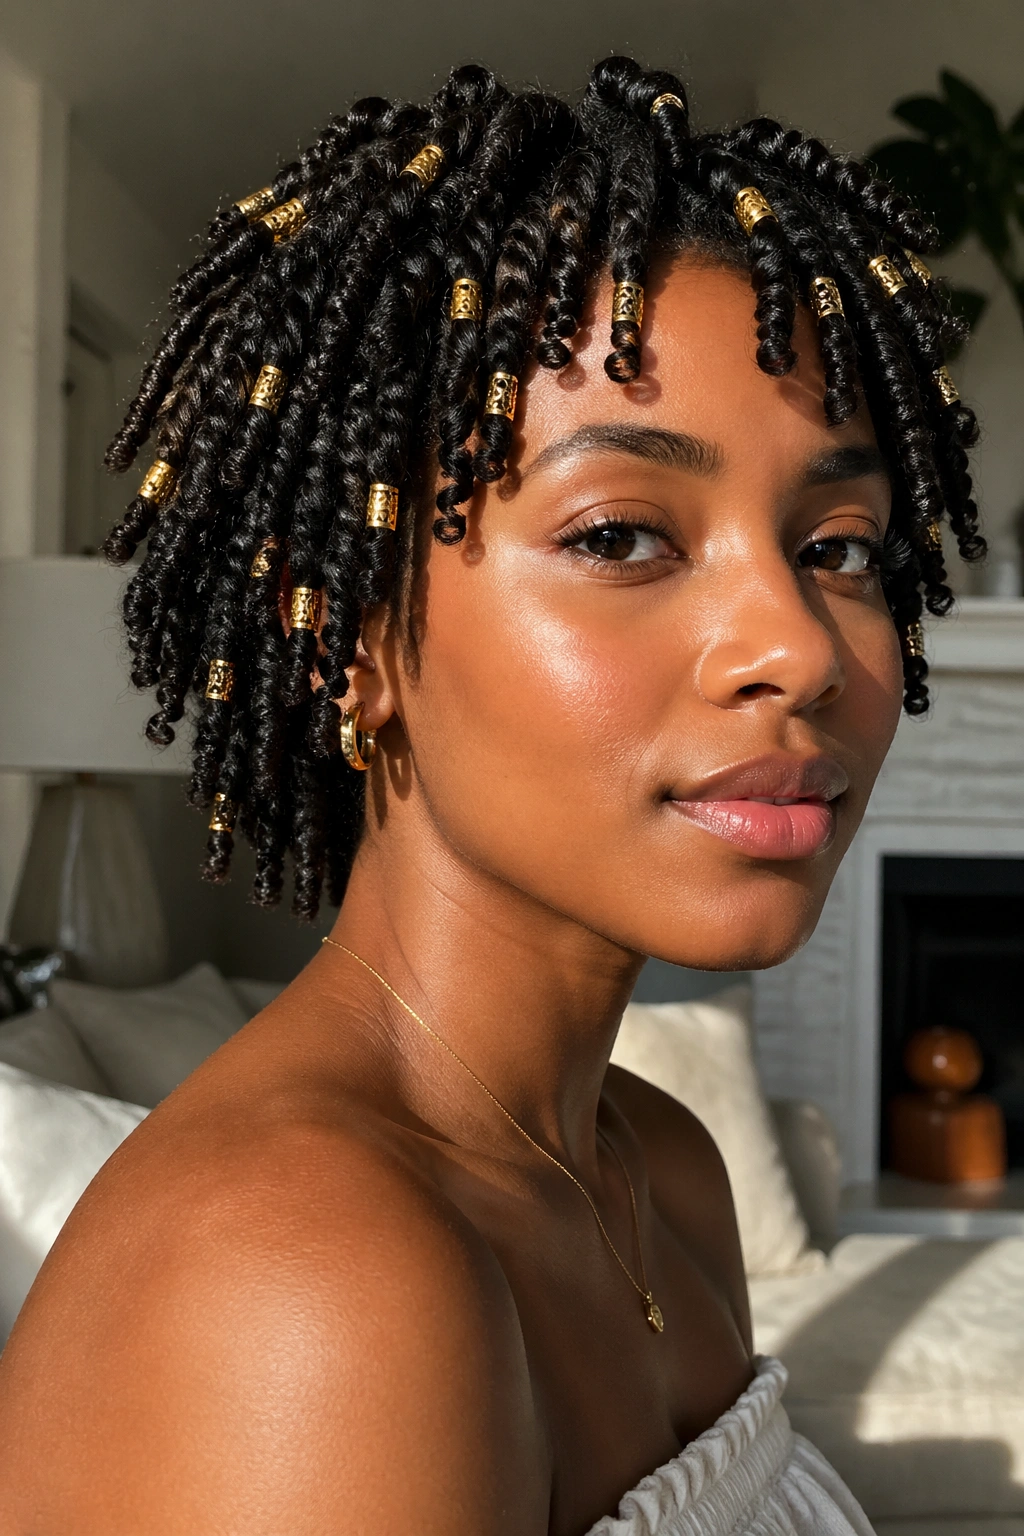
Take individual coils and slide small gold hair cuffs onto them — some at the ends, some mid-shaft, some near the roots for variation. The gold accessories catch light as the coils move and create a genuinely luxurious aesthetic.
Use gold cuffs sparingly for understated elegance, or generously for a bold, maximalist statement. Both approaches work beautifully with coil curl styles. The key is distributing the accessories thoughtfully across different sections so they add visual interest without overwhelming the definition of the coils themselves.
Building a Sustainable Coil Curl Practice
The naturals who consistently achieve beautiful coil curl styles have built sustainable routines around their hair’s specific needs — not other people’s routines.
Start with your own hair. What’s your texture? What does it respond to? Which products give your coils the most definition? These are questions that take time and experimentation to answer, but they’re worth asking.
Establish a consistent deep conditioning practice — at least once per wash cycle, more often if your hair is naturally dry or high-porosity. Coil curl styles are only as beautiful as the hair that carries them, and well-moisturized hair is the foundation of any great coil look.
And protect your styles at night — every night. A satin bonnet or silk pillowcase isn’t optional for coil curl longevity; it’s essential. The naturals who get a full week out of their coil sets are the ones who never skip nighttime protection.
