Medium-length curly afro hair sits in a sweet spot that I honestly wish more people talked about. It’s long enough to pull back into something, short enough to wash-and-go without a three-hour setup, and thick enough to hold shape without constant babysitting. The trick is knowing what actually works for your density, your curl pattern, and how much time you’re realistically willing to spend on wash day. Because let’s be honest — not every style in the curly afro universe is built for someone working a nine-to-five with two kids and a dog.
I’ve spent years cycling through different looks on medium-length curls, and I’ve made every mistake in the book. Over-conditioned my hair until it couldn’t hold a curl. Under-moisturized and snapped off inches. Used gels so thick my twist-outs came out looking like wet rope. So when I talk about these 27 curly afro styles for medium hair, I’m not pulling from a Pinterest board I skimmed last night. I’m pulling from actual trial and error on real hair.
Medium here means somewhere between chin length and a few inches past the shoulder when stretched. That’s the working definition for this piece. Curl patterns range from loose 3B corkscrews all the way through dense 4C coils — and yes, most of these styles flex across the spectrum if you know how to modify them.
One more thing before we dive in. You don’t need to do every style on this list. Pick three or four that match your rhythm, your face shape, and your honest-to-goodness patience level. Rotate them. Master them. That’s how you build a rotation that actually fits your life.
What Medium-Length Curly Hair Actually Needs
Medium curly hair behaves differently from short TWAs and from long, heavy spirals. The weight is in an awkward middle zone — enough length to drag curls downward when wet, not enough length to fully stretch itself out under gravity. That matters because it changes how you style, how you moisturize, and how you sleep on it.
Protein balance becomes critical at this length. Too much protein and your strands snap at the T-zone around your crown. Too little and your curls flop into sad, soft clumps that lose shape by noon. Aim for a protein treatment every four to six weeks — not every wash, not every other month. A simple rice water rinse or a gentle hydrolyzed protein mask does the job.
Moisture-wise, medium curls drink more than you’d think. The LOC method (liquid, oil, cream) works for most, but if your hair is lower porosity, flip it to LCO — liquid, cream, oil — so the oil seals instead of blocking absorption.
The single biggest shift: stop styling on dry hair that’s been sitting for days. Refresh with a water-based spray before you style. Damp hair takes shape. Dry hair fights you.
Tools You’ll Actually Use (And What to Skip)
You don’t need a caddy full of tools. You need maybe six things, and most of them aren’t expensive.
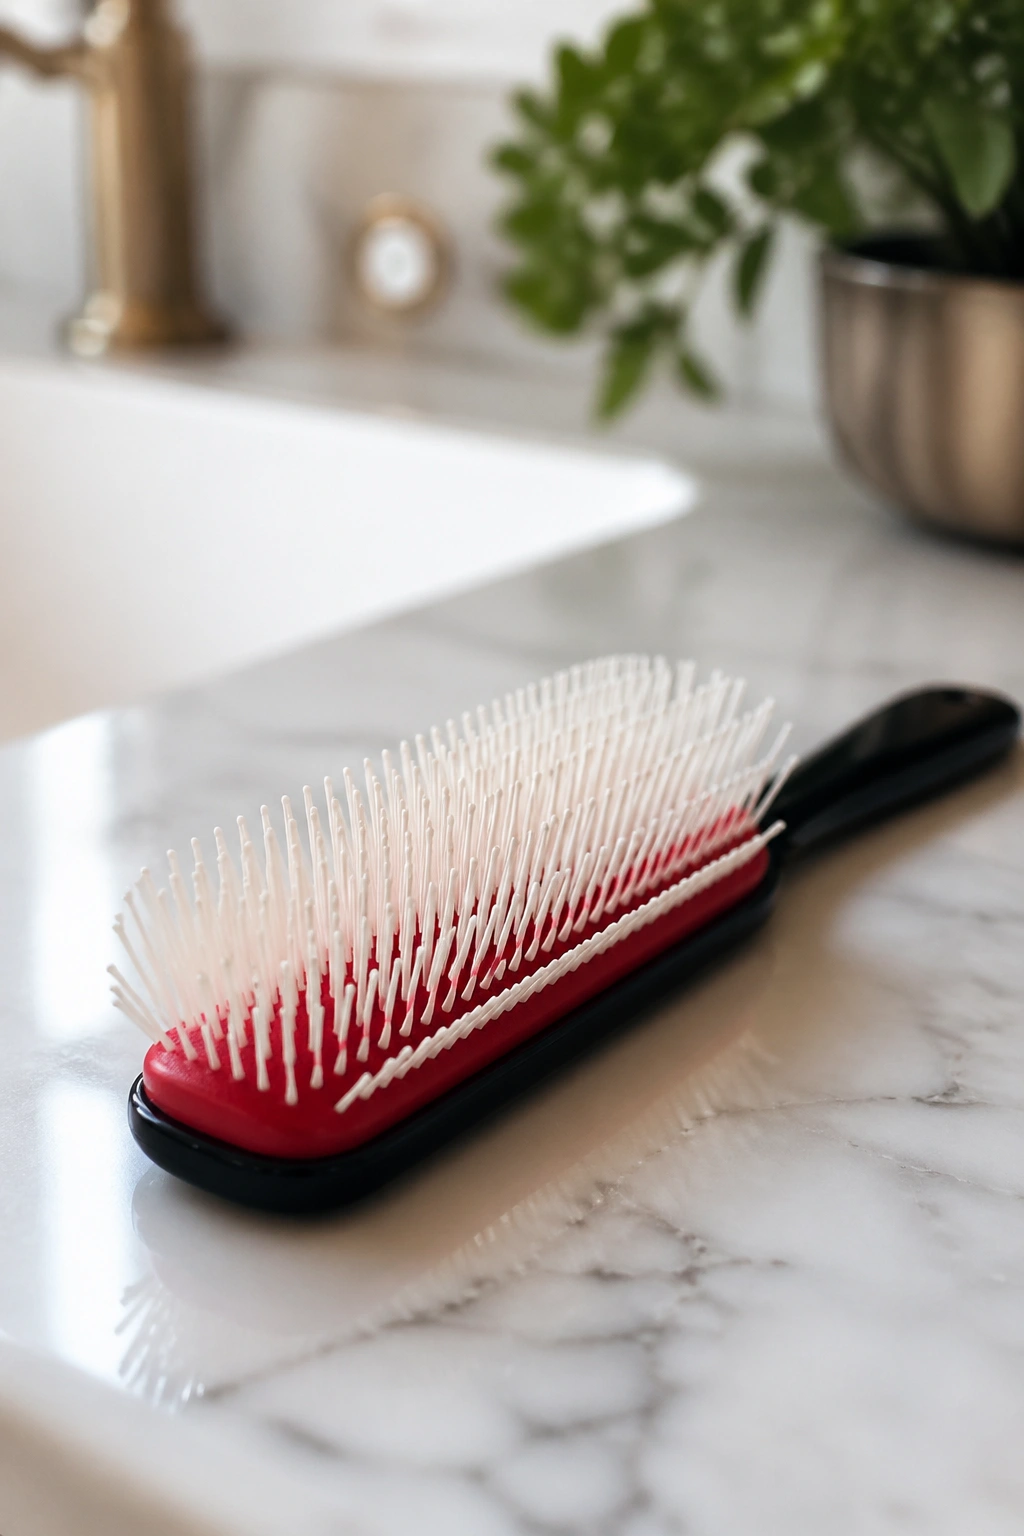
A wide-tooth shower comb, a denman-style brush for clump definition, a soft boar bristle brush for edges and slicked-back looks, a satin scrunchie, a microfiber towel or an old t-shirt, and a spray bottle. That’s the core kit. Everything else is extra.
Skip the plastic bristle paddle brushes — they snag. Skip the standard terrycloth bath towel for drying — it creates frizz that takes hours to calm down. And for the love of your edges, skip the rubber-band hair ties. Seamless elastics or satin scrunchies only.
Heat tools deserve a separate mention. A diffuser attachment on your blow dryer is genuinely useful. A flat iron? Only if you’re doing a silk press, and even then, keep it to once every three months. Curly hair memory is real, and heat damage on medium length shows up fast because you have enough hair to notice the limp ends.
The Wash Day Foundation Every Style Builds From
Before I get into specific looks, understand this: every styled result you see on curly hair starts on wash day. If your wash day is wrong, no amount of product on day three will save the look.
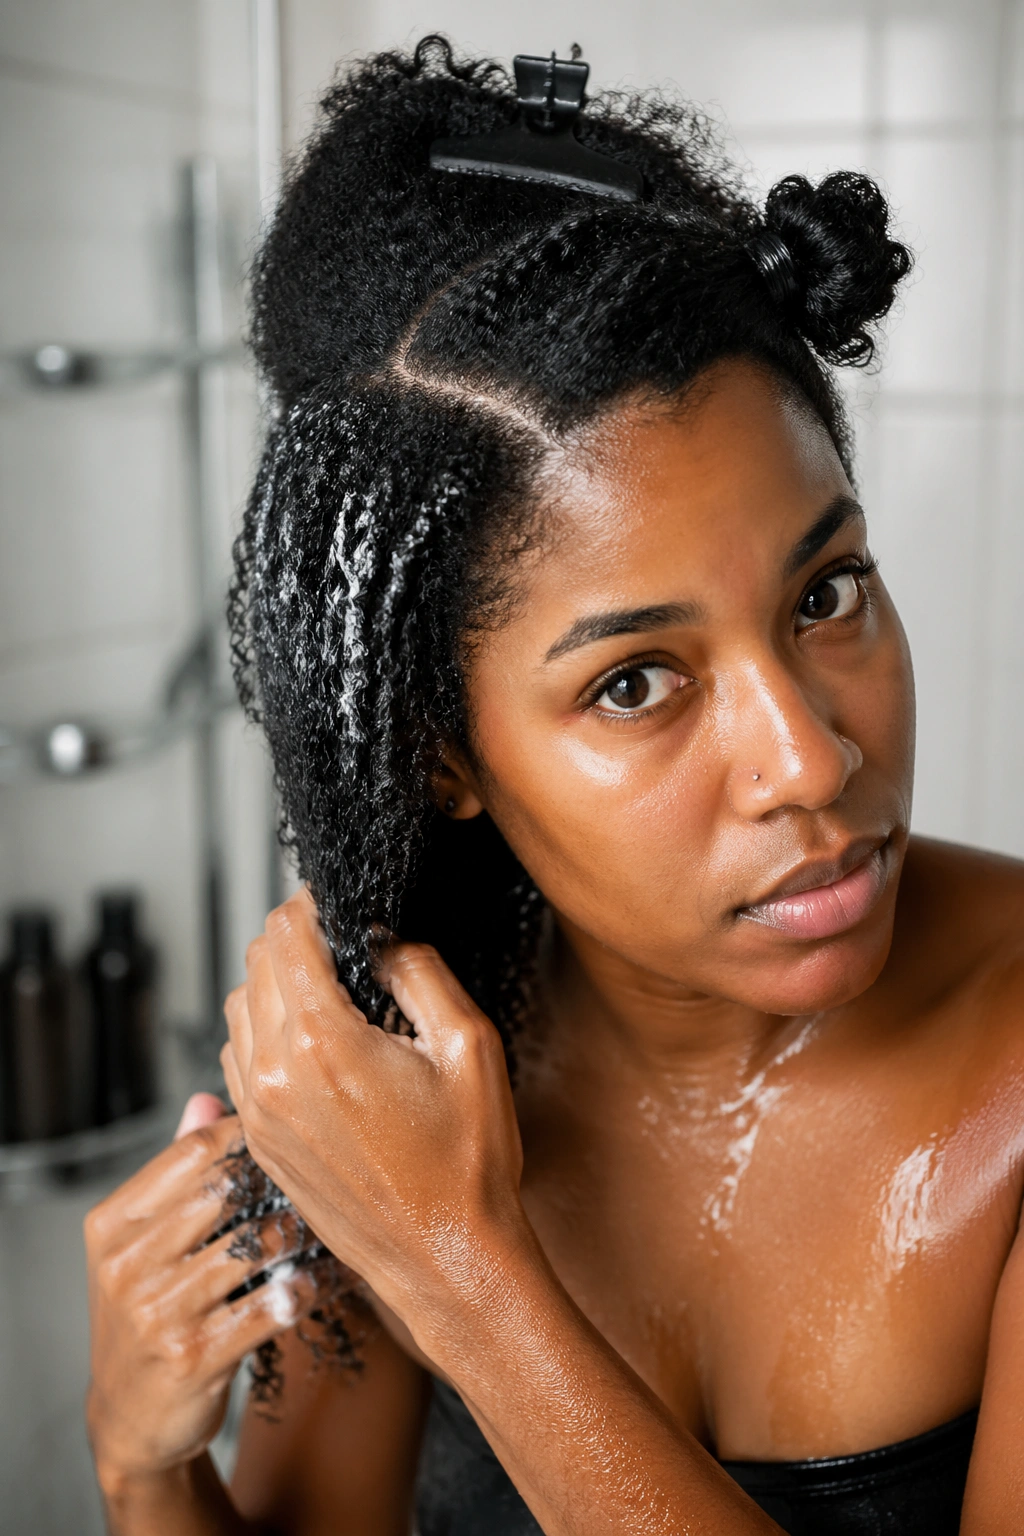
Clarify once a month with a sulfate shampoo or an apple cider vinegar rinse. In between, use a gentle cleansing conditioner or a sulfate-free shampoo. Deep condition with heat for 20 to 30 minutes under a plastic cap and a warm towel — don’t skip the heat, it opens the cuticle and lets moisture in properly.
Rinse cold at the end. I know it’s uncomfortable. I know you hate it. Do it anyway — it flattens the cuticle, locks in shine, and makes your strands look 30% smoother with zero extra product.
Detangle in four sections, fingers first, then comb. Work from the ends up. Applied in sections, this whole process takes maybe 15 extra minutes and saves you from losing handfuls of curls down the drain.
Choosing a Style Based on How Much Time You Have
Quick reality check. Some of the styles below take 15 minutes. Others take two hours. You need to know which bucket you’re in before you commit.
Fifteen-minute styles: pineapple, puff, half-up, claw clip tuck, twisted headband look, side part pin-back.
Thirty to sixty minutes: wash-and-go with definition, twist-out takedown, braid-out, bantu knot setup.
Two hours or more: full twist-out install, flat twist crown, defined finger coils, silk press touch-ups.
Match the style to your morning, not your Pinterest fantasy. A two-hour install on a weekday is a recipe for resentment. Save those for Sundays.
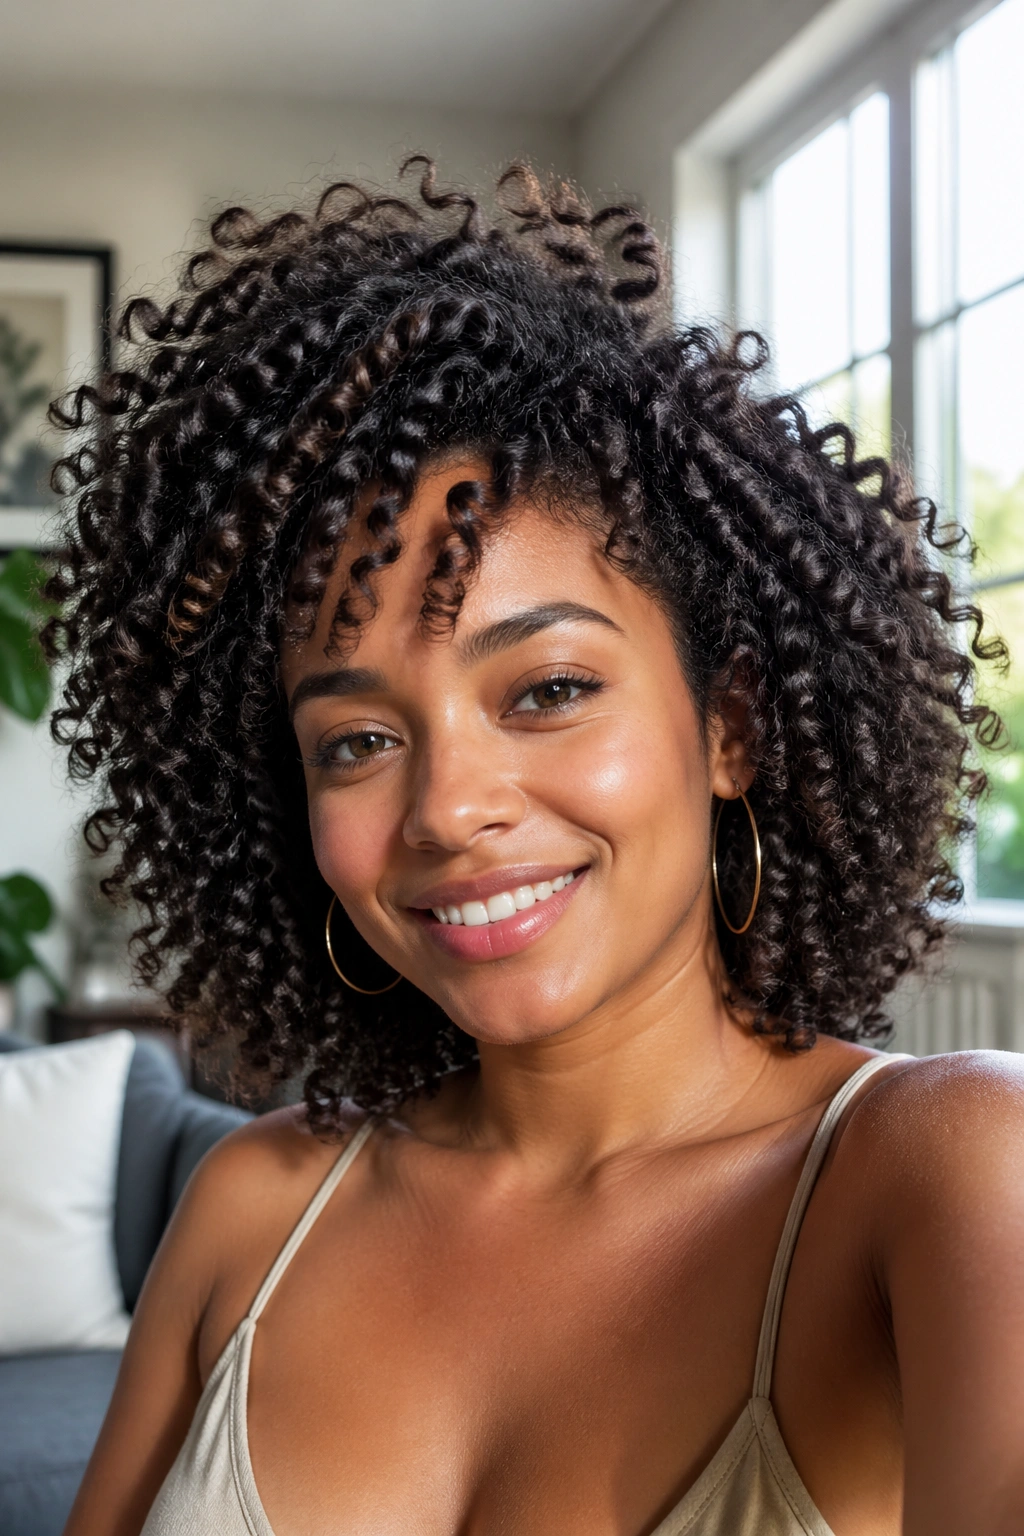
1. Voluminous Wash-and-Go
The wash-and-go is the foundation of medium curly styling, and when it’s done right, nothing else on this list feels as effortless. For medium length, the goal is to get clump definition without crunch, and volume without frizz. The secret is in the application method — not the products.
The Rake-and-Shake Method
- Section your hair into four parts while soaking wet
- Apply a leave-in, then a curl cream, then a gel — in that order
- Rake each product through with your fingers, then shake small sections to encourage clumping
- Let air dry 70% of the way before touching it again
Pro tip: Flip your head upside down for the final 30% of drying. Gravity lifts the roots and gives you natural crown volume that no product can fake.
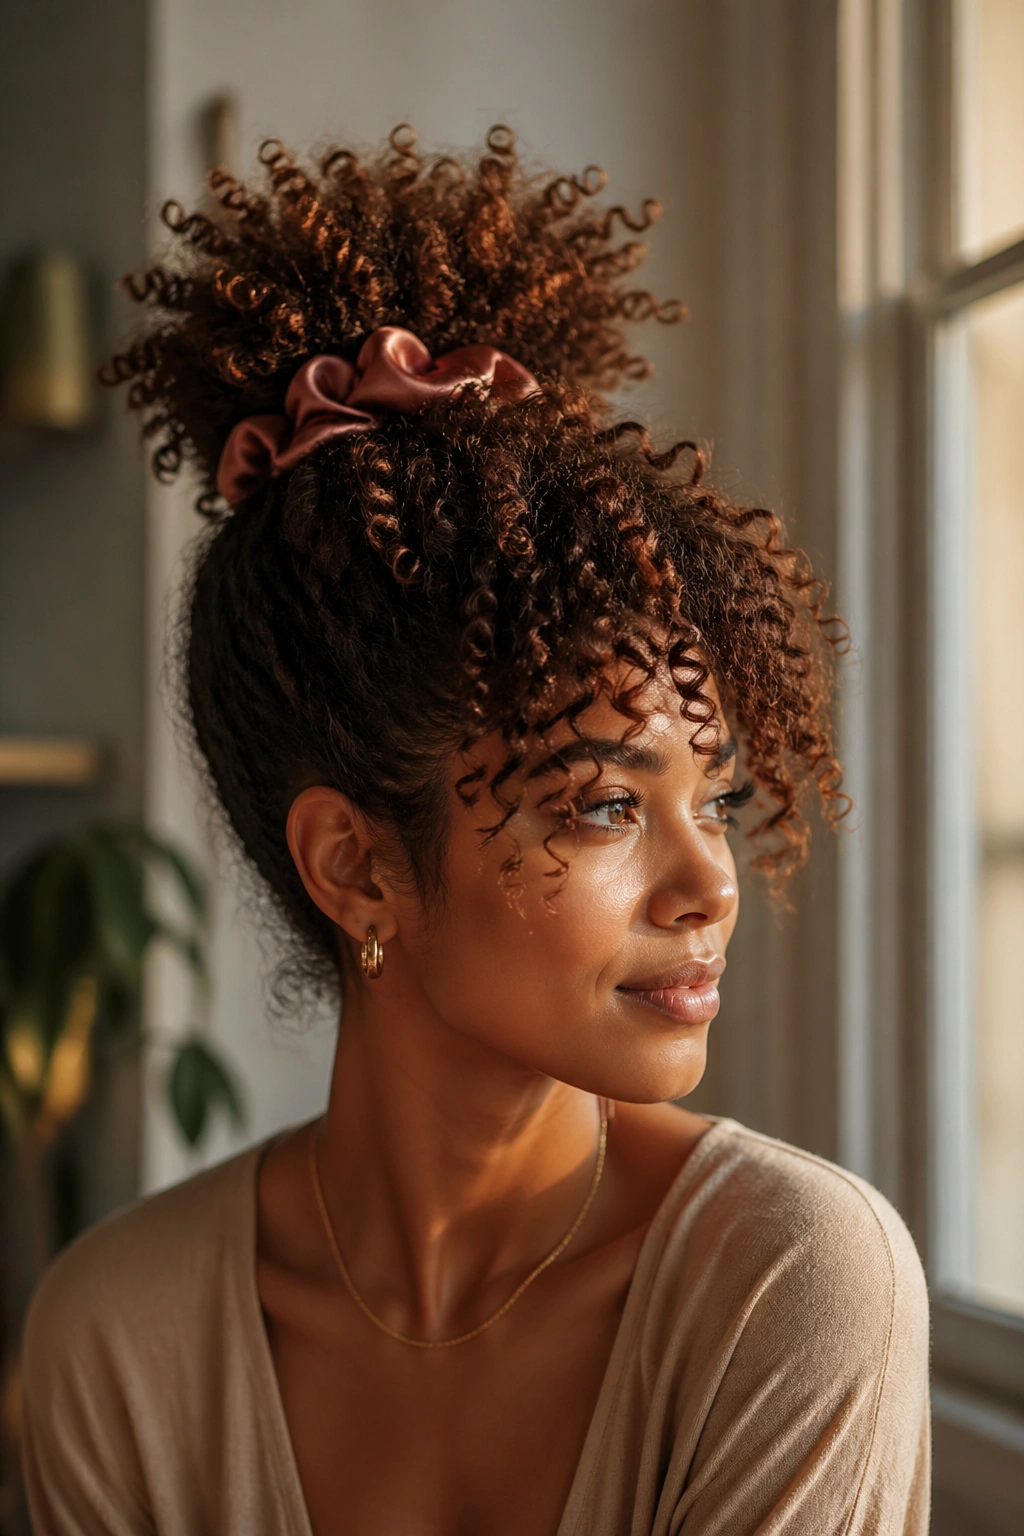
2. Classic Pineapple Updo
Is the pineapple just for sleeping? That’s what I thought for years, until I realized it’s secretly one of the best daytime updos medium hair can pull off. You gather everything at the highest point of your crown, loop a satin scrunchie once, and let the curls cascade forward.
The reason it works so well on medium length is the drape. Short hair can’t achieve the forward fall, and long hair creates a weight imbalance that pulls the scrunchie down. Medium sits perfectly — enough length to cascade, not so much that it topples.
How to Use It All Day
Don’t tighten the scrunchie. A loose loop is the entire point — it prevents the crease at the base of your gathering point. Add a gold cuff or a silk scarf at the base for dressier occasions.
3. Defined Twist-Out
Here’s a truth nobody will tell you about twist-outs on medium hair: the size of the twist matters more than the product. Smaller twists give tighter definition and take longer to unravel. Larger twists give looser waves and finish in half the time. Pick your trade-off.
I like twelve to sixteen twists total for medium length. That’s big enough to dry overnight but small enough to give real curl shape. Apply twist cream on damp — not wet — hair, and let them set for at least eight hours. Overnight is best.
Unravel with oiled fingers to keep the frizz down. Separate each twist into two, maybe three pieces. Stop there. The more you separate, the more volume you get, but also the more frizz. Know when to put your hands down.
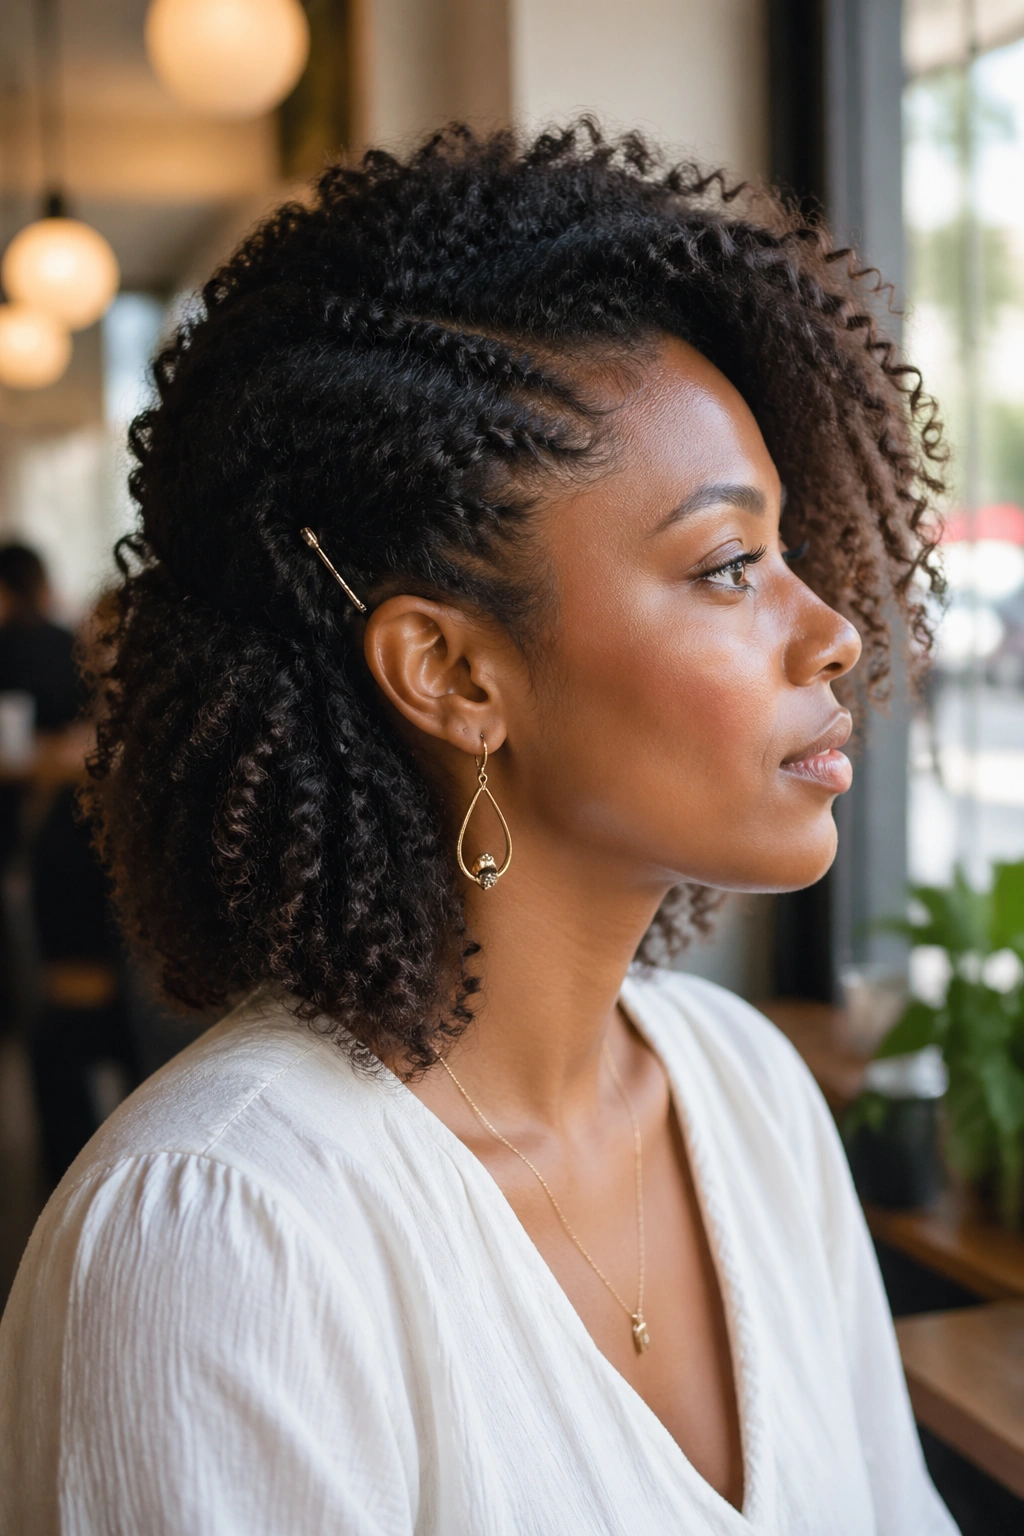
4. Side-Swept Half Up
Unlike the classic half-up that sits centered at the crown, the side-swept version drops the gathering point to just behind one ear. The asymmetry is what makes it feel done. What’s different is that it draws attention to the jaw and collarbone instead of the forehead.
Who this is for: anyone with a round face who wants elongation, and anyone bored of symmetrical styles. It’s also genuinely forgiving on day-three hair when your curls are starting to lose shape on one side.
Use a thin metal hair pin — the French-made ones with the beaded tips — and anchor the gathered section flat against the scalp. A spritz of oil sheen at the crown and you’re done in under eight minutes.
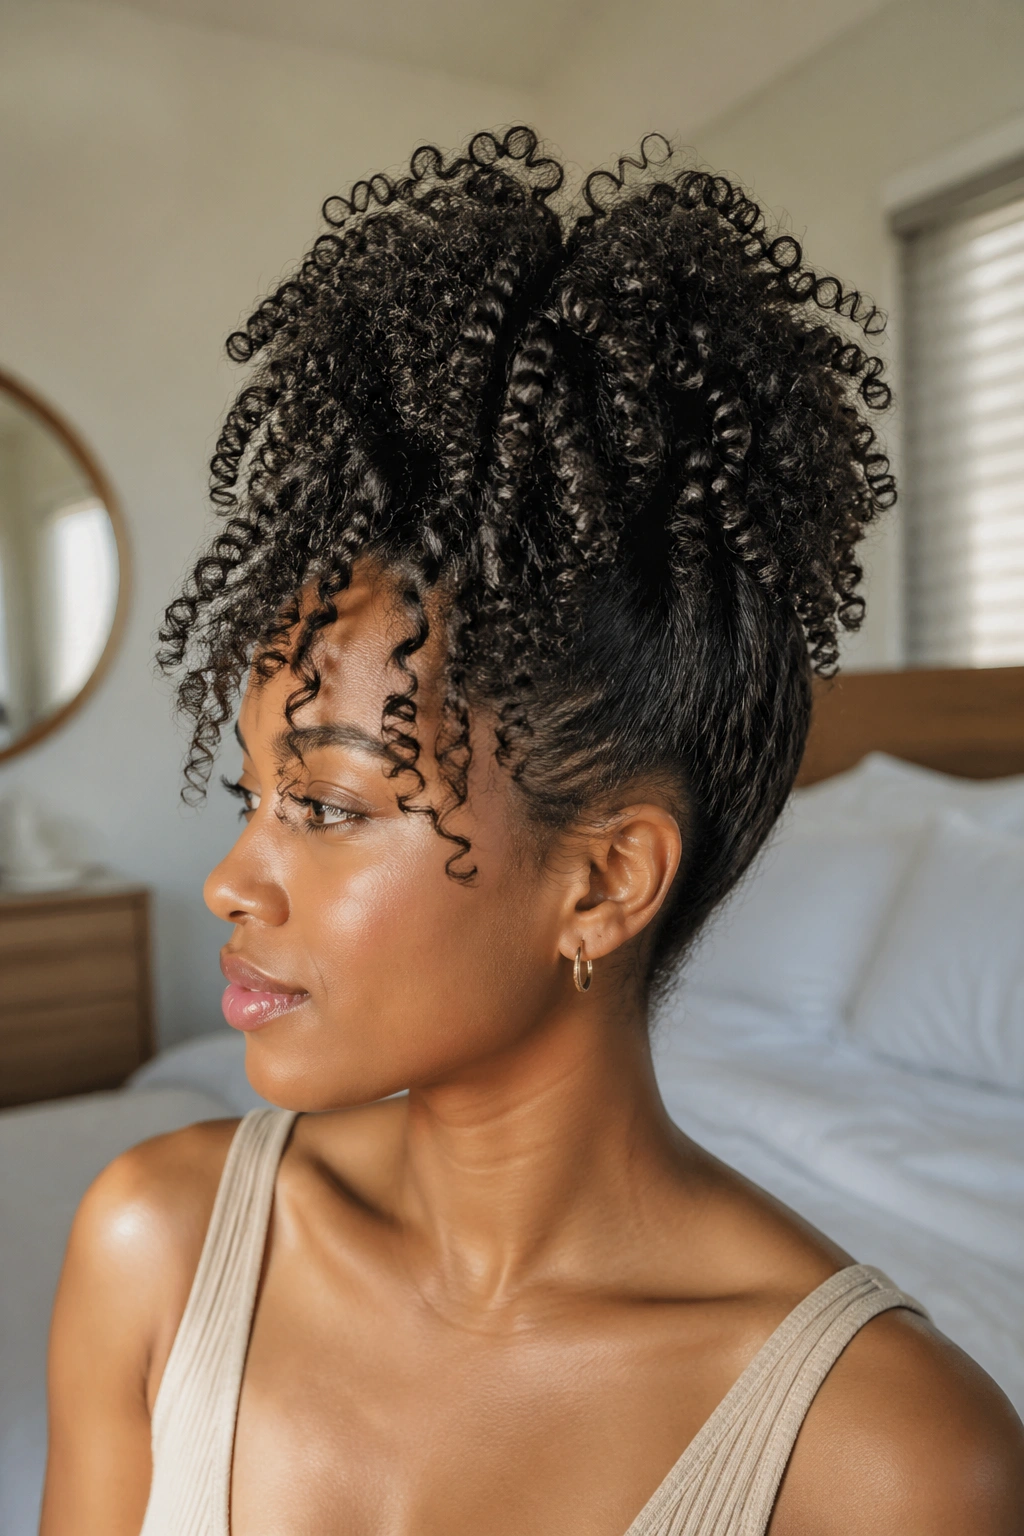
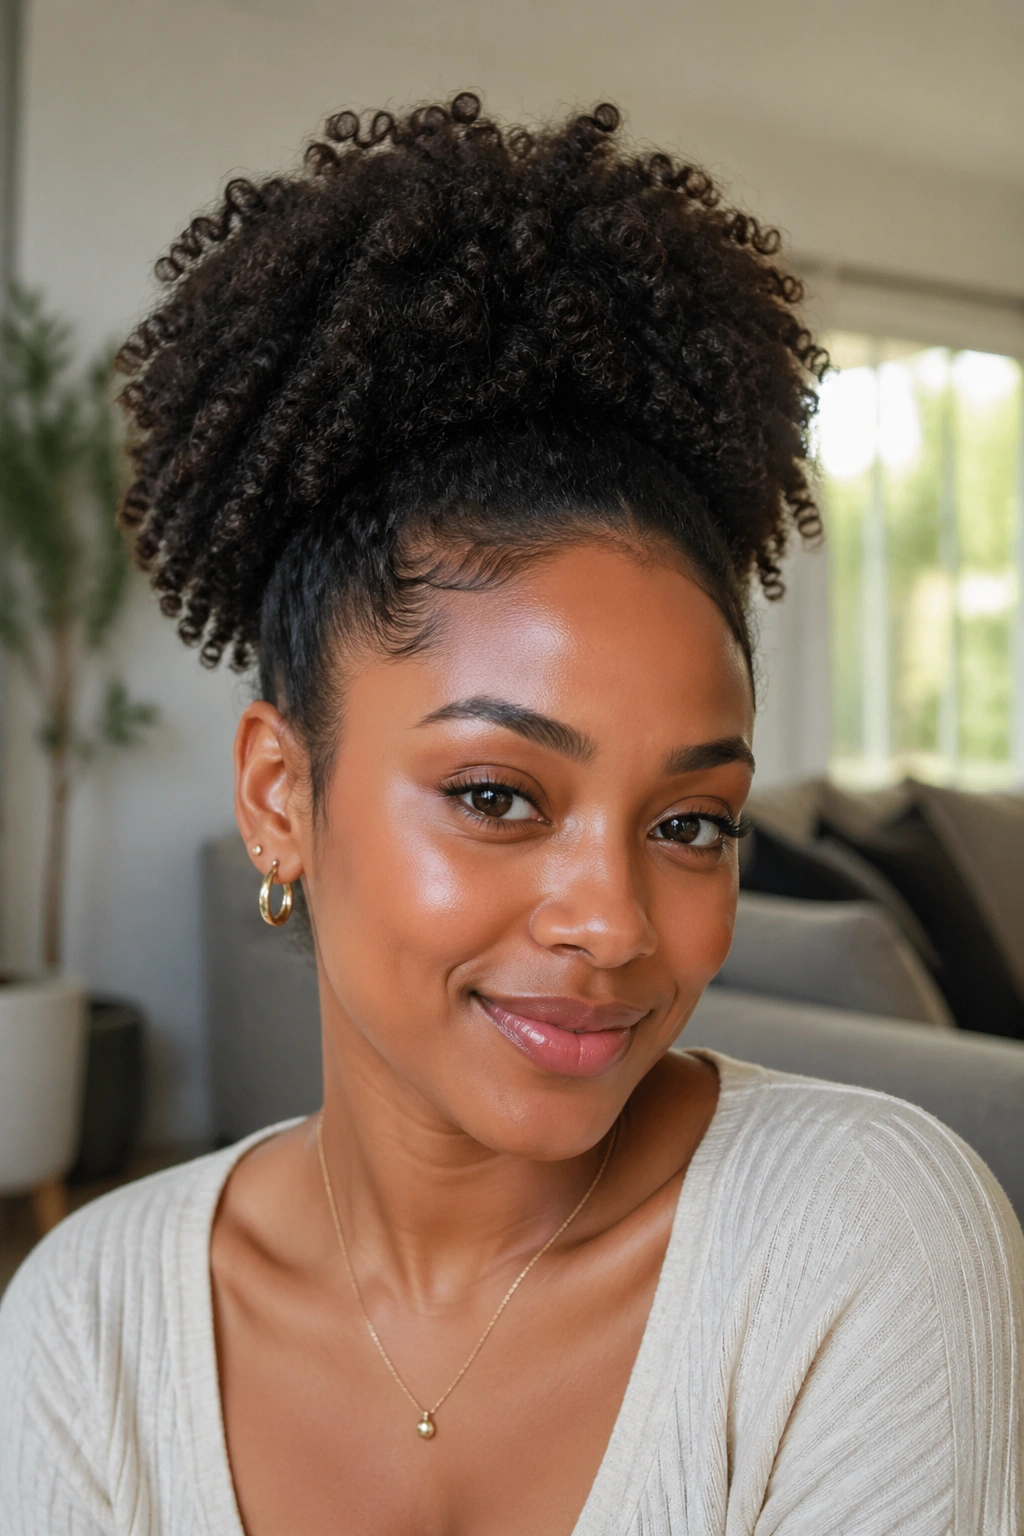
5. Full Crown Puff
The puff is one of those styles that looks simple but has more variations than people give it credit for. A full crown puff pulls everything back into a single rounded shape at the top-back of the head, leaving the hairline and edges exposed. On medium hair, the puff can stand four to six inches tall if your density supports it.
You’ll need a stretchy no-slip headband or a sectioned nylon stocking tied at the nape. Gather hair gently, smooth the front with a soft brush and edge control, then fluff the ponytail portion into a rounded globe shape. Pick it out from underneath — not from the top — to get maximum height without disturbing the surface.
The wear time is unbeatable. A puff lasts three to four days with minimal refresh, which makes it my pick for travel weeks when I can’t commit to a full restyle every morning.
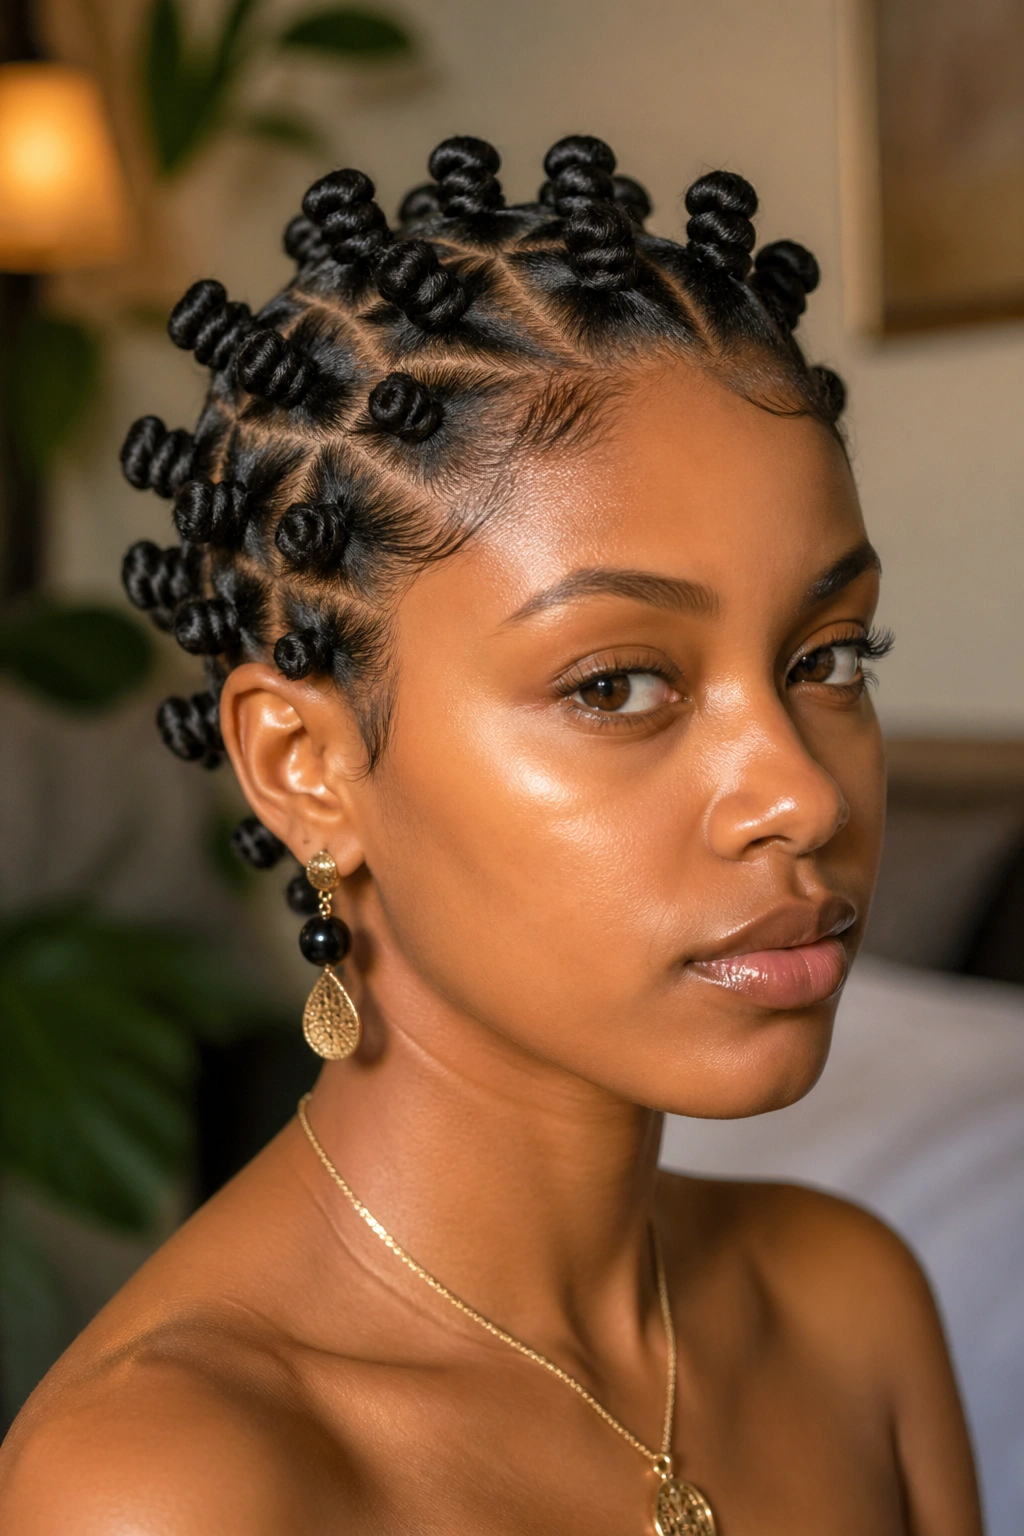
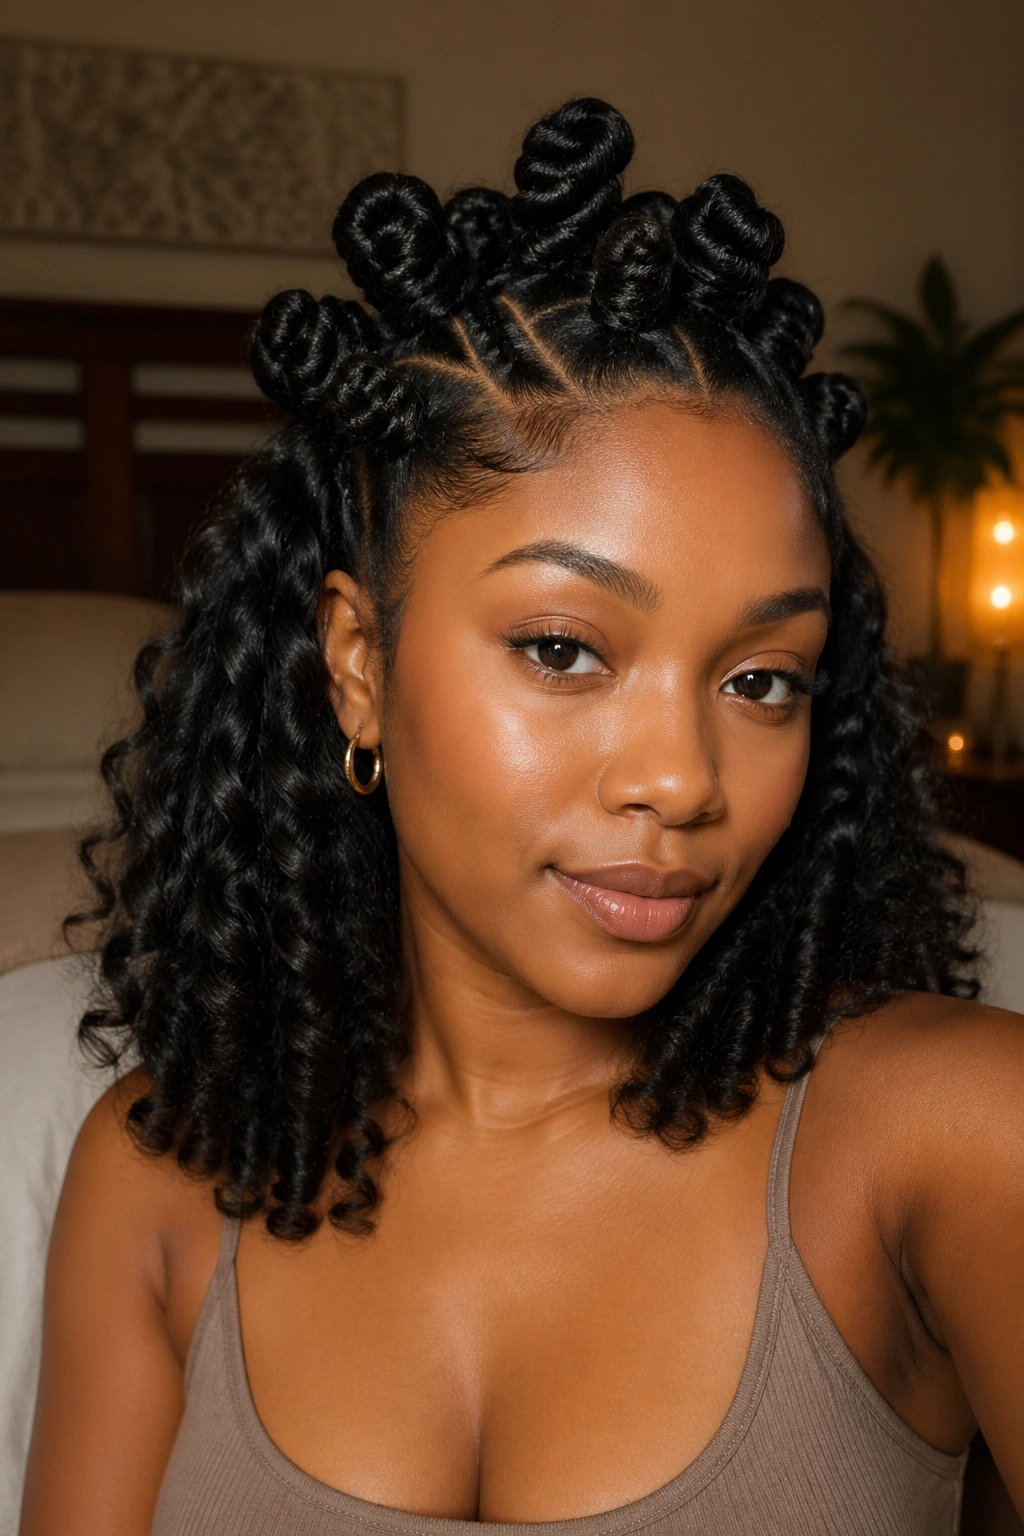
6. Mini Bantu Knots
Bantu knots on medium curly hair walk a line between protective style and statement look. Worn tight to the scalp, they’re an all-day style in their own right. Taken down after drying, they create one of the most defined curl sets you can get without heat.
Nine knots on each side, three in the back. That’s my standard count for medium length. Smaller than that and they take forever to dry. Larger than that and you lose the coil definition on takedown.
Section with a rat-tail comb into clean squares. Twist each section tight, then coil it around itself into a compact knot. Tuck the ends under. The compression is what gives you the spiral pattern later — loose knots make loose curls.
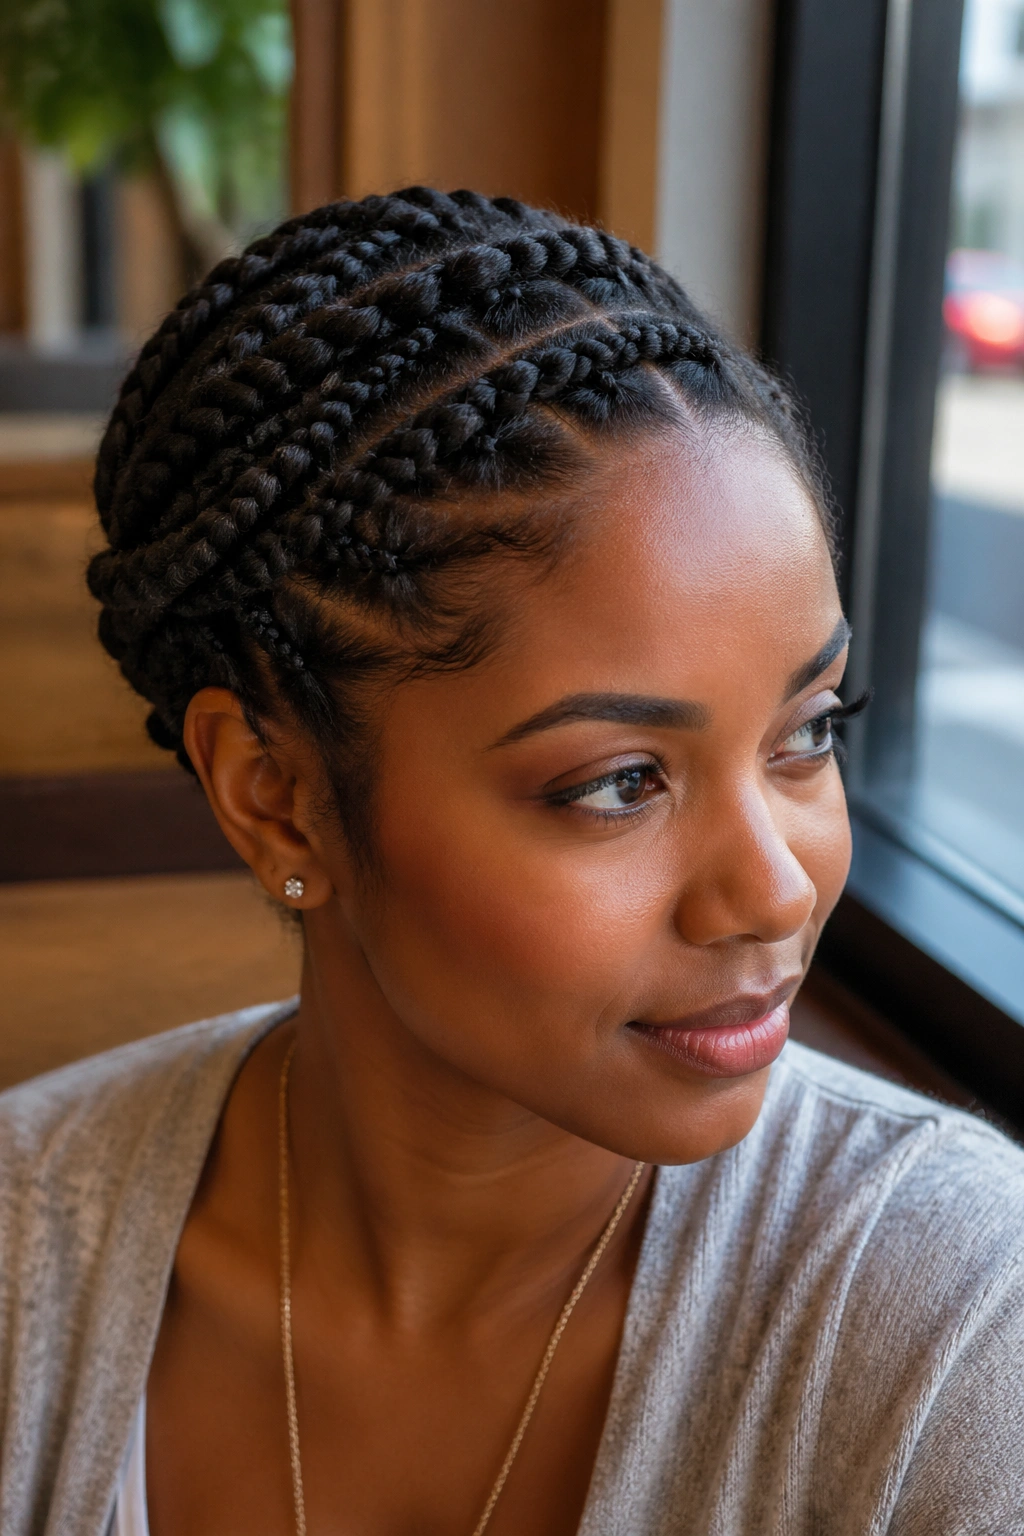
7. Flat Twist Crown
A flat twist crown is a cornrow’s softer cousin. Instead of weaving in a third strand the way you would with a traditional cornrow, you work with two strands and twist them along the scalp. The result has a more organic, rope-like texture that plays well with curly textures.
Why It Works on Medium Length
- The scalp-anchored portion keeps hair out of your face
- The back stays loose and can be puffed, twisted, or left curly
- Installation takes 45 minutes compared to 90+ for cornrows
- Much easier to take down without tangling
The crown portion lasts about a week before the twists start to fuzz. Refresh with a light oil mist and a satin scarf overnight to stretch it another few days.
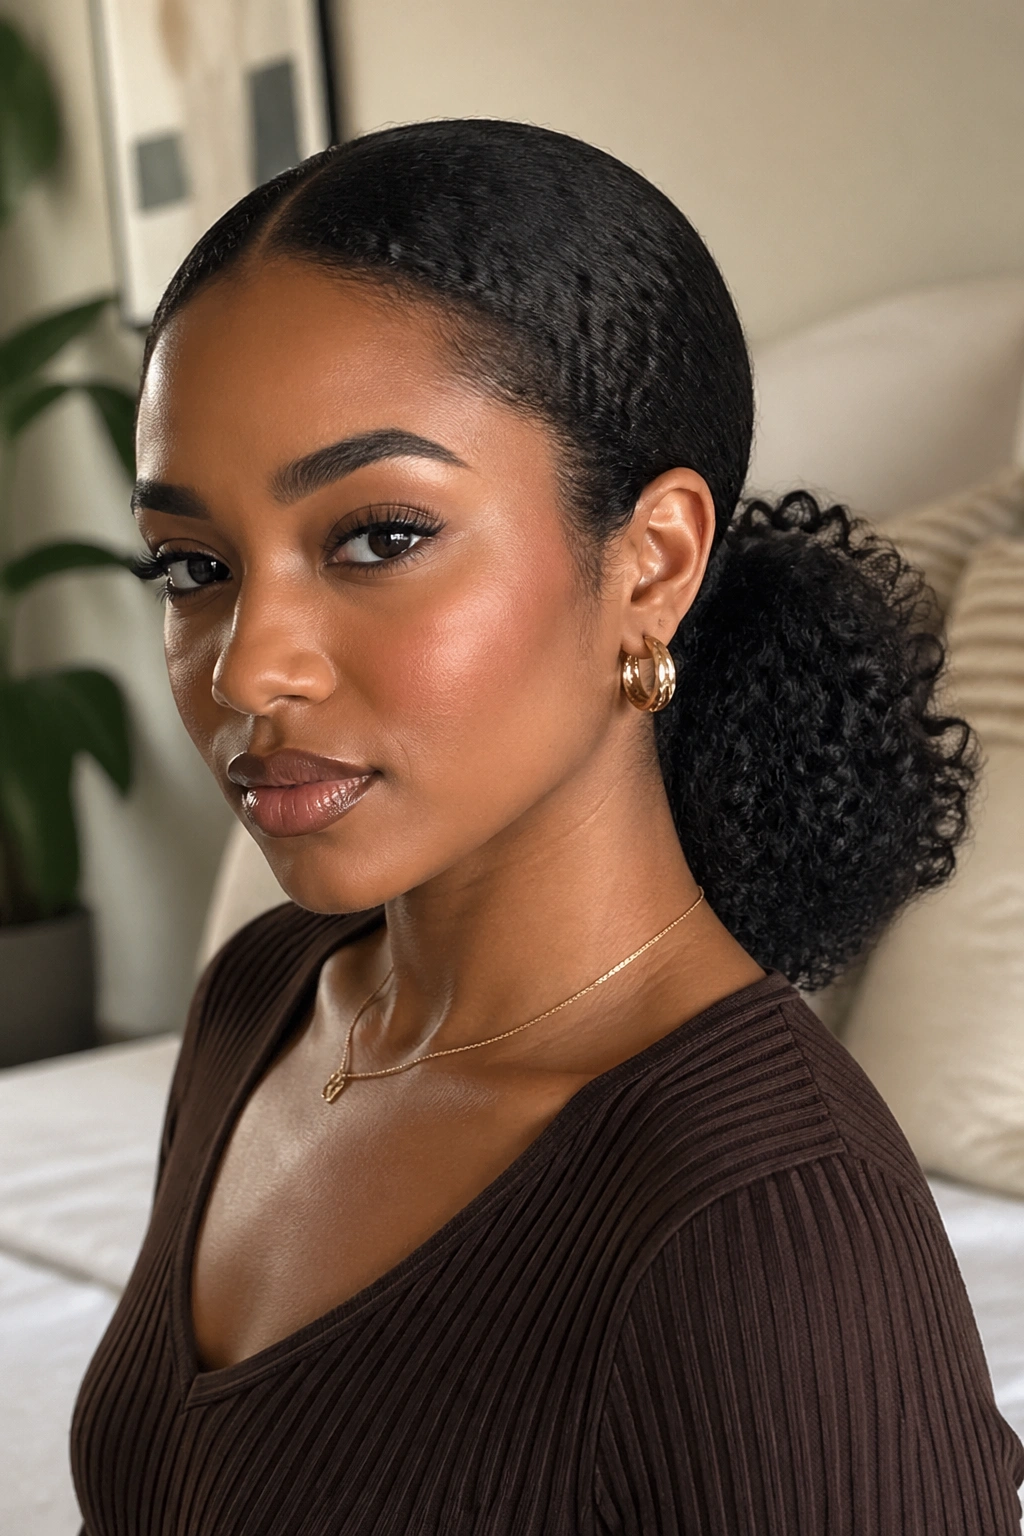
8. Low Curly Ponytail
Gather everything at the nape. Smooth the front with a boar bristle brush. Wrap a small section of hair around the base of the elastic to hide it. Spritz the ponytail with water and a curl refresher. Finger-fluff.
That’s it. The whole thing takes four minutes once you’ve done it twice, and it’s the style I default to on days when I overslept and still need to look put together for a meeting. Medium length is perfect for this because you get enough ponytail weight to drape gracefully without it swinging around and catching on your collar.
A small tortoiseshell clip at the base can dress it up in about ten seconds if the day calls for it.
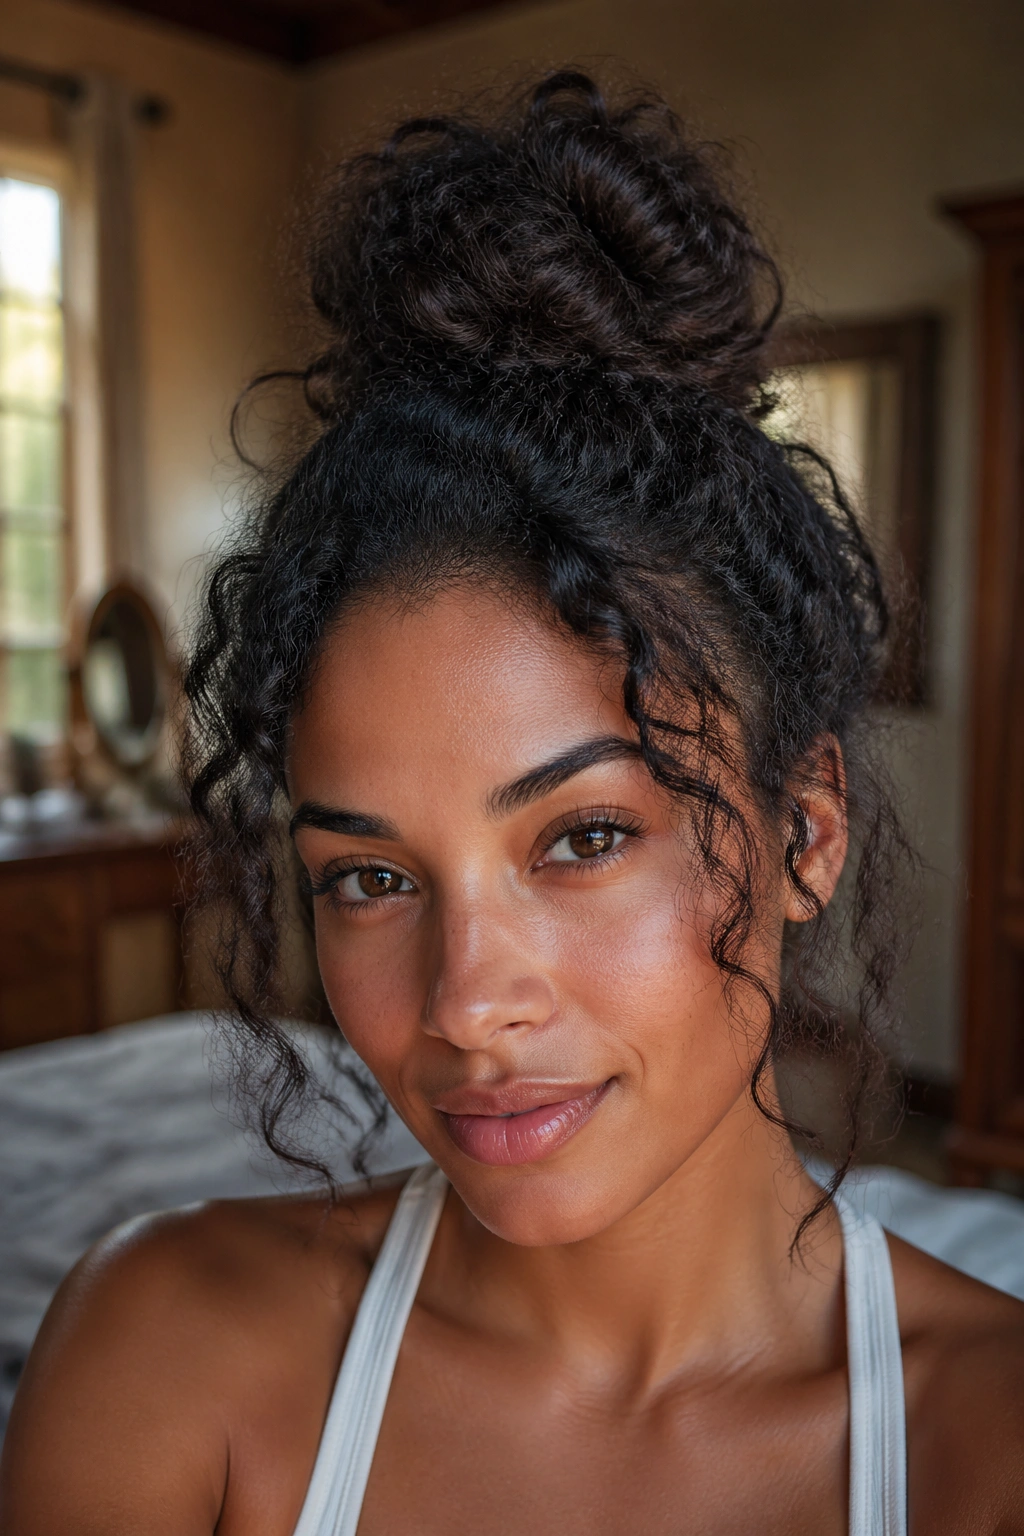
9. Messy Top Knot Bun
The top knot bun is a different animal from a sleek bun. Where a sleek bun demands smooth everything and edge control and a mirror, the messy version embraces texture. You want some bits falling around your face. You want the bun itself to look sculpted rather than uniform.
Gather loosely at the crown. Twist once — not three times, just once — and coil into a rounded shape. Pin with two bobby pins crossed in an X pattern underneath. Pull out a few face-framing pieces and call it done.
What makes the messy bun forgiving on medium hair is that you don’t need every strand to cooperate. The whole vibe works because of the imperfection. Shorter pieces that won’t reach the bun become intentional face-framers. Curls popping out of the side become “effortless.”
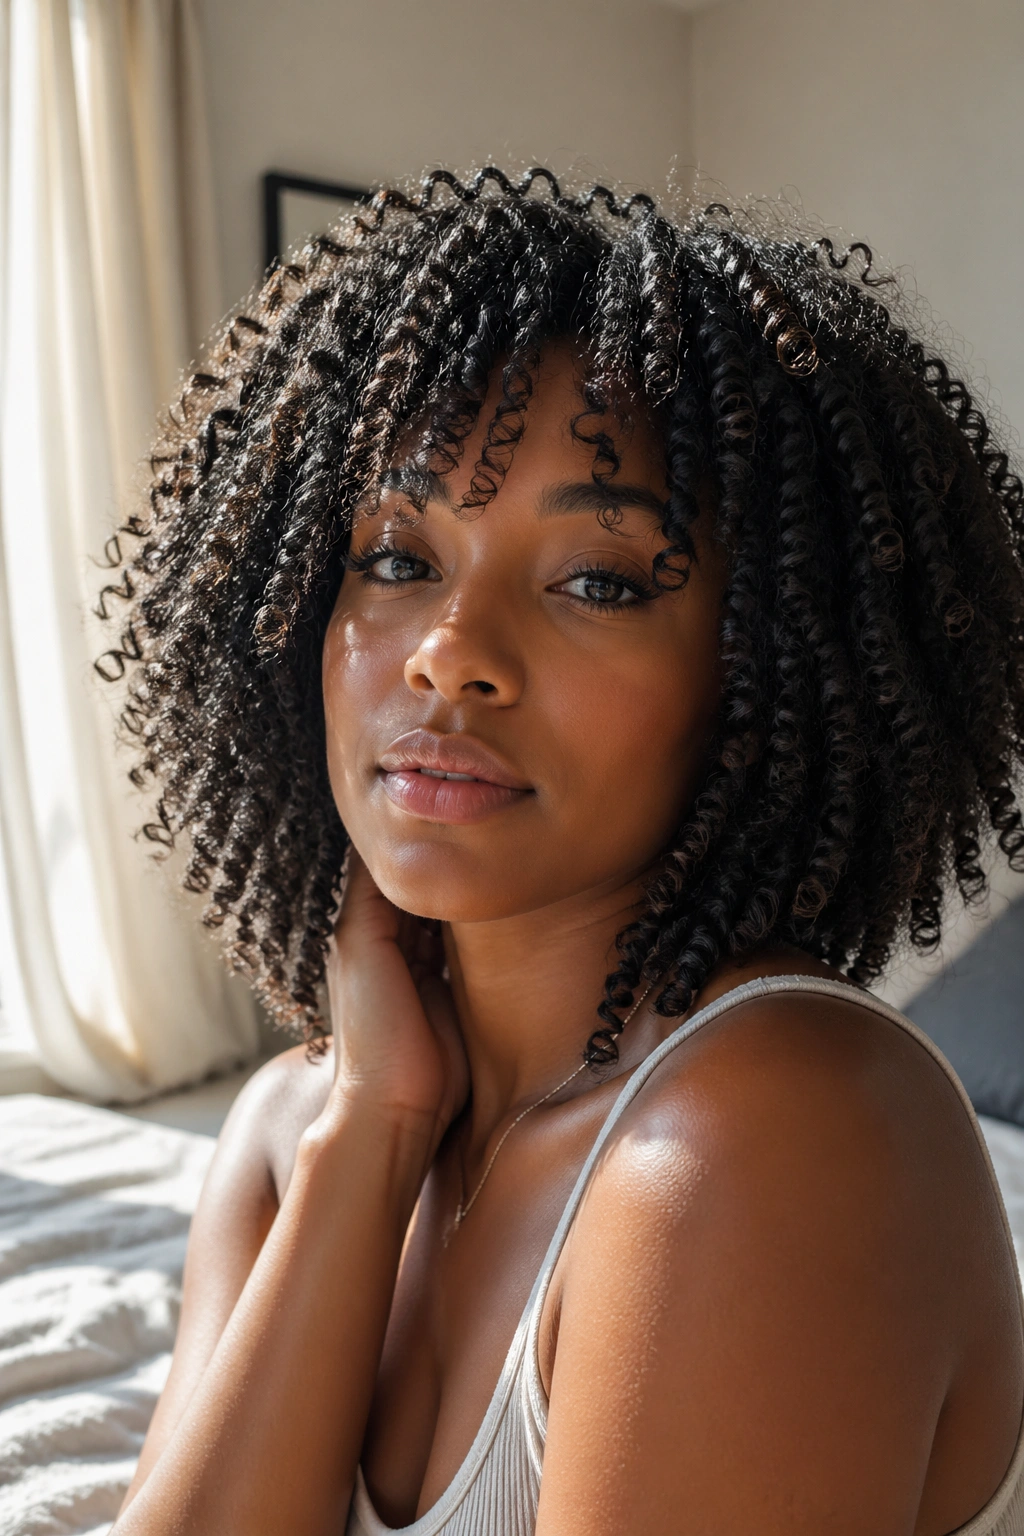
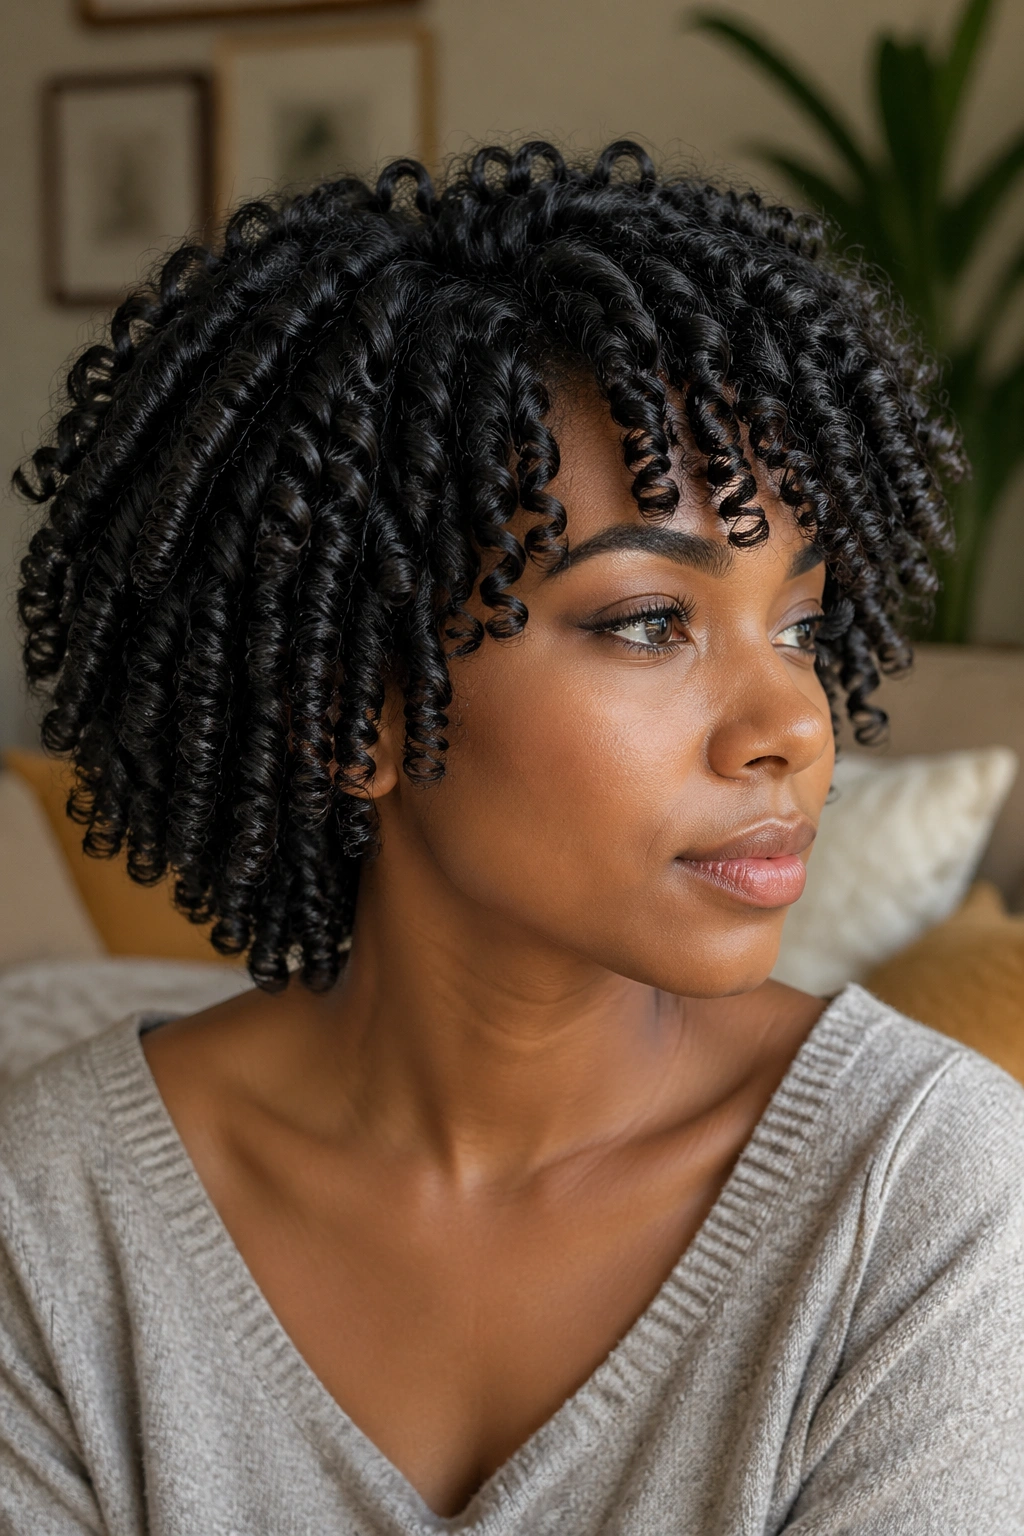
10. Finger Coils on Medium Density
Finger coils are precisely what they sound like — you take a small section of curly hair, apply product, and wind it around your finger until it forms a defined spiral. Simple in concept, tedious in practice, stunning in result.
On medium-length hair, finger coils give you the most defined curl pattern possible without using heat, chemicals, or rollers. Each coil hangs independently, the pattern is uniform, and the shine is intense because the cuticle stays aligned.
The Catch
Installation takes 90 minutes to three hours depending on your density. It’s a Sunday project, not a Monday morning style. But once installed, the coils can last two weeks with a silk bonnet at night and a light oil refresh every two to three days. The time investment pays back if you’re willing to front-load it.
11. Twisted Headband Look
Here’s a quick one that looks far more complicated than it is. Take a small section of curls from each side of your front hairline, twist them inward toward each other, and pin them together at the back of your crown. The twisted sections form a crown-like band across the top of your head, while everything else hangs loose in natural curls underneath.
The reason it reads as elegant is the contrast. Structured front, wild back. That juxtaposition is the whole effect, and it translates from grocery runs to dinner dates without changing anything.
Use two bobby pins per side, crossed in an X, to anchor the twists. If your curls are fine, add a light-hold gel to the twisted portion before you start — it’ll hold the shape long enough to make it through an afternoon.
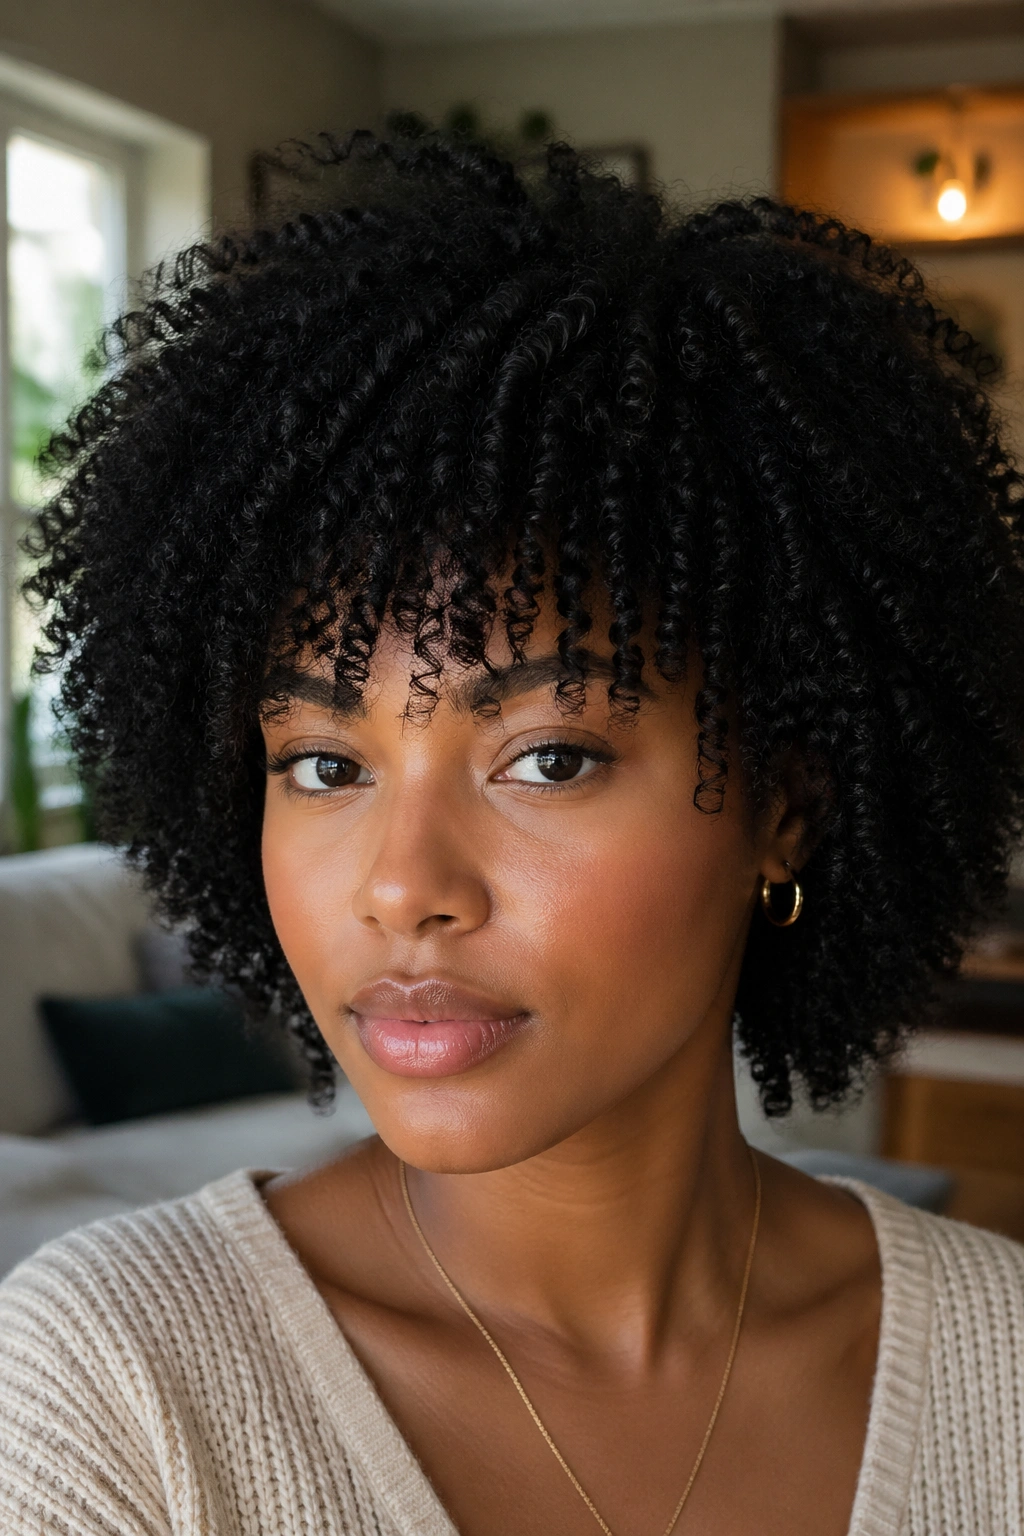
12. Afro Fro Fringe
The fringe — think of it as a soft curly bang — can completely reshape a face when done right on medium hair. The goal isn’t blunt bangs. You’re going for a rounded, slightly softened front portion that hits anywhere from mid-forehead to just above the brows.
Who This Is For
- Faces with strong foreheads that want softening
- Anyone wanting a dramatic style change without a full cut
- People who don’t mind dedicated fringe maintenance
The thing is, fringes on curly hair need their own micro-routine. You’ll wash and style just the fringe every other day, separate from your full wash routine, because the oils from your forehead weigh it down faster than the rest of your hair. Keep a small spray bottle at your bathroom sink. Two minutes, done.
13. Half-Updo With Bantu Knots
This is a hybrid style and one of my personal favorites because it gets multiple jobs done at once. The top half of your hair goes into a series of small bantu knots across the crown. The bottom half stays loose in natural curls.
The effect is structured-meets-free. The knots create visual interest up top and pull hair off the face, while the loose curls below keep the style soft and feminine. It’s also a two-day style — sleep in a satin bonnet, wake up, unravel the knots on day two, and now you have curl definition mixed with your wash-and-go texture.
Three to five knots is the right count for this. Space them evenly across the front third of your scalp.
14. Sleek Low Bun
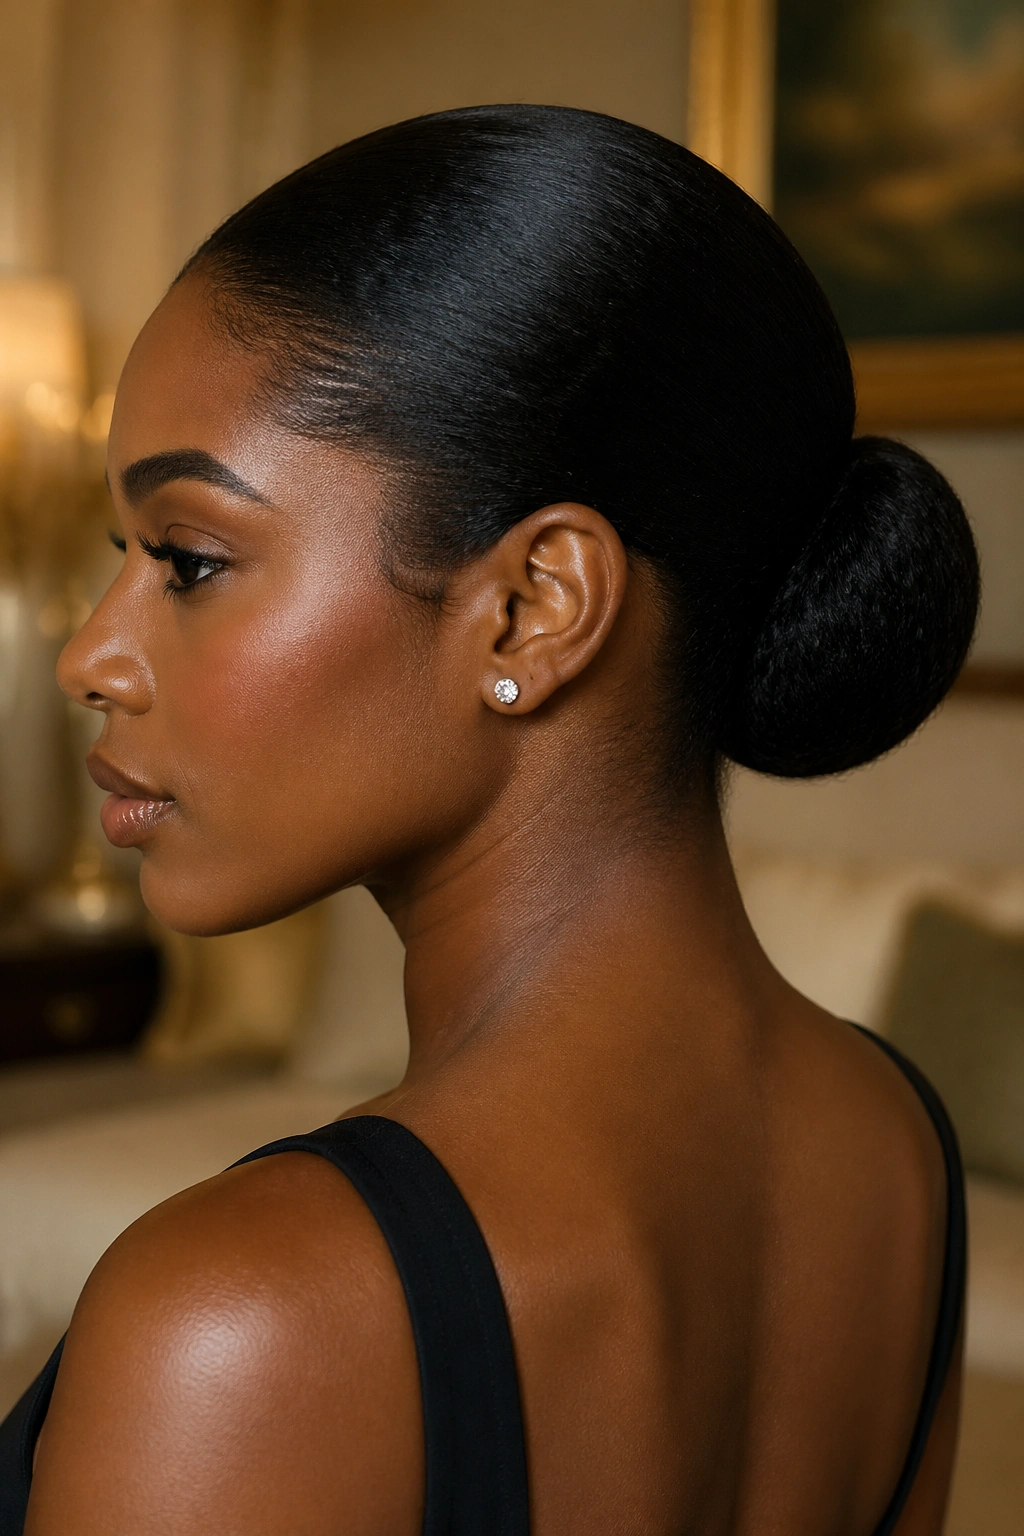
A sleek low bun on curly hair requires commitment to the gel. I mean actual commitment. You cannot half-step a sleek bun and hope for the best — the second your hair dries, any missed frizz will ruin the whole illusion.
Start with damp hair. Apply a strong-hold gel generously from your hairline to the crown and along the sides. Brush everything back with a boar bristle brush in multiple passes. Gather at the nape, twist once, and pin into a tight bun shape. Tie a silk scarf around your hairline and let it set for 15 minutes to lock in the smoothness.
The result is polished, formal, and dramatic — the kind of style that works for job interviews, weddings, and moments when you want your jawline to be the whole conversation.
15. Curly Mohawk With Flat Twists
Unlike a shaved mohawk, the faux mohawk uses flat twists on both sides to create the illusion of a shaved middle without touching the scissors. The middle strip of curls stands up, while the side twists keep everything gathered cleanly against the scalp.
What’s different about this style is the sheer visual impact. It’s not a background style. You walk into a room and people notice — it reads as bold, confident, and intentional. Perfect for concerts, photoshoots, or any event where you want to be seen.
Who it’s best for: anyone comfortable with statement hair, anyone with thick enough density to create clear separation between the middle strip and the sides. Not ideal for fine hair — the flat twists need density to hold their shape against the scalp.
16. Curly Mullet Shape
The curly mullet has come a long way from its questionable origins, and on medium curly hair, it can actually look gorgeous. The shape calls for shorter layers at the crown and front, with the back left longer. The contrast plays into the natural volume of curly textures.
Styling a curly mullet is mostly about respecting the cut. You define curls at the crown, let the back hang freely, and skip the urge to blend everything into one uniform length. The whole point is the silhouette contrast.
If you’re thinking about getting this cut, go to a dry curly hair stylist — someone who cuts curl by curl while the hair is dry. A wet cut on a curly mullet can go sideways fast because curls spring up once they dry.
17. Chunky Twist-Out
A chunky twist-out uses six to eight large twists across the whole head instead of the twelve-to-sixteen standard. The result is looser waves, more undulation than definition, and a dramatically faster install time.
The whole install takes about 25 minutes for medium-length hair. That’s the selling point. You sacrifice some of the tight curl pattern definition in exchange for speed, and what you get instead is a beachy, lived-in texture that reads effortless rather than sculpted.
Chunky twist-outs also work beautifully as a day-two or day-three style. After the initial takedown, the waves soften further, giving you a bigger, fluffier silhouette that photographs well in almost any light.
18. Side Part With Slicked Edges
A deep side part changes your whole face. Really — try it once and see. The shift of your curl volume to one side creates asymmetry that elongates, softens, and draws attention exactly where you want it.
Pair the deep side part with slicked-back edges along your temples and hairline. Use a soft-bristled edge brush and a quality edge control gel. Work in thin layers, letting each pass dry slightly before adding more. Three thin layers beat one thick layer every time.
The Catch
Edges can take practice. Your first few attempts will probably look uneven or too stiff. Don’t give up — watch your favorite hair content creators do the motion slowly, and practice on damp hair over a bathroom sink. Within a week, you’ll have it.
19. Claw Clip Tuck
I hesitated to include this because it feels almost too simple, but the claw clip tuck is genuinely one of the best quick styles for medium curly hair. Gather your curls loosely at the back of your head, twist once, fold upward, and clamp a claw clip at the fold.
That’s the entire tutorial.
The tuck creates a half-bun effect where the ends of your curls poke out above the clip like a curly fountain. It takes 30 seconds. It looks intentional. And it’s perfect for those days when washing is two days away and your hair is in that awkward limbo between fresh and refresh.
Use a large claw clip — the oversized ones sold as “jumbo” — because standard clips can’t grip the volume of medium curly hair.
20. Braid-Out Big Waves
A braid-out is the twist-out’s cousin, and the difference matters more than you’d think. Where twist-outs produce tight, coiled definition, braid-outs create S-shaped waves that move differently and catch light differently. The waves are larger, softer, and stretch the hair more, which makes braid-outs a go-to for elongation.
Install five to seven large plaits while your hair is damp. Bigger plaits mean bigger waves. Let them dry fully — overnight is non-negotiable. Wake up, unravel, fluff at the roots with your fingers, and you’ve got waves that look like you spent two hours with a curling iron.
The braid-out excels on day two and day three. The waves soften into beachy texture that holds shape for almost a week if you sleep in satin.
21. Frohawk With Flat Twist Sides
The frohawk variation with flat twist sides is the stepped-up version of the classic mohawk look. Instead of just puffing the middle strip and letting the sides hang, you install flat twists on both sides that run from your hairline back toward the middle. The twists create clean diagonal lines that frame the central puff beautifully.
This is a ninety-minute install. It’s not a quick style. But it also lasts a full week with decent maintenance, which makes the time investment worth it if you’re committing to a statement look for an event-heavy week.
The middle strip can be worn as a puff, a twist-out takedown, or defined finger coils — each gives a different final look with the same base structure.
22. Afro With Hair Accessories
Sometimes the style isn’t about the hair at all. It’s about what you put in it. A full natural afro — wash-and-go or twist-out takedown — can become a completely different look with the right accessory.
Gold cuffs, small seashells, wire-wrapped beads, pearl pins, and flower clips all transform a basic fro into something editorial. The key is restraint. Two or three accessories, strategically placed, beats twenty scattered everywhere.
Gold hair cuffs in particular photograph beautifully against dark curls. Slide them onto individual sections, pinch them closed, and they stay all day without disturbing your style.
23. Curly Undercut Illusion
An undercut gives you the drama of a shaved side without committing to actually shaving. The trick is pinning one side of your curls flat against the scalp, then flipping the rest of your hair over to create the asymmetric mohawk silhouette.
You can use a row of two or three flat twists on the pinned side, anchor them with bobby pins along the temple, and the effect reads as a clean shaved section from a few feet away. Close up, it’s clearly curls — but the visual impact is the same.
This is a style that works particularly well for events, photoshoots, and anytime you want a bold look without the maintenance of an actual cut.
24. Space Buns on Curls
Two buns, one on each side of your head, set a few inches apart at the crown. That’s the whole concept. Playful, expressive, and surprisingly easy to pull off on medium curly hair if you use the right tools.
Part your hair down the middle first. Gather each side into a high-ish ponytail, then twist and coil into a rounded bun. Pin into place. The buns don’t need to be perfectly uniform — slight asymmetry adds character.
Space buns pair well with bold accessories. Silk ribbons, scrunchies in contrast colors, or a single statement scarf tied between the two buns.
25. Curly Afro With Headwrap
The headwrap is more than an accessory — it’s a foundation piece that can save you on a bad hair day, extend your wash, and completely change your aesthetic in under four minutes. Medium curly hair works particularly well with wraps because you have enough length to style the front section visibly while the wrap covers the rest.
Fold a rectangular scarf into a long strip, tie it at the nape with a double knot, then wrap the ends around the front of your head. Tuck the ends at the crown and let your front curls spring out over the top edge of the wrap.
How to Get the Most From It
- Satin or silk wraps won’t drag your curls
- Cotton wraps absorb oils and flatten curls at the hairline
- Pick colors that contrast your outfit, not your hair
- Try pre-tied wraps if you’re intimidated by knotting
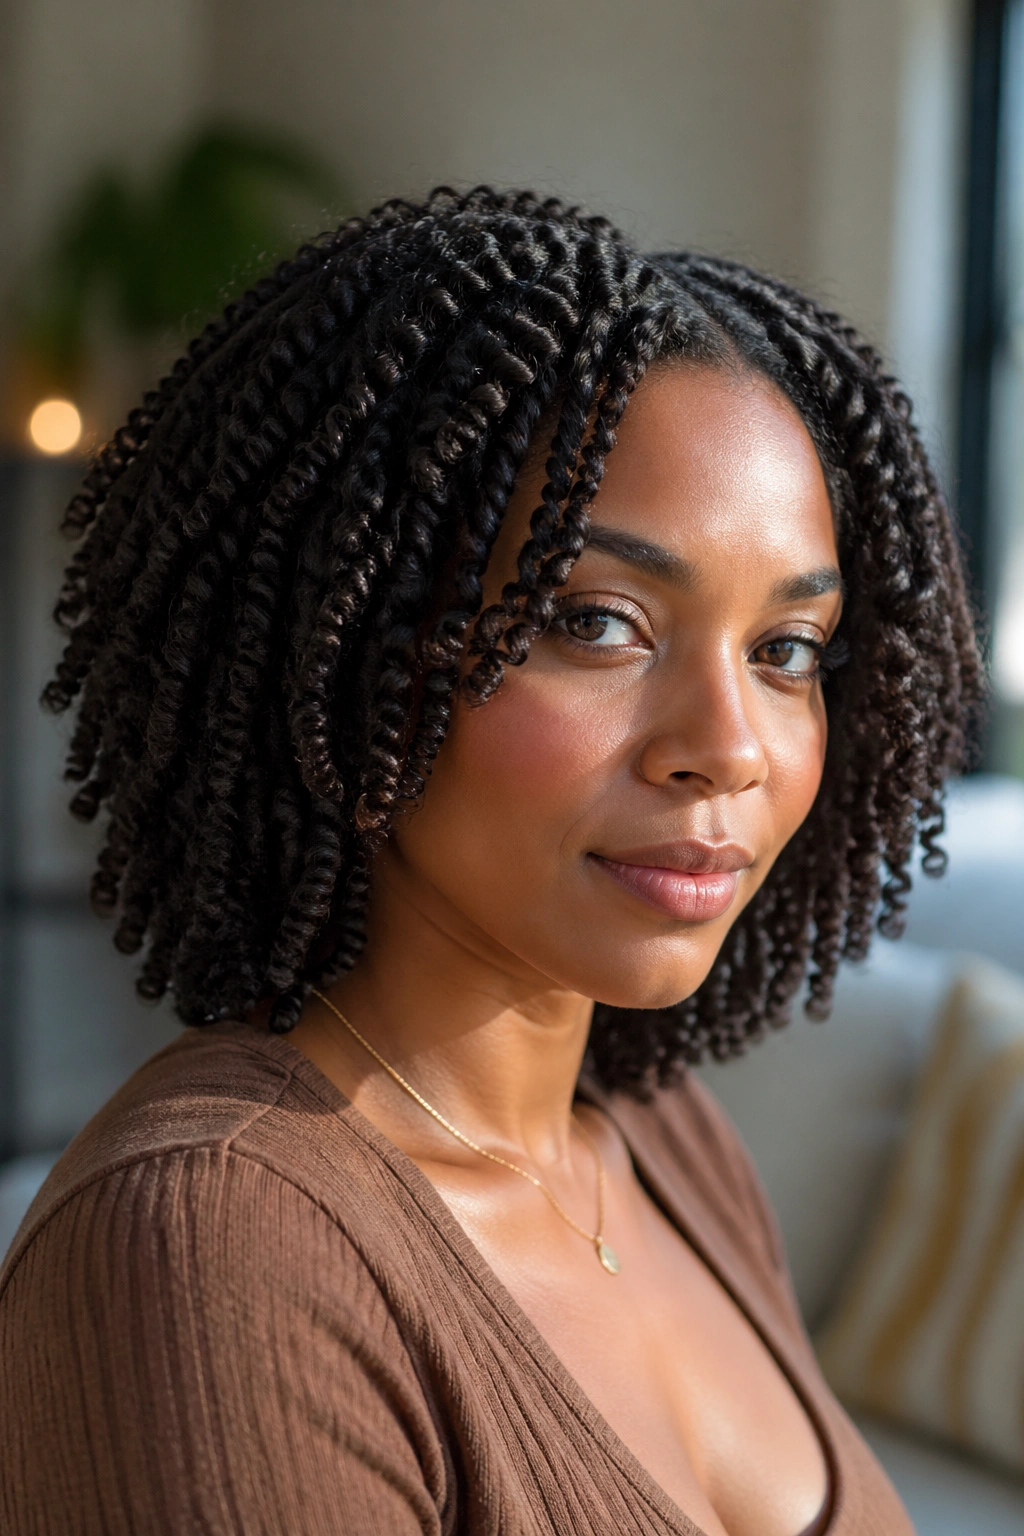
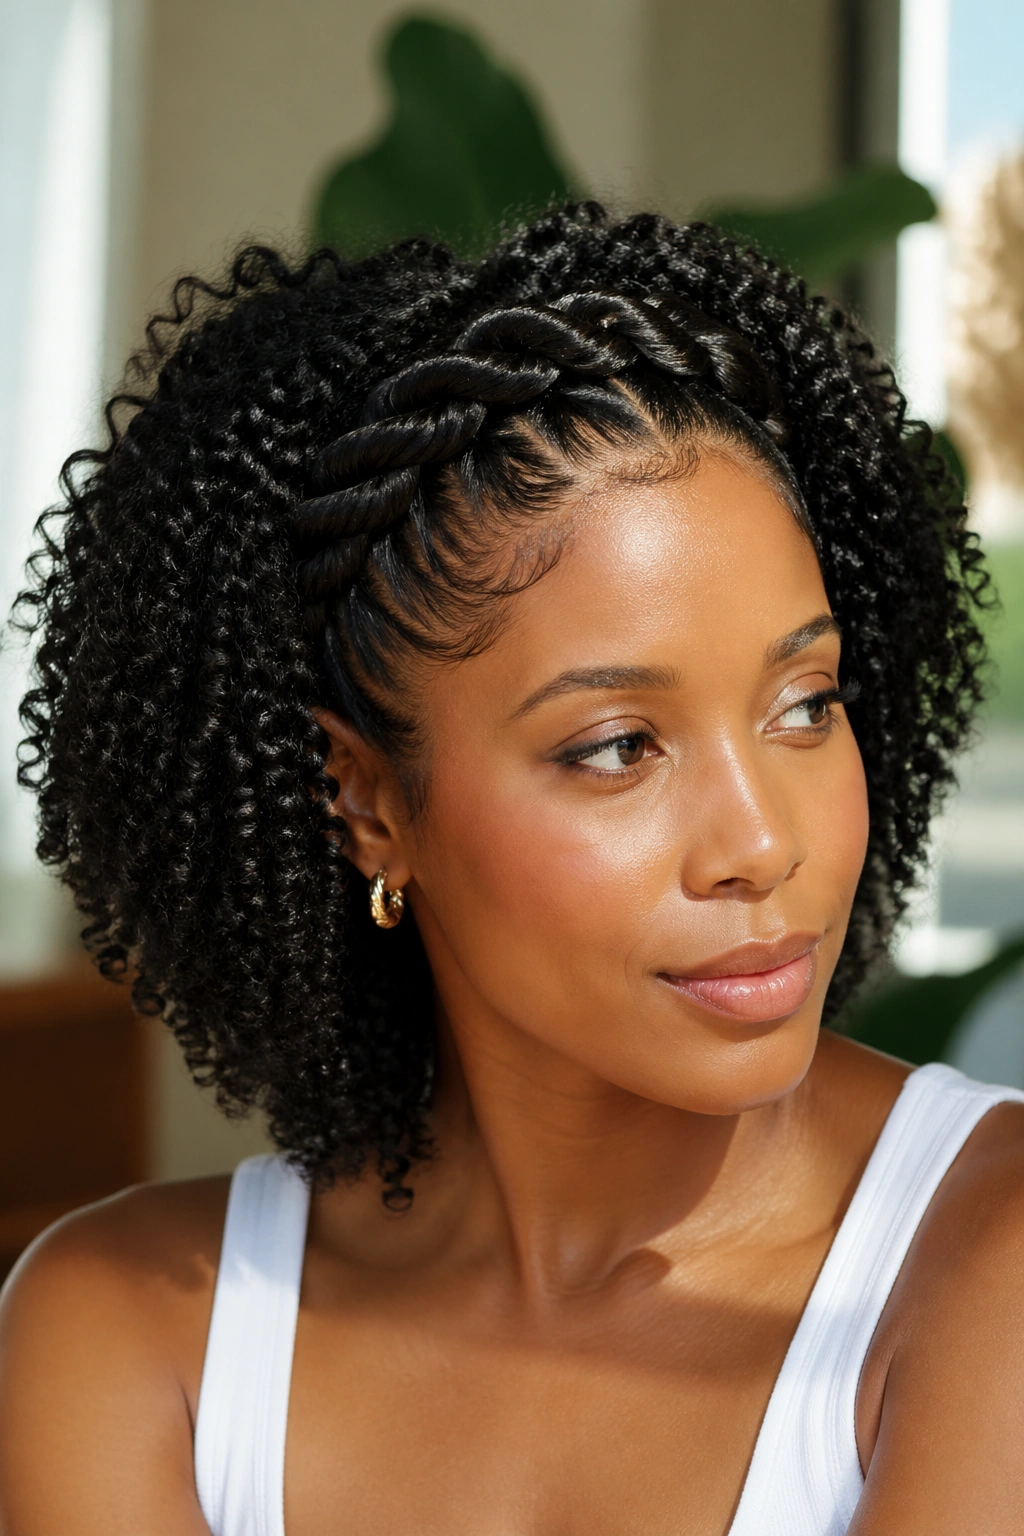
26. Three-Strand Twist Set
A three-strand twist is a twist done with — you guessed it — three strands instead of two. The result has a more intricate rope-like texture than a regular two-strand twist, and the takedown produces a slightly looser, more S-shaped wave pattern.
I like three-strand twists as a weekly set. Installation is slightly slower than two-strand twists, maybe 20 extra minutes total, but the takedown pattern lasts noticeably longer. You get two to three extra days of style before the curls lose their shape entirely.
Who’s this for? Anyone bored with regular twist-outs. Anyone who wants more texture variation. Anyone willing to learn a new technique for noticeably different results.
27. The Shrunken Natural
The last style on the list isn’t really a style at all — it’s embracing the shrunken state of freshly washed medium curly hair with zero stretching, no banding, and no heat. You wash, apply product, let dry, and wear the natural shape exactly as it comes out.
Shrinkage on medium-length curls can range from 30% to 70% depending on curl pattern, and for years I fought it. I banded, I stretched, I blew out. Then one day I let it be, and I realized the shrunken silhouette has its own beauty — round, full, and distinctly you.
This isn’t giving up on styling. It’s recognizing that the default shape of your curls is valuable on its own. Embrace it one day a week. Your hair will thank you for the break from manipulation, and you’ll start to see your natural pattern more clearly than you ever did from behind a styling session.
Maintenance: Making These Styles Last
Any style on this list will wear down over 24 hours if you don’t think about maintenance. The good news is that maintenance for medium curly hair is almost identical across styles.
Sleep on satin. Not “sleep with satin somewhere in the room” — actually put your head on a satin or silk pillowcase or tie a satin scarf around your hair. Cotton pillowcases pull moisture out of your curls all night and cause morning frizz that takes 20 minutes to fix. Satin solves it passively while you sleep.
Refresh with water first, product second. A spray bottle filled with water and a tablespoon of leave-in conditioner is the single most useful tool for refreshing day-two and day-three styles. Spritz the sections that look tired, smooth with your hands, go.
Don’t re-style every morning. Restyle every three to four days. The mistake most people make is treating their hair like it needs a full reset each day, which causes friction damage and shortens the life of every style.
Common Mistakes That Ruin Medium Curly Styles
The biggest mistake I see people make is using too much product. More isn’t better. More is actually worse — it weighs down clumps, causes flaking, creates buildup that won’t rinse out for two wash days, and makes your curls look heavy rather than defined.
Start with half what you think you need. Apply, wait, see. Add more only if the hair still feels dry after 20 seconds.
Second mistake: touching wet hair constantly while it dries. Once you’ve applied your products and shaped your curls, hands off. Every touch breaks a clump. Every flip disturbs the drying pattern. Trust the process and let your hair set without interference.
Third mistake: styling on bone-dry hair. You need moisture in the strand for any style to take. If your hair is dry, mist it with water first. This is non-negotiable — dry hair fights back, damp hair cooperates.
Fourth mistake: skipping the leave-in. I don’t care how good your styling cream is. Without a leave-in base underneath, your curls are working from empty, and your style won’t hold past noon.
Picking the Right Style for Your Face Shape
Round faces benefit from styles with vertical volume — top knots, frohawks, high pineapples. These elongate and create the illusion of length.
Oval faces are lucky. Almost every style works. Experiment freely.
Square faces soften with curls that hit the jaw or shoulder line. Half-up styles and side-swept looks downplay strong angles beautifully.
Heart-shaped faces do well with volume at the sides rather than the top. Pineapples work, but so do full side puffs that balance the wider forehead.
Long faces benefit from horizontal volume — wide wash-and-gos, side parts, accessories that add visual width at the cheekbones.
There are exceptions to every rule, and the best way to find what works is to try three or four styles from this list that seem completely different and take photos. You’ll spot what flatters your face faster in photos than in the mirror.
Final Thoughts on Building Your Rotation
Twenty-seven styles is a lot. You’re not supposed to do all of them. Pick three that fit your morning routine, two that fit your event calendar, and one that’s just for fun on a Sunday. That’s your rotation.
Build skills in that rotation. Get fast at each one. The goal isn’t to be a walking curl encyclopedia — the goal is to have a few styles you can execute confidently in whatever time you have.
Medium-length curly afro hair is one of the most versatile hair situations on the planet. Lean into it. Try things. Laugh when they don’t work. And the next wash day, try again.
Your curls will cooperate eventually. They always do.