The puff ponytail is one of those styles that seems simple until you actually try to make a good one. I’ve watched friends wrestle with unravel, flat crowns, edge breakage, and the dreaded “sad puff” — you know the one, where your ponytail sits too low and droops sideways like it gave up halfway through the day. A good puff has height. It has a round shape. It stays put. And it doesn’t pull your baby hairs out by the third hour.
After years of wearing puff ponytails on every length from TWA to shoulder-length, I can tell you these 21 puff ponytails for natural afro hair are the ones worth your time. Some are quick morning styles. Some are elaborate installs that pay off for special occasions. All of them respect the realities of natural hair — density, shrinkage, edge health, and the fact that most of us don’t have 90 minutes on a weekday.
Let me say this clearly before we dive in. The difference between a great puff and a mediocre one isn’t your hair length. It’s your technique, your tool choice, and whether you’ve nailed the tension balance between “secure” and “comfortable.” I’ve seen gorgeous puffs on three-inch natural hair and sad puffs on women with waist-length curls. Length matters less than method.
One more thing. If your edges are struggling — if you’re noticing thinning at your temples or breakage at your hairline — please, please don’t force a tight puff every day. The consistent pulling at the same spots is cumulative damage. Rotate puffs with other looser styles, and give your edges breaks.
Why Puffs Work So Well on Natural Hair
The puff ponytail flatters natural hair in a way few other styles can match. It draws attention to volume and texture instead of fighting it. The rounded shape celebrates the natural fullness of textured hair rather than trying to smooth it into submission. And it takes minutes — actual minutes, not hours — when you know what you’re doing.
There’s also versatility built into the style. You can wear a puff at the crown for a dramatic high look, at the back for a mid-height style, or at the nape for something softer and more professional. Each height changes the whole vibe without any new skills.
The single best feature of a puff: you can rock one without “doing” your hair. A freshly washed wash-and-go, a day-three twist-out, a week-old protective style — any of those can be gathered into a puff and suddenly look intentional and polished.
Tools You Actually Need
You don’t need a full toolkit for puff ponytails. You need maybe five things, and two of them you probably already own.
A stretchy headband or a nylon stocking (yes, a stocking — I’ll explain in a second), a soft boar bristle brush, a rat-tail comb, an edge brush, and a good edge control gel. That’s the kit.
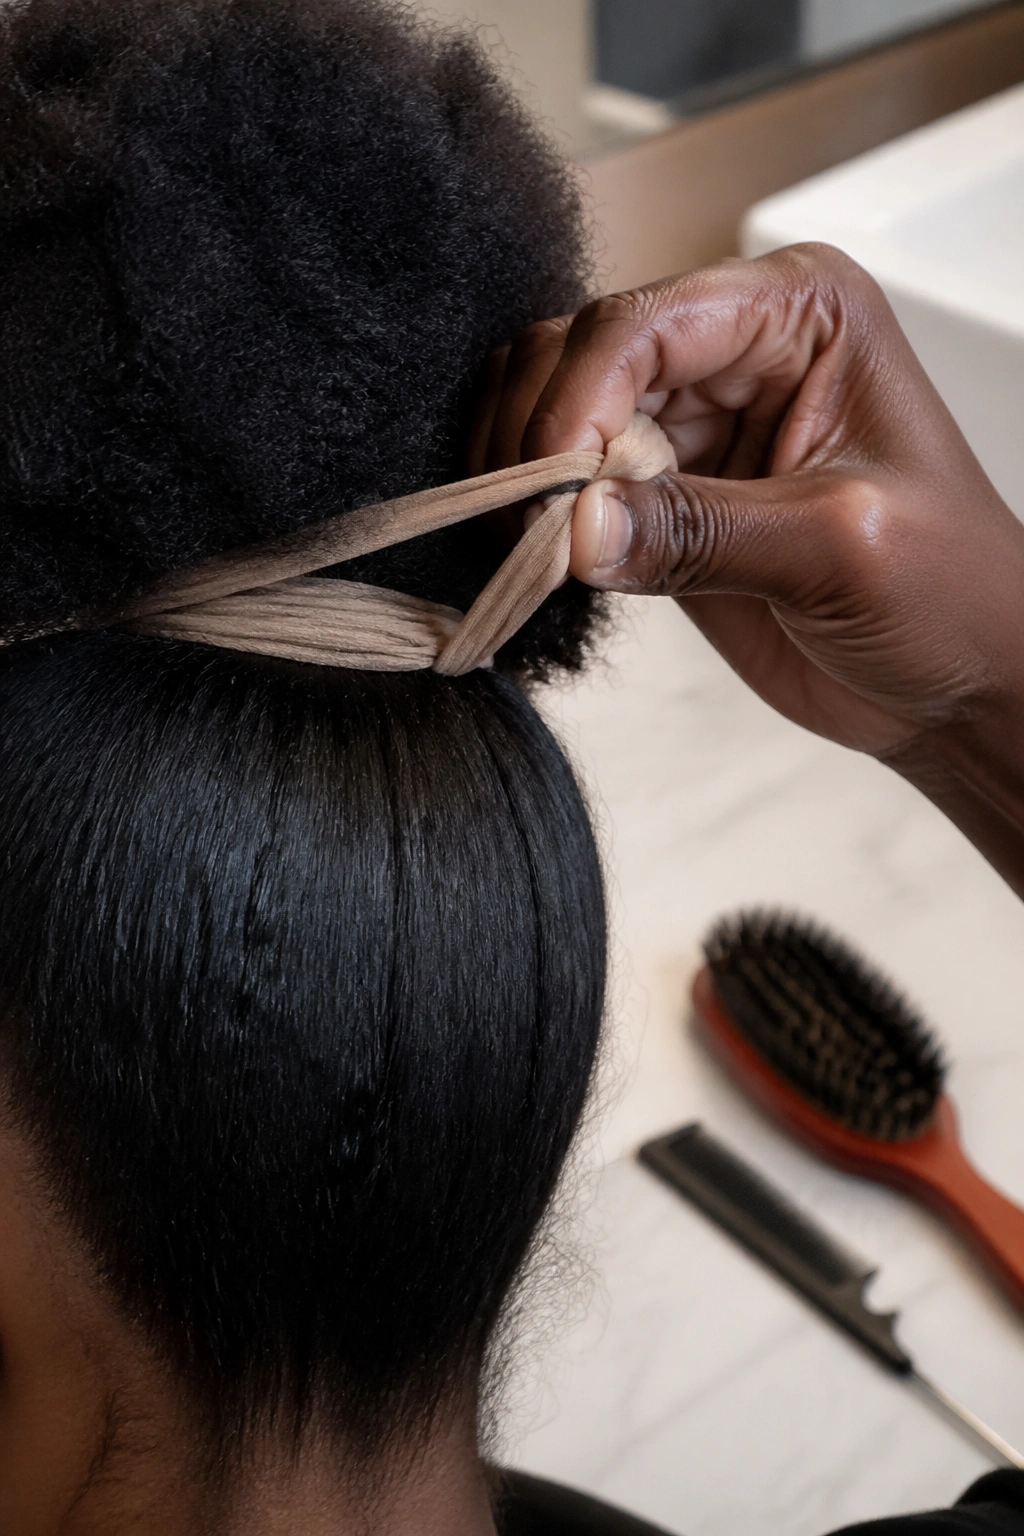
The stocking trick deserves its own paragraph because it’s the hack that changed my puff game permanently. Cut the leg off a pair of sheer nylon tights, tie it in a loop, and use it as your puff “headband.” The stocking material grips natural hair without slipping, doesn’t break strands, and distributes tension way more evenly than a traditional elastic or hair tie. It’s the difference between a puff that stays put all day and one that slides around your head by lunch.
Hair ties and rubber bands should never touch your puff. Seriously. The constant pressure at a single point creates breakage that shows up as thinning patches within weeks. Nylon stockings, stretchy satin-wrapped bands, or puff cuffs only.
Prep Work That Makes a Difference
A puff on dry, tangled hair looks like a pile of fluff. A puff on freshly moisturized, detangled hair looks like sculpture. The prep work matters more than any single product or tool.
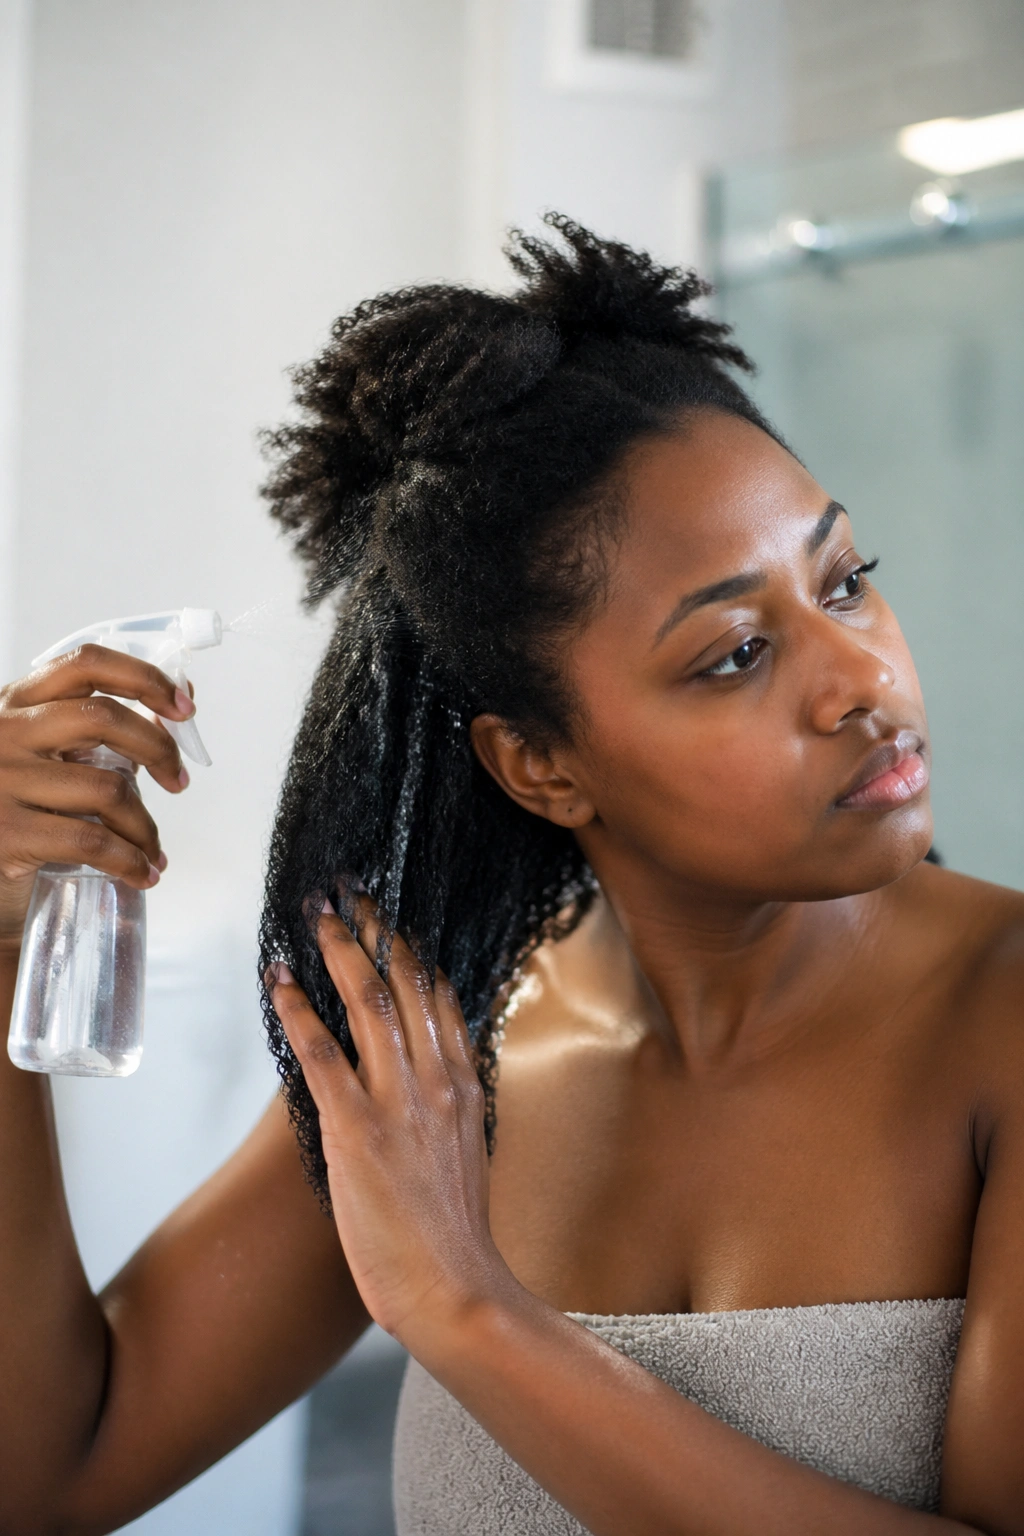
Mist your hair with water first. Not soaking wet — just damp enough that the strands have movement and respond to your hands. If your hair is bone dry, your puff will fight you through the whole styling session and then look dull when you finally get it into shape.
Apply a leave-in conditioner from root to tip. This softens the hair, adds moisture, and makes the gathering step much easier. Let it sit for 60 seconds before you start styling so it can penetrate the strand slightly.
Detangle gently with your fingers or a wide-tooth comb, working from the ends upward in sections. Tangled natural hair going into a puff creates awkward lumps that you can see in the final shape. Invest the five minutes in detangling properly.
Protecting Your Edges Through Every Puff Style
Before we get into the specific styles, let’s talk edge health because it’s the most common casualty of puff lovers.
The number one edge-destroying mistake is pulling too tight during the gathering step. If your edges feel stretched or painful, you’re pulling too hard. Loosen the gathering and add grip from the headband instead.
The second mistake is overusing alcohol-based edge control gels. These dry the hairline, create brittleness, and cause breakage over time. Look for edge products with water as the first ingredient, and skip anything with denatured alcohol in the top five ingredients.
Third: rotate your puff height every few days. A puff worn in the same spot every single day creates a pressure point that weakens the hair beneath it. Move the gathering spot between the crown, the back, and the nape to distribute the stress.
Last: never sleep in a puff. Your edges don’t need 16 hours of pressure. Take it down before bed and wear a satin bonnet.
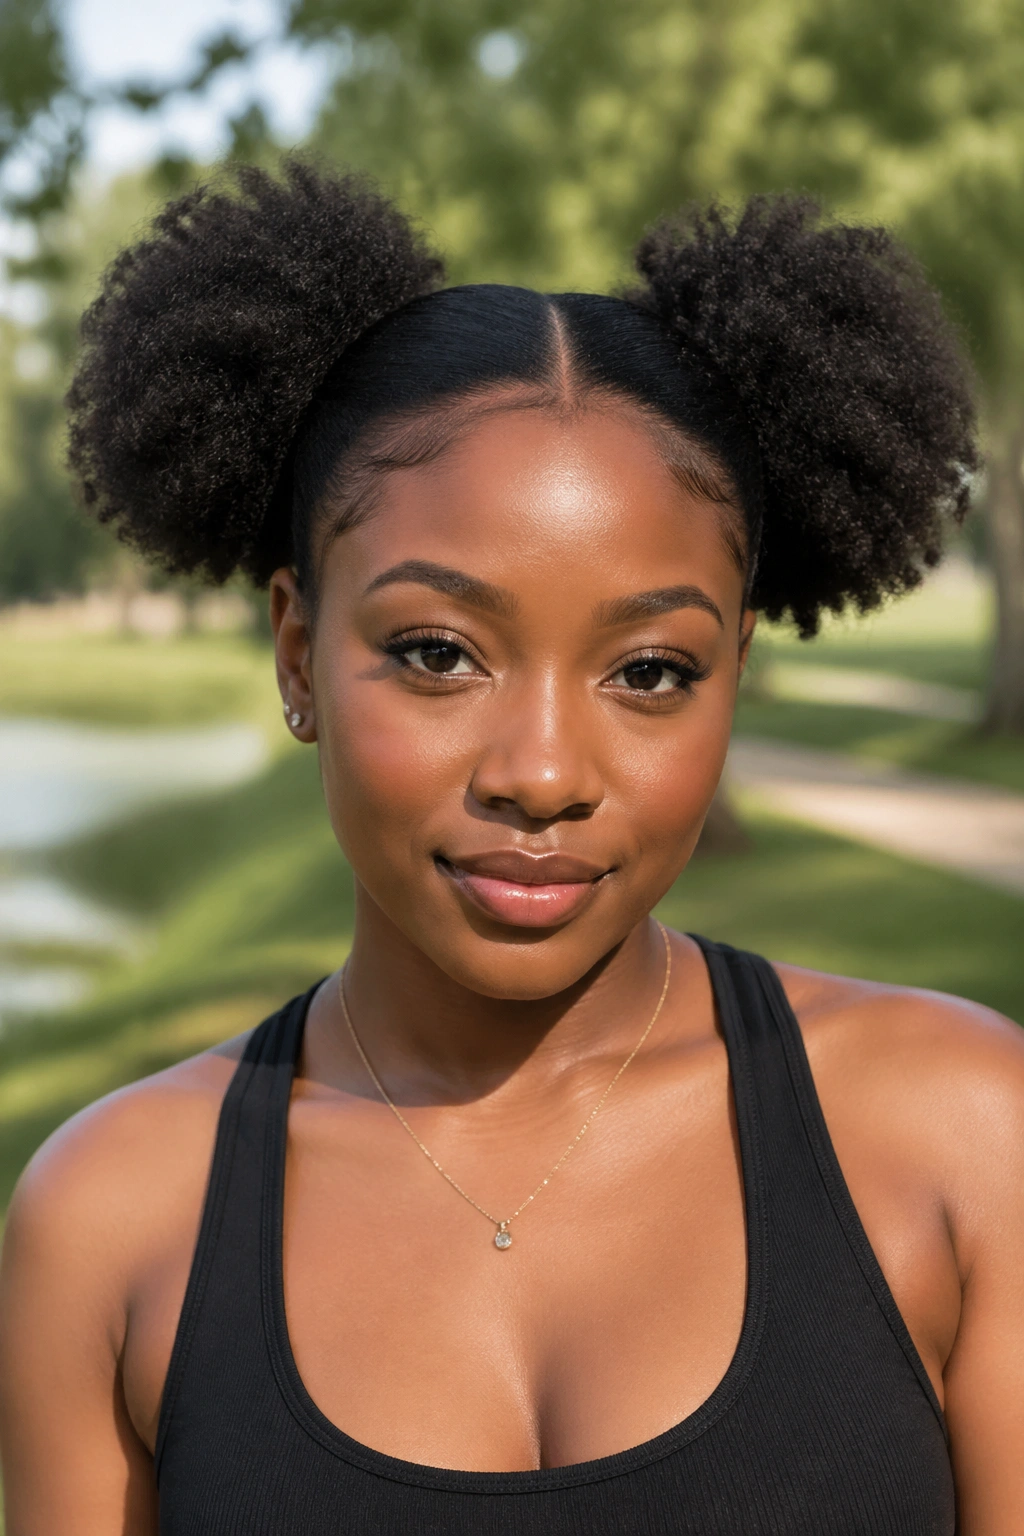
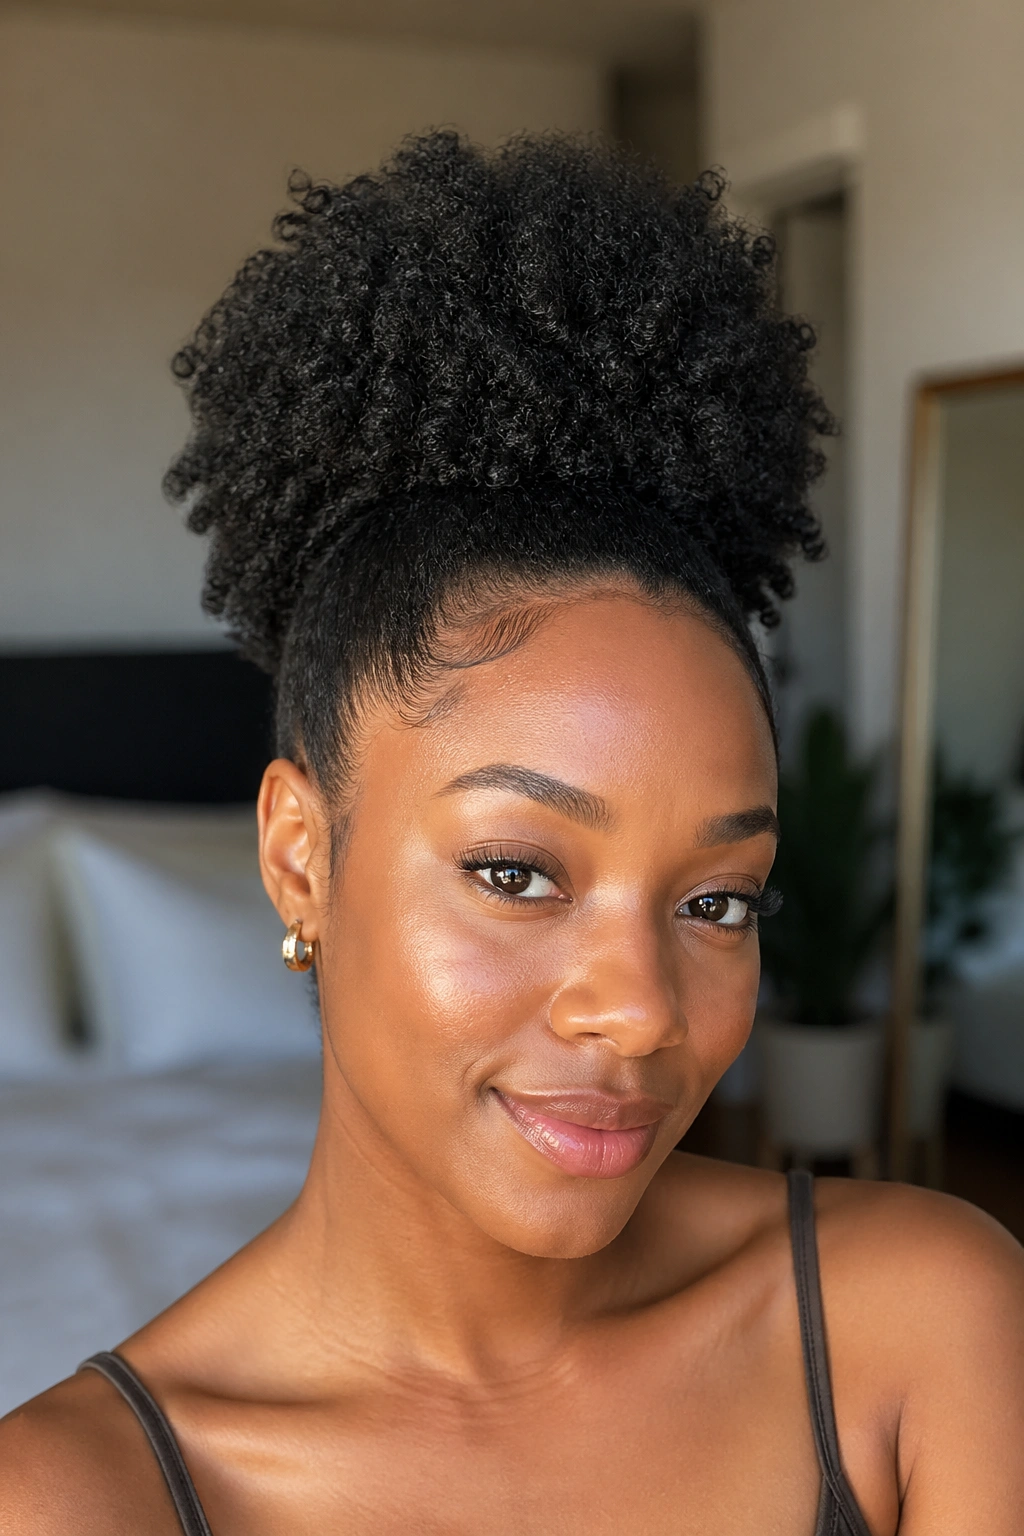
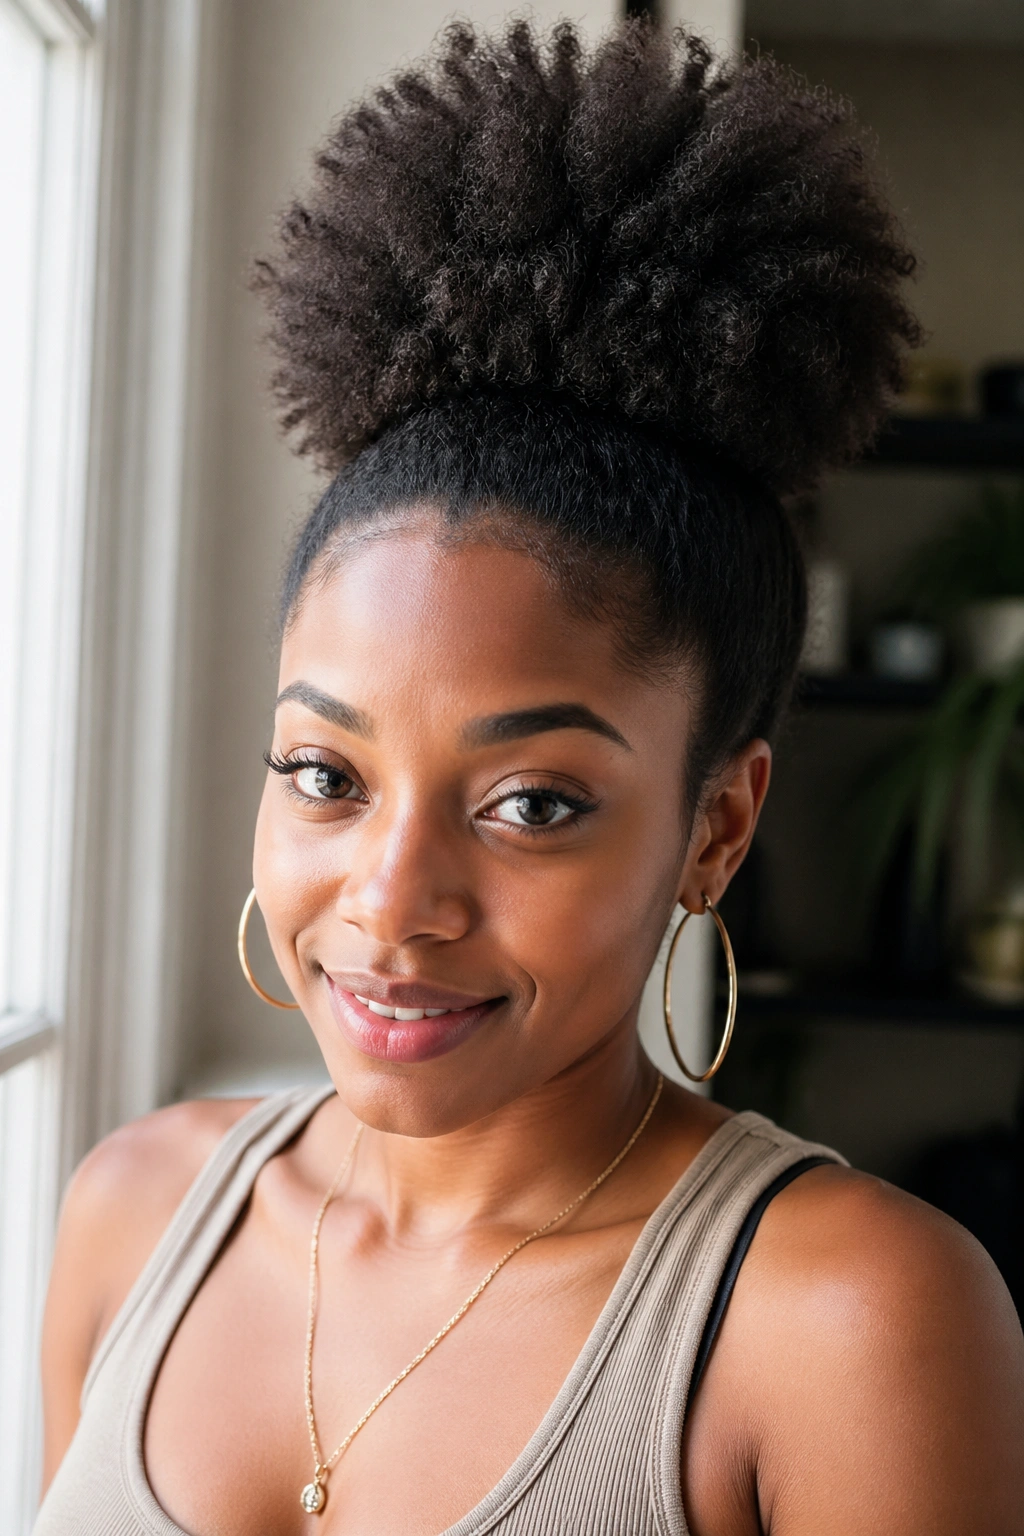
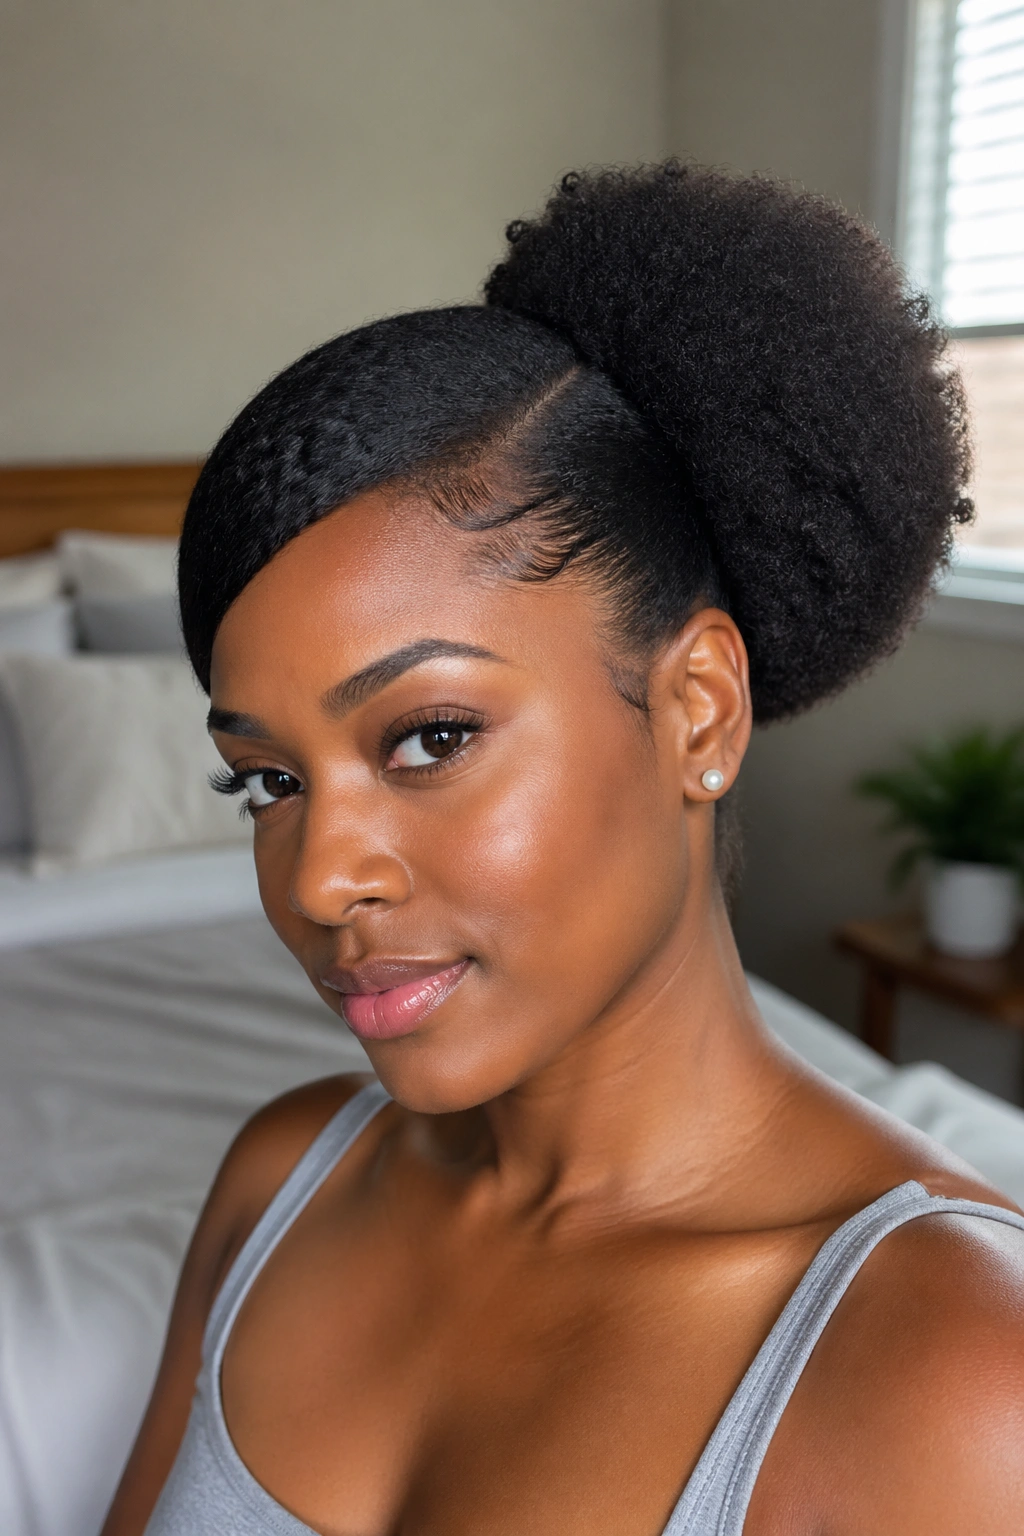
1. The Classic High Puff
The classic high puff is the foundation style of this entire list. Everything else builds from here. You gather your hair at the highest point of your crown, secure it with a stocking or stretchy band, and fluff the gathered portion into a rounded shape.
Why It Works
- Creates dramatic height that elongates your silhouette
- Works on any hair length from three inches upward
- Takes five minutes once you have the technique
- Easy to refresh or rebuild throughout the week
The trick: after gathering, pick out the puff from underneath rather than from the top. Pick from below for height and volume without disturbing the surface of the puff. Top-down picking flattens the shape and creates an unintentional frizz halo.
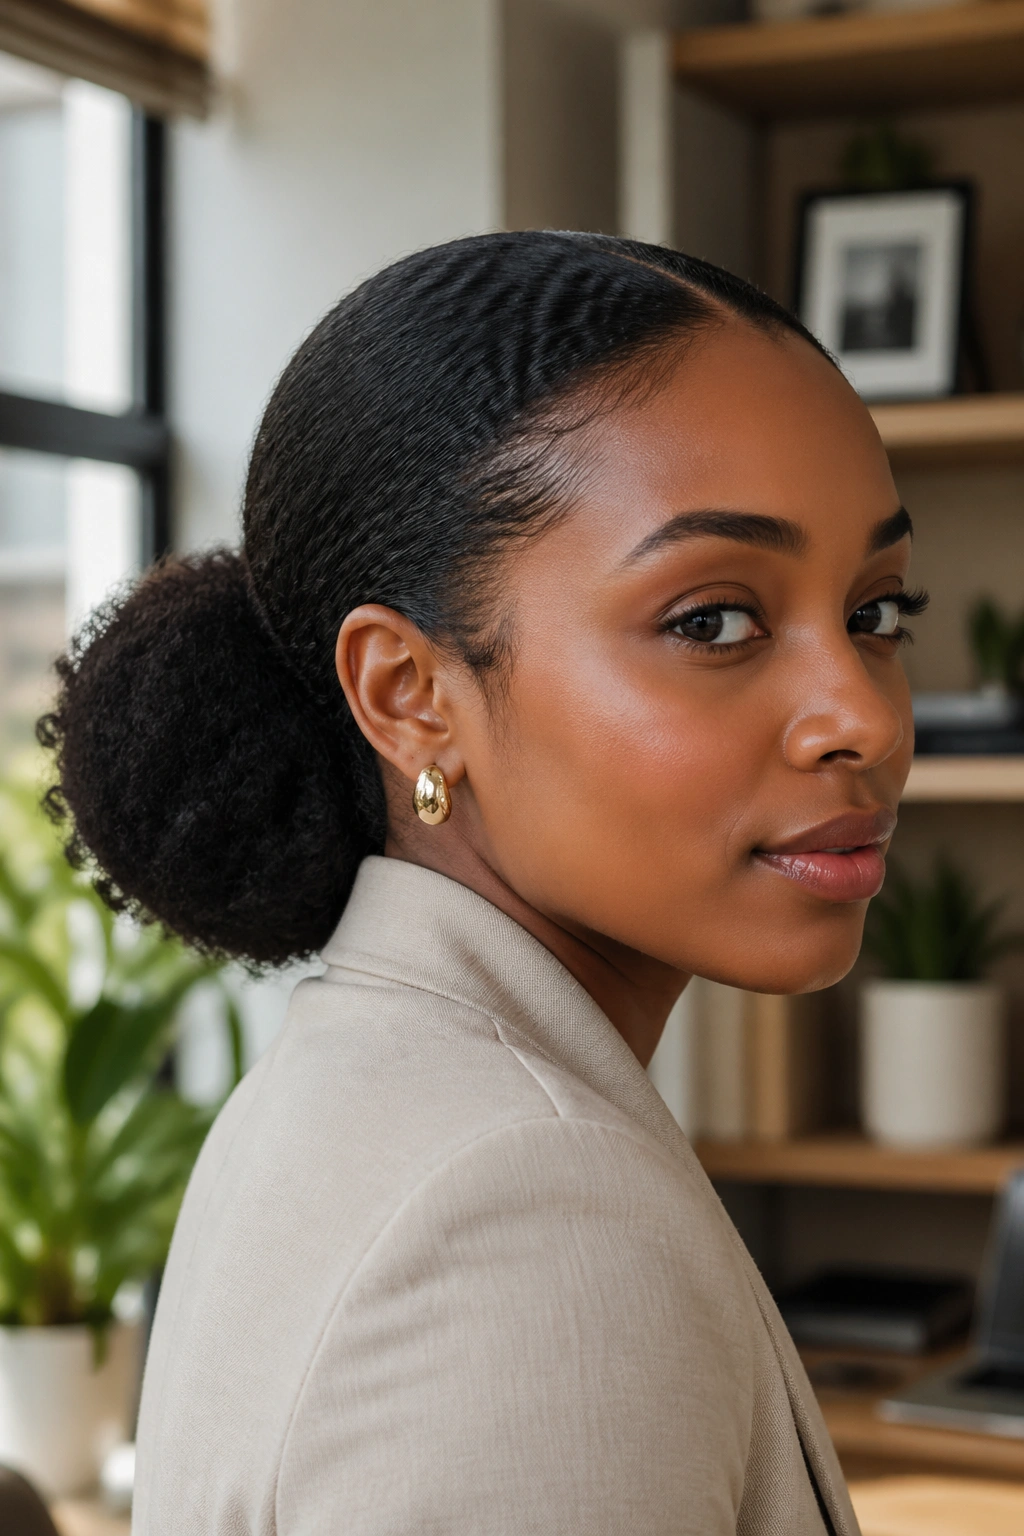
2. Low Puff Ponytail
Unlike the high puff that sits at the crown, the low puff ponytail drops the gathering point to the nape of your neck. What’s different is the whole vibe — low puffs read as professional, elegant, and softer. They’re the puff equivalent of a low chignon for straight hair.
Who this is for: anyone working in a professional environment who wants natural texture in a polished presentation, anyone over the age of 35 who finds high puffs feel too youthful, anyone with a sensitive crown or thinning at the top who shouldn’t be adding pressure there.
Gather at the base of your skull rather than at the crown. Use the same stocking method, but tilt your head down while gathering so the hair falls naturally into the low position. The result is a softer silhouette that still showcases your natural texture.
3. Side-Swept Puff
The side-swept puff breaks the symmetry of traditional puff styles by gathering the hair off to one side rather than at the center. The result is asymmetric, playful, and visually interesting in a way that center-gathered puffs aren’t.
Start with a deep side part. Brush everything diagonally toward one side of your head, gather just behind one ear, and secure. The puff itself will sit above your ear rather than at the crown or nape, which gives it that distinctive side-swept look.
This is a great style for photos because the asymmetry adds visual interest and shows off your profile in a way that symmetric styles don’t capture. It also draws attention to earrings and necklines on the exposed side of your face.
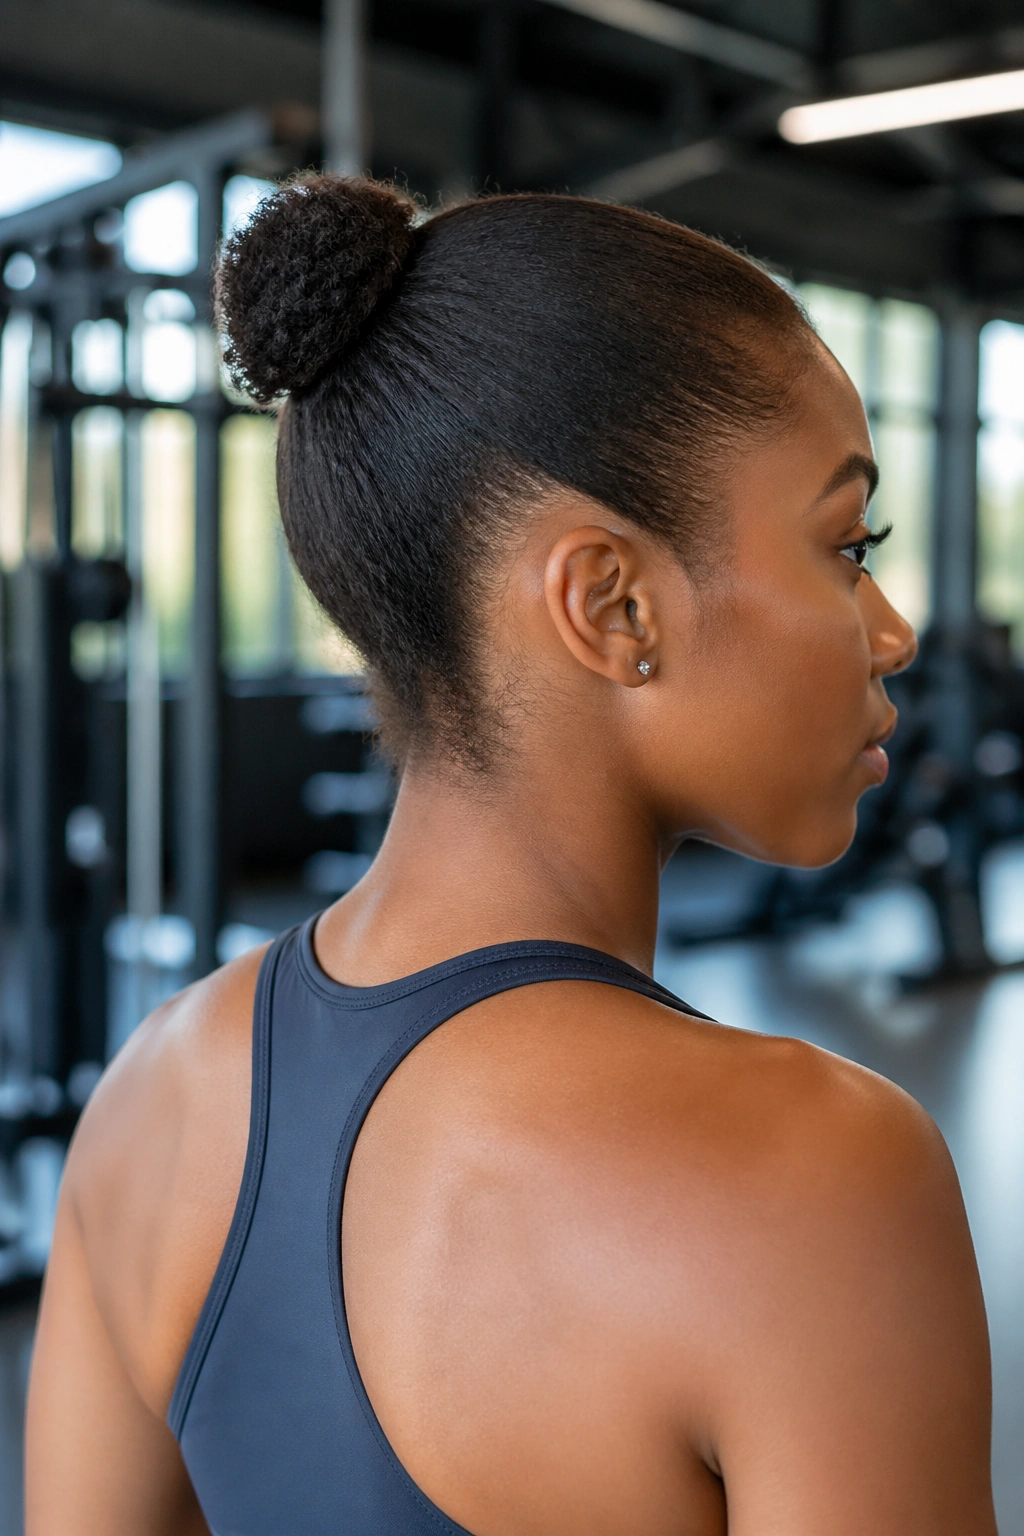
4. Mini Puff
A mini puff is exactly what it sounds like — a small, compact puff that doesn’t try to be dramatic. The gathered section sits tightly against the back of your head without much volume or outward expansion.
How to Use It
- Gather tightly at the crown or back of the head
- Don’t pick out the puff after gathering — let it stay flat
- Use a smaller stocking loop or a silk scarf tie
- Perfect for workouts, sleep prep, and low-maintenance days
The mini puff is my go-to for gym days because it keeps hair out of my face without swinging dramatically while I move. It’s also what I build into a larger styled puff when I have more time.
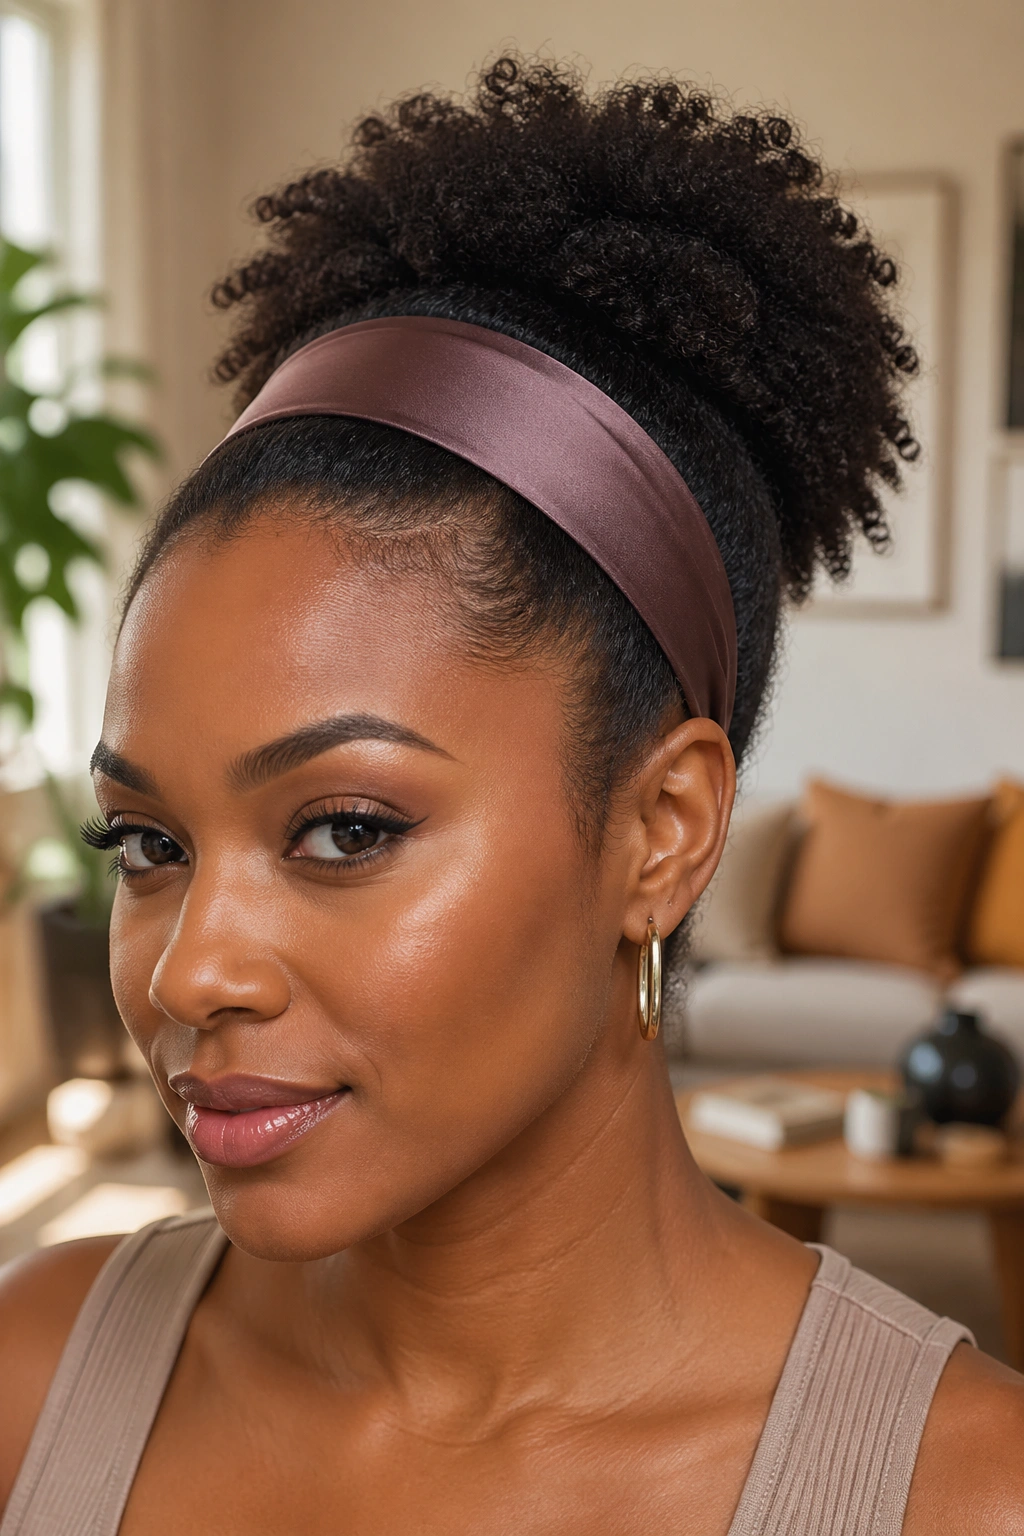
5. Puff with Headband
Pair a classic high puff with a wide fabric or velvet headband across your hairline. The headband hides any frizz at the front, protects your edges from direct tension, and adds a decorative element that transforms the look.
Satin-covered headbands work best for natural hair because they don’t slide and they don’t pull strands. Velvet bands are warm, luxurious, and photograph beautifully. Plastic headbands tend to slip on the smoother front of damp or freshly moisturized hair.
Place the band about an inch behind your front hairline. Let the front edge of your hair peek out over the top of the band as a soft fringe, which adds dimension and prevents the headband from looking like a flat cap.
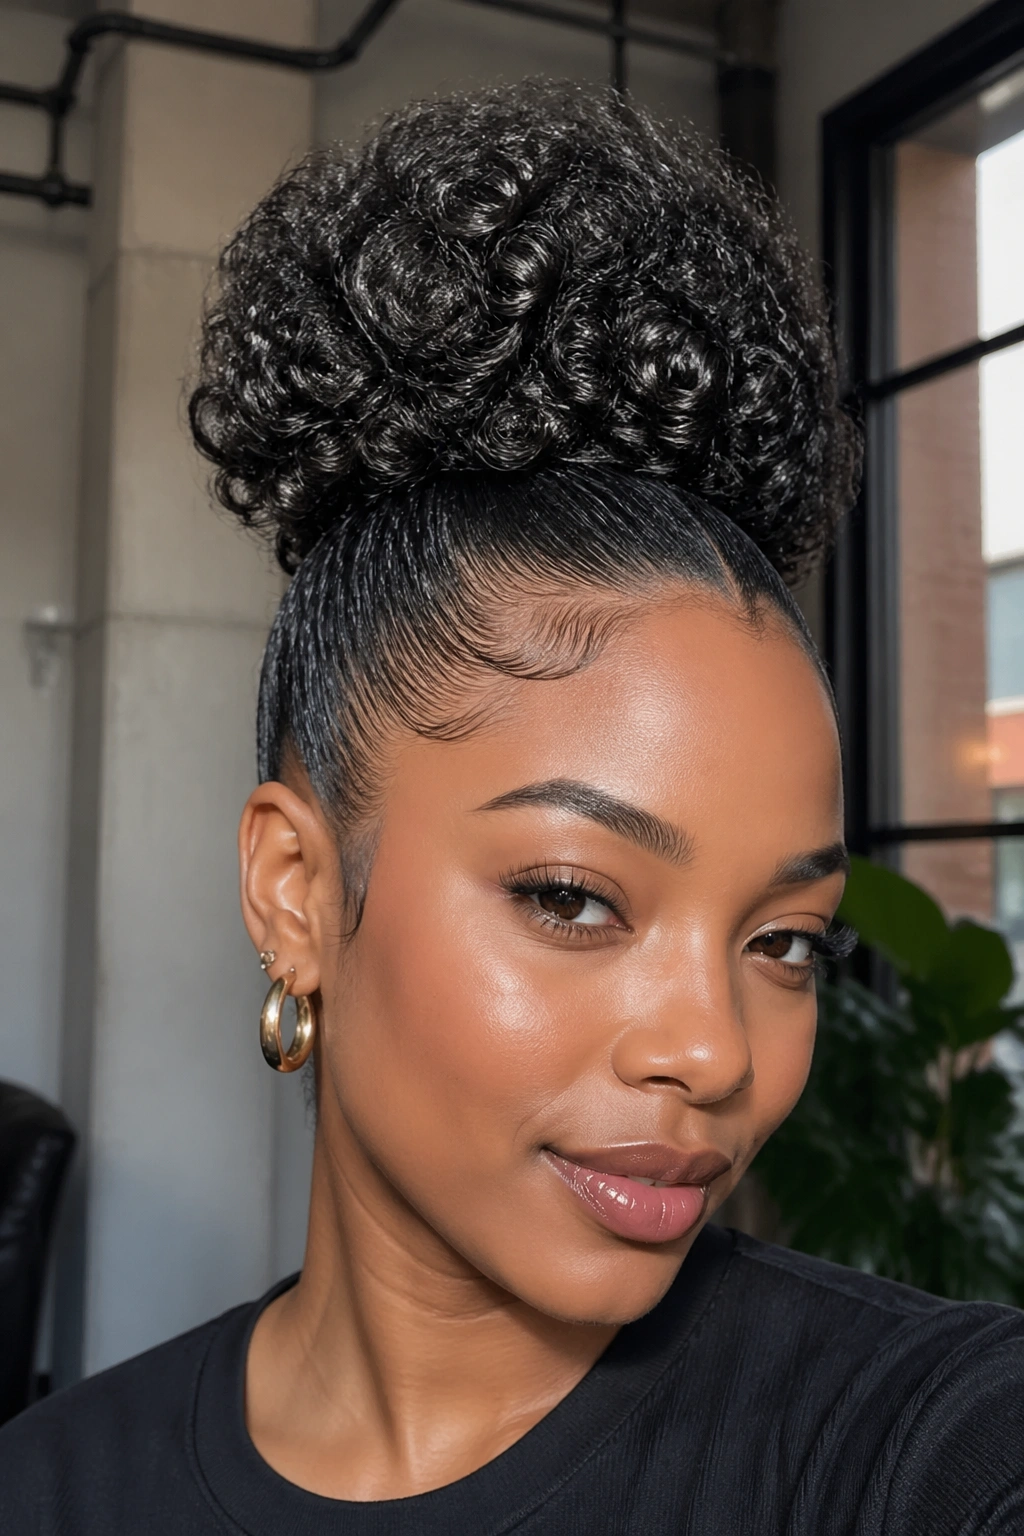
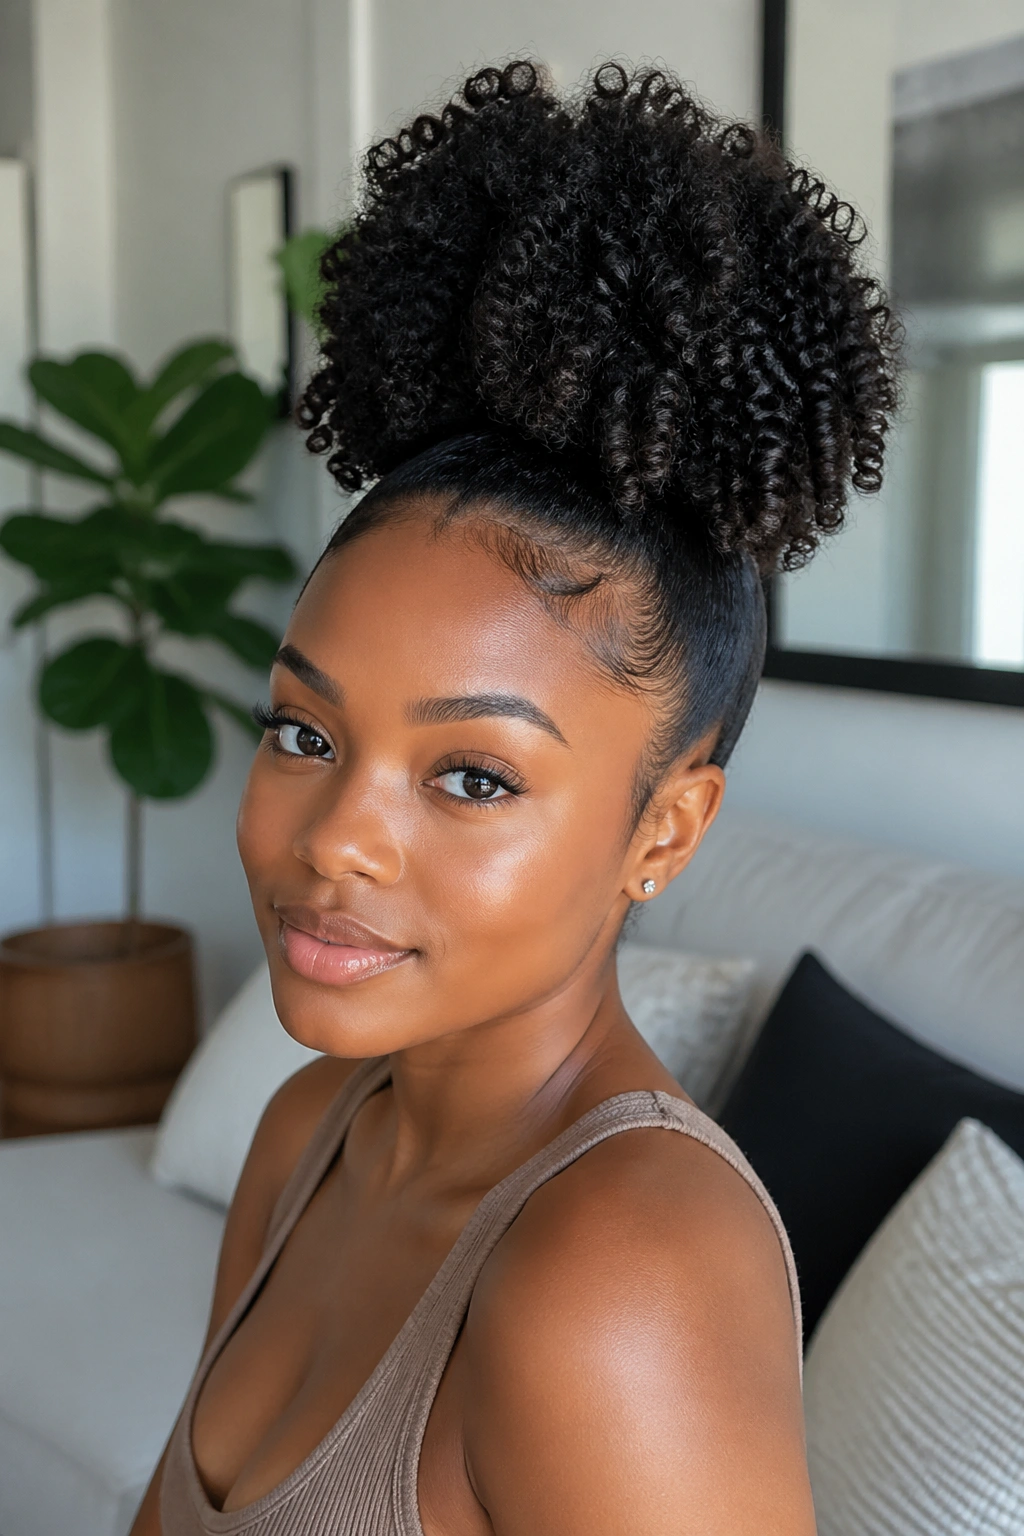
6. Textured Puff with Defined Curls
Have you ever wondered why some puffs look like sculpted art pieces while others look like fuzzy balls? The difference is usually that the artful puffs were built on top of a defined curl pattern. A puff on freshly set curls shows individual definition, catches light, and reads as polished in a way that a puff on undefined fluffy hair cannot.
The Method
Start by defining your curls — wash-and-go, twist-out takedown, finger coils, whatever your preferred definition style is. Then gather the defined hair into your puff. The curls hold their individual shape inside the puff, which gives you a textured, dimensional look rather than a homogeneous mass of frizz.
This approach takes more prep time up front, but the payoff is a puff that photographs beautifully and holds its shape for longer because each defined curl is doing some of the structural work.
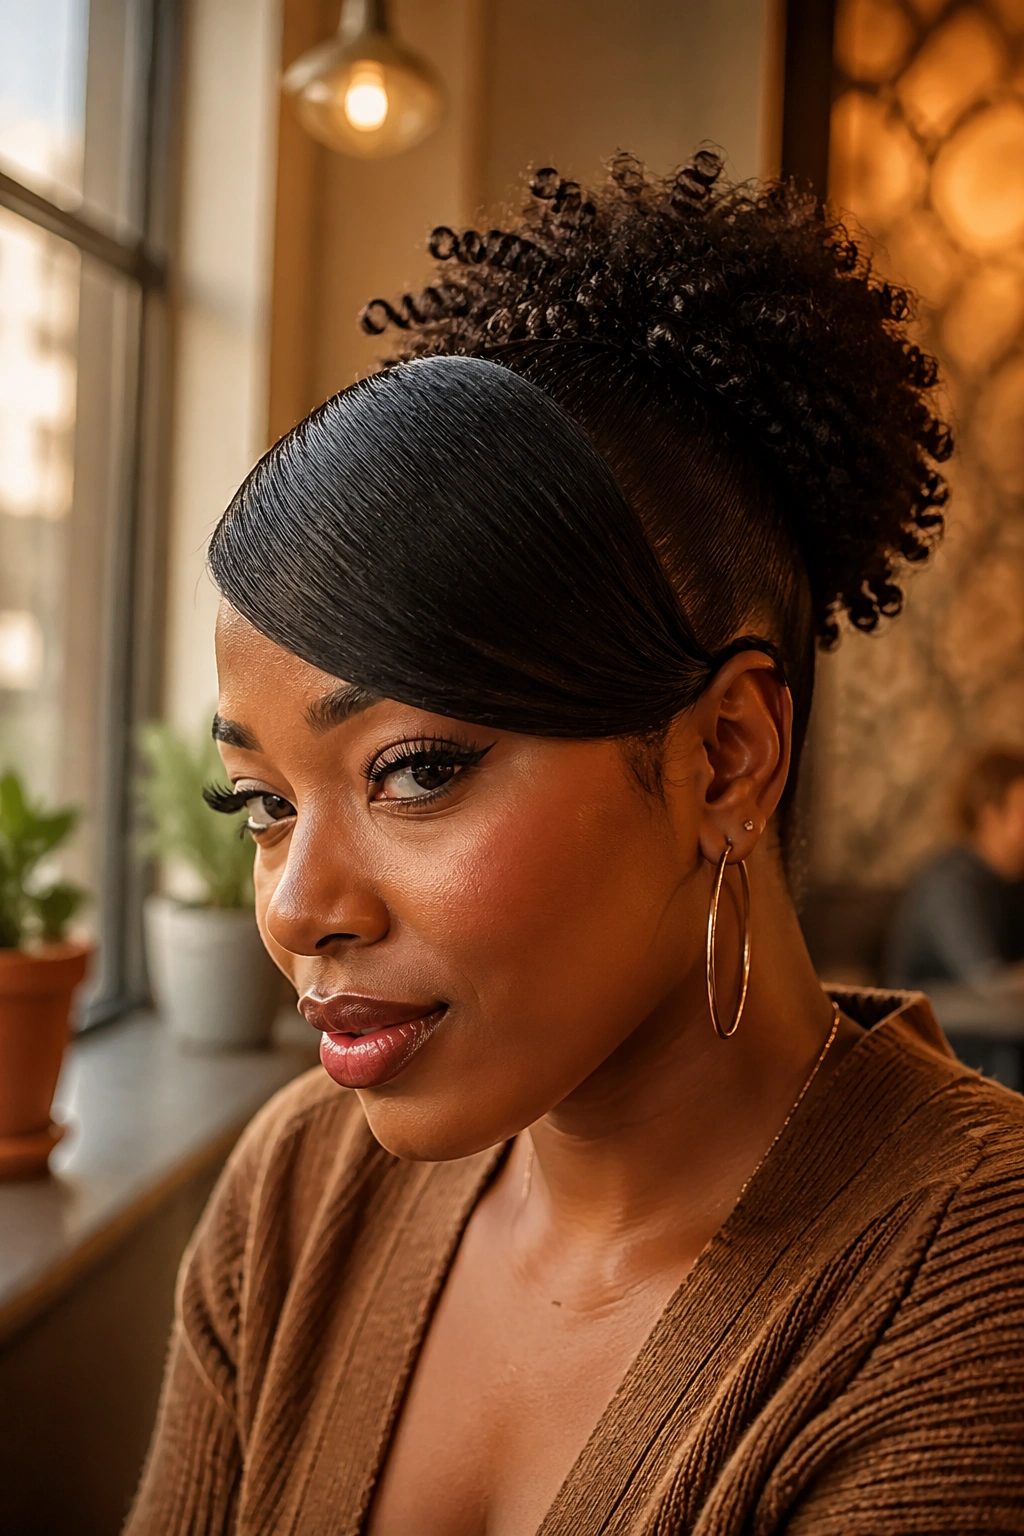
7. Puff with Swoop Bang
A swoop bang is a piece of hair pulled forward and curved across the forehead like a soft diagonal bang. Combine that with a puff at the back, and you get a style that’s playful, feminine, and works for both casual and dressy occasions.
Separate a small section of hair at your front hairline before gathering the rest into a puff. Smooth the front section with gel and brush it diagonally across your forehead, pinning behind one ear. Gather everything else into your puff as normal.
The swoop works especially well on round faces because the diagonal line creates visual elongation. It also adds a retro aesthetic that pairs beautifully with vintage or bohemian outfits.
8. Double Puff
Two puffs instead of one. Part your hair down the middle from your forehead to the nape of your neck, gather each side into its own puff, and secure. The result is playful, symmetrical, and reads as fun or expressive depending on your styling choices.
Double puffs work best when both puffs are equal in size and sit at the same height. Visual symmetry is what carries the style — any obvious imbalance between the two sides looks accidental rather than intentional.
This is a great style for days when you want to look deliberately cute or stand out in a crowd. It’s also practical for photoshoots and events where you want your hair to read as creative rather than understated.
9. Puff with Braided Edges
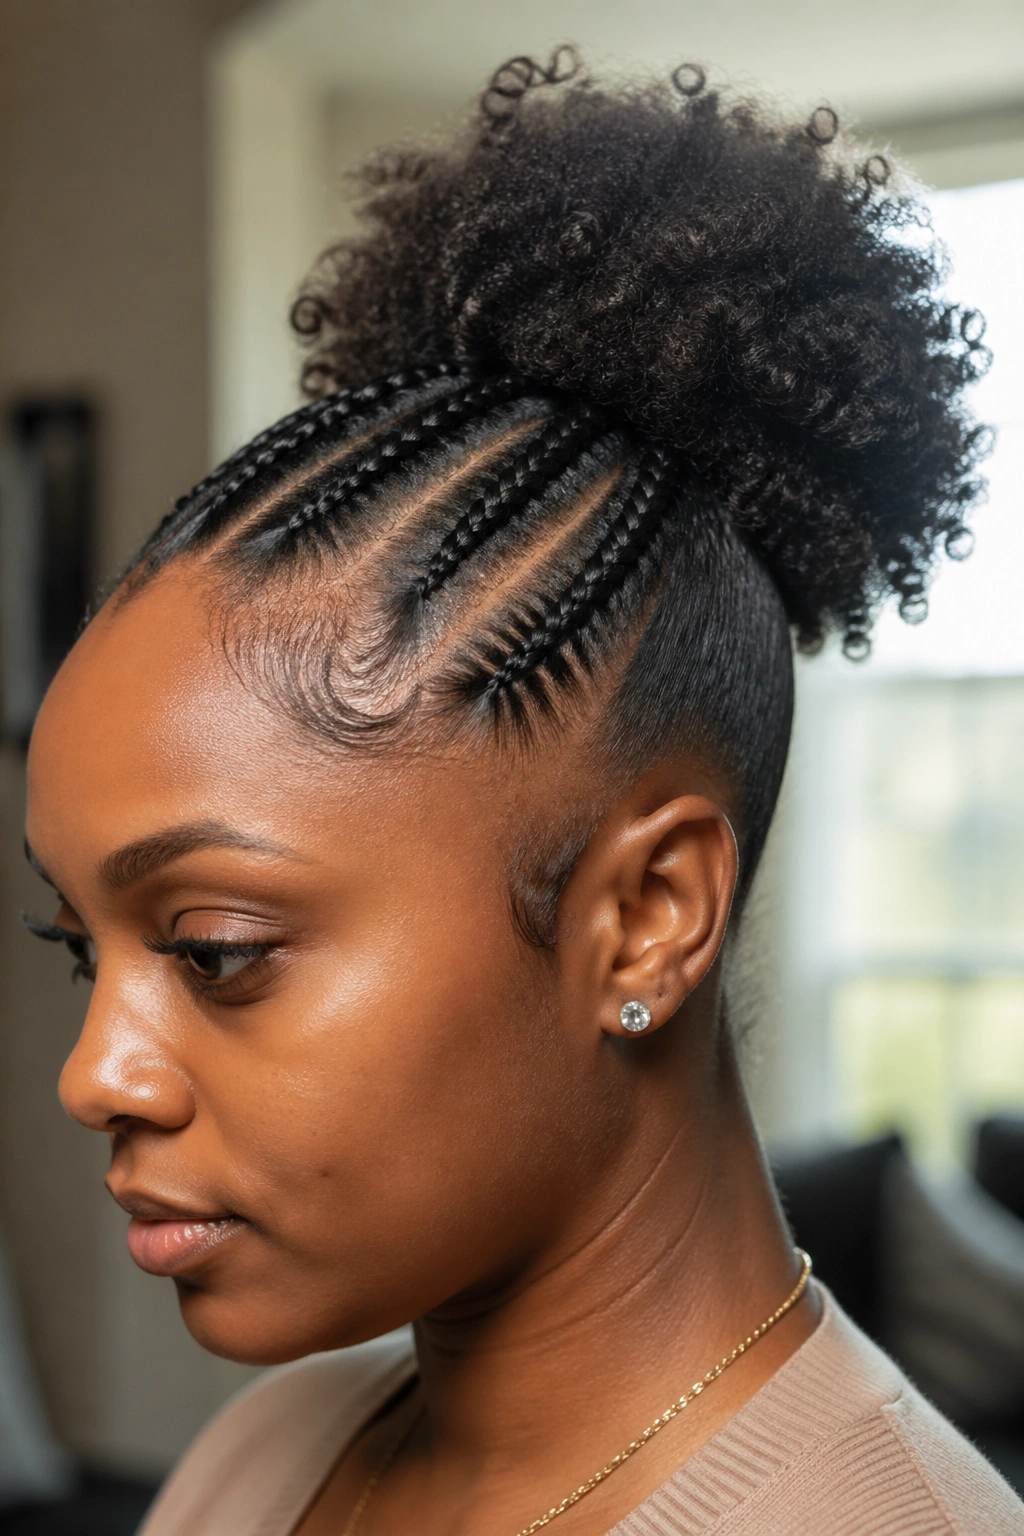
Unlike a standard puff that relies entirely on edge control for smoothness, the braided-edges variation actually braids the front hairline into small cornrows that connect to the puff at the back. The braided sections give you structural polish without the daily edge-control routine.
What’s different is the staying power. Edge control fades after 4-6 hours. Braided edges stay smooth for days because the hair is physically woven into place.
Who this is for: anyone who hates touching up edge control throughout the day, anyone wanting longer-lasting styles, women who love intricate detail without committing to a full braided style.
10. Chunky Twist Puff
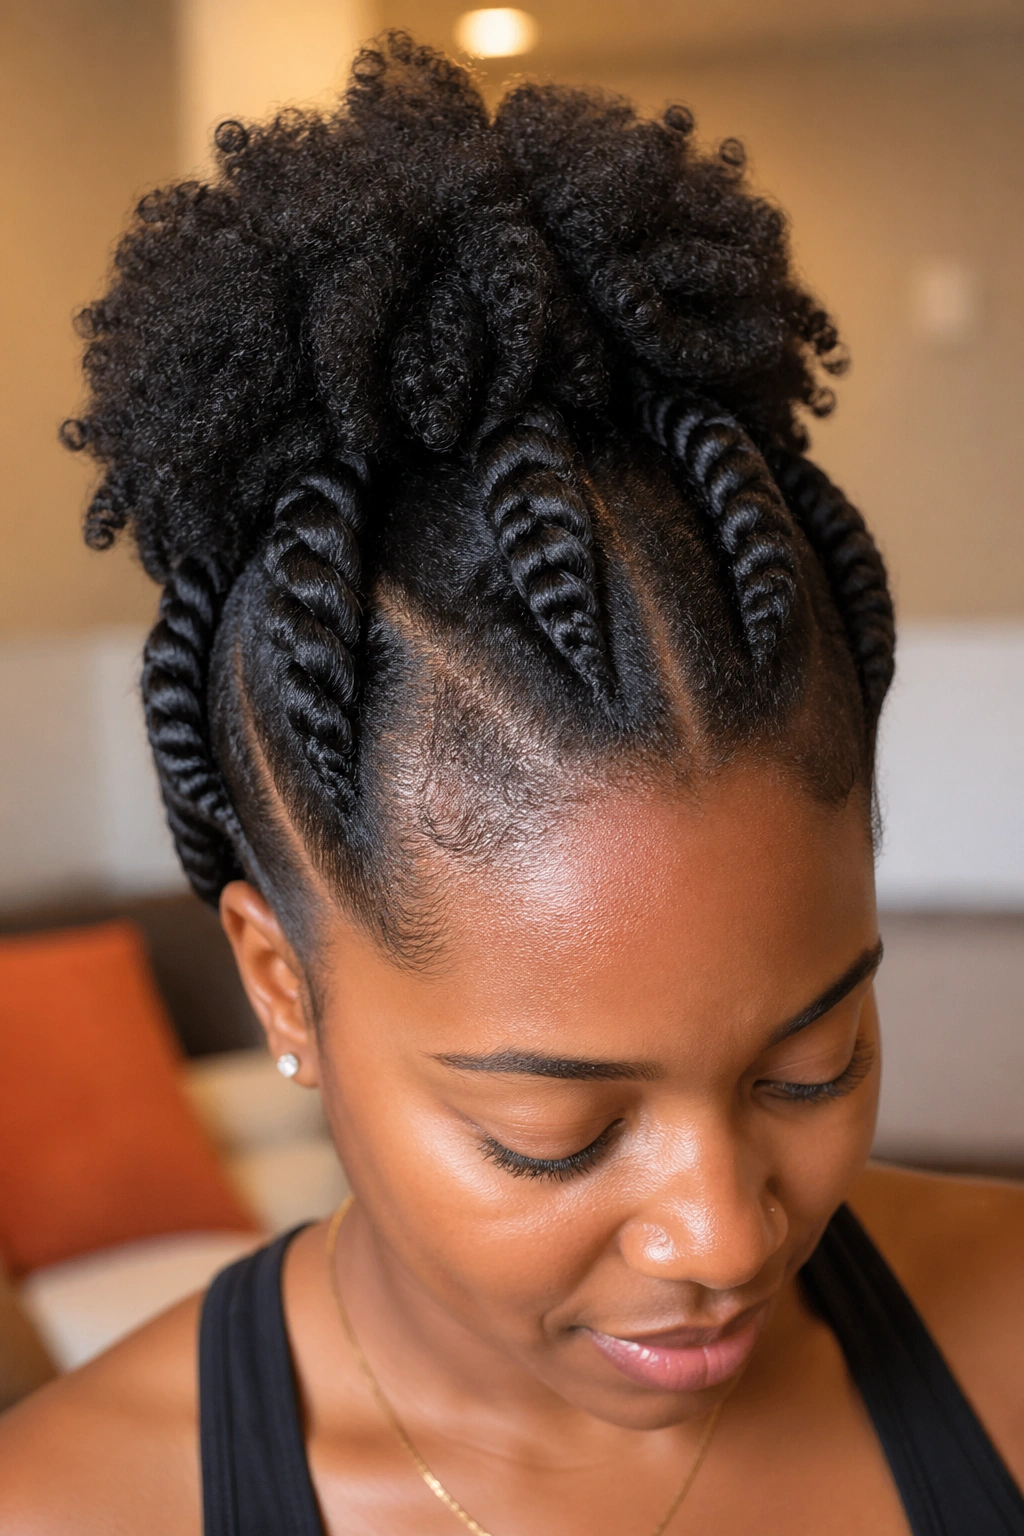
Here’s a hybrid style that mixes twists and puff elements. Install three or four chunky twists around the perimeter of your head, running backward toward a central gathering point. At the center, gather all the twist ends along with any remaining loose hair into a puff.
The twisted sections act as both a decorative element and a tensioning mechanism that reduces pressure on your edges. The puff sits behind the twists, anchored more evenly across the whole head than a gathered puff alone.
Install time is about 25 minutes for the twists plus another 5 for the puff. It’s more work than a plain puff, but the structural benefits and visual complexity justify the extra time.
11. Puff with Decorative Clips
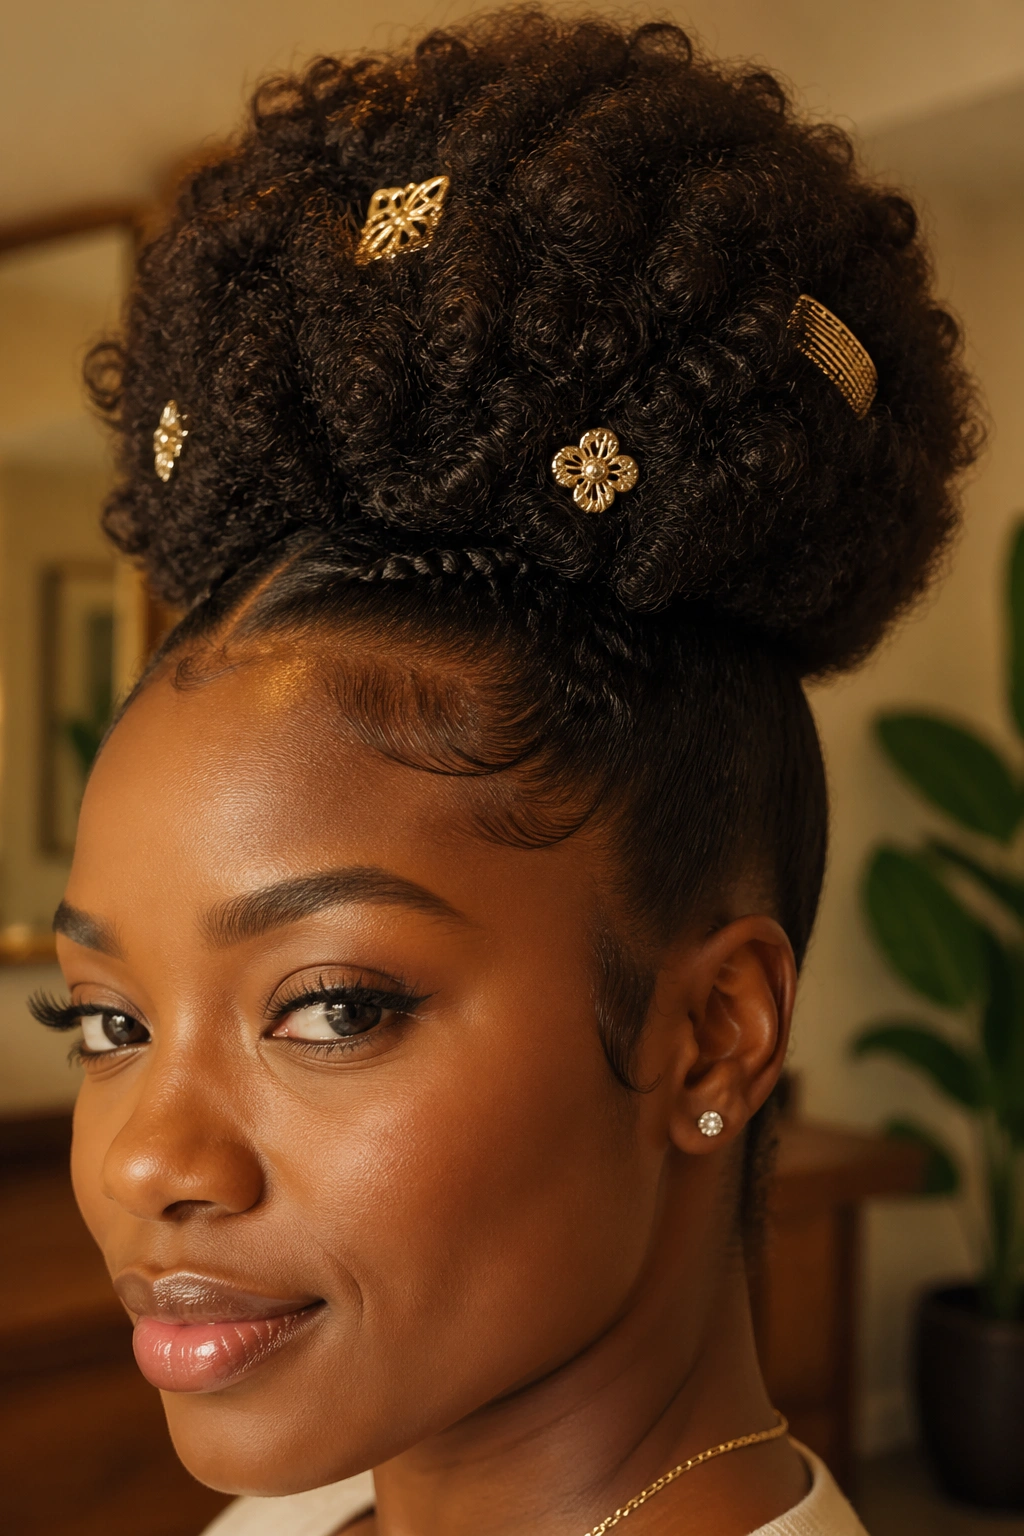
Sometimes the puff is the blank canvas and the accessories do the styling. A basic high puff becomes something entirely different with three or four decorative clips scattered across it. Pearl clips, enameled flowers, gold barrettes, or statement hair pins each create a different aesthetic.
Keep the count between three and five clips — fewer looks sparse, more looks crowded. Distribute them around the puff rather than clustering them on one side.
I’ve used hair jewelry to turn wash-day-emergency puffs into actual outfits, and it works almost every time. The accessories draw the eye away from any puff imperfections and make the whole look feel deliberate.
12. Wet-Look Puff
The wet-look puff uses a high-shine gel to give your gathered hair a glossy, wet appearance. It’s dramatic, sleek, and completely different from the matte soft look of a standard puff.
Apply a jelly-textured gel generously from your hairline to the crown before gathering. Smooth with a boar bristle brush for maximum shine. Gather the hair into your puff while it’s still wet, then let air dry without touching.
The result lasts about a day, and you’ll need to sleep with it loose in a satin bonnet if you want to try to stretch it to day two. It’s a special-occasion look, not a daily routine, but the dramatic effect is hard to match with any other technique.
13. Afro Puff with Curly Bangs
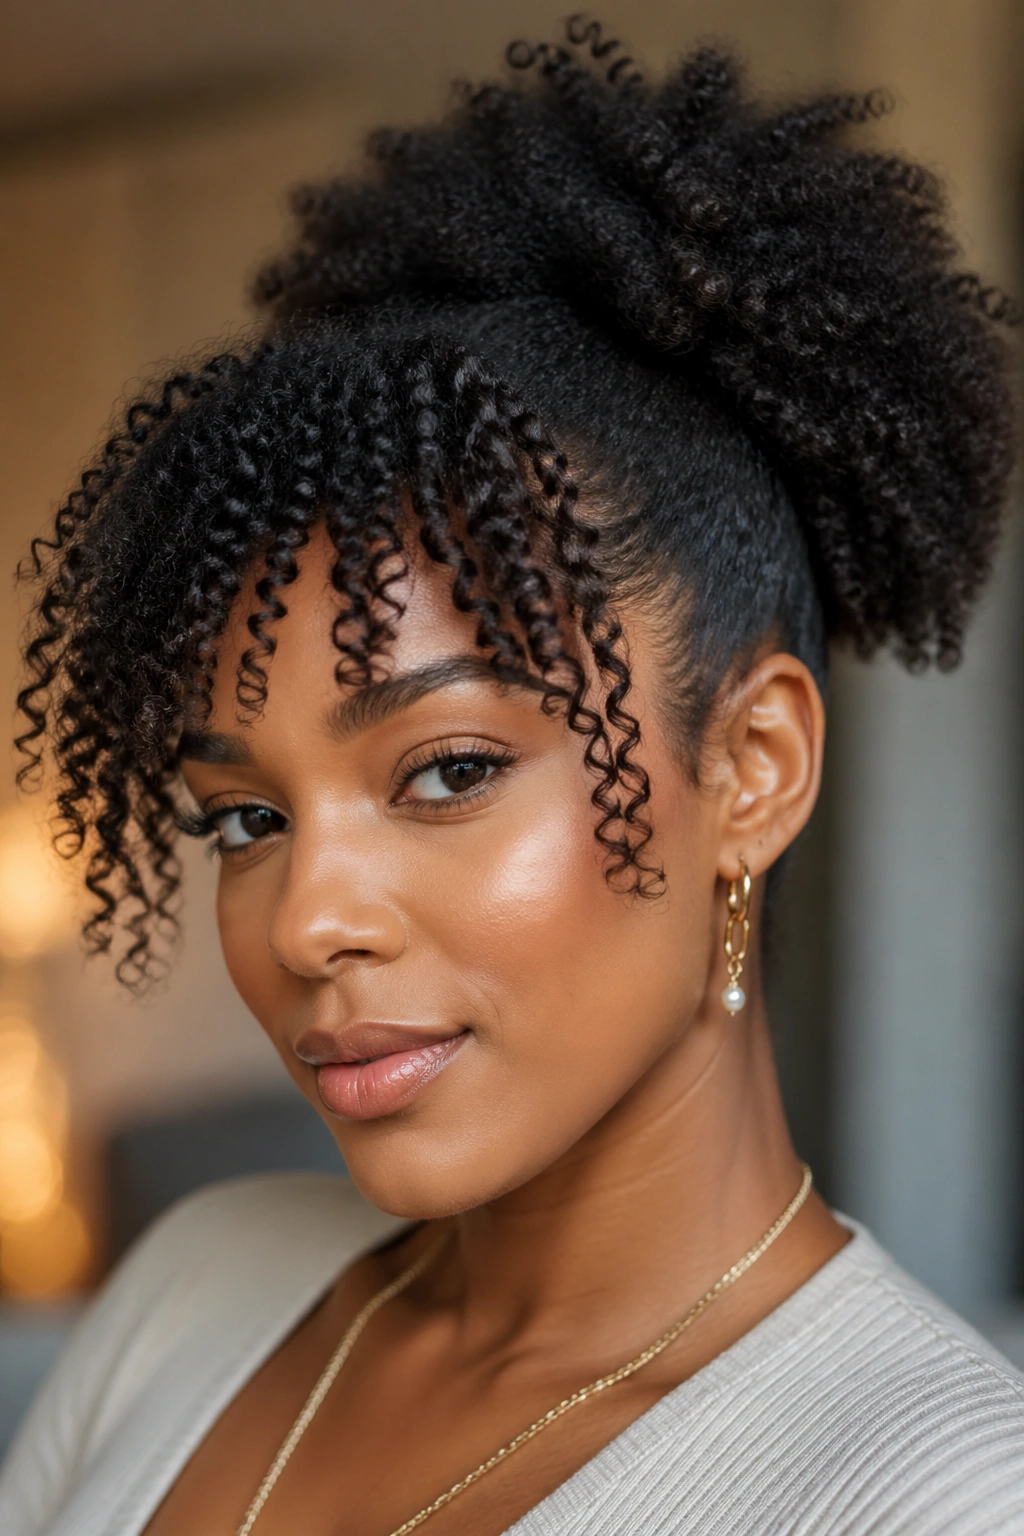
What makes this variation different is the contrast between a full, gathered puff at the back and loose, defined curls at the front. You leave a section of hair at your front hairline — slightly larger than a typical fringe — unfettered and free.
Define the front section with finger coils or a twist-out for maximum visual interest. Gather everything else into your puff. The final look is feminine, playful, and soft in a way that pure puff styles aren’t.
Who this is for: women who want to show off their natural curl pattern while keeping the rest of their hair out of their face. It’s also flattering on oval and heart-shaped faces because the front curls add soft frame.
14. Puff with Scarf Tied Base
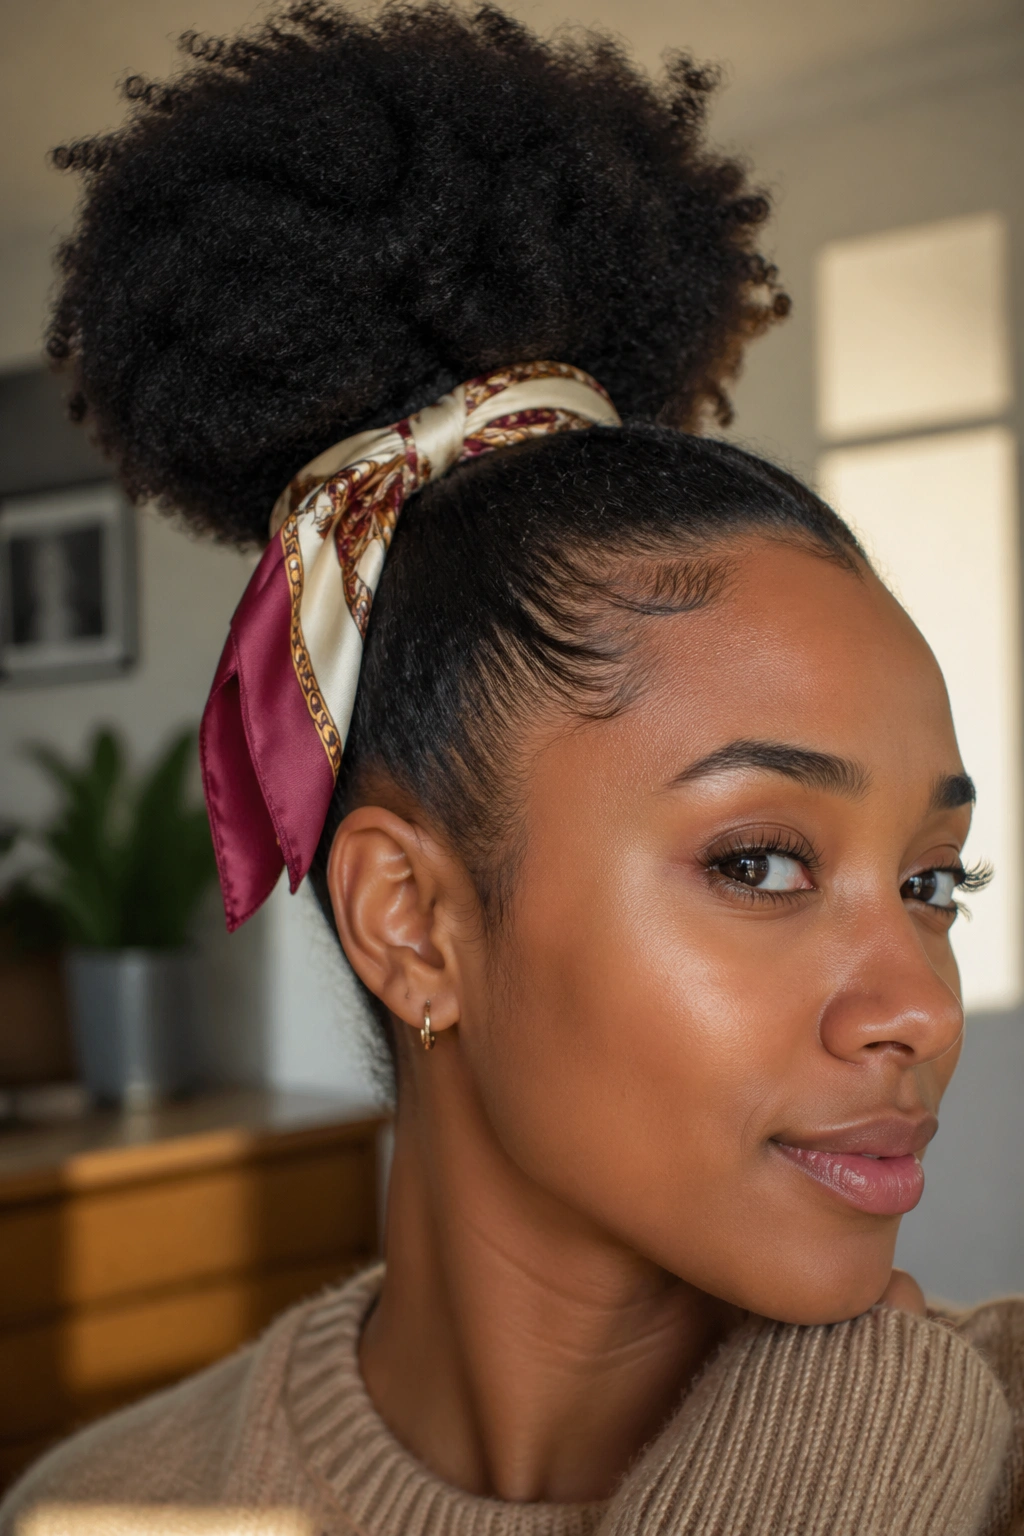
Tie a silk or satin scarf around the base of your puff like a ribbon, then let the ends of the scarf dangle down or knot them into a bow. The scarf adds color, texture, and a decorative element without changing the underlying puff technique.
Silk scarves in bold prints or jewel tones photograph especially well. The movement of the fabric contrasts with the structured puff shape and creates visual interest that a plain gathered ponytail lacks.
This is the style I use when I’m going from work to dinner and need to feel more put-together without actually restyling my hair. The scarf elevates the whole look in 30 seconds.
15. Puff with Shaved Side Illusion
No actual shaving required. The shaved-side illusion pins one side of your hair flat against your scalp with bobby pins and strong gel, while the opposite side gathers freely into a puff. From certain angles, the flattened side reads like a shaved undercut.
This is for women who want dramatic asymmetry without committing to an actual shaved side. It’s reversible, non-permanent, and gives you the bold look without the growing-out phase.
Use at least six to eight bobby pins to pin the flattened side securely. Cross them in X patterns against the grain of your hair for maximum hold throughout the day.
16. Half-Up Puff
A half-up puff gathers only the top half of your hair — everything above your temples — into a puff while leaving the bottom half loose. The combination gives you the drama of a puff up top and the softness of loose natural hair below.
This style works especially well on medium-length natural hair where the bottom half has enough length to hang visibly below the gathering point. On very short TWAs, the half-up version loses its effect because the hair below is too short to create contrast.
The half-up puff is a great transition style for growing-out phases when you want something more put-together than a wash-and-go but can’t commit to a full styled install.
17. Low Side Puff
Take the low puff concept and shift the gathering to one side of the neck rather than center. The result sits at the nape but off to the side, creating a soft, romantic look that works beautifully for formal events.
The low side puff is my pick for weddings, dinners, and evenings where I want to feel elegant without resorting to a traditional chignon. Natural texture paired with the soft low placement reads as sophisticated and distinctly natural — not an imitation of straight-hair styles.
Gather at one side of the nape, twist gently before securing, and smooth the top with a light gel. The twist adds structure to the gathered section and keeps the puff rounded instead of drooping.
18. Puff with Beaded Twists

Install several small beaded twists throughout your hair before gathering everything into a puff. The beads are visible inside the gathered puff, adding color, metallic sparkle, and movement.
Wooden beads are classic. Metallic or enameled beads add flash. Choose based on your outfit and the occasion. Four to six beaded twists scattered randomly across your head before gathering creates enough visual interest without overwhelming the puff itself.
This takes planning — you need to install the twists and beads first, let them set, and then gather them into the puff. Total time is around 45 minutes, which is more than most puff styles, but the dramatic effect justifies it for events.
19. Sleek Low Puff
The sleek low puff commits to maximum polish. Apply strong-hold gel from your hairline to the nape in thin layers. Brush with a boar bristle brush in the direction of the gathering point. Tie a silk scarf around your hairline for 15 minutes to set the smoothness before removing.
The result is a puff where the front portion is glassy smooth and the gathered back portion provides volume and texture. The contrast between polished front and textured back is the whole effect.
Who this is for: anyone attending a formal event, anyone wanting a dramatic professional look, or anyone bored with the soft-casual puff aesthetic and ready to try something more architectural.
20. Cornrow-Front Puff
Install three or four cornrows starting at your hairline and running backward toward a central point on your crown. At the meeting point, gather the cornrow ends along with any loose hair into a puff.
Cornrows in front give you a completely different silhouette than edge control and a standard puff. The cornrow lines create visual structure and drama while simultaneously protecting your edges from tension.
This is a longer-wearing style. Cornrows last 5-7 days without refreshing, and the puff portion can be rebuilt daily while the cornrows remain intact. Great for travel weeks or high-stress periods when you need low-maintenance wear.
21. Pineapple Puff
The pineapple puff deserves its own spot even though it looks similar to the classic high puff, because the technique is subtly different. You gather your hair loosely at the top of your crown without smoothing the sides — the looseness is intentional.
The result is a puff that looks intentionally effortless, with loose curls and waves visible around the base of the gathering point. It’s closer to a “natural bed head” aesthetic than the sculpted high puff.
Pineapple puffs are also what many naturals use as overnight protection for wash-and-go styles. Gather loosely, tie a satin scarf around the base to secure it without flattening the curls, and sleep. In the morning, take down and you’ve got intact wash-and-go curls instead of the flattened mess cotton pillowcases create.
Maintenance That Extends Puff Wear
Take down every puff before bed. Don’t sleep in your puff — the overnight pressure damages your edges and flattens the shape so badly that you end up rebuilding in the morning anyway.
Sleep in a satin bonnet or on a satin pillowcase. Cotton creates friction that causes frizz at the puff’s base, and frizz you didn’t create is harder to smooth away than frizz you can control.
Refresh with water and leave-in each morning. A spray bottle is your friend. Mist the front and sides of your hair, smooth with your hands, then gather into a fresh puff.
Common Mistakes to Avoid
Using regular rubber bands or standard elastics. This is the biggest edge-killer in the puff category. Switch to nylon stockings or stretchy satin bands immediately.
Gathering too tightly. You should feel firm but not pulled. If your scalp hurts, loosen the gather immediately.
Skipping the edge work. Smooth hairline = polished puff. Fuzzy hairline = amateur puff. A 60-second edge smoothing is non-negotiable if you want your puff to look intentional.
Picking the puff from the top instead of the bottom. Top-picking flattens the shape. Pick from below to add volume without disturbing the surface.
Picking the Right Puff for Your Face
Round faces benefit from high puffs that add vertical length. Square faces soften with low puffs that balance strong jawlines. Oval faces work with almost any puff height. Heart-shaped faces look especially good with side-swept puffs that add width at the cheekbones.
Your lifestyle matters too. A dramatic high puff with picked-out volume doesn’t survive a full workday in an office environment — it gets flattened by headrests and deflated by long meetings. Match the puff to your actual schedule, not just the aesthetic you want.
Final Thoughts on Puff Ponytails
The puff ponytail is one of the most versatile natural hair styles there is. The 21 variations in this list are a starting point, not a checklist — pick three or four that match your rhythm, your density, and your patience, and let them become your rotation.
Respect your edges. Switch up your height. Refresh instead of rebuild. These three habits will extend your wear time on any puff style and keep your hairline healthy for years of natural hair journey ahead.
Try a new one this week. See how it feels. Your puff game will thank you for the experimentation.