A curly blowout and a campsite are not friends. Wind, sweat, smoke, hat straps, and a sleeping bag that feels like sandpaper can turn even a good curl day into a frizz story fast, which is why camping hairstyles for curly hair need to do more than look cute at breakfast.
Tight elastics are the villain. So are styles that depend on a mirror, five bobby pins, and a calm morning you will probably not have after sleeping on uneven ground.
The styles that work outdoors have a few things in common: they keep the ends tucked away, they spread tension around instead of yanking one spot, and they still look decent when you peel off a hat after a hike. I also want styles that survive a little chaos. A braid that loosens a bit is fine. A style that collapses the second you brush past a tent pole is not.
That is the lens here. Think practical, low-fuss, and curl-friendly — the kind of camping hairstyles for curly hair that make sense when you are tired, a little dusty, and not interested in rebuilding your hair from scratch before coffee.
1. Camping Hairstyles for Curly Hair: The Pineapple Puff
The pineapple puff is the first style I reach for when the forecast says wind or the campsite feels humid enough to make hair swell on contact. It keeps the curls piled high, protects the ends, and stops the back of your neck from turning into a sweat zone.
How to Shape It Without Crushing Your Curls
Gather your hair loosely at the very top of your head, usually just above the crown, and secure it with a soft scrunchie or coil tie. The key is loose tension. If the front gets flattened, the whole style starts looking sad by midday, and no one needs that on a trail.
Leave a few face-framing curls out if you like the softer look, or sweep everything up if bugs are bad and you want your hair off your skin. A little gel along the hairline helps, but skip the hard shell. Camping calls for hold, not a helmet.
- Use one satin or silk scrunchie for fine curls.
- Use two soft ties if your hair is thick or heavy.
- Flip the puff forward while you secure it, then let it fall back into place.
- Pin the sides only if they keep slipping.
Best part: you can sleep in it, shake it out in the morning, and still look intentional. That matters when your mirror is the side of a car window.
2. Two-Strand Twists That Hold Up All Weekend
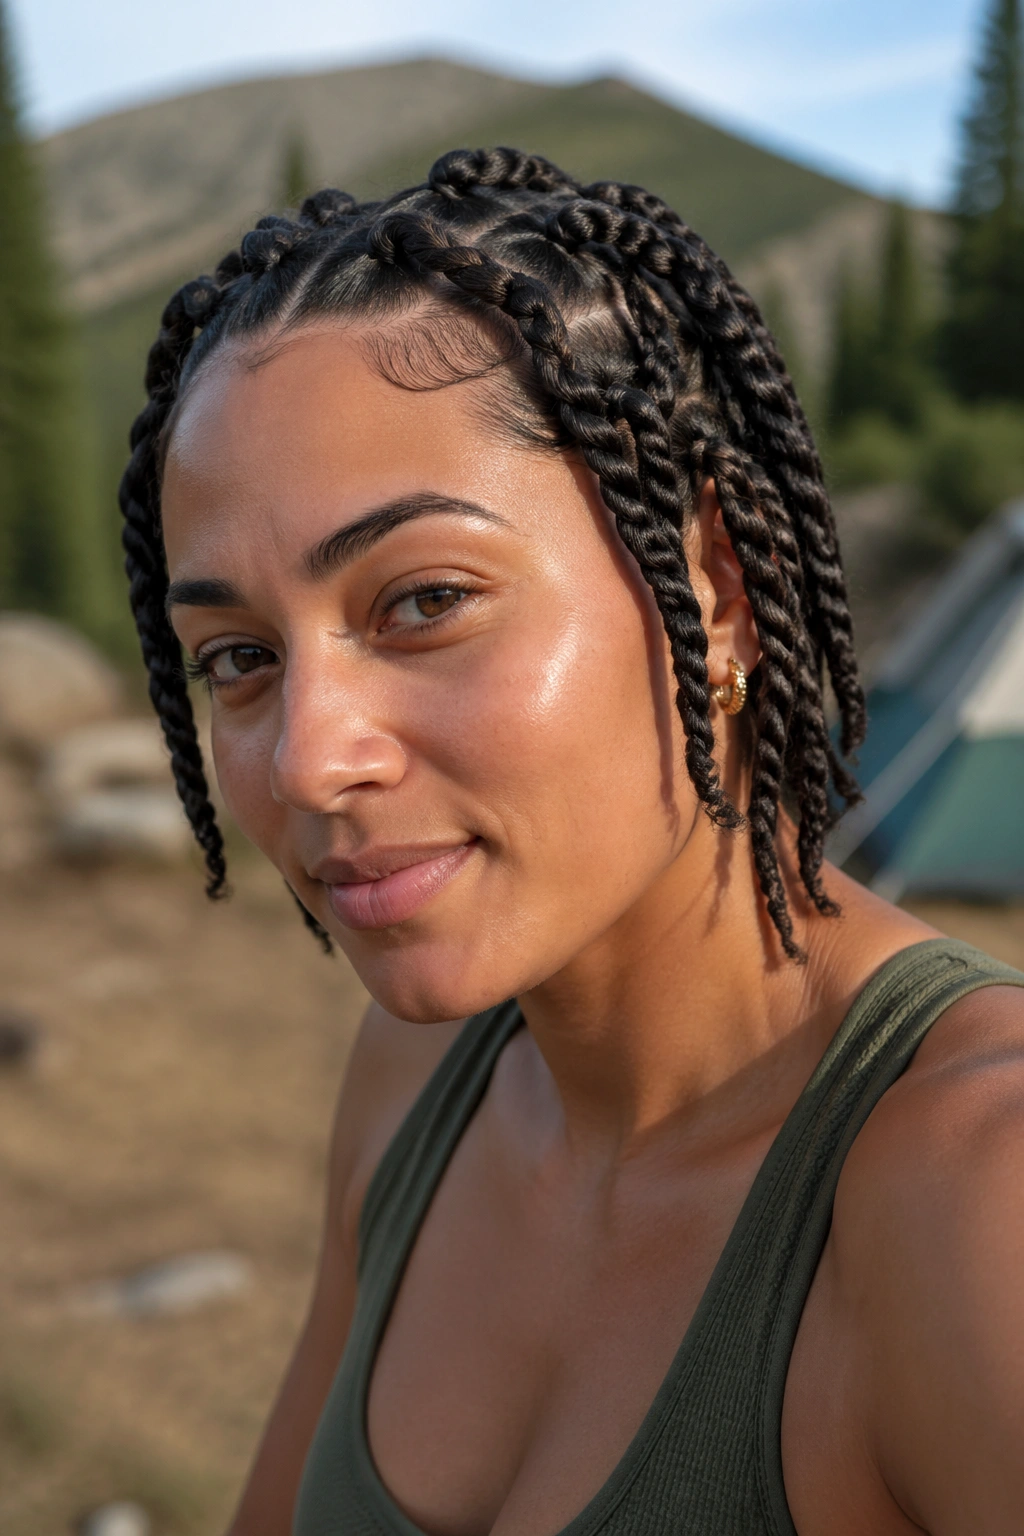
Two-strand twists are one of those styles that look plain at first and then quietly outlast almost everything else. They keep the curl pattern organized, they do not demand perfect parting, and they can be worn neat or a little shaggy without looking wrong.
What makes them work at camp is the shape. Each twist keeps the strands wrapped around each other instead of letting them rub freely against jackets, sleeping bags, and backpack straps. That means fewer tangles and less shrinkage drama. If your curls get puffy when you touch them too much, this is a smart choice.
I like them best on hair that is damp, not soaking, with a leave-in conditioner and a light gel or cream. Six large twists will feel faster. Twelve smaller ones will last longer and usually give you more definition when you take them down later. Pick your tradeoff.
The nice thing is that you do not have to keep them perfect. If one twist loosens at the ends, that is fine. Twist styles have a forgiving kind of messiness, and camping tends to reward that.
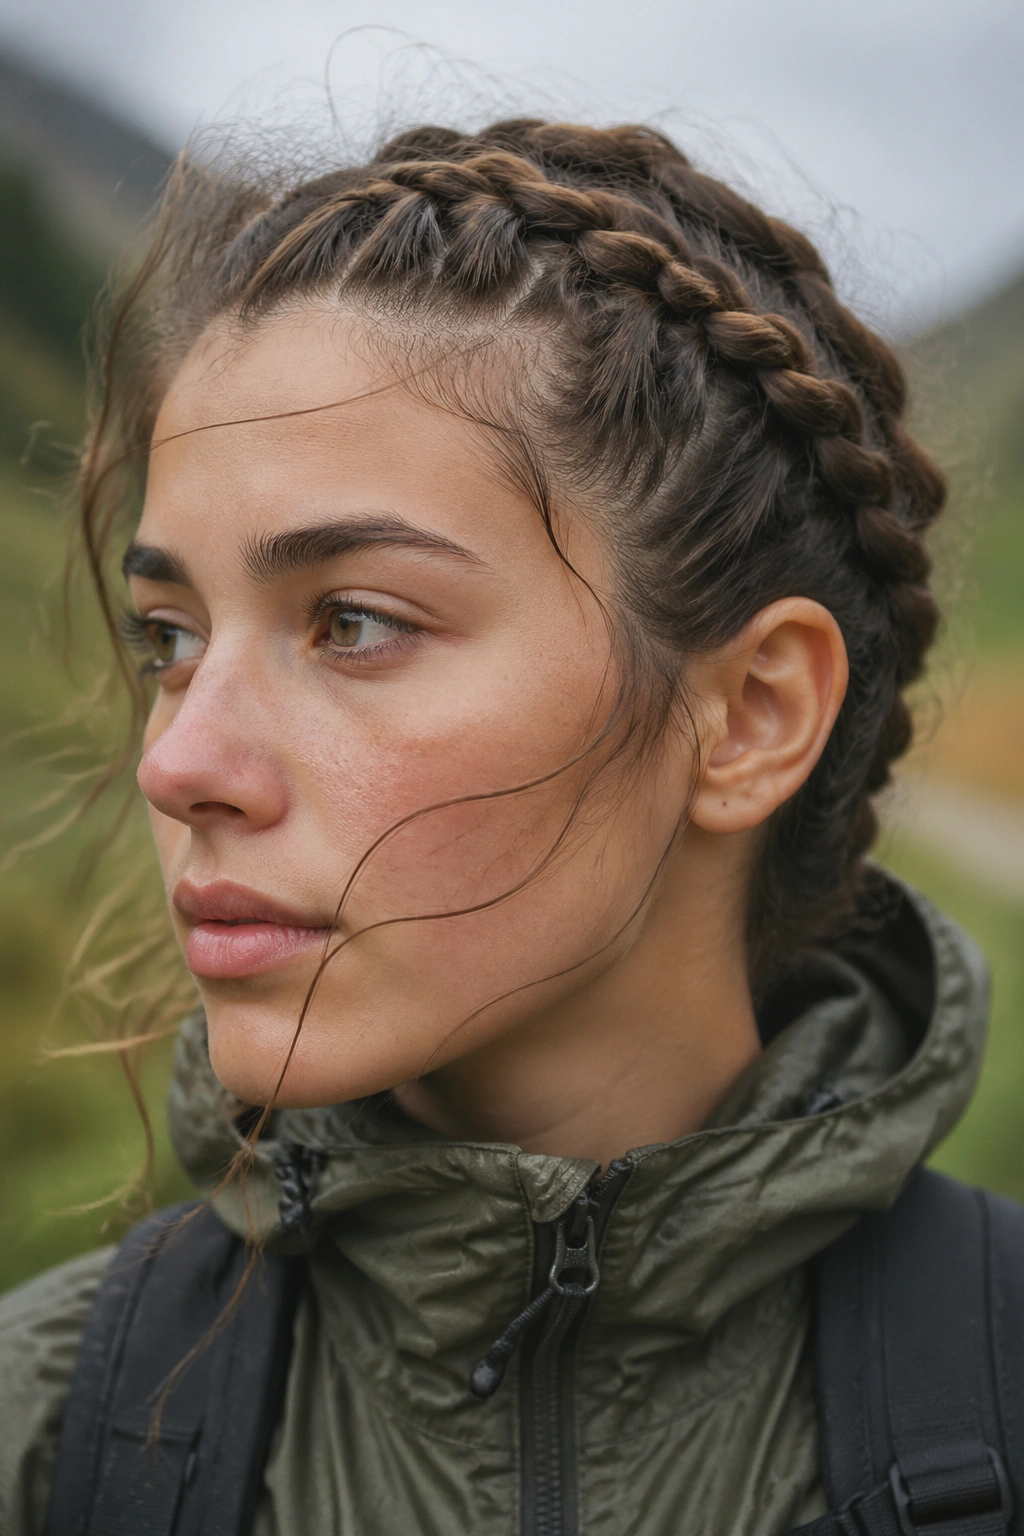
3. The Braided Crown That Keeps Hair Off Your Face
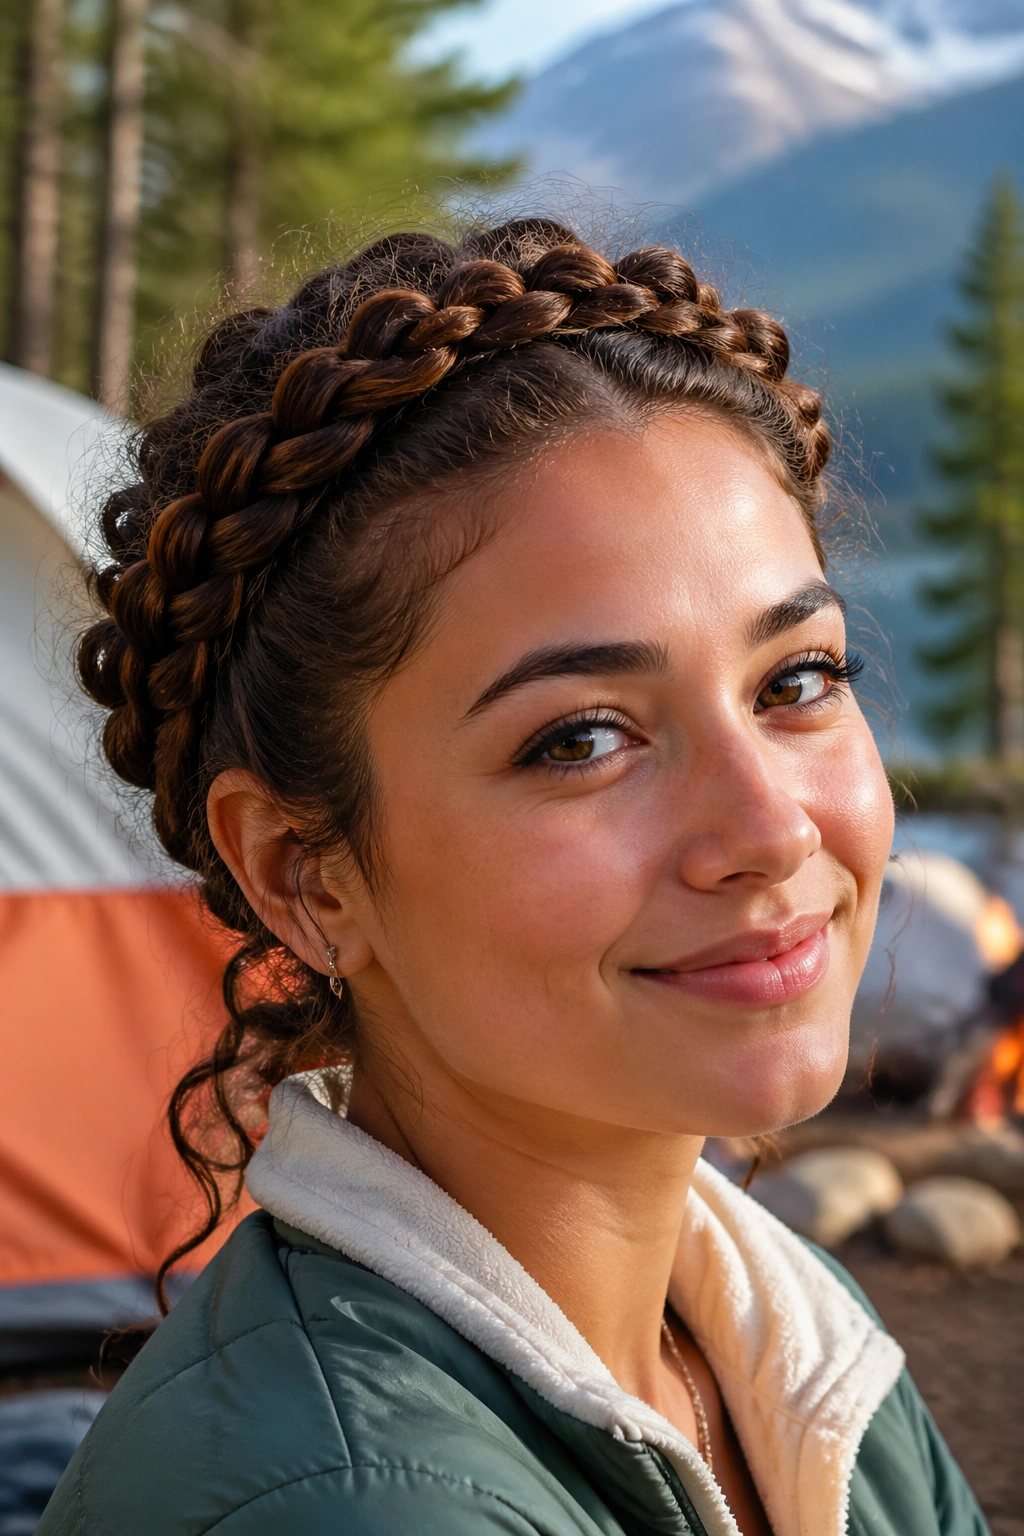
If the campsite is windy, this one makes a lot of sense. A braided crown wraps the hairline instead of leaving it exposed, so the front of your curls stays off your cheeks, your forehead, and whatever you are cooking over the fire.
Why the Shape Matters Outdoors
A crown braid is not about fancy show-off braiding. It is about control. The braid follows the head, which means it can sit under a beanie, a bucket hat, or a hood without creating a giant lump on one side. That little detail matters more than people think. Hair that sits flat near the scalp is easier to live with when you keep putting on and taking off layers.
The style works especially well if your curls puff up at the roots but stay defined on the ends. You braid the front perimeter, tuck the tail back, and leave the rest in a low puff, bun, or loose twist. That split gives you structure without locking every strand into place.
- Part from ear to ear across the top.
- Braid each front side toward the back.
- Secure the ends with tiny elastics.
- Hide the tails under a back puff or bun.
- Use 2 to 4 bobby pins to anchor loose spots.
One small warning: do not braid too tightly at the temples. Headaches in the woods are a terrible trade.
4. A Low Braided Bun That Survives Sleeping Bag Hair
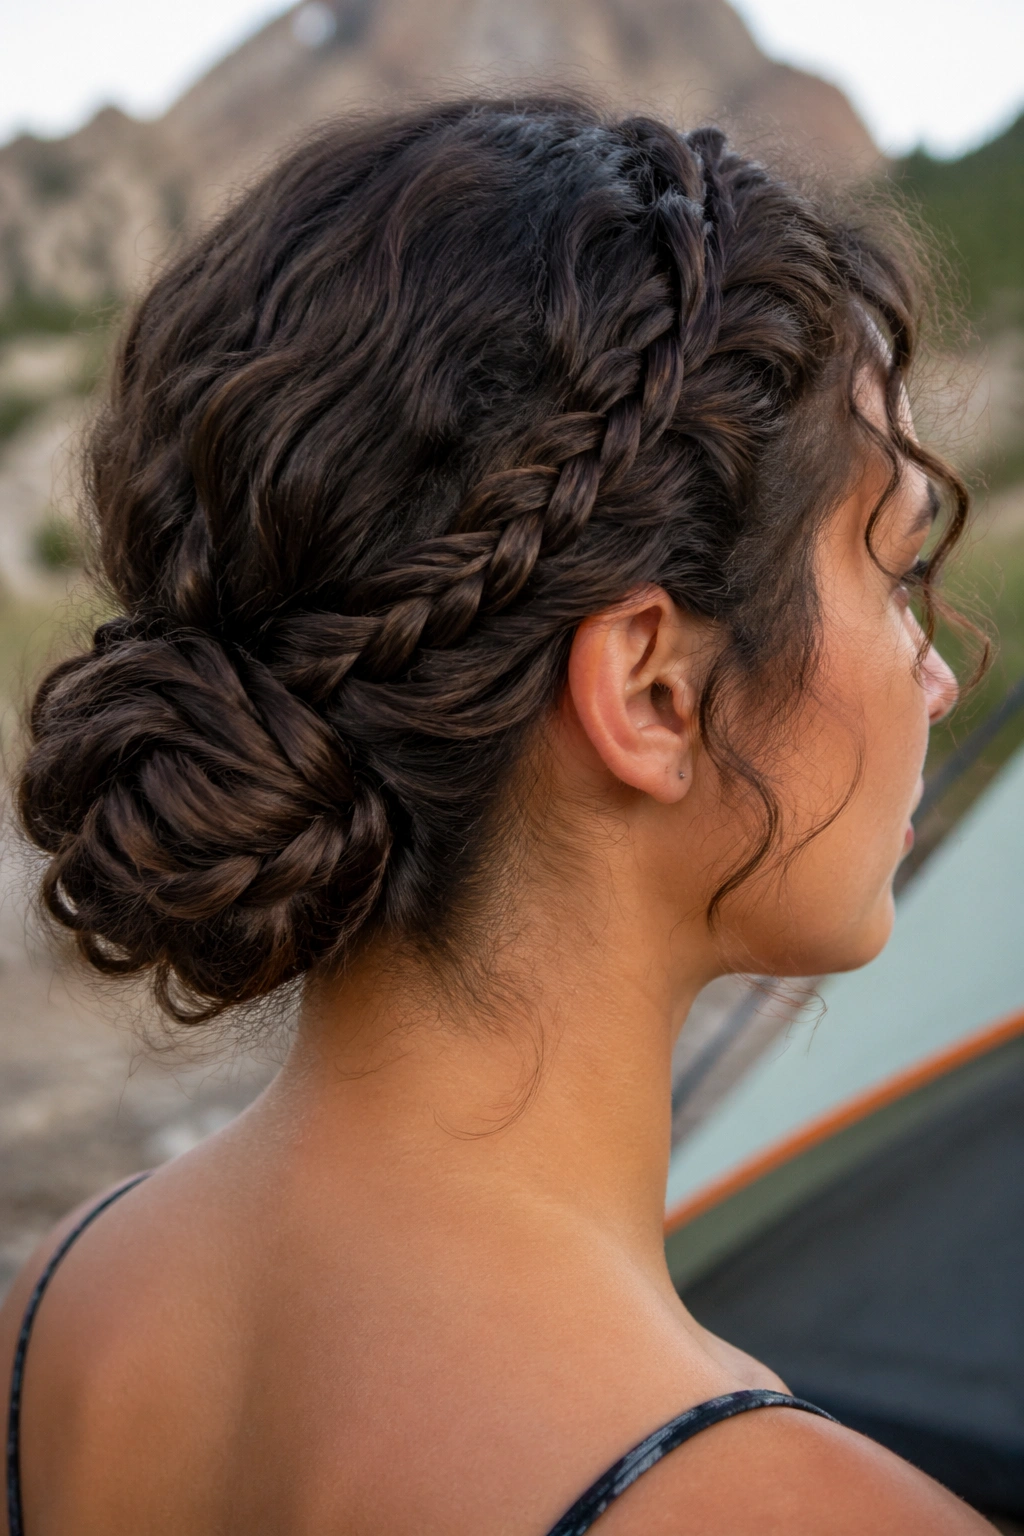
A low braided bun looks like the boring option until you wear it through a long day of setting up camp, hauling water, and sleeping on a pillow that barely counts as a pillow. Then it starts to feel like the smartest thing in the bag.
The reason it works is simple. Braids distribute the hair before it gets wrapped into the bun, so the style holds better than a bare bun on curly hair. You also end up with fewer little wispy ends escaping at the nape, which is where curls love to frizz first.
I like this one when the hair is already stretched from a twist-out or braid-out. Split the hair into two sections, braid each side low, then wrap both braids into a bun at the base of the neck. Pin across the bun, not just at the sides, so the weight spreads out.
A few details help more than people expect:
- Keep the bun low enough to rest under a hat.
- Use a snag-free elastic, not a metal one.
- Tuck the ends under before adding pins.
- Mist the hair lightly before braiding if it feels dry and brittle.
This is one of those styles that gets better if you do not fuss with it. Touch it less. Let it settle.
5. The Half-Up Top Knot With Loose Curls
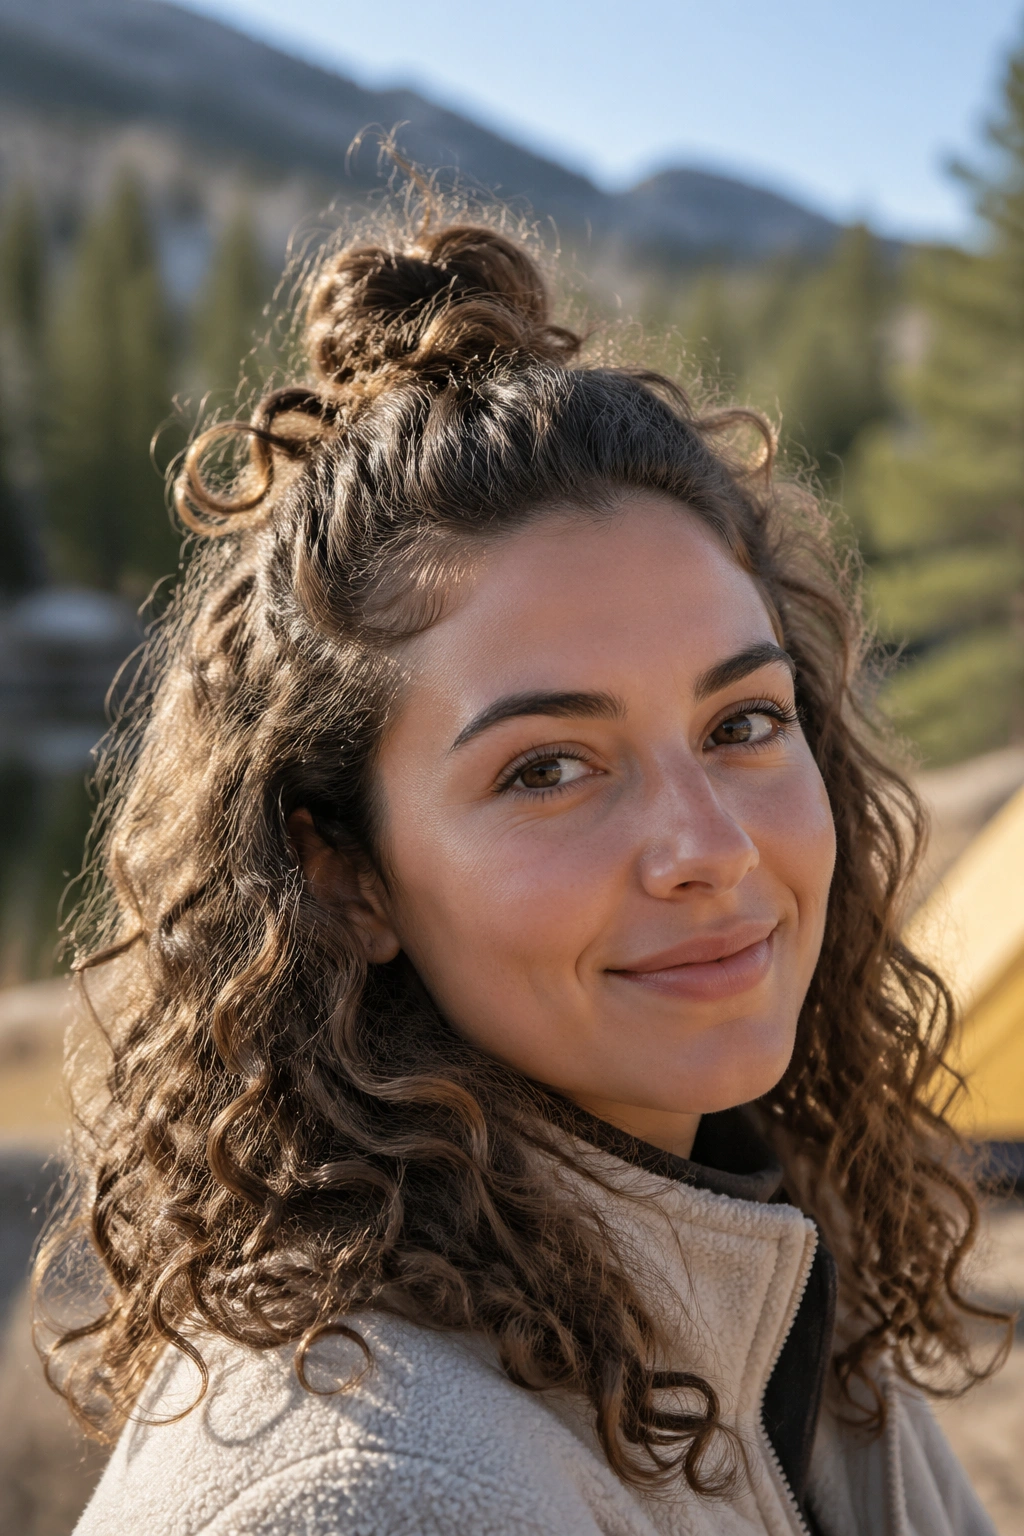
Half-up styles are useful when you want some hair away from your face but do not want the full commitment of an updo. That sounds small, but it is a real difference when you are spending hours outside and want your curls to still look like curls.
The half-up top knot works especially well on shoulder-length and medium-length hair. Pull the top third of the hair into a small knot or puff at the crown, then leave the rest loose. You get airflow on the scalp, which helps in warm weather, and you keep some of the curl pattern visible instead of hiding everything under a band or bun.
This style has a nice balance to it. The top section controls the crown, and the lower curls keep the shape soft. If the back gets flattened by a camp chair or backpack, you can shake it out with your fingers and move on. No brush needed.
I prefer a soft tie or a small claw clip here rather than a tight elastic. Tight hair at the crown starts to feel annoying after a few hours, especially if you keep taking a hat on and off. A little looseness makes the style last longer because you do not get the headache that makes you rip it out by lunch.
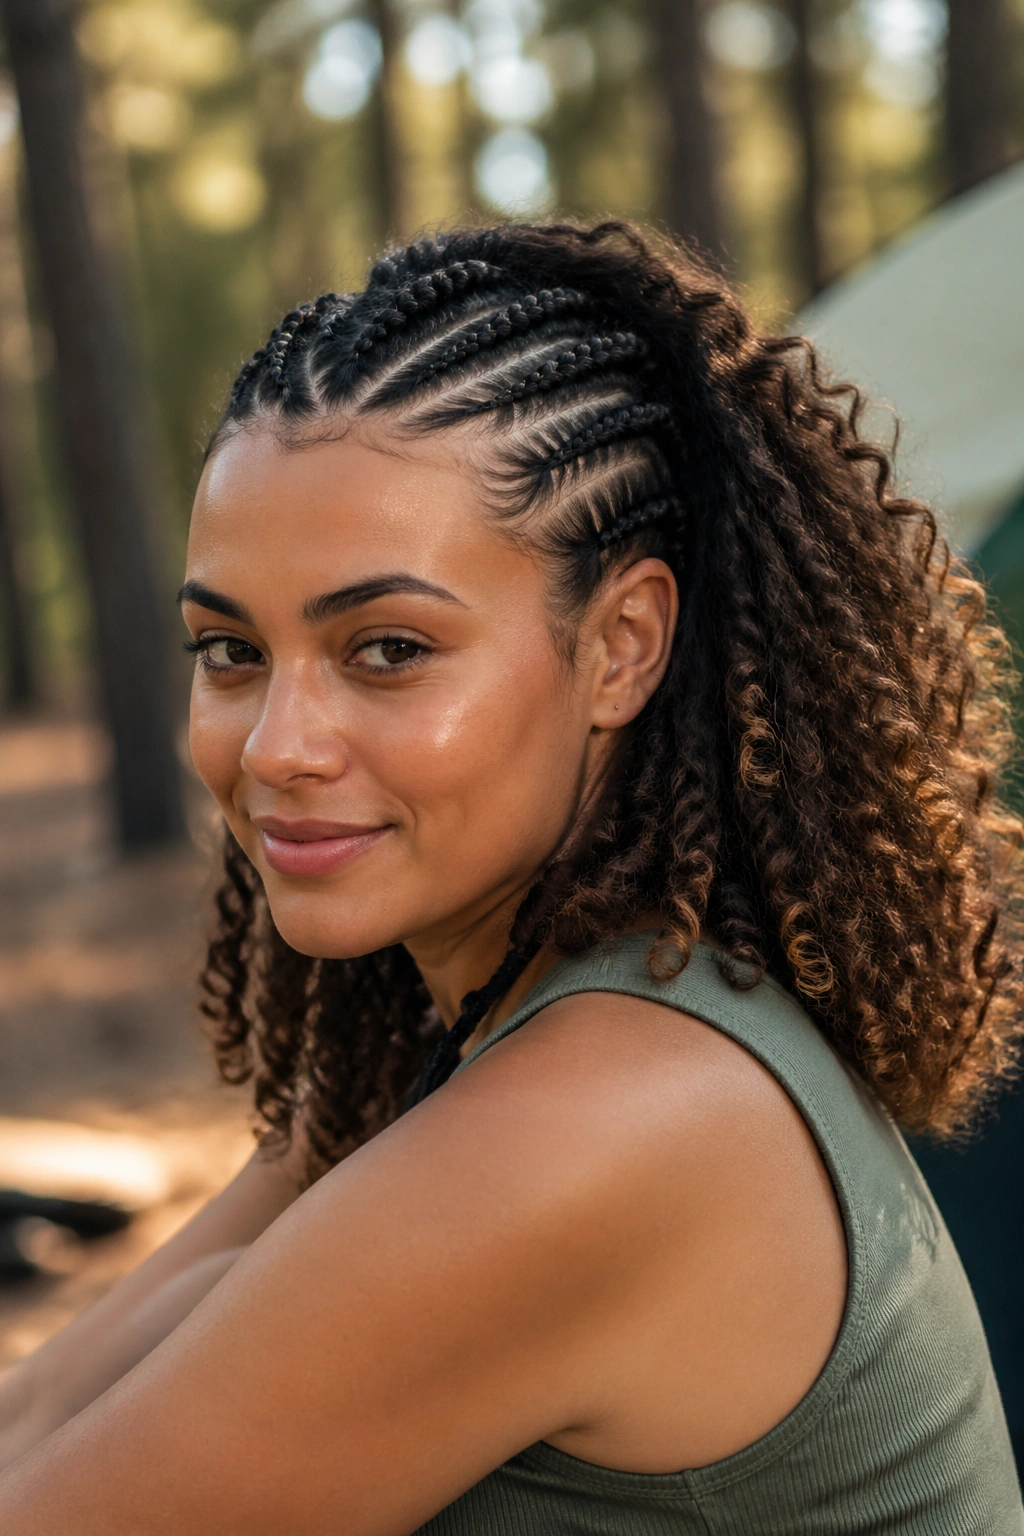
6. Camping Hairstyles for Curly Hair: Side Dutch Braids
Side Dutch braids are one of the more practical camping hairstyles for curly hair when you want the front secured but you still want some shape and personality. They sit close enough to the scalp to hold up in wind, and they keep a lot of the bulk moving in one direction instead of everywhere at once.
What Makes Them Useful on the Trail
Dutch braids stand out from the scalp, which sounds like a small style detail until you try wearing one under a hat or a hood. The raised braid helps keep your roots from getting crushed flat, and the side placement keeps your part from getting too fussy. If your curls are thick, this is a decent way to manage volume without turning your hair into one giant knot.
Braid one side all the way down and leave the ends loose, or braid both sides and join them at the nape. Both versions work. The first one feels easier. The second one feels more secure if you plan to sleep in the style.
- Start with detangled hair and a little cream on the sections.
- Keep the sections even, but do not obsess over perfection.
- Braid firmly enough that the style holds, not so tight that your scalp complains.
- Finish with a small elastic and tuck the tail under a collar or jacket.
The best thing about side Dutch braids is the cleanup. They unravel into a soft wave pattern later, which means you get a second style out of the same setup.
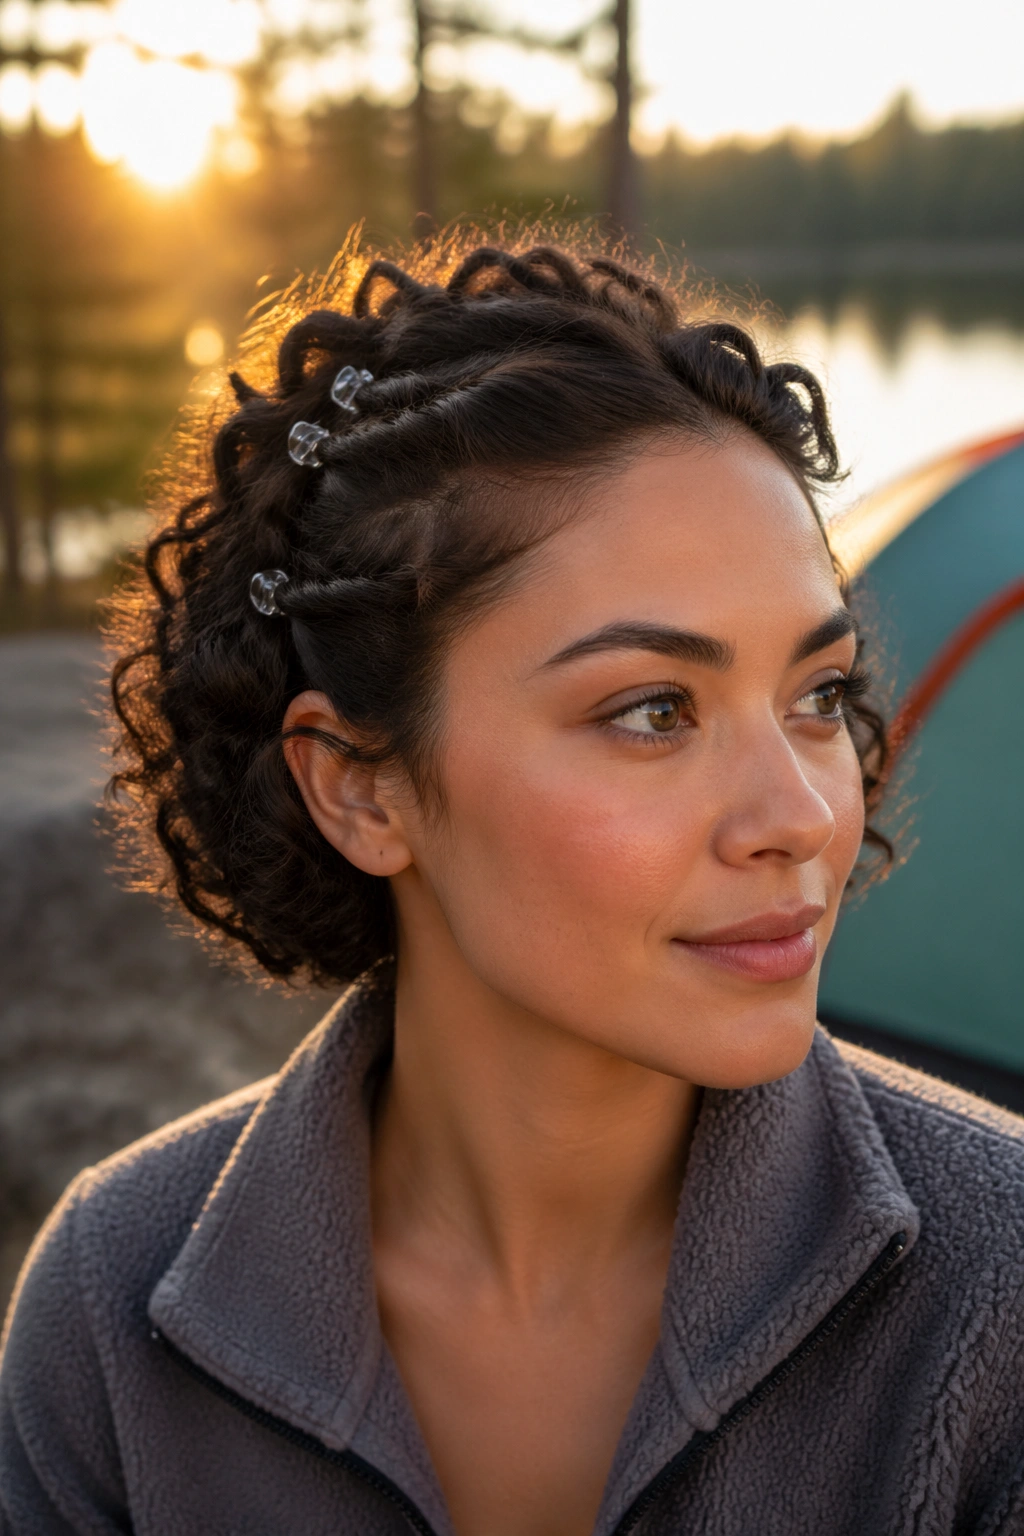
7. Bantu Knots for Definition and Zero Fuss
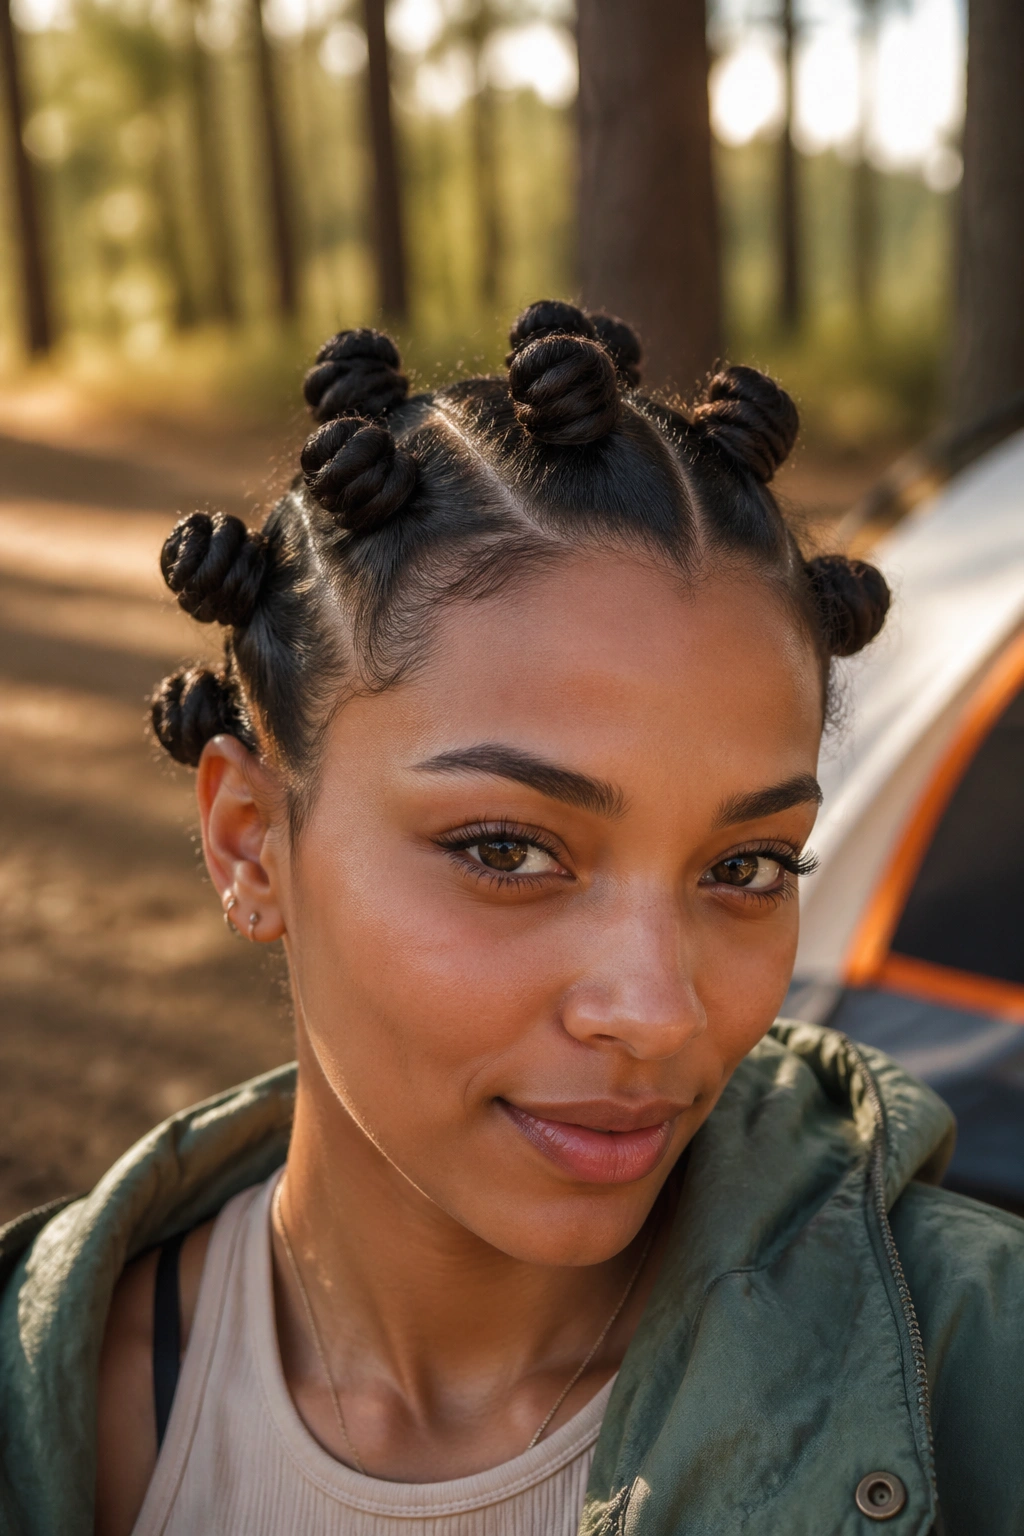
Bantu knots are not subtle. That is exactly why I like them. They are compact, they keep the hair contained, and they can double as a setting style if you want defined curls when you take them down later.
The trick is to size them to your hair density. Too many tiny knots on thick curls can feel overworked. Too few giant knots can sit awkwardly and loosen early. Most people land somewhere in the middle — six to ten knots depending on length and thickness.
The Parting and Twisting Sweet Spot
Start with slightly damp hair and a small amount of gel or styling cream. Section the hair, twist each section until it begins to coil on itself, then wrap it into a knot close to the scalp. Pin the ends securely. If a knot feels tight at the root, back up and loosen it. You want tension, not pain.
This style is useful because it keeps your hair tucked away while you cook, sleep, or stuff a hat over it. It also protects the ends from rubbing on your shirt collar, which is a bigger deal than most people realize. Curly ends get abused fast outdoors.
I would not choose Bantu knots if you know you will be rushing. They take a little patience. But the payoff is nice: neat hair during the trip, then a curl set when you take them down.
8. Two Space Buns That Spread the Weight
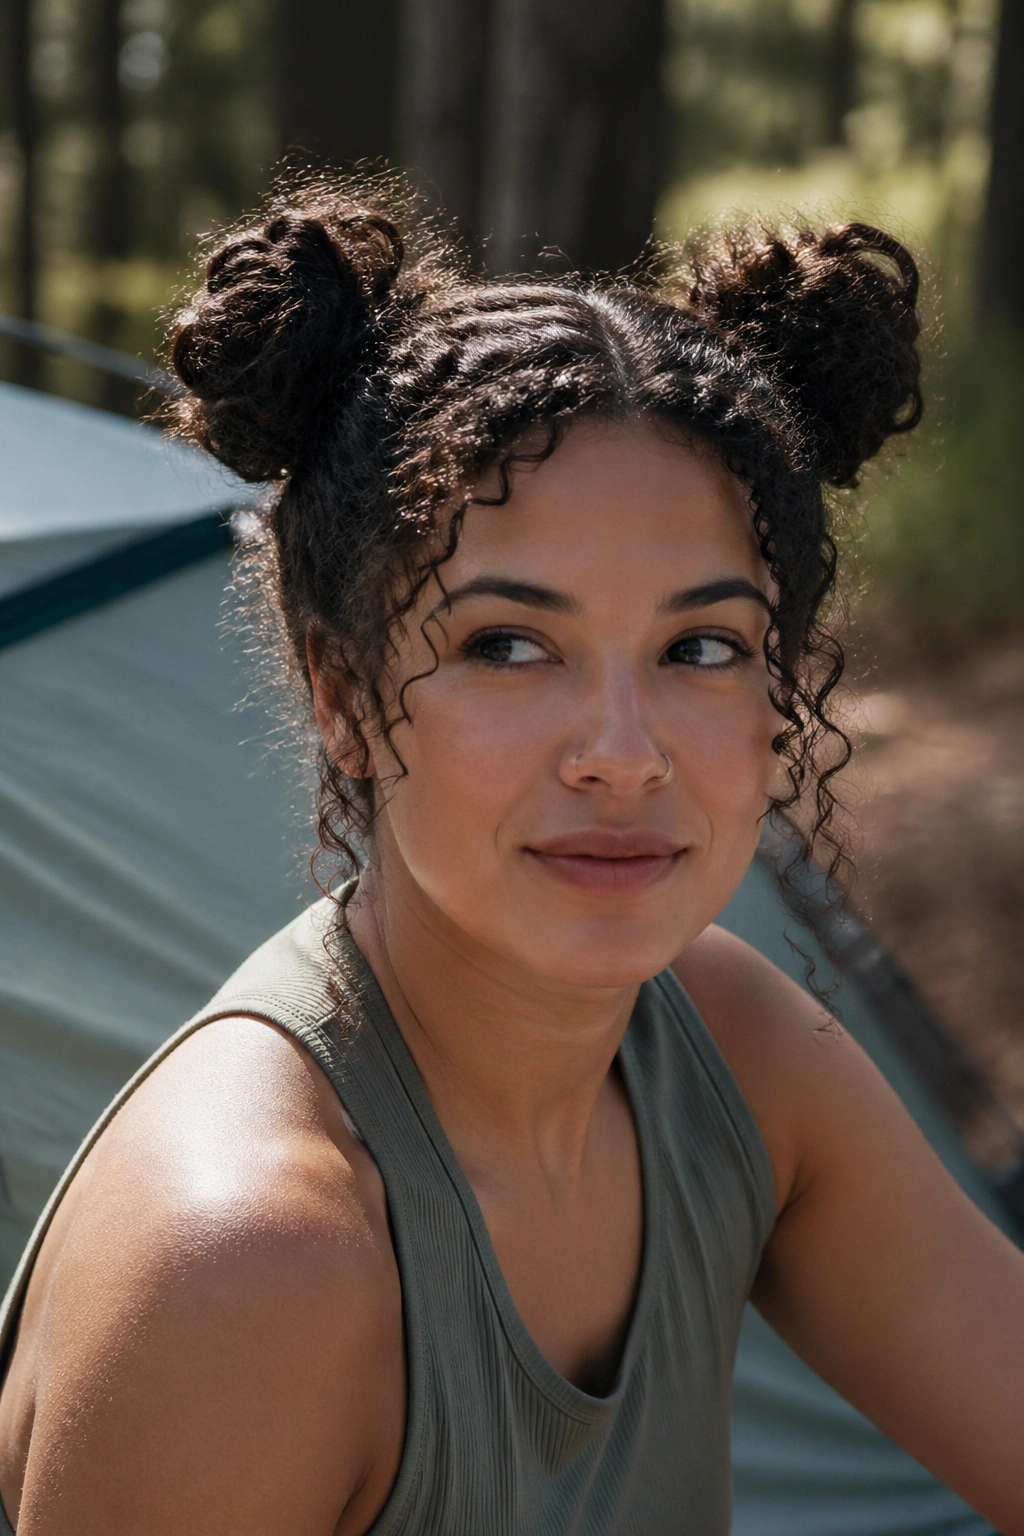
Why split the hair into two buns? Because one huge bun can feel heavy and pull on the scalp, especially if your curls are dense or long. Two space buns break up the weight and make the style feel lighter, even though you are still keeping most of the hair secure.
Space buns are also a little friendlier for active days. They sit high enough to clear the neck, and they do not collapse the way a high ponytail can after a few hours of moving around. If you are hiking, setting up tents, or leaning your head back on a camp chair, they hold up better than you might expect.
I like them with the hair divided down the middle and twisted into buns just behind the ears or a bit higher. You can make them neat and round, or keep them slightly loose so they do not look too stiff. A few pins under each bun keep the shape from sliding.
They are not the calmest style. They have a playful look, and that may be exactly what you want. If your curls are short to medium length, though, space buns can save you from a day of re-tucking pieces behind your ears every ten minutes.
9. The Headscarf Tuck When You Want Instant Control
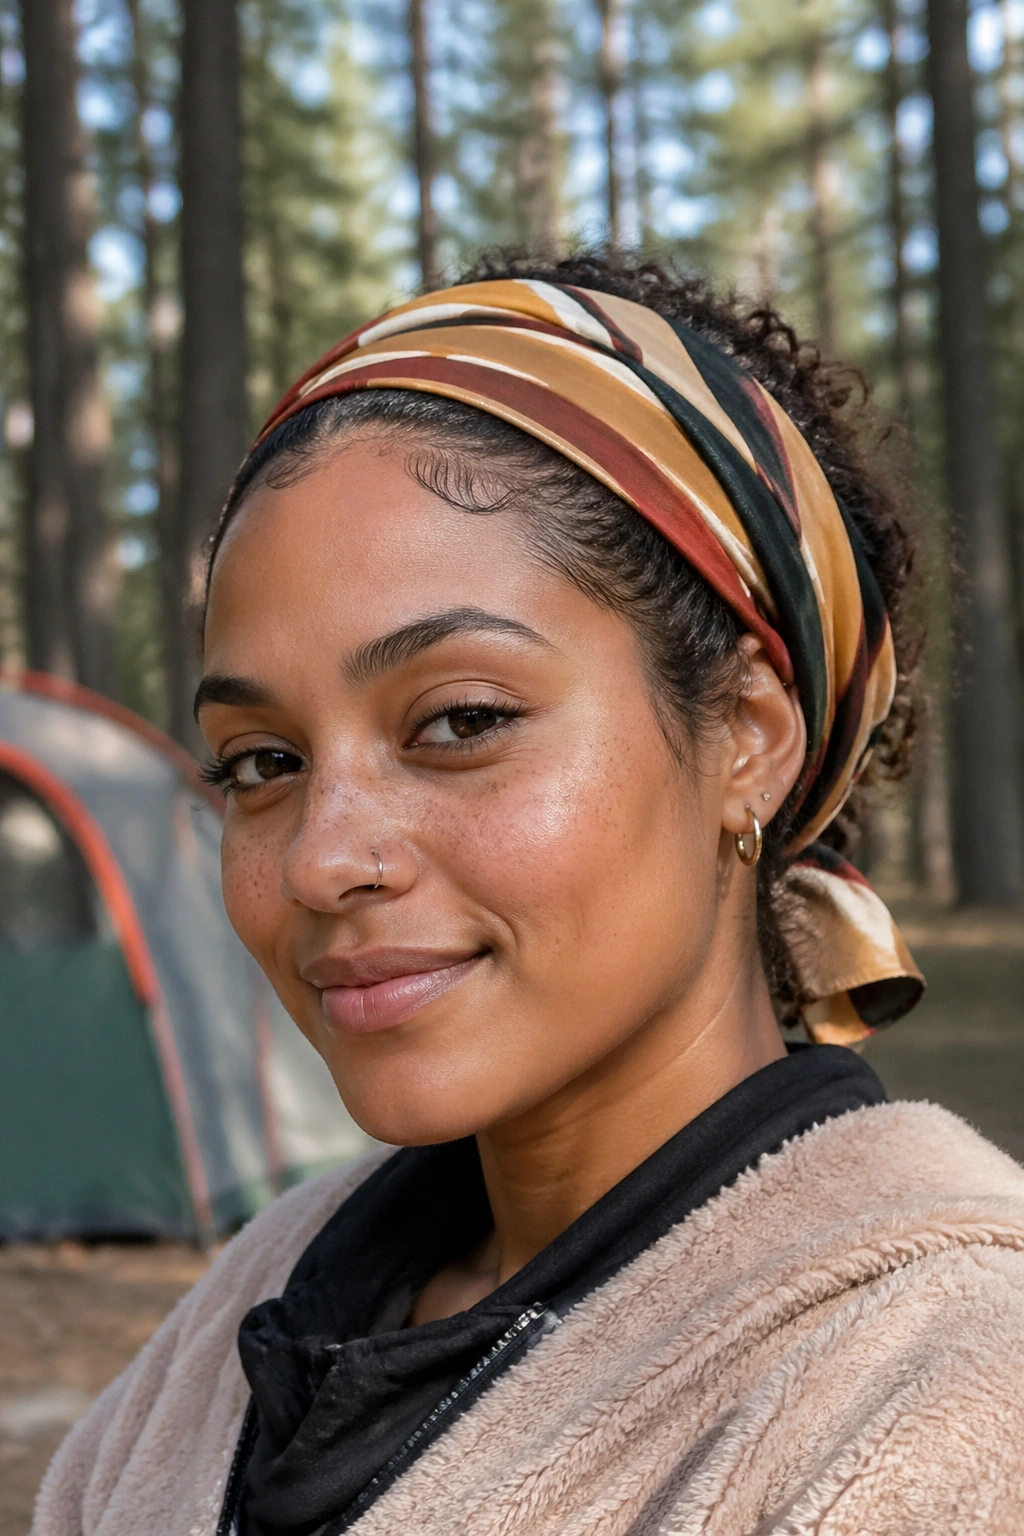
A folded scarf or bandana sounds old-school, and honestly, that is part of the appeal. It is fast. It takes up almost no room in a pack. And if your curls are already frizzing from humidity, a scarf can make the hair look deliberate instead of frazzled.
Use a larger square scarf if you want to tuck most of the hair away, or a long bandana if you only need the front and sides controlled. Fold it into a band about 2 to 4 inches wide, place it along the hairline, and tie it at the nape or the top, depending on the shape you want. Then tuck the curls loosely under the fabric or leave them partially out.
The best part is the flexibility. A scarf can hide roots that got sweaty, cover edges that you do not feel like fixing, or protect your hair while you sleep in a tent. It can also act as a barrier between your hair and a wool hat, which is useful because wool can snag curls in a heartbeat.
Do not pull the scarf too tight. If the fabric presses hard into the hairline, it can leave a mark and make the front look flattened when you take it off. Soft pressure works better. Always.
10. Camping Hairstyles for Curly Hair: Cornrowed Front, Loose Back
Cornrowing just the front section is a neat solution for curly hair that needs to stay out of your face but does not want to be fully braided down. You get the clean hairline and the practical hold up front, while the back stays free, fluffy, and recognizable as curls.
Why the Split Works So Well
This style is especially good if your hair has different textures in different areas. Some people have tighter curls at the crown and looser curls in back. Others just want the front controlled because that is where glasses, sunglasses, and sweat become annoying. Cornrowing only the front gives you that control without flattening the whole head.
You can do two rows, four rows, or more, depending on how much you want to secure. The back can stay in a puff, a loose braid, or a low knot. If you want the style to last longer, use a little gel along the roots before braiding, and smooth the parting with your fingers before the hair dries.
- Best for mixed textures and dense hairlines.
- Good under a cap because the front stays flat.
- Works well with baby hairs if you like to smooth them.
- Can be undone later for a softer texture around the face.
This one is practical in a very specific way. It solves the part of camp hair that gets on your nerves first.
11. The Clipped Twist-Back Style for Shorter Curls
Short curls deserve a style that does not pretend they are long. A clipped twist-back is perfect for that. You twist small sections away from the face, pin them back with sturdy clips, and let the rest of the curls sit where they want to sit.
That sounds casual because it is casual, but not sloppy. The important part is using clips that actually grip. Small metal duckbill clips, snap clips, or flat barrettes work better than oversized decorative pieces that slide out after an hour. You want hold, not a photo prop.
This style is good when your hair is too short for a proper bun and too springy to stay in a ponytail. It keeps the front from falling into your eyes while cooking, reading, or hiking, and it still lets the rest of the curls breathe. If one section gets frizzy, you can simply twist it tighter and reclip it.
I also like this one for day-two hair. You do not need fresh wash-day curls for it to look decent. In fact, a little lived-in texture helps the clips stay put. Clean, slippery hair can be harder to manage here.
12. Camping Hairstyles for Curly Hair: The Low Puff With Tendrils

The low puff is the style I reach for when I am tired, my hair is not doing anything cooperative, and I still want to look like I tried. It sits at the nape, keeps the bulk low, and gives you enough shape to feel finished without needing a dozen steps.
What makes it work is the balance. A tight low ponytail can pull curls straight and leave a dent. A low puff keeps the natural volume intact while still getting the hair off your face and neck. If you leave out two small tendrils near the temples, the style looks softer and the front does not feel stripped bare.
How to Keep It From Looking Flat
Use a soft scrunchie, not a hard elastic, and gather the hair loosely at the nape rather than yanking it tight. Then lift the puff gently with your fingers so it sits rounded instead of compressed. A tiny bit of edge control or gel at the hairline can help, but only if you want that polished front. You do not need a slick finish for camp.
A low puff is the style I would call the least fussy and still good-looking. It works after a long drive. It works after a hike. It works when your curls have lost a little shape and you are not interested in fighting them back into submission. And that is probably the real point here: the best camping hairstyle is usually the one you can fix in under two minutes without a comb.
A few final pieces make life easier:
- Pack two satin scrunchies.
- Bring 4 to 6 bobby pins in a small tin.
- Keep a mini spray bottle for quick refreshes.
- Tuck one scarf into your bag even if you think you will not use it.
If you only remember one thing, remember this: curls at camp do not need to be controlled so much as guided. That difference matters. And once you stop fighting the texture, the whole thing gets easier.