A good headwrap can save a curly-hair morning in under a minute, but the best versions do not flatten the texture you spent half an hour coaxing into shape. They work with the curls, not against them. That is the whole trick.
Curly hair has volume on its own. That can be a blessing when you want drama, and a nuisance when you are trying to keep your roots calm, your edges tidy, and your outfit from looking accidental. A headwrap helps with all three, which is why it has stuck around for so long in real life, not just in photos.
The part most people miss is simple: the fabric, the fold, and the placement matter more than the knot. A scarf that sits too tight will flatten the front and leave a sore band across your forehead. A wrap that is too slippery will creep back by lunch. A wrap that ignores curl pattern will make your hair look like it lost an argument with a hat.
Volume is the point.
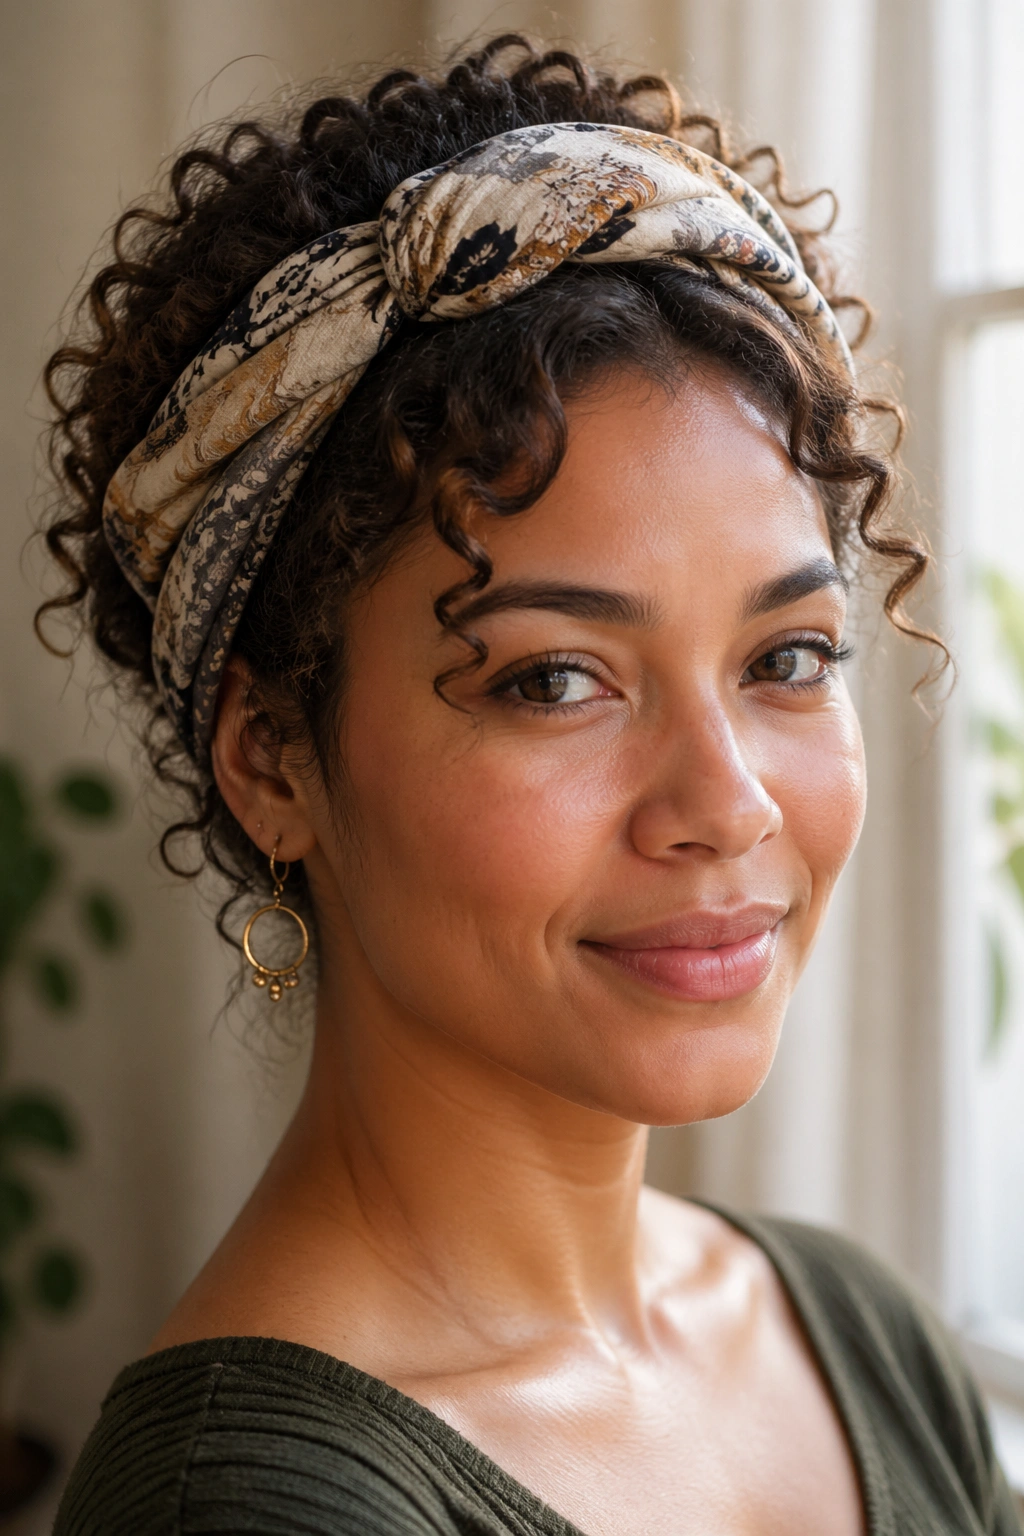
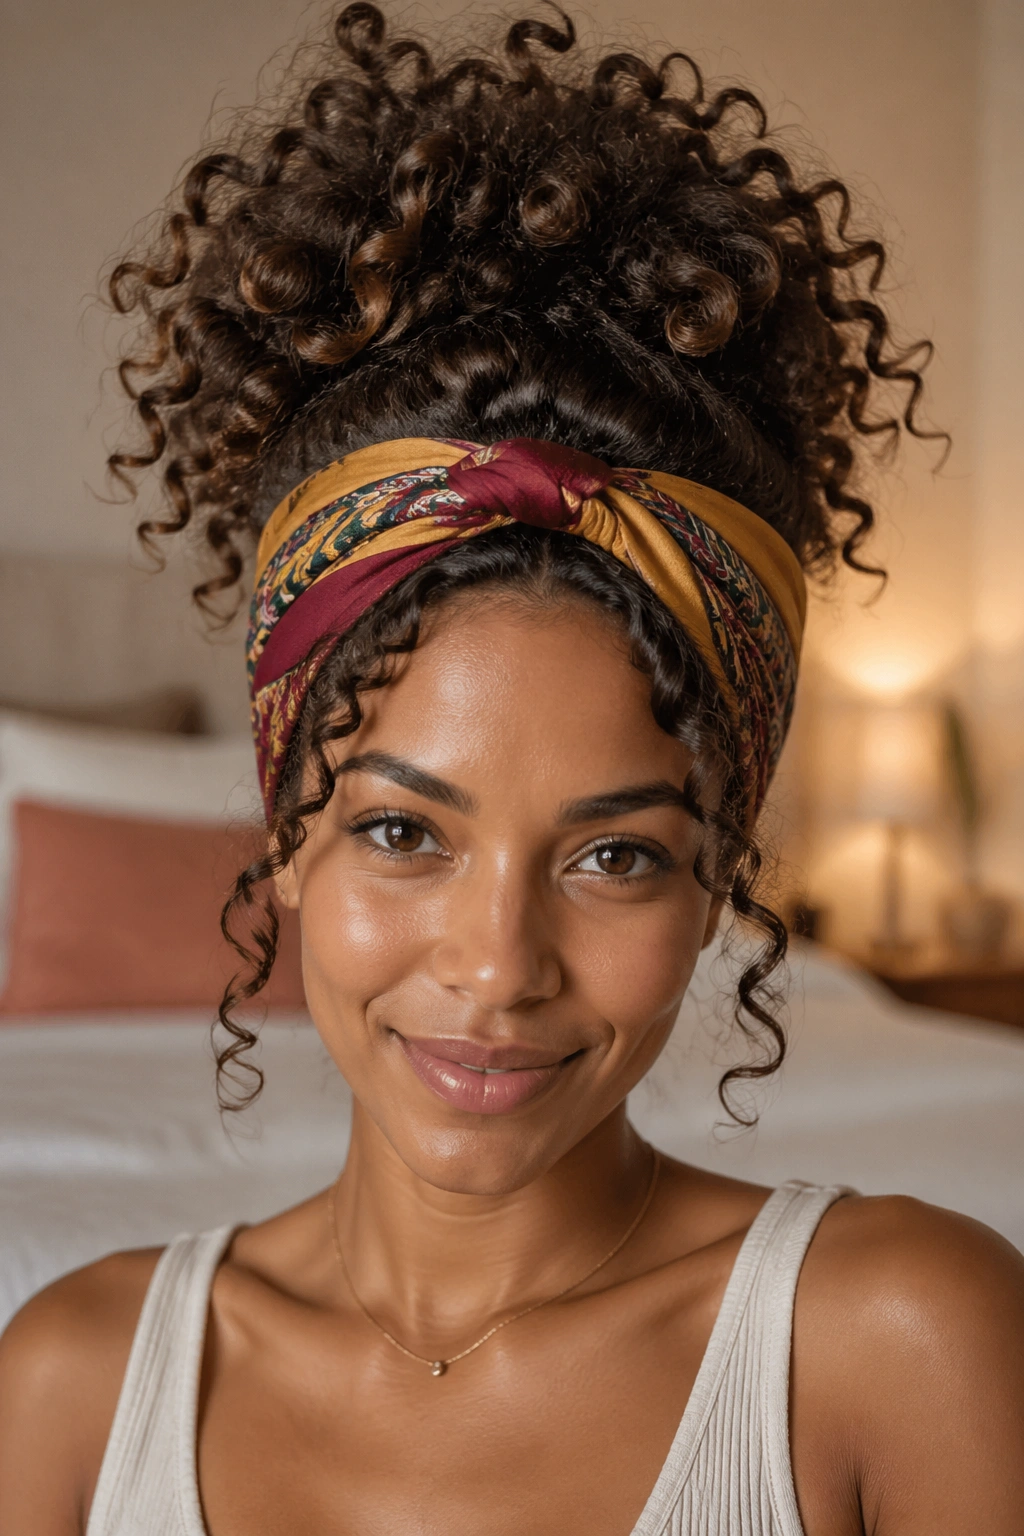
1. The High Puff Wrap
This is the style I reach for when the curls are still good but the roots need help. You pull the hair up into a high puff or a loose pineapple, then place the wrap low on the hairline so the front frame looks clean and intentional. The top stays full. The face gets lifted. No wrestling required.
A square scarf around 36 by 36 inches usually gives enough fabric for a neat knot without swallowing the whole style. If your curls are thick, choose a larger rectangle so the puff does not feel cramped. Satin or silk on the inside is kinder to the hairline than rough cotton, which matters more than people admit.
Why it works so well with curls
The high puff keeps the natural shape of curly hair visible, which is the part a lot of headwrap styles accidentally hide. You still get height and texture, and the wrap gives the crown a clear frame. That balance is why this one looks polished without looking stiff.
If your curls are stretched from a twist-out or braid-out, the puff sits especially well. The texture has enough hold to keep the shape, but not so much stiffness that it fights the scarf. Keep the front loose. Tight puffs and tight wraps together can leave the whole style looking tense.
Best for: second-day curls, stretched curls, and anyone who wants a little lift at the crown.
Watch for: a knot that sits too far forward. That can make your face look crowded instead of framed.
2. The Full Turban Wrap
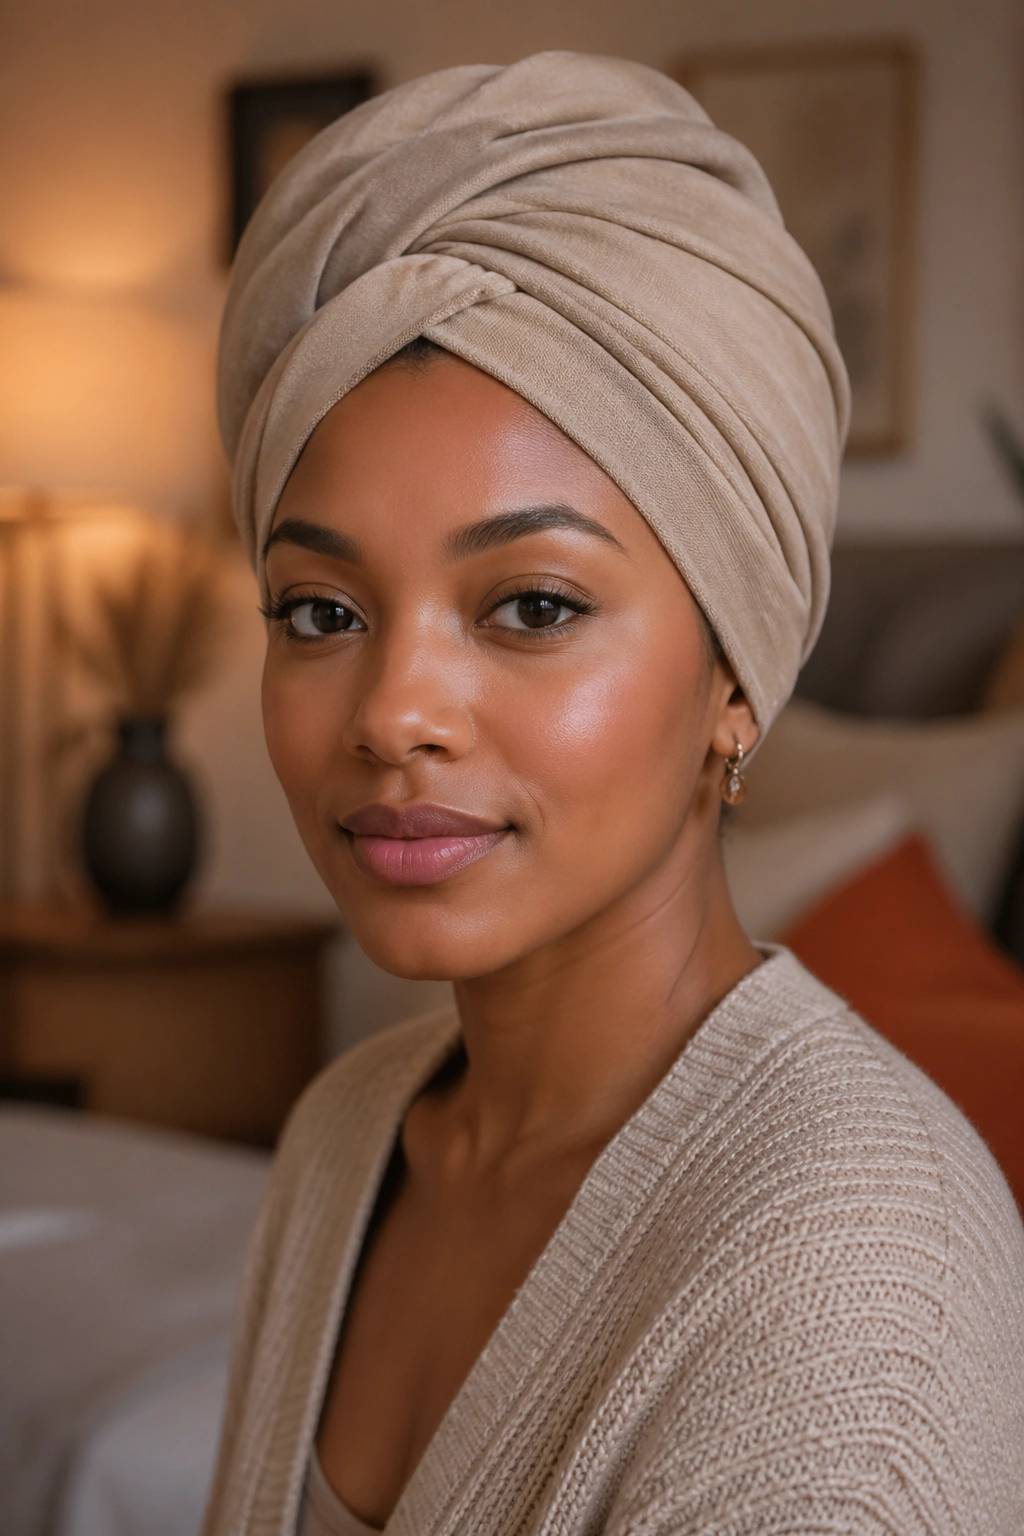
The full turban wrap is the style you use when you want all the hair tucked away and still want it to look deliberate. It is not fussy. It is not tiny. It gives you a smooth shape around the head, then hides the ends so the finish feels clean from every angle. If your curls are frizzy at the roots, this is a relief.
A turban works especially well on humid days, long travel days, or those mornings when your hair has decided to ignore every plan you made. The wrap should sit snug enough to stay put, but not so tight that the forehead starts to ache. That line matters. A lot.
The shape to aim for
Think of the turban as a soft architecture job. You want rounded volume at the top or side, not a flat band wrapped around the skull. The fabric should cross over itself in wide folds, then tuck down near the nape or side of the head. If the layers are too thin, the style can look skimpy. If the folds are too bulky, it starts to look like the scarf is wearing you.
The nicest version uses a fabric with some grip. Jersey is forgiving. Satin on the inside helps if your curls are dry or fragile. A slick silk exterior can look gorgeous, but it needs better tying so it does not slide.
This is the style that buys you peace.
3. The Side-Knot Wrap With One Curl Cascade
Want to keep one side of your curls visible and still cover the rest? This is the one. The scarf crosses diagonally over the head, then ties beside one temple so the knot becomes part of the shape instead of sitting like an afterthought. The open side lets curls spill over one shoulder in a loose cascade.
How to keep the knot from slipping
A side knot needs two things: tension at the base and a little room at the knot itself. Too much tension gives you a headache. Too little and the wrap loosens while you are still making coffee. I like to anchor the scarf just above the ears, cross it once at the back, then bring the ends up toward the same side for the tie.
Use a couple of discreet bobby pins if your hair is soft or freshly conditioned. The pins should catch the scarf, not dig into the curls. And if your curls are more coil than wave, leave the exposed side lightly fluffed so it has shape instead of just hanging there.
When this style shines
It is a smart choice for round or heart-shaped faces because the diagonal line adds length. It also works if you want one earring to show off. A chunky hoop or a simple gold drop looks especially good here.
The whole point is asymmetry. Embrace it.
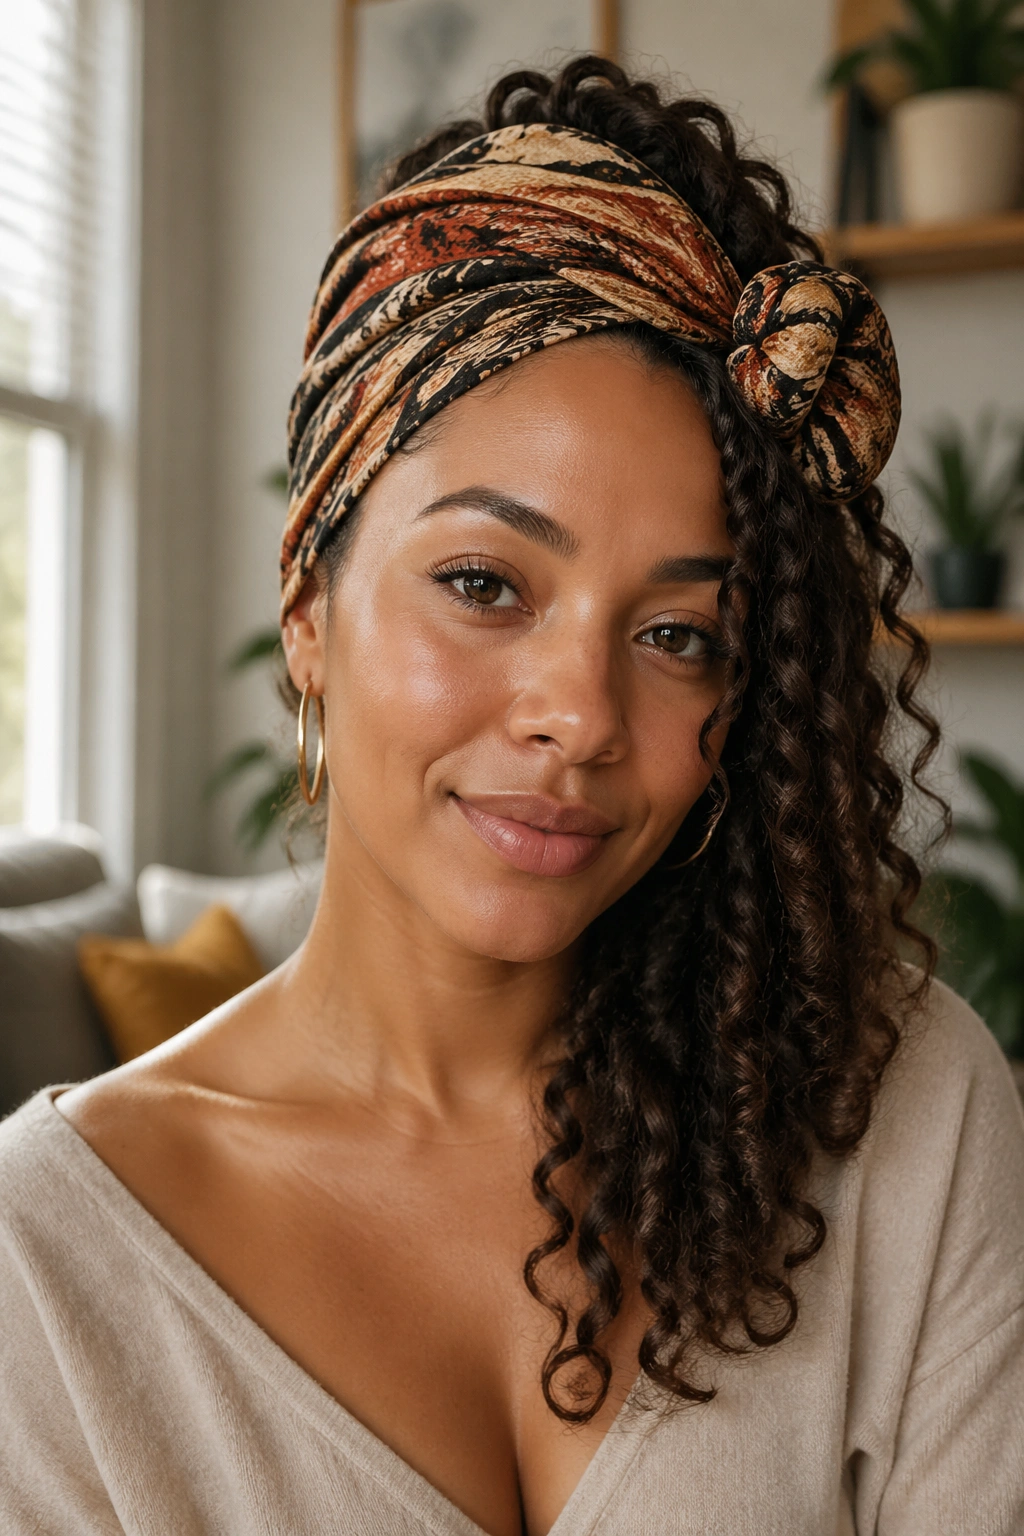
4. The Low Bun Wrap With Face-Framing Pieces
A rushed morning and a low bun are old friends. Add a headwrap, and suddenly the whole thing looks planned. The curls go into a low bun or a loose twist at the nape, while the scarf covers the crown and leaves a few tendrils out at the front. Those face-framing pieces do a lot of work, even if they only curl for two inches.
This style is kind to hair that has been stretched or smoothed a bit. The bun gives the wrap a solid base, so the scarf does not have to do all the holding. If you want a softer finish, pull out two curls near the temples and let them bend on their own. Don’t overthink those pieces. They should look like they escaped, not like you arranged them with tweezers.
- Best fabric: cotton-silk blends, jersey, or a satin-lined scarf.
- Best curl state: stretched curls, twist-outs, or a day-three bun.
- Best trick: secure the bun with a coil pin or a covered elastic, then wrap over that anchor.
- What to avoid: a bun that sits too high, because the wrap starts to bulge in the wrong place.
This one has an easy, lived-in feel. Good earrings help. So does a little lip color if you are wearing it out.
5. The Wide-Band Wrap With a Defined Part
A wide-band wrap is the calmest style on this list. It covers just enough of the hairline to feel tidy, but leaves the curls visible from the middle back. If you like a clean center part, this style keeps it in place and lets the texture do the talking.
The width matters here. A band that is about 4 to 6 inches wide gives you enough coverage to smooth the front without flattening the rest. Skinny bands tend to slide. Huge bands can swallow the curls and make the top look heavy. The sweet spot is a wide strip that sits like a frame, not a lid.
The clean part is what sells it. Once the sectioning is off, the whole look goes crooked fast. Brush or finger-part the hair before tying anything down, then smooth the wrap gently over the first inch of hairline. Gently. Not with a death grip.
I like this one with twist-outs because the curl definition stays visible on both sides of the band. It also works on braid-outs that need a little help settling down. The wrap does not need to be the star. It just needs to behave.
6. The Crown Halo Wrap
This is the style that makes curly hair look like it has its own frame. The scarf circles the crown, often with the knot hidden near the back or side, while the curls stay loose underneath. The effect is softer than a full turban and less structured than a band. It gives you a halo line without hiding the texture.
Unlike a full cover wrap, this one keeps the hairline partly visible. That makes it a good choice when you want your curls to stay part of the look instead of disappearing under fabric. It is also easier to wear with larger curls, because there is room for the hair to sit without getting squeezed.
A long rectangular scarf works better than a tiny square here. You need length to cross the fabric cleanly around the head and still have enough left to tuck or tie. If the scarf is too narrow, the band can twist and look fussy in a bad way. If it is too thick, the crown starts to feel bulky.
Best with hoop earrings. Best with a slightly lifted brow. Best when you want the wrap to feel like part of the outfit, not a rescue mission.
7. The Braided-Front Wrap
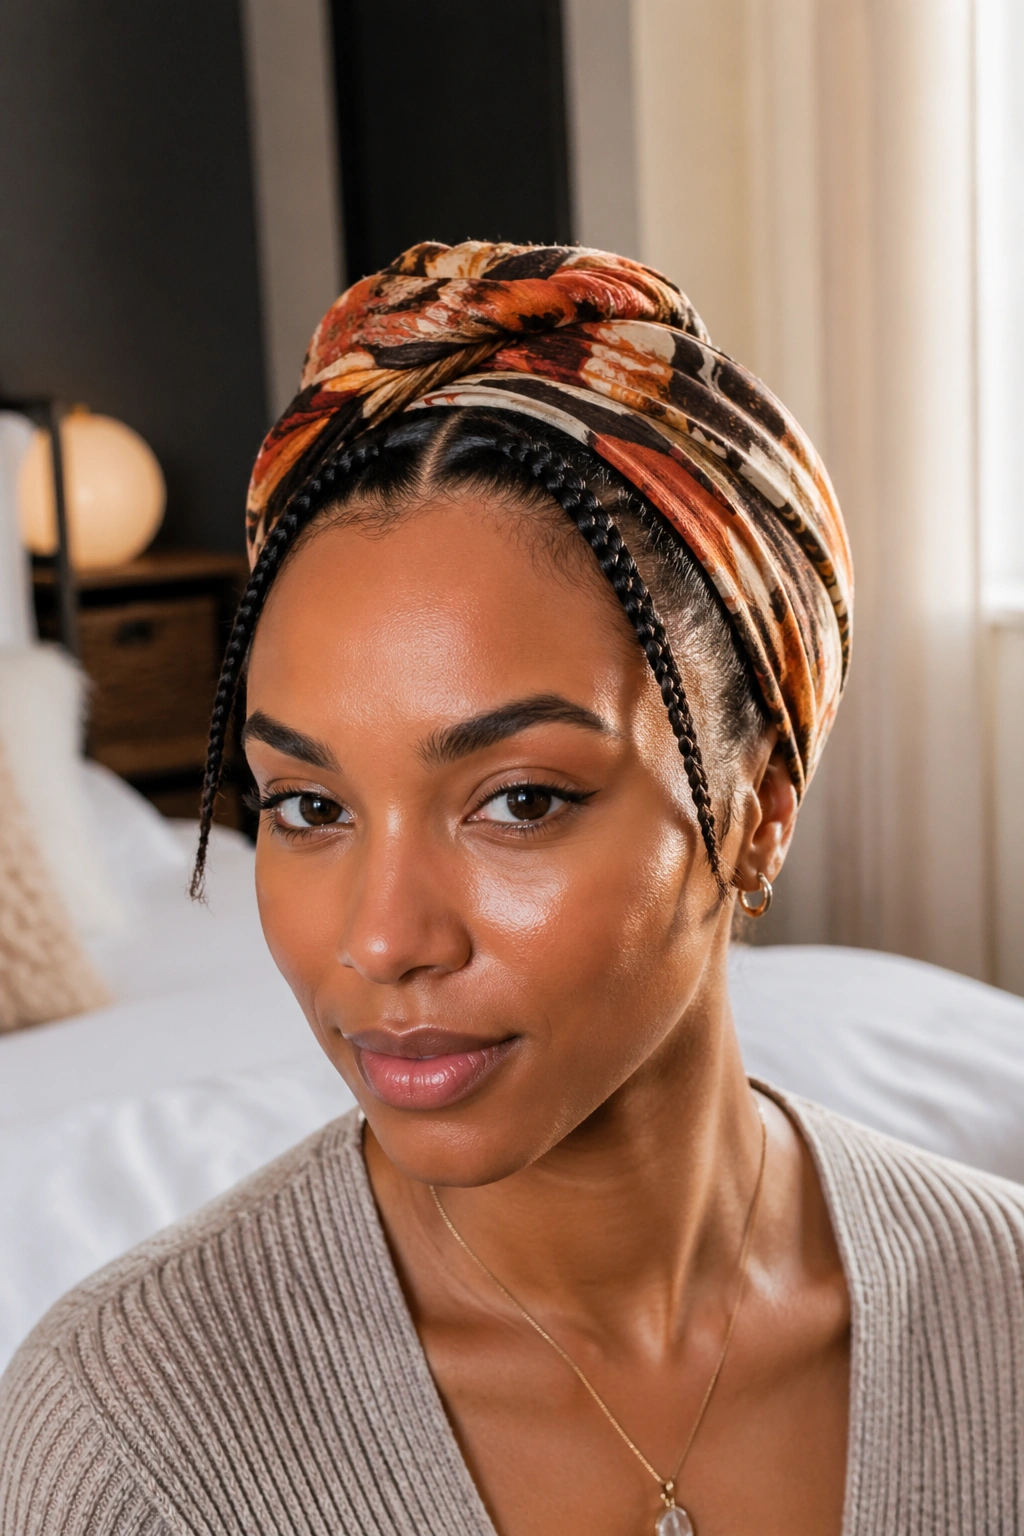
What if you want the headwrap to protect the front hairline and still show some detail? Braided front sections are the answer. You can make two slim braids, two twists, or even one central braid at the front, then tuck the rest under the scarf. The wrap keeps the base smooth while the braids add texture right where people look first.
How to make it last
Start with damp-free hair. Wet roots and scarves do not mix well, and the style gets heavy fast. Part the front cleanly, braid or twist each section, then pin the ends flat before tying the wrap over them. The braid should sit snug but not tight at the scalp. A sore hairline is not a style feature.
If your curls are dense, leave the back loose and let the wrap carry the visual weight up top. If your hair is finer, use the braids to create a little structure so the scarf has something to sit on. A medium-weight cotton or jersey scarf holds the shape better than something flimsy.
This one has a slightly sporty feel, which I like. It can go casual with a tee or sharper with a blazer. The braids give it a little edge without trying too hard.
8. The Retro Rosette Wrap

This is the headwrap style that looks more involved than it is. The scarf folds into a rosette, bow, or twisted flower shape at the top or side, while the curls stay tucked low. It has a vintage feel, but not a costume feel if you keep the rest of the outfit simple.
The trick is fabric with enough body. A very silky scarf can collapse before the knot holds its shape. A scarf with a little weight gives the rosette enough structure to stay puffed out instead of falling flat. If your hair is very thick, build a low bun first so the rosette has something to sit on.
- Place the knot slightly off-center.
- Keep the folds wide, not skinny.
- Let the rosette sit above the forehead line, not right on it.
- Pair it with a plain top so the wrap stays the focus.
This style works when you want a bit of drama without a lot of effort. A bold print helps, but a solid color can be even nicer because the shape itself does the work. I prefer it on days when curls are behaving but the outfit needs one clear idea.
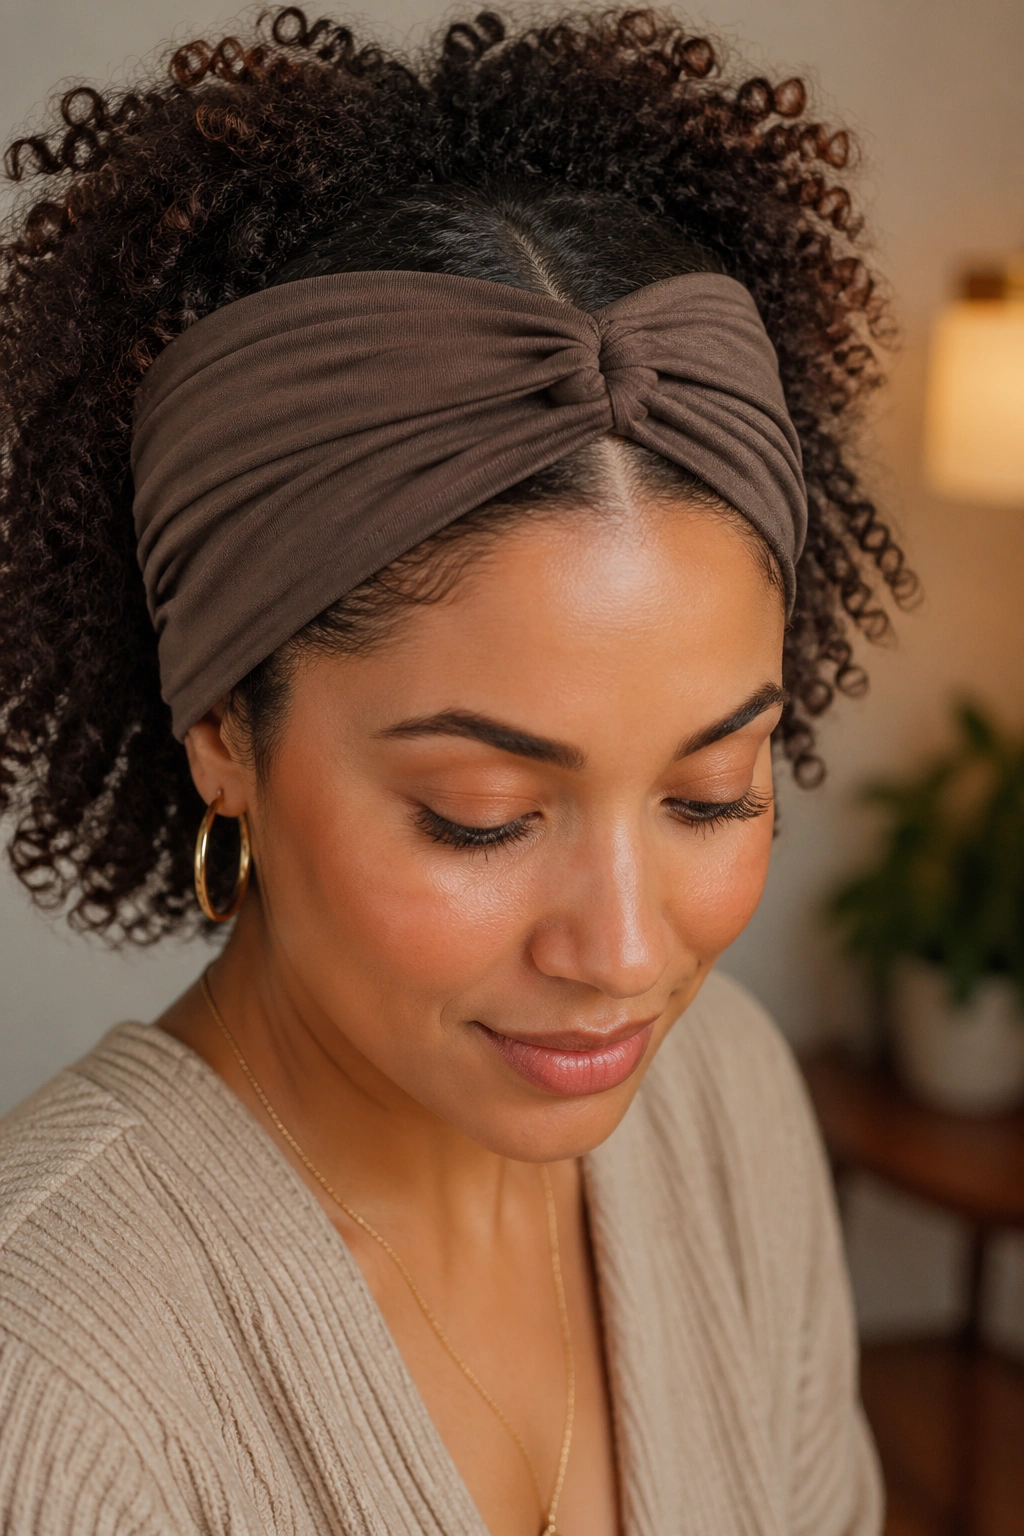
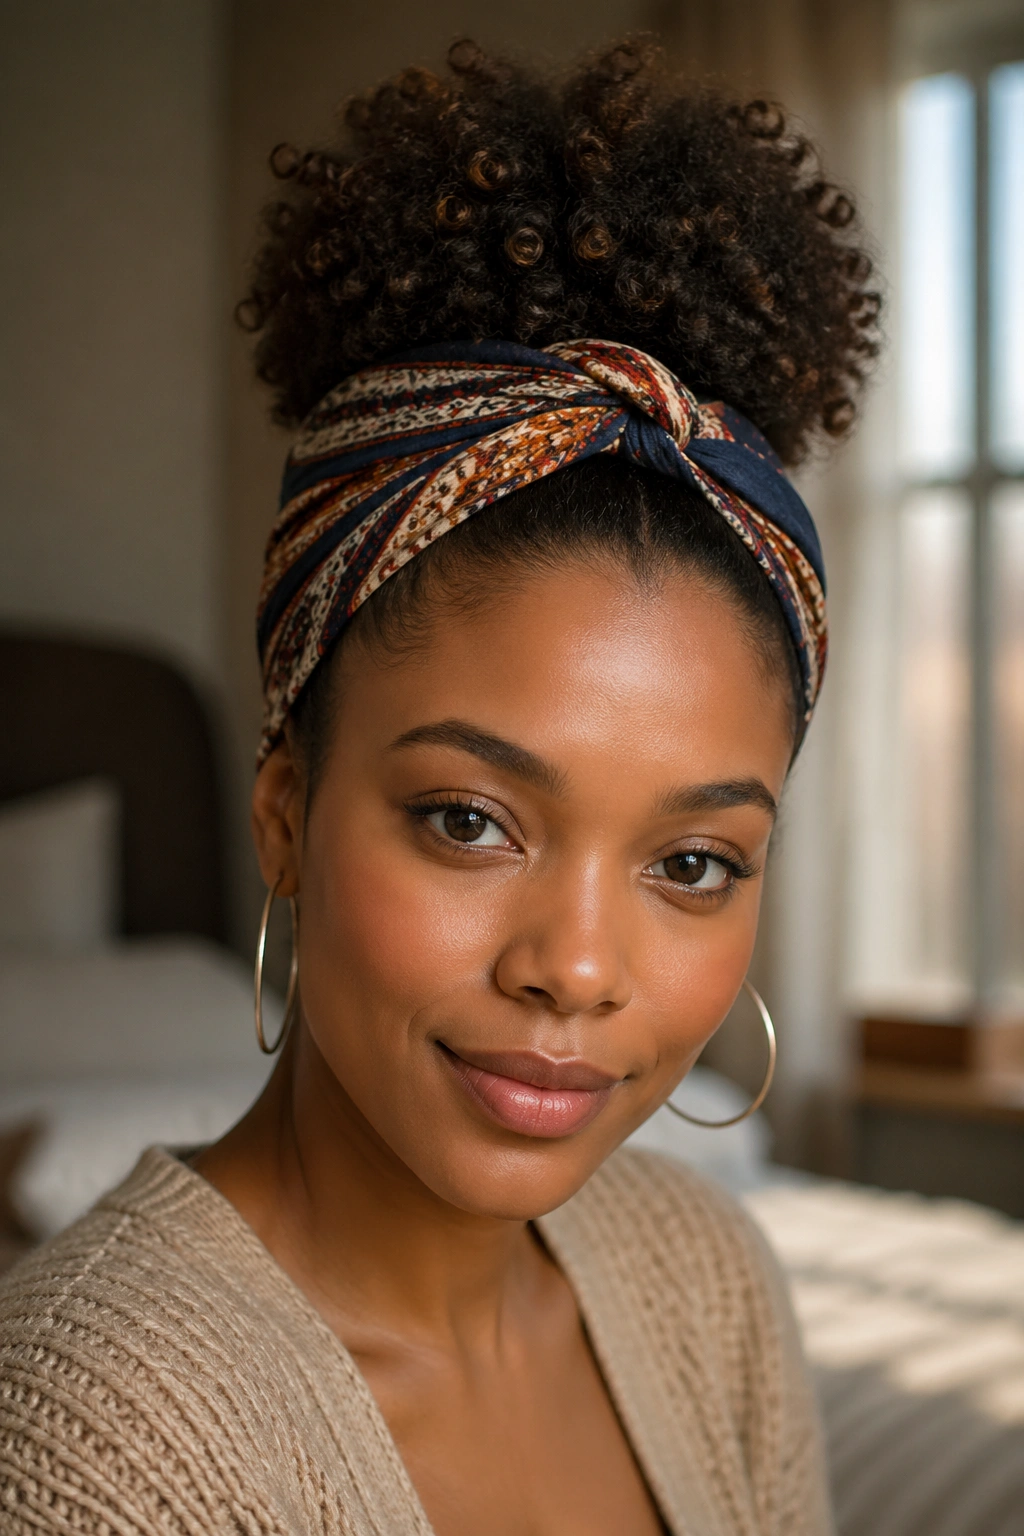
9. The Half-Up Puff Wrap
There is something cheerful about a half-up puff under a scarf. The front or sides are wrapped or banded, but the top curls stay lifted and loose, almost like they are peeking over the edge of the style. It feels playful without looking messy.
The half-up shape gives you the volume of a puff and the order of a wrap at the same time. That is useful if your curls are big enough to want space but you still want a cleaner forehead line. A narrow scarf can work here, though I usually like a wider one that can sit low on the sides and still leave the puff visible.
One practical detail: don’t drown the puff in product before wrapping. A heavy cream or gel can make the top collapse faster. Light moisture and a little hold are enough. If the puff is stretched, scrunch it once after the wrap is set. That wakes it up.
This is one of those styles that reads casual in the best way. It suits lunch plans, errands, and the kind of day where you may change your mind three times and still end up looking fine.
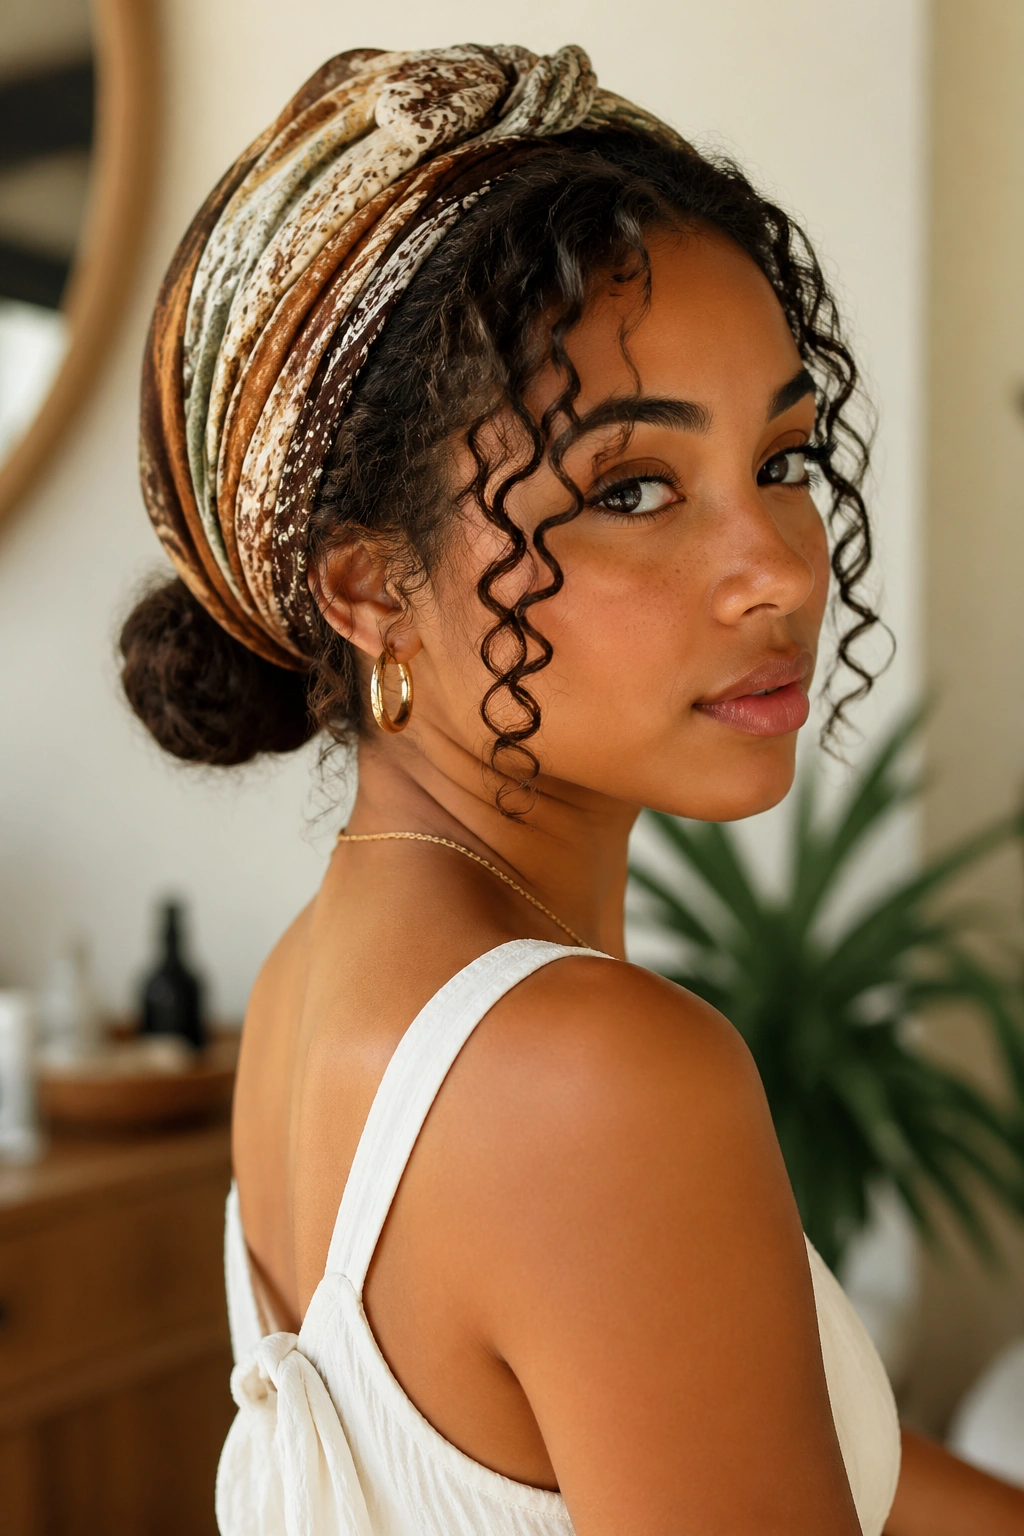
10. The Sleek Nape Wrap With a Curly Ponytail
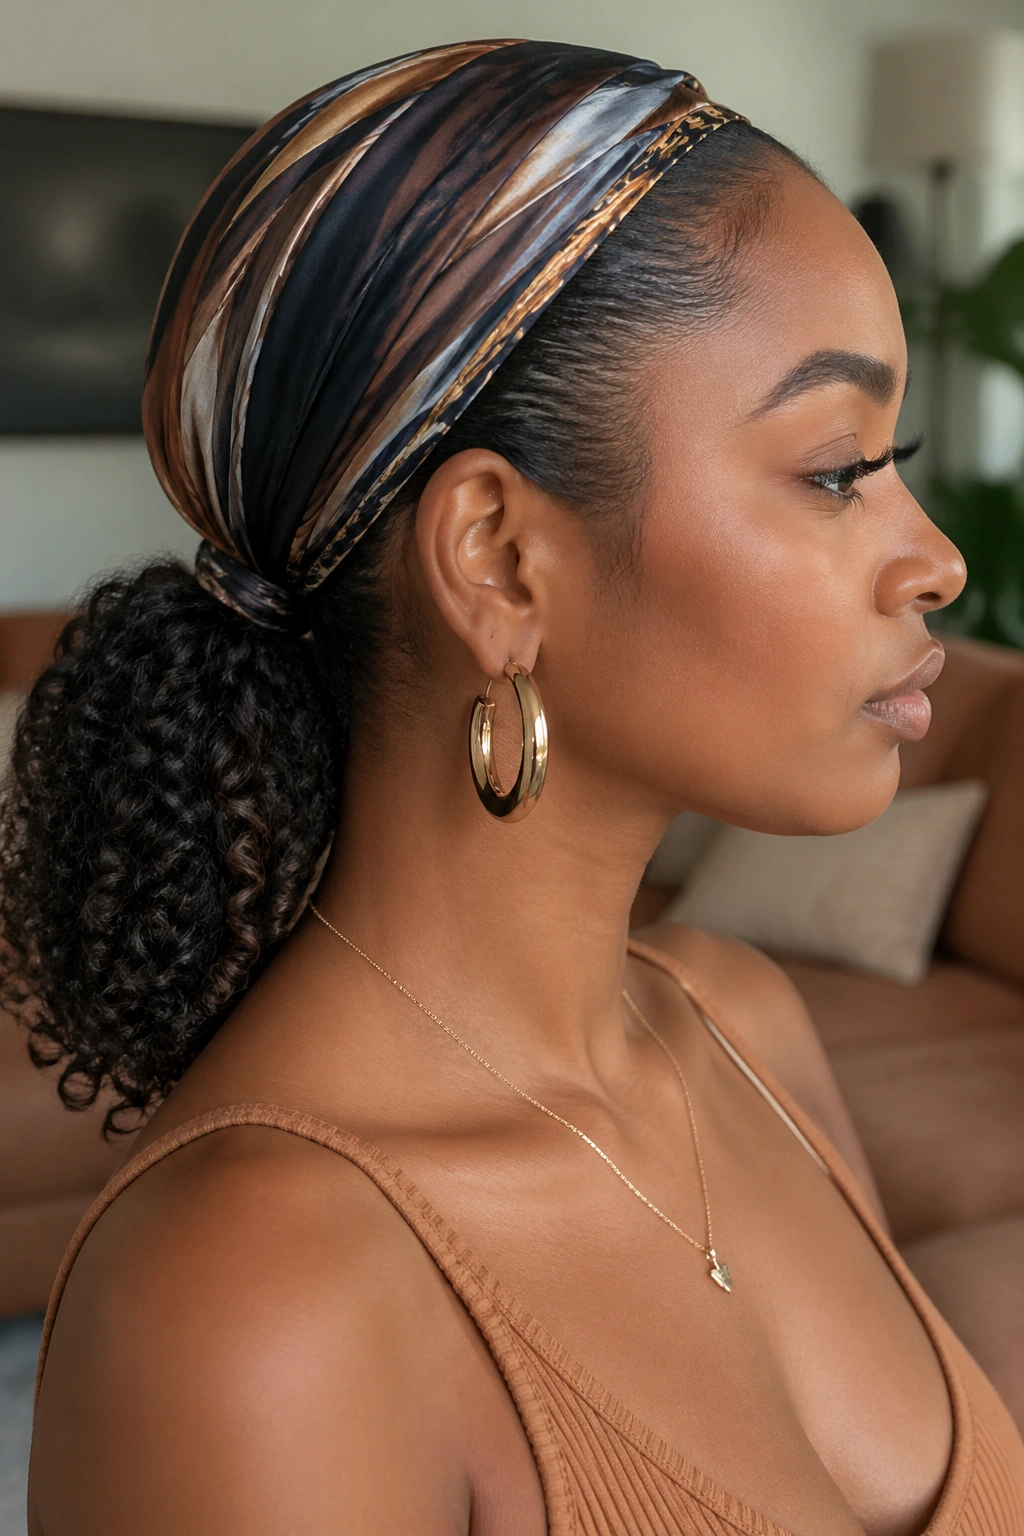
A sleek nape wrap is the neat one in the group. The scarf covers the front and sides, then the curls are gathered low at the back into a ponytail or a soft puff. It keeps the hairline controlled and puts the texture where it can move freely.
The ponytail should not be too tight. That sounds obvious, but people still do it. A tight base ruins the comfort and can make the style pull backward all day. Use a covered elastic or a soft scrunchie and place it low enough that the wrap can sit smoothly above it.
Where it helps most
This style is especially useful if your curls shrink a lot or if your layers are uneven. The scarf hides the parts of the cut that feel messy while the ponytail shows off the best texture. It also works for gym-to-street days because the front stays put even when the back gets a little frisky.
If your hair is short, don’t force a full ponytail. A mini puff or a tucked coil at the nape looks cleaner than squeezing the hair into something it cannot hold. The wrap does not care how long the ponytail is. It only cares that the line looks balanced.
Keep the scarf edges smooth. That is the whole mood here.
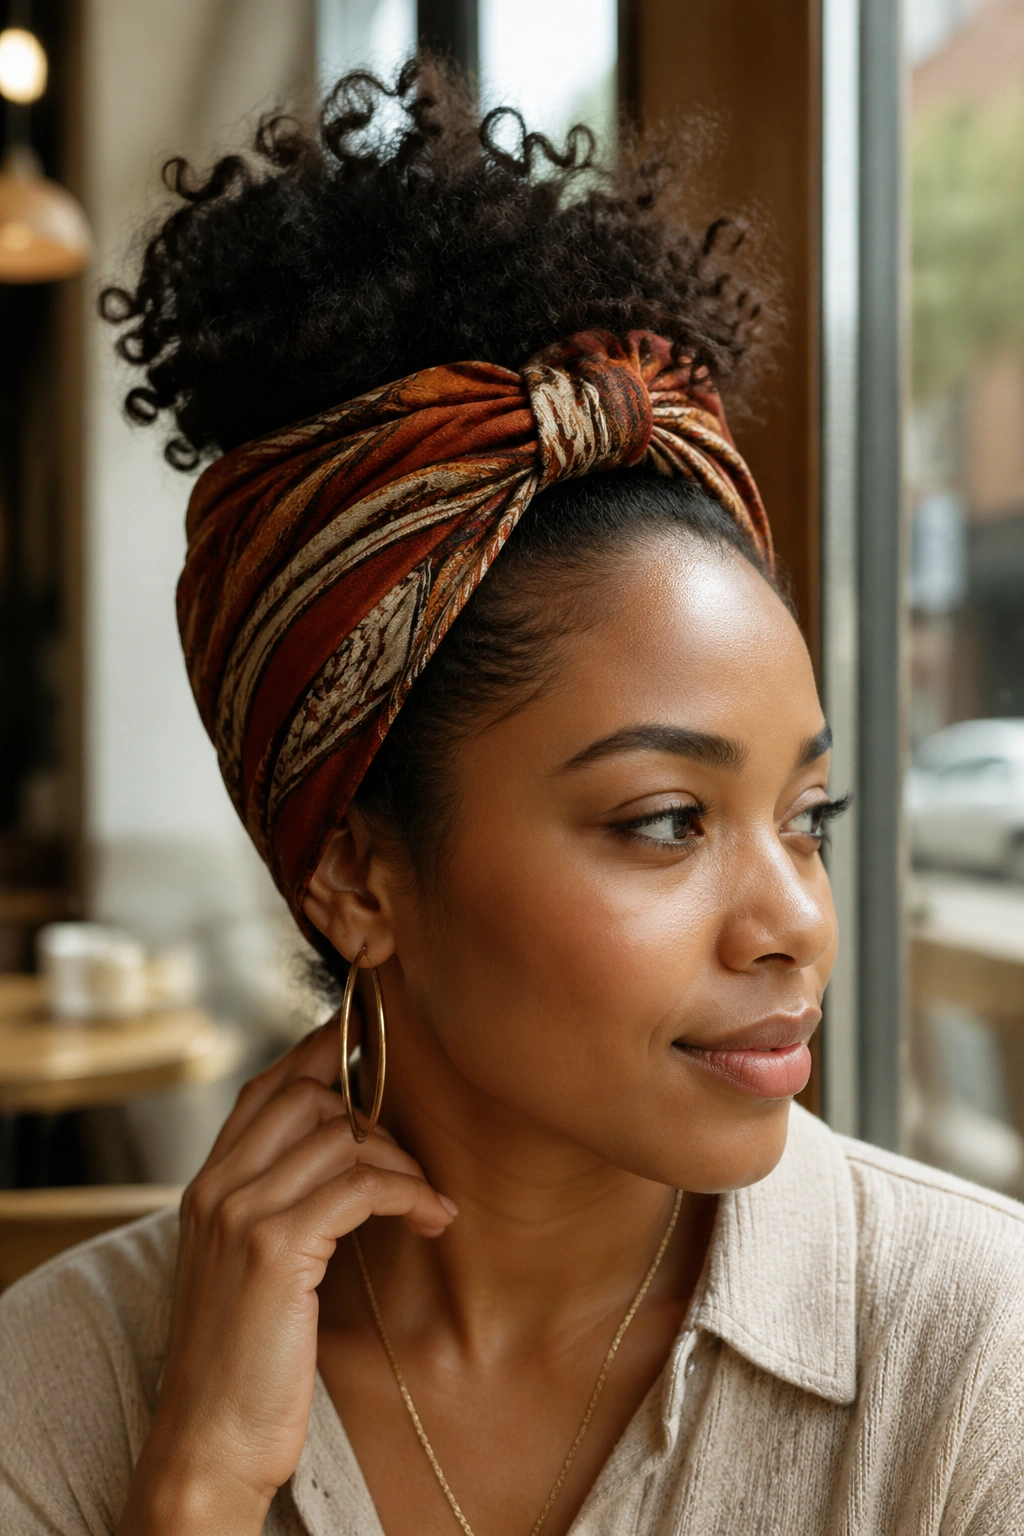
11. The Twisted Front Pineapple Wrap
Can a wrap protect curls overnight and still look presentable enough to wear out the door? Yes. The twisted front pineapple wrap does both. You twist the scarf ends across the forehead or just above the hairline, while the curls sit high in a loose pineapple at the back or crown. It preserves shape and keeps the front from frizzing into a puffed-up halo you did not ask for.
This style is useful on second or third day curls when the ends still look good but the roots need help. The pineapple keeps the curl pattern from getting crushed, and the scarf takes the attention off the front sections that may have started to puff. It is one of the few styles that can move from sleep to daytime without feeling silly.
How to wear it without flattening the curls
Keep the pineapple loose. If you tie it too tight, the curls lose their spring and you end up with a bend that takes hours to shake out. Use a soft scrunchie, then let the wrap sit high enough to leave some lift at the crown. The scarf itself should twist cleanly, not bunch into a rope.
If you plan to sleep in this style, place the knot on top or slightly off to the side so it does not press into your head. In the morning, shake the curls out with your fingers and mist only the ends if they need revival. A little water goes a long way. Too much, and the curl shape collapses.
12. The Soft Tie With Loose Ends
This one is for people who like a wrap that looks relaxed rather than stiff. The scarf is tied low, often with the tails left long and loose, while the curls stay visible around the sides or back. It is the least formal option here, which is exactly why it works so often. Nothing feels overmanaged.
A soft tie gives curly hair room to stay curly. That matters if your texture gets flattened easily by tight bands or if your curls are in that in-between stage where they look better when they are not touched too much. You can tuck one side behind the ear, let both tails fall down the back, or bring the ends forward over one shoulder. There is no single right way to wear it.
I like this one with loose curls, a half-finished twist-out, or a wash-and-go that needs a little less weather exposure. The wrap covers enough to keep the hairline calm while the rest of the style stays airy. A soft linen or cotton-silk scarf gives it a lived-in feel without looking sloppy.
A final detail, and it matters more than people think: check the mirror from the side. The front may look fine while the knot is sitting awkwardly near the ear or the tails are bunched against the neck. A quick side view fixes that in ten seconds.
A headwrap should make curly hair look more like itself, not less. That is why these styles work: some give you height, some give you protection, and some just give the curls a better frame than a bare head ever could. The good ones keep the texture visible somewhere.
And honestly, that is the standard to aim for. If the wrap feels tight, keeps sliding, or hides every bit of curl shape, it is doing too much in the wrong direction. The best versions are the ones you stop fussing with after the first minute.