Some curls need a plan. Others need five minutes, one scrunchie, and the nerve not to fight the frizz.
That’s the real trick with curly updos: the styles that look the most pulled-together usually leave some texture alone. They don’t flatten every bend into submission. They don’t ask your curls to behave like straight hair with a bad attitude. They work because the shape is already doing half the job.
A good curly hairstyle often gets better when you stop chasing symmetry. A little height at the crown, a twist that’s not identical on both sides, a face-framing piece that refuses to stay tucked — that’s the stuff that makes these styles feel lived-in instead of stiff. And yes, that’s also why the fastest versions tend to look the most flattering.
If your hair is second-day, a bit puffy, or in that awkward middle stage where it’s too flat to wear loose and too textured to “smooth,” these updos save the day. Start with the one that fits your length and how much volume you want to keep. The quickest fix is usually the one that leaves the most curl alone.
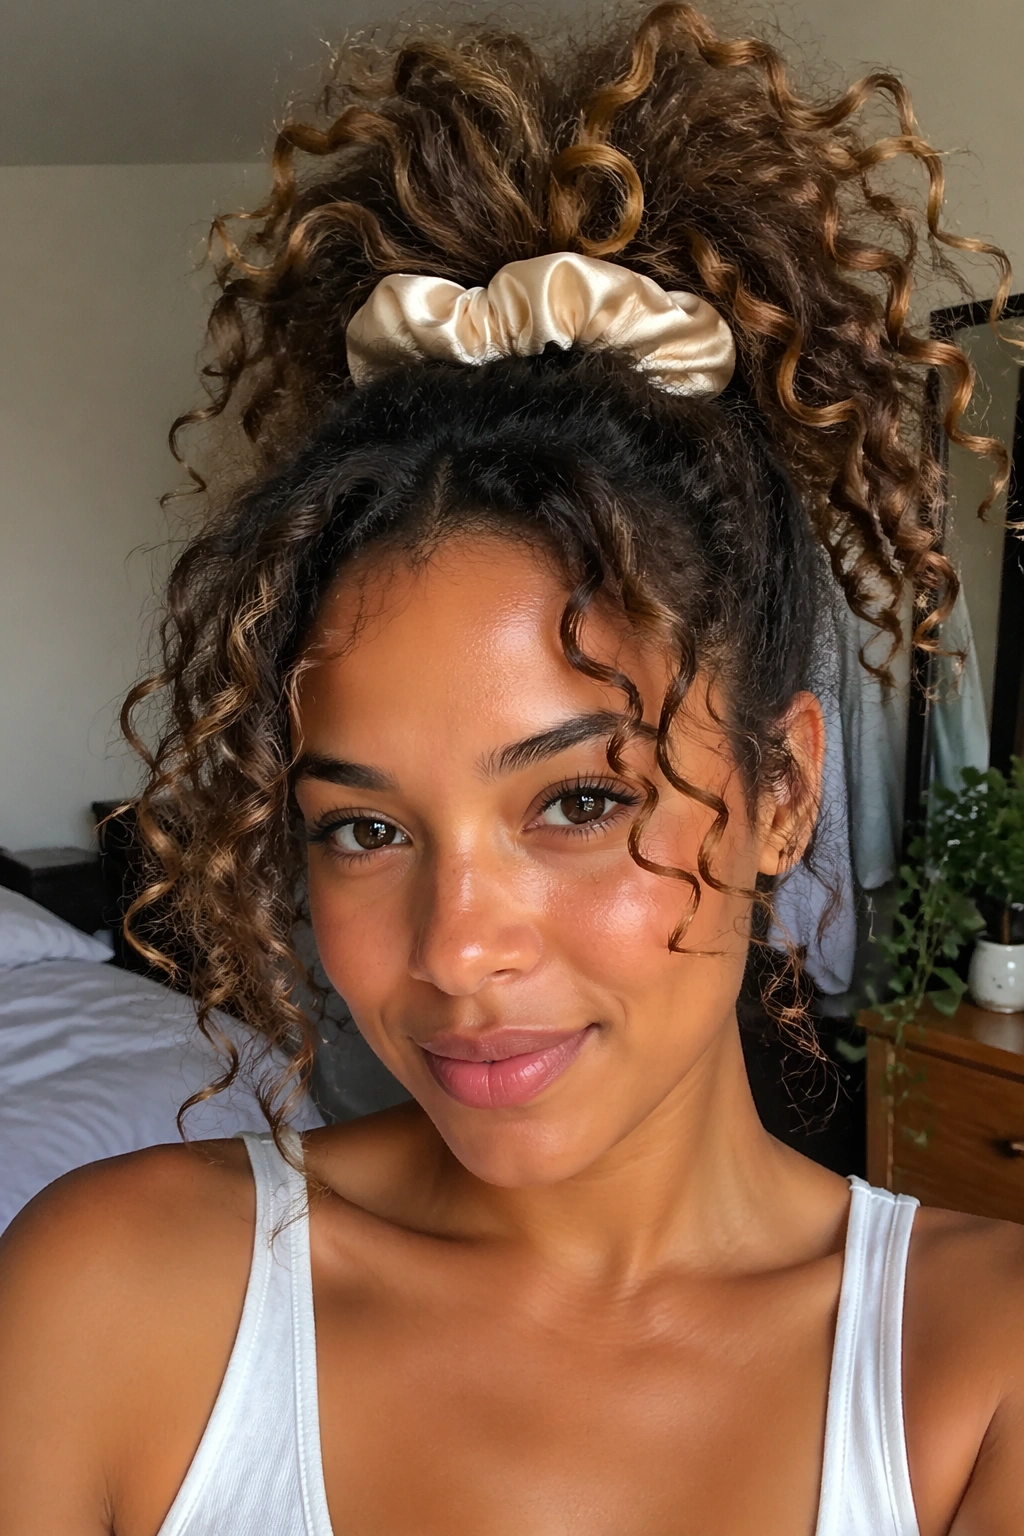
1. Pineapple Bun With a Silk Scrunchie
This is the curly updo I reach for when the goal is preservation more than perfection. It’s high, loose, and kind to your curl pattern, which is why it works so well on day-two and day-three hair. A silk scrunchie matters here. A regular elastic can leave a harsh dent, while a soft scrunchie lets the curls sit without getting crushed.
Why It Works So Fast
Flip your hair forward, gather it at the crown, and don’t overthink the shape. The bun should sit high enough that your curls fan out instead of hanging down your neck. If your hair is shoulder-length or longer, let the ends spill a little. If it’s shorter, keep the loop small and let the texture do the rest.
A pineapple bun also buys you time in the morning because it can look deliberate even when it’s a little messy. That’s the sweet spot. Clean at the base. Loose at the top.
- Gather hair at the crown, not the very front hairline.
- Loop the scrunchie once or twice, depending on thickness.
- Leave the ends out if your curls are long enough to puff nicely.
- Smooth only the edge around your face with damp hands or a drop of leave-in.
Tiny rule: keep the tension light. If your scalp feels pulled, the bun is too tight.
2. Low Twisted Chignon at the Nape
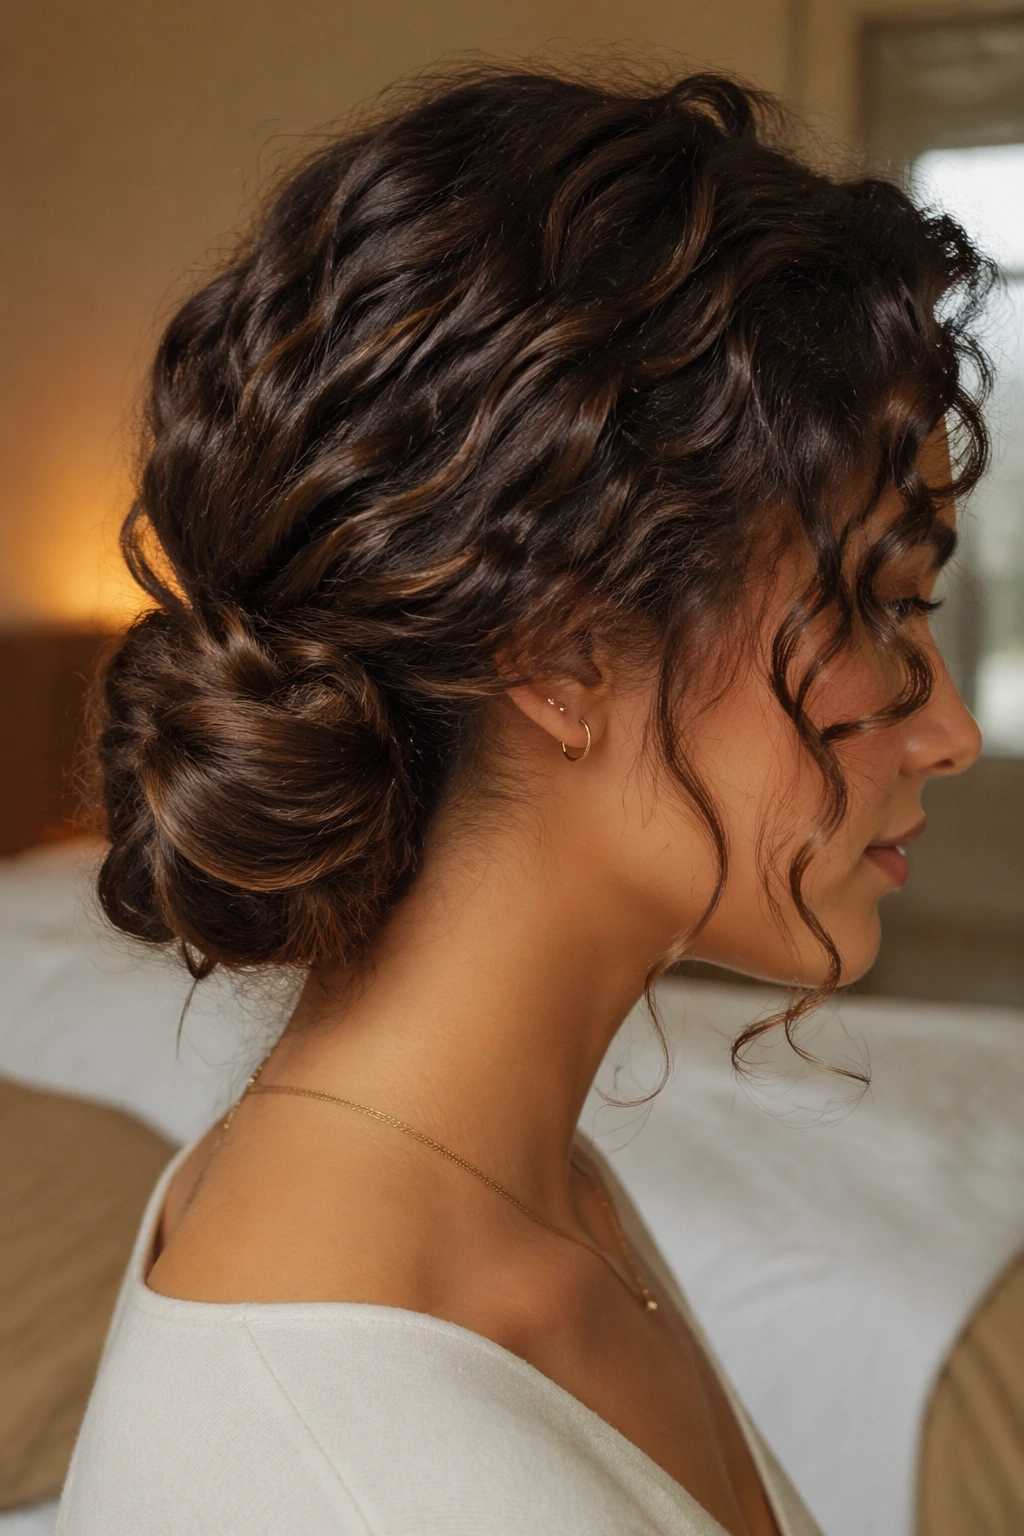
A low twisted chignon makes you look far more composed than the five minutes it actually takes. That’s one reason I love it for curly hair. The twists hide uneven pieces, and the nape placement keeps the volume soft instead of severe.
Start by gathering your hair low, just above the neckline. Split it into two sections, twist each one in the same direction, then wrap them around each other into a coil. Pin the coil at the base first. That anchor point matters. Once it’s in place, tuck the ends under and secure the loose spots with 4 to 6 bobby pins, depending on how thick your curls are.
This style works especially well if your curls have a bit of stretch. Not stretched straight — just stretched enough that the twists can lie down without springing back immediately. If you’ve got layers, don’t panic when a few ends escape. They add texture, and in this case that helps.
A clean chignon does not need to be tight. It needs to feel stable. Those are not the same thing.
3. Claw-Clip Nest for Big Curls
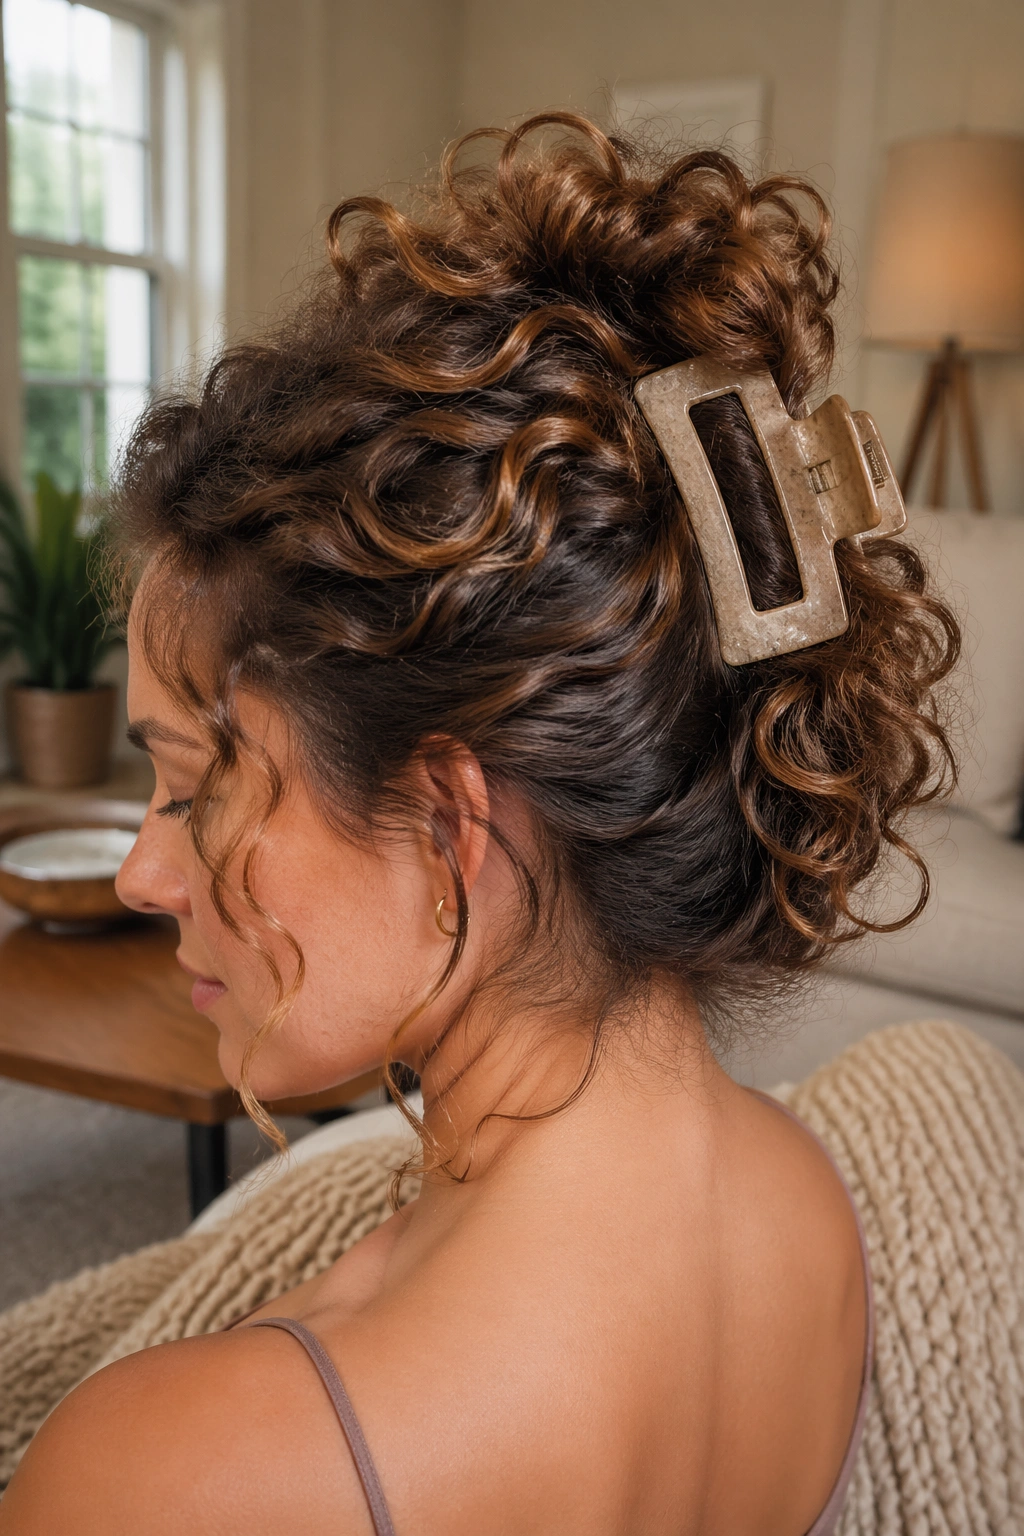
Why do claw clips keep coming back? Because they solve the messiest part of curly styling: what to do with volume that you don’t want to squash. A good clip gives your curls somewhere to live without asking them to shrink.
How to Keep It From Sliding
Use a clip that’s wide enough for your density — usually around 4 to 5 inches for thicker hair. Matte clips grip better than shiny, slick ones. Gather your hair halfway up or low at the back, twist once, then fold the length upward and secure it with the clip so the teeth catch both the twist and a bit of hair near the scalp.
If your curls are very soft or silky, rough up the roots first. A little dry shampoo or texturizing spray at the base gives the clip something to hold. That small step makes a bigger difference than people expect.
- Pick a clip with strong spring tension.
- Place it where your hair naturally wants to sit.
- Don’t twist the ends so tightly that they turn ropey.
- If one side slips, add a hidden bobby pin under the clip.
This one is excellent for thick curls that feel heavy by midday. It keeps the shape high without turning your head into a helmet.
4. Half-Up Top Knot With Loose Ends

Some mornings call for a style that opens up your face but still lets your curls stay visible. The half-up top knot does that neatly, and it’s one of the easiest curly updos to fake on a rushed schedule.
Pull the top section from temple to temple, then gather it at the crown. Twist it into a small knot and pin it with 2 bobby pins if you want it to sit flat, or use one small elastic if you want a lumpier, more casual shape. Leave the rest of your curls down. That contrast — lifted top, loose bottom — keeps the style from looking too done.
What I like about this one is that it does not demand perfect definition everywhere. The top knot can be smoothish, while the loose section stays fluffy and springy. If you’ve got a few frizzy crown pieces, tuck them into the knot instead of trying to slick them down. That almost always looks better.
If your hair is short at the top, make the knot tiny. A big knot on short curls can start to look like a prop.
5. Side-Swept Twist and Pin
A polished updo does not have to be tight. That’s the whole point of a side-swept twist. It gives you shape and lift without making your curls look pressed flat.
Create a deep side part, then take the heavier side and twist it back toward the opposite ear. Pin the twist just above or behind the ear, where it can disappear into the rest of your hair. Leave the opposite side softer and fuller. If you want a little more structure, tuck the twist under the bulk of your curls instead of laying it on top.
This style is especially nice when one side of your hair is behaving better than the other. It happens. One curl cluster looks glossy, the other looks like it fought with a pillow. The side twist lets you hide the less cooperative side and keep the prettier movement where people see it first.
What to Watch For
- Use 2 to 3 bobby pins, not a full handful.
- Place pins in the same direction as the twist so they hold.
- Keep the twist loose near the temple for softness.
- If the front pieces are too short, let them fall forward on purpose.
That last part is not a mistake. It’s a choice, and a smart one.
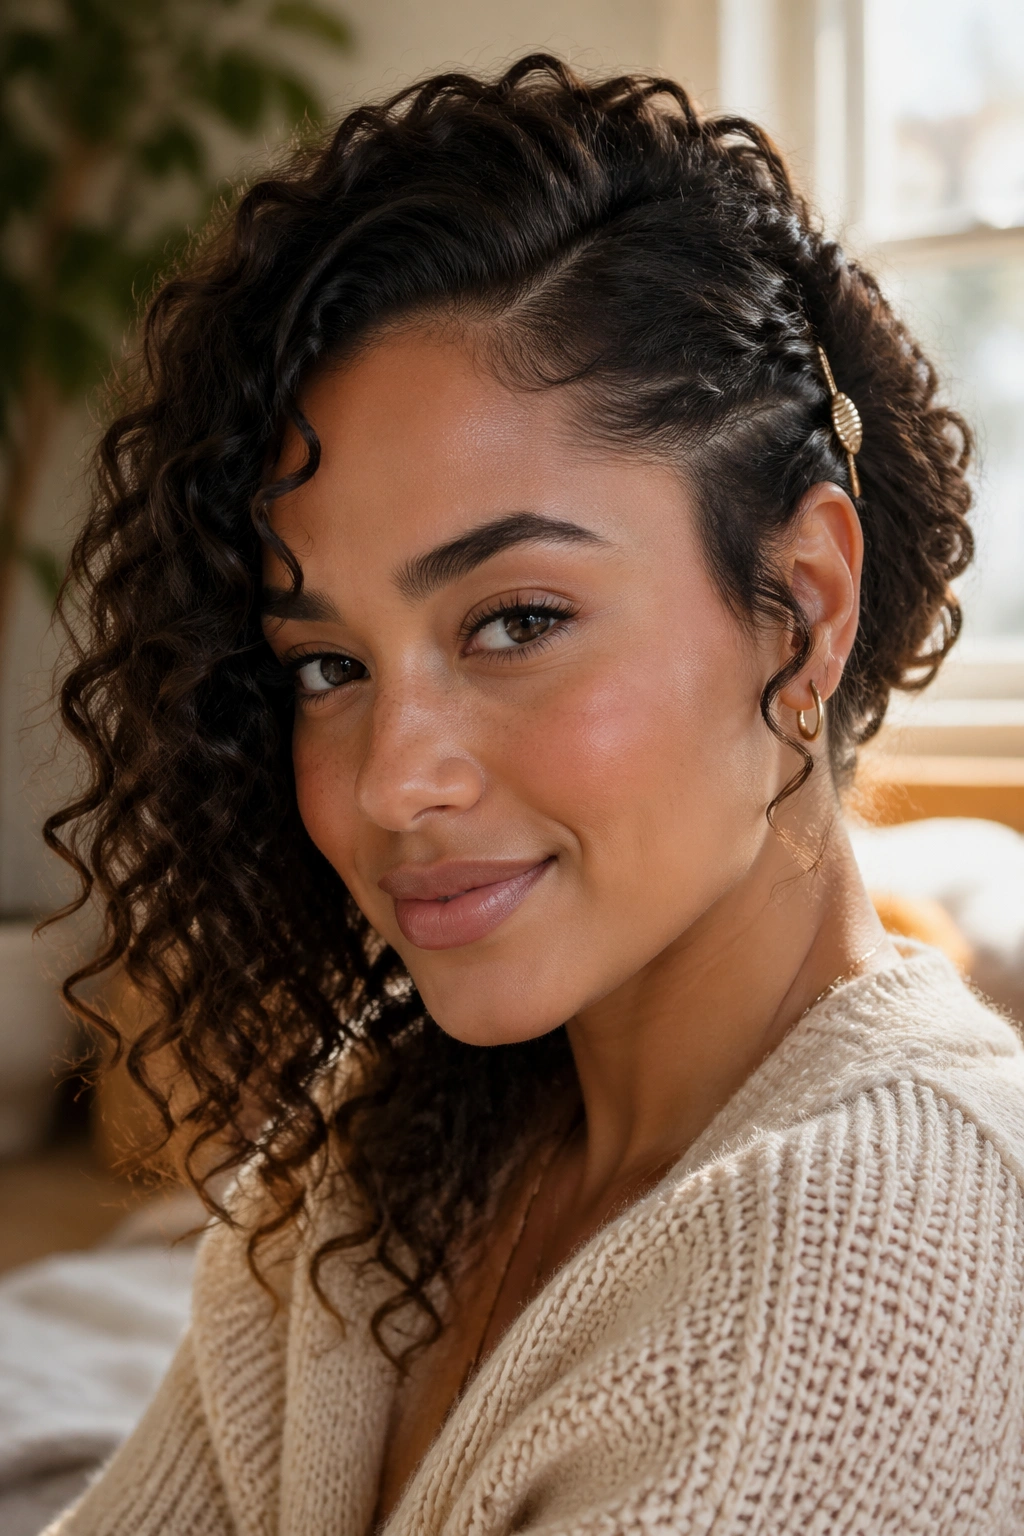
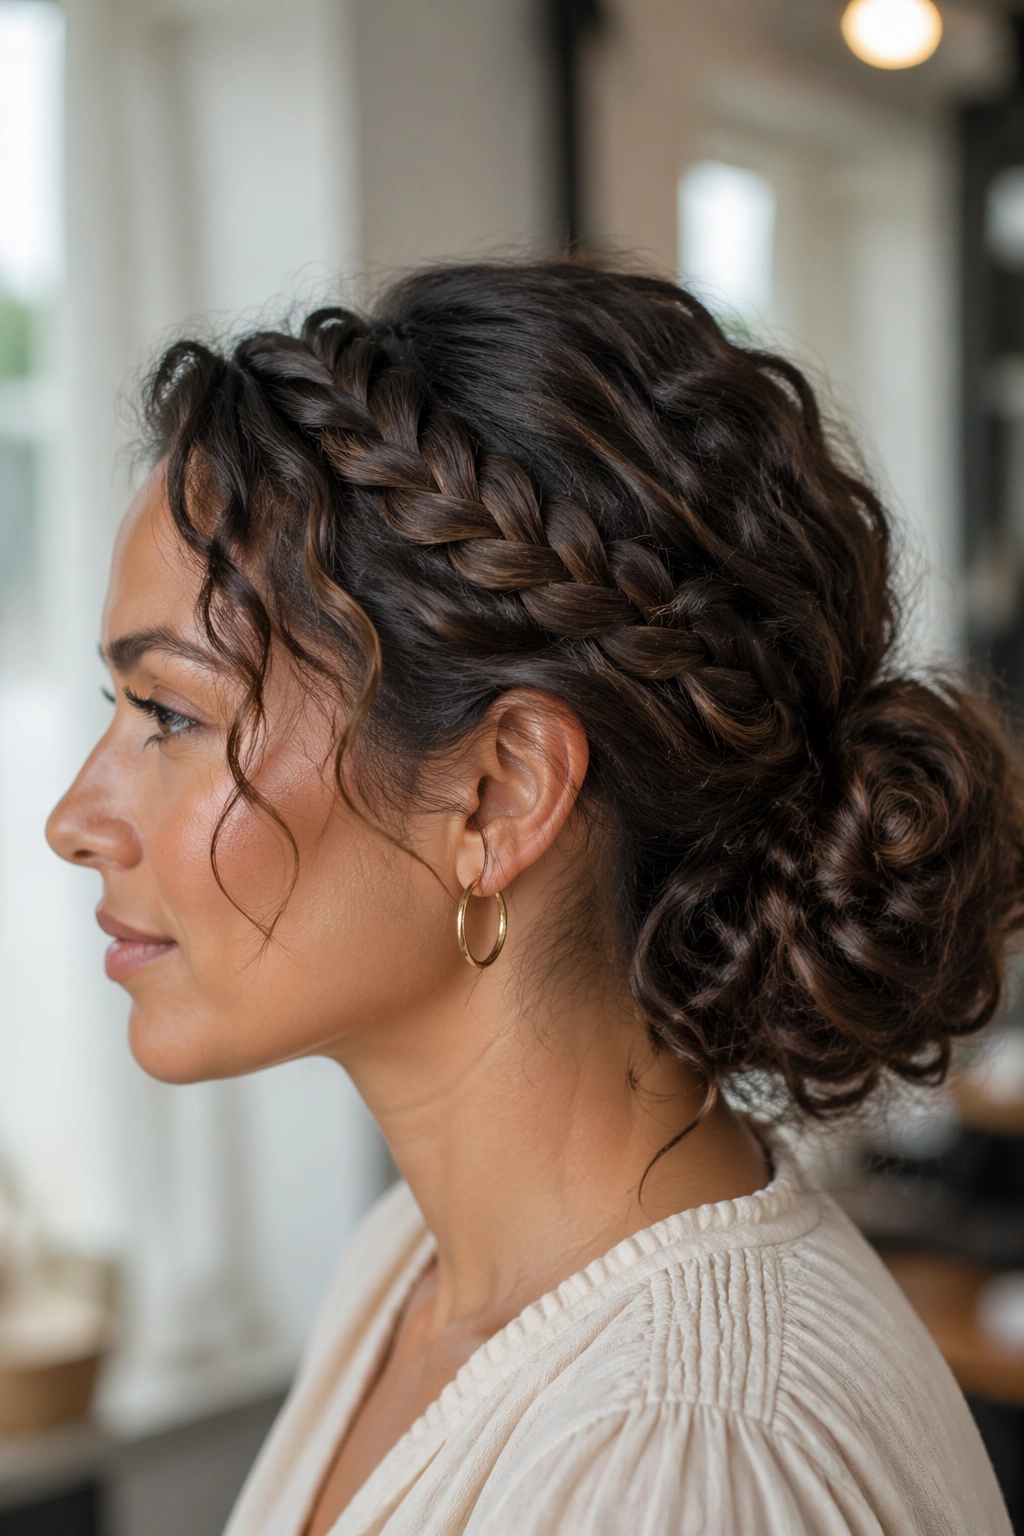
6. Flat Twist Crown Across the Hairline
The best flat twist crown feels secure, not tense. You should be able to move your face without feeling your edges being dragged backward.
Take a front section on one side of the part and twist it flat along the hairline, moving toward the crown. Repeat on the other side. Meet the two twists near the top or slightly off-center, then pin them down under the rest of your curls. The shape is simple, but the effect is tidy in a way that still lets your natural texture show.
I like this style when the front of my hair is fuzzy but the lengths still have good definition. It cleans up the face without hiding the curls. A pea-sized amount of gel or cream can help tame the first inch of hair near the hairline, but don’t overdo it. Too much product makes the front look darker and heavier than the rest.
Use pins that disappear into your curl pattern. Black pins tend to vanish in dark hair, but bronze or brown pins can be easier to hide in lighter hair. Small detail. Big difference.
The crown twist also plays nicely with earrings, which is a small thing until it isn’t.
7. Low Puff Roll-Up at the Back
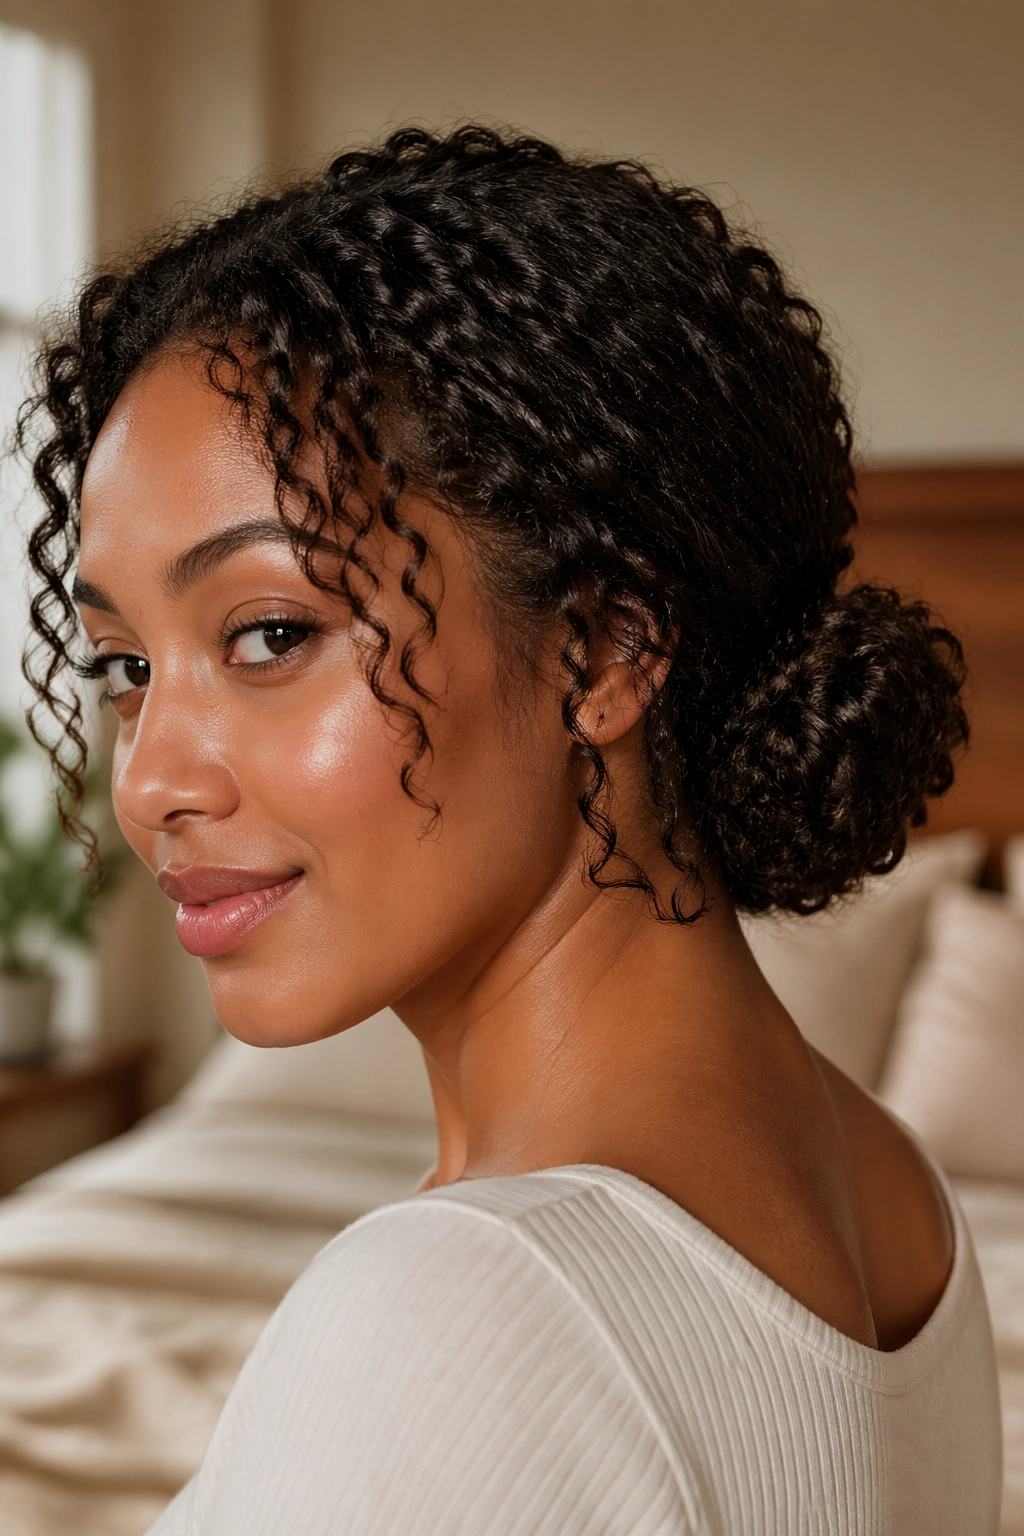
Two pins. One tie. That’s the whole pitch here.
Gather your curls low at the back, but don’t smooth them down too much. Let the puff stay full. Secure it with a stretchy tie, then roll the length upward so the ends tuck under the base of the puff. Pin that roll in place with 2 or 3 bobby pins, depending on how much hair you’re holding. The result sits low, rounded, and soft around the neckline.
What Makes It Fast
You’re not trying to build a perfect bun. You’re just creating a contained shape. That makes this one a good choice for curly shags, layered cuts, and hair that tends to puff out more than it coils neatly.
A few small details help:
- Use a snag-free tie so the curl ends don’t catch.
- Stop the roll before it gets too tight.
- Leave the top a little loose for height.
- Let shorter face pieces fall where they want.
If your hair is thick, you may need an extra pin underneath the roll. If it’s finer, the tie and one pin may be enough. The style looks best when the puff reads as intentional volume, not a packed-down knot.
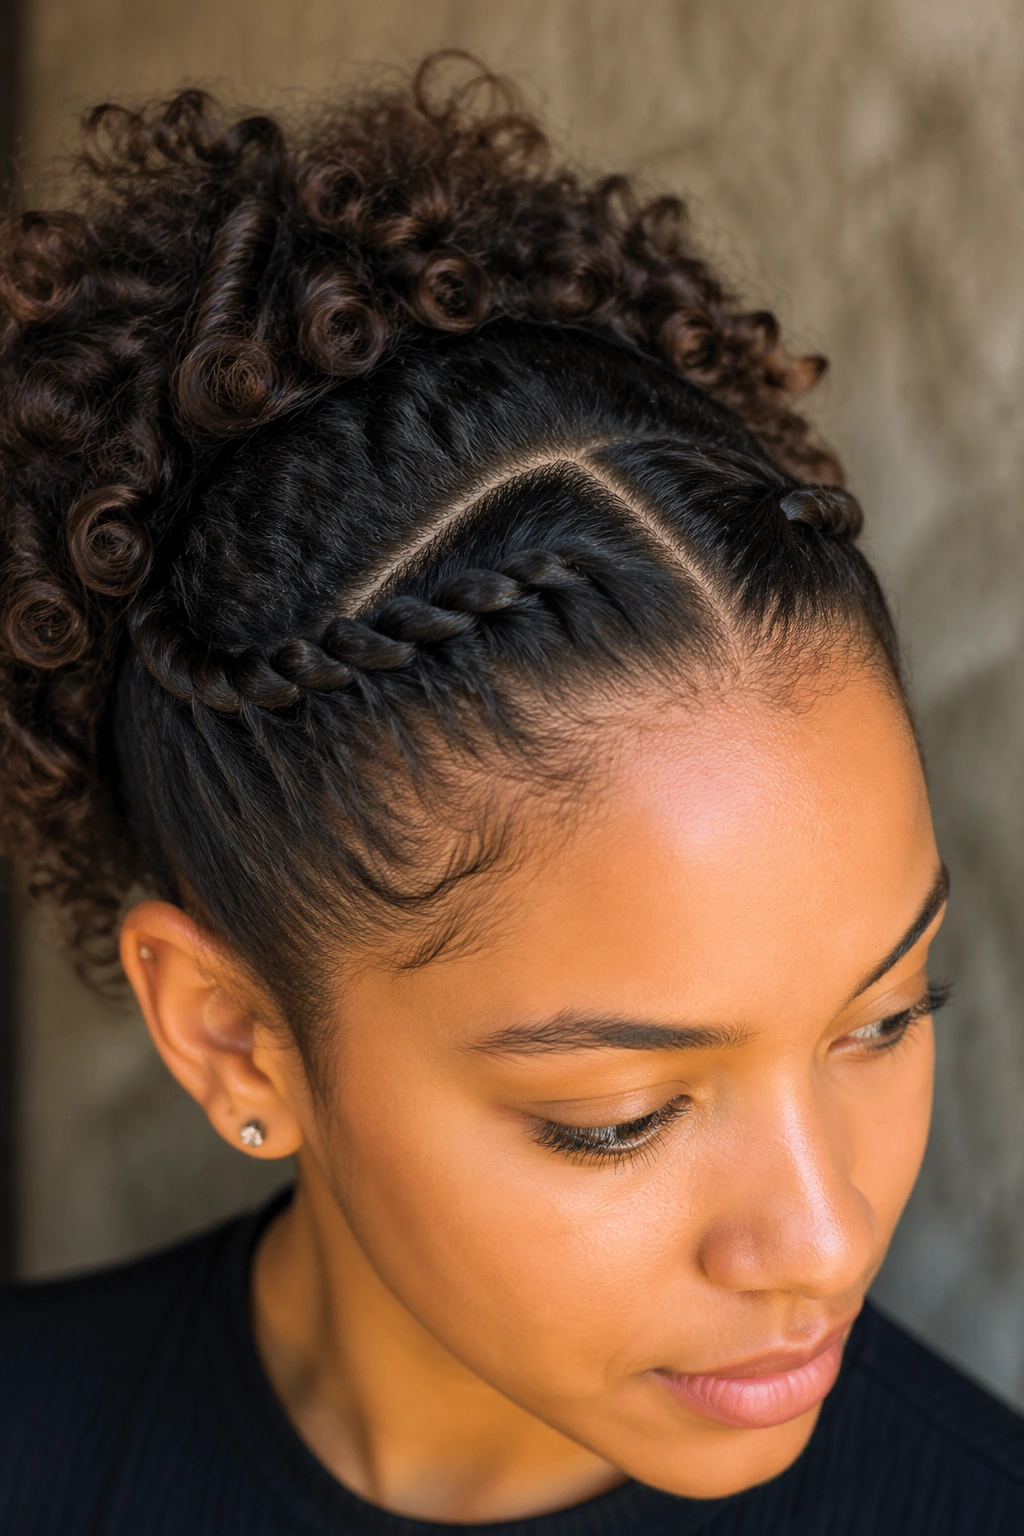
8. Single-Braid Bun Hybrid
Unlike a full braided crown, a single-braid bun gives you the braided detail without eating half your morning. That’s why I like it for curly hair that has decent length but not a lot of patience.
Take one section from the front or one side and braid it loosely for 6 to 8 inches. Stop before the braid gets too long and stiff. Wrap the rest of the hair into a low bun or a compact coil, then lay the braid around the base like trim. Pin the braid’s tail underneath the bun so the end disappears.
This style works because the braid gives structure while the bun handles the bulk. You get a little pattern near the face, then the rest of the hair stays soft and curly. It’s a smart trade. Full braided updos can take real time and a steady hand. This one does not.
If your curls are tight, braid only the section you can comfortably control. If they’re looser, you can braid a wider piece and still keep the texture. Either way, don’t braid the hair so tightly that it loses its bend. The point is not to tame the curl into submission. The point is to give it a shape that lasts.
9. Mini Space Buns That Keep the Volume
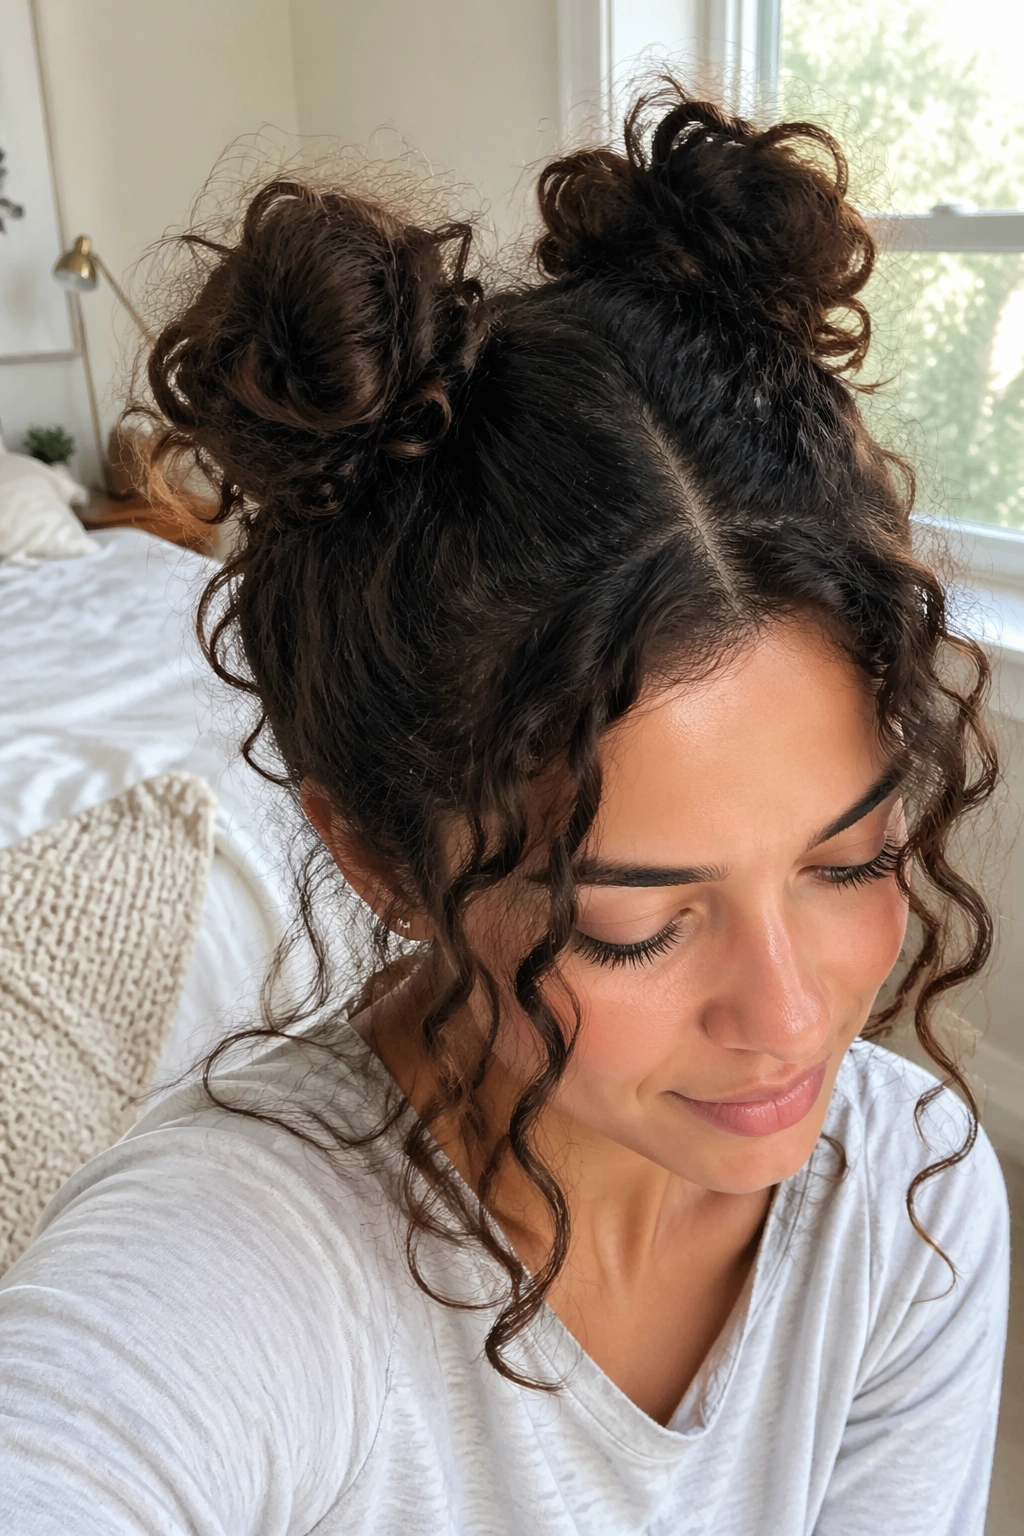
On mornings when the back of your hair seems to be doing three different things at once, mini space buns solve the problem fast. They look playful, but they’re also practical. Each bun has less hair to hold, so the style comes together quickly and does not need much precision.
Split your hair down the middle. Gather each half near the top of the head or slightly behind the crown, twist it into a small bun, and secure it with a tiny elastic or 2 pins. Leave the buns a little fuzzy. That fuzz is part of the charm. If you want to keep the look softer, pull out a few curls around the temples and the nape.
This style is especially good for thick curls because it spreads the volume out instead of trying to compress it into one large shape. It also works on short-to-medium lengths that are too short for a full updo but too full to leave loose.
Don’t make the buns too wide. Small and high looks cleaner. Wide and low can start to feel clumsy. And if one bun ends up a little bigger than the other, leave it. Symmetry is overrated on curly hair anyway.
10. Scarf-Wrapped Tuck Under

A scarf is not just decoration here. It’s structure.
Fold a square scarf into a band about 2 to 4 inches wide, depending on the fabric and your hair thickness. Wrap it around your head or around the base of a low bun, then tuck the loose curls under or behind the band so the scarf holds the shape in place. Satin and silk scarves slide less against curls than rough cotton, which matters if you want the style to last more than an hour.
This is one of the quickest ways to make an ordinary bun look finished. The scarf hides the elastic, controls the frizz around the hairline, and gives you a cleaner outline without requiring any heat or heavy products. If your roots are puffy or your front layers won’t stay put, a scarf fixes that faster than adding more gel and hoping for the best.
Use a wide scarf if you’ve got thick hair. Use a thinner one if your curls are fine or short, because too much fabric can swallow the whole style. Tuck the knot slightly off-center if you want it to feel less formal. Straight back can look stiff.
It’s a practical style first. Pretty second. That order matters.
11. Curly Mohawk Puff With Pinned Sides
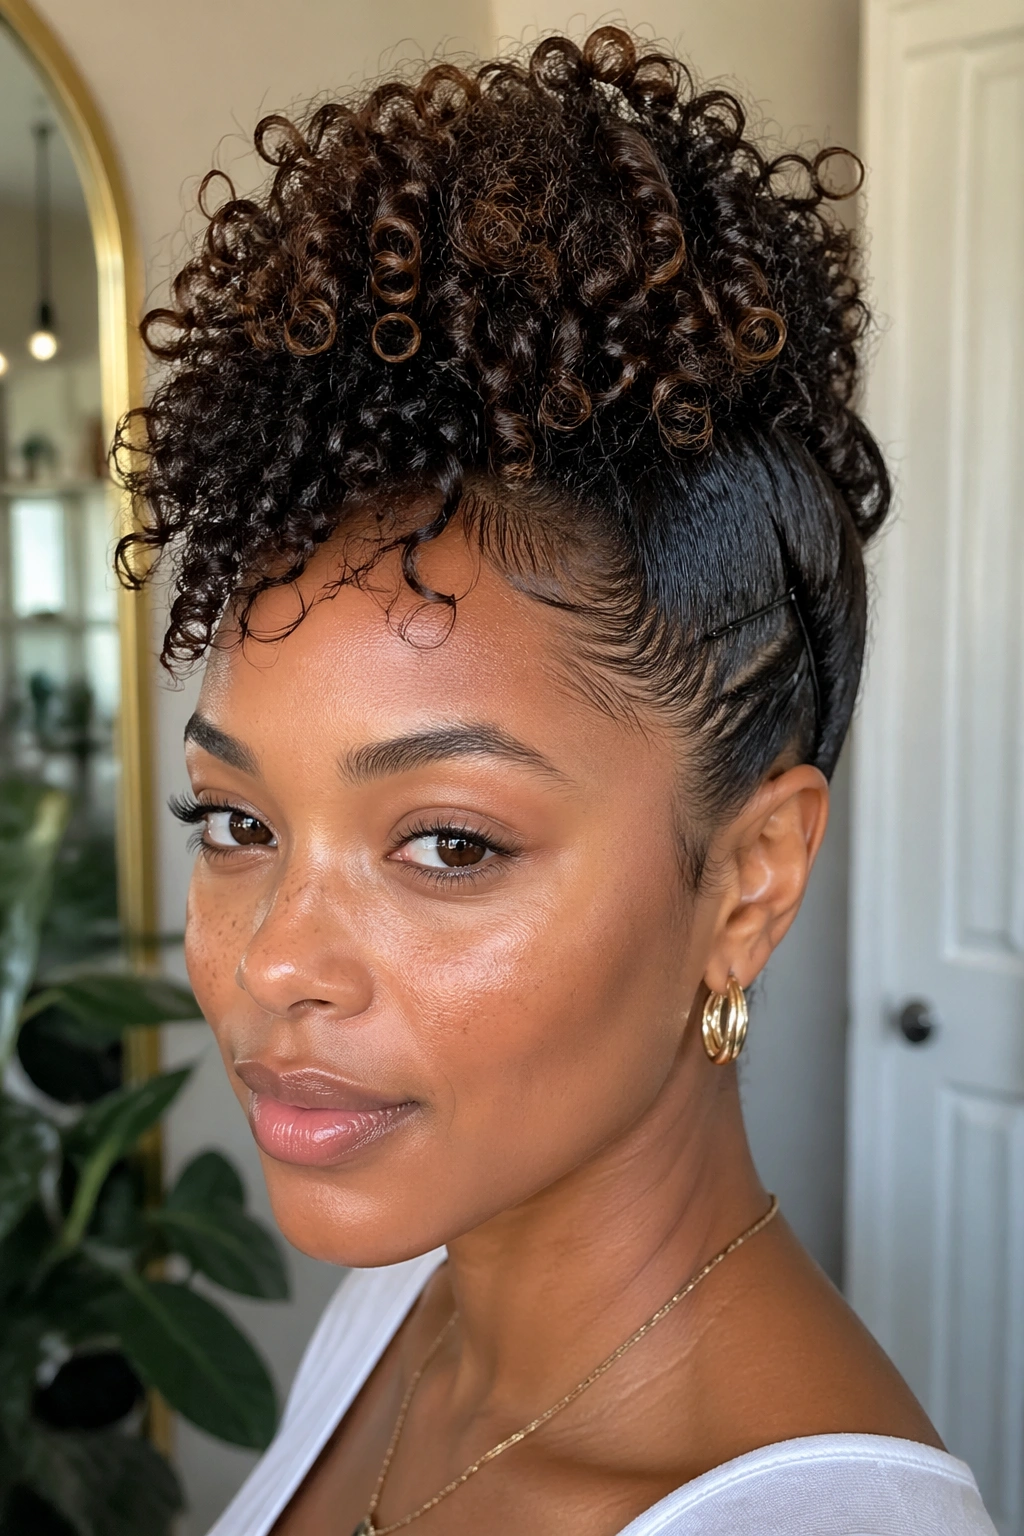
Want drama without complexity? This is the one.
Part your hair from ear to ear and pin the sides flat or slightly back along the scalp, leaving the center section free. Gather that middle section into a puff, ponytail, or loose bun at the crown or upper back of the head. The contrast between sleek sides and full center gives the style its shape, and curly hair makes the ridge look even better because there’s already so much natural lift.
Where the Pins Go
Use 3 to 4 pins on each side if your hair is dense. Cross them in an X if the side sections keep slipping. If the sides are shorter, a small amount of gel or cream at the root can help them stay in place long enough to pin.
This style is particularly good for coily or tightly curled textures because the center section holds a lot of height on its own. You do not need to build anything elaborate. The cut and texture do most of the work. That’s why it can take five minutes instead of fifteen.
Pull out one or two curls at the temples if you want the style to feel softer. Keep the crown lifted. Flat crown, from my experience, is where this look loses its edge.
12. Slicked-Back Low Bun With Face-Framing Pieces
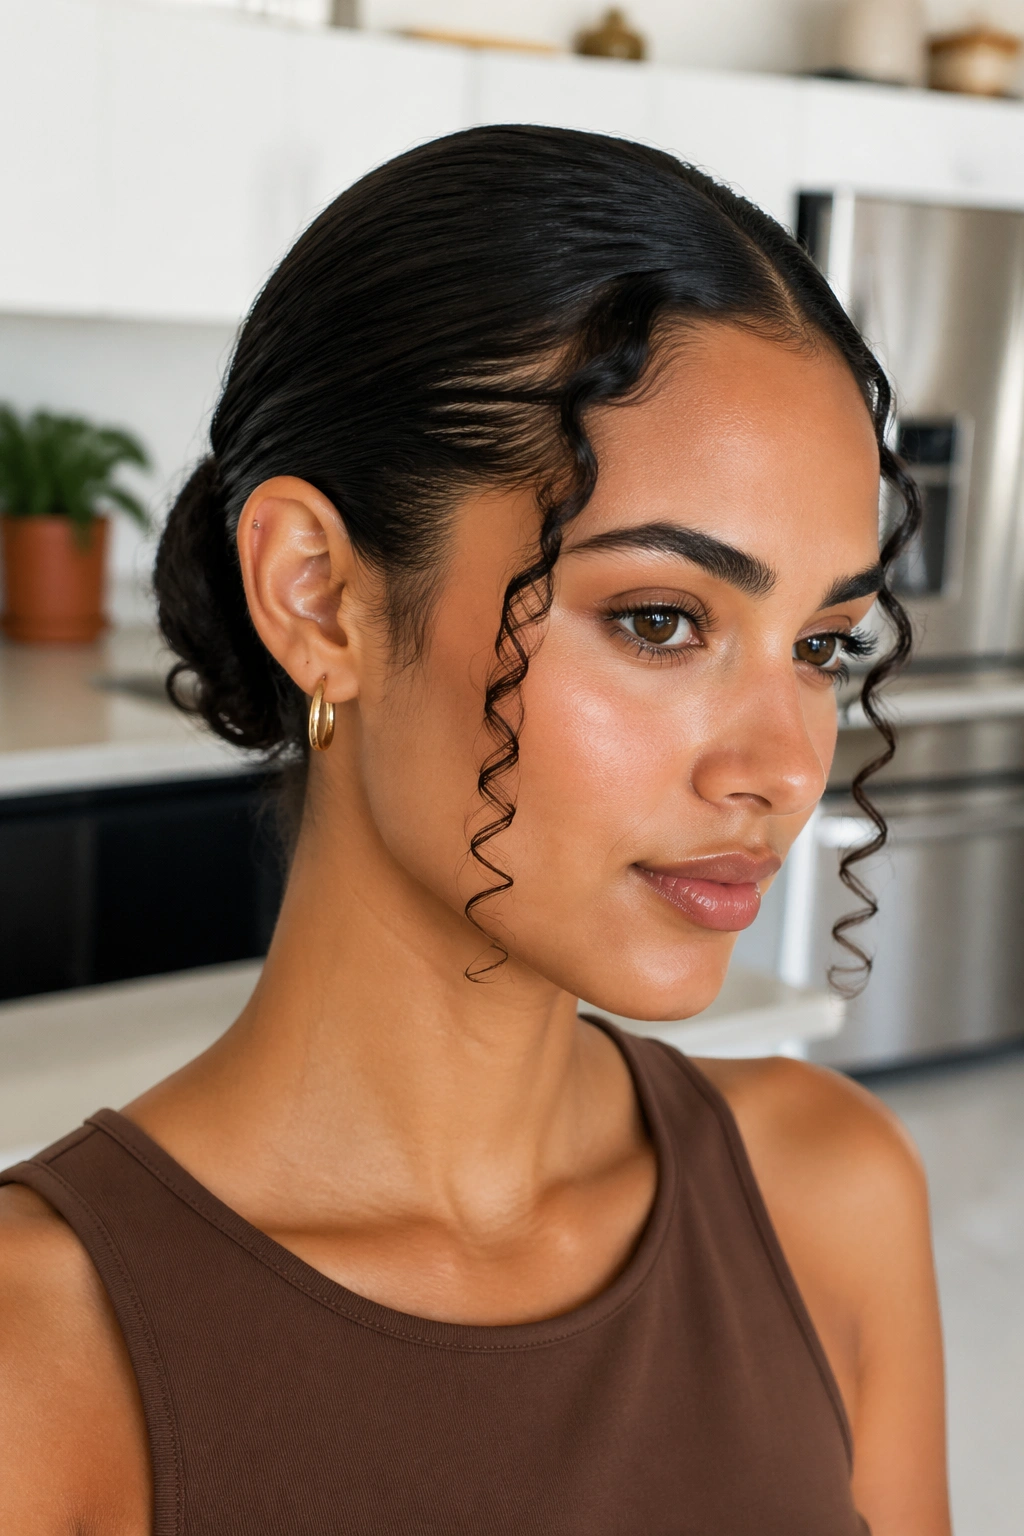
There’s a clean, sharp version of curly hair that still looks like curly hair. This is it.
Use a small amount of water, leave-in conditioner, or curl cream on the top and sides only. Smooth the surface back with your hands or a soft brush, then gather the hair into a low bun at the nape. Leave out a couple of face-framing pieces — usually about 1 inch wide on each side — and let them curl where they want. That bit of softness keeps the style from turning severe.
This updo works well for work, dinner, or any day you want a more controlled outline. The key is restraint. If you slick every strand, you lose the texture that makes curly hair interesting. If you leave too much loose at the front, the style starts to unravel. So the balance sits right in the middle: smooth top, soft edges, neat bun.
Use a pea-sized amount of gel if your hair is prone to halo frizz. If the bun feels too tight at the scalp, loosen the base a touch. A hard, over-smoothed bun can look polished in photos and uncomfortable in real life. I’d pick comfortable every time.
13. Single-Twist French Pin Updo
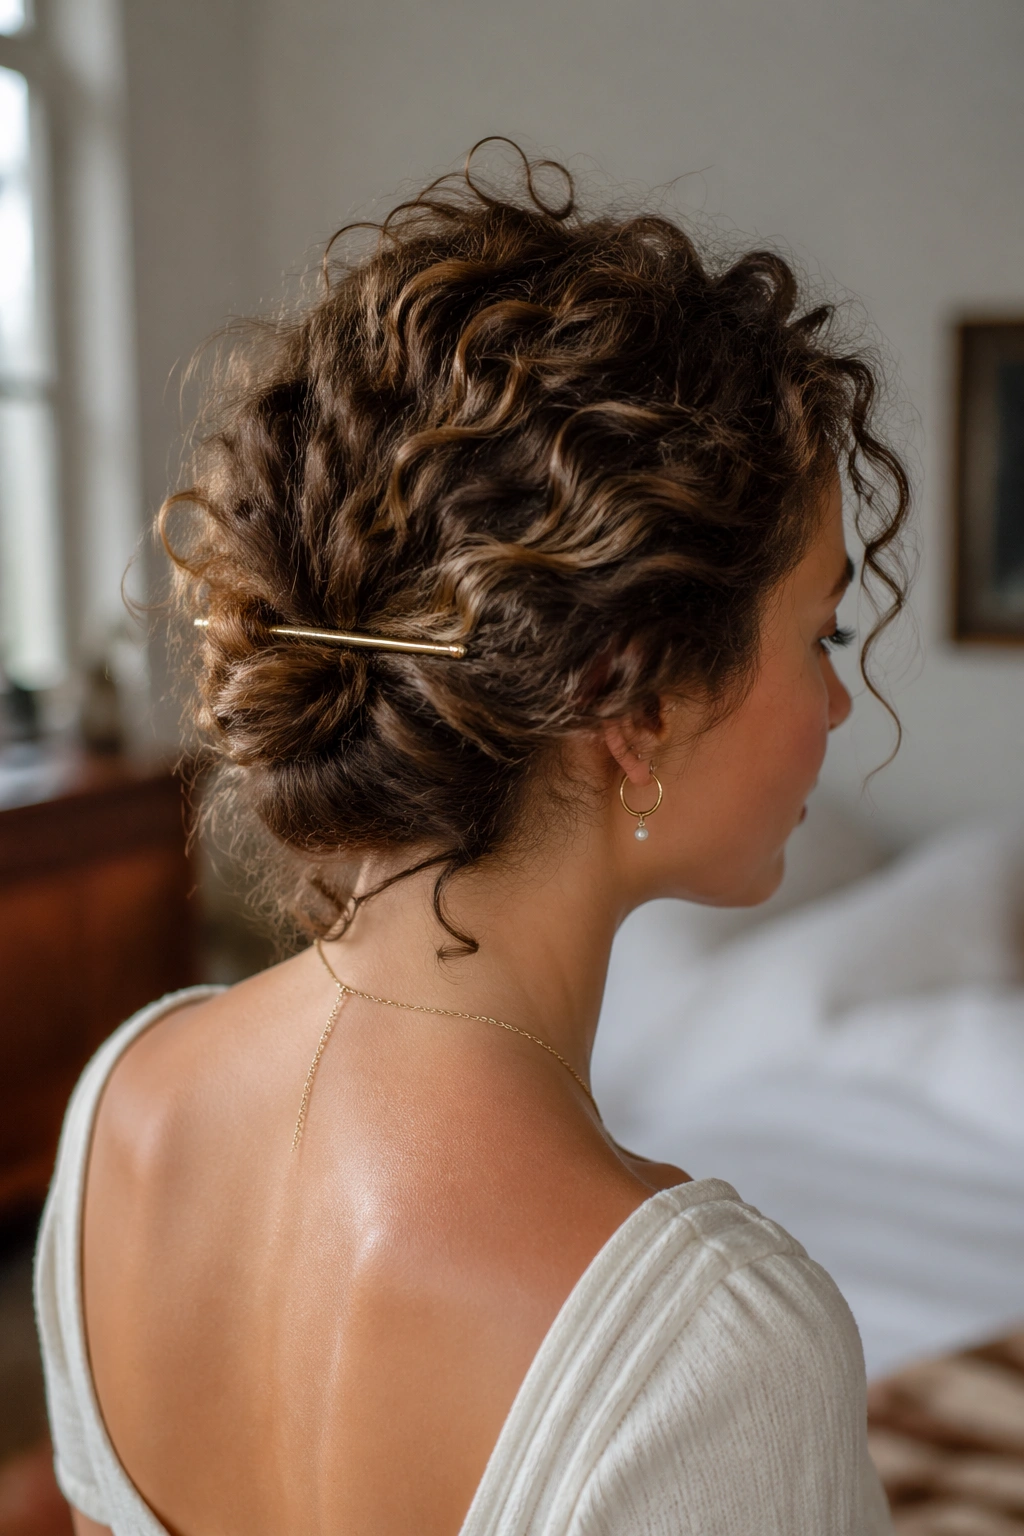
French pins look intimidating until you actually use one. Then the whole thing feels almost annoying in how easy it is.
Twist your hair upward from the nape as if you’re starting a low roll. Fold the twist against the head, then slide the French pin through one side, across the center of the twist, and out the other side so it catches the hair and locks the shape in place. If your curls are thick, add one hidden bobby pin underneath as backup. One pin. Maybe two. That’s enough.
This style is a favorite for medium to long curls because it keeps the shape elegant without compressing the hair into a tight knot. The twist can be loose. It should be loose, actually. The curl pattern looks better when it still has a bit of air in it.
If the top feels slippery, rough the roots with dry shampoo first or use a touch of texturizing spray. If your hair is layered, tuck the shorter pieces into the twist before inserting the pin. They’ll stay better that way. And if the pin needs a second try, don’t fight it — rotate it, slide it in again, and let the hair catch.
This one feels fancier than it is, which is a nice trick to have.
14. The Fast Messy Curly Bun
The fastest curly bun is not the neatest one. That’s fine. Neatness is overrated when your curls already bring the texture.
Gather your hair loosely at the back or just above the nape. Twist the length once or twice, coil it into a bun, and pin the underside first so the bun can sit with some lift. Then stop touching it. Let a few curls stick out. Let one side be higher than the other if that’s where the hair naturally landed. The style works because it looks like curls arranged themselves on purpose, not because you bullied them into shape.
The One Rule That Keeps It From Looking Accidental
Pin the loose end underneath the bun before you smooth the outside. That gives the bun a clean base and stops it from collapsing after an hour.
If you want a softer finish, pull out one curl near each temple. If you want more hold, mist the surface lightly with flexible spray from about 8 inches away. Not closer. A wet spot on the crown will flatten faster than you’d think.
This is the style I’d call the default curly updo. It works on fresh curls, stretched curls, frizzy curls, and curls that need to leave the house in under five minutes. No drama. No complicated parts. Just a bun that understands the assignment.