A curly sew in with leave out can look like your own hair on a generous day — or like a careful lie if the texture match is off by half a curl pattern. That’s the whole game. The extensions can be gorgeous, the install can be neat, and still the style falls apart at the part if the leave out is too straight, too puffy, or too shiny compared with the rest.
That is why curly sew in styles with leave out need a little more thought than a straight style. You are not just picking a shape. You’re deciding how much of your natural hair should do the blending, where the part should sit, how much movement you want around the face, and how much heat you’re willing to use on the leave out. Some people can get away with a light braid-out and call it a day. Others need a silk press or a careful wand curl pass to make the front disappear into the bundles.
I like styles that make the leave out work for you instead of against you. A narrow strip of natural hair at the crown can look soft and expensive-looking when the curl pattern lines up. A wider leave out can become a headache fast, especially if the weather gets humid or your roots swell up after a wash. The good styles solve that problem before it starts.
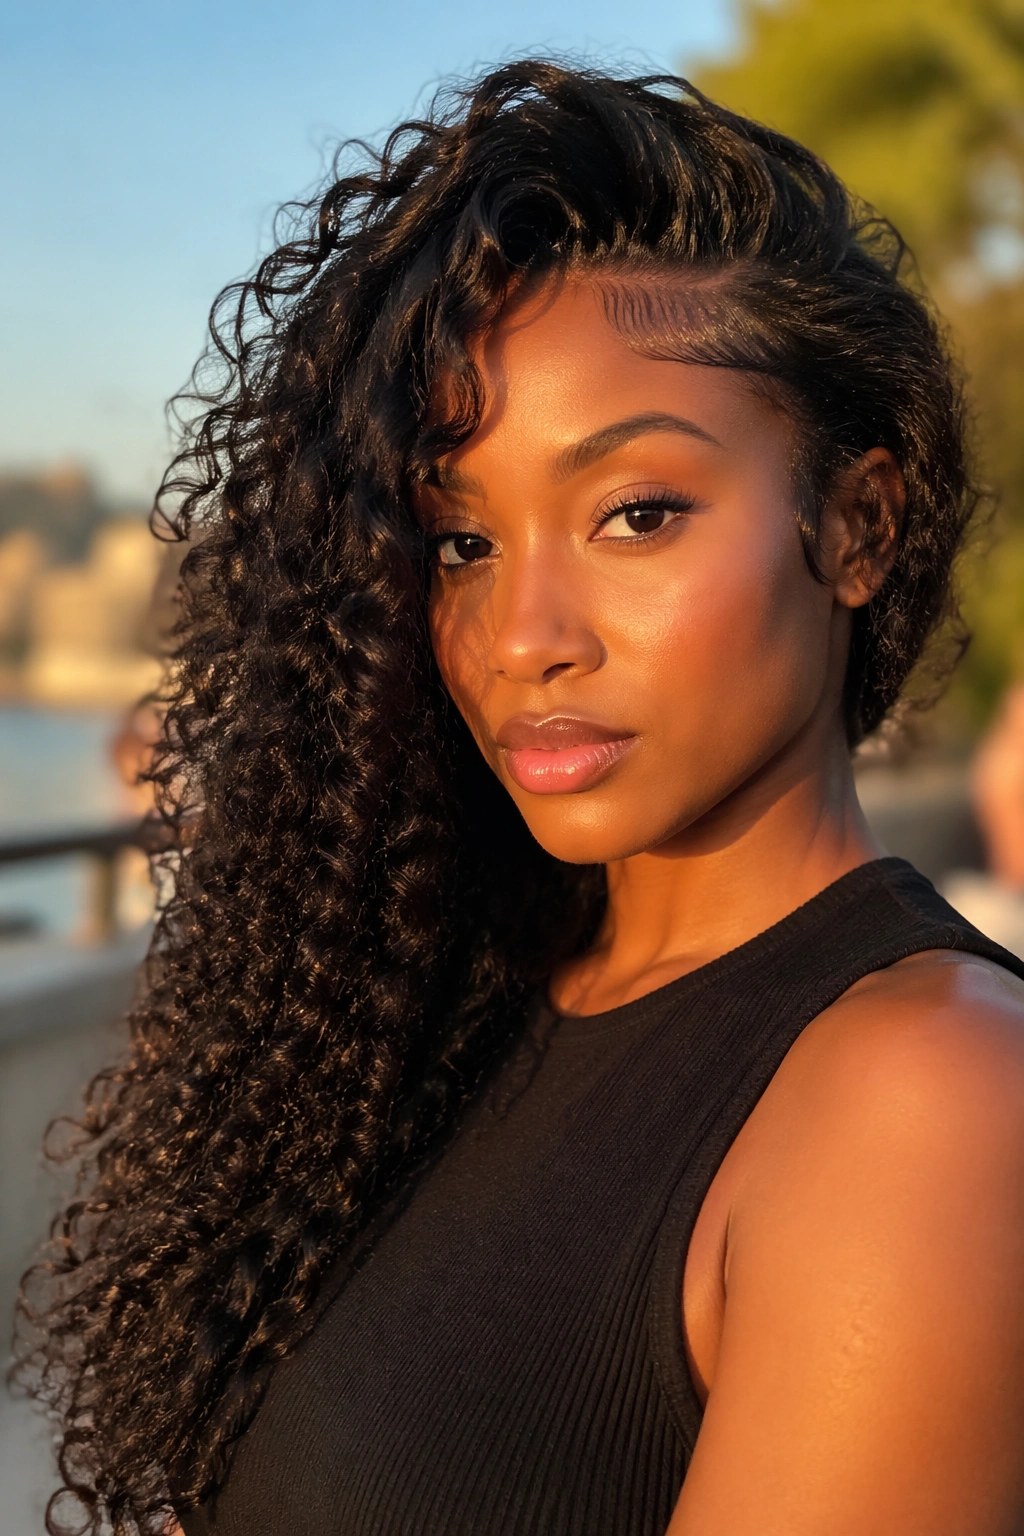
1. Deep Side Part Water Wave Sew In
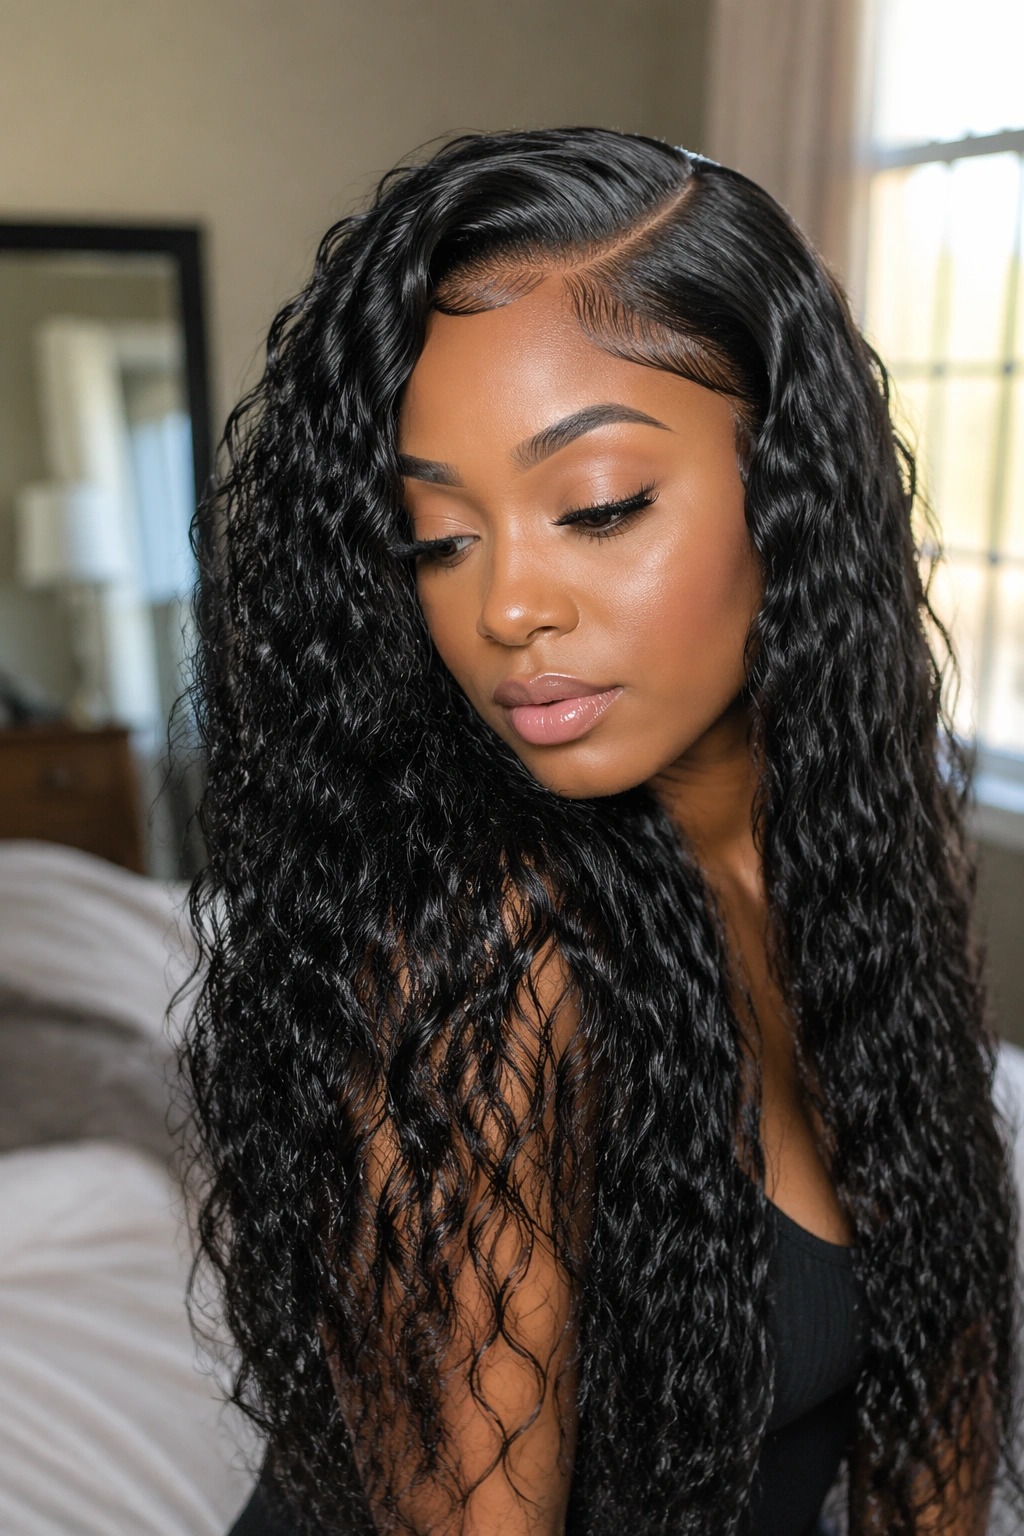
A deep side part is one of the easiest ways to make a curly sew in with leave out look intentional. It gives the eye a clear line to follow, and that line makes the blend feel cleaner even when your natural curls are a little different from the bundles. Water wave hair helps here because it has that loose, S-shaped bend that sits somewhere between relaxed and full.
The trick is keeping the leave out narrow and shaped. You do not need a big section of your own hair trying to cover half the install. A slim part line, about 1 to 2 inches wide, usually does the job better. The hair around the front should be stretched just enough to match the wave pattern, not pressed into a stiff, straight sheet.
Why the curve matters
A deep side part does more than shift the hair to one side. It changes the whole balance of the style. The volume lands lower and wider, which makes the curls look fuller without looking bulky at the crown.
That matters if your bundles are medium to long, especially around 18 to 24 inches. The longer the hair, the easier it is for a dead-straight part to look severe. The side sweep softens that and gives your leave out a place to disappear.
- Best with water wave, loose deep wave, or soft curly bundles
- Leave out works best when it’s stretched with a braid-out or loose twist-out
- A small root lift at the crown keeps the part from lying flat
- A light mousse helps the front blend without turning crunchy
Use a rat-tail comb to carve the part while the hair is damp, then let it dry in place. That one move does more for the finish than most people think.
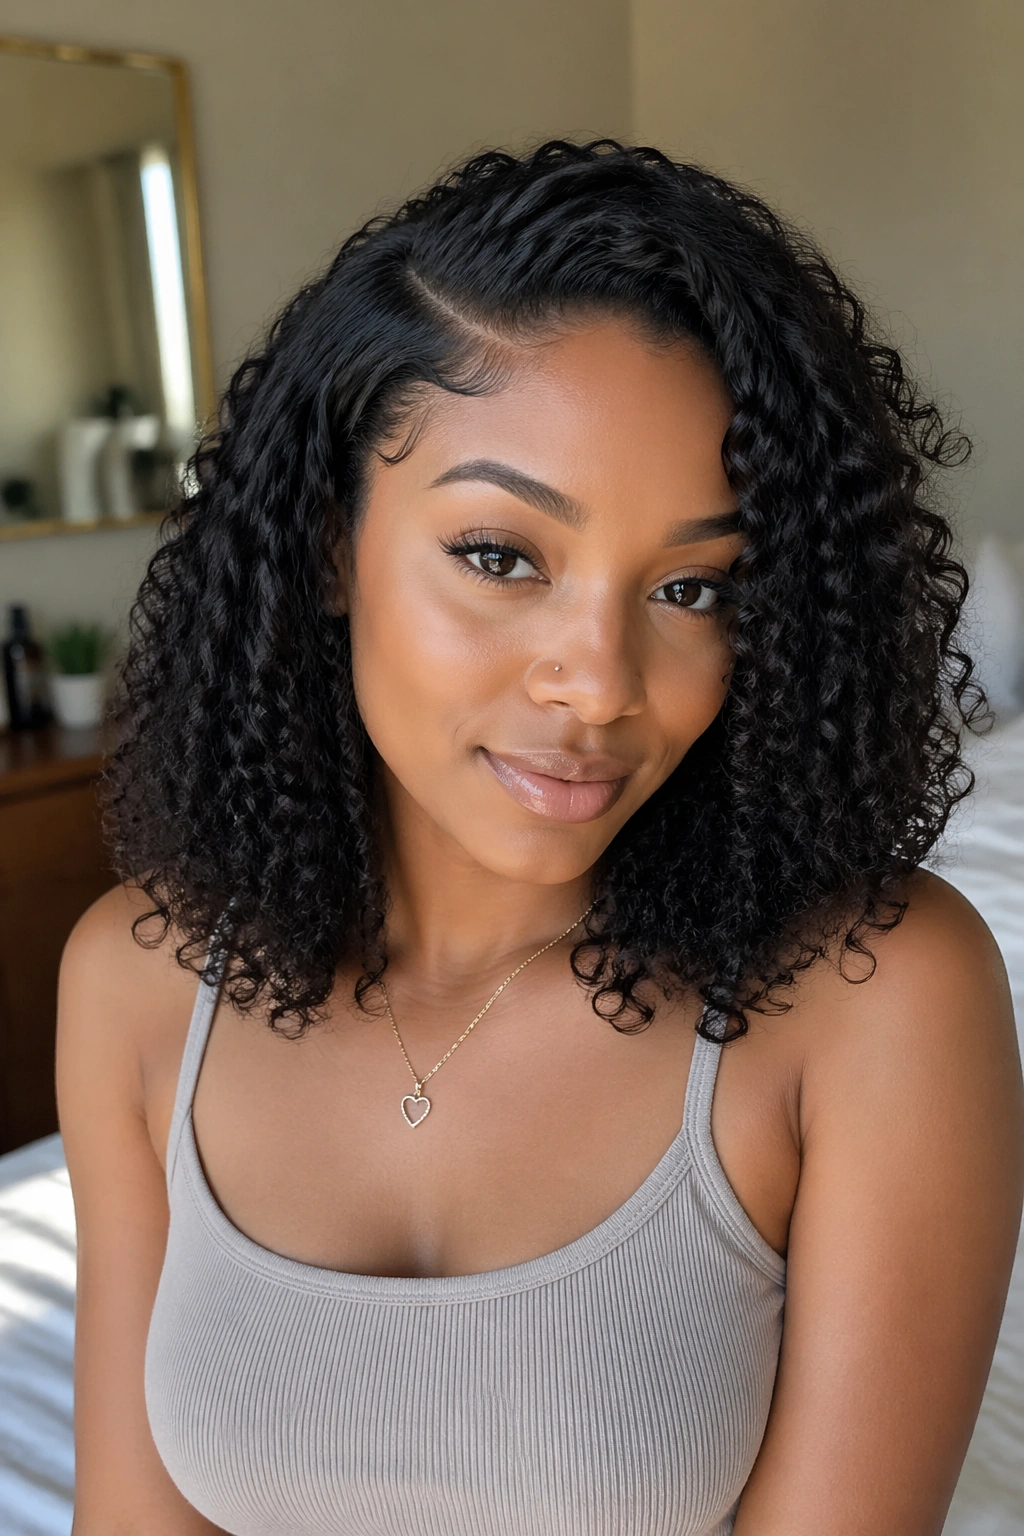
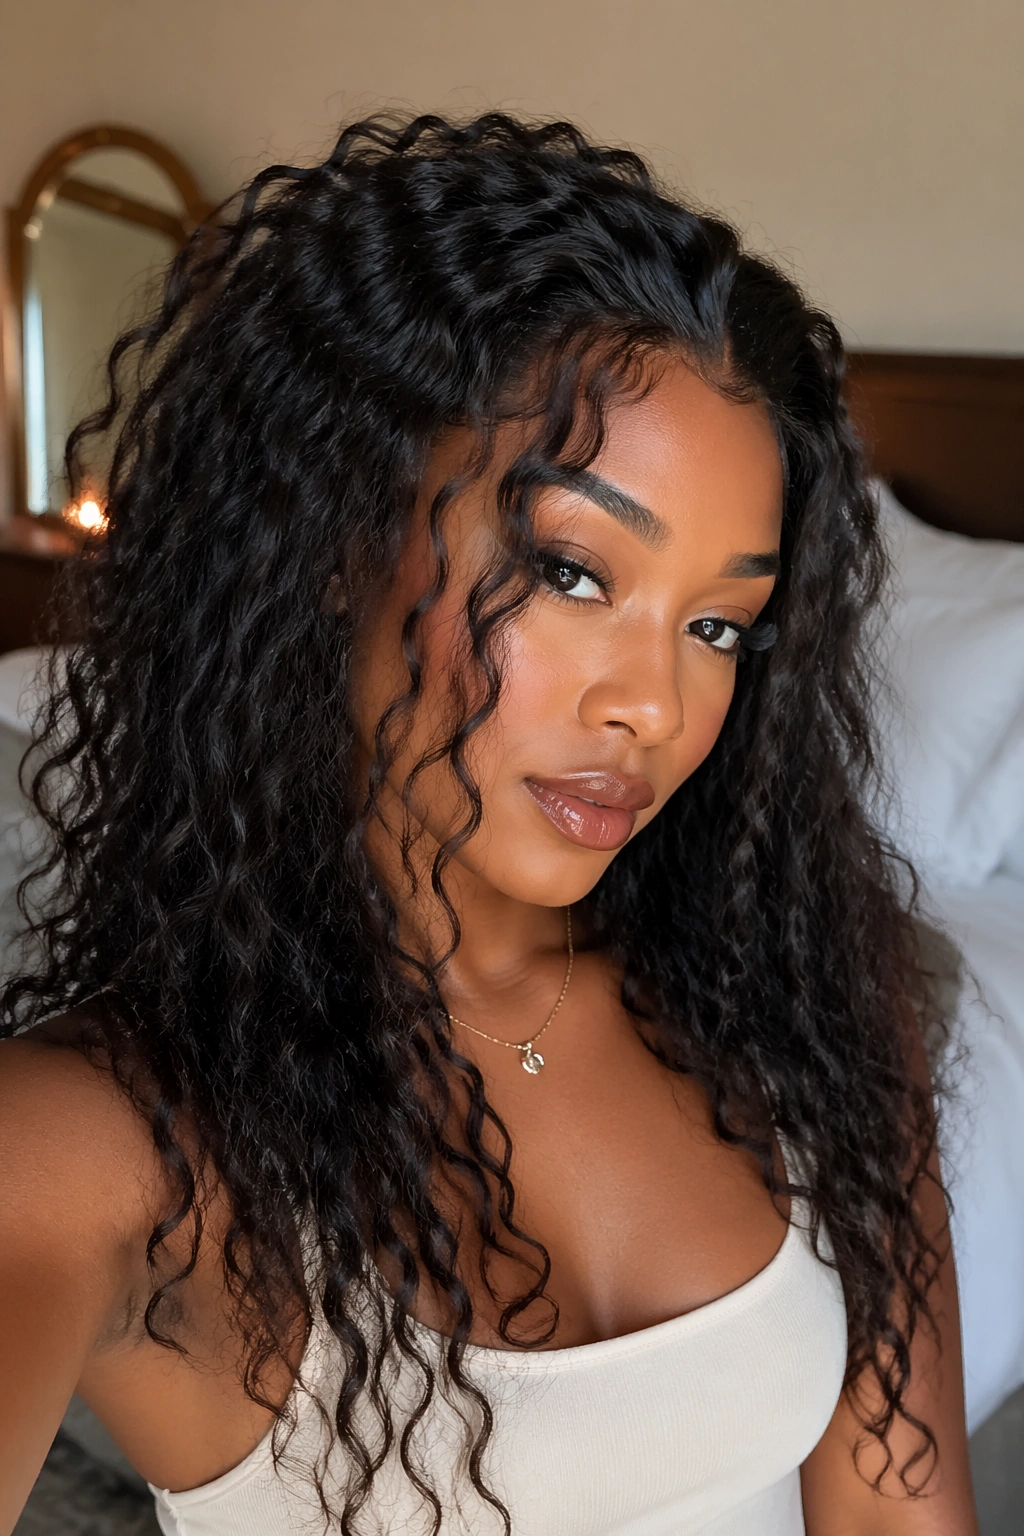
2. Middle Part Curly Sew In With Face-Framing Pieces
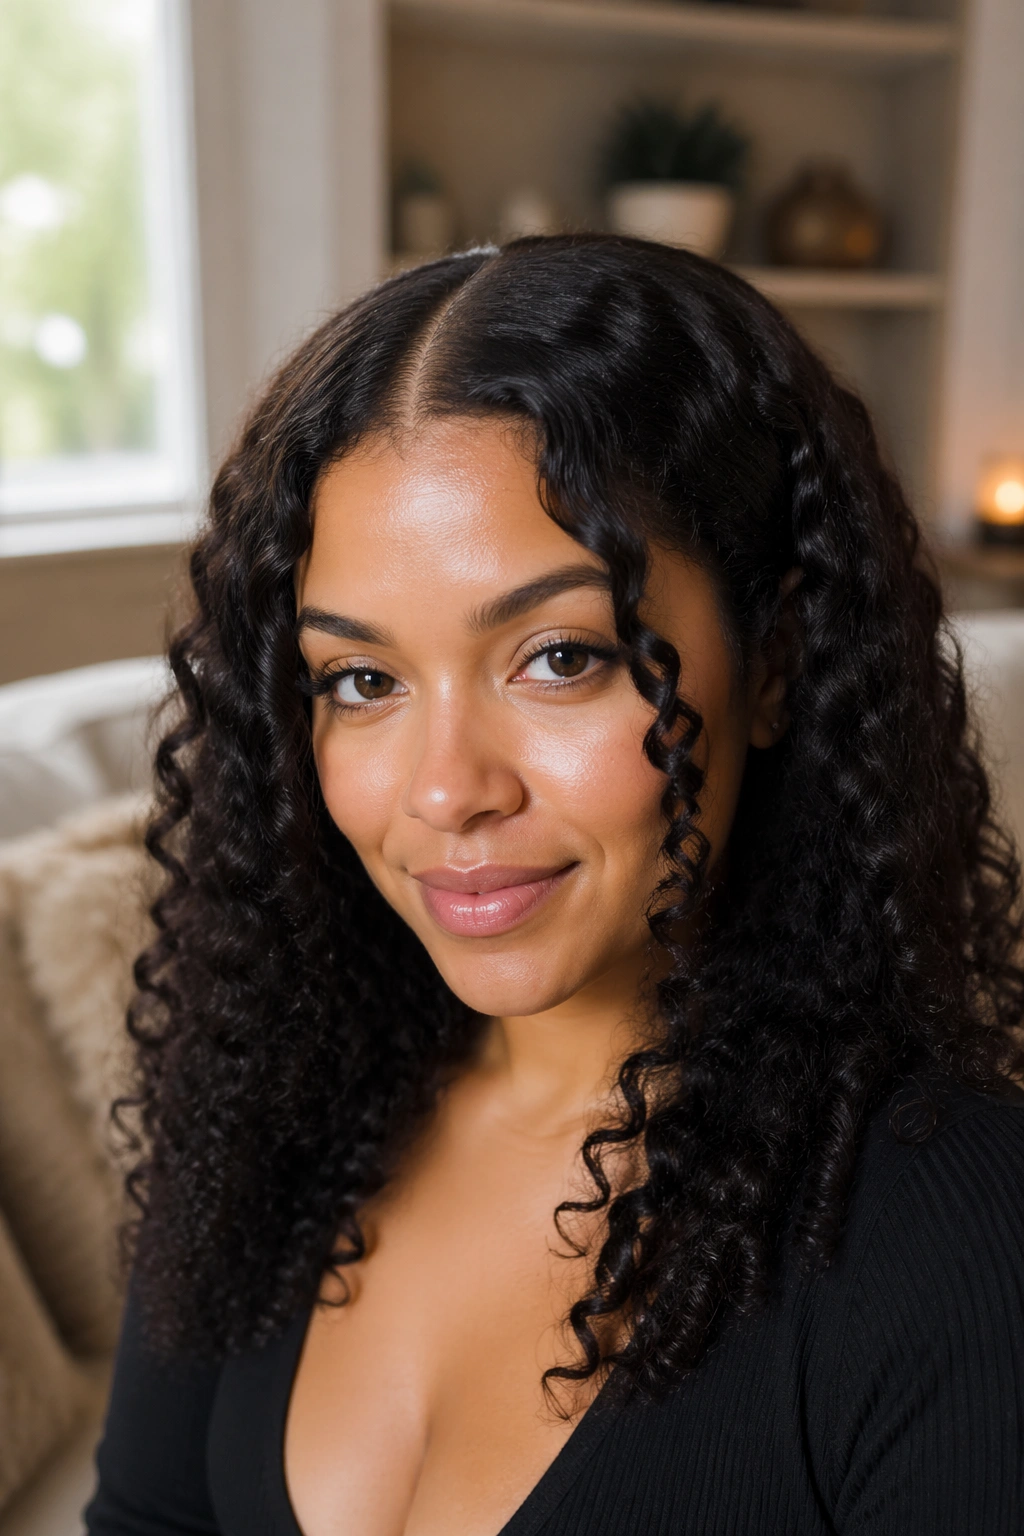
Why does a middle part look so clean when it works and so harsh when it doesn’t? Because it puts everything on display. A center part leaves no room for lazy blending, which is exactly why the face-framing pieces matter so much here.
This style works best when the front pieces are cut or curled to start near the cheekbone or jawline. That softens the line that runs straight down the middle and keeps the curls from hanging like curtains. If your own hair is denser at the crown, you can leave a slightly wider strip there and keep the temples narrow.
The middle part also works nicely with tighter curl patterns, because the hair around the face can be shaped into neat spirals instead of one bulky wave. If you want a polished finish, curl the leave out away from the face with a small wand, then break the curl with your fingers once it cools. Don’t rush that part. Cooling is what keeps the curl from going frizzy.
A lot of people make the mistake of trying to make the front too perfect. That usually backfires. A center part should look neat, not frozen.
3. Half-Up Half-Down High-Volume Sew In
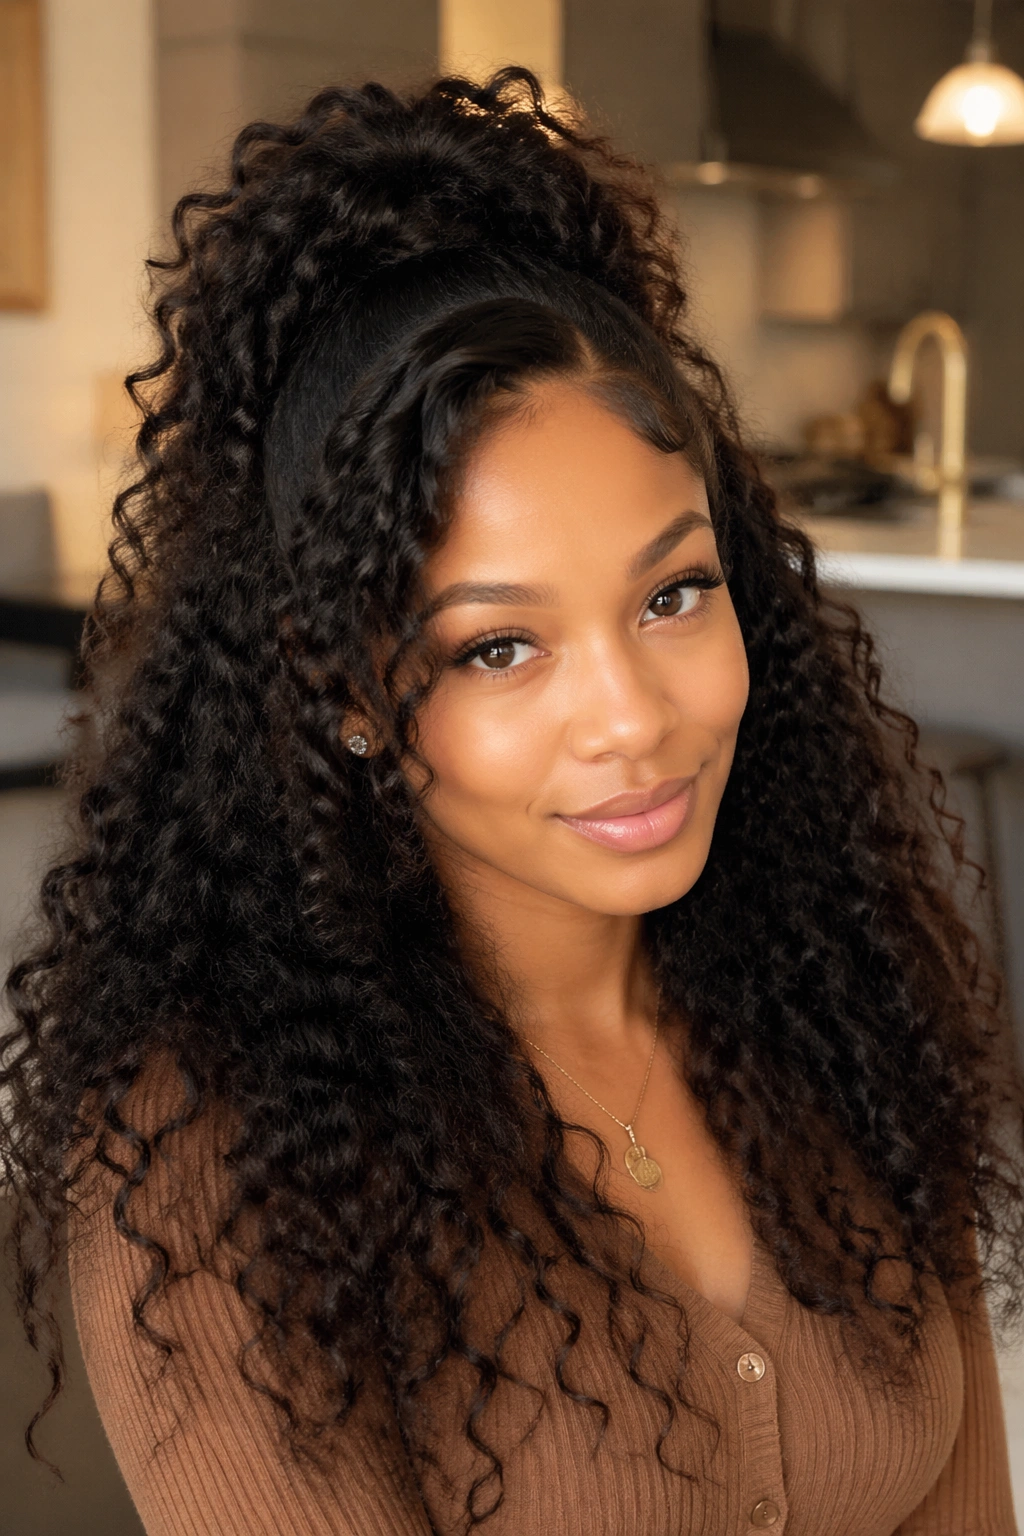
If you want curls off your face but still want length, the half-up half-down sew in is the move. It gives you lift at the crown, a little drama up top, and plenty of softness around the shoulders. The leave out does two jobs here: it covers the parting area and it keeps the front section from looking disconnected from the rest.
This style is strongest when the top half is secure but not yanked tight. The crown should feel snug, not strained. Pulling too hard makes the line where your natural hair meets the bundles show up sooner, and nobody wants that.
Good setup details
- Part the top section from temple to temple
- Keep the top ponytail or bun slightly loose so the curls can sit naturally
- Use a silk scrunchie or wrapped bobby pins instead of a tight elastic
- Shape the leave out with a curling wand or braid-out so it falls into the top section cleanly
Half-up styles can look fancy fast, but they can also go flat if the crown is too compressed. A little height is better than a hard, tight bump. If your bundles are long, that crown lift keeps the whole look from dragging backward.
I reach for this shape when I want the style to move. It looks alive from the front and the side.
4. Curly Bob Sew In With Soft Leave Out
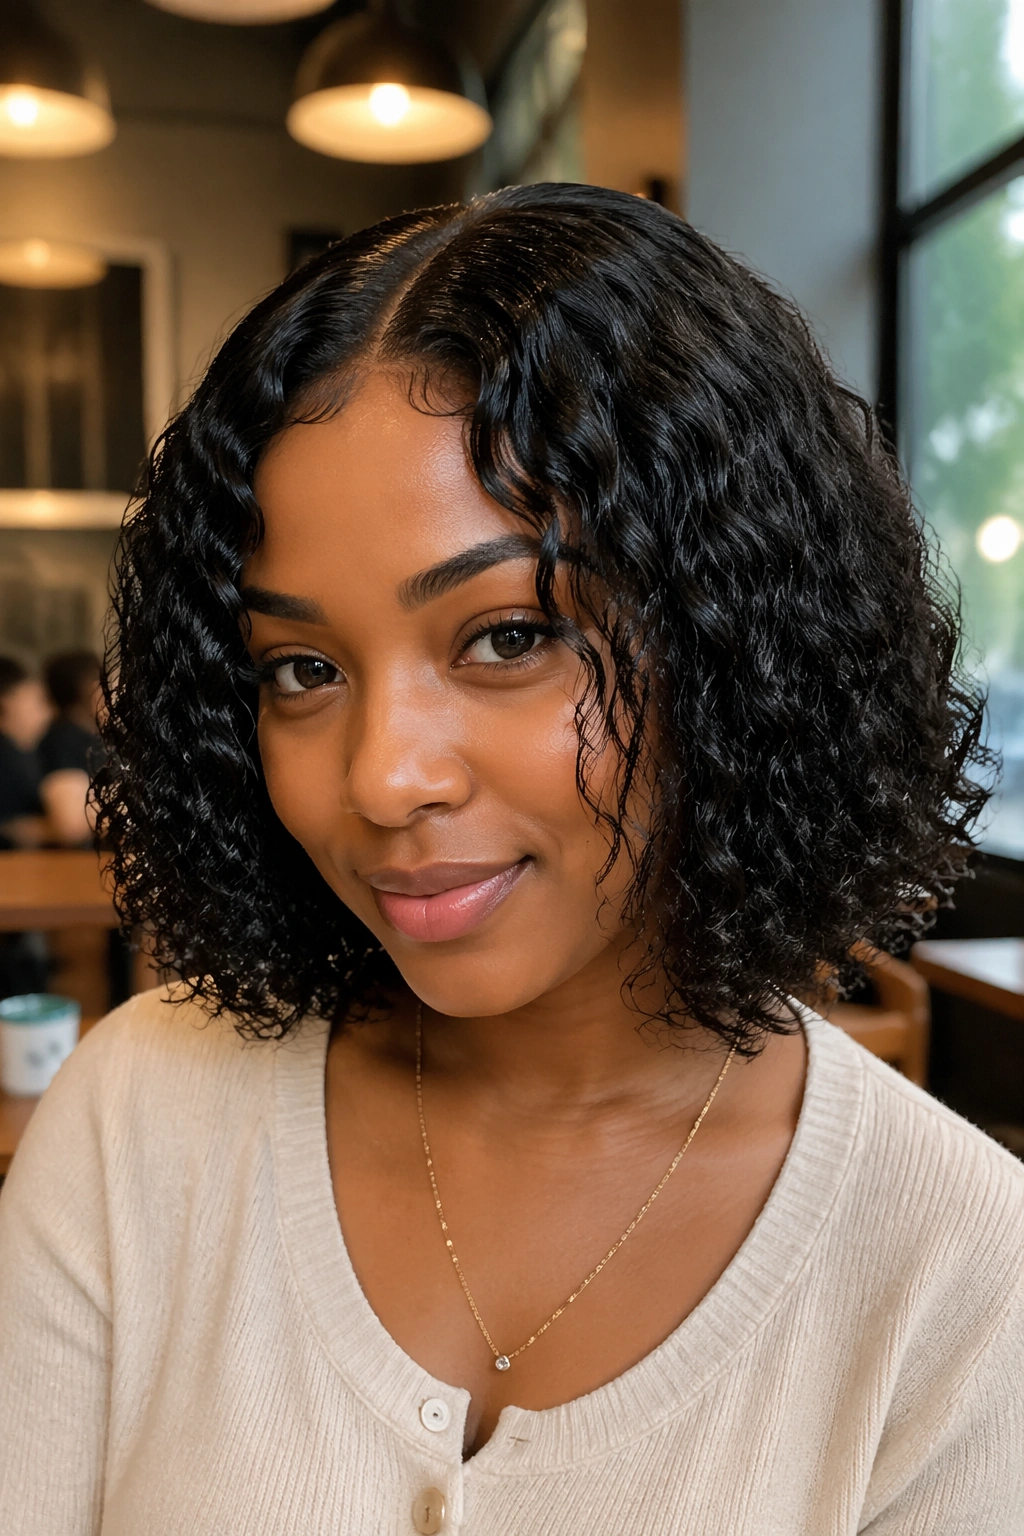
Shorter is easier here. A curly bob leaves less room for the blend to go wrong, which is why it’s one of the smartest curly sew in styles with leave out if you want something that feels neat without a ton of daily fuss. A collarbone or chin-length bob also gives the curls more bounce, which long hair sometimes loses under its own weight.
The cut matters a lot. If the bob is too blunt, it can look boxy and sit like a helmet. Slight internal layers fix that fast. They let the curls stack over one another instead of forming one thick line around the bottom.
A bob also makes the leave out less demanding. You usually need only a slim front section and a bit around the part, not a huge crown of natural hair. That’s a relief if your leave out is prone to puffing up. Keep the root area smooth, then let the ends stay soft and curly.
Where the cut should hit
A bob looks best when the longest pieces graze the collarbone or sit just below the chin, depending on the curl pattern. Tighter curls shrink a lot, so what looks shoulder-length in the chair can land much higher after drying. Plan for that.
5. Flip-Over Curly Sew In
Curls that sweep over from one side and bounce back feel casual in the best way. The flip-over style skips the hard part line entirely, which makes it a solid choice when you want a curly install that does not look pinned down or overworked.
The leave out still matters, but it works more like a veil than a spotlight. You need enough hair at the front and crown to create that easy sweep, and enough density at the roots so the style does not look thin when you flip it back. If the front is too sparse, the illusion breaks.
This is one of the few styles where a little imperfection helps. A slightly uneven curl pattern gives the flip more life. A perfectly uniform curl can look a little too arranged. That is a weird sentence to say about hair, but it’s true.
The flip-over style is also useful on days when you cannot be bothered to keep a part neat. Brush the front in the opposite direction, mist it lightly, and let the curls settle where they want. The best flip-over styles don’t look forced. They look like you touched your hair once and left it alone.
6. Faux Bangs Curly Sew In With Leave Out
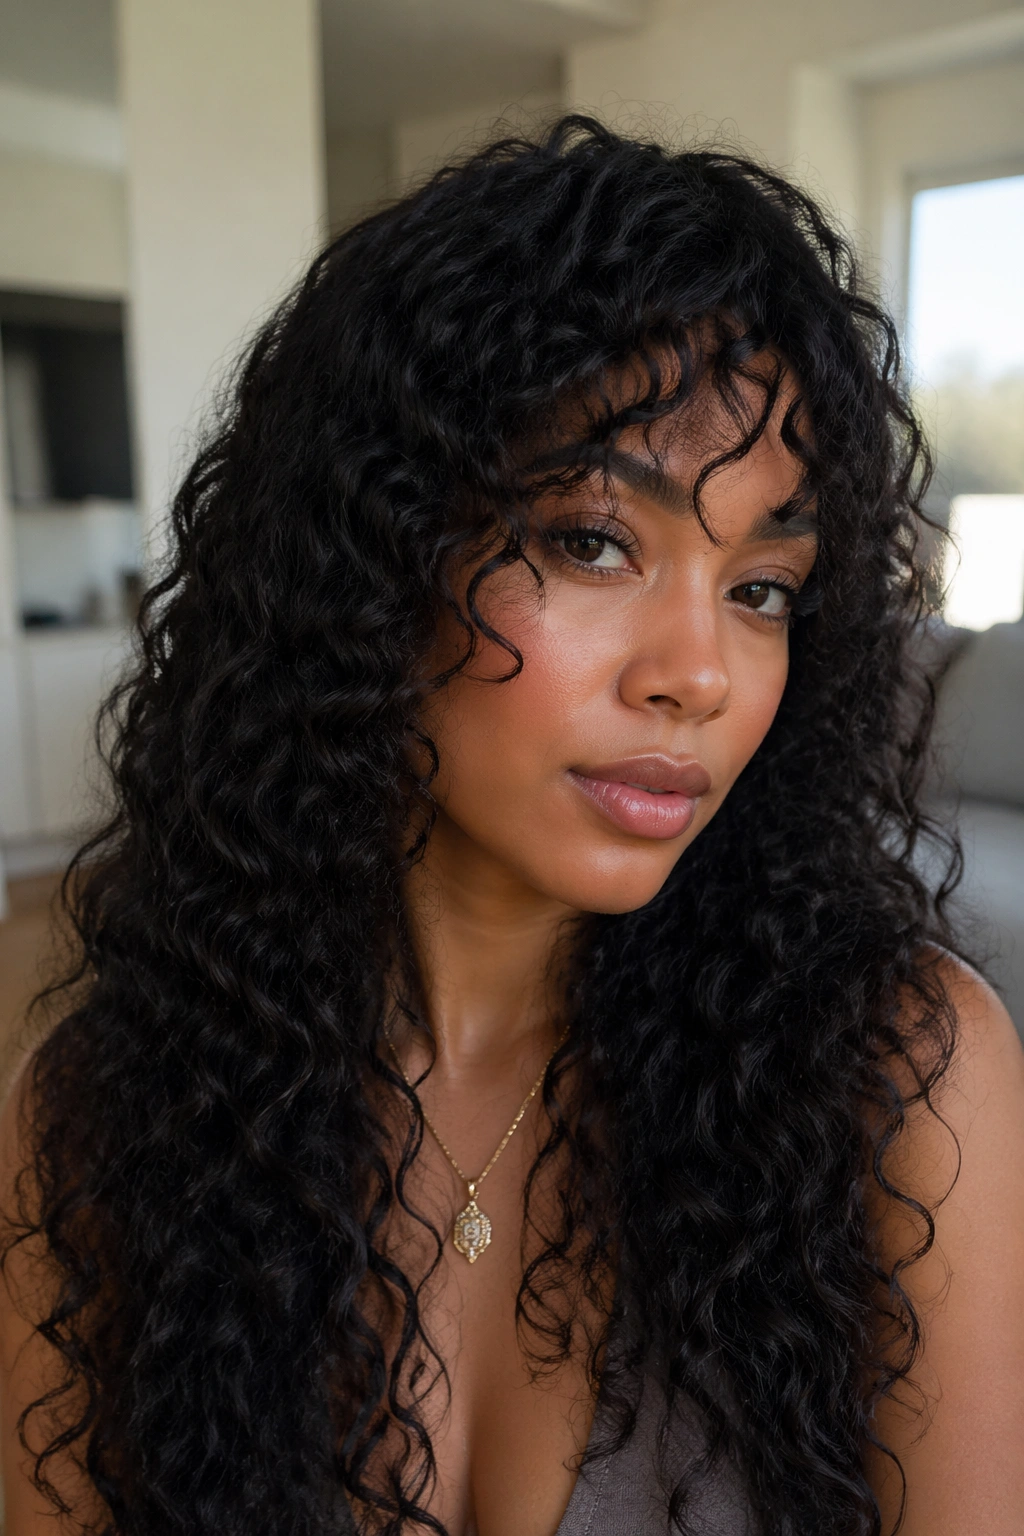
Faux bangs can be a smart move when you want a change without cutting your own hair. They also solve a real problem: if the front of your leave out is the hardest area to blend, bringing the curl forward into a bang makes the transition look deliberate instead of awkward.
The key is to keep the bangs long enough to move. Too short, and they start to separate from the rest of the style. Too dense, and they sit on the forehead like a block. Somewhere around eyebrow to cheekbone length usually gives the best balance, depending on curl shrinkage.
How to keep the fringe believable
- Cut or shape the bangs while the hair is dry, not stretched wet
- Keep the bundles slightly fuller through the crown so the bangs do not look isolated
- Use a small curling wand or flexi rod to direct the front pieces forward
- Trim in tiny amounts. Bangs lie to you when they’re wet
Faux bangs work especially well with curly or coily leave out because the texture reads as part of the same story. Straight leave out can work too, but then the front needs more heat and more care. And more care means more time.
I like this style when someone wants a softer face frame without losing length. It has attitude, but not the trying-too-hard kind.
7. Big Side-Swept Glam Curls
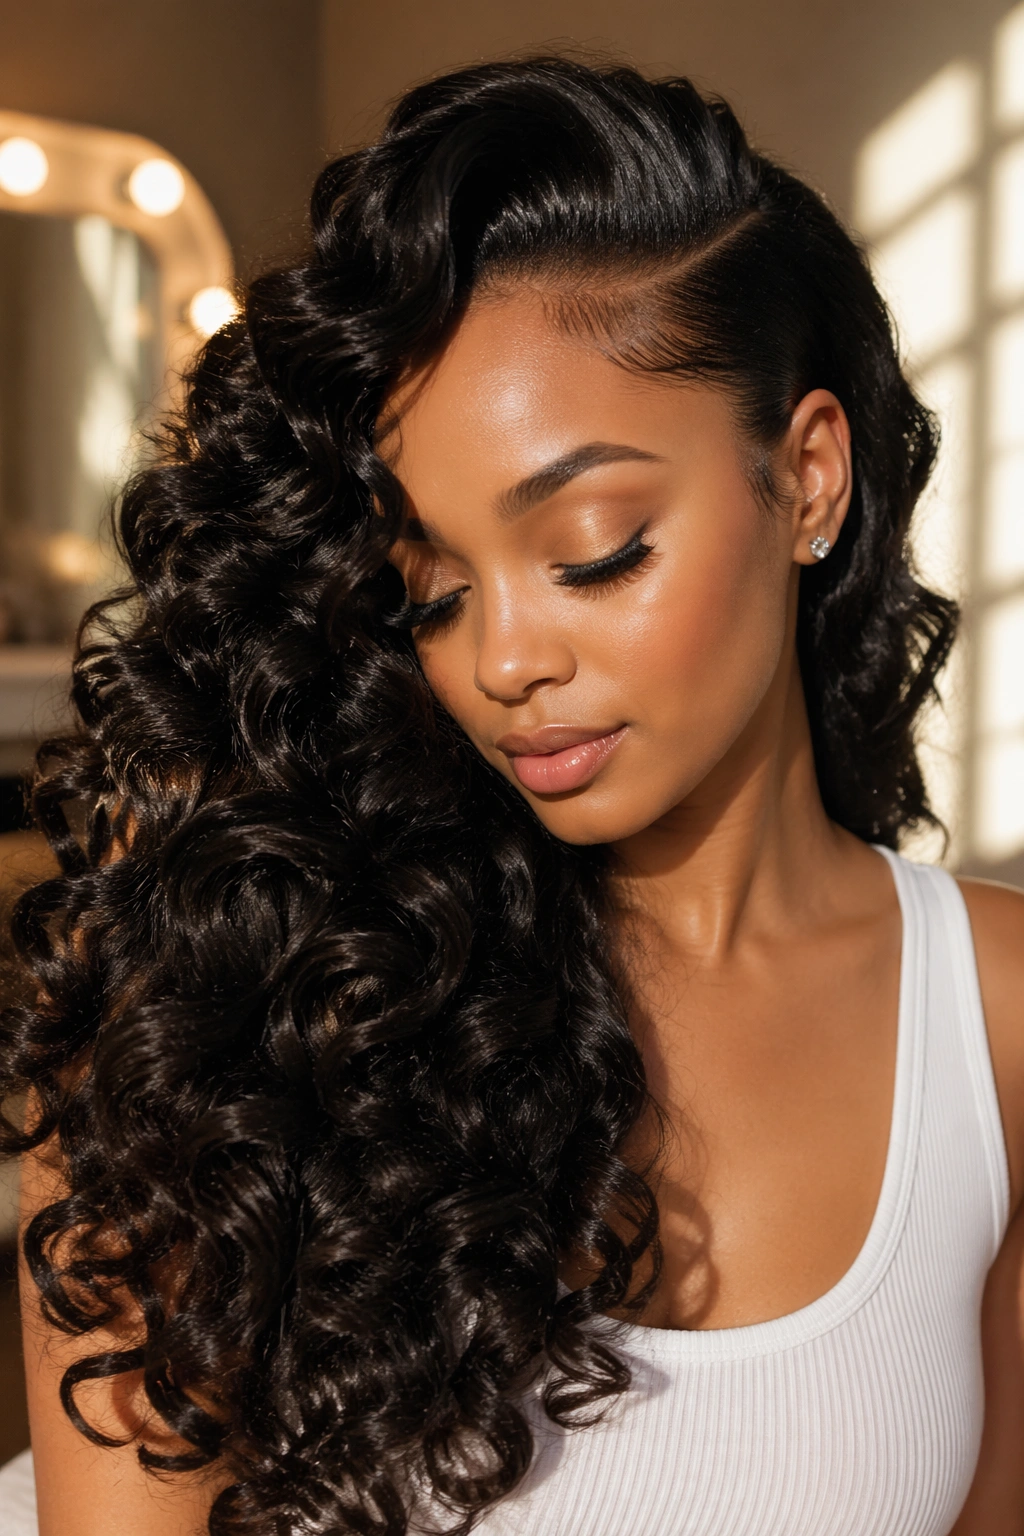
Want the hair to sweep across one shoulder without looking stiff? Go big with the side sweep. This style gives you the drama of a deep part, but the curl pattern stays loose enough to feel touchable. It is one of those looks that can handle a satin dress, a sharp blazer, or a plain tee and still make sense.
The leave out should be shaped to follow the direction of the sweep, not fight it. That means the front curls need a bit of bend away from the face, then a soft turn downward. If they fall straight, the whole style loses its arc.
A larger curling iron or rod set helps here. A 1.25-inch or 1.5-inch barrel usually gives enough shape without creating tiny ringlets that fight the overall volume. If the bundles are already curly, you may only need to touch the front pieces and the top layer.
This style loves movement. It does not love stiffness. The more the curls can stack and fall over one another, the better the shape looks from the side. That’s the part people notice first.
8. Long Layered Mermaid Curl Sew In
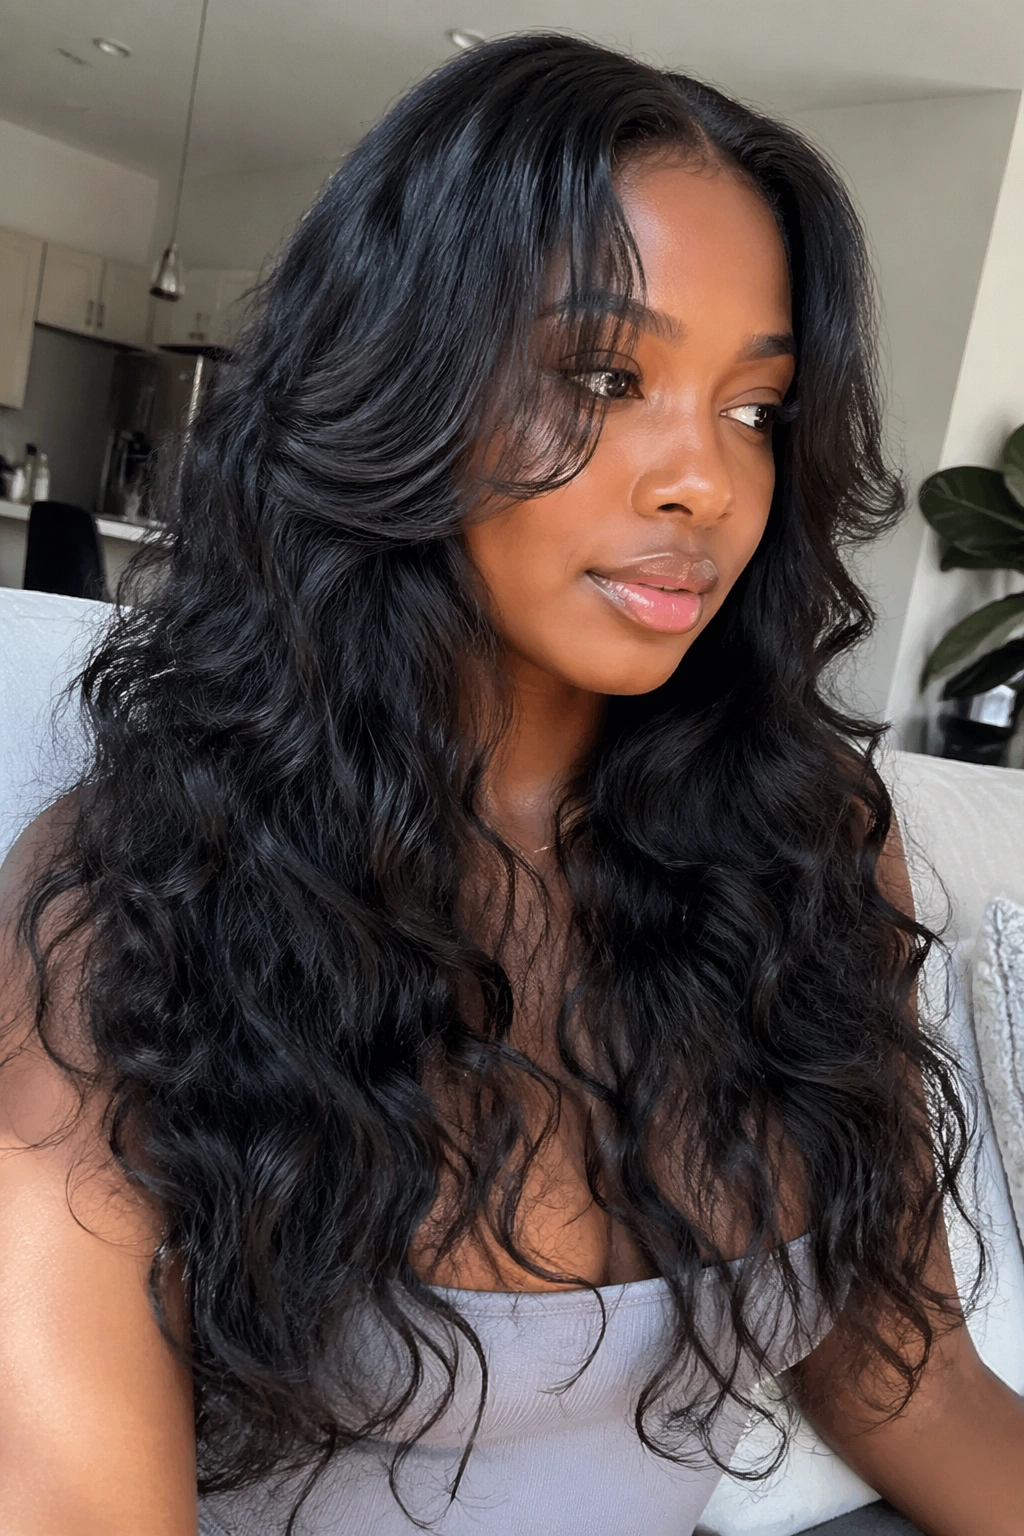
Long curls can look heavy fast. One length from top to bottom often drags the whole style down, especially when the bundles are dense and the leave out has to sit on top of all that weight. Layers fix that. They let the curl pattern breathe, and they stop the ends from looking like one thick curtain.
If you want that mermaid feel, ask for soft layers that start somewhere below the chin and build down. The front should frame the face gently, not chop into it. A good layered cut makes the curls look expensive because it adds space between the pieces.
What keeps long layers from looking bulky
A layered long sew in needs the leave out to be shaped with the same softness. The top pieces should not be pressed bone straight while the extensions stay fluffy. That contrast is too sharp. A braid-out, wand curl, or stretched curl pattern usually works better.
- Layer the front first, then blend the sides
- Keep the perimeter braids flat near the temples
- Refresh the ends with a little water and leave-in, not heavy oil
- Use a wide-tooth comb only at the roots if you need more lift
Long curly sew ins reward patience. They punish sloppy blending. That’s the trade.
9. Shoulder-Length Curly Sew In With Soft Ends
A shoulder-length curly sew in can look fuller than long hair. People forget that. When the hair sits around the shoulders, the curls bounce up and out instead of pulling straight down, which gives the style more body with less effort.
This length is also kinder to the leave out. The shorter the install, the less the natural hair has to stretch to meet it. That means less chance of obvious mismatch at the front. It also means less tangling at the ends, which is a huge quality-of-life detail if you wear curls often.
Soft ends matter here. A blunt finish around the shoulders can look boxy, especially if the curl pattern is tight. Slight tapering at the ends lets the hair swing when you move. It’s a small change, but it changes the whole mood.
I prefer this length when someone wants a curly style that can survive a real week of life. It is easier to wash, quicker to dry, and less likely to turn into a knotty mess at the nape.
10. High Ponytail Curly Sew In
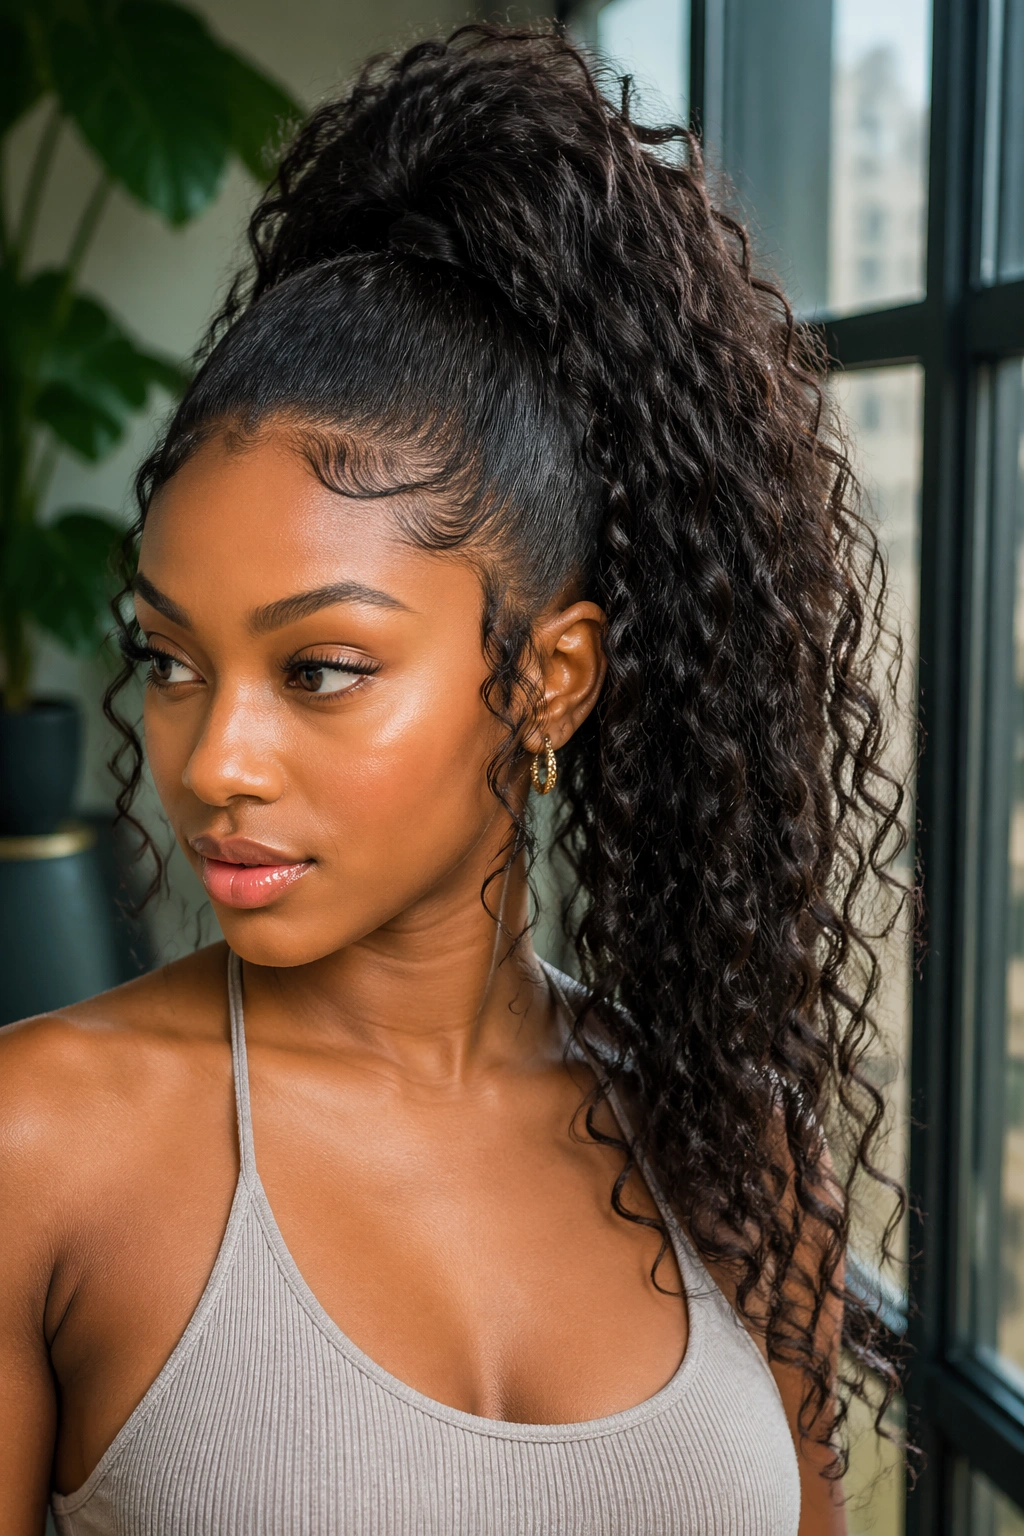
A high curly ponytail needs the tracks hidden first and the attitude second. That sounds backward, but it isn’t. If the base is clean, the ponytail can sit up high and still look soft around the hairline. If the base is messy, the whole style reads as rushed.
This style usually works best when the install is set up with the ponytail in mind. The braids should be arranged so the hair can be gathered upward without exposing the seam. The leave out stays around the front hairline and sometimes a slim section at the crown, depending on how much coverage you need.
Things that make the ponytail hold up
- Build the base with a circular or curved braid pattern
- Keep the hairline smooth, but not tight enough to pull
- Wrap a small piece of hair around the ponytail base for a cleaner finish
- Use a light gel or edge control only where the hair actually needs it
The biggest mistake is tension. A high ponytail already asks a lot from the scalp. Don’t add more by pulling the leave out too hard or braiding the base too tightly. That’s how a cute style turns into a headache by midday.
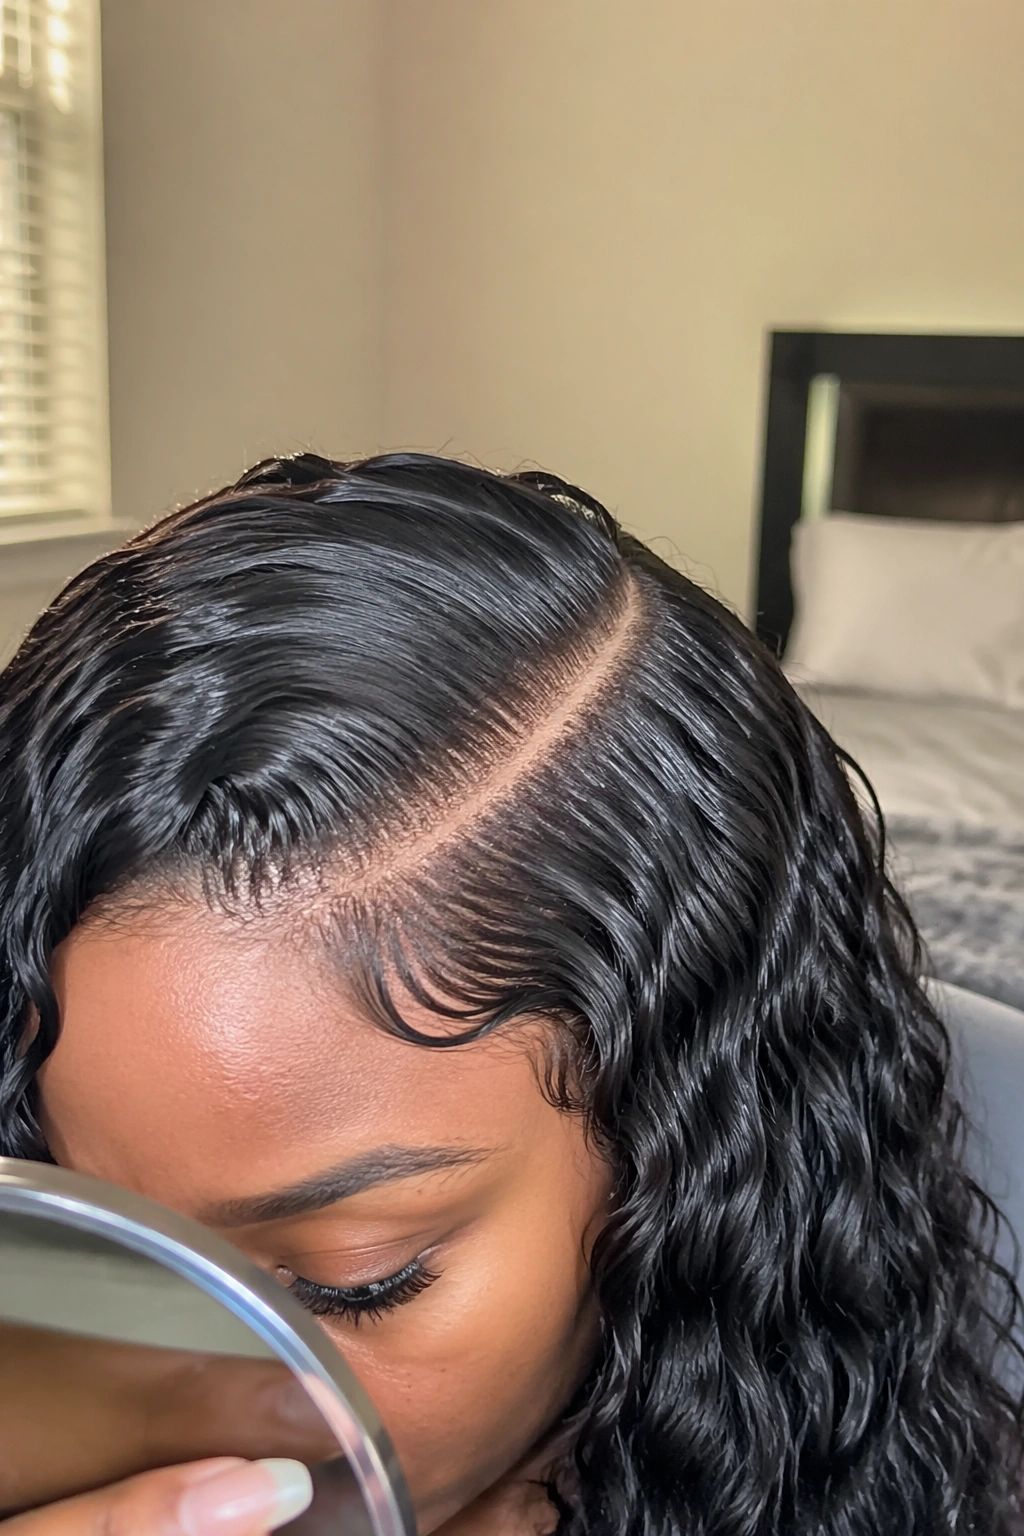
11. Wet-Look Curly Sew In With Leave Out
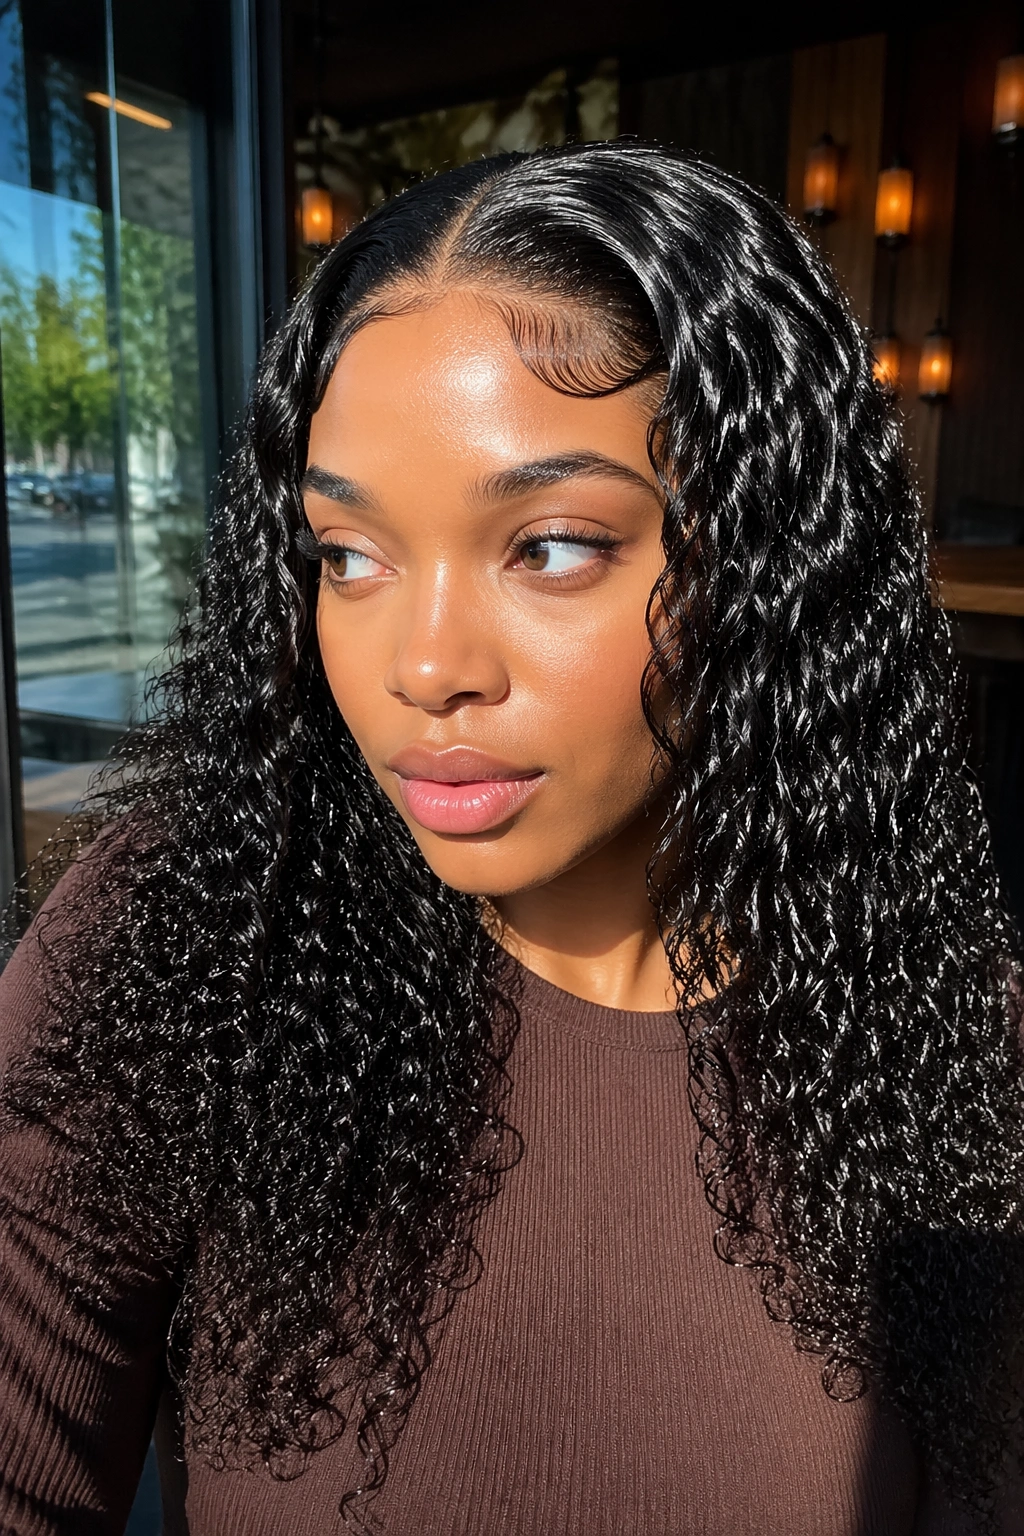
What if you want the curls to look freshly defined all day? The wet-look sew in is built for that. It is shiny, piecey, and a little more polished than a fluffy curl set, which makes it a strong choice when you want the style to feel intentional from root to end.
The leave out has to match that shine. Dry, airy curls on top of glossy bundles look disconnected. So the front usually needs a little gel, mousse, or curl cream, worked through while damp. You want definition, not a hard shell. If the hair turns crunchy, you’ve gone too far.
This is one of the less forgiving curly sew in styles with leave out. The part has to be neat. The hairline has to be tidy. And the curls need to clump in the same direction, or the look falls apart. That sounds fussy because it is fussy.
Still, when it works, it’s hard to beat. The style looks sharp in daylight, under indoor light, and anywhere people are close enough to notice texture.
A small amount of lightweight serum on the ends helps, but keep it away from the roots. Too much shine at the scalp can make the install look greasy instead of sleek.
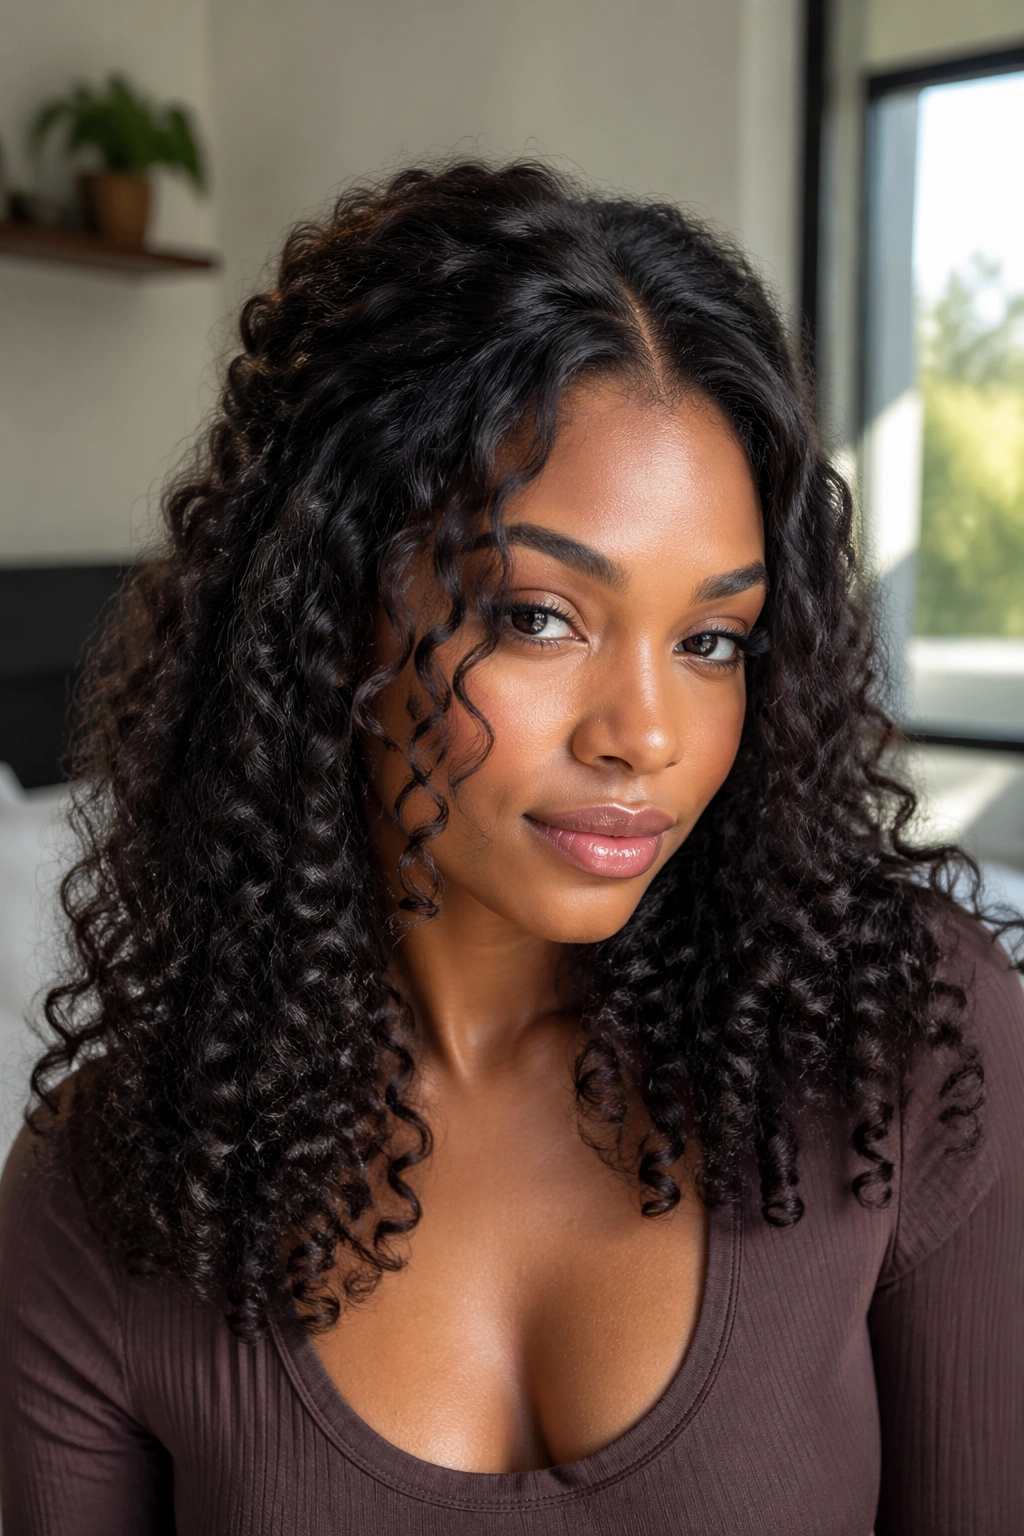
12. Kinky Curly Sew In That Blends With Type 4 Leave Out
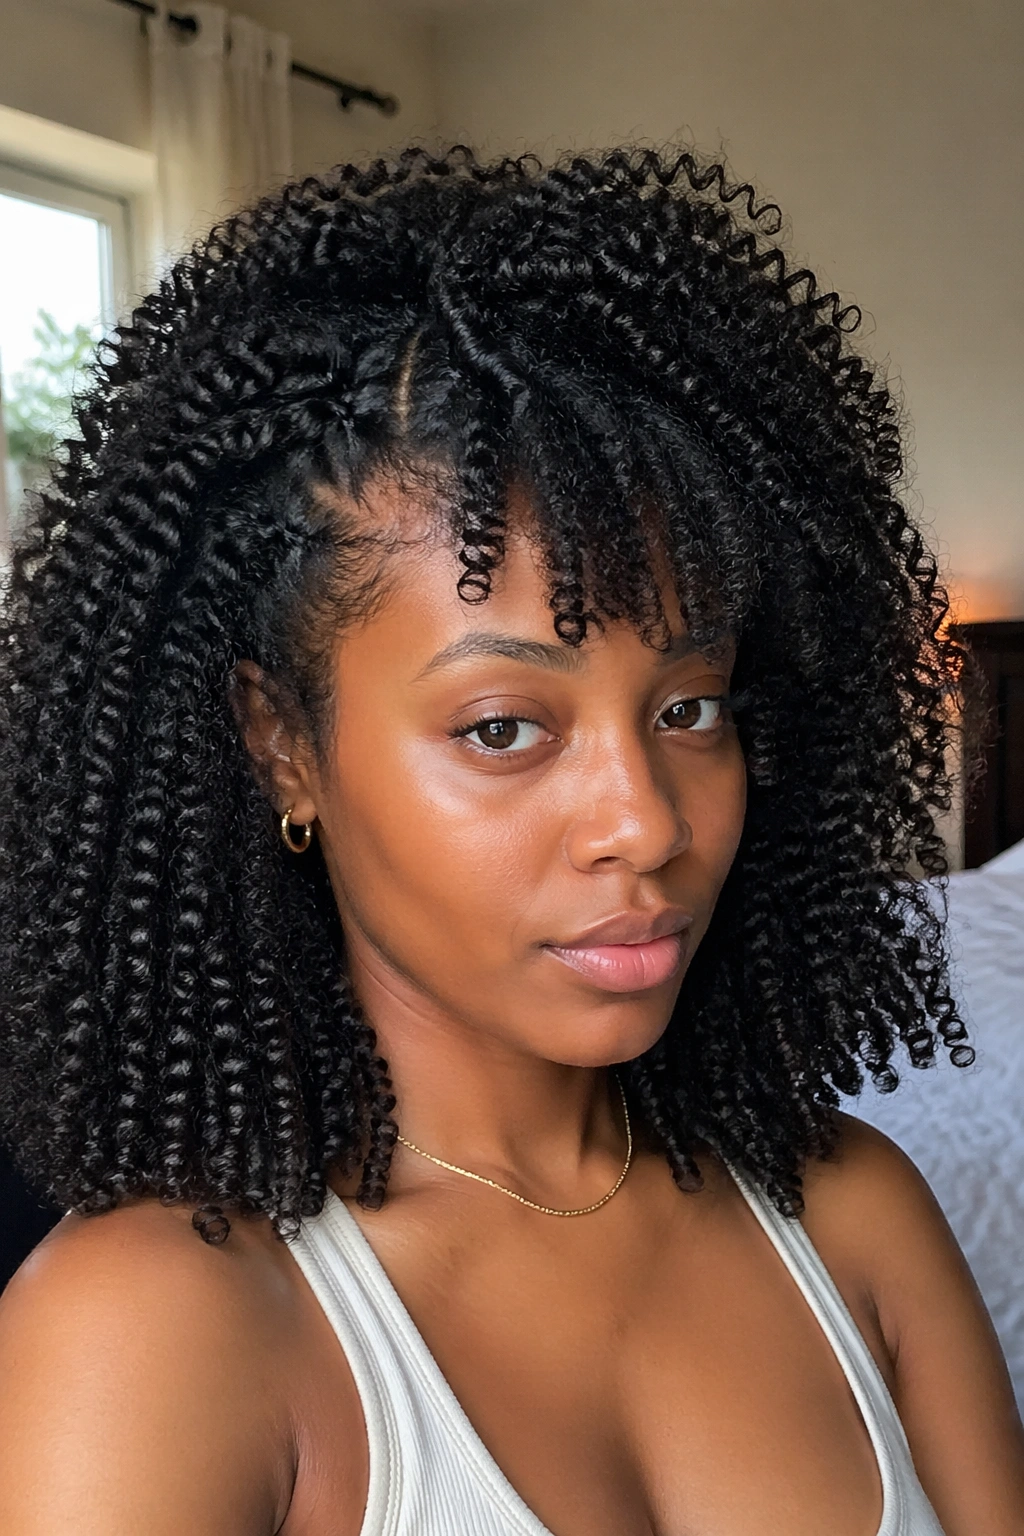
Texture match matters most here. If your own curls sit in the tighter range, a kinky curly sew in can make the blend feel easy instead of forced. The pattern has enough grip and volume to meet the leave out halfway, which is something looser curly bundles cannot always do.
This style usually looks best when the leave out is shaped with a twist-out or braid-out. A silk press can work, but it often looks too smooth next to the dense curl pattern. The tighter texture wants a bit of roughness and lift at the root. It should look like your hair belongs there, not like it was dropped into the install by mistake.
The blending trick
A little root stretching goes a long way. That can be as simple as drying the leave out in large twists, then separating the curls with your fingers once they’re dry. If the front is too compressed, the style loses height. If it’s too stretched, the difference between your hair and the bundles becomes obvious.
- Use a moisturizing leave-in before styling the leave out
- Keep the part narrow so the blend line stays small
- Match density, not just curl shape
- Wrap the hair at night so the front does not puff up unevenly
This is one of my favorites when the texture match is close. Close is enough here. It doesn’t need to be perfect.
13. Boho Curly Sew In With Minimal Leave Out
A few loose curls around the face can change the whole mood. Boho styles lean a little softer, a little messier, and a lot more relaxed than a crisp part-and-curl look. They feel lived-in, which is part of the appeal.
Minimal leave out is the smart version of this style. You keep the natural hair section small, usually just enough to shape the part and soften the front. The rest of the character comes from the extensions themselves, often mixed with a few tiny braids or separated curl pieces to keep the style from looking too uniform.
This is a good option if you want movement but don’t want to spend ages matching every strand. The leave out does less work, which means fewer chances for mismatch. It also means less daily handling, which your edges may appreciate.
- Best when the curls are piecey rather than perfectly uniform
- A light mist and finger separation work better than heavy brushing
- Tiny braids at the front can add texture without taking over
- Keep the leave out narrow so the boho finish stays easy, not messy
The danger with boho hair is overdoing the “undone” part. A little looseness reads as soft. Too much reads as unfinished. There’s a difference, and it’s not subtle.
14. Romantic Center-Part Curls With a Soft Crown Lift
A center part does not have to sit flat. That’s the mistake a lot of people make. If you add a little lift at the crown, the style gets air and shape instead of lying heavy against the scalp.
This look works well with medium to long curls and a leave out that can be smoothed at the part while staying soft through the top. The crown lift can come from a gentle backcomb at the root, a couple of hidden clips while the hair dries, or a careful set with rollers near the top. Nothing stiff. Nothing sprayed into a shell.
The beauty of this style is that it keeps the symmetry of a middle part but loses the severity. The face-framing curls stay soft, the top has a little height, and the overall look feels romantic without sliding into pageant hair.
If you like clean lines but hate flatness, this is the one to try. It is polished, but not rigid. That matters more than people admit.
15. Low-Slung Loose Curl Sew In With a Polished Hairline
Soft curls grazing the collarbone and a neat hairline change the whole read of the style. A low-slung sew in feels calmer than a high-volume look, but it still has shape. The curl pattern does the talking, while the leave out keeps the front looking natural and finished.
This style is a good choice when you want something that works up close, not just from across a room. The blend has to be tidy, because the front stays visible. A narrow leave out at the part and temples usually does enough. From there, the curls can fall loose and smooth around the shoulders.
The clean hairline matters more than extra height here. If the perimeter is neat, the rest of the style can stay airy. If the perimeter is rough, the whole look feels off, even if the curls themselves are beautiful.
I like this shape because it doesn’t shout. It holds together in everyday light, it grows out in a sensible way, and it gives you that soft, wearable curly finish without asking for a full production every morning. When you want the style to look finished without feeling stiff, this one does the job.