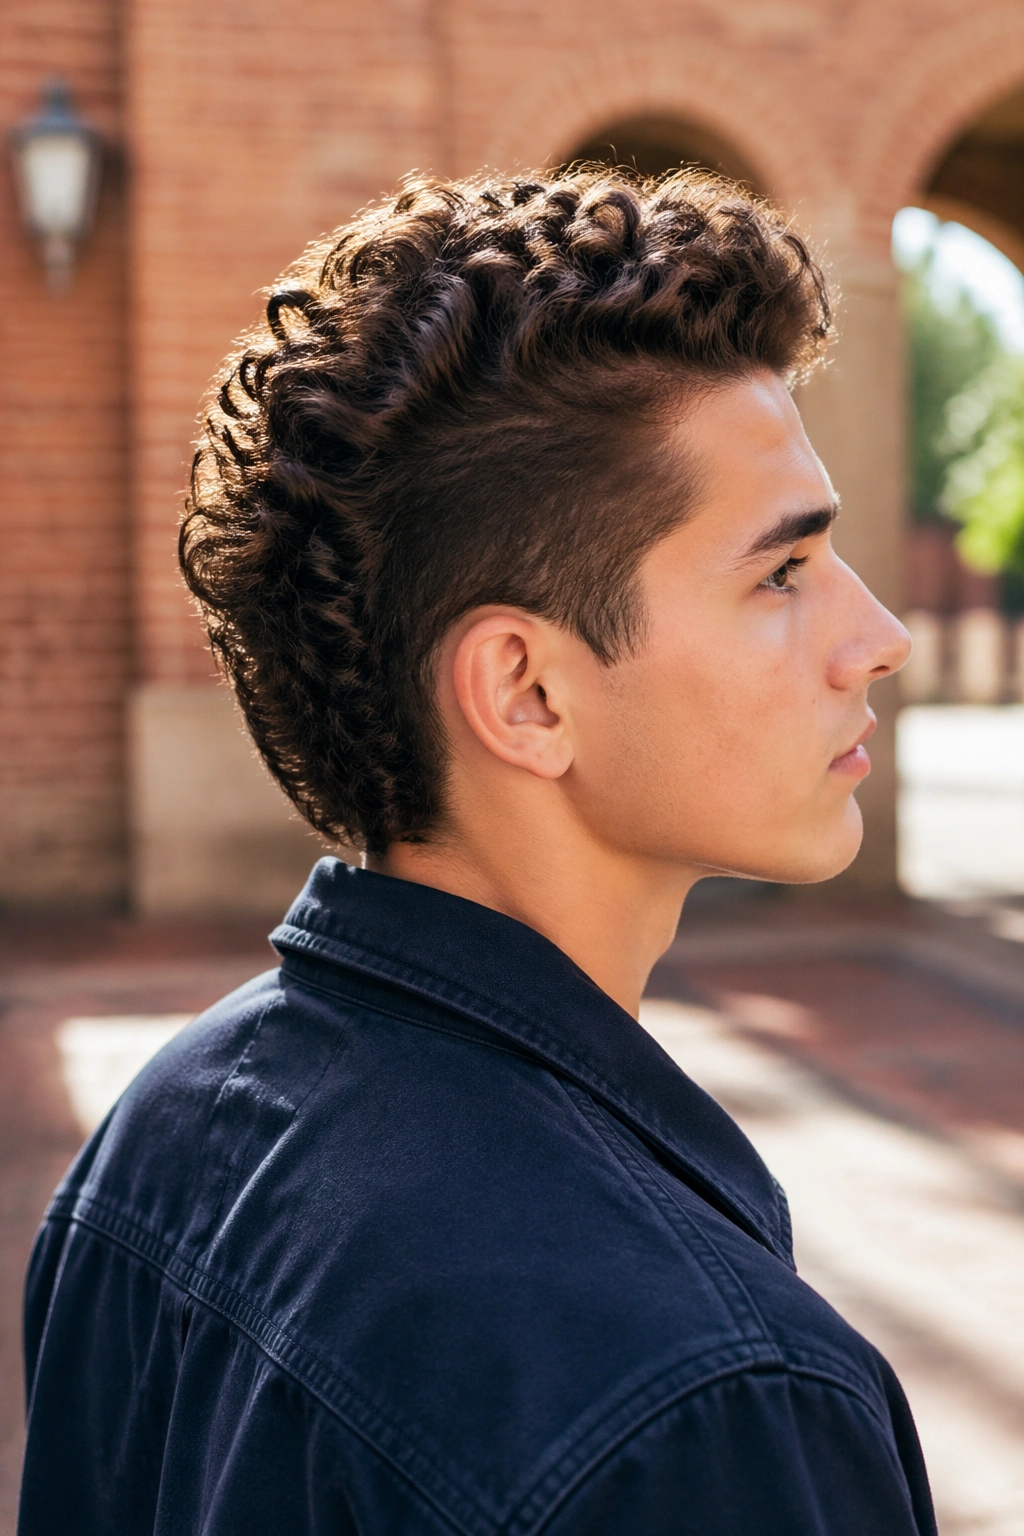
Curly hair can steal the show in senior pictures—if the style holds its shape for more than ten minutes. The real trick with senior picture hairstyles for curly hair is not making the curls “behave.” It’s choosing a shape that works with your texture, your face, and the way photos flatten everything by a little bit.
A style that looks fine in a bathroom mirror can feel tiny under bright outdoor light. Same curls, different story. Wind, humidity, flash, and even the neckline of your outfit all change the way the hair reads on camera, which is why a good curly style needs more than a cute front view.
The best looks do three things at once: they keep the curl pattern visible, they open up the face, and they do not fight the hair’s natural volume. That sounds simple. It rarely is. Curls have opinions, and senior portraits have a way of exposing every rushed pin and every overdone spray job.
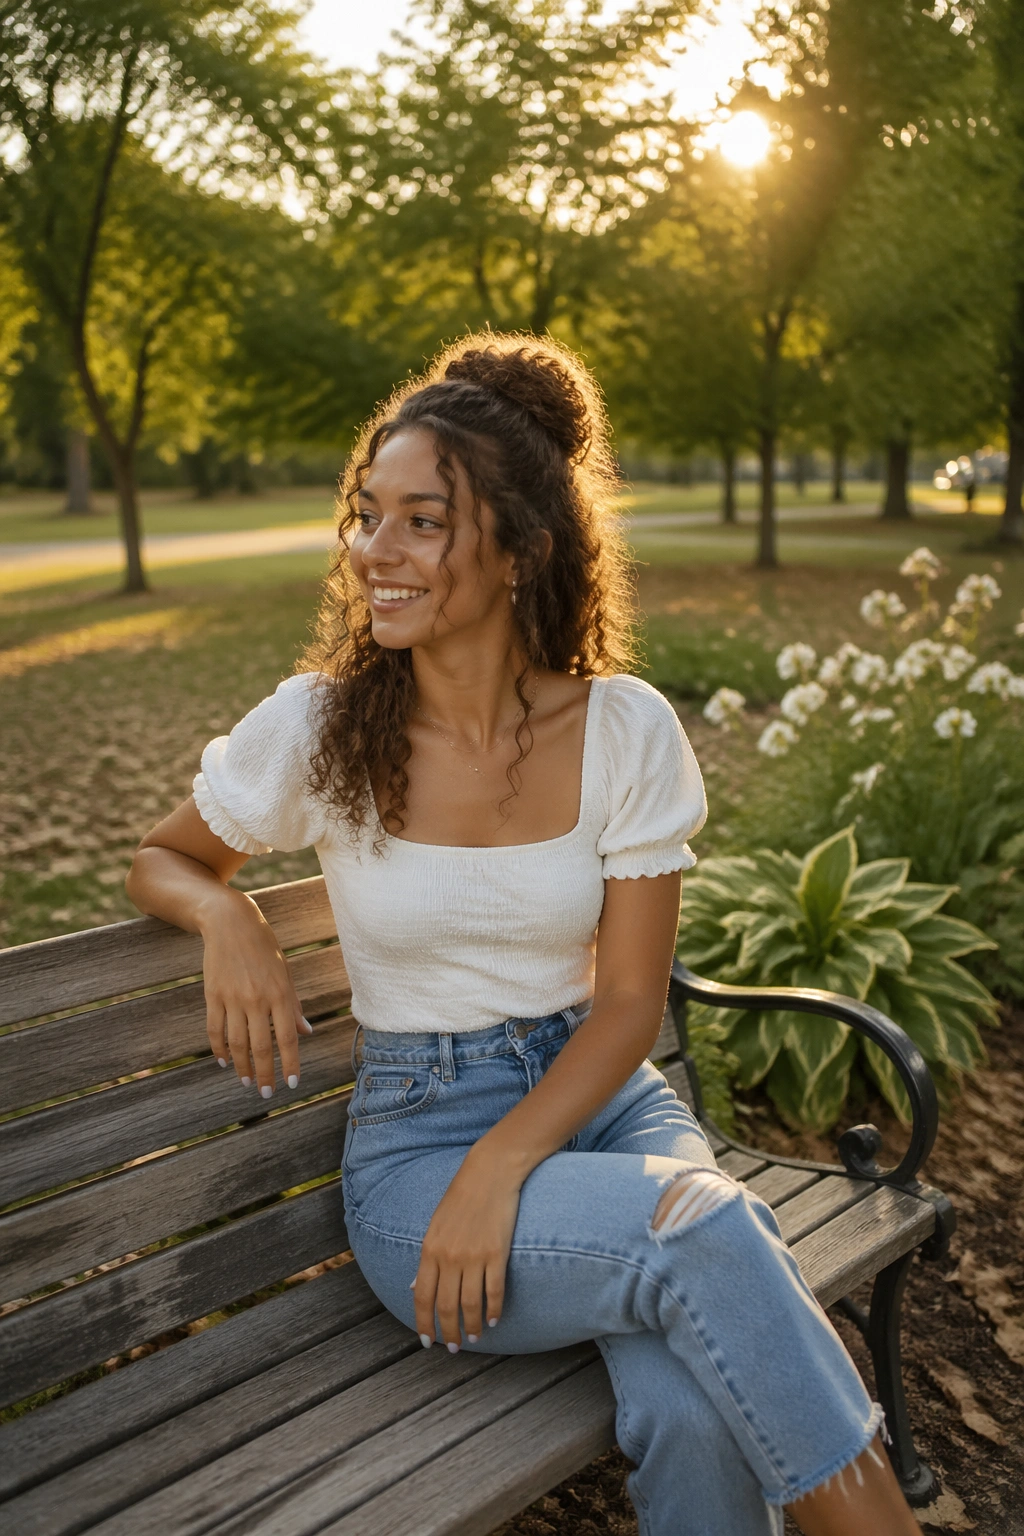
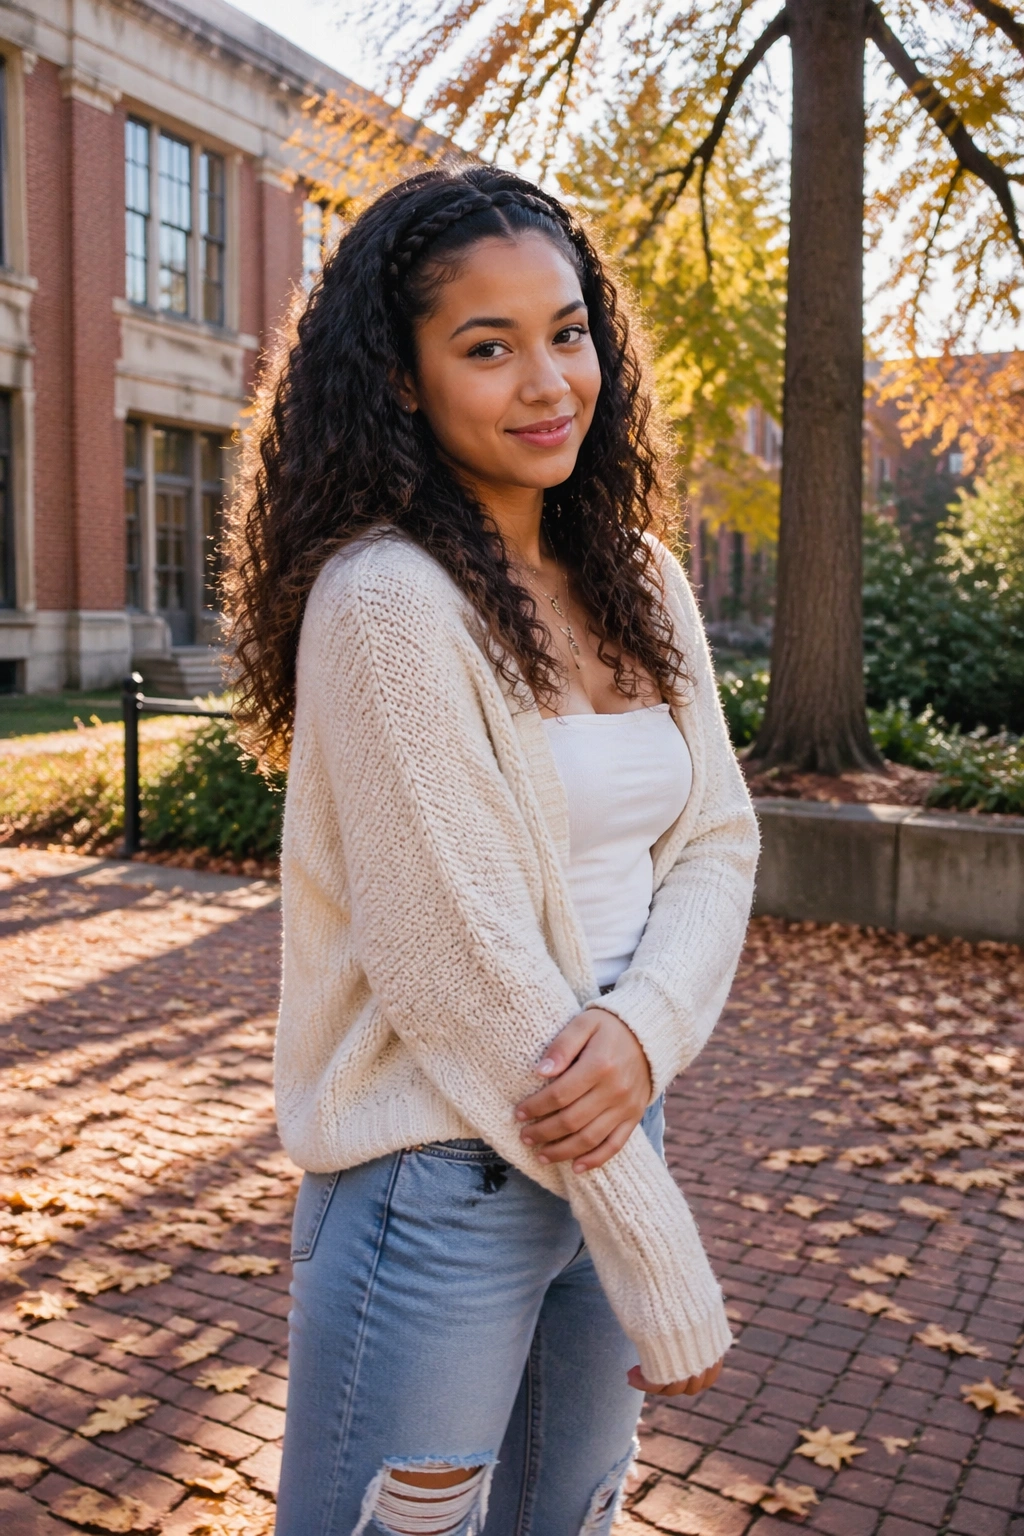
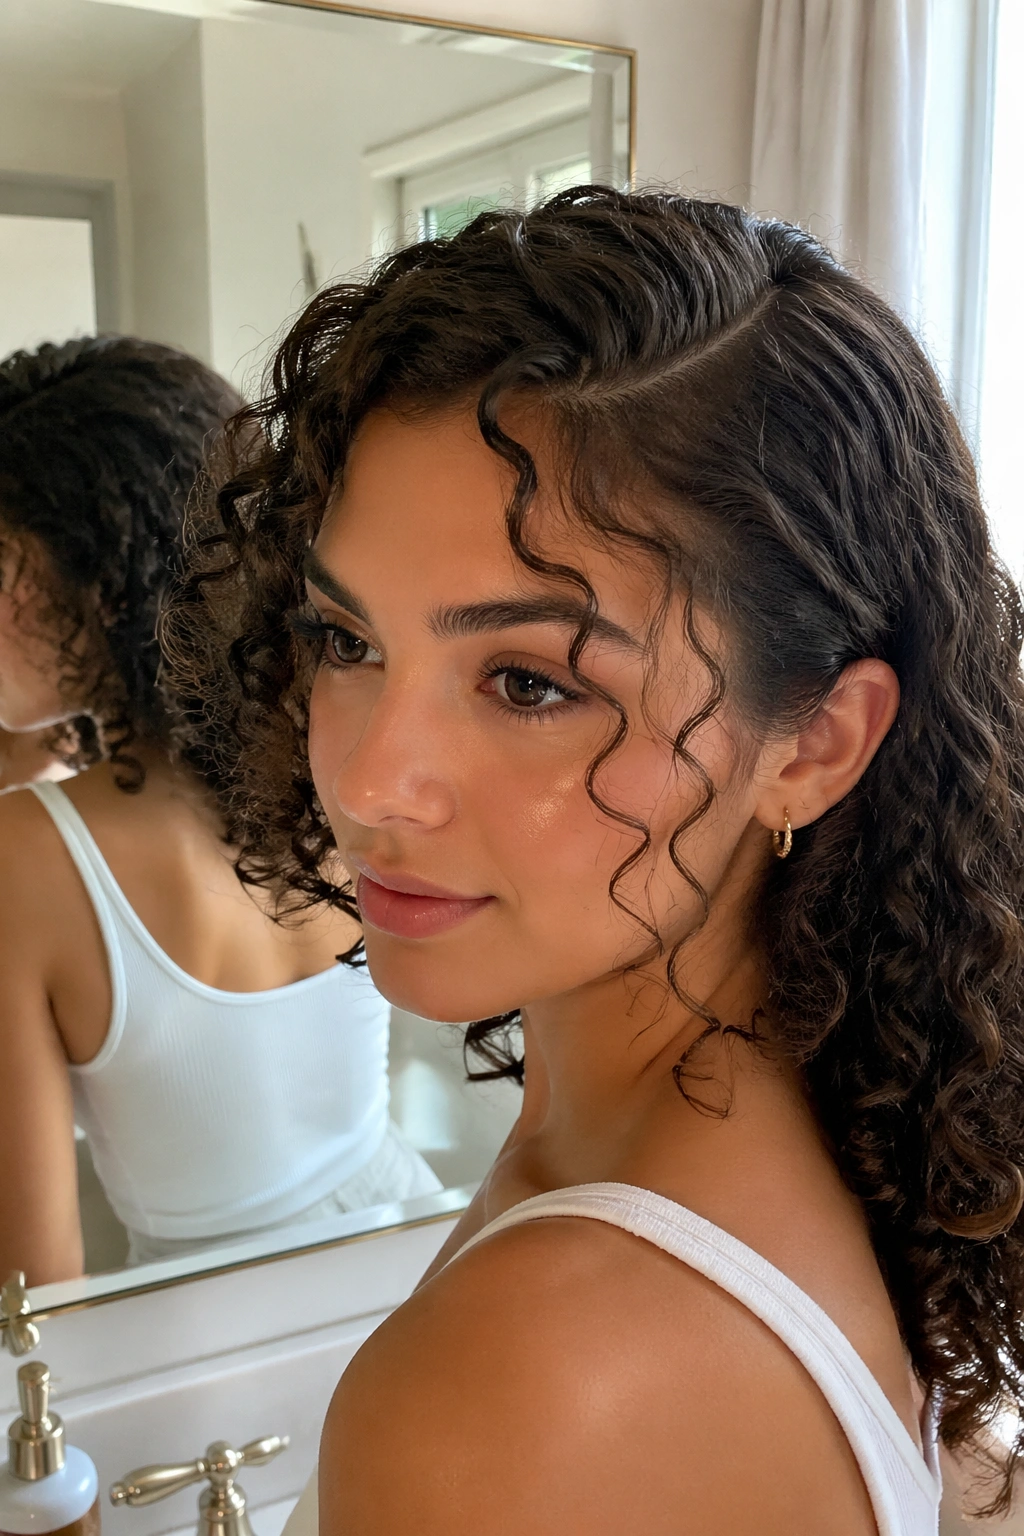
1. Side Part With Face-Framing Ringlets
A side part gives curly hair instant shape. It pulls the eye across the face instead of straight down the center, which can make portraits feel softer and a little more dynamic. If your curls tend to flatten at the crown, this is one of the easiest ways to add height without teasing the life out of them.
Why it photographs so well
The magic is in the imbalance. One side gets a little more hair, the other side gets a little more exposure, and the whole look feels intentional without looking stiff. Face-framing ringlets are doing real work here, too. They soften the cheekbones and keep the hair from swallowing your features in close-up shots.
The key is to place the part while the hair is still damp, not after everything has dried in the wrong direction. Use a tail comb, make the part clean, then scrunch in curl cream and a light mousse from roots to ends. Let the front pieces fall where they want, then guide just the first curl on each side with your fingers so it sits near the cheekbone instead of hiding behind it.
Small tip: if one side is heavier, tuck only a little behind the ear. Too much tuck and the whole style loses its balance.
2. Half-Up Curly Crown With Loose Tendrils
Want hair off your face without losing the fun part of curly texture? A half-up style handles that nicely. It gives the top of the hair a bit of lift, keeps the front from drifting into your eyes, and still leaves enough curl down the back to look full in senior photos.
How to keep it soft, not fussy
The trick is to gather only the top third of the hair. Any more than that and the style can start to look formal in a way that fights a relaxed portrait. Use two small clear elastics or one hidden clip, then gently loosen the hair at the crown with your fingertips so it does not look pulled flat.
Leave a few tendrils out around the face. Not a lot. Two on each side is usually enough. They should feel deliberate, not like the style came apart halfway through the session. If your curls are tight, twist those front pieces once before you pin them back; that keeps them from shrinking into short little springs that sit too high.
Best pairings: off-the-shoulder tops, square necklines, and earrings that you actually want the camera to notice.
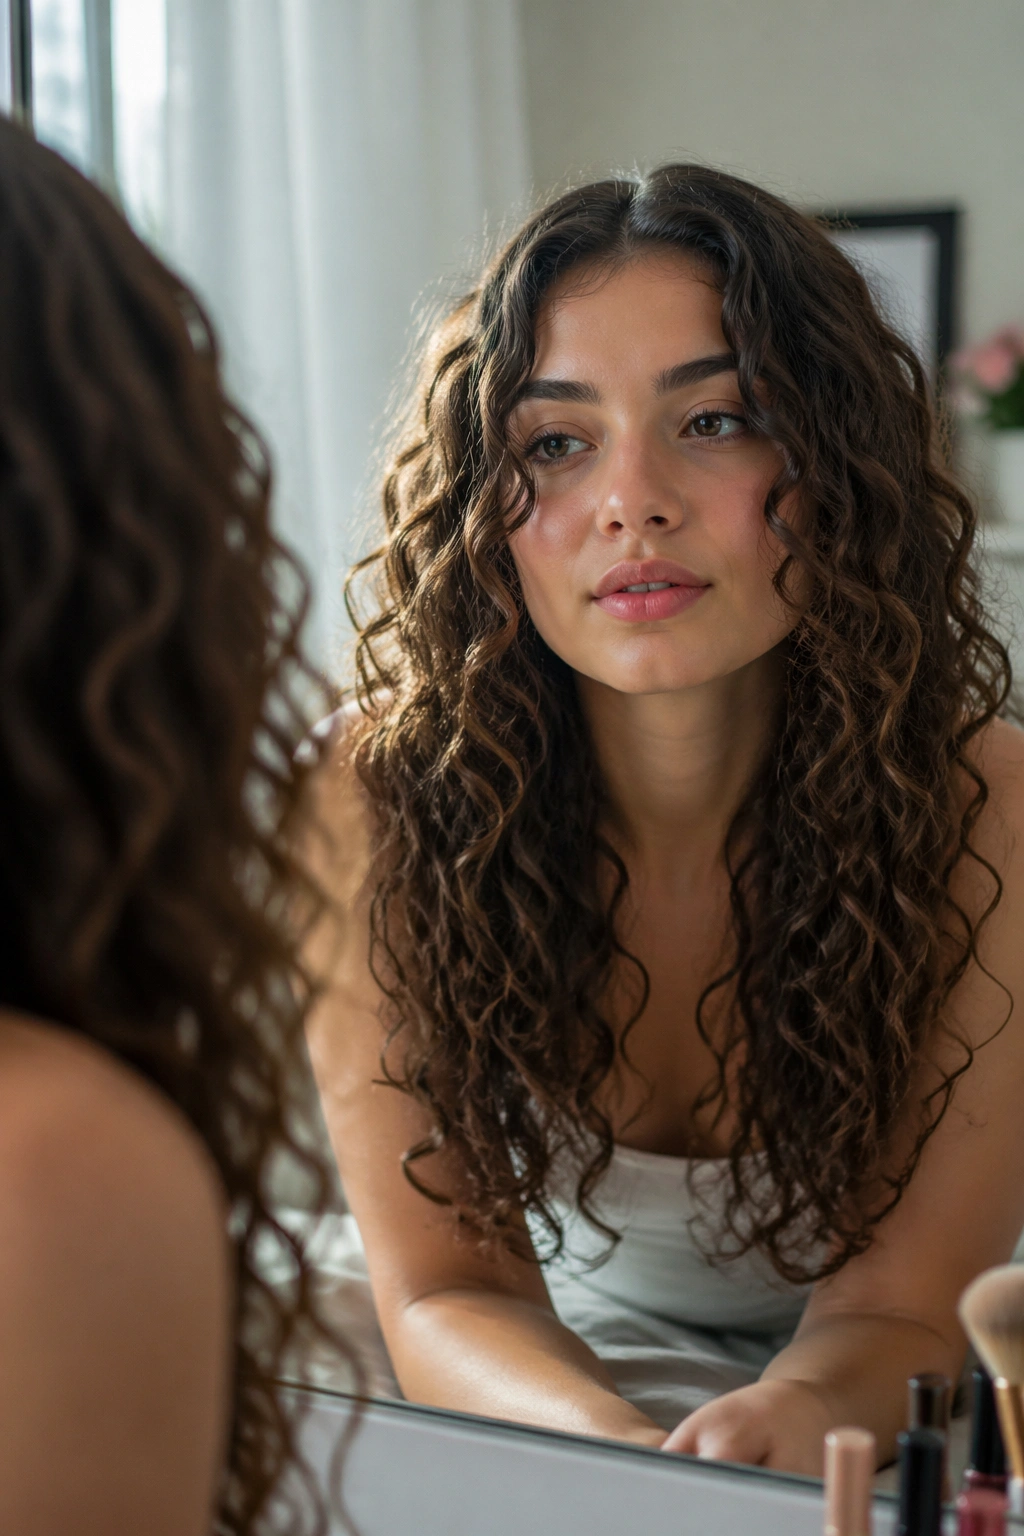
3. Defined Wash-and-Go With a Deep Part
Sometimes the smartest move is to let the curl pattern do the heavy lifting. A defined wash-and-go with a deep part looks clean, fresh, and expensive in the best sense of the word. It works especially well if your curls already have good shape and you do not want to build a style that will collapse before the last outfit change.
What makes it hold up on camera
Start with soaking-wet hair. That part matters. Apply leave-in first, then a curl cream, then a gel or foam with enough hold to set the shape. Use praying hands to smooth the product down the length, then scrunch from the ends upward. If your curls are looser, clip the roots at the crown while they dry to keep the top from falling flat.
A diffuser on low heat helps a lot, but do not hover in one spot for too long. Move around the head in short bursts until the hair is about 80 percent dry, then let the rest air-dry. Once it is fully dry, break the cast with a tiny bit of serum on your palms. Tiny. Too much and the shine turns greasy fast.
- Works best when curls already have definition
- Looks clean with simple collars and plain fabrics
- Gives the face a clear frame without extra pins
- Holds up well if you need multiple angles and close-ups
4. Low Curly Ponytail at the Nape
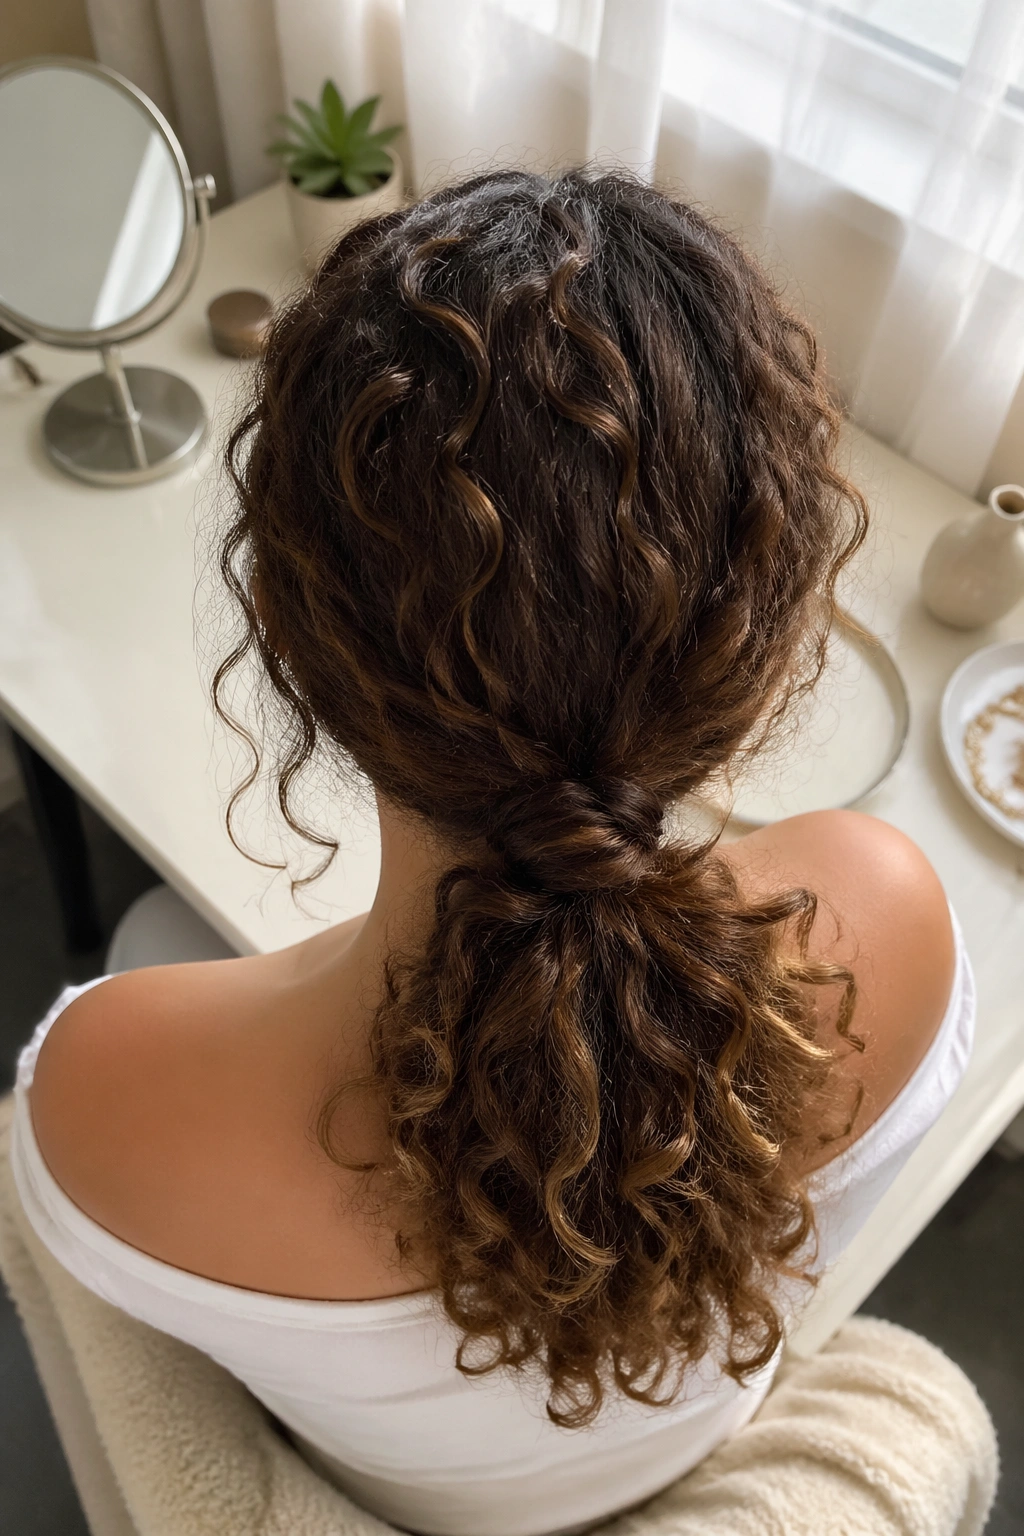
A low ponytail sounds almost too plain until you see it on curly hair. Then it makes sense. The curls keep the ponytail full, the nape placement feels polished, and the style stays calm even if the weather has other ideas. Wind does not mess with a low ponytail the way it messes with loose curls.
If the goal is a portrait that feels neat without looking severe, this is a safe bet. Gather the hair at the base of the neck, not the middle of the back of the head. That lower placement keeps the look elegant and keeps the curls from ballooning out in a way that swallows your shoulders. Wrap one small curl around the elastic to hide it, then pin that wrap underneath.
Keep it from looking flat
The top of the head needs a little lift before you tie it off. Use your fingers to gently nudge the roots upward after you smooth them back. Don’t brush the curls into submission. That always backfires. A soft edge around the hairline looks better than a scraped-back finish that makes the face look harder than it is.
This style is especially good with boat necks, halter tops, and outfits with detail at the shoulders.
5. High Puff With Sleek Edges
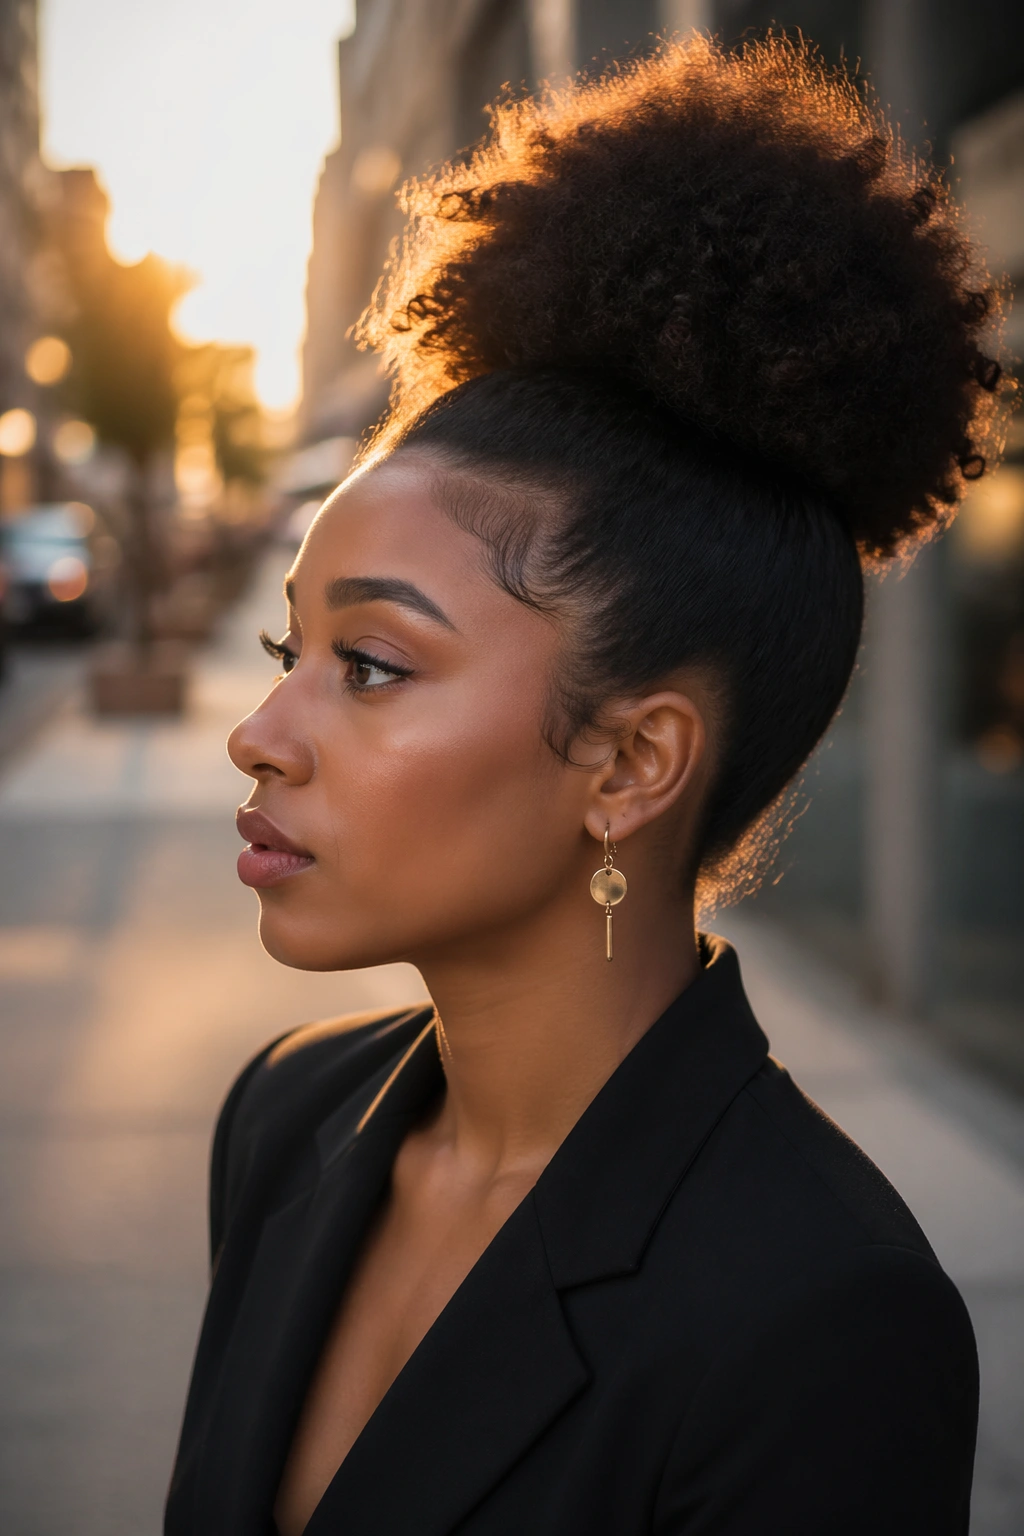
A high puff is not a backup plan. It’s a bold choice, and on curly hair it can look clean, sharp, and full of personality. The height helps lengthen the face, which is useful in photos because cameras tend to flatten features a little. The puff also keeps the curl texture right where people can see it.
The secret is balance. You want the puff high enough to create lift, but not so high that it starts feeling cartoonish. Gather the hair at the crown or just above it with a wide satin scrunchie. If your hair is dense, stretch it with your hands as you gather it so the puff sits rounded instead of tight. A little edge control along the hairline can polish the look, but don’t slick every baby hair down. That can make the whole style look hard.
Why this works for senior portraits
It keeps the face open. That’s the big one. Earrings, neckline, makeup, and your expression all get room to show, which matters more than people think in a head-and-shoulders shot. The puff also holds up well through wardrobe changes because it does not depend on perfect curl fall.
If your curls are shorter, a puff gives them presence. If they’re longer, it gives them lift. Either way, it feels confident without trying too hard.
6. Braided Front Section Into Free Curls
A small braid in the front can fix a lot of things at once. It keeps the hair off the forehead, adds detail near the face, and gives curly senior photos a little texture variation so the style does not read as one big blur. One braid is often enough. Two tiny braids can work, too, but don’t go overboard unless that’s the look you want.
I like this style for people who want to keep their curls down but need some control around the temples. Braid a section from the hairline back toward the ear, stop before it gets too thick, and pin the end underneath the hair. That leaves the curl pattern free through the rest of the head while giving the front a neat line.
Where it helps most
This works especially well with side-swept dresses, denim jackets, or anything with a little texture at the neckline. The braid keeps the front from competing with those details. If your hair is layered, the braid also stops the shorter pieces from springing into your face between shots.
A small pearl pin or matte gold clip can dress it up fast. Skip the shiny plastic clips. They tend to look cheap in flash.
7. Deep Side Sweep With One Statement Curl
A deep side sweep has a little drama, and that’s a good thing in senior portraits. It creates an obvious line across the face and gives the curls a chance to fall in a controlled way instead of spreading evenly on both sides. That asymmetry can make the whole photo feel more styled with almost no extra effort.
The important part is control at the roots. Sweep the heavier side across the forehead and secure it just behind the ear with two crossed bobby pins. Not one. Two. Then let the rest of the curls fall over one shoulder or down the back. If one front curl wants to stay out, let it. A single shaped curl near the cheek can look better than a perfectly tucked face.
Watch this part: don’t flatten the crown too much when you move the hair over. Keep a little lift at the top so the style has body in profile.
This is a good look for long curls, especially when the dress has one shoulder or a strap detail you want to show off. It feels classic, but not stiff. That difference matters.
8. Curly Bob With a Tucked Side
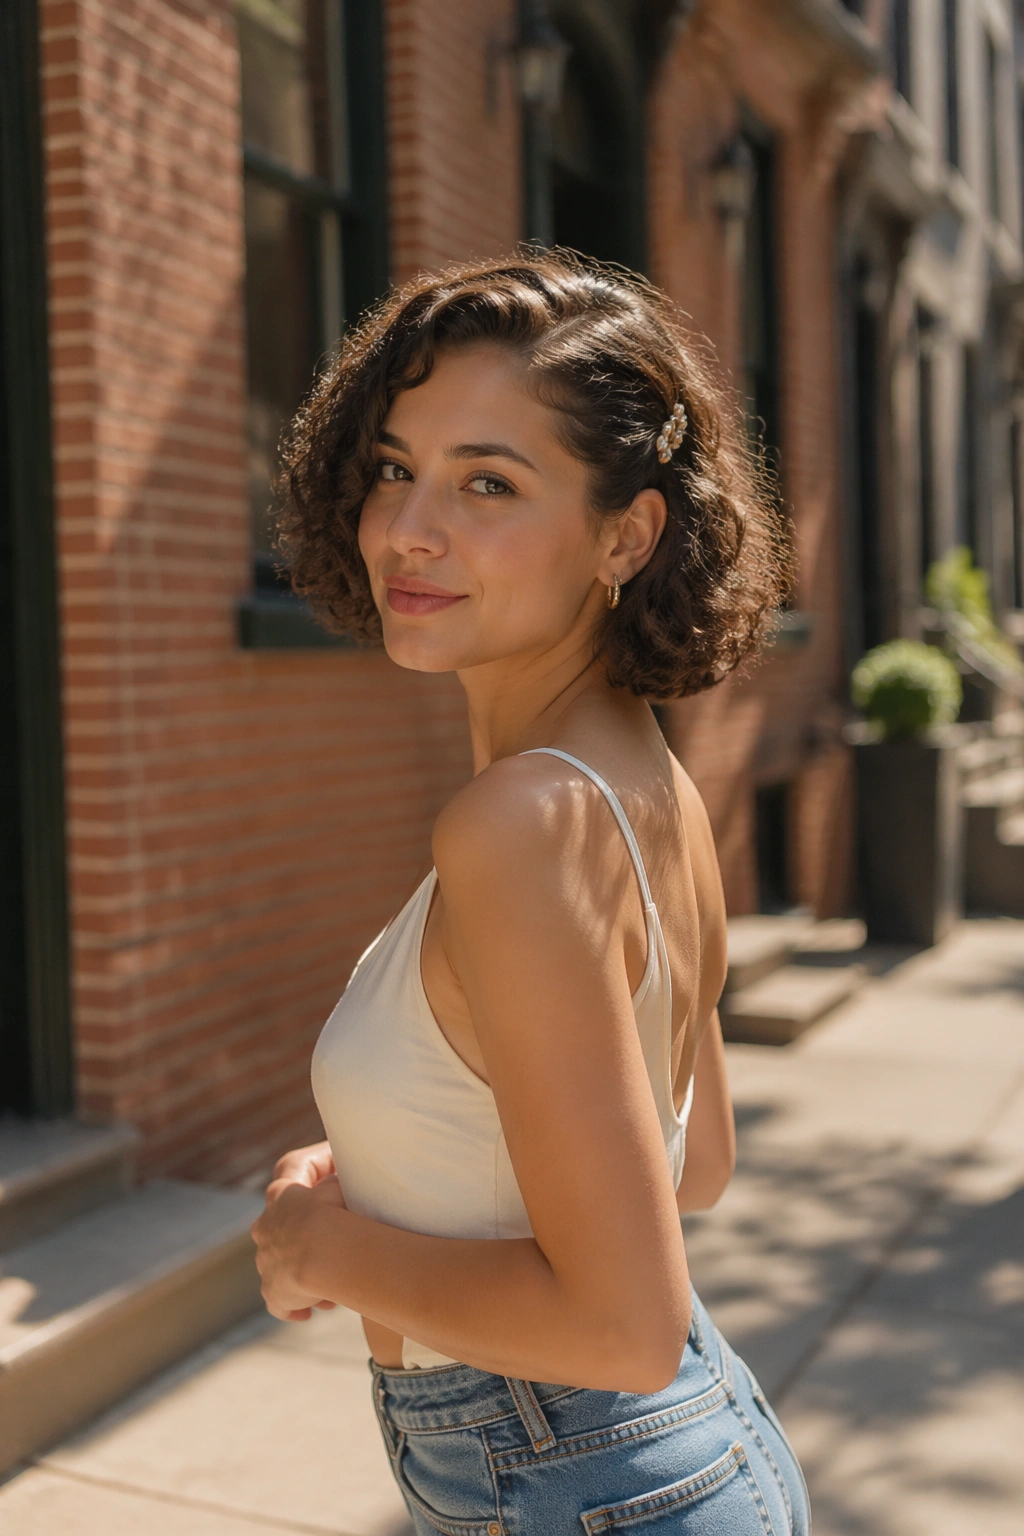
A curly bob can be a little mischievous in photos. It has energy, movement, and enough bounce to frame the face well, but it can also puff out in places you did not ask for. A tucked side gives it direction. It tells the eye where to go.
The shape to aim for
Ask for the bob to sit at or just below the jaw if you are planning portraits. That length keeps the curls from looking too short once they spring up. Then tuck one side behind the ear and leave the other side loose. The tuck should look casual, not pressed flat. A decorative pin or small clip can help anchor it without changing the shape too much.
What to watch for
- Keep the part clean and visible
- Use a curl cream with enough slip so the ends do not frizz out
- Add one light mist of flexible hairspray only after the curls are dry
- Lift the roots at the crown with your fingertips, not a brush
This style is especially good if you want your face to stay front and center. It has edge, but it does not bully the rest of your outfit.
9. Low Bun With Curls Left Out

Not everyone wants hair hanging around the shoulders for senior pictures. Fair. A low bun gives a more polished line, but on curly hair it works best when a few curls are left out on purpose. Those curls keep the bun from feeling too severe and stop the whole look from going rigid.
Gather the curls at the nape, twist them into a soft bun, and pin in a loose circle rather than squeezing everything into one tiny knot. Leave a few tendrils around the temples and, if the curls are long enough, one or two near the back of the neck. Those little pieces matter. They keep the style from looking like it was done for a formal meeting instead of a photo session.
Good when you want a clean neckline
This is a strong choice for high-neck dresses, beaded tops, or any outfit with a lot going on at the shoulders. A bun clears the space so the clothes can breathe. It also holds earrings nicely, which sounds minor until you try on a pair that disappear under loose hair.
If your hair is thick, pin the bun in stages. One big twist usually falls apart. Three or four smaller pins hold better and let the bun stay soft instead of looking like a helmet.
10. Twist-Out With Soft Volume
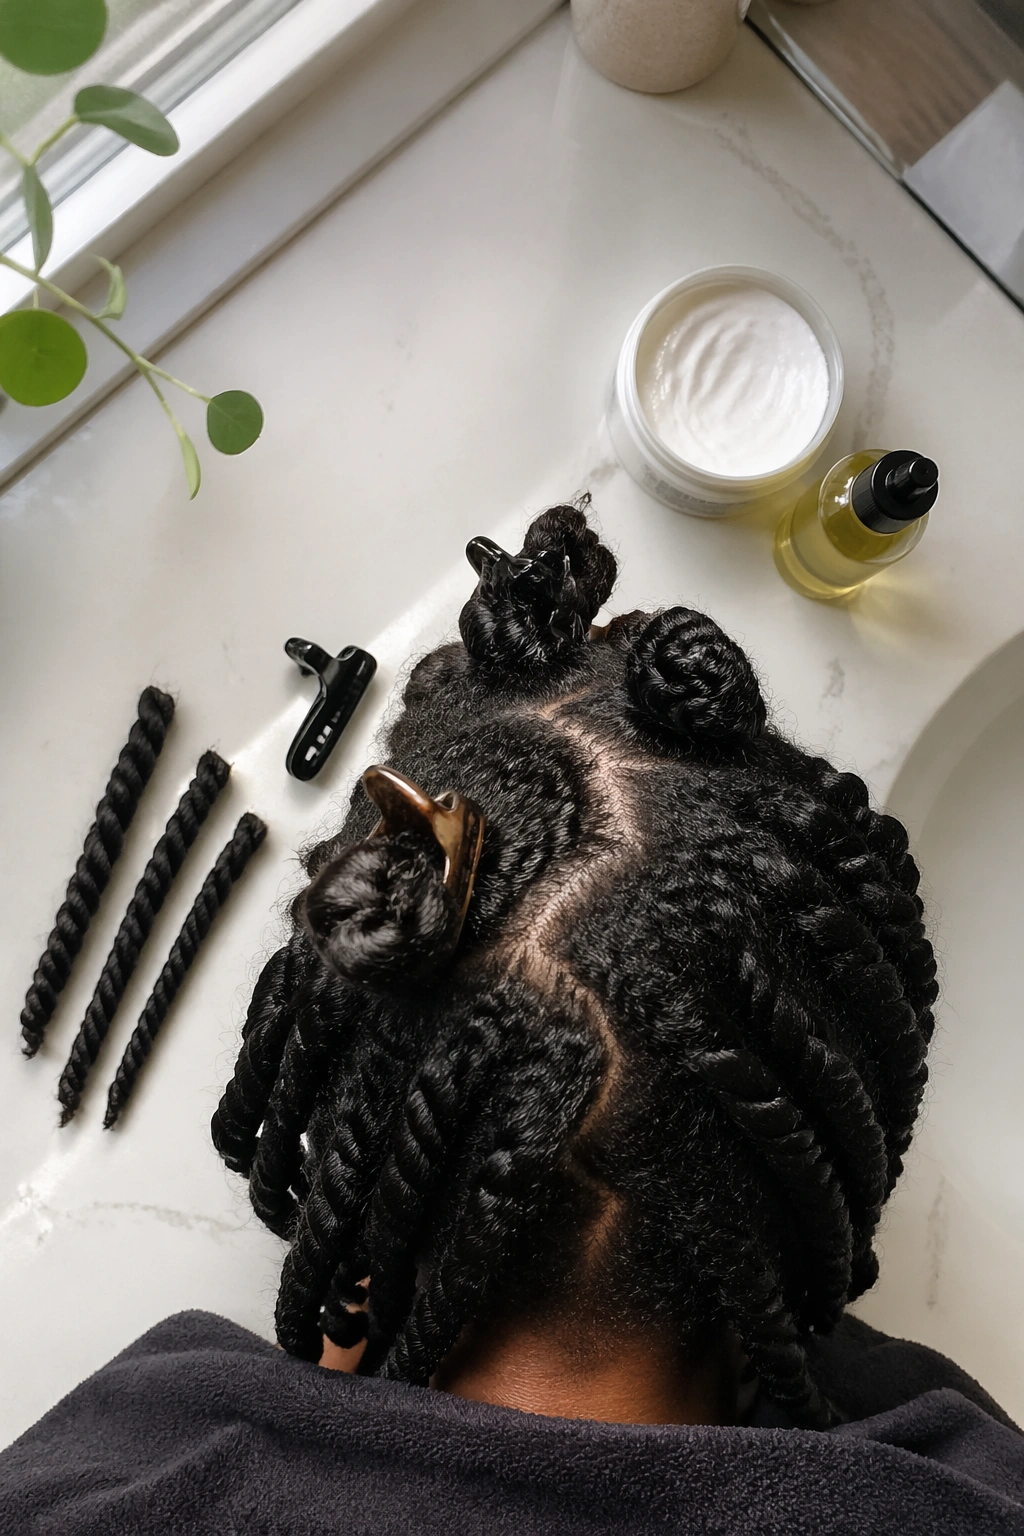
Why do twist-outs photograph so well? Because they give shape without sacrificing texture. The curls read as defined, but the overall effect still feels full and natural. In senior portraits, that balance is gold. Too defined and the hair can look tiny. Too fluffy and it can blur. A twist-out sits right in the middle when it’s done well.
The prep is simple, but it takes patience. Create two-strand twists on damp hair using medium sections, about 1 inch wide if you want smaller definition or a little larger if you want a softer wave. Make sure every twist dries completely before you take it down. That part matters more than the product, honestly. If the inside is still damp, the whole shape falls apart once you separate it.
How to get the most from it
Use a light oil on your fingertips when unraveling. Start at the ends and work upward so you don’t drag the curl pattern apart. Once all the twists are out, separate only what naturally splits. If you force too much separation, you get frizz fast.
This style looks especially good with simple tops, because the hair itself already gives you plenty to look at. It has texture, movement, and enough volume to carry a portrait without extra accessories.
11. Faux Hawk With Curly Length
Unlike a tight updo, a faux hawk keeps the curls visible. That’s the whole appeal. It pulls the sides back while leaving a strong center ridge of texture, which creates shape and a little edge without shaving anything or committing to a full pinned style. In senior photos, that can be a nice way to show personality without losing elegance.
The style is built in sections. Pin the sides back in small, flat layers, moving from the temples toward the nape, then leave the middle section loose and lifted. The center should look full and slightly higher than the sides. If your hair is dense, this style works especially well because it uses that density instead of fighting it.
A few things that help
- Use 6 to 8 bobby pins per side if the hair is thick
- Spray the pins lightly before inserting them for extra grip
- Keep the top curls loose so they do not collapse into a narrow strip
- Leave one or two curls near the front for softness
This is a strong choice if your outfit is simple and you want the hair to carry more of the look. It feels cool without needing much else.
12. Clipped-Back Temple Curls
Sometimes the smallest change gives the cleanest result. Clipped-back temple curls keep the front open, show your face, and still let the rest of the hair stay down and curly. That makes the style useful for anyone who wants a low-effort look that still photographs with intention.
Choose two clips that are about 1.5 to 2 inches long. Matte metal, pearl, or tortoiseshell all work well because they read cleanly in photos. Place one clip above each temple and pull back only the front inch or so of hair. The goal is not a full sweep. It’s a soft lift that keeps stray curls out of the eyes and gives the face a little frame.
This style is great with glasses, bold earrings, or makeup that you actually want people to notice. It also works when the rest of the outfit is already doing a lot. A beaded top and a full head of curls can fight each other. Two clipped-back sections calm that down fast.
Tiny detail, big payoff: match the clip size to the curl density. Huge clips on fine curls can feel clunky. Tiny clips can disappear into thick hair.
13. Long Layered Curls With a Middle Part
Long curls with a middle part can look almost startlingly balanced when the cut is good. The face sits right between the two sides, and the layers fall in a way that shows the curl pattern all the way down. If your hair has length and shape already, this may be the most natural-looking option of the bunch.
A middle part only works if the hair around the face is cut to move. If the front is too blunt, the style can fall straight and heavy. Layers around the cheekbones and collarbone help the curls swing rather than sit in one thick curtain. That movement matters in portraits because it keeps the style from feeling static.
When this one wins
It’s strong for soft, simple outfits and plain backdrops. The hair does not need extra help. It already brings texture and symmetry. A light shine cream at the ends, a quick finger fluff at the roots, and that’s often enough.
If your curls tend to separate in weird places, use a few hair clips while the hair dries to encourage the part to stay straight. Not a lot. Two or three usually do the job. Once the hair is dry, remove them and let the curls fall back into place on their own.
14. Curly Space Buns With Loose Tendrils
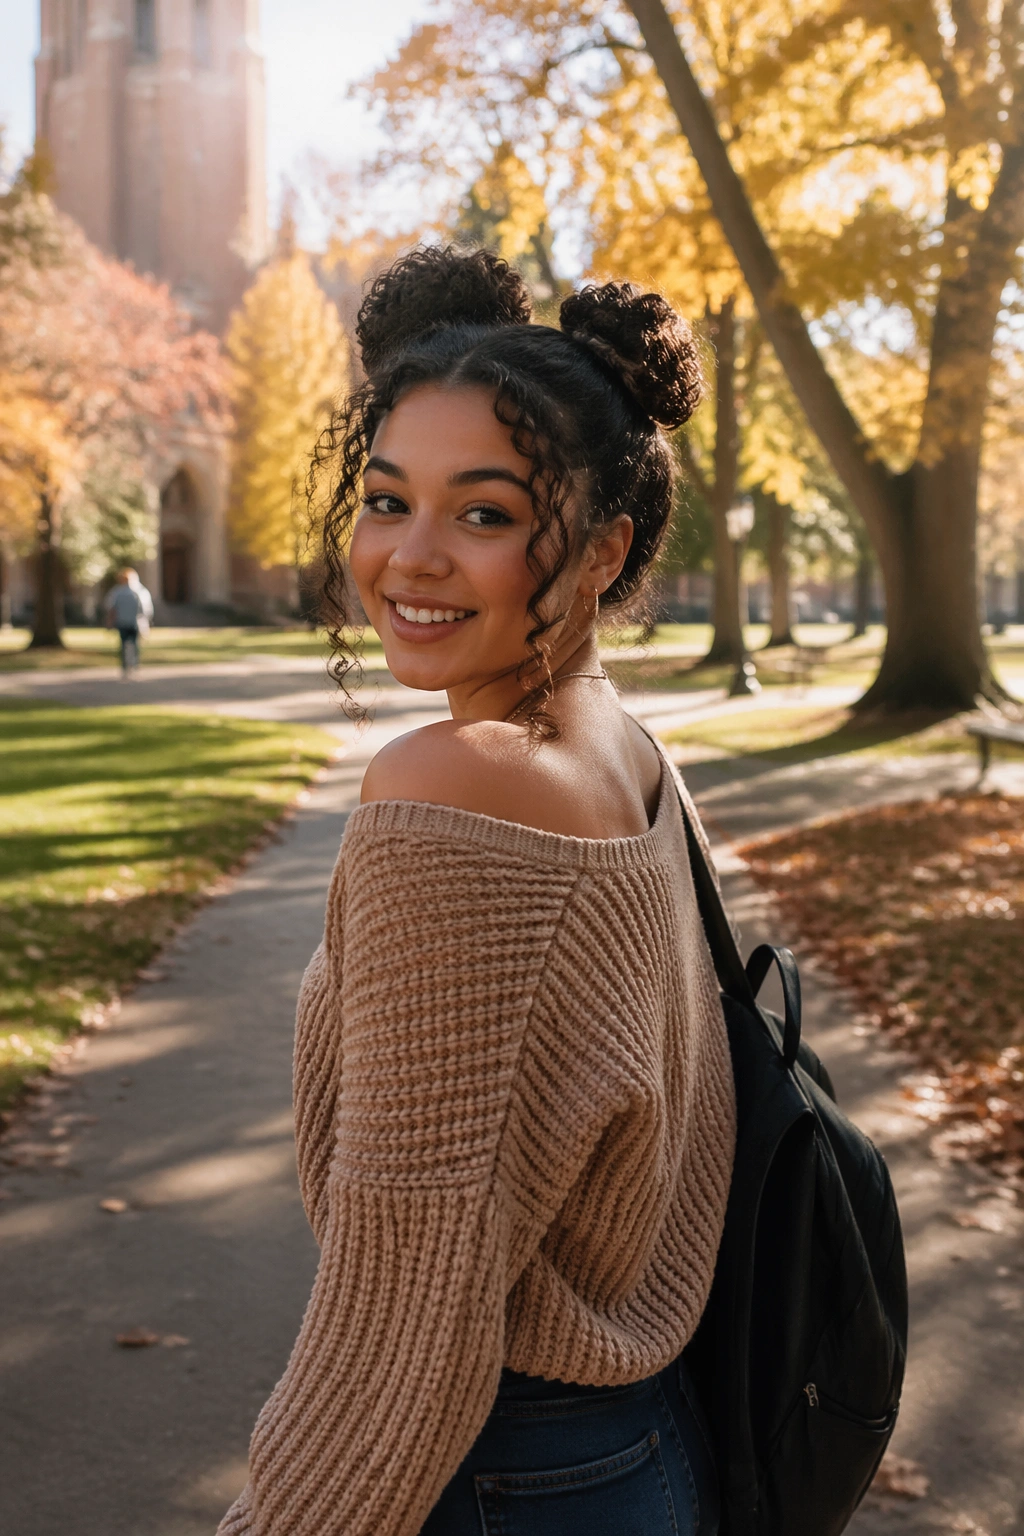
Curly space buns can sound playful, and they are, but they do not have to look childish. Keep the buns a little lower than the top of the head, leave the curls loose around the face, and the whole style turns into something fun, confident, and photo-friendly. It works best when you want your personality to show before the outfit even gets a chance.
Split the hair down the middle, gather each side into a bun above the ear line, and pin the ends so the buns stay rounded. Don’t make them too tight. A little texture makes them feel softer. Then pull out two or three tendrils around the face and let them coil naturally. That keeps the style from looking too engineered.
This is a smart choice for simple necklines, sleeveless tops, or outdoor sessions with a lot of movement. It photographs well when you’re turning your head or laughing, because the buns keep their shape and the loose pieces add motion. If your curls are longer, you can even leave the ends of the buns a little undone so they read less like knots and more like texture.
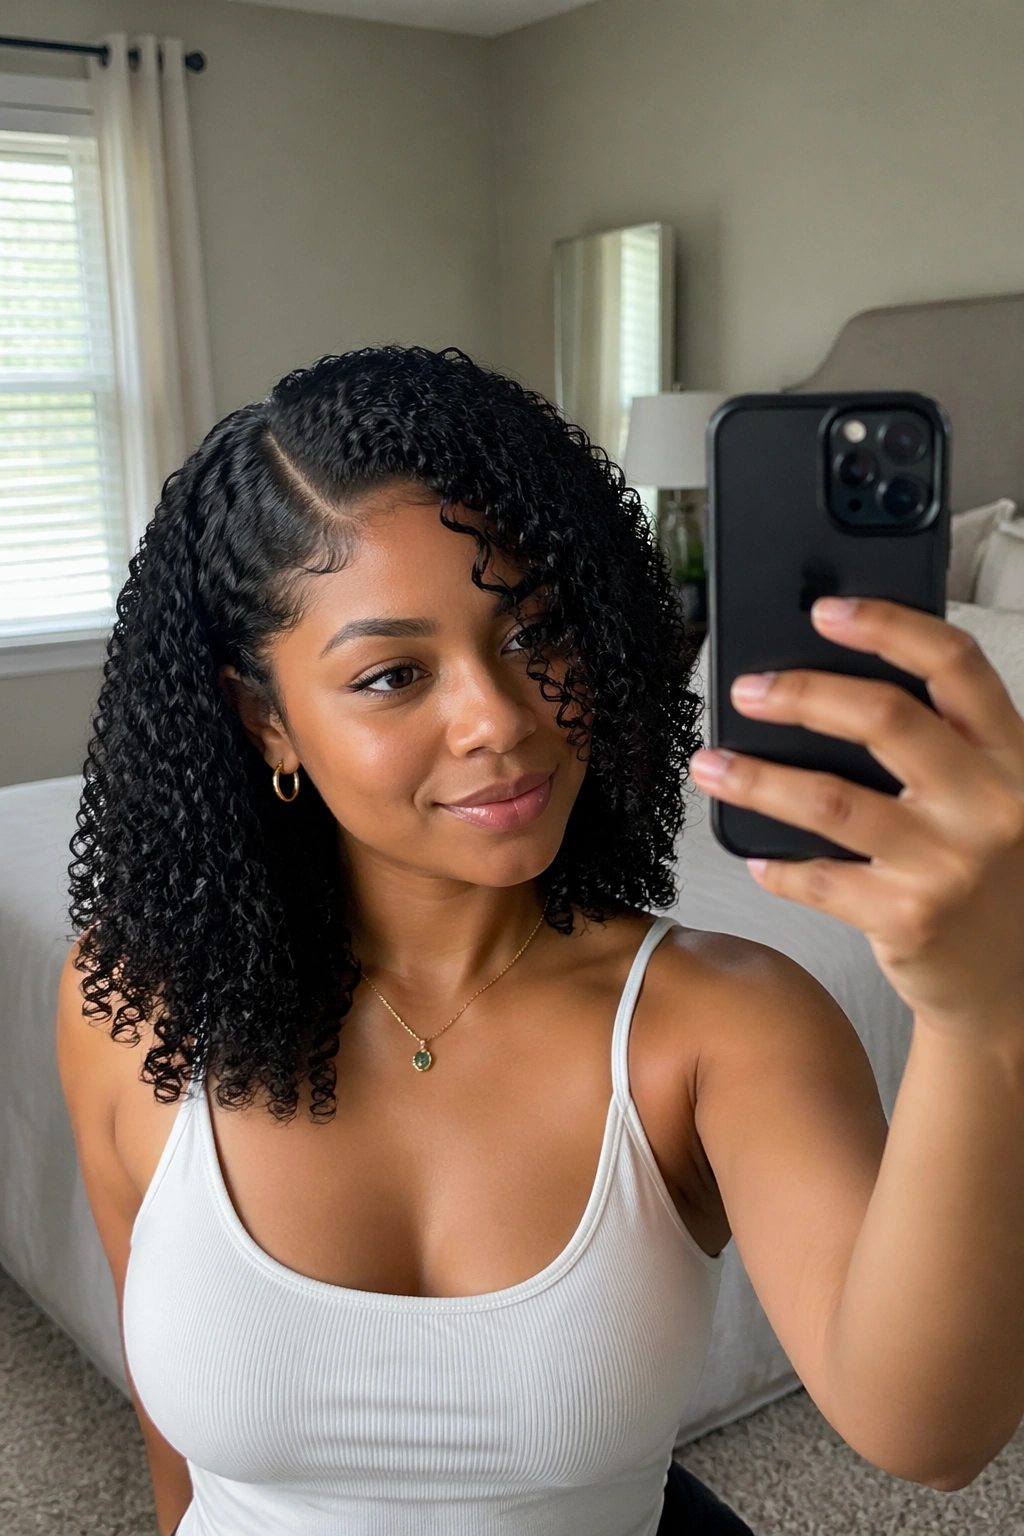
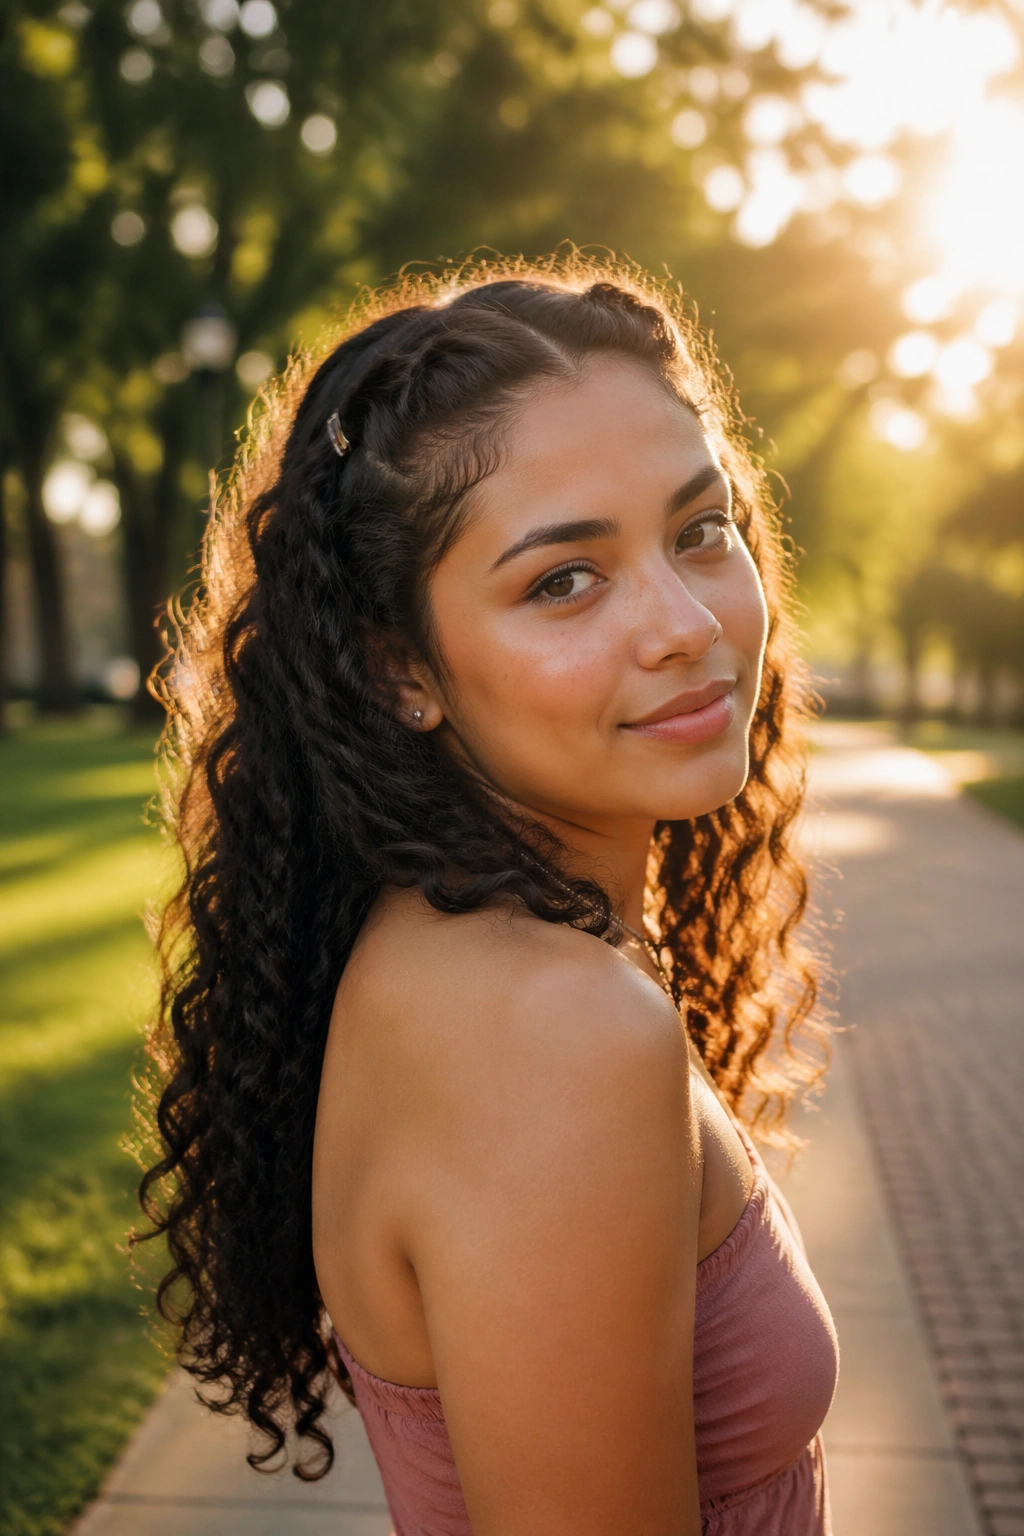
15. Natural Halo Curls With a Fresh Part
Sometimes the best senior picture hairstyle for curly hair is the one that looks most like you on a good day. A fresh part, healthy curls, and a little shine can beat a fancier style if the curls are shaped well. The camera likes clean lines, yes, but it also likes confidence, and natural halo curls have a way of looking honest in the best sense.
The part should be crisp. That part matters more than people expect. Use a tail comb, create the line while the hair is damp, and let the curls settle evenly around the head. A light leave-in, a curl cream, and a touch of gel near the outer layer are enough for most curl patterns. Keep the roots touched, not soaked, so the shape stays soft and buoyant.
Finish by smoothing any fuzzy spots with a tiny bit of serum on your fingertips. Not your whole palm. Just the fingertips. Then step back and check the silhouette from the side and front, because that outline is what the photo really catches.
This look works when you want the face, makeup, and outfit to stay in focus while the hair supports the whole frame. Clean, curly, and unmistakably yours. That usually photographs better than trying to make the curls into something they are not.