



There’s something effortlessly cool about a bun that doesn’t try too hard — the kind where curls spill out, frame your face, and remind everyone that your texture is the whole point. Buns with curls hanging down strike that rare balance between polished and free-spirited, and for Black women with natural or curly hair, they’re one of the most versatile protective styles you can reach for. Whether you’re getting ready for a backyard cookout, a boardroom meeting, or a first date, there’s a version of this look that fits.
Why Buns With Curls Work So Well for Natural Hair
Natural hair has volume, personality, and spring — and a plain, smooth bun can sometimes flatten all of that. When you leave curls hanging down, you’re working with your hair’s natural tendencies instead of fighting them. The loose pieces add movement. They soften a high bun that might otherwise feel severe. They frame your cheekbones without you needing to do anything extra.
The hanging curl element also gives you flexibility you don’t get with a fully tucked style. You can play with placement — curls at the temples, at the nape, on one side only — and change the whole vibe of the look. It’s the difference between a style that says “I tried really hard” and one that says “I woke up like this.” Both are great. But the second one is harder to pull off, and loose curls hanging from a bun are one of the shortcuts.
For naturalistas specifically, this style respects your curl pattern rather than erasing it. Type 3 and type 4 curl patterns have a natural tendency to spring, coil, and reach — and a few loose face-framing pieces honor that instinct while the bun itself keeps things tidy.
Understanding Your Curl Type Before You Style
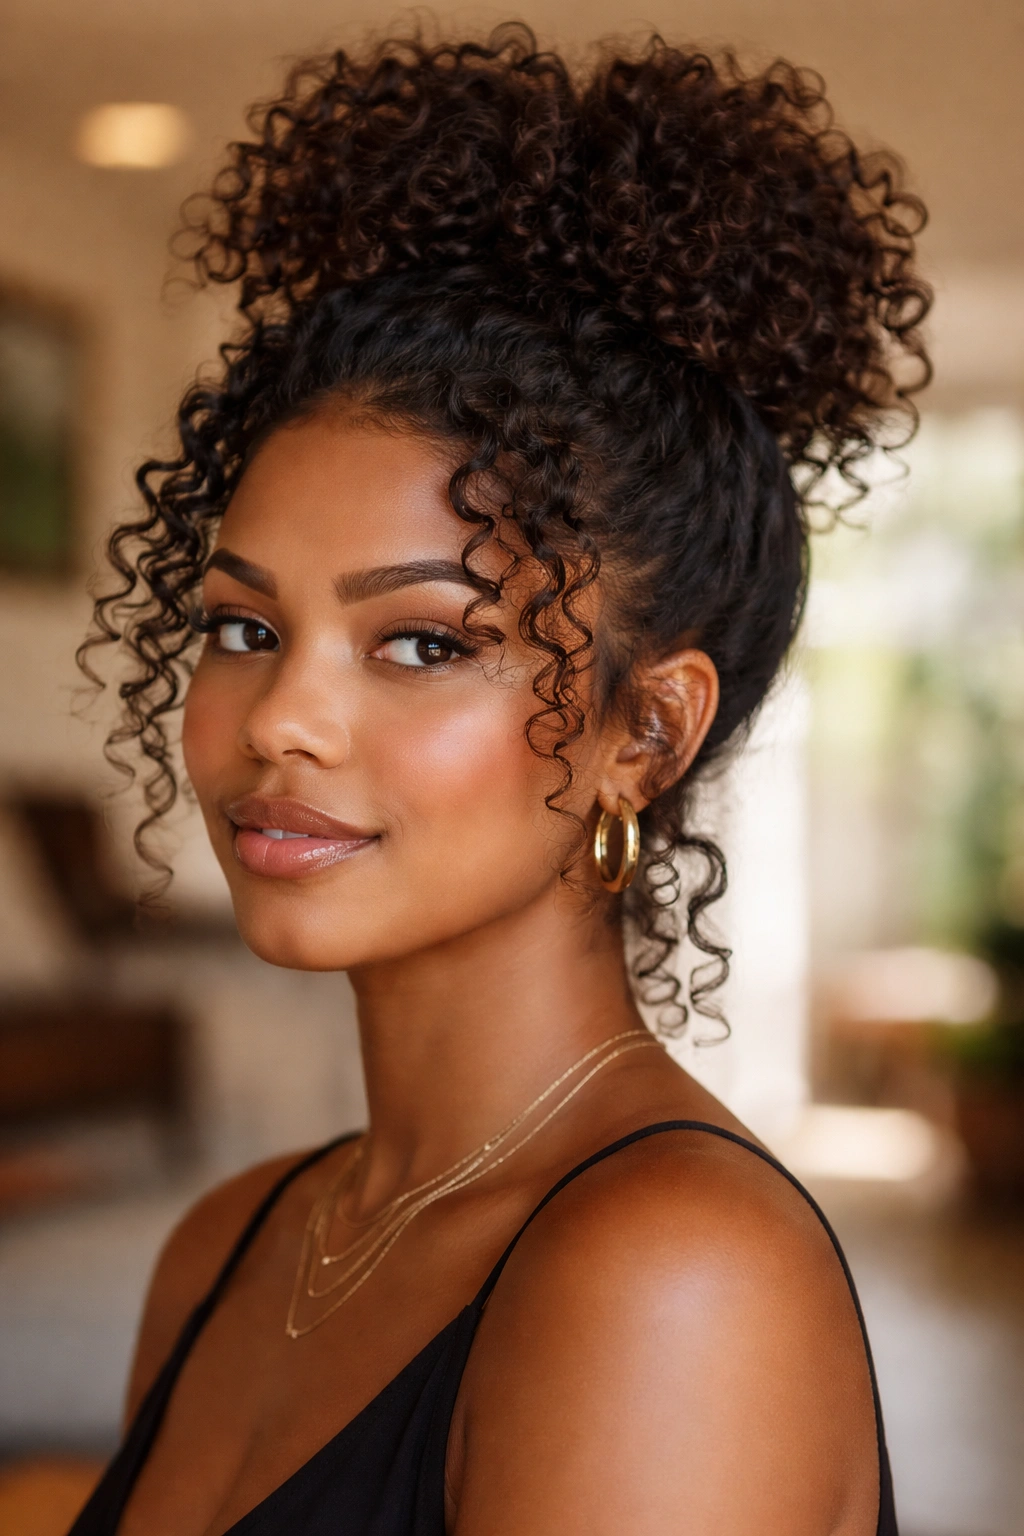
Not all buns with hanging curls look the same, and a big reason for that is curl texture. Type 3A and 3B curls — the looser, springier coils — tend to fall into soft ringlets when left out of the bun, which creates a romantic, almost vintage look. Type 3C and 4A curls hold their shape well and spring upward or outward rather than drooping, giving you a bouncier, more defined frame. Type 4B and 4C hair can coil tightly and, depending on moisture levels, will either shrink up or stretch into a beautiful elongated frame.
Knowing your curl type helps you set realistic expectations. If you have tight 4C coils and want the loose, cascading ringlet look, you’ll need a stretching or elongating technique — twist-outs, braid-outs, or flexi-rods work well. If you have 3B hair and want a tighter, more defined frame, you’ll define the hanging pieces with a curl cream and a diffuser before you put the rest of your hair up.
The point isn’t to fight your texture. It’s to understand what your hair will naturally do and style accordingly.
Prep Work That Makes or Breaks This Look
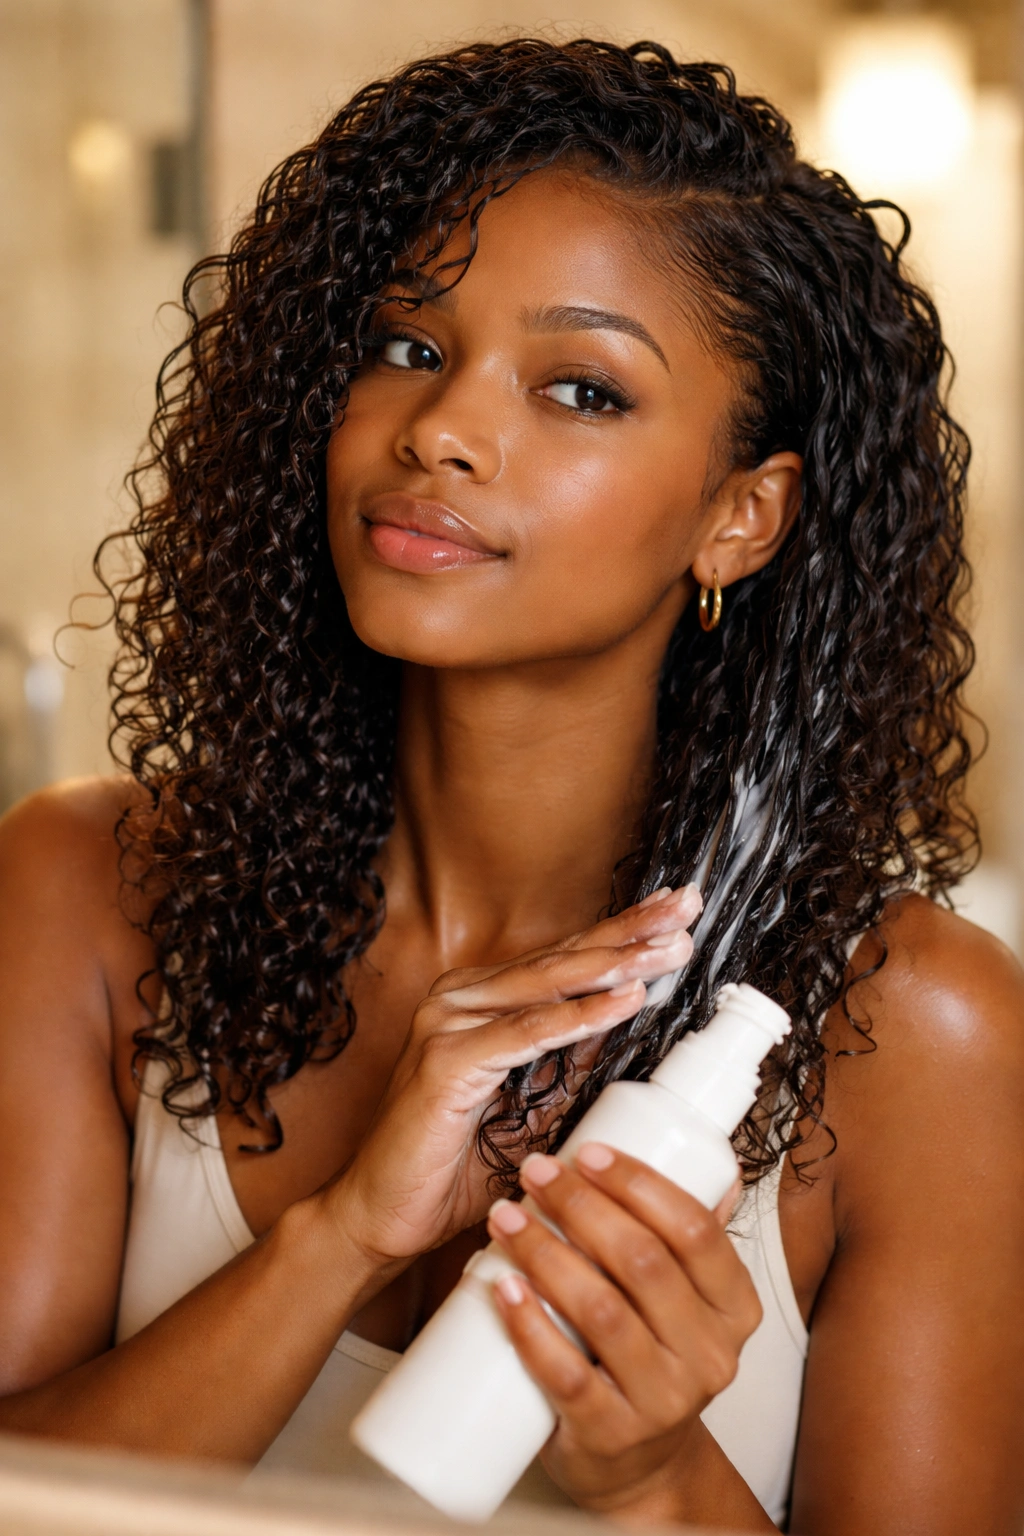
The bun is only as good as the hair going into it. Moisture is everything. Dry, brittle, or dull hair won’t hang beautifully from a bun — it’ll frizz, break, and lose definition within an hour. Before you attempt any version of this style, your hair needs to be properly moisturized and sealed.
A wash-and-go base works well if your curls are already well-defined. Apply a leave-in conditioner while your hair is soaking wet, then layer a curl cream and a light gel for hold. Let it dry completely — or diffuse — before pulling the bun up. This way, the hanging pieces are already set and defined before they even need to frame anything.
If you’re working with second-day or third-day hair, a quick refresh is essential. Lightly spritz sections with water or a diluted leave-in spray, finger-detangle, and smooth with a small amount of curl cream. This reactivates the curl pattern without requiring a full wash and rewash.
Must-Have Products for This Look
- Leave-in conditioner: Sets the moisture foundation
- Curl cream or butter: Defines and smooths the hanging pieces
- Light-hold gel: Keeps the bun edges and curls intact without crunchiness
- Edge control: For baby hairs and any sleek sections you want near the bun base
- Satin scrunchie or silk hair tie: Protects curls from breakage at the bun base
Tools You’ll Actually Use
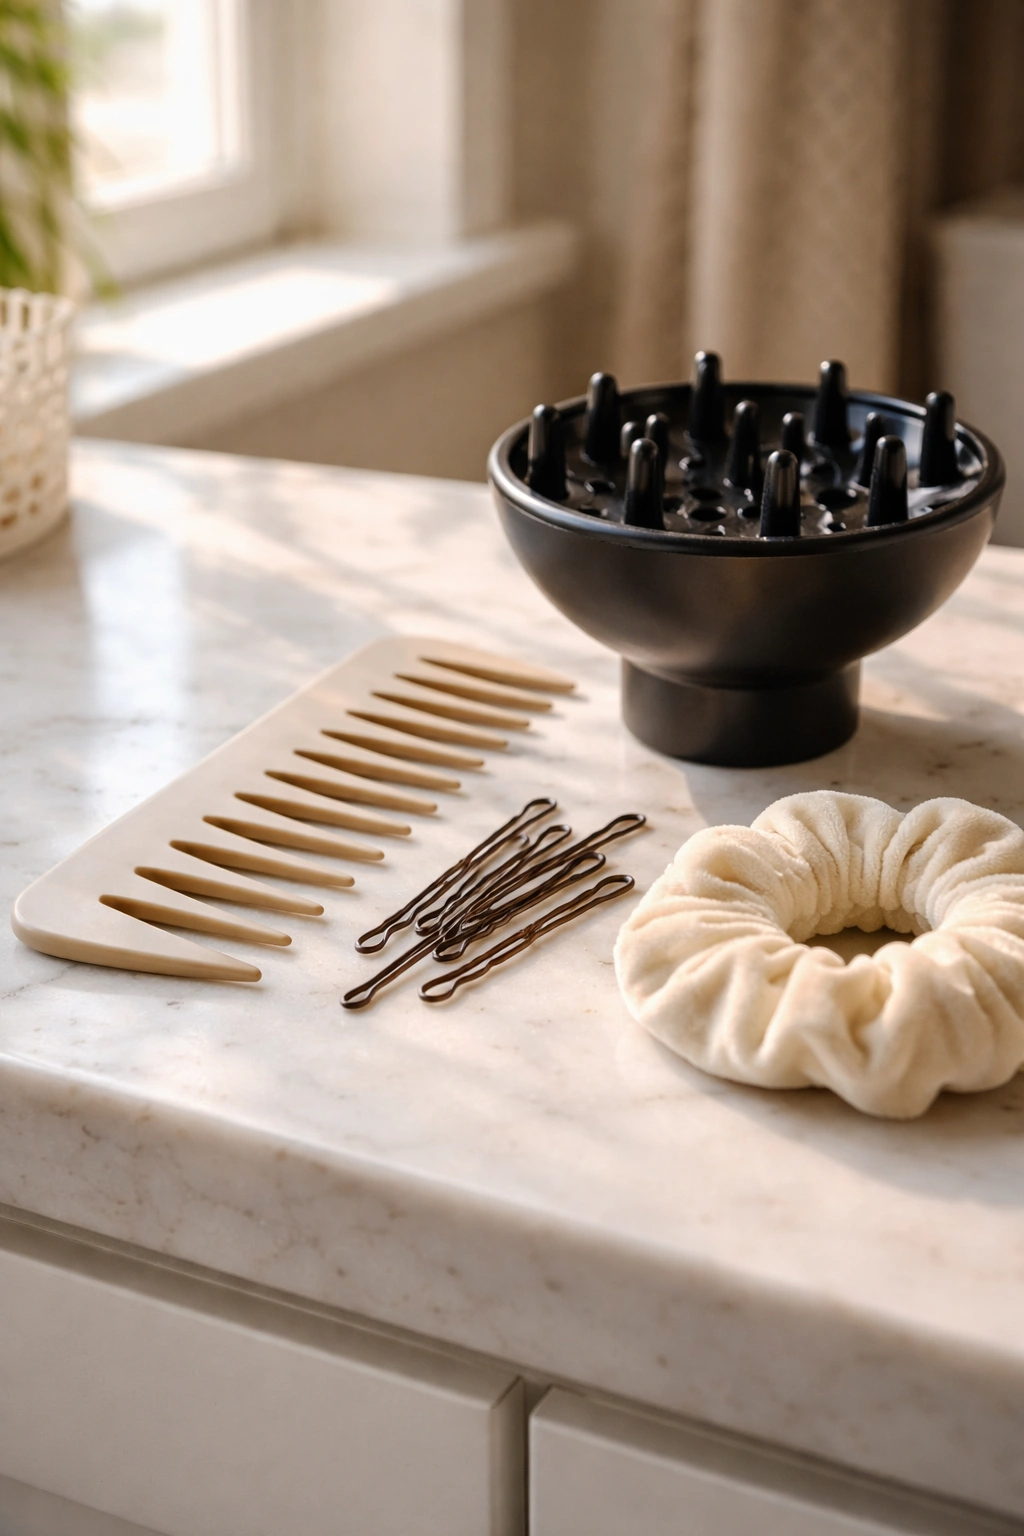
A good bun with hanging curls doesn’t require a huge arsenal — but a few key tools make a real difference. A wide-tooth comb or your fingers are the best detangling tools. Never drag a fine-tooth comb through defined curls — you’ll separate them, create frizz, and lose definition instantly.
Bobby pins are your best friend for securing the hanging curl pieces in place if they’re not cooperating. A few strategically placed pins at the temple or nape can keep the curls framing your face instead of flopping in random directions.
A diffuser attachment for your blow dryer is worth having if you’re setting the hanging pieces with heat. The diffuser distributes heat evenly, enhances curl definition, and reduces frizz dramatically compared to pointing a dryer directly at your curls.
For the bun itself, a soft elastic or scrunchie protects your hair better than a tight rubber band, which can snap and cause breakage at the bun’s base — especially for finer natural hair textures.
Technique: How to Actually Get Curls Hanging From a Bun
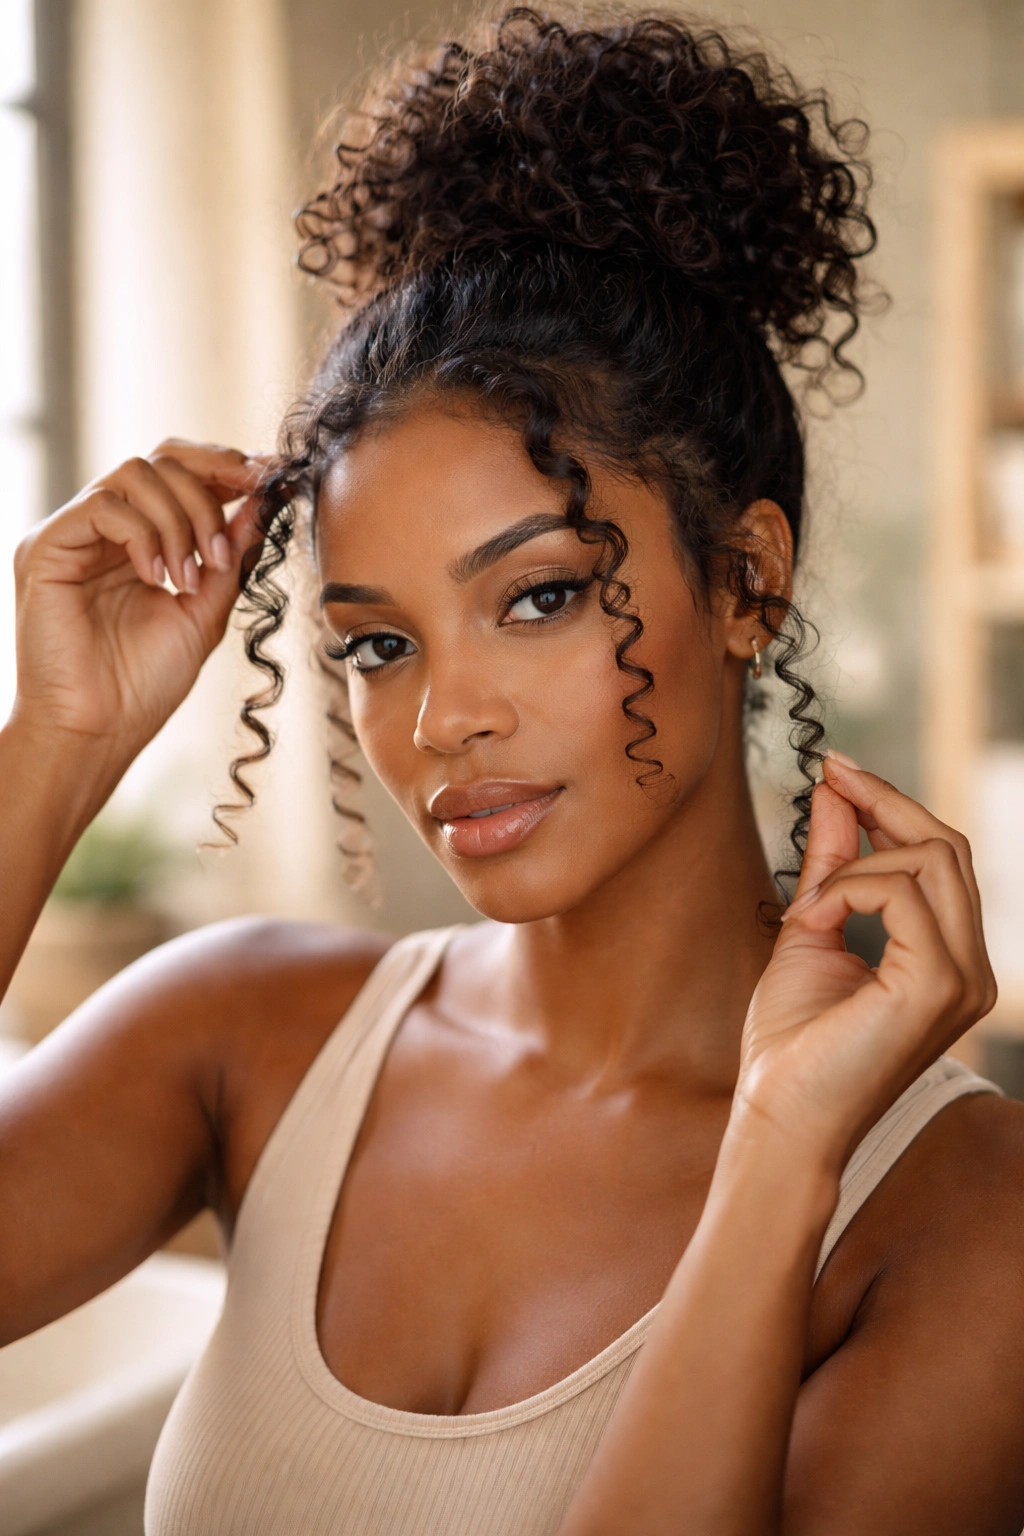
The technique matters as much as the products. Pull your hair up into a bun with your hands — not a brush — to preserve curl definition and reduce frizz. Before you secure the bun, pull a few face-framing pieces loose. These are usually the curls at the temples and the nape of the neck, but you can customize this based on your face shape and the look you’re going for.
Once the bun is secured, gently separate and shape the hanging pieces with your fingers. Apply a small amount of curl cream if they look dry or frizzy. Let them hang naturally — don’t tug or pull them into a shape that fights your curl pattern.
The bun itself can be sleek or fluffy, high or low, tight or messy. Each variation changes the energy of the look completely.
1. High Puff Bun With Temple Curls
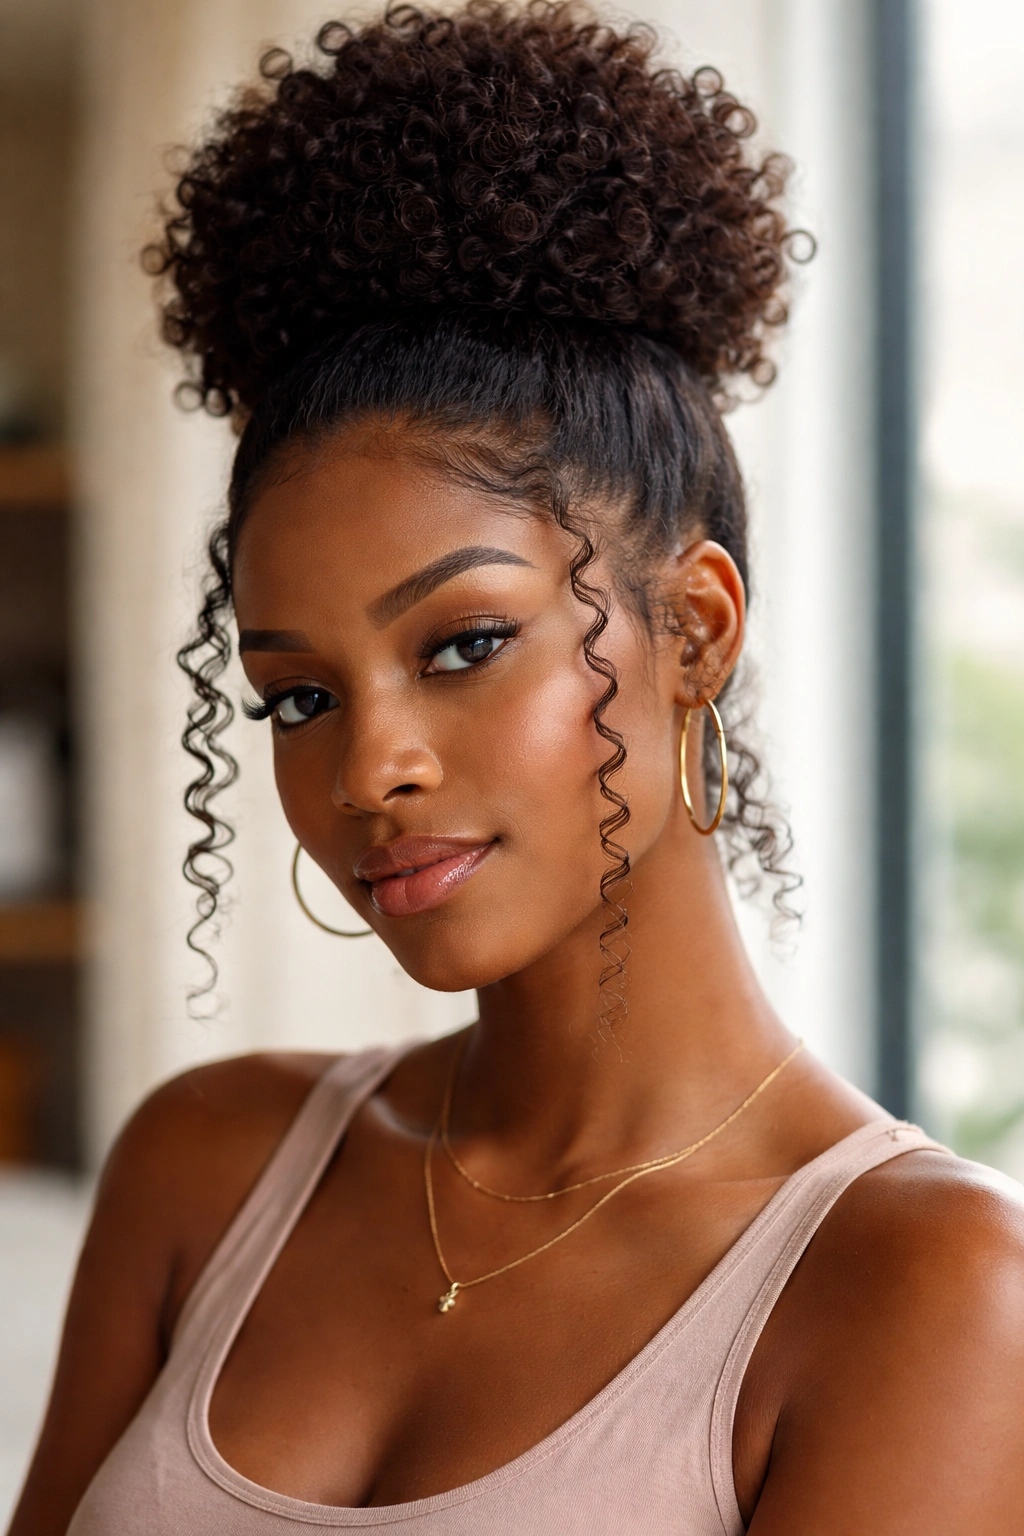
The high puff bun is a natural hair classic, and adding defined curls at the temples takes it from everyday to intentional. Pull all your hair up to the crown, secure with a soft elastic, and fan the bun out into a puff shape. Then release the curl pieces at each temple — these naturally fall forward along the cheekbones, framing the face softly.
How to Get It
- Apply curl cream to the temple pieces before pulling the rest of the hair up
- Let the temple sections dry or diffuse completely so they’re defined
- Pull up the rest of the hair, leaving those sections free
- Use edge control to lay your baby hairs flat if you want a cleaner contrast
Pro tip: If your puff feels too puffy and the temple curls get swallowed, use a satin headband to press the sides down slightly without flattening the crown.
This look works especially well for oval and heart-shaped faces because the temple curls soften the width at the top. It’s also one of the easier versions to recreate — and the puff itself is protective, keeping your ends tucked in.
2. Low Bun With Side Curls
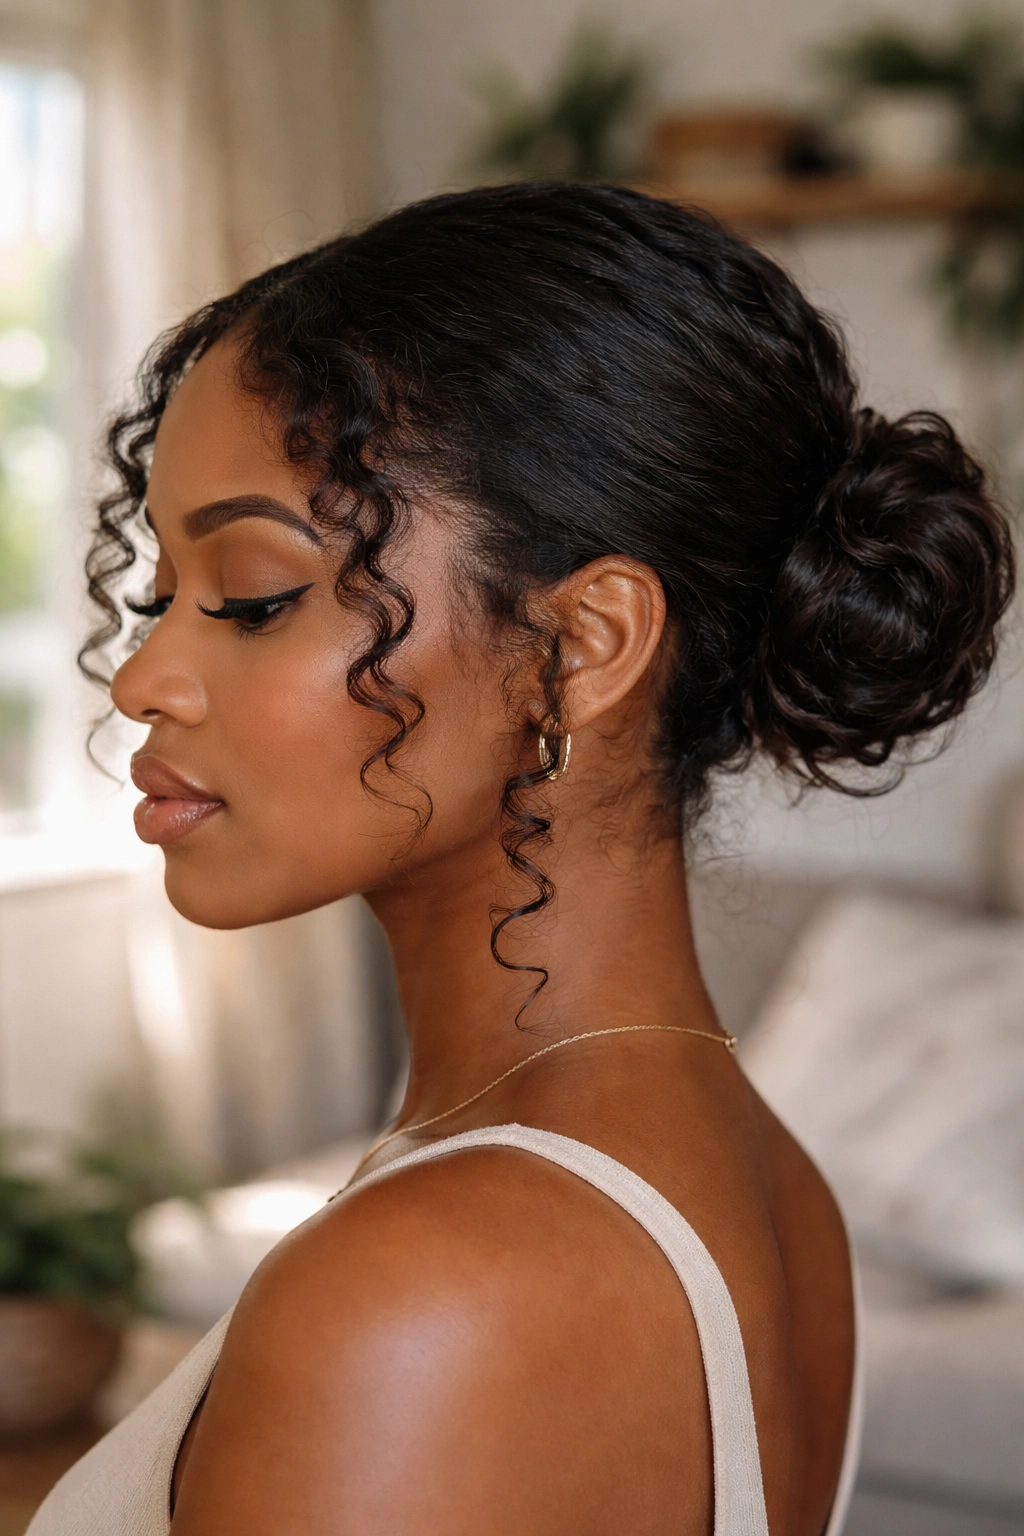
A low bun sits at the nape of the neck and reads as more polished than a high bun, which makes it a solid choice for professional settings or any occasion where you want to look put-together. The trick is to leave curls on one or both sides to prevent the whole thing from looking too severe.
Side curls take a low bun from corporate to editorial. They add the softness that a sleek, pulled-back look tends to strip away. You get the elegance of a low chignon without losing your texture.
For this style, pull your hair back loosely into a low ponytail at the nape. Don’t over-smooth — some texture in the body of the style is intentional. Before you secure it, release the curls at both temples or choose one side for an asymmetrical effect. Twist or coil the bun by wrapping the ponytail around itself, then pin it in place.
This is one of the best styles for heart-shaped or oval faces. The low placement keeps volume at the back of the head, the curls frame the front, and the whole look feels balanced.
3. Messy Top Knot With Cascading Nape Curls
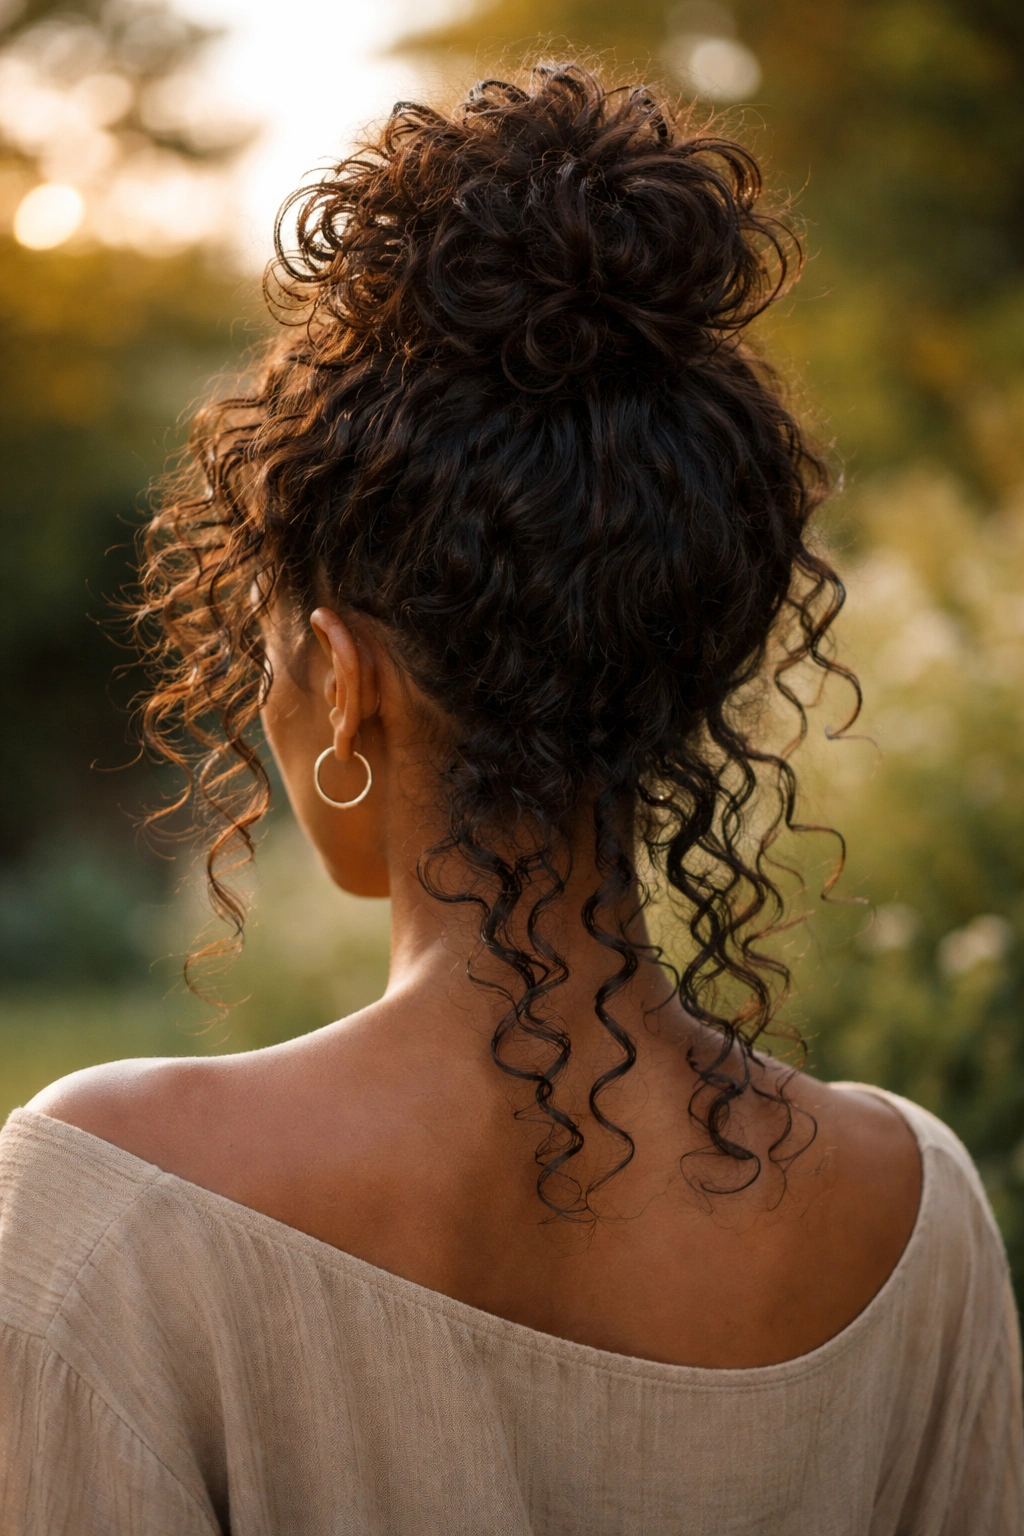
Not every bun needs to be precise. The messy top knot is all about intentional imperfection — you want it to look slightly undone, slightly effortless, and completely on purpose. Pulling the hair up loosely and letting curls fall at the nape gives this style its signature laid-back energy.
The nape is actually an underrated spot for hanging curls. When they fall at the back of the neck, they create movement that’s visible from behind — which is a whole look in itself. And because the curls are in the back rather than framing the face, this style has a slightly more casual, free-spirited feel than front-facing curl placements.
How to Achieve
- Don’t brush the hair before pulling it up — finger detangle only
- Secure at the crown loosely, allowing some strands to fall naturally
- Let the nape pieces hang freely or separate them into a few defined sections
- Ruffle the bun gently to encourage volume and that “effortless” texture
Or. Pull a few pieces from the top of the bun down and let them curl against the crown for extra dimension.
4. Twisted Bun With Defined Curl Frame
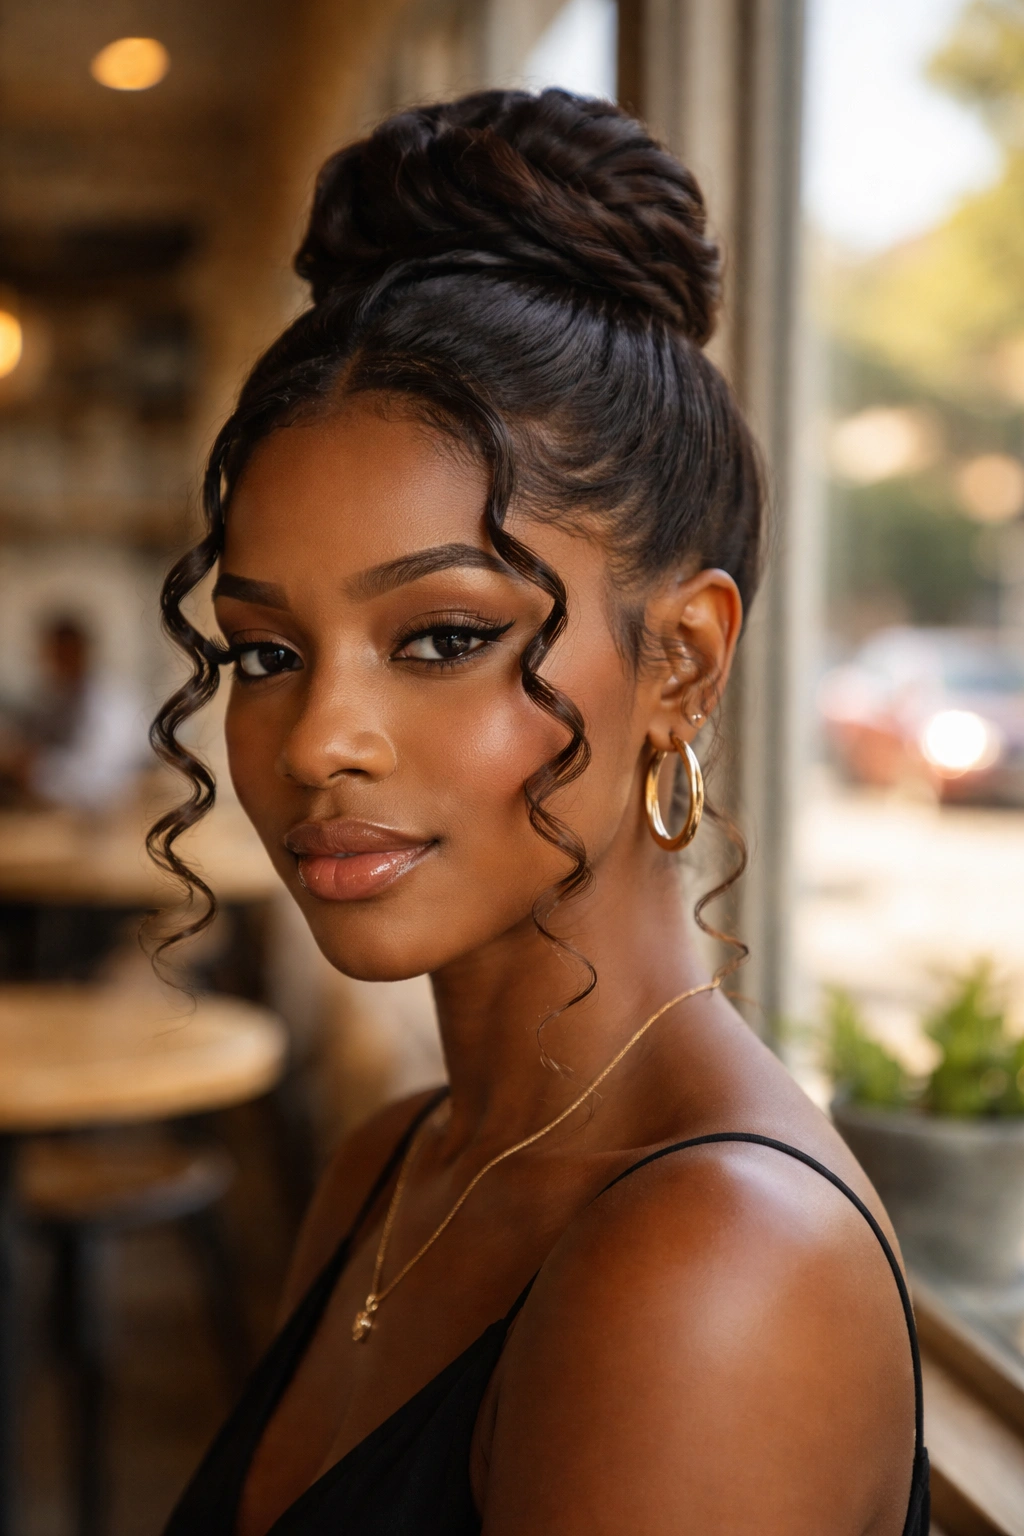
A twisted bun adds structure and elegance. You create this by dividing the hair into two sections, twisting each section, then wrapping them together into a bun shape. The result is more refined than a messy puff and works beautifully for events where you want to look polished but still textured.
Leaving a curl frame around the face — a few spirals at the temples and cheekbones — prevents the twisted bun from reading as too stiff. The contrast between the structured twist and the soft hanging curls is part of the visual appeal.
This style particularly suits type 3B to 4A curl patterns, which hold a defined curl shape long enough to look intentional as a frame piece. Looser curls can work too, but may need a stronger hold product to keep them from separating too much.
For maximum longevity, set the hanging curl pieces on flexi-rods or perm rods the night before, then release them before building the bun. They’ll hold their shape all day without needing product touch-ups.
5. Bantu Knot Bun Hybrid
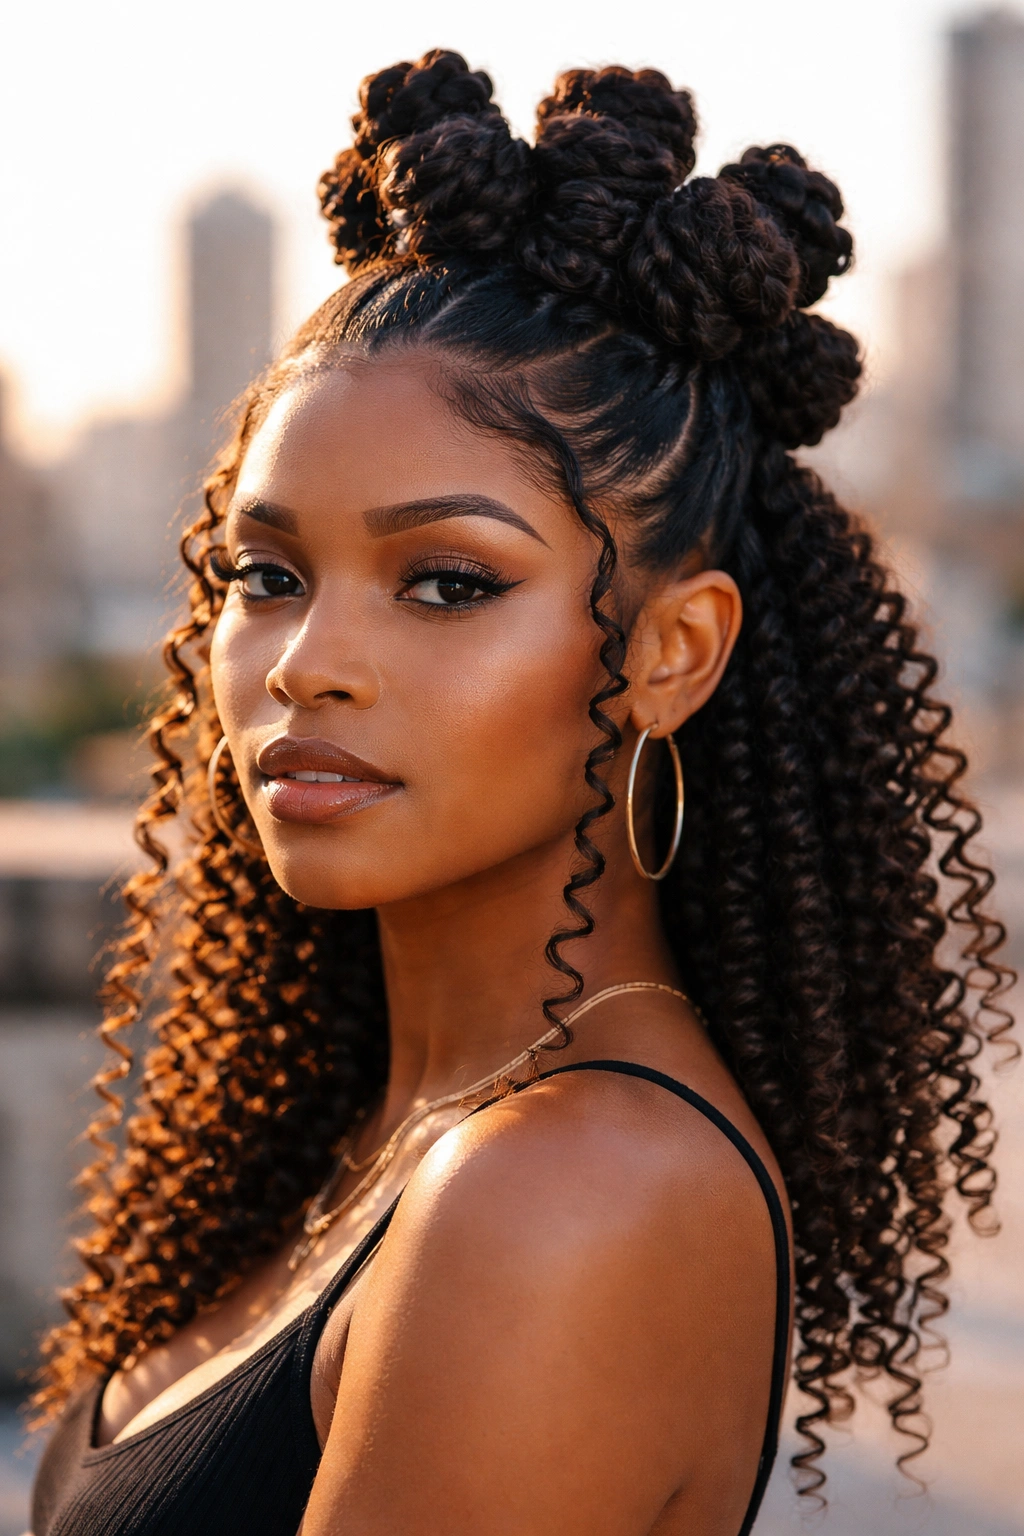
This one’s for the creative hair lovers. A Bantu knot bun takes the coiled, wrapped structure of a traditional Bantu knot but scales it up into a bun-sized centerpiece at the crown. You section and coil hair upward from the roots, wrapping it tightly into a flat disc shape on top of the head.
The hanging curl element comes from sections you deliberately leave out — usually at the temples and nape — which you then finger-coil or rod-set into tight, defined spirals. Against the structured Bantu knot bun, these spirals look intentional and striking.
This is genuinely a statement style. It’s rooted in African hair tradition, wears beautifully on type 4 hair, and holds up for hours without needing much maintenance.
6. Sleek High Bun With Curly Bangs
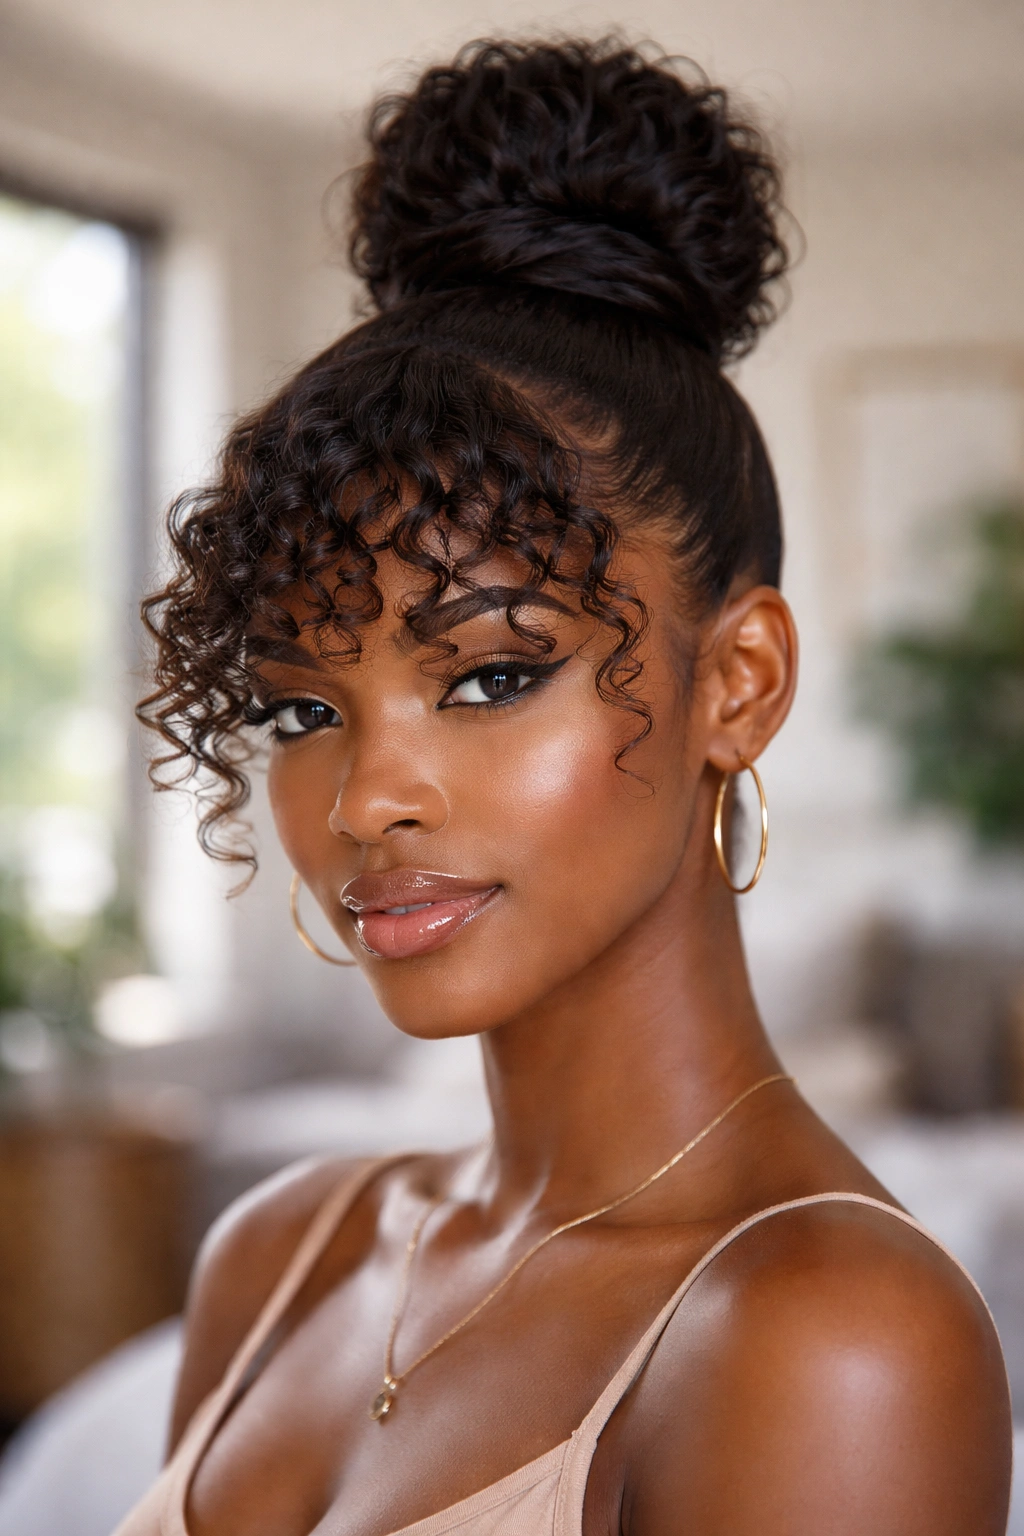
If your hair is long enough to reach the crown when pulled up, a sleek high bun creates a dramatic silhouette that’s hard to beat. Pair that with a curtain of defined curls at the front — either actual bangs or the front section of your hair left loose and curled — and you have a look that’s simultaneously chic and bold.
The curly “bangs” in this style don’t have to be cut. You can simply leave the front 1–2 inches of hair loose, define the curls with cream and gel, and let them fall across your forehead. Or sweep them to one side for a side-bang effect.
The Sleek-to-Curly Contrast Is the Point
The contrast between the smooth, pulled-back bun and the loose curly front is what makes this style interesting. Don’t try to smooth the front section — embrace the curl. The juxtaposition is intentional.
Edge control and a small boar-bristle brush can help smooth the base of the bun and lay down baby hairs without affecting the curly front section. Take your time with the bun base — the cleaner it is, the more the curly front pops.
7. Space Buns With Curl Tendrils
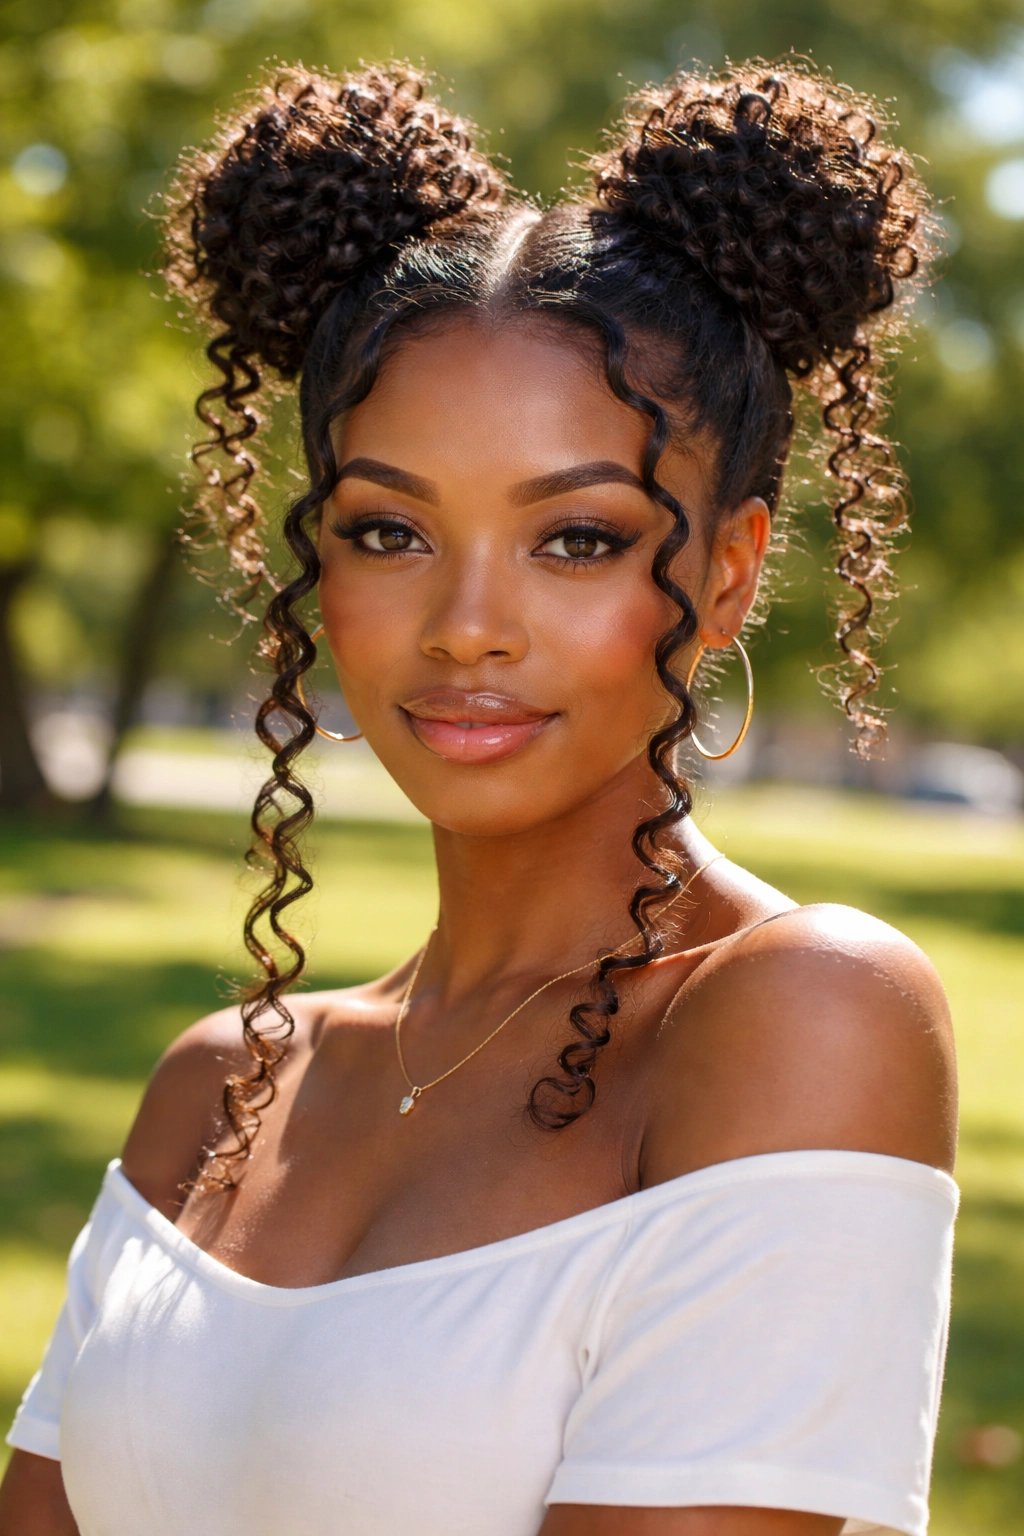
Two buns. Loads of personality. Space buns sit on either side of the crown, high and symmetrical, and they work especially well for natural hair because the buns themselves become fluffy, textured puffs rather than smooth knots. When you leave curl tendrils hanging at the temples and nape, the whole look takes on a playful, retro-meets-natural energy.
This is a fun style, and it knows it. Don’t try to make it overly sophisticated — lean into the joy of it. Bright accessories, a colorful scrunchie, or some gold pins at the bun base all add to the aesthetic.
To create symmetrical space buns on natural hair, part the hair down the center from forehead to nape. Pull each side up into its own bun, then fluff and separate each puff for volume. Release curl tendrils at the temples and let them spiral down. The two hanging pieces at the front echo the symmetry of the buns themselves and tie the look together.
8. Half-Up Bun With Hanging Curls Below
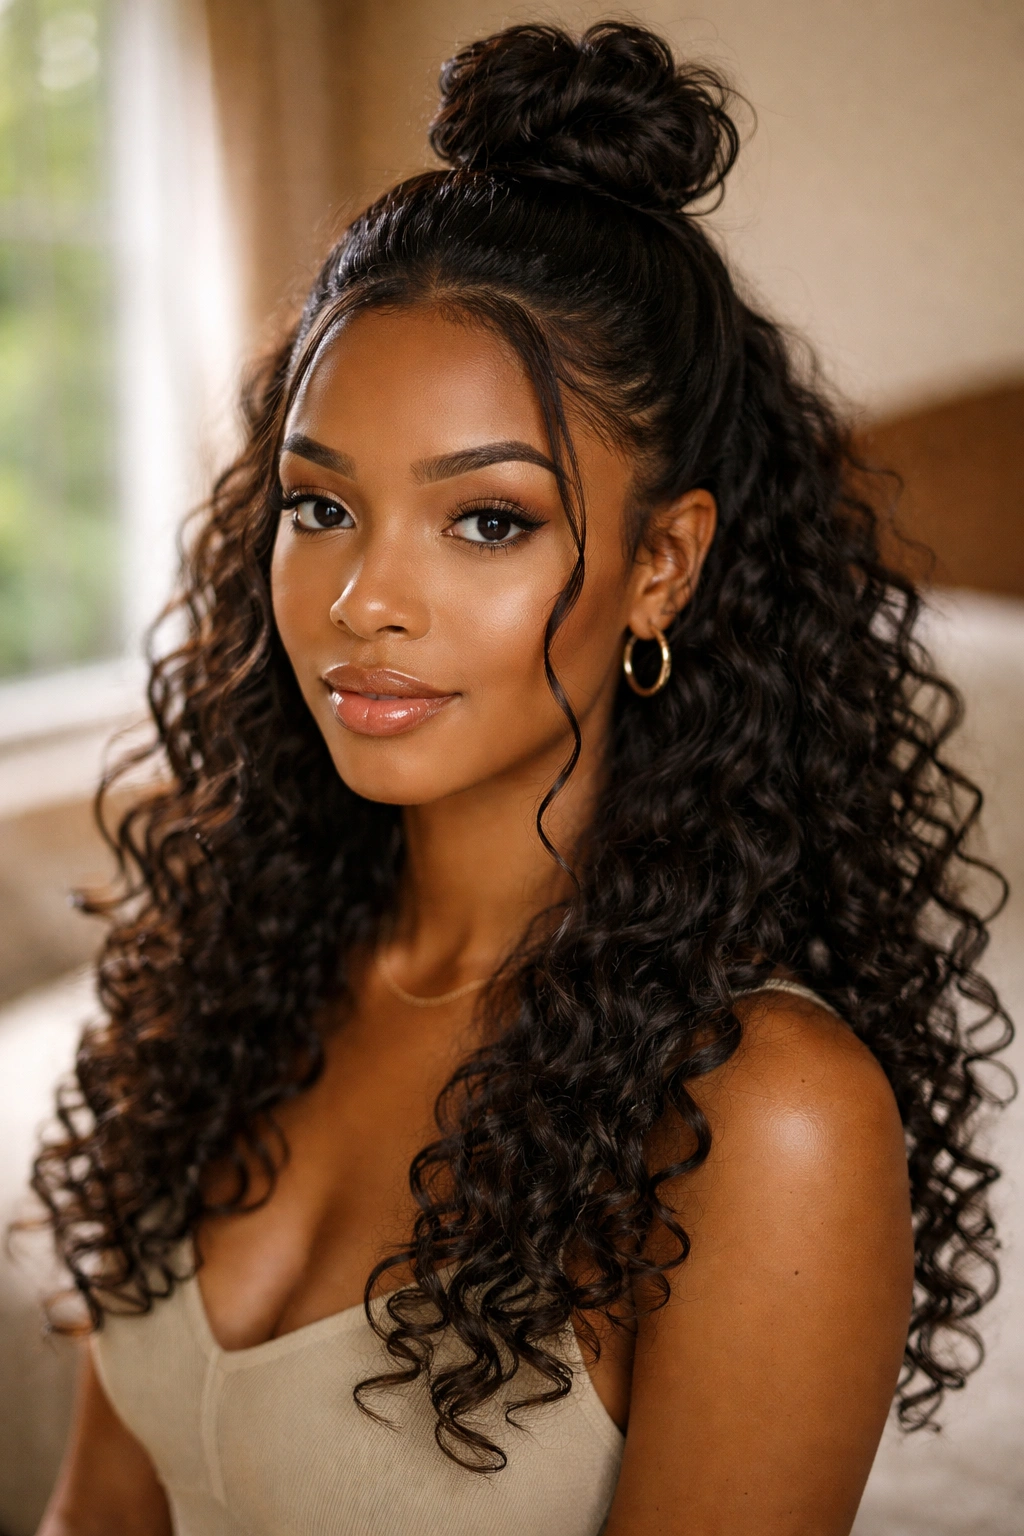
A half-up, half-down style technically qualifies as a bun with curls hanging down — the entire bottom section hangs free. But this one is worth its own entry because the effect is softer and more relaxed than a full bun with a few loose pieces.
Pull the top half of your hair up into a small bun or puff at the crown. Leave the bottom half completely free. The curls in the bottom section frame the lower face and neck, fall over the shoulders, and create a soft, cascading effect that’s genuinely beautiful on long or medium-length natural hair.
This style works exceptionally well for type 3 and type 4A hair that has enough length for the bottom section to show off its curl pattern clearly. It’s also one of the more low-maintenance options in this list — less pulling, less pinning, and less manipulation overall.
9. Bun With Pulled-Through Curls at the Crown
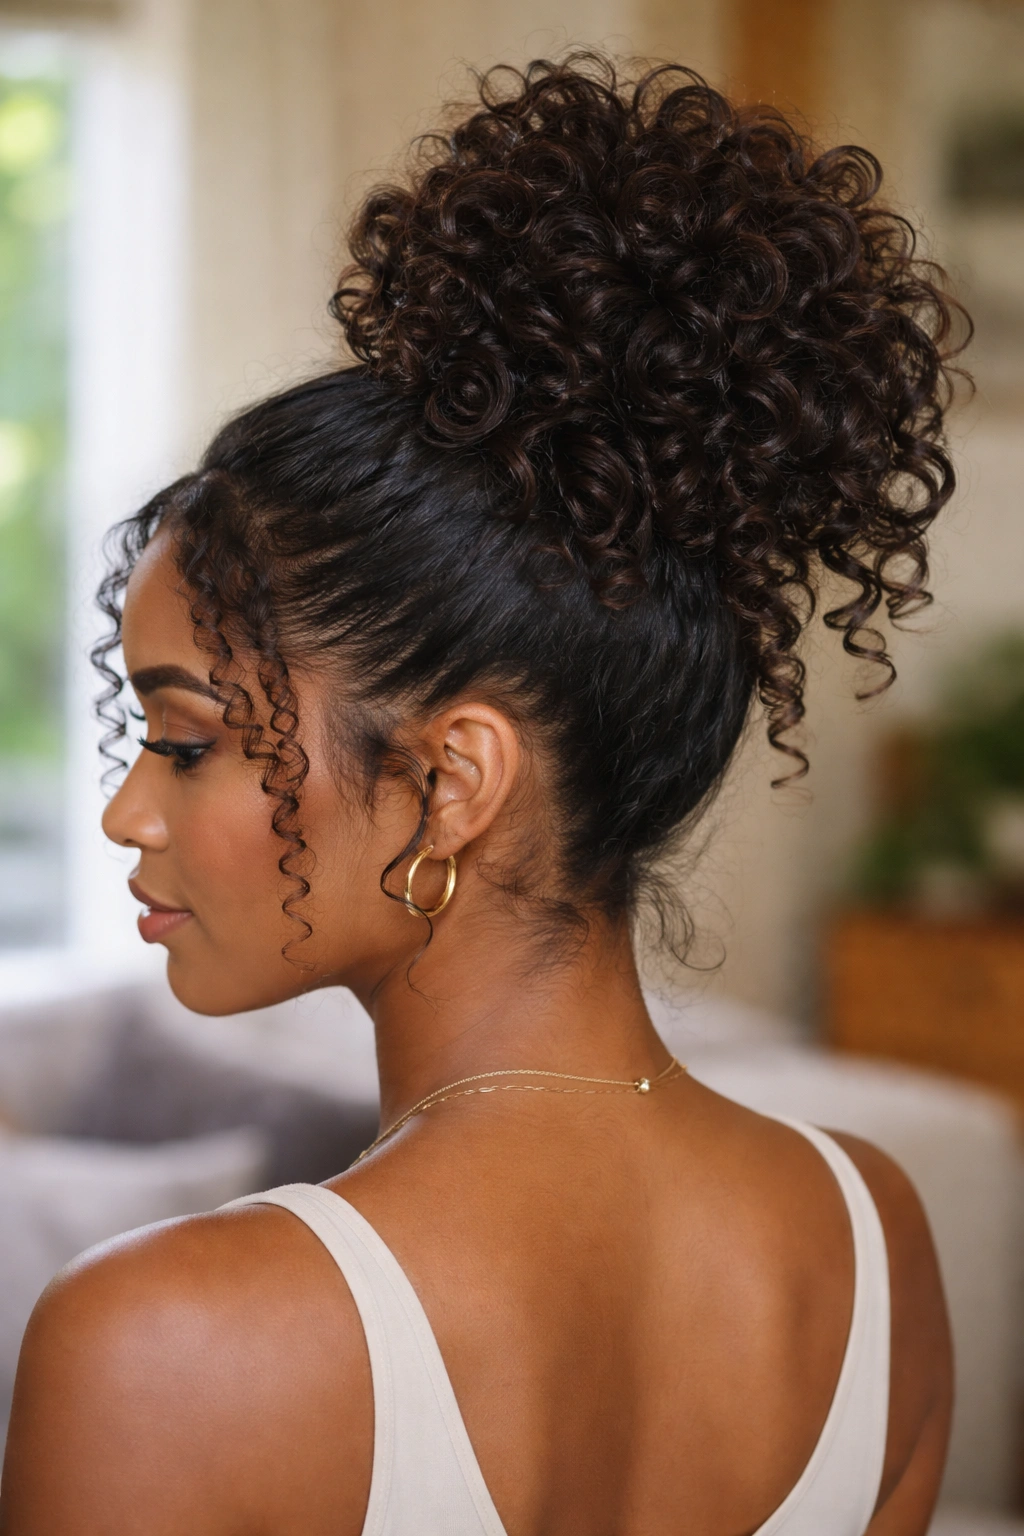
Instead of letting curls hang at the sides or nape, this style pulls curl pieces through the bun itself — so they emerge from the center or top of the bun and fall softly around it. The effect is almost floral, slightly sculptural, and definitely unique.
To get this look, create your bun as usual. Then, using a pin or your fingers, pull individual curl sections through the bun structure so they sit on top of or alongside the bun. You can curl these sections separately with a curling wand or rod before threading them through for extra definition.
It looks complicated. It isn’t. The random, slightly chaotic arrangement of curls around the bun base actually makes it forgiving — there’s no precise placement to worry about.
10. Low Puff Bun at the Nape
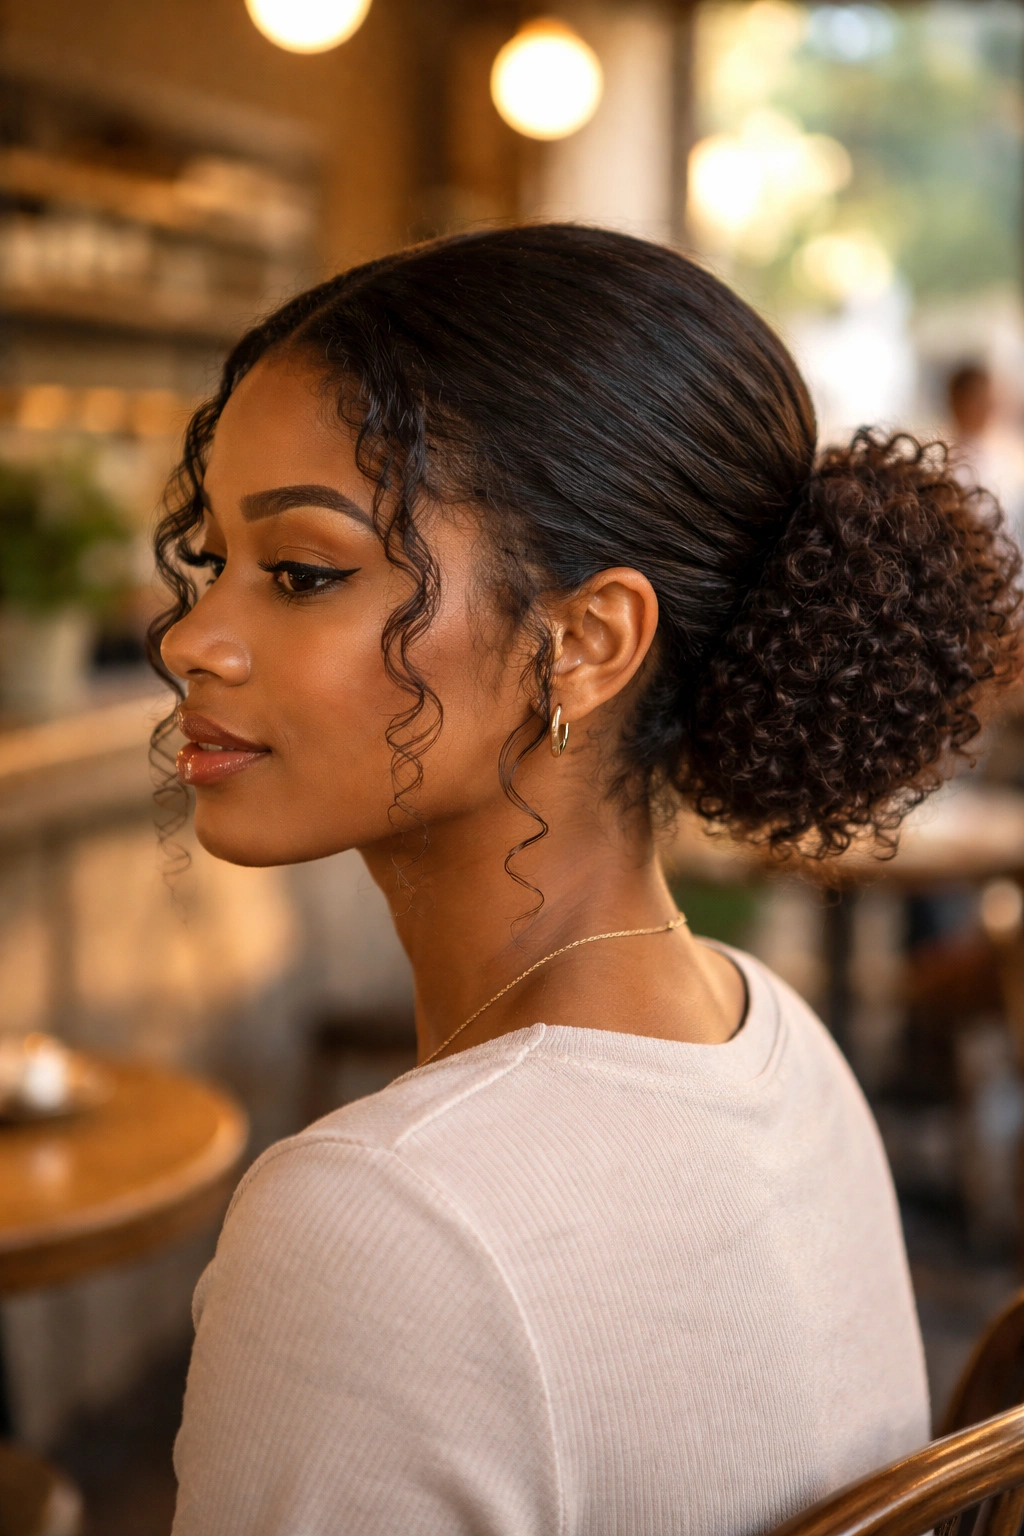
A low puff bun sits at the nape but fans outward into a puff shape rather than twisting into a neat knot. This style is slightly more casual than a structured low bun, and the puff adds volume at the back that balances out loose curls at the front and sides.
Leave a few curls at each temple and smooth the sides of your hair down slightly with a light product to create a contrast between the sleeker sides and the full puff at the nape. The hanging curls at the temples frame your face without adding volume at the sides, which is great for anyone who wants a look that feels full without feeling heavy.
11. Crinkle-Set Bun With Loose Waves Hanging
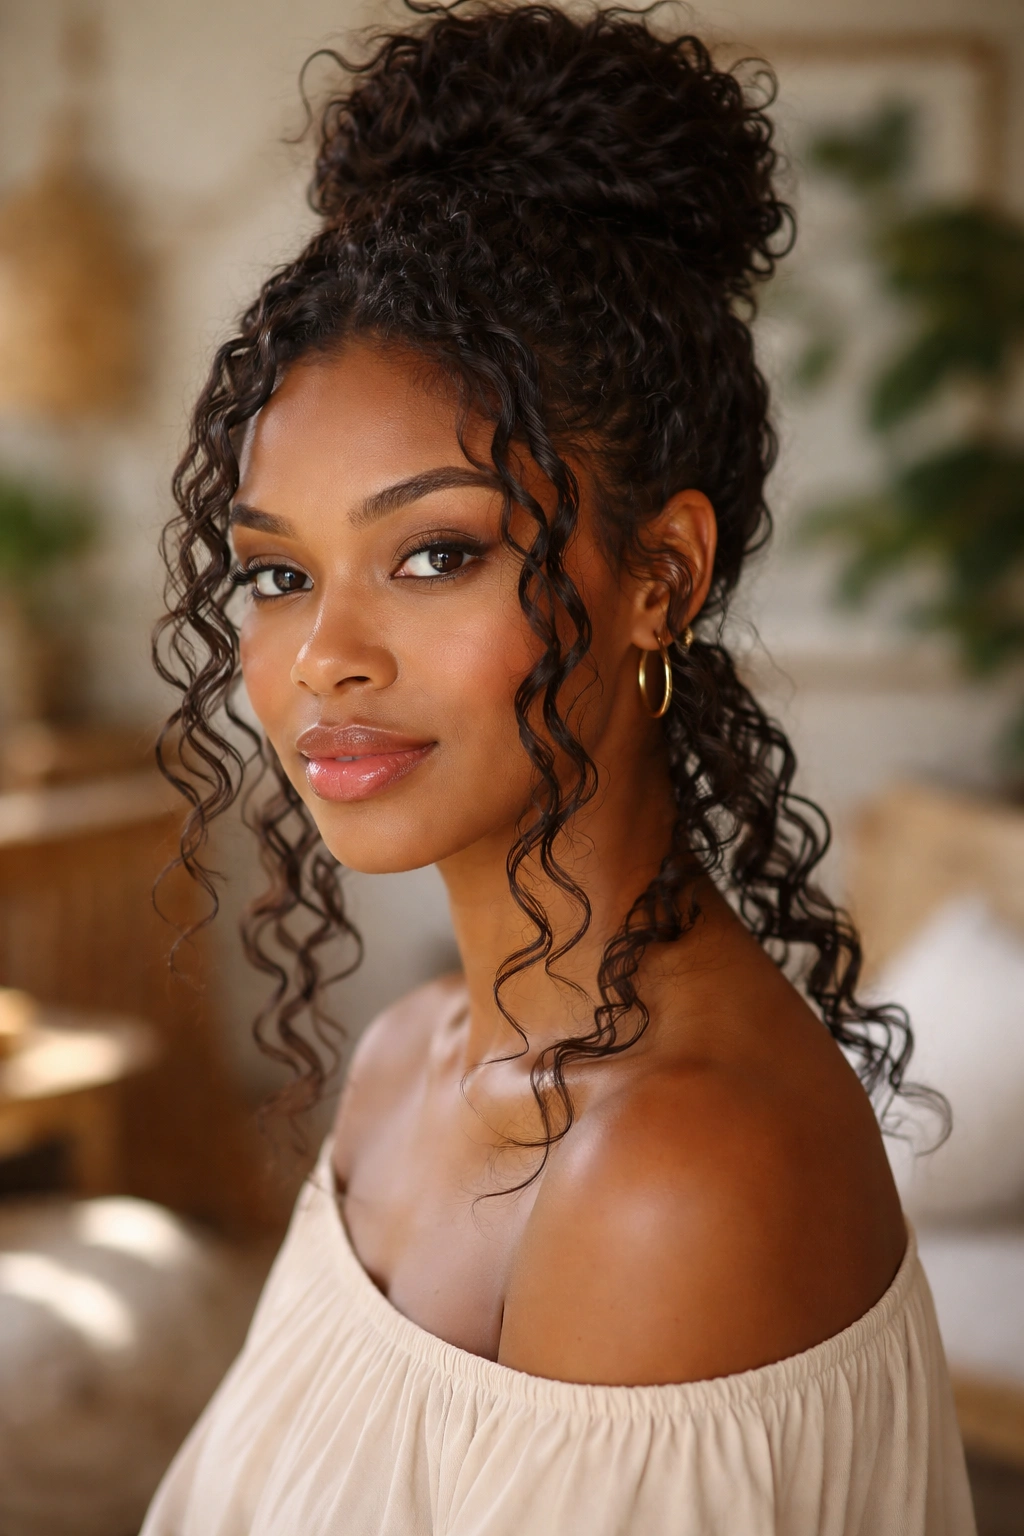
Crinkle-set hair — hair that’s been braided or twisted while wet, then released after drying — creates a wavy, zigzag texture that’s different from a defined curl but equally beautiful. Pull the majority of crinkle-set hair into a bun and let the waves hang loose at the front and nape for a textured, bohemian effect.
The crinkle texture photographs especially well, which is worth noting if you’re styling for an event or a shoot. The waves catch light differently than smooth hair, creating depth and dimension in every photo.
Getting the Crinkle Set
- Braid damp hair in small to medium sections before bed
- Allow to dry completely (overnight or fully air-dry)
- Release gently to preserve the wave pattern
- Separate lightly with fingers only — no combs
12. Two-Strand Twist-Out Bun
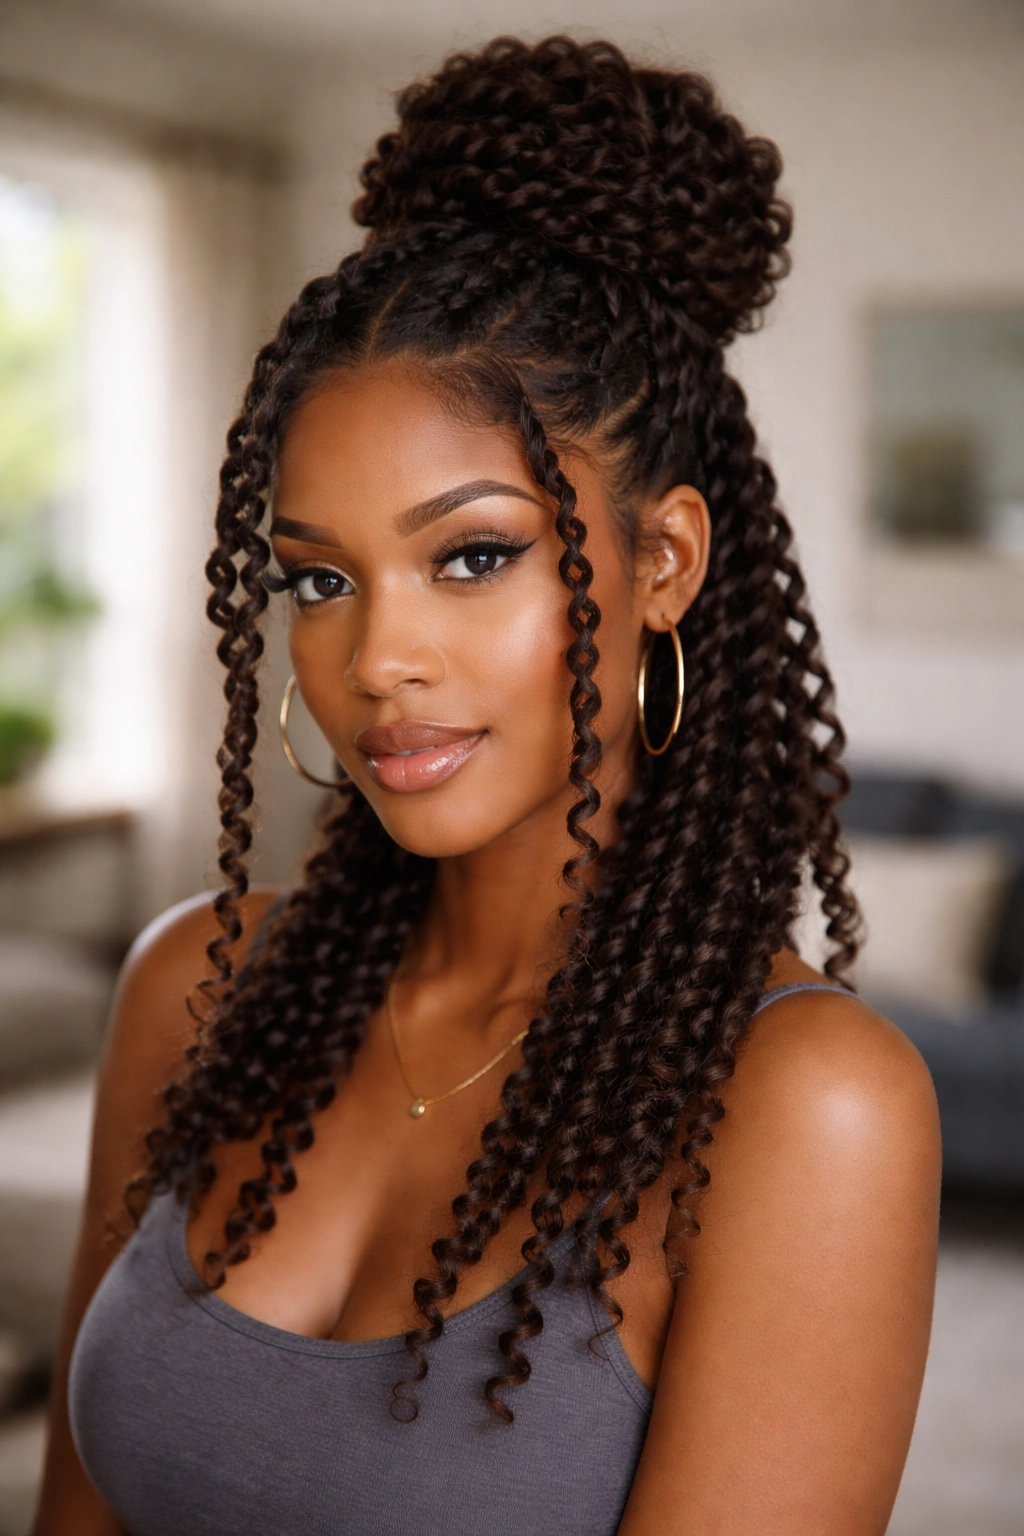
A twist-out bun gives you defined, stretched curls that hang beautifully from a bun because they’re already elongated and shaped. Do your twist-out the night before, let it fully set, then release in the morning. Pull the majority of the hair up into a bun at the crown or nape, leaving the front and temple pieces loose to showcase the twist-out pattern.
Twist-out curls are particularly flattering as hanging pieces because they’re stretched enough to show length while still holding a defined spiral or S-wave shape. They also tend to hold up throughout the day without needing constant touch-ups.
This style is especially great for type 4B and 4C hair that benefits from the elongation a twist-out provides — because without the stretching, tighter curl patterns can sometimes shrink too much to be visible as hanging pieces.
13. Fluffy Pineapple Bun With Front Curls
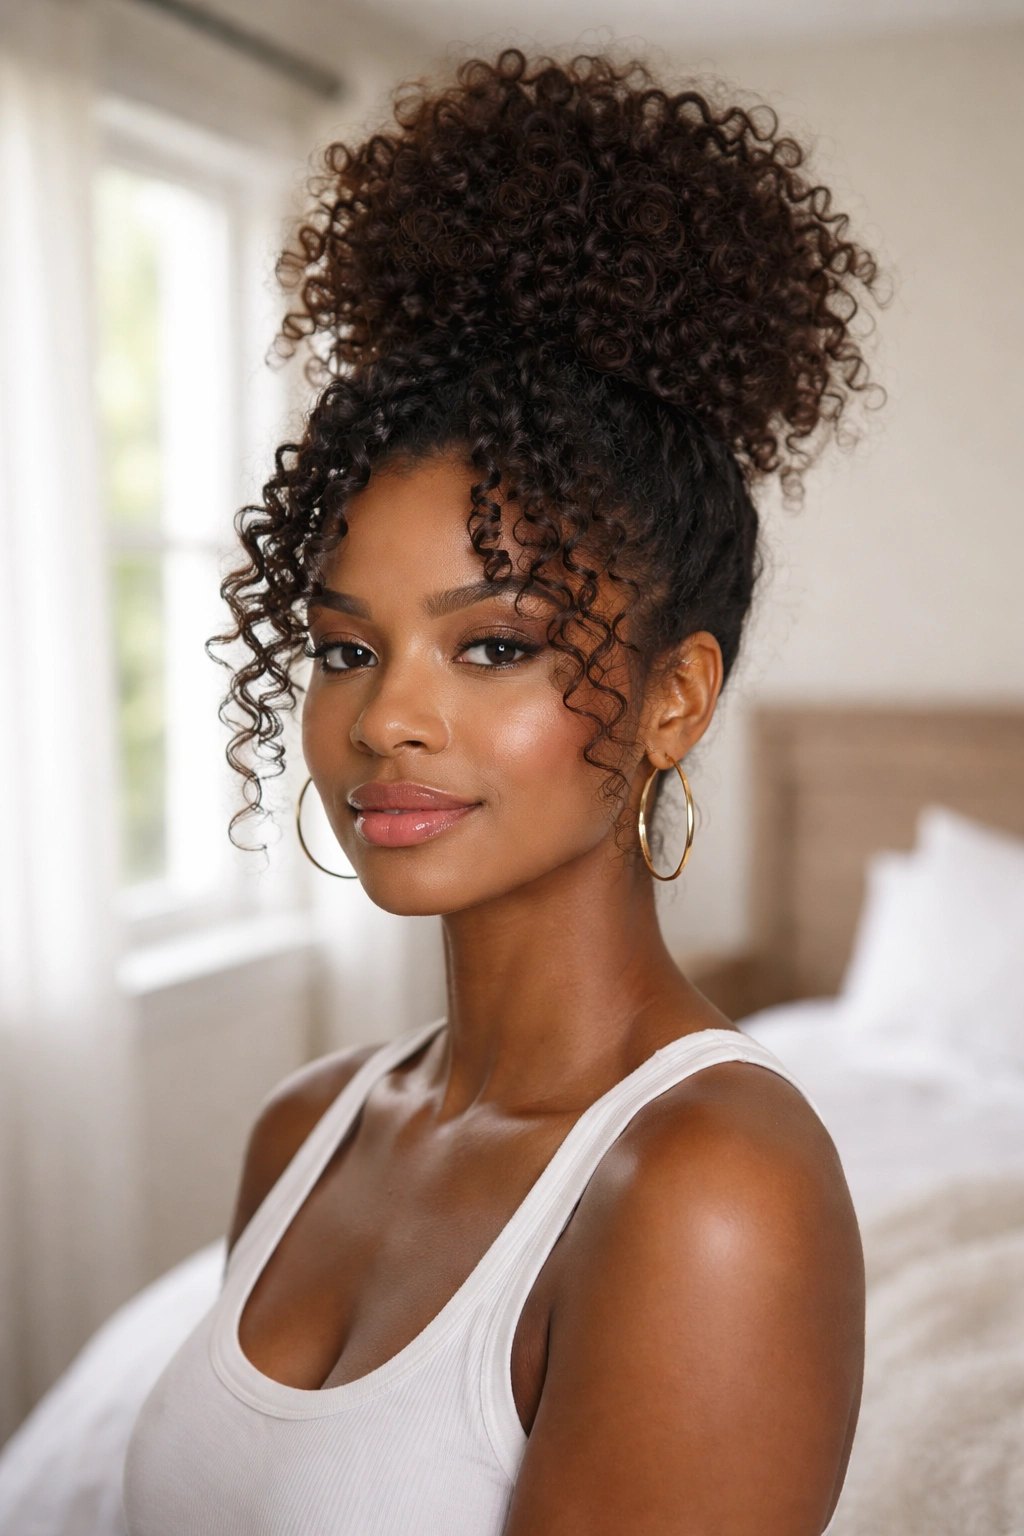
The pineapple is a natural hair protective sleep style — hair pulled loosely to the top of the head with a satin scrunchie — but it’s also a legitimate daytime look when done intentionally. A fluffy pineapple bun with front curls released and defined makes for a relaxed, full, and effortless style.
The key to making a pineapple look intentional rather than like you just woke up is the front section. Pull the front pieces loose, define them with a small amount of curl cream, and let them fall across your forehead or sweep to one side. This framing gives the loose, high pineapple a finished look.
For added polish, add a wide satin headband or hair wrap at the base of the pineapple. It hides the scrunchie and adds a style element.
14. Protective Bun With Faux Curls
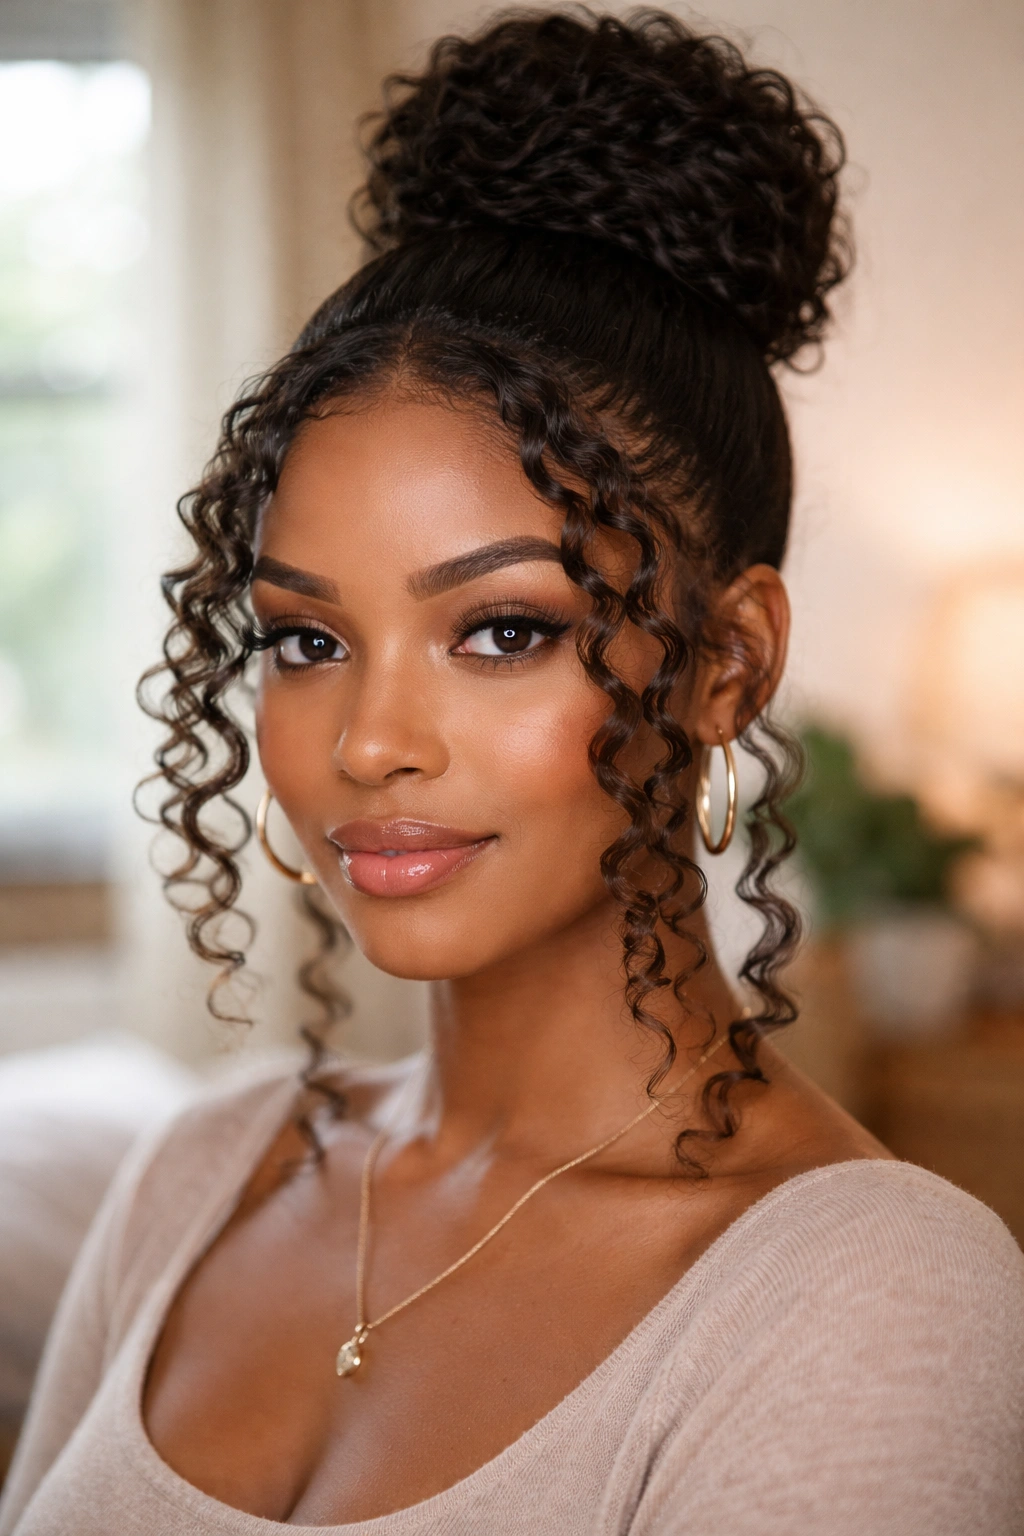
If your natural curls aren’t cooperating — or if you want a longer, more dramatic hanging curl effect — faux curls work beautifully with a bun style. Clip in or add a few curl extensions or wefts at the front and nape before pulling your natural hair into a bun. The extension curls hang down, frame the face, and blend in with any natural texture that peeks out.
This approach is especially useful for protective styling when you want the visual of hanging curls without any manipulation of your natural hair. Your ends stay tucked away in the bun while the extensions do the framing work.
Choose extensions that match your natural curl pattern as closely as possible for the most seamless blend. Type 3B or 3C textures work well with most natural hair types.
15. Bun With Defined Coil Pieces
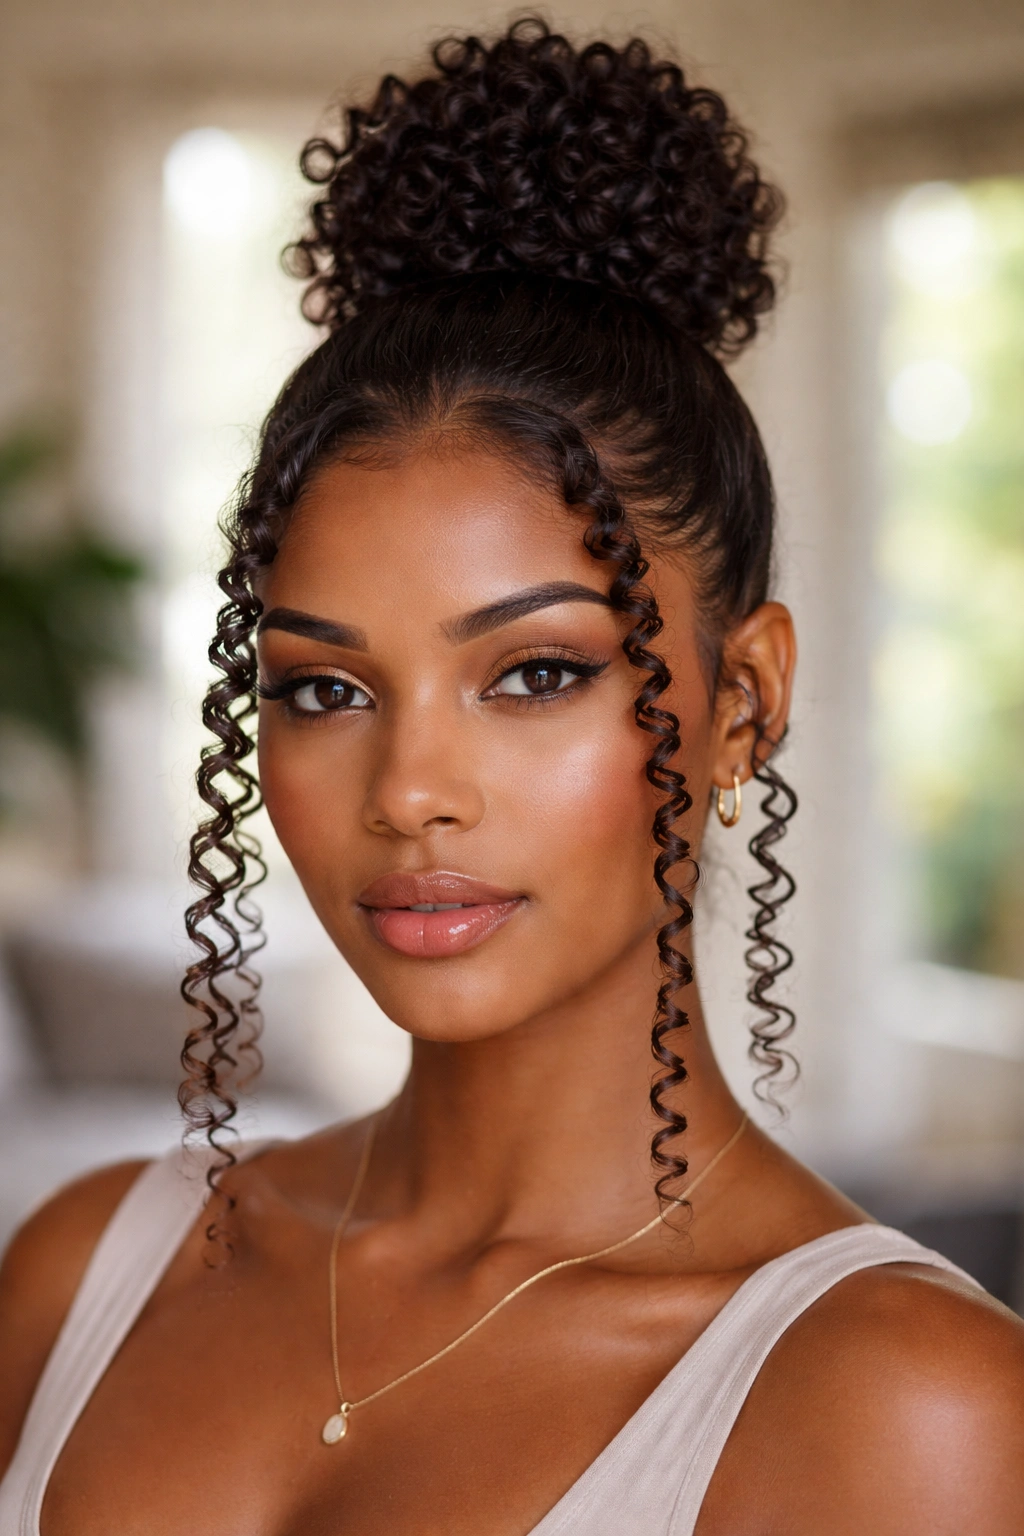
Defined coils — tight, springy spirals created by finger-coiling individual sections — are a great way to showcase type 4 hair texture as hanging pieces. Instead of letting curls fall loose, you deliberately coil each hanging section by wrapping it around your finger from root to tip while damp, then letting it dry.
The result is a very precise, very defined curl frame that looks intentional and polished. Against a loose or messy bun, the defined coil pieces create a beautiful contrast.
Coiling takes patience. Budget extra time if you’re doing this on wash day. But the payoff — tight, perfect spirals that hold their shape for days — is absolutely worth it.
16. Wrapped Bun With Flowing Natural Curls
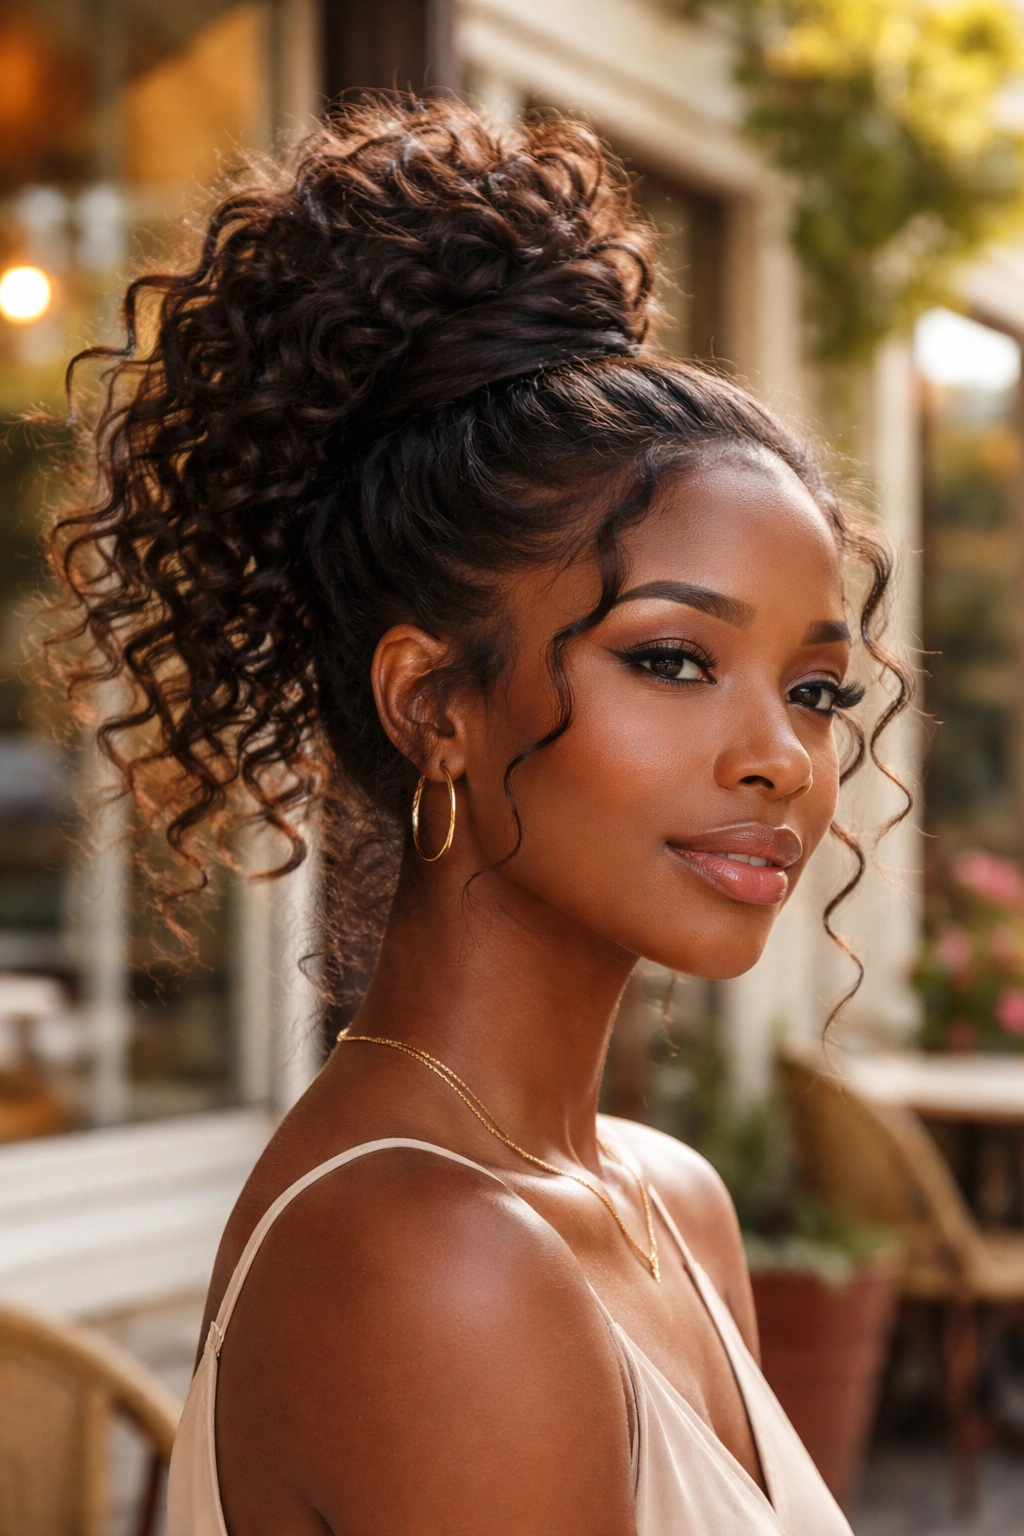
A wrapped bun involves taking a section of hair and wrapping it around the elastic to cover it, creating a smooth, ribbon-like wrap around the bun base. This gives the bun a more elegant, refined look even when the rest of the style is textured.
Let your natural curls flow freely from the bun outward — at the sides, in the back, hanging from the crown — and the wrapped base provides a polished focal point that ties the whole look together. It’s the kind of detail that makes a style look expensive without taking extra time.
Use bobby pins to secure the wrapped section. Apply edge control along the wrap for a cleaner finish.
17. Crown Braid With Bun and Curly Ends
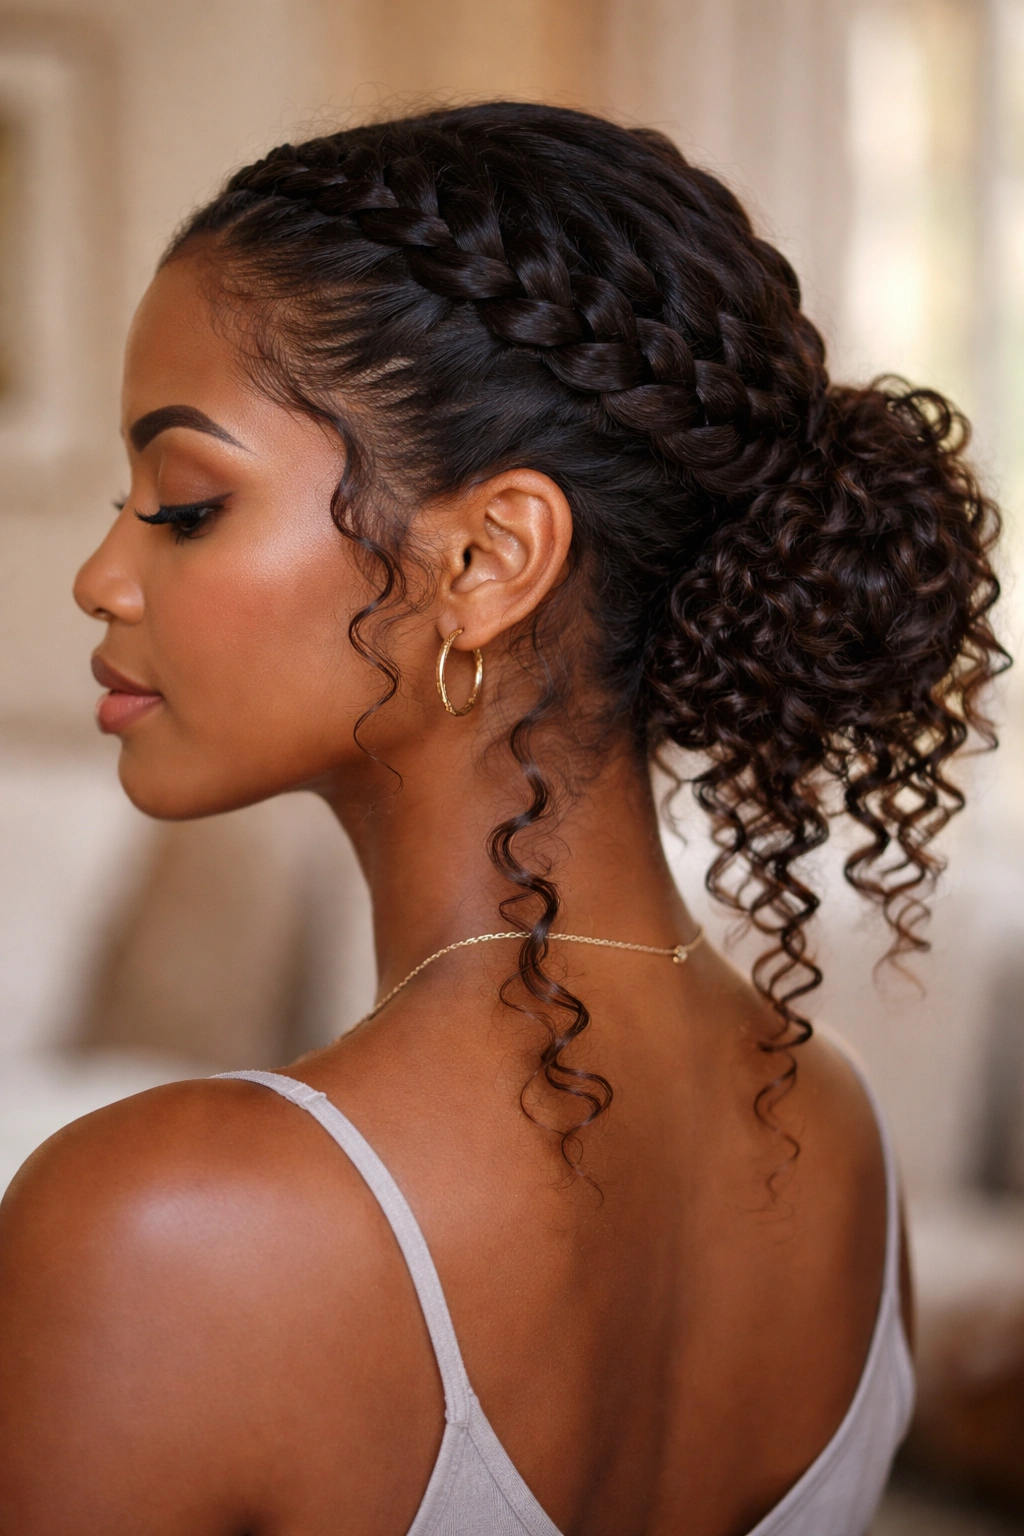
A crown braid that wraps around the head and ends in a bun at the nape is a gorgeous protective style that also looks incredibly refined. The curly ends — from both the braid tail and any loose pieces at the temples — hang down from the bun and soften what could otherwise be a very structured look.
This style takes a bit more skill than a simple bun, but the payoff is a look that can go from casual to formal depending on accessories and how neatly the braid is done.
18. Puff With Curl-Wrapped Elastic
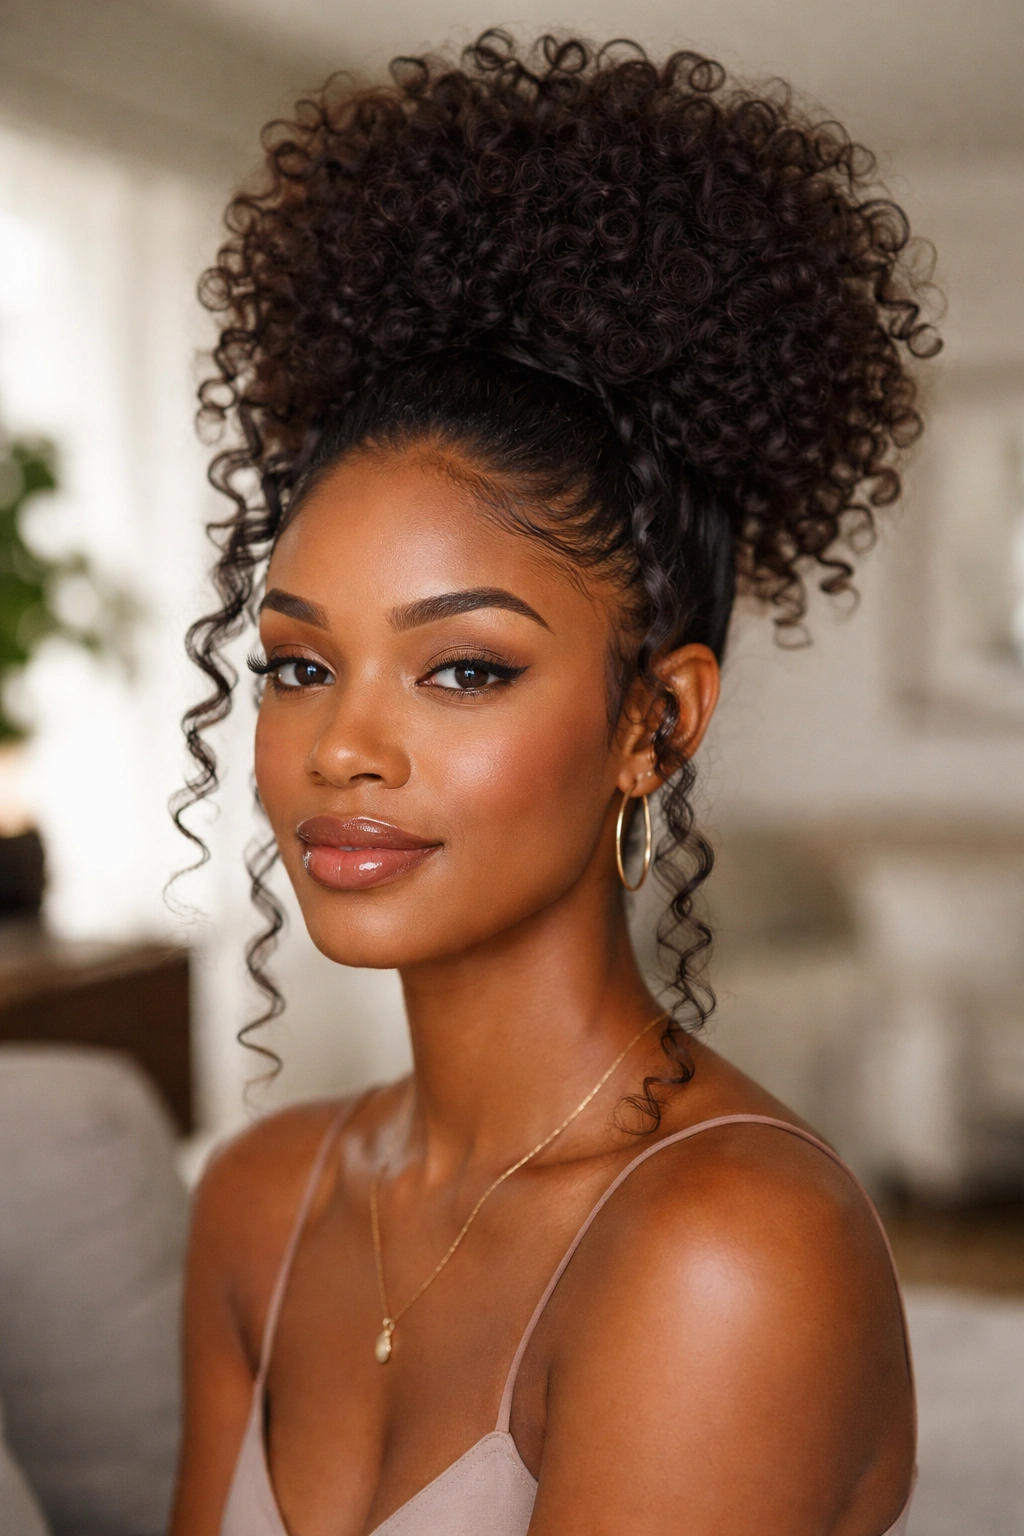
This style is simpler than it sounds. Pull your hair into a puff using a soft elastic. Then take a thin section of curl from the puff, wrap it around the elastic to disguise the hair tie, and pin it in place. The result is a bun that looks styled without actually being a bun — it’s still a puff, but the wrapped curl detail elevates it.
Let additional curls frame the sides of your face without any extra manipulation. Because the wrapped elastic acts as the “styled” focal point, the loose surrounding curls look intentionally relaxed rather than unfinished.
19. Natural Hair Sock Bun With Spirals
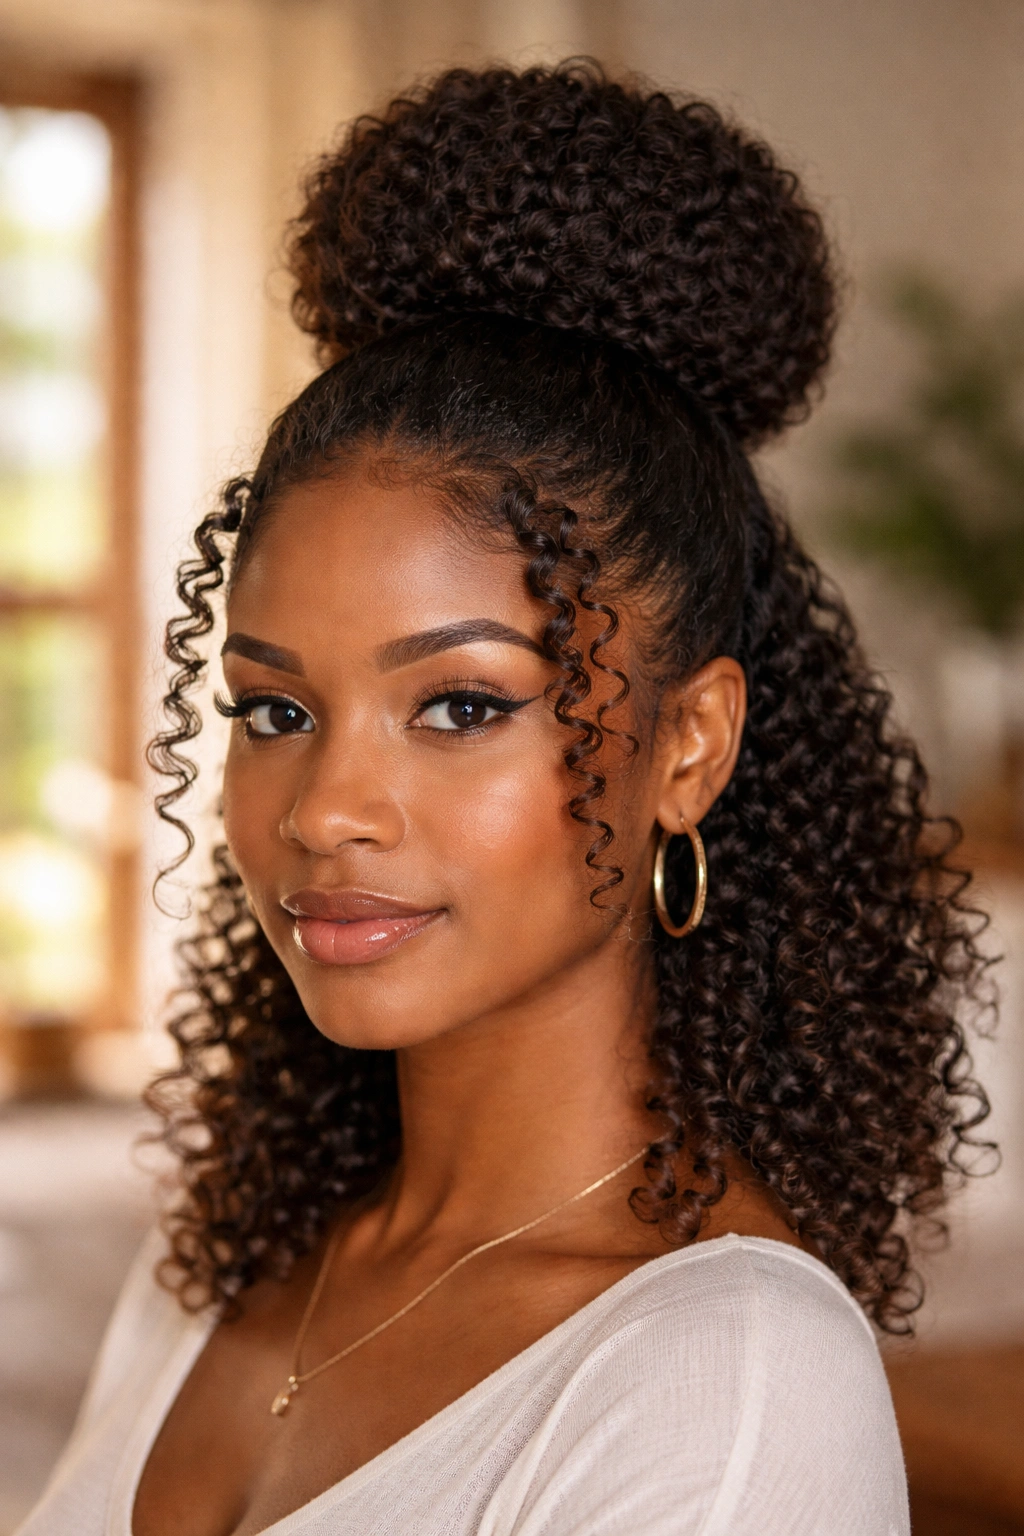
A sock bun uses a soft foam donut ring to create a round, full bun shape. For natural hair, this is a volume cheat — the donut plumps up the bun without requiring your hair to be especially long or dense. Pull your hair into a ponytail at the crown, slide the donut down to the base, then spread your hair evenly over it and pin.
The sock bun looks polished and round — almost retro in the best way. Let spiral curls hang at the temples and nape to keep the look grounded in natural texture.
The contrast between the super-round, smooth bun shape and the organic curl spirals is genuinely striking. It’s one of those styles that looks like you spent hours on it.
20. Braided Base Bun With Free-Hanging Curls
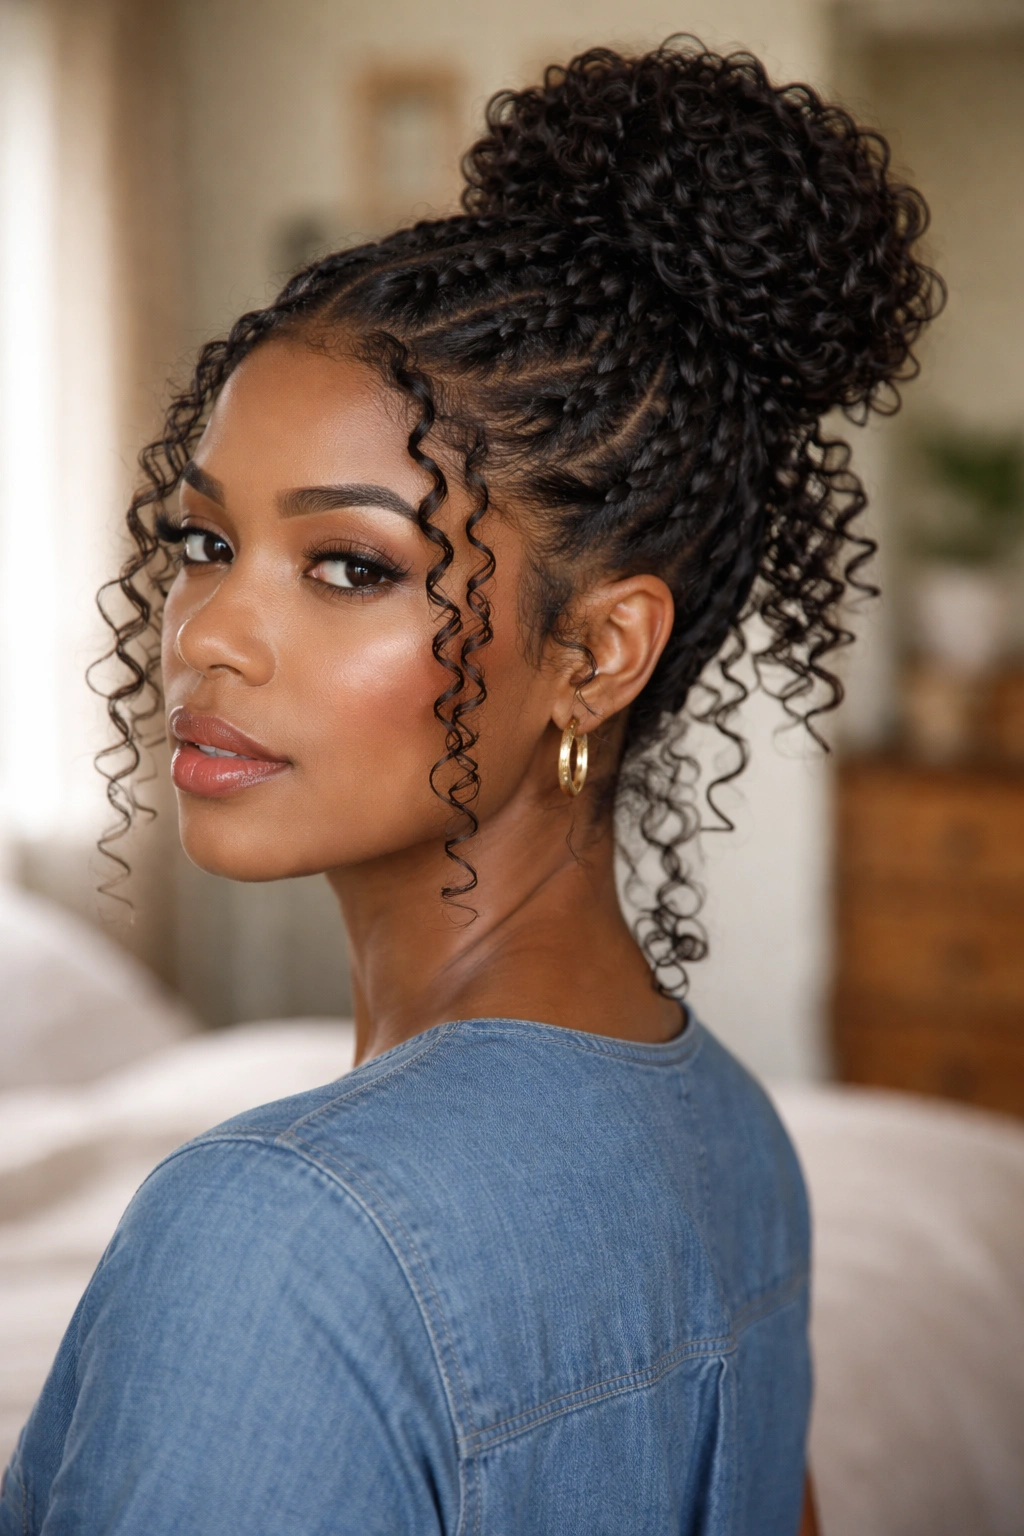
This style combines two techniques: braiding the hair into a base before creating the bun, and leaving selected curl sections completely free. Start by creating two or three braids across the head — these anchor the style and reduce frizz in the bun section. Pull the braids up together and pin them into a bun shape at the crown or nape.
Because the braids are smooth and flat, the hanging curls at the temples and nape read as the textured, expressive element of the look. The braided base is practical and protective. The hanging curls are the style statement.
This works especially well as a multi-day style. The braids hold the bun in place without slipping, which means you can wear this for two to three days without restarting from scratch.
Keeping Your Style Fresh All Day
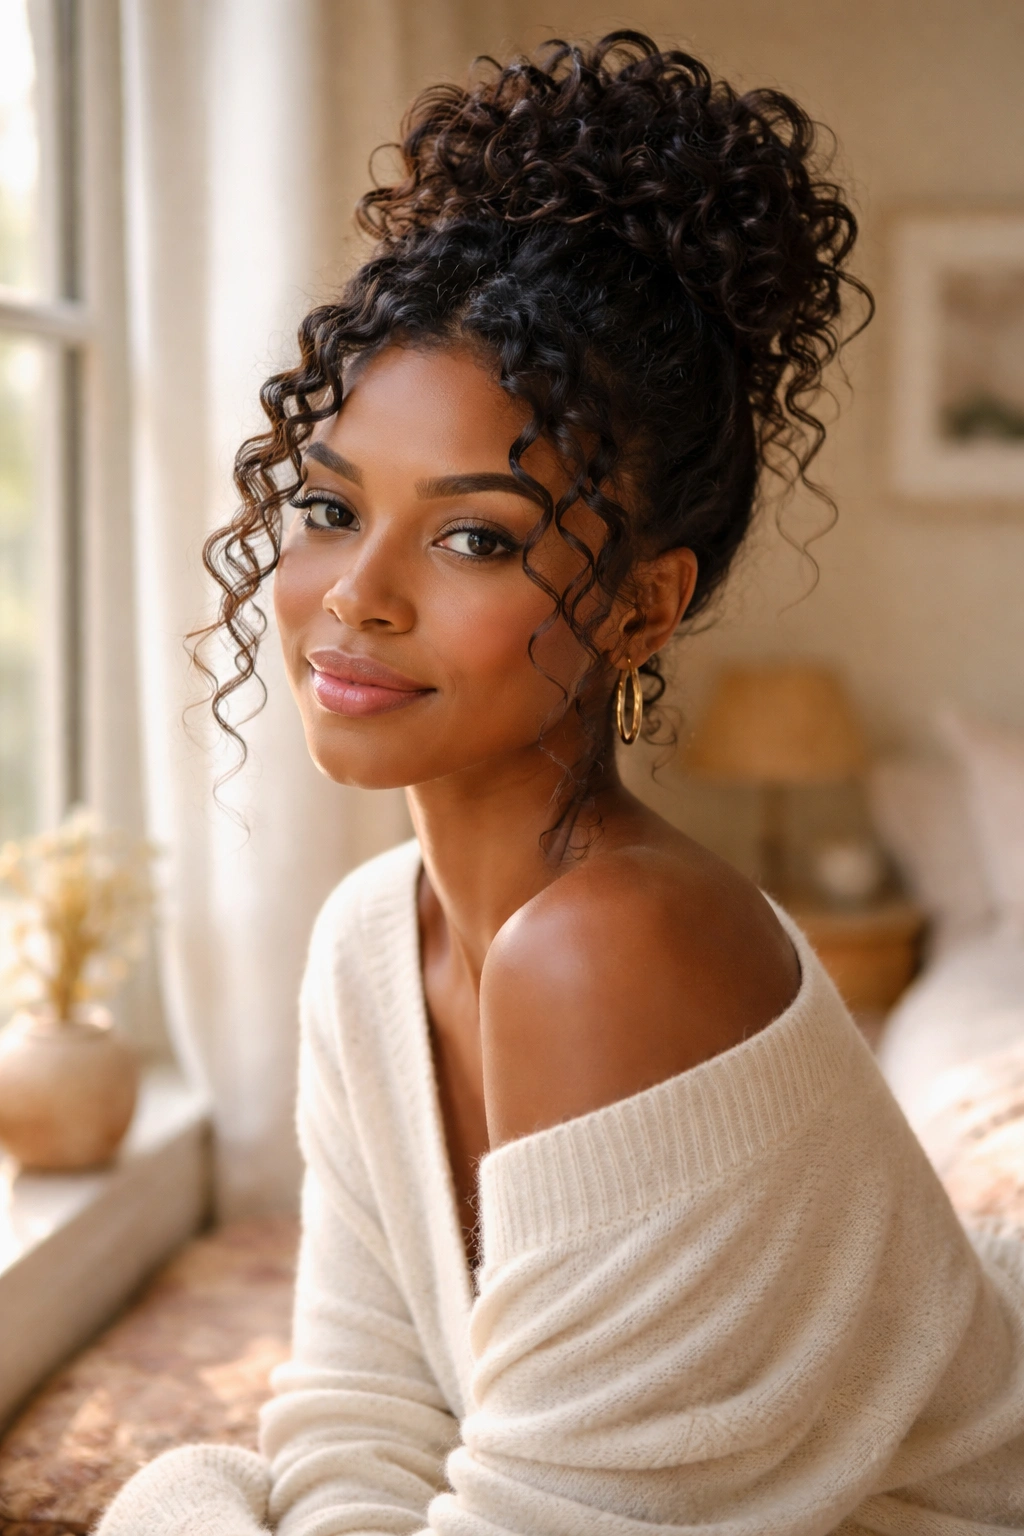
A bun with hanging curls can last a full day — even longer — with the right maintenance habits. Anti-frizz serum or a light oil applied to the hanging curl pieces in the morning helps them stay defined and touchable without getting crunchy. Focus on the ends, which tend to dry out faster than the roots.
At night, loosely wrap the hanging curl pieces with a satin scarf before tying the scarf around the bun. This protects both sections without crushing the curl pattern. A satin pillowcase provides backup protection if the scarf slips.
Avoid touching the hanging pieces throughout the day as much as possible. Every time you run your fingers through them, you’re separating curls and adding frizz.
Accessories That Work With This Look
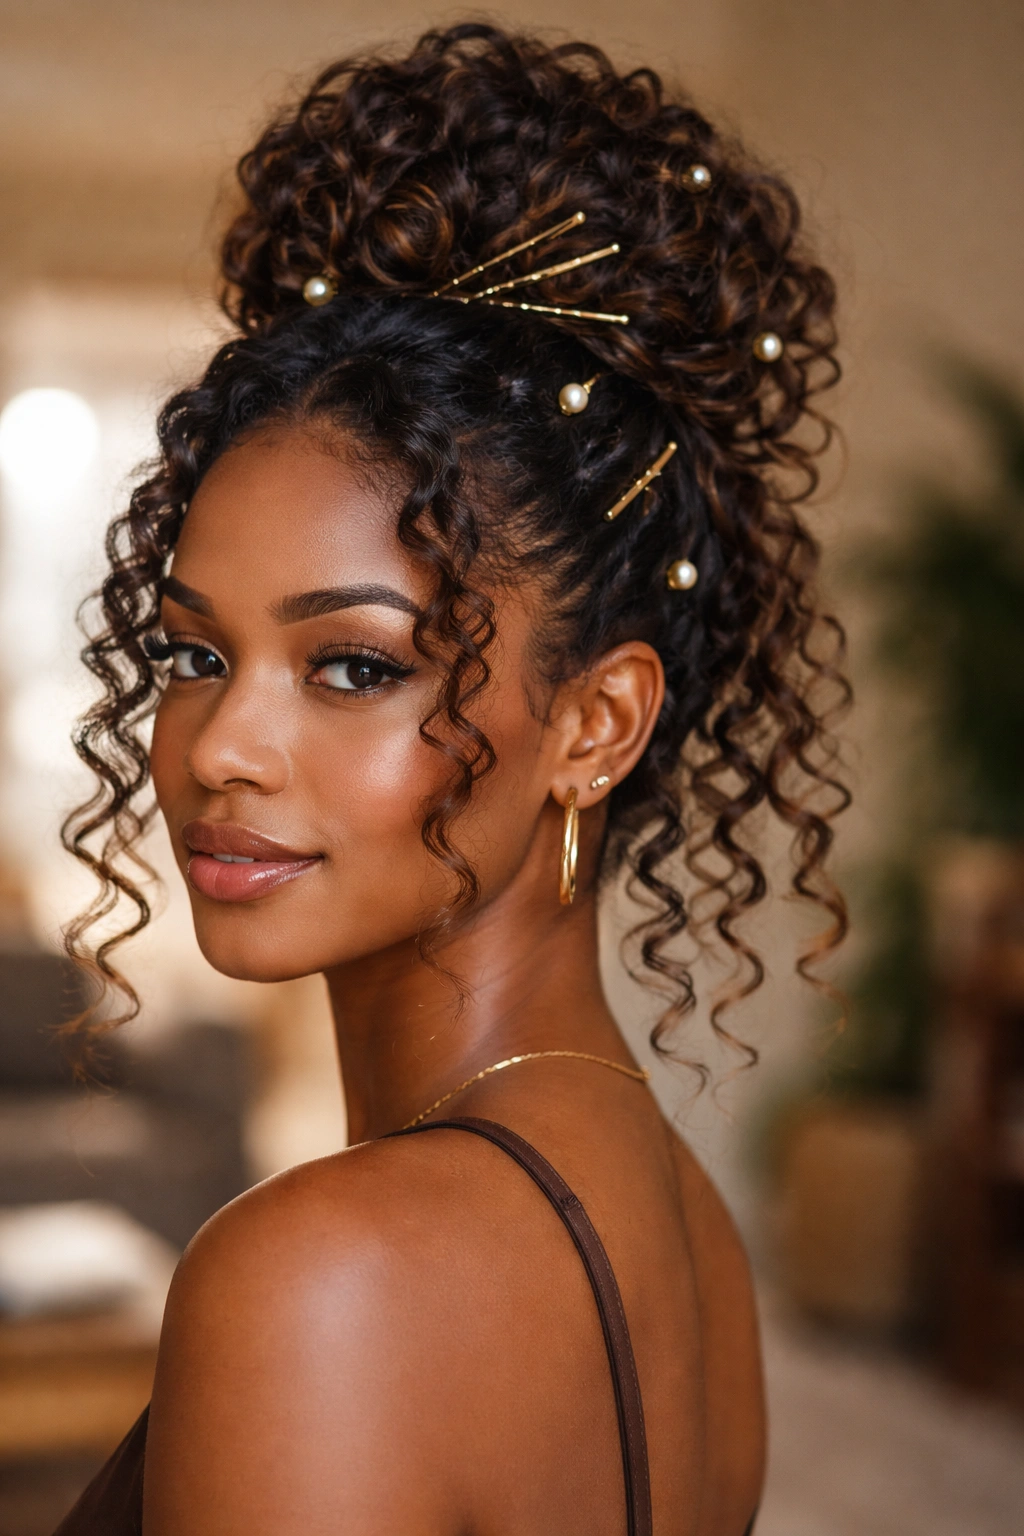
The right accessories can take a bun with hanging curls from simple to spectacular. Gold Bobby pins placed at the bun base or woven through the curls add shimmer without overpowering the style. Wide satin headbands or hair wraps add color and texture at the bun base.
Pearl pins work beautifully for formal occasions — a few scattered through the bun and the hanging curl sections look intentional and elegant. Claw clips in tortoiseshell or metallic finishes are a great everyday option that’s also functional.
For a more casual, playful version of any bun style, a bright scrunchie at the bun base or tied into one of the hanging curl sections adds personality immediately.
Face Shape Guide for Choosing Your Bun Placement
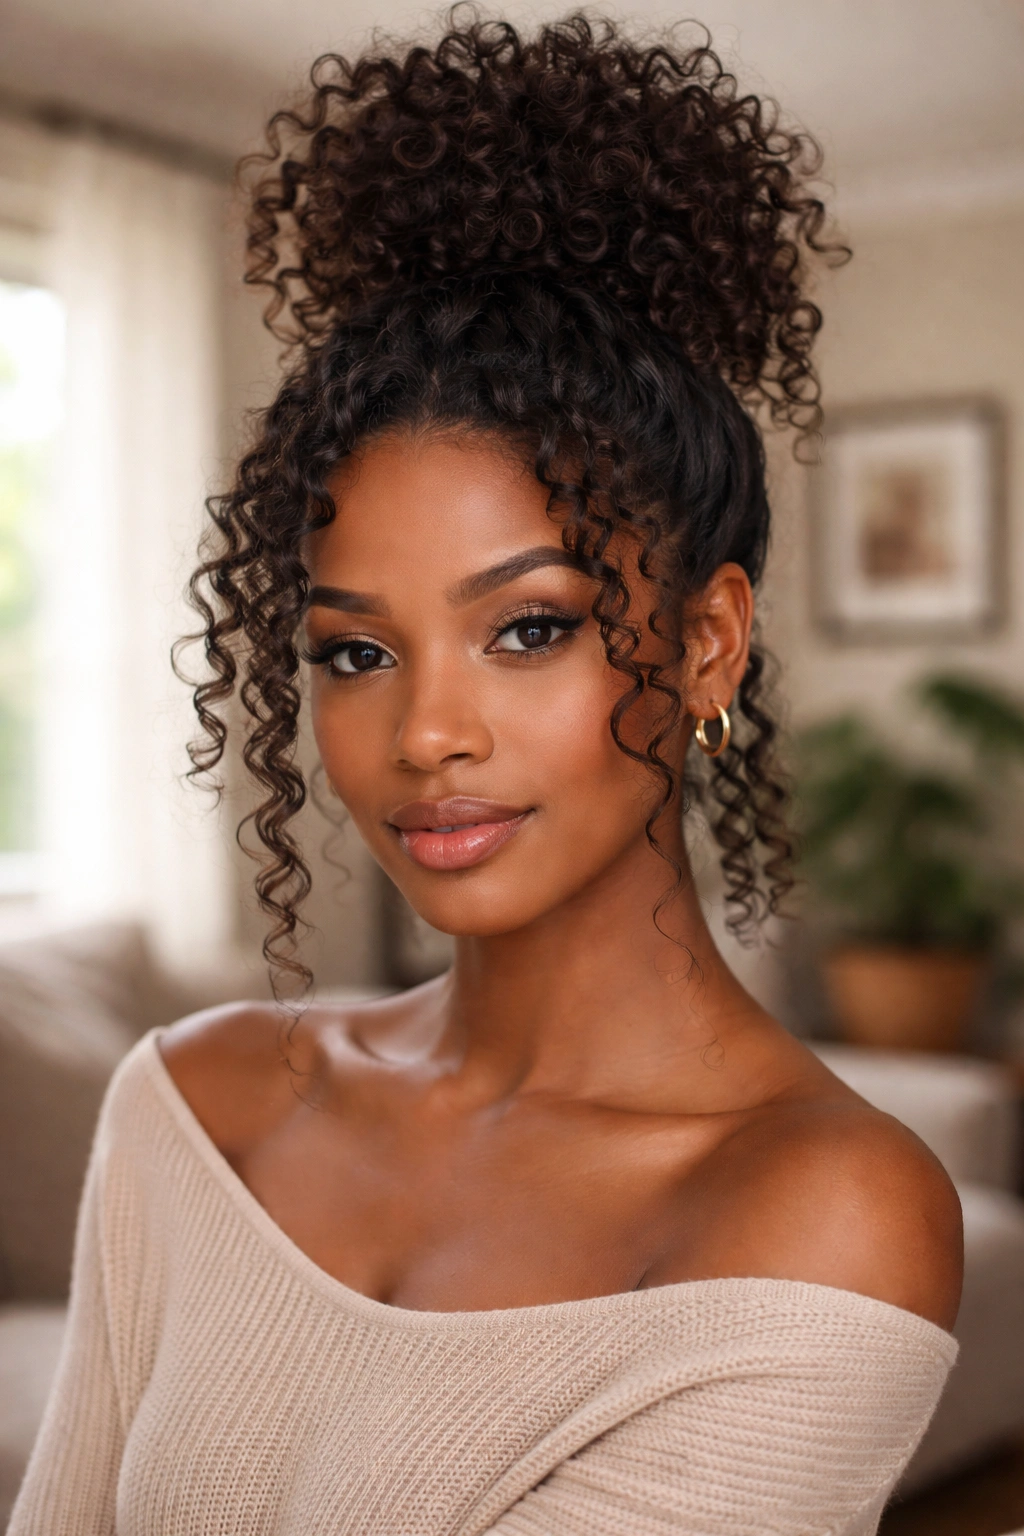
Your face shape should influence where you place the bun and where you position the hanging curls. Round faces benefit from high buns that add vertical height, with hanging curls kept close to the face rather than adding width at the sides. Oval faces can pull off almost any bun placement — high, low, side, or crown. Square faces do well with softer, lower buns and curls that frame the temples and soften the jawline. Heart-shaped faces look great with low buns and curls that add fullness at the chin and neck.
The hanging curls themselves are a face-framing tool, not just a style detail. Use them deliberately based on where your face needs softening, lengthening, or balancing.
Why This Style Never Gets Old
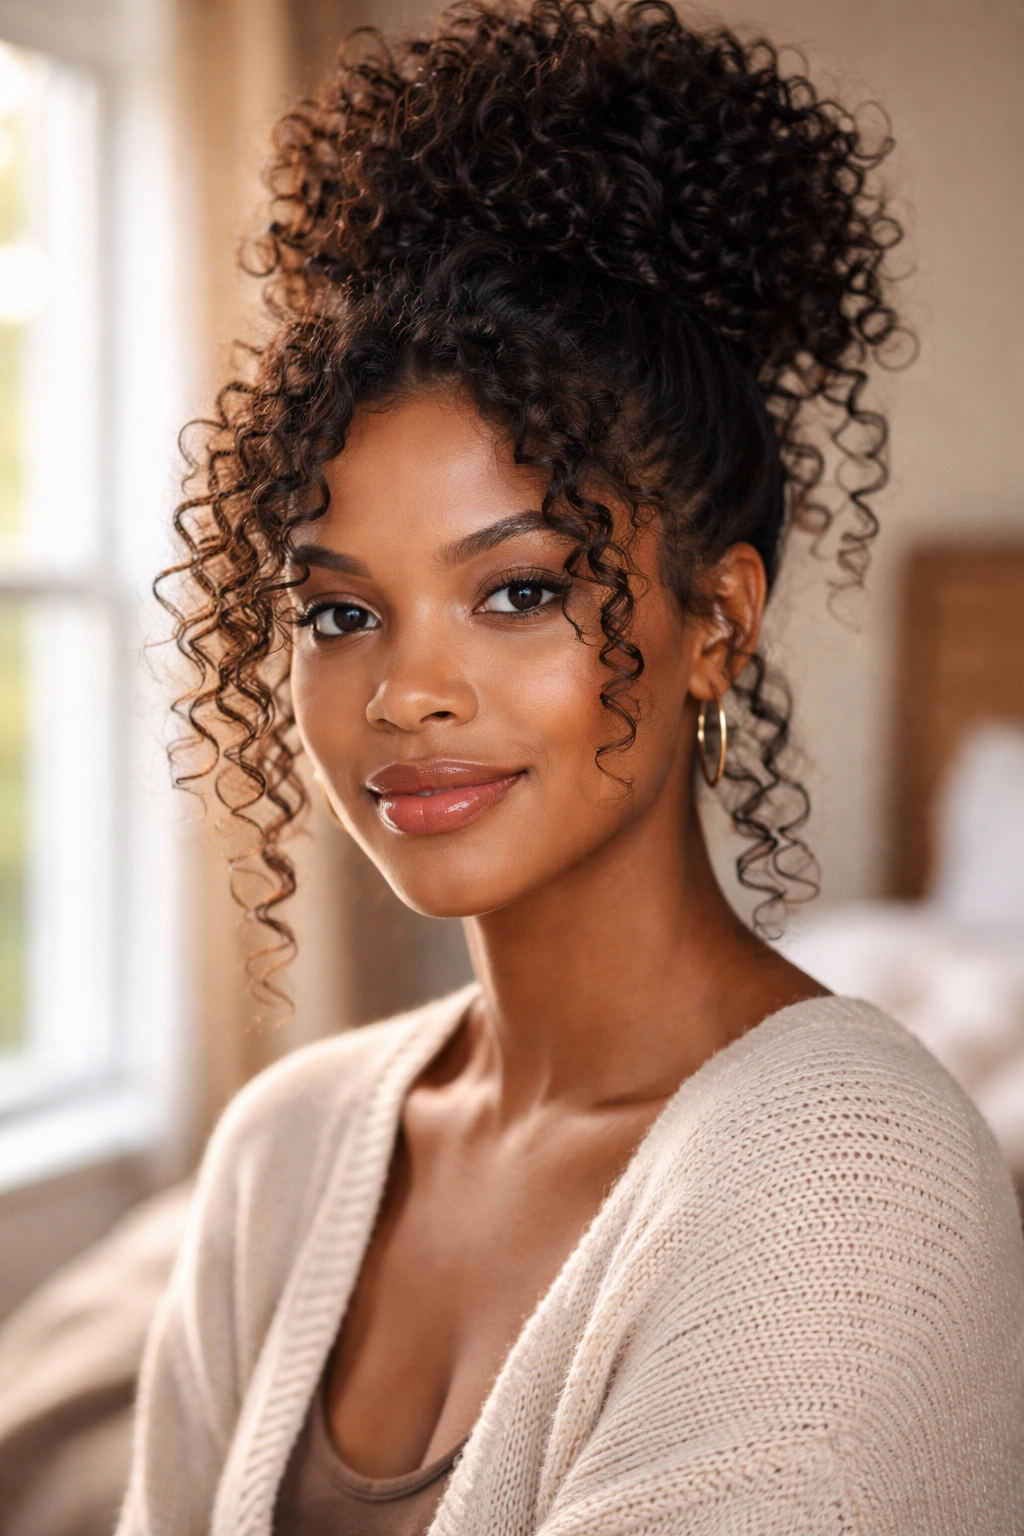
Buns with curls hanging down have been worn across cultures and across time — from Victorian updos with loose tendrils to natural hair editorial shoots. They’re not a trend. They’re a style principle: structure balanced with softness, control balanced with freedom.
For Black women with natural hair, this principle is especially meaningful. It reflects the way many naturals approach their hair in general — embracing both the discipline of a polished style and the wildness of texture that won’t be fully tamed. And that tension? That’s the beauty of it.
The 20 styles above all start from the same foundation but go in completely different directions. High or low, messy or sleek, defined or loose — there’s a bun-with-curls look for every mood, every occasion, and every curl pattern. The only rule is that you leave something free.
