Wearing your natural curls every single day doesn’t have to feel like a chore or a repeat of yesterday’s look. Everyday curly hairstyles for natural hair should be easy enough to do on a rushed morning, protective enough to keep your ends safe, and — most importantly — cute enough to make you feel good walking out the door. Whether your curls are loose and bouncy or tight and coily, there’s a whole world of styles that work with your texture instead of fighting it.
Why Everyday Styles Matter More Than You Think
Most hair care conversations focus on wash day — the deep conditioner, the detangling session, the perfect wash-and-go. But what happens the other six days of the week? That’s where everyday styling makes or breaks your hair health. The styles you choose between wash days directly affect how much moisture your hair retains, how much breakage you experience, and how your ends hold up over time.
Low-manipulation styles are the backbone of any healthy natural hair journey. When you’re constantly pulling, tugging, and restyling your hair with heavy tension, you’re creating microtears in the cuticle that add up fast. A simple, low-fuss style that you can refresh with a little water and a leave-in can do more for your length retention than any product on the market.
The everyday styles in this list are chosen specifically for women who want to look put-together without spending an hour in front of the mirror every morning. Some of them take five minutes. Some take twenty. All of them work for natural hair across multiple curl patterns.
Understanding Your Curl Pattern Before You Style
Knowing your curl pattern isn’t about putting yourself in a box — it’s about understanding which products and techniques will actually work for your hair. Natural hair generally falls into three broad categories: loose curls (Type 3 range), tight curls (Type 4A), and coily or kinky textures (Type 4B and 4C). Most people have more than one texture on their head, which is completely normal.
Loose curls tend to define easily with lightweight products and can handle wash-and-go styles with minimal fuss. Tighter curl patterns often need more moisture, more product, and more intentional styling to achieve definition. Coily and kinky textures shine brightest in protective styles, twist-outs, and braid-outs where the curl pattern is set over time rather than styled and released immediately.
The key is not to force your hair into styles it wasn’t designed for. A 4C wash-and-go is a valid style, but it looks and behaves differently from a 3B wash-and-go. Understanding that difference helps you manage expectations and set your hair up for success every single day.
Building a Realistic Morning Routine for Curly Hair

The biggest mistake naturalistas make is trying to re-create wash day results every morning. That’s not realistic, and chasing it leads to over-manipulation and breakage. Instead, build a refresh routine that works with what your hair already is — whether it’s two days post-wash or five.
The night before matters. Sleeping in a loose pineapple, a satin bonnet, or on a satin pillowcase protects your curls and cuts your morning styling time in half. If you wake up to flat, frizzy hair every morning despite doing everything right during the day, the culprit is almost always nighttime protection.
For morning refreshing, a simple mix of water and a light leave-in conditioner in a spray bottle is enough for most curl types. Spritz, scrunch, and go. For looser curls, this is often all you need. For tighter textures, adding a curl cream or a little gel on top of the refresh can help re-define and control frizz.
Keep your routine sustainable. If a style requires twenty steps every morning to maintain, you won’t keep doing it — and that inconsistency is harder on your hair than any one product could be.
Products and Tools Worth Keeping at Your Station

You don’t need a shelf full of products to do natural hair well. What you need are the right products for your specific texture, applied in the right order. The general rule is to layer from thinnest to thickest: water-based leave-in first, then cream, then gel or oil to seal.
A wide-tooth comb and a Denman brush (or a similar detangling brush) cover most styling needs. For protective styles and updos, you’ll want bobby pins, hair ties without metal clasps, sectioning clips, and a light edge control. A rattail comb is useful for parting and laying edges, but it’s not a necessity for every style.
Satin scrunchies and silk-lined hair ties are worth the investment — they’re gentle on the hair shaft and don’t cause the breakage that regular elastic ties do. Keep a few on your wrist, in your bag, and at your styling station.
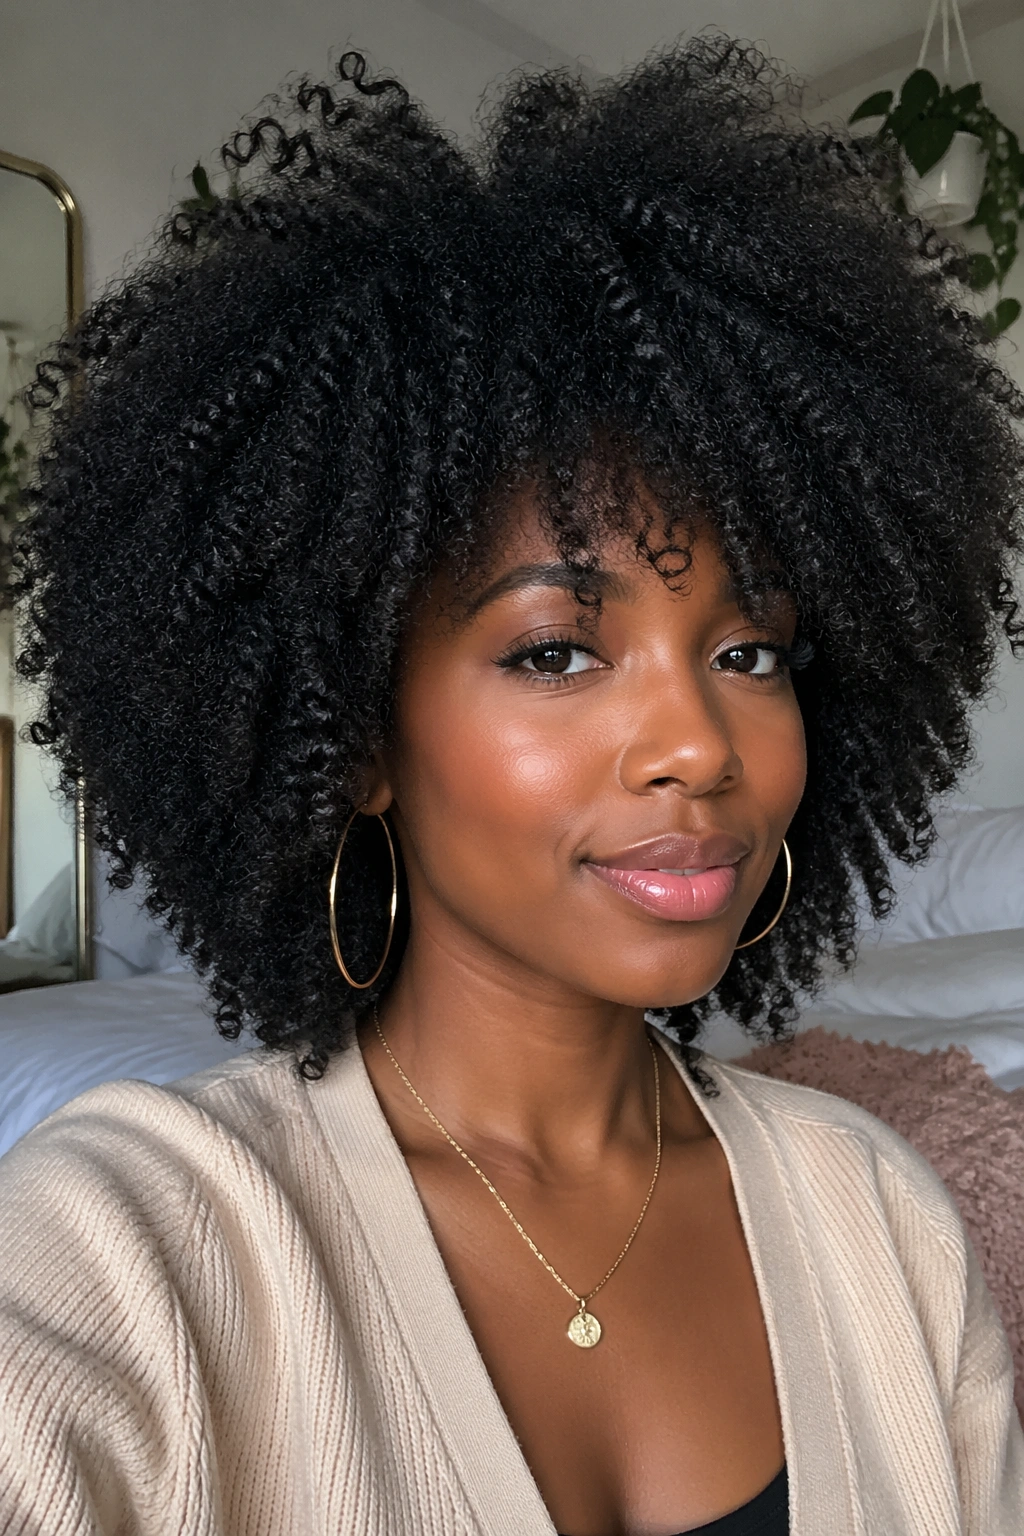
1. The Classic Wash-and-Go
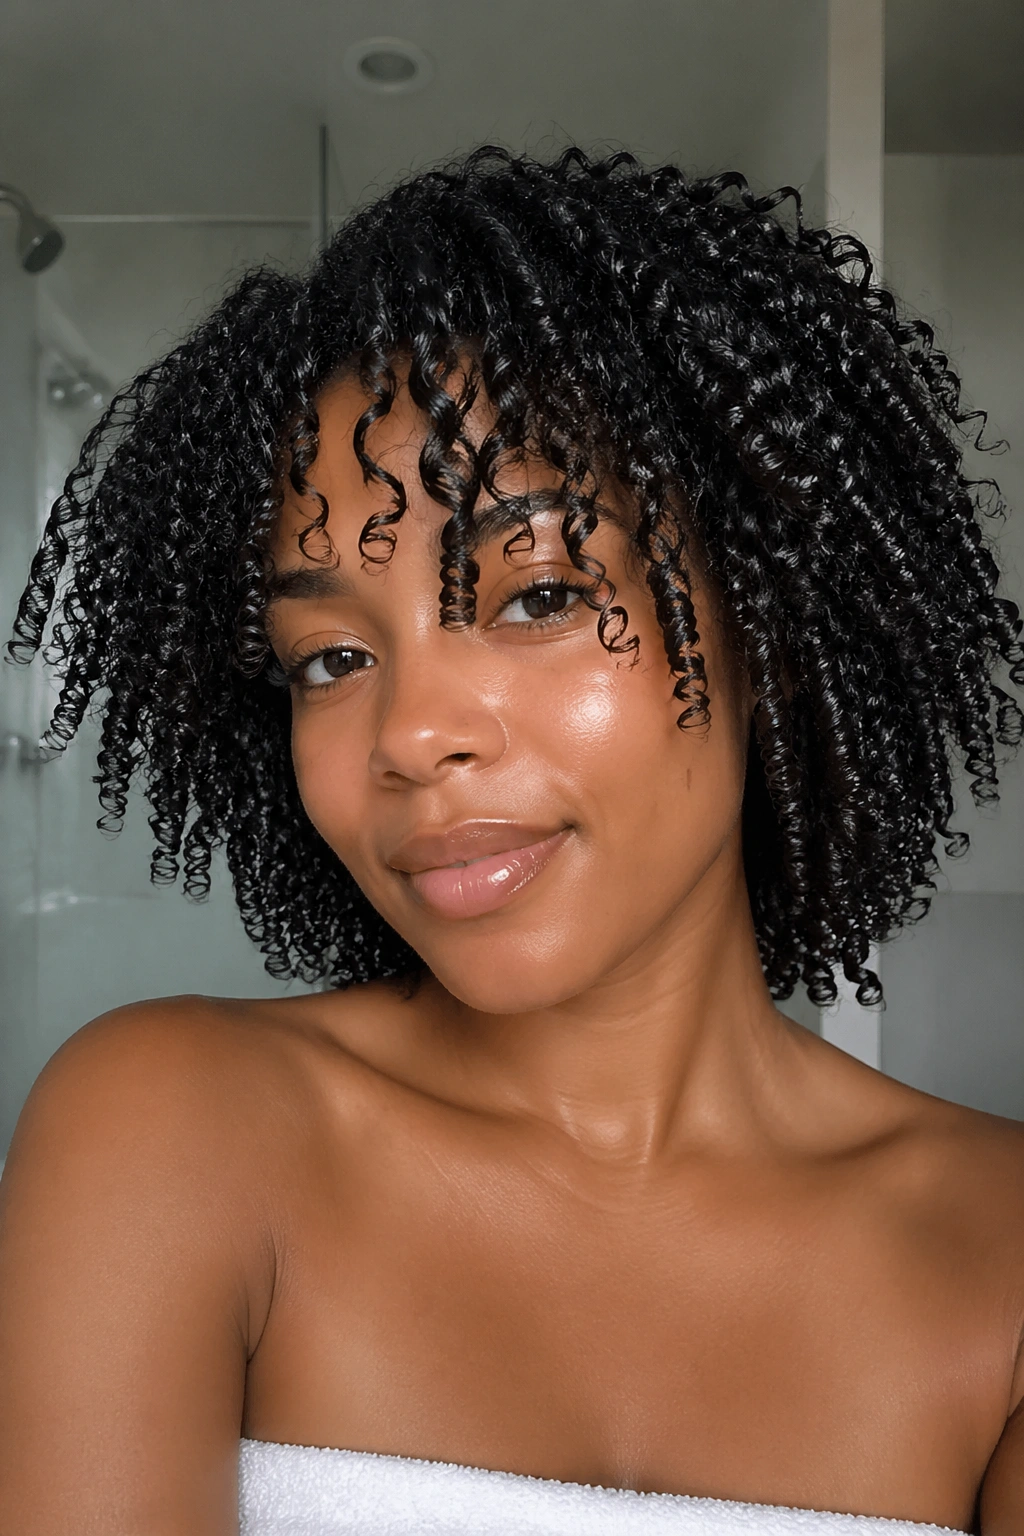
The wash-and-go is the gold standard of natural hair styles, and it earns that title by being completely honest about what your hair actually looks like. You’re not manipulating it into something else — you’re just enhancing what’s already there.
How to Get the Best Wash-and-Go
Apply your products to soaking-wet hair, working in small sections. Start with a leave-in conditioner, then add a curl cream or styler, and finish with a gel to hold everything in place. Scrunch each section upward from the ends toward the scalp — don’t smooth or rake the products through, because that breaks up the curl clumps that give you definition.
Once your hair is fully saturated with product, diffuse on low heat or let it air dry completely. Don’t touch it while it’s drying. This is where most people go wrong. Touching wet or damp curls causes frizz. Wait until your hair is fully dry before breaking the cast (the crunchy layer the gel creates). Scrunch out the crunch with a small amount of oil on your palms.
- Works best on: Type 3A–4A hair
- Key product: A medium-hold gel that doesn’t flake
- Morning refresh: Spritz with water, scrunch, leave it
A well-executed wash-and-go can last three to five days with proper nighttime protection.
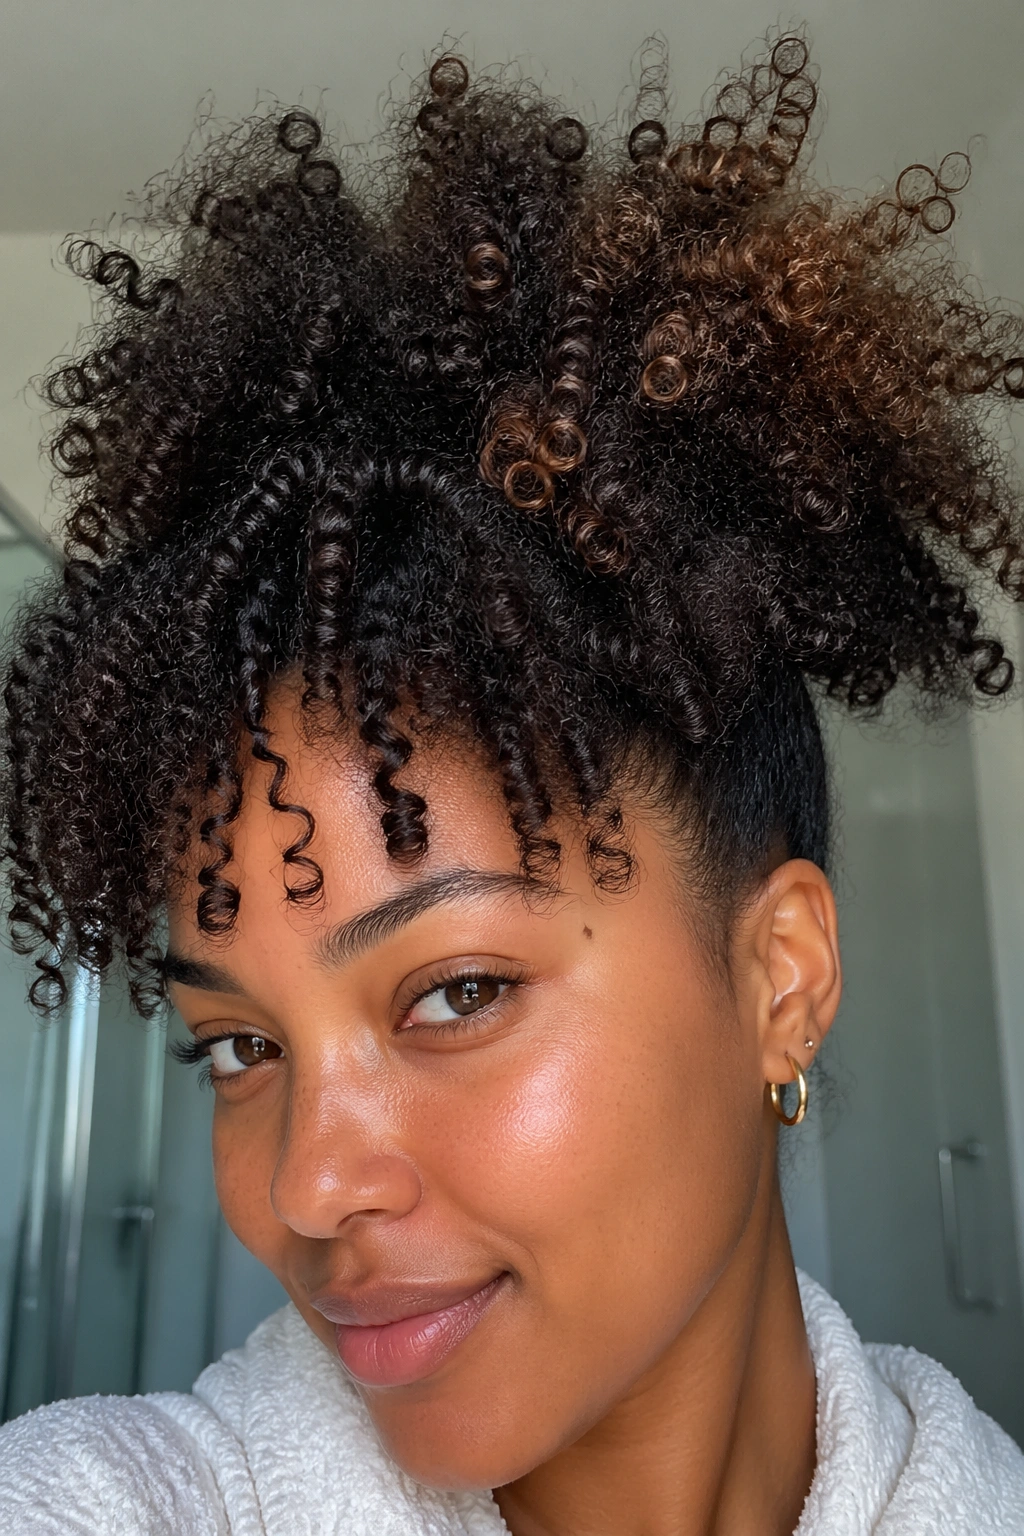
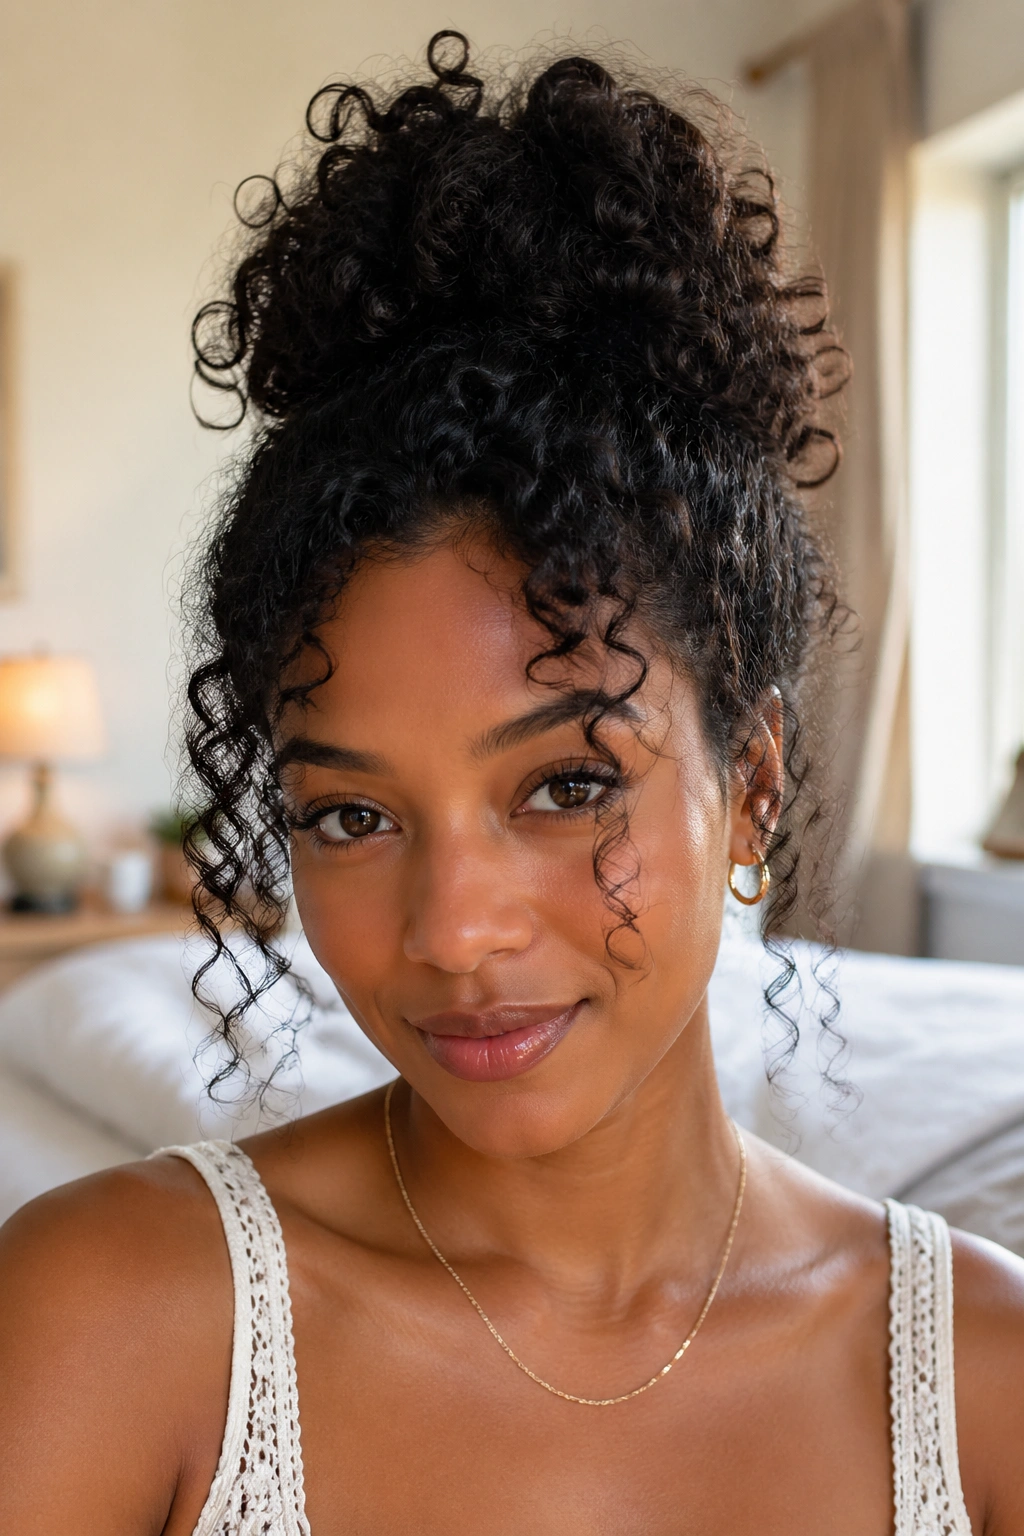
2. The Pineapple
Most people think of the pineapple as just a sleep style — but it’s also a legitimate daytime look. A high, loose pineapple on top of your head is carefree, voluminous, and takes about thirty seconds to execute. It’s the style you do when you’re running late and you need your hair out of your face without sacrificing all the volume you worked for.
To pineapple properly, flip your hair forward and gather it loosely at the very top of your head. Use a satin scrunchie — never a regular elastic — and tie it loosely enough that you’re not pulling at the roots. The goal is to gather, not to flatten.
The beauty of the pineapple is that it preserves curl definition underneath while giving you that effortless, thrown-together look that somehow still appears intentional. You can pull a few face-framing pieces out around your forehead and temples to soften it. Add a scarf or headband at the base if you want it to look more styled.
This works best on hair that has enough length to gather at the top — roughly shoulder length or longer. For shorter hair, a smaller half-pineapple at the crown still achieves a similar effect.
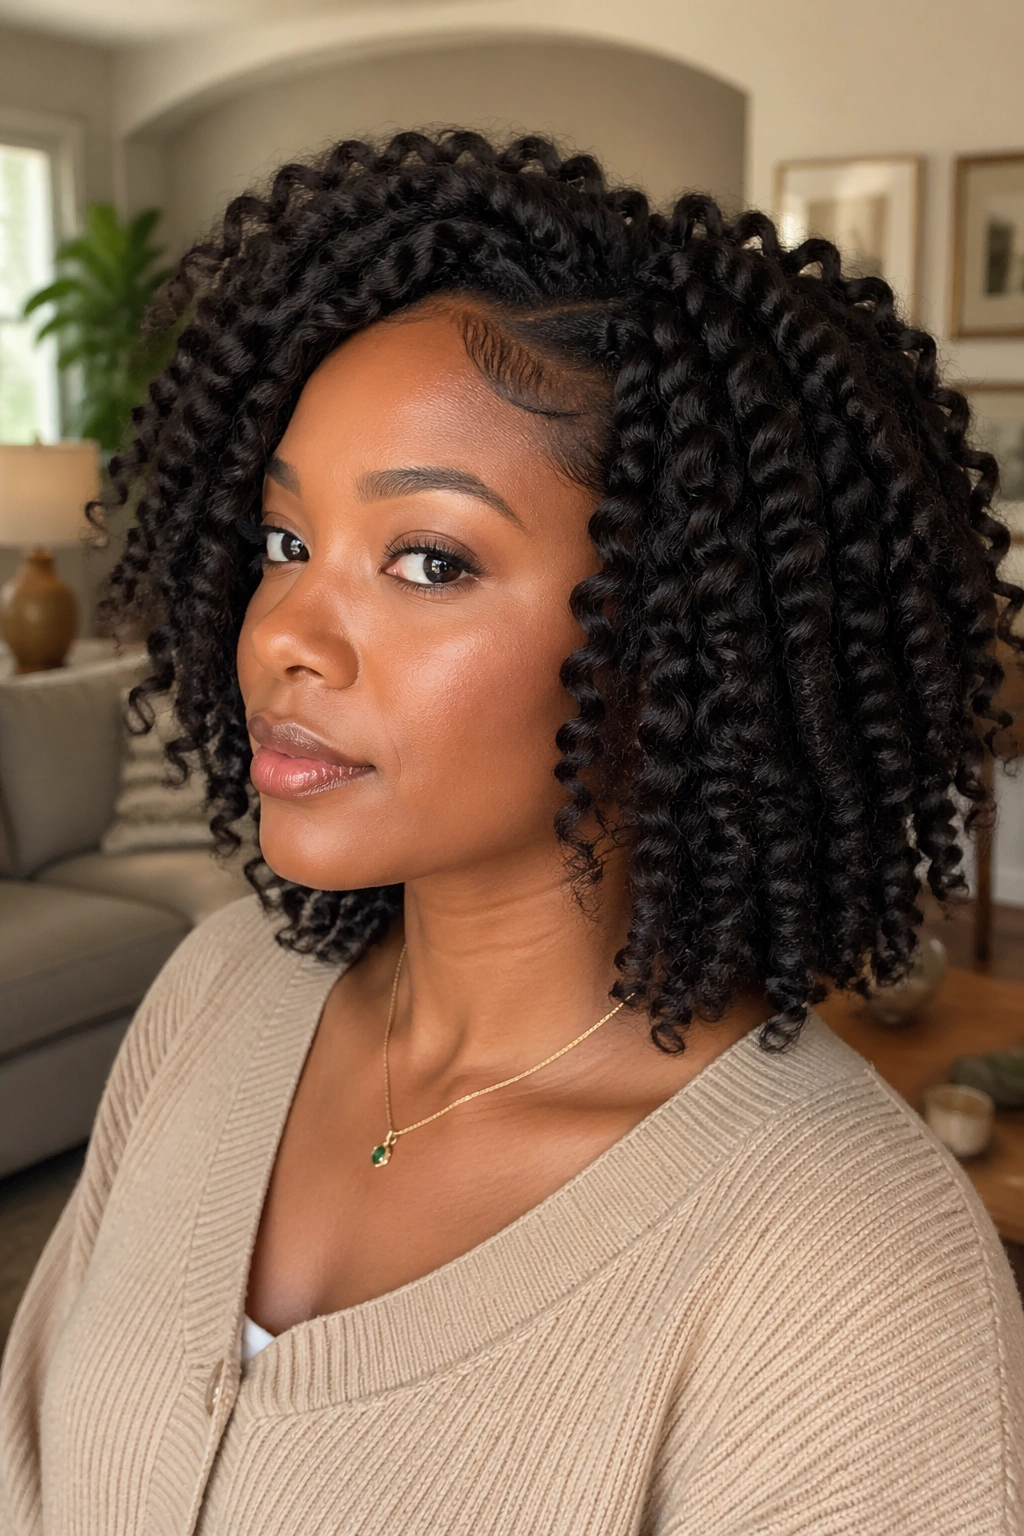
3. Two-Strand Twist-Out
The twist-out is one of the most reliable styles in the natural hair playbook. You set it while your hair is damp, let it dry completely (overnight works best), and unravel it the next morning to reveal defined, stretched curls with a beautiful wave pattern running through each strand.
How to Get This Look
Section damp hair into four to eight sections, depending on your hair density. Apply leave-in and a creamy styler to each section, then divide each section into two and twist them around each other from root to tip. Secure the ends with a small flexi-rod or simply tuck them. Sleep with a satin bonnet on, and unravel in the morning.
- Don’t unravel too early — hair must be completely dry or the twist-out will frizz immediately
- Use your fingers to separate the twists, not a comb
- Add a small amount of oil to your hands before separating to control frizz
- The smaller the sections, the tighter and more defined the result
Twist-outs last multiple days, making them a fantastic high-return investment of styling time. Refresh with a light mist of water and a touch of product, and re-pineapple at night.
4. Braid-Out
Unlike a twist-out, which gives you a wave-like pattern, a braid-out creates a more angular, crimped texture that looks stunning on tighter curl types. The technique is almost identical to the twist-out — the difference is that instead of two-strand twists, you braid each section in a standard three-strand braid.
Braid-outs tend to last longer than twist-outs and hold up better in humidity, which makes them a smart choice for warmer climates. The pattern is also more defined on 4B and 4C hair, which can sometimes struggle to get visible definition from a twist-out alone.
Apply product generously. The braid-out works best when hair is fully saturated with a creamy styler before you braid. Drier braids produce drier, less defined results. After unraveling, don’t be afraid to use your fingers to fluff and separate — the more you separate, the more volume you’ll get, though you’ll sacrifice some definition in the process. Find your preferred balance.
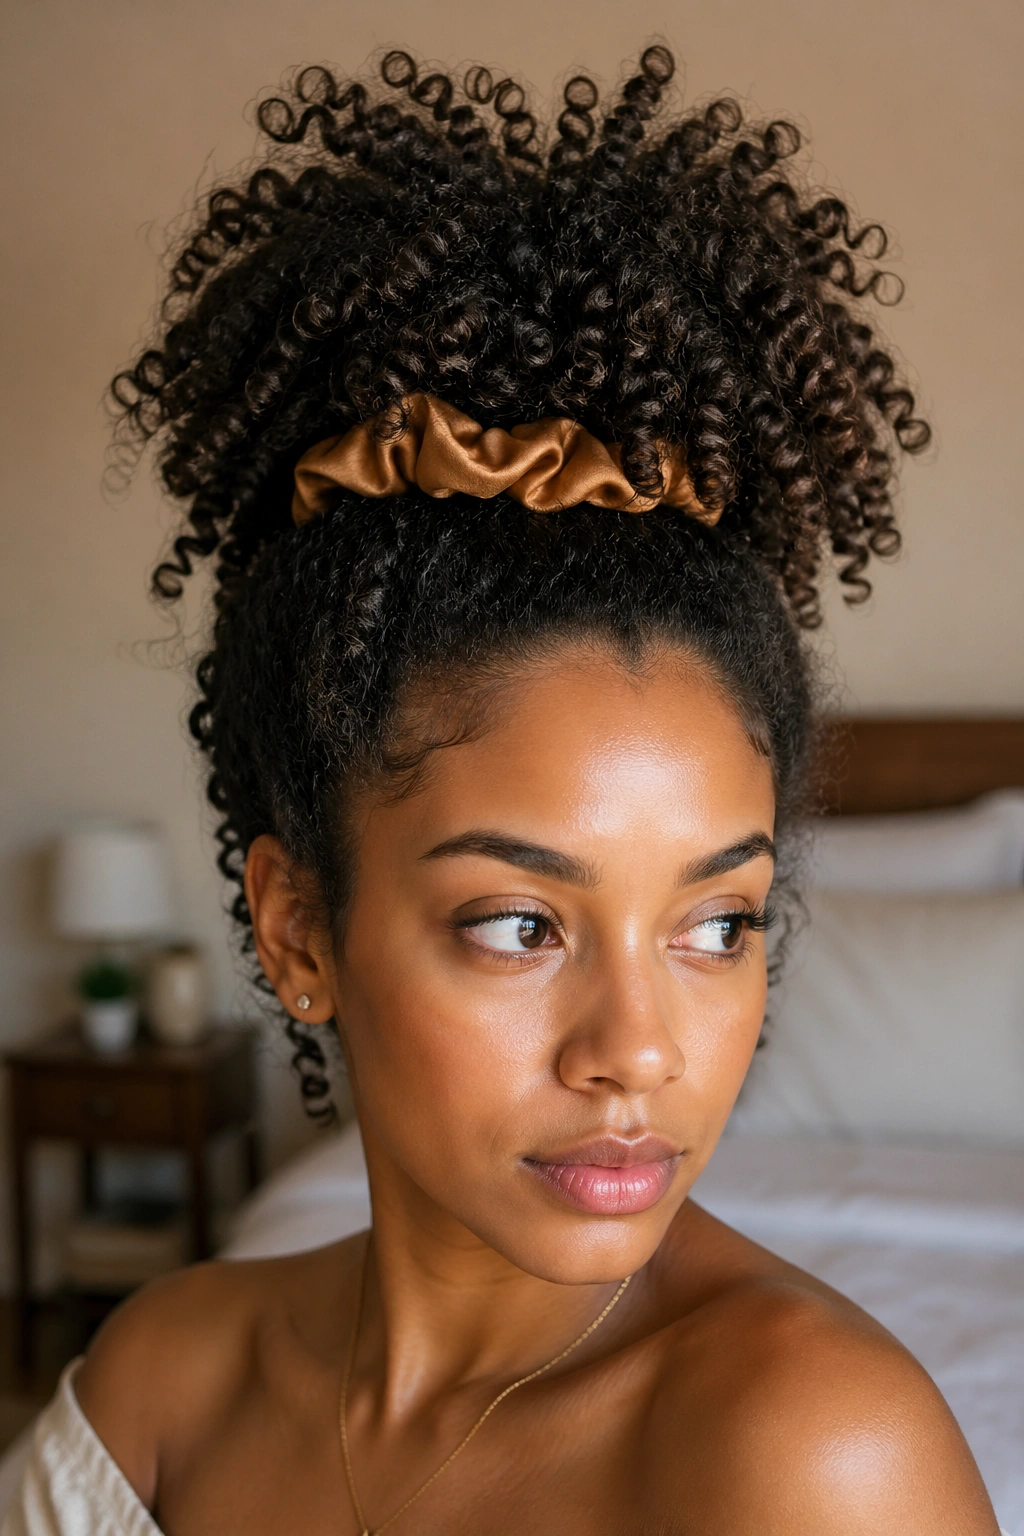
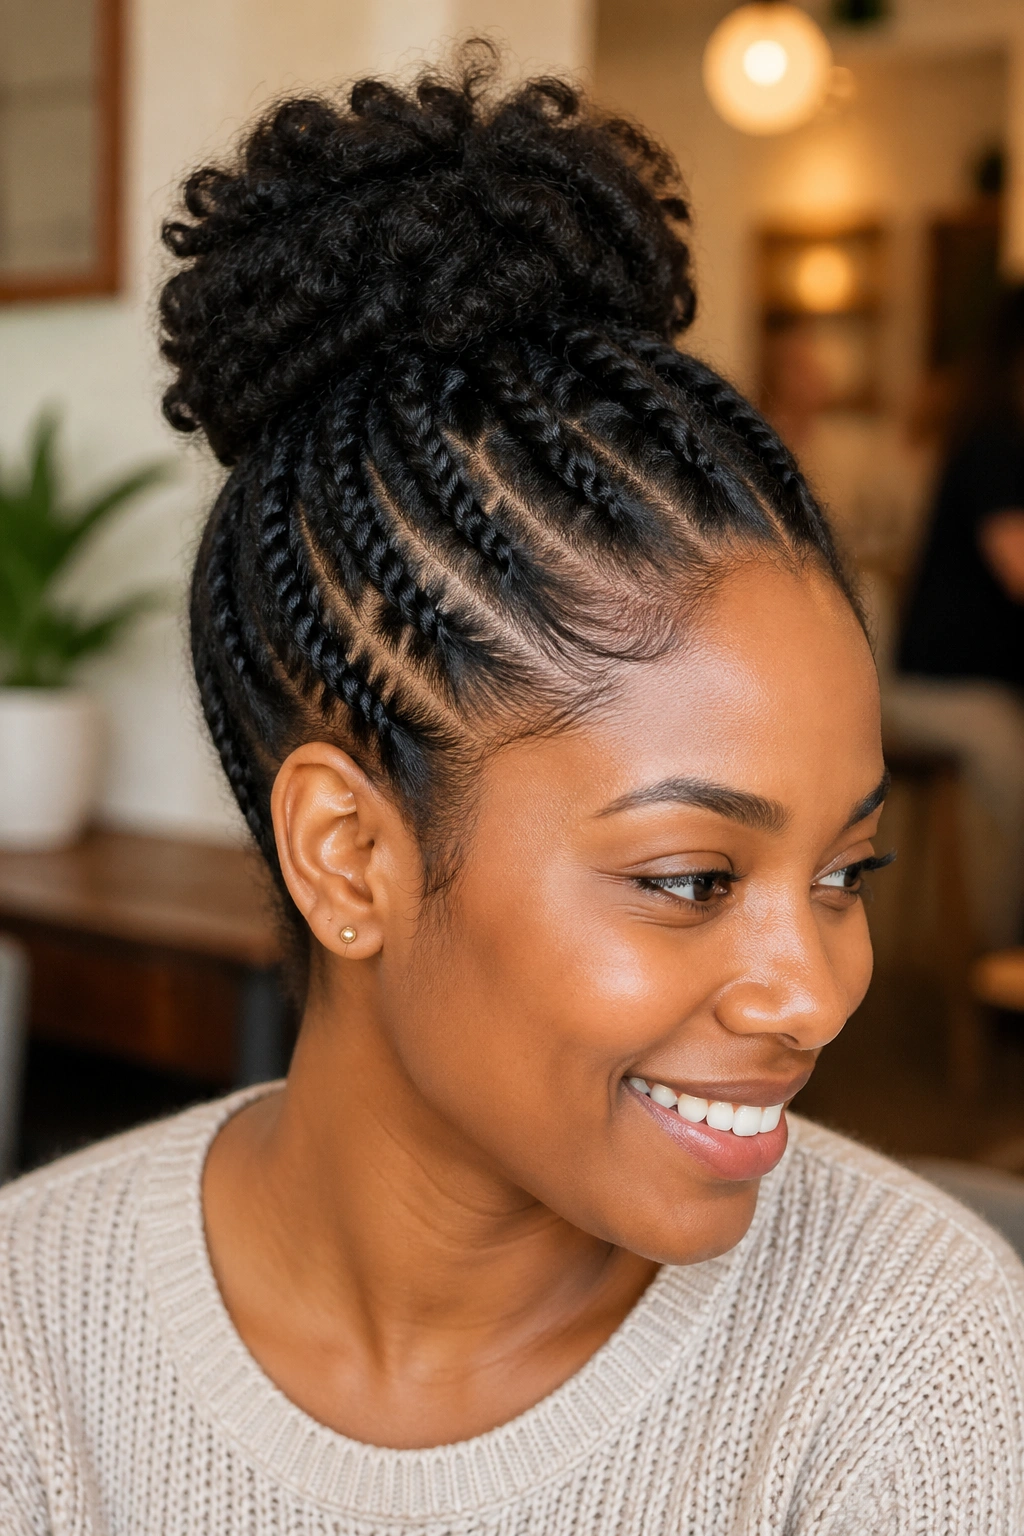
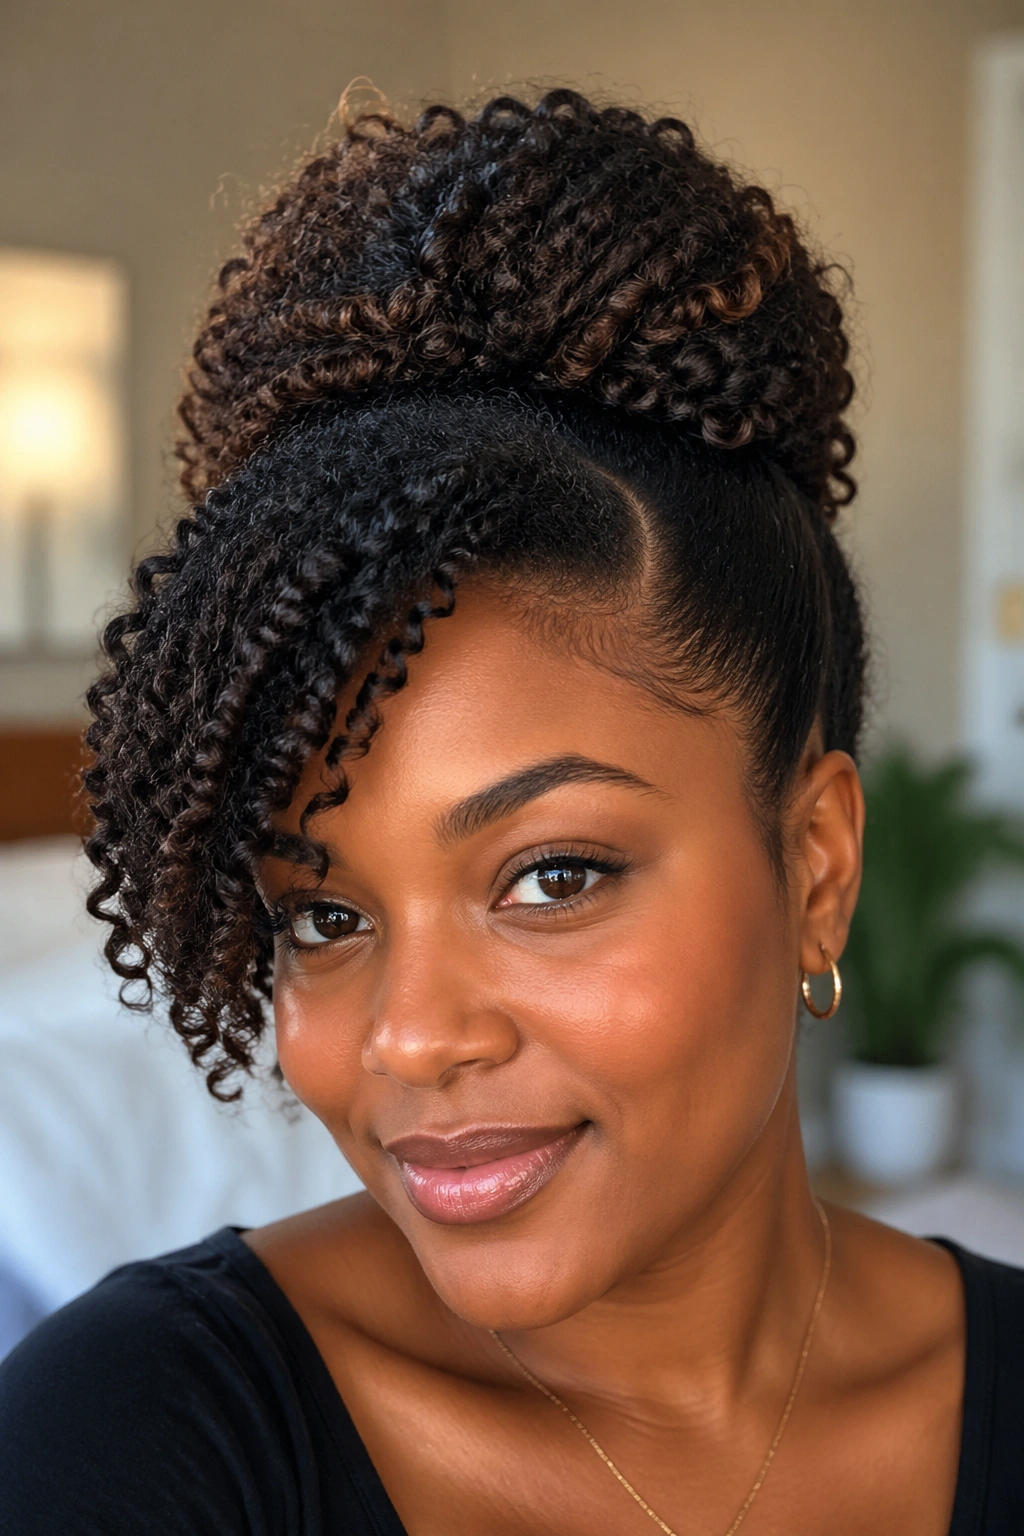
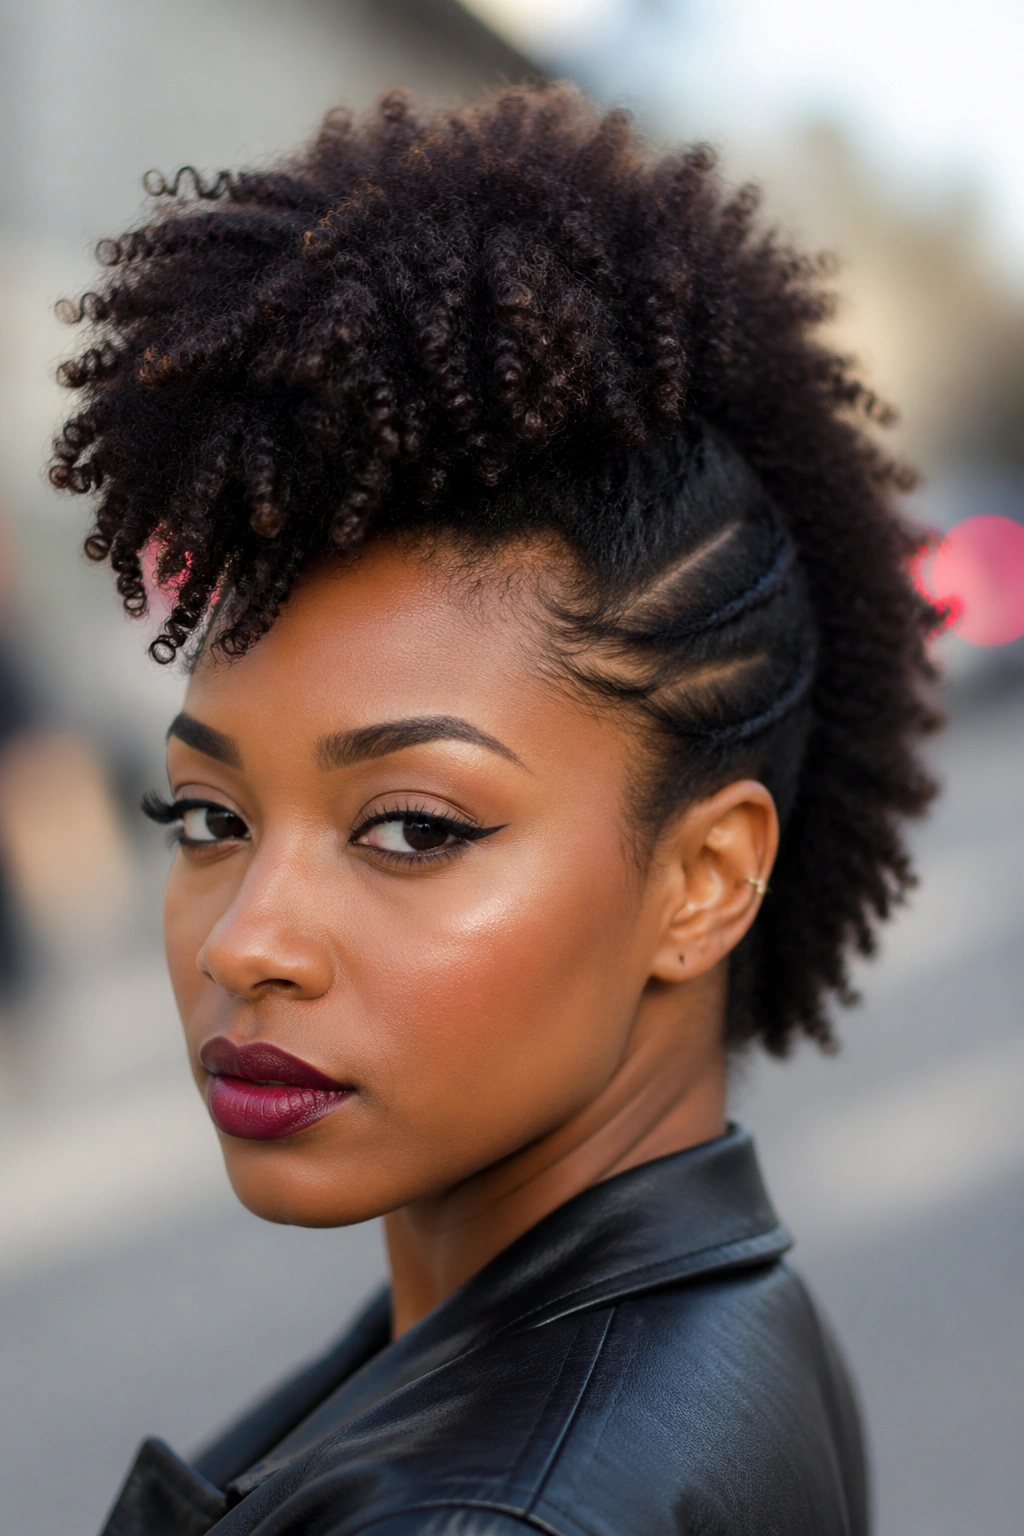
5. High Puff
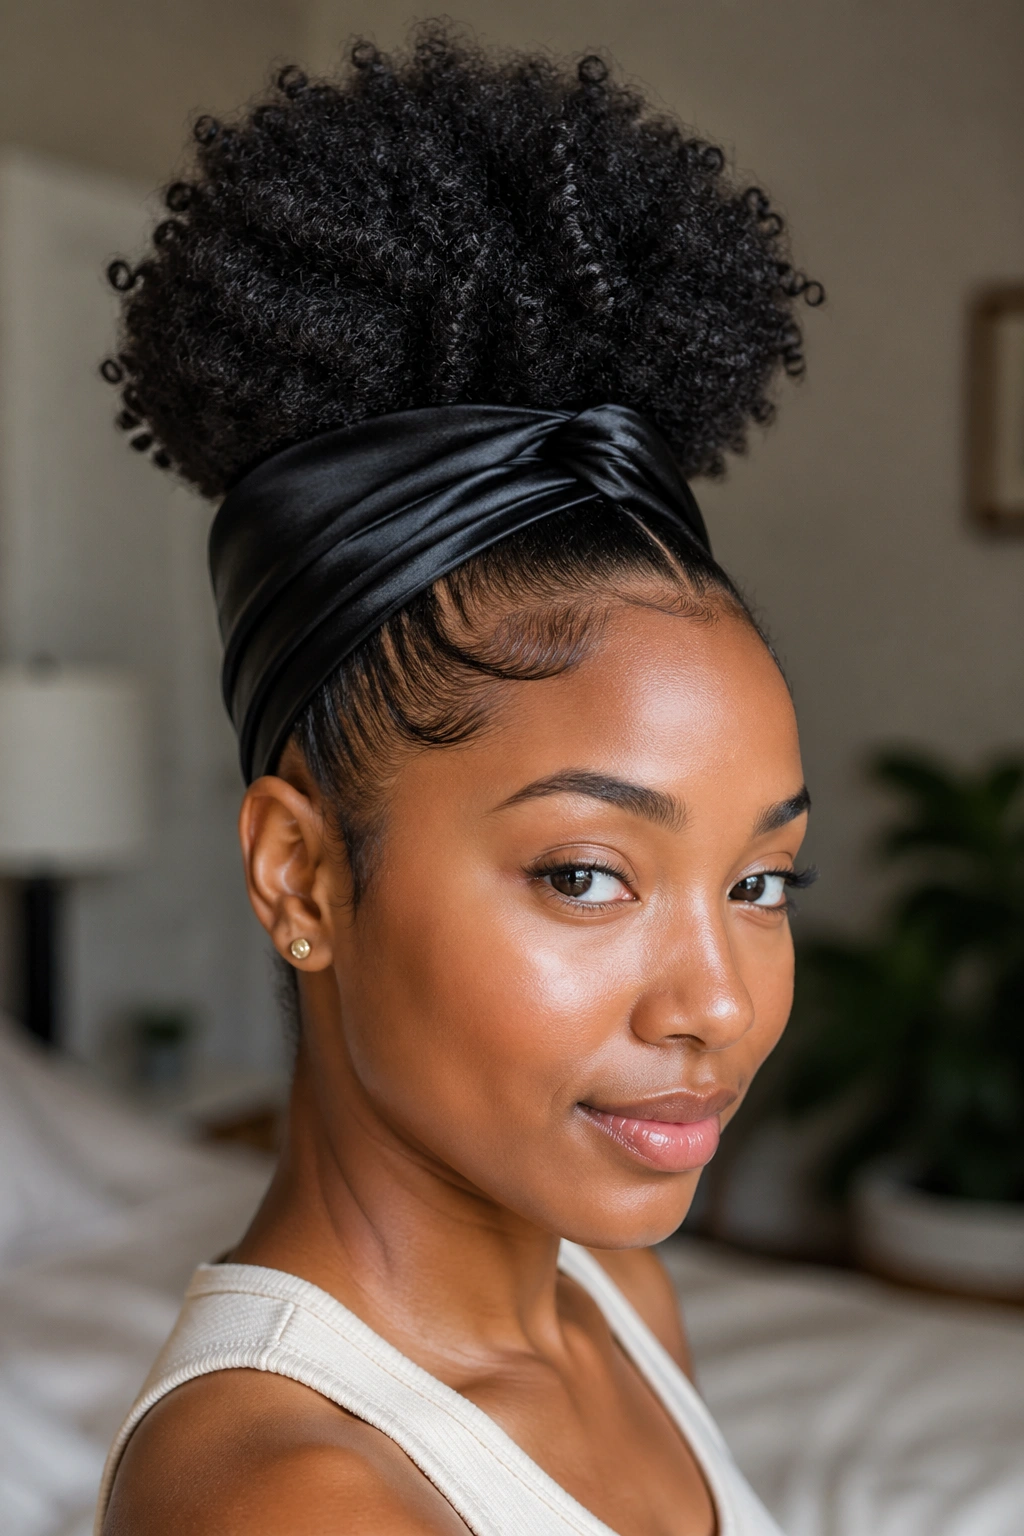
The high puff is different from the pineapple — it’s tighter, sleeker at the base, and more structured. It’s the kind of updo that looks intentional, polished, and put-together even when you did it in five minutes.
How to Get This Look
Gather your hair at the crown, but unlike the pineapple, smooth the sides and edges down before securing. Apply edge control along your hairline and use a soft-bristle brush to lay your edges flat. Use a large satin scrunchie or a soft hair tie to secure the puff at the crown. The puff itself can be as big and fluffy as you want — that’s the whole point.
For extra hold and sleekness at the sides, wrap the back and sides of your hair with a satin scarf for ten to fifteen minutes before heading out. This sets the edges and creates a clean look that lasts all day.
6. Low Puff
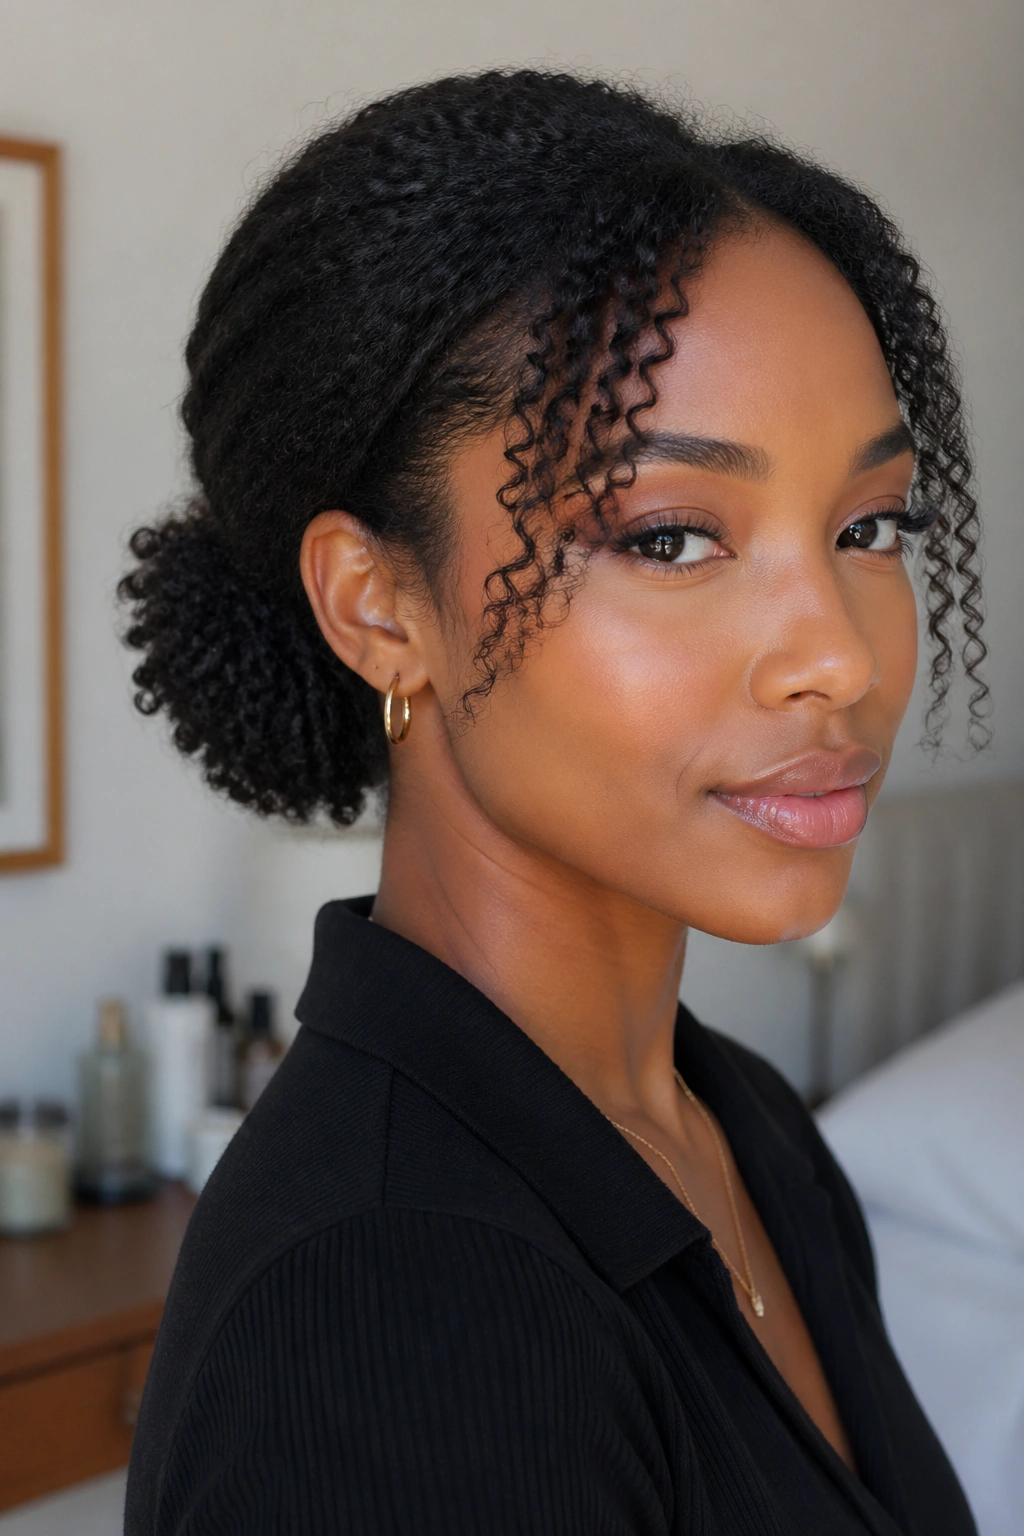
The low puff sits at the nape of the neck rather than on top of the head, and it’s a completely different vibe — softer, more romantic, and a little more understated than its high counterpart. It works particularly well for professional settings where a high puff might read as too casual.
Secure it the same way as a high puff, but gather the hair low at the base of your neck. Leave the front section loose to frame your face, or smooth it back for a more polished finish. Add a decorative clip or a ribbon to make it look intentional rather than rushed.
7. Bantu Knots
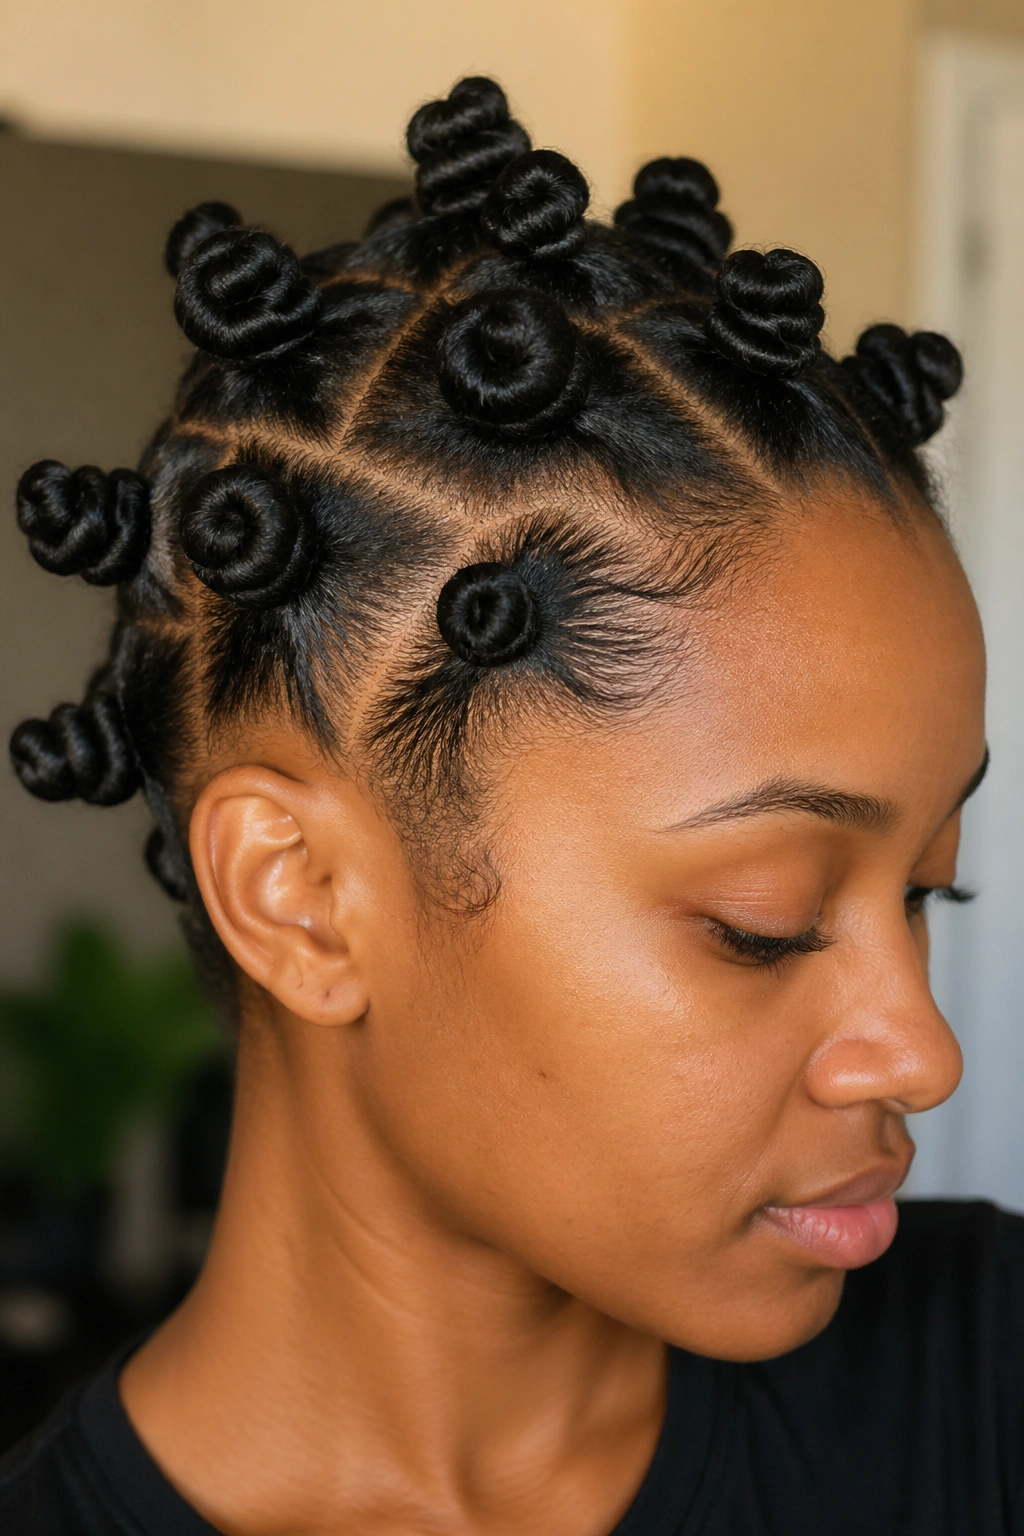
Bantu knots are a genuinely protective style that also double as a gorgeous everyday look. Each knot is created by sectioning the hair, twisting it tightly, and coiling it around itself until it sits flat against the scalp in a small, neat bun. The result is sculptural and striking.
Start with moisturized, sectioned hair. The cleaner your sections, the more uniform your knots will look. Apply a styling cream to each section before twisting. The tighter you coil, the smaller and neater the knot. Secure the end by tucking it under the base of the knot.
You can wear bantu knots as a finished style — they look intentional and beautiful — or you can sleep in them and unravel them the next morning for a bantu knot-out. The knot-out produces tight, springy spiral curls that are distinctly different from both twist-outs and braid-outs.
8. Flat Twist Updo
Flat twists sit flush against the scalp, similar to cornrows, but they’re created with two strands instead of three. They’re gentler on the hair and easier to do on yourself at home. A flat twist updo combines flat twists along the sides or back with a loose puff or bun at the top.
How to Get This Look
Part your hair from ear to ear, separating the front from the back. Section the back into a low puff or bun. Starting at your hairline, pick up a small section and begin twisting flat along the scalp, adding hair as you go (similar to French braiding technique). Continue until you reach the puff at the back, then tuck the ends in or let them blend.
This style looks more complex than it is and holds up beautifully for multiple days.
9. Messy Bun
The messy bun for natural hair is not the same as a messy bun on straight hair. On curls, it’s all about volume and texture — you’re gathering your hair loosely and letting the curls do the work, so the “messy” part comes naturally.
Gather your hair loosely at the nape or crown, secure with a large scrunchie, and then pull out pieces around your face. Let loose curls fall around the edges. The goal is effortless, not sloppy — there’s a difference. A little edge control along the hairline keeps it from veering into unkempt territory.
10. Finger Coils
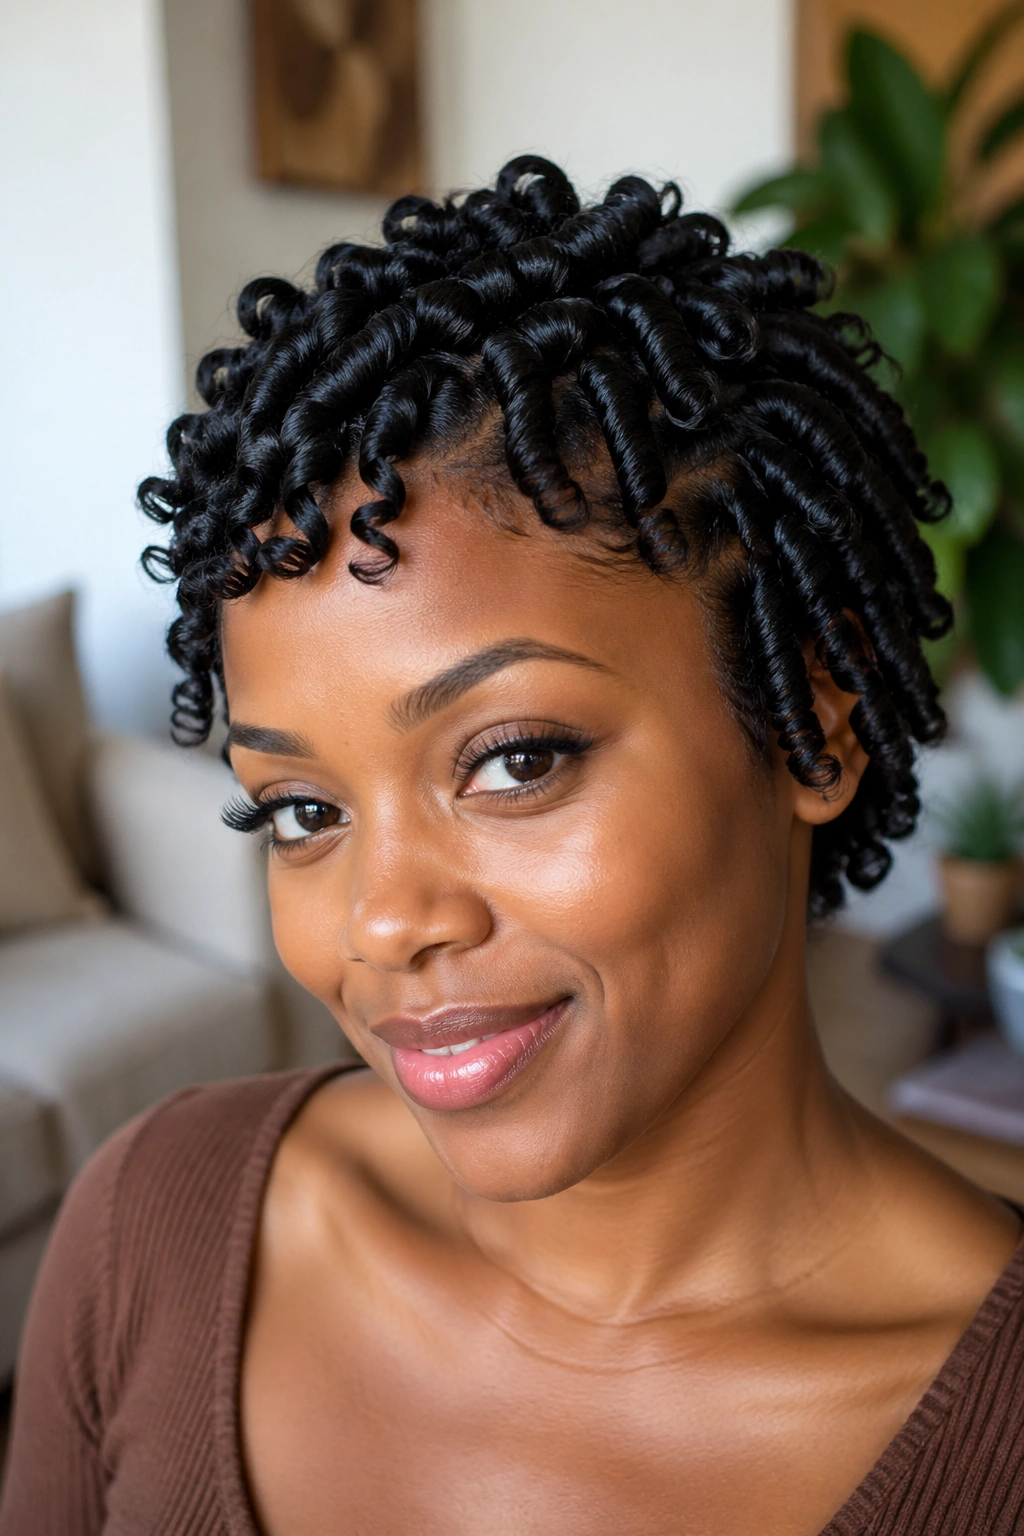
Finger coils are one of the most time-consuming styles on this list — and one of the most rewarding. Each individual curl is formed by wrapping a small section of hair around your finger, coiling it from root to tip, and releasing it. Done on an entire head, the result is an array of perfectly defined, springy coils.
This style works best on Type 3C through 4B hair. It takes time — plan for two to four hours depending on your hair’s density and length — but the results last for days. Finger coils that are unraveled after drying produce a twist-out-like result, but the coil version is a stunning style on its own.
Apply a curl-defining cream to each small section before coiling. The product is what holds the coil together as it dries. Diffuse or air dry, and do not disturb until completely dry.
11. Half-Up, Half-Down
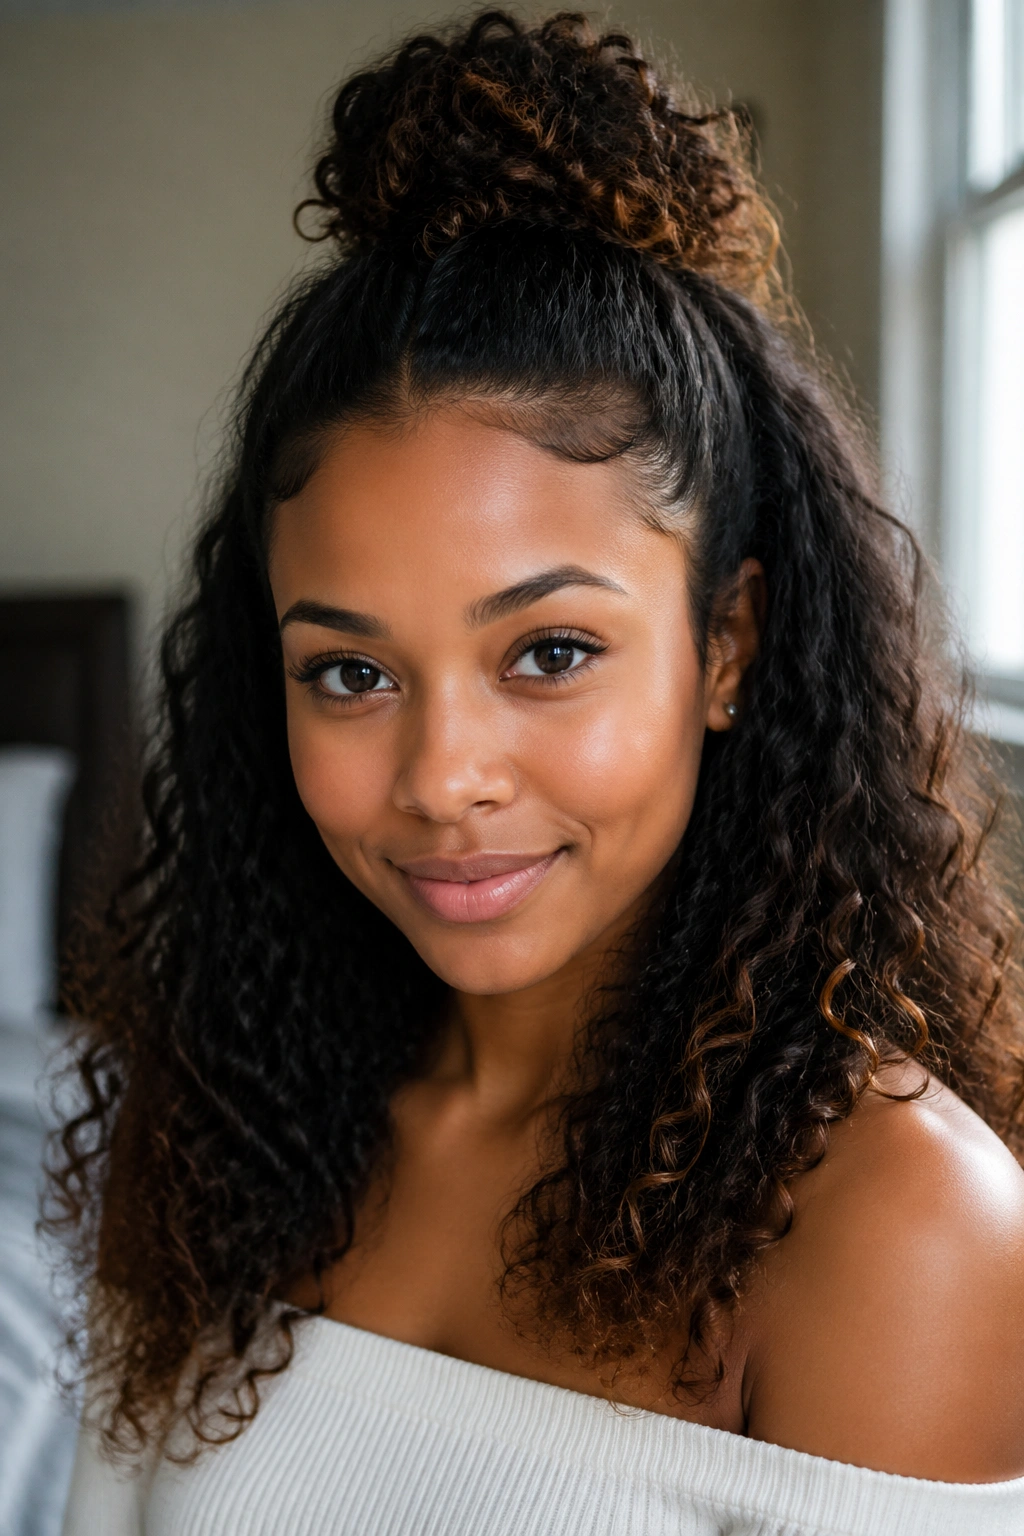
The half-up, half-down style splits the difference between wearing your hair completely up and completely down. It keeps the front section contained while letting the back fall freely — great for when you want some hair off your face without committing to an updo.
Section from ear to ear and gather the top half at the crown. Secure loosely with a scrunchie. Leave the bottom half loose and let your curls fall naturally. This style is incredibly forgiving and works across virtually all curl types and lengths.
12. Space Buns
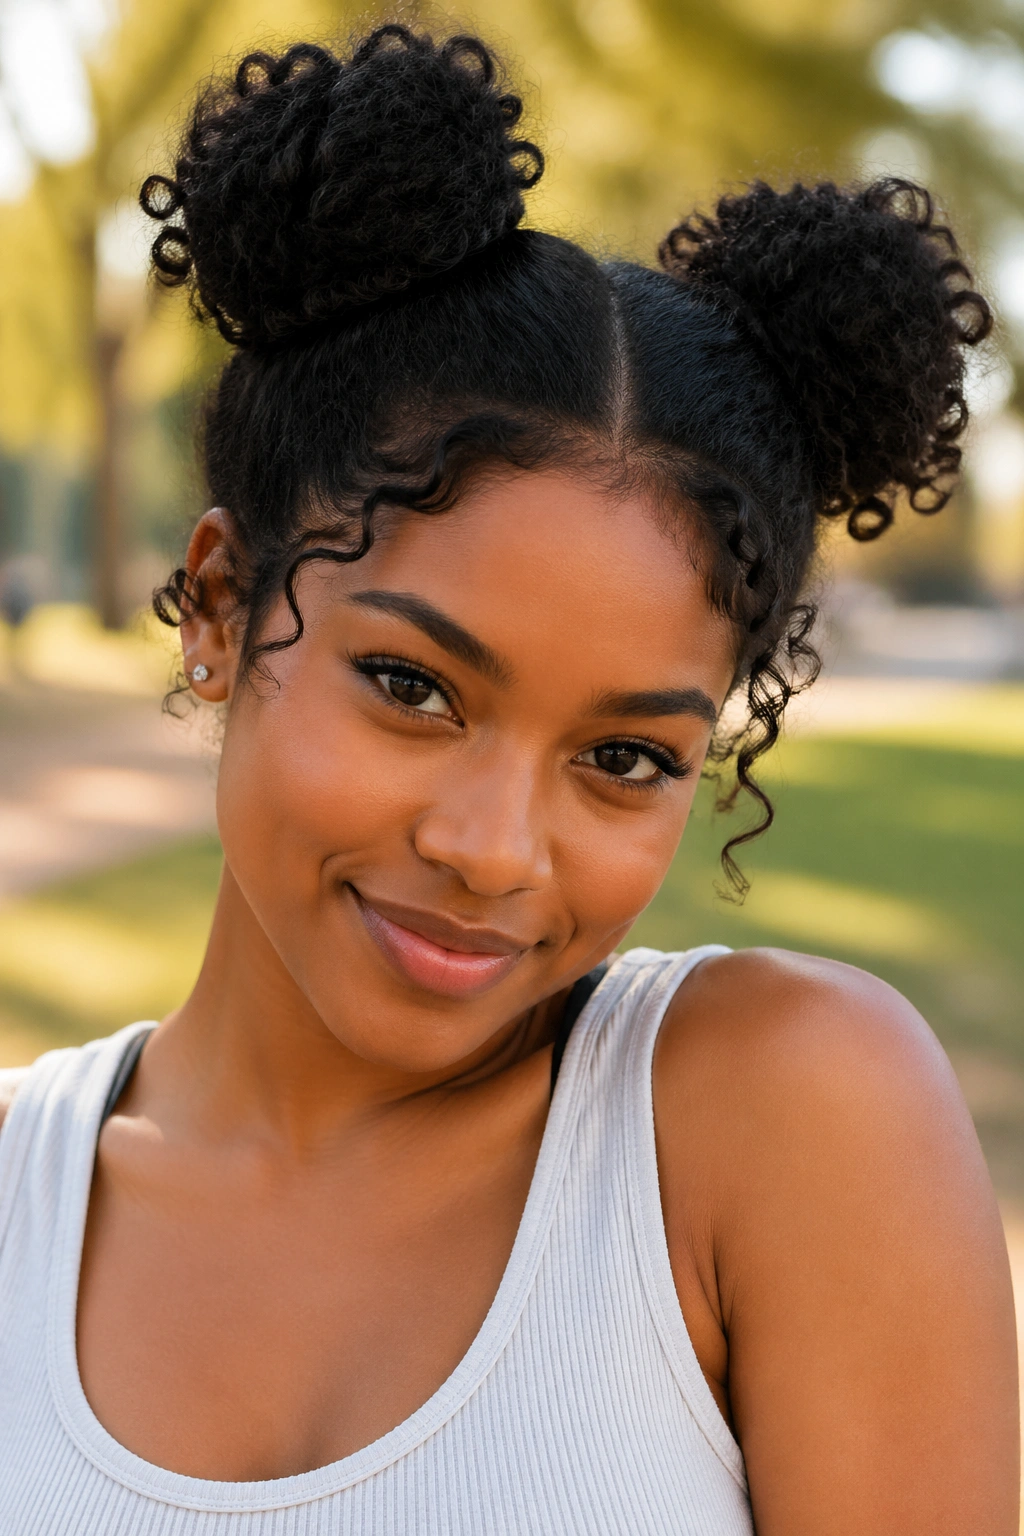
Two high buns, one on each side of your head — space buns are playful, youthful, and genuinely easy to execute on natural hair. The textured, fluffy quality of natural curls gives space buns a fullness that straight hair simply can’t replicate.
Part your hair down the center, gather each half at the top of each side of your head, and secure loosely. Fluff each bun outward for maximum volume. Add a silk scarf tied around the base of each bun to elevate the look. This style holds up all day with minimal fuss.
13. Slicked-Back Low Bun
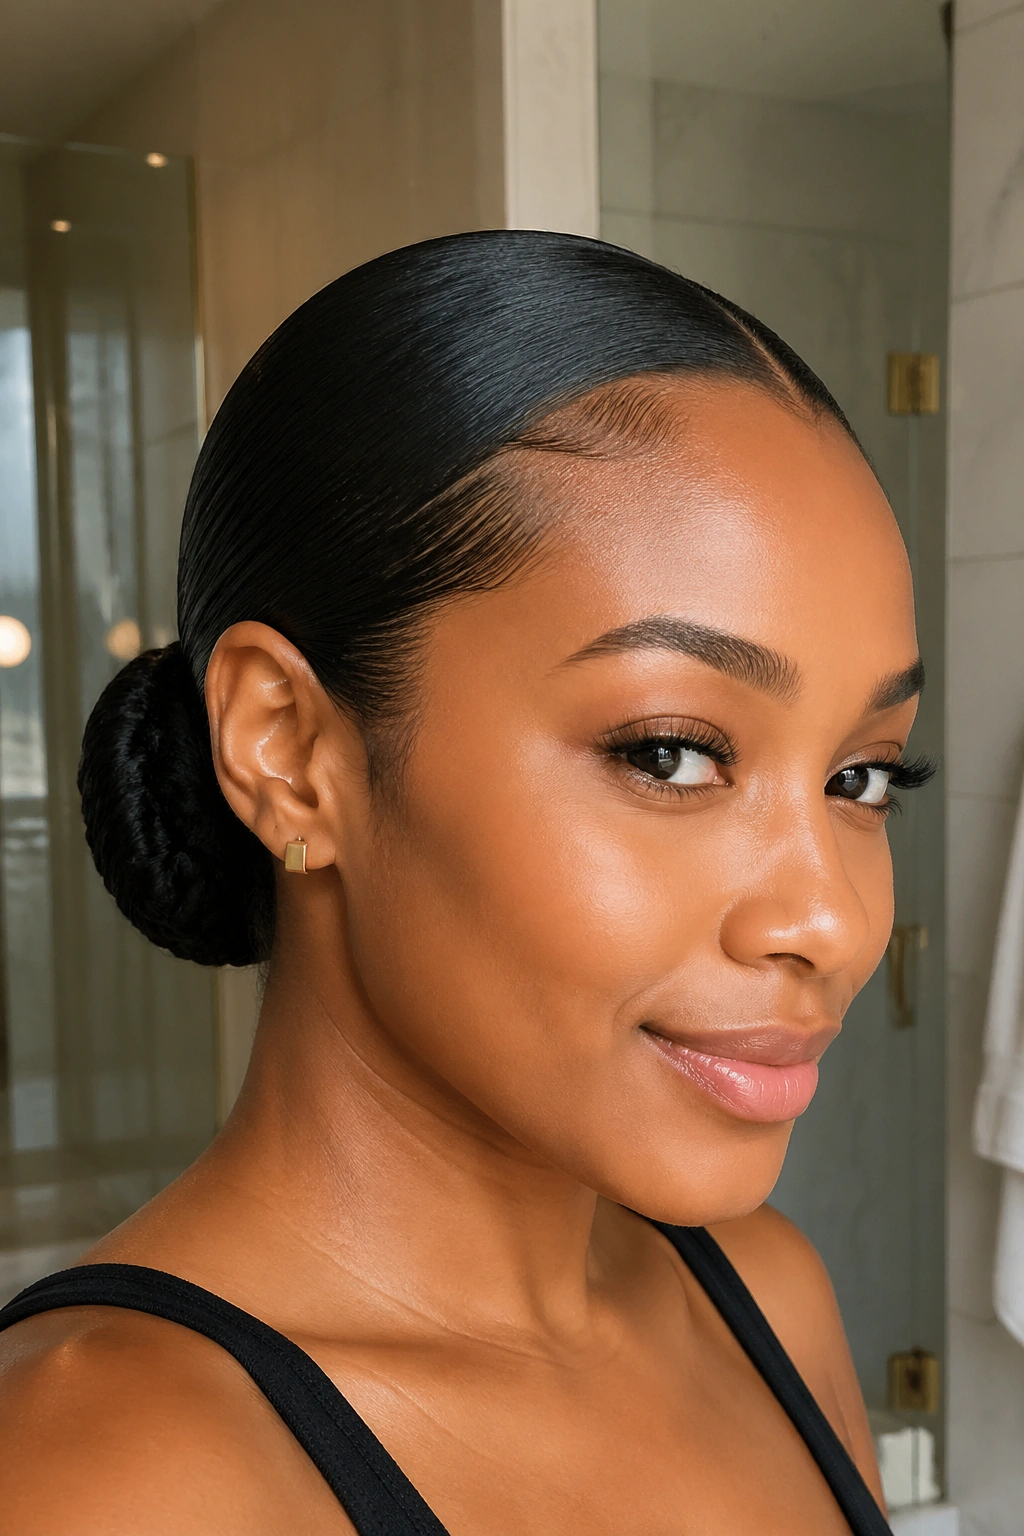
There’s something quietly powerful about a slicked-back bun on natural hair. It’s clean, intentional, and elegantly simple. The key is in how you achieve the slick — with enough moisture and the right products, you can smooth even 4C hair into a sleek, polished bun that lasts all day.
Apply a generous amount of edge control or smoothing gel to your hairline, sides, and nape. Use a soft-bristle brush to smooth in sections, working section by section toward the back. Gather all the hair at the nape, secure with a scrunchie, and wrap a satin scarf around the entire bun for ten to fifteen minutes. Remove the scarf to reveal a polished, smooth finish.
14. Protective Braided Styles (Feed-In Braids)
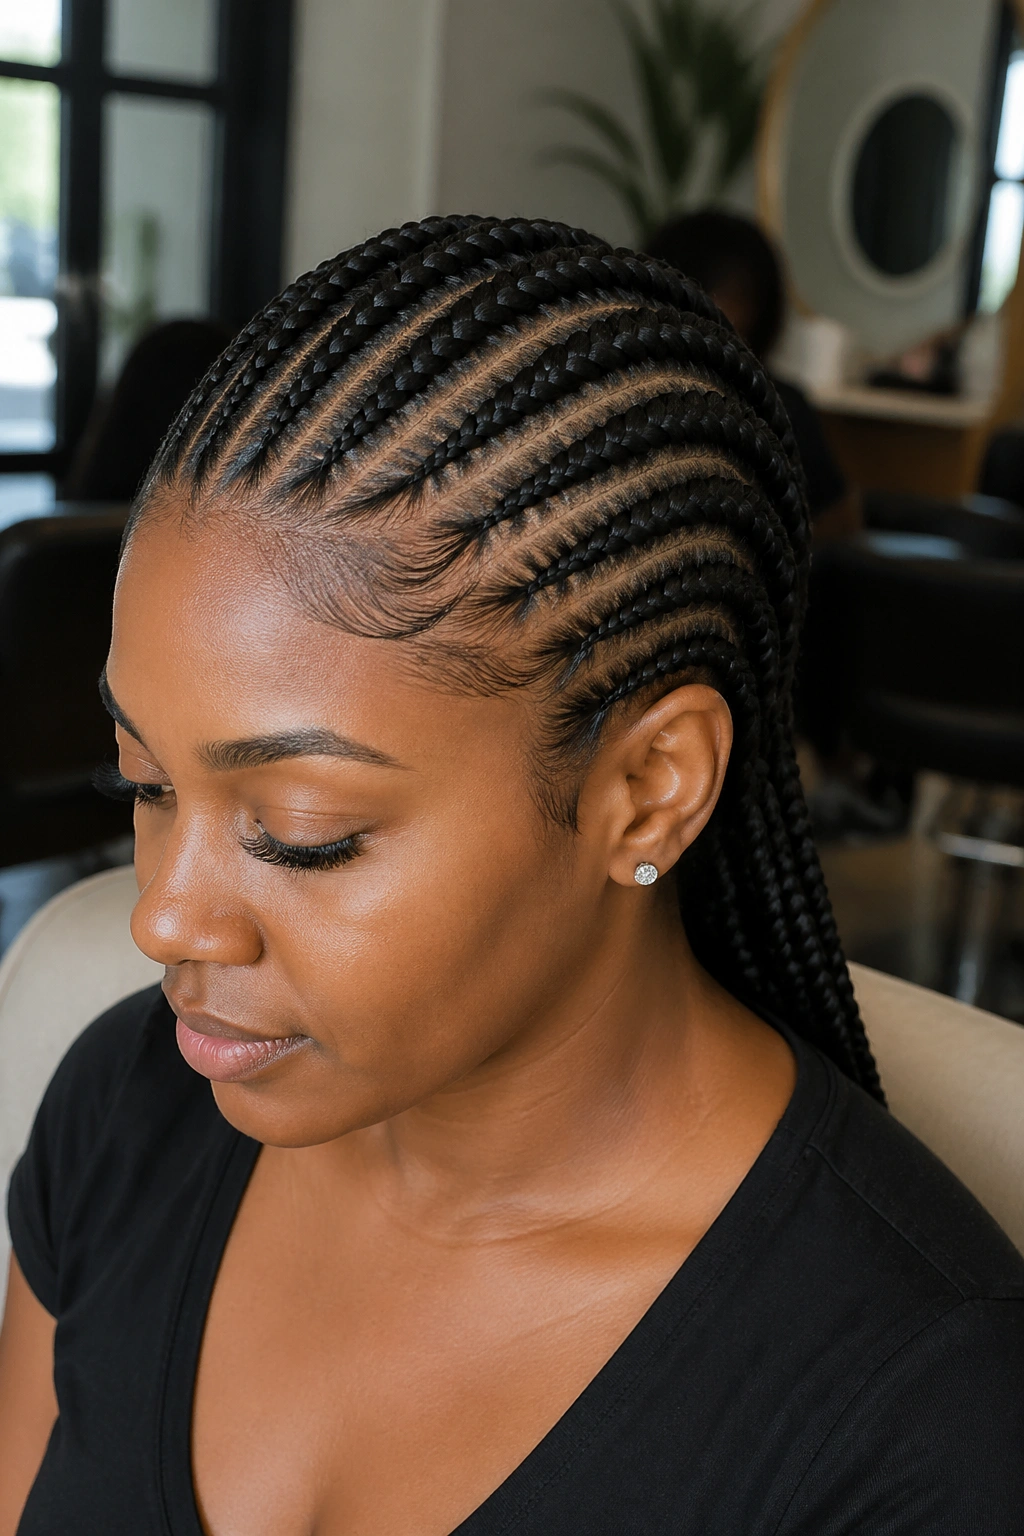
Feed-in braids are a step up from basic box braids in terms of neatness and scalp friendliness. Instead of attaching extensions at the root, you feed them in gradually as you braid, creating a taper that looks more natural. They last weeks at a time, making them a genuine daily-wear protective style.
The styling options within feed-in braids are endless — you can wear them down, gather them into a high bun, half-up half-down, or pull them into a ponytail. Once installed, your morning routine is essentially nothing. That’s the appeal.
15. Headband Wigs or Half Wigs
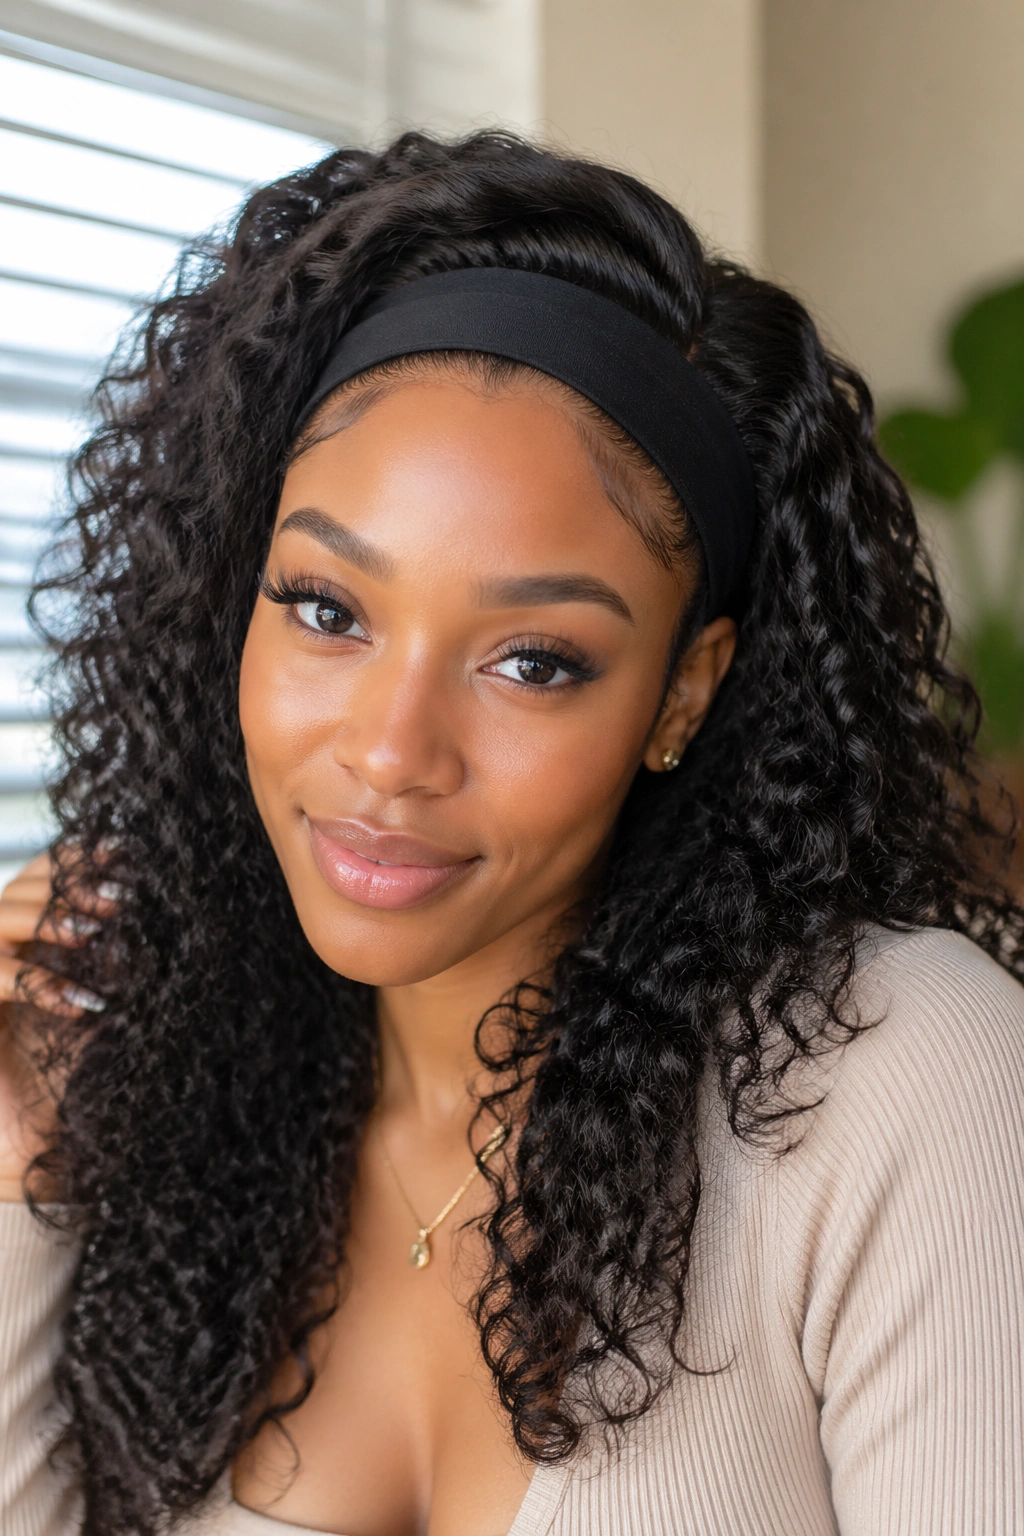
A headband wig sits on top of your natural hair, which is secured flat underneath with a wig cap. The headband wig attaches with a wide headband that sits along your hairline, hiding the edge where the wig begins. It requires no glue, no sewing, and no skill — you literally put it on and go.
This is an everyday style option because it protects your natural hair completely while giving you unlimited styling variety. Swap textures, lengths, and colors without touching your actual hair.
16. Crown Braid
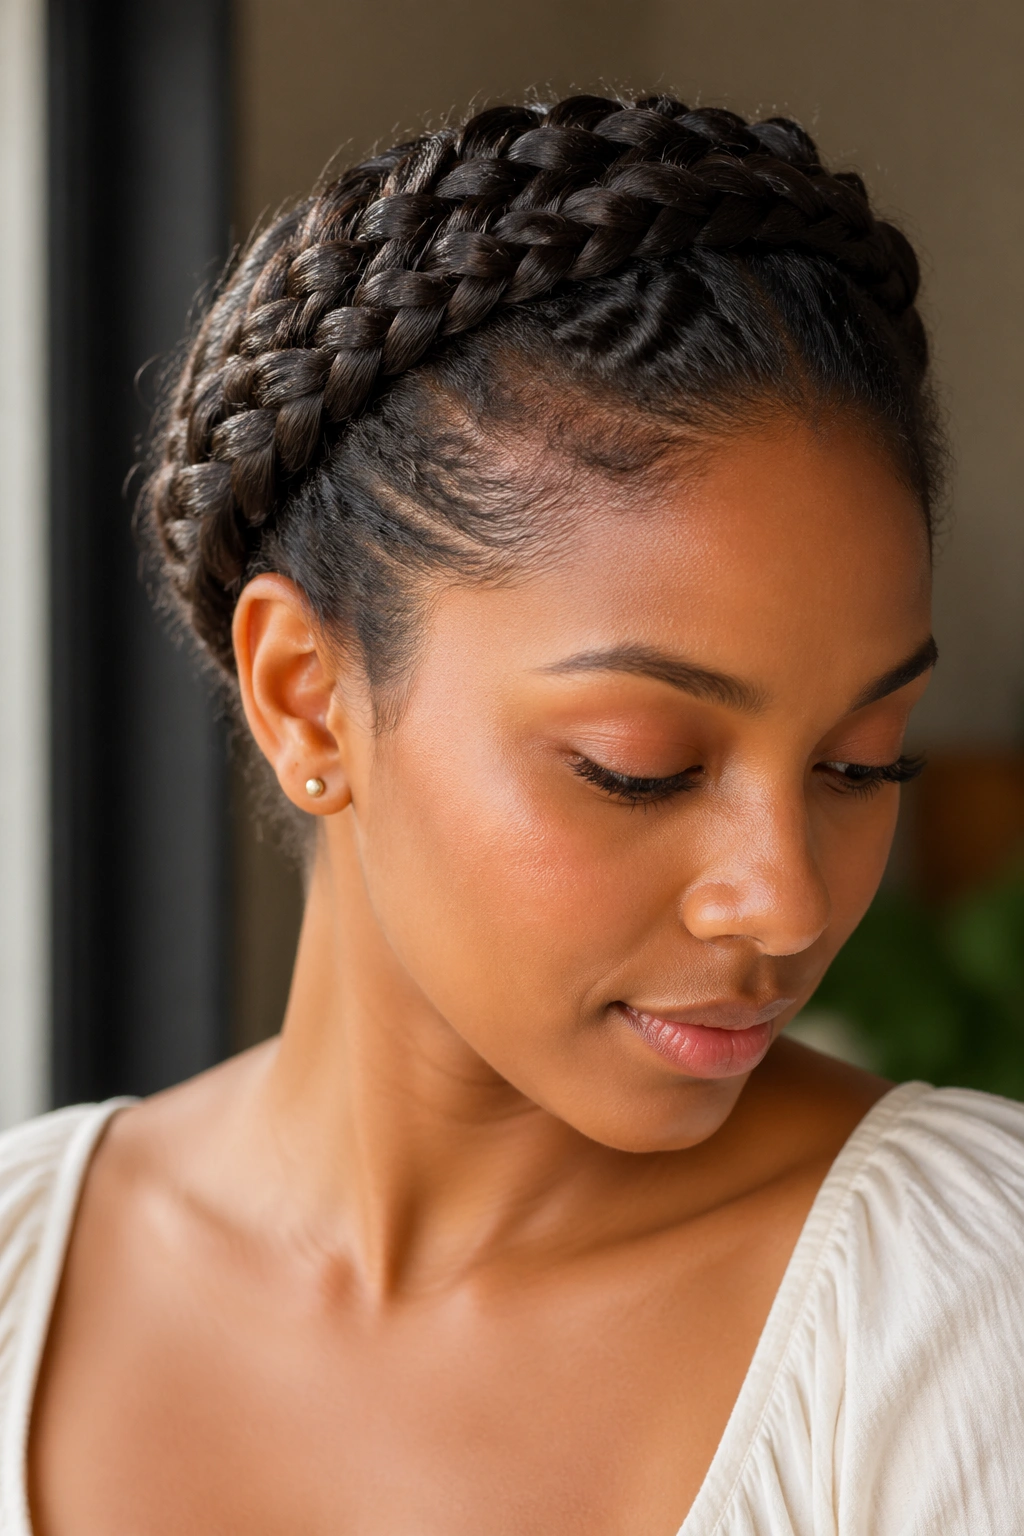
A single braid that wraps around the crown of your head like a halo — the crown braid is more intricate than most everyday styles but absolutely wearable. You can do a Dutch braid, a French braid, or even a series of flat twists that meet at the crown for a similar effect.
How to Get This Look
Start at one temple and braid horizontally across the head, adding hair as you go. When you reach the opposite temple, continue braiding without adding hair and pin the tail underneath the braid at the starting point. Use bobby pins to secure any loose sections along the way.
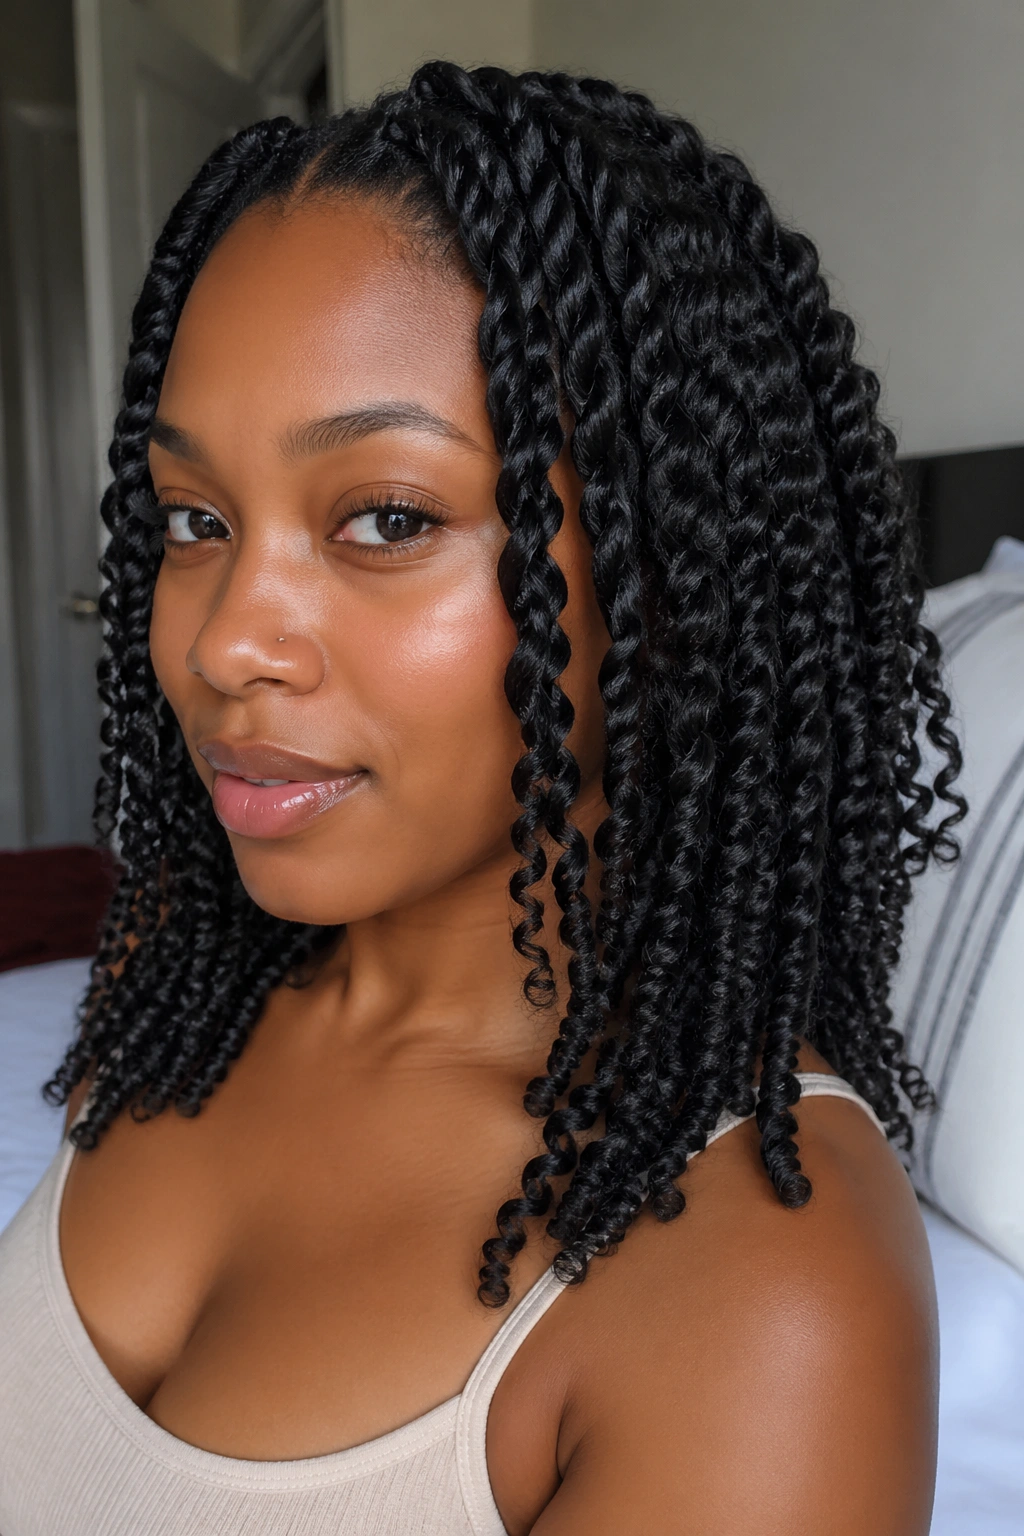
17. Loose Twists
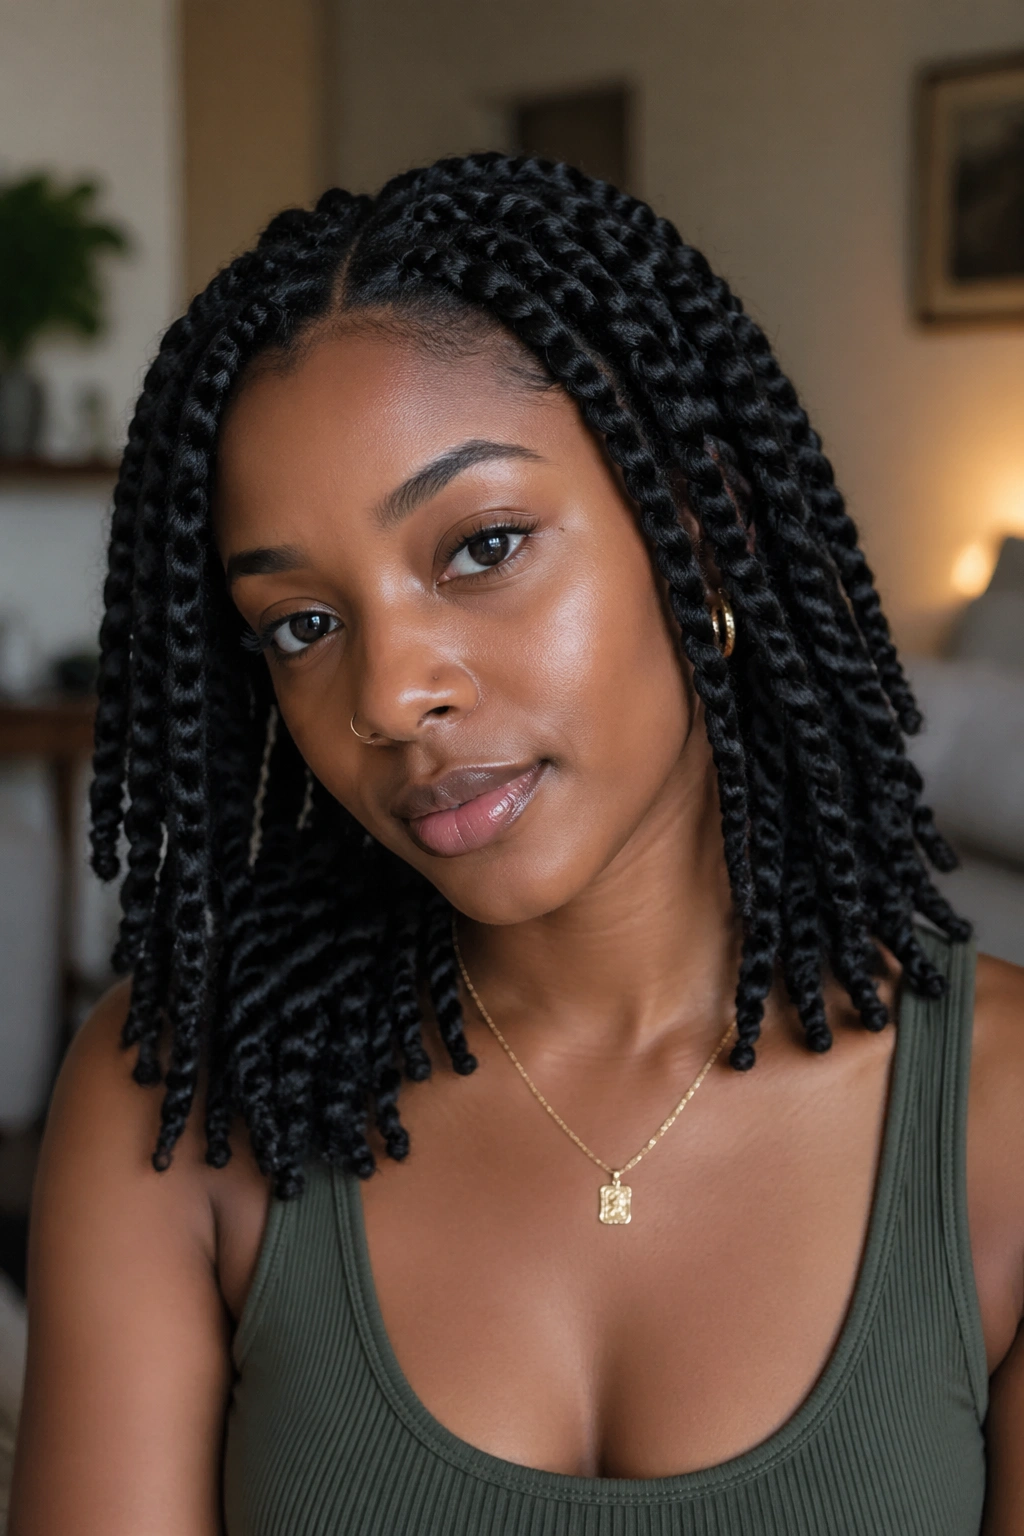
Loose two-strand twists worn as a finished style — not unraveled into a twist-out — are a clean, fuss-free everyday option. They keep your hair contained and protected while still looking intentional. Thicker, chunkier twists are quicker to do; smaller, thinner twists take more time but create a more refined look.
18. Side Part Updo
A deep side part changes everything about how an updo frames your face. Take your usual puff or bun but shift the part to one side, sweeping the front section across your forehead before securing. It adds dimension and asymmetry to styles that might otherwise feel predictable.
19. Scarf Styles
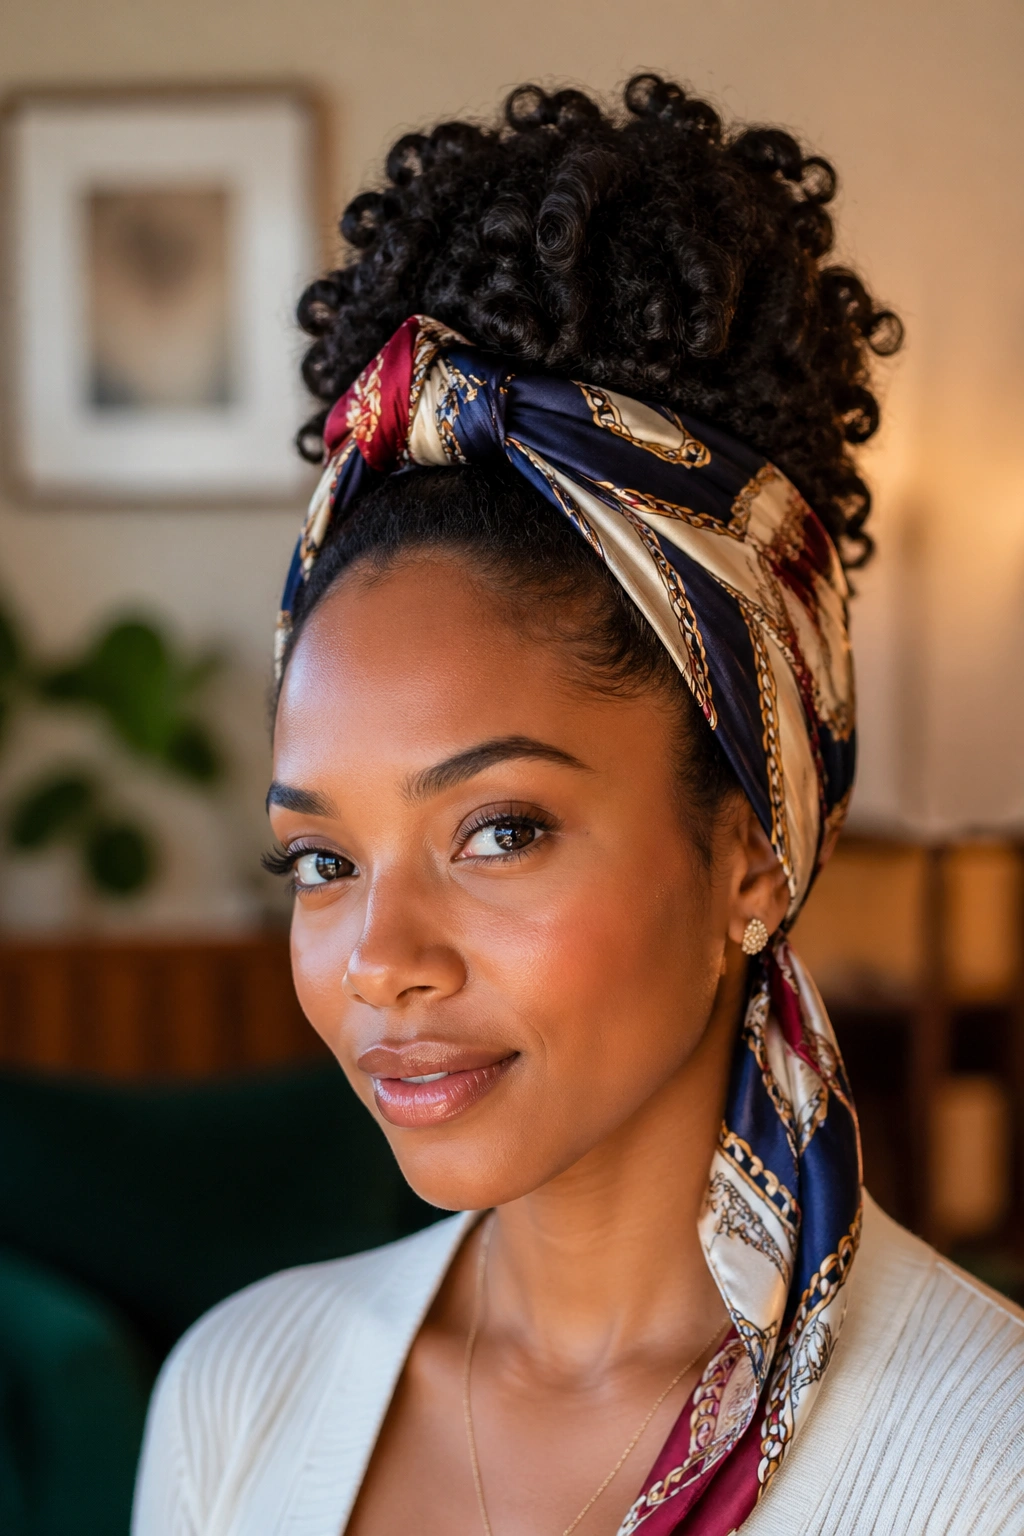
A silk or satin scarf tied creatively around natural hair can transform a basic puff into a runway-worthy look. Wrap the scarf as a headband. Tie it around the base of a bun. Let the ends trail down for a dramatic effect. Scarf styling requires no heat and no manipulation — just creativity.
20. Frohawk
The frohawk is exactly what it sounds like — a faux mohawk using your natural afro. Gather the sides of your hair upward and pin them, leaving the center section to stand freely. The result is a dramatic strip of volume running from front to back. It looks bold but takes less time than it appears to.
21. The Simple Stretched Afro
Sometimes the best everyday curly hairstyle is a fully free afro — no styling product, no manipulation, just your hair as it is. For 4C hair especially, stretching the afro using African threading, banding, or a simple braid-and-release adds definition and reduces shrinkage without heat.
A stretched afro picks out beautifully and holds its shape throughout the day. Use a wide-tooth afro pick to shape and lift from the roots, not the ends. This is your hair, unbothered and uncontained — and there’s nothing more everyday-ready than that.
Maintenance Between Styles
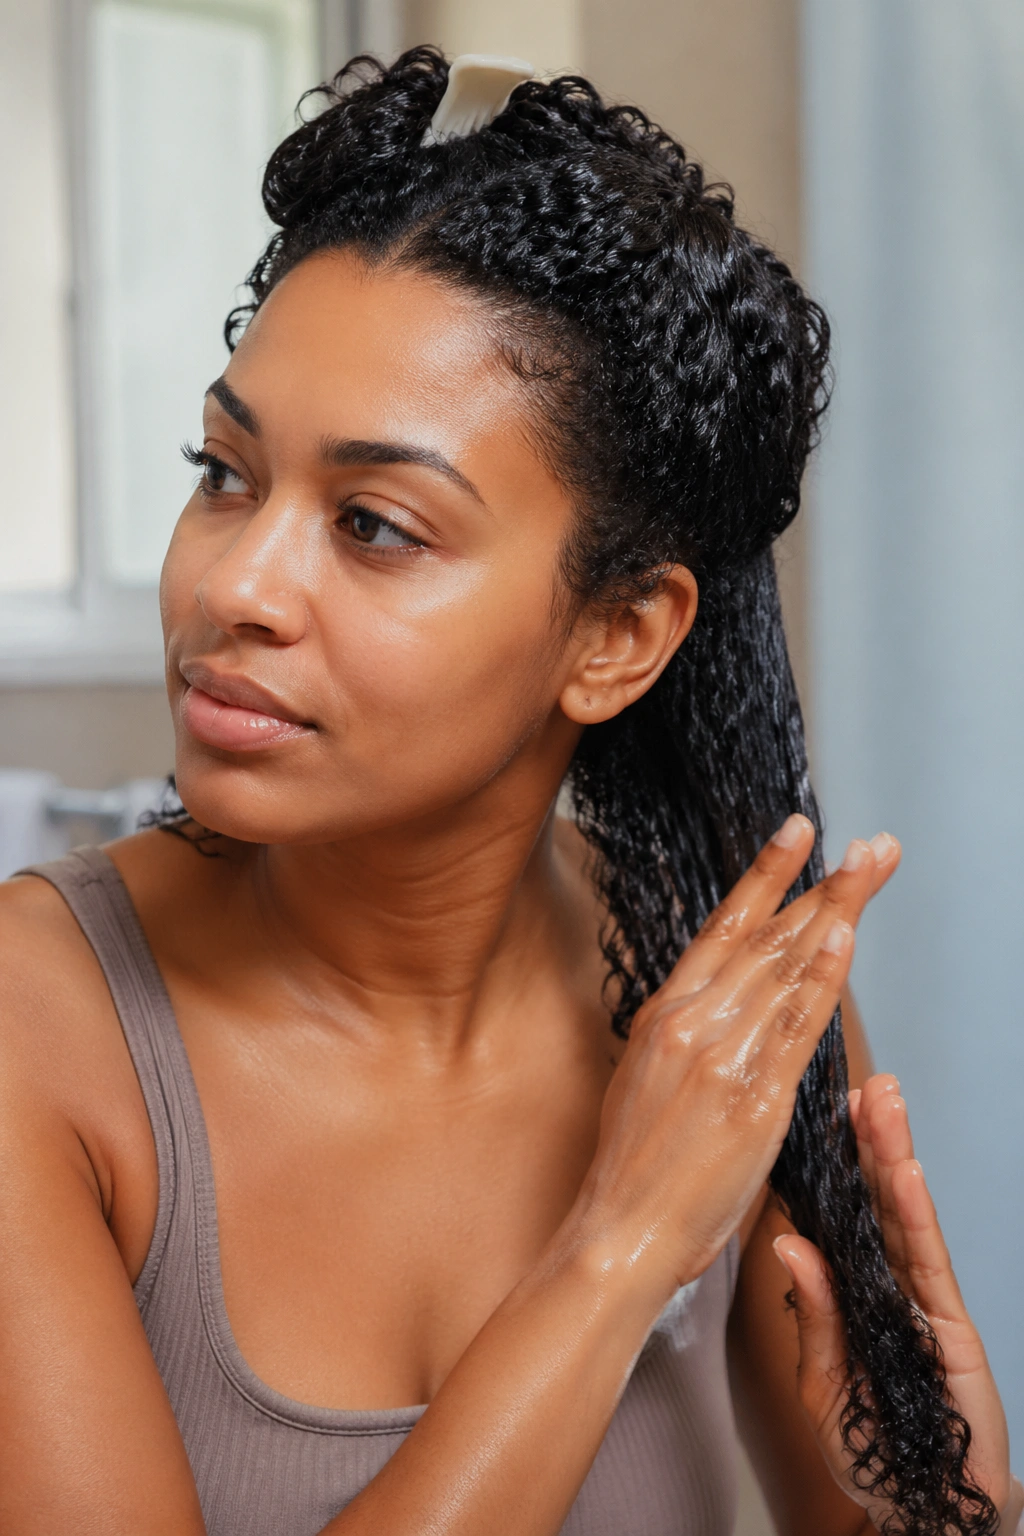
The space between wash days is where hair health is actually built or broken. Moisturizing your hair every day or every other day is not optional — it’s the foundation of everything else. A good daily moisturize-and-seal routine keeps your ends supple, reduces breakage, and makes every style look fresher for longer.
The LOC or LCO method works well for most curl types. Layer water (or a water-based leave-in), a cream, and then an oil. The order you apply the cream and oil in depends on your porosity — low porosity hair often does better with oil last (LOC), while high porosity hair benefits from cream last (LCO) to seal in moisture.
Deep condition weekly or bi-weekly to replenish any moisture lost during styling and environmental exposure. A good deep conditioner is one of the highest-value investments in your natural hair routine.
Common Mistakes That Shorten Style Life
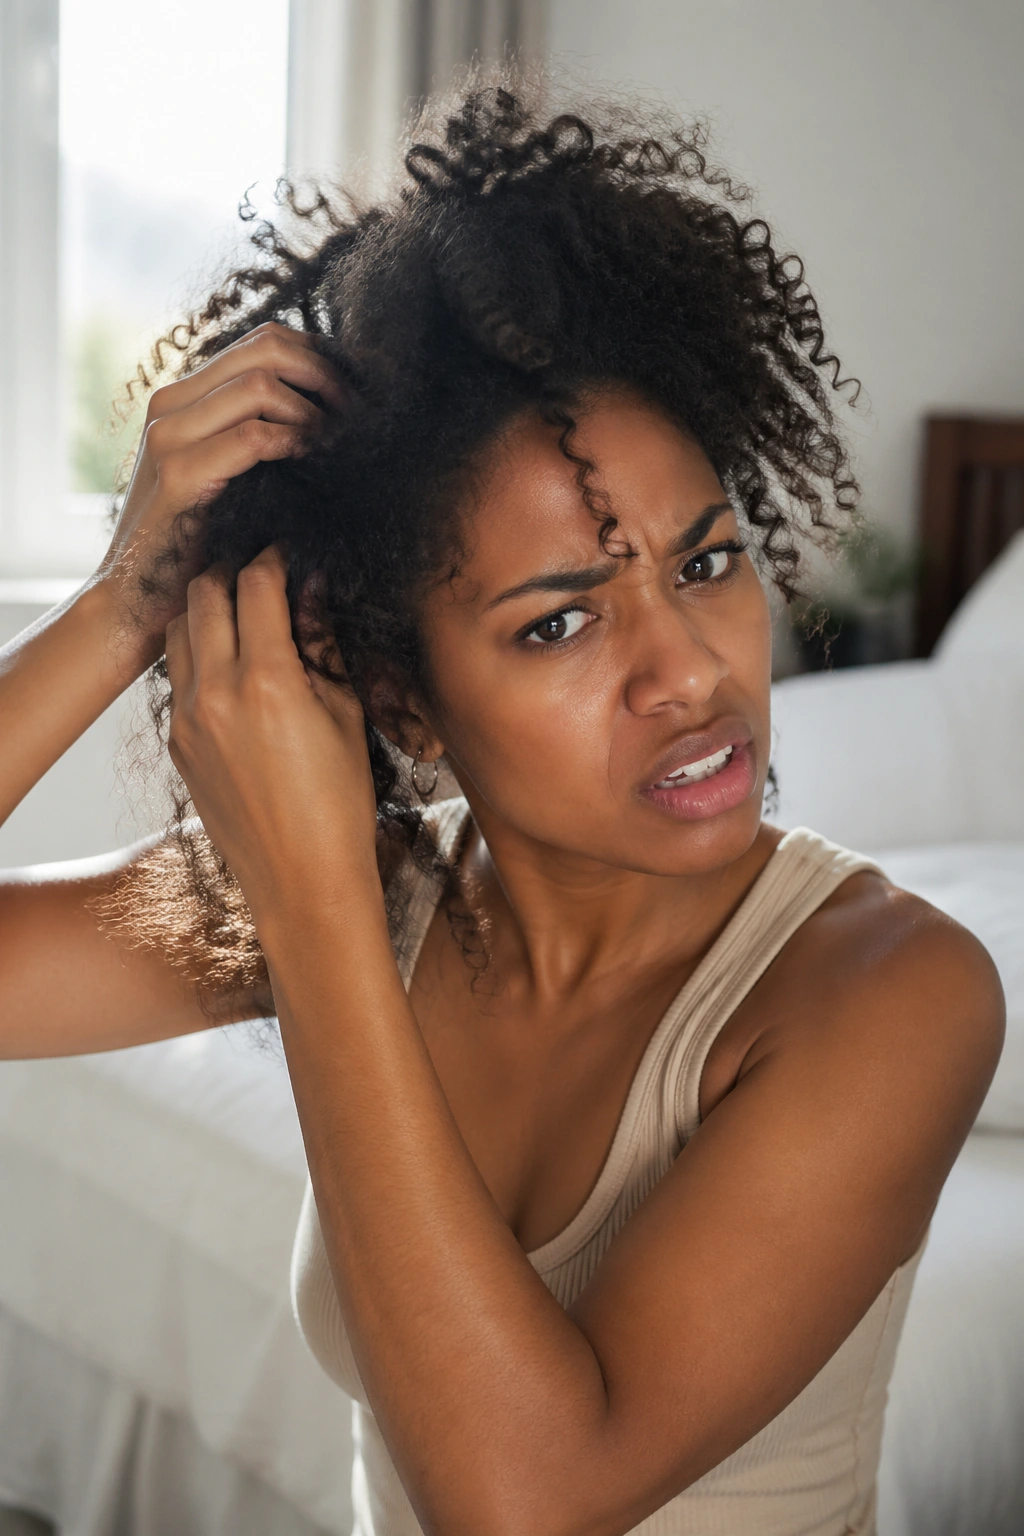
Rushing is the number one enemy of everyday natural hair styles. When you style in a hurry, you skip sectioning, apply product unevenly, and pull when you should be patting. All of that adds up to shorter style life and more breakage over time.
The second most common mistake is using the wrong products for your porosity. High porosity hair loses moisture quickly and needs heavier creams and butters to stay hydrated. Low porosity hair gets weighed down by heavy products and does better with lightweight leave-ins and gels. If your styles never seem to last or your hair is always dry despite constant moisturizing, porosity mismatch is usually the culprit.
And please — stop using rubber bands and metal-clasped elastics. They snap the hair shaft every single time. Satin scrunchies and coil-less hair ties only.
Choosing the Right Style for Your Lifestyle
The best everyday curly hairstyle is the one you’ll actually do consistently. If you hate braiding, don’t force yourself into styles that require it. If you have thirty minutes in the morning, choose styles that fit that window — not ones that require two hours of prep the night before.
Think about your week. Do you have meetings or professional settings where you need to look polished? Choose slicked updos and structured puffs. Do you have physical activity or outdoor time? Go with something secure and off the neck. Are you working from home with flexibility? That’s your wash-and-go or loose twist day.
Natural hair thrives when you work with your life, not against it. Build your rotation around the styles that make you feel good, fit into your schedule, and actually protect your hair — and the daily battle with your hair will start to feel like a whole lot less of a battle.