



Wand curls on natural hair are one of those styles that look like you spent all day at a salon — but once you know what you’re doing, you can pull them off at home in a couple of hours. They’ve become a go-to for naturals who want defined, bouncy spirals without sacrificing the volume and movement that makes natural hair so beautiful. Whether you’re working with a wash-and-go texture or freshly blown-out hair, wand curls on natural hair open up a world of styling possibilities that feel both polished and free at the same time.
What Makes Wand Curls Different from Other Heat Styles
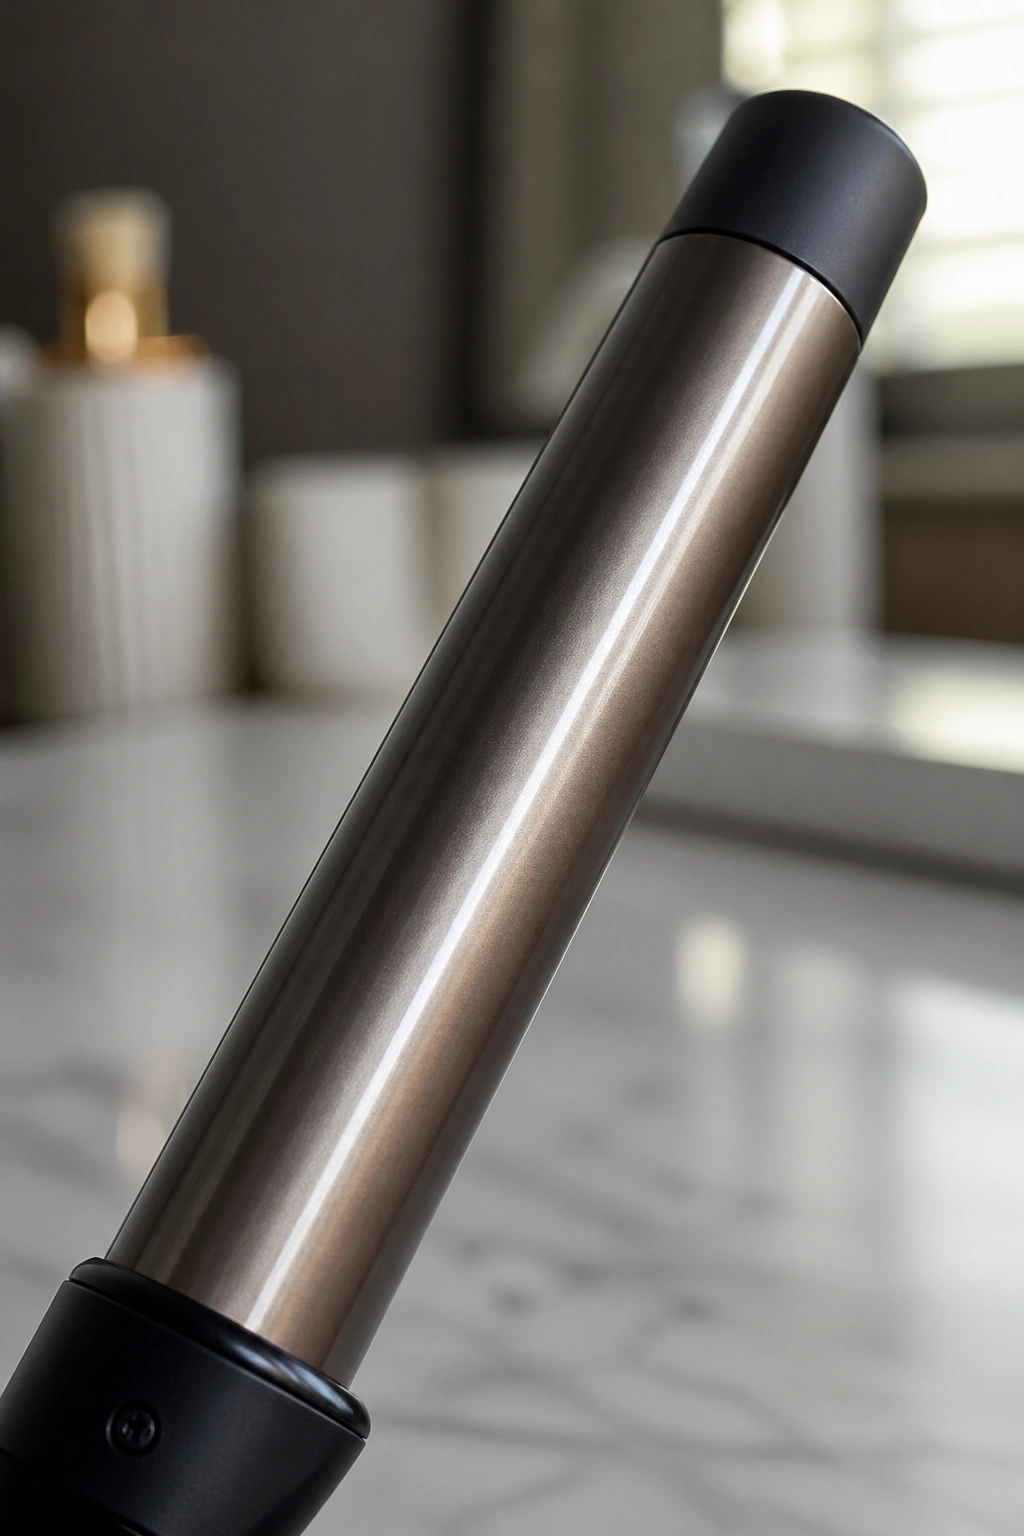
Not all curling tools are created equal. The wand — a cylindrical barrel with no clip — gives you a completely different result than a traditional curling iron. Because there’s no clip pressing down on the hair, you wrap the strand yourself and hold it in place. That means no crease, no flat section, no awkward kink where the clip would’ve been.
For natural hair specifically, this matters a lot. Naturals already have texture built in, so when you use a wand, you’re working with the hair’s natural movement rather than fighting it. The result is a spiral that looks organic, not stiff or plastic. It drapes and bounces the way a real curl should.
Wands come in multiple barrel sizes, and the size you choose dramatically changes the outcome. A thin barrel — around half an inch to three-quarters — gives you tight, defined spirals perfect for mimicking Type 4 coil patterns. A thicker barrel — an inch and a half to two inches — gives you big, loose beach waves. Most naturals find that a one-inch barrel hits the sweet spot, giving you curls with definition and volume.
Why Naturals Love the Wand Over the Flat Iron
The flat iron curl is iconic, but it requires a very specific wrapping technique that can be tricky to master. The wand is more intuitive. You wrap the hair around the barrel in a spiral motion, hold for a few seconds, release. That’s it. The learning curve is gentle, and the results are consistently gorgeous.
Pro tip: Always wrap the hair away from your face on the sections framing your face. This opens up your features and gives the finished style a more flattering, face-framing effect.
How to Prepare Natural Hair for Wand Curling
Prep is everything. Jump straight from unwashed hair to a hot wand and you’ll get frizz, uneven curls, and potential heat damage. Do it right and your curls will last three to five days with minimal touchups.
Start with clean, conditioned hair. Deep condition the week before any major heat styling session — your strands need that moisture as a buffer. On the day you’re styling, detangle thoroughly, then apply a heat protectant from roots to ends. Don’t skip this step. Heat protectant is non-negotiable when you’re applying a hot tool directly to natural hair.
Most naturals get the best wand curl results on blown-out or stretched hair. Shrinkage is real — if you curl over shrunken, tightly coiled hair, the wand curl gets swallowed up. A light blowout on low heat, or even a banding method to stretch the hair first, gives you more curl definition and more visible length.
The Right Products to Use Before Wand Curling
Layer your products in the right order. Start with a leave-in conditioner on damp hair, then add a light oil to seal, then your heat protectant. If you want extra hold, a light-hold mousse or curl cream applied before blow-drying helps the wand curls last longer. Avoid heavy butters or thick creams right before applying direct heat — they can smoke and cause buildup on the barrel.
Choosing the Right Wand Barrel for Your Hair Type
Your hair’s density, coil pattern, and the look you’re going for all factor into barrel size selection. This isn’t one-size-fits-all.
Fine or low-density natural hair benefits from a thinner barrel. The tighter spirals created by a smaller wand add the illusion of fullness. A half-inch or three-quarter-inch barrel will work beautifully here, giving you lots of individual curls that together create a full, lush look.
Thick or high-density natural hair can go bigger. A one-inch to one-and-a-quarter-inch barrel lets you create curls that are still defined but won’t disappear in the volume of your hair. If you want big, glamorous curls with serious drama, go for a one-and-a-half-inch barrel.
For 4C hair specifically, start with a smaller barrel and stretch your hair well before curling. The tighter your starting coil, the more the curl will revert over time — so a stretched, blown-out base gives you the best longevity.
Temperature Settings That Won’t Destroy Your Hair
Lower is safer, but too low won’t set the curl. For fine or color-treated natural hair, stay between 300°F and 350°F. For thick, coarse, or highly dense natural hair, 350°F to 400°F is the range. Don’t go above 400°F — at that point, you’re risking cuticle damage no matter how much heat protectant you used.
How Long Do Wand Curls Last on Natural Hair
Longevity depends on your maintenance routine as much as the initial styling. A well-done wand curl set on properly stretched and protected natural hair can last four to seven days.
The enemy is humidity and manipulation. Sleeping on cotton pillowcases, touching your curls constantly, and skipping a satin bonnet at night all shorten the lifespan of your style significantly. Refresh your curls each morning with a light mist of water mixed with a little leave-in conditioner, then scrunch gently. Don’t rewet the hair completely — just enough to wake the curls back up.
By day three or four, the curls start to loosen and blend, which is actually beautiful on its own. Many naturals prefer the looser, lived-in look that develops after a couple of days over the fresh-set version. So you’re really getting two different styles in one.
Day-to-day tip: Keep your hands out of your hair. The more you touch it, the faster it frizzes.
Common Mistakes That Ruin Wand Curls on Natural Hair
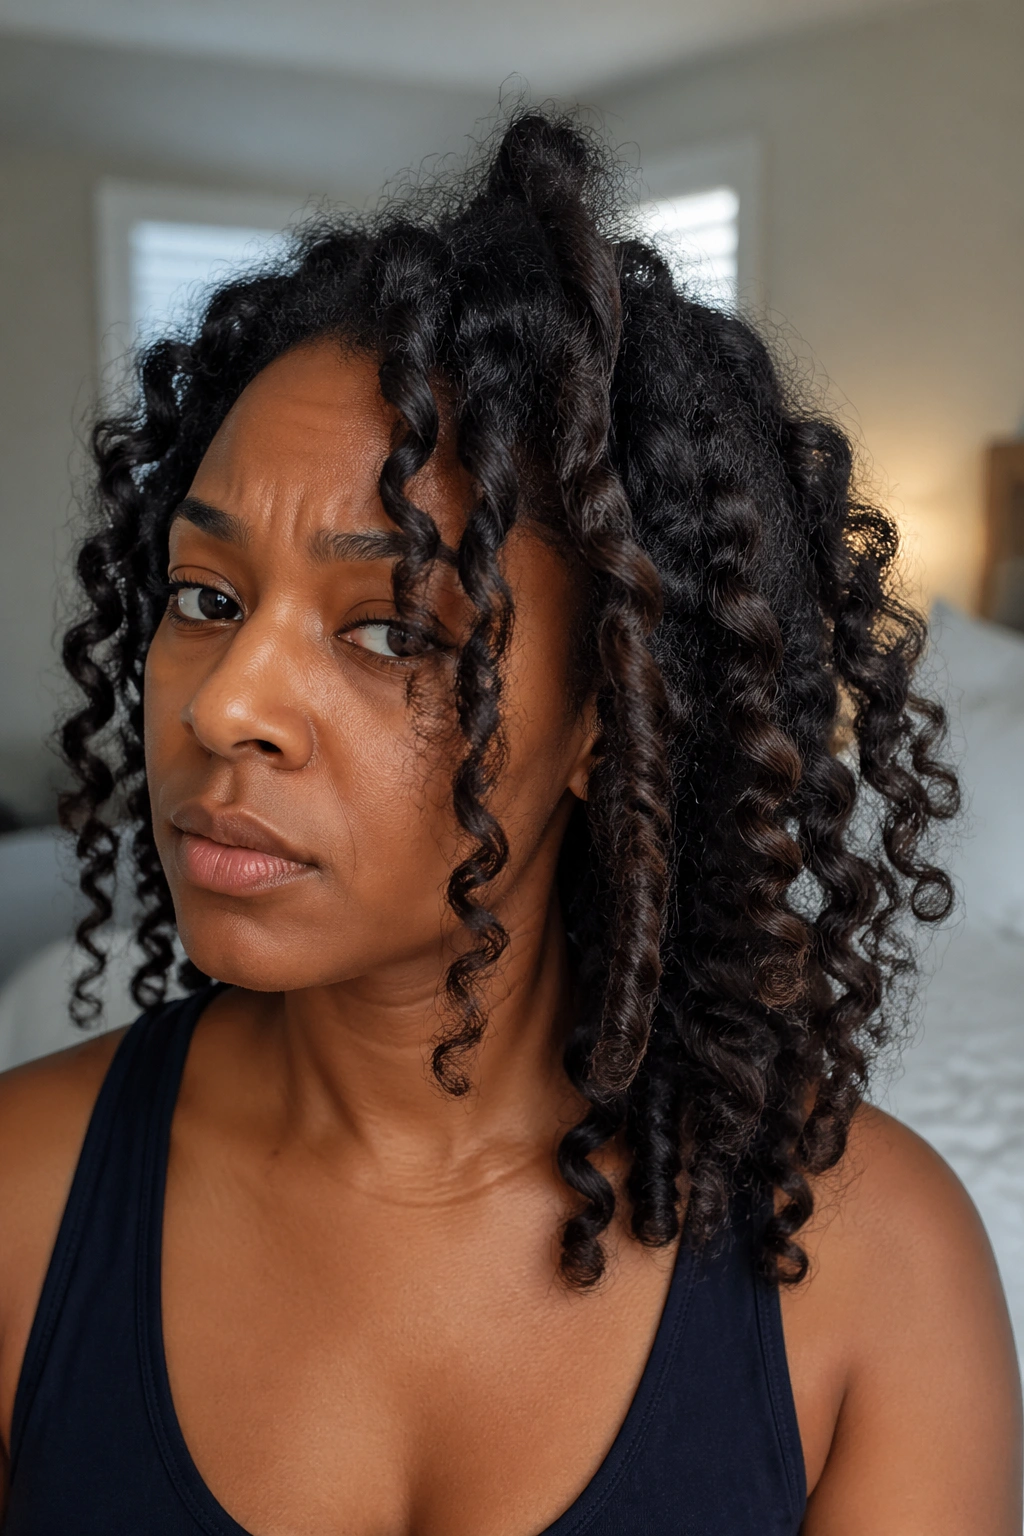
Even experienced naturals make these mistakes. Knowing them upfront saves you a lot of frustration.
Wrapping too loosely. If the hair isn’t wrapped tightly and consistently around the barrel, the curl won’t form properly. Wrap snugly, spiral downward, and make sure each strand is smooth as it goes around.
Not holding long enough. Thin hair needs about 8-10 seconds per section. Thick or coarse hair needs 12-15 seconds. Releasing too early means the curl won’t hold its shape.
Working in sections that are too large. This is the most common mistake. Thinner sections give you more defined curls. Thicker sections give you looser, less defined waves. Decide which look you want and section accordingly — but err on the side of smaller for most natural hair types.
Touching the curls while they’re still warm. Let each curl cool completely before you touch it. Heat sets the curl shape, but the shape isn’t locked until the hair cools. Shake them out too early and you’ll lose definition fast.
1. Classic Spiral Wand Curls
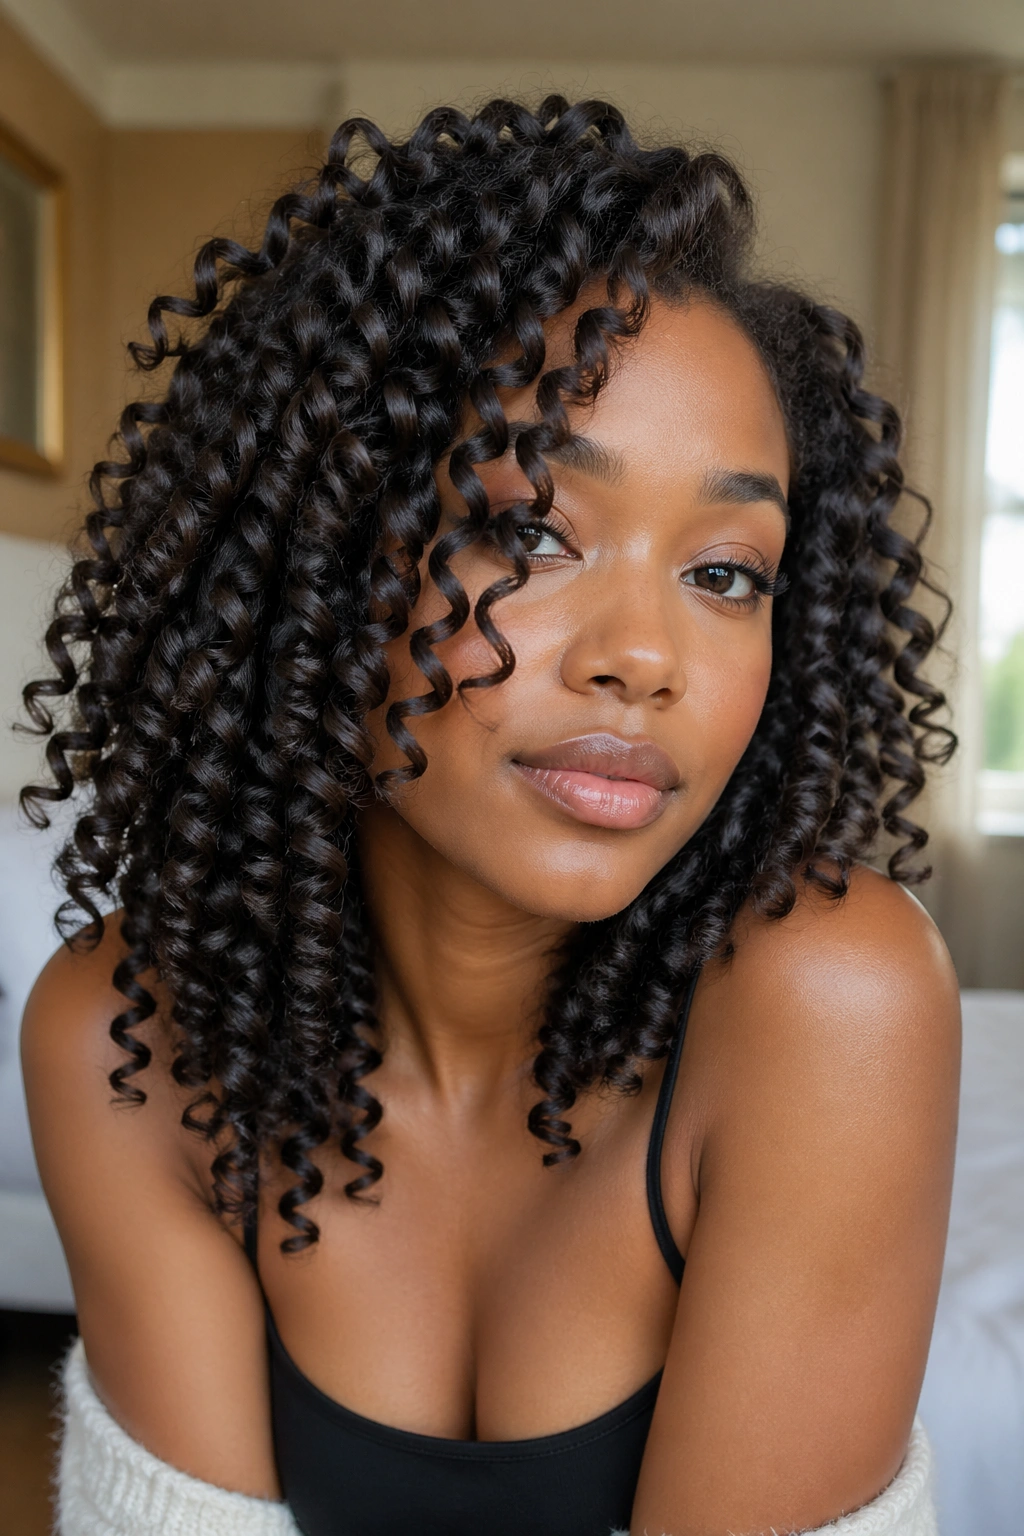
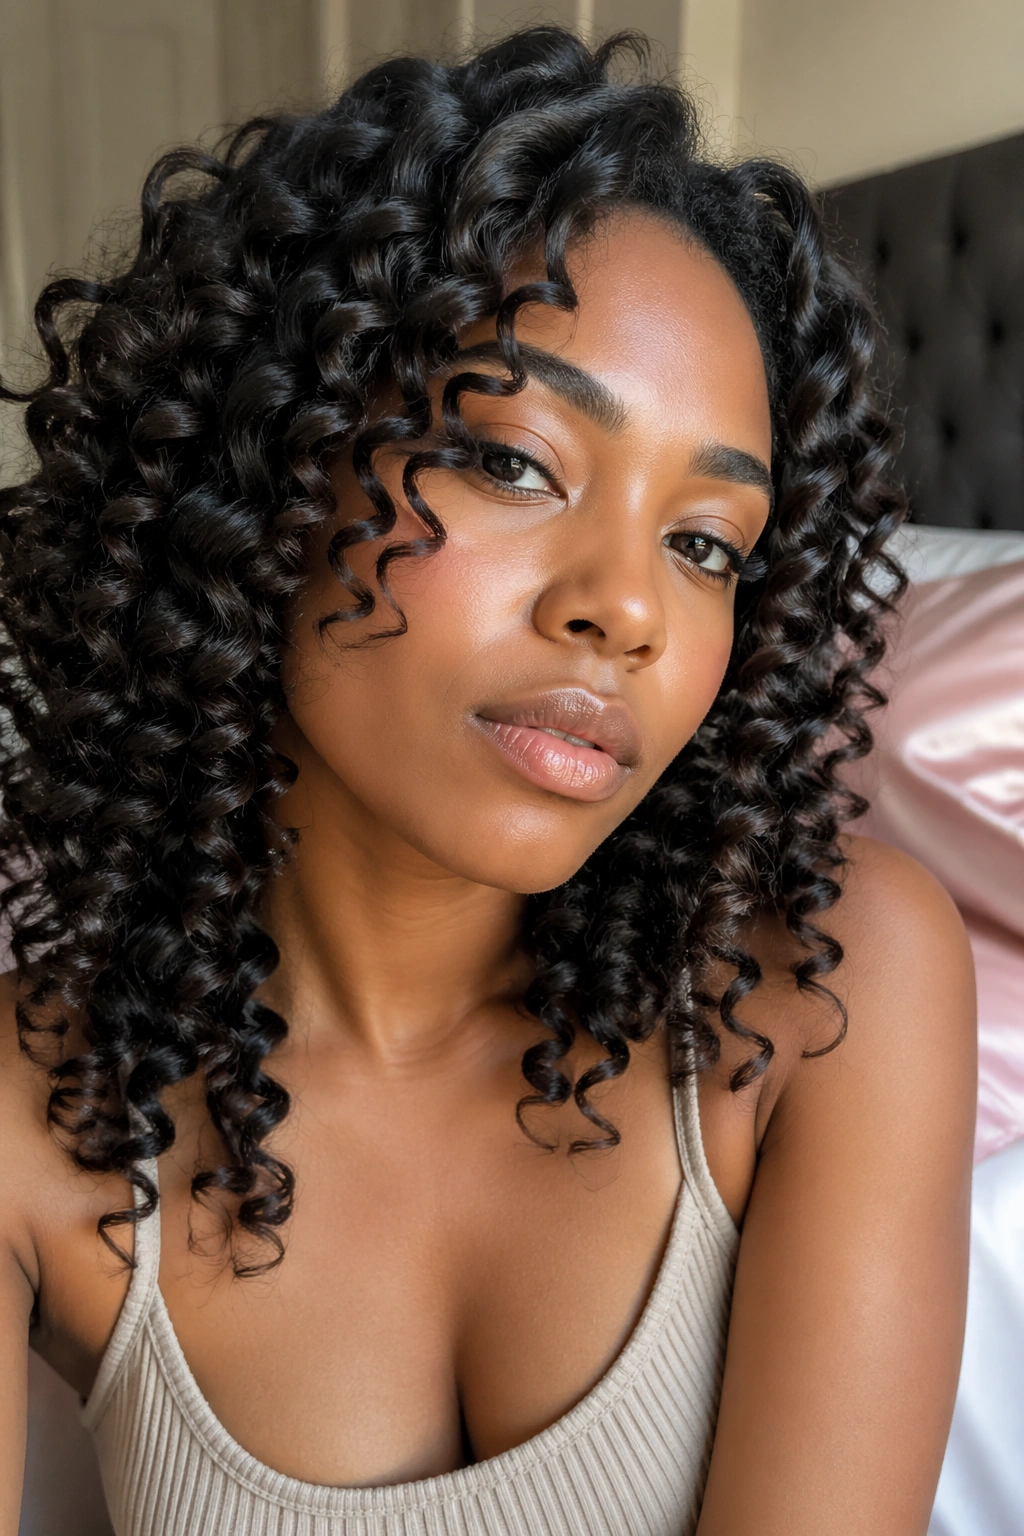
Spiral wand curls are the foundation of every other wand curl look. These are the tight, uniform spirals that bounce when you move and hold their shape beautifully. On natural hair, they’re especially stunning because they echo the hair’s natural coil pattern while adding definition and shine.
To get this look, work with one-inch sections of stretched, blown-out hair. Wrap each section around a one-inch wand from root to tip, holding each for about 12 seconds. Release without pulling and let the curl spring into shape. Work through the entire head in a uniform pattern so the curls are consistent from side to side.
How to Achieve Classic Spirals
- Section hair into four to six parts before styling
- Work in clean, one-inch horizontal rows from the nape up
- Hold each curl in your palm as you release to let it cool in shape
- Once the whole head is done, separate the curls gently with your fingers
Bold tip: Don’t shake the curls out until they’re completely cool. Patience here is the difference between defined spirals and a fuzzy puff.
2. Loose Wand Waves
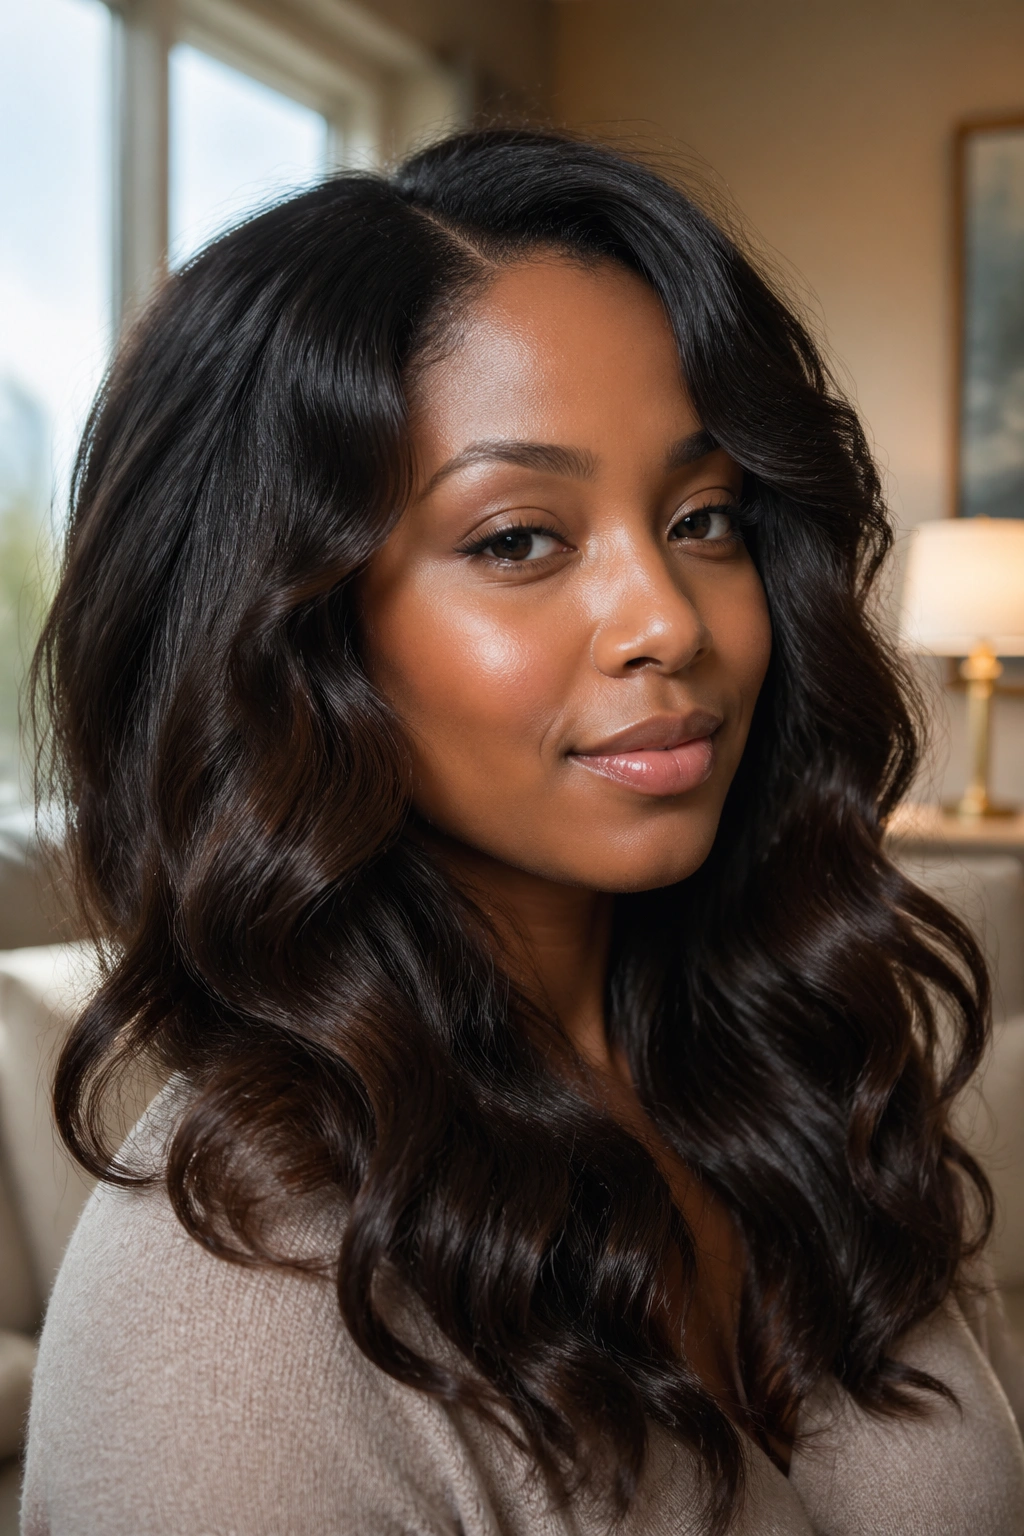
Not every natural wants a tight curl — and that’s completely valid. Loose wand waves give you a relaxed, flowing look that’s equal parts sophisticated and effortless. Think old-Hollywood glamour translated onto natural hair texture.
For loose waves, use a one-and-a-half-inch to two-inch barrel. Work with slightly larger sections — two to two-and-a-half inches wide. Instead of spiraling the hair tightly, wrap it in a loose C-shape around the barrel. Hold for eight to ten seconds, release, and let the wave fall naturally. The result is a gentle bend in the hair rather than a defined spiral.
This look works especially well on hair that’s been fully blown out to medium-straight before styling. It’s also an excellent choice when you want a style that reads as “natural but polished” for work or formal occasions without looking overly done.
3. Half-Up Wand Curl Updo
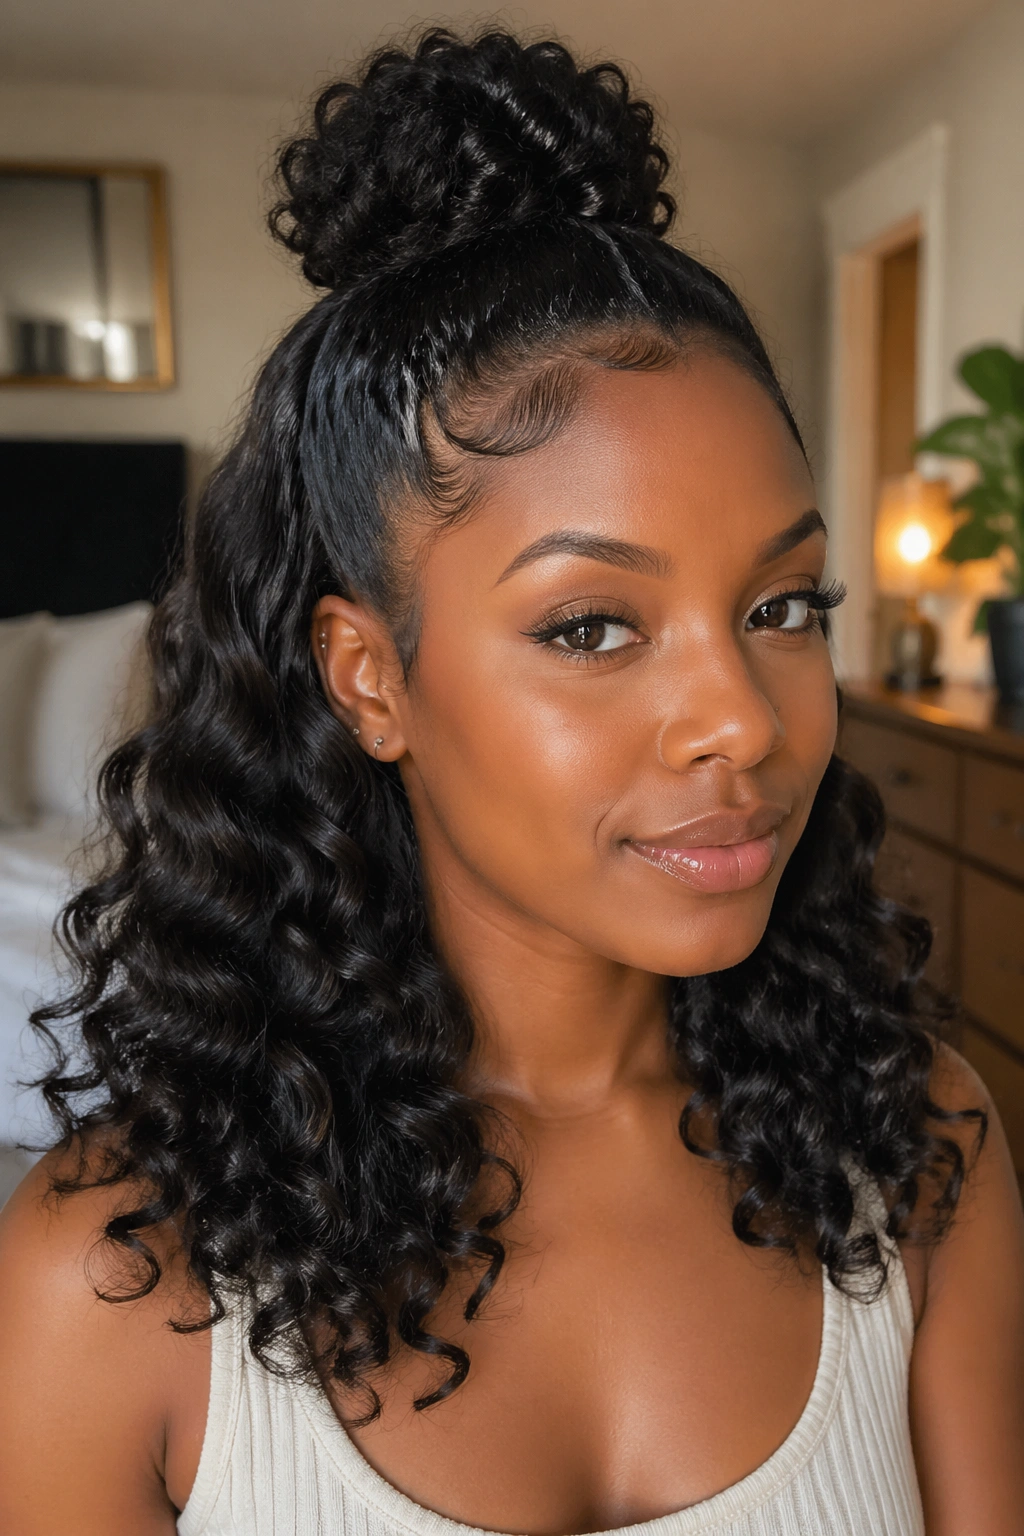
A half-up updo with wand curls underneath gives you the best of both worlds — the neatness of an upstyle and the movement of loose curls. This style photographs beautifully and works for everything from graduation ceremonies to date nights.
Curl the entire head first using a one-inch wand and standard spiral technique. Let the curls cool completely. Then gather the top half of the hair — from ear to ear — and secure it into a high puff or a loose bun. The bottom curls cascade freely below the bun line, creating contrast between the clean top section and the flowing curls beneath.
Pin the bun loosely rather than tightly so it has a little volume. Edge control along the hairline and a few bobby pins to secure flyaways are all you need to finish. The style takes minimal additional effort once the curl set is complete.
4. Wand Curls with High Puff
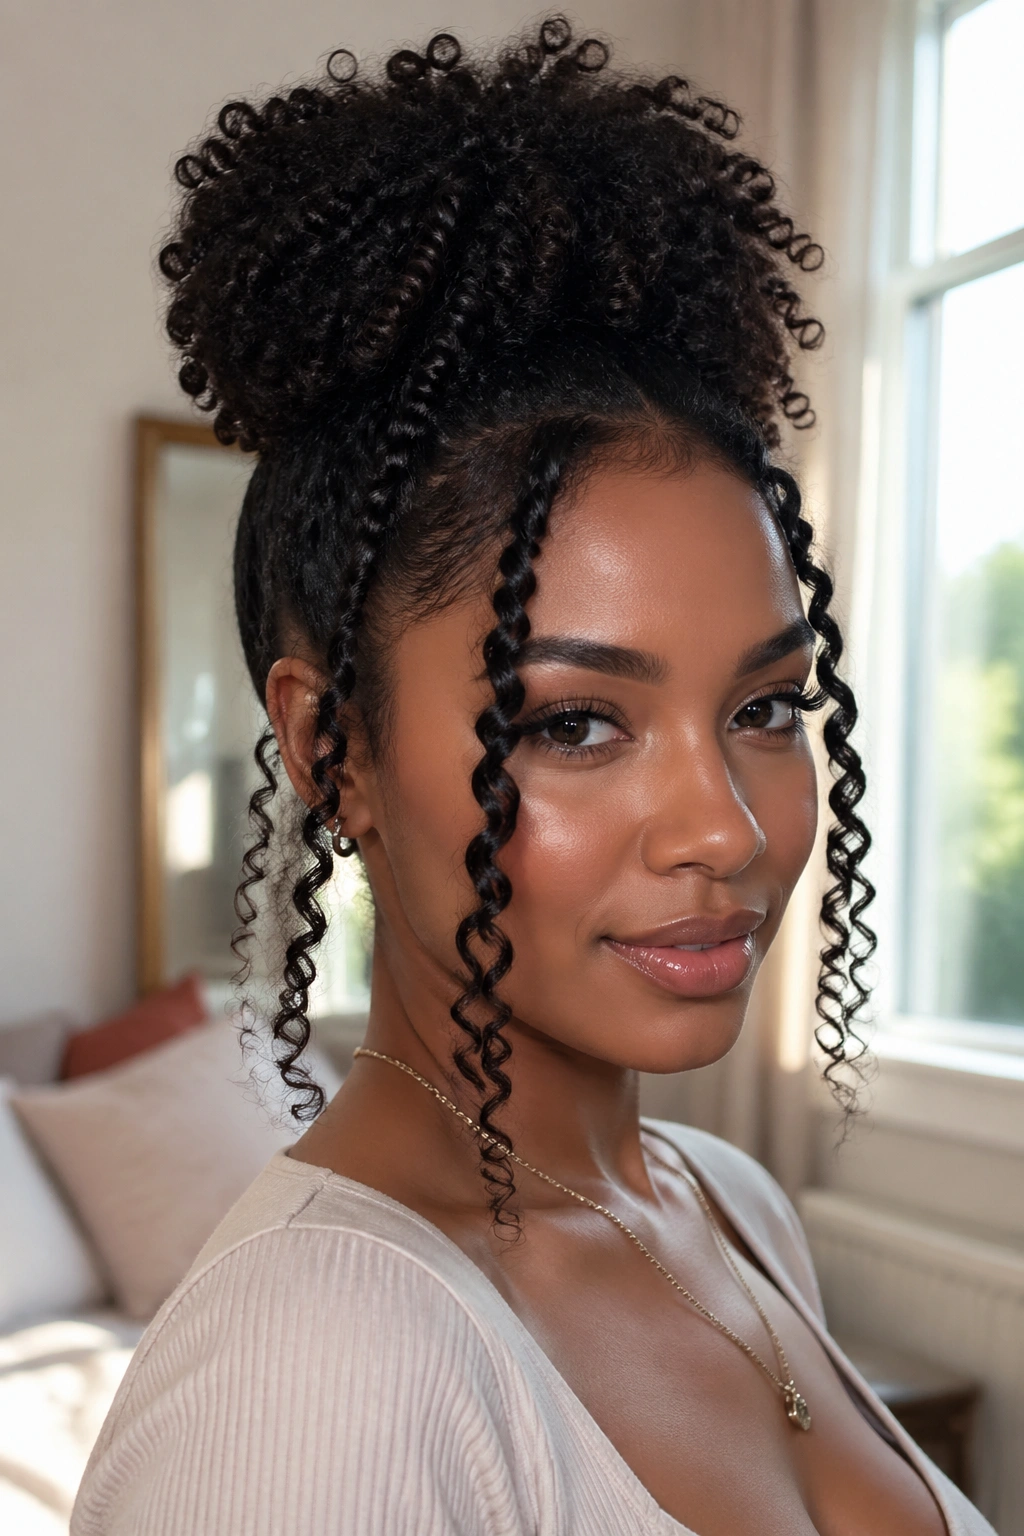
Imagine a cloud of curls sitting right on top of your head while the rest of your hair flows down in spiral perfection. That’s the high puff with wand curls — dramatic, joyful, and unmistakably natural.
Start with a full wand curl set using a one-inch barrel. Once curls are cooled and set, take a large circular section from the crown of the head — about three to four inches in diameter — and gently lift it upward. Secure at the base with a few bobby pins, not a tight elastic, so the puff stays full and rounded. The curls surrounding the puff frame the face and neck beautifully.
This is a great protective-ish style because you’re keeping the ends visible but the manipulation is minimal once it’s set. It also adds serious height, which is a gift for anyone whose shrinkage tends to make their hair look shorter than it is.
5. Side-Swept Wand Curls
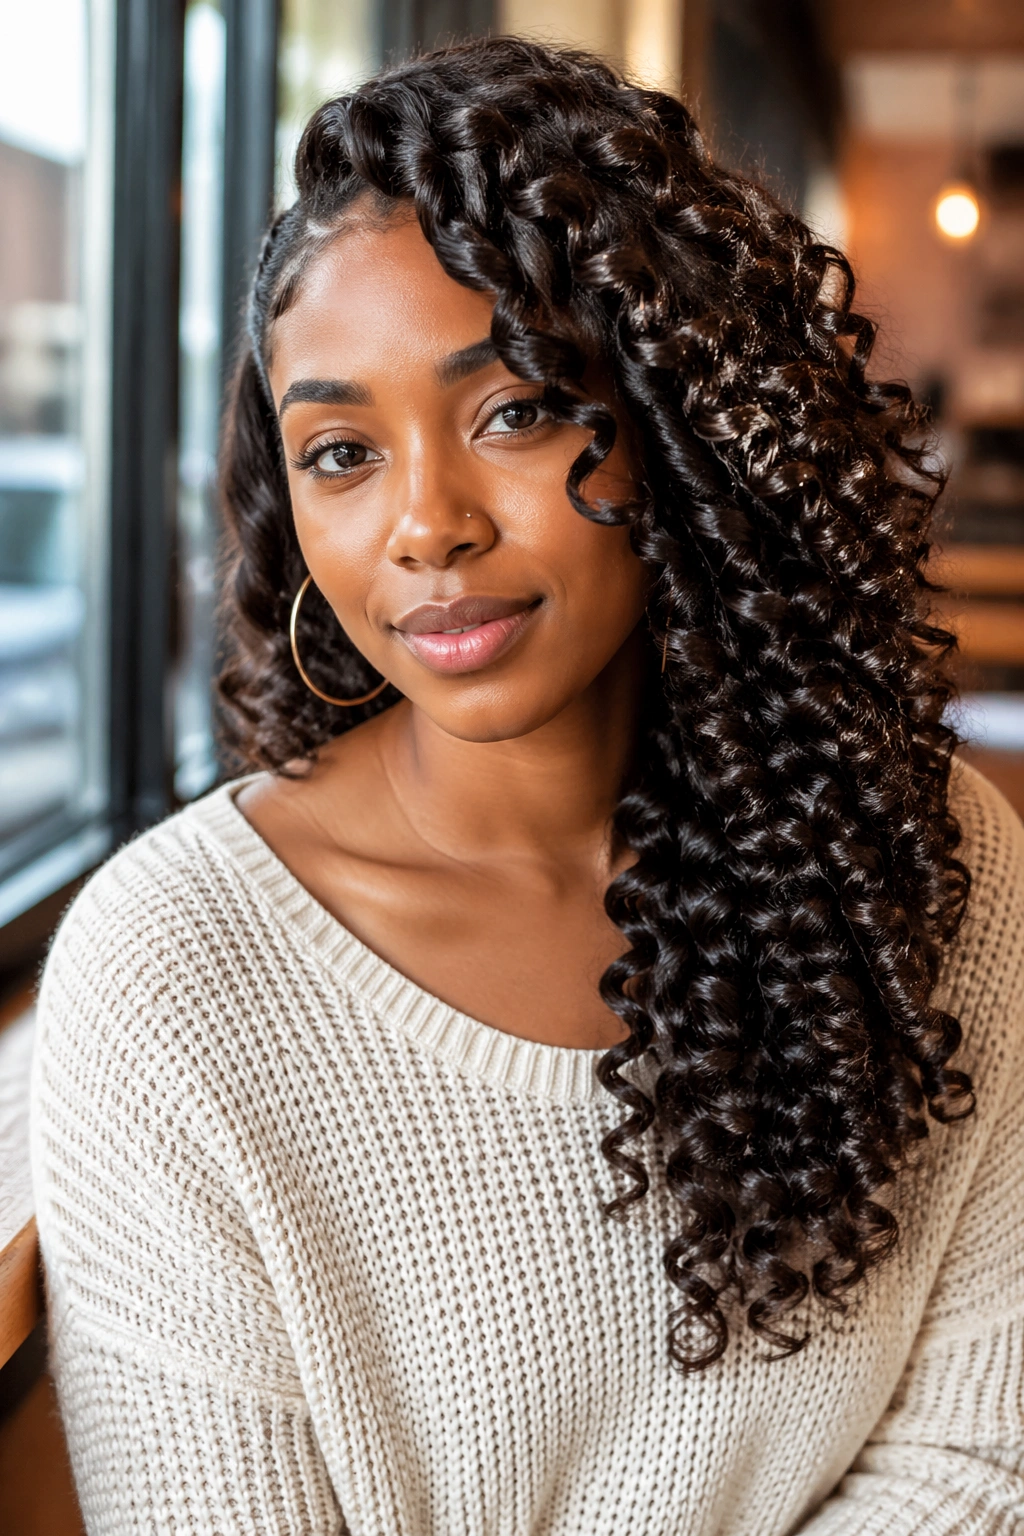
There’s something deeply romantic about curls swept dramatically to one side. It’s a style that works on short natural hair, medium length, and long hair equally well — and it draws attention to your facial features in a gorgeous way.
Curl the entire head uniformly with a one-inch wand. Once set and cooled, use your fingers — never a brush — to gently sweep all the curls to one side. Use a few discreet bobby pins on the opposite side to hold the sweep in place. Let the curls cascade over one shoulder. If your hair is shorter, sweep them forward across the front of your head and tuck the longer side behind one ear.
Add a decorative pin, a silk scarf tied at the temple, or a metallic hair clip at the point of the sweep to make the style look intentional and elevated.
6. Wand Curls with a Deep Side Part
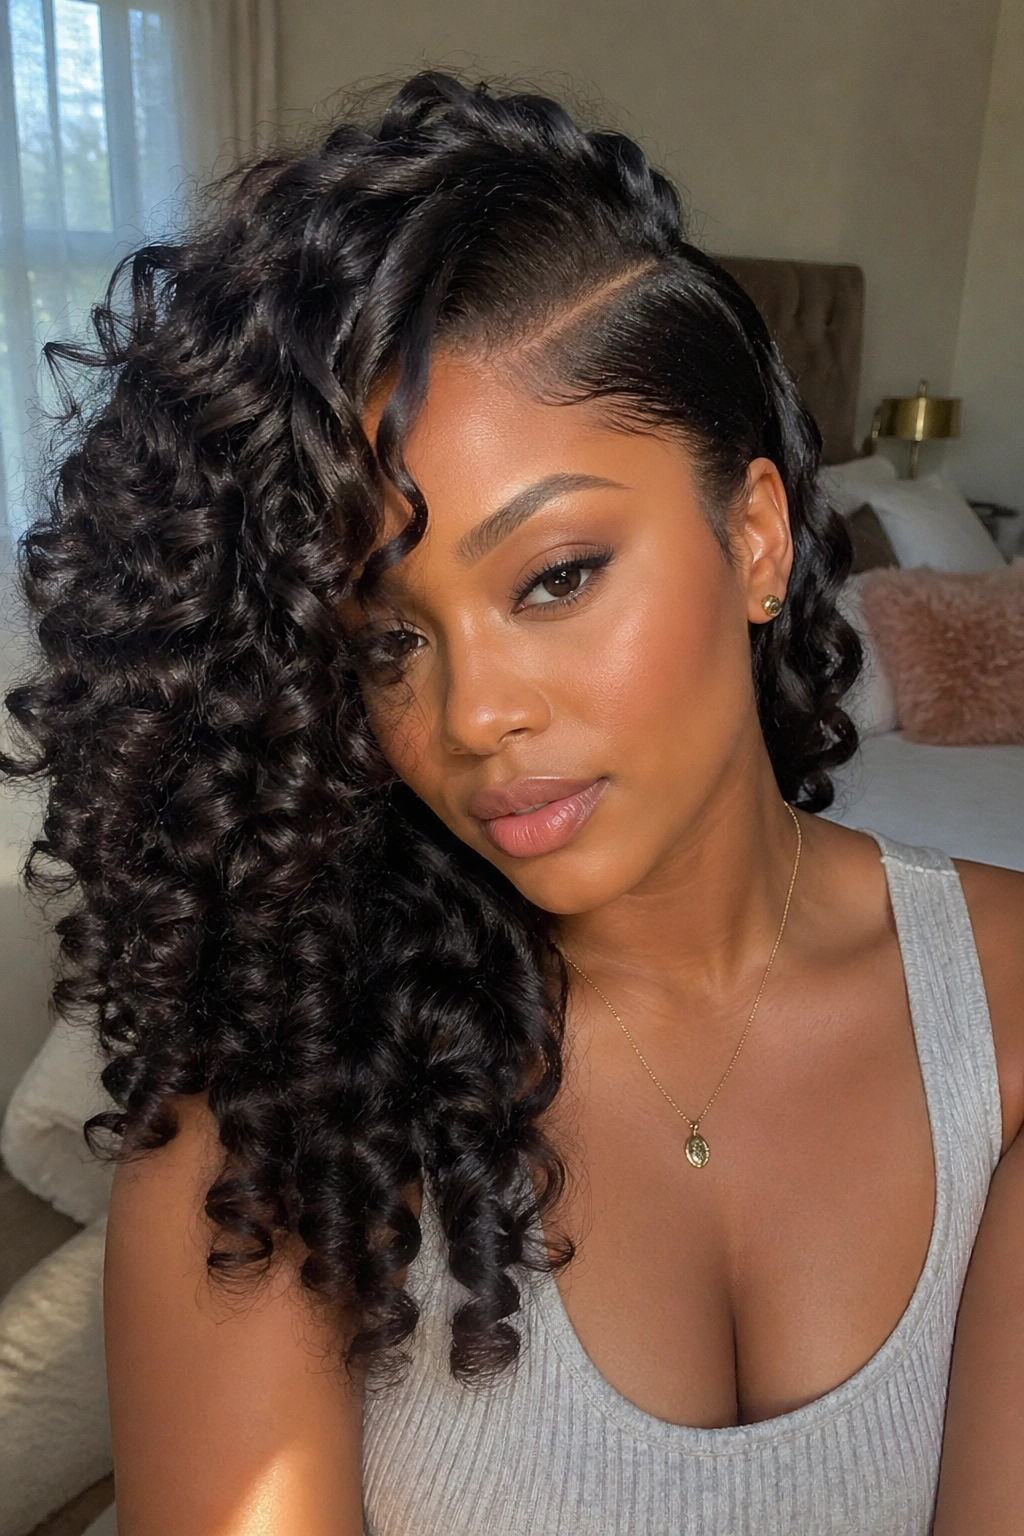
A deep side part completely changes the silhouette of your hair and your face. Combined with wand curls, it creates a look that feels intentional, stylish, and grown.
Before curling, establish your deep side part first. Use the handle of a rat-tail comb to carve a clean, dramatic part from the front hairline to behind the ear on one side. Then curl each section consistently. When you’re done, the curls on the heavy side of the part will have more volume and fullness, while the other side is more sleek and close to the head — this asymmetry is exactly what makes the look so striking.
Edge control on the smaller side keeps it smooth and polished. Let the volume side air out freely.
7. Banded Wand Curls
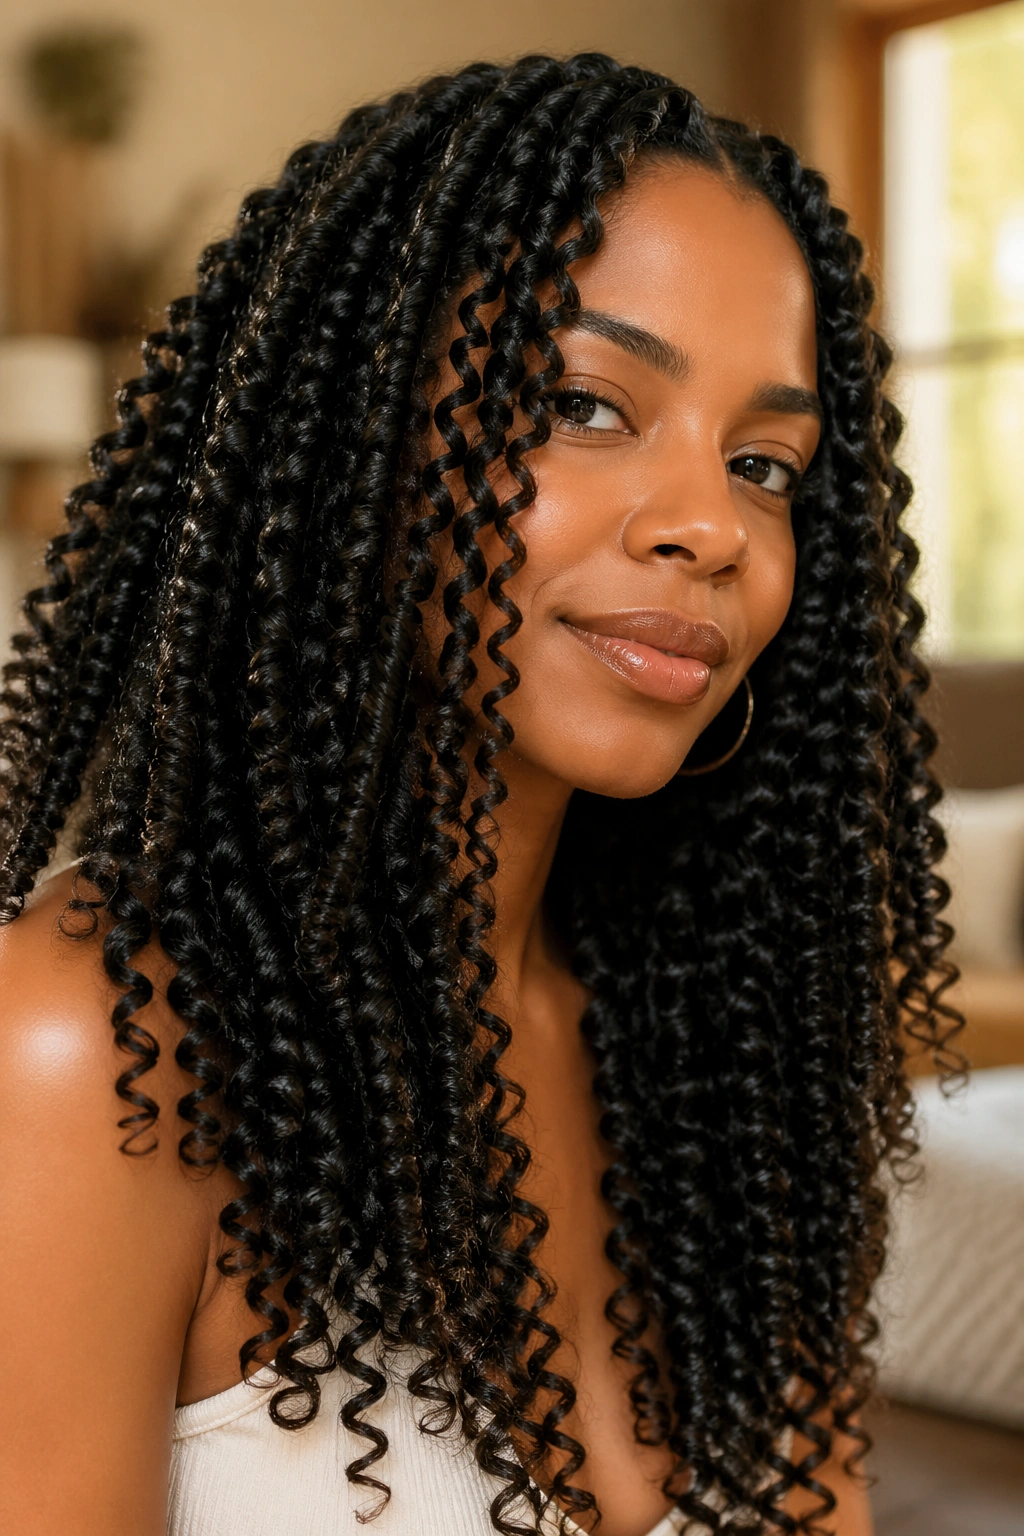
Banding before you curl is a technique that changes everything for 4C naturals. Banding is the process of wrapping a stretchy band or thread around sections of hair before heat styling to stretch the coil pattern without full heat straightening. When you band first and then curl, the wand curl settles on hair that’s already been elongated, giving you maximum length and definition.
Divide damp hair into sections, band each section by wrapping a soft hair tie from root to end in a spiral pattern, and let the hair dry completely. Remove the bands, apply heat protectant, and curl with a one-inch wand. The result: longer, more defined wand curls that last even longer because the hair isn’t fighting against maximum shrinkage.
This technique works especially well for 4A, 4B, and 4C hair types and is worth the extra prep time.
8. Wand Curls on a Protective Style Base
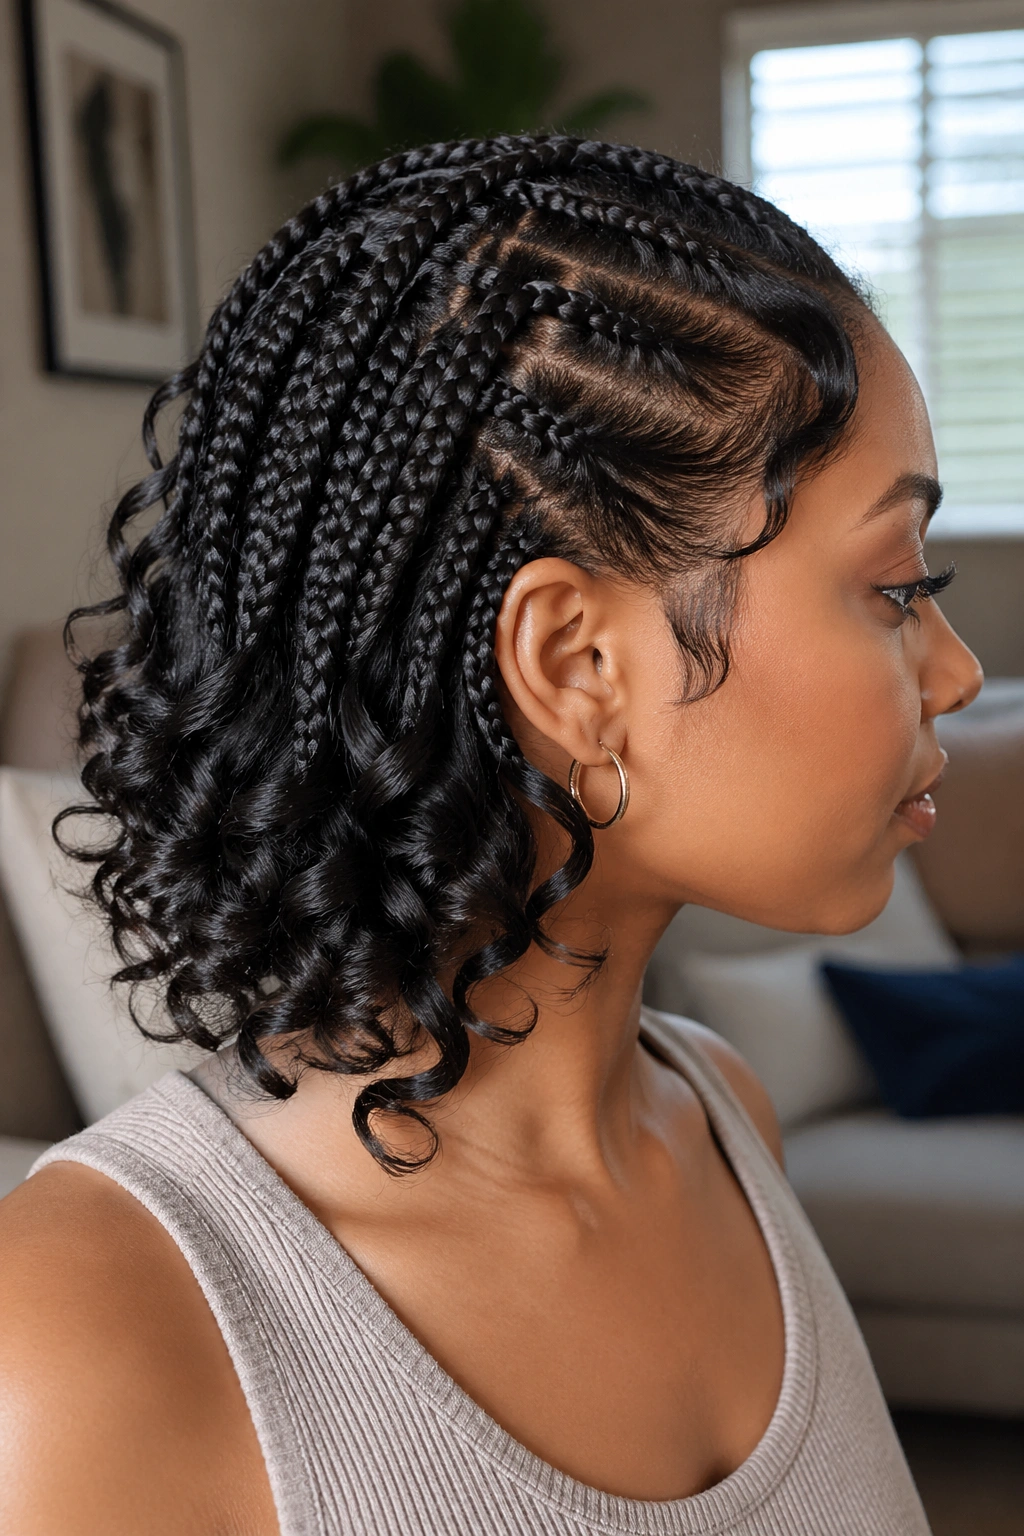
Who says wand curls are only for your real hair? Curling the ends of braids, twist-outs, or even faux locs with a wand is a creative technique that adds movement and dimension to protective styles.
For box braids or twists, curl just the loose ends using a low-heat setting on your wand — around 300°F to 320°F. Wrap the ends around the barrel for five to eight seconds and release. The curled ends give braids and twists a more finished, polished look and make the style feel fresh even after a few weeks.
This technique also works for knotless braids with curly ends — simply reinforce the pre-curled ends that may have loosened over time.
9. Wand Curl Frohawk
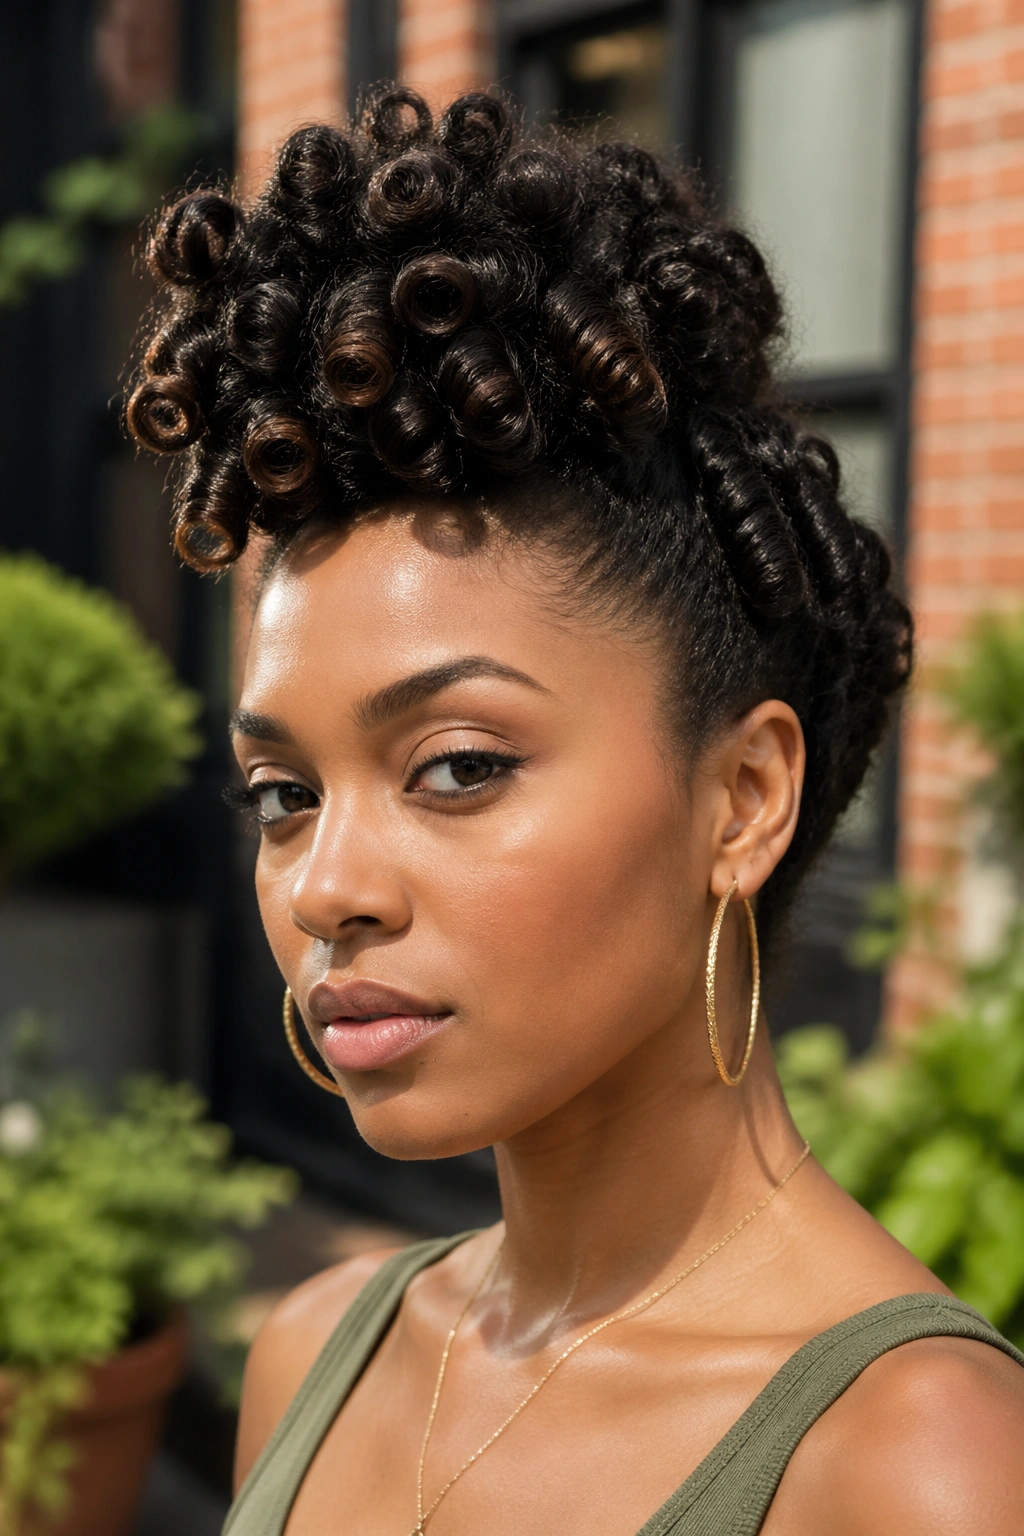
The frohawk is bold, edgy, and makes a statement every single time. When you add wand curls, it becomes a full runway moment.
Start by dividing the hair into three vertical sections: the central mohawk strip and the two sides. Curl the central section with a one-inch wand in uniform spirals. For the sides, use slightly larger sections and curl them to create volume that can be swept upward. Pin the side sections upward using bobby pins so they join the central strip at the top, creating the illusion of a faux mohawk. The curls on top flow freely while the pinned sides create a sleek upward sweep.
This style photographs dramatically well and stays in place comfortably all day.
10. Wand Curls on Transitioning Hair
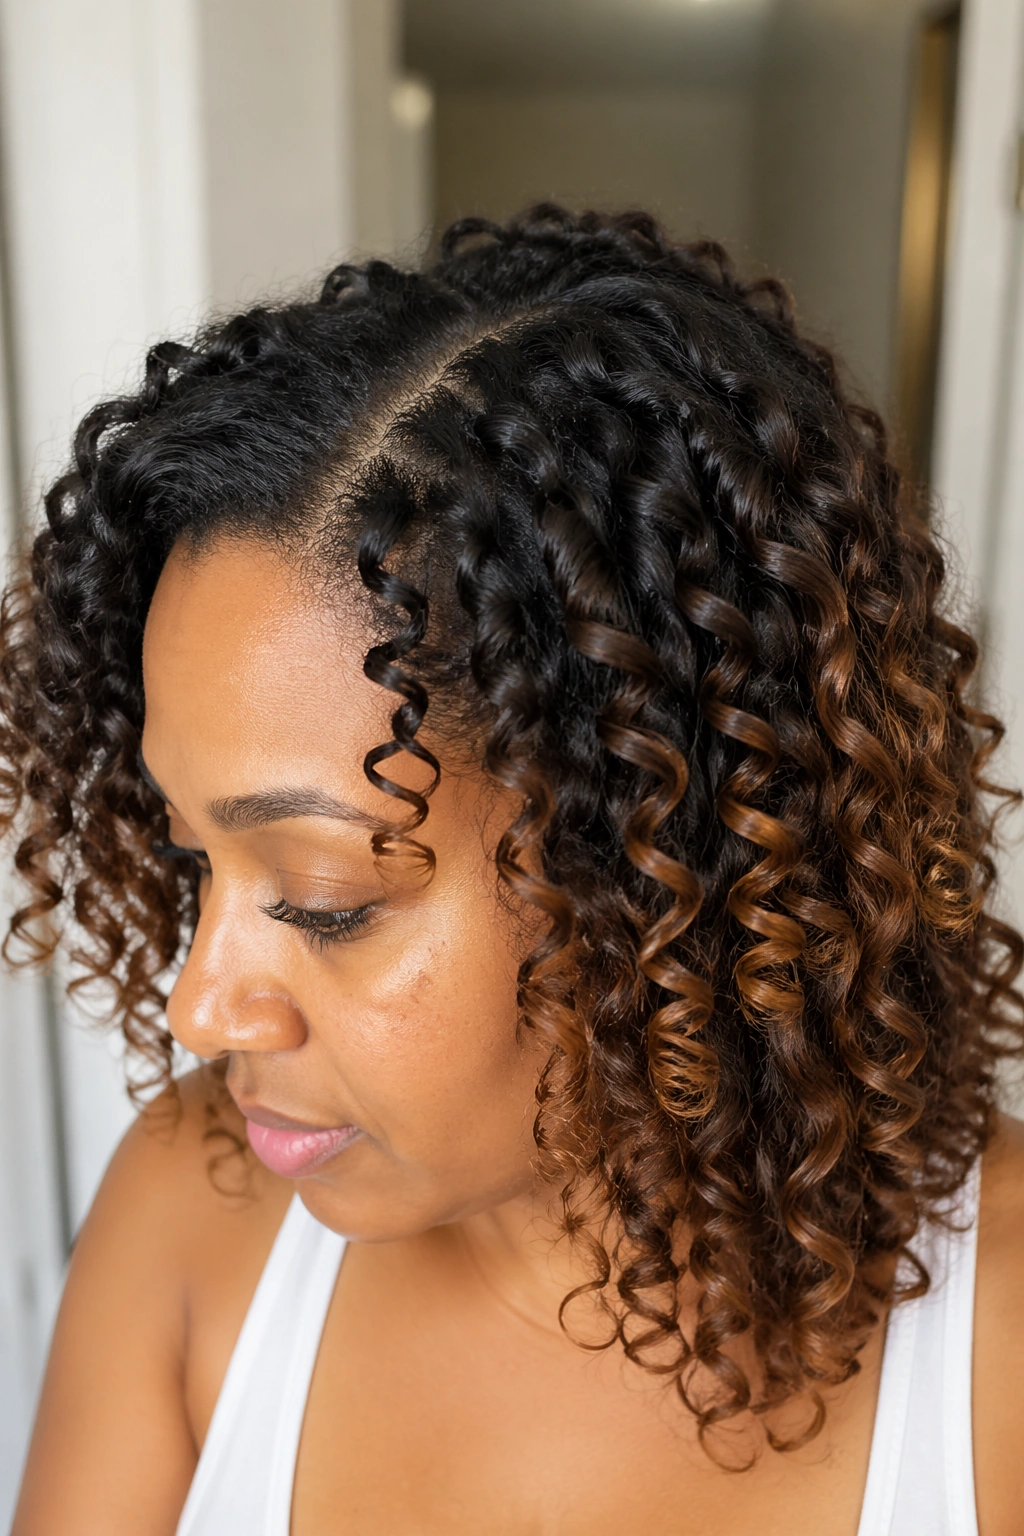
Transitioning hair — the combination of natural new growth and chemically processed ends — can be a styling challenge. Wand curls are one of the more forgiving styles during this phase.
The key is to match your approach to the two textures you’re working with. Apply heat protectant generously, especially to the processed ends which are already more fragile. Use a lower heat setting — 300°F to 330°F — to protect both textures. Use a smaller barrel to bring the processed ends closer in appearance to the coilier new growth. The goal isn’t perfect uniformity; it’s harmony between the two textures.
Many transitioners find that wand curls help them blend the line of demarcation in a way that looks intentional rather than accidental.
11. Messy Wand Curl Updo
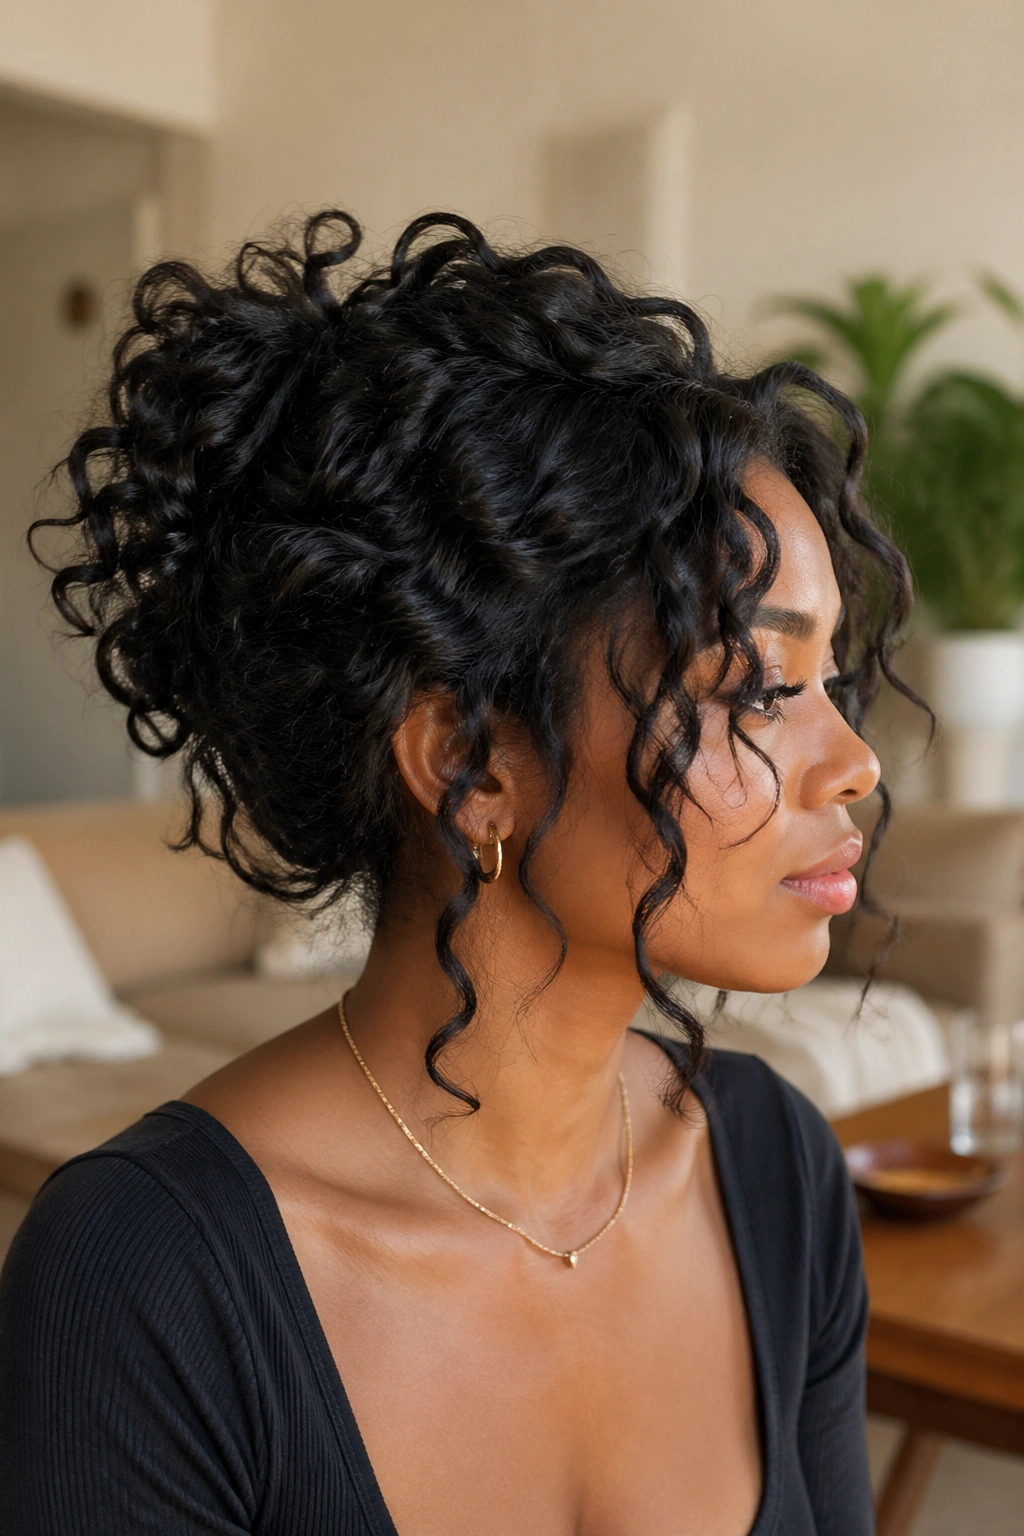
Undone is always in. A messy wand curl updo looks like you threw your hair up carelessly and it just happened to look perfect — which is exactly the energy we’re going for.
Curl the entire head first. Let the curls cool. Then gather all the hair loosely at the nape, mid-head, or crown — wherever feels right — and secure it loosely with a large clip or a few criss-crossed bobby pins. Pull out several curls around the face to frame it. Let a few wispy pieces fall free at the neck. The imperfection is intentional. The beauty is real.
This is an excellent style for day two or three curls that have loosened slightly, because the messier, lived-in look actually suits the updo aesthetic better than a fresh, tight set.
12. Wand Curls with Bangs
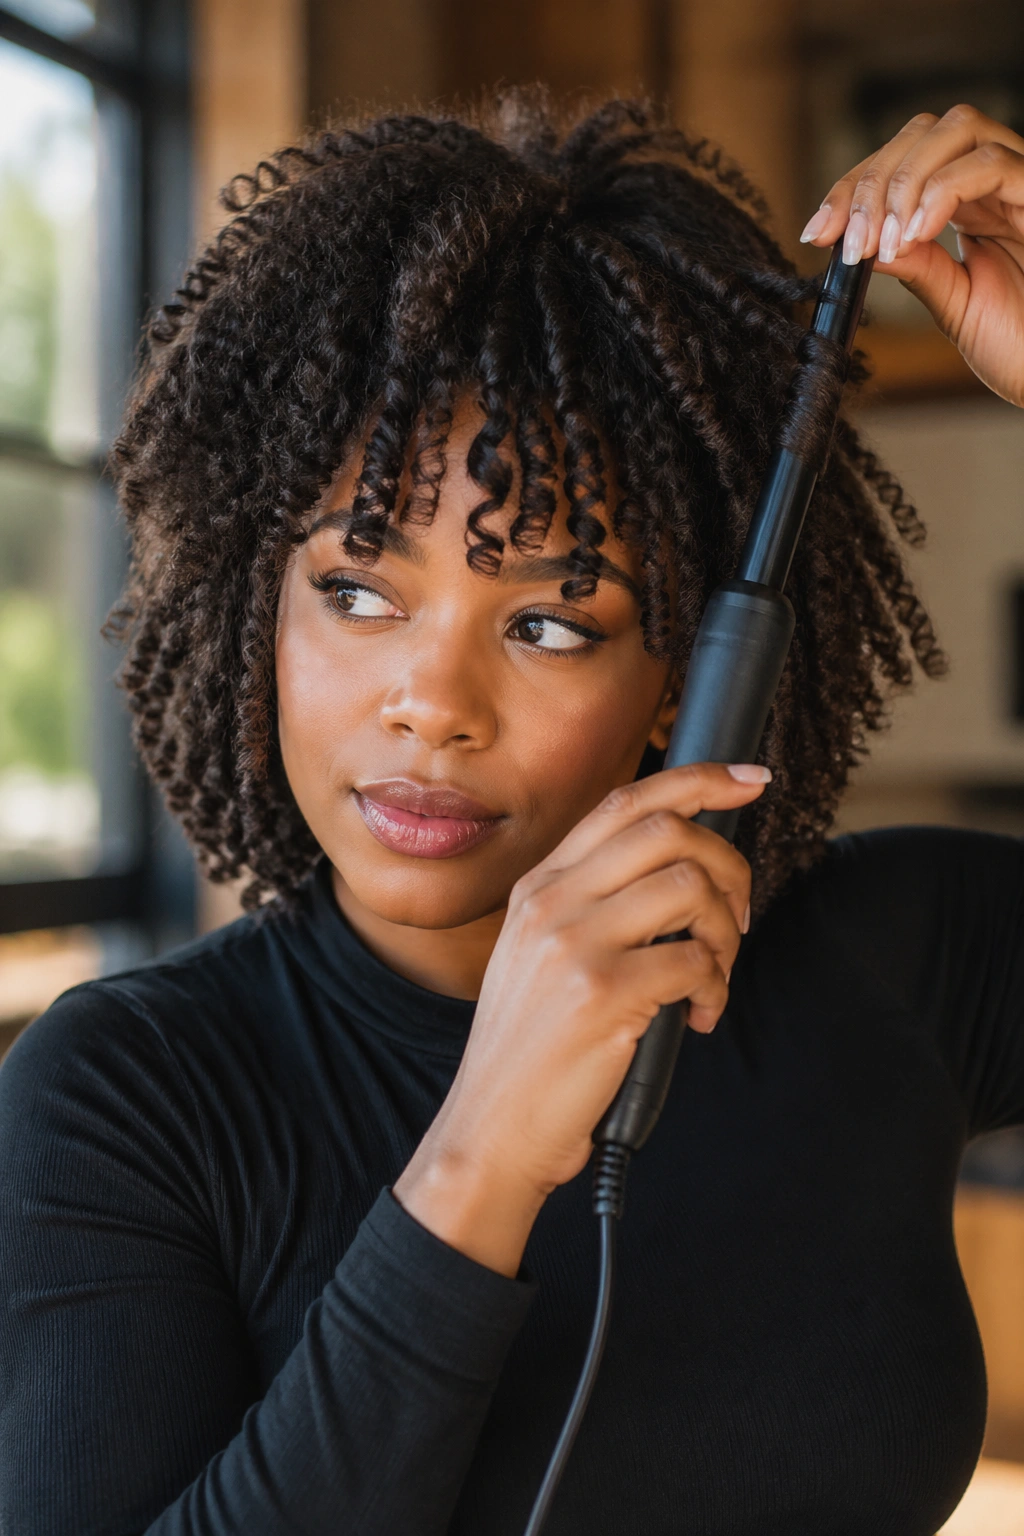
If you have natural hair bangs or are thinking about adding them, wand curls are the perfect complement. The curl-and-bang combination feels retro in the best way — think 1960s glam updated for a natural hair aesthetic.
Curl your bangs last, after the rest of the head is done. Use a smaller barrel — three-quarters of an inch — for the bangs so they have more definition. Curl them forward, toward your face, for a soft, vintage look. Or curl them to the side to make them blend into the rest of your curls. Either direction works; it depends entirely on the effect you want.
Hold each bang section for at least 12 seconds since bangs are often fine and need a bit more time to set.
13. Curly Wand Bob
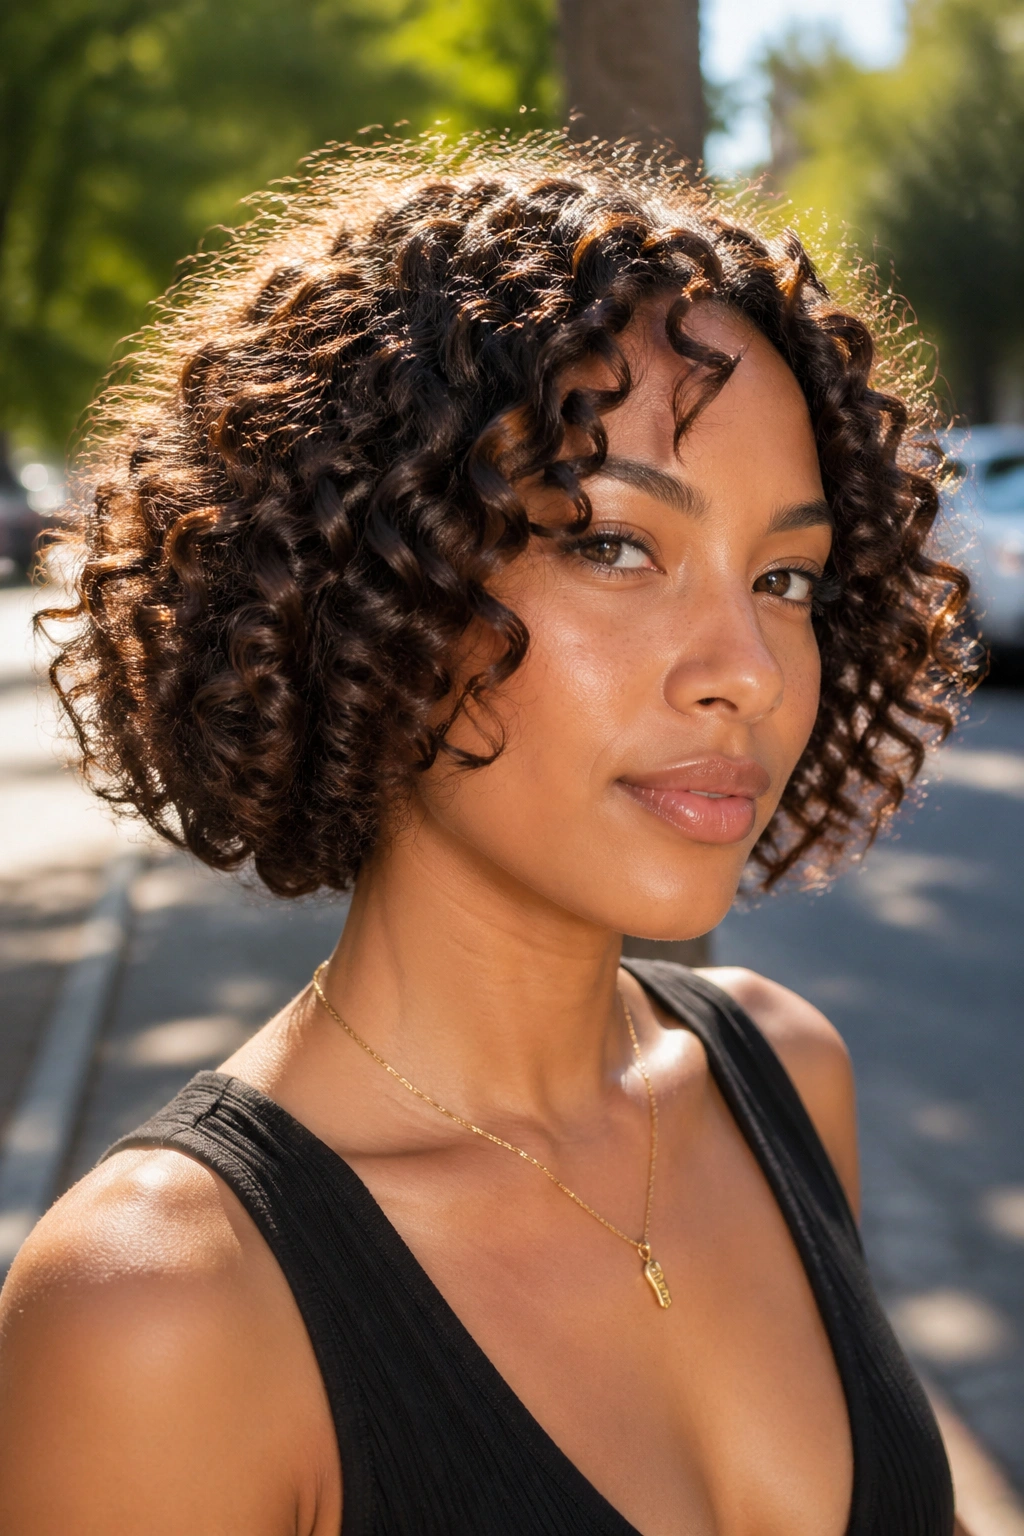
Short natural hair doesn’t miss out on wand curl magic — not even close. A curly wand bob is one of the most chic, sophisticated looks you can rock on natural hair that falls at or above the chin.
Work in very small sections — about half an inch — since you don’t have much length to play with. Use a three-quarter-inch or one-inch wand and wrap each section tightly. The shorter the hair, the more intentional and consistent your wrapping needs to be. When every section is done, gently separate the curls with your fingers to create volume and a rounded bob shape.
Finish with a tiny amount of shine serum smoothed over the outer surface of the curls to add polish and reduce frizz without weighing the style down.
14. Big Wand Curls for Volume
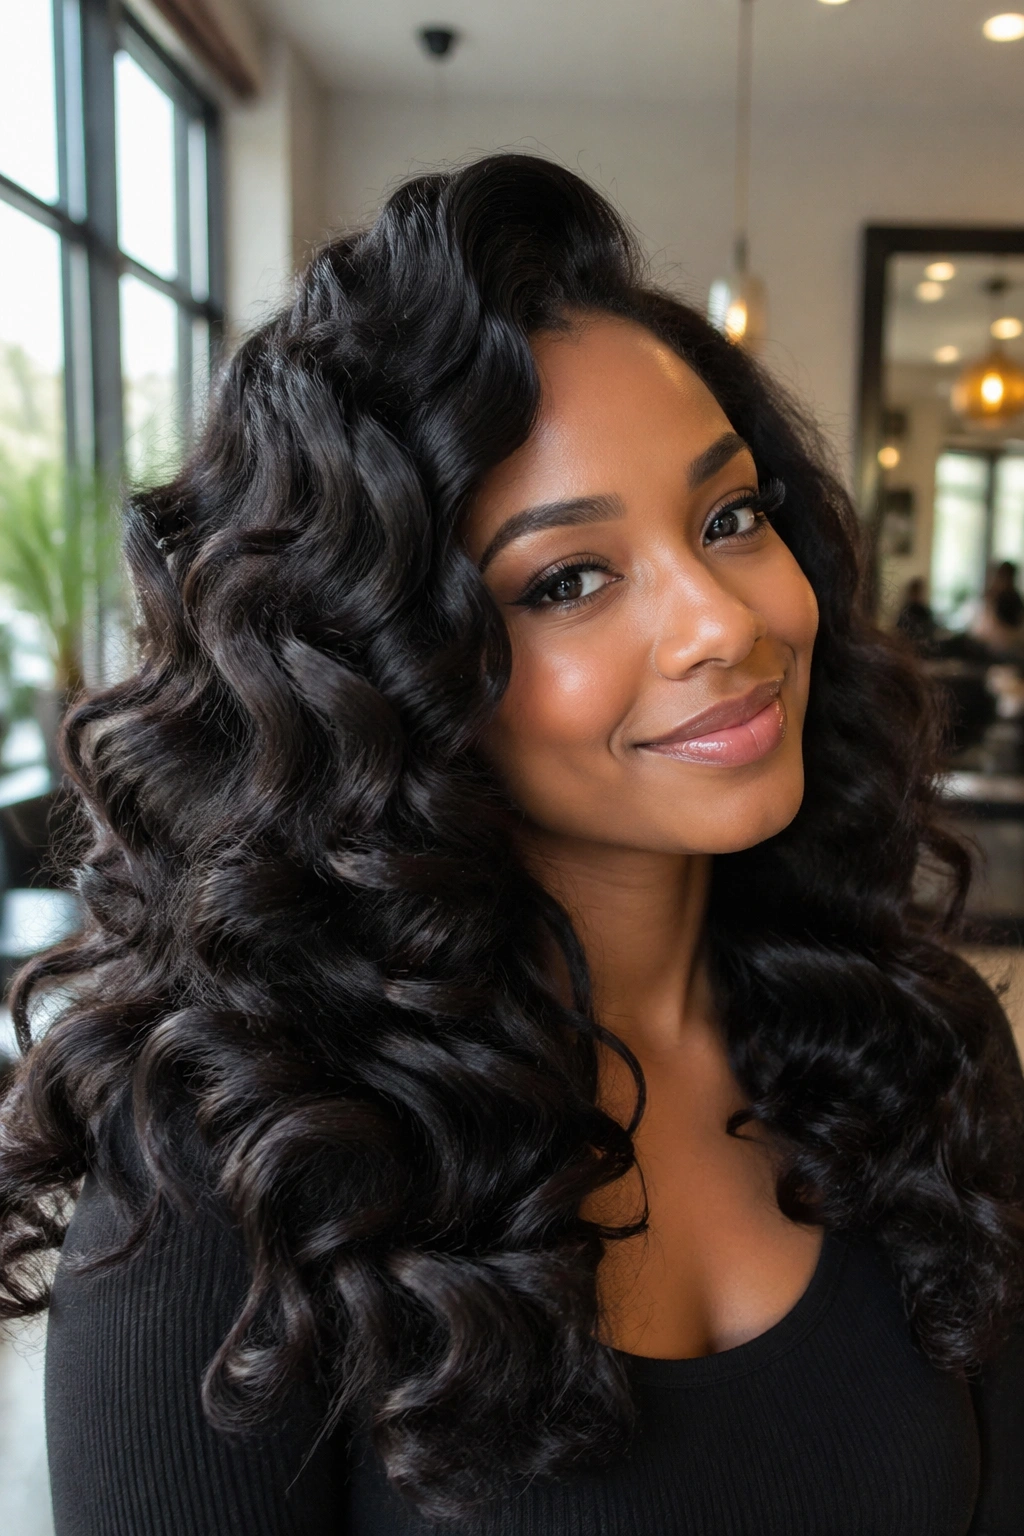
Some days call for maximum drama. Big wand curls deliver that and then some — think volume that fills a room and curls that move with every step.
Use the largest barrel you own — one and a half to two inches. Section the hair into large, two-to-three-inch sections. Wrap each loosely and hold for about eight seconds. The result is a big, loose spiral that has more of a wave shape than a tight coil. Once all sections are done, use your fingers and a light-hold pick to lift the roots, creating even more height and volume at the crown.
This style looks especially stunning on high-density natural hair where there’s enough hair to fill the big spirals and create an impressively full silhouette.
15. Wand Curls with a Scarf
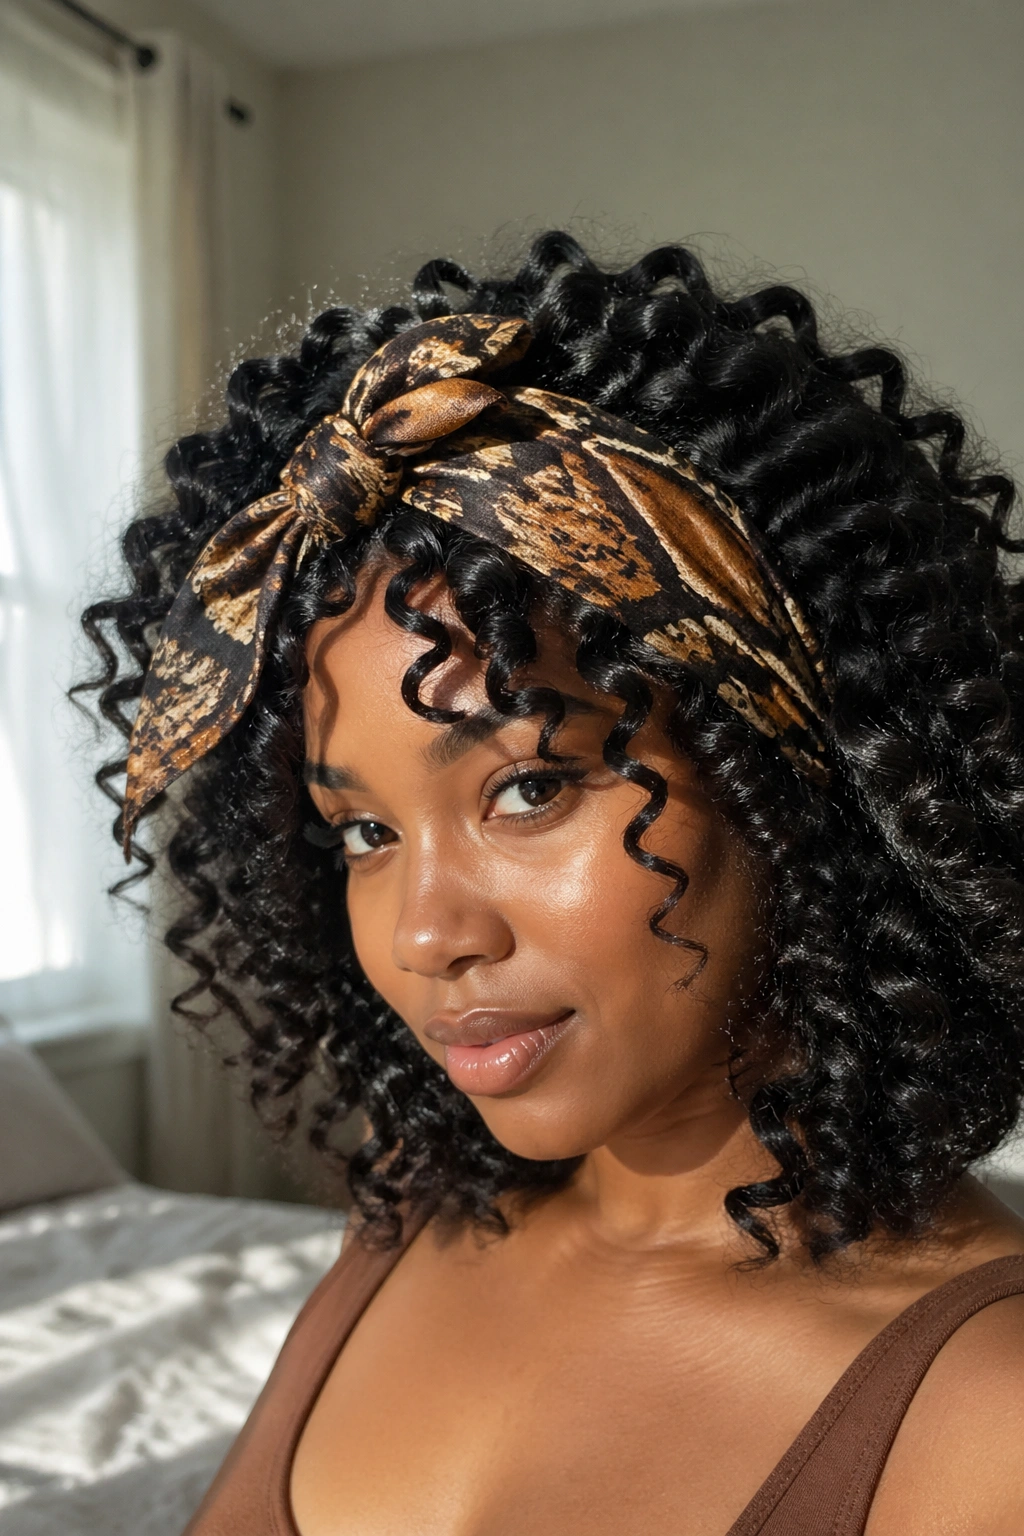
A silk or satin scarf tied around a wand curl set is a style that never gets old. It’s protective, pretty, and adds a pop of color or pattern to your look.
The trick is in how you tie it. Don’t wrap it around the entire circumference of your hair — that compresses the curls. Instead, fold the scarf into a long strip and tie it loosely across the front of the hair, just back from the hairline, and knot it at the top or side. This frames the face, keeps flyaways in check, and lets the curls behind it be the star of the show.
A silk scarf also helps extend the life of your style when you tie it as a loose bonnet at night — far gentler on curls than cotton.
16. Defined Ringlet Wand Curls
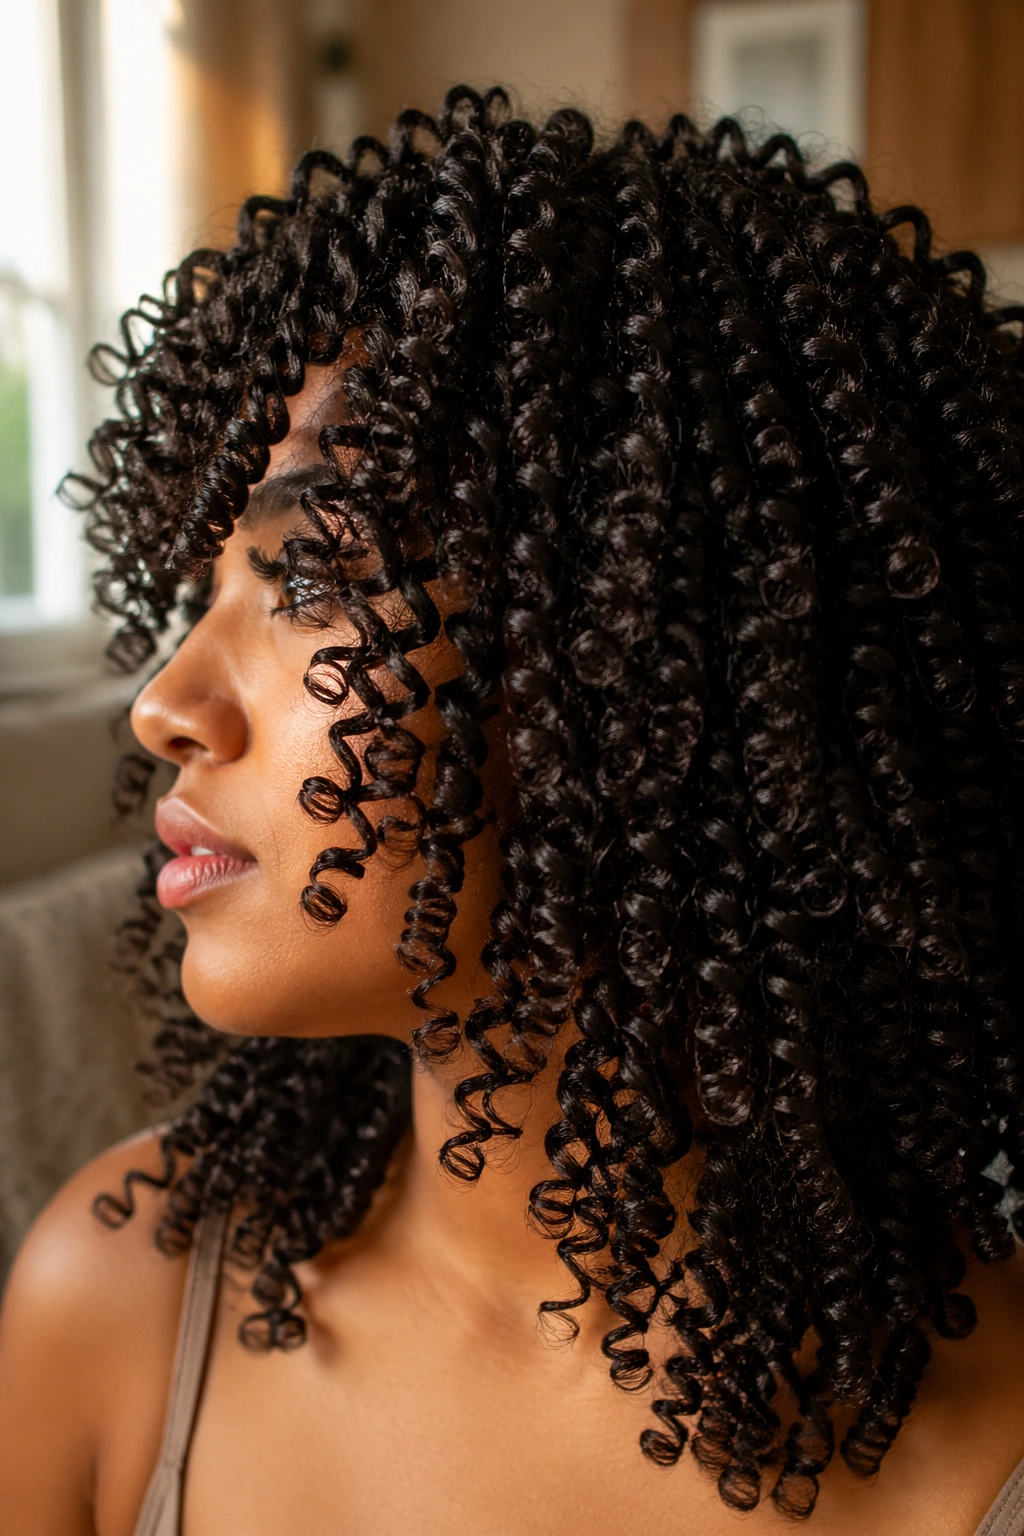
Ringlets are the gold standard of wand curl perfection — tight, springy, individually defined coils that hang beautifully and move independently of each other. They look hand-painted.
To achieve true ringlets on natural hair, you need two things: very thin sections and a thin barrel. Work with sections no wider than half an inch, and use a barrel no larger than three-quarters of an inch. Wrap each section slowly and evenly, making sure not to overlap the strands as you go. Hold for a full 12-15 seconds. Release slowly and cup the curl in your palm immediately to let it cool in its perfect ringlet shape.
Don’t touch them once they’re cool. Don’t pick them out. Don’t shake your head. Just let them be — and they’ll be stunning.
17. Wand Curls on Stretched Natural Hair
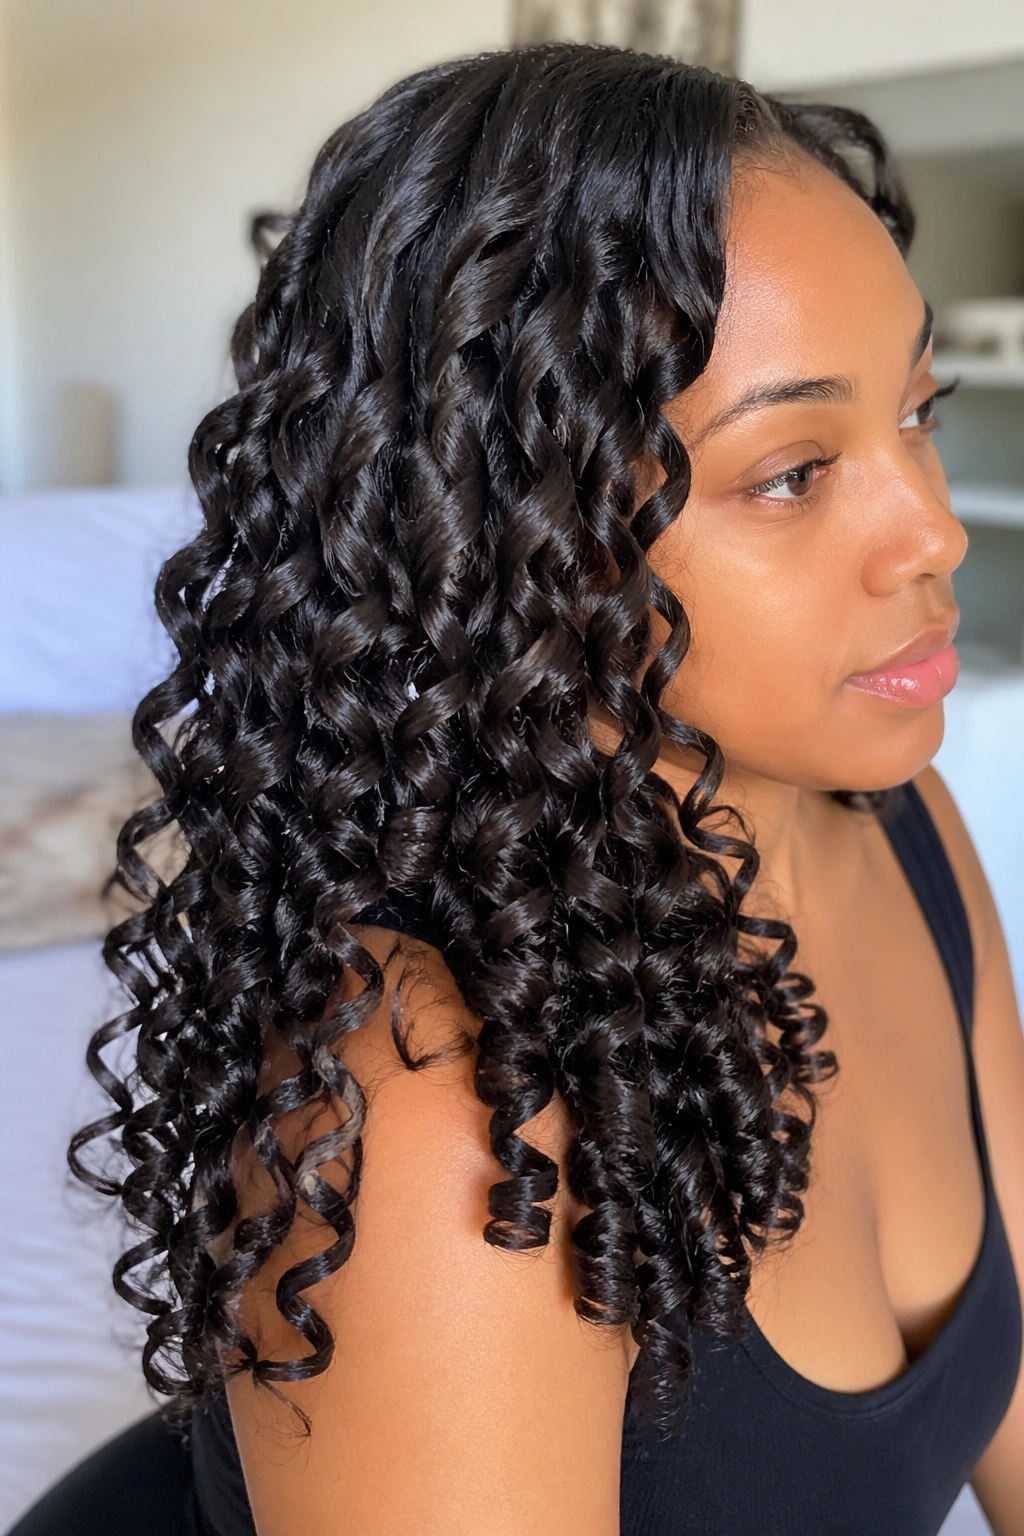
We’ve mentioned stretched hair throughout, but it deserves its own section because the stretching method you use changes the character of the final curl.
African threading: Produces maximum elongation and minimal heat exposure. The resulting curl has extraordinary definition and holds the longest.
Banding: Faster than threading, gives similar elongation. Great for a quick-prep wand curl session.
Blowout: The most common method. A light blowout on a warm setting (not hot) gives you fluffy, stretched hair that takes wand curls beautifully.
Twist-out base: Twisting damp hair, letting it dry, then unraveling before applying the wand gives you a semi-stretched base that adds extra curl pattern character to the final style.
Each method gives you a different starting point, which means your wand curls will look slightly different every time — in a good way.
18. Wand Curls for a Special Occasion
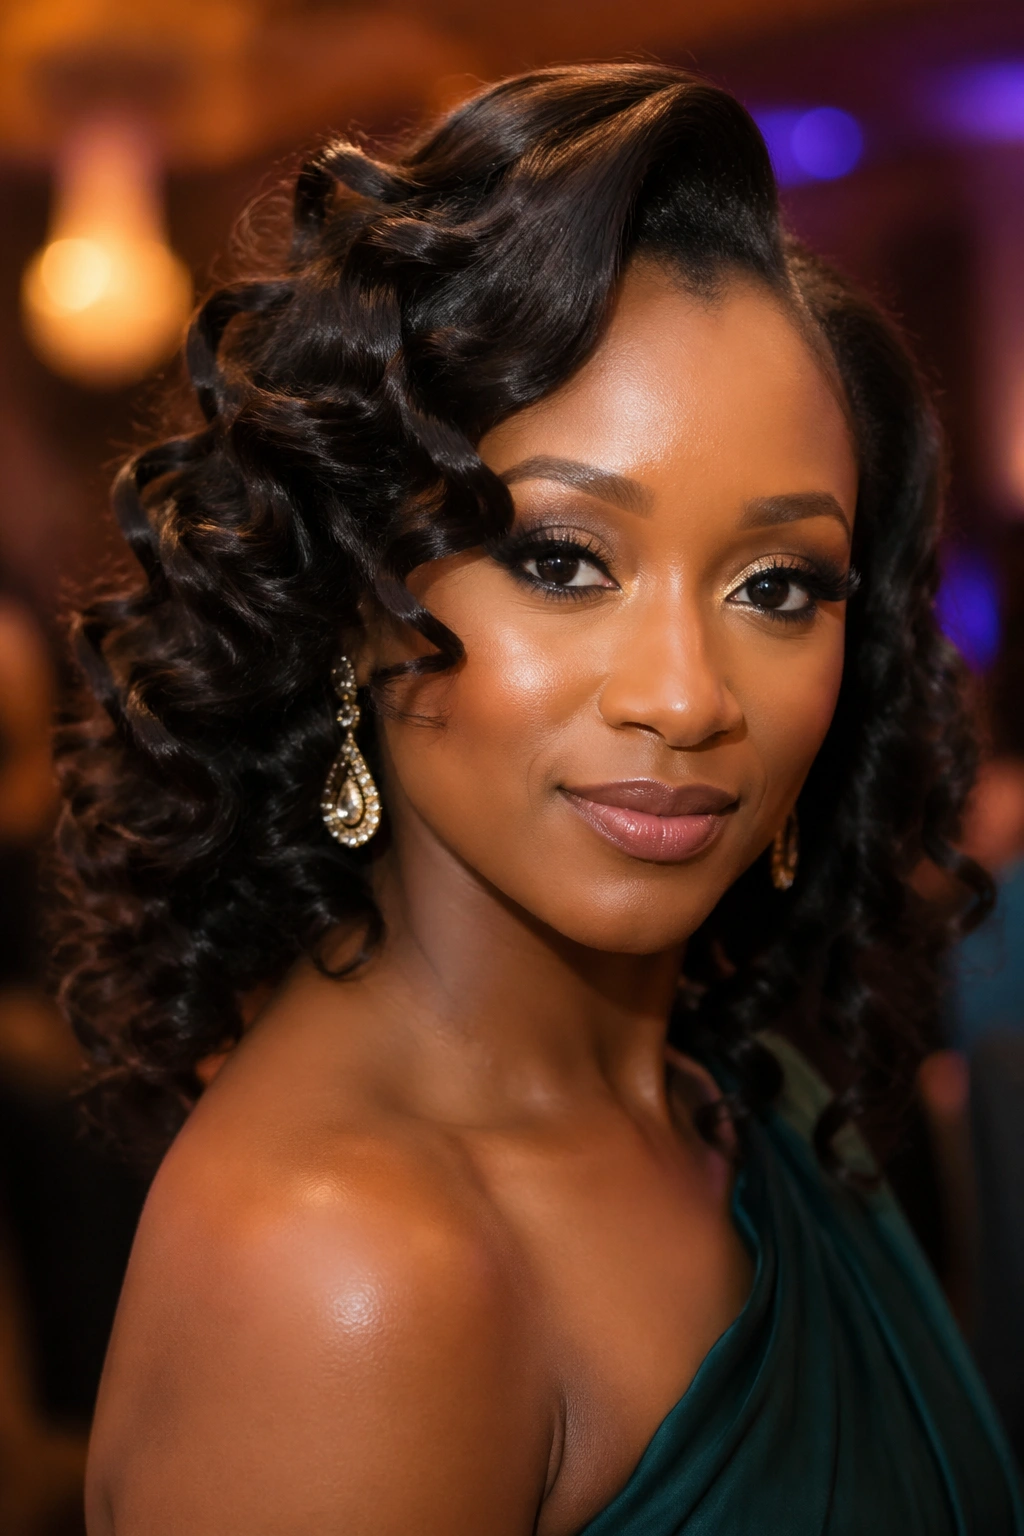
For weddings, graduations, photoshoots, and events, your wand curl game needs to be elevated beyond everyday styling. A few extra steps transform a standard wand curl set into something truly special.
Start with a fresh wash and deep condition. Blow out with a concentrator nozzle attachment for a smoother, sleeker base. Use a medium-hold heat-activated setting spray before curling — this locks the curl in place longer than heat protectant alone. Curl in very even, uniform sections for a polished, professional result. Once cooled, set the style with a light mist of flexible-hold hairspray to lock everything in without crunching.
For photos specifically, add shine serum to the outer surface of the curls — this catches light beautifully and makes the curls look rich and vibrant on camera.
19. Wand Curls with Color
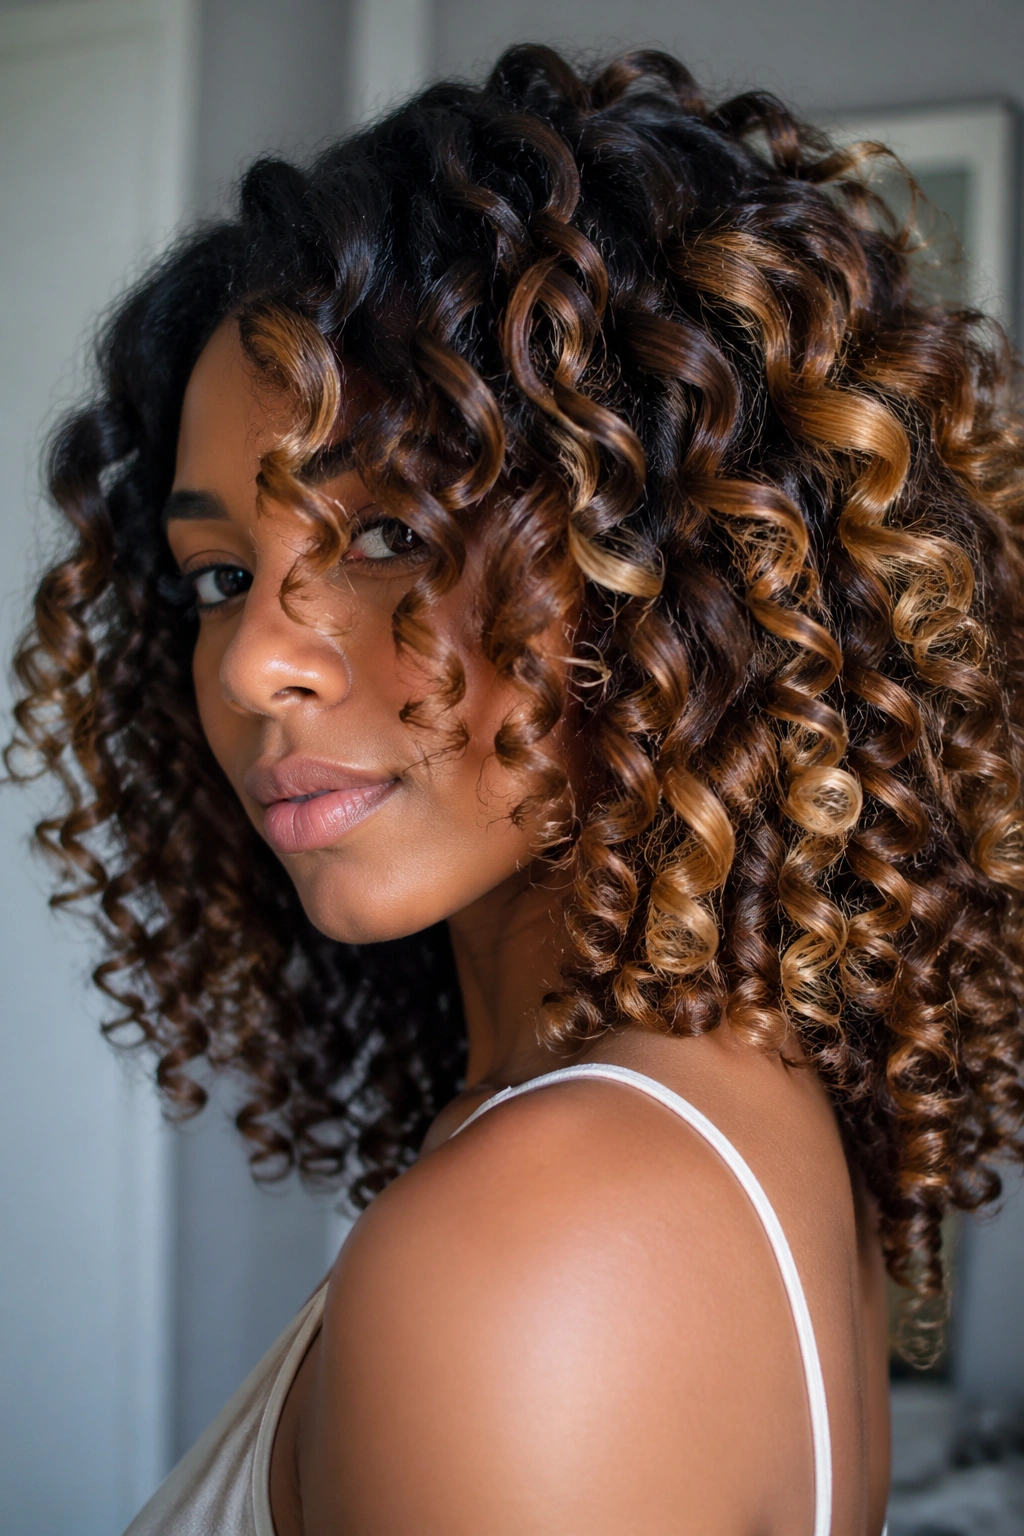
Color — whether it’s a full dye job, highlights, or tips — looks absolutely breathtaking on wand curls. The spiral shape catches the light differently at every angle, making multi-tonal hair look even more dimensional.
If your natural hair is colored, you need to be extra careful with heat. Colored hair, especially lightened or bleached hair, is more porous and more vulnerable to heat damage. Use a lower temperature setting — no higher than 350°F — and always, always use a quality heat protectant. Avoid overlapping the wand on the same section twice.
The payoff is worth the extra caution. Wand curls on natural hair with balayage or highlights look like something out of an editorial photoshoot.
20. Wand Curls on Locs
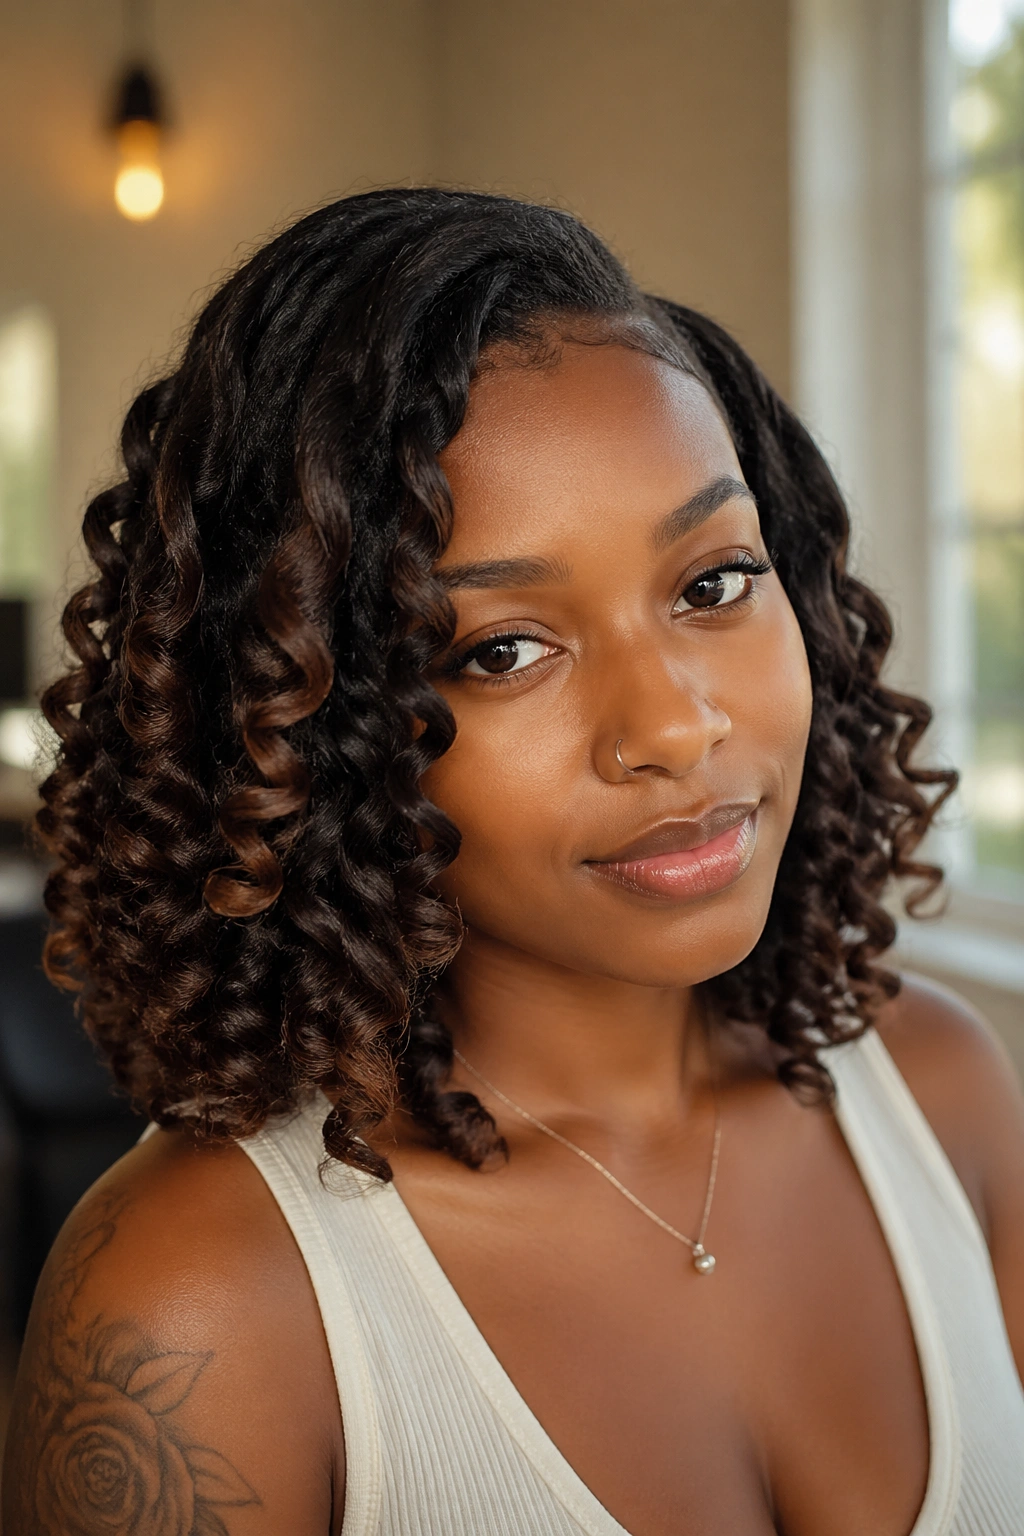
Locs and wand curls? Yes, absolutely. Curling your locs with a wand gives them a gorgeous spiral shape that adds movement and dimension you can’t get any other way. This technique is especially popular for special occasions.
Use a medium-sized barrel — around one inch — and a low heat setting, around 300°F to 320°F. Locs tend to hold heat longer than loose hair, so you don’t need as high a temperature. Wrap each loc around the barrel smoothly — no need to spiral since the loc itself is the strand. Hold for about eight seconds. Release and let the loc cool in a slight curl shape.
The resulting curled locs have a romantic, flowing quality that transforms the entire silhouette of the style.
21. Wand Curls Pin-Up Style
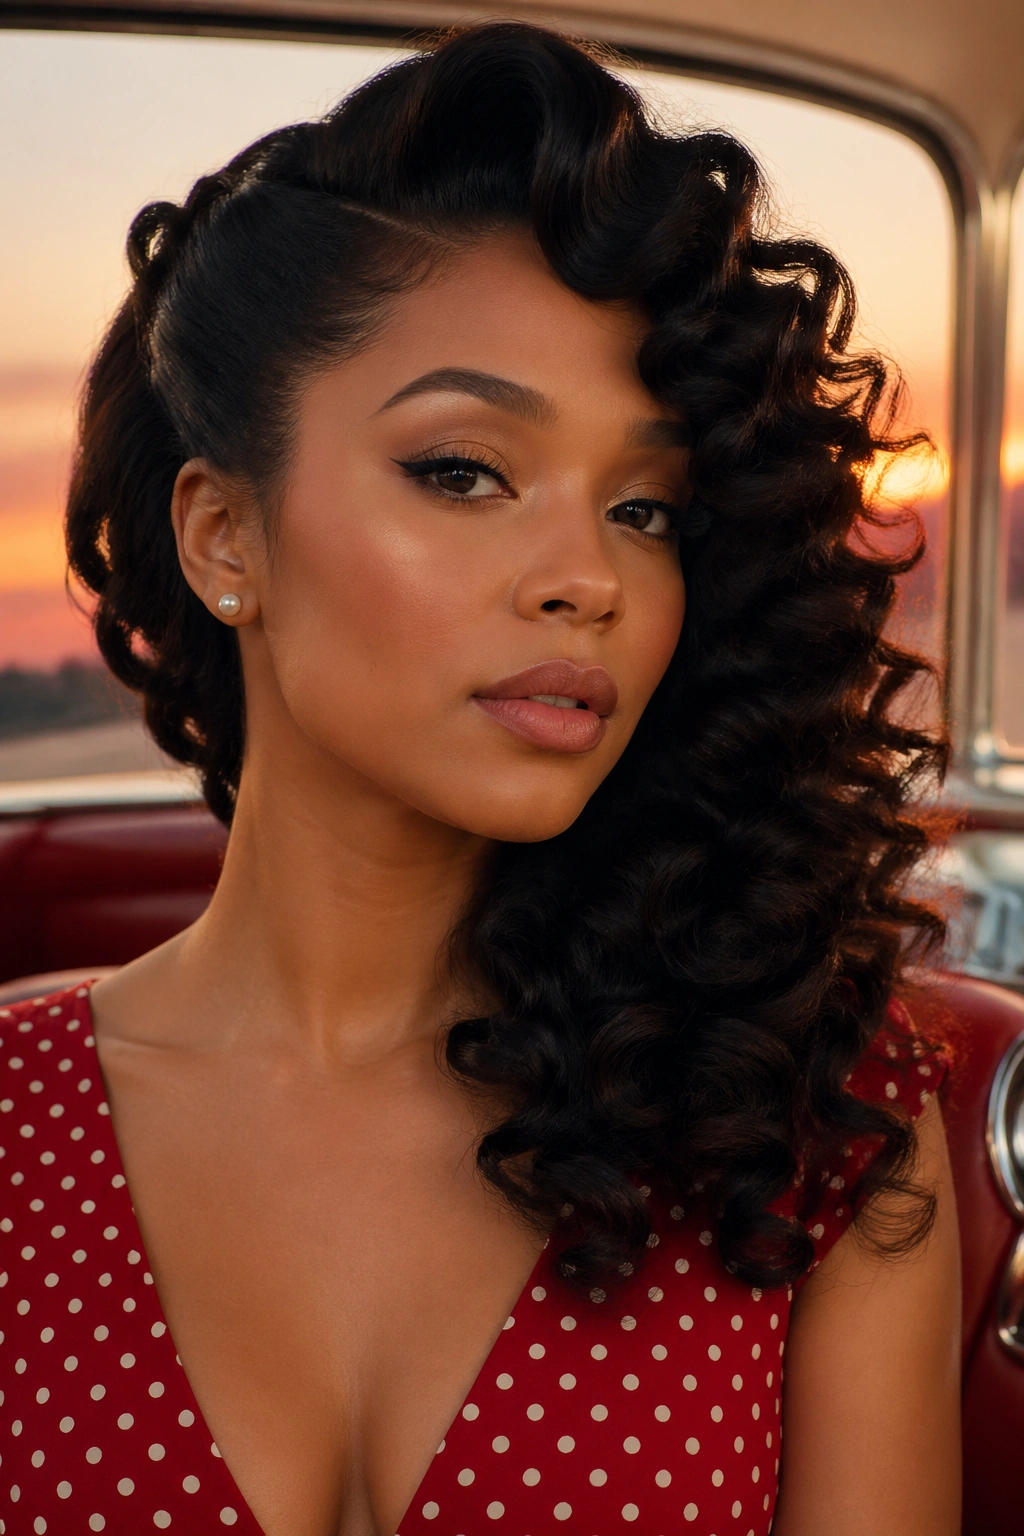
The pin-up wand curl look takes inspiration from vintage aesthetics and translates them perfectly onto natural hair. Think voluminous curls cascading to one side, with a sleek edge and dramatic flair.
Curl the entire head in large sections using a one-to-one-and-a-half-inch barrel. Once cooled, use your fingers to carefully arrange the curls so they fall together in a unified, directional flow — all swept to one side, all to the back, or half to the front. Use bobby pins hidden inside the curls to secure the arrangement. Smooth the edges with edge control, and add a barrette, clip, or flower at the point where the curls converge.
The styling takes about fifteen minutes after the curl set is complete, but the impact is extraordinary.
22. Wand Curls with Flat Twist Front
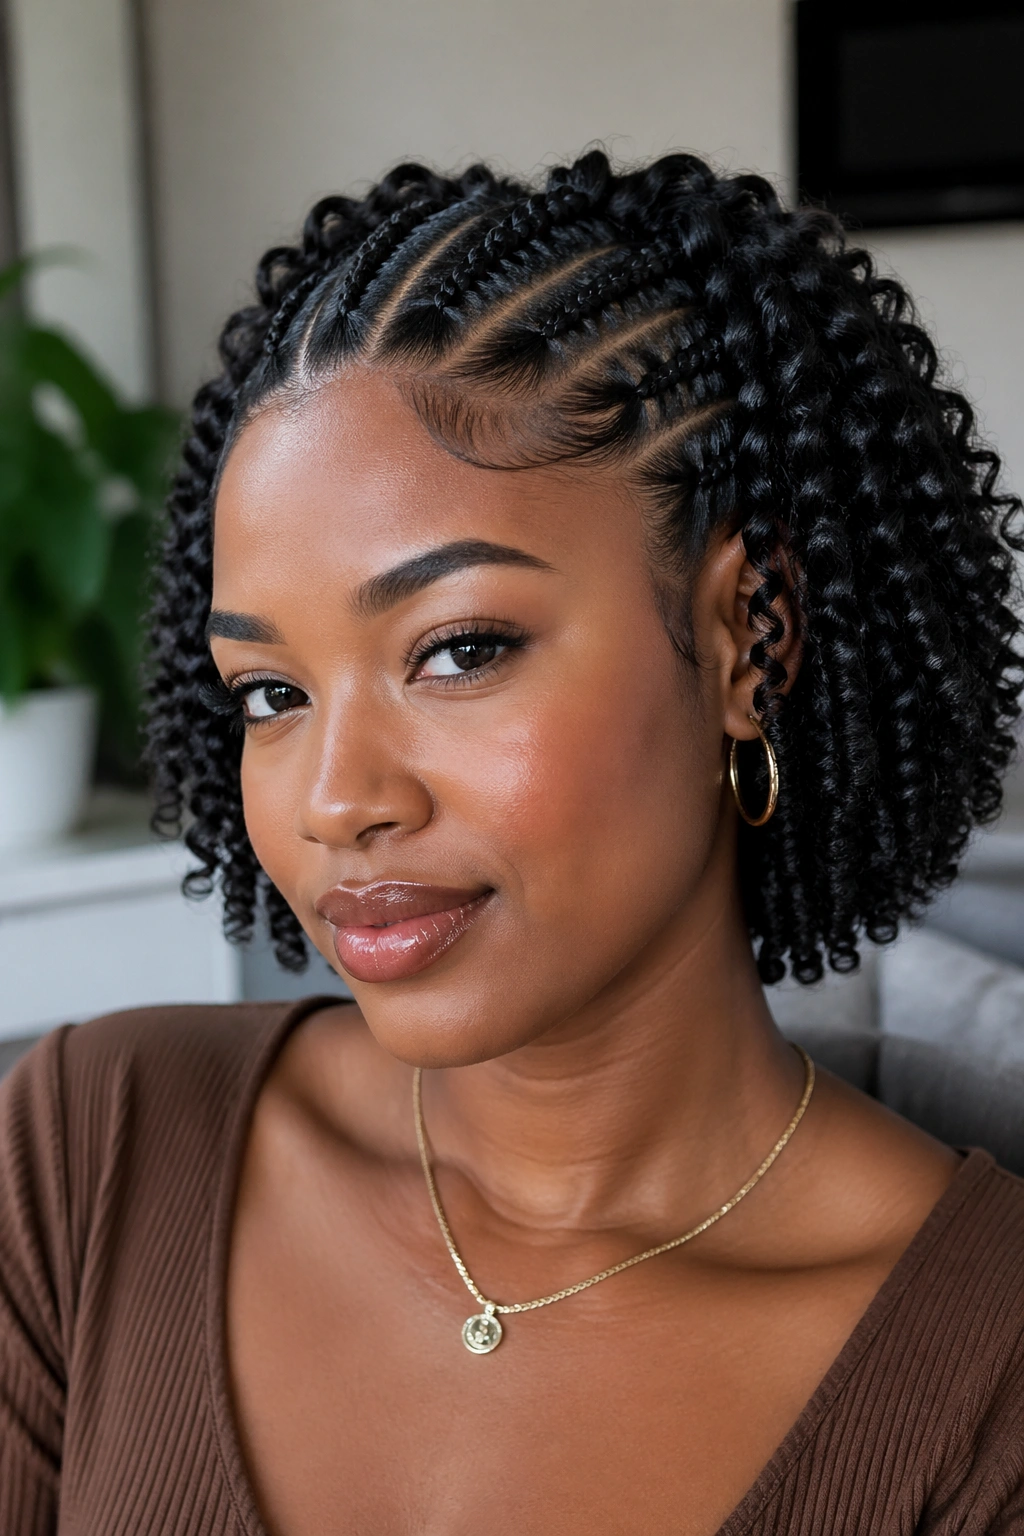
Combining texture techniques in one style is something natural hair does better than any other hair type. A flat twist front paired with wand curls in the back and sides is a combination that’s interesting, protective, and gorgeous.
Flat twist the front two sections of the hair — from the hairline back to the crown — in parallel rows going toward the center or toward the ear. Secure the ends of the twists into the beginning of the wand curl section with a bobby pin. Then curl the remaining hair — everything behind the crown — with a standard one-inch wand curl technique. The sleek, defined twists contrast beautifully against the bouncy curls, and the style looks intricate without being complicated.
23. Wand Curl Ponytail
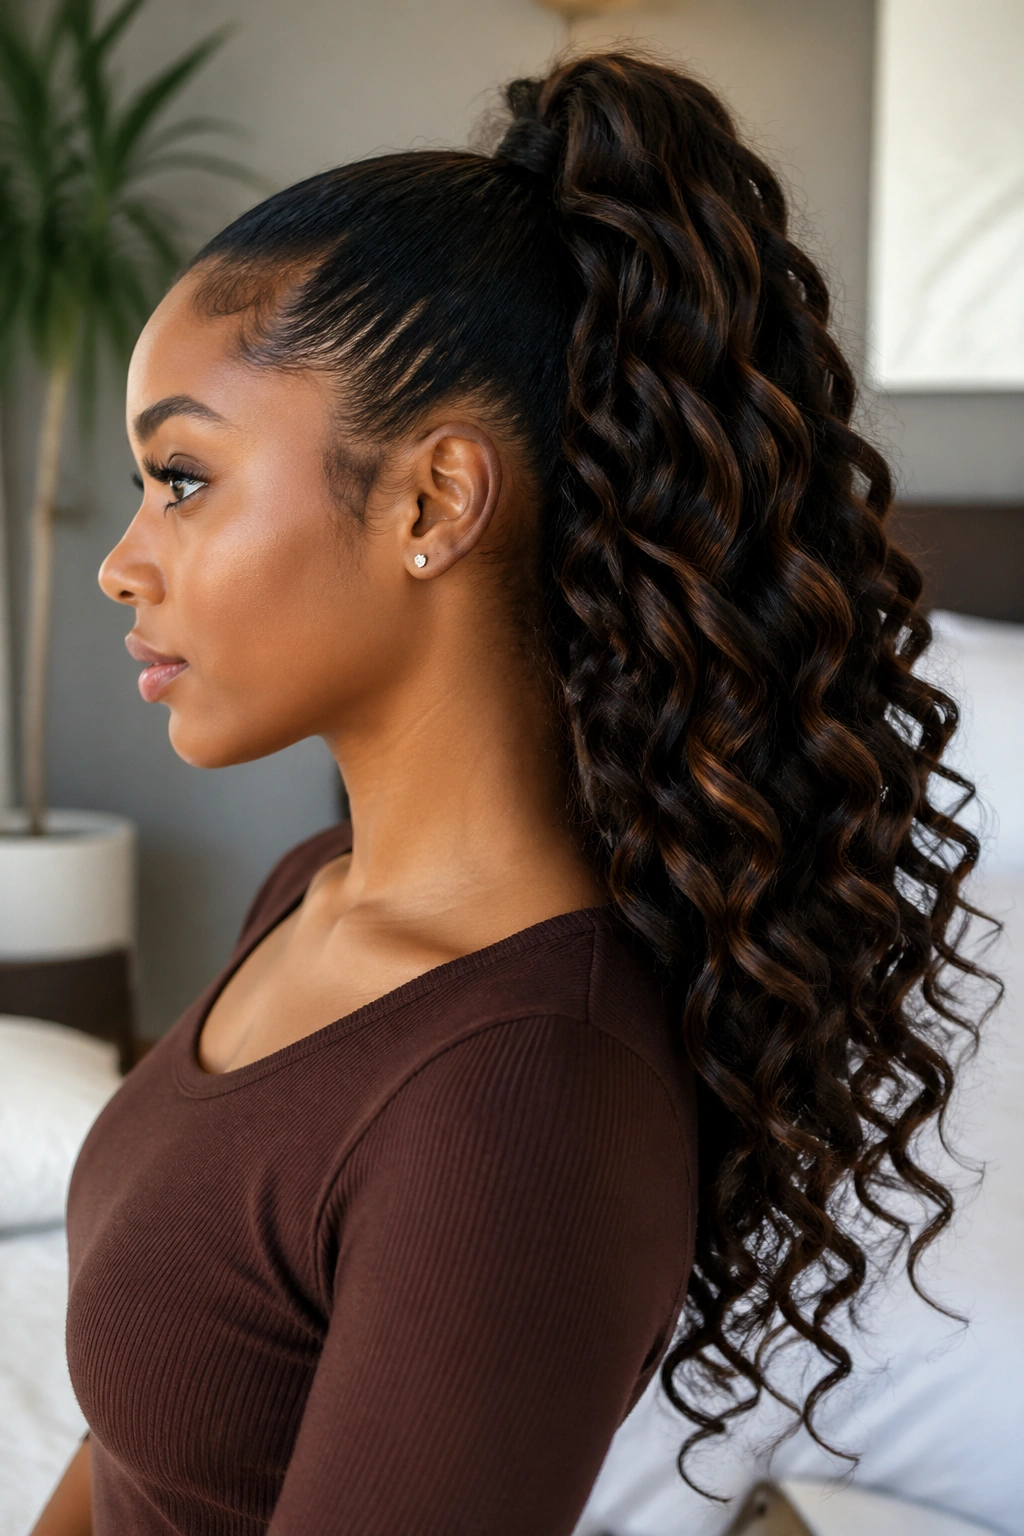
A ponytail with wand curls is the outfit of hairstyles — it works for literally every occasion, from the grocery store to a black-tie event, depending on how you execute it.
For a high wand curl ponytail, pull all the hair up to the crown or top of the head and secure with a soft elastic. Wrap a small section of hair around the base of the ponytail to conceal the elastic and pin it underneath. Then curl every section of the ponytail using a one-inch wand, spiraling downward from the base. The resulting ponytail cascades in uniform spirals.
For a low ponytail version, gather the hair at the nape and curl the lengths below the elastic. This version has a more elegant, formal feel.
24. Tapered Wand Curls
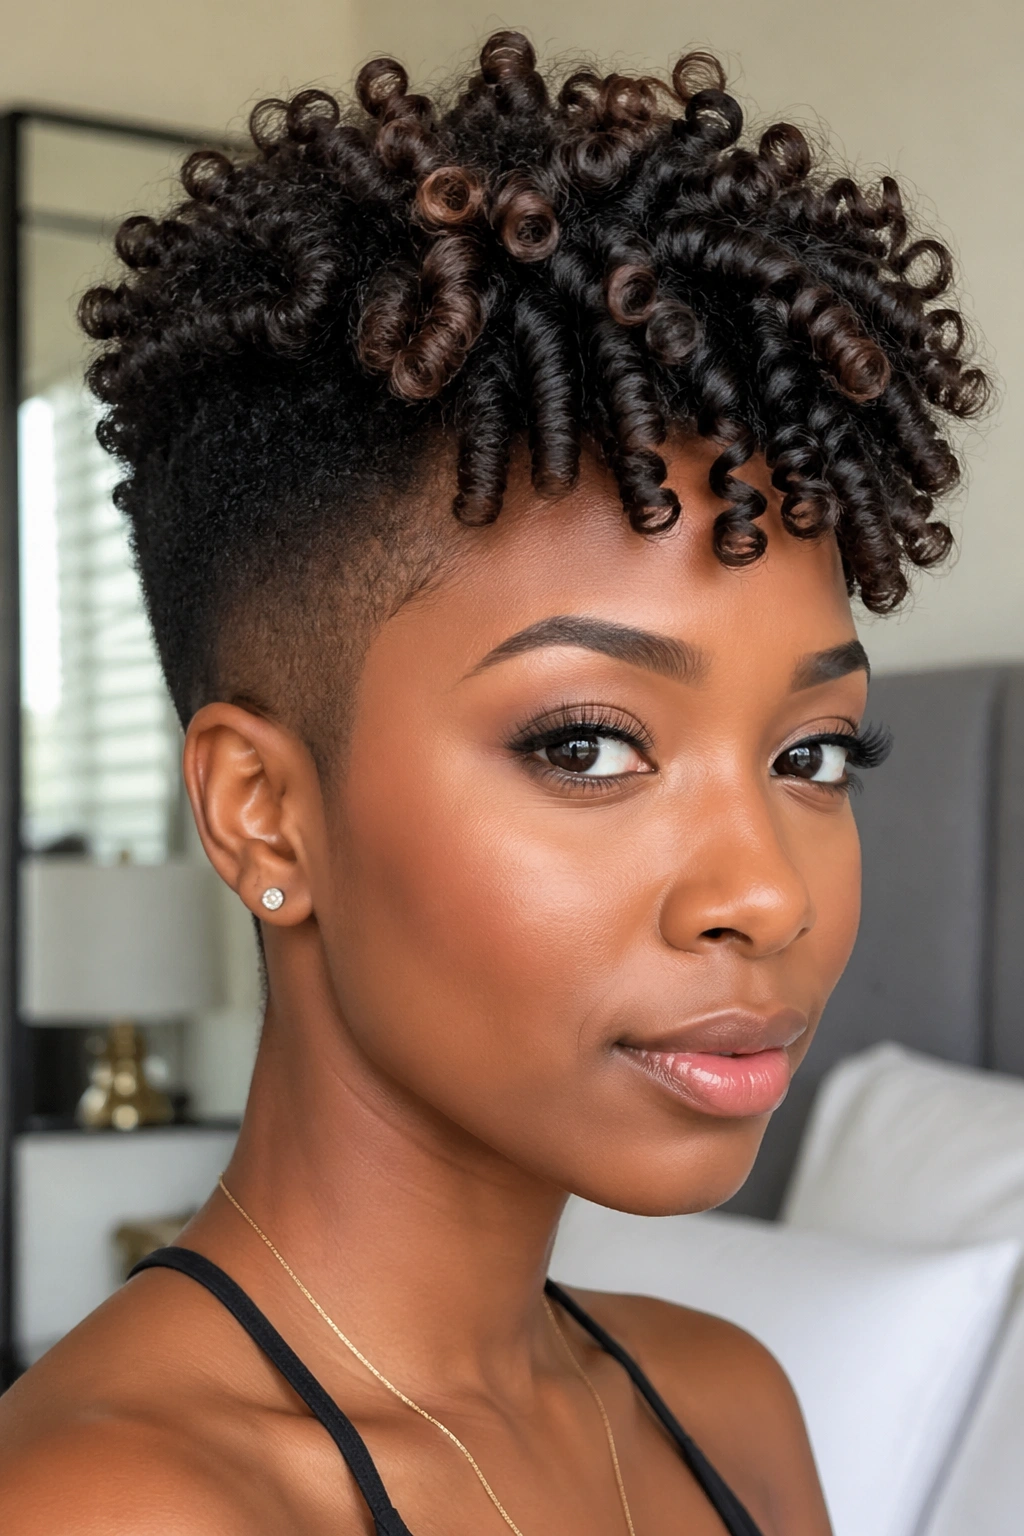
For naturals with a tapered cut — short on the sides and back, longer on top — wand curls create an exceptional silhouette. The curls cluster on top where there’s more length, while the shorter sides can be left in their natural coil pattern or very lightly wand-curled using a small barrel.
The contrast between the curled top and the natural close-cropped sides gives the hairstyle a graphic, sculptural quality that looks deliberate and artistic. This works beautifully on TWA to medium-length tapered cuts. Add definition with a small amount of edge control along the sides and nape to emphasize the tapered shape.
25. Overnight Wand Curls — No Heat Method
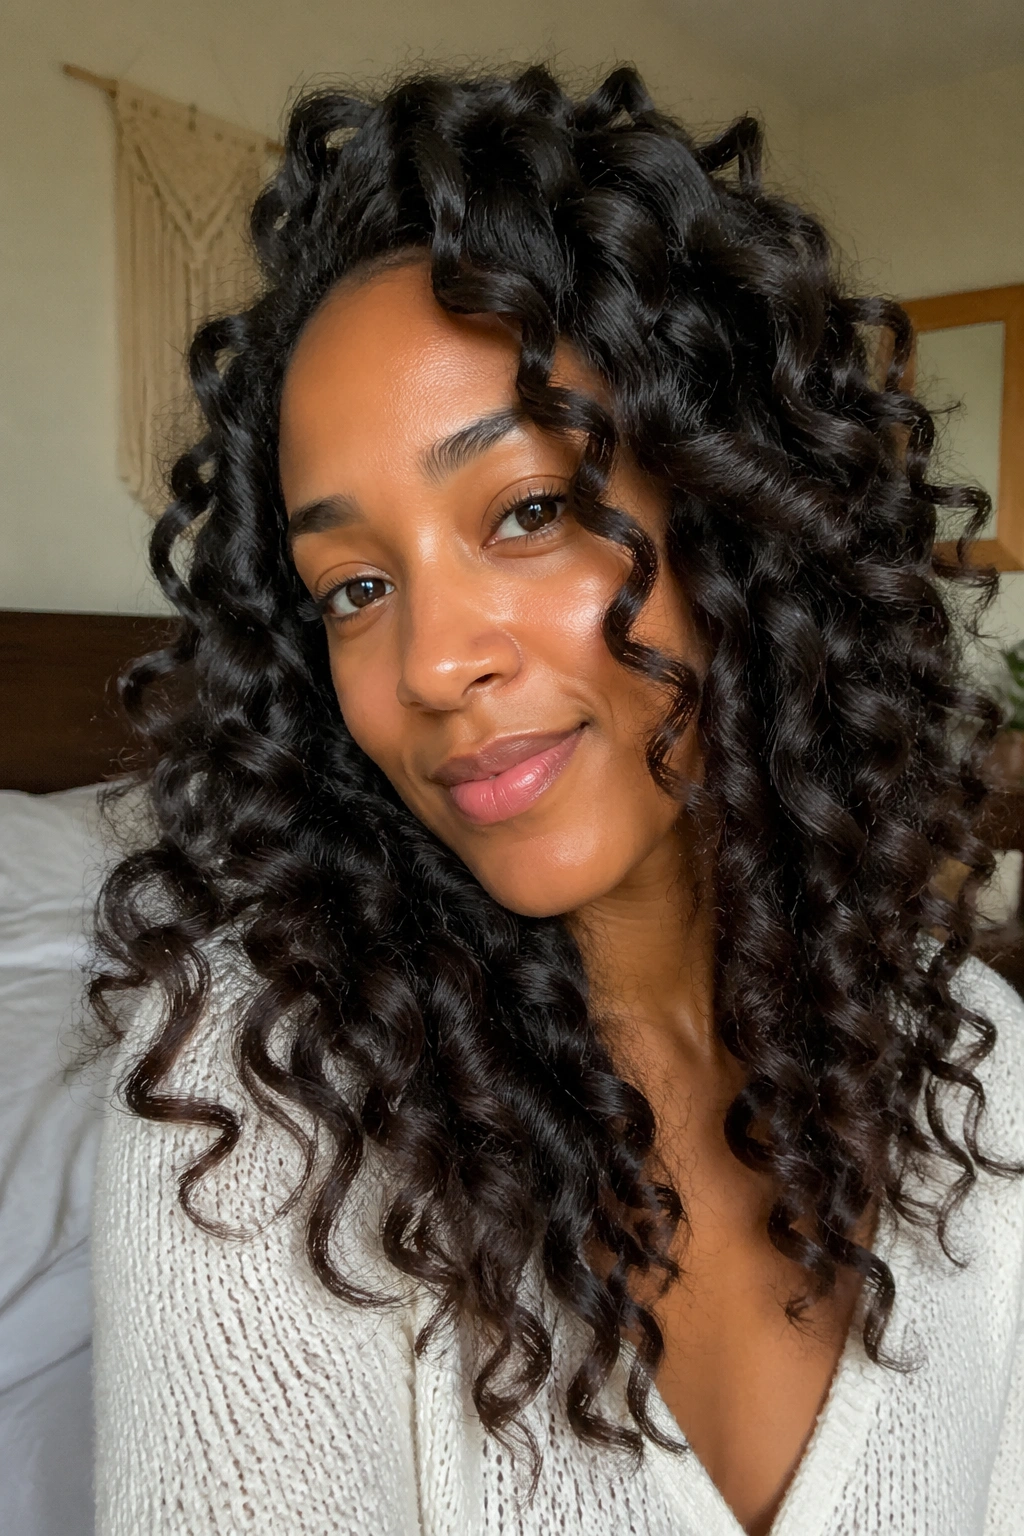
Heat-free wand curl effect? Done. Flexi rods and perm rods give you the same spiral shape as a wand without any heat at all — and the results on natural hair are genuinely stunning.
Apply a setting lotion or curl cream to damp hair. Take half-inch sections and wrap each around a flexi rod from tip to root, bending the rod to secure. Let the hair dry completely — this takes several hours, so set this on damp hair at night and sleep in it. In the morning, remove the rods carefully, separate the curls gently with your fingers, and finish with a light oil or anti-frizz serum.
The no-heat spiral curls you get from this method are soft, voluminous, and often even more defined than heat-styled wand curls. And your hair will thank you for the break from hot tools.
How to Make Wand Curls Last Through the Week
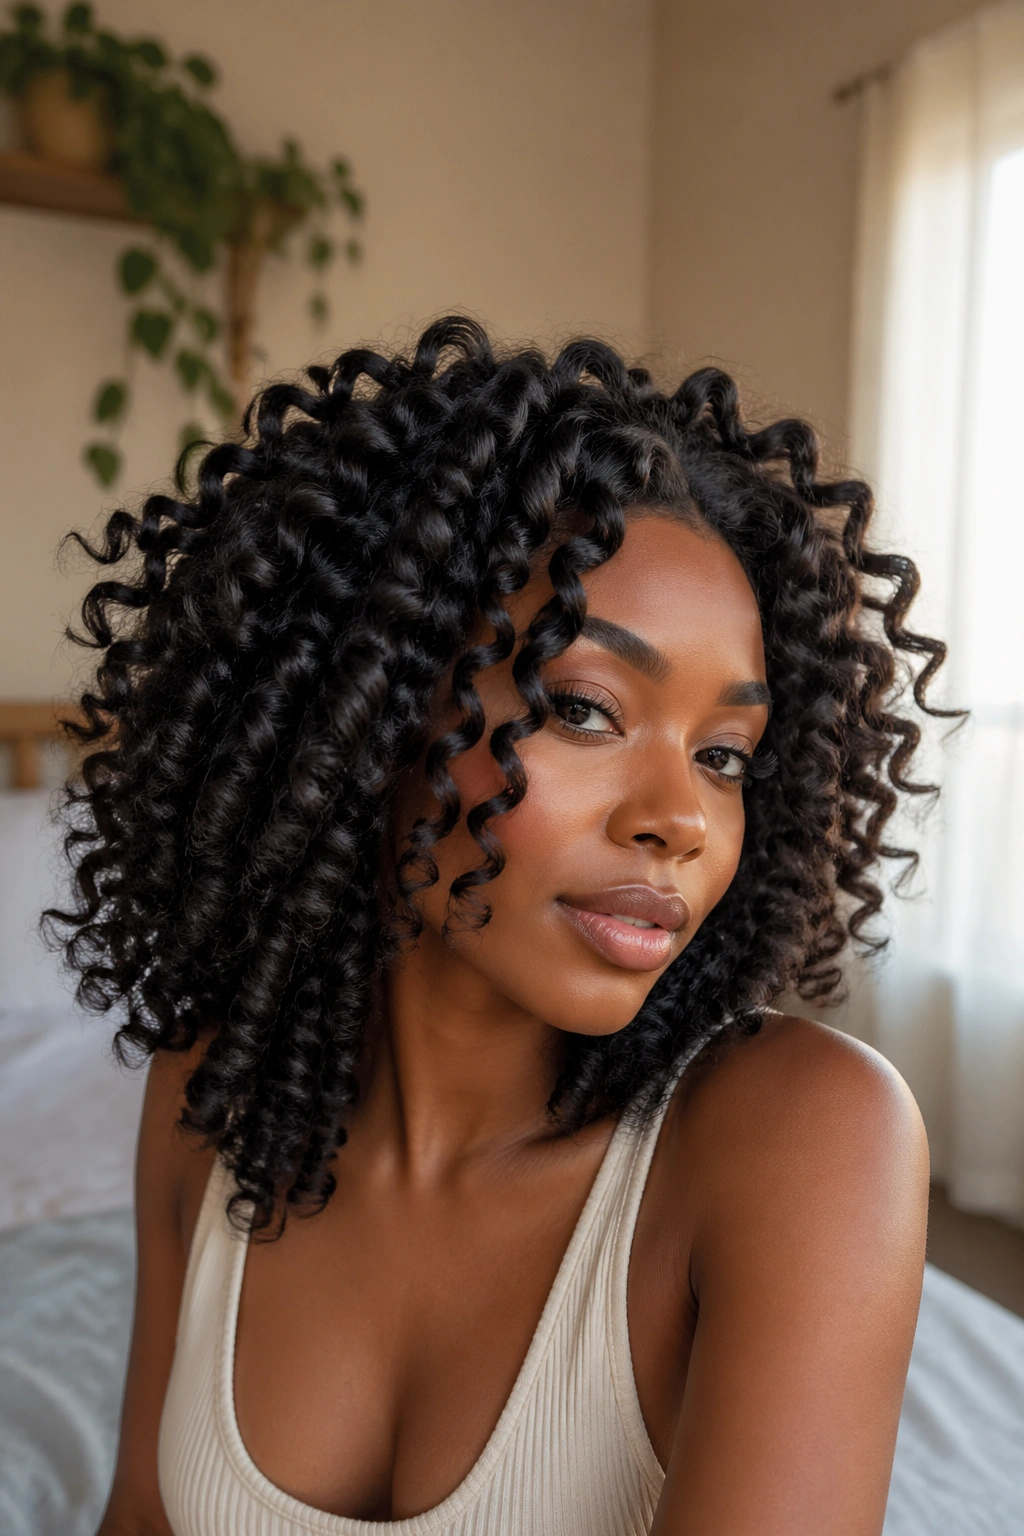
Getting the style right is half the job. Keeping it looking good for days is the other half. Here’s the honest truth about wand curl maintenance: it’s almost entirely about your nighttime routine.
Every night, gently gather your curls into a loose, high pineapple — secured with a silk scrunchie, not a tight elastic. Then cover the entire head with a satin bonnet. If you don’t like bonnets, a satin pillowcase is your next best option, though it’s not quite as effective. In the morning, shake the pineapple loose, mist lightly with water or a diluted leave-in conditioner, and scrunch gently. The curls will spring back with surprisingly little effort.
By day four or five, they’ll be looser and more blended — which is a completely different but equally beautiful style. Embrace the evolution.
Refreshing Your Wand Curls Without Re-Curling
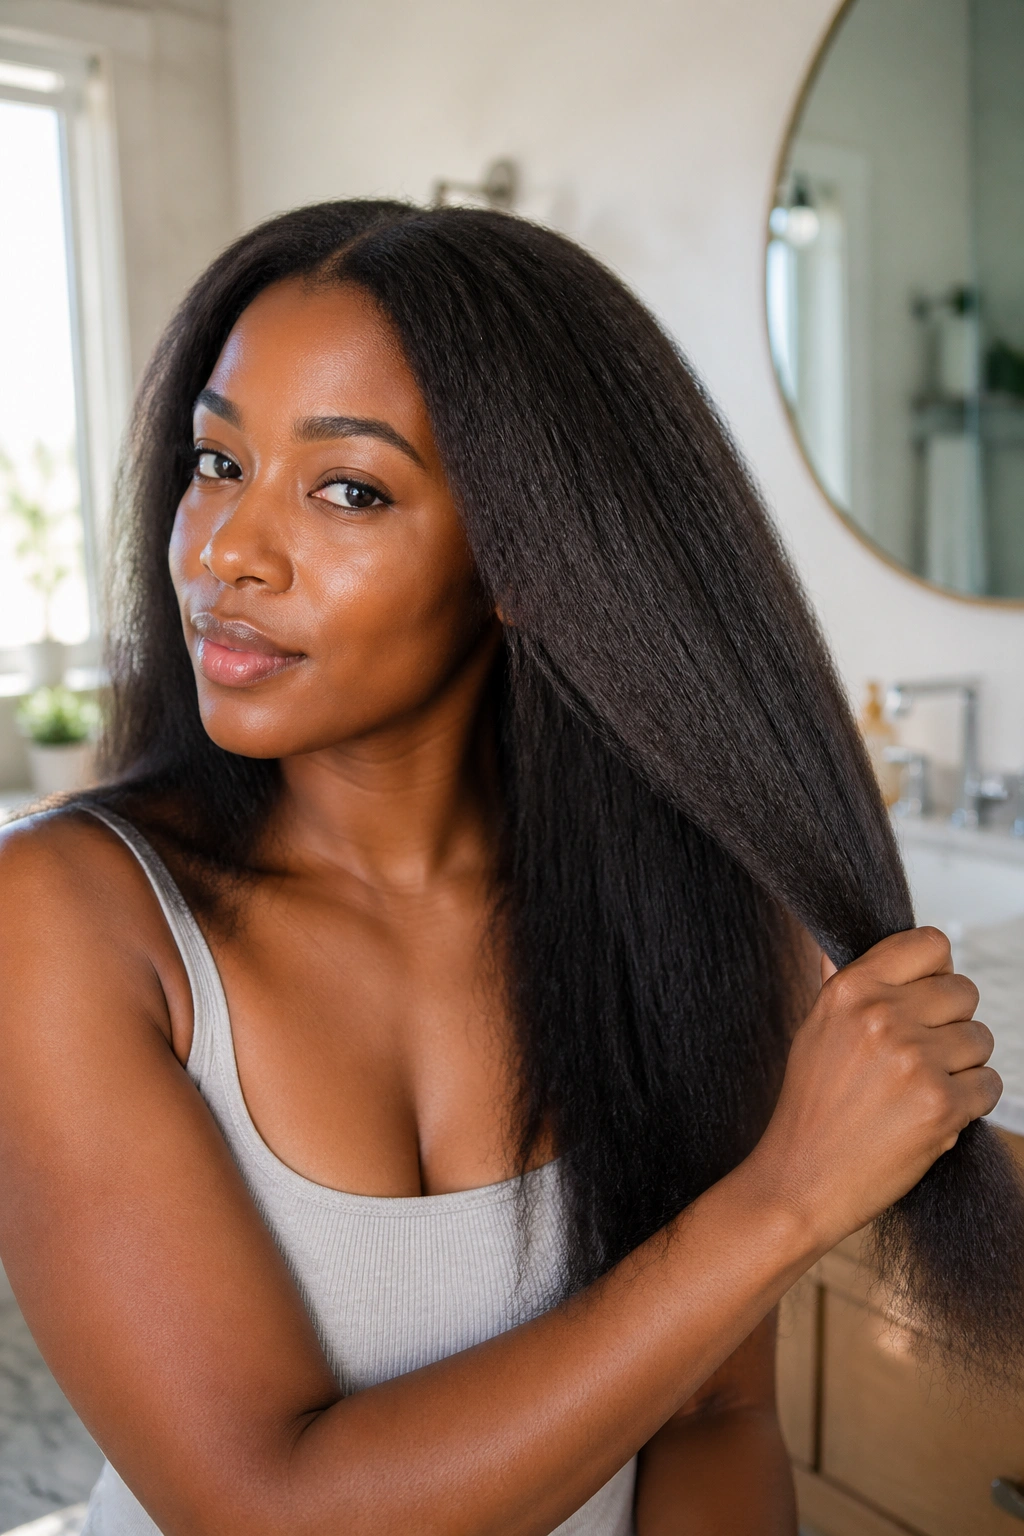
Re-curling every other day defeats the purpose of a long-lasting style. A proper refresh takes five minutes and extends your curls by two to three more days.
Mist the curls lightly with a water bottle. Add a tiny amount of leave-in conditioner — emphasis on tiny, because too much will weigh the curls down. Scrunch from the ends upward. For any curls that have completely given up, re-curl just those sections with your wand on a slightly lower heat setting. The new curls blend into the older, softer ones and the whole style looks cohesive.
The golden rule of refreshing: Less is more. The biggest mistake is oversaturating the hair trying to get it back to day one. It won’t. And that’s okay.
How to Take Down Wand Curls Without Damage
When you’re ready to move on from the style, take it down gently. Ripping or roughly separating dried curls creates breakage, especially at the ends.
Mist the hair generously with water to soften the curls. Apply a small amount of conditioner or detangling spray. Then use your fingers — not a comb — to gently separate the curls from the ends upward. Work slowly, section by section. If there’s any matting or tangling, add more water and conditioner before trying to separate.
Follow the takedown with a thorough detangling session using a wide-tooth comb on wet, conditioned hair, working in sections. This protects your ends and preserves your hair’s health between heat styling sessions.
Final Thoughts on Wand Curls for Natural Hair
Wand curls on natural hair aren’t just a style — they’re an expression. They celebrate the volume, the texture, and the personality that natural hair carries with it. Whether you go for tight ringlets or loose waves, a dramatic updo or a simple pineapple, the wand gives you a tool for creativity that flat irons and other heat tools simply can’t match.
The most important thing is to protect your hair before every session — heat protectant is mandatory, not optional. And give yourself grace during the learning curve. The first few times might not be perfect. But once you get the technique down, wand curls become one of the most reliable, most gorgeous styles in your natural hair repertoire.
Go wide, go tight, go messy, go glam. The curls are yours.
