



Easy cornrows don’t mean lazy cornrows. They mean styles you can actually install at home without a stylist, without a five-hour appointment, and without the kind of technique that took years to learn. For Black women juggling work, kids, workouts, and the occasional desire to look pulled together for a reason, the word “easy” carries real weight. It has to mean something practical — under two hours of install time, minimal tools, minimal fuss, and a finish that holds up long enough to justify the effort.
Easy cornrows for Black women also means styles that respect the texture of the hair doing the work. A style that’s easy on straight hair is not automatically easy on 4B or 4C. The friction is different. The slip is different. The parting has to hold. An easy cornrow style is one that plays nice with the texture, not one that fights it into submission.
I’ve tested, watched, and worn a lot of these. The 22 below are the ones I’d actually recommend to someone who says, “I want cornrows this weekend and I don’t have a stylist.” No trickery. No techniques that require five years of practice. Each one has a realistic install time, a honest difficulty note, and a reason you’d pick it over the others.
What “Easy” Actually Means for Cornrows
There’s a spectrum. Some cornrows are easy because they’re short installs. Some are easy because the parting is forgiving — a wavy part hides more than a laser-straight part. Some are easy because the braid count is low — four rows instead of twenty.
Most easy cornrow styles share three traits: a manageable braid count (typically 4-10 rows), a simple parting pattern (all-back, center-part, or chunky sections), and no built-in decorative complications (no stitch patterns, no zigzags, no built-in bead work).
Those three choices cut install time in half.
Skill Level, Honestly Assessed
Cornrowing is a learned skill. There are levels. A true beginner who’s never braided before will struggle with the smallest styles — the under-hand technique takes practice to make rows lie flat instead of standing up.
If you’re at level one (never cornrowed), start with 4-6 thick chunky rows on your own head. Low stakes. Big, forgiving sections.
If you’re at level two (can braid, can’t part), focus on the parting. A clean part does 70% of the work of making a cornrow look good. Practice parting without braiding — 10 minutes a day for a week and the sectioning becomes automatic.
If you’re at level three (can braid AND part), the whole “easy cornrow” category opens up. You can install anything on this list in under two hours.
Prep Shortcuts That Save an Hour
Wash the night before, not the morning of. Wet hair doesn’t cornrow. It slips. It stretches. It snaps back after install and every row turns lumpy. Let the wash air-dry or blow-dry on low until hair is 90% dry, then stretch overnight in chunky twists or plaits. The stretch lets you part cleanly without shrinkage fighting you.
Have your tools pre-laid out. Comb, hair tie collection, edge gel, oil in a dropper bottle, small scissors. Everything within arm’s reach. The braider’s equivalent of mise en place.
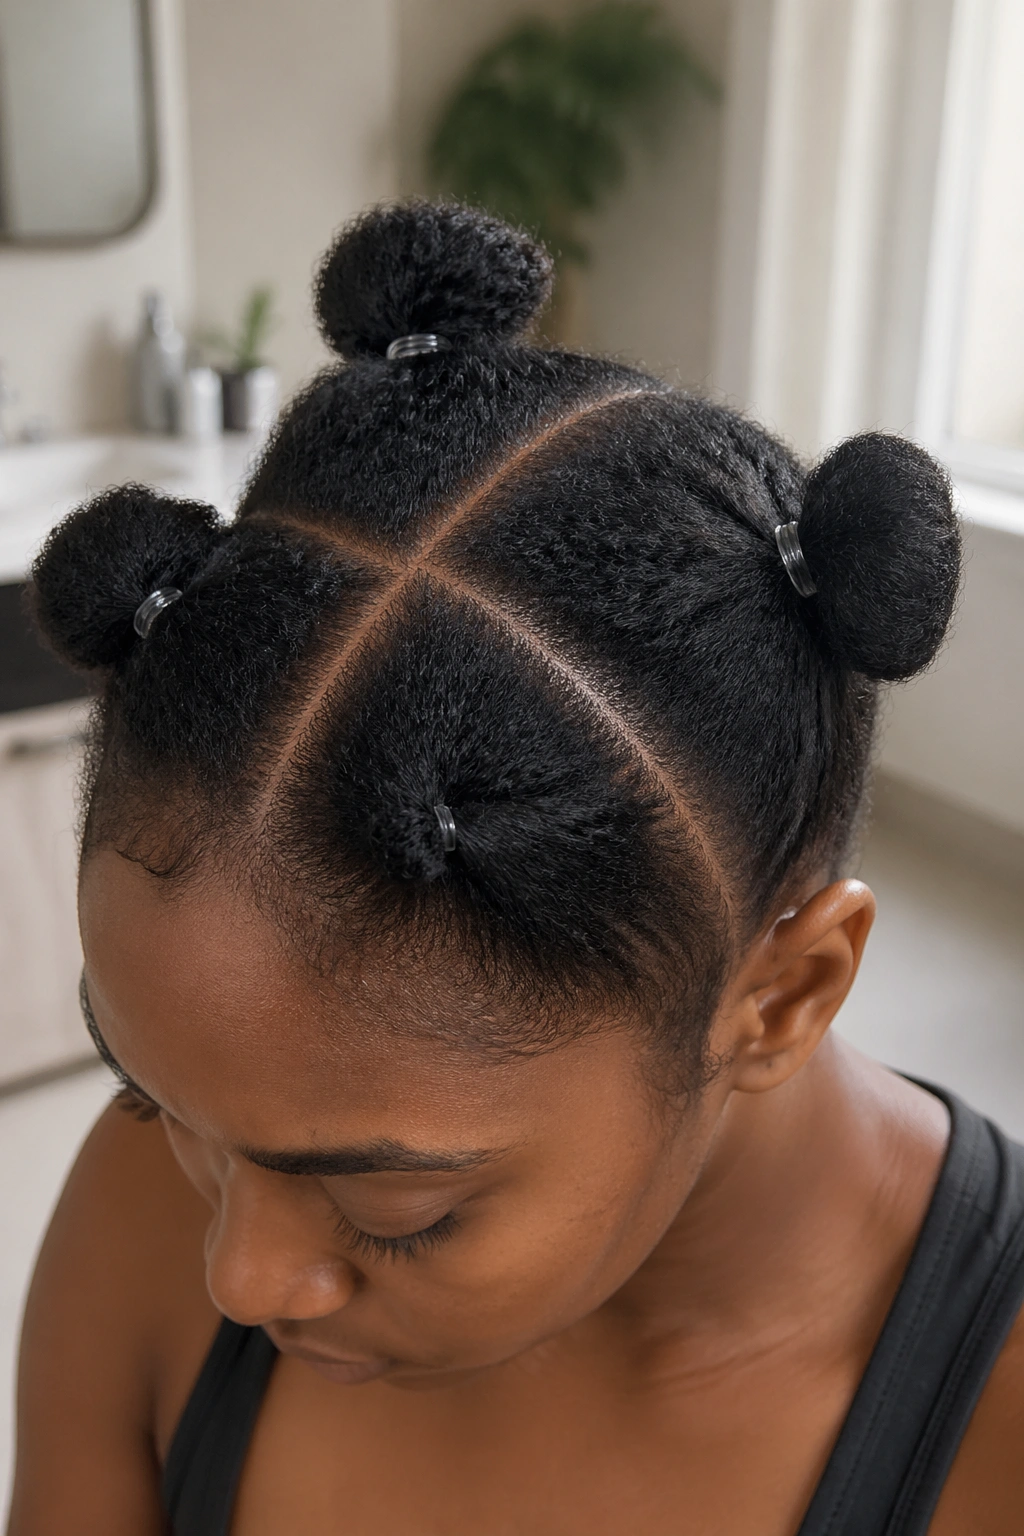
Section into four quadrants with rubber bands before you start any row. Once the quadrants are locked, you braid one quadrant at a time without having to keep the rest of the hair out of your face.
Tools Kept Minimal
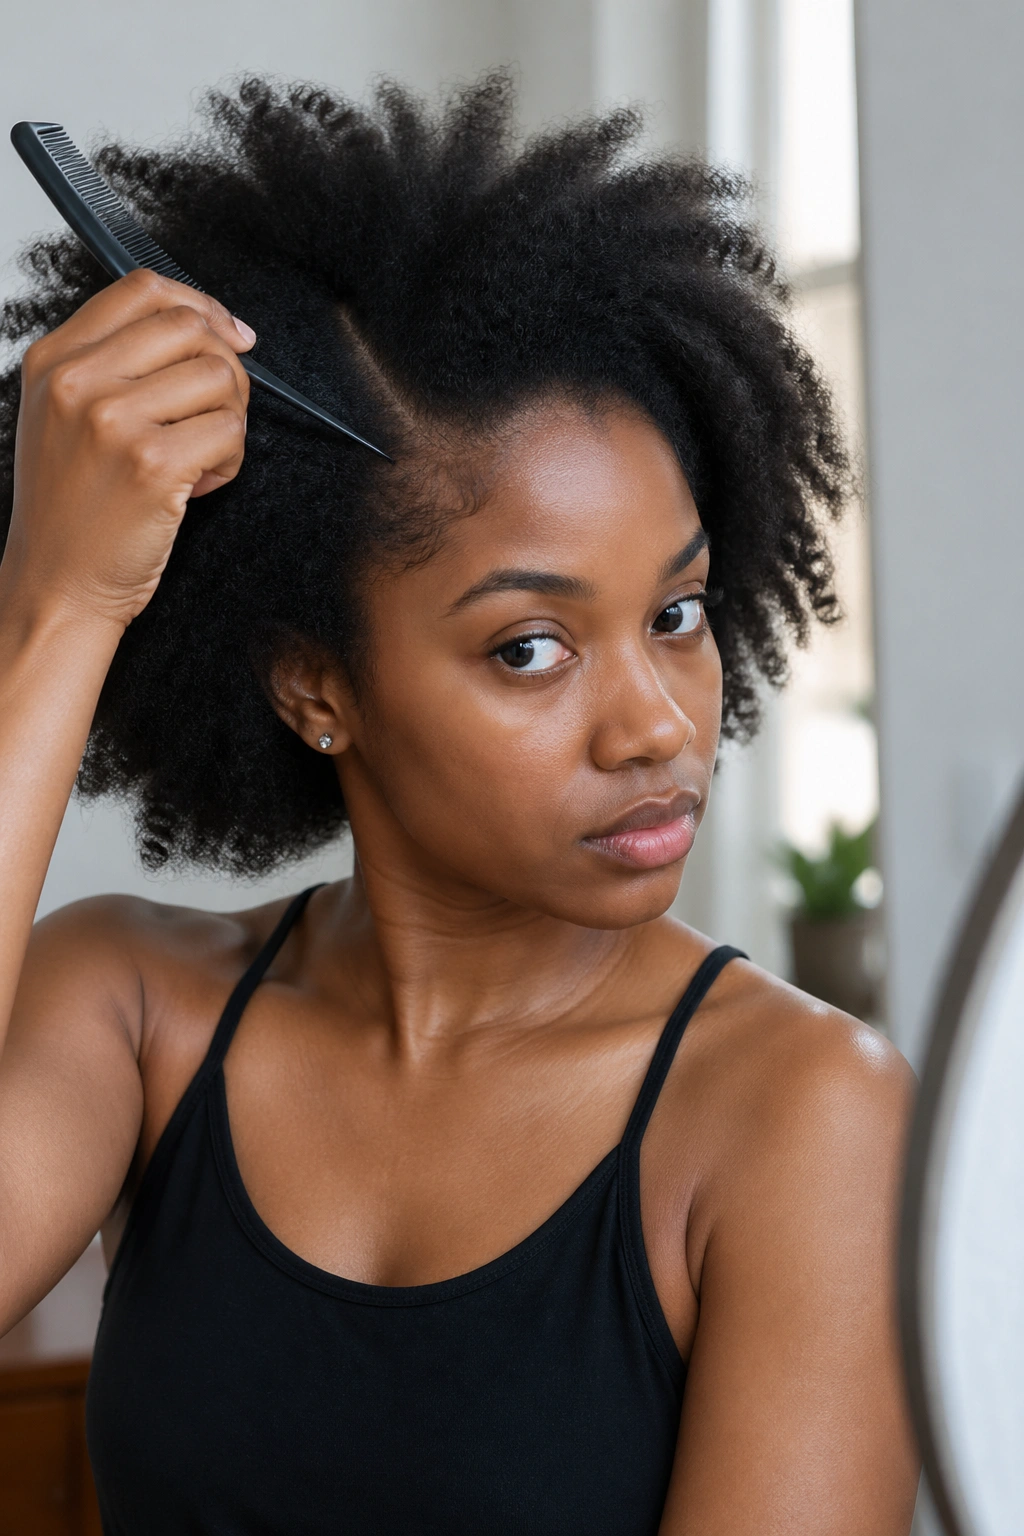
- A fine-tooth rat-tail comb (plastic pin, not metal — metal scratches the scalp).
- One spray bottle with water and a small drop of conditioner.
- Edge gel (one with real hold — olive-oil or flaxseed gels work).
- Small clear elastics for the ends.
- A hand mirror positioned so you can see the back.
- A wide-tooth comb for detangling between rows if needed.
That’s it. Anything else is optional.
The Parting Rule That Simplifies Everything
Here’s the rule: pick ONE parting direction and commit. Easy cornrow styles don’t mix directions. All back, all forward, all side — pick one. The moment you try to mix, install time doubles and the finish gets messy.
All-back is the easiest direction for self-installs because you can see the parts in a mirror. Forward cornrows require feeling more than seeing. Side cornrows are the hardest to self-install because one side of your head is always behind your comb-holding hand.
If you’re solo, go all-back.
1. Six Thick All-Back Cornrows
The entry point. Six chunky rows that go from hairline to nape. Each row is about 1.5 inches wide. Total install time: 45-60 minutes solo.
Why It’s Easy
- Six rows means you can part each one wide enough to see clearly.
- Thick braids are forgiving — small lumps disappear in the bulk.
- No decorative parts or angles — just straight back.
Starter tip: If you’ve never cornrowed, this is the style that teaches your hands. The wide sections give your fingers room to figure out the under-hand pattern.
2. Ten Medium All-Back Cornrows
Once six-row is easy, step up to ten. The parts get tighter — about 1 inch wide — and the look reads more refined. Install time: 90 minutes.
The ten-row pattern is one of the most universally flattering cornrow styles for Black women. Not too thick, not too thin. Protective. Clean. Works for the office, the gym, weddings, weekends.
It’s the cornrow equivalent of a black T-shirt. Nothing flashy. Always correct.
3. Four Jumbo Cornrows Straight Back
Jumbo cornrows are the fastest install in the category. Four huge rows. Each about 3 inches wide. Under 30 minutes if you know what you’re doing.
The catch? Jumbo cornrows don’t hide scalp imperfections. If your parts wobble or your braid tension is inconsistent, the scale makes it visible. Jumbos need clean technique more than small cornrows do — the opposite of what most people assume.
Best for: weekends, casual wear, transitional styles between fuller looks.
4. Center-Part Two-Sided Cornrows
Part straight down the middle from forehead to nape. Each side gets five cornrows running straight back. Total: 10 braids in a symmetric layout.
Unlike all-back cornrows, the center part gives the style a clear face-frame. The parts on either side of the center read neat even when the overall install is fast. It’s a good intermediate style for someone who’s done basic all-back and wants something slightly more intentional.
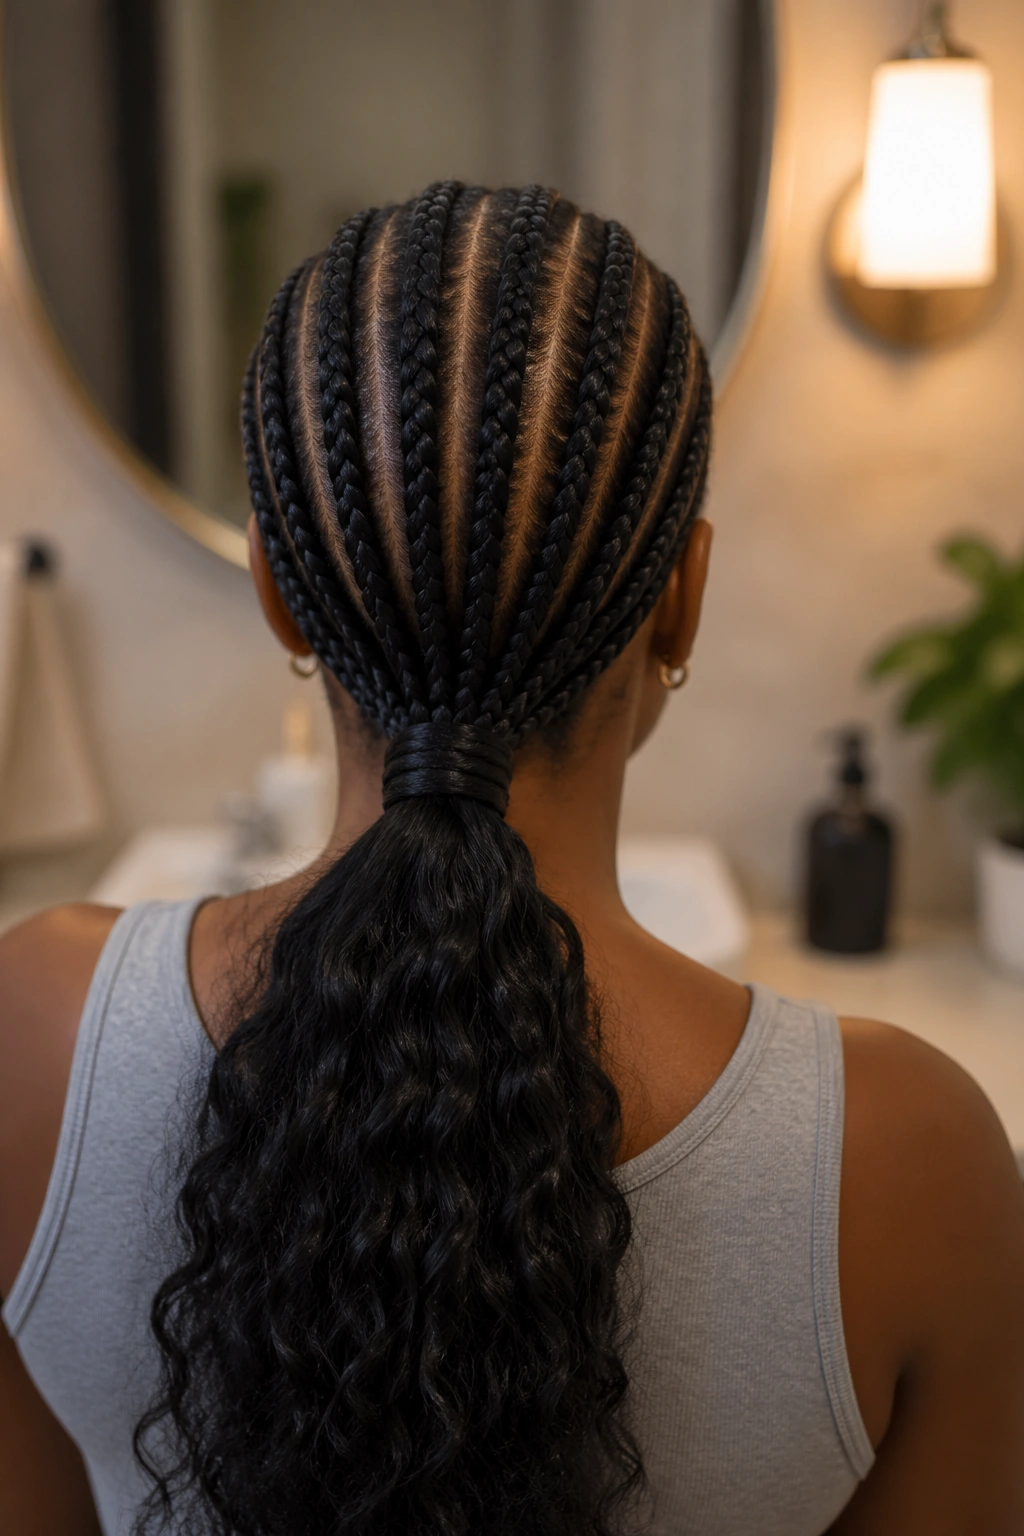
5. Low Ponytail Cornrows
All cornrows feed into a single low ponytail at the nape. Eight rows, all-back, with the ends gathered and secured into a loose tail.
- The ponytail is the easy finish — no bun, no tuck, no pin.
- The ends of the braids can be left loose, curled, or wrapped with thread.
- Works on hair from 6 inches to armpit-length.
Practical note: Use a satin-covered elastic for the ponytail base. Rubber elastics snag the braid ends and shred them when you take the style down.
6. Side-Parted Five Cornrows
A deep side part — about an inch and a half from one temple. Larger section on one side (five cornrows), smaller section on the other (two or three cornrows). Everything runs straight back.
The asymmetry does the styling work. You don’t need any other decorative element. Clean parts, five-plus-three layout, call it done.
Faster than symmetric styles by 15-20 minutes because the two sides don’t have to mirror each other perfectly.
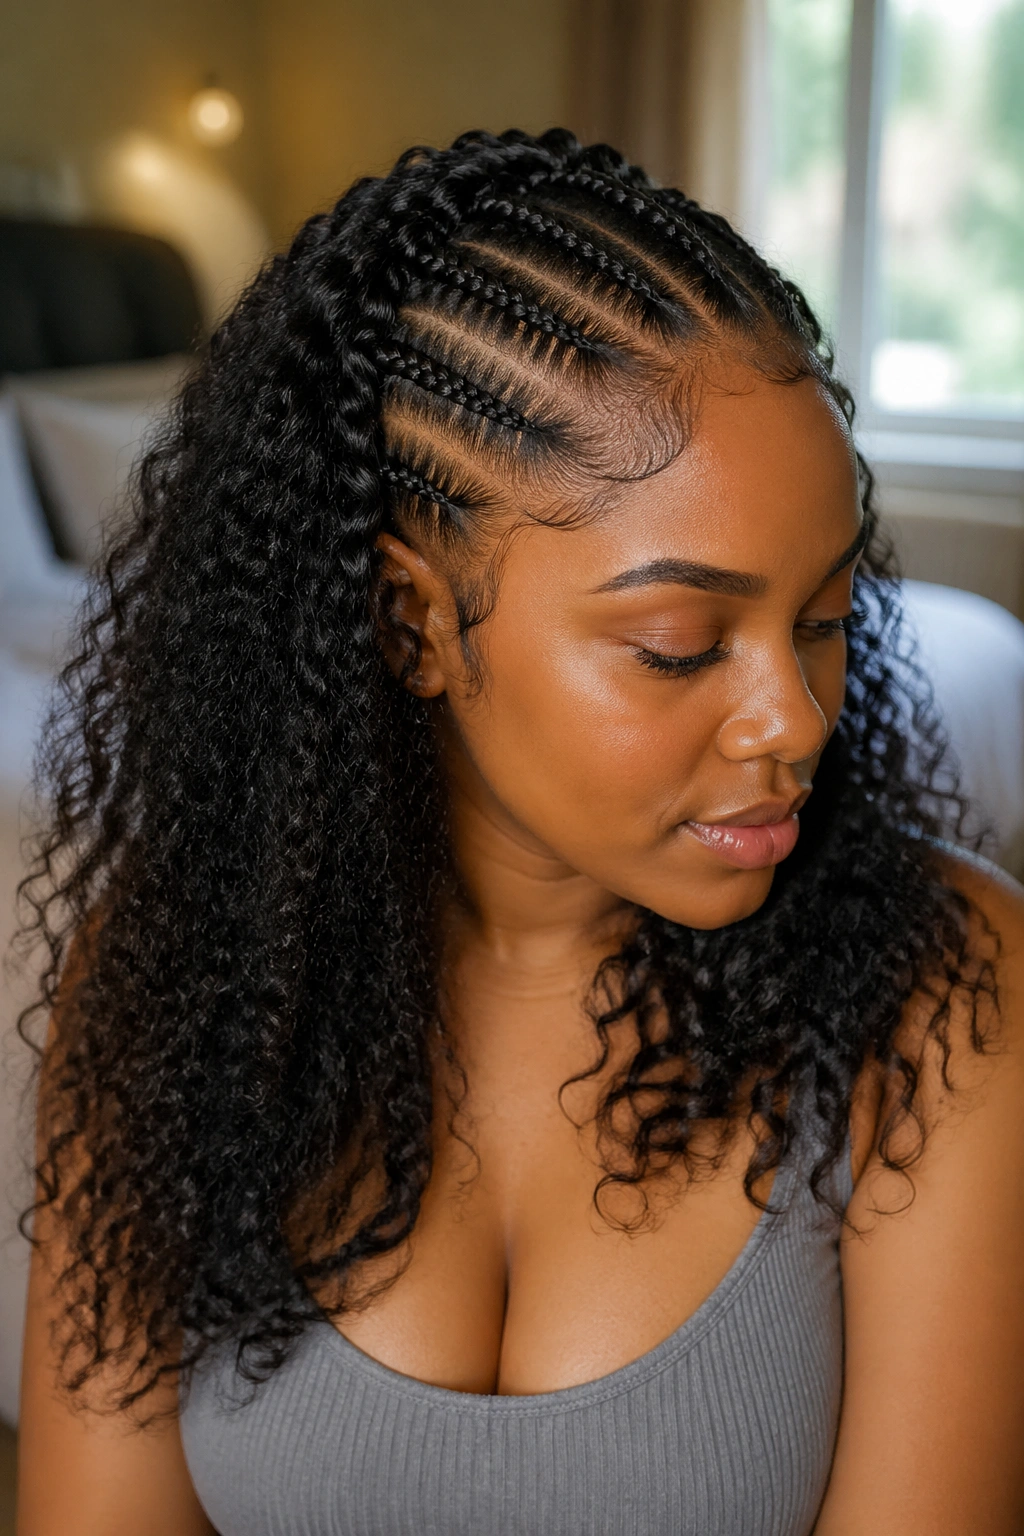
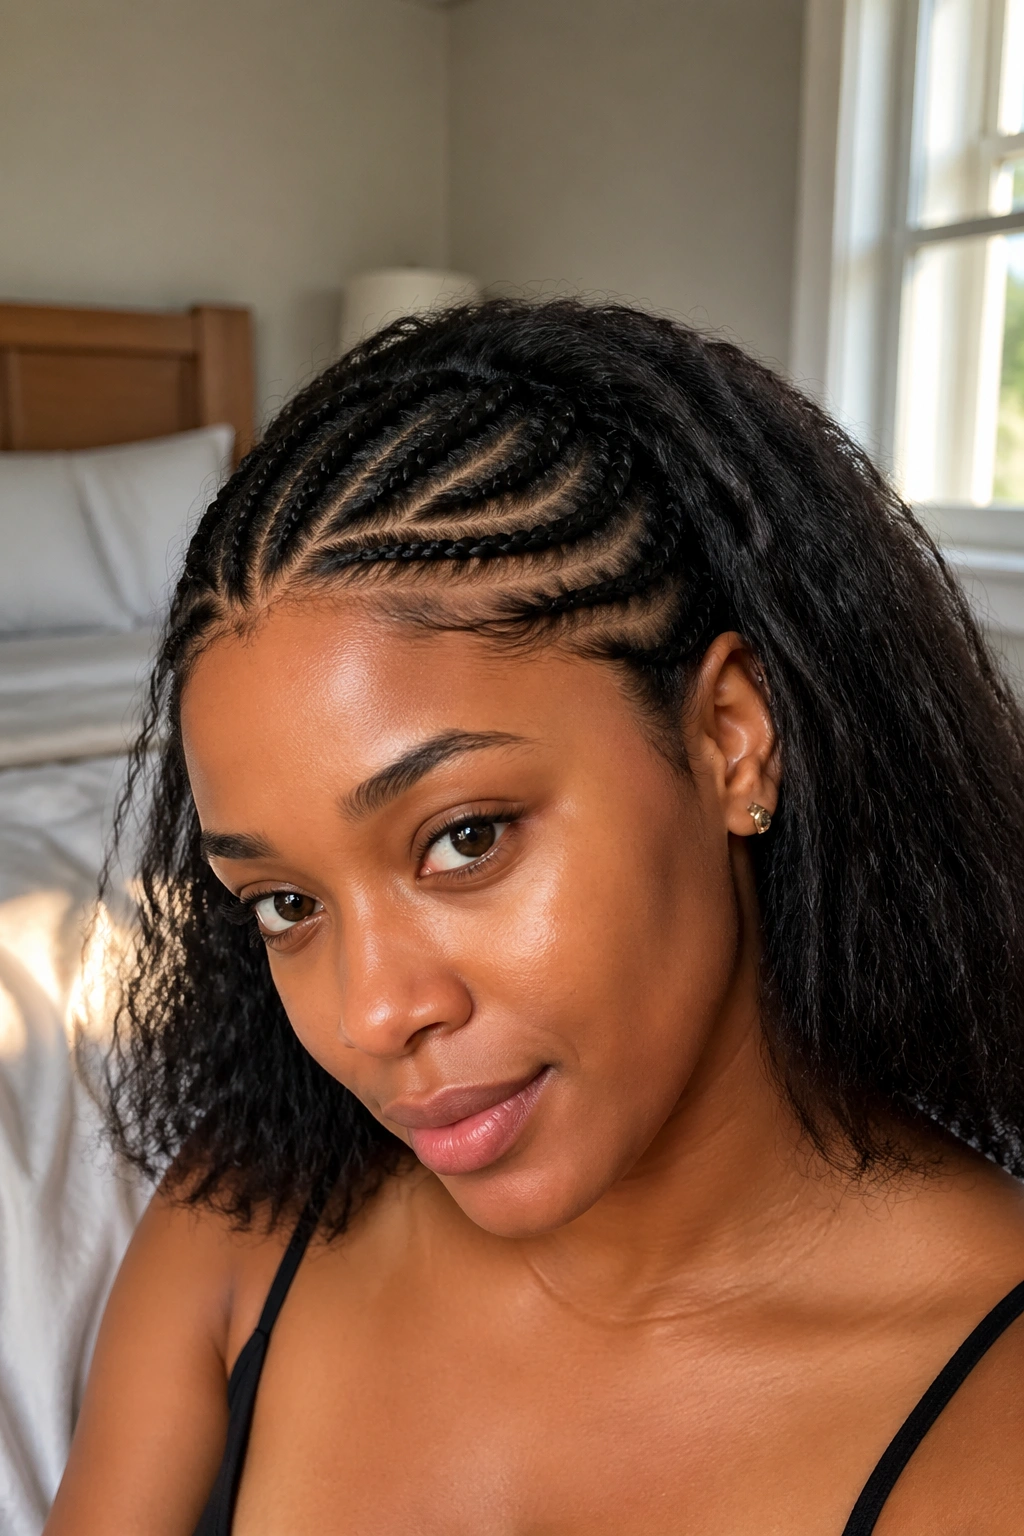
7. Halfback Cornrows With Natural Hair Loose
Only the top half of the head gets cornrowed — from the hairline to a horizontal part at the mid-crown. Below that, the natural hair stays loose in its own texture.
This is my favorite “easy cornrow that doesn’t look easy” pick. The cornrows on top create structure. The loose natural hair below adds volume and personality. The look is polished and relaxed simultaneously.
Install time: 30-45 minutes because you’re only braiding half the head.
Pair it with a light curl refresher on the loose portion for full effect.
8. Cornrow Bangs With Loose Back
The inverse of style seven. Only the front bangs section — from ear to ear across the forehead — gets cornrowed in a few decorative rows. The rest of the hair stays loose.
Cornrow bangs are the lightest commitment in the category. Takes 15-20 minutes. Excellent for someone who wants “some cornrows” without full-head installation.
Good for: gym days, pool days, any setting where the natural hair gets pulled into a puff or ponytail and you want the front section secured.
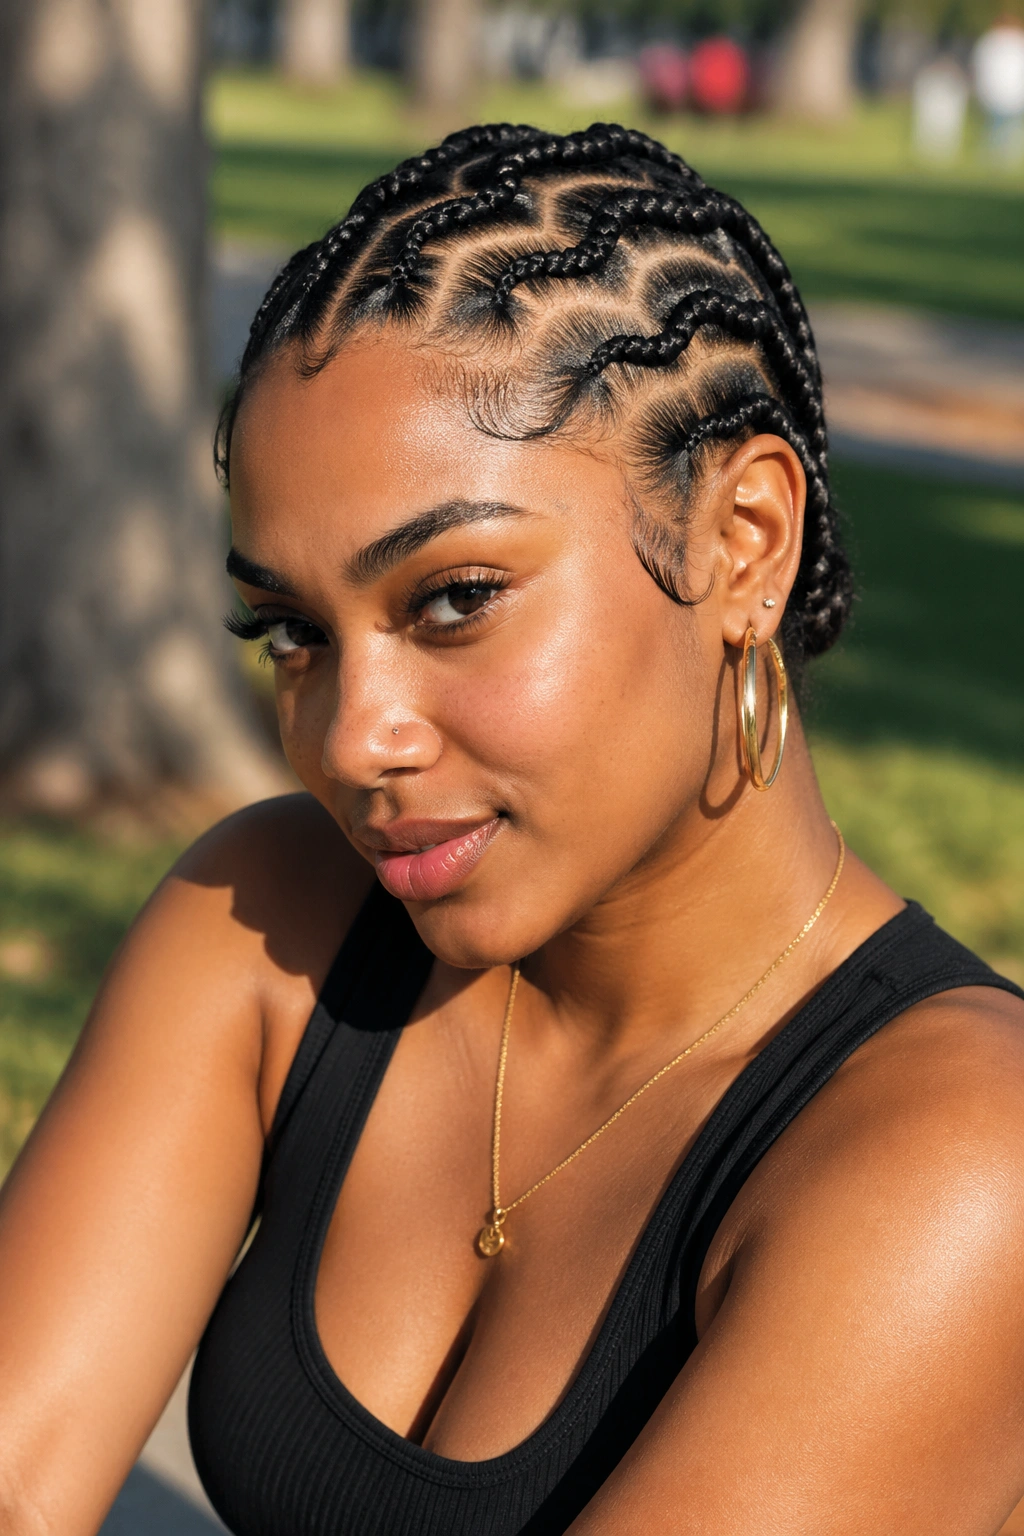
9. Chunky Zigzag Cornrows (Easy Version)
Real zigzag cornrows are technical. This easy version uses soft, wide zigzags — more of an S-curve than a sharp V — that travel from hairline to nape in four or five chunky rows.
How to Cheat the Zigzag
- Draw two or three gentle waves with your rat-tail comb before parting.
- Don’t aim for sharp peaks. Aim for soft curves.
- Braid each wavy section as a single cornrow following the curve.
Quick note: The soft-curve approach still reads as a zigzag in photos but doesn’t require the precision of the formal zig-zag style. It’s the shortcut version of a complex look.
10. Two French Cornrows
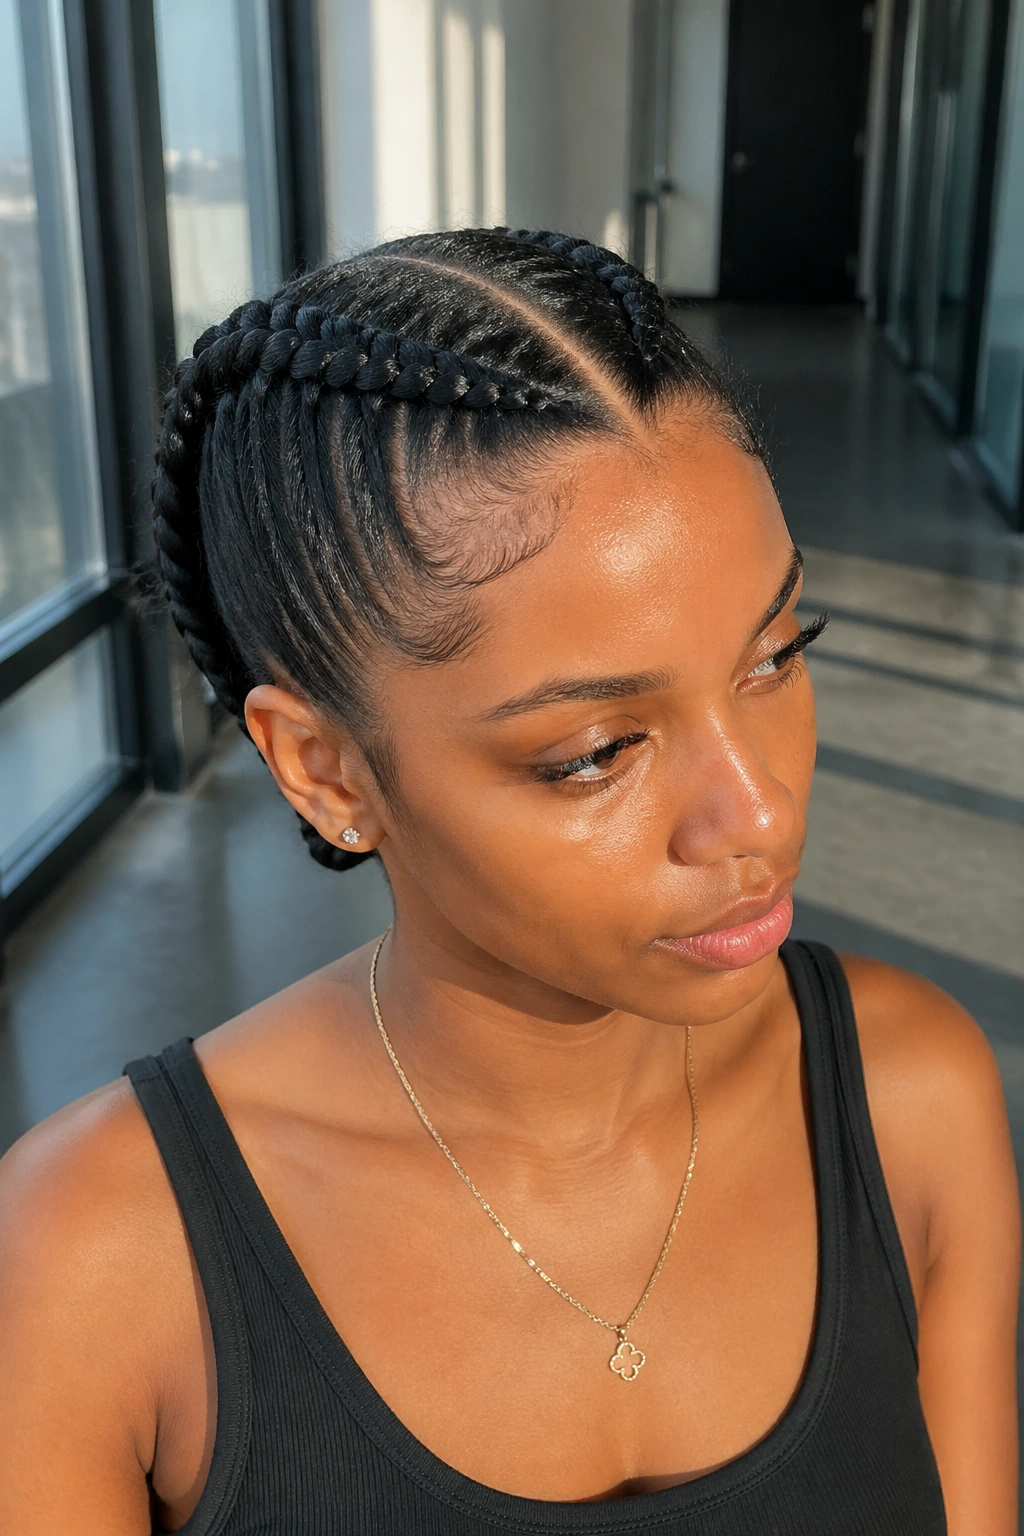
Two massive cornrows — one on each side of a clean center part. Each braid is huge, thick, and runs from hairline to nape. Some people call these “boxer braids” but in Black hair culture they’re two big French cornrows.
This is the easiest cornrow style on the list. Two braids. Done in under 20 minutes.
Useful for gym days, sleep protection, and as a base style for wigs. Plus they look shockingly good for how little effort went in.
11. Triangle-Parted Four Cornrows
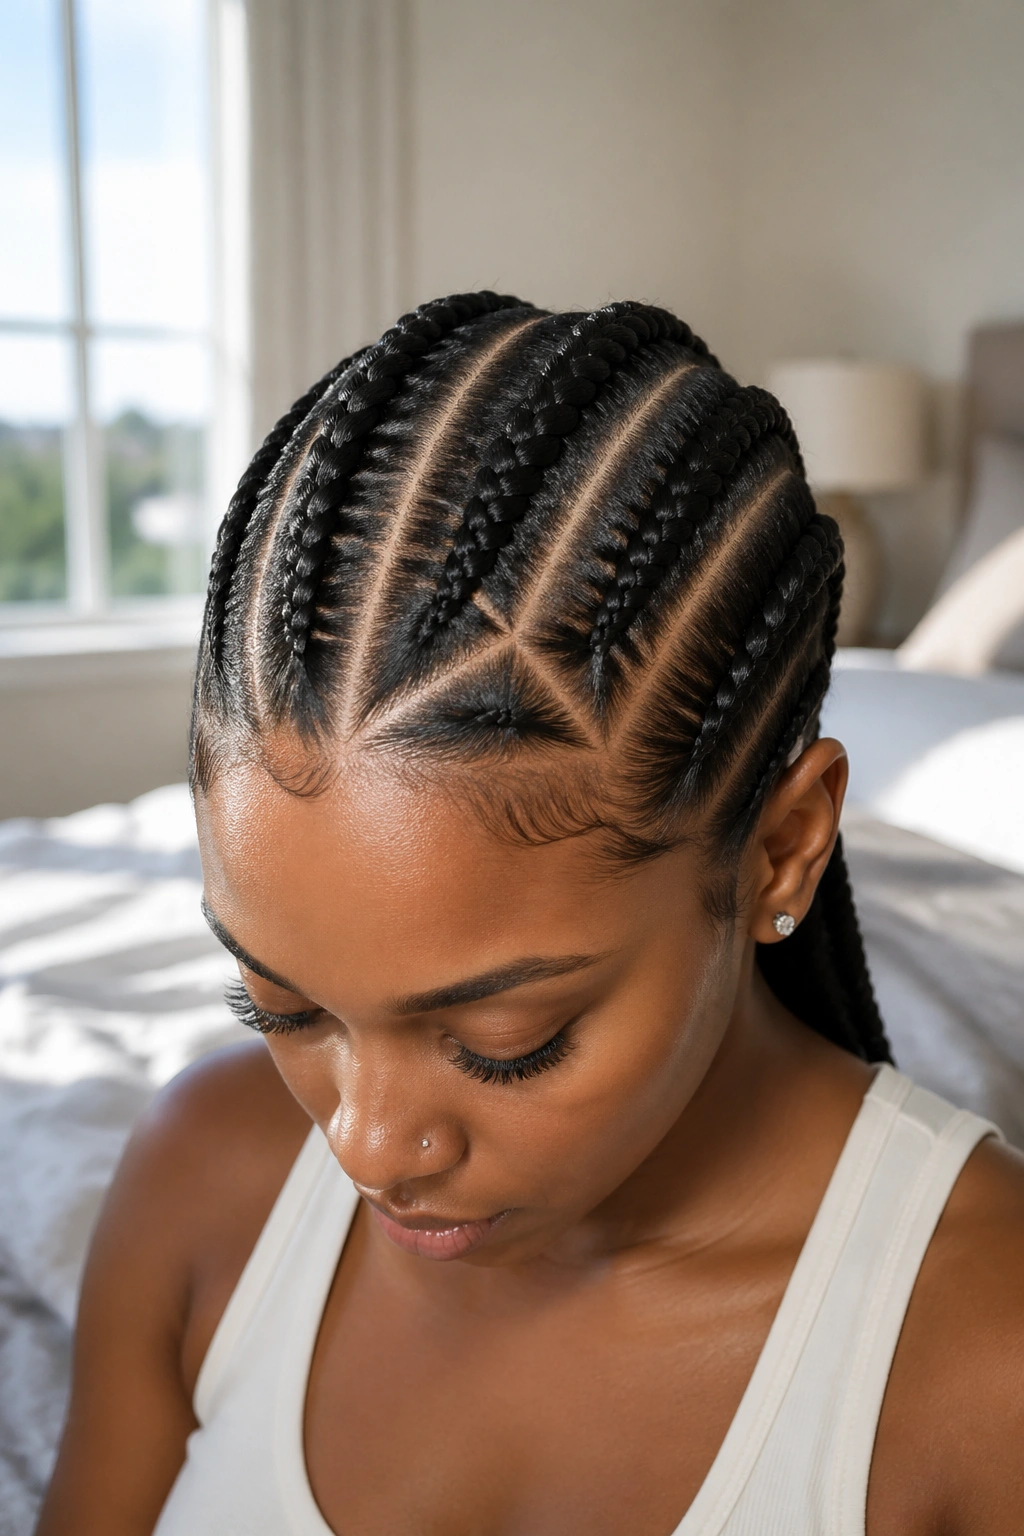
The parts form triangles at the hairline instead of straight lines. Four cornrows emerge from four triangular sections and run straight back.
The triangle part gives a geometric look without the complexity of zigzag or diamond patterns. One triangle per quadrant of the head. That’s it.
Install time: 60-75 minutes. The triangle parts take a little time but the small count keeps it quick.
12. Cornrows Into Twist-Out Ends
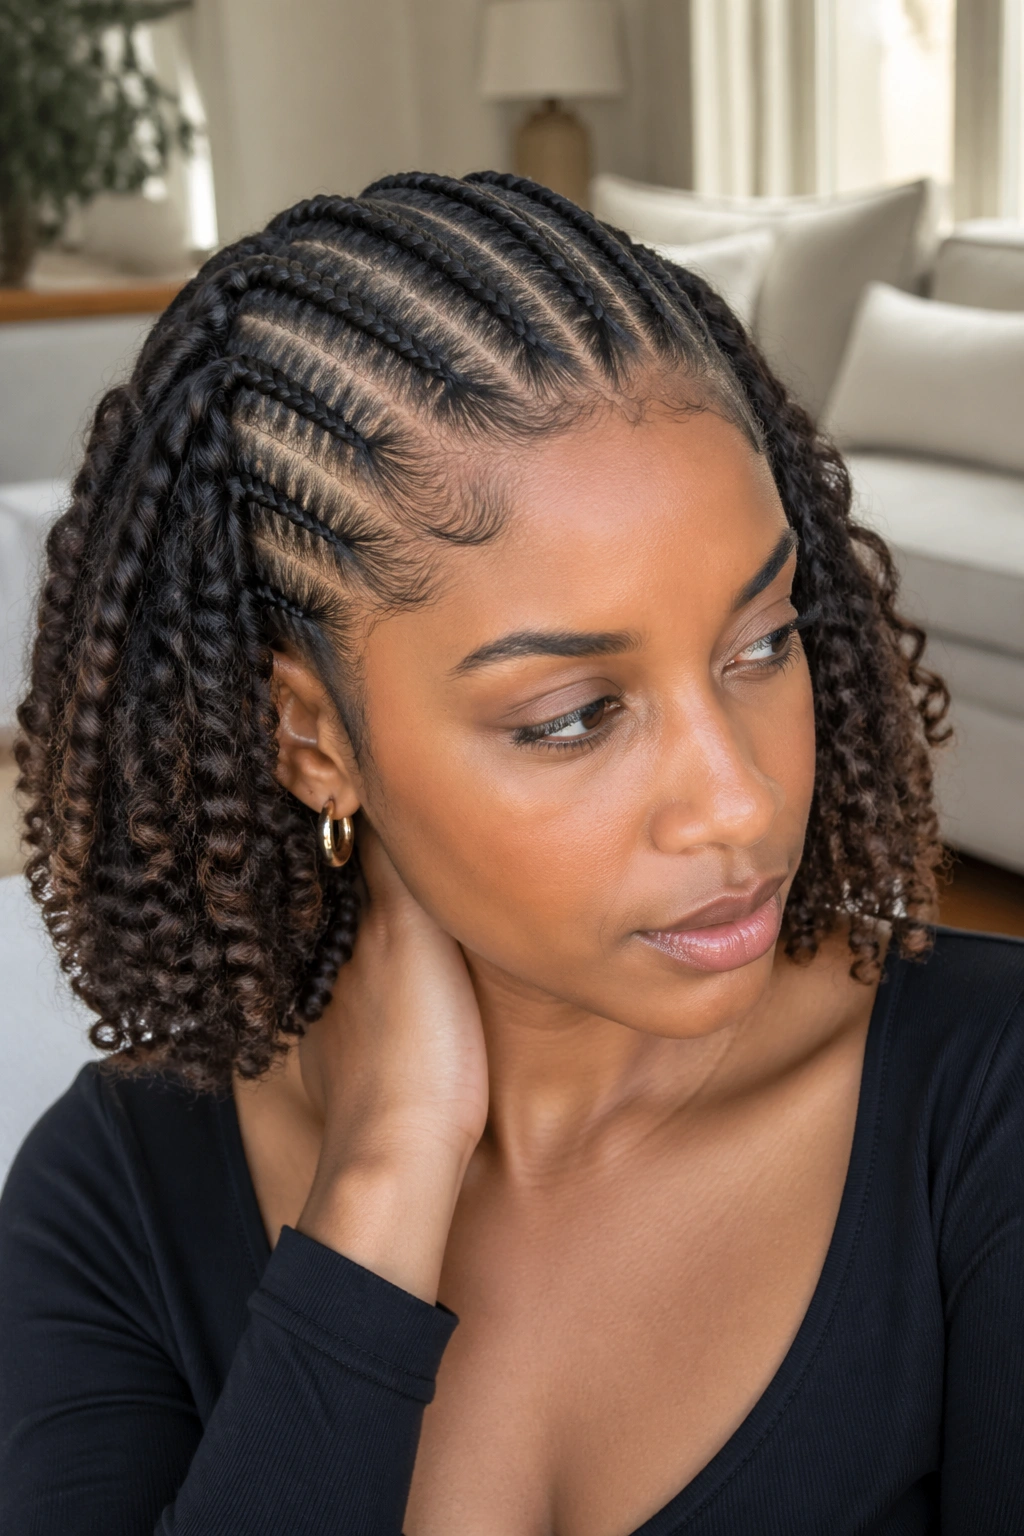
Cornrows from hairline to mid-crown. At the point where the braids end, unravel into loose hair and do a quick two-strand twist-out on the ends.
The combination gives a protective top and a defined-curl bottom. The twist-out adds volume exactly where your face shape benefits most.
Twist-out the night before install, then cornrow on top. The curl definition is already locked in by the time you’re done braiding.
13. Cornrow Headband
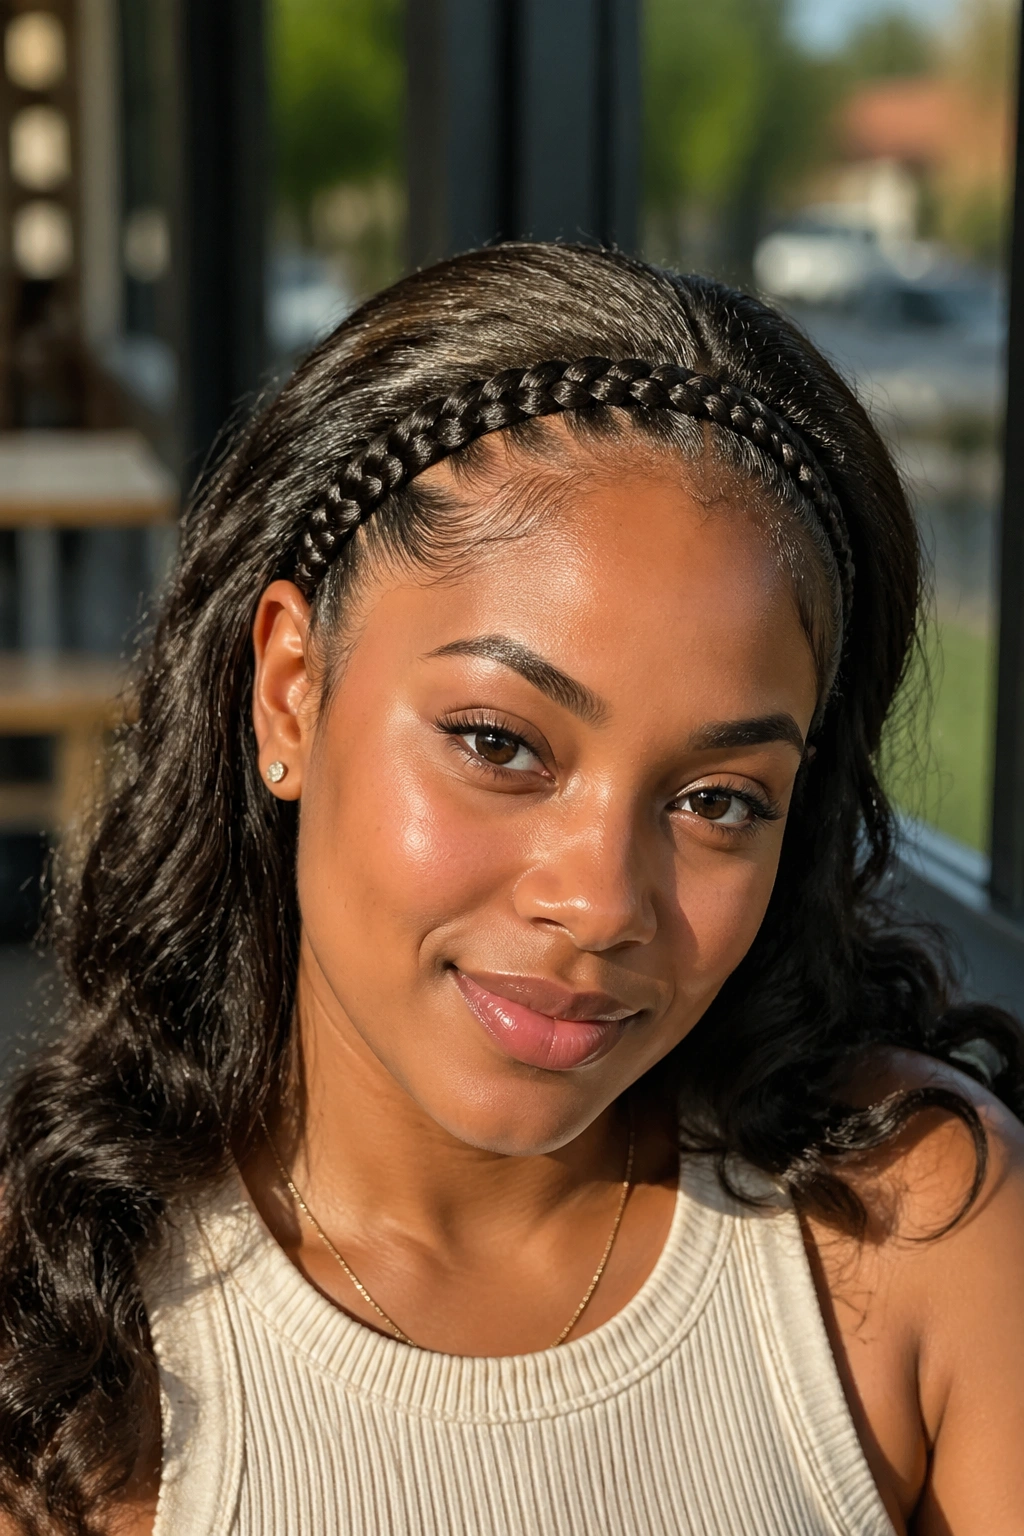
A single thick cornrow that wraps from one ear across the front hairline to the other ear — like a headband made of braid. The rest of the hair stays loose or goes into a ponytail.
Install time: 15 minutes. Easier than hair clips.
The style lifts the front of the hair off the face without flat-ironing, without extensions, and without any tool beyond a comb and a hand mirror.
14. Mini Cornrow Accent Rows
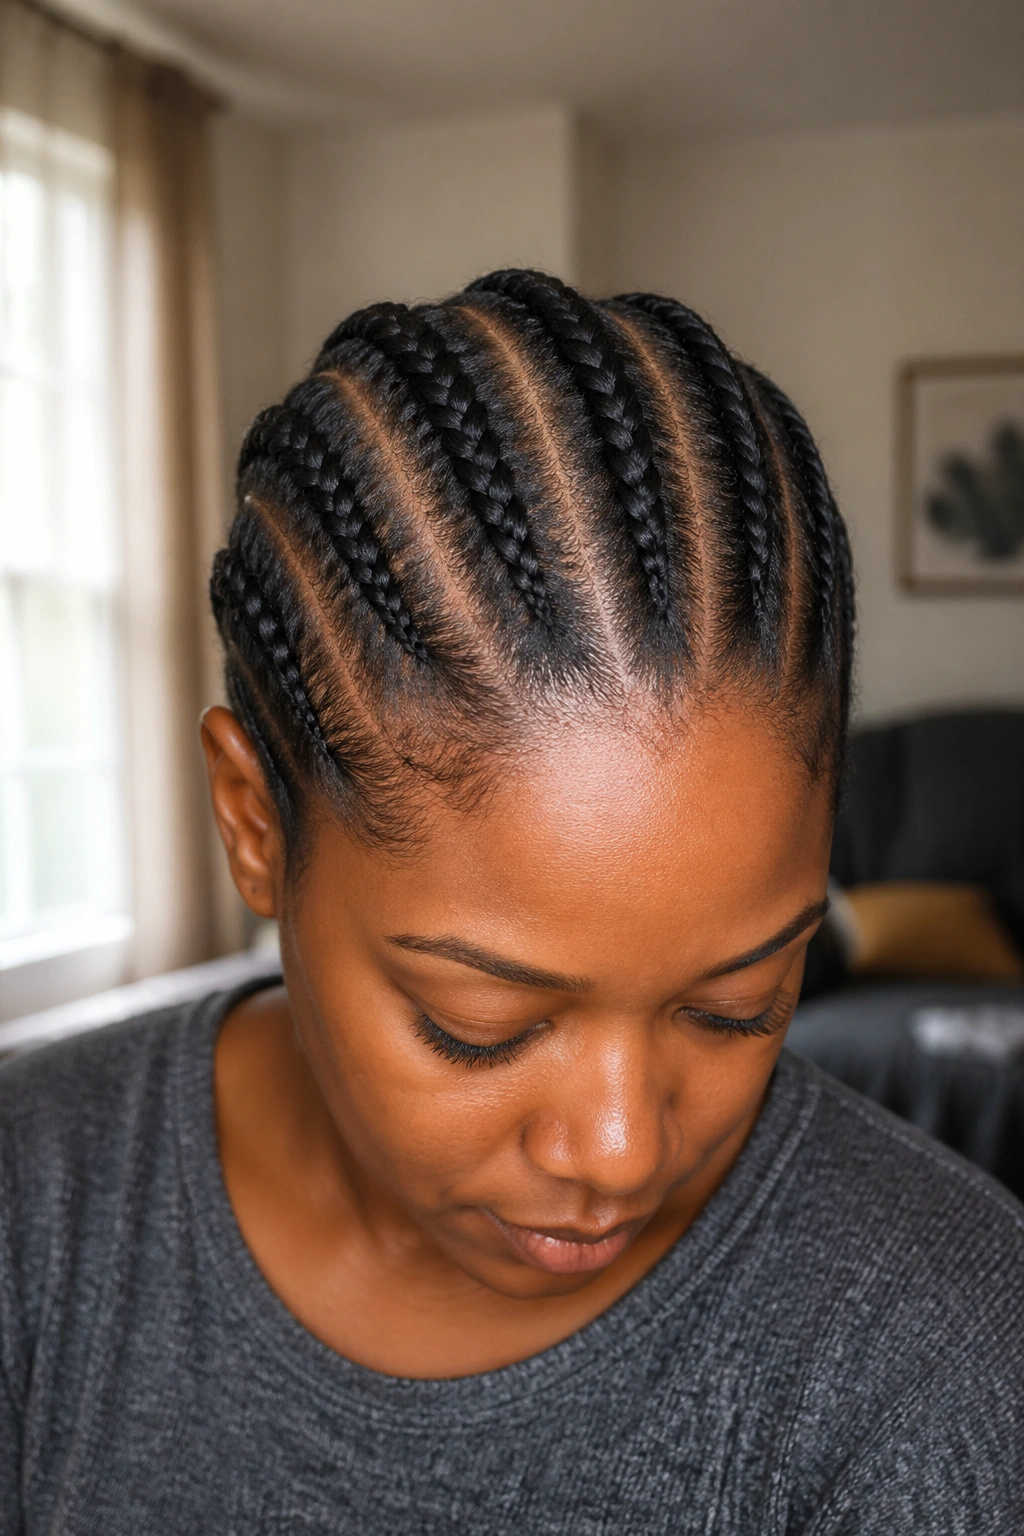
Four to six tiny cornrows — each only 2-3 inches long — on one side of the part only. Everything else stays loose natural hair.
The accent rows function like earrings on hair. They’re a detail. They’re not the whole look. They photograph beautifully in profile.
Good for: low-effort styling that still shows intention. Perfect for a quick photo or a date night when you want the hair to do something without over-committing.
15. Cornrow Bun With Leave-Out
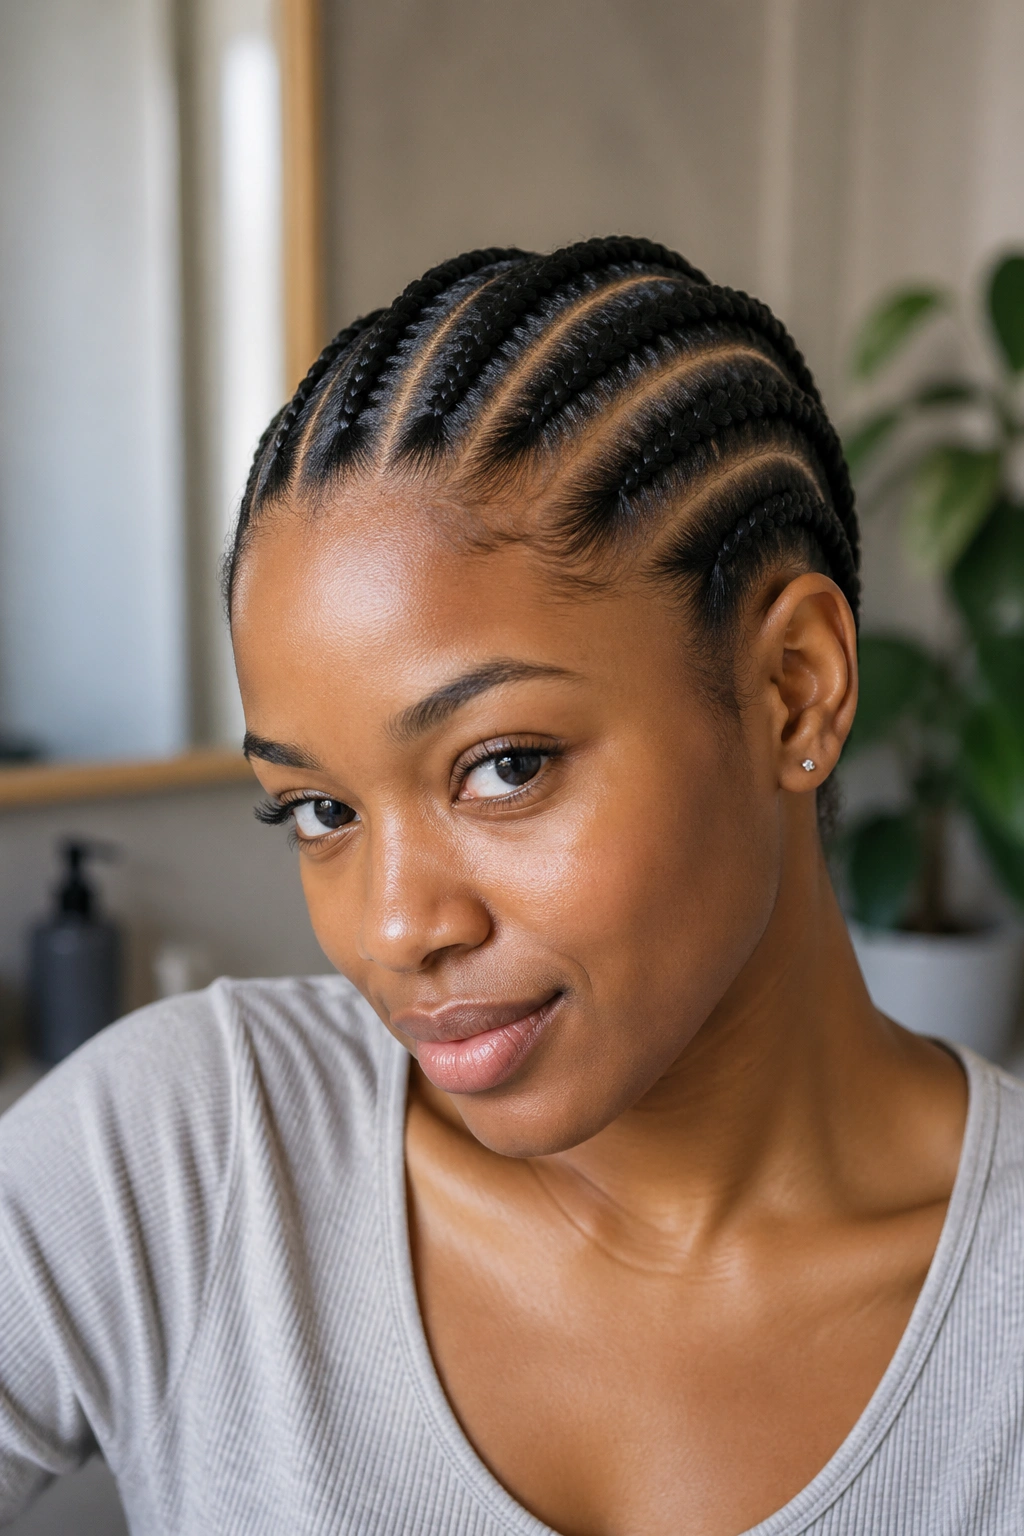
All cornrows feed into a high or mid bun except the front two inches of hair, which gets left out. The leave-out gets flat-ironed or curl-defined and falls across the forehead.
The leave-out softens the style. Cornrow buns without leave-out can read too severe on certain face shapes. A little loose hair in front changes everything.
Install time: 60-75 minutes plus 10 minutes on the leave-out.
16. Diagonal Four Cornrows
Four cornrows that run diagonally across the head — starting at the forehead and traveling toward the opposite ear. The diagonal angle makes four braids read like more.
- The diagonal adds visual length to round face shapes.
- The low braid count keeps install under an hour.
- The ends can be tucked into a small side bun or left loose.
Styling tip: The diagonal direction should sweep away from your face’s best angle. If you photograph better from the left, angle the braids toward the right.
17. Cornrow Ponytail With Bead Accent
A low cornrow ponytail — the basic all-back style — with a single beaded braid in the mix. One braid threaded with wooden or glass beads. Three or four beads total.
The beads add dimension without taking over. Most easy cornrow styles look plain from the back. This version gives the back view something to look at.
Keep the beads on ONE braid only. Beading every braid requires bead threading time that doubles the install.
18. Simple Fulani-Inspired Cornrows
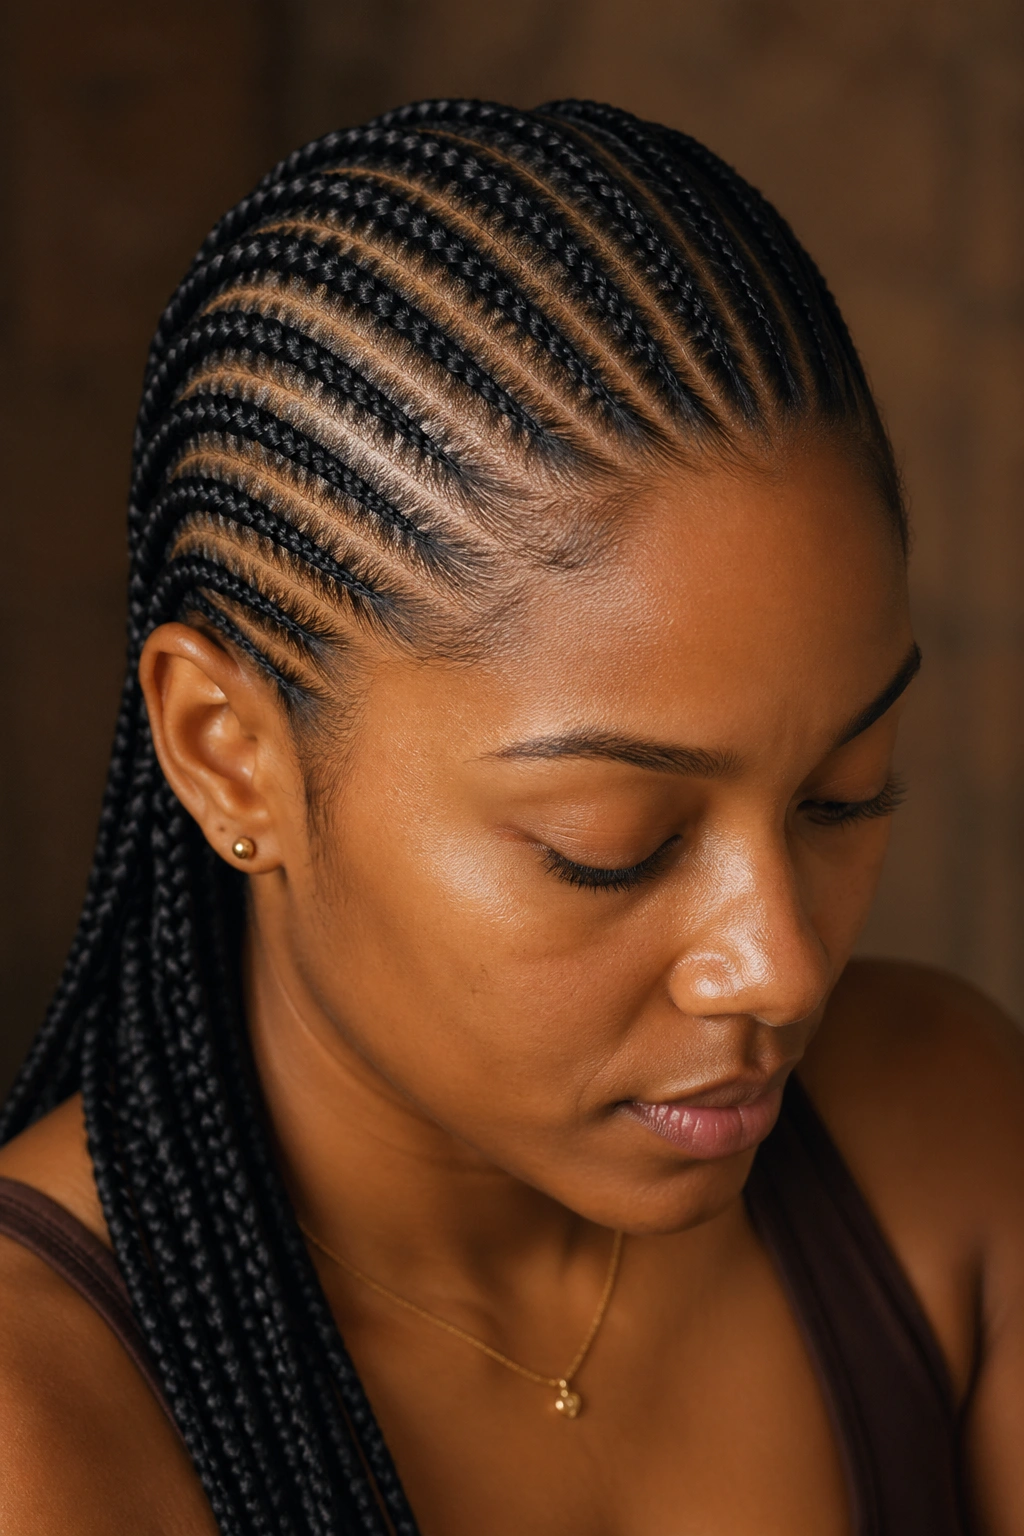
The basic Fulani pattern — without the elaborate side decorations. Center cornrow. Cornrows on either side curving in toward the center. Ends allowed to hang loose.
The center cornrow is the spine of the style. Without it, the side braids look random. With it, the whole thing reads intentional.
Install time: 90 minutes. More than the simplest styles, but still under the two-hour “easy” threshold.
19. Cornrow Crown With Side Puff
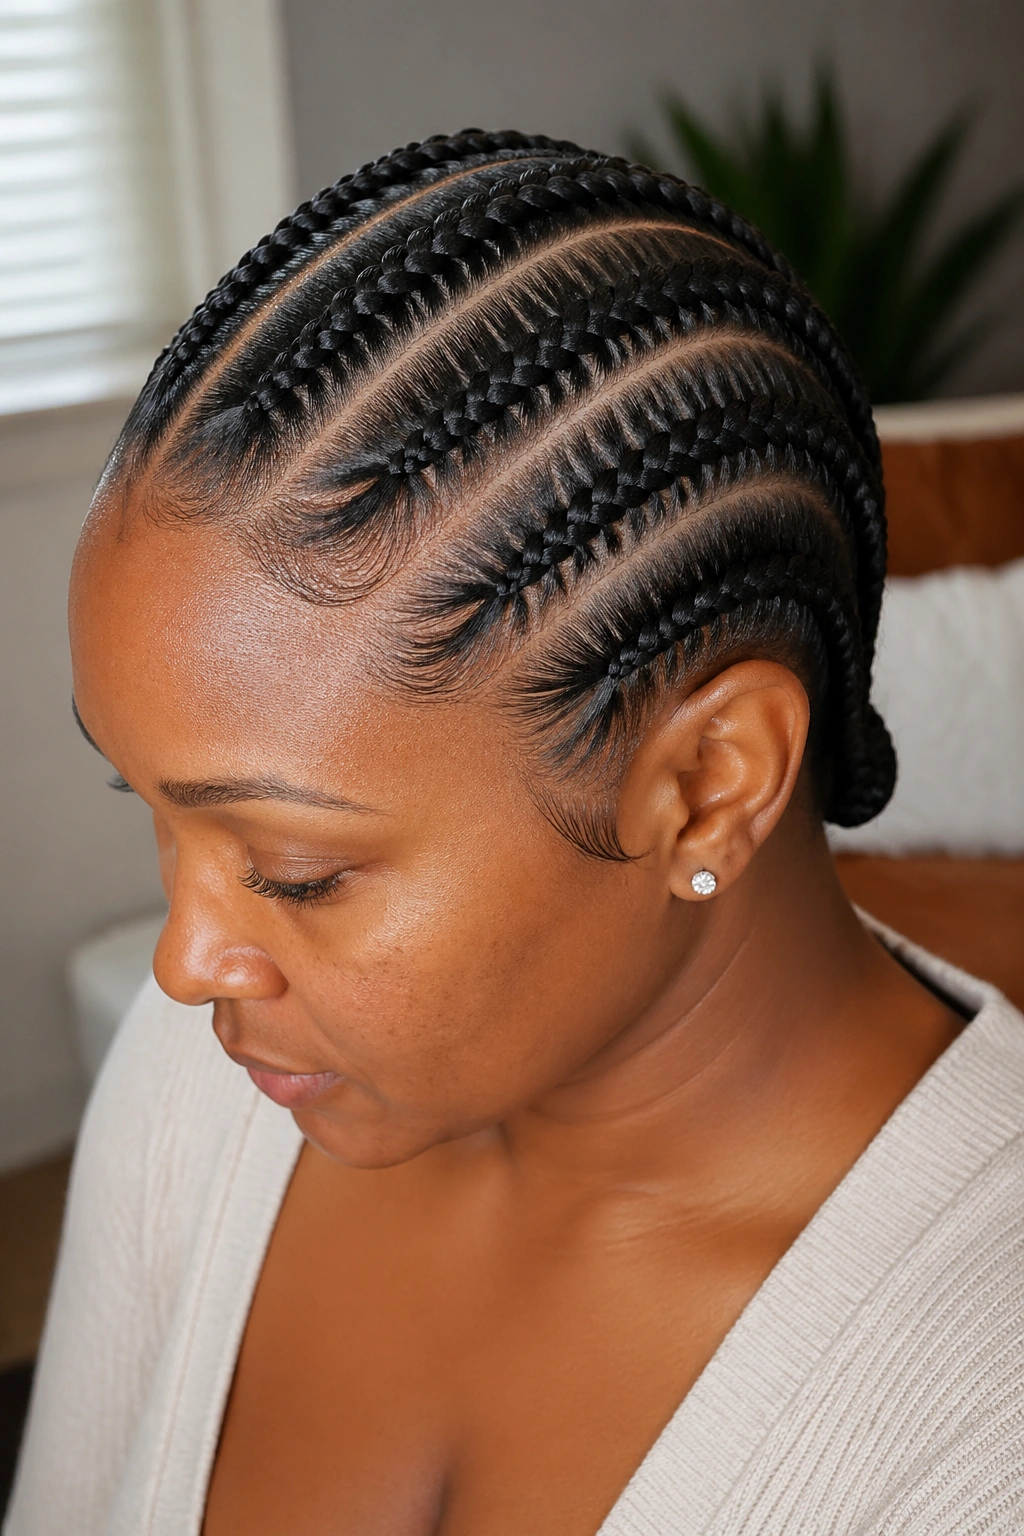
Three or four cornrows wrap around the crown in a semi-halo pattern. Below the cornrows, the natural hair is gathered into a side puff near the ear.
The cornrows do the protective work at the top. The puff shows off texture. Side placement flatters most face shapes.
Puff placement is on the side of your preferred face angle. If you’re not sure, test both sides in photos before committing the install.
20. Cornrow With Ribbon Wrap
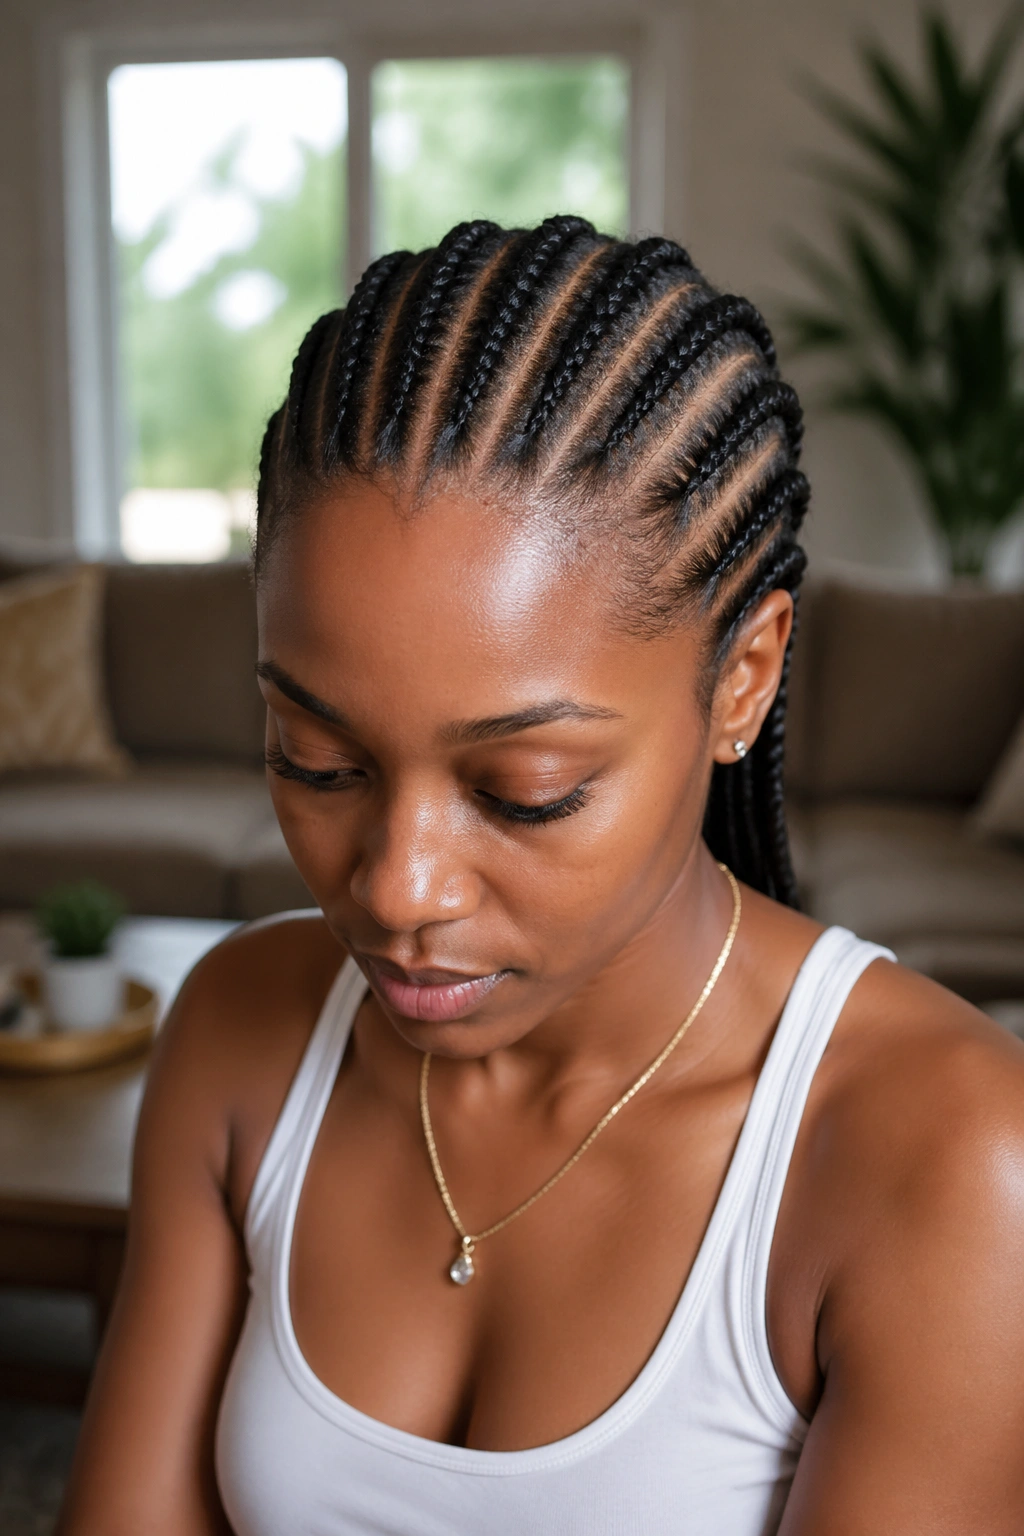
All-back cornrows (any count — 6, 8, or 10) finished with a satin or silk ribbon wrapped around the ends. The ribbon replaces the elastic and adds softness.
Ribbons in neutral colors (cream, black, burgundy) read classic. Ribbons in brights (red, gold) read festive.
The ribbon trick transforms a plain cornrow style into something occasion-ready in under two minutes.
21. Thick Side Cornrow With Everything Back
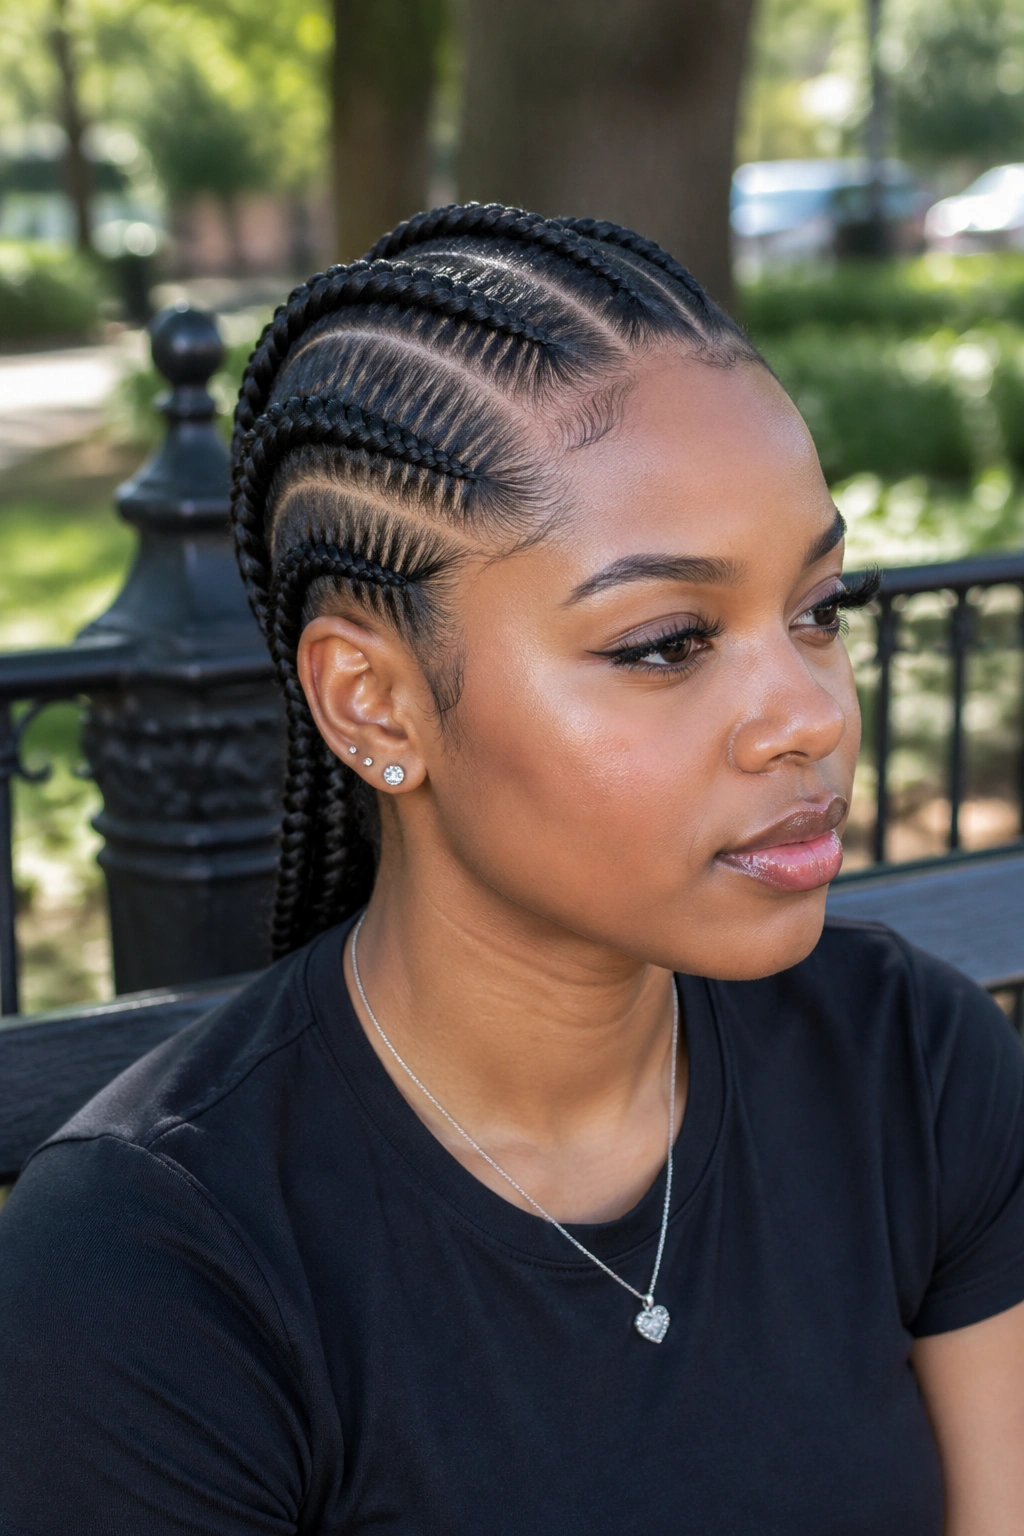
A single thick cornrow runs along one side of the hairline — from forehead to behind the ear. The rest of the hair gets pulled straight back into any simple style (puff, bun, ponytail).
The side cornrow acts as a structural accent. It keeps the side hair flat and neat. The back style gets to be casual because the front element anchors the whole look.
22. Cornrow Into Low Loose Twist
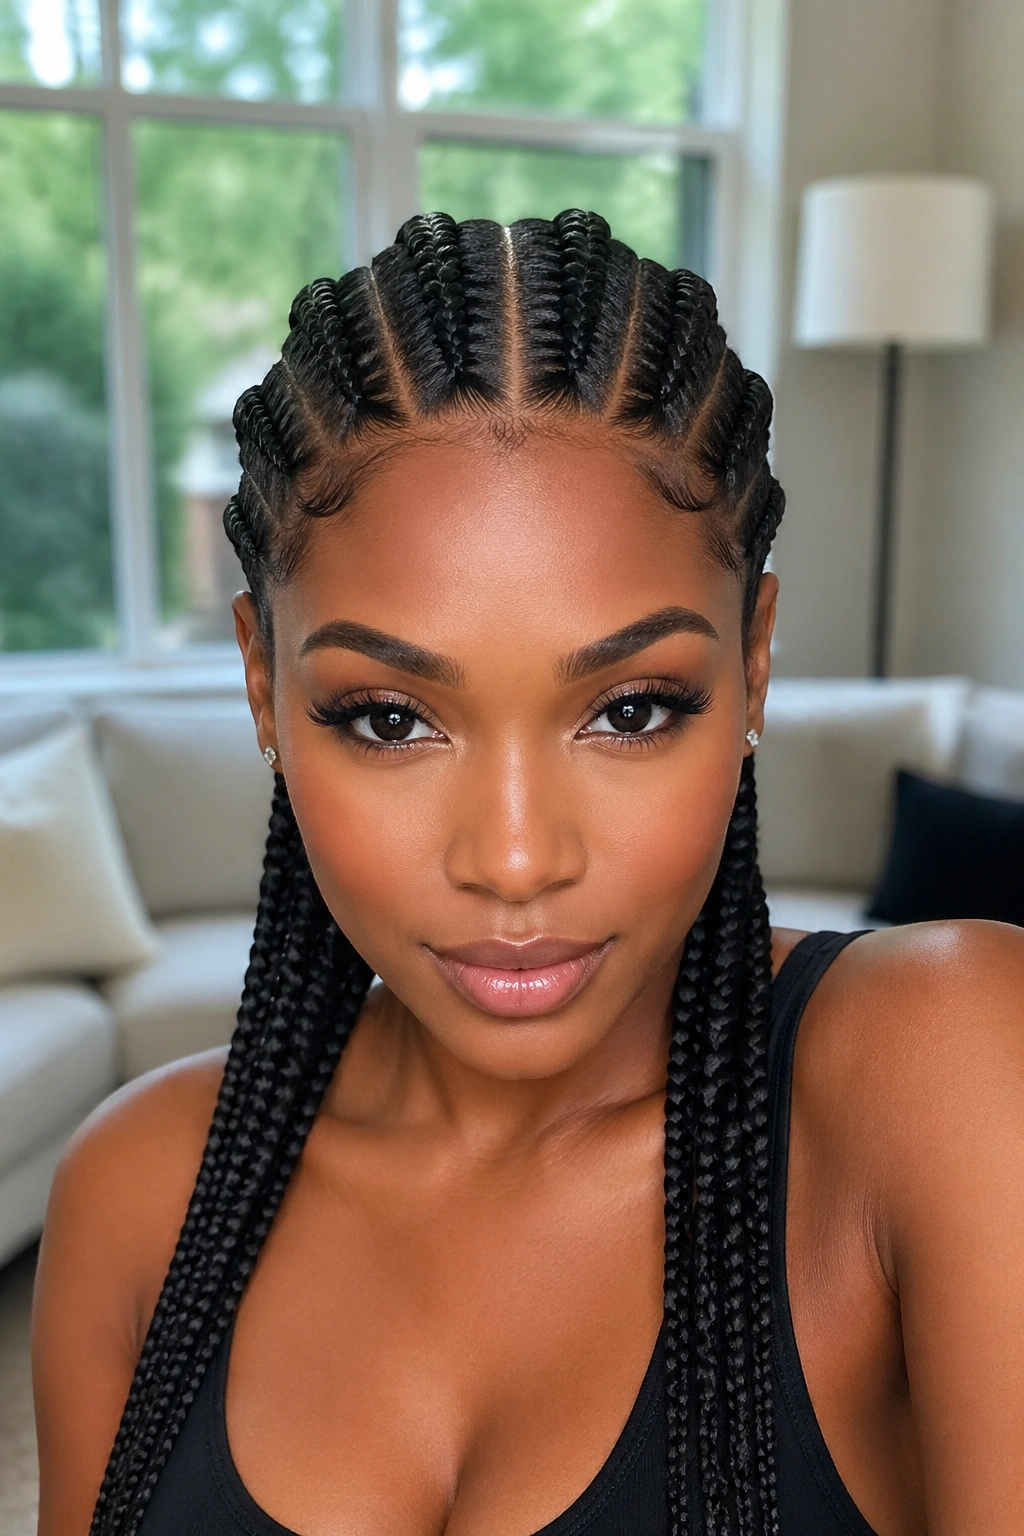
Four or five cornrows run from hairline to mid-crown. At the point where they end, the braids get combined and twisted into a loose chunky two-strand twist that hangs down the back.
The two-strand twist is softer than a continuation of the cornrow. It gives movement to the style. The transition from cornrow to twist happens at the back of the head, hidden from most angles.
Works on natural hair from mid-length to long. Shorter naturals can add kanekalon at the transition point for enough length to twist.
Maintenance That Takes Five Minutes a Day
Easy cornrows have to stay easy after install. A five-minute nightly routine keeps them looking fresh.
Spray the parts lightly with a water-and-leave-in mix. Massage a drop of lightweight oil (jojoba, argan) into the scalp with fingertips. Smooth edges with edge gel and a boar-bristle brush. Tie a satin scarf around the edges. Put on a satin bonnet.
That’s the full routine.
Don’t over-moisturize. Too much product on cornrows causes buildup, itching, and premature slippage.
Scalp Care During Install
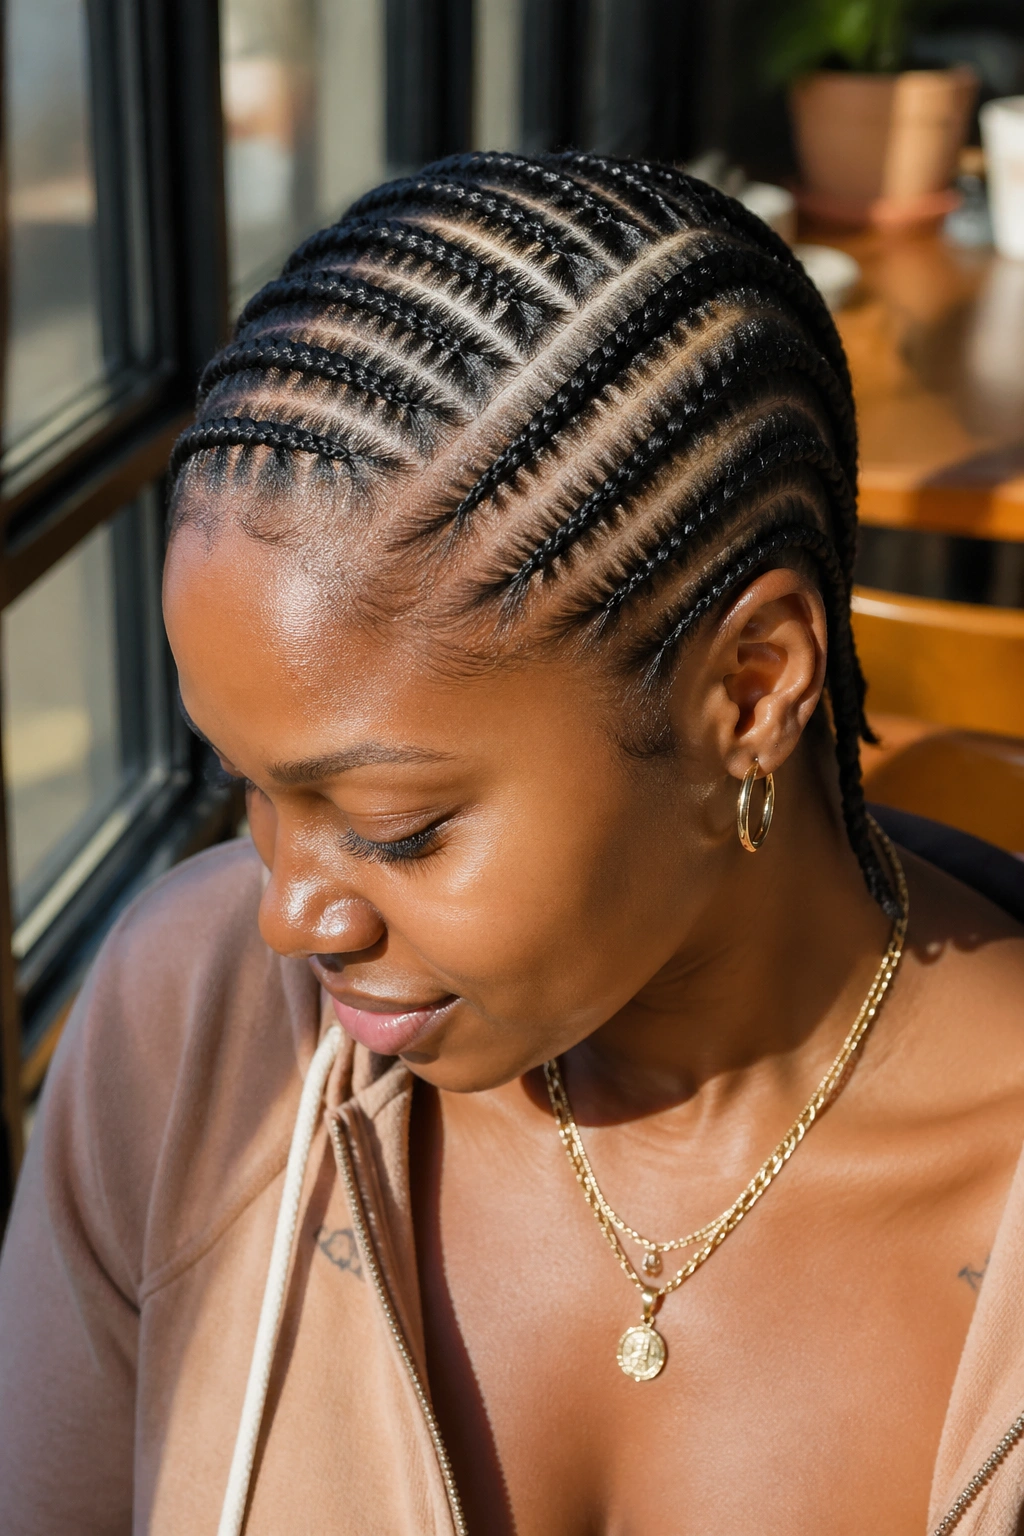
Itching is the most common complaint. It happens because the scalp dries out, product builds up, or tension creates inflammation.
Dilute apple cider vinegar rinse once a week (1 tablespoon ACV to one cup water). Spray along the parts. Blot with a soft towel. Don’t rinse.
For persistent itching, a drop of tea tree oil in a carrier oil (jojoba, coconut) applied to the parts with a dropper gives quick relief.
If itching comes with bumps, redness, or flaking that won’t resolve — that’s a scalp health issue, not a braid issue. Take the style down and let the scalp recover.
Takedown Without Breakage
Easy installs deserve easy takedowns. Set aside 45-60 minutes.
Saturate each braid with a conditioner or oil. Let sit for 10 minutes. Unravel from tip to root — never the other direction.
Finger-detangle each section as it comes loose. Skip the comb until you’re ready to wash. Dry detangling breaks hair that wet detangling saves.
Once all braids are out, wash with a clarifying shampoo to remove product buildup, deep condition for 30 minutes, and let hair rest for at least a day before the next install.
How to Pick the Right Easy Cornrow for Your Day
Everyday work or school: six thick all-back, ten medium all-back, or the low ponytail cornrows. Professional. Low-key. Fast.
Gym and workouts: two French cornrows, four jumbo cornrows, or halfback cornrows with loose hair. Secure. Sweat-friendly. No pinned pieces to fall.
Casual weekends: diagonal four cornrows, cornrow bangs with loose back, or cornrow headband. Relaxed. Style-forward. Minimal effort.
Dates or nights out: cornrow bun with leave-out, cornrow crown with side puff, or cornrow into low loose twist. A step up from daily without requiring formal install skills.
Travel: mini cornrow accent rows, cornrow ribbon wrap, or any halfback style. Easy to refresh in a hotel bathroom with minimal tools.
Mistakes That Make “Easy” Styles Hard
Starting with wet hair. Cornrowing on soaking hair is slower, lumpier, and doesn’t hold. Always install on dry, stretched hair.
Braiding too tight at the hairline. Front tension is the fastest way to traction alopecia. If you feel burning or see little white bumps after install, the braid is too tight. Loosen or redo.
Ignoring the back of the head. Most self-install mistakes happen at the back. Use two mirrors. Take a photo with your phone and zoom in to check evenness.
Skipping edge gel. Edge gel isn’t optional on cornrow styles. Without it, baby hairs frizz at the hairline within hours and the whole style looks unfinished.
Sleeping on cotton. One cotton pillowcase night destroys three hours of work. Satin bonnet or silk pillowcase — no exceptions.
Leaving cornrows in too long. The easy-install styles on this list hold well for 1-3 weeks. Past three weeks, the tension becomes cumulative, the hairline suffers, and the braid starts pulling away from the scalp. Take them down on schedule.
Getting those basics right turns easy cornrows into a reliable weekly habit rather than a one-time experiment — and that’s when the real protection and growth benefits kick in.
