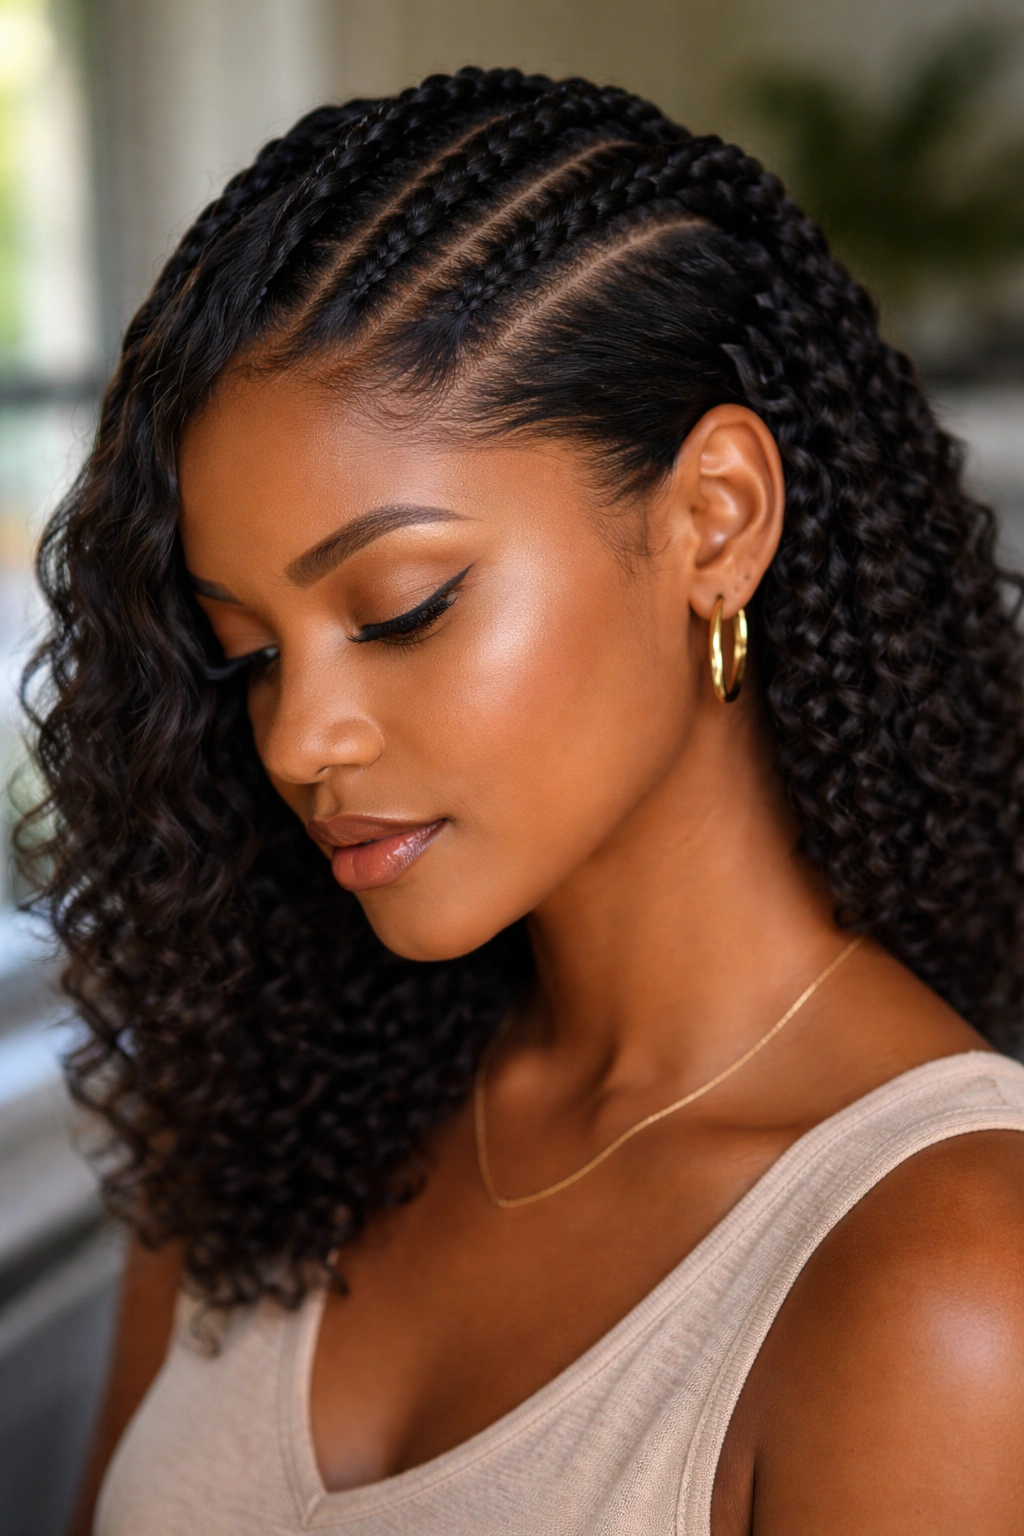
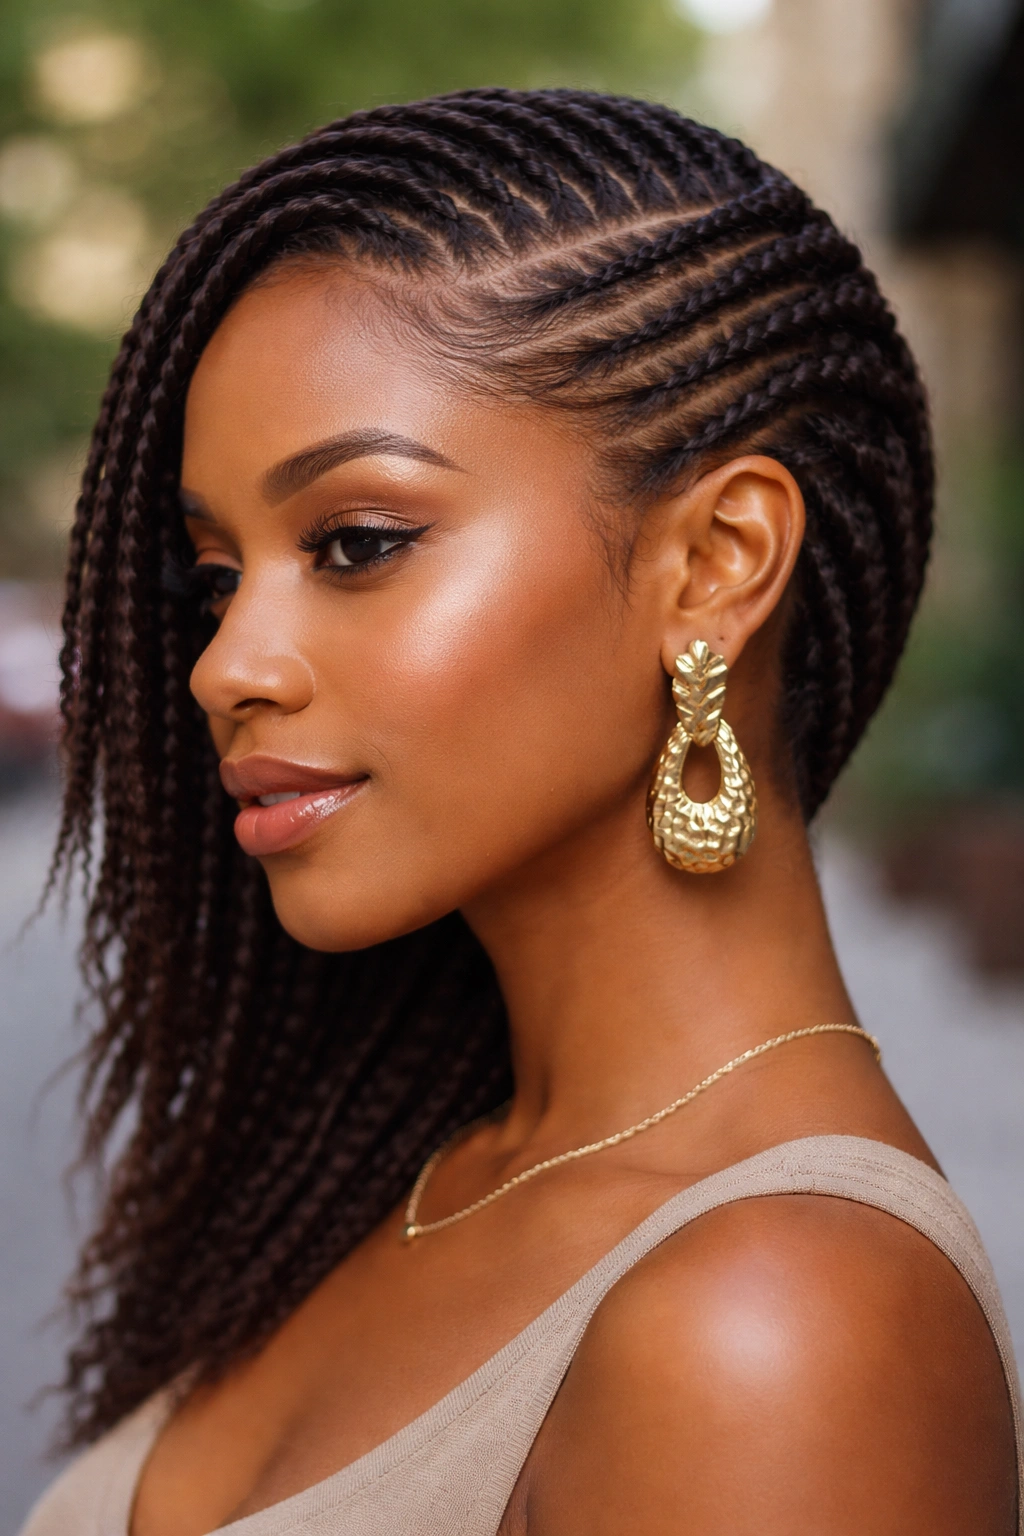
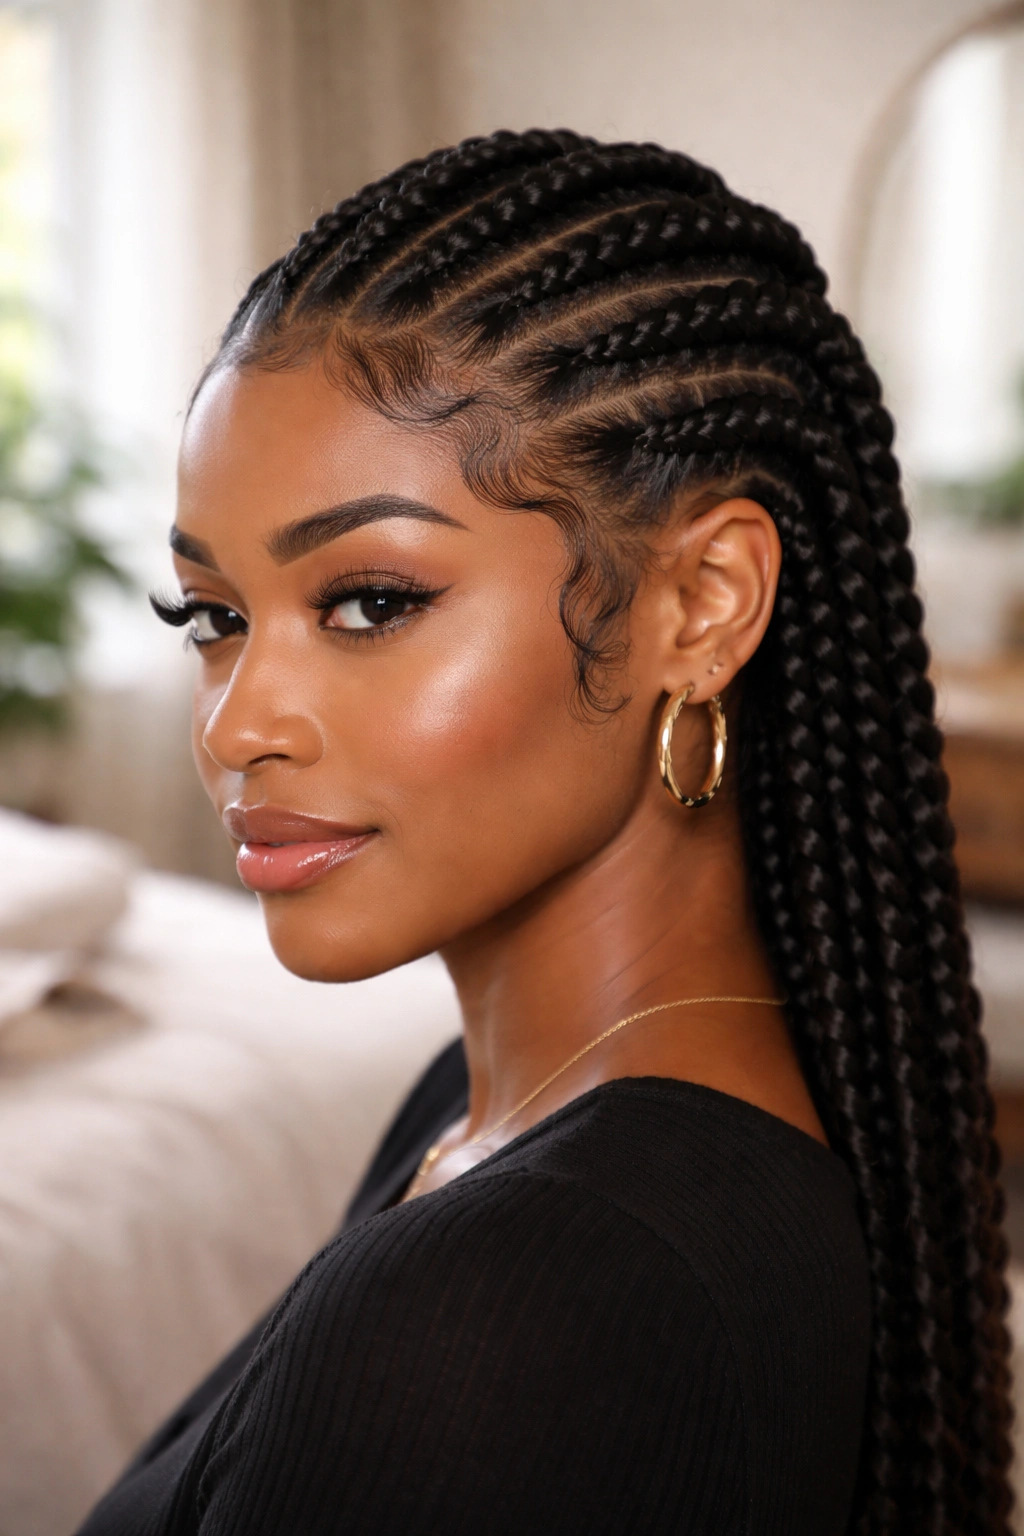
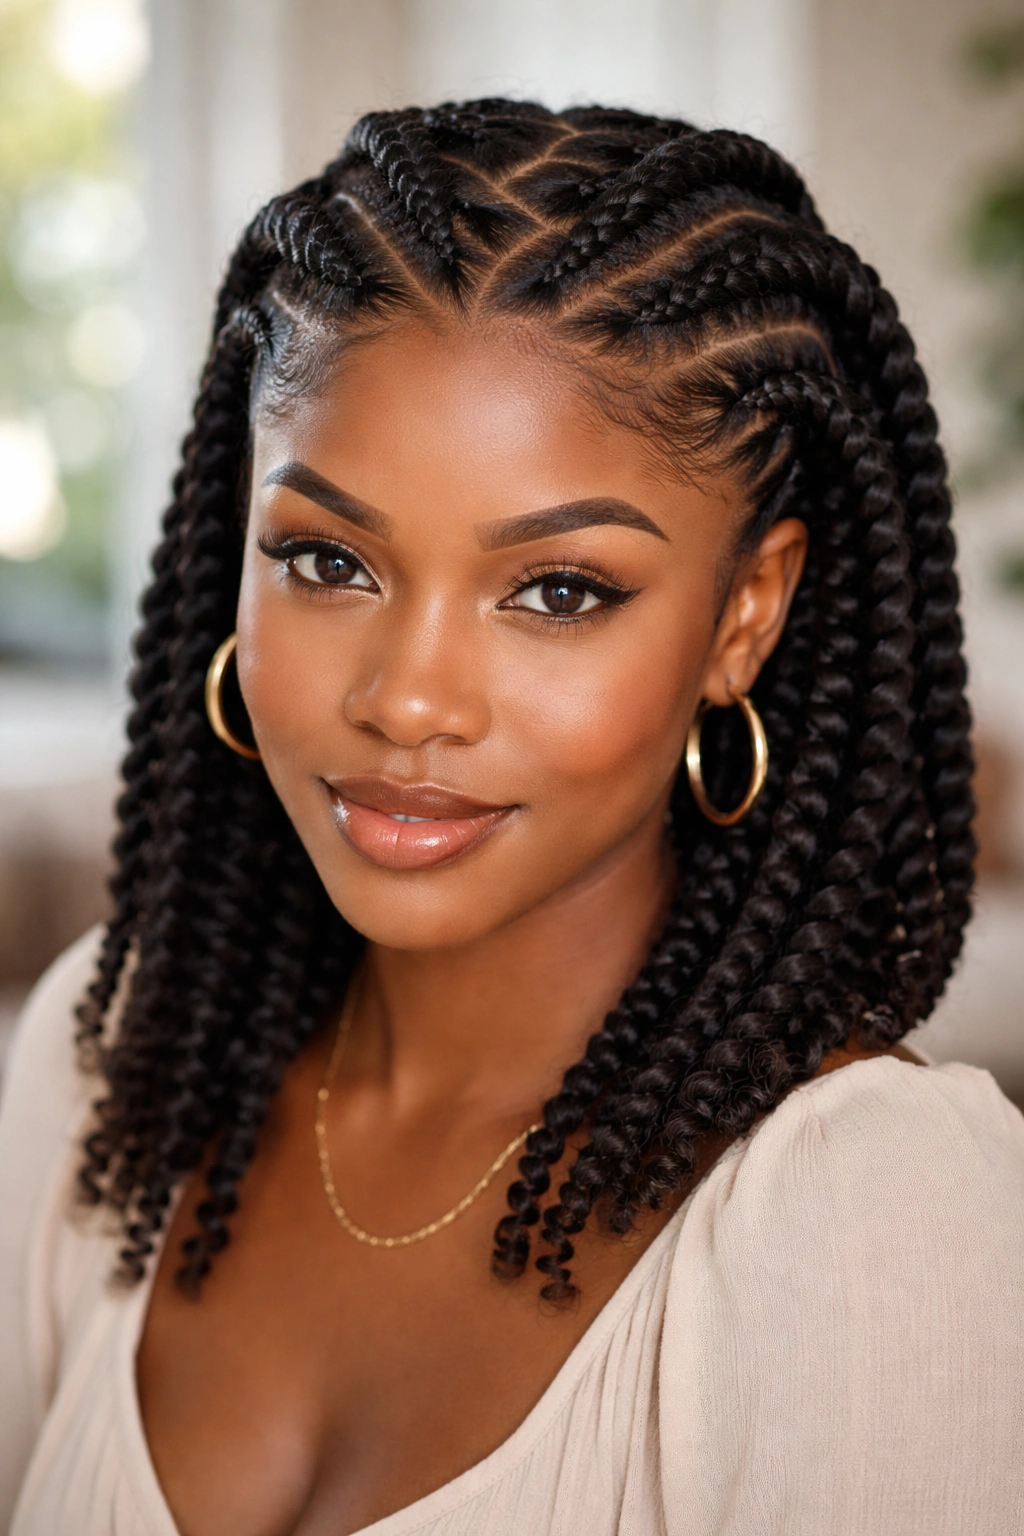
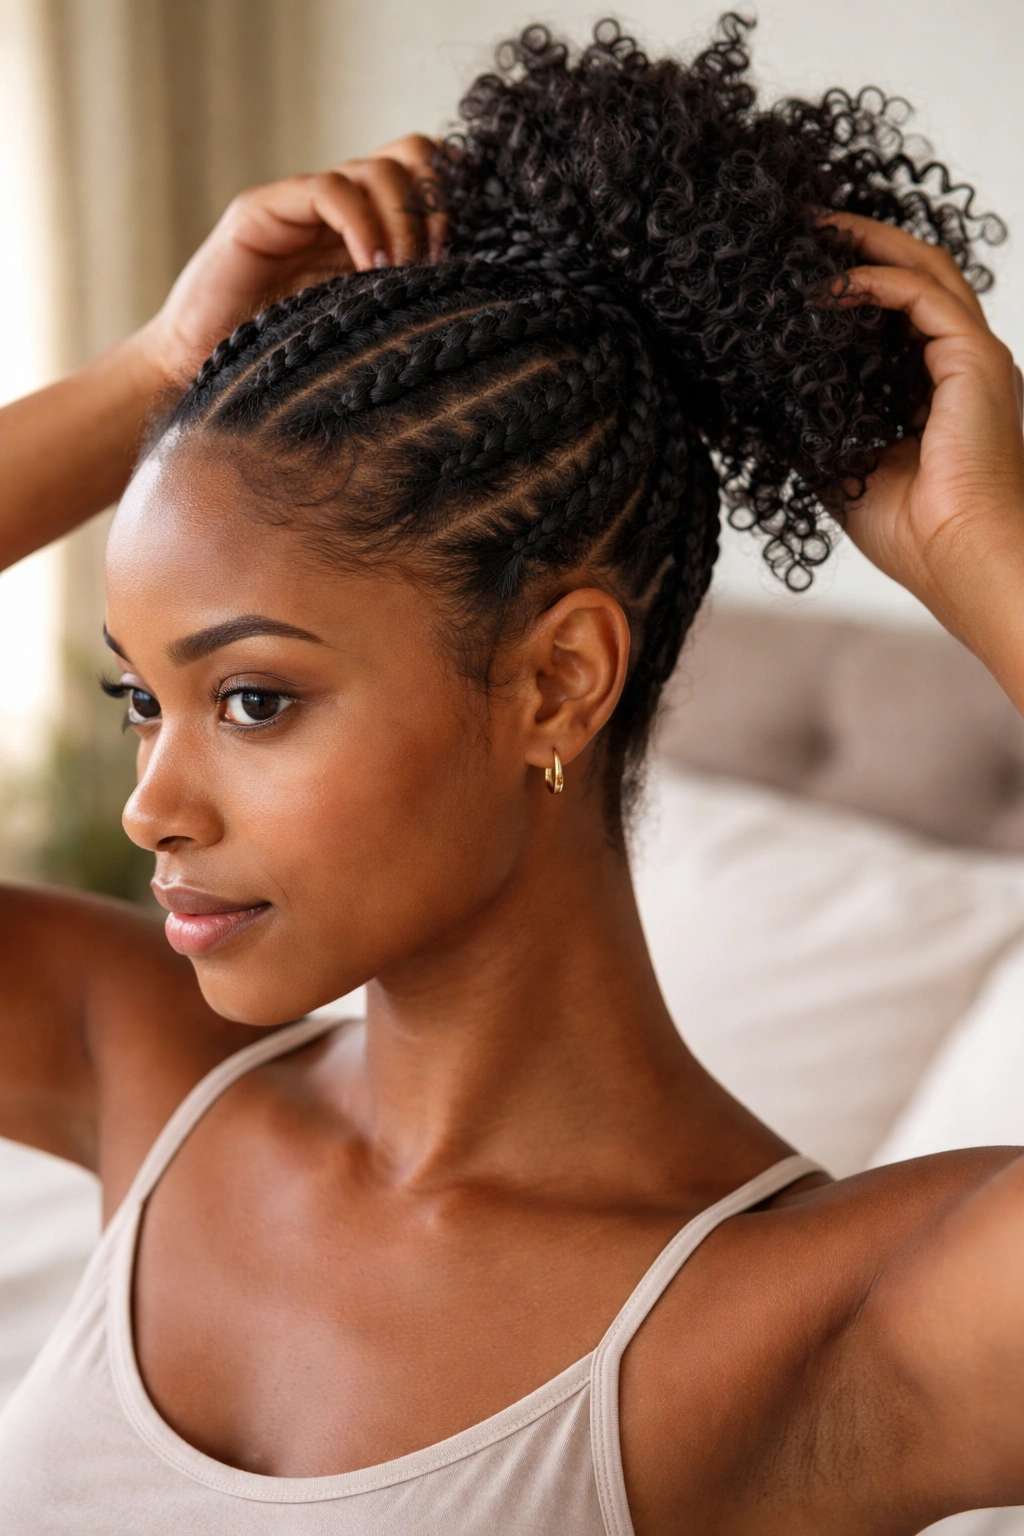
Flat twists are the most underrated technique in the natural hair toolkit. They sit against the scalp like cornrows but only use two strands instead of three, which means they’re faster to do, gentler on edges, and somehow manage to look both sculptural and effortless at the same time. I learned flat twists before I learned cornrows, and honestly, for most occasions, I still reach for them first.
The reason is practical. A flat twist lies flat, holds for days, takes a fraction of the time a cornrow would, and gives you a twist-out so defined you’d think you sat under a diffuser for an hour. Two styles, one install.
What follows are 22 different flat twist looks I’ve actually worn or installed on friends. Not 22 photos that look identical with different jewelry — 22 genuinely different approaches, each suited to a different occasion, length, or mood.
Why Flat Twists Beat Cornrows for Most People
Cornrows require three-strand dexterity that takes weeks to build. Flat twists use two-strand technique, which most people can pick up in an hour. The learning curve is honestly the biggest difference between the two.
Beyond that, flat twists are more forgiving. If your section isn’t perfect, the twist still looks good. A messy cornrow looks messy. A slightly uneven flat twist looks textured. This matters if you’re doing your own hair in front of a mirror at 11 p.m.
The tradeoff is longevity. Cornrows last a week or two longer than flat twists because the three-strand weave is tighter. But for a protective style you’re refreshing into a twist-out anyway, flat twists win on effort-to-result.
Preparing Hair for Flat Twists
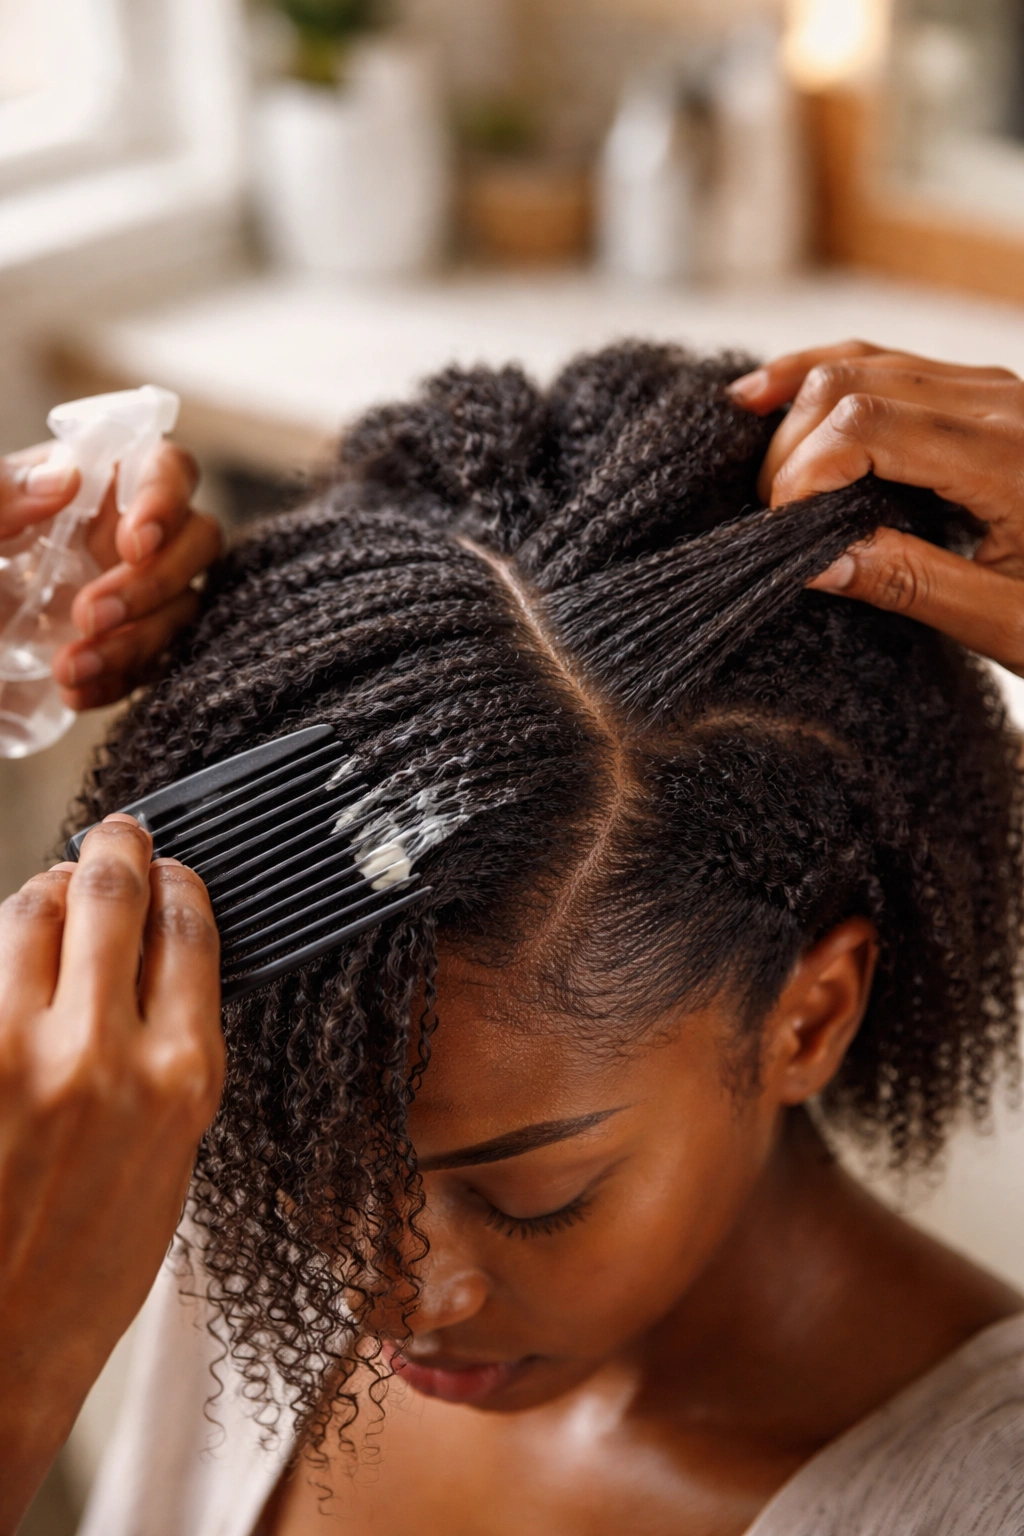
Start with stretched, slightly damp hair. Not wet — damp. Wet hair shrinks as it dries, which pulls your twists out of shape and leaves you with loose, uneven sections by day two.
I stretch with overnight plaits, then mist lightly with water and leave-in before twisting. The hair should feel cool, not soaked. If you press your finger into your scalp and no water pools, you’re good.
Detangle thoroughly. Flat twists don’t hide tangles — they amplify them. Any knot you missed will become a weird bump in your twist.
Tools You Need
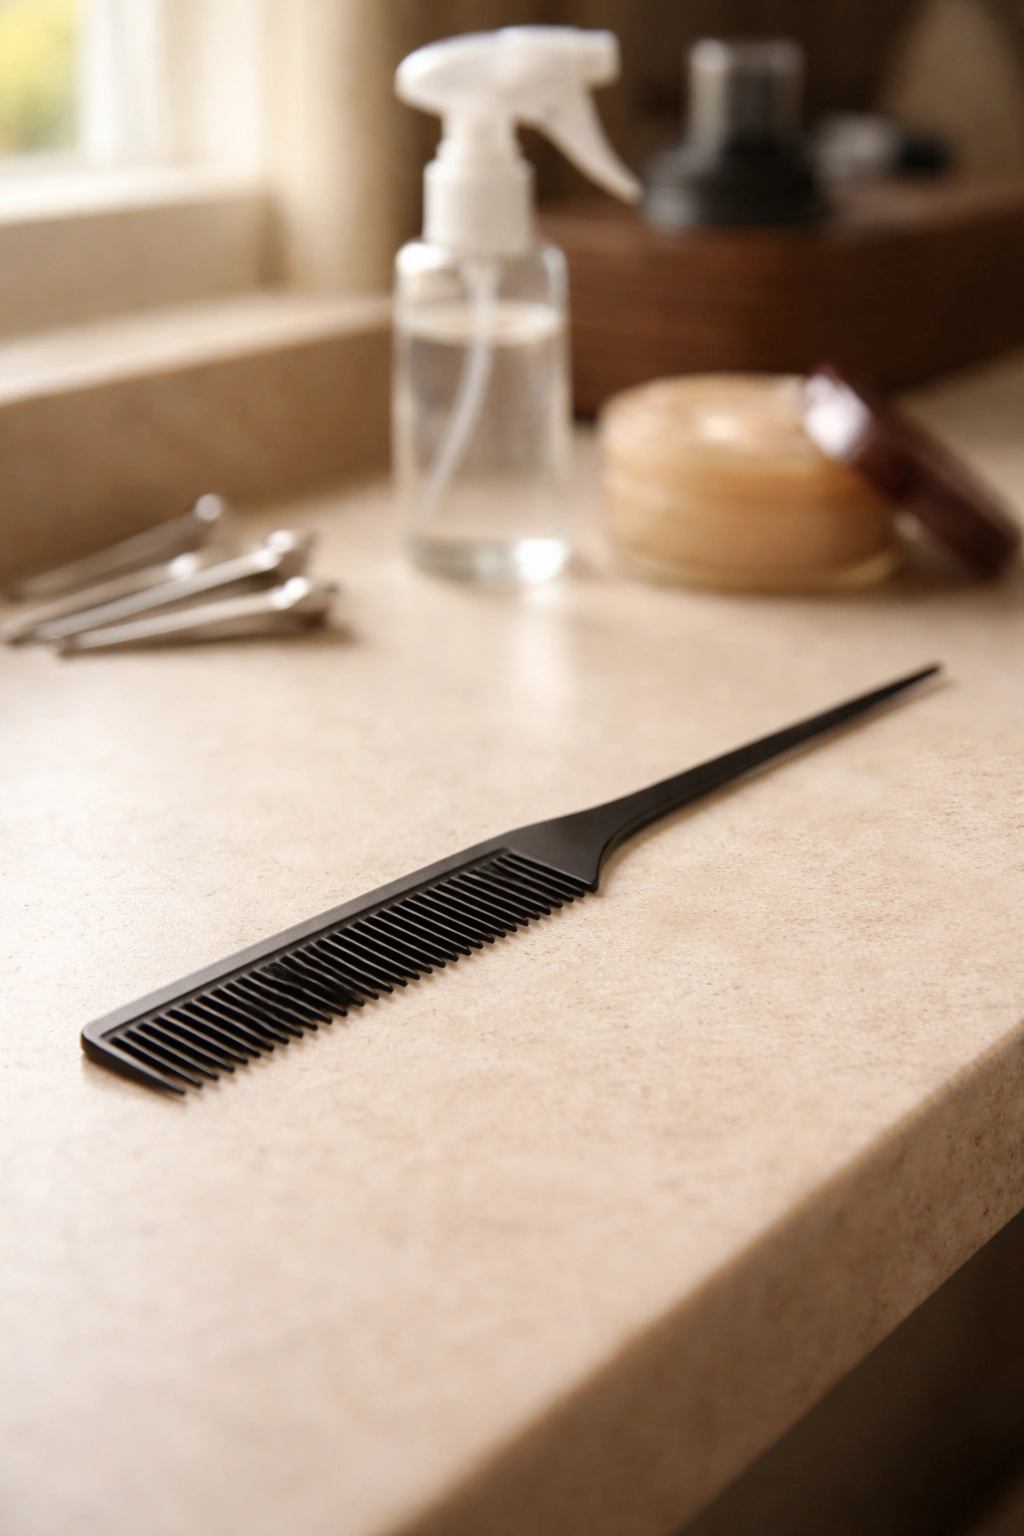
Simple list. Rat-tail comb for parting, a few duckbill clips to separate sections, a small bottle of water mixed with a splash of leave-in for dampening as you go, and your setting product of choice. That’s it.
I use flaxseed gel for definition, shea butter cream for hold without crunch. Most people do better with one or the other, not both. Pick based on your hair’s moisture needs.
The Core Technique (Once, Then I Won’t Repeat It)
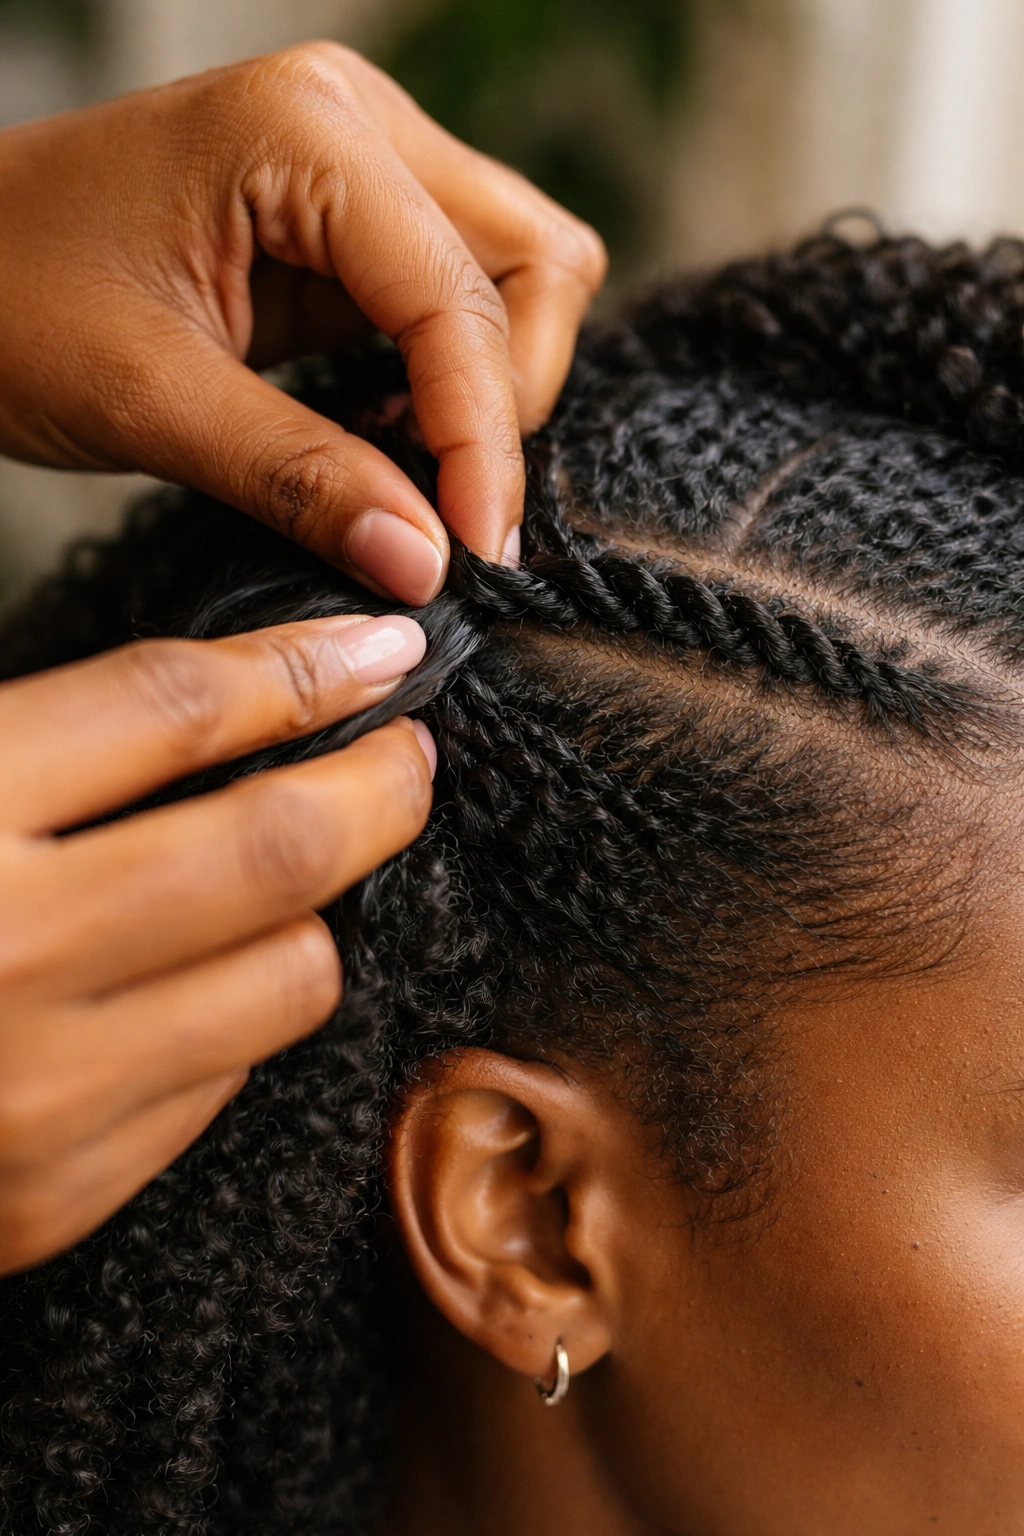
Part your section. Take the left and right portions. Cross the right over the left, then pick up a small piece of hair from the scalp and add it to the right strand. Cross the new right over the left again, pick up more hair, repeat. You’re feeding in scalp hair as you go while keeping both strands flat against the head.
That’s it. Once you have the rhythm, it’s meditative.
Speed comes with practice. My first flat twist took 20 minutes. My hundredth took 3.
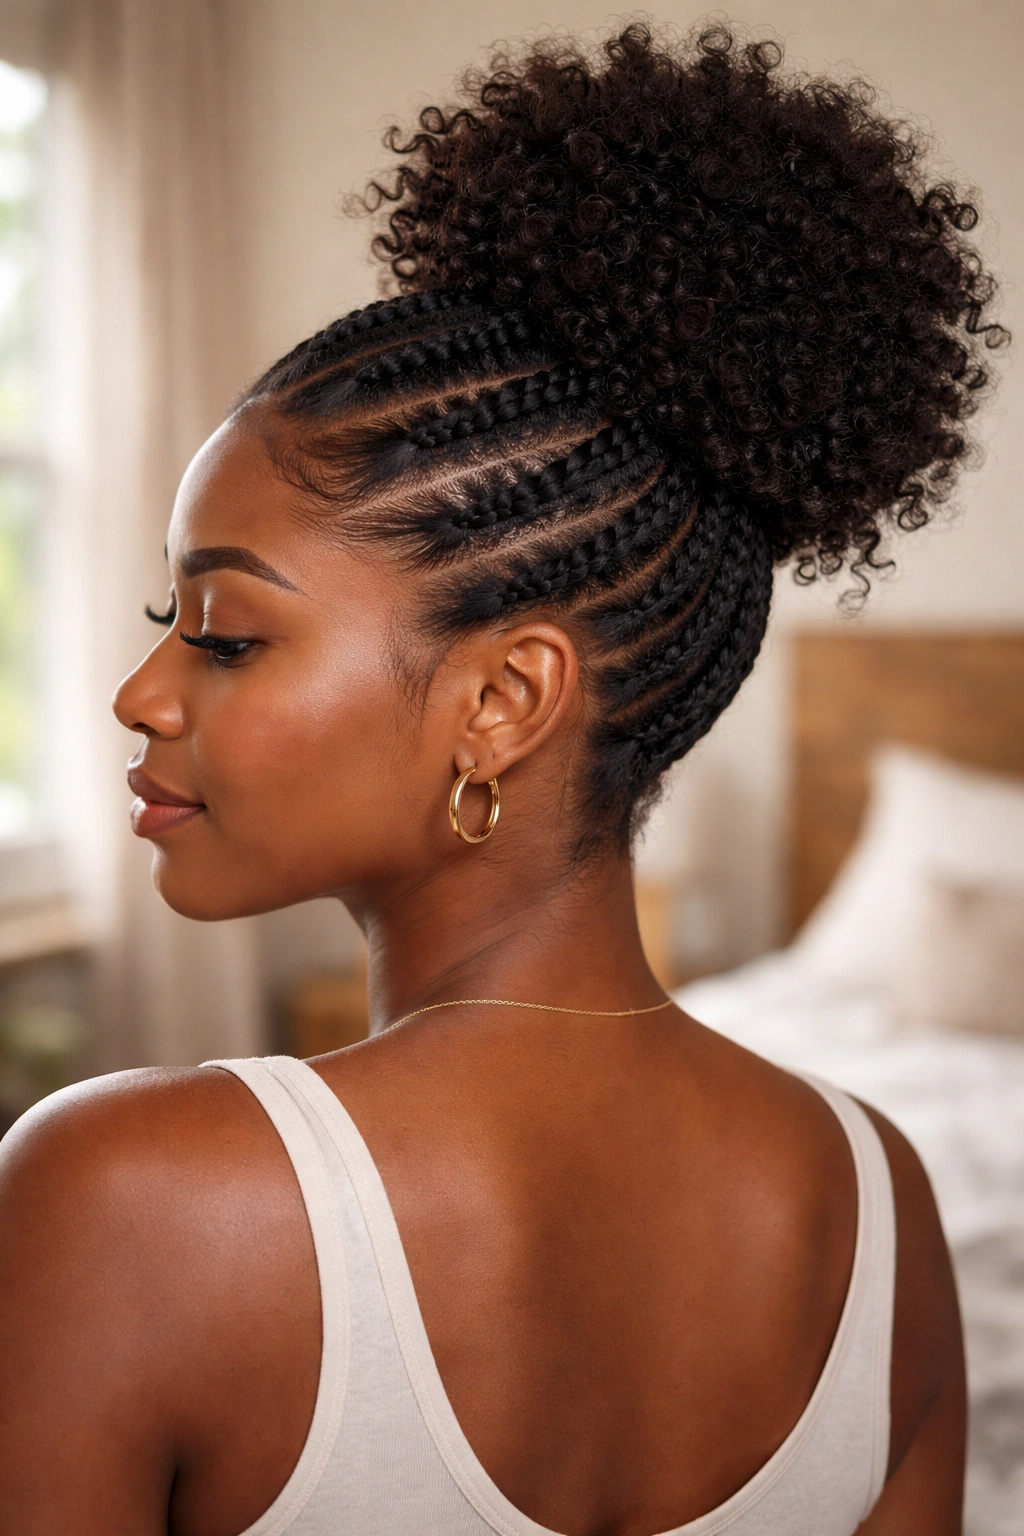
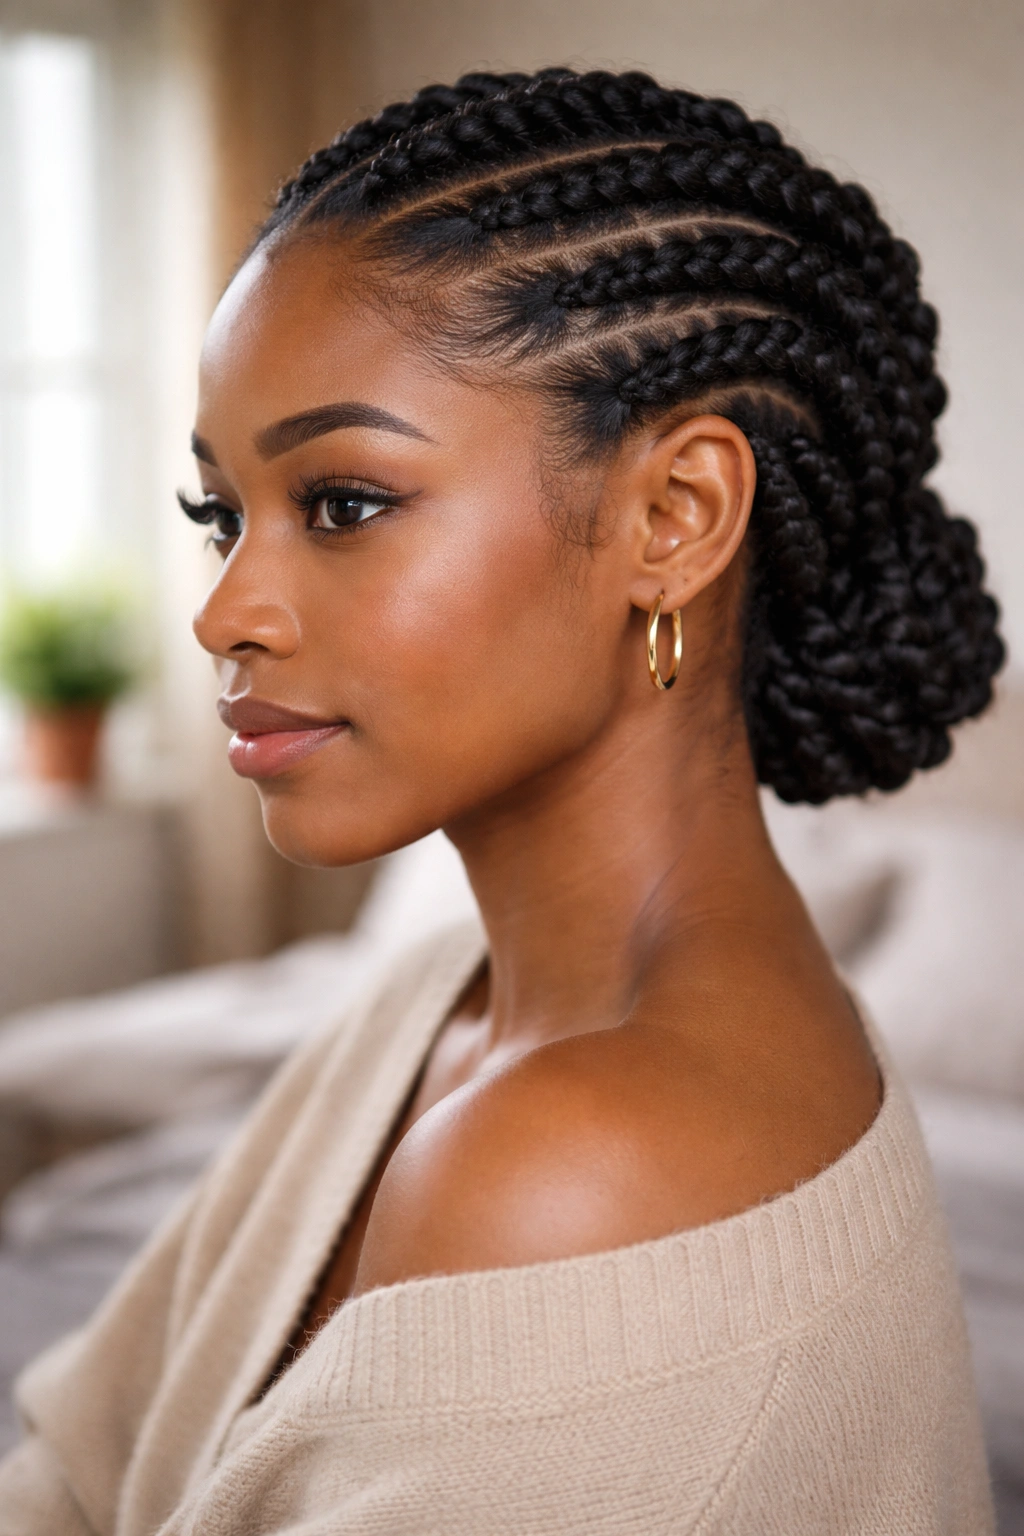
1. Two Flat Twists to the Back
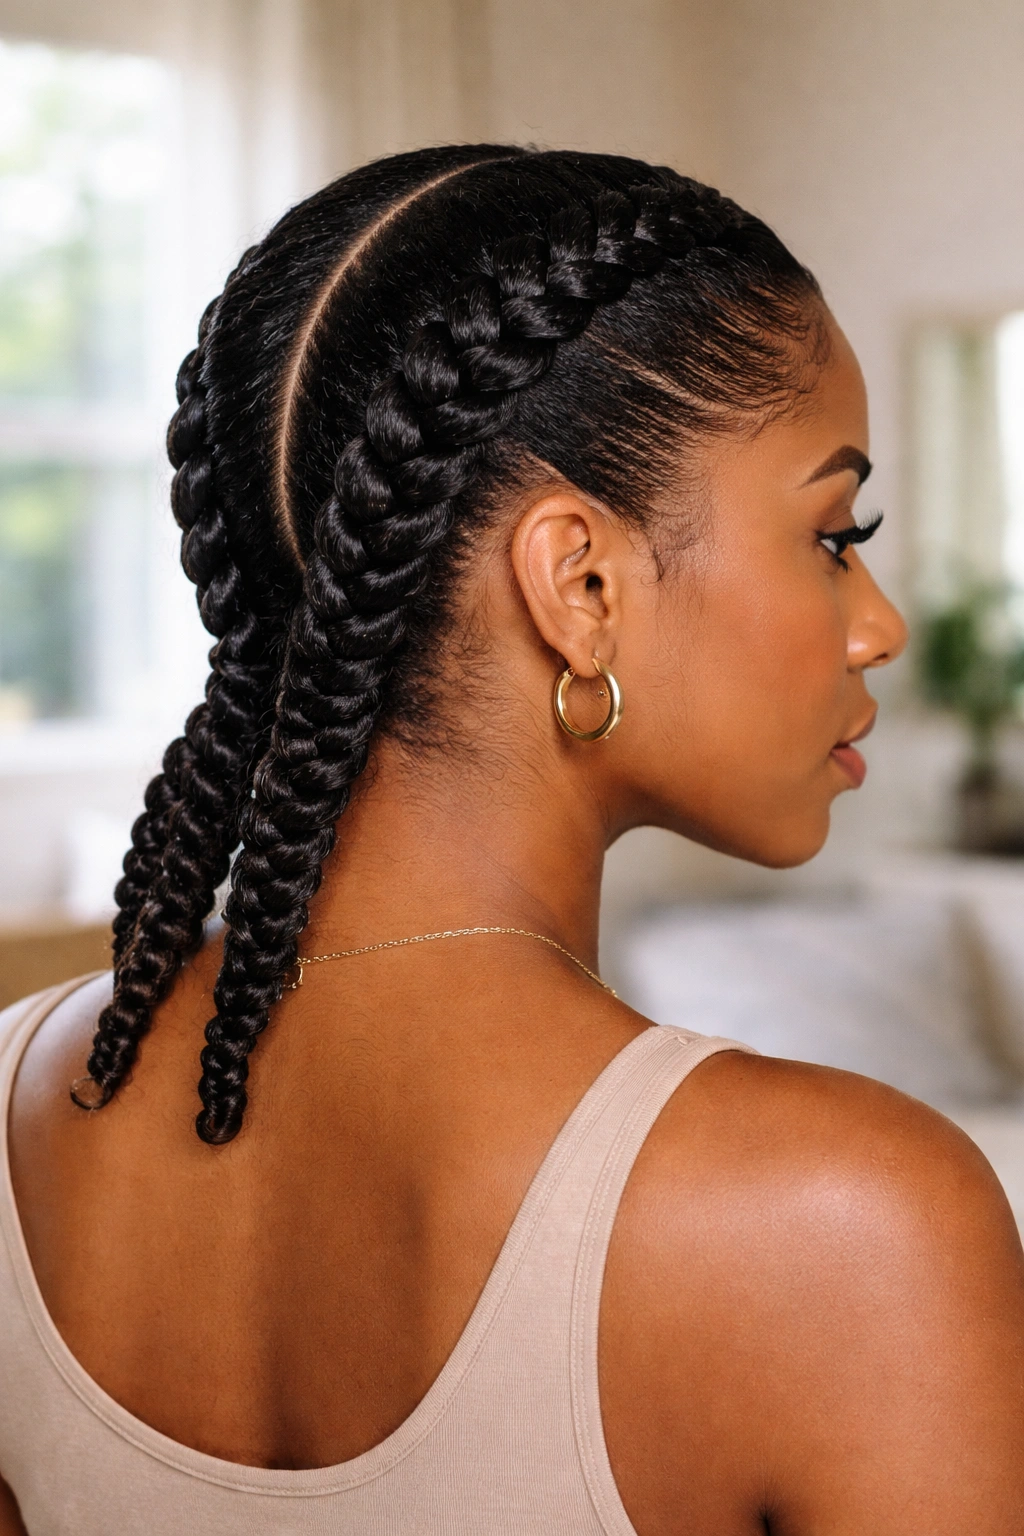
The simplest possible flat twist style. Part down the middle, two large twists running straight back from your forehead to the nape. Total time: 15 minutes.
Why It Works
Two flat twists are the baseline. They look clean, finish fast, and set up a gorgeous twist-out for the next day. I do these on Sundays as both a weeknight hair solution and a prep step for Monday’s twist-out.
- Section: one clean center part
- Twist direction: start at the hairline, work toward the back
- Finishing: small elastic at the nape, or a bobby-pinned curl at the end
- Wear time: 2 to 3 days as a style
Tip from experience: A pretty fabric headband at the front dresses these twists up instantly. Without the headband, they’re weeknight. With it, they’re weekend dinner.
2. Four Flat Twists with Side Part
Instead of a center part, create a deep side part — maybe an inch and a half from your temple — and do four flat twists across the head, angling them all toward the opposite side. Visually it’s more interesting than two twists, and the asymmetric silhouette photographs beautifully.
The side part does all the heavy lifting aesthetically. It shifts the focus off-center, which makes the whole style look more considered.
What I like about four twists is that each twist is thinner, so the twist-out afterward has more definition per strand. More twists equals tighter curls on takedown.
3. Flat Twist Crown
A flat twist crown wraps around the circumference of your head like a halo, with the rest of your hair loose or puffed in the center. It’s one of the most striking flat twist looks and easier to execute than it sounds.
Start at your hairline above your temple. Flat twist along the hairline, feeding in hair as you move around the front, side, back, and around again. When you reach your starting point, tuck the end under the beginning twist and pin.
The center of your head stays free, which you can either style into a puff, leave as a twist-out cloud, or pin into a small bun. Three distinct finishes from one base.
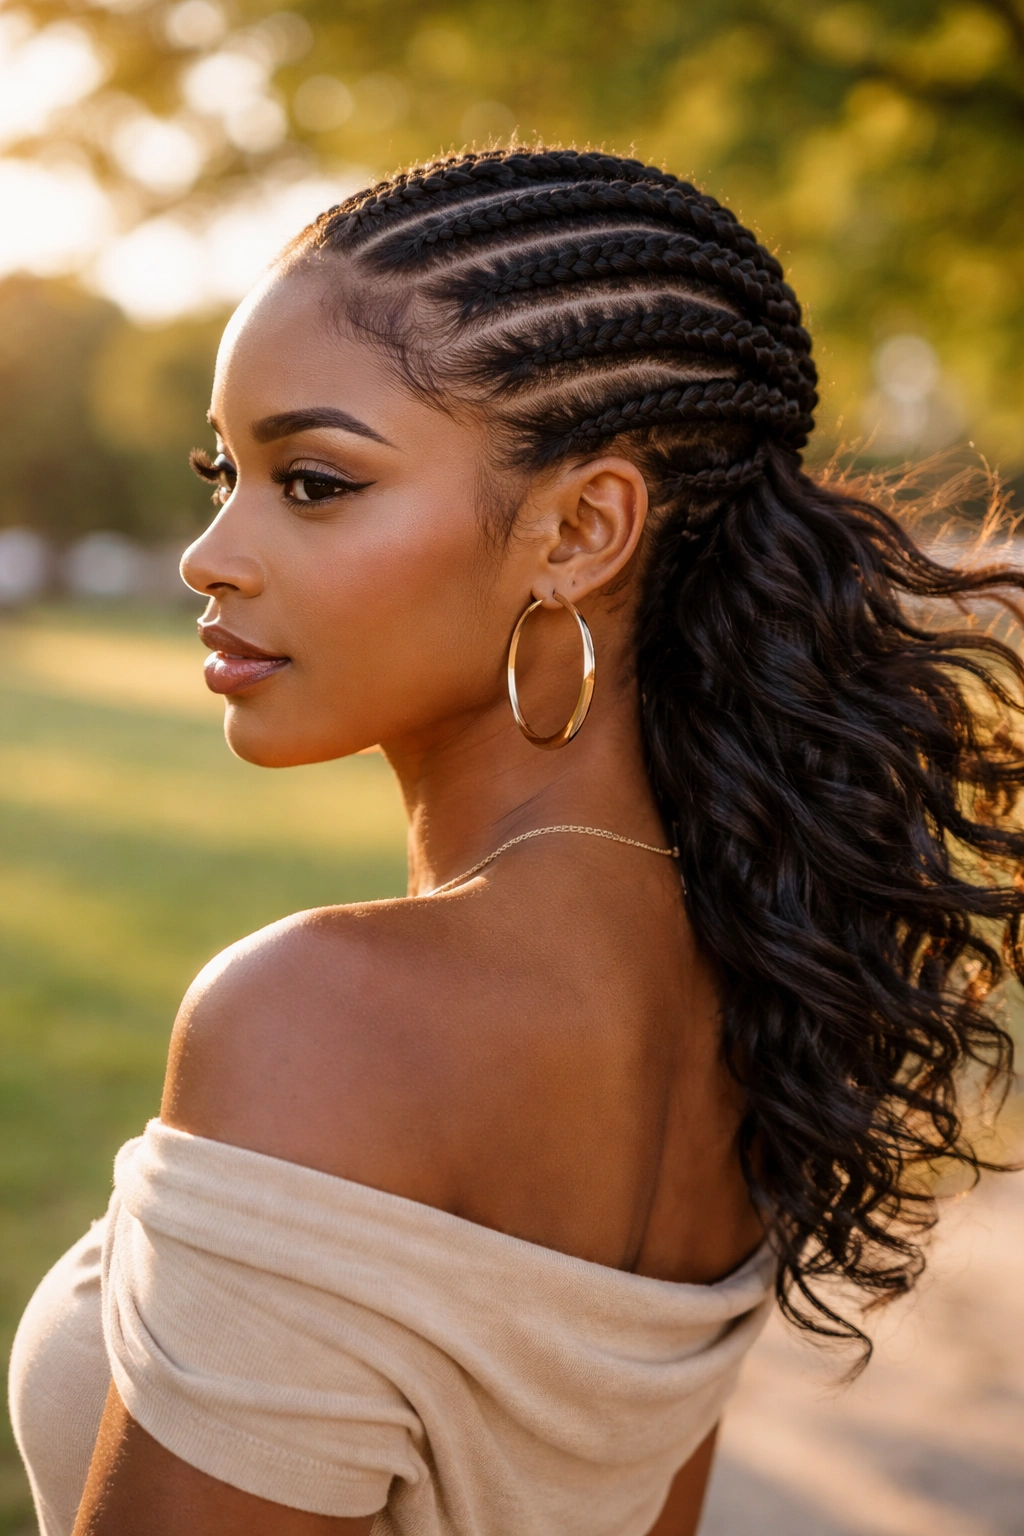
4. Side-Swept Flat Twists
What if you want flat twists but not symmetrical ones? Side-swept flat twists angle everything diagonally from one side of your hairline across your head to the opposite ear. The lines curve gently, giving the style movement.
The technique is the same as straight-back twists, but you orient every section toward the same diagonal endpoint. Part from the temple down to behind the opposite ear in a long diagonal, then part within that into 4 or 5 sections, all angling toward the nape on one side.
This is my favorite flat twist look for events where I want to wear a statement earring on one side. The swept hair clears the ear completely.
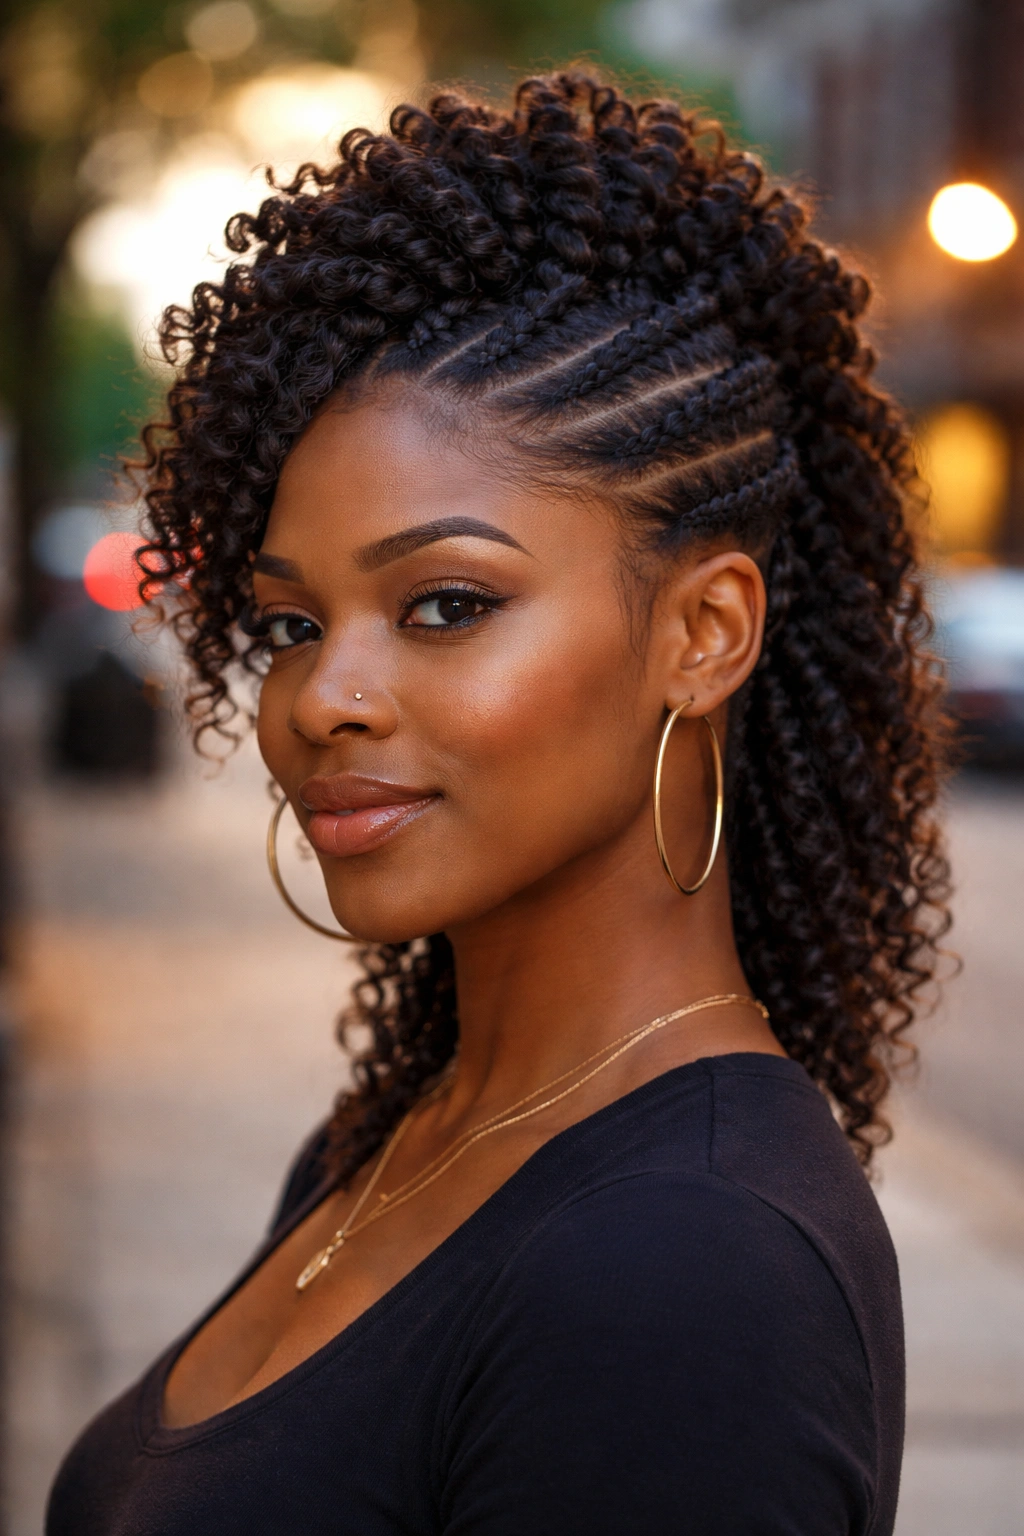
5. Flat Twist Faux Hawk
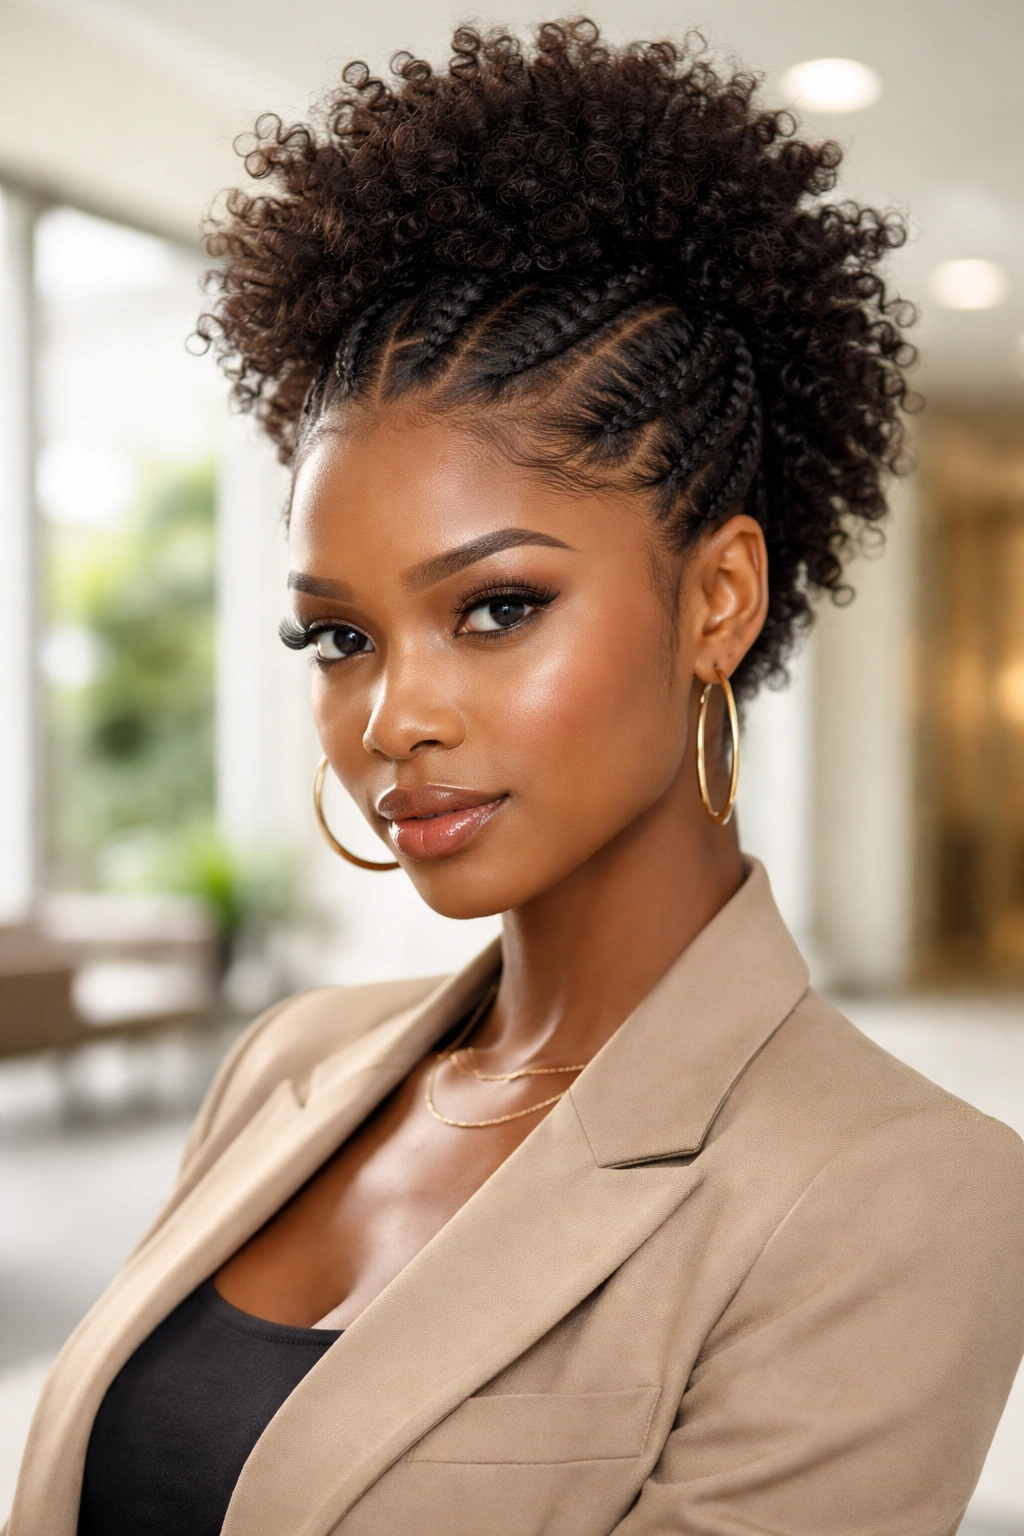
Bold claim: a flat twist faux hawk is the most versatile edgy-but-office-safe style for afro hair. The sides are tight, flat, controlled — the top is voluminous and textured. You can walk into a boardroom or a concert in the same look.
Here’s how it works. Create two deep parts running from your forehead to the nape, leaving a 3-inch wide strip down the middle. Flat twist the side sections toward the back of the head, keeping everything flat. The center strip stays free — style it into a puff, a pompadour of twist-outs, or a rolled quiff pinned high.
The contrast between the flat, sleek sides and the dramatic central volume is what sells the look. Without that contrast, it’s just messy twists. With it, it’s architectural.
6. Flat Twists into a High Puff
Start flat twists at your nape and work them upward toward the crown — the reverse of the usual direction. At the top of your head, pull the twist ends together and secure into a high puff using a hair tie or a scrunchie-elastic combo.
The twists form a neat base, and the puff balloons above them. You get the polished structure of twists with the carefree volume of a puff on top.
This works best on hair that’s at least 4 inches stretched — shorter than that, the puff is too small to balance the twists below it.
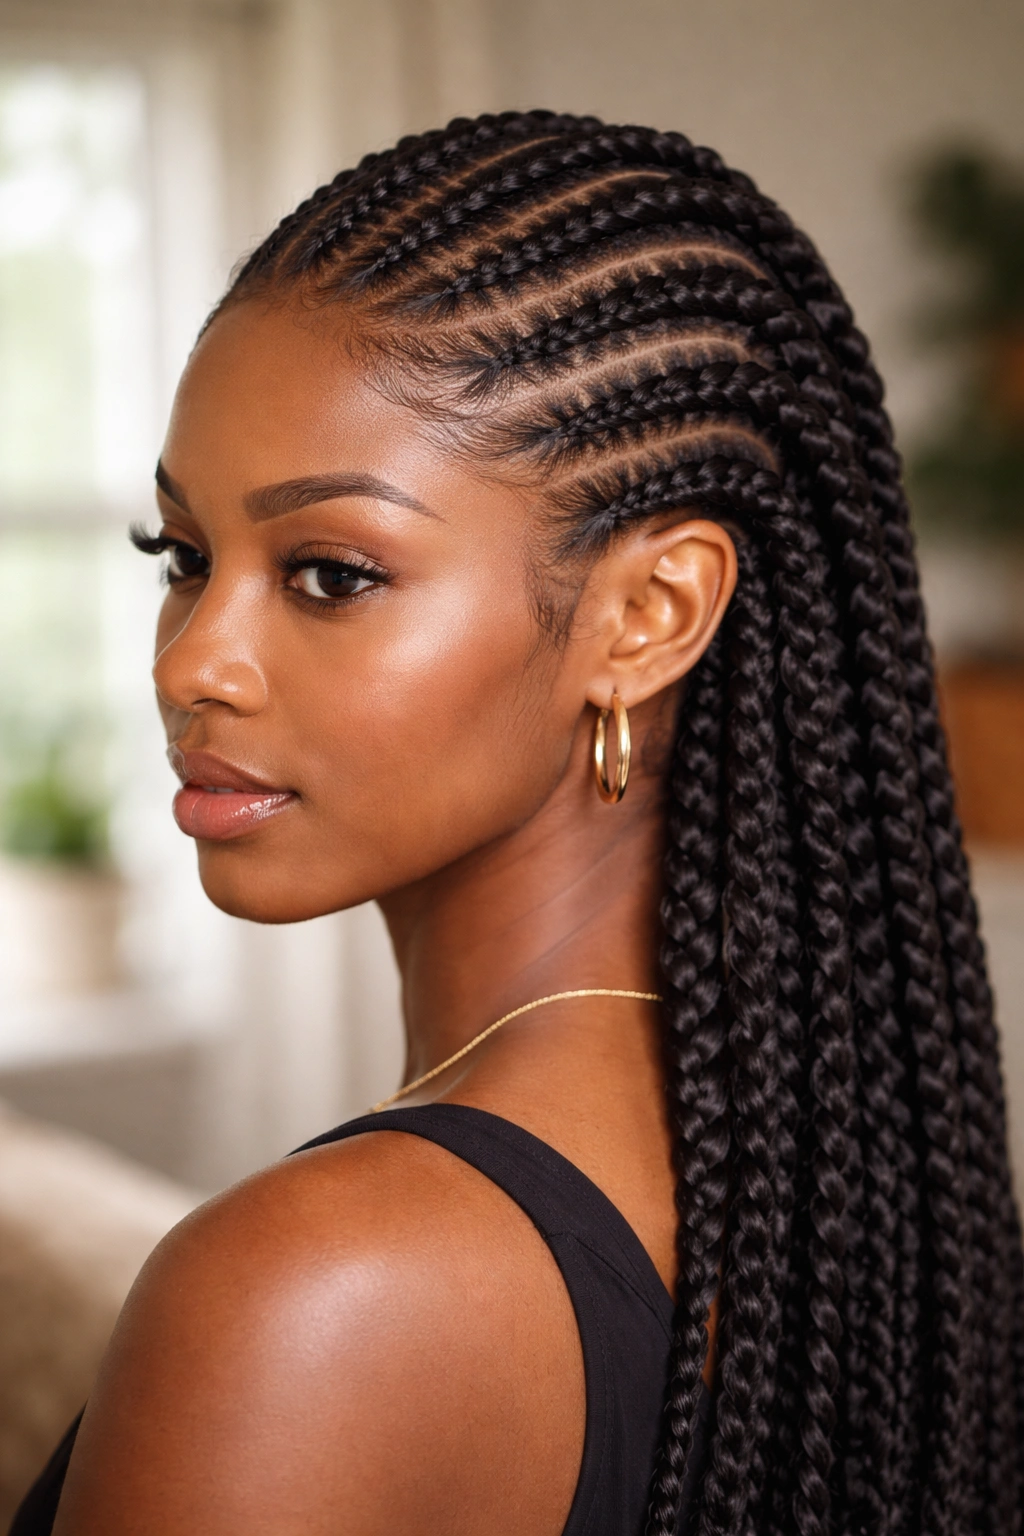
7. Chunky Flat Twists, 6 Total
Six thick flat twists in straight rows from front to back. Not twelve, not four — six. The number matters because six is the sweet spot where each twist is substantial enough to have visual weight but you still have enough sections to look like a deliberate style rather than a rushed job.
I wear these with gold hair cuffs, one on each twist, sitting a few inches up from the nape. The cuffs catch light and turn a basic protective style into something that feels intentional and finished.
8. Heart-Shaped Flat Twist Part
Unlike traditional straight parts, a heart-shaped flat twist part carves a heart into the front hairline using the part lines themselves. The twists then extend back from the heart into two sections — one flowing from each lobe of the heart.
It sounds complicated. In practice, it’s just careful parting. Use a rat-tail comb to trace the heart shape on your hairline, then twist the sections back.
Who this is for: people who love a playful element in their styling. Weddings, photoshoots, anniversary dinners. It’s a style that says you thought about it.
9. Flat Twist and Braid Combo
Mix flat twists and three-strand braids in alternating rows. Three flat twists, two braids, three flat twists — or any ratio you want. The visual texture shifts between rows, creating a woven look that’s more complex than either technique alone.
This took me a few tries to get right. The key is keeping the braids and twists roughly the same thickness so the rows blend instead of competing. A chunky braid next to a tiny flat twist looks mismatched.
Wear time is around 2 weeks with decent maintenance, which is longer than plain flat twists because the braids anchor the whole style.
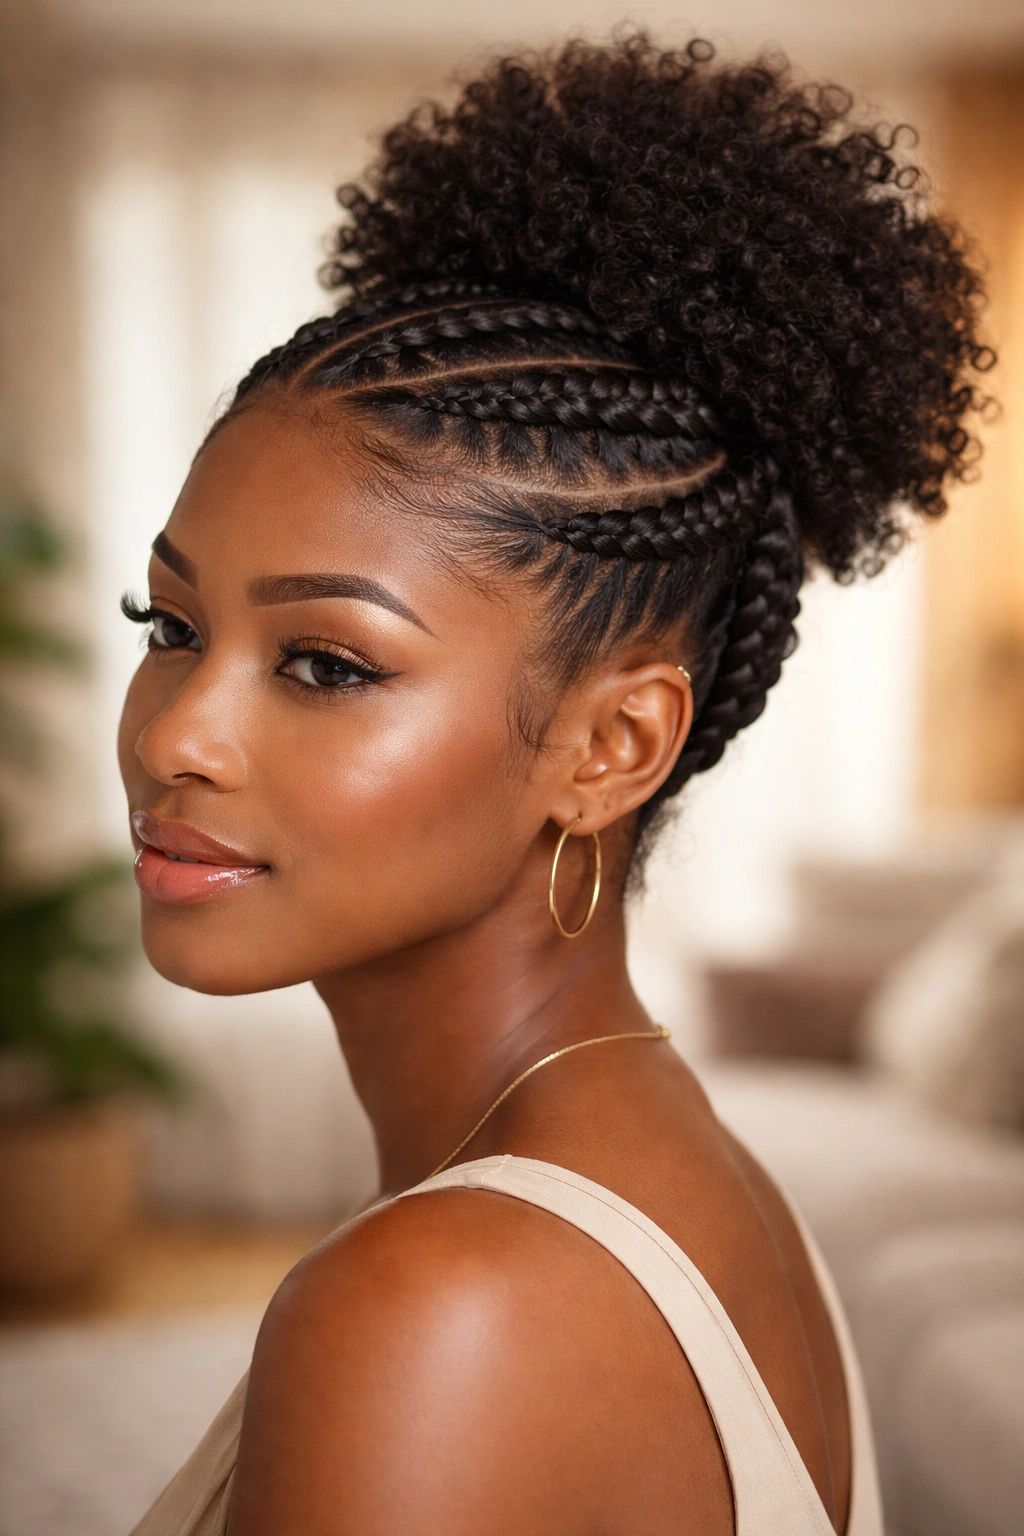
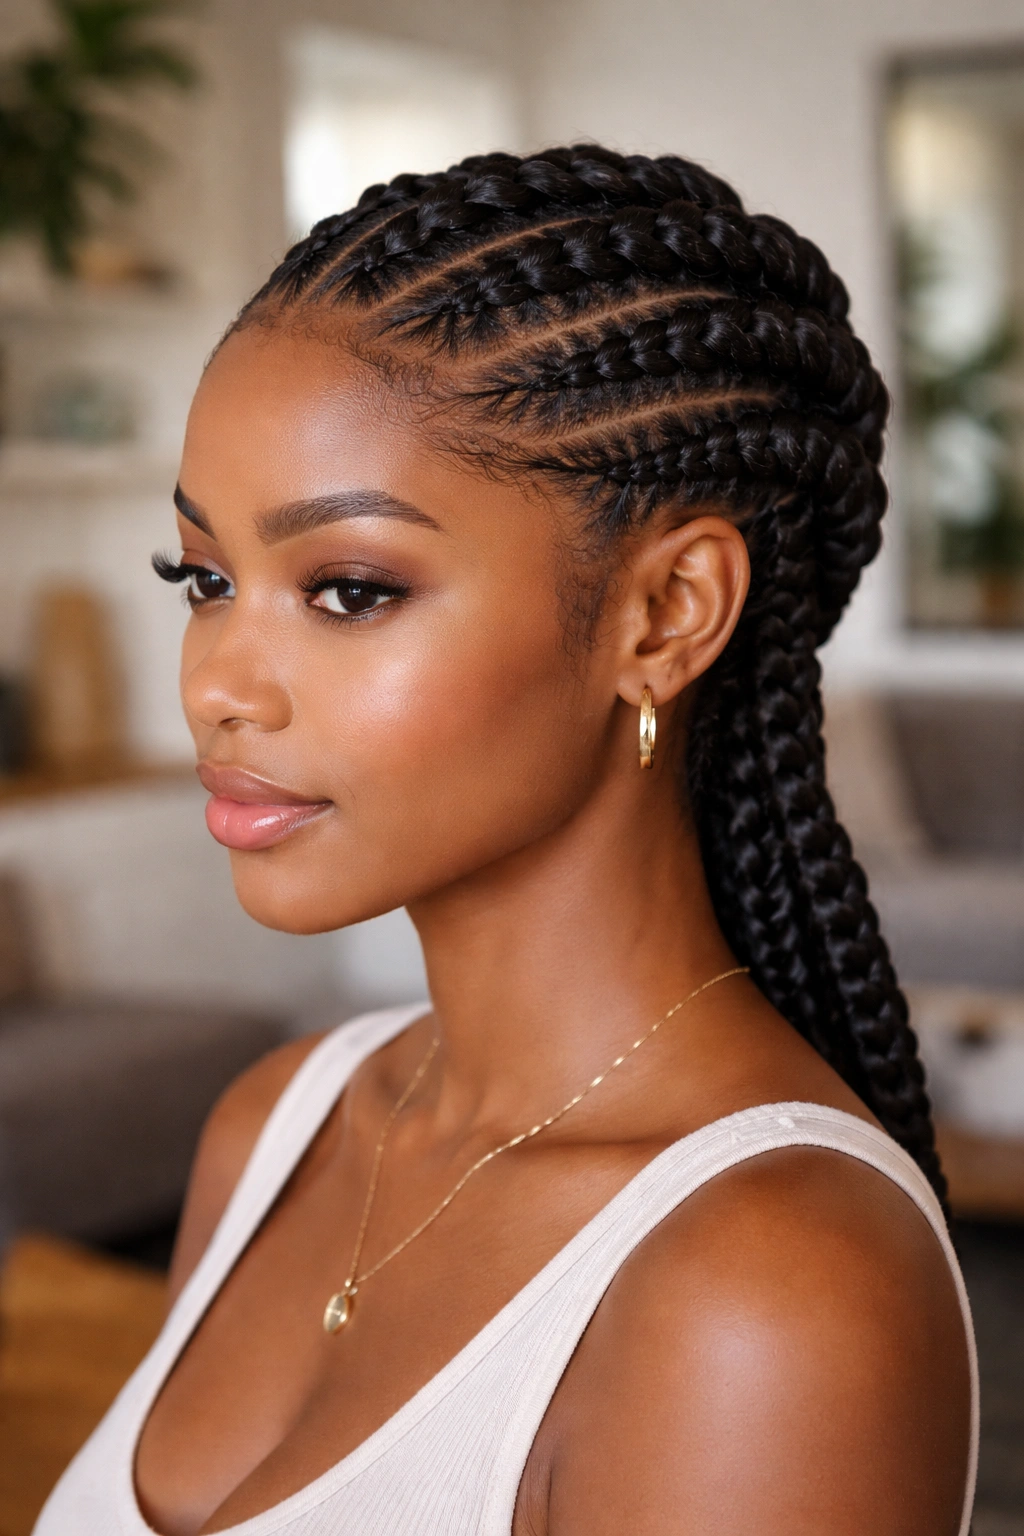
10. Flat Twist Ponytail
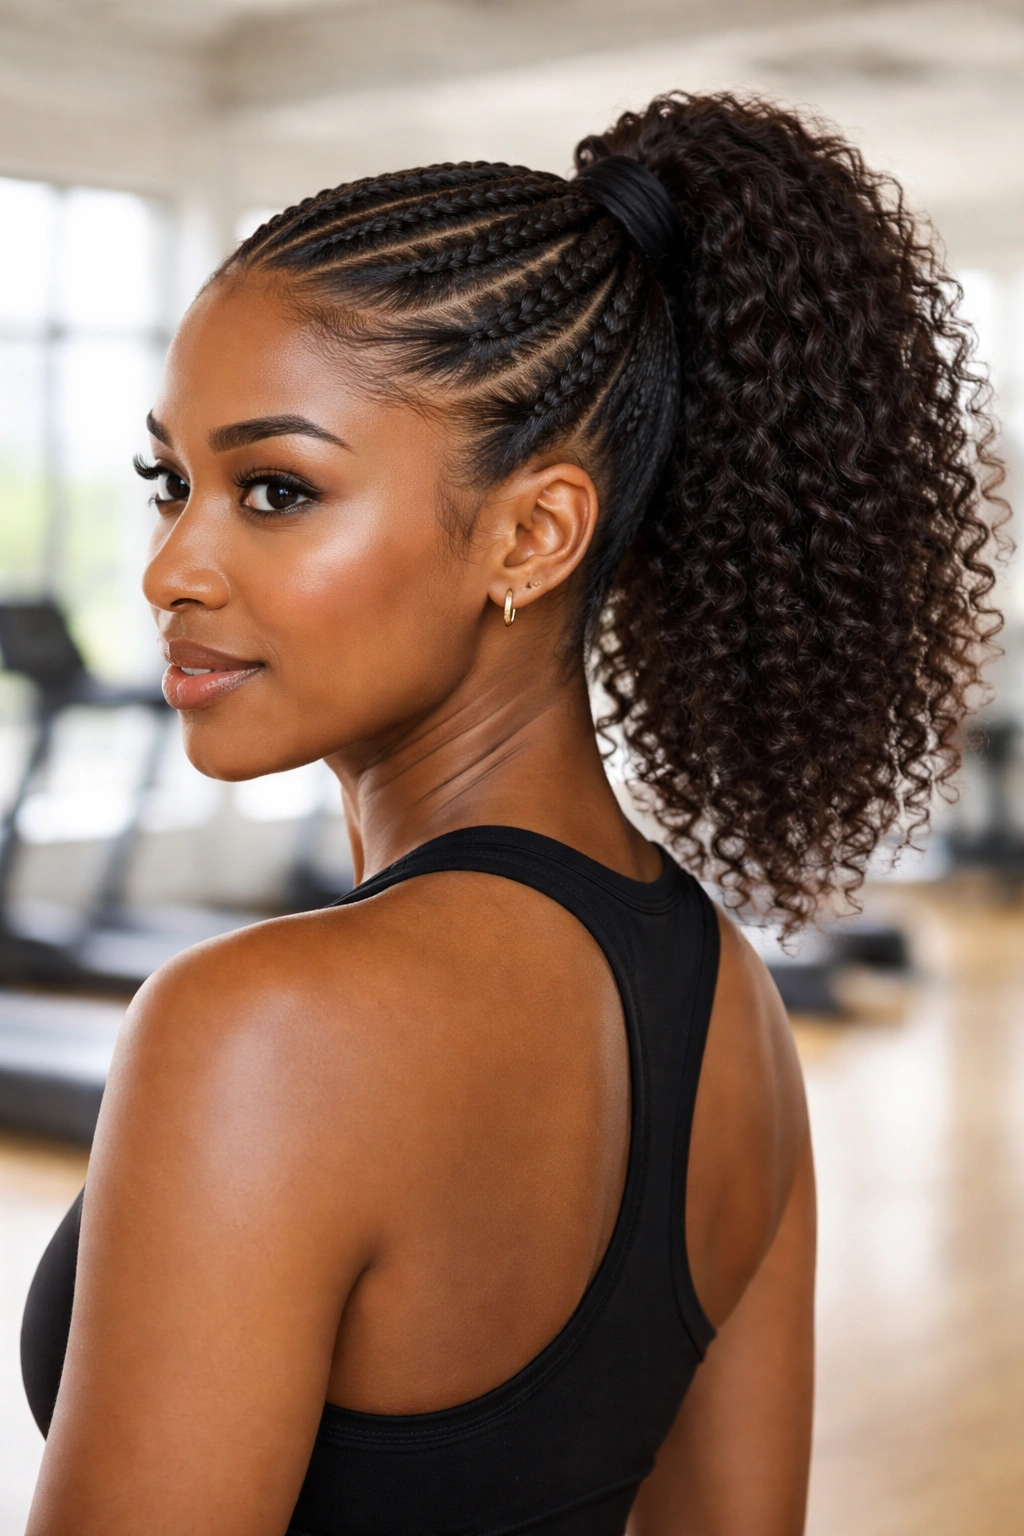
Flat twist everything back from the hairline to a single point at the crown, then release the ends into a high ponytail. The twists create a sleek, flat base that looks intentional, while the ponytail gives you length and movement.
A scenario for this: a workout class where you want your hair completely off your face but you also want to look good walking in. Standard high pony without the twist base just looks like gym hair. With the twist base, it looks like a style.
The transition point is critical. Where the twists end and the pony begins, the hair should gather cleanly into the elastic with no loose strands fanning out. Smooth any loose pieces with a boar bristle brush dipped in gel.
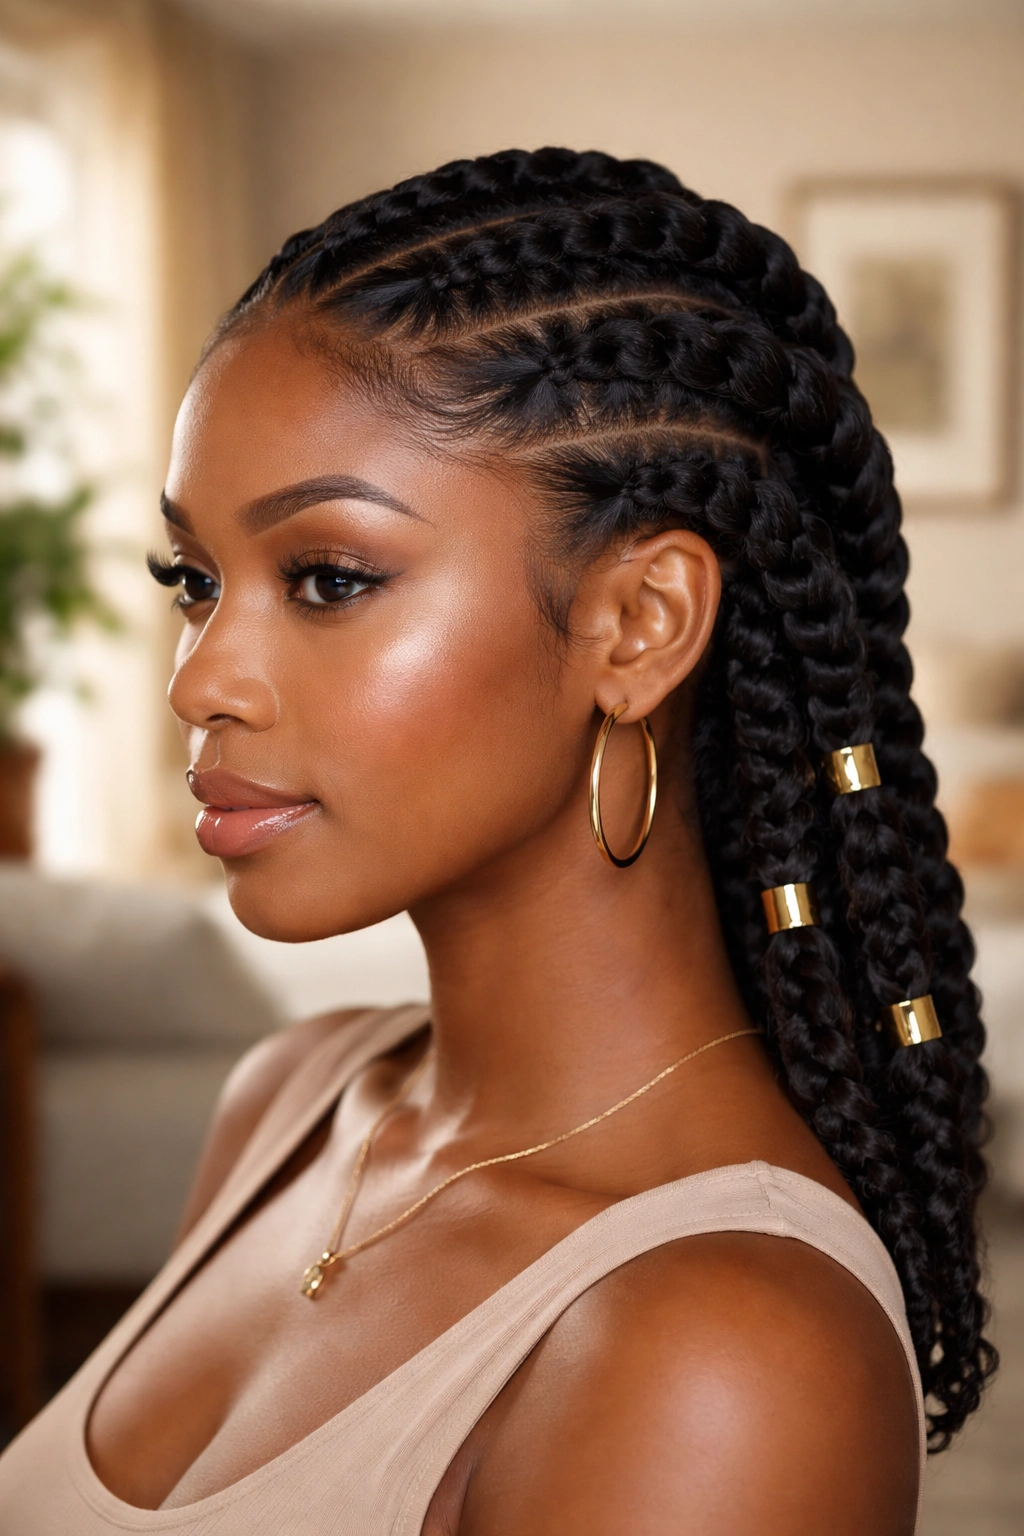
11. Flat Twists with Hair Accessories
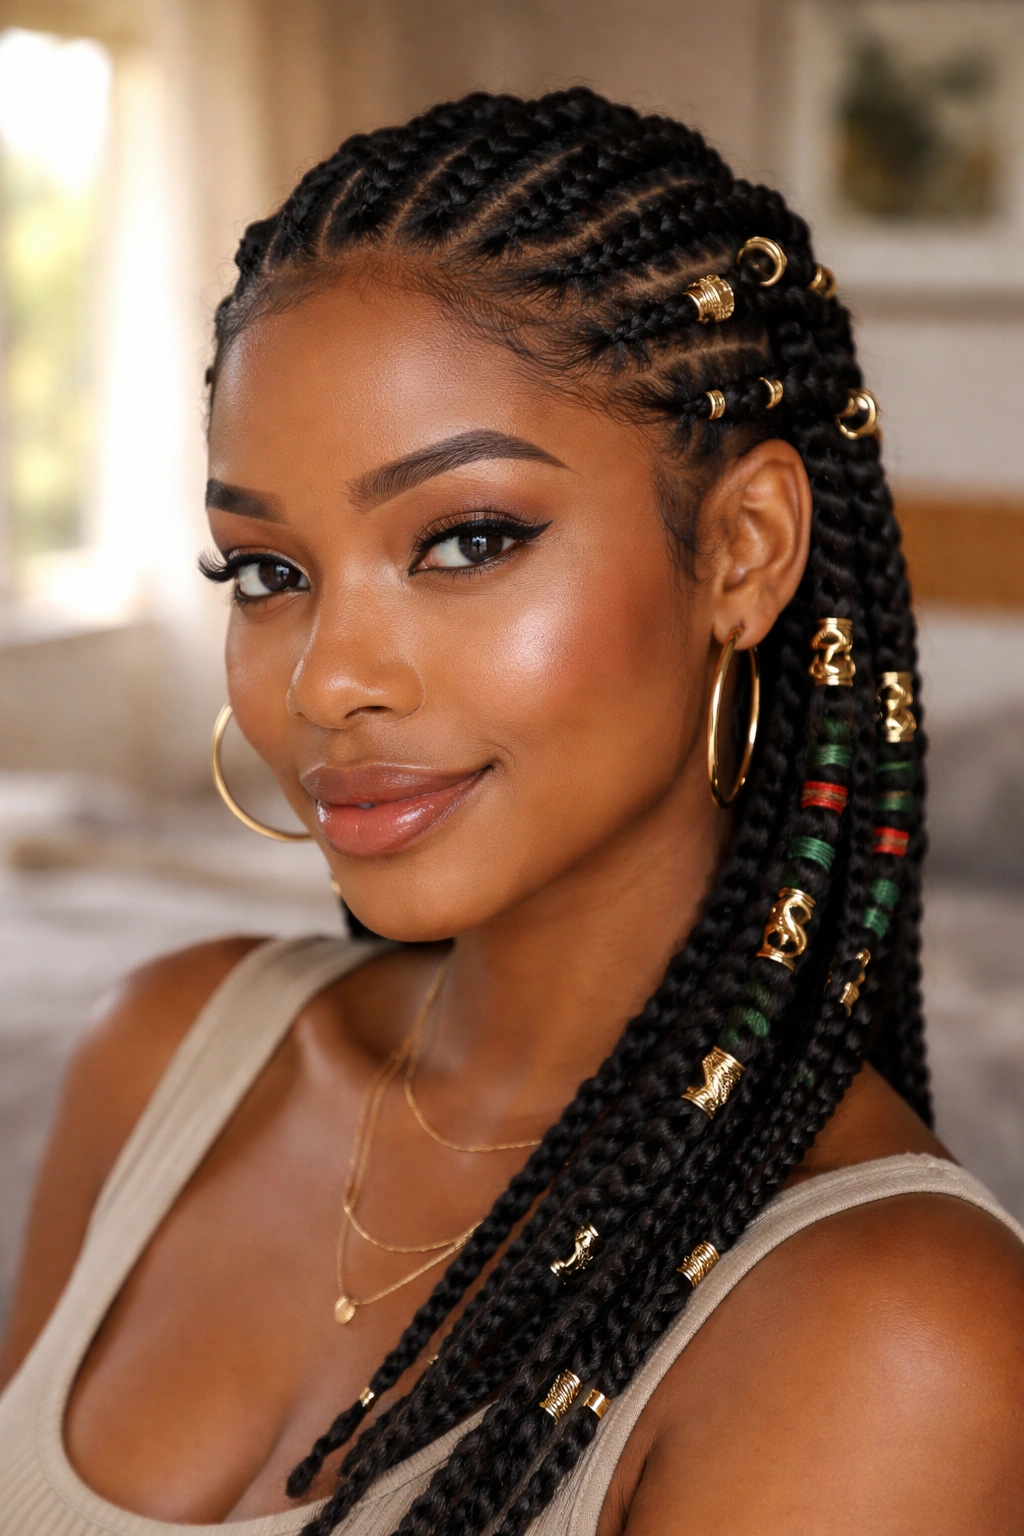
Take basic back-twists and elevate them with accessories — gold cuffs, colored thread wraps, tiny flowers woven through, or decorative pins placed at the ends. The twist technique is the canvas; the accessories are the art.
Thread wraps are my favorite because they’re cheap and infinite in color combinations. Wrap embroidery thread around a section of a twist for an inch or two, tie off, and you have a pop of color that lasts until you take the twist down. Do 3 or 4 per style, different colors, and the look becomes immediately distinctive.
12. Corner-to-Corner Diagonals
Flat twists running from one corner of your hairline diagonally to the opposite corner at the nape. All five or six twists move along the same diagonal, creating a swept, windblown effect that has serious movement.
The geometry is harder than it looks. Your first attempt might end up with crooked or uneven diagonals. Practice on damp hair where mistakes are easy to undo — wet hair holds shape too well for do-overs.
The finished look is asymmetric and dynamic. It looks like the wind is blowing through your hair at all times.
13. Flat Twist Updo with Bun at Back
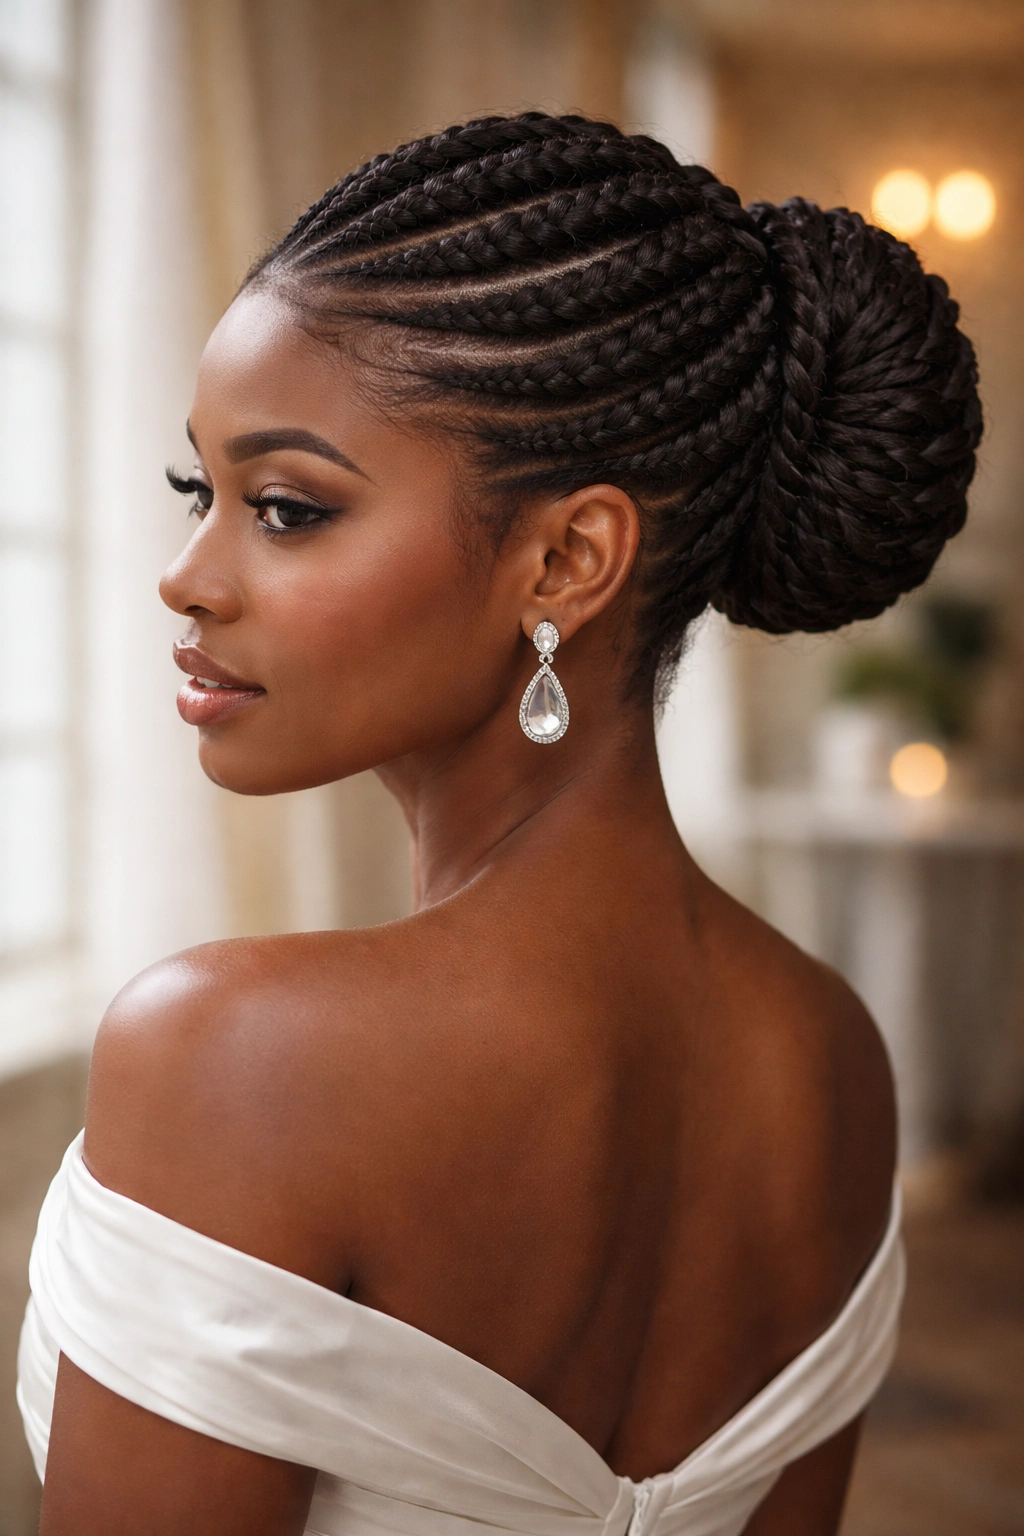
Flat twist your hair from the front and sides back toward a central point at the crown or low back, then gather the ends into a bun. The twists radiate out from the bun like petals, creating a sculptural look that works for weddings, galas, and any event where you want your hair done.
Bun placement matters. A high bun at the crown reads formal and regal. A low bun at the nape reads romantic and soft. A mid-height bun is modern and balanced. Pick based on the event.
Tuck any loose ends into the bun with bobby pins. The goal is a smooth, continuous surface from hairline to bun.
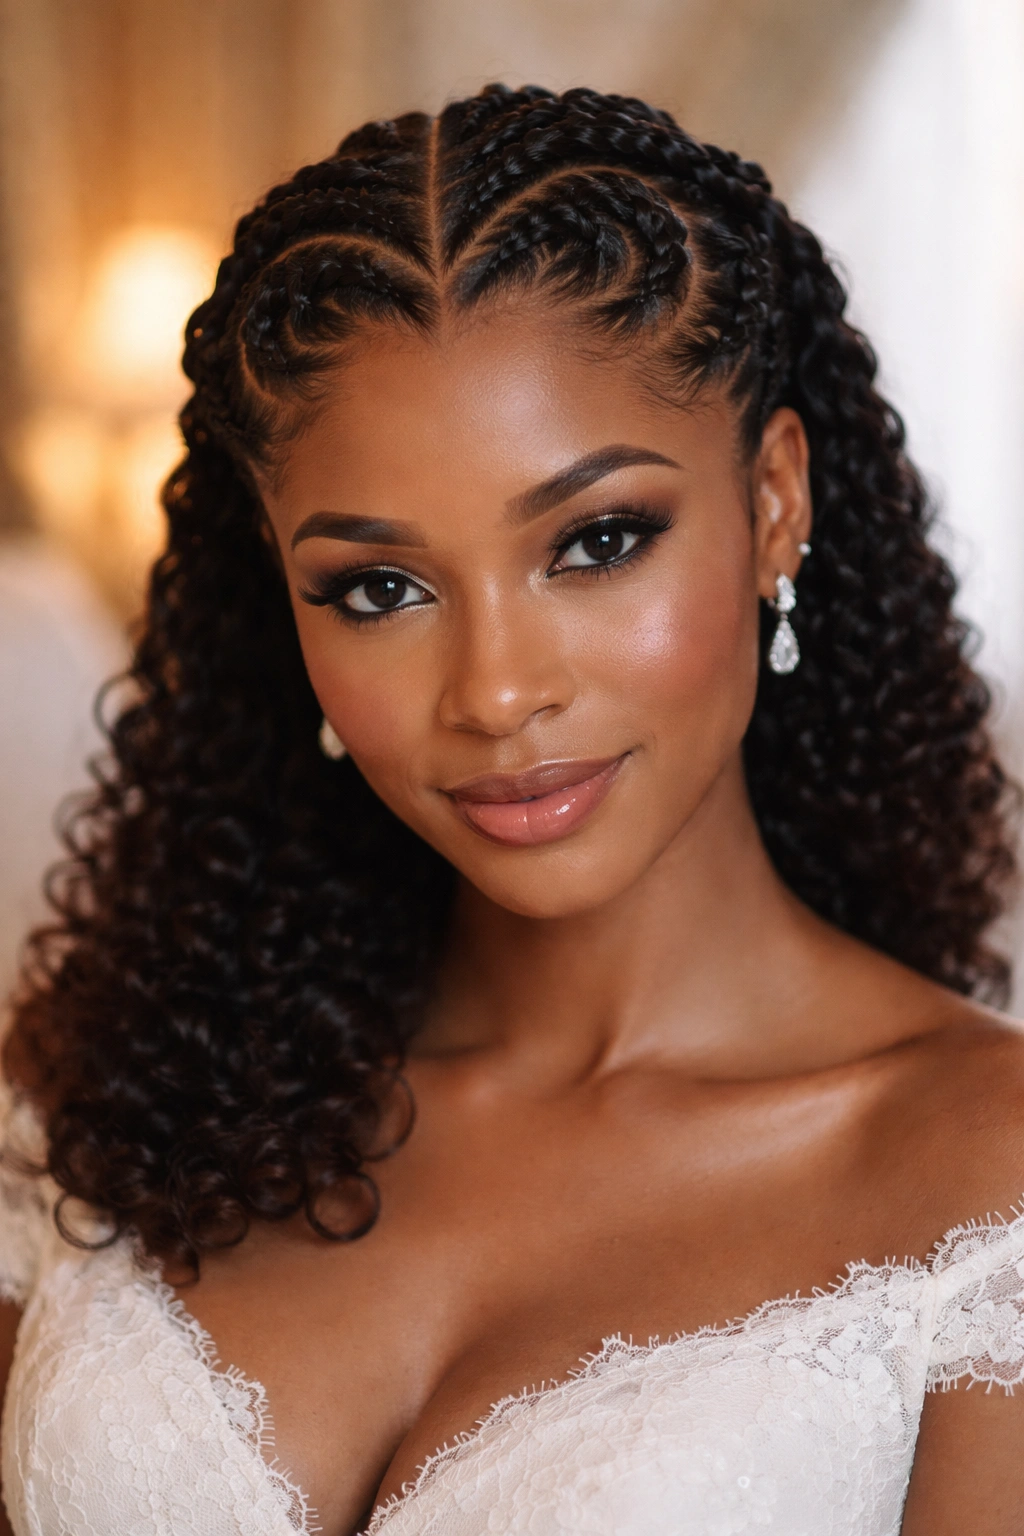
14. Flat Twists with Baby Hair Laid
Basic flat twists can be transformed by well-laid edges. The twists themselves are simple — four or six straight back — but the baby hair becomes the focal point. Swirls, waves, small hearts, geometric patterns along the hairline.
Edge gel matters. A gel that flakes or reverts will ruin the effect by hour three. Use a hold-forward gel (one with polymers for hold), apply with a small boar bristle toothbrush, and set with a silk scarf for 5 minutes before heading out.
The look is classic and endlessly customizable. Same twists, different edges, entirely different style every time.
15. Flat Twist Bun, Low and Soft
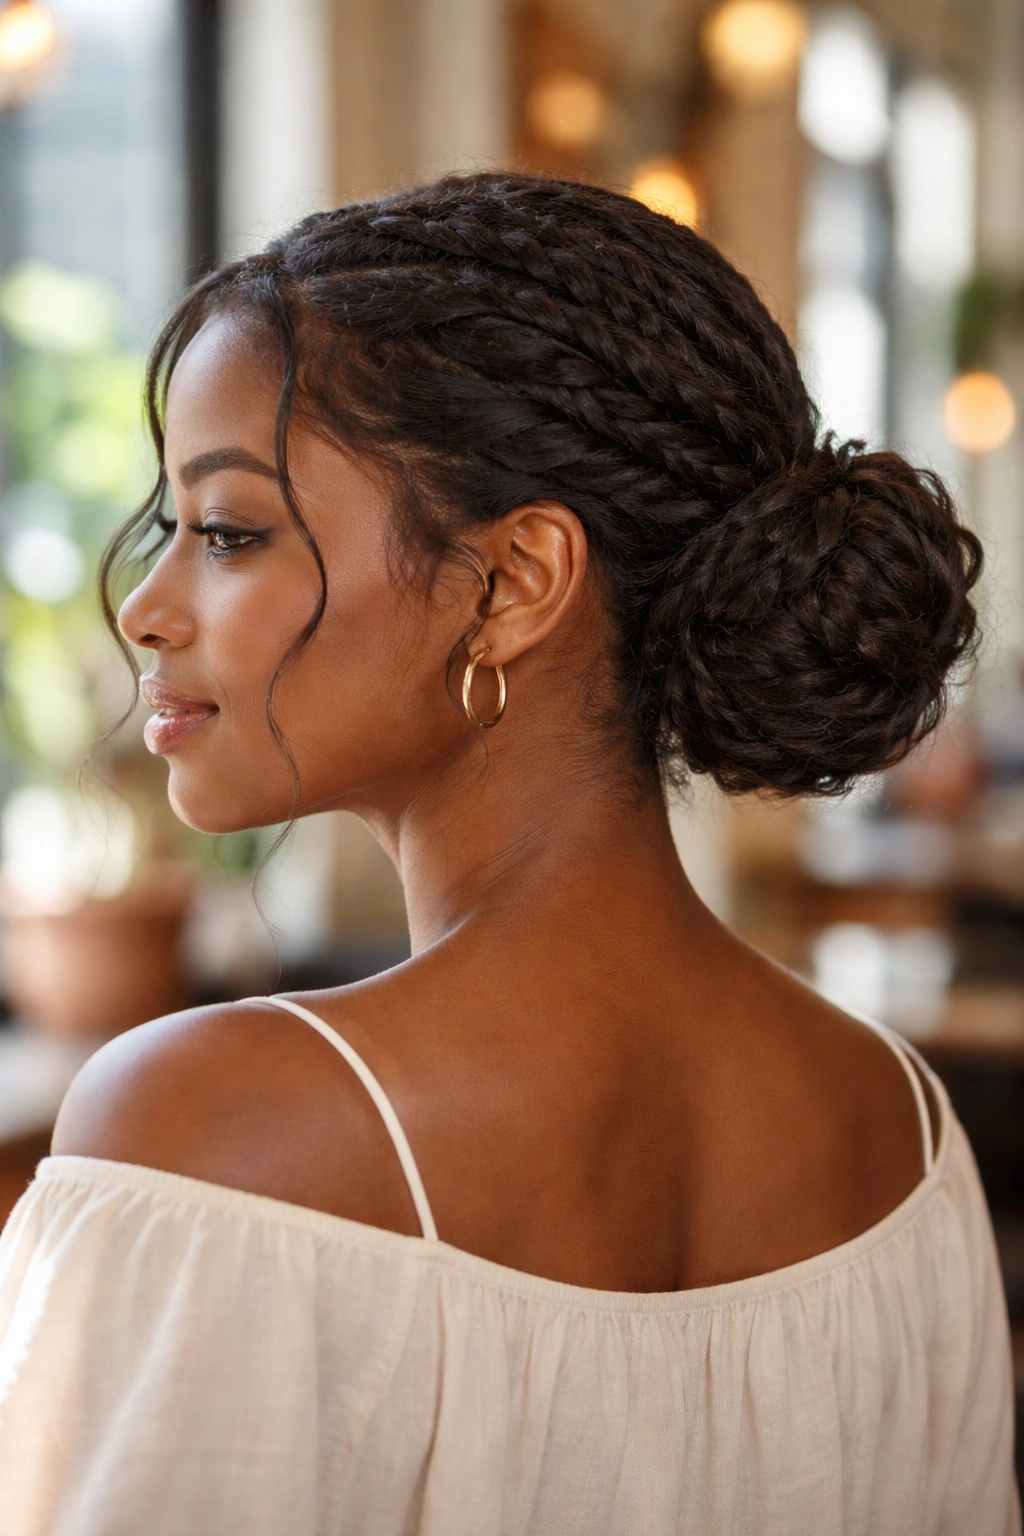
A soft, rounded bun at the nape built from flat twists gathered together. Unlike the sculptural updo from entry 13, this version is deliberately loose — a few pieces pulled out at the hairline for softness, the bun itself slightly tousled rather than sleek.
This is the style I wear to brunch, to low-key dates, and to casual work settings where I want to look put-together but not overdressed. It takes about 25 minutes and looks intentionally undone.
The trick to the “soft” quality is not pulling your twists tight before buning. Gather them gently, pin loosely, and let gravity do some of the shaping.
16. Flat Twists into a Faux Bob
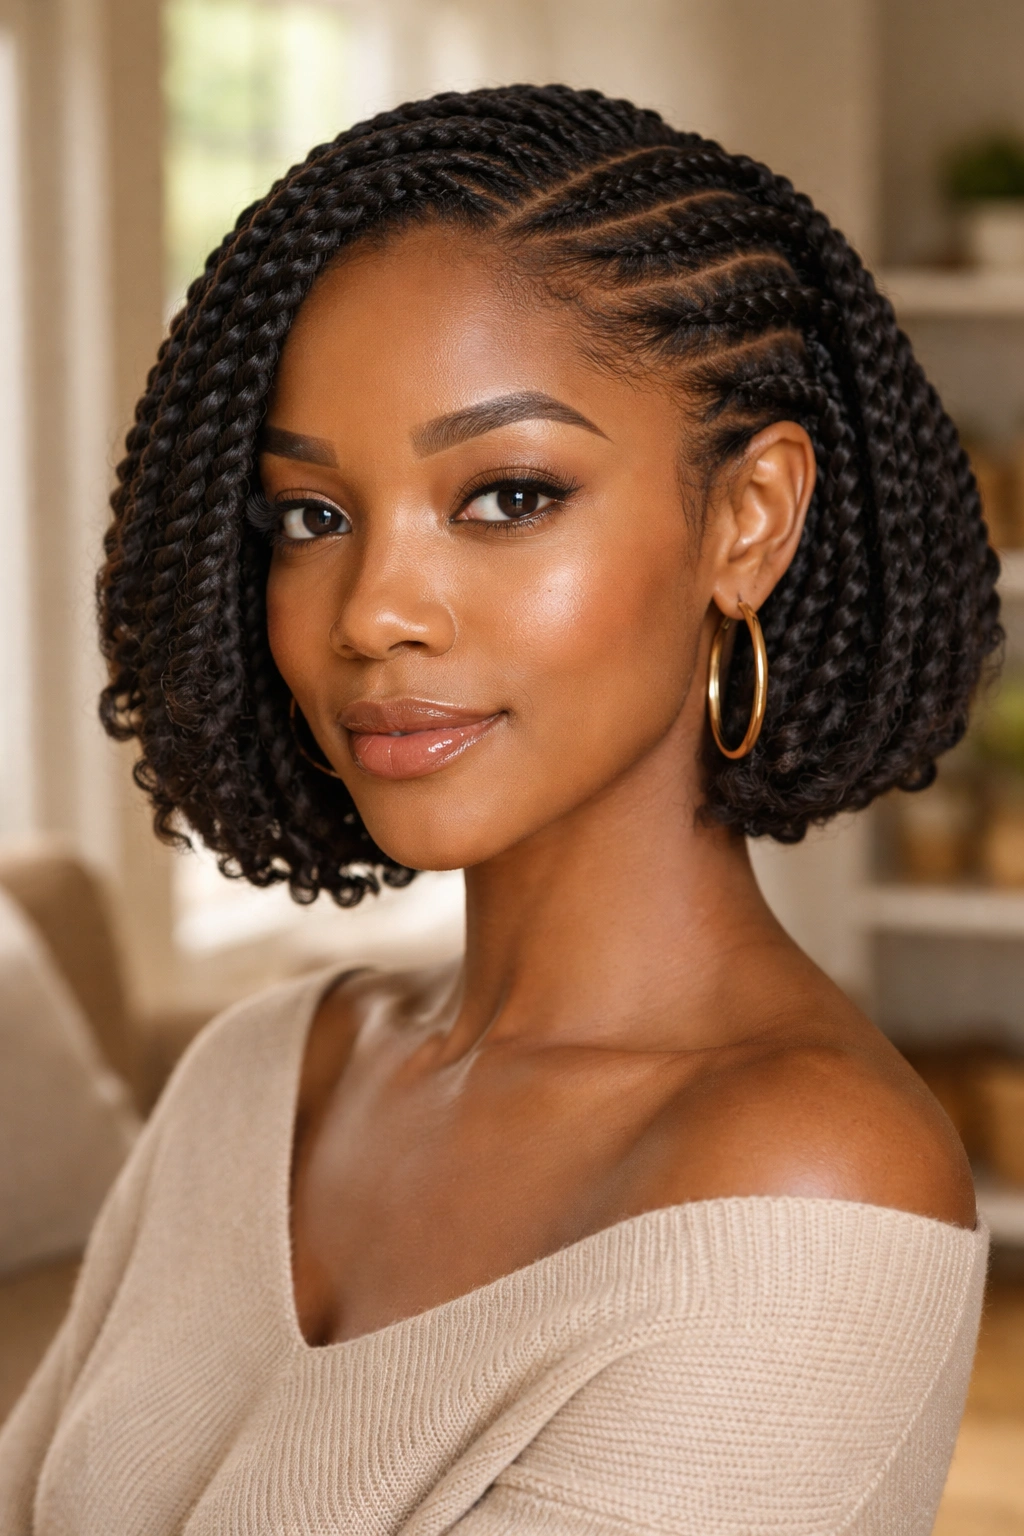
Flat twist your hair backward from the hairline, then tuck the ends under at the nape to create the illusion of a bob. Bobby pins hide the tucked ends. The silhouette reads as a chin-length bob from the front.
This is a brilliant trick for when you want to try a bob without cutting your hair. The twists add structure, the tuck shortens the visual length, and the whole thing lasts about 3 days with satin overnight.
It works on any hair length from shoulder down. Super long hair may need multiple tucks to fit the full length underneath.
17. Flat Twists with Color Streaks
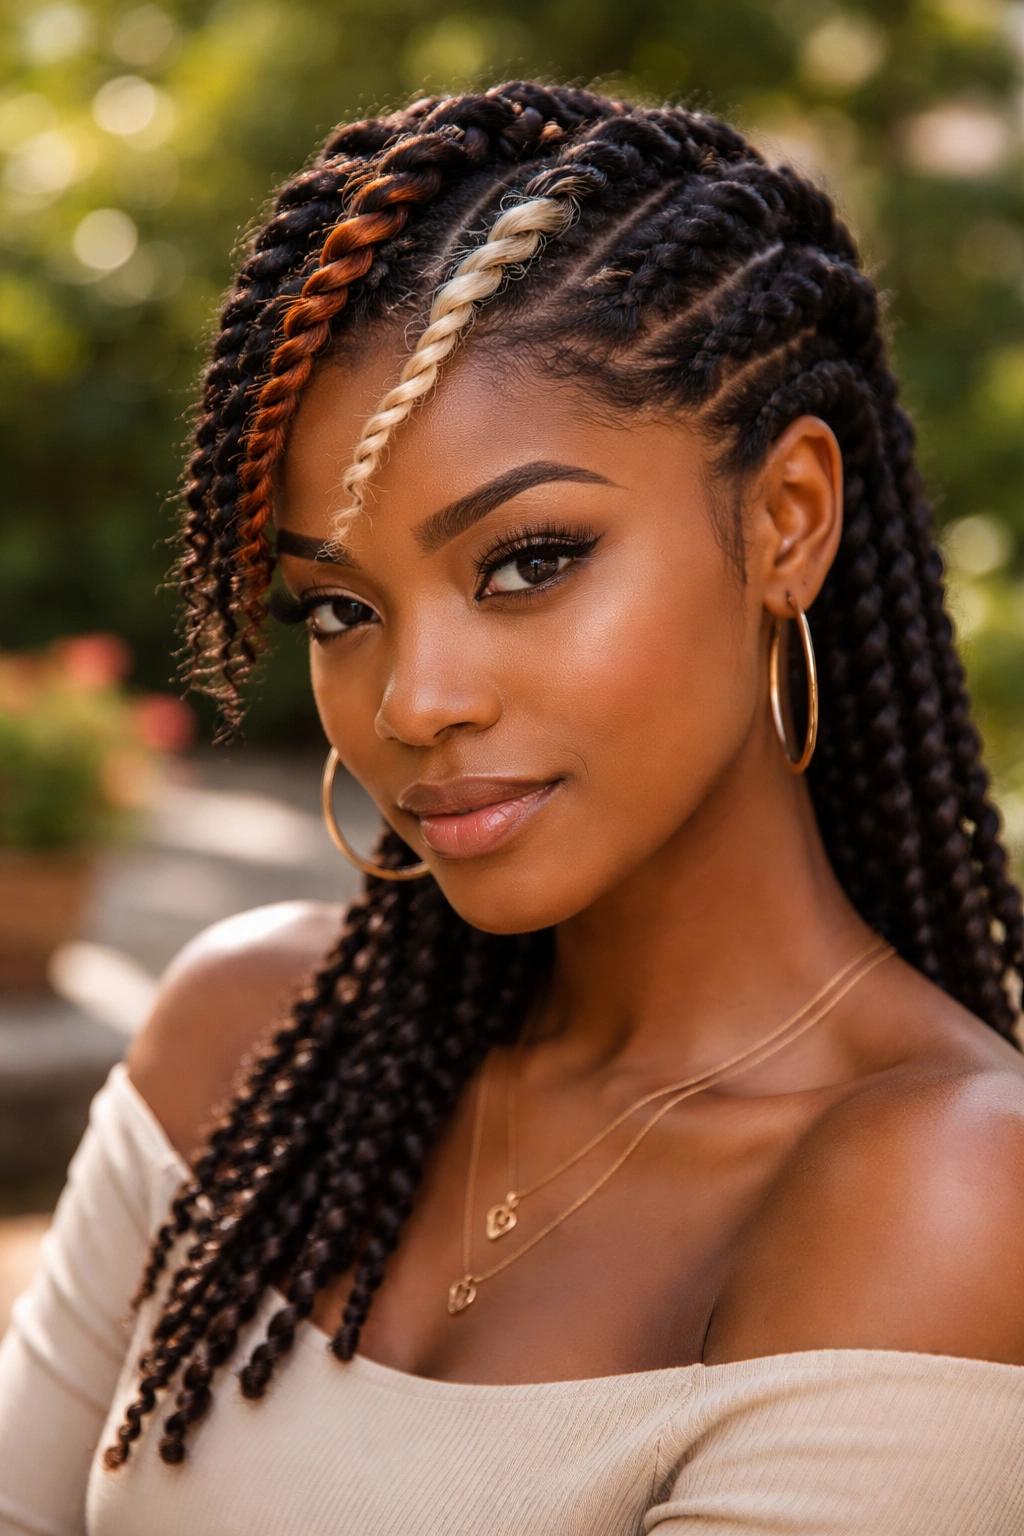
Add temporary color to a few sections before twisting — a bold streak of copper, burgundy, or blonde peeking through the braid pattern. Use temporary color sprays, hair chalks, or clip-in colored extensions to avoid committing to permanent color.
The streaks show most where the twist exposes the scalp side. Choose sections at the front or top where the color will be visible without disrupting the overall line of the style.
My rule is two streaks, max. More than that starts to look chaotic. Two well-placed streaks feel deliberate and edgy.
18. Zigzag-Parted Flat Twists
Instead of a straight center part, use a zigzag part to divide the head. Then flat twist back on either side of the zigzag. The playful geometry of the parting transforms a basic style into a statement look.
Zigzag parting takes patience. Use a rat-tail comb and go slowly — mark the zigzag in 1-inch intervals, alternating left and right shifts with each interval. A messy zigzag looks sloppy. A crisp zigzag looks intentional.
The rest of the style is standard. Same back twists you’d do with a straight part, but the zigzag makes them read entirely differently.
19. Flat Twist Mohawk with Shaved Sides Illusion
Flat twists create the illusion of shaved sides. Tight, tiny flat twists hugging the sides of the head imply a buzz cut beneath, while the center of the head remains long, voluminous, and styled into a twist-out mohawk or pompadour.
No actual shaving required. The flat twists lie so close to the scalp that from a distance, they read as very short hair.
The look is striking and completely reversible — once you take the twists down, your hair is back to full length. A low-commitment way to experiment with the dramatic shaved-sides look.
20. Flat Twist with Cornrow Detail at the Edges
Main body of the style is flat twists across the head. Along the hairline, a single row of tiny cornrows traces the perimeter, creating a textural frame around the face. The contrast between the thicker twists and the thinner cornrows adds detail without complicating the overall look.
The hairline cornrow takes the most skill in this style. It should be clean, tiny, and hug the scalp exactly. If you’re not confident, have a stylist do the cornrow and self-install the flat twists in the interior.
21. Flat Twists in Concentric Circles
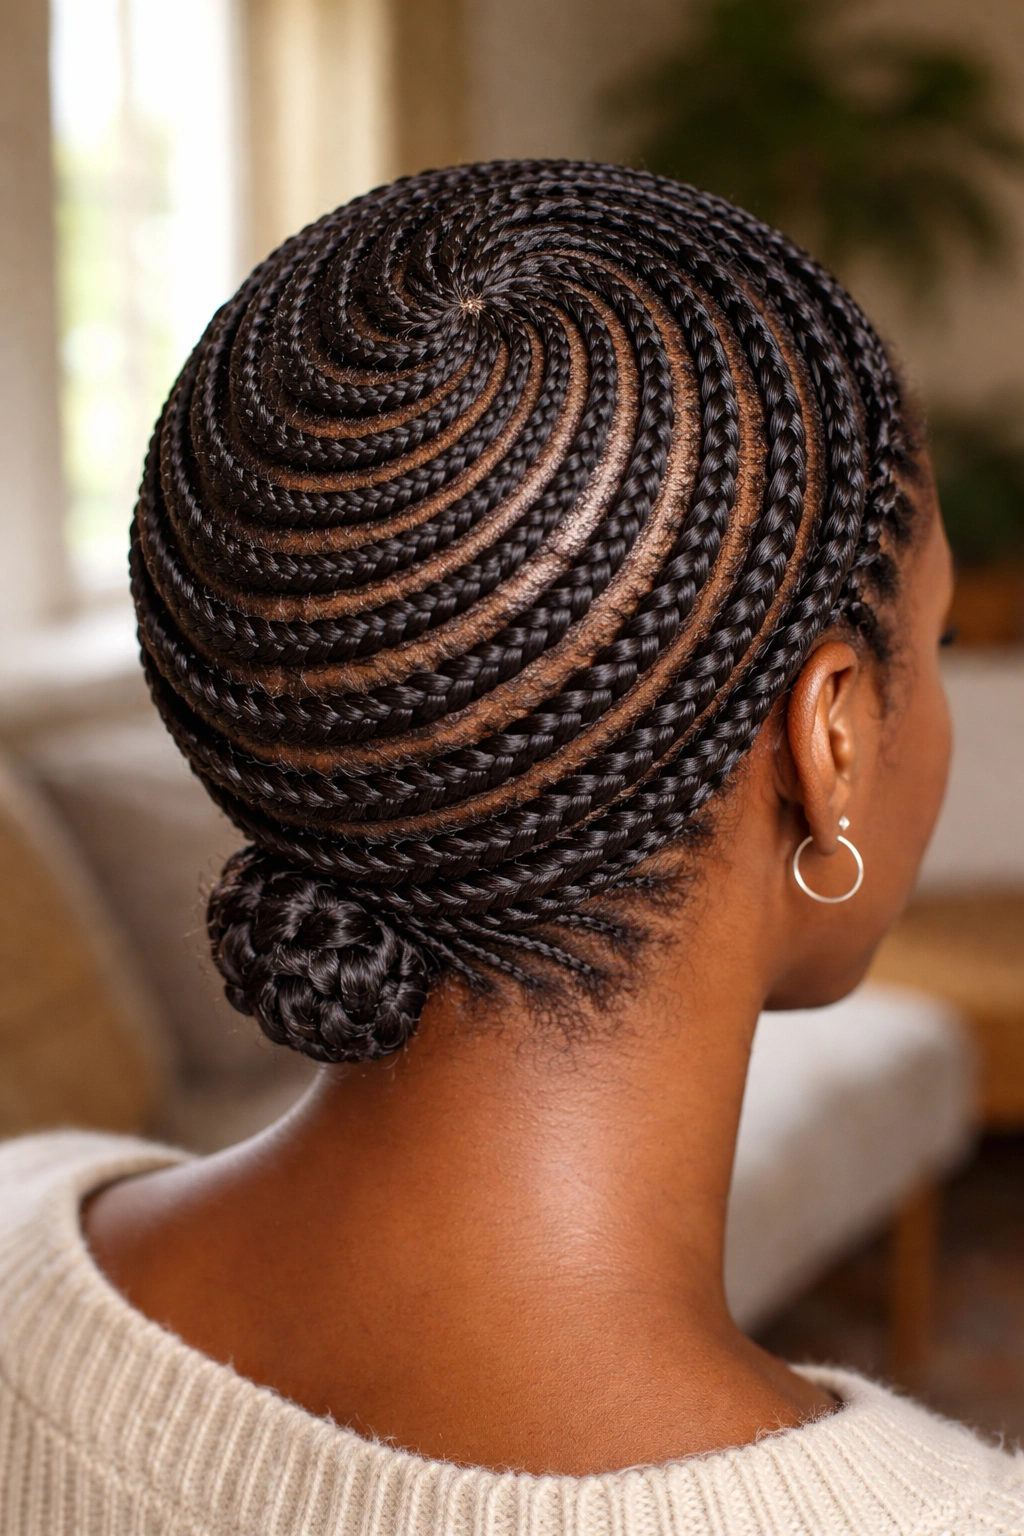
Unlike linear twists, concentric flat twists spiral outward from a center point on the crown of the head. Start at the crown with a small twist, curve it outward, and continue until the twist reaches the hairline. Each subsequent twist follows a wider circle, all orbiting the same center.
This is the most technically challenging flat twist style on the list. Getting the curves even takes practice — ideally with a second mirror so you can see the back of your head.
The payoff is a truly unique look. When executed well, the concentric pattern looks like a sculpted spiral and draws attention from every angle.
22. Flat Twist Pineapple Prep
Do loose, quick flat twists in preparation for a pineapple style the next day. The twists don’t need to be perfect — they’re scaffolding, not the final look. What matters is that you’re stretching and setting your curl pattern overnight while protecting your ends.
Morning of, unravel the twists, finger-fluff, and gather loosely at the top of your head for a pineapple. The flat twist base gives the pineapple a defined, elongated curl pattern at the roots that a plain pineapple can’t achieve.
- Prep time: 15 minutes
- Setup: damp hair, very light product
- Wear time: pineapple lasts 3 to 4 days
- Best for: when you want defined curls without daily manipulation
Tip from experience: Sleep in a satin bonnet with the pineapple tucked inside. It preserves the height of the puff and prevents flattening on one side overnight.
Taking Down Flat Twists Without Frizz
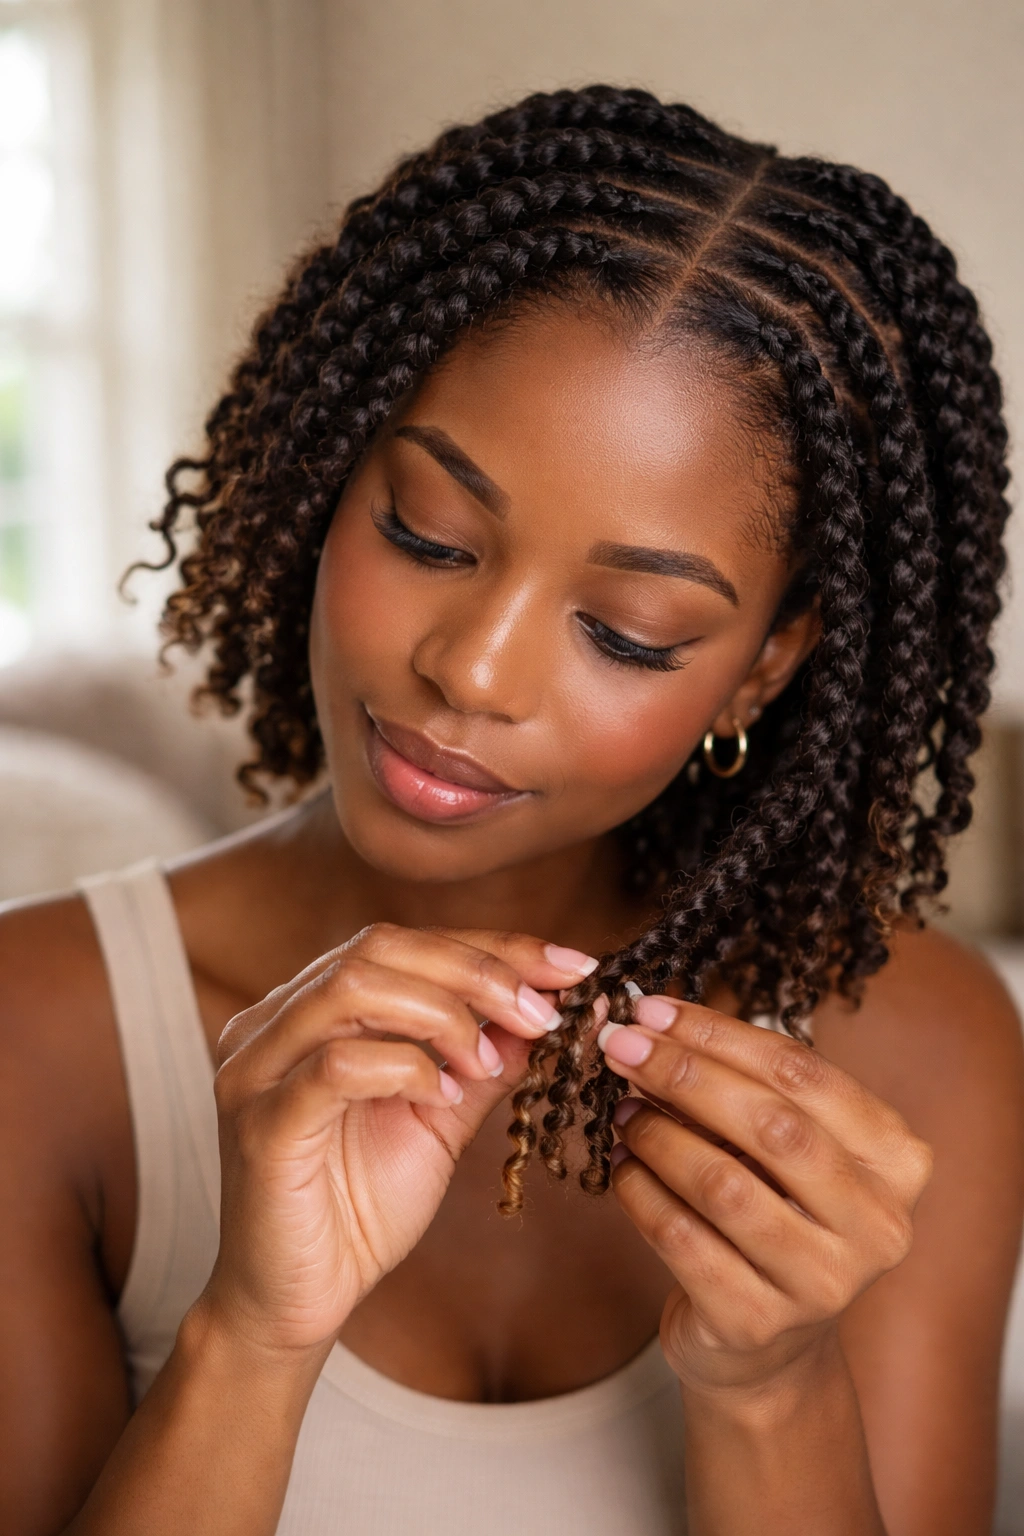
Takedown is where definition lives or dies. Rough takedown ruins a week of work in 5 minutes.
Step one: coat your fingertips with a light oil. Coconut, grapeseed, or sweet almond — anything slippery. Step two: unravel each twist gently from the end upward, letting the curls fall as the twist releases. Do not yank. Do not rush. Step three: separate each curl cluster into smaller pieces with your fingers for fullness. No combs.
The whole takedown should take 20 minutes. If you’re going faster, you’re creating frizz. If you’re going slower, you’re overthinking it.
Flat Twist Maintenance for Longer Wear
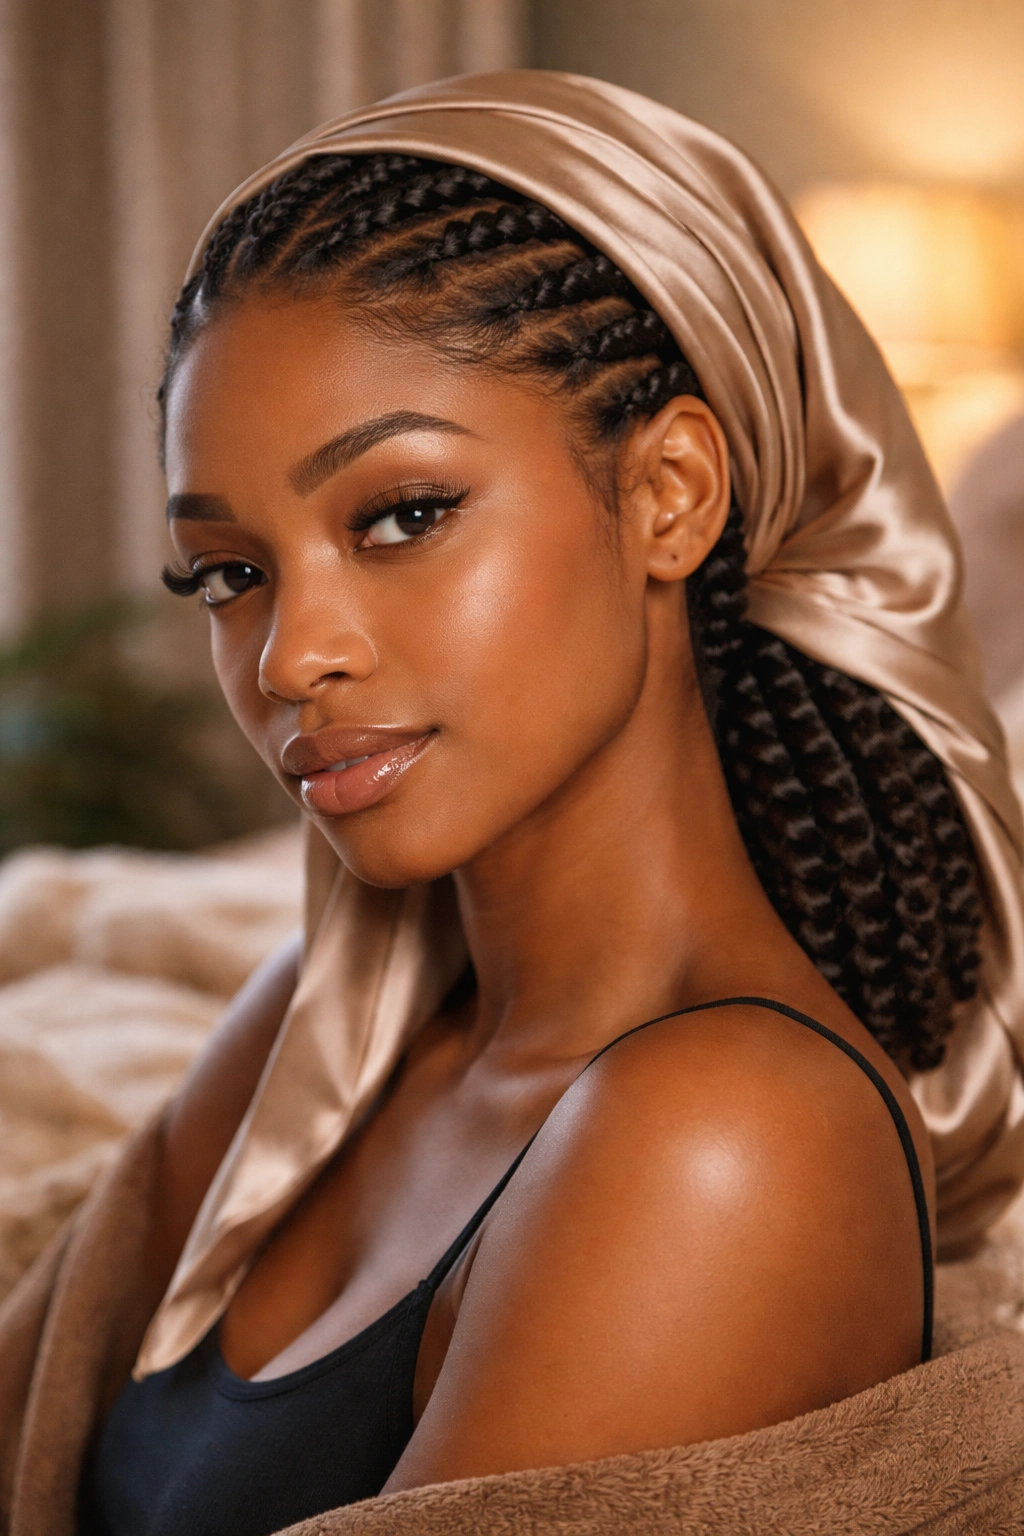
Flat twists last about 3 to 5 days as a style, 7 days if you’re maintaining aggressively. To stretch that longer:
- Tie down with a satin scarf every single night
- Mist lightly with water and leave-in every other morning at the roots
- Re-lay edges with a small amount of edge gel as needed
- Avoid touching the twists during the day (this is the hardest part)
Don’t re-twist sections that frizz. Retwisting creates visible texture shifts that ruin the uniform look. If a twist is frizzing badly, it’s time to take the whole style down.
Which Flat Twist Suits Your Occasion
The right flat twist depends on where you’re wearing it.
For work: two flat twists to the back (clean, simple, professional). Four flat twists with a side part (polished but more stylish).
For events: flat twist crown, heart-shaped part, or concentric circles. Anything with visual complexity or a decorative element.
For workouts and active days: flat twist ponytail, flat twist faux hawk, or back twists with accessories. Styles that stay put through movement.
For casual weekends: flat twist bun (soft), flat twists with baby hair, or flat twist pineapple prep. Styles that look effortless but take minimal prep.
The beauty of the flat twist technique is its range. Same fingers, same hair, same two-strand method — and somehow 22 completely different looks come out of it. That range is why flat twists are the first technique I teach anyone wanting to learn natural hair styling. Master the basic feed-in, and every style on this list is within reach.
Your fingers will remember the rhythm after five or six installs. Your patience will catch up to your technique around install ten. And by install fifteen, you’ll be creating your own variations without consulting a photo.
That’s when flat twists stop being a technique and start being a personal signature.