Half up afro styles are the compromise I never thought I needed. They let you wear your natural texture full and loose while keeping the front clean and controlled — the same reason they work for a Tuesday meeting and a Saturday brunch without changing anything. I used to think of half-up as a lazy style. Then I realized the half-up is actually doing the most structural work in any look: it frames the face, sets the tone, and decides whether the hair reads as polished or wild.
There’s something honest about a half-up. You’re not hiding your texture under a wig or pulling it all into a tight bun. You’re letting the curls speak while giving your face some air. It’s the best of both worlds if you want your hair visible but not overwhelming.
These 24 half-up afro styles span every occasion I could think of. Some are 10-minute office looks. Others are 40-minute event styles. All of them use natural hair as the foundation — no extensions required unless I say so.
What Counts as a Half-Up Style
A half-up pulls the top section of your hair back and secures it while leaving the bottom section loose. Sounds simple, and structurally it is. The variation comes from where you pull from, how high or low you secure, and what you do with the loose back half.
The top section is usually everything above the ear line — front, temples, crown. Pull that back into a small puff, ponytail, knot, braid, or twist, and whatever’s below hangs free in its natural state.
This is different from a half-pony (which is just one subtype) and different from an updo (which pulls all the hair up). The half-up is specifically about the top-back division.
Prepping Your Hair for Any Half-Up
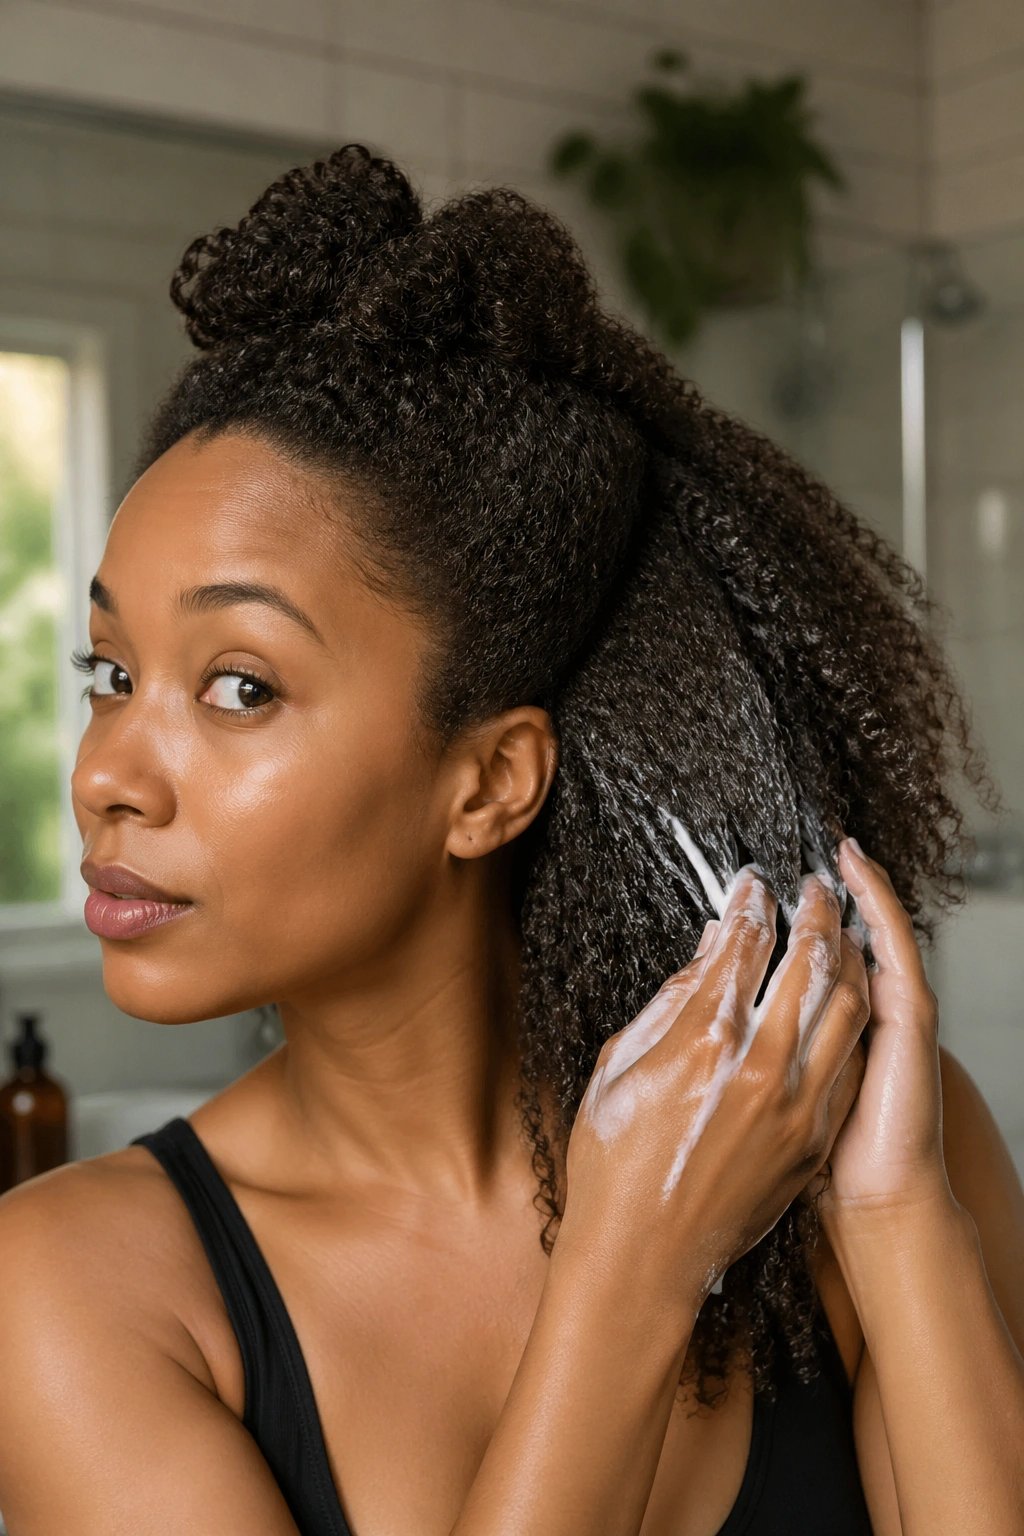
A half-up only works if the hanging back section has definition. A stretched-but-fluffy base is ideal. That means: a wash-and-go that’s fully dry, a twist-out that’s been taken down, or a braid-out with at least 24 hours of setting time behind it.
Limp, damp hair won’t hold the volume a half-up needs below the secured section. Neither will over-stretched hair with zero shape. Aim for the sweet spot where your curls are defined and your hair moves when you shake your head.
Moisture the day before, not the day of. Day-of moisture makes the loose section weigh down and look flat. Day-before moisture gives it time to absorb and the hair time to regain volume.
Sectioning the Front from the Back
The division line is everything. Too high and you’ve got a puff sitting on top of a small amount of loose hair — unbalanced. Too low and you’re essentially pulling almost everything up, which defeats the point.
The classic division is from ear tip to ear tip, arching over the crown. Use your fingertips to feel for your ear-top, draw an imaginary line back from there, and part accordingly. The section you’re pulling up should be roughly the front third of your hair by volume.
For longer hair, the division can go slightly lower. For shorter hair (TWA or early big chop), it goes slightly higher — you need enough hanging hair to see below the pulled-up portion.
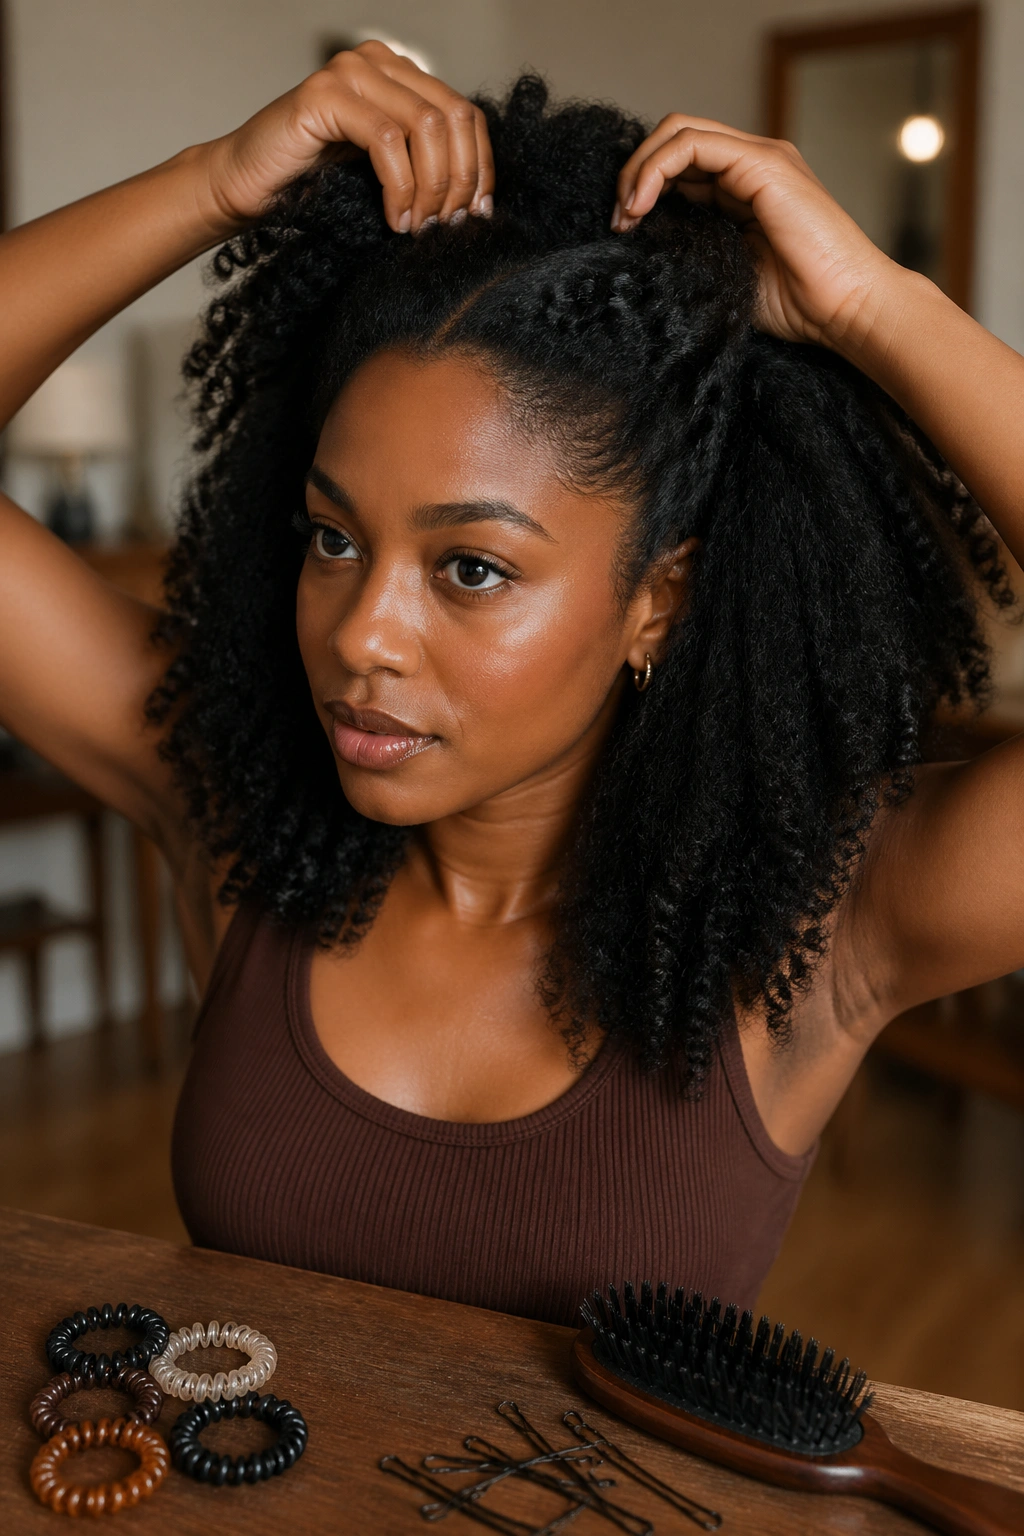
Tools You’ll Want Within Reach
A rat-tail comb for parting, a few spiral elastics (the plastic coil kind that don’t snag), a soft boar bristle brush for smoothing, and bobby pins — never just one, always six or seven within reach. An edge brush if you care about laid edges. A small bottle of water spritz for dampening flyaways.
Don’t over-gel. A heavy product on the top section will flatten the hanging portion as the day goes on because the gel migrates when you touch your hair.
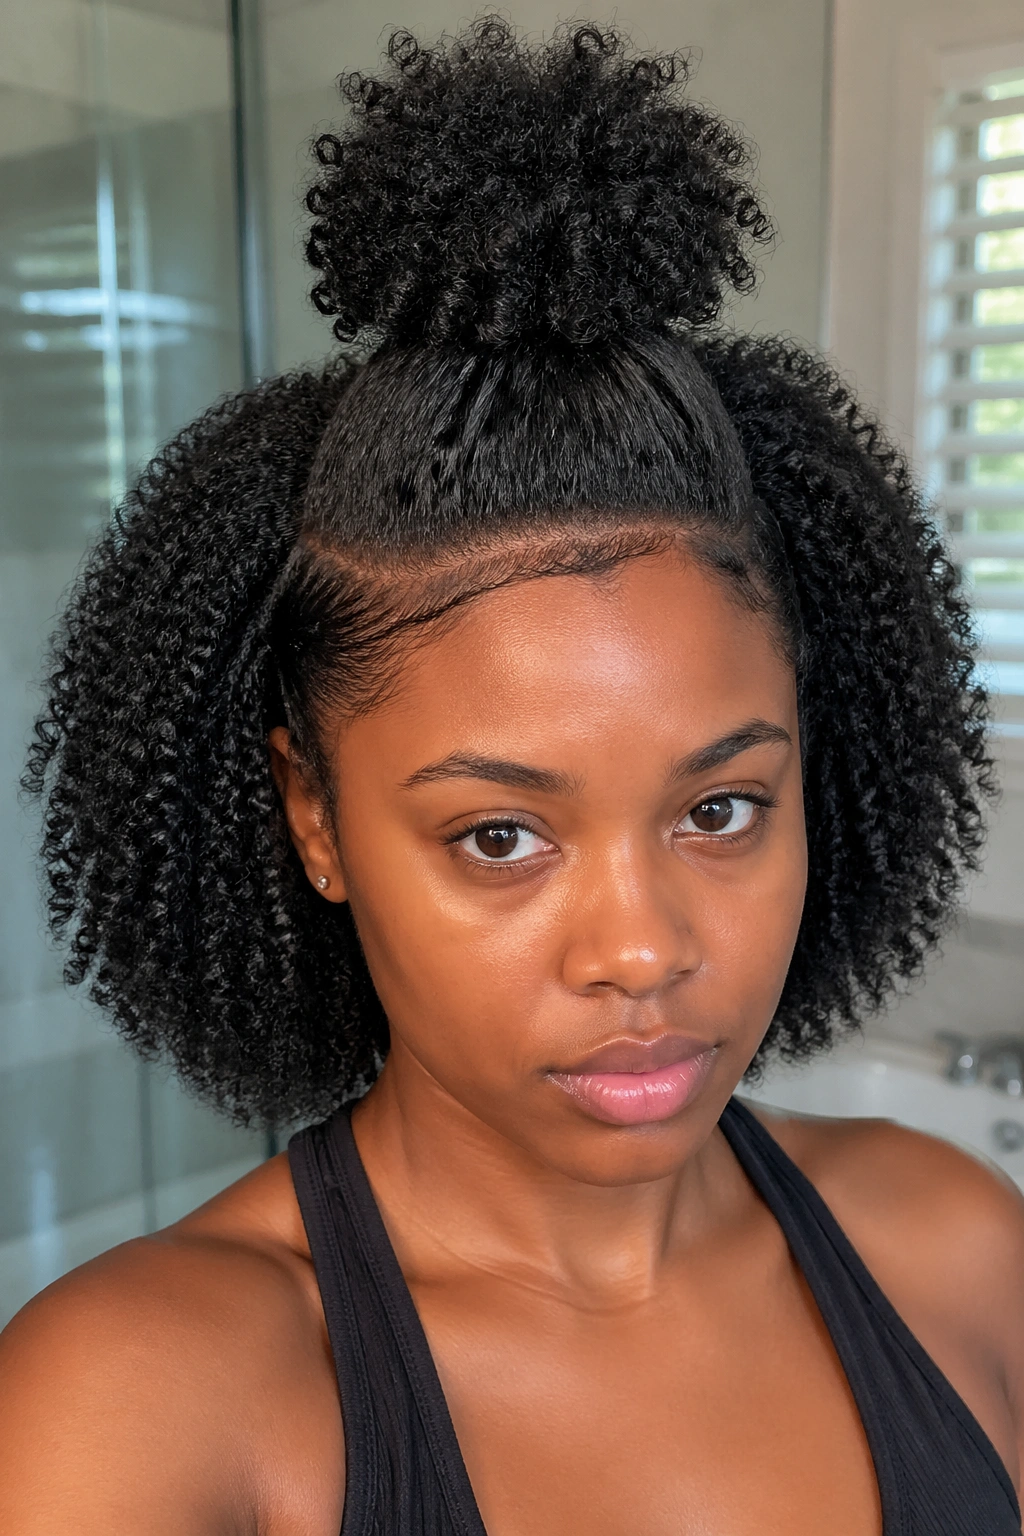
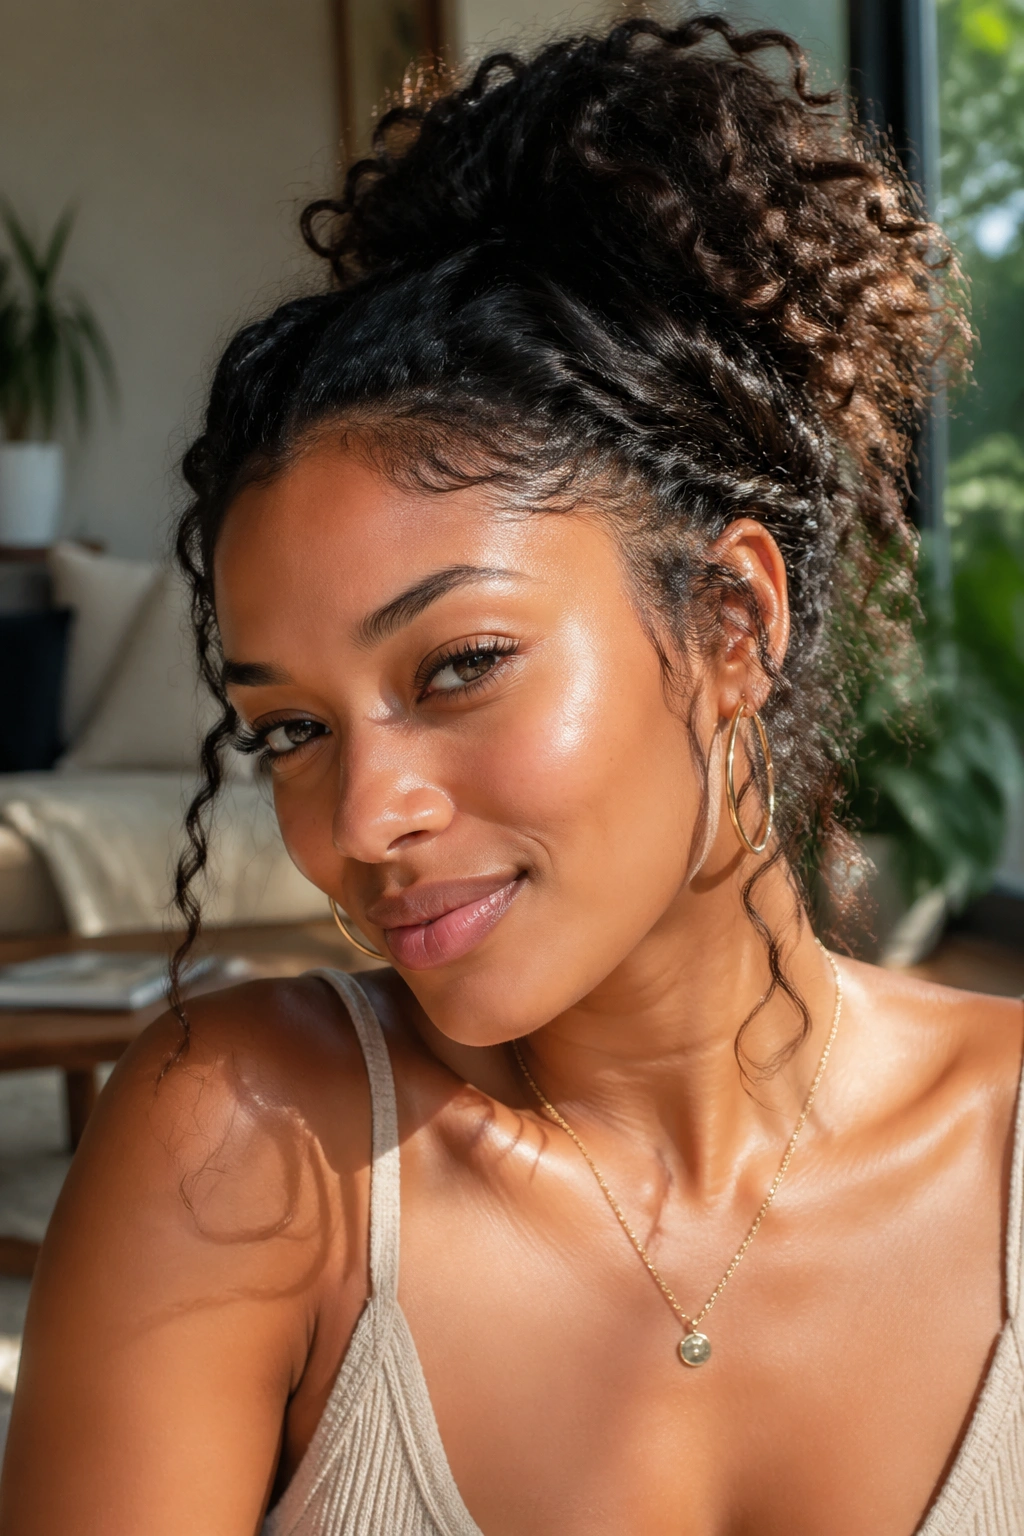
1. Classic Half-Up Puff
The baseline. Gather the top section, secure with a spiral elastic, and let it puff out naturally. Zero styling of the puff itself beyond a gentle shape with your fingers.
Why It Works
The simplicity is the point. You’re showcasing your texture in its rawest form, letting the puff be whatever shape your curls want it to be. No smoothing, no pinning, no fighting your pattern.
- Time: 4 minutes
- Occasion: everything casual
- Durability: holds 6-8 hours before the elastic shifts
- Refresh: tighten the elastic once in the afternoon
Tip from experience: Use an elastic that matches your hair color, not a neutral black. Color-matched ties disappear into the hair and make the puff look even more natural.
2. Half-Up with Braided Headband
Take the front quarter of your hair and braid it into a thin three-strand plait running along your hairline. Let the rest of the top half form a small puff or knot behind the braided band. The braid acts as a built-in headband framing your face.
What’s different from a regular half-up is the structure at the hairline. The braid does the shaping work that a fabric headband usually does, but it’s part of your hair, so it feels more polished.
Who this is for: people who like a clean face frame but hate how regular headbands give them a headache by hour two. The braid is weightless.
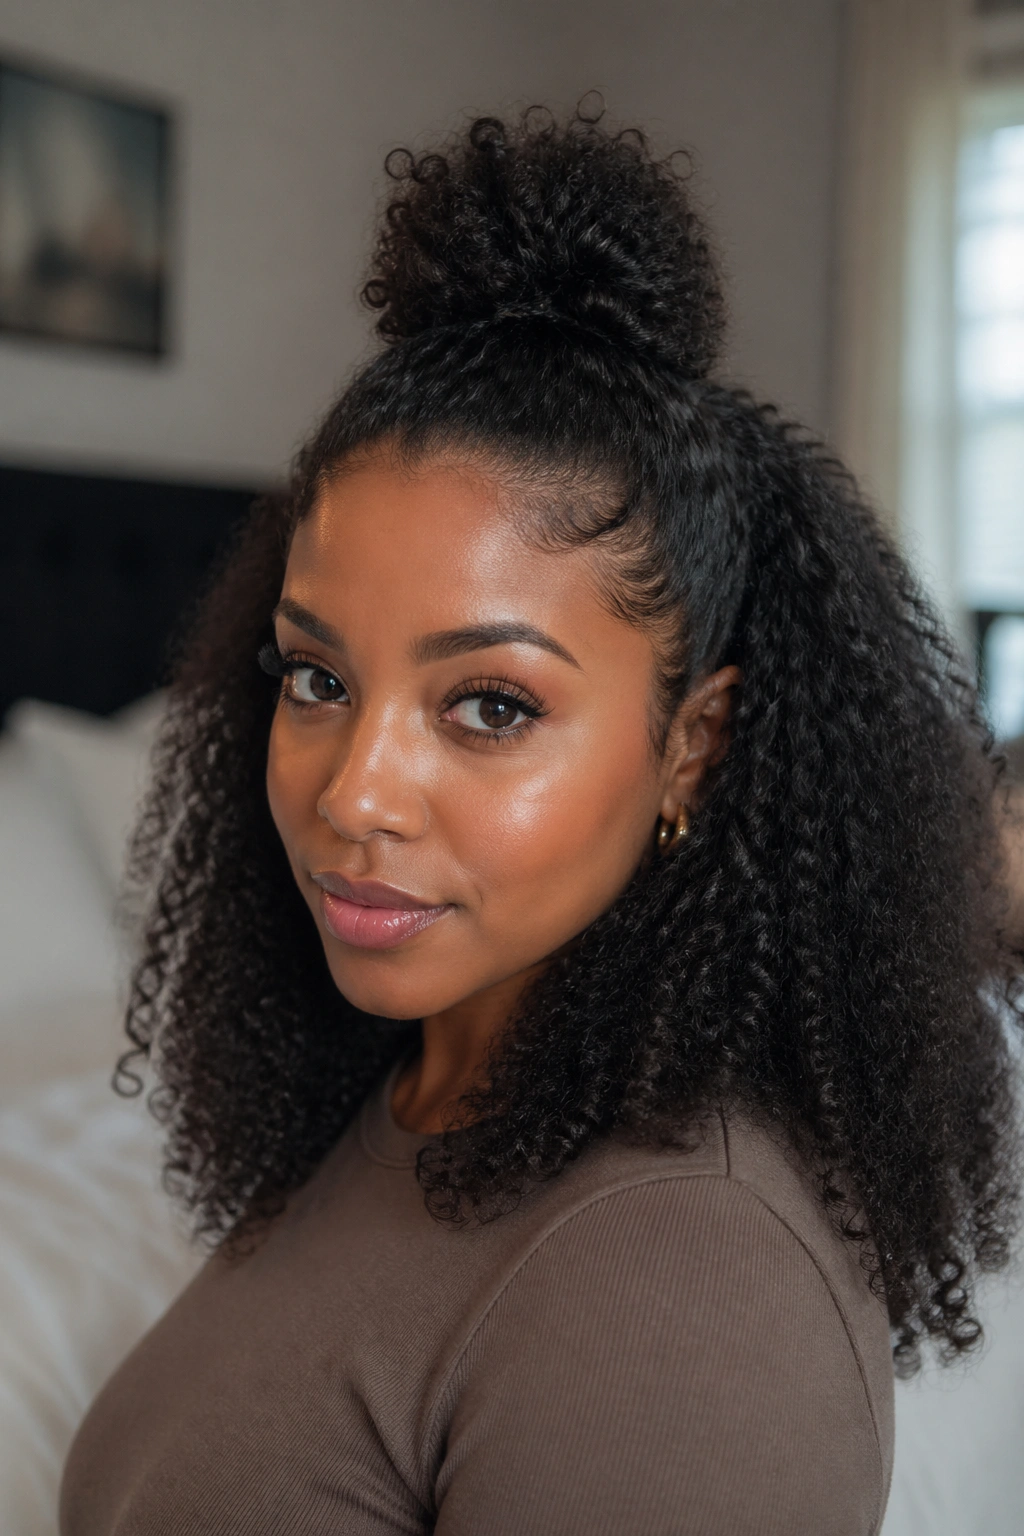
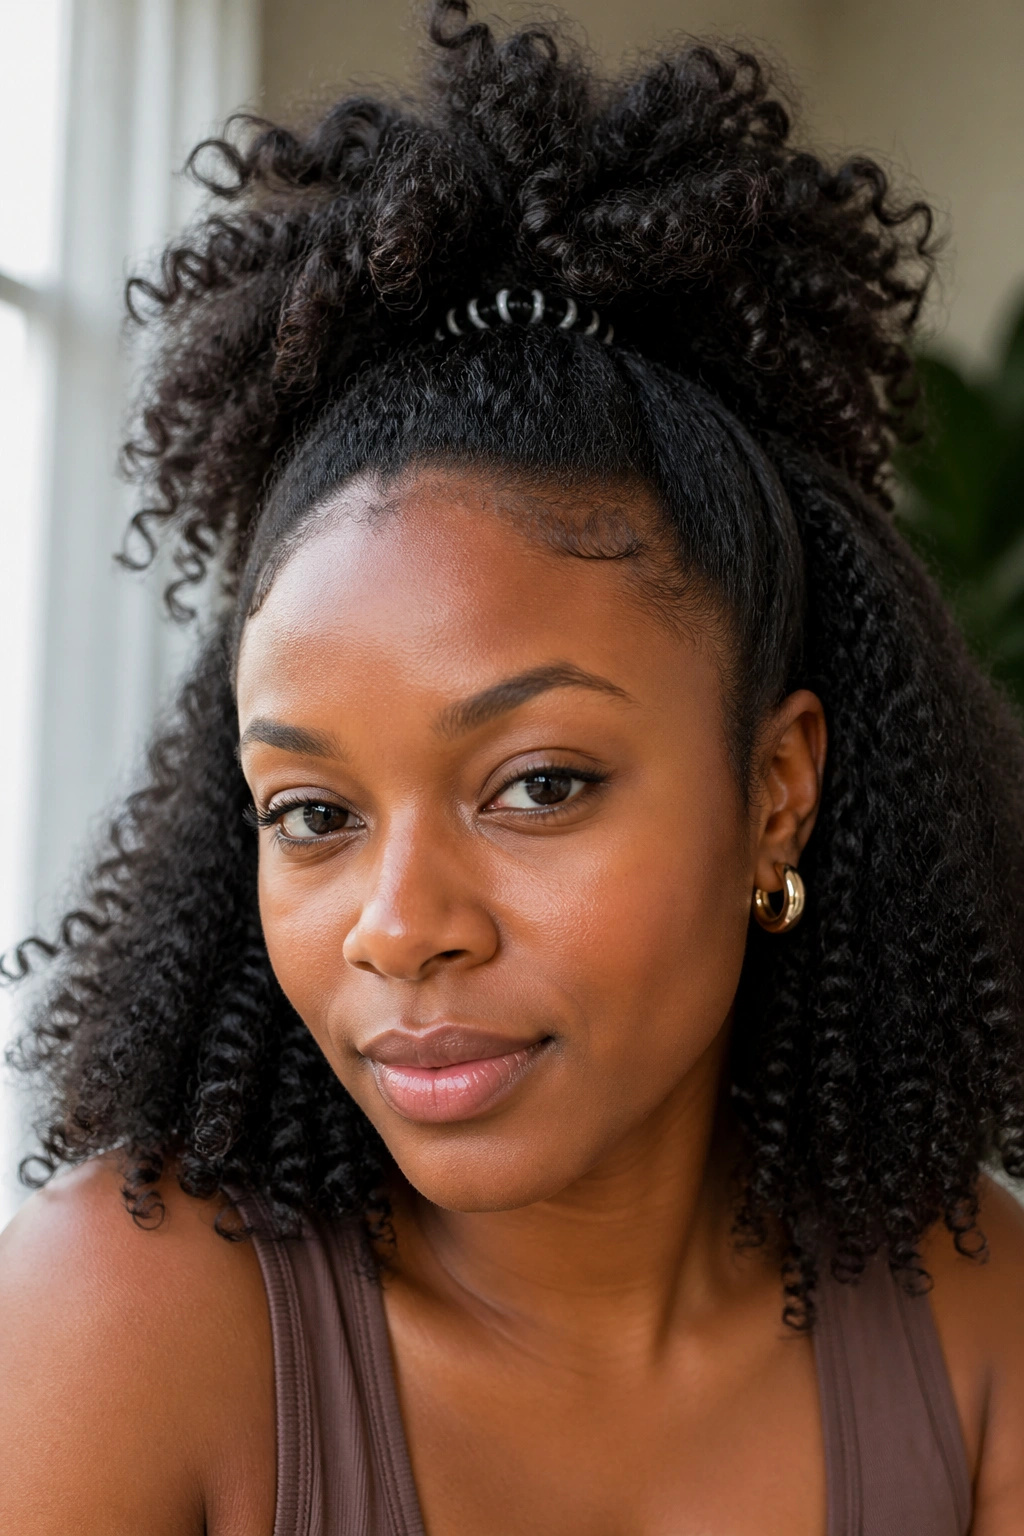
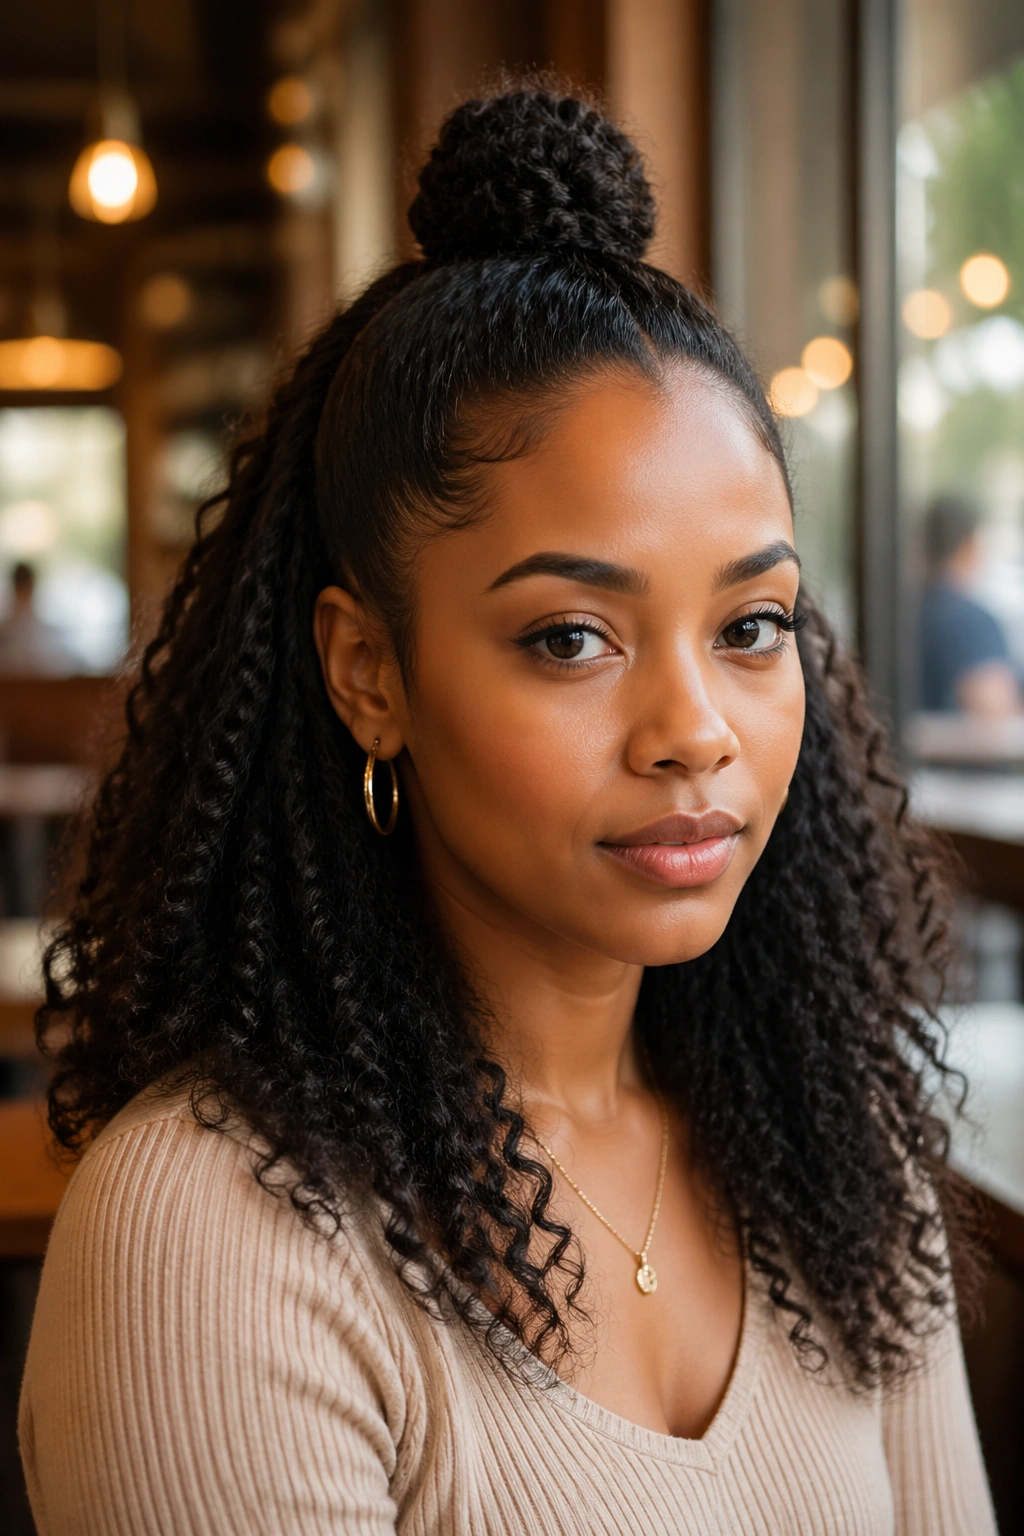
3. Top Knot Over Loose Curls
A small top knot sits high on the crown while the back half hangs free in defined curls. The contrast between the tight knot and the loose curls is what sells this — tight up top, soft down below.
The knot should be smaller than you think. A massive top knot pulls the visual weight upward and makes the loose section look sparse. A compact knot keeps the balance right.
I wear this one to coffee shop work sessions and errands. It looks like I tried just enough.
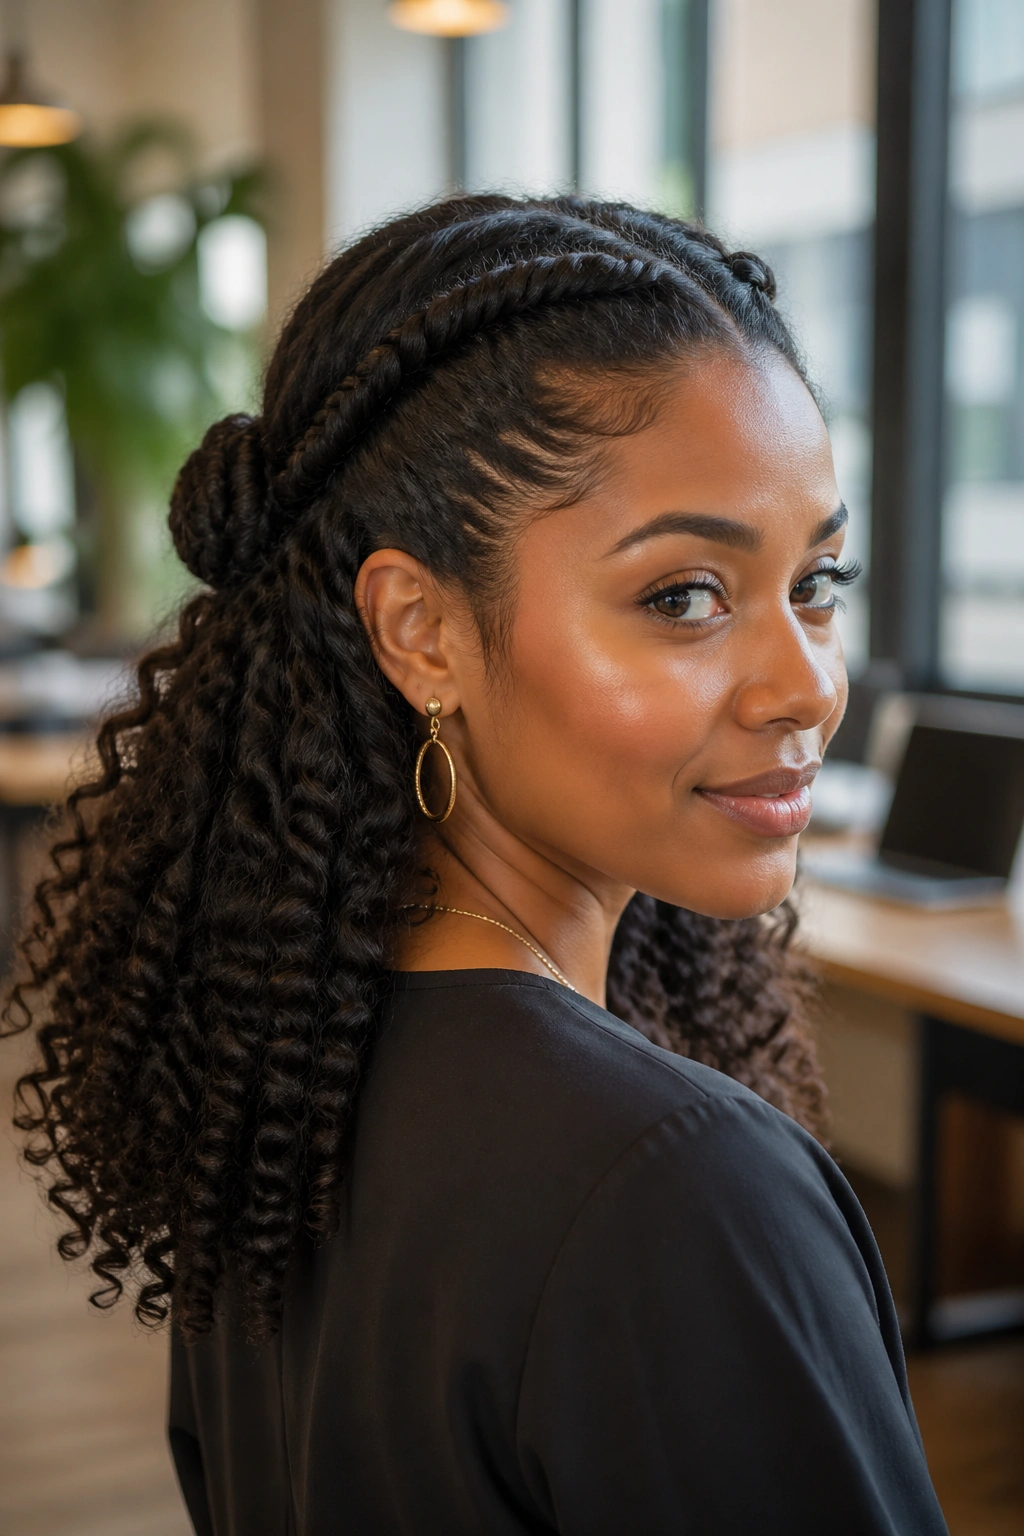
4. Two-Strand Twist Crown
Unlike the simple puff, the two-strand twist crown involves twisting the top section into two thick twists that join at the back in a small bun or knot. The twisting happens before you secure the section, so the top has visible texture that’s different from the loose curls below.
The twists lie flat until they meet at the back, where they tuck together. This takes about 12 minutes and holds for a full workday with no touch-ups.
Best for: hair that’s at least neck-length when stretched. Shorter than that, the twists don’t have enough length to cross each other.
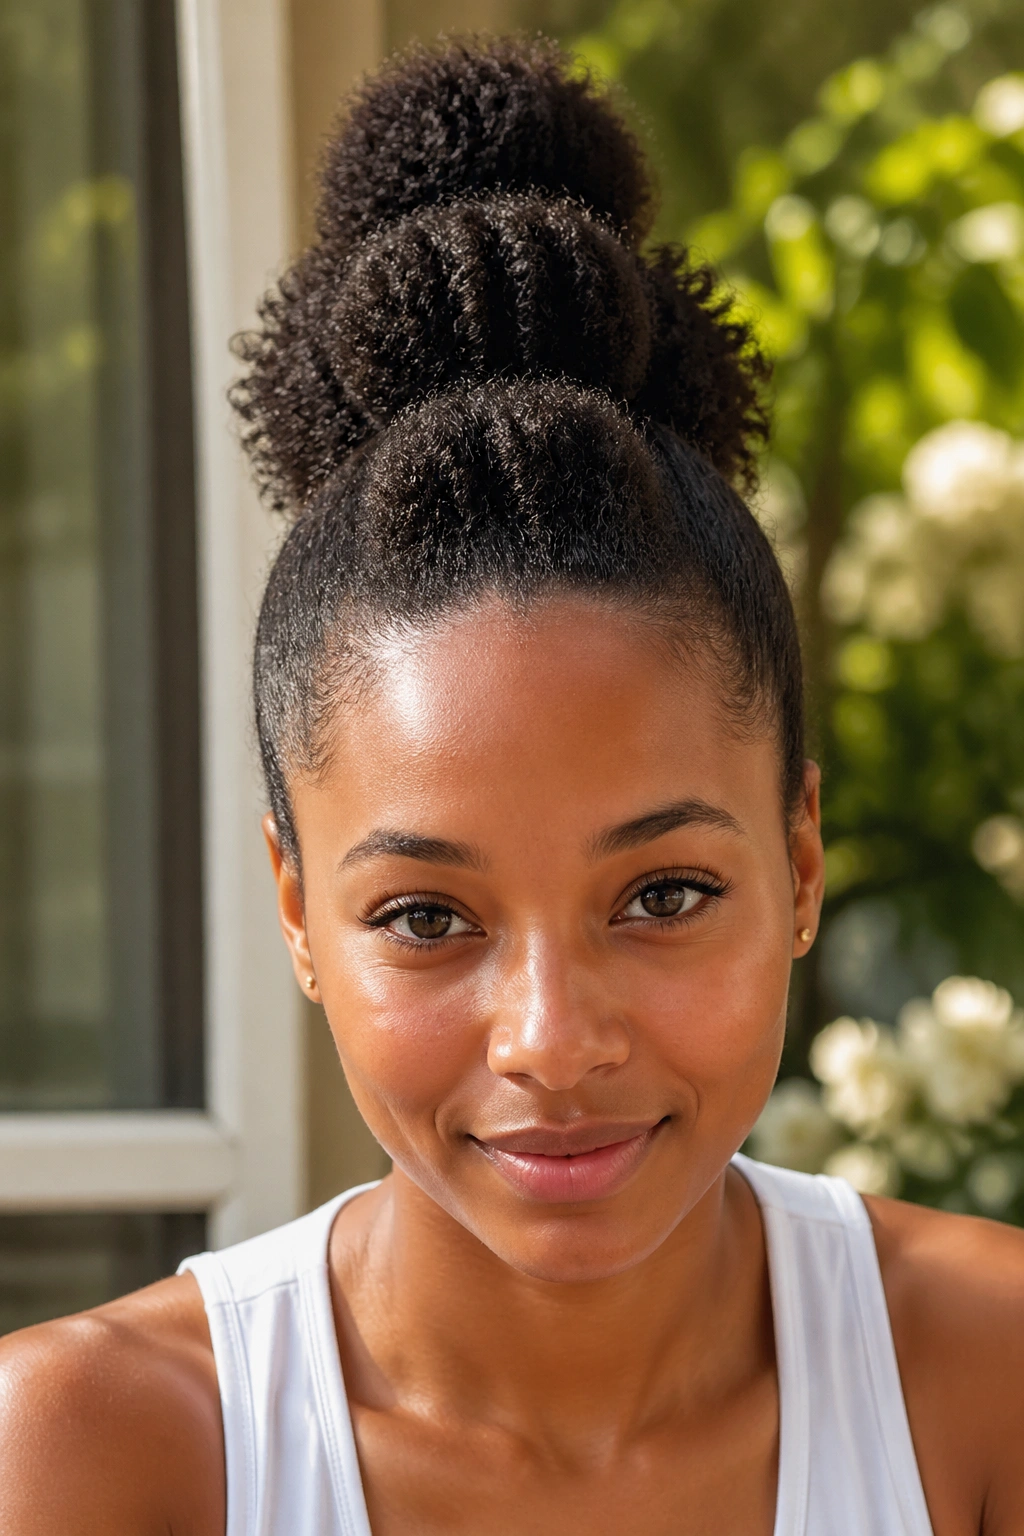
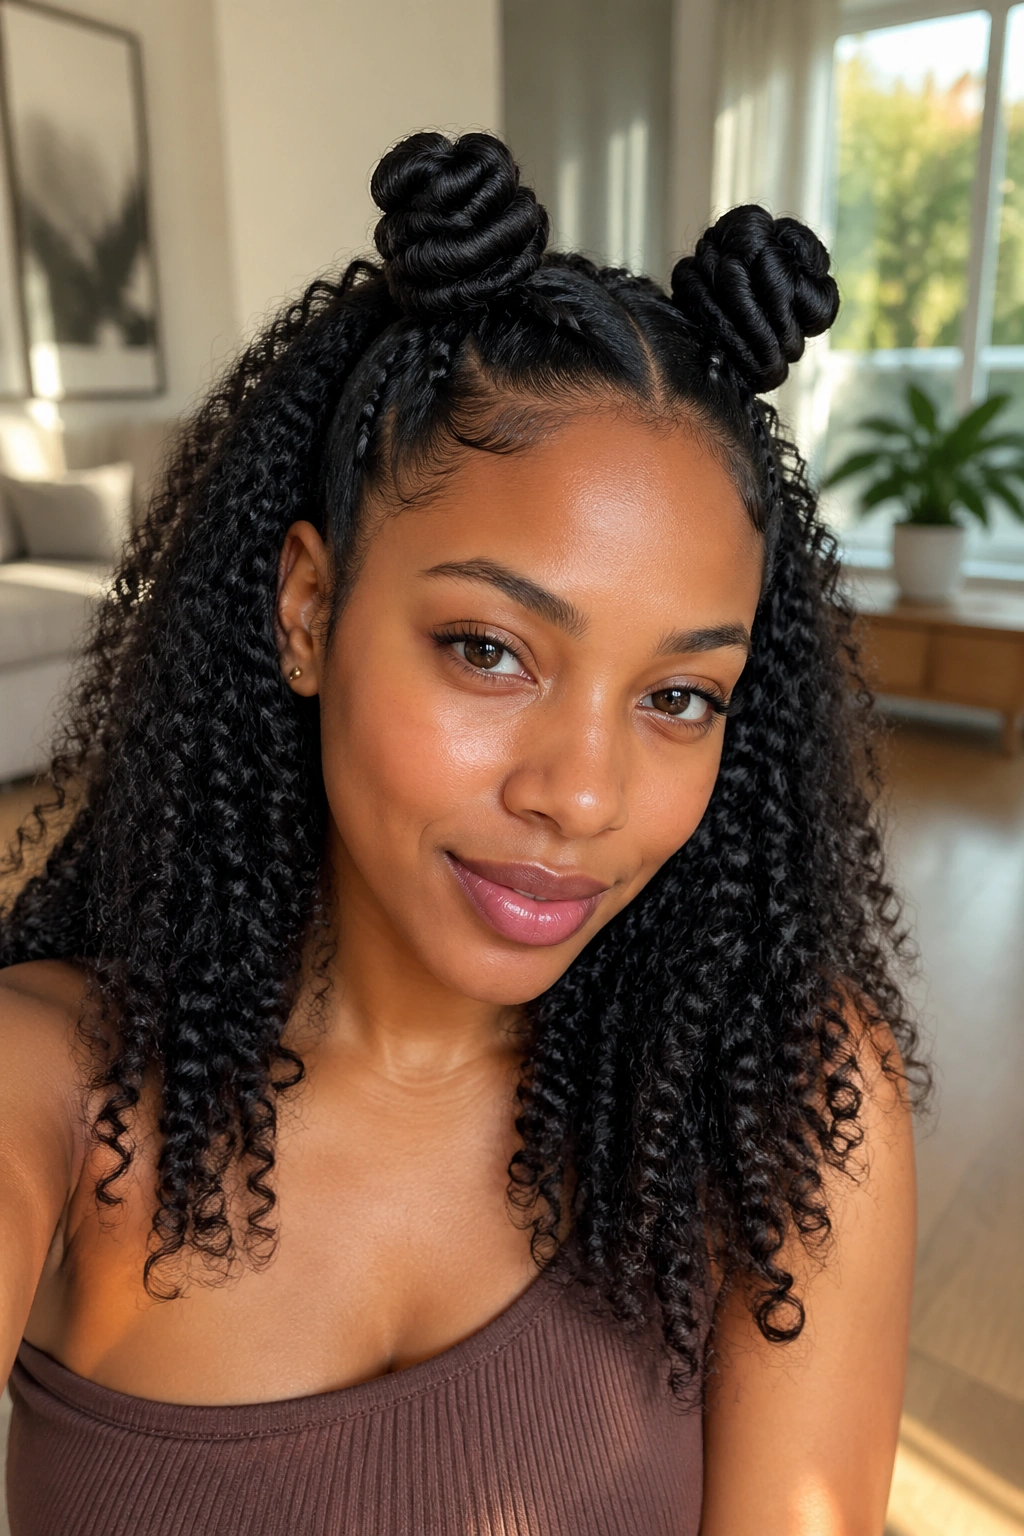
5. Half-Up Bantu Knots
What if the top of your half-up style was a pair of Bantu knots instead of a puff or pony? You divide the top into two sections, twist each into a rope, coil into a knot, and pin. The rest of your hair hangs free in its natural state.
The Bantu knots up top read as playful and sculptural. From the front, they frame your face like two small coiled accents. From the side, they add height and a distinct silhouette.
How to Use It
- Part the top section down the center into two halves
- Twist each half into a tight rope starting from the root
- Coil the rope into a flat knot, tucking the end under
- Pin with a single bobby pin at the base
Tip from experience: Pre-stretch the top sections the night before. Bantu knots on shrinkage-prone hair will fight gravity and not sit flat.
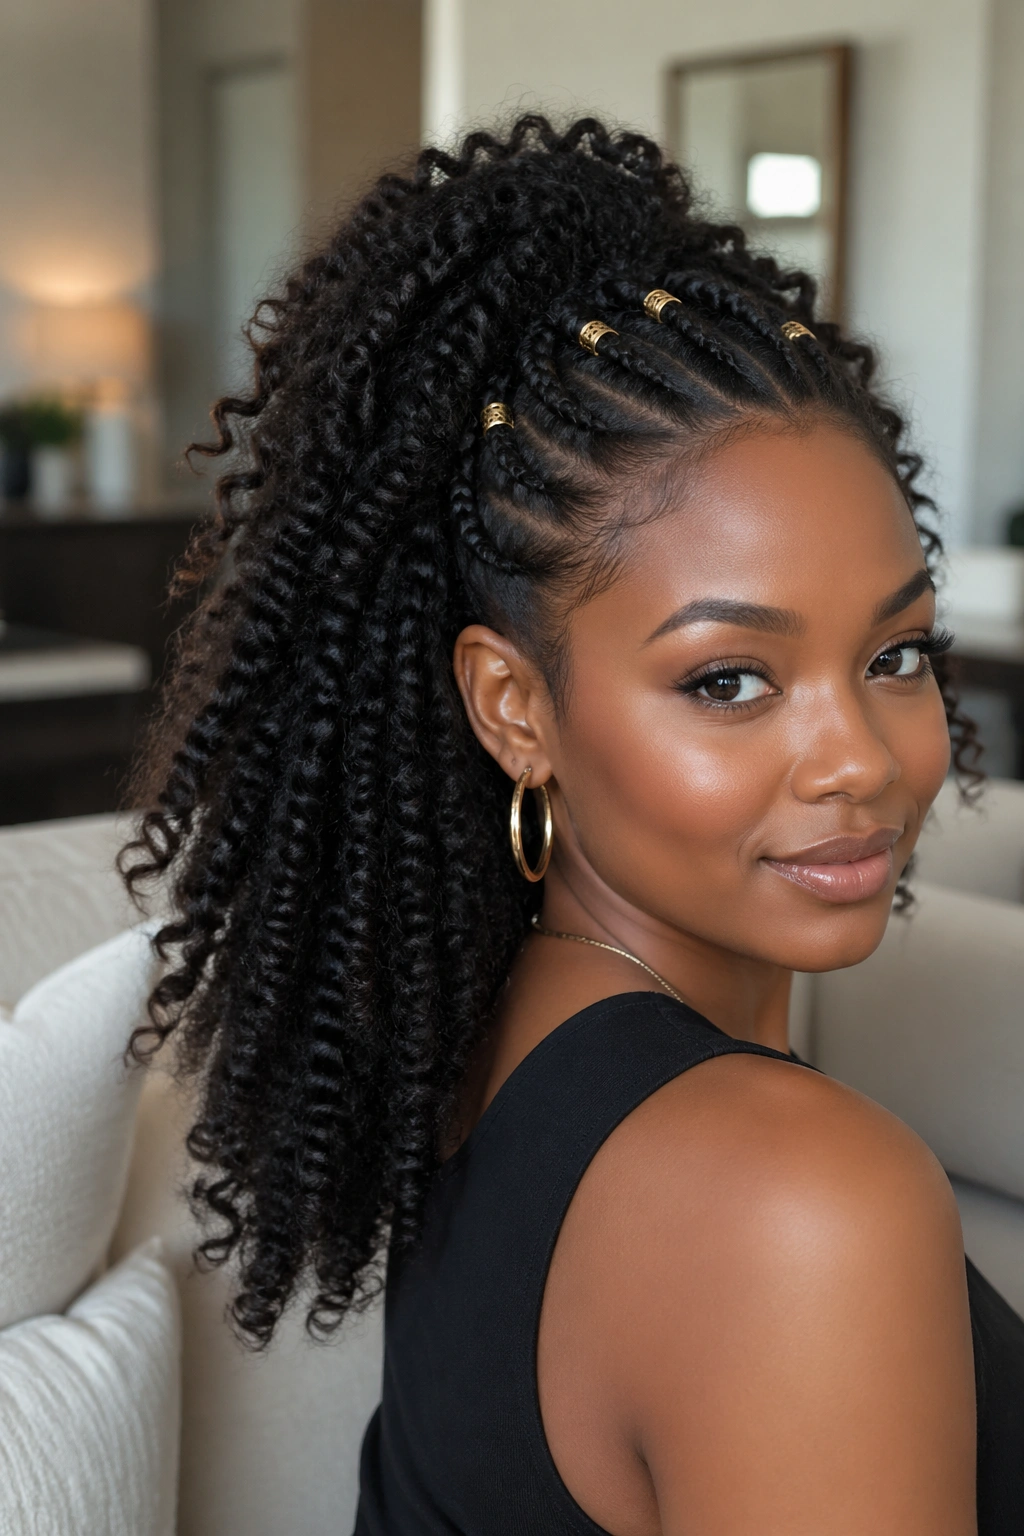
6. Half-Up with Hair Jewelry
Gold cuffs, beads, decorative pins — hair jewelry transforms any half-up style into an event look. Start with a basic half-up puff or pony, then add 3 to 5 small gold cuffs along the transition where the secured section meets the loose curls.
The cuffs should be visible but not distracting. Place them where they’ll catch light as you move — around the base of the puff, on a few strands near the hairline, never crowded together.
This is my go-to when I want to wear a regular half-up to an event and feel dressed up without changing the style fundamentally.
7. Half-Up Braid-Out Hybrid
Braid the top section into 3 to 5 small plaits, leave them overnight, then take them down in the morning and gather the braid-out curls into a half-up. The top is now a textured, wavy mass instead of a smooth puff, and it contrasts beautifully with the wash-and-go hanging below.
Two different textures on the same head, and they both look intentional.
Installation is split between the night before and the morning of. The braids take 15 minutes at night. The takedown and shaping take 10 minutes in the morning. Total effort: 25 minutes across two sessions, but neither session is long enough to feel like work.
8. Afro Puff with Side-Swept Front
A standard half-up puff, but with a small section near one temple swept dramatically across the forehead and pinned behind the opposite ear. The sweep introduces asymmetry to an otherwise symmetric style.
The swept section can be as thin as a 1-inch strand or as thick as a 3-inch section. Thinner reads delicate. Thicker reads bold. Pick based on your face shape — wider faces look balanced with thicker sweeps, narrower faces with thinner.
Use a bobby pin hidden behind the ear to anchor. A well-placed pin disappears into the hair.
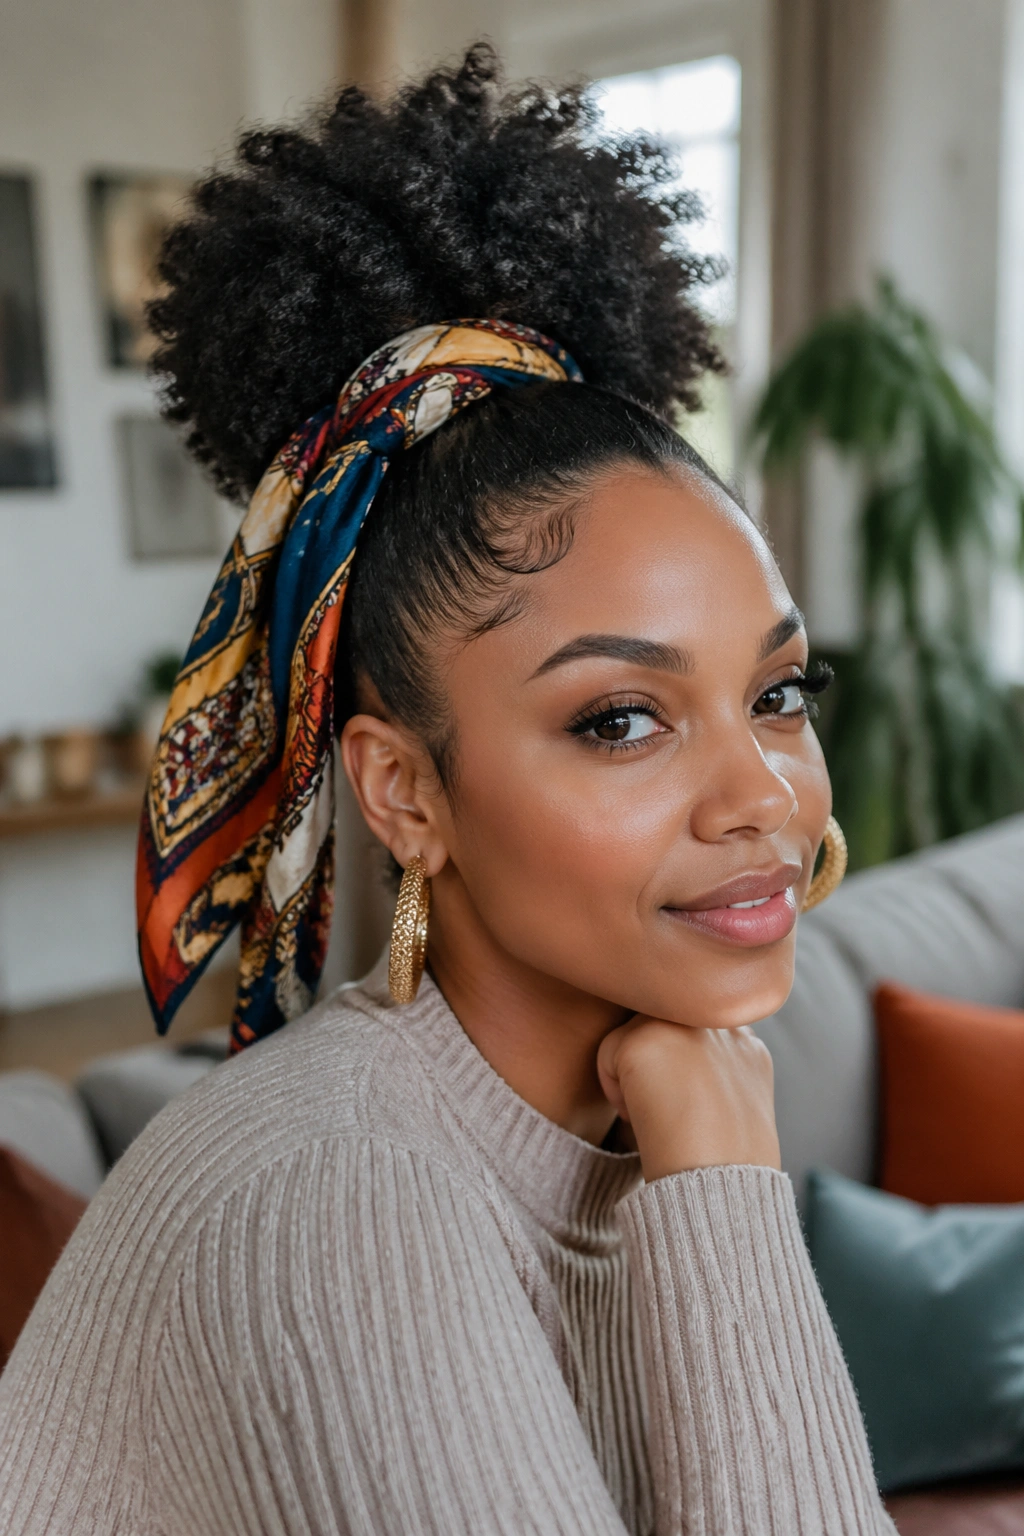
9. Half-Up with Scarf Tie
Tie a silk or cotton scarf around the half-up puff, knotting it at the base or letting the ends hang as a decorative tail. The scarf color brings personality and also doubles as a protective layer against friction.
Patterned scarves work better than solids. Solid colors can look like you forgot to finish accessorizing. A print — florals, African wax print, batik, tie-dye — reads as intentional.
Roll the scarf into a thin rope before tying. A fully spread scarf looks bulky around the puff base.
10. Messy Half-Up with Pulled Edges
Deliberately imperfect. Gather the top loosely, don’t smooth anything, and pull a few small pieces out around the temples and nape for that just-got-home-from-the-beach look. The messiness is the aesthetic.
The trick is knowing which pieces to pull. Thin sections near the hairline and one or two longer pieces at the nape. Pulling too many pieces makes it look undone, not purposefully messy.
Best for: casual settings where a polished style would feel overdressed. Weekend errands, dog walks, casual dinners at home.
11. Half-Up French Braid
A French braid along the top section, secured at the crown. Below the braid, your loose curls hang free. It’s more structured than a simple puff and gives the front a clean, controlled finish.
The French braid starts at the forehead, picks up new sections of hair as it moves back, and terminates at the crown. From that point back, the hair is loose.
This works beautifully on hair that’s at least 6 inches stretched. Shorter hair makes the braid too small to read as a distinct feature.
12. Half-Up Ponytail with Braided Wrap
A small high ponytail from the top section, wrapped at the base with a thin braid taken from the pony itself. The wrap hides the elastic and adds a sculptural touch.
Take a half-inch section from the base of the pony, braid it down about 2 inches, then wrap that braid around the elastic and pin the tail underneath. Done.
The wrap takes about 3 minutes once you’ve installed the half-up pony. It transforms the look from functional to finished.
13. Triple Pony Cascade
Three small ponytails running down the crown, each catching the loose ends from the one above. The result looks like cascading bubble ponies made from your natural texture.
Start with a small pony at the crown. An inch and a half back, gather the loose ends of the first pony plus a new section of hair into a second elastic. Another inch and a half back, repeat for a third.
This style gives the illusion of a long, controlled cascade without actually styling all your hair into one piece. It’s a smart compromise for days when you want length but don’t want to commit to a full style.
14. Half-Up with Flower Pin
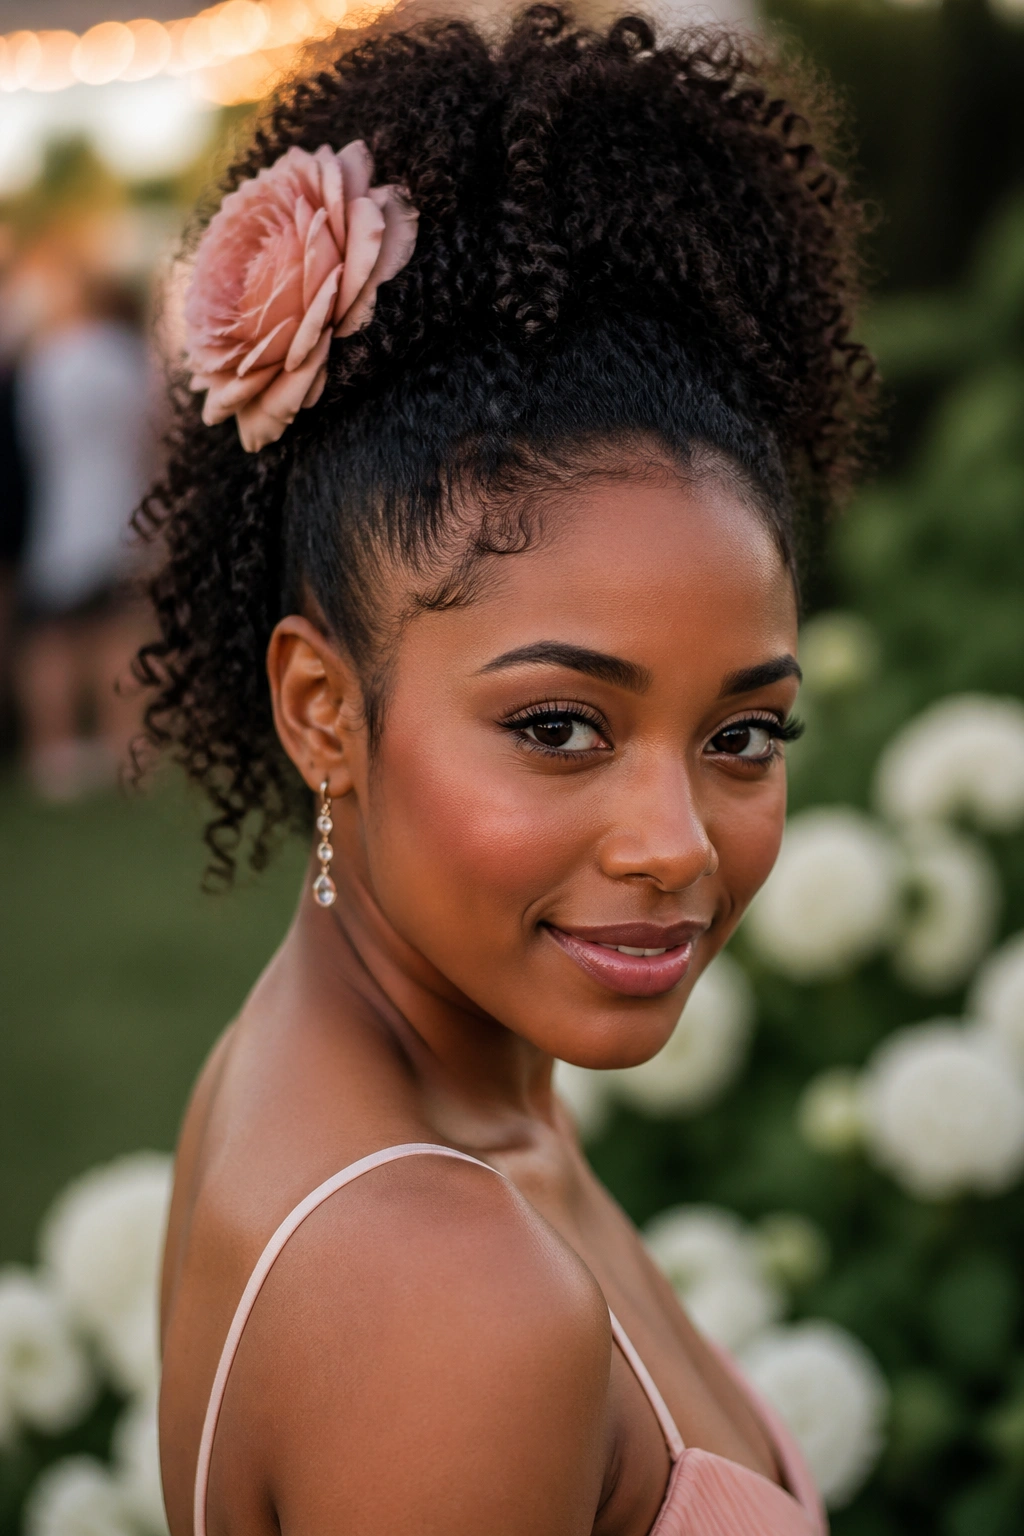
Pin a real or fabric flower at the base of a basic half-up puff. One large flower works. Two medium flowers work. Three or more starts to look costume-y.
Real flowers are dramatic but wilt by end of day. Fabric and silk flowers are reusable and look the same from morning to night.
This is my favorite quick elevation for weddings, bridal showers, and anniversaries. The whole look costs nothing beyond one decent fabric flower from a craft store.
15. Half-Up with Deep Side Part
Instead of a center-pulled half-up, create a deep side part first, then gather the top section asymmetrically from that part line. The secured portion sits off to one side rather than centered on the crown.
The deep side part is the key visual element. Without it, this is just a regular half-up with a weird pull. With it, the whole look becomes modern and intentional.
I like this one for looks that need to read grown and elegant. Work dinners, gallery openings, formal daytime events.
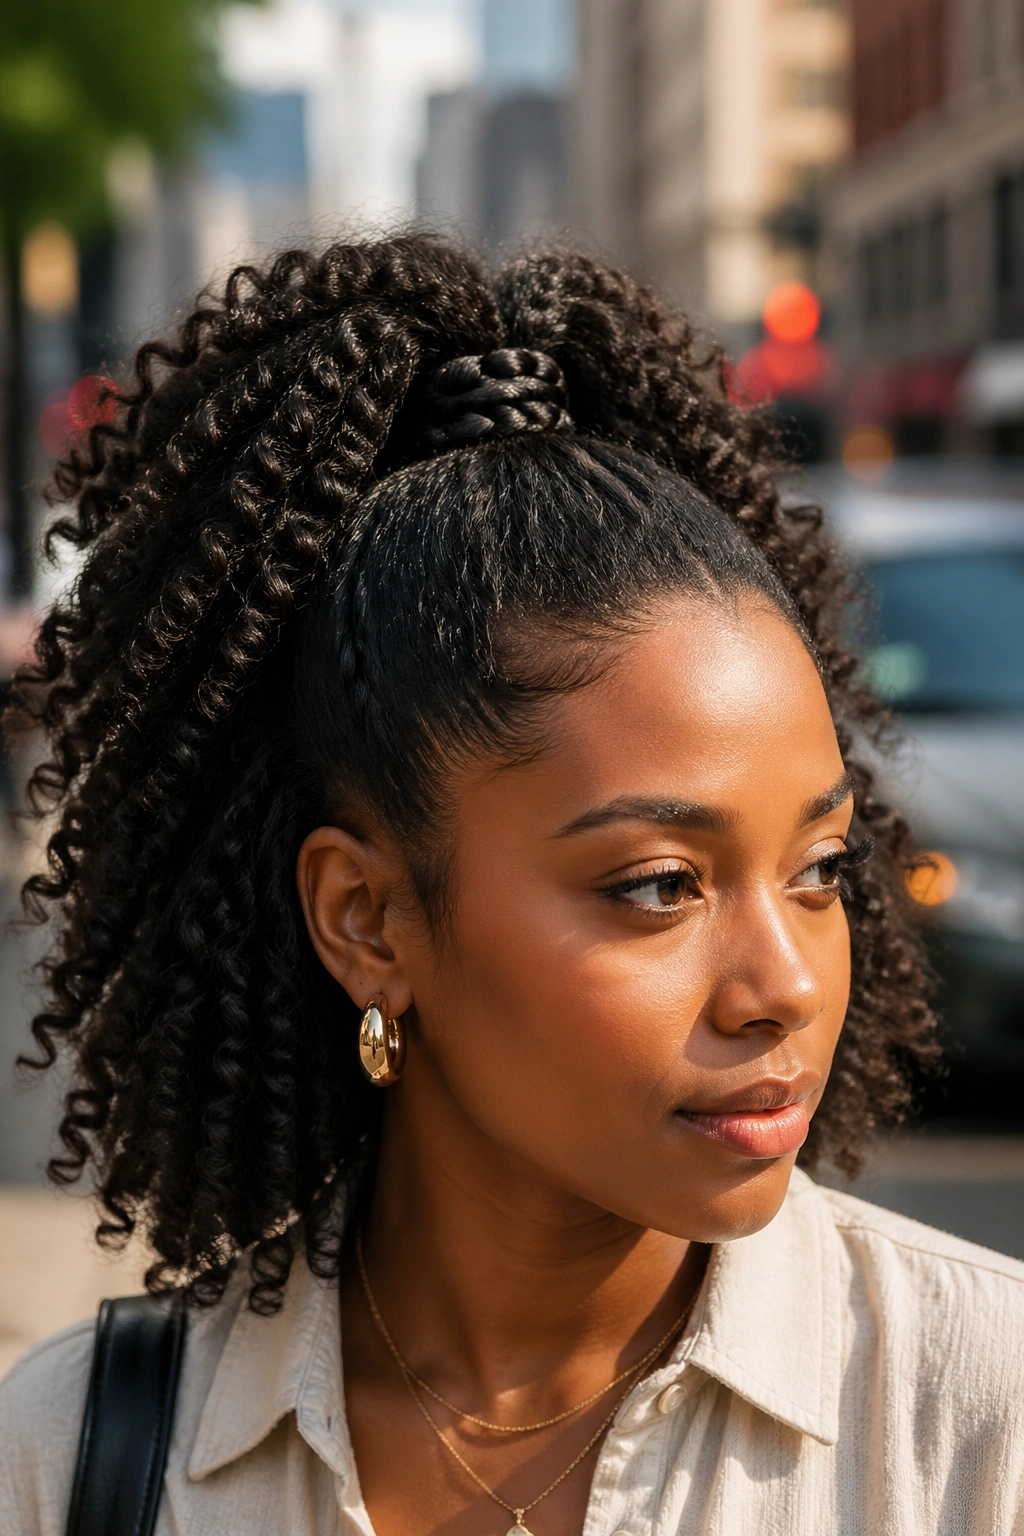
16. Front Twists Joined at the Back
Take three sections from the front — left temple, center, right temple — and two-strand twist each one back toward a single point at the crown. Join all three twists into one small bun or pony.
The visual effect is a radial pattern of twists converging at the back, with the loose curls below hanging free. It’s intricate-looking but actually straightforward once you commit to the three-section approach.
Takes about 15 minutes. Holds all day. Looks way more labored than the effort it required.
17. Half-Up with Pompadour Front
The front inch of your hair gets pulled up and forward, pinned into a small pompadour (a rolled bump of hair) above the forehead. The rest of the top section pulls back normally into a puff or knot. The loose curls hang below.
The pompadour is the statement. It adds height at the front of the head, which elongates the face and creates a vintage-meets-modern silhouette. Roll the section back over a bobby pin bump form, or use your fingers to shape it, then pin on both sides.
This might be the most formal half-up on the list. It reads as deliberate styling.
18. Half-Up with Bubble Pony Below
The top section is pulled into a half-up pony, and below that, the loose hair is gathered into a bubble pony at the nape. Two ponytails, one on top of the other, with loose curls bubbling out between them.
This is a hybrid half-up/full-pony that gives you the best of both worlds. The top shows off your curls at the crown. The bottom protects your ends and keeps them from tangling.
Works best on longer hair where the bubble below can clearly be seen as distinct from the half-up above.
19. Half-Up with Milkmaid Accent
A thin milkmaid-style braid runs from one temple over the top of the crown to the opposite temple, sitting on top of a regular half-up base. The milkmaid braid is an accent, not the main structure — it sits atop the half-up like a tiara.
Two-strand twist the thin braid section beforehand and wrap it across once the half-up is secured. Pin both ends.
This is one of my favorite wedding guest looks for natural hair. Elegant, unusual, takes maybe 20 minutes total.
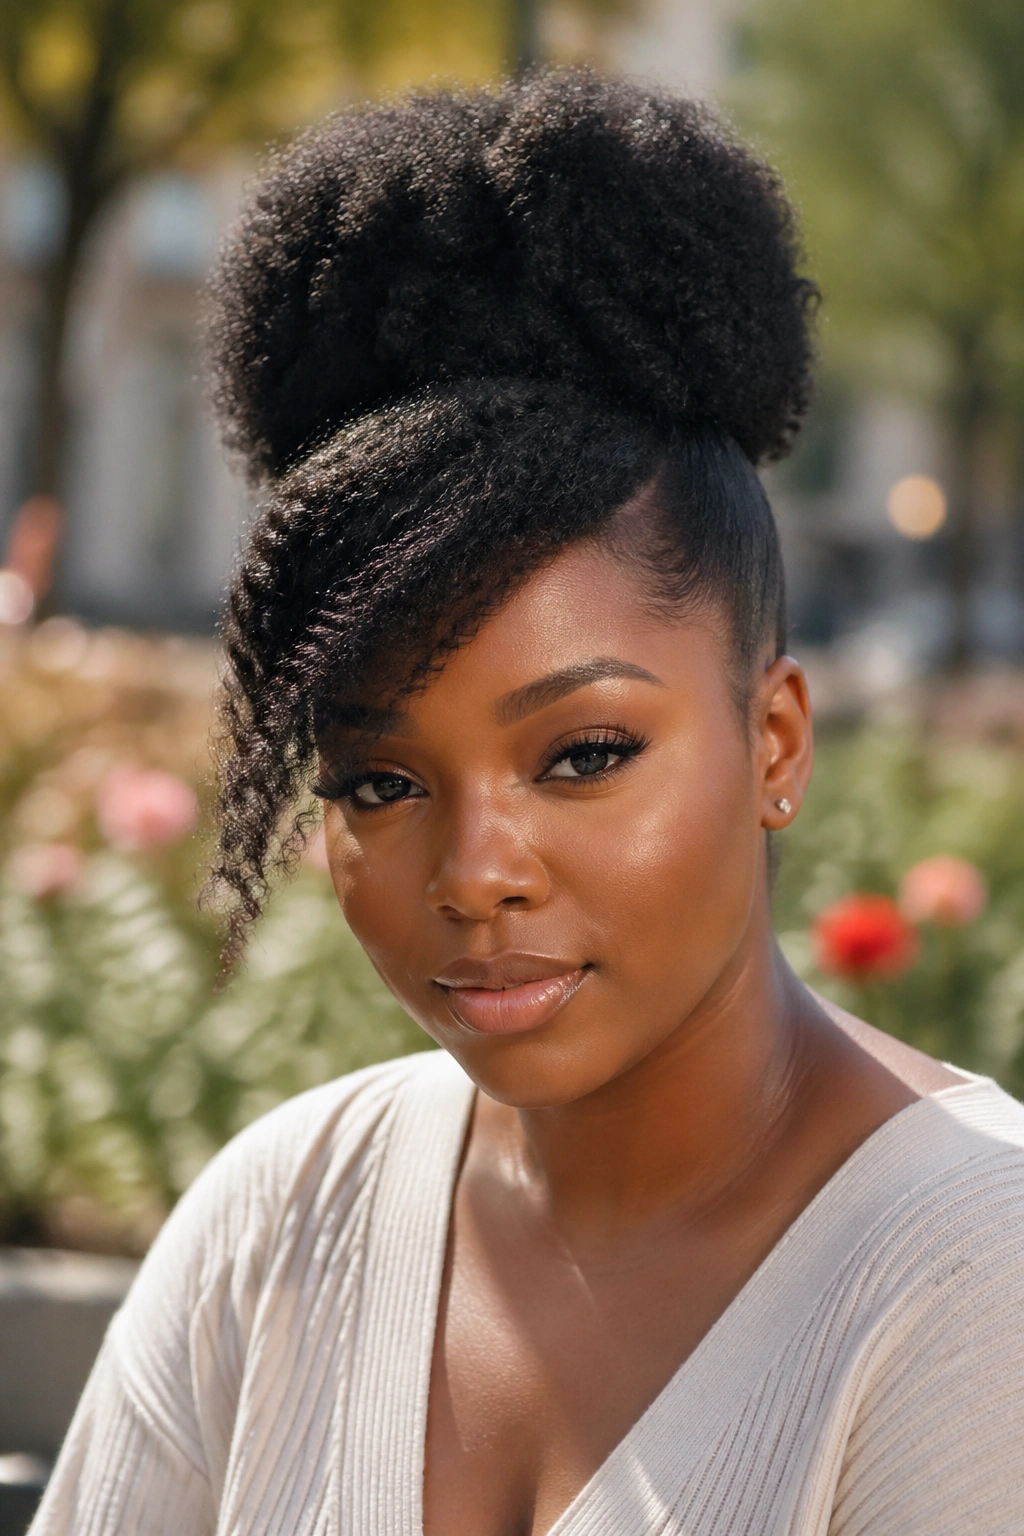
20. Half-Up Ponytail with Dramatic Curl Cluster
Pull the top half into a high pony. Pull the ponytail itself forward over the crown and pin it so the curls from the pony form a dramatic cluster right at the front of the head. Below the pinned cluster, the back section hangs free.
The pinned cluster reads like a decorative accent sitting on top of the head. It’s showy and works best for events where you want attention on your hair.
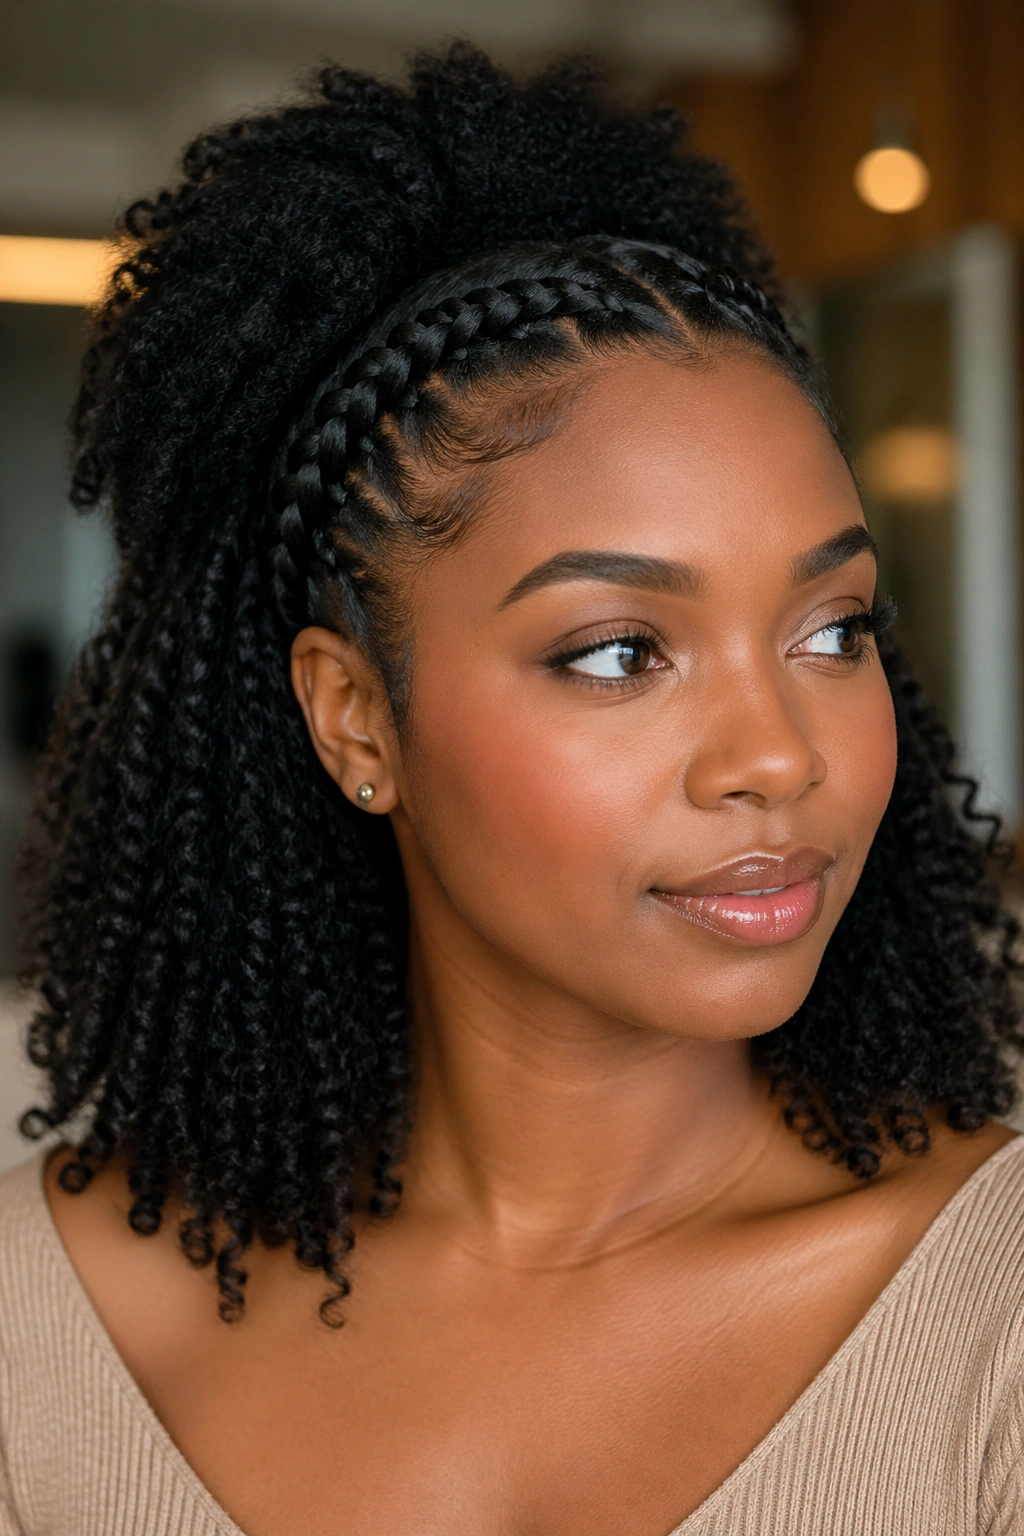
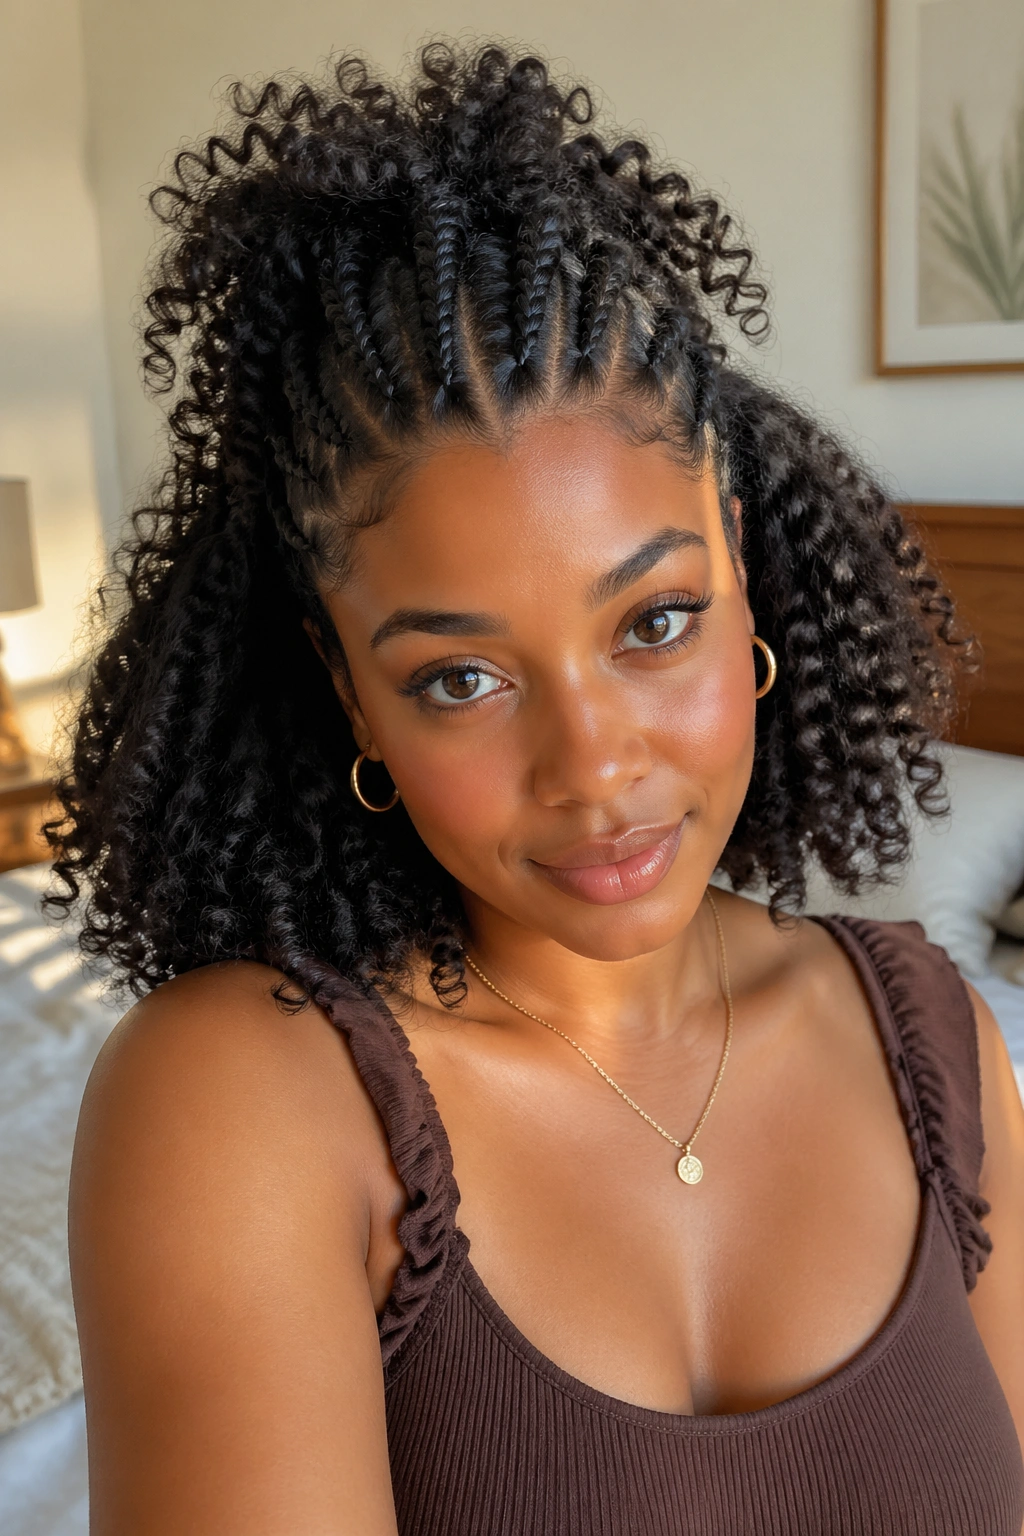
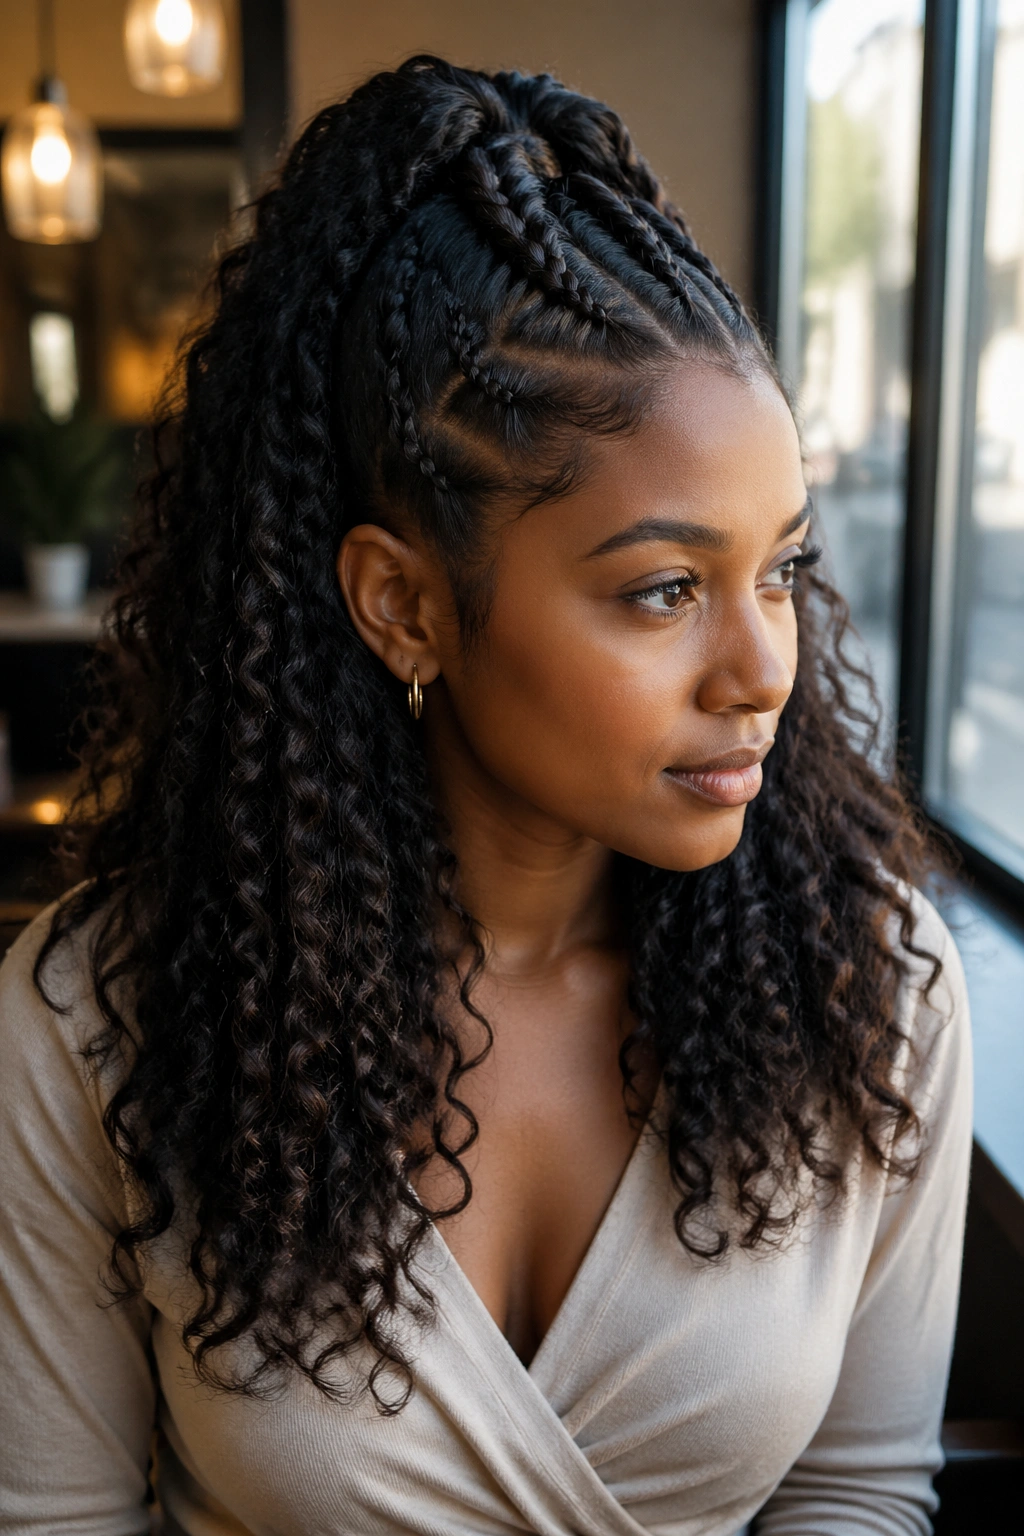
21. Half-Up with Cornrow Front
Tiny cornrows run from the forehead back to the crown, then release into a puff where the rest of the top section is secured. The cornrows create a sleek, architectural front that contrasts with the volume behind.
Three to five cornrows is the sweet spot. Fewer looks underwhelming. More looks too structural.
This is the style I reach for when I want something that photographs well from the front. The cornrows add visible texture to the otherwise soft face frame.
22. Half-Up with Crown Braid Band
A single thick braid runs around the crown of the head like a horizontal band, separating the top section from the loose bottom. Above the band, the top section is pulled into a small puff. Below, the loose curls hang.
The braid band is the architectural element. It creates a clear horizontal line that divides the style into two visually distinct zones.
This one takes practice. Getting the braid band to sit cleanly without slipping is the hardest part. A few bobby pins hidden underneath help.
23. Half-Up with Shaped Afro Below
Rather than leaving the loose section in its natural state, shape it intentionally. Pick the afro out with a wide-tooth pick to a rounded silhouette, or pat it into a specific form — oval, triangular, asymmetric. The shaped afro below becomes as intentional as the secured section above.
Picking the afro is more art than science. Work from the roots, lift gently, and check the shape in a mirror every minute or so. Stop when the silhouette looks right.
This is the fullest, most voluminous version of a half-up. Best for occasions where you want your hair to be the focal point.
24. Half-Up for Very Short TWA Hair
Can you do a half-up on a TWA? Kind of. You pull the top front section — even if it’s just an inch of curls — straight back with a tiny elastic or clip, creating a visual separation between front and back. The back section is still very short, but the pulled-front creates a defined style line that wasn’t there before.
Who This Is For
- Short natural hair, 2 to 4 inches
- TWA owners tired of “just the fro” looks
- People wanting to experiment with half-up styling on any length
Tip from experience: A small claw clip or a ribbon tied around the pulled section works better than an elastic on hair this short. The elastic can pop off if there’s not enough hair to wrap around.
Maintenance Through the Day
Half-ups loosen as you move. A few small adjustments keep the style looking fresh all day.
Carry a spiral elastic in your bag. Not a spare — the same type you’re wearing. If the original shifts, swap it out quickly without unraveling the whole style.
Mist lightly with water and smooth with your palm at lunch. Just the front, just the secured section. The loose back half should stay untouched.
For the loose curls, don’t touch. Every touch frizzes them a little. By end of day they’ll look like you’ve been working hard, which is honest.
Half-Up Styles for Specific Occasions
Work: Classic puff, half-up with braided headband, front twists joined at the back. Anything clean and understated.
Dates: Top knot over loose curls, half-up with deep side part, half-up with flower pin. Styles with a bit of personality without being over-the-top.
Workouts: Messy half-up, triple pony cascade. Styles where movement is expected and helpful.
Weddings: Milkmaid accent, crown braid band, half-up with shaped afro. Styles that photograph dramatically from multiple angles.
Refreshing a Half-Up for Day Two
Half-up styles can absolutely be worn twice if you protect them overnight.
Step one: bonnet. Not negotiable. A satin bonnet that fits over both the puffed section and the loose back half keeps everything from flattening.
Step two: morning spritz. Lightly mist the loose curls with water and a tiny drop of leave-in on your fingers. Shake and re-separate the curls with your fingertips.
Step three: redo the front. Release the top section, re-smooth with a boar bristle brush, and re-secure. This is faster than you think — maybe 3 minutes.
A day-two half-up looks slightly different from day-one, but it still looks intentional. That’s a win.
What to Avoid
Heavy gel on the top section. It will transfer to the loose section and flatten everything.
Thin elastic bands. They slip, they break, they pull on hair. Use spiral coil elastics or fabric scrunchies.
Securing too tight. A tight half-up creates a headache within 90 minutes and can damage the hair at the gathering point. Gather firmly but not painfully.
Touching the loose section. Every touch flattens and frizzes.
The Versatility of the Half-Up
The half-up is the most flexible category in natural hair styling because it doesn’t commit. You can make it formal or casual, tight or loose, smooth or textured, simple or elaborate. The same basic structure supports 24 completely different looks — and I’m certain there are more I haven’t tried yet.
Start with the classic puff if you’ve never done a half-up before. Once that feels natural, work your way through these 24 styles one at a time. By the end, you’ll have a dozen half-ups in rotation and you’ll stop needing to plan your hair more than a few minutes in advance.
That’s the real value of mastering half-up styles. Your hair becomes something you can execute instead of something you have to strategize around.