



Walk into any natural hair community space — online or in person — and the conversation about gel curl styles for natural hair is never far away. Gel is the product that divides naturalistas: some swear by it, some have sworn it off entirely, and most have strong opinions about which formulas are acceptable. But when it’s used correctly, on the right hair, with the right technique, gel curl styles produce some of the most defined, long-lasting, and genuinely beautiful natural hair looks possible. The key is understanding what gel actually does and how to work with it rather than against it.
What Gel Does for Natural Hair Curl Definition
Gel works differently from creams, custards, and leave-in conditioners — understanding that difference is what separates great gel curl results from mediocre ones.
Creams and custards provide moisture, conditioning, and soft definition. They make the hair feel good and look defined. But they don’t create hold on their own — without something to lock that definition in place, cream-defined curls can lose their shape within hours, especially in humidity.
Gel creates a cast. As the water in the gel evaporates during drying, the polymers in the formula form a film around each curl — a cast that holds the curl in its defined shape through hours of wear, through humidity, through movement. This is why gel-defined curls last longer than cream-only styles. The cast is doing protective work around each strand.
The cast can feel crunchy or stiff at first — this is normal and correct. It’s not a sign that you’ve used too much gel or that the style has gone wrong. You scrunch the crunch out (also known as SOTC — scrunching out the crunch) after the hair is fully dry by gently squeezing sections upward with your palms to break the cast and reveal the soft, defined curls underneath.
Choosing the Right Gel for Your Hair Type
Not all gels work the same on every texture, and choosing the wrong one is one of the most common gel curl styling mistakes.
Alcohol-based gels — the kind with denatured alcohol or SD alcohol high in the ingredients list — tend to dry out natural hair and cause flaking. These are generally not the best choice for natural hair styling. Some alcohols (like cetyl alcohol or stearyl alcohol) are conditioning rather than drying, but the quick-evaporating alcohols are the ones to watch out for.
Water-based gels with glycerin are the most popular choice in the natural hair community because glycerin is a humectant — it attracts moisture from the air — which keeps the hair hydrated under the gel cast. In humid climates, glycerin-based gels are exceptional for natural hair. In very dry climates, the glycerin can sometimes draw moisture from the hair rather than from the air, so naturals in low-humidity environments may prefer glycerin-free formulas.
Heavy, thick gels work well for dense, coarse textures that need significant hold to maintain definition. Lighter, more fluid gels suit finer or lower-density textures better — they provide hold without weighing the curls down.
The LOC and LCO Methods with Gel
Gel works best when it’s the last product applied in a layered system — not the only product. Applying gel directly to dry or minimally moisturized hair creates stiff, defined curls that lack the plumpness and moisture of a well-layered gel style.
The LOC method (liquid, oil, cream) adds moisture first, then a sealant, then a cream for definition — and gel goes on top of all of this as the final step. The oil beneath the gel creates a barrier that prevents the gel from drying the hair out as it sets the cast.
The LCO method (liquid, cream, oil) reverses the last two steps and works better for high-porosity hair. With this method, the gel still goes on last over all other layers.
Some naturals use a modified approach: liquid, cream, gel — skipping the oil entirely. This works well for finer textures where the oil would make the gel difficult to distribute and the overall style too heavy.
The most important principle is that the hair needs to be wet — genuinely wet, not just damp — when the gel goes on. Gel applied to wet hair distributes evenly and sets cleanly. Gel applied to dry or barely damp hair clumps, flakes, and produces patchy, uneven definition.
Avoiding Common Gel Curl Mistakes
Gel curl styling has a few very specific failure modes that are easy to avoid once you know about them.
Applying to hair that’s too dry is the most common mistake. Gel needs water to activate and distribute properly. If your hair is less than thoroughly wet when you apply gel, you’ll get clumpy, uneven results with visible product buildup.
Using too much gel in one application creates buildup that weighs curls down, causes flaking, and can attract lint and debris. Start with less than you think you need — you can always add more. A dime to quarter-size amount for each section is typically enough.
Not scrunching out the crunch leaves people thinking the gel didn’t work when actually it worked perfectly — the crunch is the style working as intended, and it needs to be broken with a gentle scrunch once the hair is fully dry.
Touching the hair while it’s still drying is fatal to gel curl definition. Every touch disrupts the cast as it’s forming and introduces frizz. Set the style, then leave it alone until it’s 100% dry.
Building the Perfect Gel Curl Routine
The most successful gel curl stylists have a consistent routine rather than a haphazard approach. Knowing exactly what you’re going to do before you step into the shower is what produces consistent results.
Start with a clarifying shampoo every few wash days — gel builds up on the hair and scalp faster than most other products, and that buildup prevents new product from working properly. A monthly clarifying wash is the minimum; every two weeks is better for regular gel users.
Deep condition every wash day without exception. Gel styling is drying if the moisture foundation isn’t solid — the cast holds curl shape beautifully, but it can also hold moisture out if the hair isn’t already well-conditioned before the gel goes on.
1. Classic Gel Curl Wash-and-Go
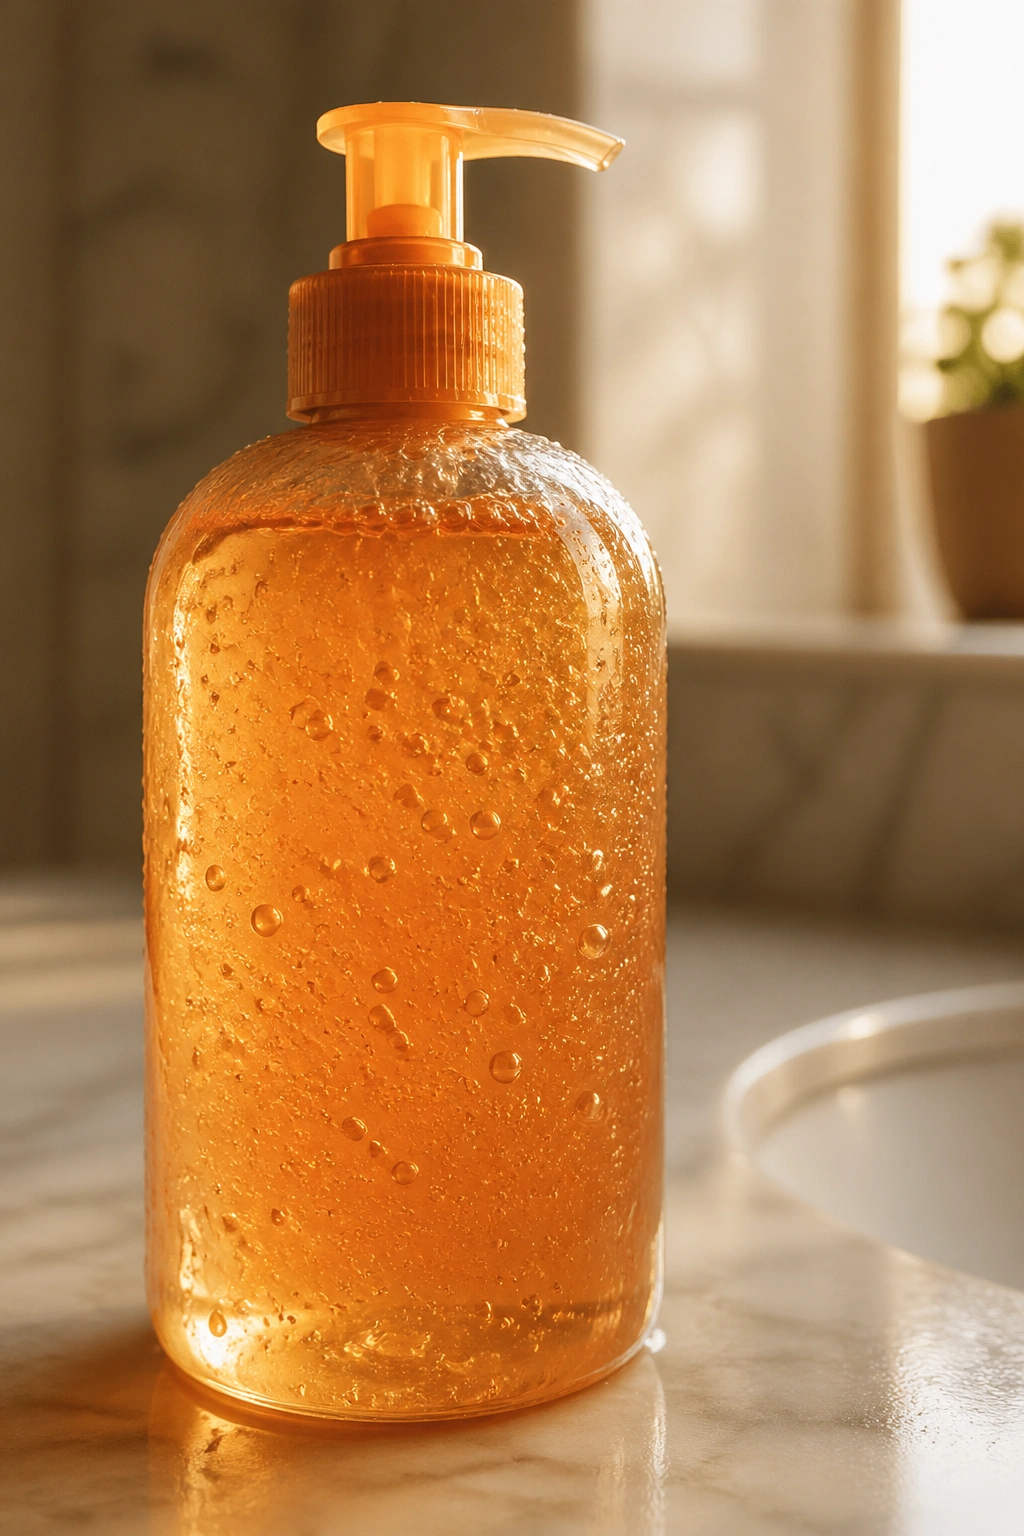
The gel wash-and-go is the most fundamental gel curl style — apply leave-in conditioner to wet sections, layer a cream on top, then seal everything with a generous application of gel. Rake or scrunch through each section to distribute evenly, then leave the hair completely alone to dry.
The magic happens during drying. The gel cast forms around each curl, holding its shape as the water evaporates. Once fully dry — completely dry, not just surface-dry — scrunch gently with your palms to break the cast and reveal defined, non-crunchy curls underneath.
Classic Gel Wash-and-Go Steps
- Deep condition thoroughly
- Apply leave-in to soaking-wet sections
- Layer curl cream on top
- Apply gel and distribute by scrunching or raking
- Diffuse or air dry completely
- Scrunch to break the cast once fully dry
2. Gel Defined Wash-and-Go with Shingling
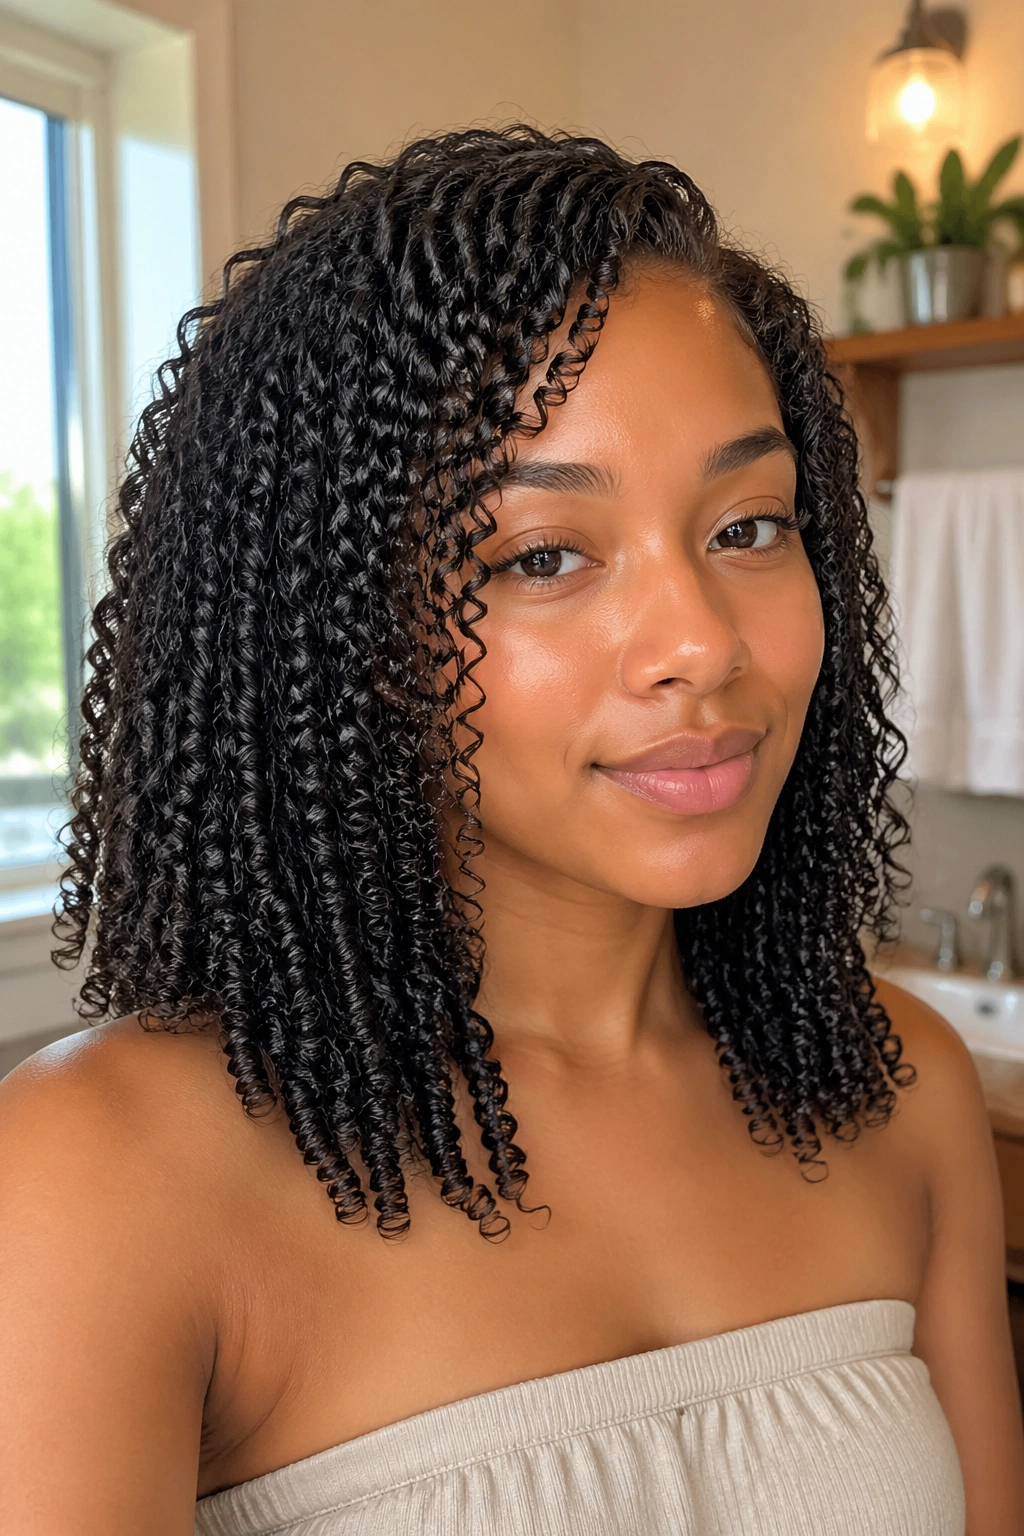
Shingling technique combined with gel produces the most precise, defined wash-and-go possible. Apply your products to each thin section — one to two inches wide — and smooth them from root to tip. The gel goes on last, distributed with a fine-tooth comb or your fingers, coating every strand evenly.
Each shingled section will clump with its neighbors as the hair dries, forming groups of defined, gel-cast curls. The result is a level of definition that raking through product alone can’t achieve.
3. Gel Twist-Out
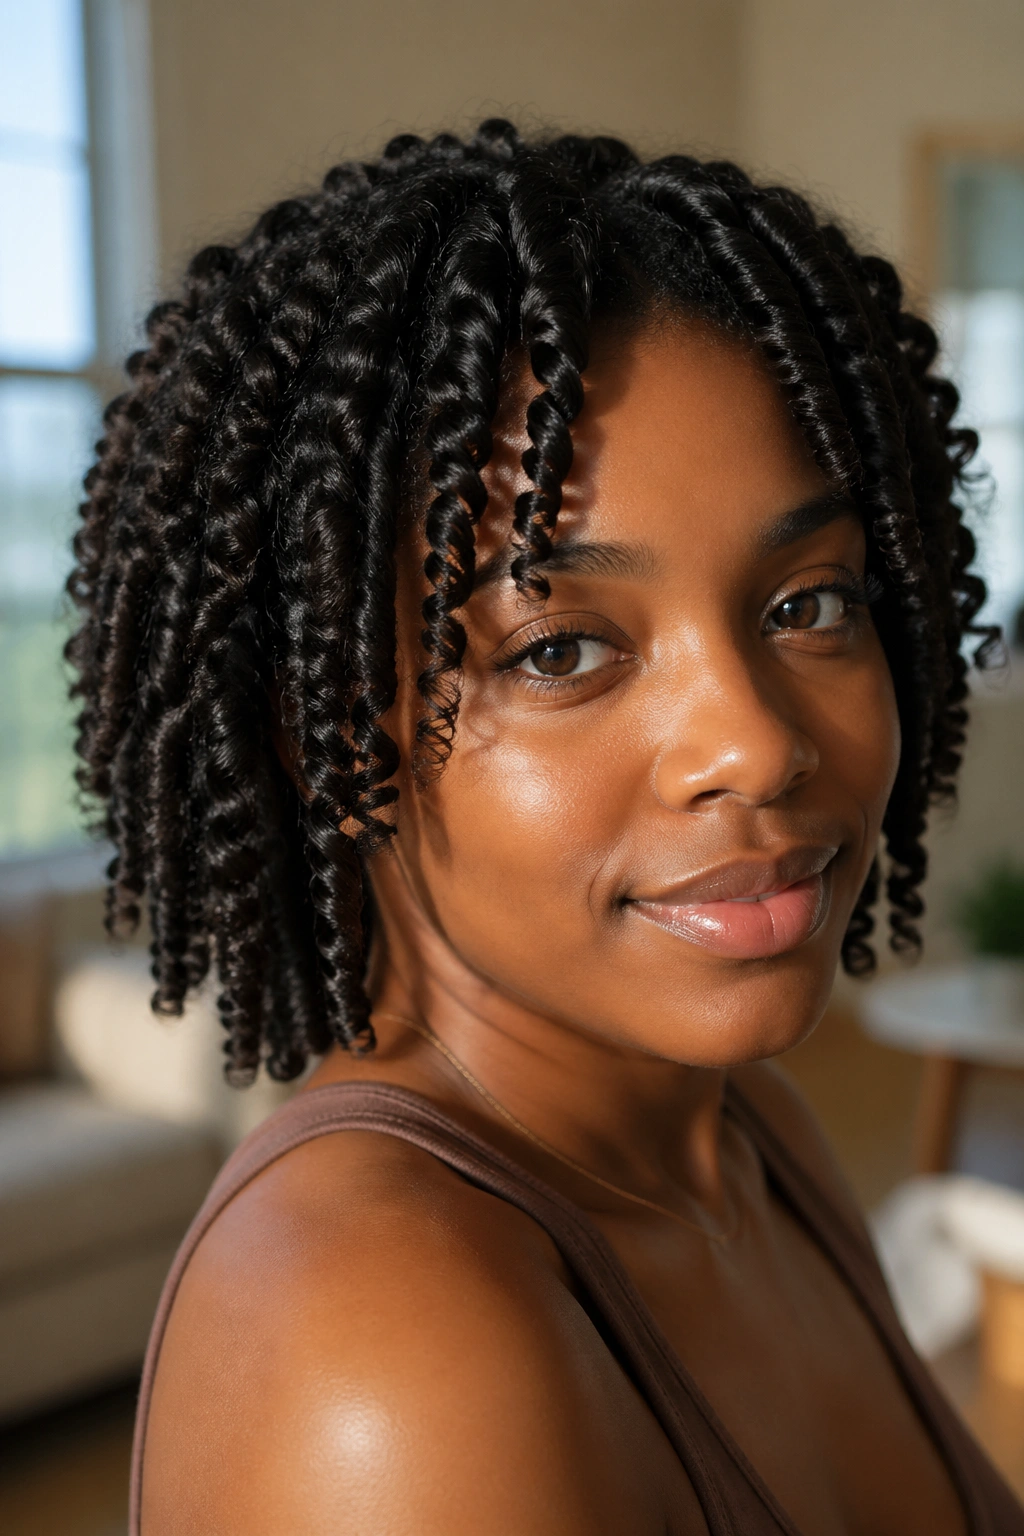
Add gel as the final product layer before twisting for a twist-out with significantly better definition and longevity than a cream-only version. The gel sets the pattern of the twist firmly, which means the resulting twist-out curl pattern is crisper and more defined.
Gel Twist-Out Method
- Apply leave-in to each section
- Add curl cream and distribute
- Apply a thin layer of gel and twist
- Let dry completely — overnight is ideal
- Unravel slowly and scrunch gently to break the gel cast
The gel cast in the twist-out needs to be broken just like in a wash-and-go — scrunch the twist-out sections with your palms to soften the curl and remove the crunch.
4. Gel Braid-Out
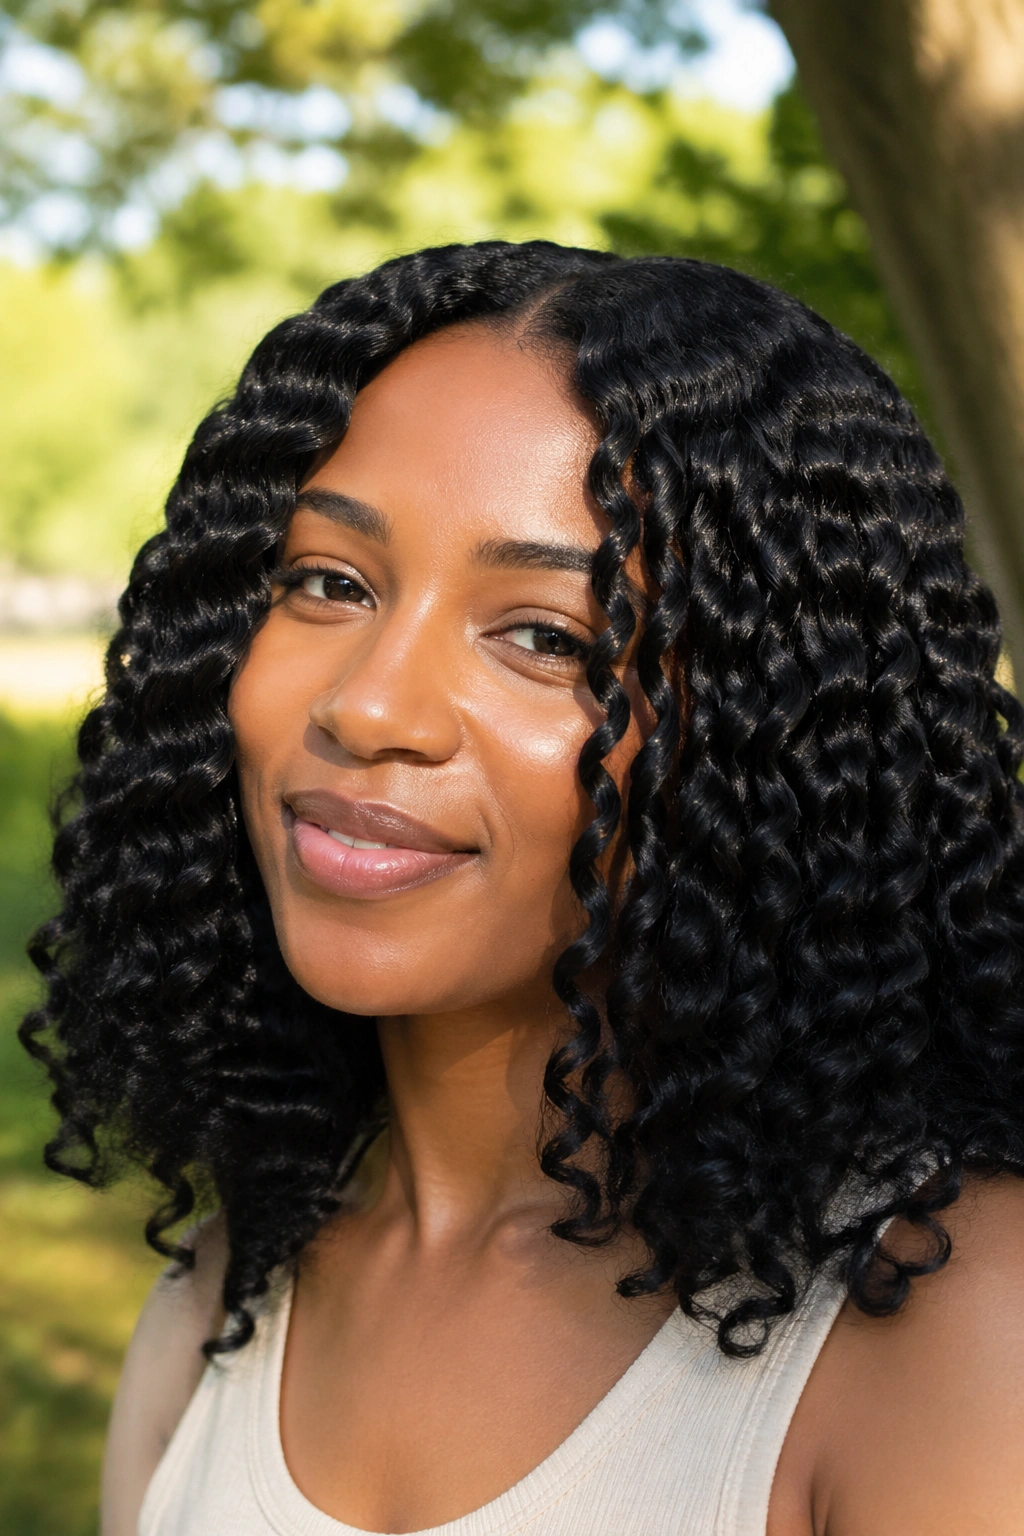
A gel braid-out produces a braid-out wave pattern with exceptional definition and staying power. Apply leave-in, cream, and then gel before braiding each section. The gel cast in the braid means the wave pattern sets firmly overnight and emerges with crisp, shiny definition.
This is one of the longest-lasting braid-out styles you can achieve — the gel-defined braid-out wave can last four to five days with minimal refreshing.
5. Gel Defined Finger Coils
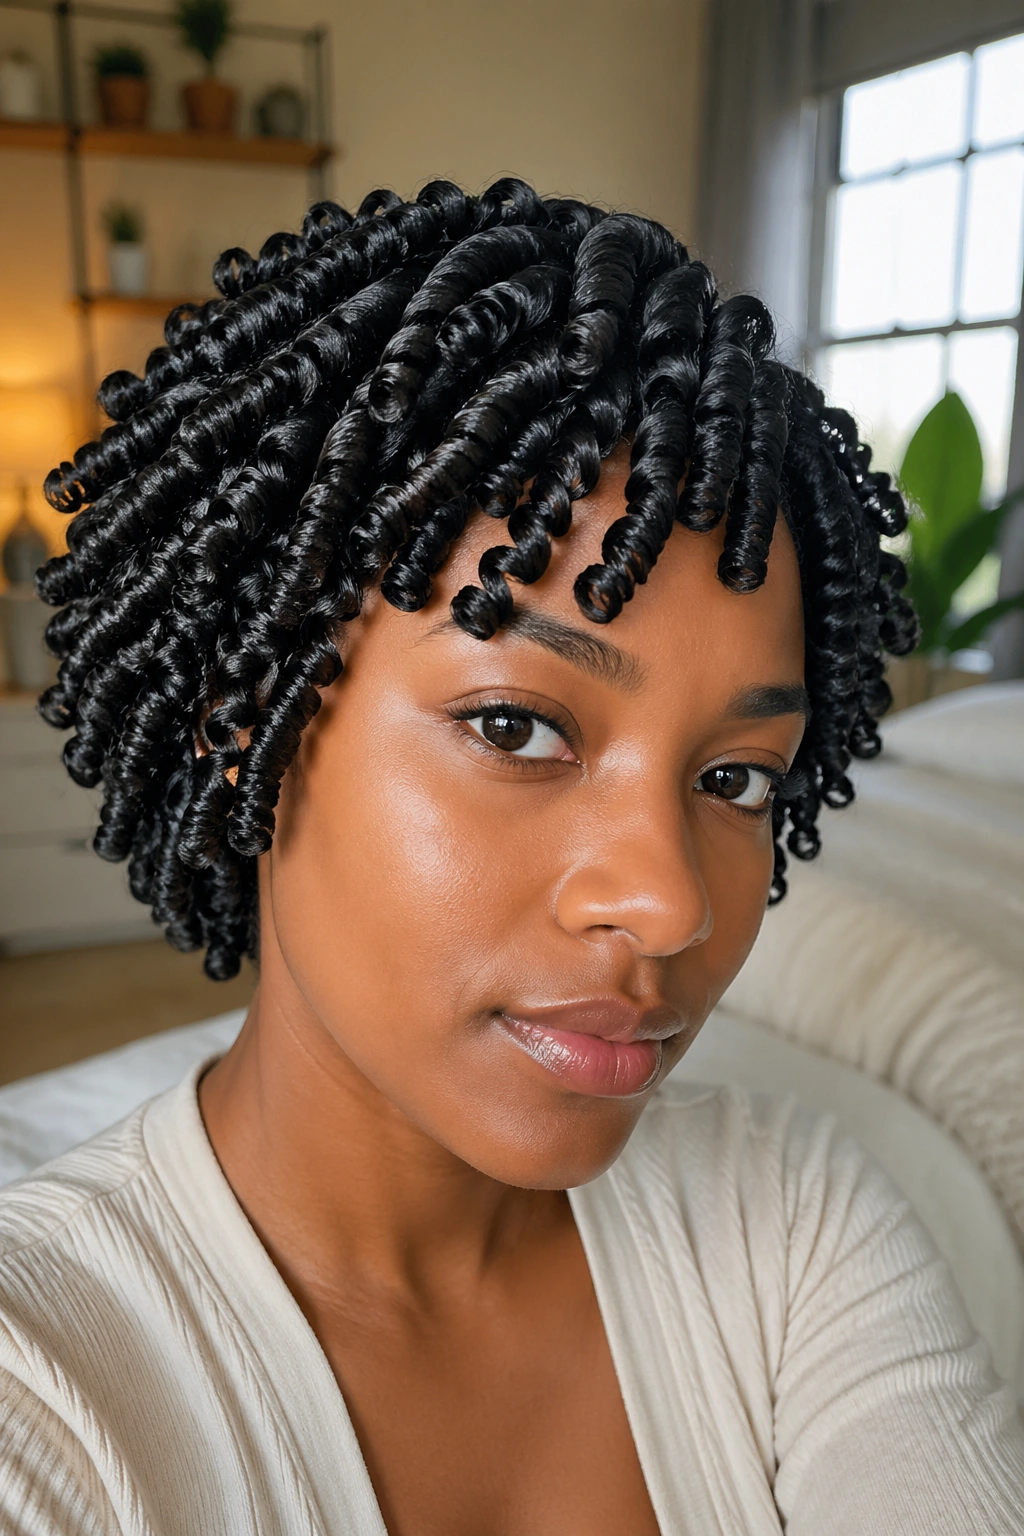
Gel is the secret weapon for finger coils that hold their shape for a week rather than a day. After applying your leave-in and curl cream, add gel to each section before finger coiling. The gel cast forms around each coil as it dries, creating a perfect, locked-in spiral that holds through days of wear and multiple sleep cycles.
Scrunch the coils gently after full drying to break the cast and reveal the defined, non-crunchy coils underneath.
6. Gel Bantu Knot-Out
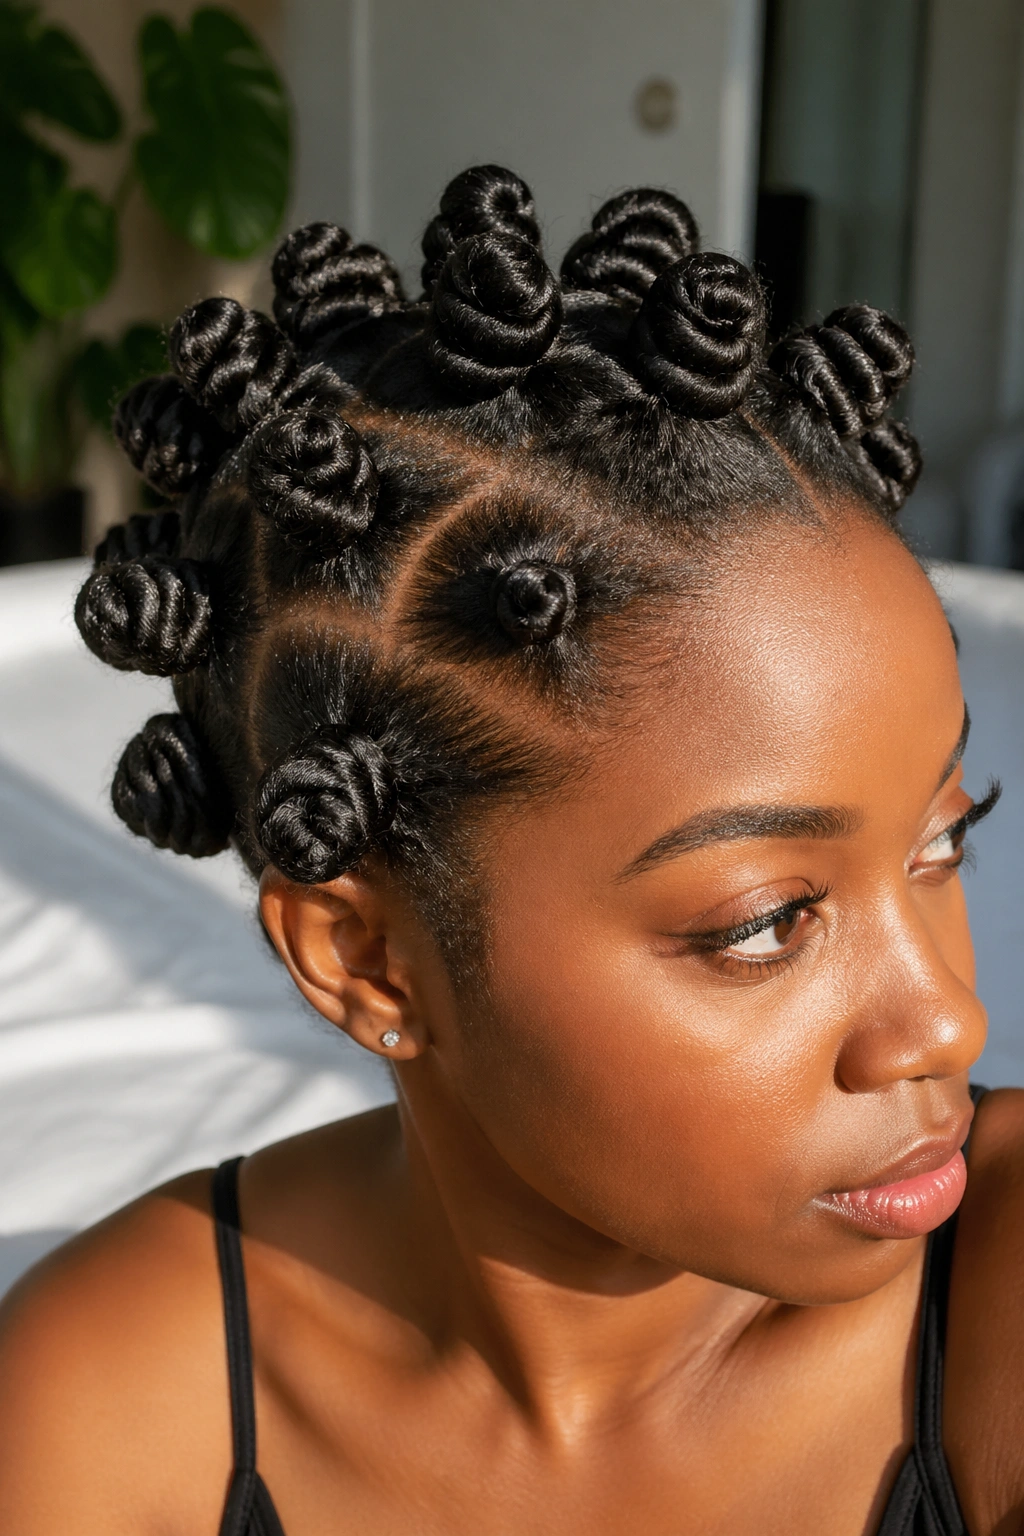
Set your hair in Bantu knots over a base of leave-in, cream, and gel for a knot-out with remarkable definition. The gel cast inside each knot means the spiral pattern is set firmly by the time you unravel in the morning.
This produces some of the most defined spiral patterns possible from a no-heat set method. Apply extra gel to the very tips of each section before setting the knot — the ends benefit the most from extra hold.
7. Gel Curl High Puff
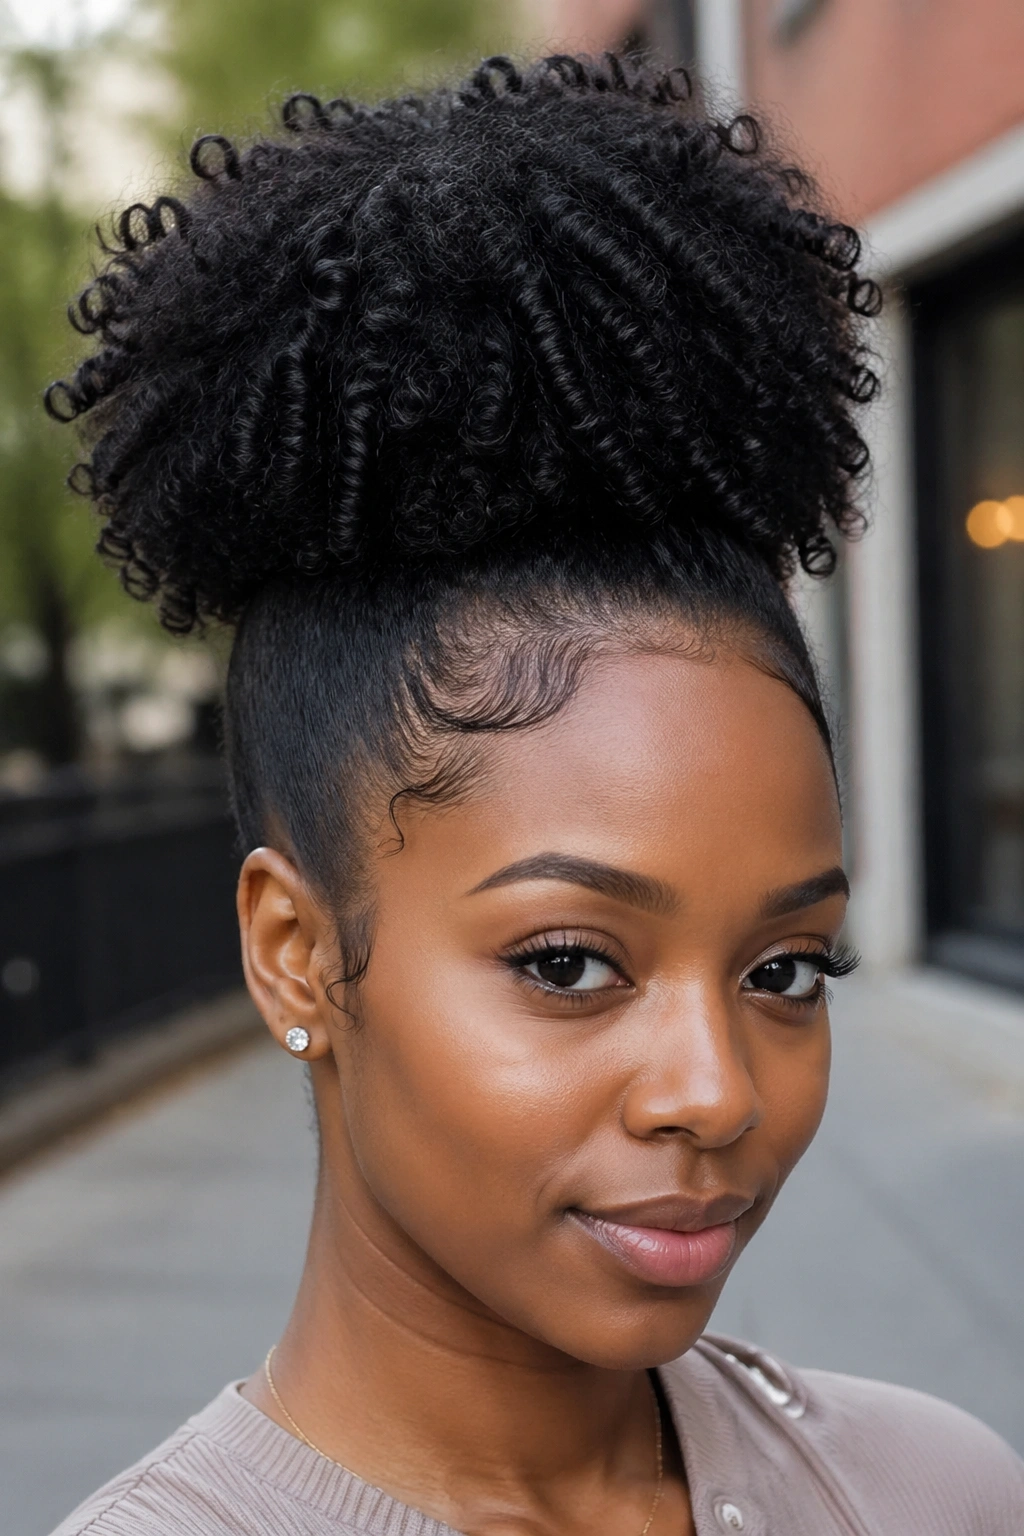
A gel curl wash-and-go gathered into a high puff is one of the most polished everyday natural styles. The gel definition keeps the puff from becoming a frizzy mess — each curl maintains its individual shape even after being gathered.
Use edge control combined with gel on the edges for a crisp, defined hairline that complements the textured puff above.
8. Gel Curl Defined Edges Style
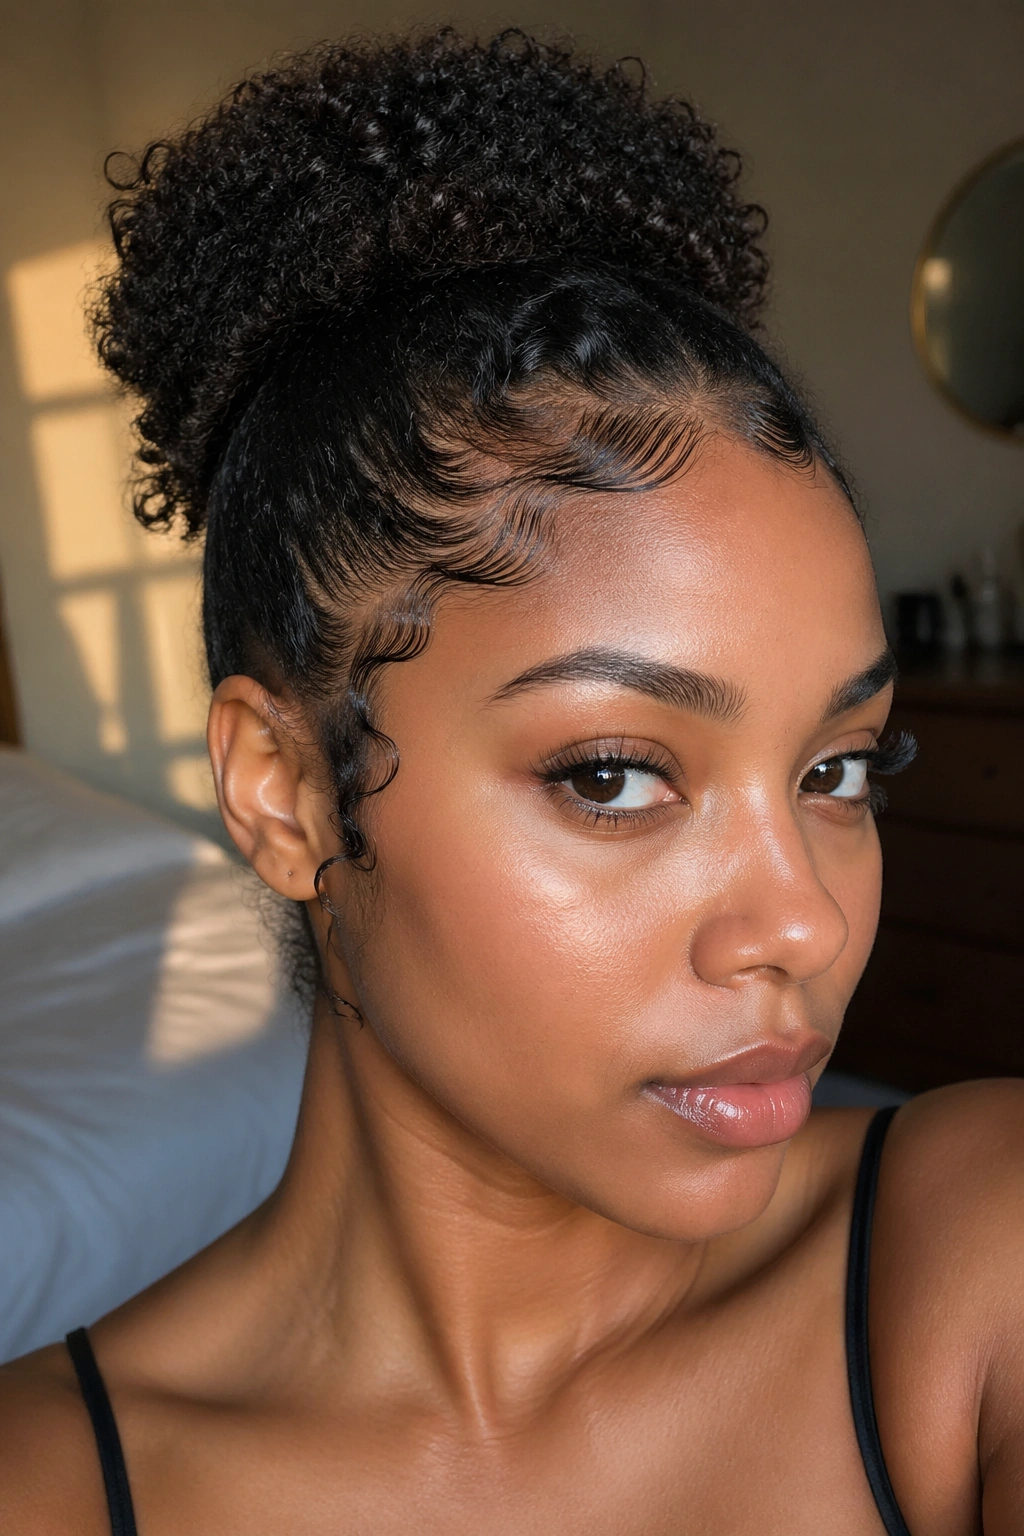
Sometimes the style is all about the edges. Apply gel — or a gel-based edge control — with a fine-tipped brush along your hairline and create precise, deliberate wave patterns with your baby hairs. This level of edge definition elevates any natural hair style instantly.
Well-defined edges are the finishing touch that separates a good natural hair look from a great one. Use a water spray, brush, and gel to achieve crisp, defined wave patterns — swirls, swoops, or straight-ahead waves — and set with a light-hold spray.
9. Gel Curl Tapered Style
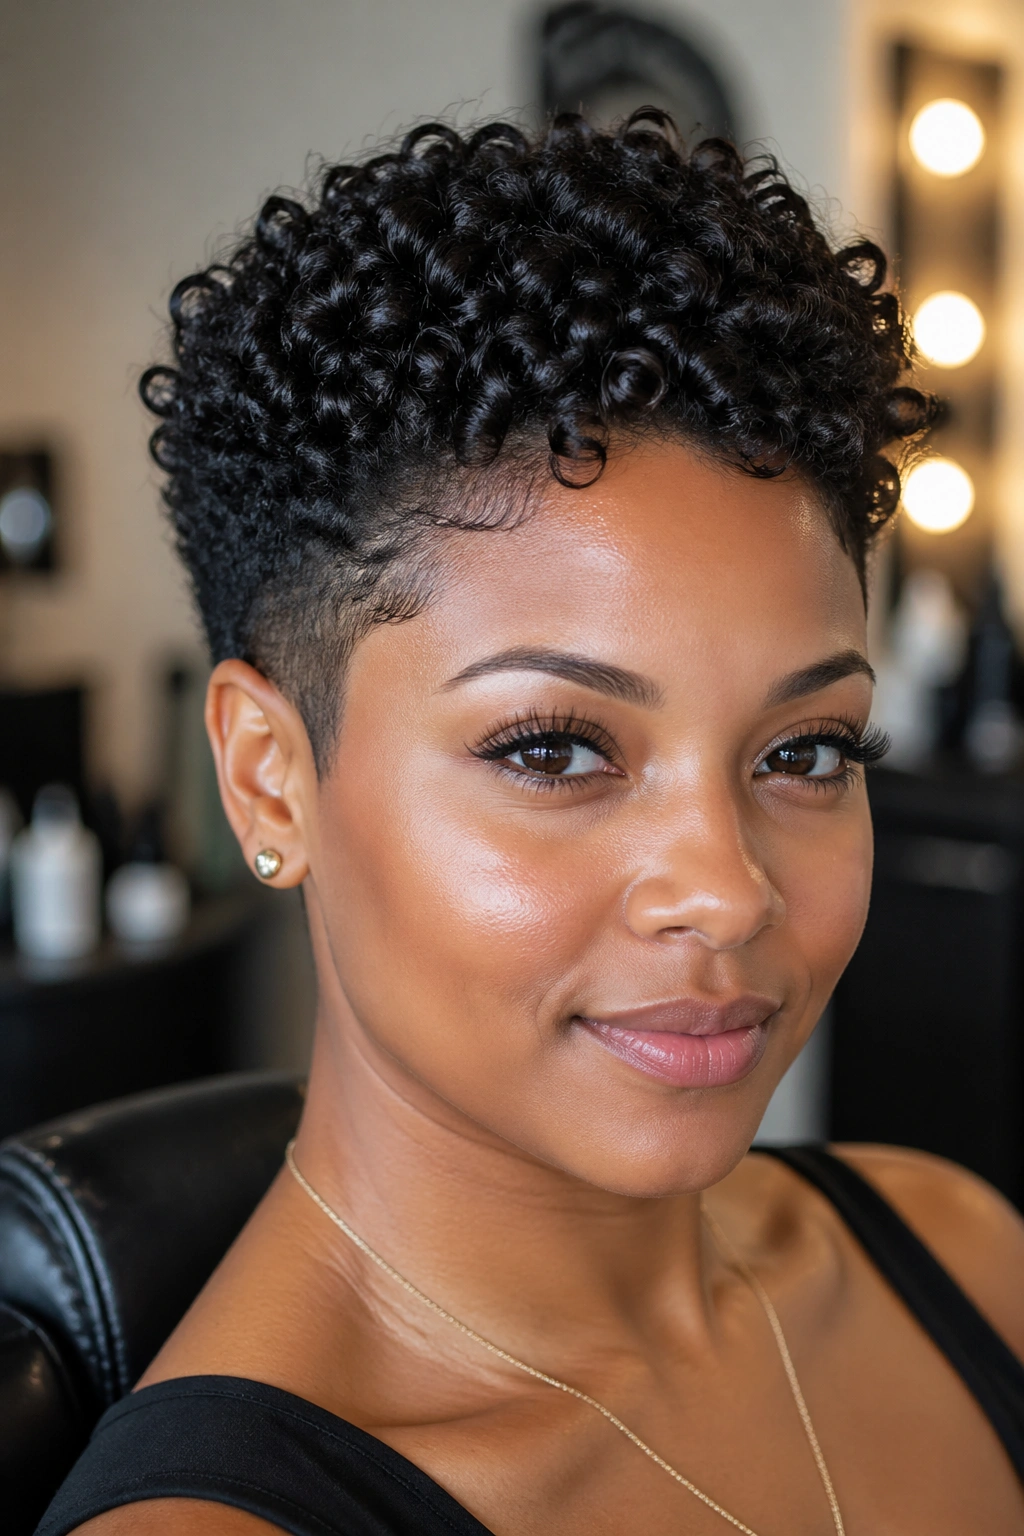
A tapered cut with gel definition gives the top section precise, defined curls that sit in sharp contrast to the shorter sides. Apply your gel carefully to the top section, distribute with a comb or fingers, and let the cast form as it dries.
The gel cast on a tapered style keeps the top section defined and shapely throughout the day, preventing the puffing and volume loss that cream-only styles sometimes show by midday.
10. Gel Curl Mohawk
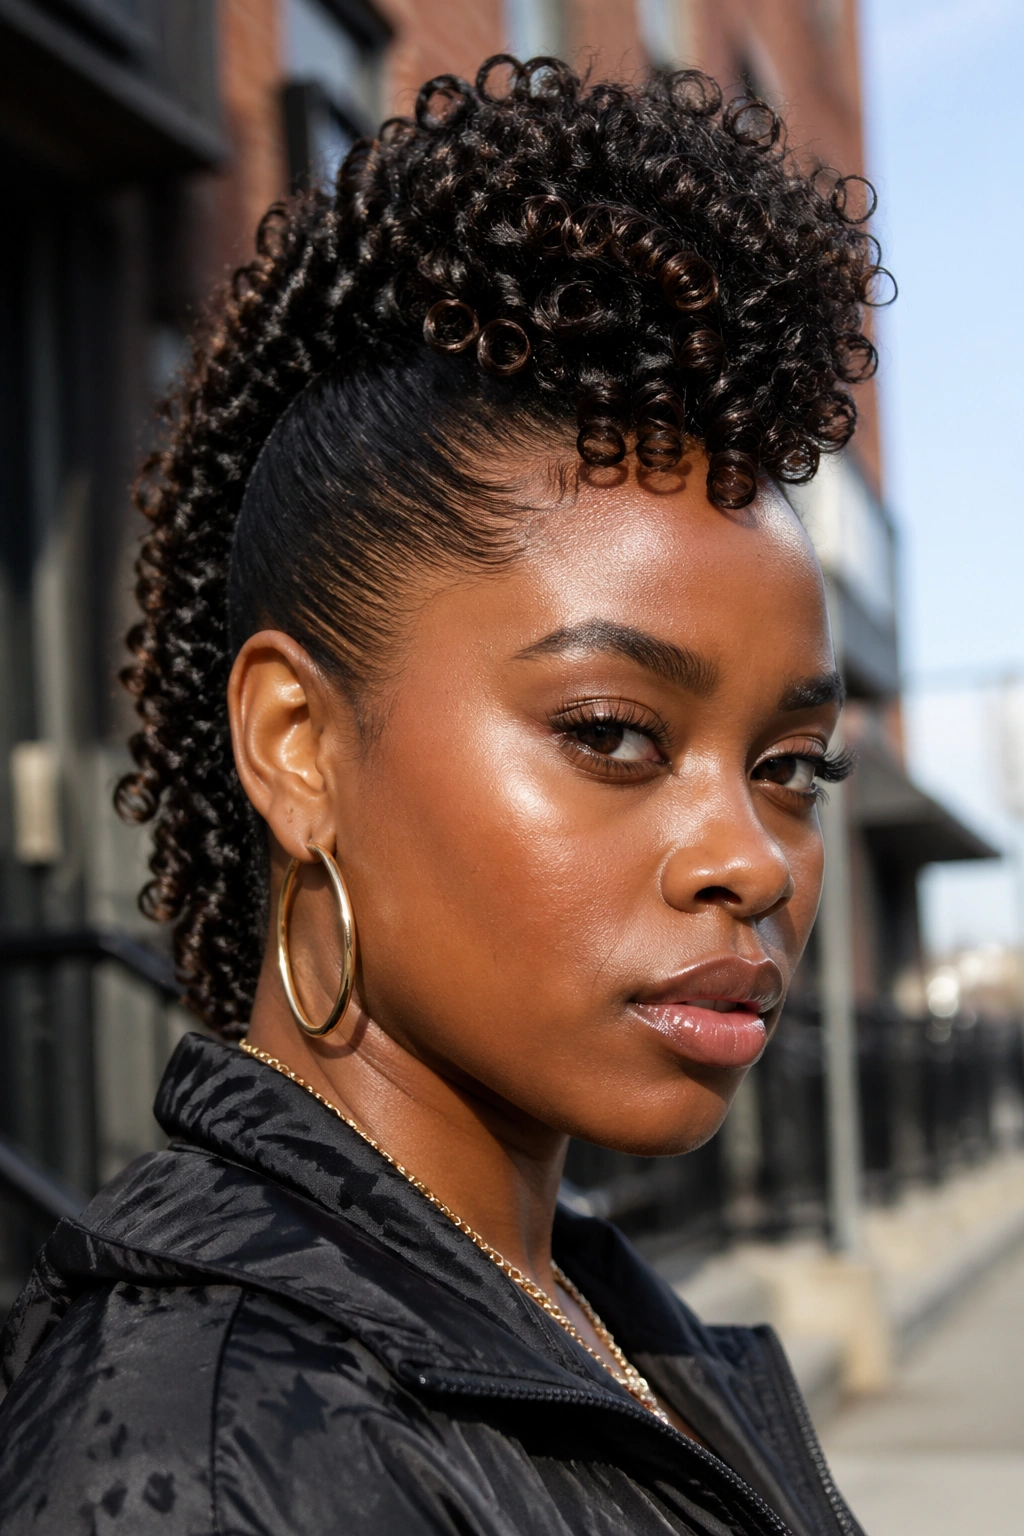
After completing a gel curl wash-and-go and waiting for full drying, pin or braid the sides flat and let the center section stand in a mohawk formation. The gel-defined curls in the center strip have precision and definition that makes the mohawk look deliberate and polished.
Apply extra gel to the center strip during styling — this is the most visible section and benefits from extra product attention.
11. Gel Curl Frohawk
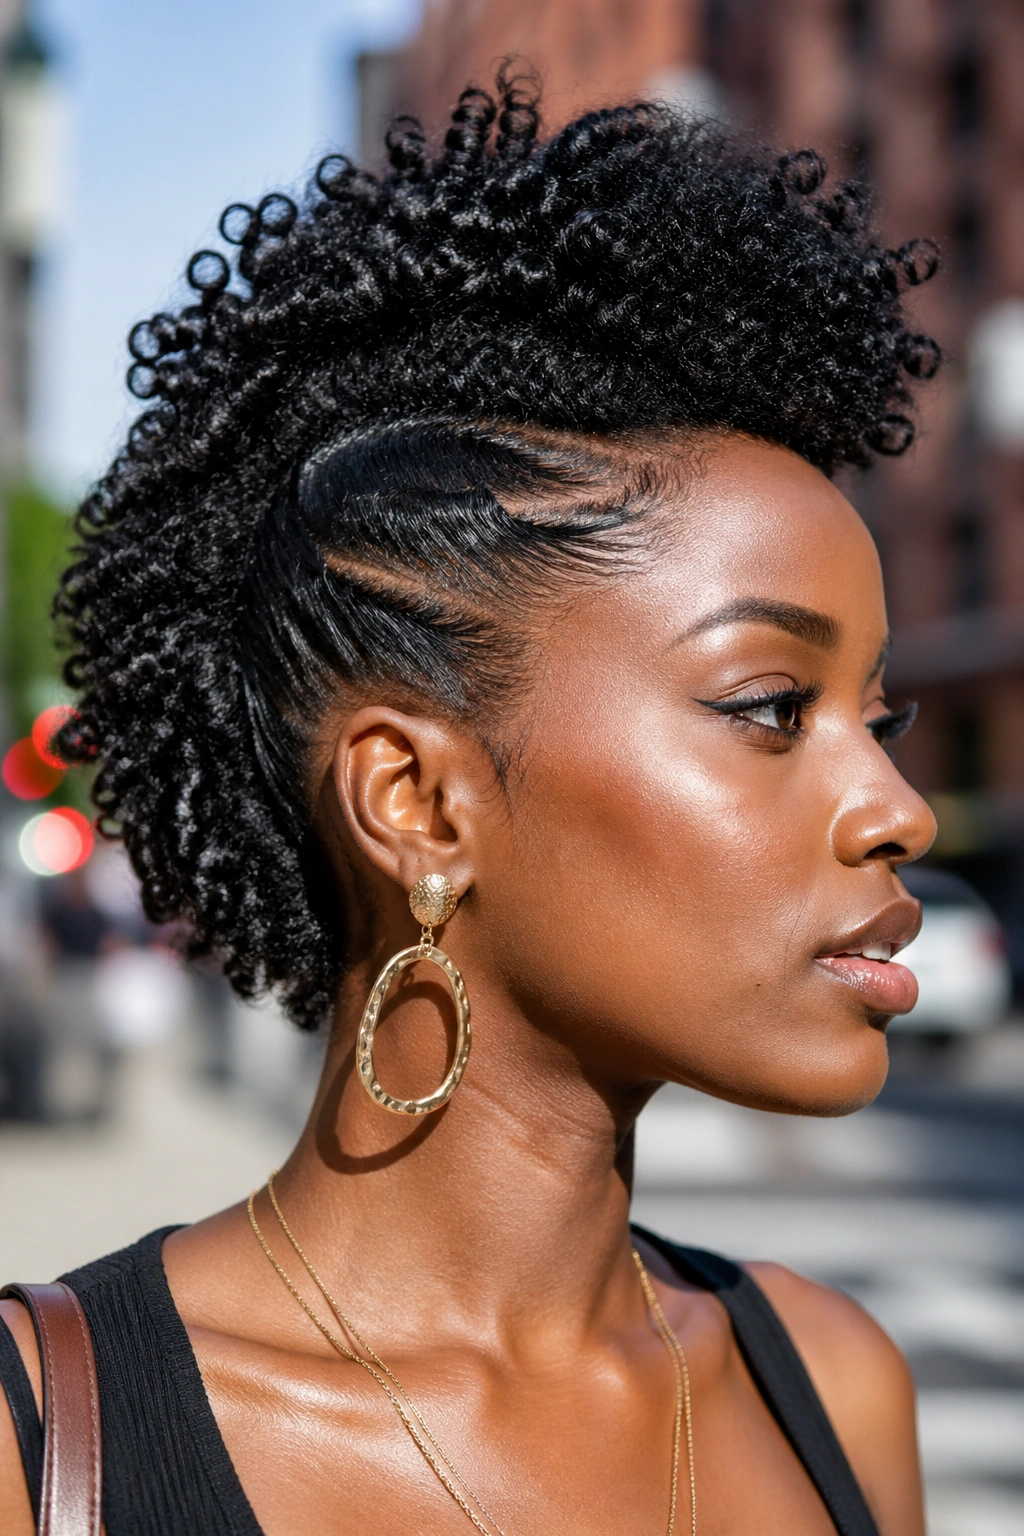
The gel frohawk sweeps the sides upward and in toward the center, creating a fan of hair that builds into the top section. Gel-defined curls in the swept sections have a graphic, textured quality that photographs beautifully.
A light mist of shine spray over the fully dry gel frohawk gives the style a polished, editorial finish.
12. Gel Curl Side Part Style
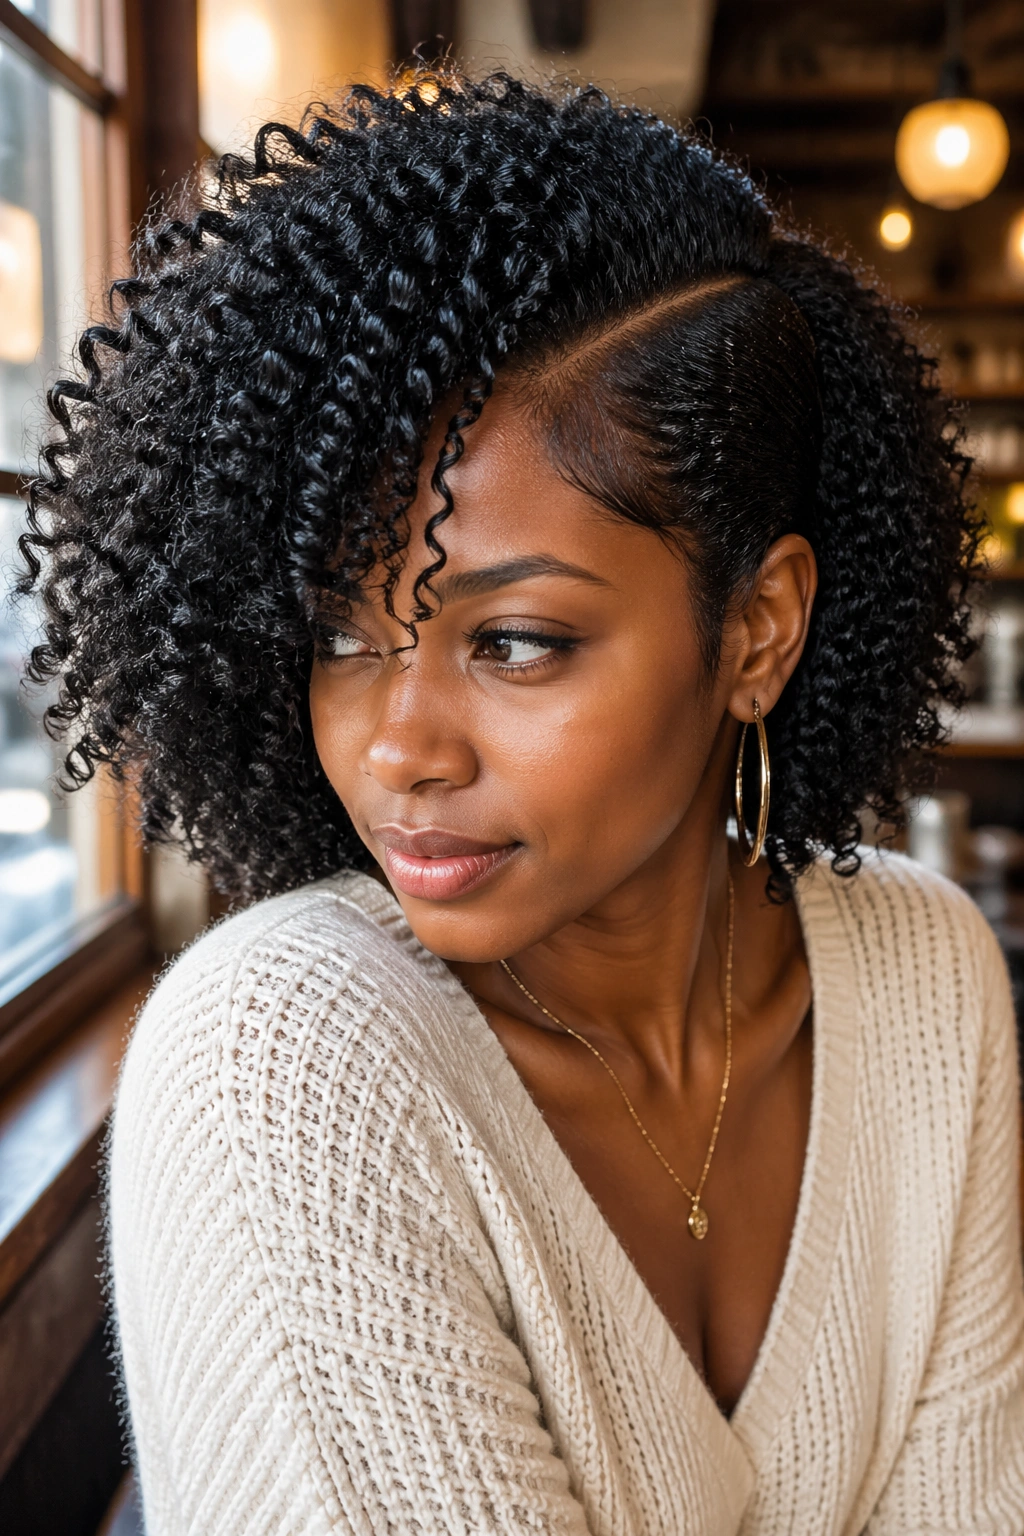
Create a deep side part with a rat-tail comb after your gel curl style is complete. Use a little extra gel along the part line to keep it crisp throughout the day. Sweep the heavier side forward and the lighter side back for a dramatic, asymmetric silhouette.
The gel-defined curls maintain their individual shape on both sides of the part rather than puffing into a unified mass — which is what makes this style look so intentional.
13. Gel Curl Half-Up Half-Down
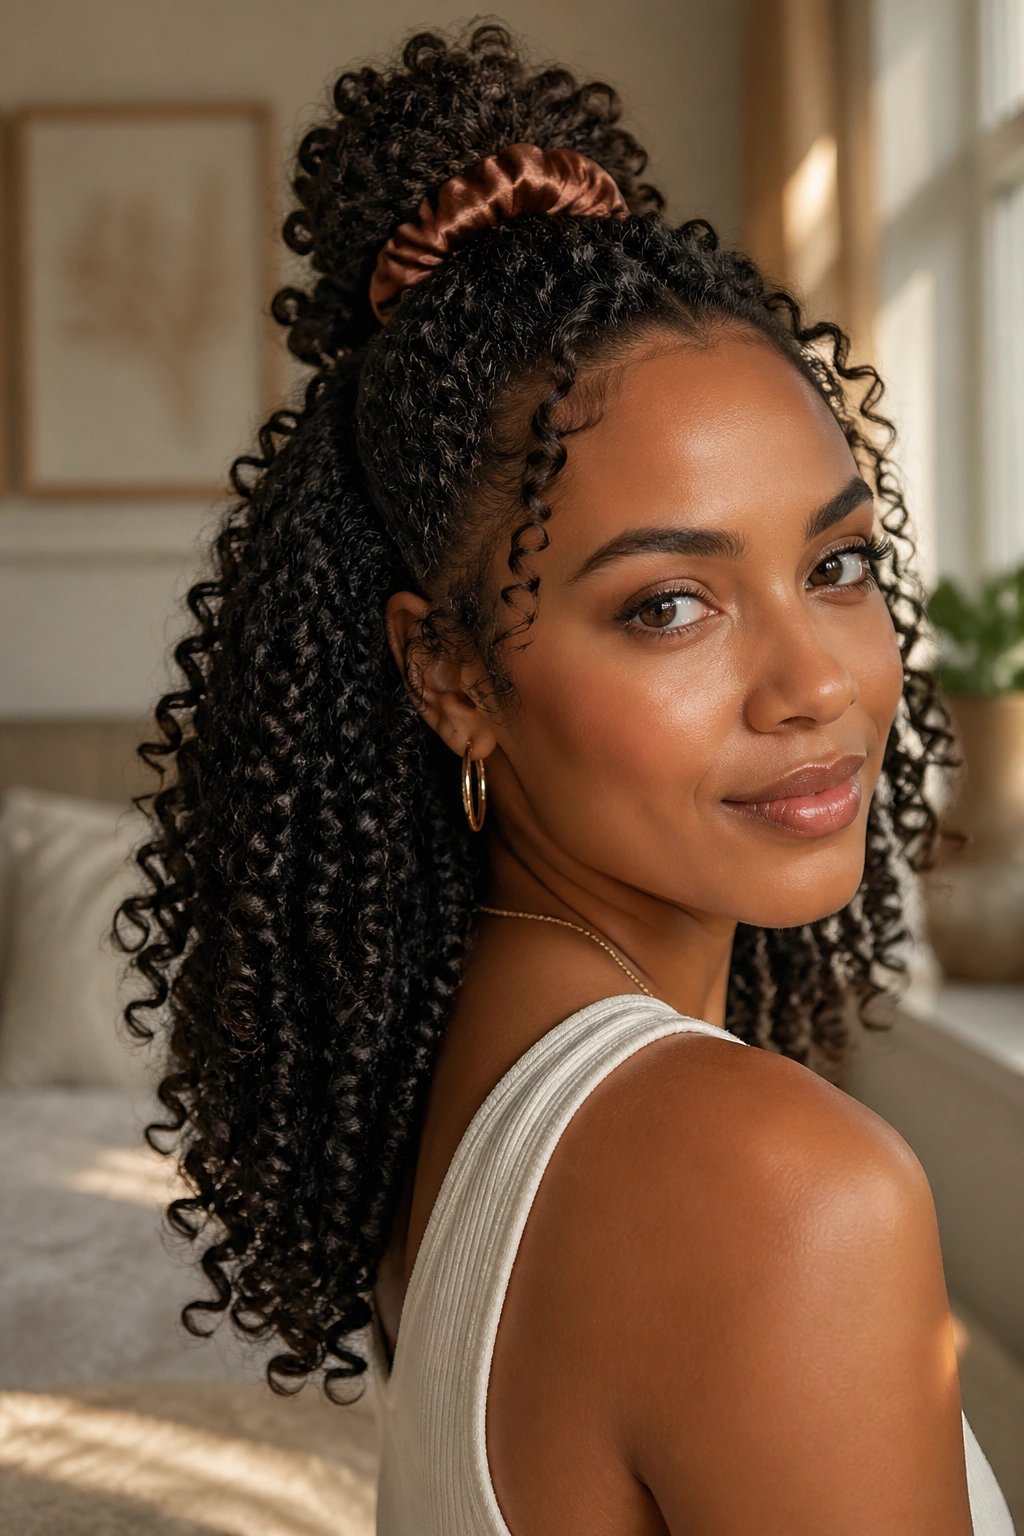
Let your gel curl wash-and-go fully dry and the cast break, then gather the top section into a half-up style. The gel definition in the free-hanging bottom section makes the hanging curls look defined and purposeful rather than randomly textured.
Use a satin scrunchie for the upper section and allow a few curls to fall forward at the temples.
14. Gel Curl Updo
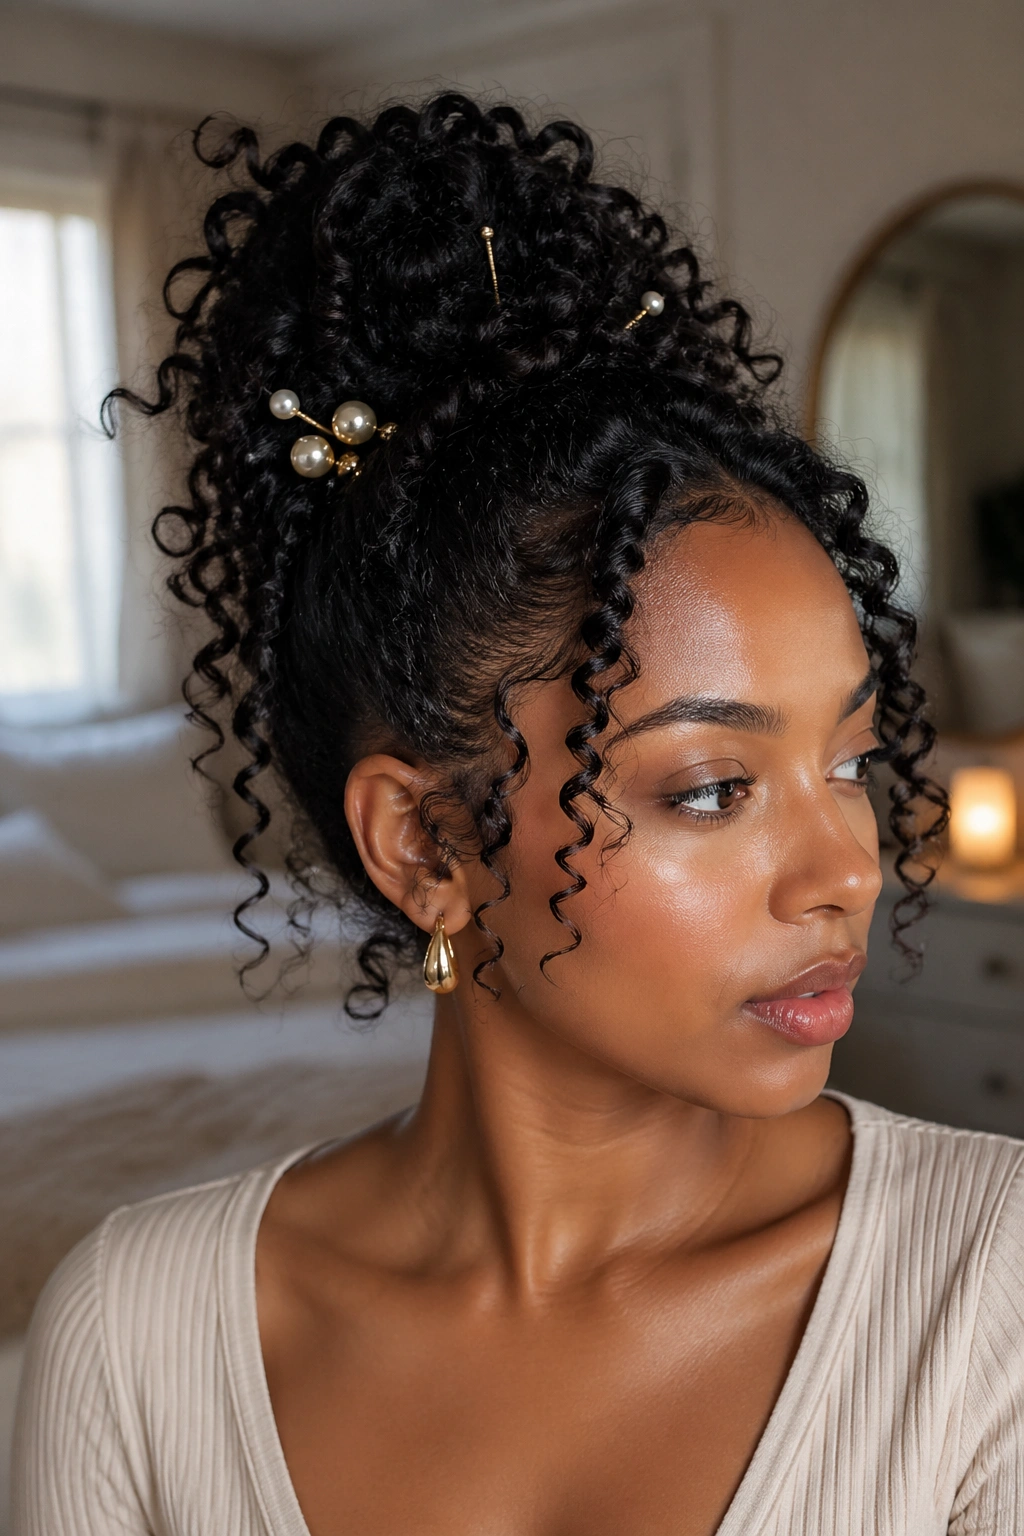
Pin gel-defined curls into a loose updo where individual curls are still visible at the perimeter. The gel cast ensures that even the curls being moved and pinned maintain some definition — so the updo has texture and character rather than looking like an undefined mass of hair.
Add decorative accessories — gold pins, pearl clips — to enhance the updo’s formal appeal.
15. Gel Curl Defined Bob
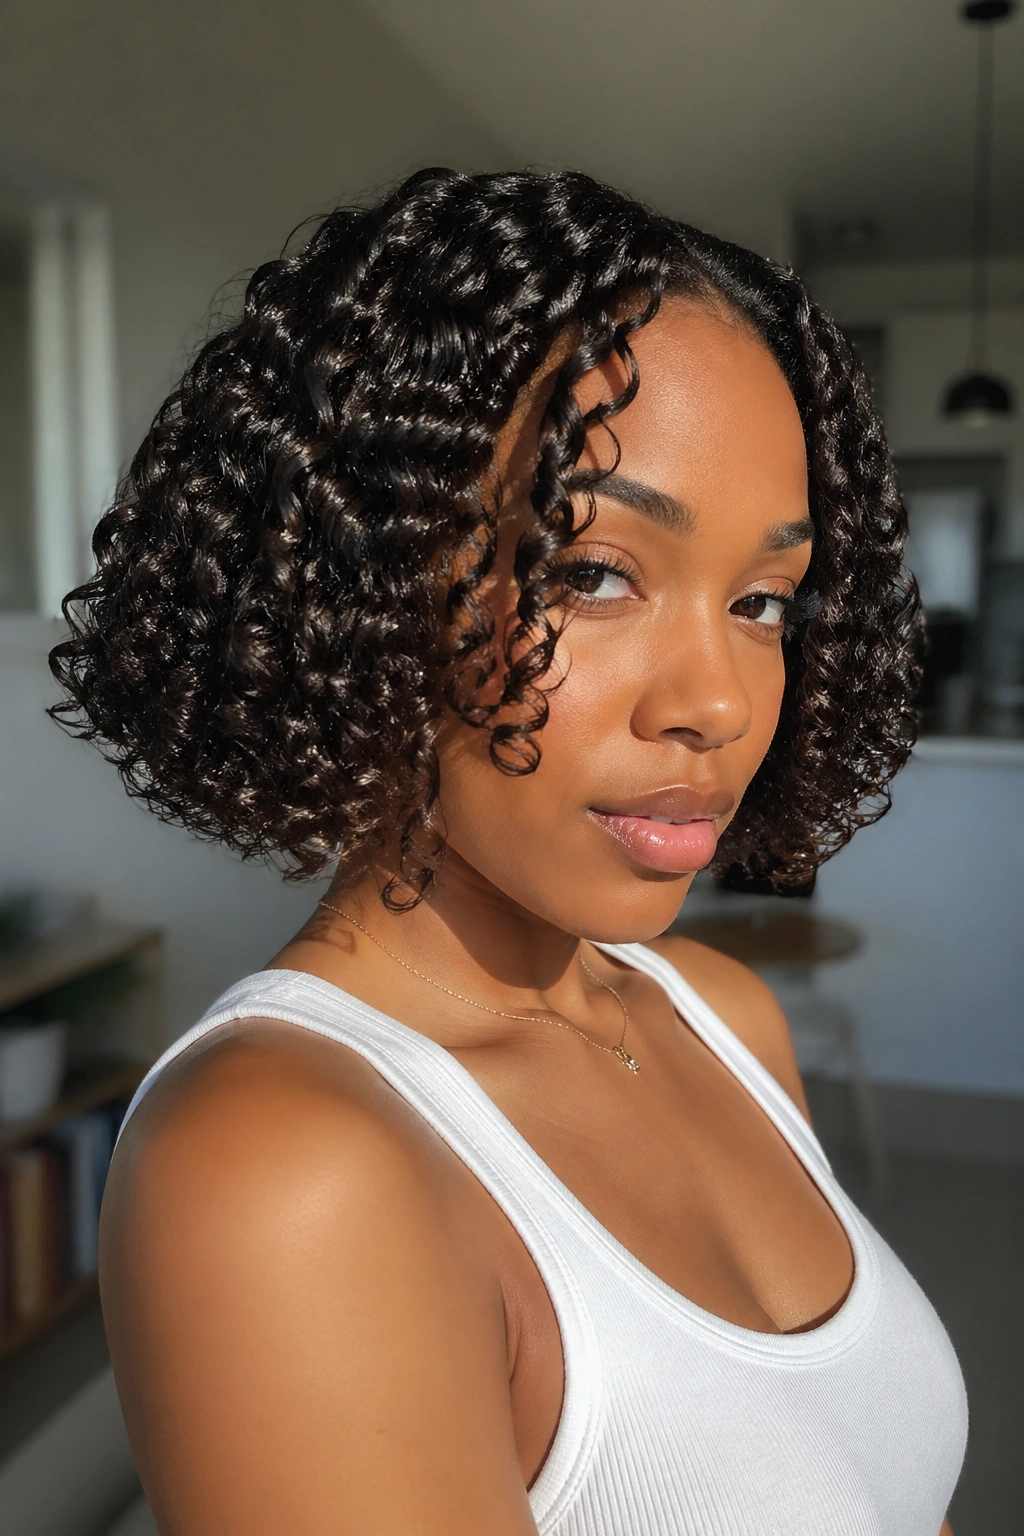
For naturals with chin-to-shoulder-length hair, gel-defined curls in a bob silhouette produce one of the most striking natural hair styles possible. Apply gel to each section and define the ends carefully — the end definition is what gives the bob its clean, structured lower edge.
The gel cast on a curl bob keeps the style’s shape throughout the day without the volume expansion or edge frizz that cream-only bob styles sometimes show.
16. Gel Curl Wet Look
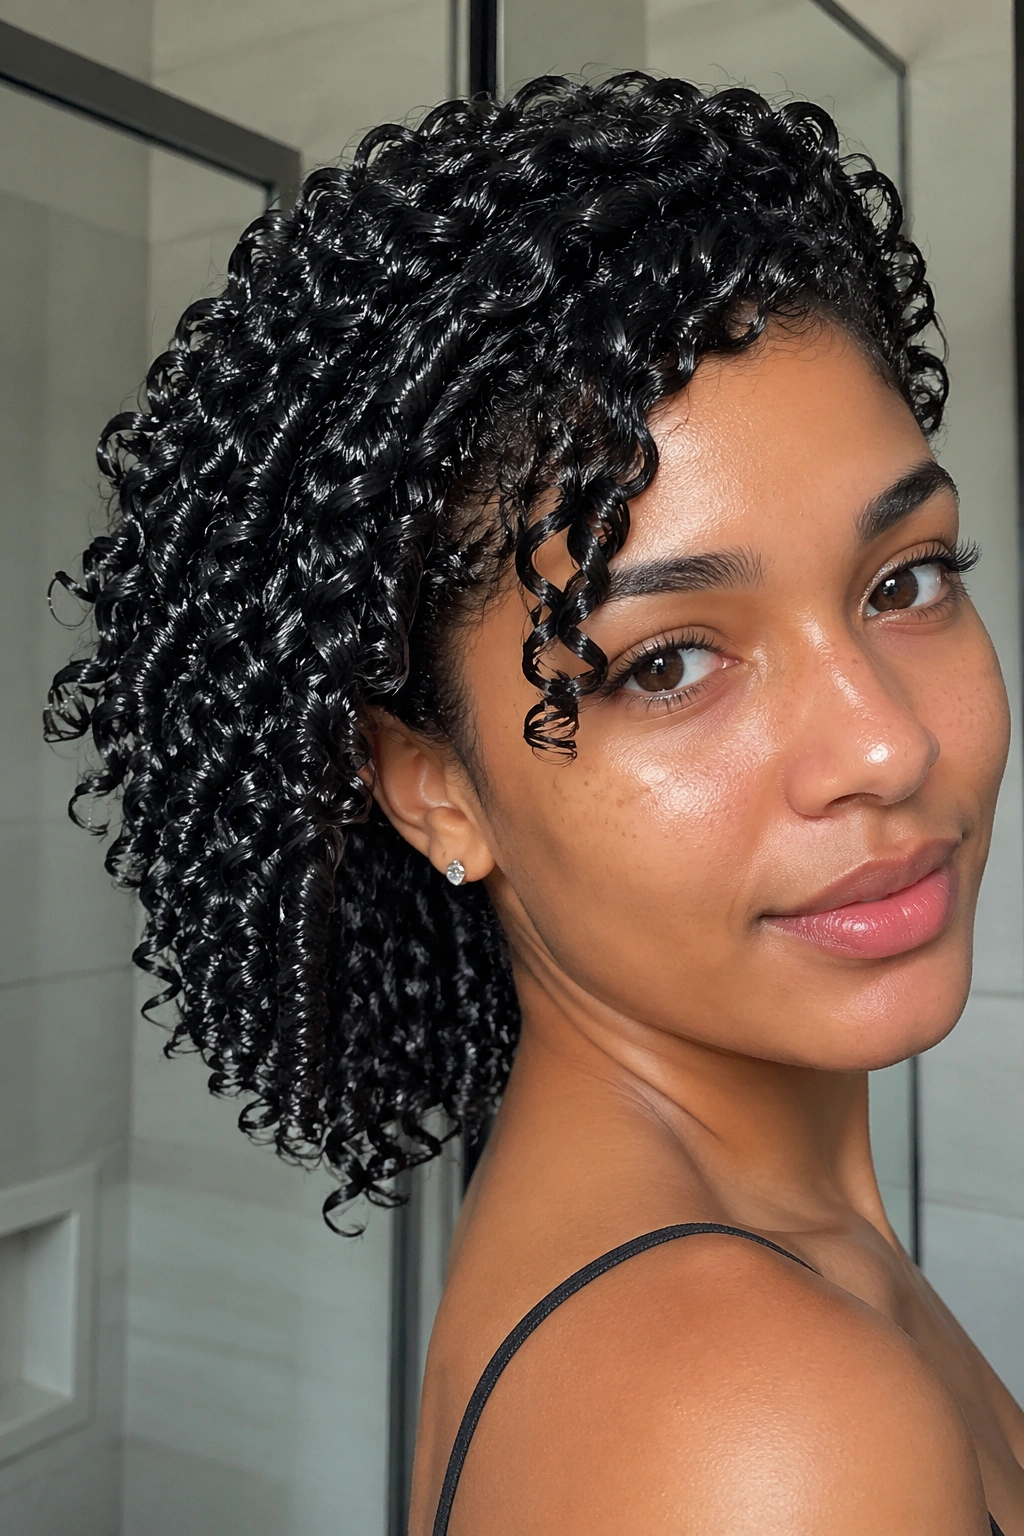
Apply an extra-generous amount of gel over your curl style and smooth each section lightly with your palms. Let the hair settle with the gel still wet-looking rather than waiting for full dryness. The wet look gel curl style is sleek, dramatic, and long-lasting — the gel keeps each curl defined and glossy throughout the day.
Don’t try to break the cast on a wet look style — the cast IS the style. Let it stay.
17. Gel Curl with Silk Scarf
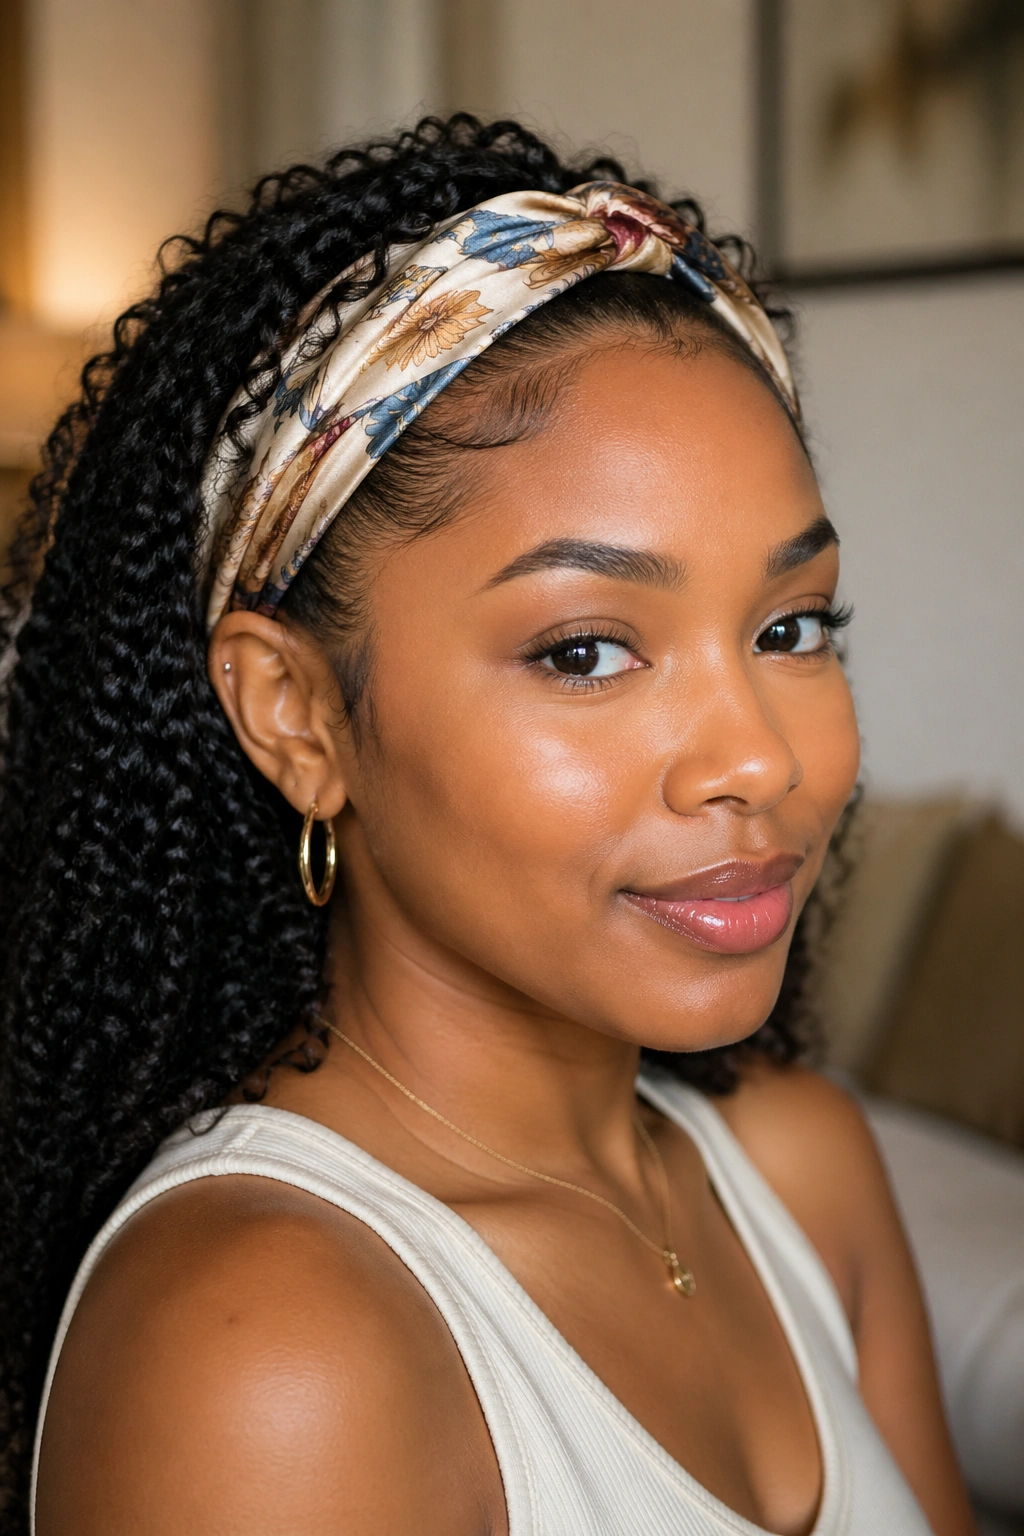
Wrap a silk or satin scarf along your gel-defined hairline as a headband and let the gel curls cascade freely from behind it. The gel definition in the free sections means they hold their shape and don’t pull or frizz against the scarf edges.
Silk and satin accessories protect gel-defined curls better than cotton or synthetic fabrics — they don’t disrupt the gel cast or introduce friction that breaks the definition.
18. Gel Curl Space Buns
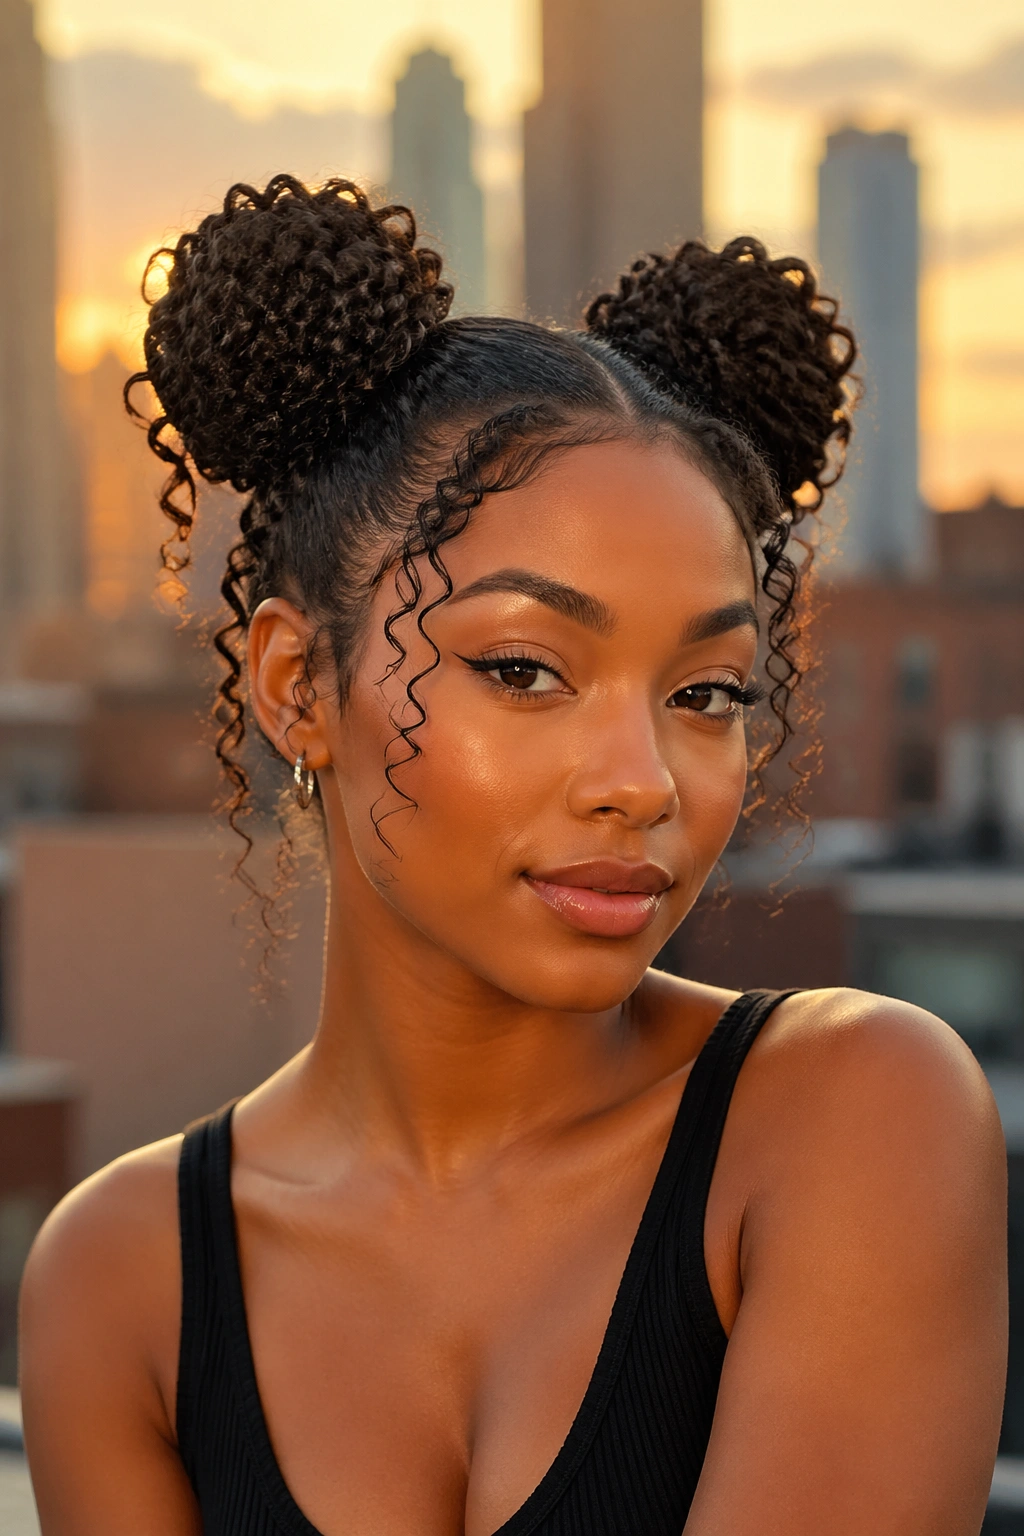
Divide gel-defined curls into two sections and create high buns. The gel definition in the curls that escape around each bun means they hold their shape and definition rather than frizzing out. This is a particularly long-lasting version of the space bun style because the gel keeps everything in check.
19. Gel Curl Defined Crown Style
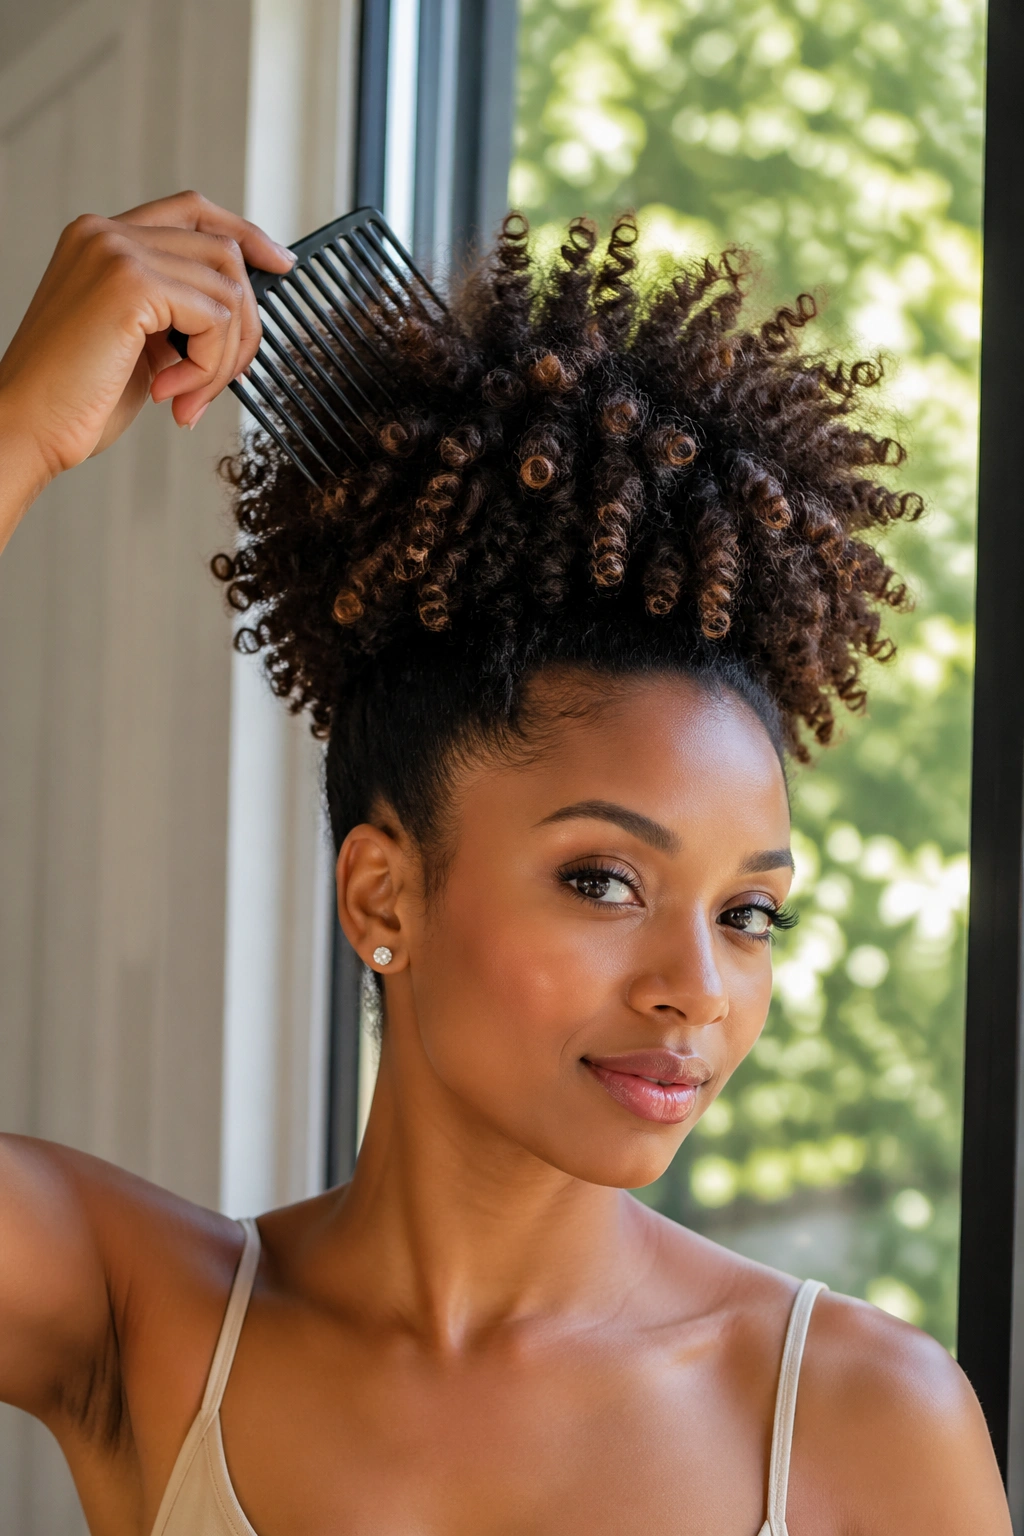
Apply extra gel to the crown section and lift the curls upward while they dry — a wide-tooth comb lifted at the roots encourages height and volume at the crown while the gel cast locks that volume in place. The result is a defined crown with excellent height and clear curl definition.
This style works especially well on naturals with 4a and 4b textures where shrinkage at the crown can be dramatic.
20. Gel Curl Low-Manipulation Refresh
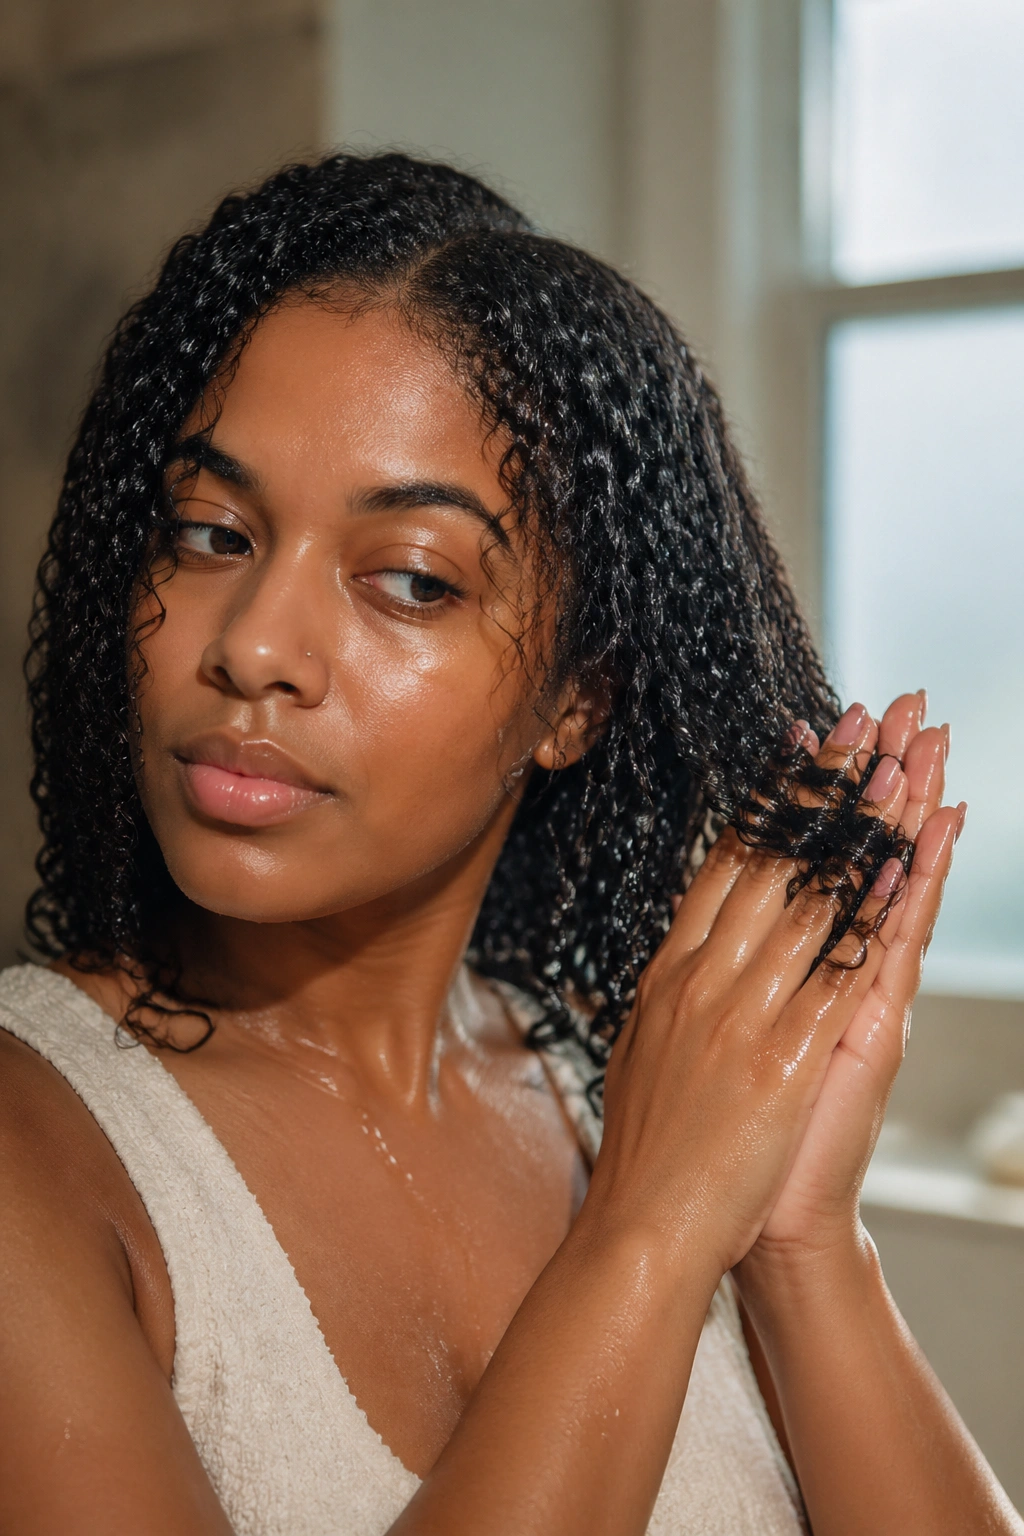
On days two and three of a gel curl style, rather than completely redoing the style, mist lightly with water to reactivate the existing gel in the hair. The glycerin in most gels remains active even after drying — adding water back wakes it up.
Scrunch the refreshed sections upward with your palms after misting to re-encourage the curl clumping. Add a tiny amount of fresh gel only to sections that have completely lost their definition.
21. Gel Curl Protective Pony
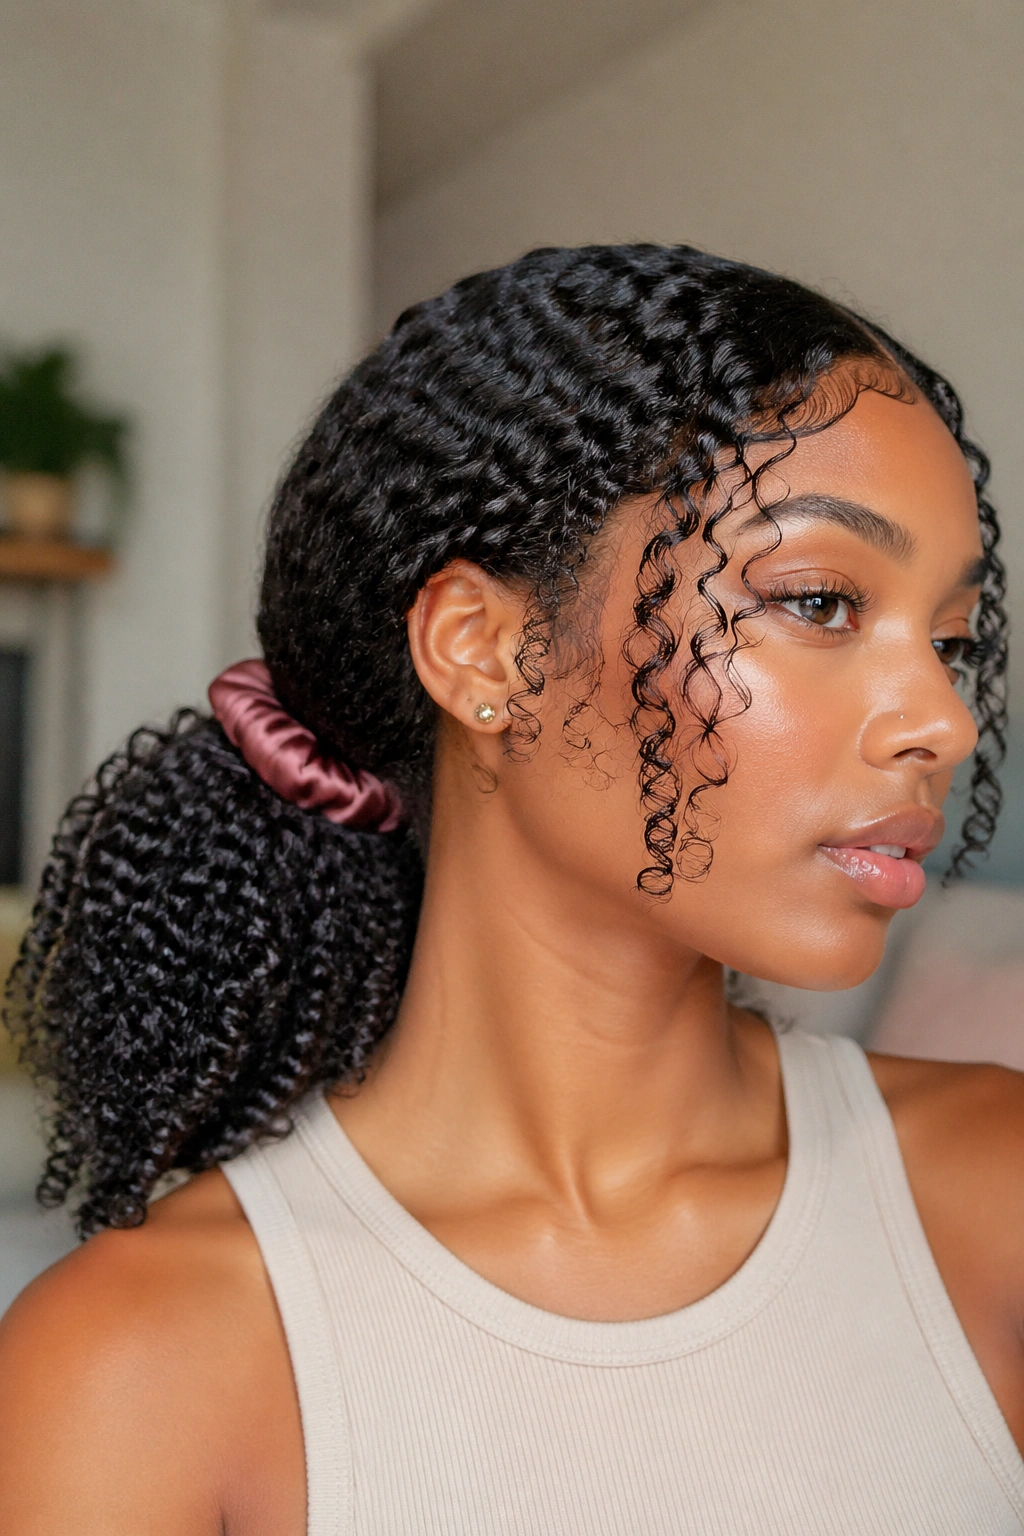
Gather gel-defined curls into a loose, protective ponytail secured with a satin scrunchie. The gel definition at the hairline and nape keeps those visible areas looking polished even with the bulk of the hair gathered. Smooth the edges with a little more gel and a soft brush for a neat finish.
22. Gel Curl Defined Fringe
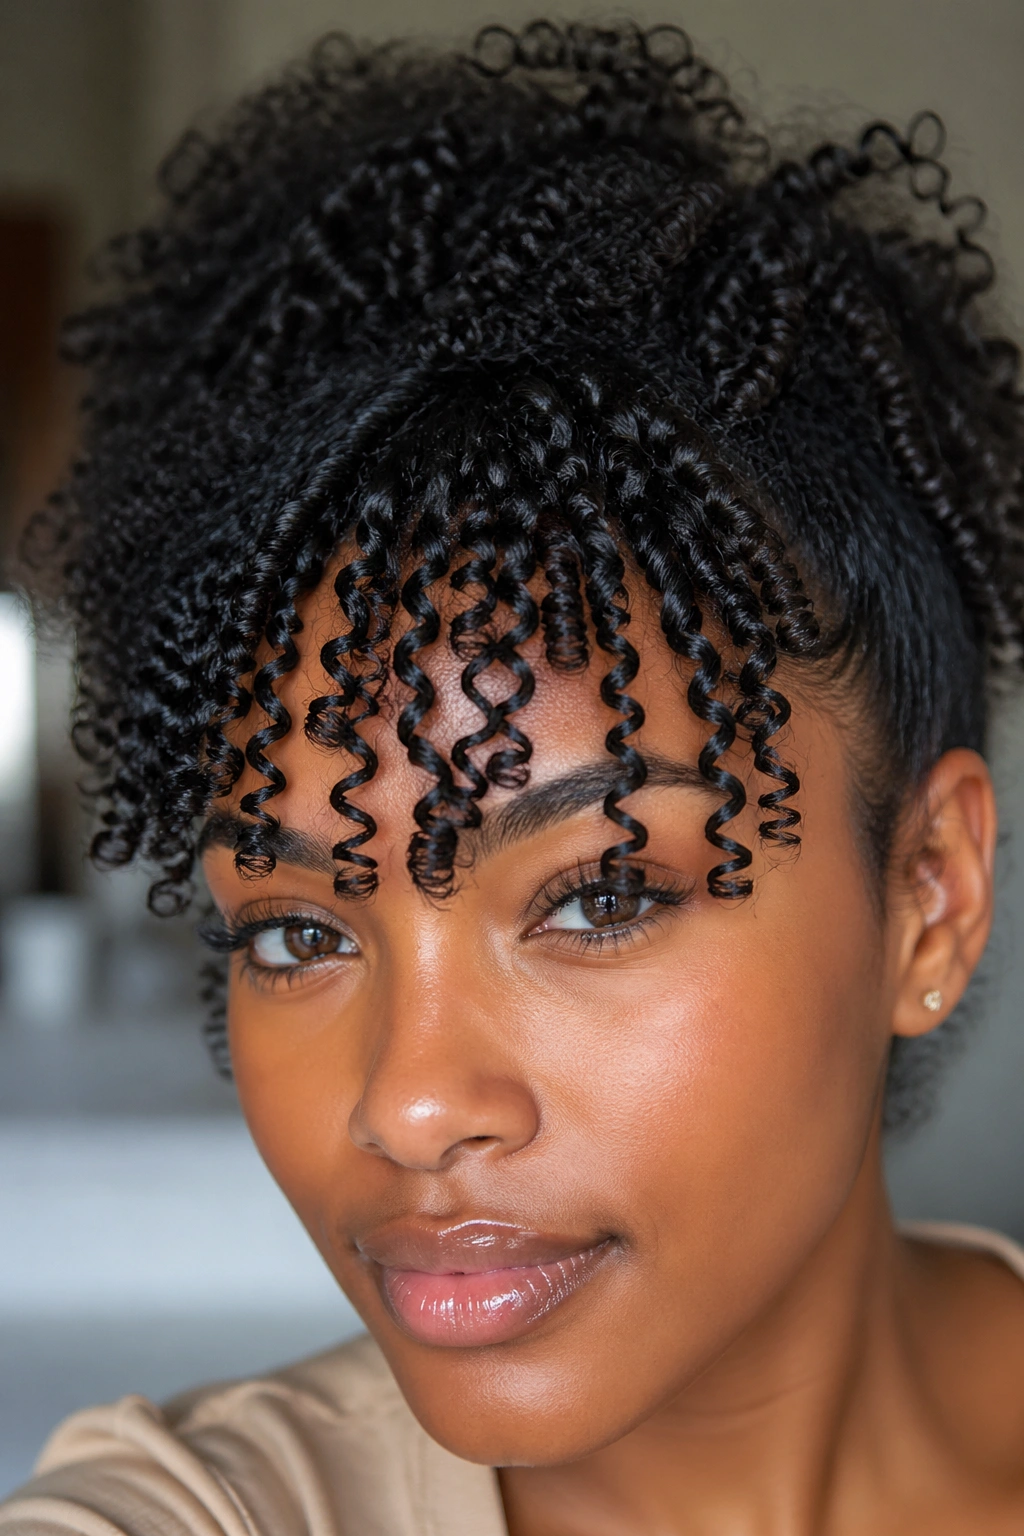
If your natural hair is long enough to fall over your forehead in a fringe, define those front curls with extra gel for a deliberate, face-framing look. Apply gel to the front section last, pressing each curl into its spiral shape and allowing it to dry in place.
The gel fringe is dramatic, distinctive, and genuinely beautiful — especially on longer natural hair where the front curls have enough length to create a full, defined curtain of curls at the forehead.
How to Remove Gel Buildup Without Damaging Your Hair
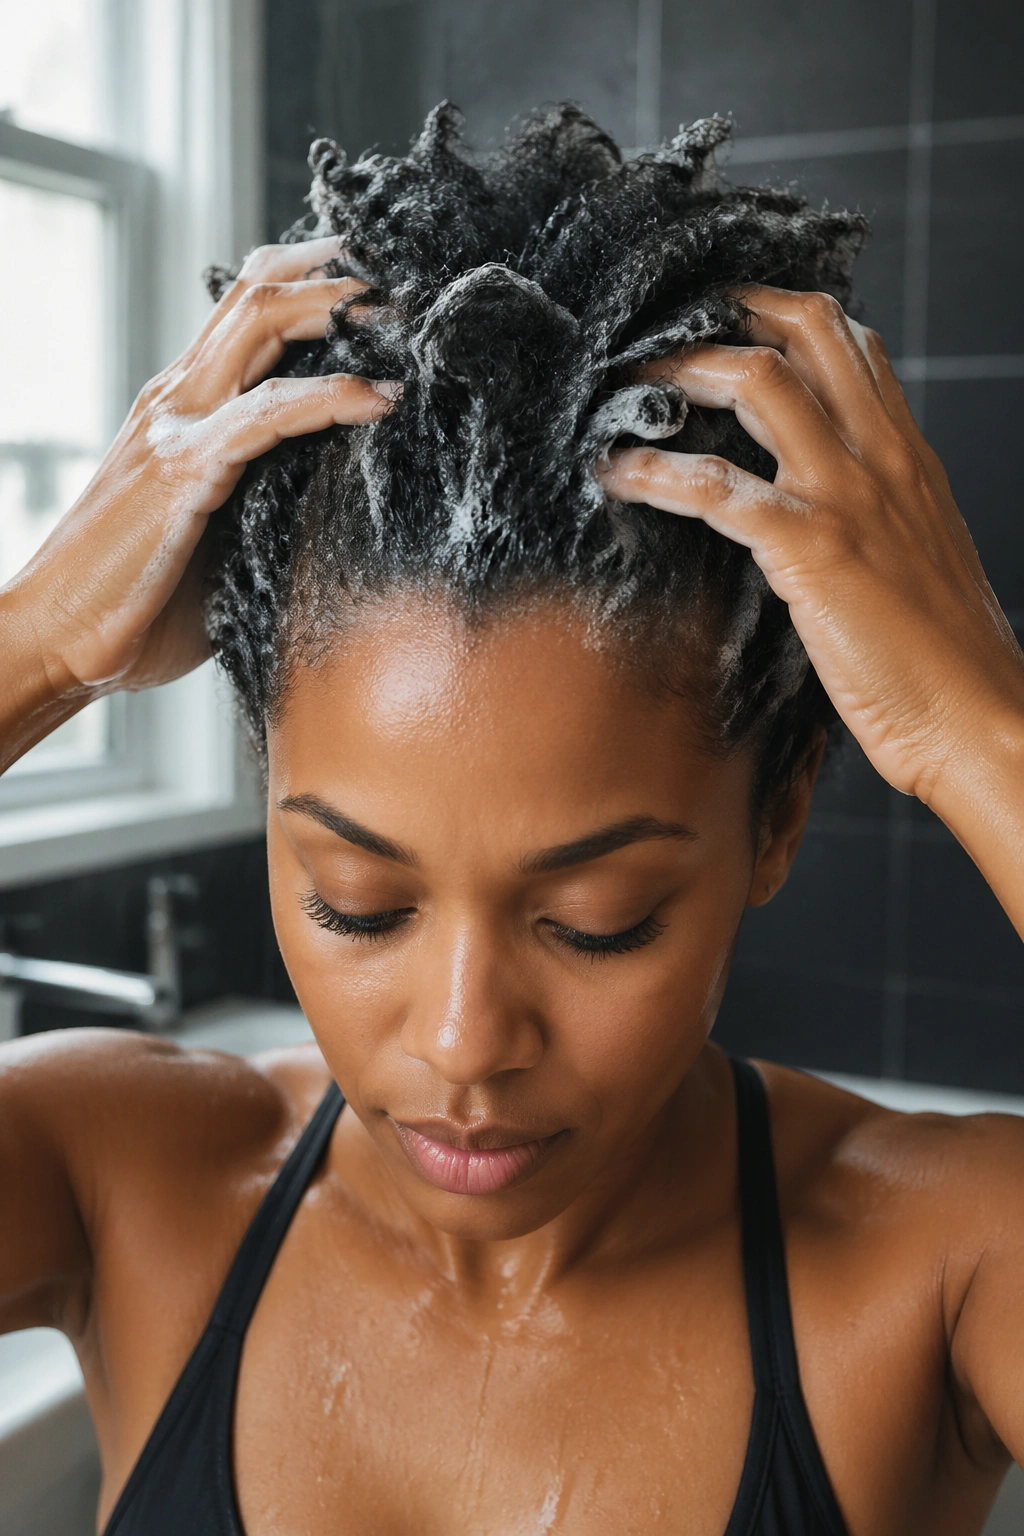
One of the legitimate concerns with gel curl styling is buildup — gel accumulates on the scalp and hair shaft over multiple styling cycles and can prevent new products from being absorbed effectively.
Clarifying shampoos — ones specifically designed to remove product buildup without stripping the hair of its natural oils — are the best tool for gel buildup removal. A good clarifying shampoo used once or twice a month resets the hair completely and creates a clean base for fresh gel curl styles.
Never layer gel on top of previous gel without removing the old layer first. This is how buildup accumulates fastest — each new application sits on top of the old residue rather than contacting the hair shaft directly, leading to decreased definition, increased flaking, and ultimately a style that doesn’t look or feel as good as it should.
The Long Game with Gel Curl Styling
Gel curl styling rewards consistency and attention to detail. The first few times you try a new gel or a new application technique, results may vary — that’s normal. Gel is a product that responds to specifics: how wet your hair is, how much you use, how thoroughly you distribute it, and how patient you are during drying.
Track your results. When a gel curl style turns out beautifully, write down exactly what you did — which products, in what amounts, in what order, and how your hair felt at each step. Natural hair care is deeply personal, and your specific winning formula might look quite different from someone else’s.
Most importantly, respect the drying time. Gel curl styles are uniquely dependent on the drying process — the cast forms during drying, and touching the hair before drying is complete disrupts that process in ways that can’t be reversed. Set the style, trust the gel, and walk away. The results you come back to will make the wait worth it.
