Hot weather and natural hair have a complicated relationship. Humidity wants to puff everything into a frizzy cloud. Sweat pools at your scalp and reactivates every product you applied that morning. Heat makes tight styles feel like a vise grip by noon. And if you’re spending time outdoors, the sun wants to dry out your strands while the moisture in the air confuses every curl pattern you worked hard to set. Afro twist styles for hot weather fix most of those problems at once — they lift the hair off your neck, they hold their shape through sweat and humidity, and they give your scalp room to breathe.
Twist styles are my summer default for a reason. They take a bit of time to install, but once they’re in, they hold for days. You don’t have to fight them every morning. You don’t have to worry about humidity destroying a twist-out that took you two hours to set the night before. And they look good wet, dry, sweaty, or fresh — which matters when the forecast shows ninety-five degrees and you have plans all weekend.
What follows is the real catalog of twist styles I rely on when the temperature climbs. Some are quick to install. Some take longer but last two weeks or more. All of them handle heat better than loose natural styles, and all of them look intentional whether you’re at a pool, an outdoor wedding, or stuck in traffic with no air conditioning.
Why Twists Are the Hot-Weather Answer
Twists hold curl shape even when the weather doesn’t cooperate. Unlike a twist-out, which relies on setting damp hair and unraveling it for definition, actual twists stay twisted. Humidity can’t loosen them because there’s nothing to loosen — the style itself is the hair in its twisted state. That alone makes them the single most reliable category of summer hairstyles for natural hair.
They also protect your ends. In hot weather, your ends take the brunt of the damage — sun exposure, sweat, salt water, chlorine, dry air. A twist tucks the ends into the body of the style and keeps them hidden from the elements. Two weeks of twists usually leaves your hair healthier than two weeks of loose wear would.
And there’s the comfort factor. A loose afro in ninety-degree heat sits on your neck and traps warmth against your scalp. Twists — especially ones pulled up or off the shoulders — give you physical airflow across skin that’s otherwise covered. You feel the difference within an hour.
The Difference Between a Twist and a Twist-Out
Quick clarification because it matters. A twist is the hair while it’s twisted — the rope-like shape you create by winding two sections around each other. A twist-out is what you get when you unravel those twists after they’ve set, leaving behind defined curls. The styles in this list are actual twists, worn in their twisted state, not twist-outs.
Twist-outs are beautiful but they don’t survive hot weather well. Humidity reverses the definition within a few hours. Sweat at the root lifts the crown and flattens the shape. If you’ve spent time setting a twist-out only to watch it fall apart by noon, you know exactly what I mean. This article is about the fix — wearing the twists themselves.
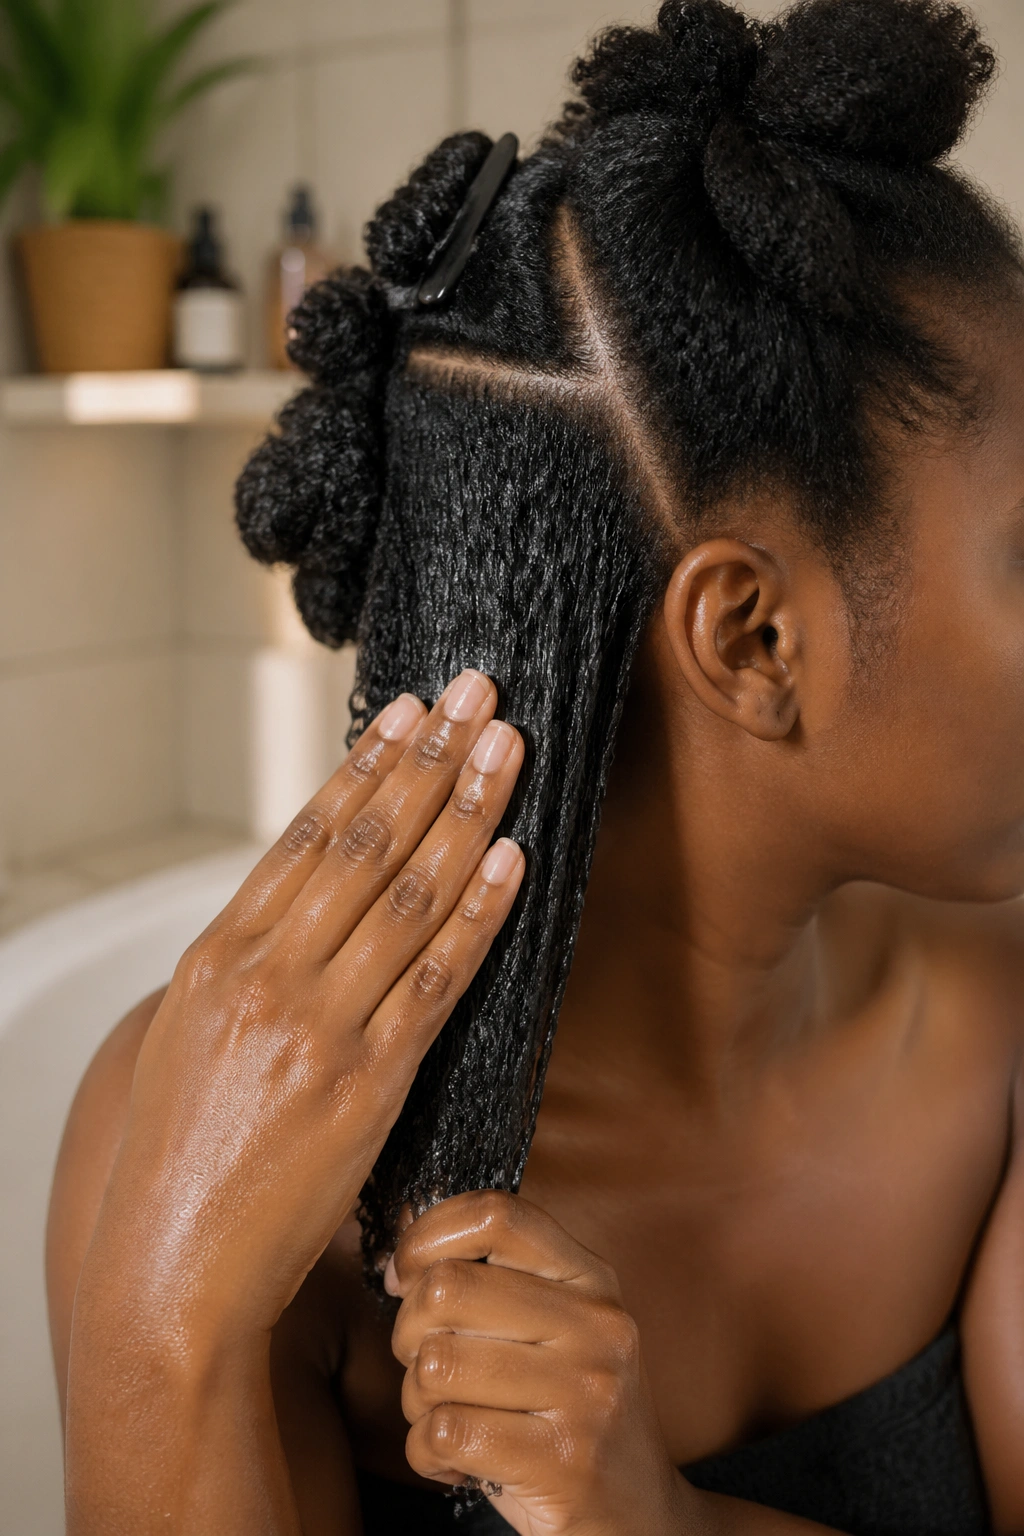
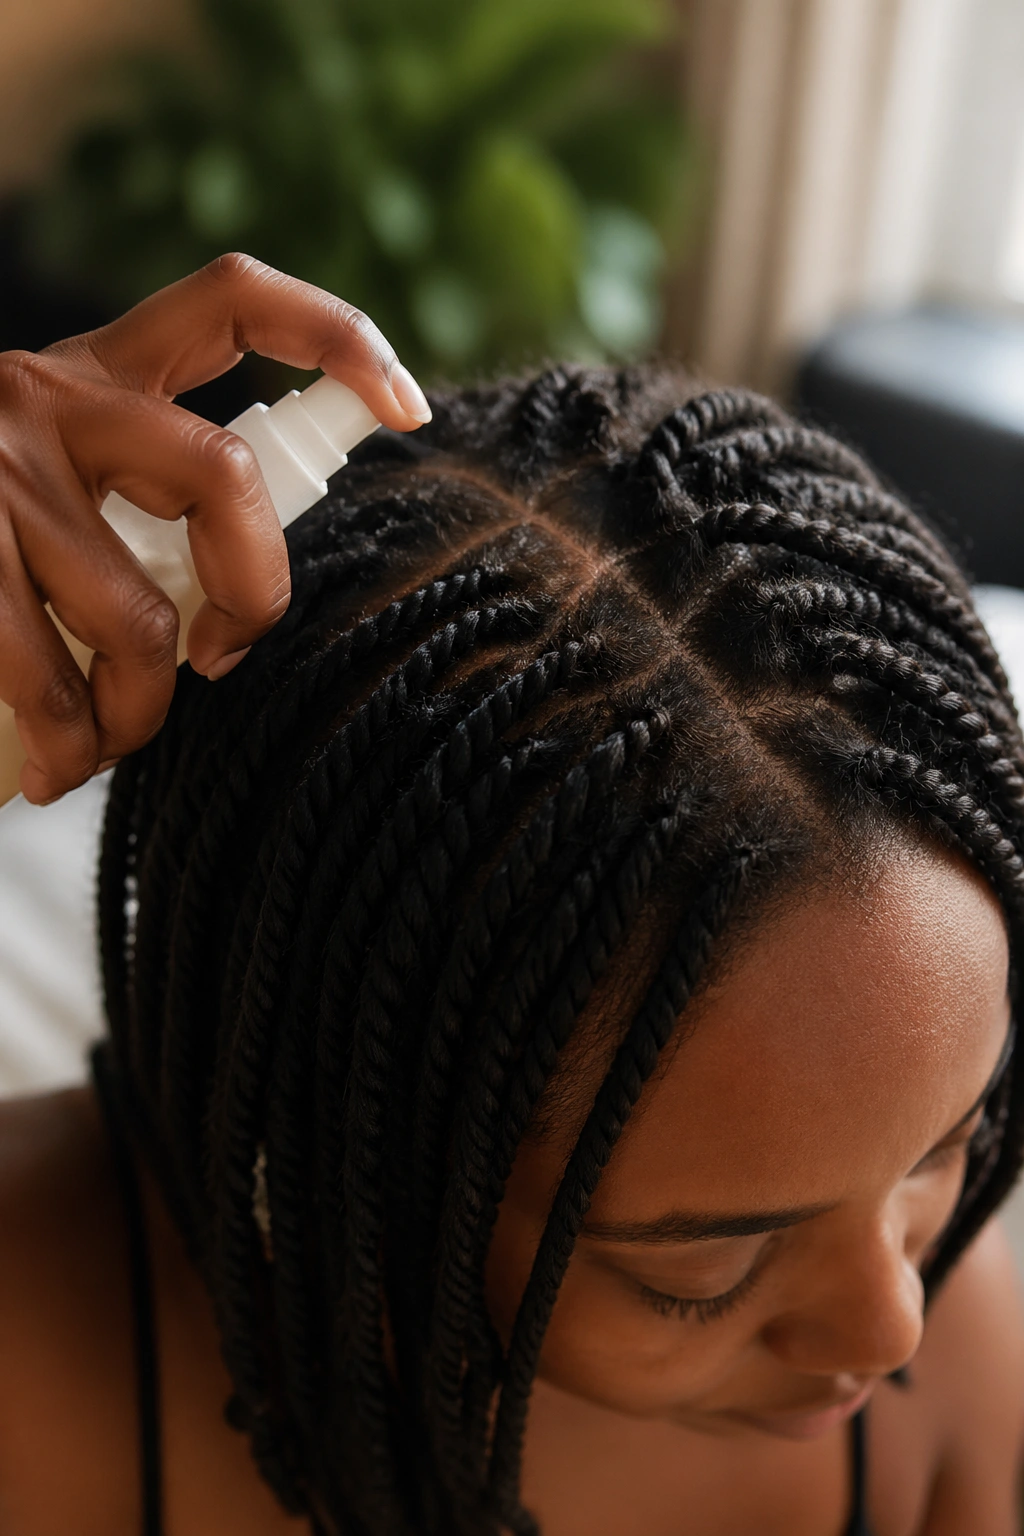
Prep That Makes Twists Last Longer
Before twisting, your hair should be clean, fully detangled, and moisturized but not sopping wet. A quick wash with a clarifying shampoo every third or fourth install clears out the buildup that makes new twists slip out. Follow with a creamy conditioner and a leave-in that penetrates rather than sitting on top.
Moisture at install is what determines how long your twists last. Dry hair twists badly — the strands don’t grip each other and the twists unravel within a day. Overly wet hair takes too long to dry and can develop mildew if you tie it up before it’s fully set. Damp is the sweet spot.
Work in sections as small as you can tolerate. Smaller sections mean longer-lasting twists and more visual density. Bigger sections are faster to install but lose shape quicker in heat.
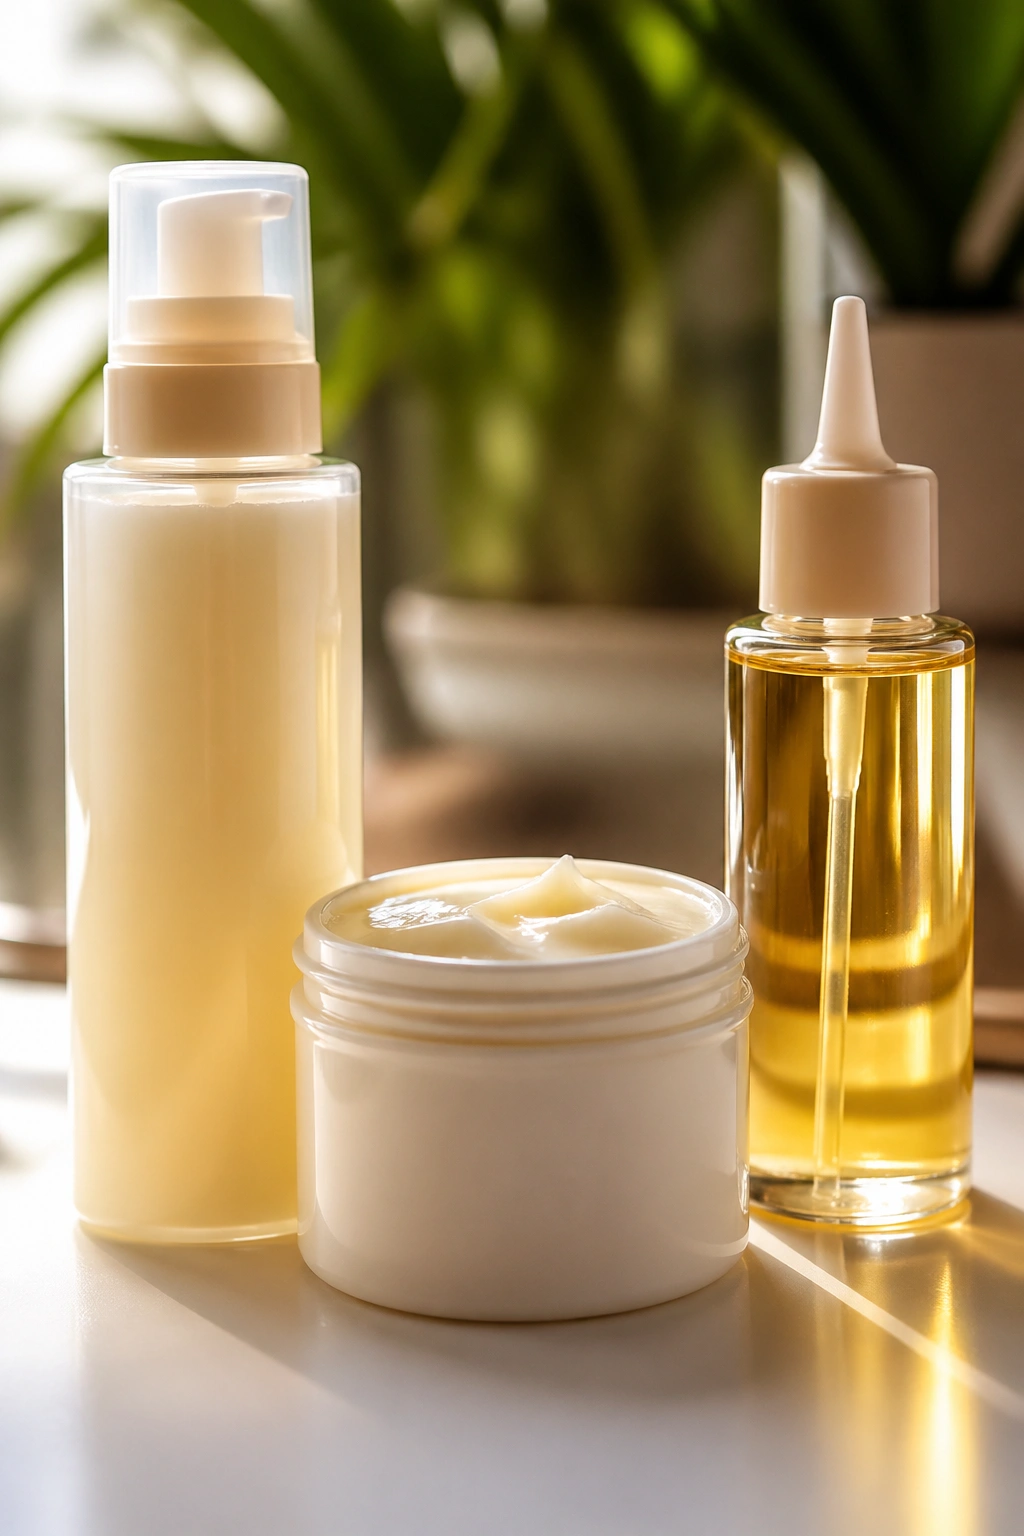
The Products That Earn Their Spot in Summer
Heavy butters and thick creams that work great in cold weather become a problem in summer. They melt on your scalp, transfer to your forehead, and make the style feel greasy by the end of day one. Switch to lighter products for summer installs: a water-based leave-in, a lightweight curl cream, and a flake-free edge gel for the hairline.
Skip the oils on twist install. A tiny drop in your palm is fine, but coating the whole twist in oil during the install attracts lint, dirt, and every loose fiber your hair touches. Add oil later as a maintenance step, not during the install itself.
Alcohol-free products only in summer. Alcohol dries out strands that are already fighting sun exposure. Check labels and skip anything with denatured alcohol in the first five ingredients.
How to Keep Your Scalp Comfortable Under Twists
A clean scalp stays a cool scalp. Once a week while wearing twists, use a cotton pad dipped in diluted witch hazel or a gentle scalp tonic to wipe between your twists. This removes sweat, oil, and product residue without wetting the twists themselves.
Sleep on a satin pillowcase or tie a satin scarf around your head. Cotton absorbs the moisture in your hair, making twists dry and frizzy within days. Satin keeps the moisture where it belongs.
If your scalp itches, don’t pick at it. Spray a soothing scalp mist with aloe and tea tree oil and massage it gently with the pads of your fingers. Scratching lifts the twists at the root and makes the style look messy fast.
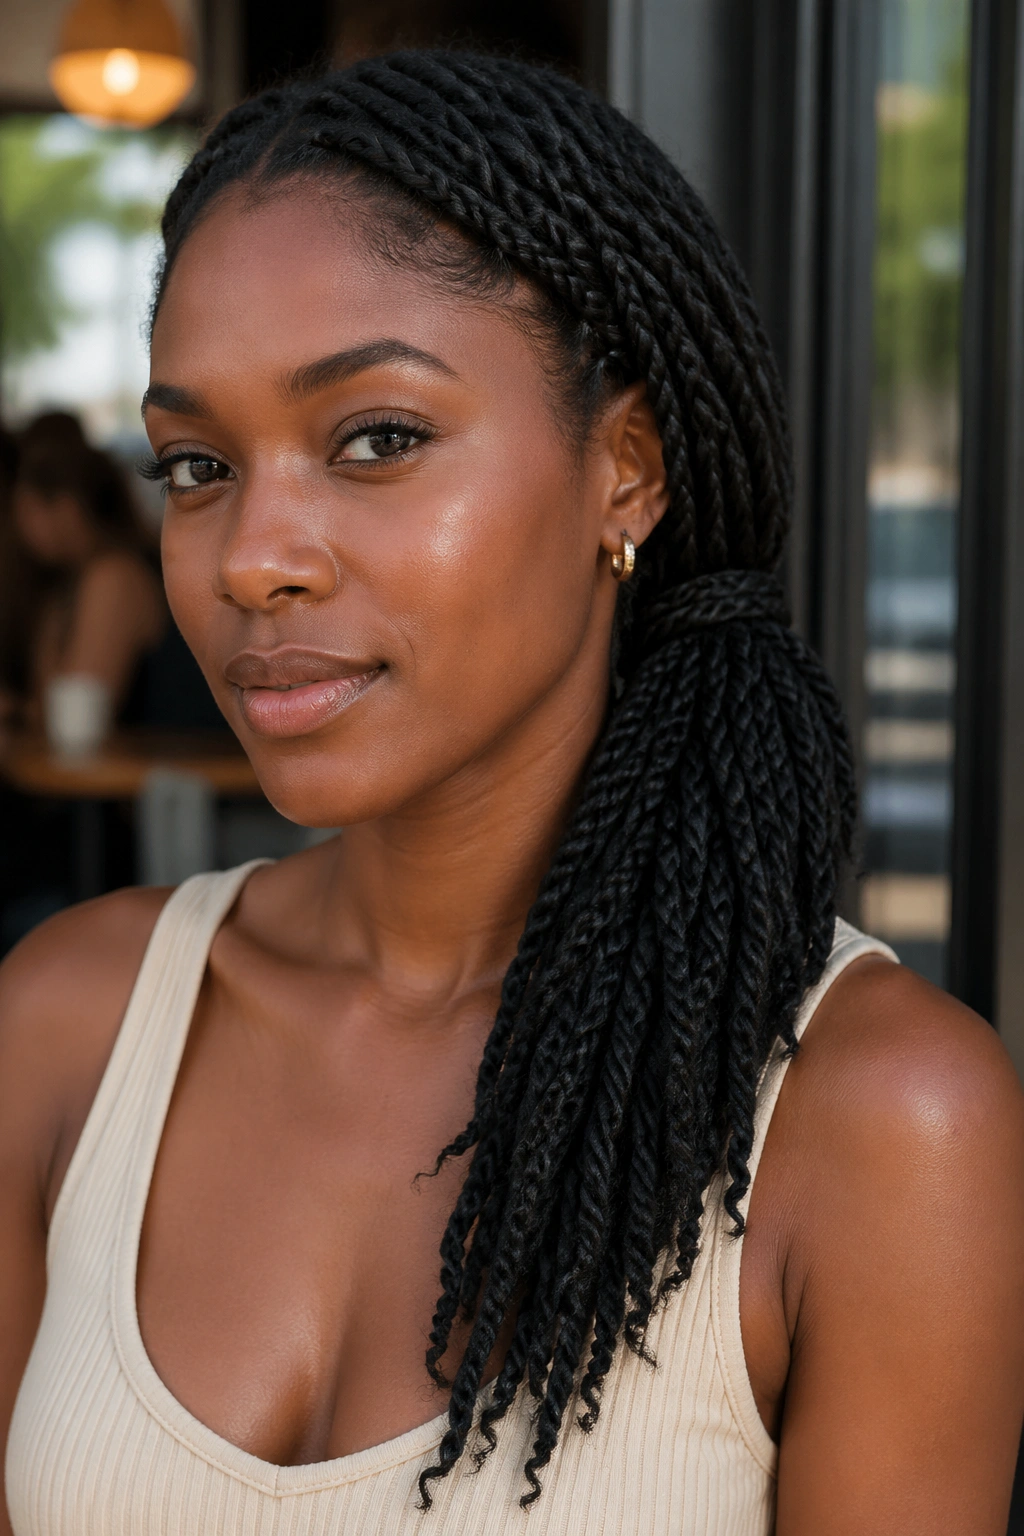
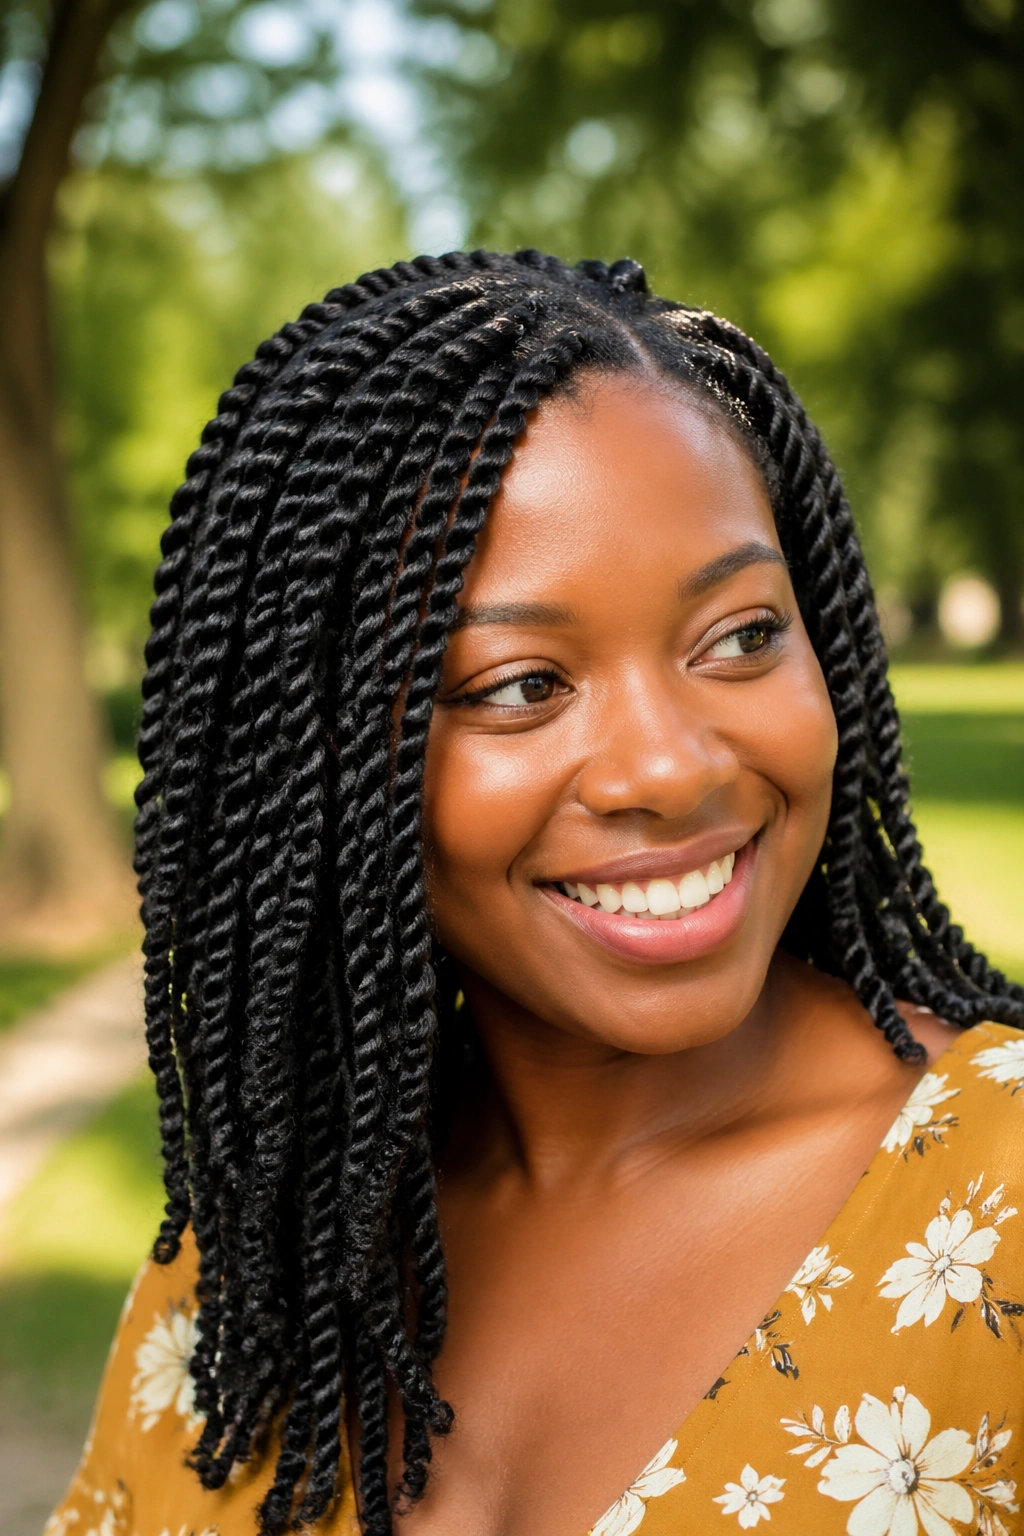
1. Two-Strand Twists at Shoulder Length
The most classic twist style. Two-strand twists on natural hair that falls somewhere between chin-length and shoulder-length is the everyday twist most of us start with. They install in about two hours depending on your section size and hair thickness, and they last ten to fourteen days with proper care.
Why They’re a Summer Staple
- Shoulder length keeps the twists off your neck when pulled back
- Medium sections hold shape through humidity
- Quick to install compared to longer twists
Start with damp hair and work section by section from the back up. The back is the hardest part of your head to see, so getting it done first means you’re not tired when you’re doing the trickier sections at the front. Finish with a light oil spritz once all twists are installed.
2. Mini Twists for Maximum Hold
Mini twists are the long-haul choice. They take four to six hours to install because you’re working with sections about the width of a pencil, but they last up to four weeks and hold through everything summer throws at them. If you’re traveling or heading into a stretch of busy weeks, mini twists are worth the install time.
The tiny sections mean each twist has less weight pulling on it, so they don’t unravel the way bigger twists do. They also give you maximum versatility — you can pull them up, braid them together, wear them half up, let them hang loose, tuck them into a bun.
Don’t skip conditioning before a mini twist install. The sectioning process takes hours, and tangled hair makes it take twice as long. Your arms will thank you.
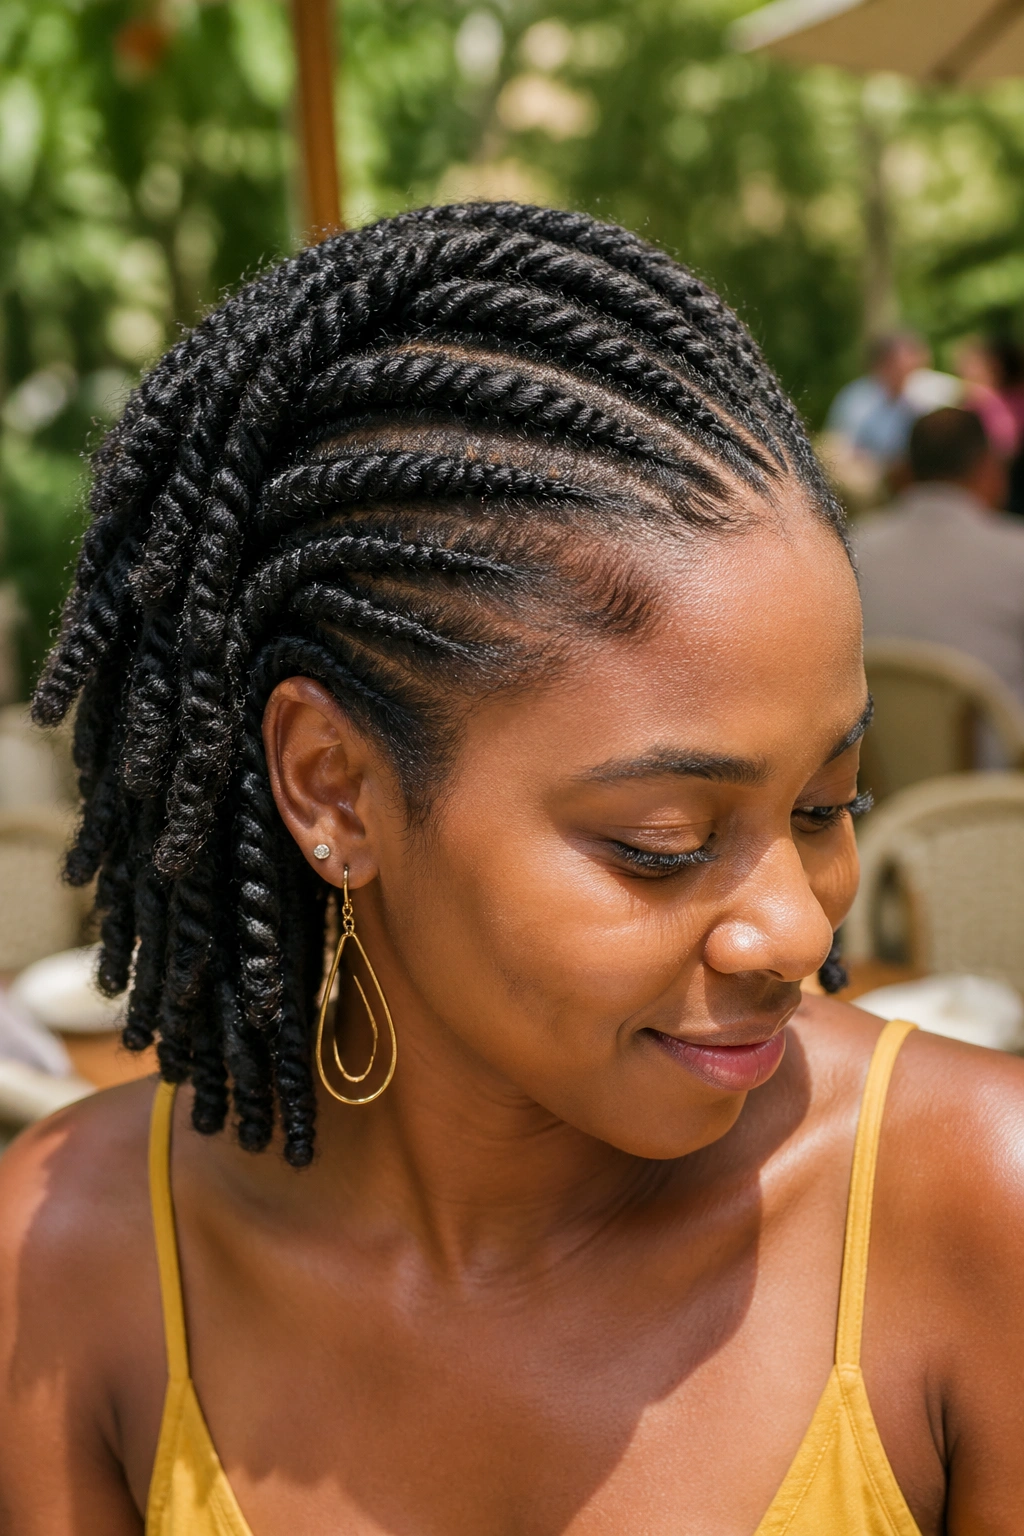
3. Flat Twists Across the Crown
Flat twists run along the scalp instead of hanging free. They’re like cornrows but built with two strands instead of three, so the texture is softer and the install is a little faster. For summer, flat twists across the crown keep the front of your hair controlled and let the back hang free in whatever style suits you.
Part your hair from one temple to the other. Work flat twists across the crown section, picking up small pieces as you move from one side to the other. Secure the ends at your ear and let the back of your hair fall naturally.
The style reads as sculpted and intentional, which makes it work for everything from pool days to dinner reservations. It also handles sweat at the hairline because there’s nothing at the front to go frizzy.
4. Chunky Two-Strand Twists
When you don’t have hours to install mini twists but still want the twist style, chunky twists are the middle ground. Sections about the width of your thumb, installed across the whole head, finished in about an hour. They last a solid week and look intentional without the time commitment.
Chunky twists photograph beautifully because the individual twists are visible and distinct. They don’t disappear into a blur of texture the way very tiny twists can. The tradeoff is that they don’t hold quite as long and they lose shape faster at the ends.
Unlike mini twists, chunky twists benefit from a quick edge gel along the hairline to keep the front looking crisp. The bigger sections can look unfinished otherwise.
5. Two-Strand Twists With Added Hair
Extensions into your twists give you length you don’t naturally have and thickness your own hair might lack. Using marley or kanekalon hair blended into each section at the root, you can achieve waist-length twists that still feel like your own hair.
The install is longer — expect four to six hours depending on section size — but the payoff is a style that lasts six weeks or more and handles every kind of summer activity. Swimming, sweating, humidity, none of it affects the shape the way it would with loose natural hair.
Pick hair in a color that matches your natural shade. Blended twists look seamless only when the tones are right. Off-tone extensions create a visible contrast that reads as “extensions” rather than “my hair looks amazing.”
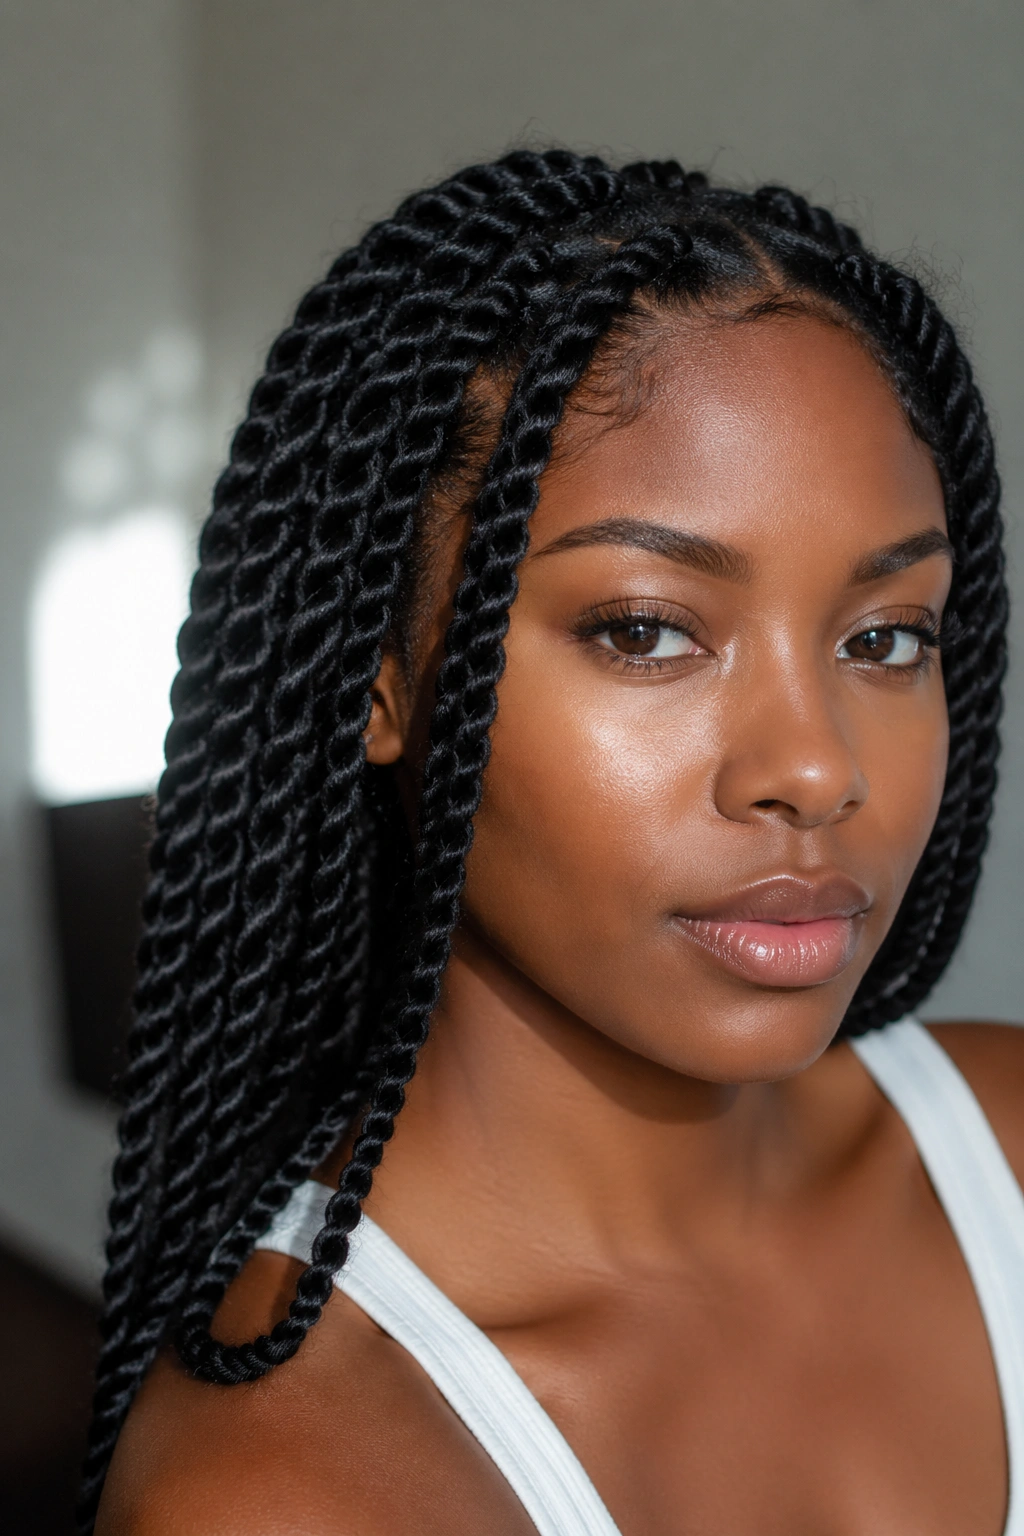
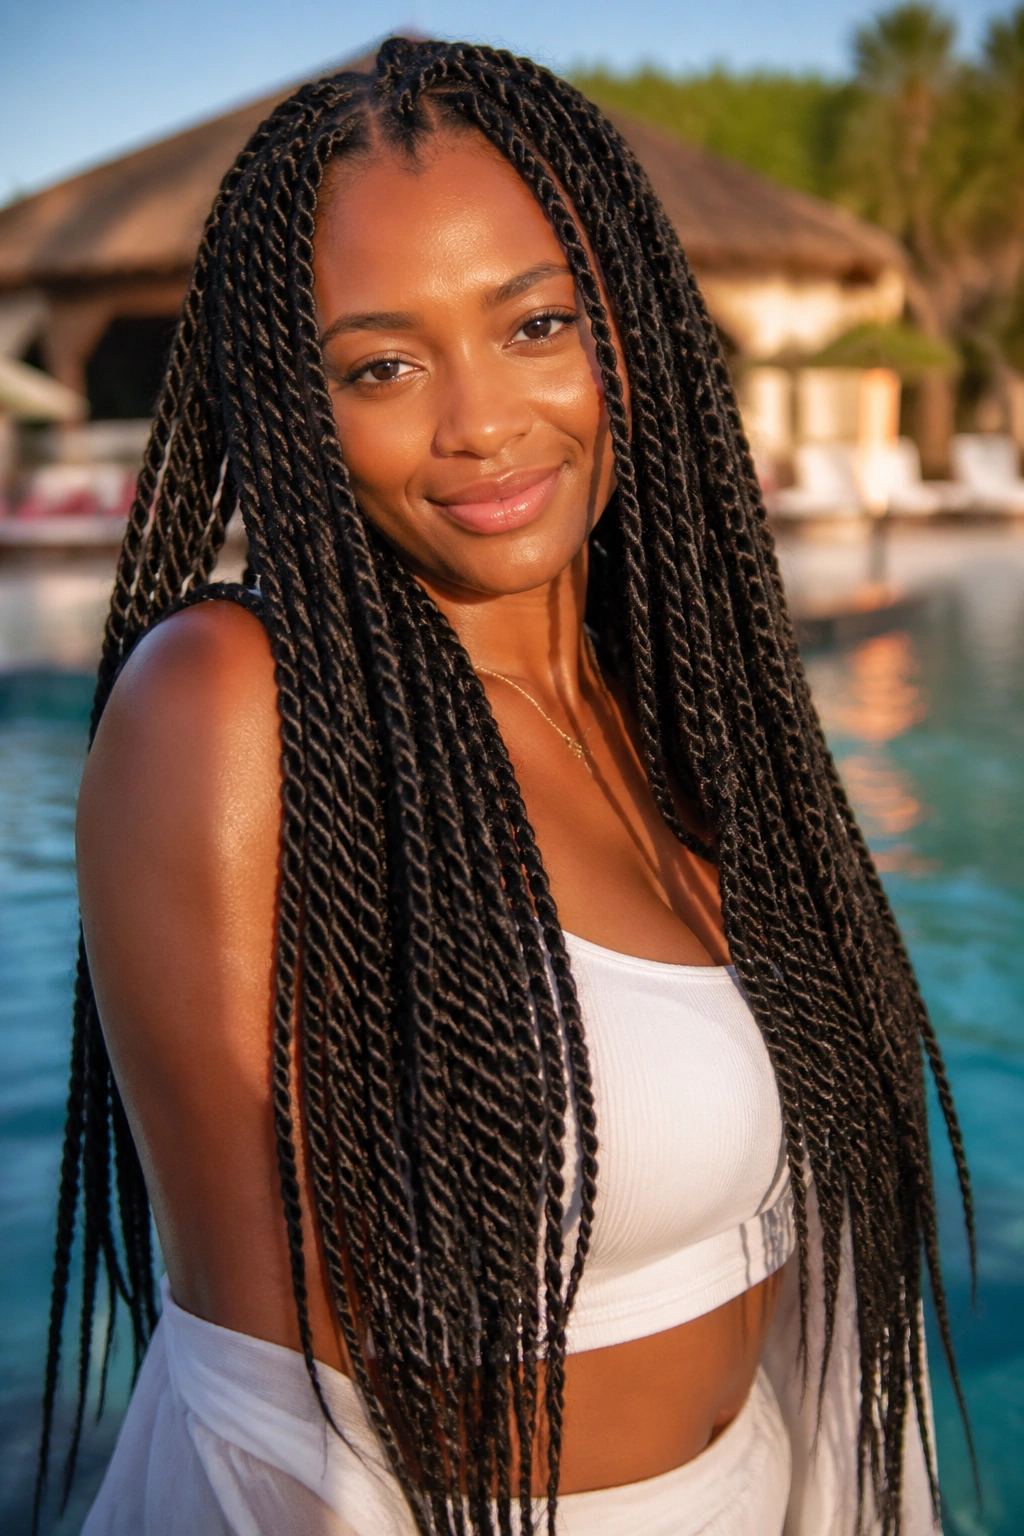
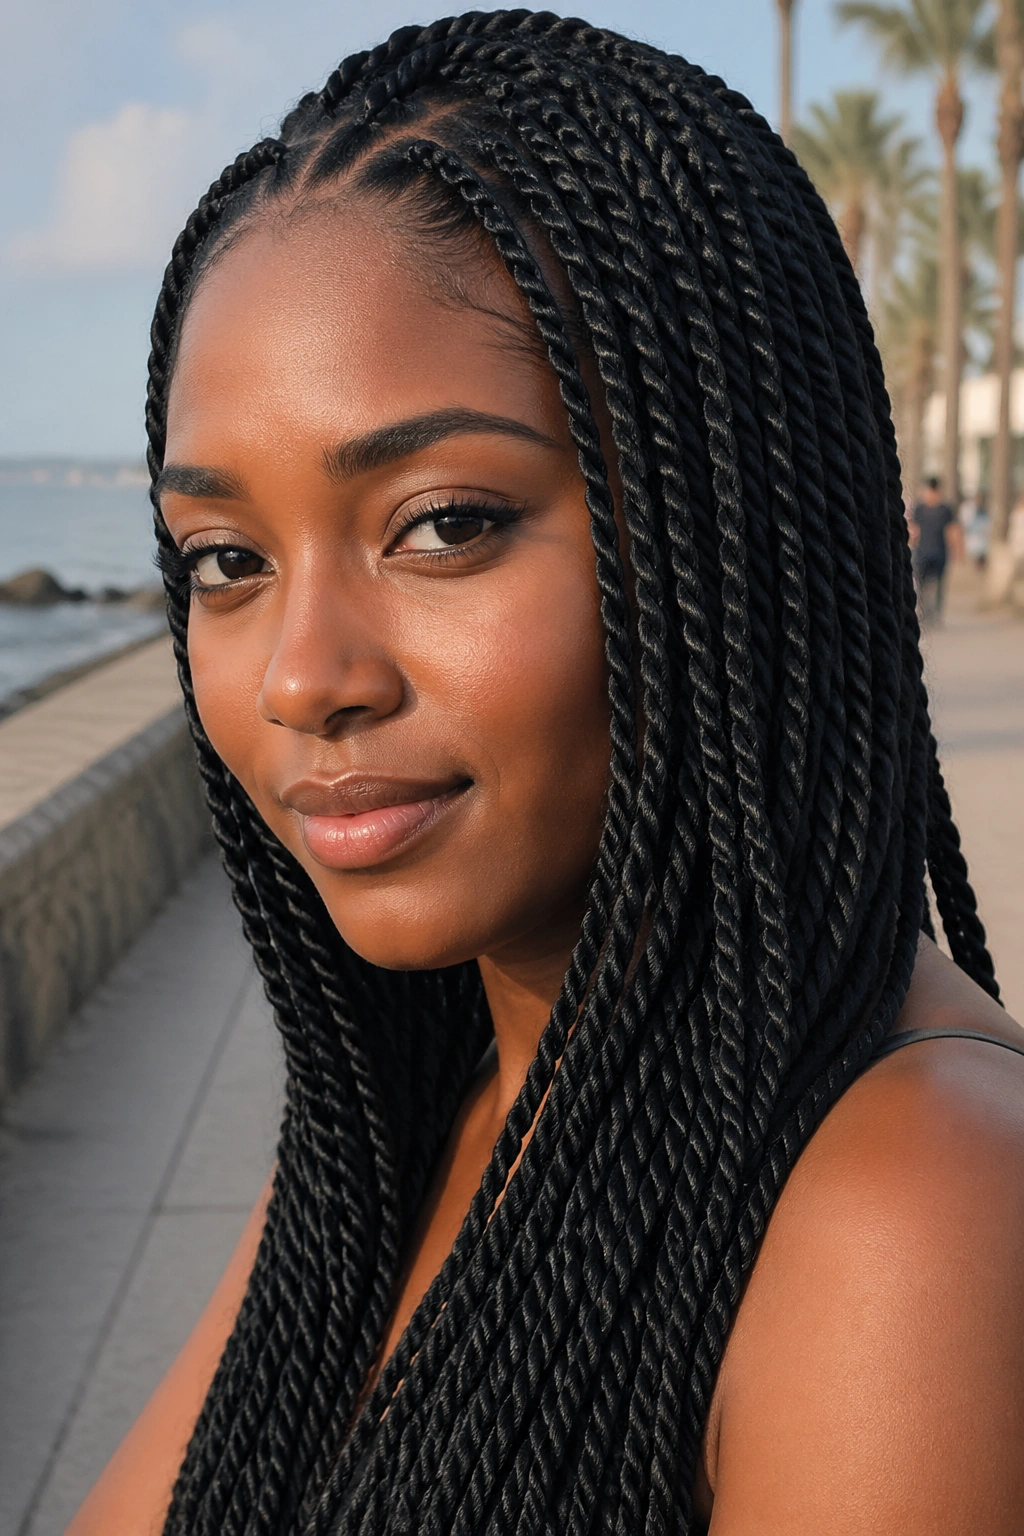
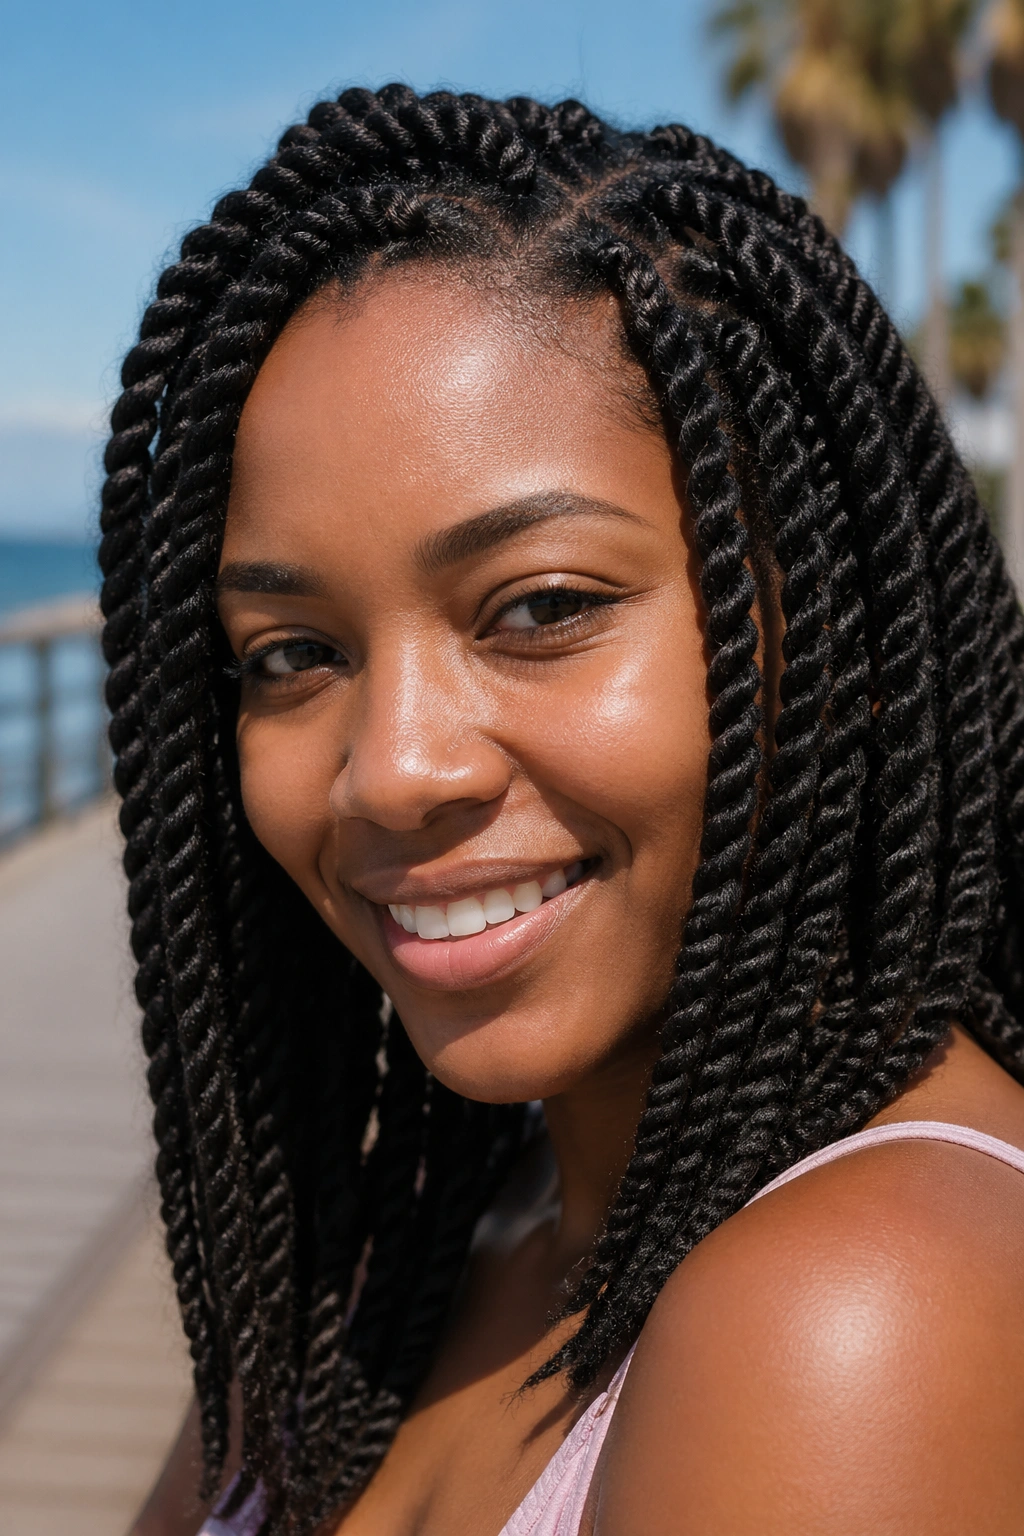
6. Senegalese Twists
Smoother and sleeker than two-strand twists, Senegalese twists use extension hair twisted tightly into a rope-like finish. They’re lighter than box braids, faster to install than mini twists with extensions, and they last six to eight weeks.
The smooth finish comes from the twisting technique — you twist each section in one direction until it starts to coil on itself, then wrap the extension hair around your natural hair and keep twisting. The result is a clean, polished twist that looks almost like a thin rope.
Who This Is For
- Anyone who wants a long-lasting protective style
- Those who prefer a sleeker look over a fluffier one
- People heading into a busy travel stretch
Senegalese twists photograph well, hold through every summer activity, and keep your hair completely protected underneath. One of the hardest-working styles in this whole list.
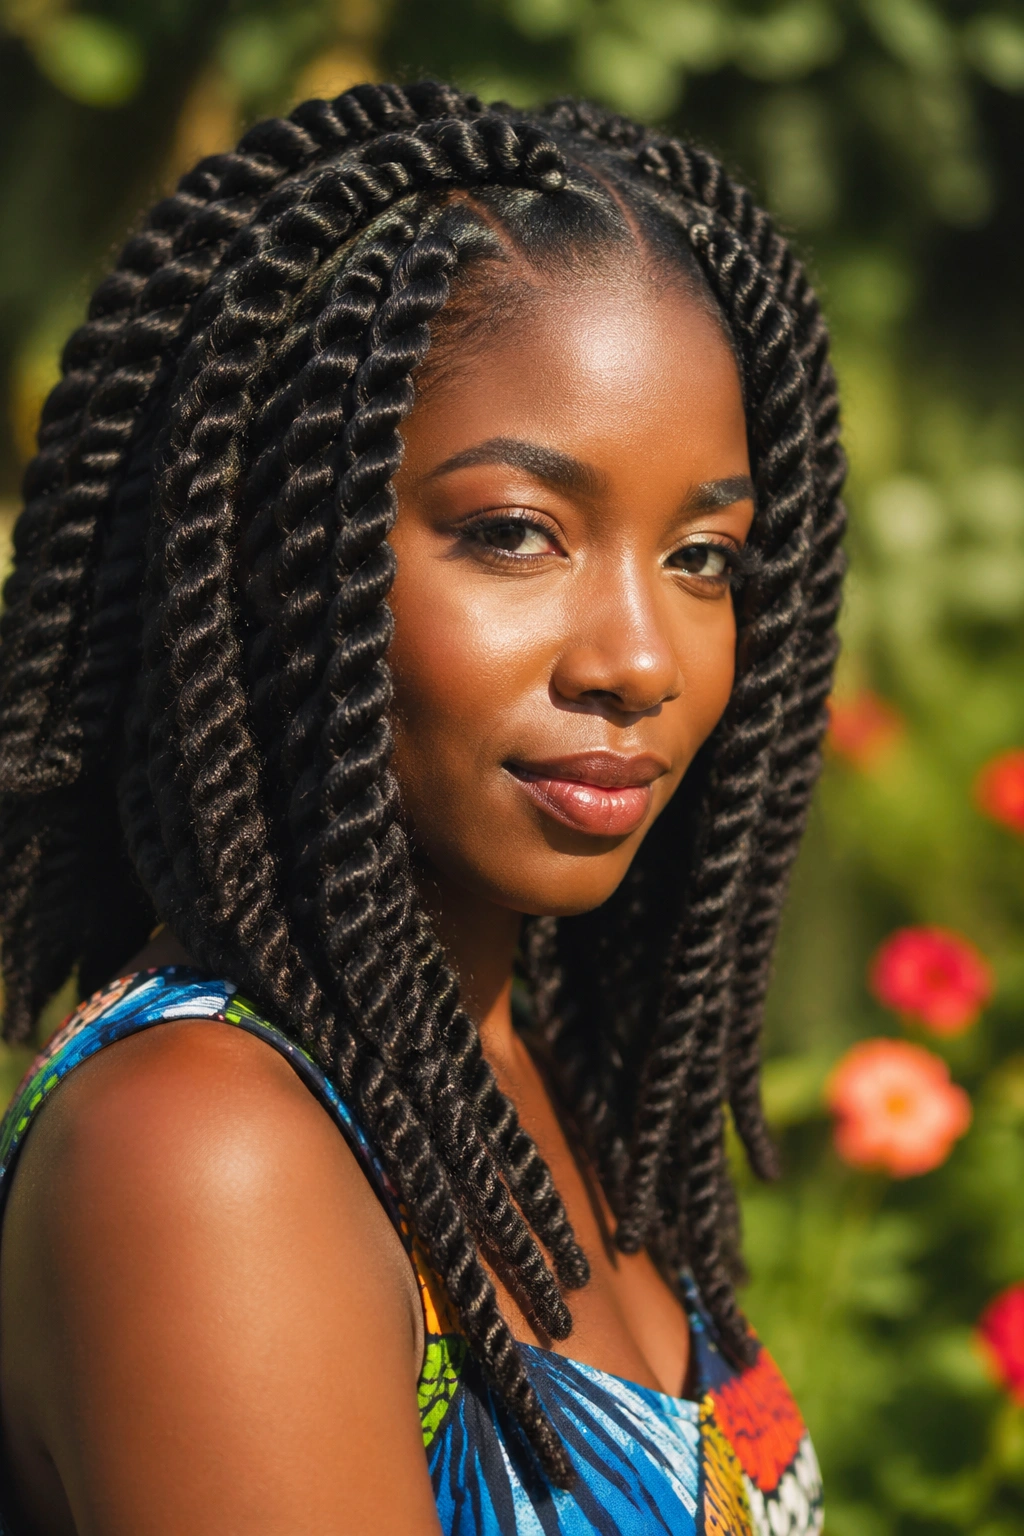
7. Marley Twists
Similar to Senegalese twists but installed with marley hair, which has a coarser, more textured finish that looks more like your natural hair. Marley twists feel softer to the touch and look less polished than Senegalese, which makes them a good choice if you prefer a more natural aesthetic.
The install technique is slightly different — you twist in one direction then in the other, which creates a more relaxed twist rather than the tight coil of Senegalese style. The result is a twist that looks like it grew out of your head naturally.
Marley twists are my pick for vacations and long weekends outside because they look appropriate in every setting, from beach to dinner to early morning walks.
8. Havana Twists
Havana twists are bigger and fluffier than both Senegalese and Marley. They use Havana hair, which is even more textured and voluminous, and the finished twists have a chunky, full-bodied look. Install time is shorter because sections are bigger, but the finished style has significant visual weight.
These are the twists you wear when you want drama. They photograph beautifully, they handle heat well, and they make a statement without any extra styling effort.
The weight can be an issue. Havana twists are heavier than other extension-based twist styles because of the fuller hair used. If you have a sensitive scalp or thin edges, ask for smaller sections to reduce the pull at the hairline.
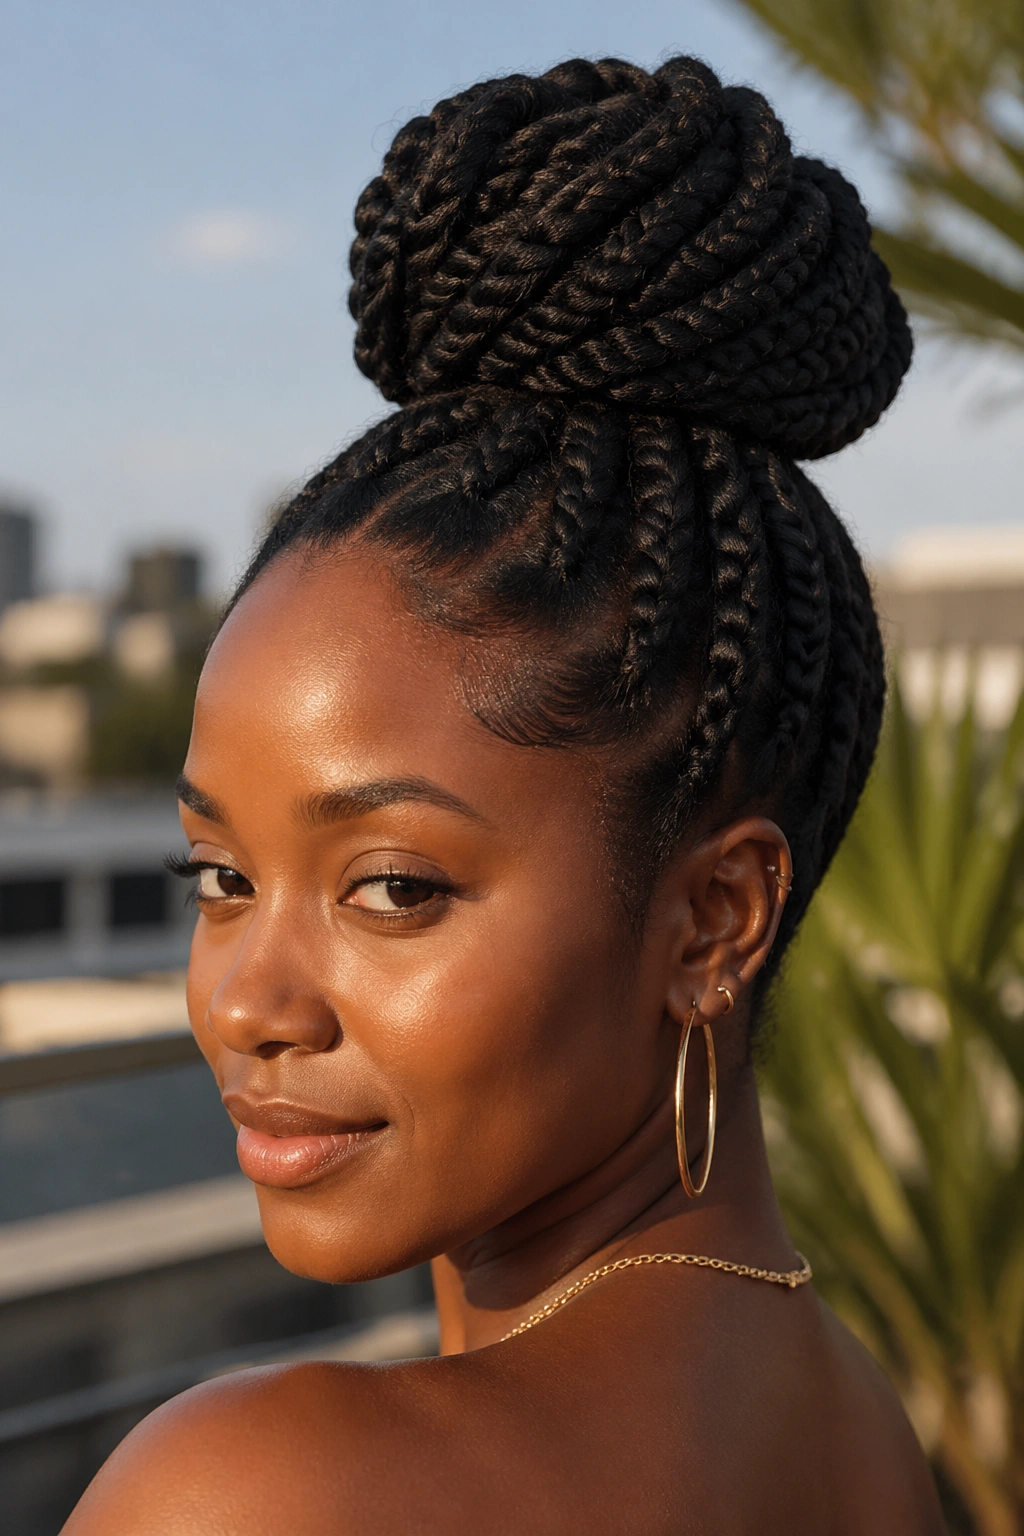
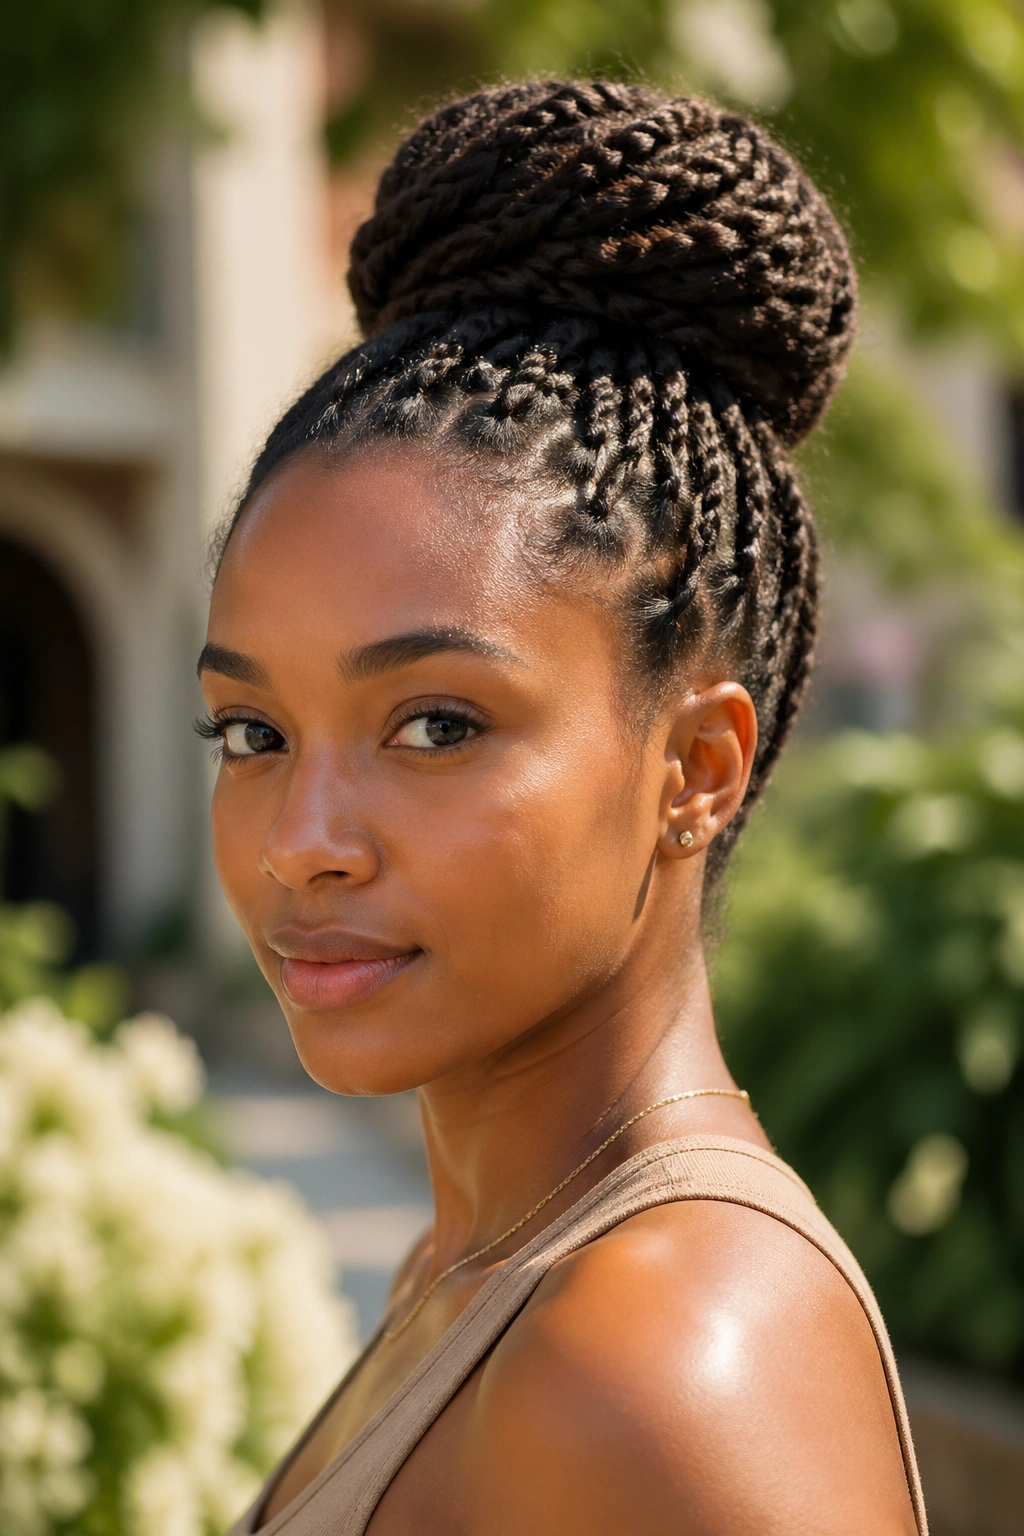
9. Twists Pulled Into a High Bun
Once your twists are installed, gathering them into a high bun creates a completely different look without any new install work. Pull all your twists to the top of your head, secure with a soft tie, and wrap them around the base to form a bun. Pin the ends to hide them.
The bun lifts every single twist off your neck and shoulders, which makes it the ultimate hot-weather move. Airflow everywhere. No heat trapped under hair.
This works on any length of twist from chin-length to waist-length. Shorter twists create a smaller, tighter bun; longer twists create a fuller, more sculptural one. Both look intentional.
10. Twists in a Low Side Pony
Gather all your twists and bring them to one side of your neck, securing them with a soft tie at the shoulder or just above. The asymmetric shape flatters most face shapes and keeps the bulk of the twists from hanging down your back.
For hot weather, the side pony is a solid middle ground between a full updo and loose twists. You get some airflow at the neck but you still get to feel the weight and movement of your twists.
A small scarf tied around the base of the pony adds color and covers the elastic. Choose a silk or satin scarf in a print that complements whatever you’re wearing.
11. Twists in a Half-Up Half-Down Style
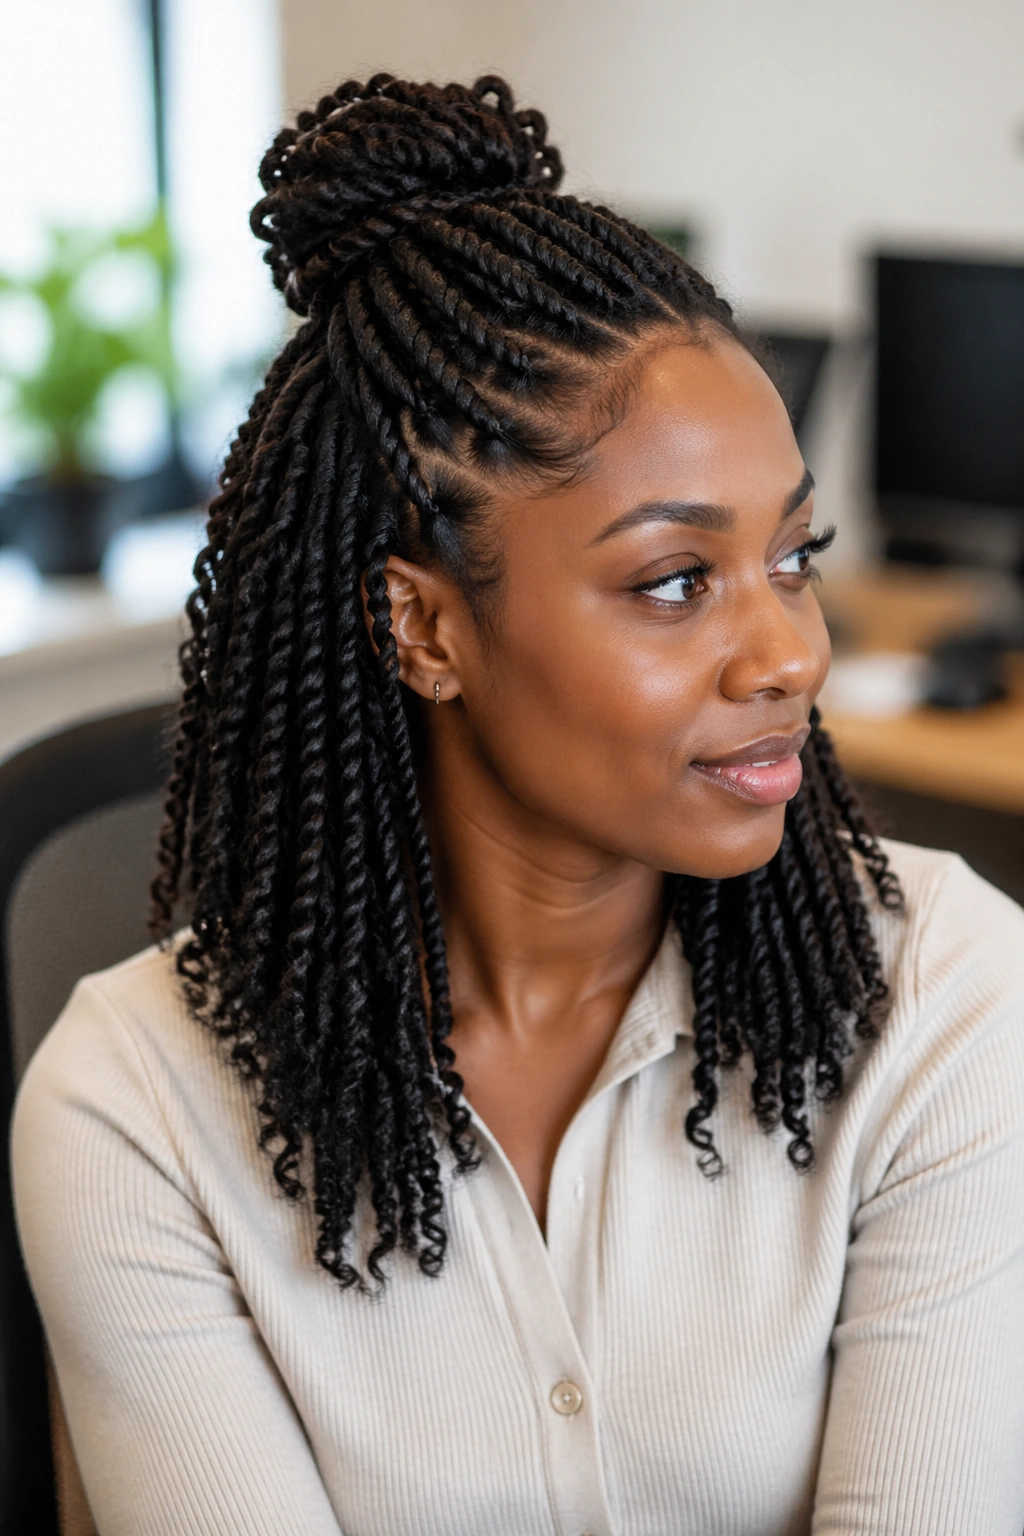
Separate the top half of your twists from the bottom and gather only the top into a small bun or clip at the crown. The bottom half hangs free. This style combines the lift of an updo with the movement of loose twists, and it keeps the back of your neck mostly covered without being as hot as a full loose style.
This works especially well with medium-length twists. Very short twists don’t have enough length for the bottom half to feel substantial, and very long twists make the top bun disproportionately small.
Unlike fully loose twists, the half-up version keeps the front of your hairline controlled and framed, which makes it a more polished option for offices and formal settings.
12. Chunky Twists in a Top Knot
Chunky twists gathered into a single large knot on top of the head. The knot has visual presence because of the thickness of each twist — even with only eight or ten twists on your whole head, the resulting knot looks full and substantial.
Wrap the gathered twists around each other in one direction until they form a coil on top of your head. Tuck the ends under and secure with one or two pins if needed. The natural weight of the twists usually holds the knot in place without much reinforcement.
Who This Is For: anyone with chunky twists already installed who wants a fast way to get them off the neck and shoulders for a hot day.
13. Twists With a Scarf Headband
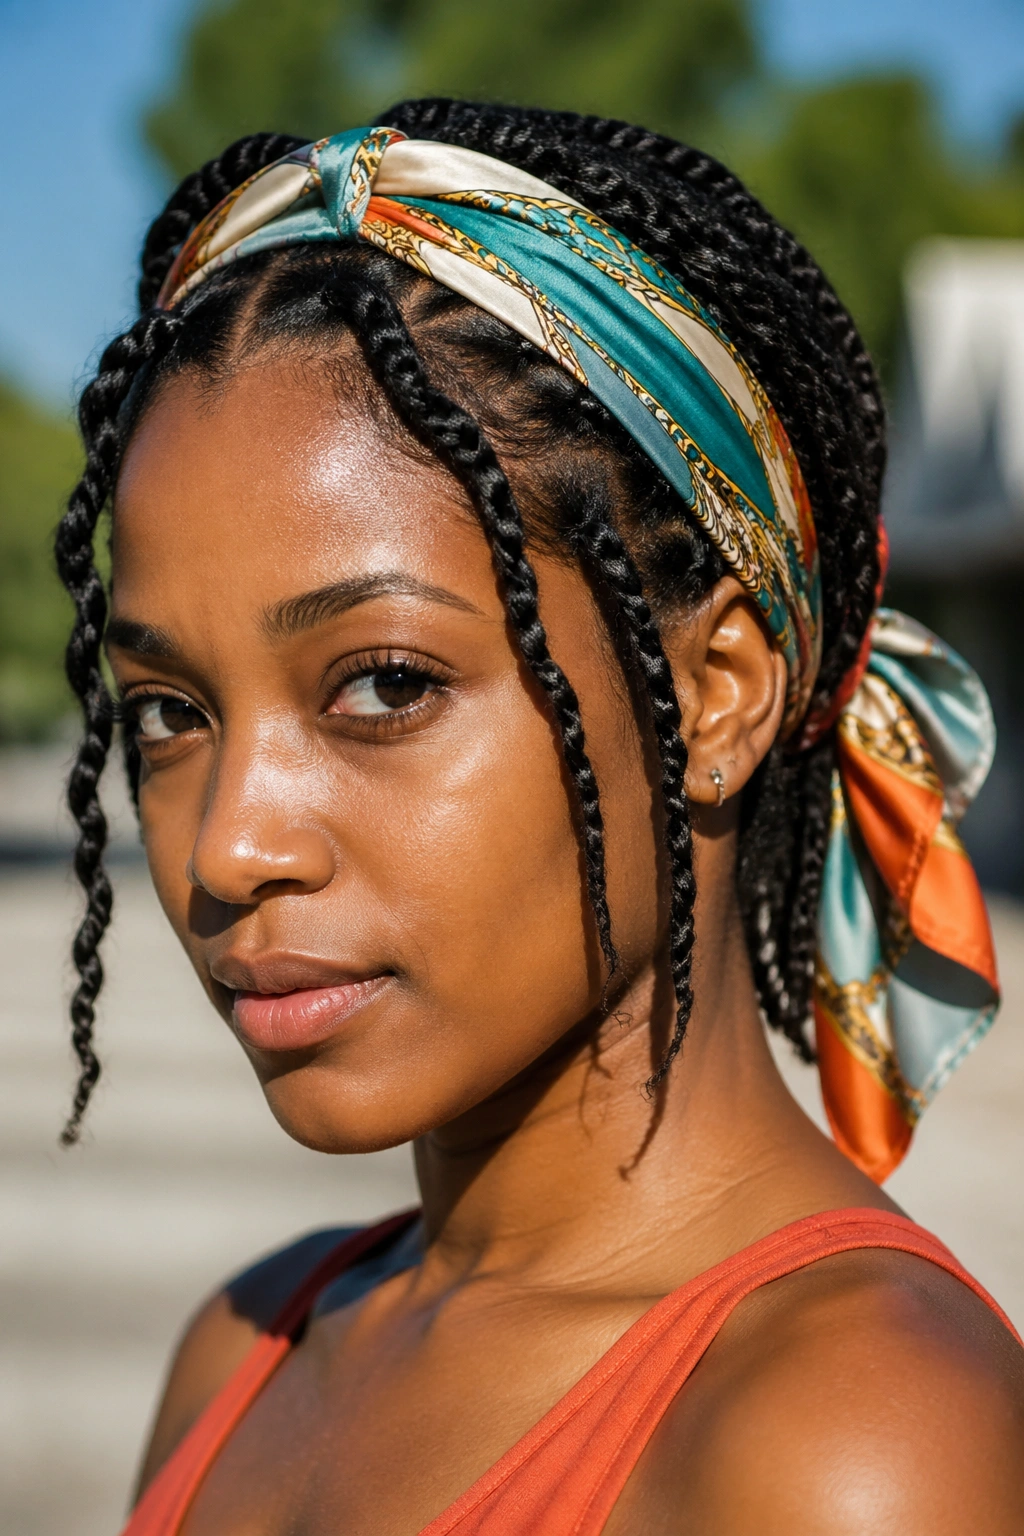
Tie a printed silk scarf across the front of your twists, just behind the hairline, and knot it at the back or at one side. The scarf adds a color accent and keeps any loose frizz at the hairline out of sight.
Pick a scarf with colors that complement the shade of your hair or extensions. A bright red or orange scarf against dark twists creates contrast; a soft cream or taupe scarf creates a quieter, more polished look. Both work.
The scarf also serves a practical purpose in hot weather — it absorbs sweat at the hairline before it can reach your face, which means less forehead sheen by the end of the day.
14. Twists in Multiple Low Buns
Instead of one large bun, section your twists into three or four smaller buns along the nape of your neck. Each bun holds a portion of the twists in a defined shape, and together they create a sculptural effect that looks intentional without any fancy techniques.
Section your twists into three even groups from ear to ear across the back of your head. Gather each group at the nape and wrap into a small bun, securing with pins. The finished look is three small buns in a row across the back of your neck.
This style works especially well for formal summer events where you want something more structured than a single ponytail but more interesting than a basic bun.
15. Twists in a French Roll
Gather your twists along the back of your head, fold them upward, and tuck the ends into the roll. Secure with bobby pins along the edge. The finished shape is a vertical roll running up the back of your head from nape to crown.
The French roll is a classic updo that adapts beautifully to twists. The length and texture of the twists create visible lines within the roll, which makes it look more dynamic than a smooth French roll on straight hair.
Takes about five minutes once your twists are already installed. This is my go-to for weddings and dressy events when I want a clean silhouette that still shows off the twist texture.
16. Twists Wrapped Around a Headband Base
Use a wide elastic headband as the anchor for an updo. Slide the headband onto your forehead and push it back to sit where you want the updo to rest. Starting at the front, wrap sections of twists around the headband, tucking the ends under as you go. By the time you reach the back, all your twists are wrapped around the headband and hidden underneath.
The result is a clean updo that looks like you spent much longer on it than you did. The headband does the structural work; you’re just wrapping the twists around it.
This technique works on almost any twist length from medium to long. Shorter twists may need pins to hold the wraps in place; longer twists usually wrap snugly enough to stay without help.
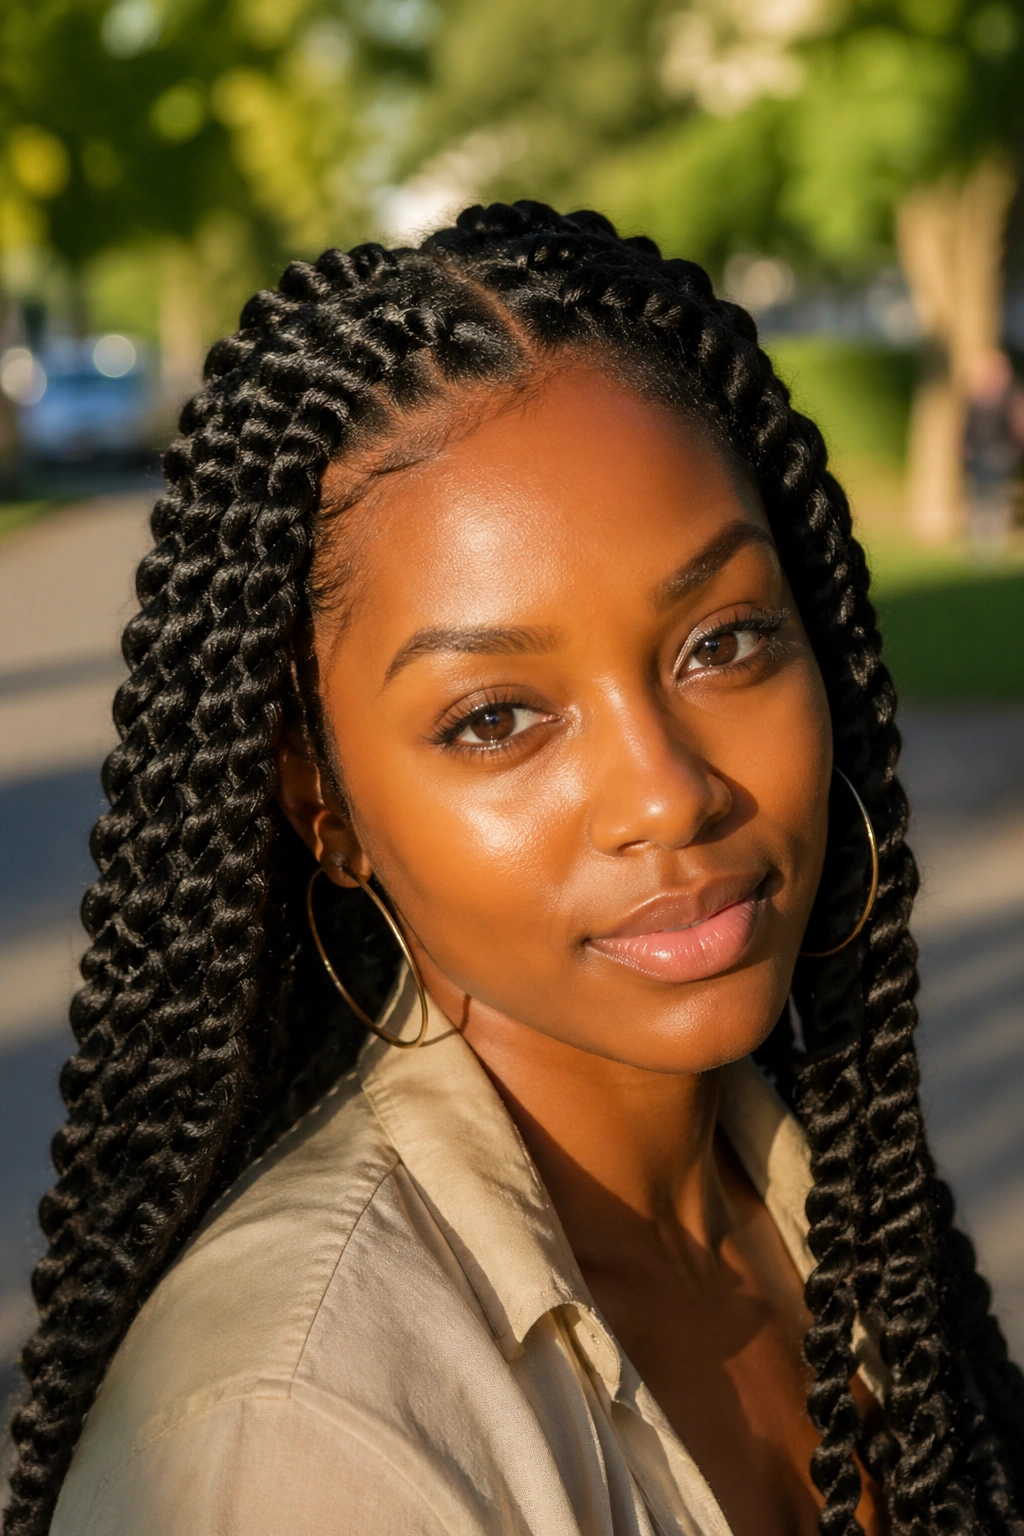
17. Twists With a Middle Part
Install your twists with a clean middle part from your forehead to the crown, and keep the part visible in every style you wear. The middle part creates symmetry and a clean line across the top of your head that reads as intentional in every context.
Work extra edge gel along the middle part during install to keep it crisp for the first week. As the twists age, the part will soften naturally, but the initial crispness sets the tone for the whole install.
A middle part flatters most face shapes and works especially well with twists because the structure of the twists makes the part look even more defined than it would on loose hair.
18. Twists With a Deep Side Part
A deep side part swings most of your twists to one side, creating an asymmetric shape that’s more dramatic than a middle part. The deeper the part, the more dramatic the effect — a part that starts about two inches above one ear creates maximum swing.
What Makes It Different
- The weight distribution is uneven, which adds visual interest
- The heavier side frames your face with more dramatic volume
- Works especially well with longer twist styles
Secure the lighter side behind your ear for a cleaner look. A few pins hold the sparser side out of the way so the deep part stays visible and the asymmetry stays intentional.
19. Twists With Colored Extensions

Add two or three extensions in a different color — subtle browns, golds, burgundy, or bolder blues and pinks — blended into your existing twist install. The colored sections create accents throughout the install without committing to a full color change.
Place the colored extensions strategically: near the front to frame your face, or at the crown to catch the light, or at one specific point along a part to draw attention there. Random placement looks accidental; intentional placement looks designed.
Colored extensions last as long as the rest of your install and give you a chance to experiment with color without touching your natural hair at all.
20. Twist Out Wrap at Night, Wear Again in Morning

Not a new style per se, but a maintenance trick that extends every other style in the list. At night, wrap a silk scarf around the base of your twists in the shape you want to wake up with — whether that’s a bun shape, a pony shape, or just a bundle at the back.
The scarf holds the twists in the desired shape overnight and gives you a formed style in the morning with almost no work. Untie the scarf, run your fingers through the ends to separate them, and you’re done.
This technique adds five minutes to your bedtime but saves ten or fifteen minutes in the morning. Worth it every time.
21. Twists in a Ponytail With a Pompadour Front
A ponytail at the mid-crown with the front section lifted into a small pompadour shape creates a throwback look that suits twists beautifully. The front section adds height, the ponytail adds length, and the combination reads as sculpted and retro.
Gather the front inch of your hairline forward, tease gently at the root, and pin it backward to create a small puff. Then gather the rest of your twists into a pony at the crown. The pompadour front and the ponytail work together visually.
This style takes about four minutes once your twists are installed. It’s a great option for dinners, date nights, and anywhere you want to look elevated without a complicated updo.
22. Twists With Cuffs and Beads
Add small metallic cuffs or beads to a few twists throughout your install. The cuffs catch the light and add small accents that elevate the look without drastic changes. Choose a few twists near your face or along a part line and slide a cuff onto each one.
Gold cuffs flatter most skin tones and work with almost every outfit color. Silver cuffs have a cooler vibe. Mixed metal — a few gold and a few silver throughout — adds more complexity but can read as busy if overdone.
Keep the cuffs sparse. Ten to fifteen cuffs across a full install looks intentional; fifty cuffs looks like a costume. Restraint is the whole trick.
23. Quick Fake Updo With Twist Gathering
Gather all your twists up to the crown of your head and hold them there with one hand. With your other hand, wrap a large scarf around the base where you’re holding the twists, then tie the scarf at the front or side. The scarf holds the twists up and the ends of the twists fall forward in a small fountain shape.
This isn’t a precise updo — it’s a controlled chaos look that takes sixty seconds. The scarf does all the work. The twists stay up because they’re physically held in place by fabric, not pins or ties.
Unlike structured updos, this one can be redone in a minute if it slips, and it looks intentional even when the twists are sliding slightly. Casual summer perfection.
How to Maintain Twists Through a Hot Week
Morning refresh is simple: spray the length of your twists with a mix of water and a few drops of argan oil. Scrunch gently with your palms, let air dry for a minute, and you’re set. This adds back moisture that the hot dry air pulled out overnight.
At night, tie a satin scarf around your twists or sleep on a satin pillowcase. The scarf keeps the front hairline flat and prevents frizz from friction against fabric. Without it, even the best install will look fuzzy within three or four days.
If you swim in chlorine or salt water, rinse your twists with fresh water immediately after swimming. The chemicals dry out your hair and accelerate fading if you have colored extensions. A quick rinse prevents most of that damage.
When to Take Your Twists Out
Most twist styles can stay in for two to six weeks depending on your hair type and the install technique. After that, new growth at the root makes the twists look uneven and your scalp may start to itch from accumulated buildup.
Don’t push a style past its useful life. Twists that are too old look messy, pull on your edges, and can cause breakage when you finally take them out. A clean install held for the recommended time is much better than an old install held for twice that long.
To remove, gently unravel each twist from the bottom up, using a little oil on your fingers to loosen any tangled sections. Detangle thoroughly before shampooing — wet twists that aren’t properly undone can mat into a single mass that takes hours to work through.
Mistakes That Cut Your Style’s Life in Half
Skipping the scalp wipe-down during wear. Buildup causes itch, buildup causes frizz, buildup causes breakage when you finally take the twists out. A weekly witch hazel swipe takes three minutes and doubles the life of your install.
Sleeping without protection. Every night on cotton without a scarf or satin pillowcase takes days off the life of your twists. This is the single most preventable mistake people make.
Over-moisturizing. Twists don’t need to be drenched with leave-in every day. A light spritz is enough. Too much product makes the twists gummy, attracts dirt, and smells bad after a few days.
Finding Your Summer Twist Routine
Pick two twist styles from this list that match your schedule and your look preferences. Practice installing the faster one until you can do it in under two hours. Plan the longer install for a weekend when you have time and patience. Alternate between the two through the summer months and your hair will stay healthier, your mornings will be faster, and your heat-related frustrations will drop dramatically.
Twists take time upfront and save time for weeks afterward. That trade works in your favor every time once you’re used to it.