Doing your natural hair at home is one of those skills that feels intimidating until you’ve done it enough times, and then suddenly you can’t imagine paying someone $150 to do what your hands already know how to do. I started doing my own hair out of necessity — broke college student, no salon budget, a lot of free time on Sundays — and it turned into one of those quiet joys I didn’t see coming. You learn what your hair likes. You learn what it hates. You stop fighting it.
This is a rundown of 25 natural afro styles you can actually do at home with basic tools, reasonable product, and hair that behaves like real hair instead of the mannequin hair in YouTube tutorials. I’ve done most of these on my own head. The rest I’ve done on friends, sisters, cousins — the lab rats of anyone who gets comfortable with their own hair. They all work. Some take 20 minutes. Some take a whole afternoon. All of them leave you looking like you paid for it.
Before we get into the specific styles, let me set some expectations. The first time you try any new style, it will take longer than you expect and probably look worse than you hoped. The second time, it’ll look better. By the fifth time, you’ll have your own shortcuts. That’s how hair works. Patience isn’t a side quest — it’s the whole game.
What You Actually Need Before You Start
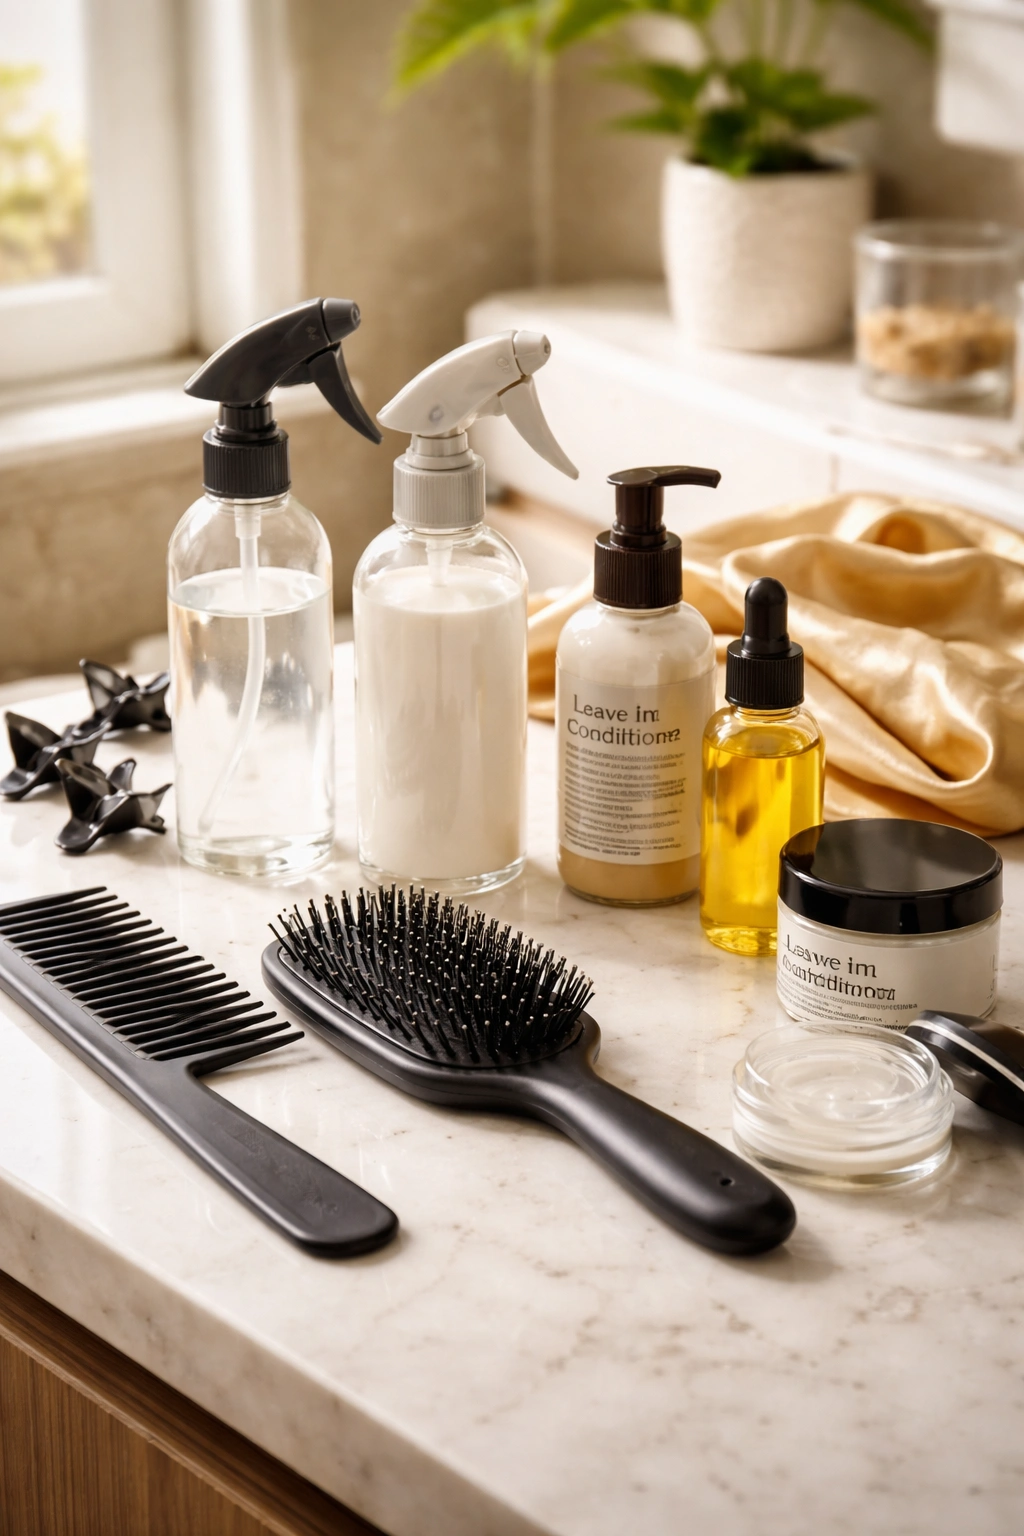
You don’t need a salon’s worth of product. You need the essentials, and you need to know what each one does so you can swap brands without losing the outcome.
Here’s the short list. A wide-tooth comb — not a fine one, a wide one, the bigger the better for detangling wet hair. A denman brush or a paddle brush with flexible bristles for smoothing. A couple of spray bottles, one for water and one for a leave-in mix. Clips — butterfly clips for sectioning, smaller ones for holding twists while you work. A satin scarf or bonnet for night protection.
Product-wise — a creamy leave-in conditioner, a curl custard or defining cream, a light oil (jojoba, avocado, or sweet almond all work), and an edge control you actually like. That’s it. You don’t need six products. You need four good ones.
Tools I’d add if you can — a metal duckbill clip for pin-ups, a rat-tail comb for parting, and a blow dryer with a comb attachment if you want to stretch hair before styling. Optional but helpful.
Prepping Your Hair So Styles Actually Work
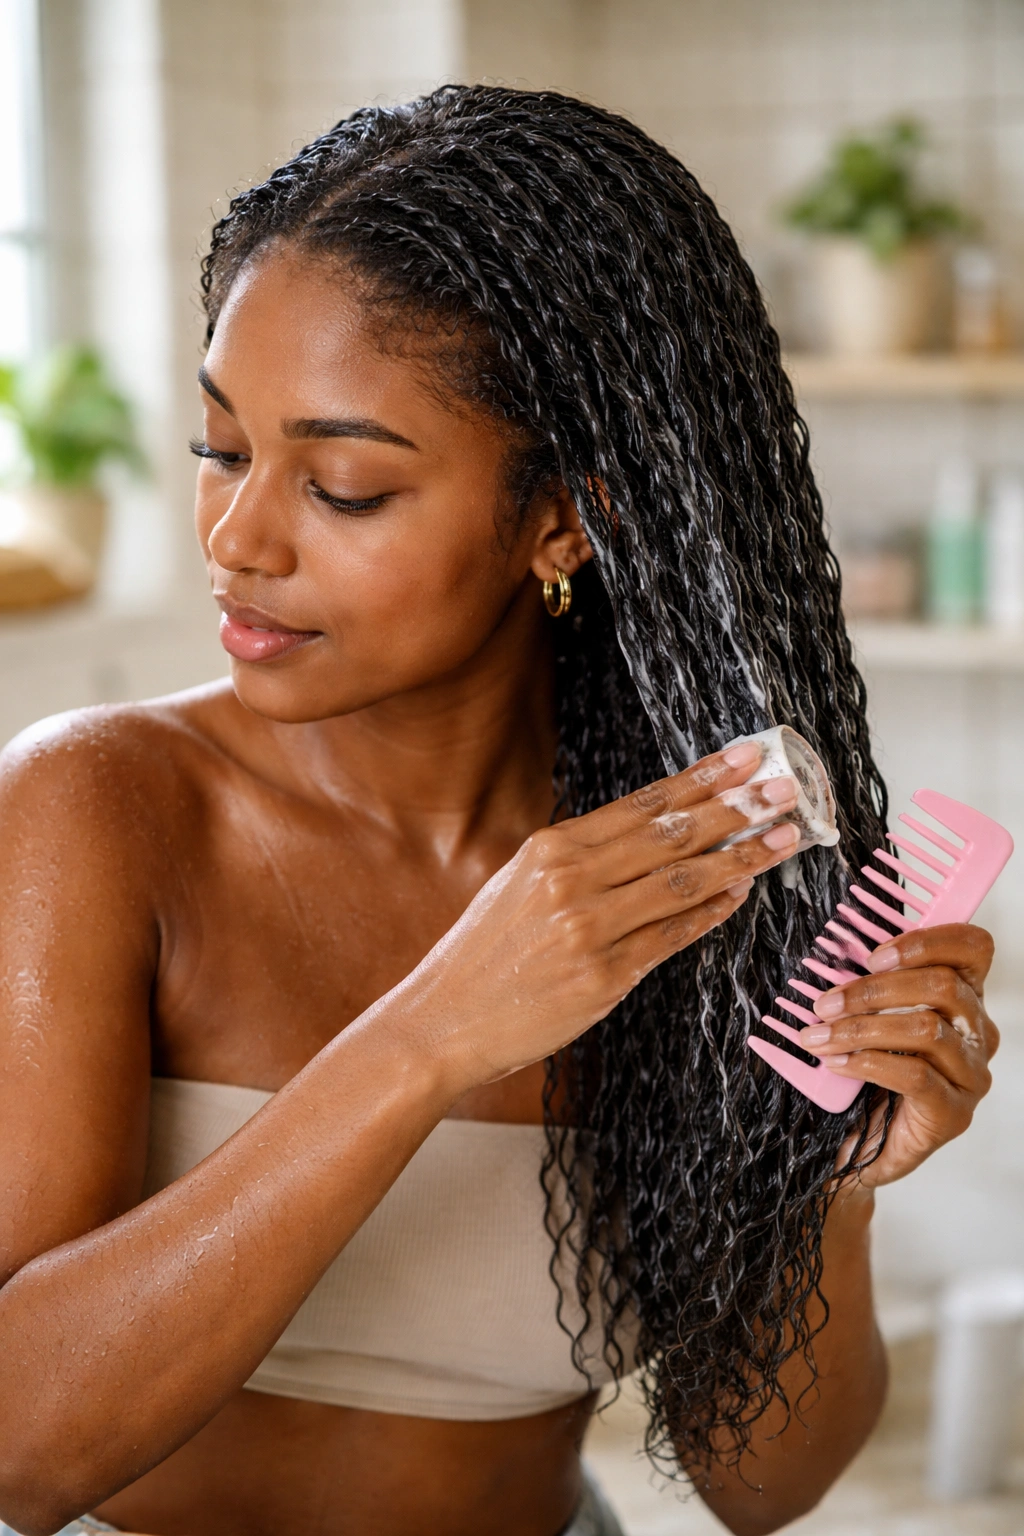
Every style on this list assumes you’re starting with clean, moisturized, properly detangled hair. If you skip prep, you’re fighting dirty hair for the entire session, and it shows.
A proper wash day looks like this. You pre-poo with an oil or conditioner for 20-30 minutes to soften things up. You wash with a sulfate-free shampoo, focusing on the scalp. You deep condition for at least 20 minutes under a plastic cap — heat helps if you have it, but room temperature works too. You rinse, then apply leave-in while the hair is still dripping. Detangle section by section with a wide-tooth comb, starting at the ends and working up.
This whole process takes about 90 minutes if you’re efficient, longer if you’re distracted. Do it on a Sunday with a podcast playing. Make it ritual, not chore.
Understanding Your Hair Type Without Getting Obsessed
Hair typing systems exist, and they’re useful up to a point. 3c, 4a, 4b, 4c — these describe curl pattern, which affects how much definition you’ll get with certain products and how much shrinkage you can expect. That’s about it.
Don’t get too precious about your number. Most women have multiple textures on the same head. My crown is looser than my edges. My nape is tighter than the rest. That’s normal, and it doesn’t mean you’re doing anything wrong.
What actually matters is porosity — how well your hair absorbs and holds moisture. High porosity hair drinks product and dries fast. Low porosity hair sits with product on top and takes forever to dry. You can test this with the water cup trick (drop a clean strand in water, see if it sinks or floats), but honestly you can tell from how your hair behaves. If it’s dry within an hour of washing, it’s high porosity. If it’s still damp 6 hours later, it’s low porosity.
Adjust your technique accordingly. High porosity hair wants heavier, butter-based products. Low porosity hair wants lighter, water-based formulas applied in thin layers.
Sectioning — The Skill Nobody Talks About
If you can section your hair well, half of styling is already done. If you can’t, every style will look uneven no matter how good your technique is.
Basic sectioning means four quadrants. Part down the middle from forehead to nape. Then part ear to ear across the top of your head. You now have four even sections. Clip three of them out of the way. Work on the fourth. Move clockwise or counterclockwise — pick one and stick with it.
For more detailed styles you might need six or eight sections. The same principle applies. Section before you start. Don’t grab random hair as you go.
1. The Classic Wash-and-Go
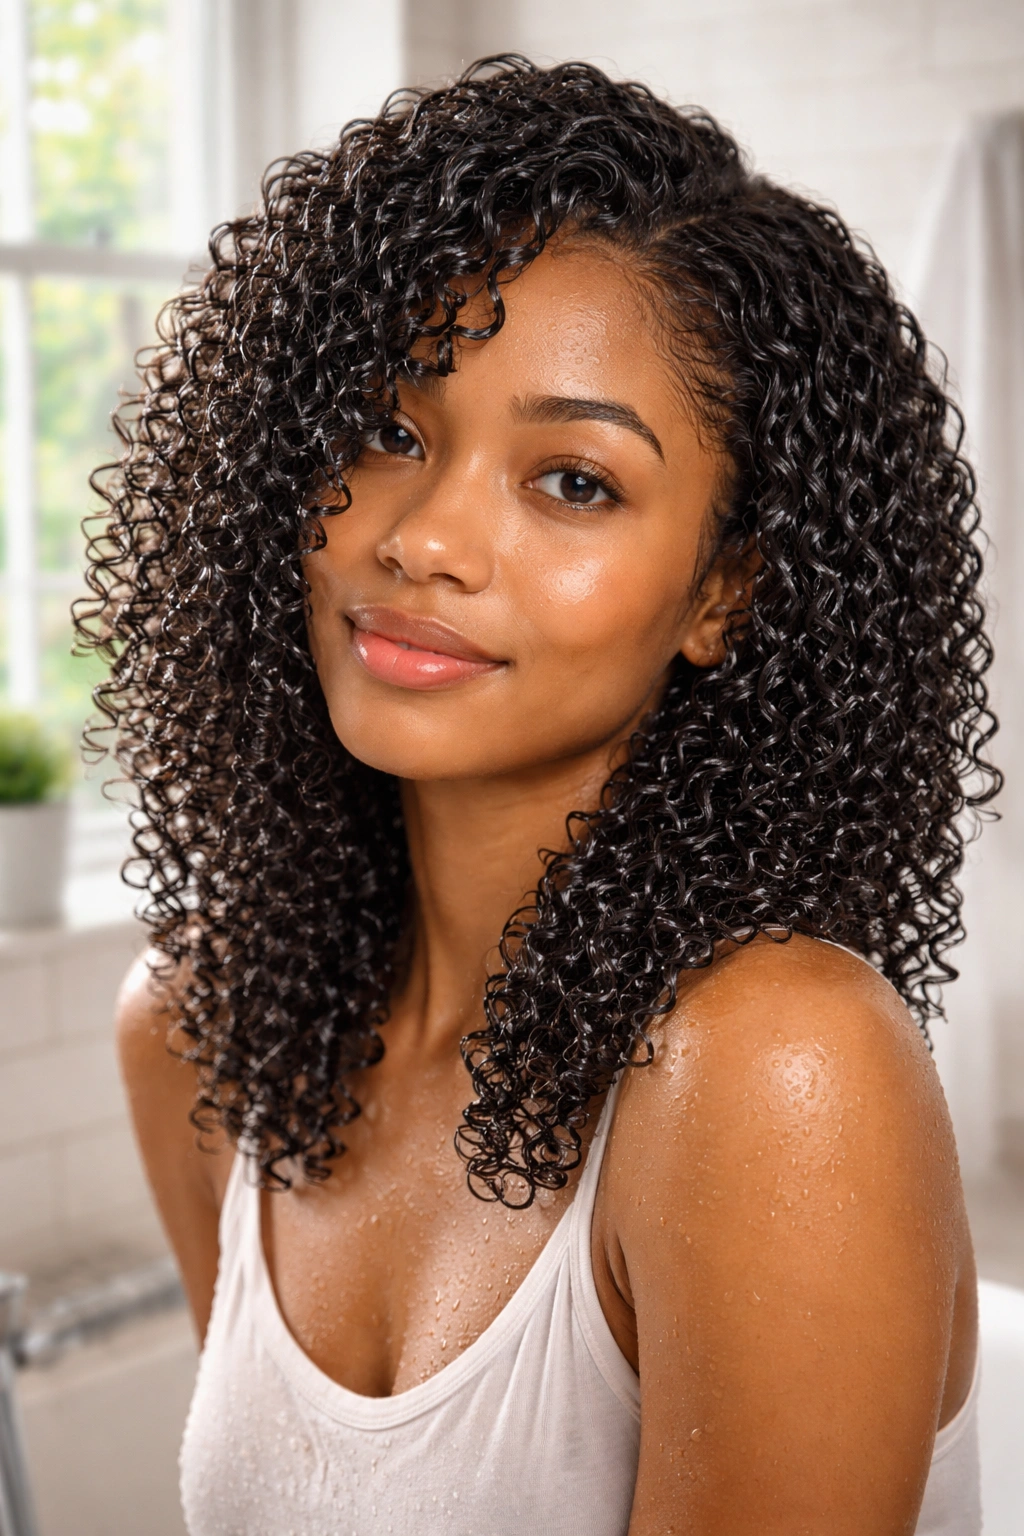
Start with the one everybody thinks they know but almost nobody does well.
A proper wash-and-go requires soaking wet hair — not damp, not towel-dried, soaking. Apply a leave-in while your hair is dripping. Then apply a curl definer in thin, even coats using the prayer hands method (palms flat, hair between them, smooth down). Work in small sections. Scrunch from the ends upward. Let it air dry or diffuse on low heat.
Why It Works
- Water is the primary moisturizer, and soaking wet hair activates curl pattern
- Thin product layers dry without crunch
- Section work prevents frizz zones and patchy definition
- Scrunching encourages curl formation instead of stretching
Tip: If your curls look stringy, you’re using too much product or not enough water. Rewet and try again with less product.
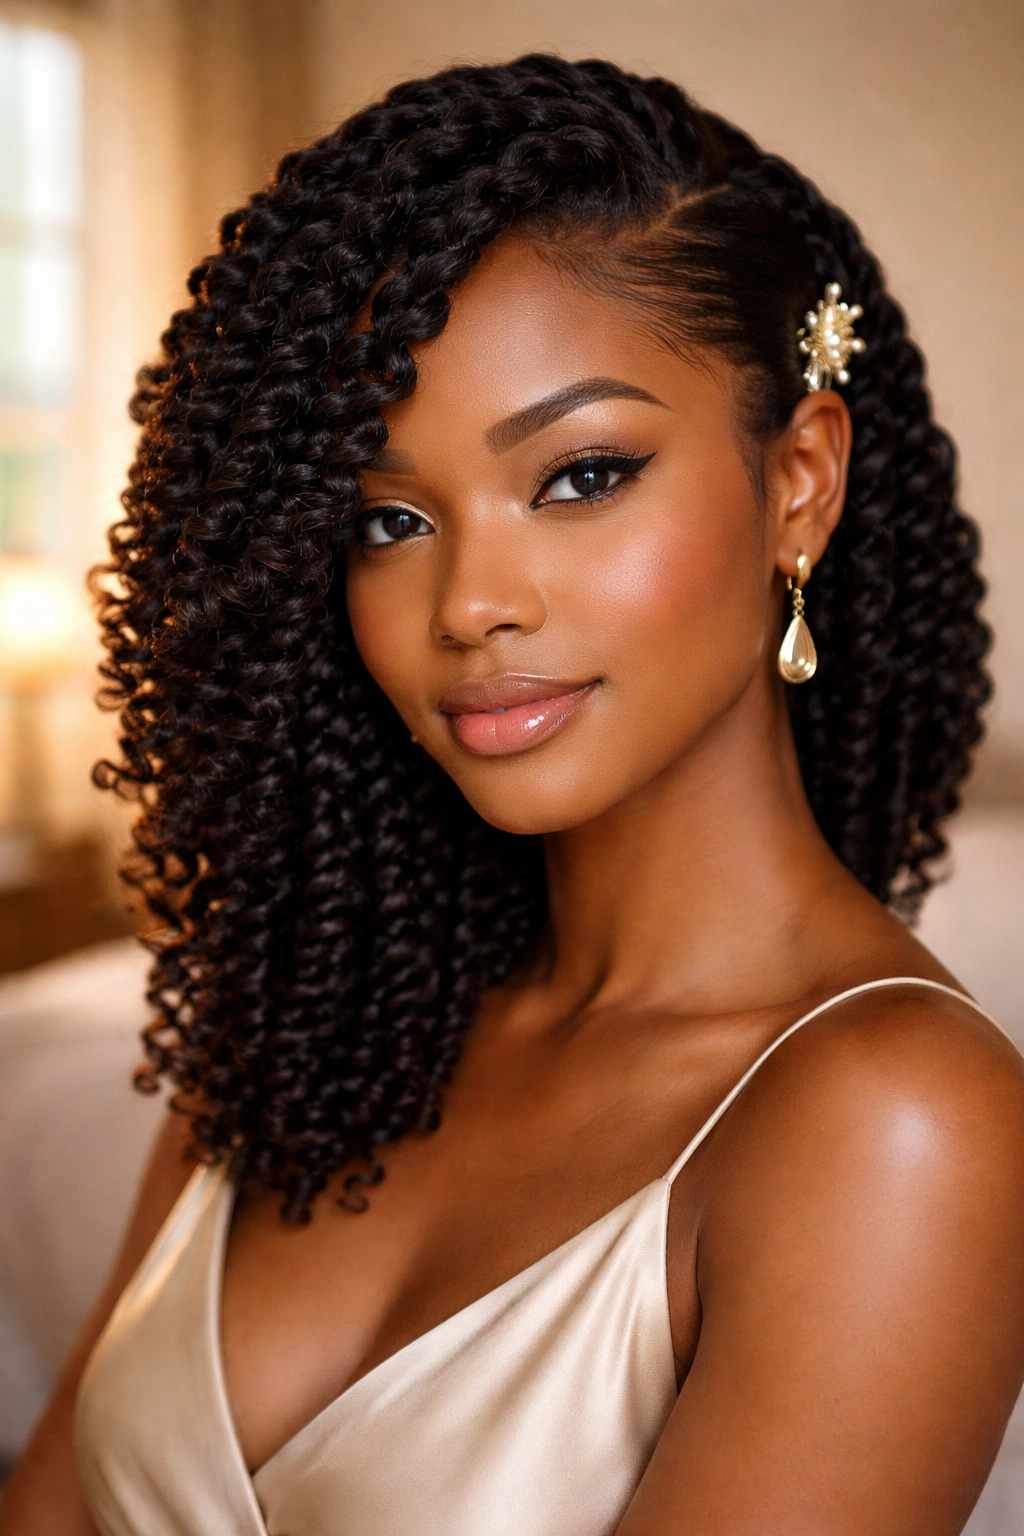
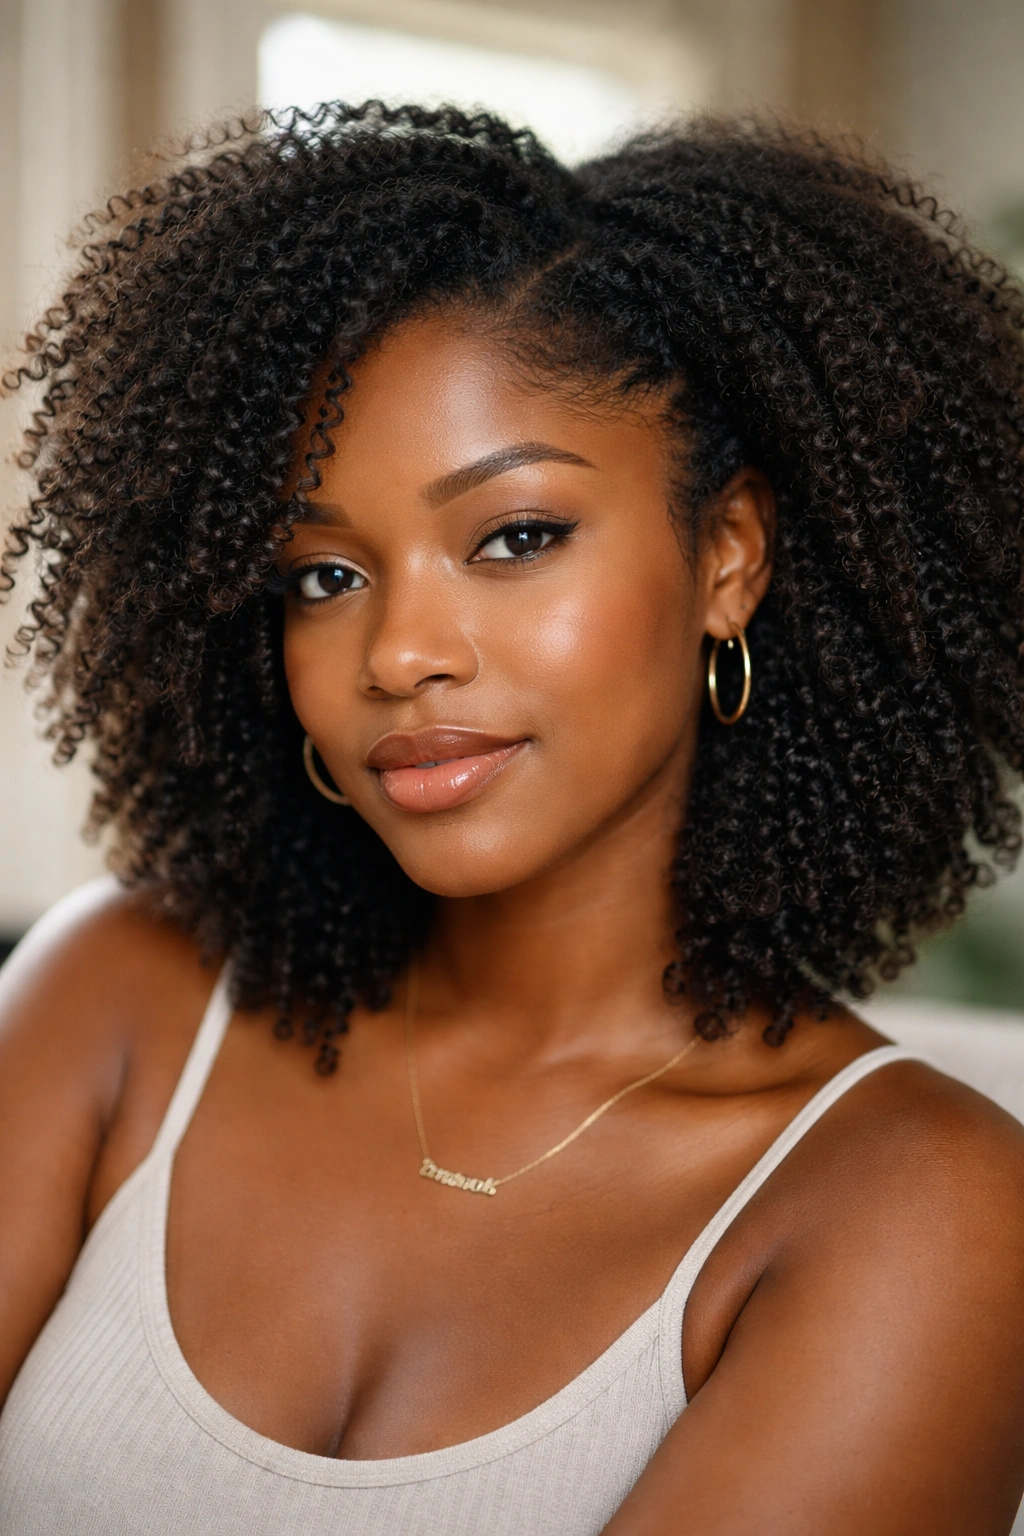
2. Two-Strand Twist-Out
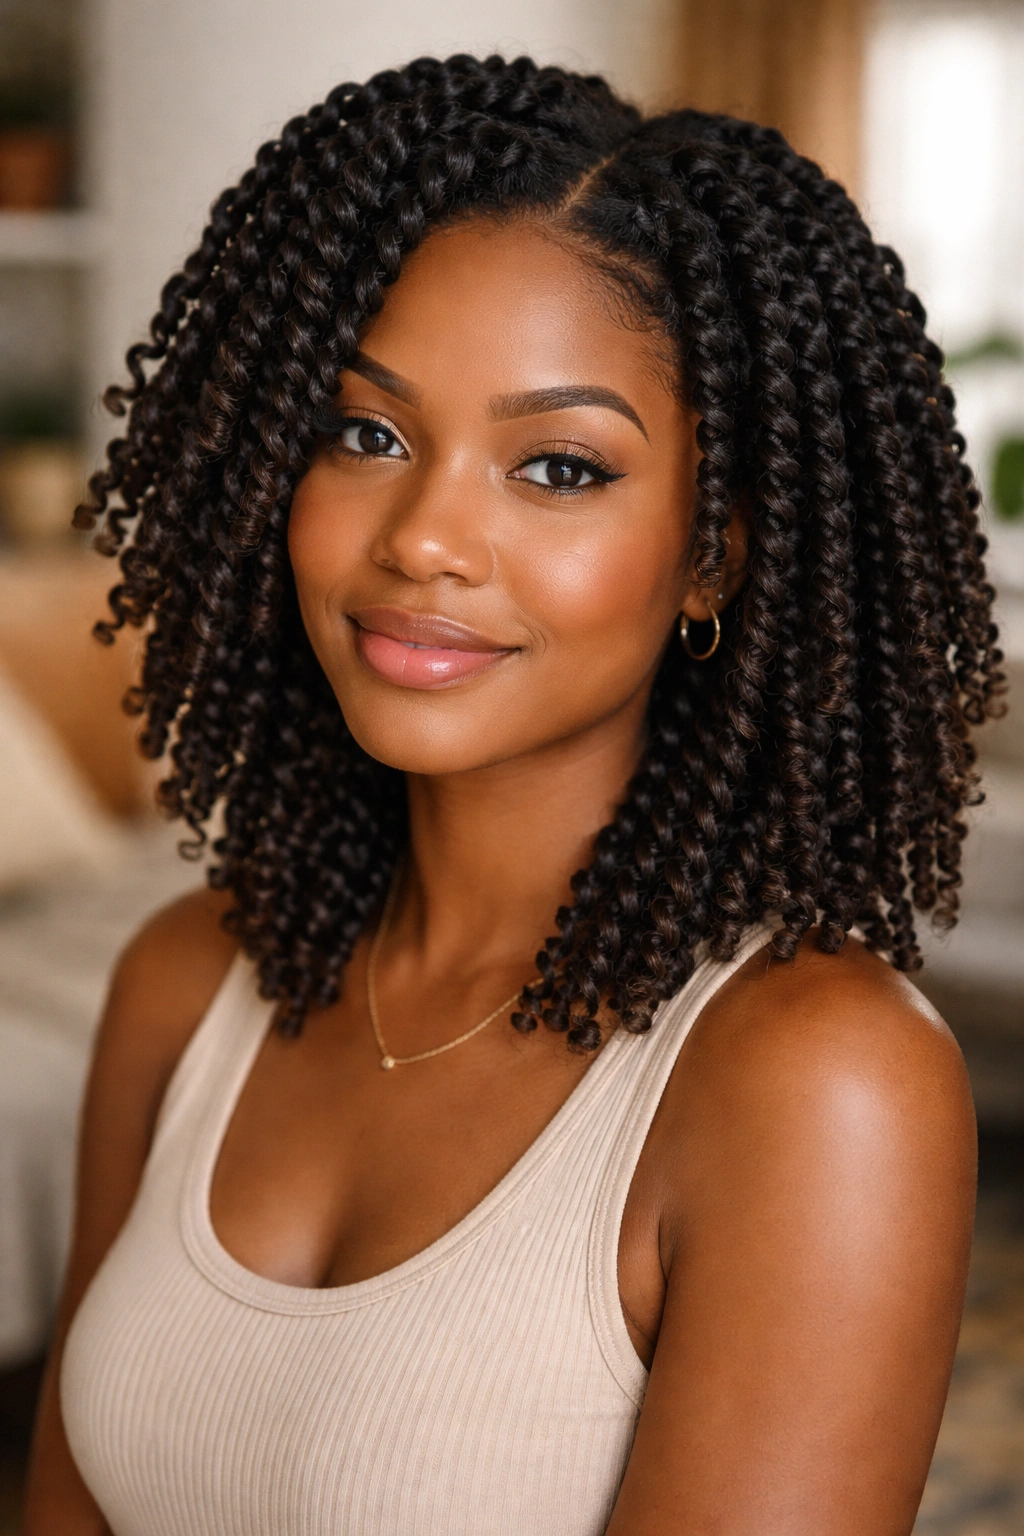
Bold claim — the twist-out is the single most useful natural hair style you can learn, and once you master it, you can stretch it into five or six other styles.
Apply a defining cream to sections about an inch wide. Split each section in half and twist the two halves around each other from root to end. Do the whole head. Let it dry fully — overnight is best. Unravel each twist gently in the morning, fluff the roots with a pick, and you’ve got a defined, voluminous style that lasts 3-4 days.
The trick is patience. Undoing twists while they’re still damp is the reason most twist-outs look frizzy instead of defined. Wait until they’re bone dry. No shortcuts.
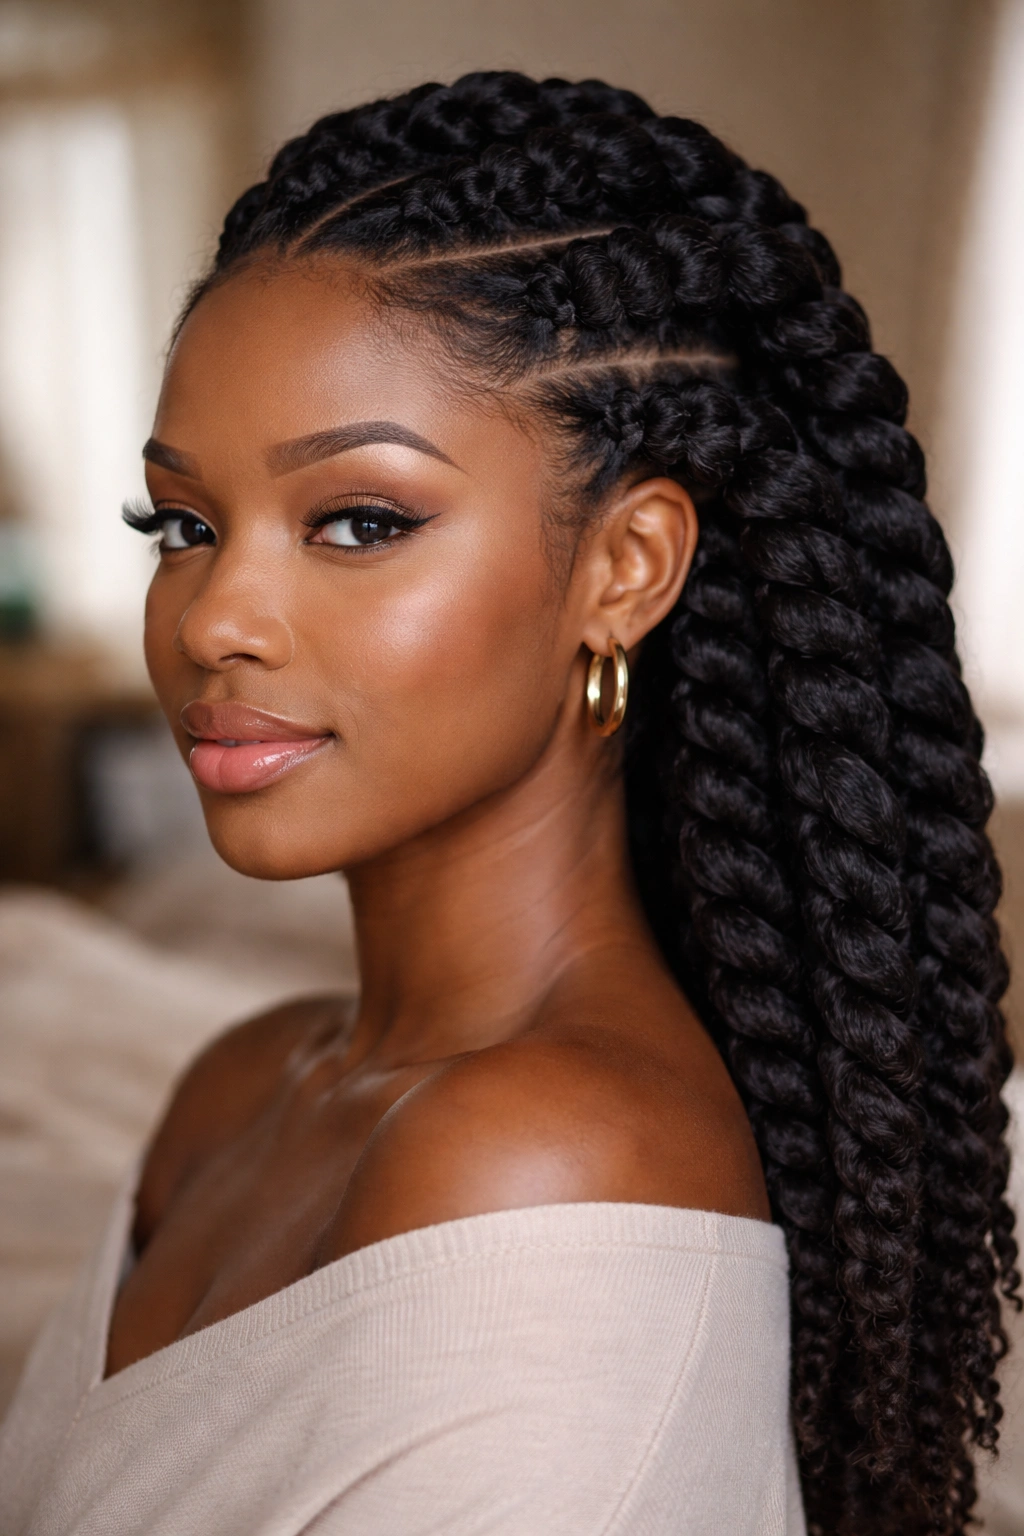
3. Flat Twist Updo with Front Pompadour
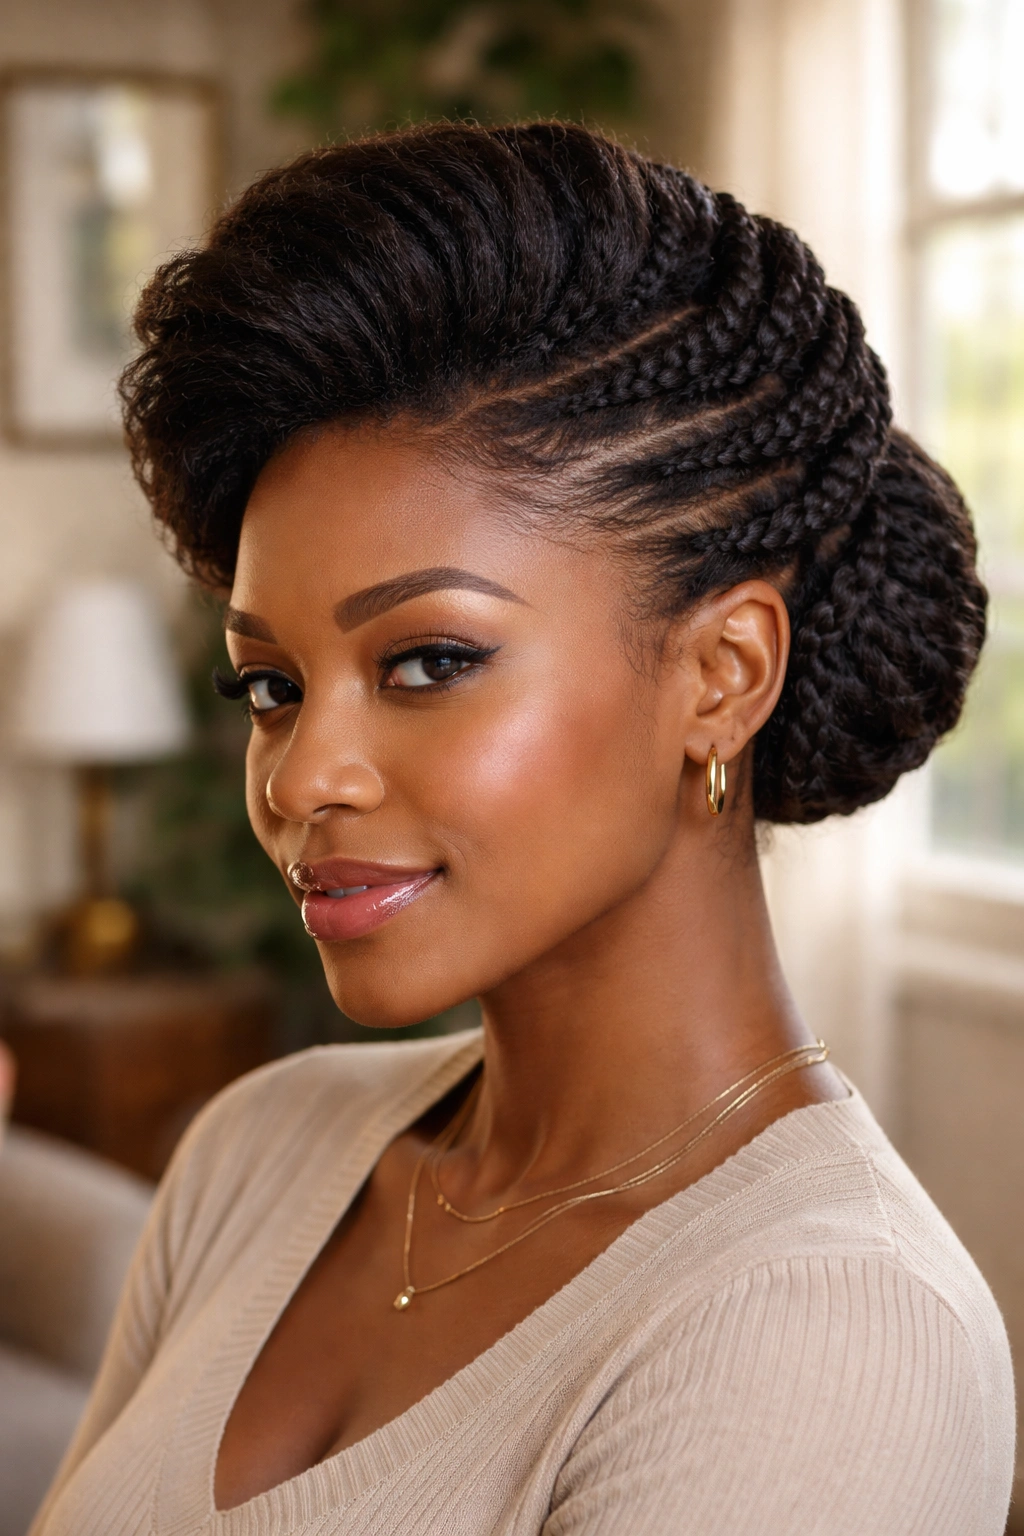
Flat twists are the cousin of cornrows — they stay on the scalp and follow a path, but you only use two strands instead of three, and they’re faster to do.
For this style, you flat twist the sides and back of your head upward toward the crown, tucking the ends into a small bun or pinning them with bobby pins. The front section is left loose and styled into a pompadour — twisted, rolled, or just picked out big and pinned.
How to Use It
Perfect for a work week where you want something that lasts. Apply edge control, smooth your baby hairs, and this style holds for 5-7 days with nighttime scarf maintenance. Dress it up with hair jewelry or keep it plain.
Spray a little water on day 3 if it starts looking dry, but don’t touch the twists themselves — they’ll fuzz.
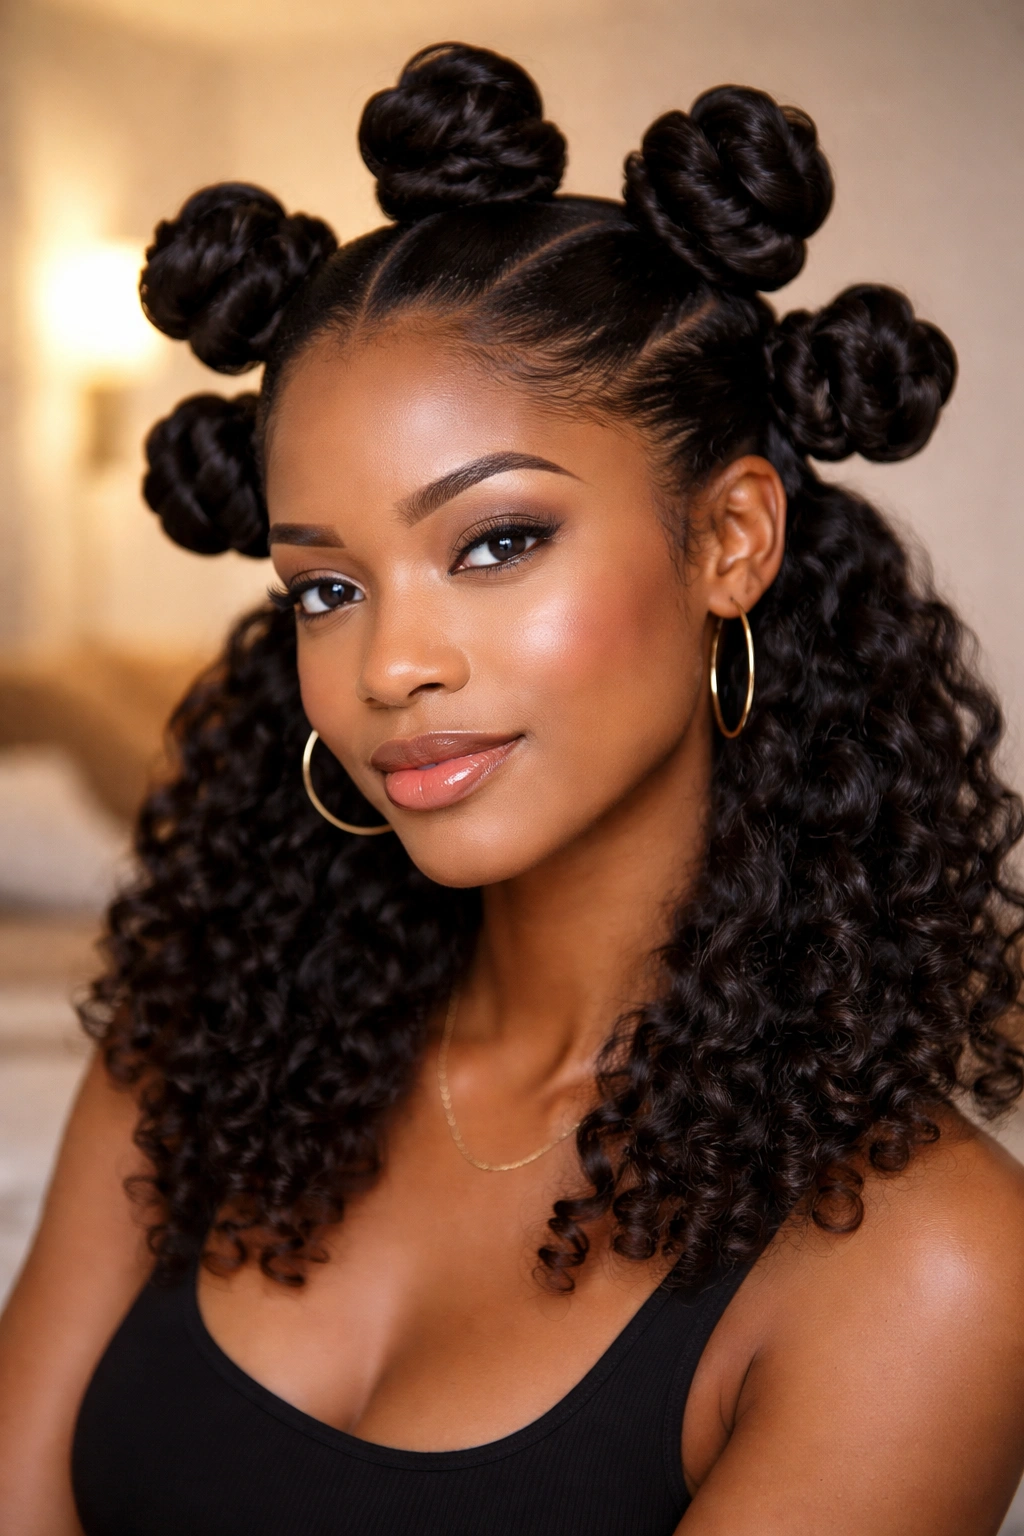
4. Bantu Knots
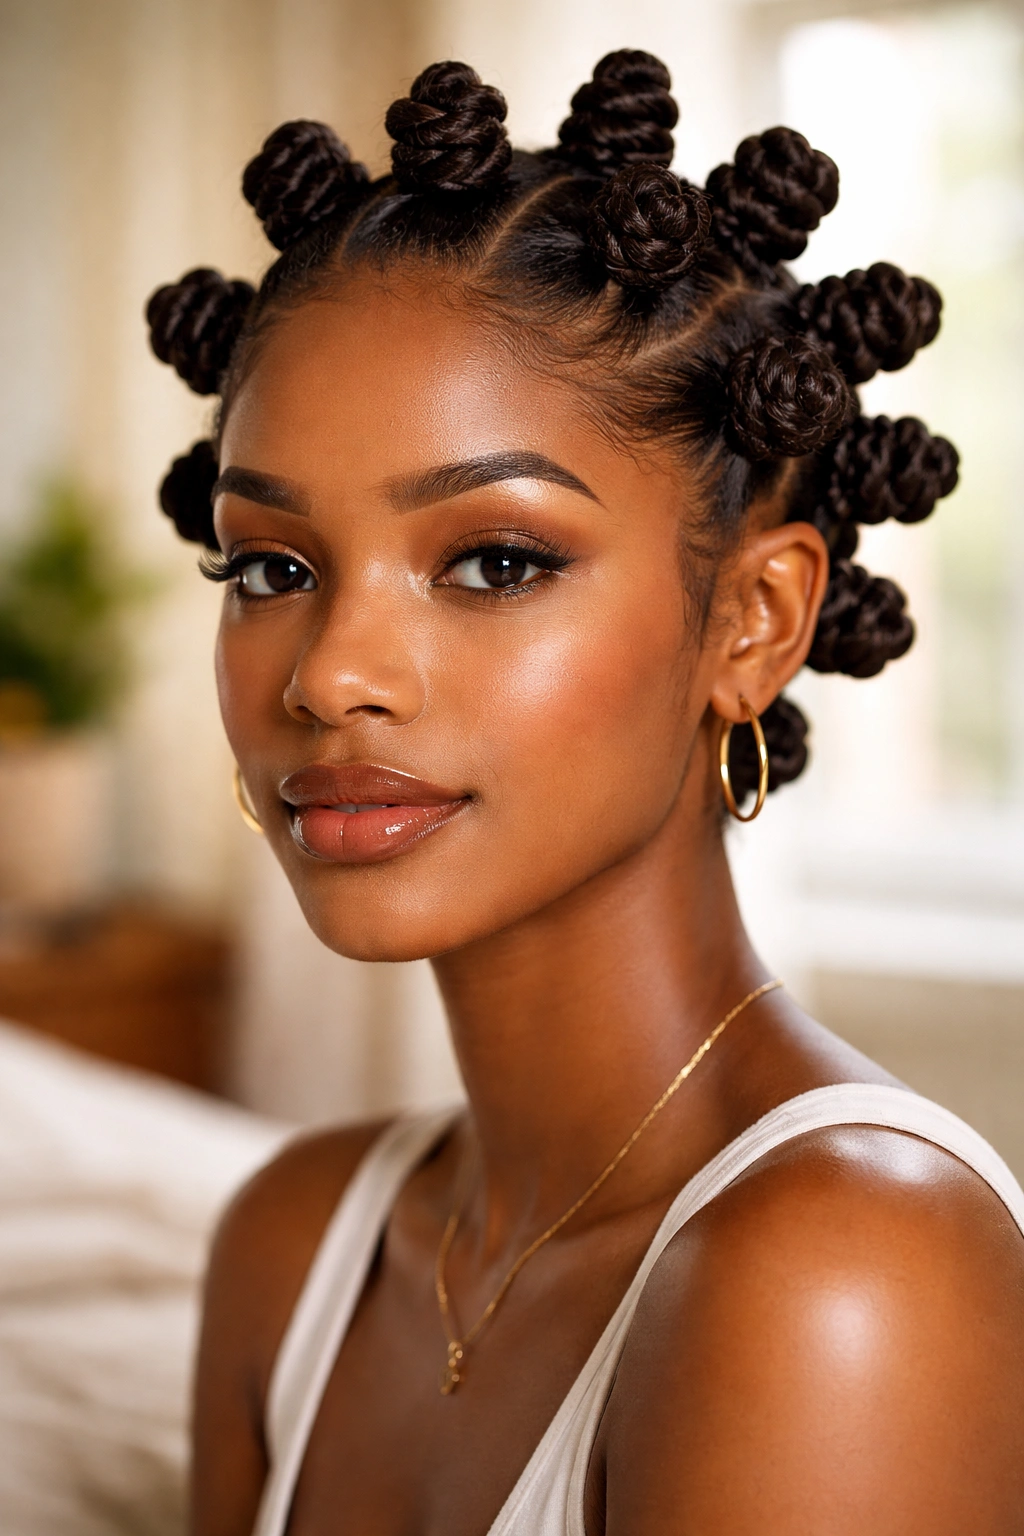
Bantu knots do two jobs. They’re a style on their own — those cute little coiled knots all over your head — and they’re a method for setting your hair into a bantu knot-out, which gives you voluminous defined curls when you unravel them.
Section your hair into small to medium squares. Apply styling cream to each section. Twist each section down to the ends, then coil the twist around its own base like wrapping thread on a spool. Tuck the end under. Repeat.
You can wear them out as a statement style, or sleep on them and unravel in the morning for waves. Both options work. Both look different.
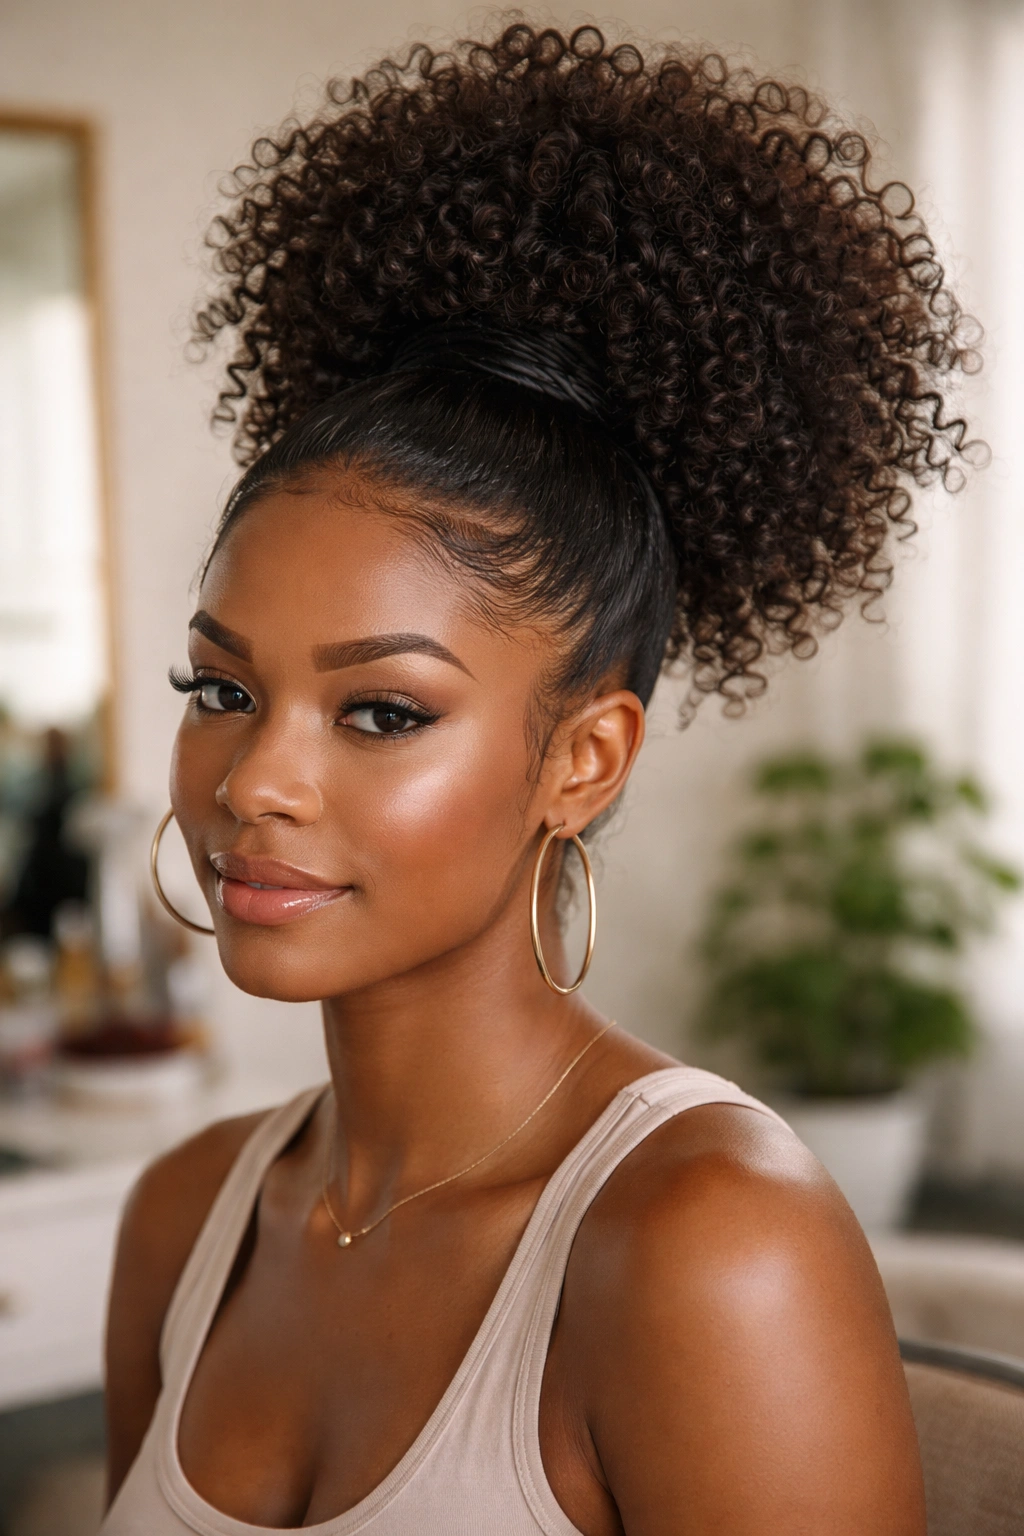
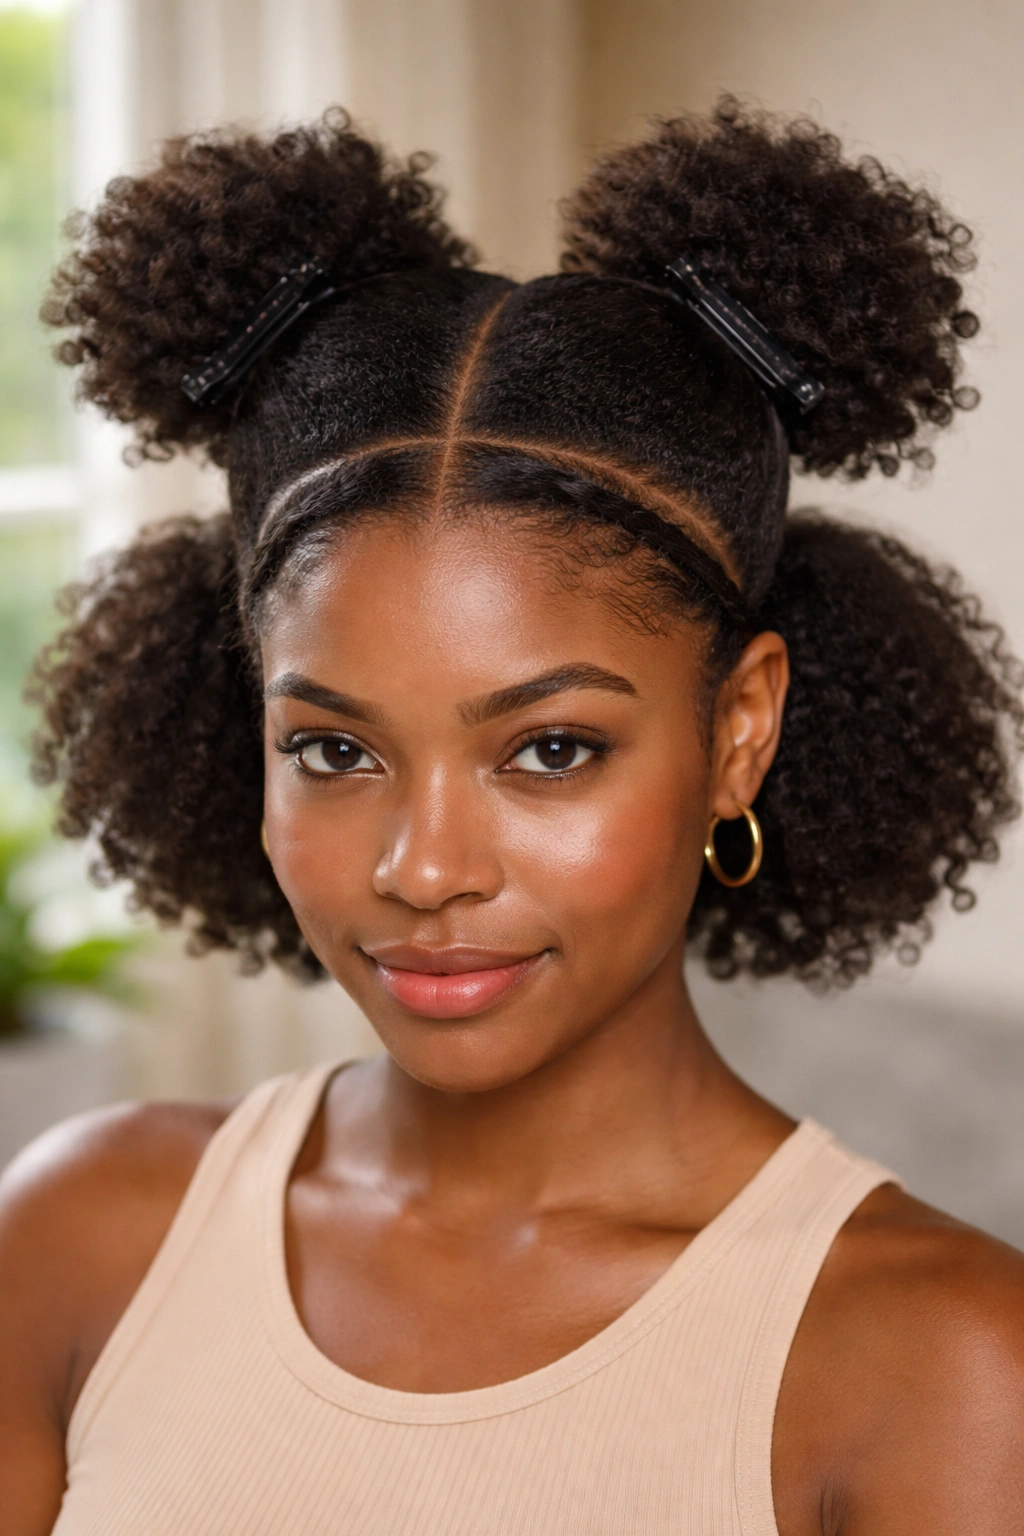
5. High Puff with Gelled Edges
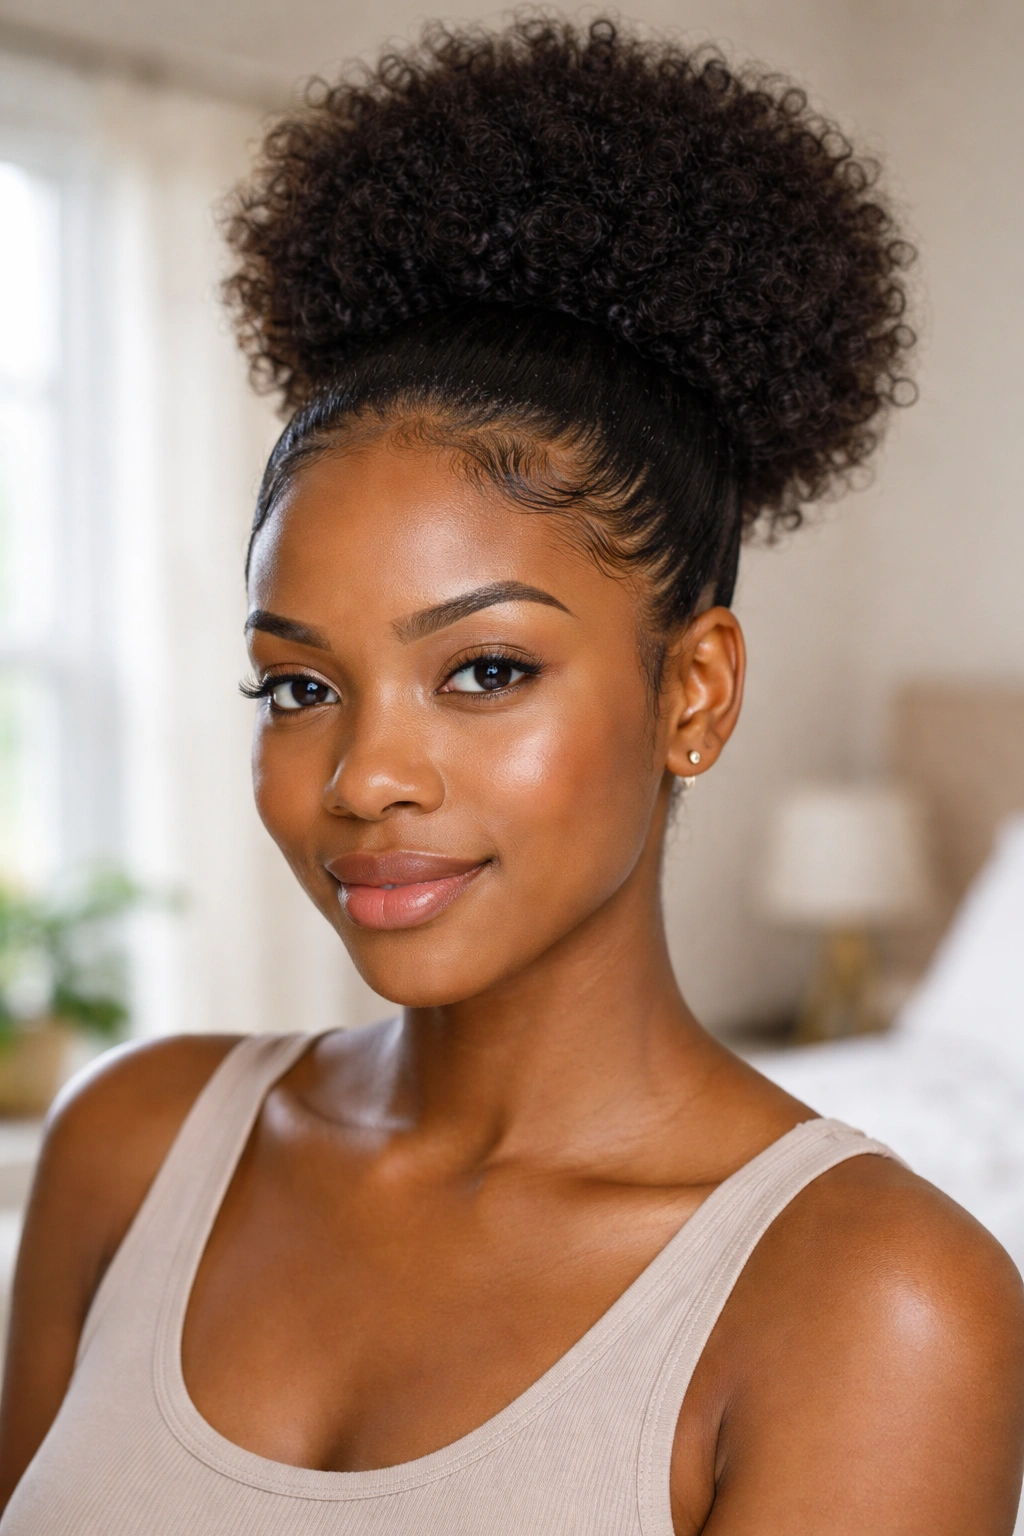
Sometimes you just need a style that takes five minutes and still looks intentional. The high puff is that style.
Wet your hair slightly. Gather it all to the top of your head using a scarf wrapped around your head like a headband, tied at the front. Pull the scarf tight until your hair is secured up high. Use edge control on your edges with a small brush, smoothing them down into whatever design you like. Pick out the puff to make it round and full.
The key is the scarf, not a hair tie. Hair ties cut into your hair and cause breakage at the puff line. Scarves distribute pressure and cause less damage.
6. The Pineapple Updo
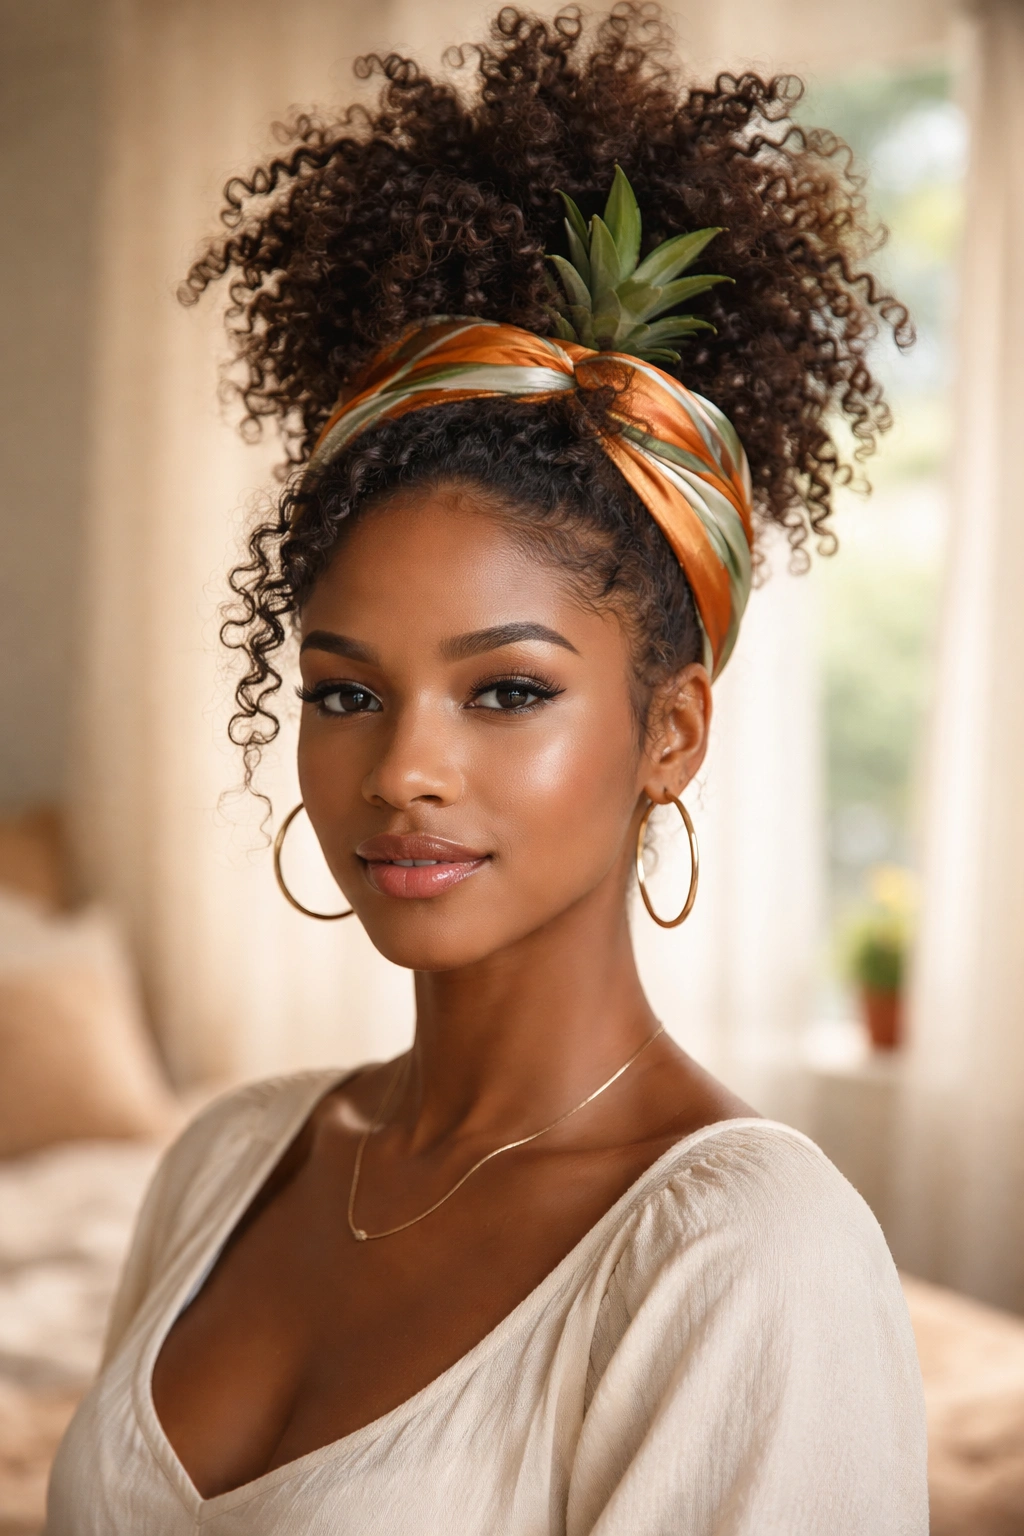
A scenario — you had a great twist-out or wash-and-go yesterday, and you need to preserve it overnight without flattening it.
The pineapple is the answer. You gather all your hair at the very top of your head (not a ponytail — higher than a ponytail, at the crown) and secure it loosely with a silk scrunchie or by tying a satin scarf around the base of the puff. Your curls spray out the top like a pineapple leaves.
Mechanism
- Keeps curls off your pillow so they don’t flatten
- Preserves the shape you worked for
- Takes 30 seconds to set up
- Comes down in the morning with minimal reshaping needed
Wake up, pull the scrunchie down, pick the roots, done. This is a maintenance style, not a statement, but it’s essential if you want to stretch a good hair day into multiple days.
7. Chunky Cornrow Style
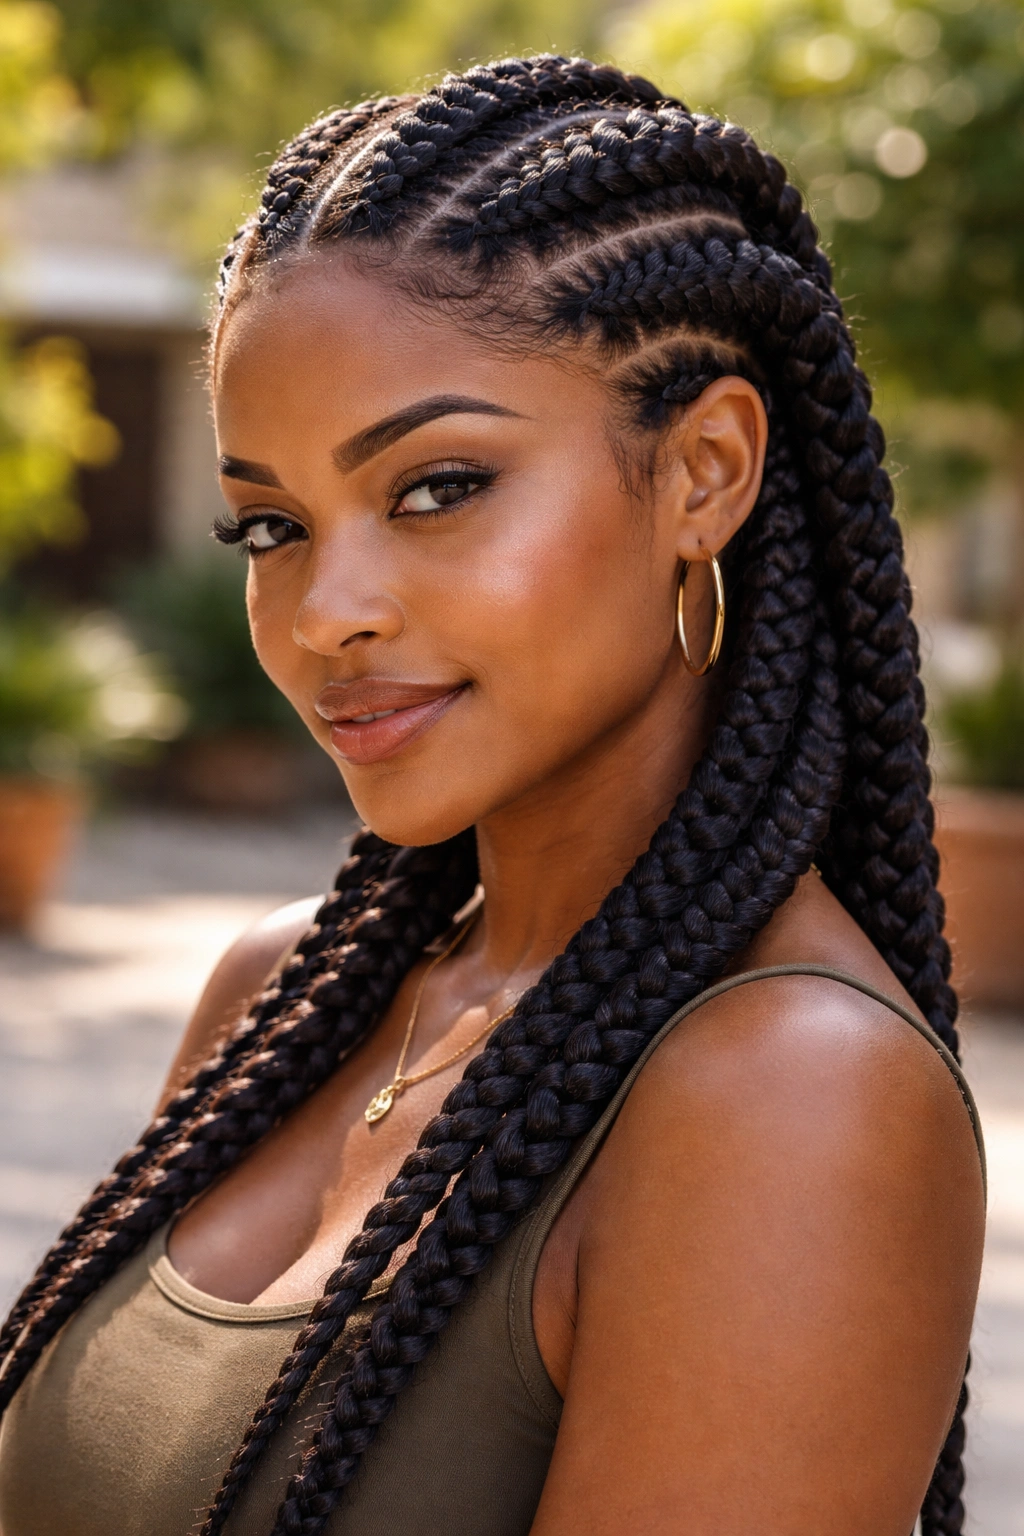
Cornrows are intimidating if you’ve never braided before, but chunky cornrows — big, thick, only 6-10 across the whole head — are way easier to learn on than tiny ones.
Section your hair into big parallel rows. Starting at the front of each row, pick up a small section and split it into three strands. Braid underhand (with strands going under each other, which creates the raised cornrow look) while adding hair to each pass. Braid all the way down to the nape and finish with a regular three-strand braid to the end.
You can wear them plain, tie them in a low bun, decorate them with beads, or pull them into a high ponytail for added drama. Each variation gives you a different look from the same base.
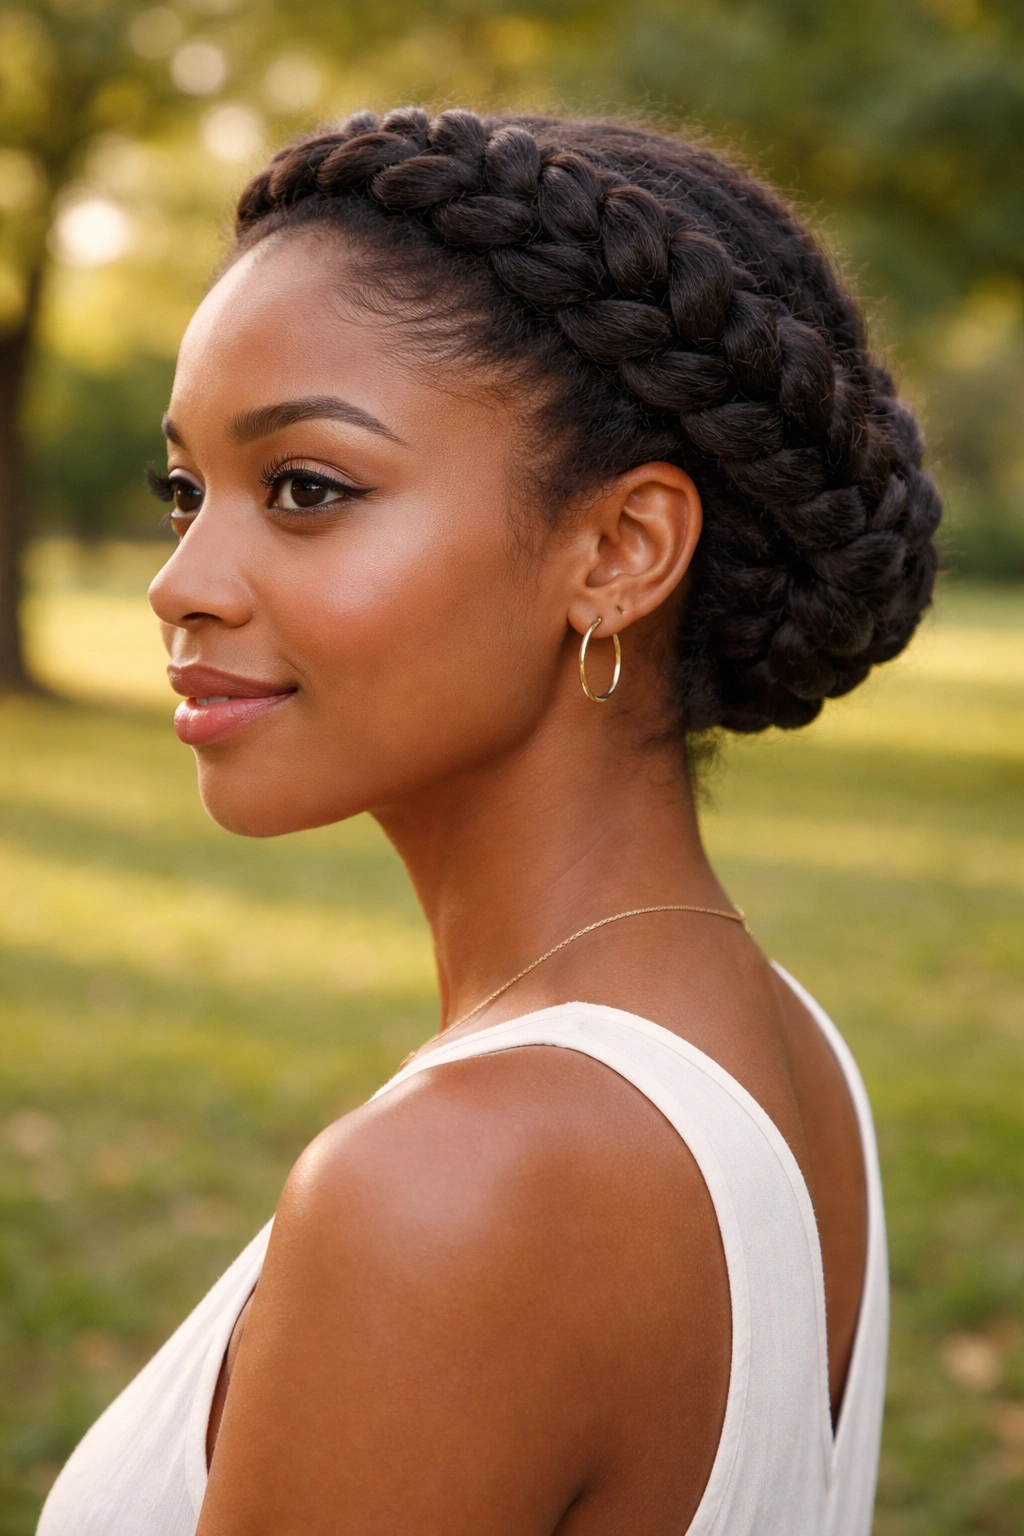
8. Halo Braid
Pure prose for this one because it flows as a single idea.
A halo braid is one continuous braid that wraps around your head like a crown. You start behind one ear, pick up hair along the way, and keep adding as you braid around the front hairline and back down to where you started. When you reach the end, you tuck the finishing braid under the beginning and pin it so the whole thing looks like an unbroken circle.
The style is simpler than it looks, but it does require some dexterity because you’re braiding sideways along your head instead of straight down. Practice on dry, stretched hair first — slippery wet hair is too hard for beginners.
It’s elegant. It works for weddings, work, dinners, any setting where you want something pretty without being fussy. You can leave a few face-framing curls loose at the front for softness, or pull it all in tight for a more polished look.
9. Jumbo Flat Twists on Stretched Hair
Unlike wet-styled twists, these start with dry, stretched hair and stay chunky from root to tip. You blow dry your hair with the comb attachment or stretch it with banding, then part into 6-8 large sections and flat twist each one, adding hair as you go.
The result is big, loose, expressive twists that have volume and length in a way that wet twists don’t. Good for dressier occasions where you want shape without tight definition.
Who this is for? Women who love the twist look but don’t love the shrinkage that comes with wet styles. Women who want a style that shows off length without chemical stretching.
Recommendation — keep a leave-in spray handy to refresh the twists during the week. Stretched hair tends to dry out faster.
10. Mohawk with Side Twists
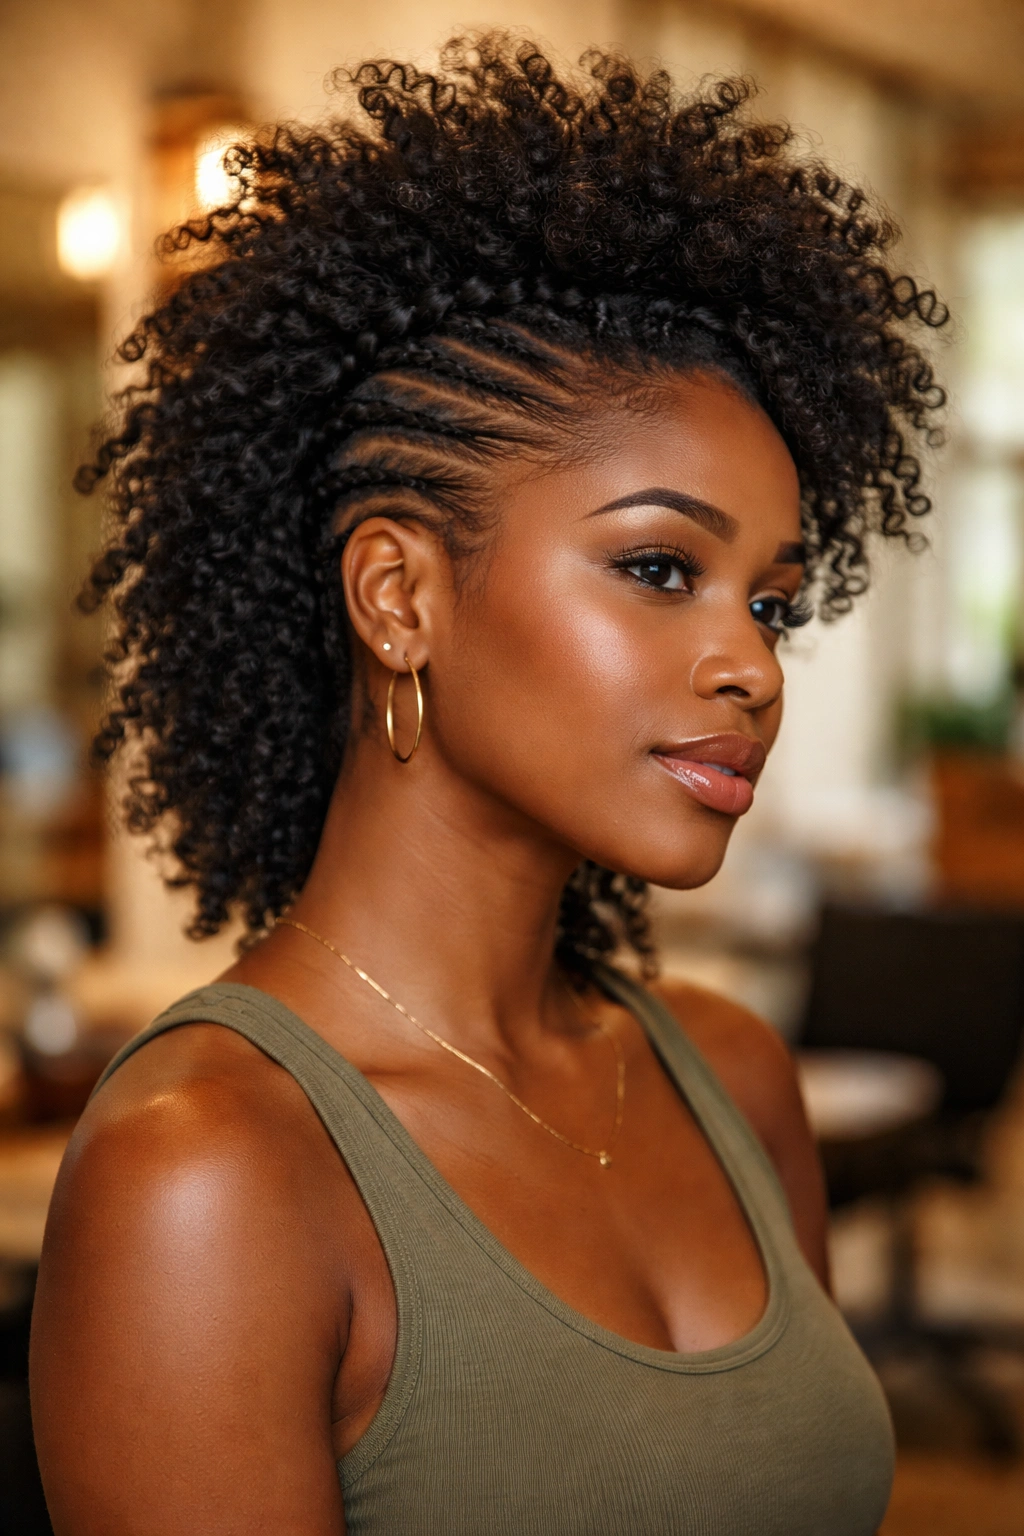
The mohawk look without shaving anything is possible, and it’s honestly one of the most fun styles to wear.
You flat twist the sides of your head — from the ear area up toward the top — leaving the middle section loose. That middle strip becomes your mohawk, which you can style as a twist-out, a puff, a braided crown, or a wild pick-out fluff.
- Twists on the side stay tight and close to the scalp
- Middle section gets all the volume
- Works on any length — short, medium, long
- Easy to vary week to week by changing the middle section
11. Braid-Out on Stretched Hair
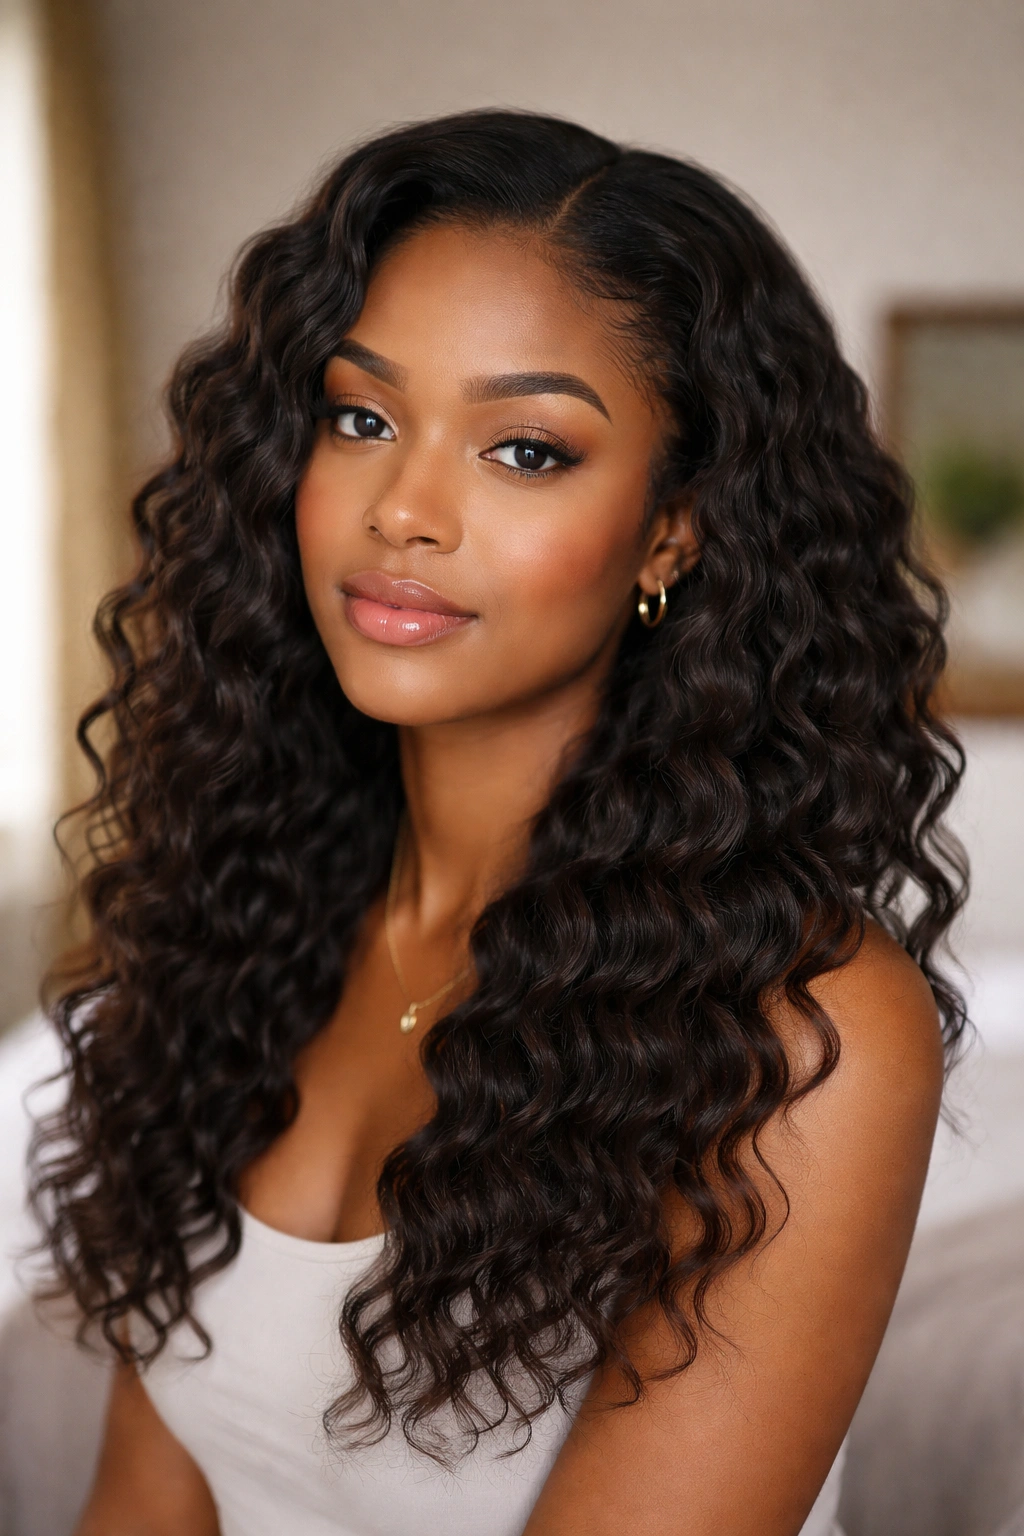
Similar principle to a twist-out but with three-strand braids instead of two-strand twists. The results are wavier, more uniform, and often hold longer than twist-outs.
Start with stretched hair. Apply a setting foam or cream. Braid in medium sections — not too small or you’ll be there all day. Sleep in a satin bonnet. Unravel in the morning, fluff, and you have defined waves that last a full week with proper night care.
The waves from a braid-out tend to be looser and more S-shaped than twist-out curls, which makes them a good option for when you want a different look without changing your actual routine.
12. Space Buns on a Twist-Out
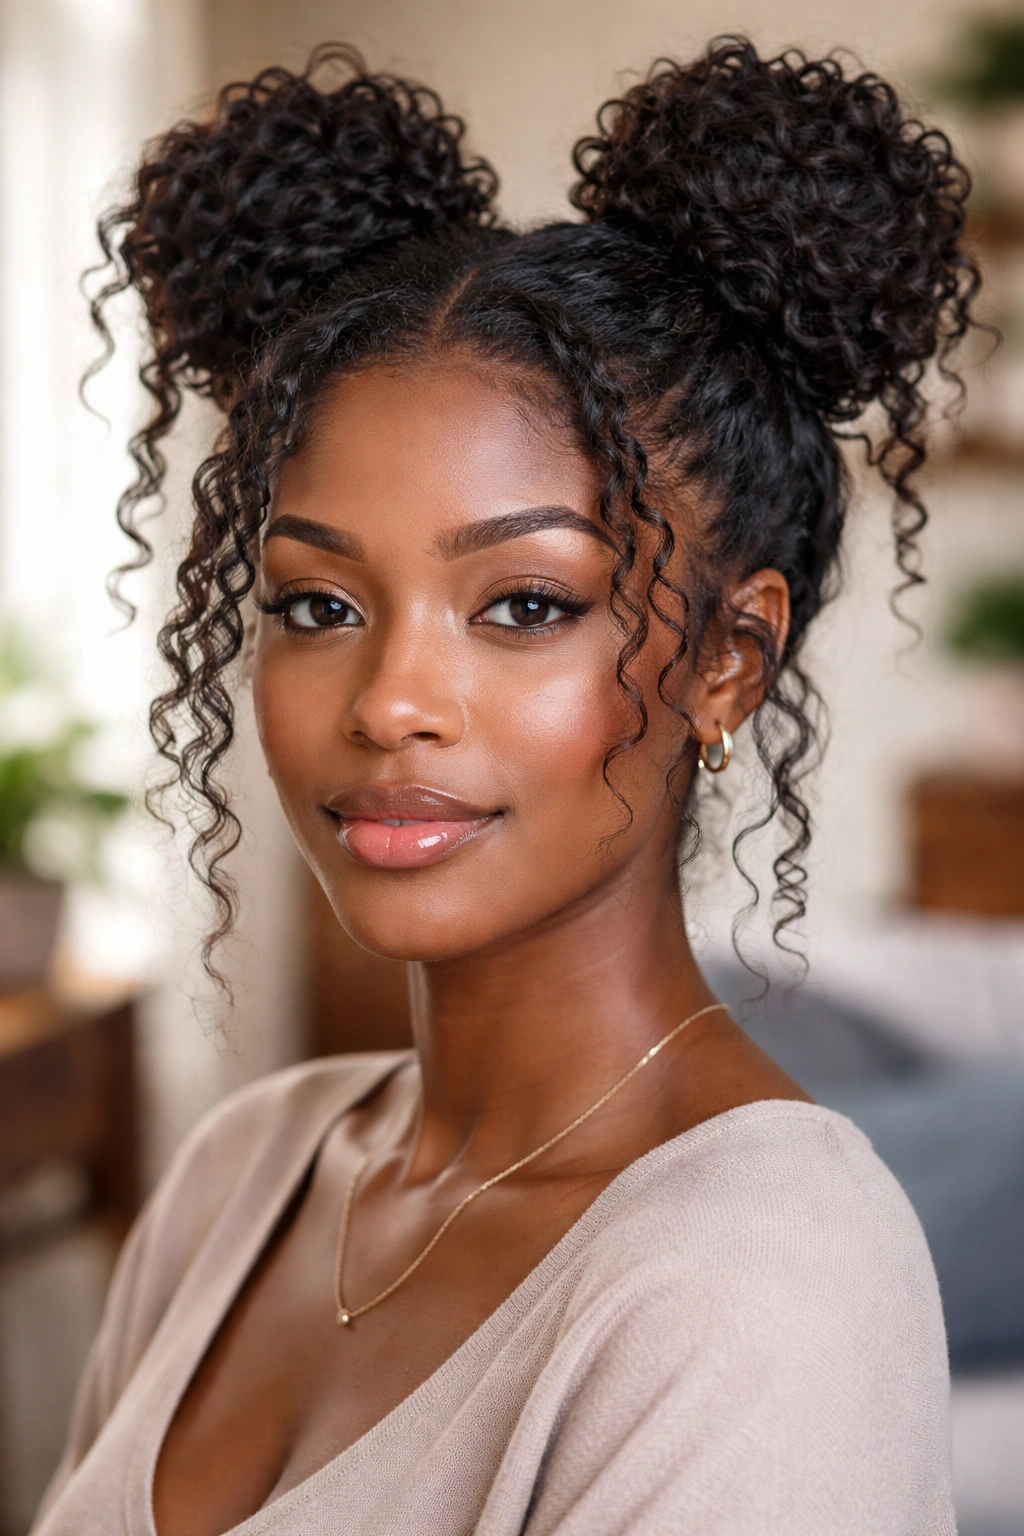
A question. Can you turn yesterday’s style into something completely different today?
Yes, and space buns on a second-day twist-out is one of the easiest ways to do it. Take your existing twist-out, part it down the middle from forehead to nape, and gather each side into a high bun. Use bobby pins to secure. Pick out the edges of each bun for fullness and leave some tendrils loose at the front.
How to Use It
This works best when your twist-out is starting to lose definition and you need something that hides the flatness. Space buns push volume up to the top of your head where people see it, and the loose ends around your face do the rest of the work.
Finish with edge control for polish.
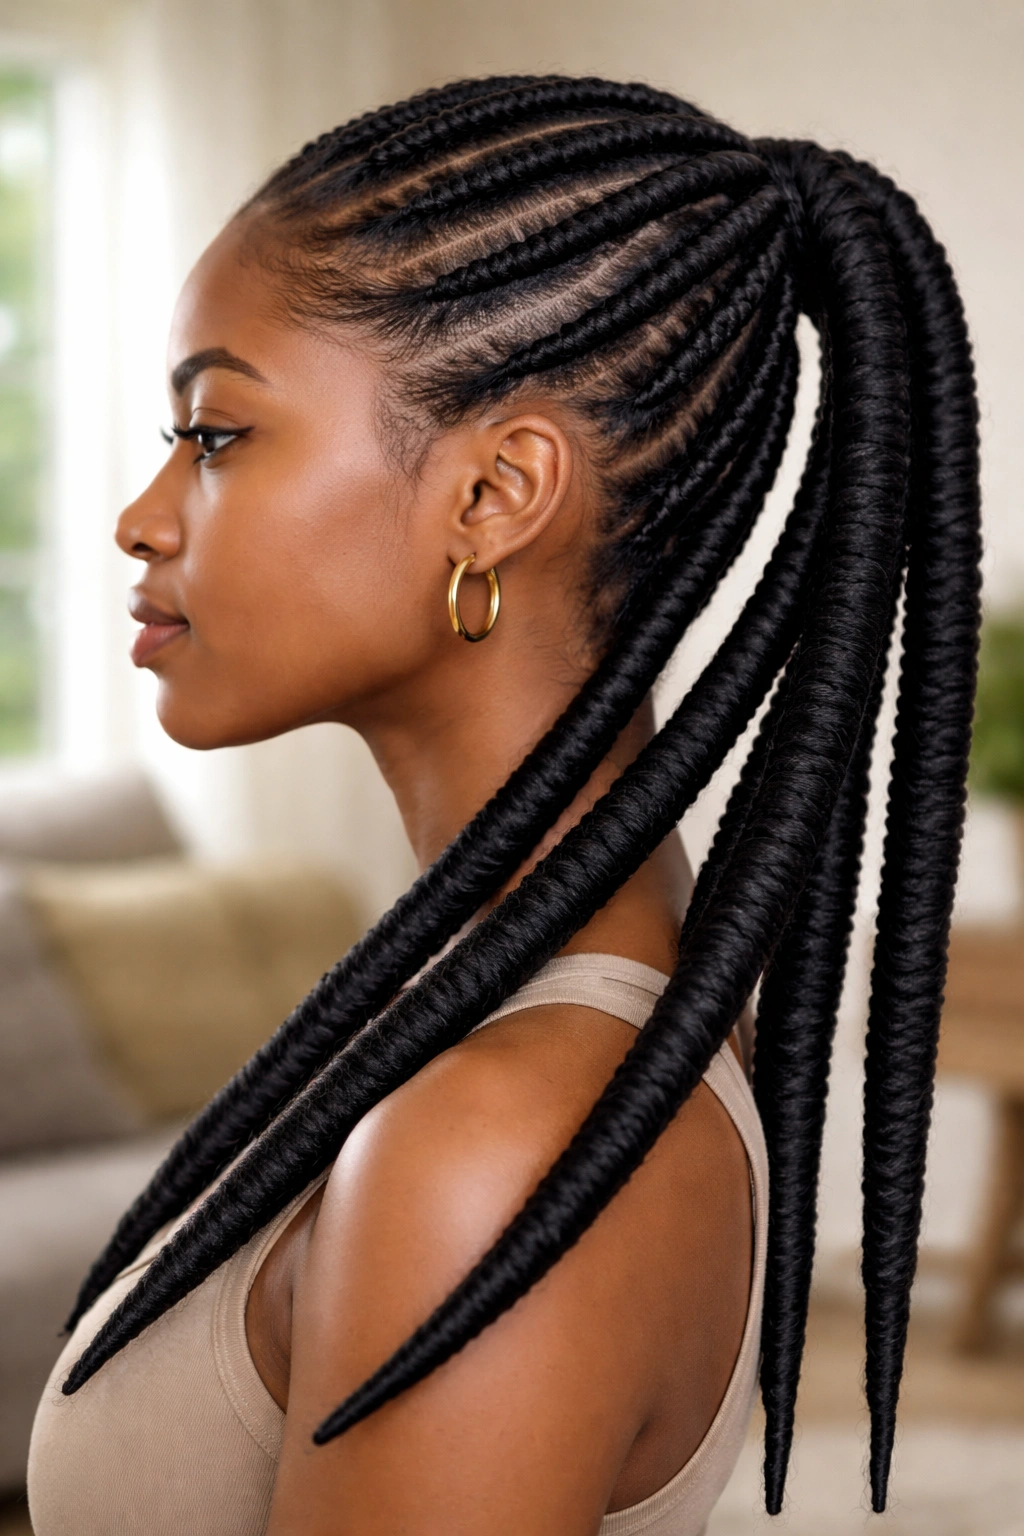
13. Cornrow Ponytail
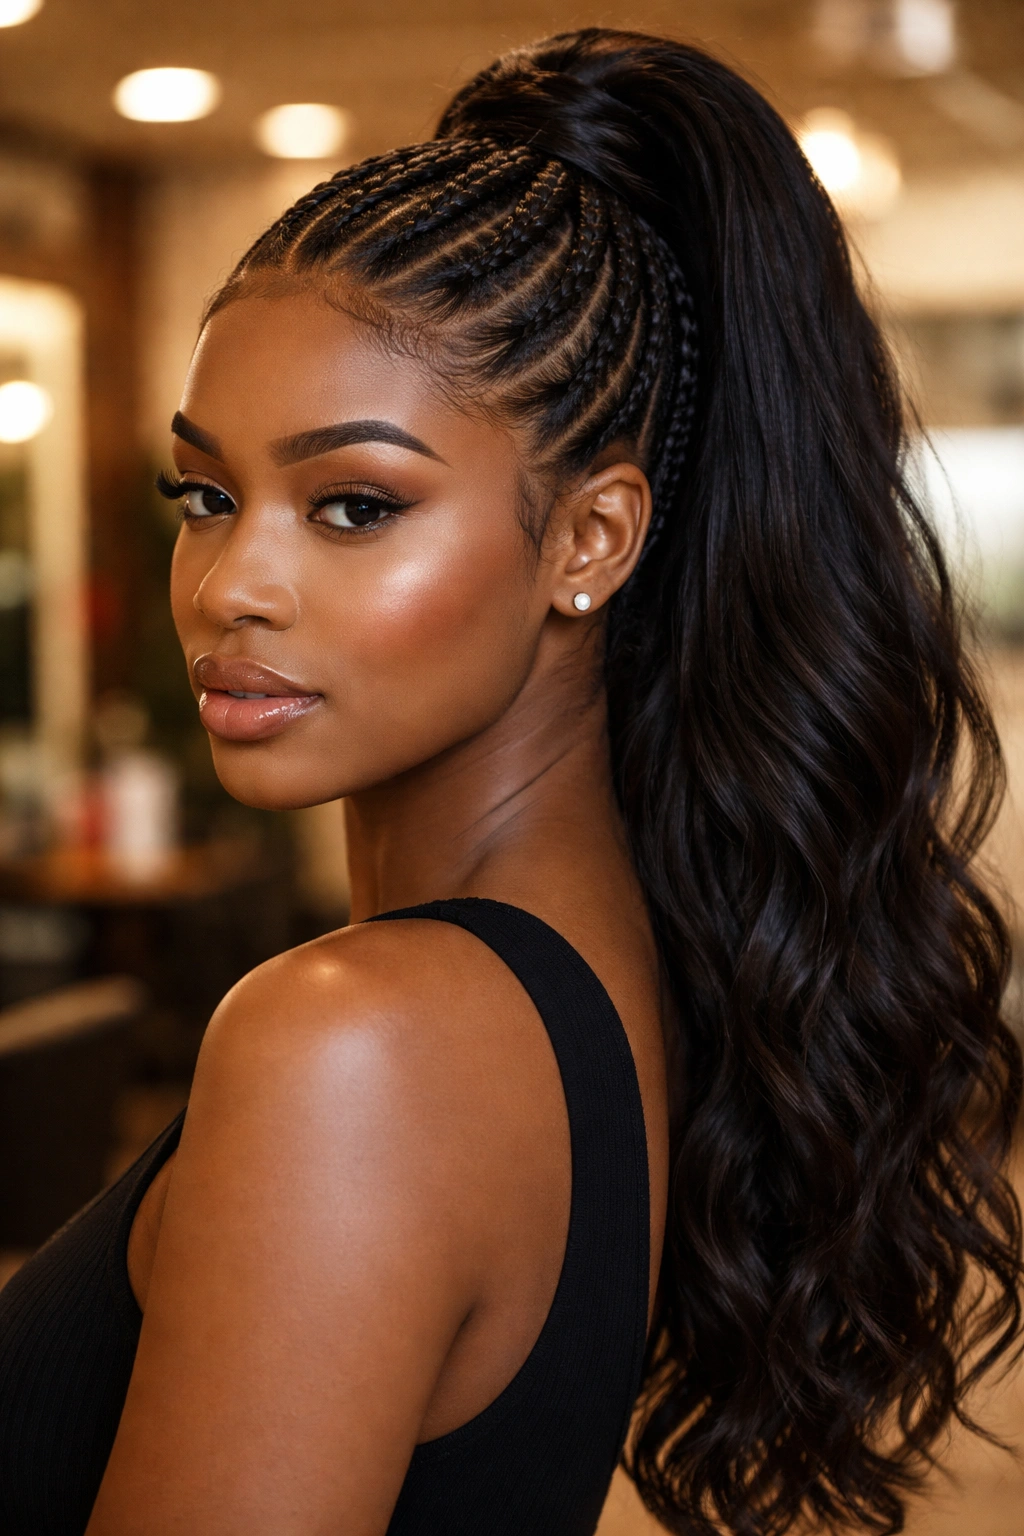
Combine two techniques for one sharp look. Cornrow the front and sides of your head all feeding into a central point, then gather the rest of your hair into a high ponytail where the cornrows end.
The ponytail can be natural hair, a twist-out, a puff, or added extensions. The cornrows bring the structure and keep everything smooth against your scalp. The ponytail brings the drama.
This is a style you’ll see on everyone from office workers to runway models, and it looks different on every head because of the way the hair falls in the ponytail portion.
14. Double French Braids
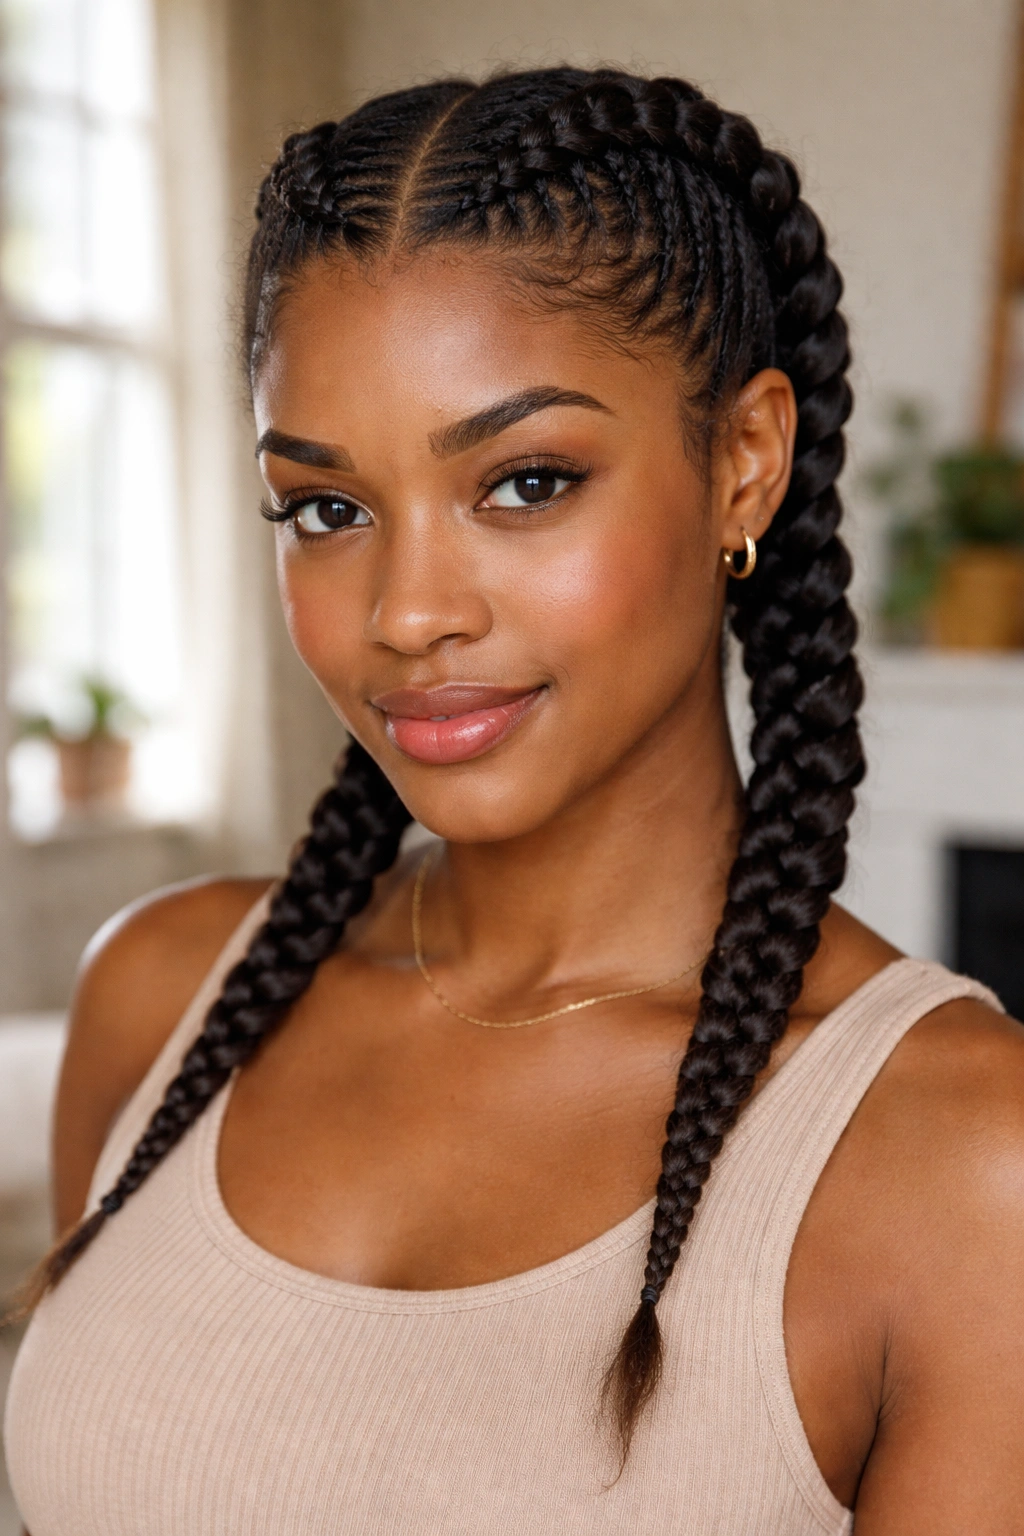
Most women have seen French braids done on straight hair and think they’re not an option for natural textures. They absolutely are — you just have to adjust your technique slightly.
Part your hair down the middle into two halves. Start a French braid at the top of one side by picking up a small section and beginning a three-strand braid, adding hair from each side as you work downward. Braid all the way to the nape, then finish as a regular braid. Repeat on the other side.
The trick with natural hair is to keep tension moderate. Too tight and the braids pinch your scalp. Too loose and they unravel before you finish the second side.
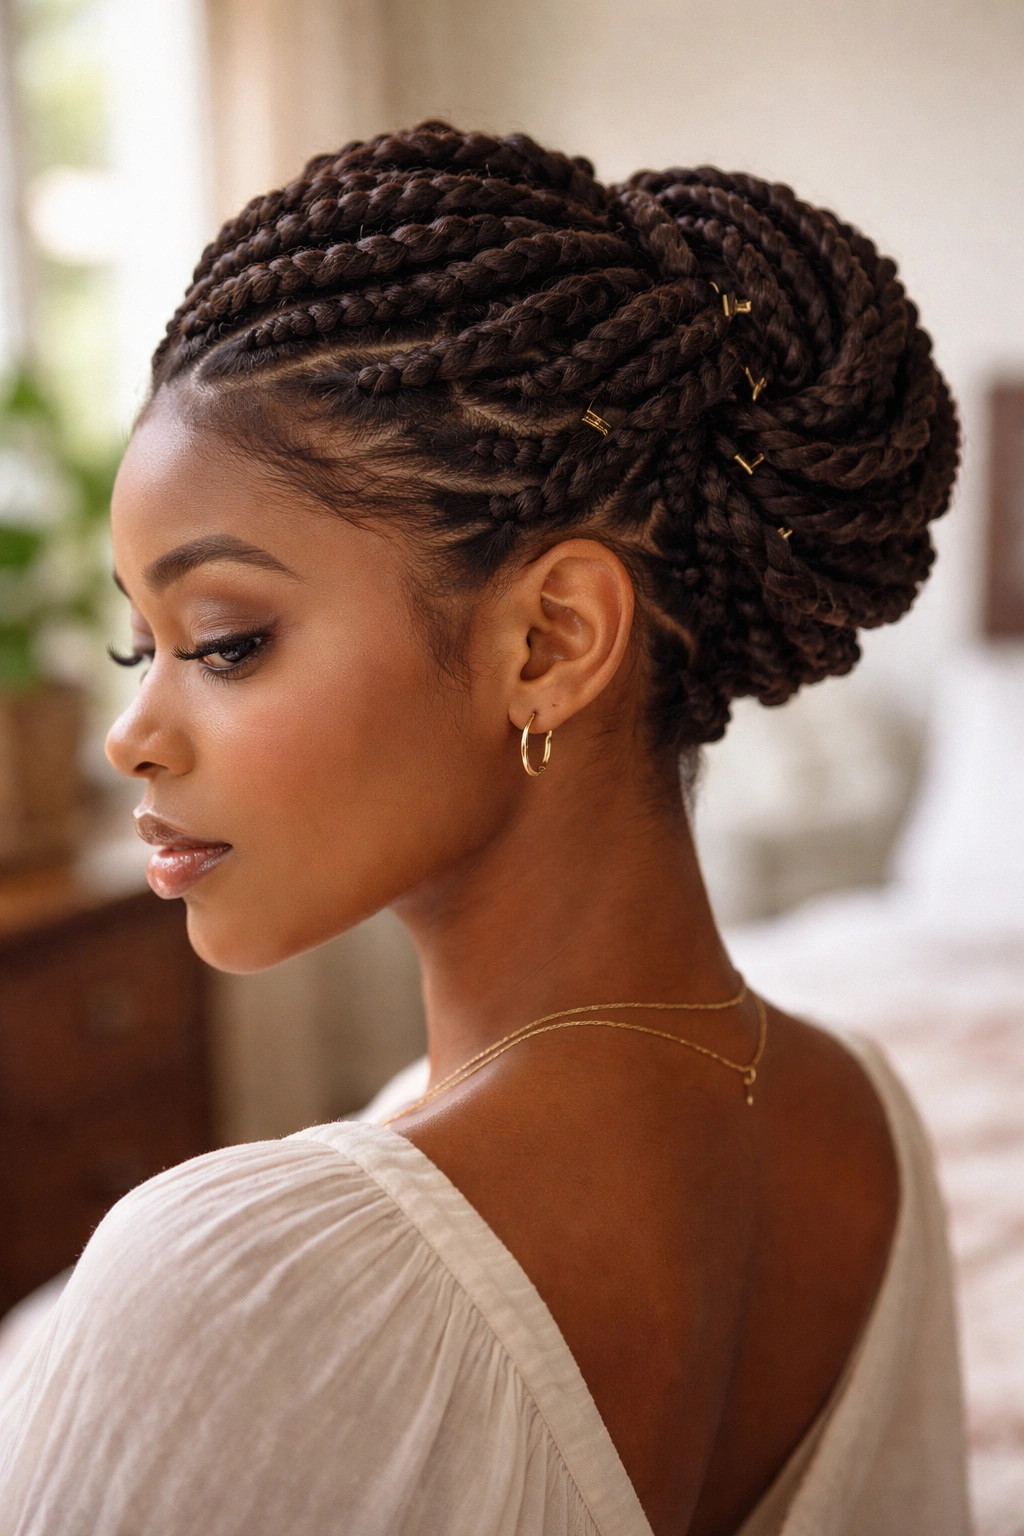
15. Twisted Updo with Cowrie Shells
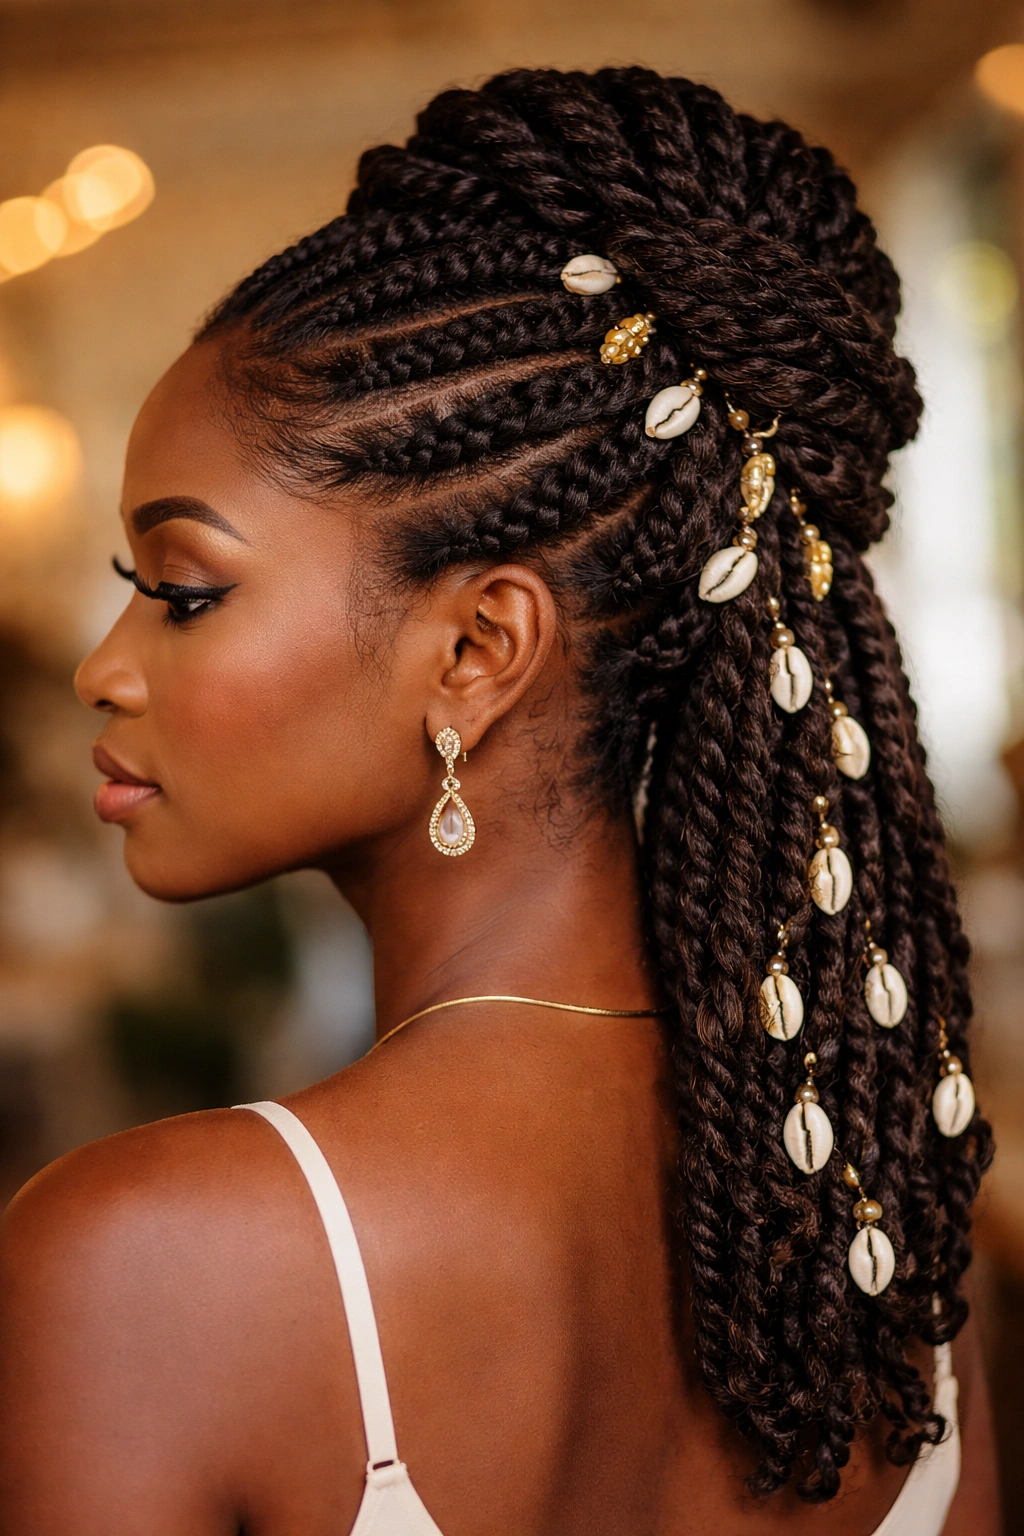
A scenario. You’re going to an event — a wedding, a birthday, a photo shoot — and you want something that looks expensive without costing expensive.
A twisted updo with cowrie shells woven in gives you all the visual interest of a salon style at home. Start with freshly washed and stretched hair. Flat twist the front and sides back toward the crown. Gather the remaining hair into large two-strand twists and pin them in a circular pattern at the back of your head to form a bun or crown.
Mechanism
- Cowrie shells slide onto twists using a small crochet hook or by re-twisting the hair through the shell’s hole
- The shells can be placed at random or in patterns
- Small shells read delicate, large shells read statement
- Mix with gold beads or brass cuffs for variety
The whole look takes about 90 minutes and lasts 4-5 days with proper night care.
16. Chunky Side Braid
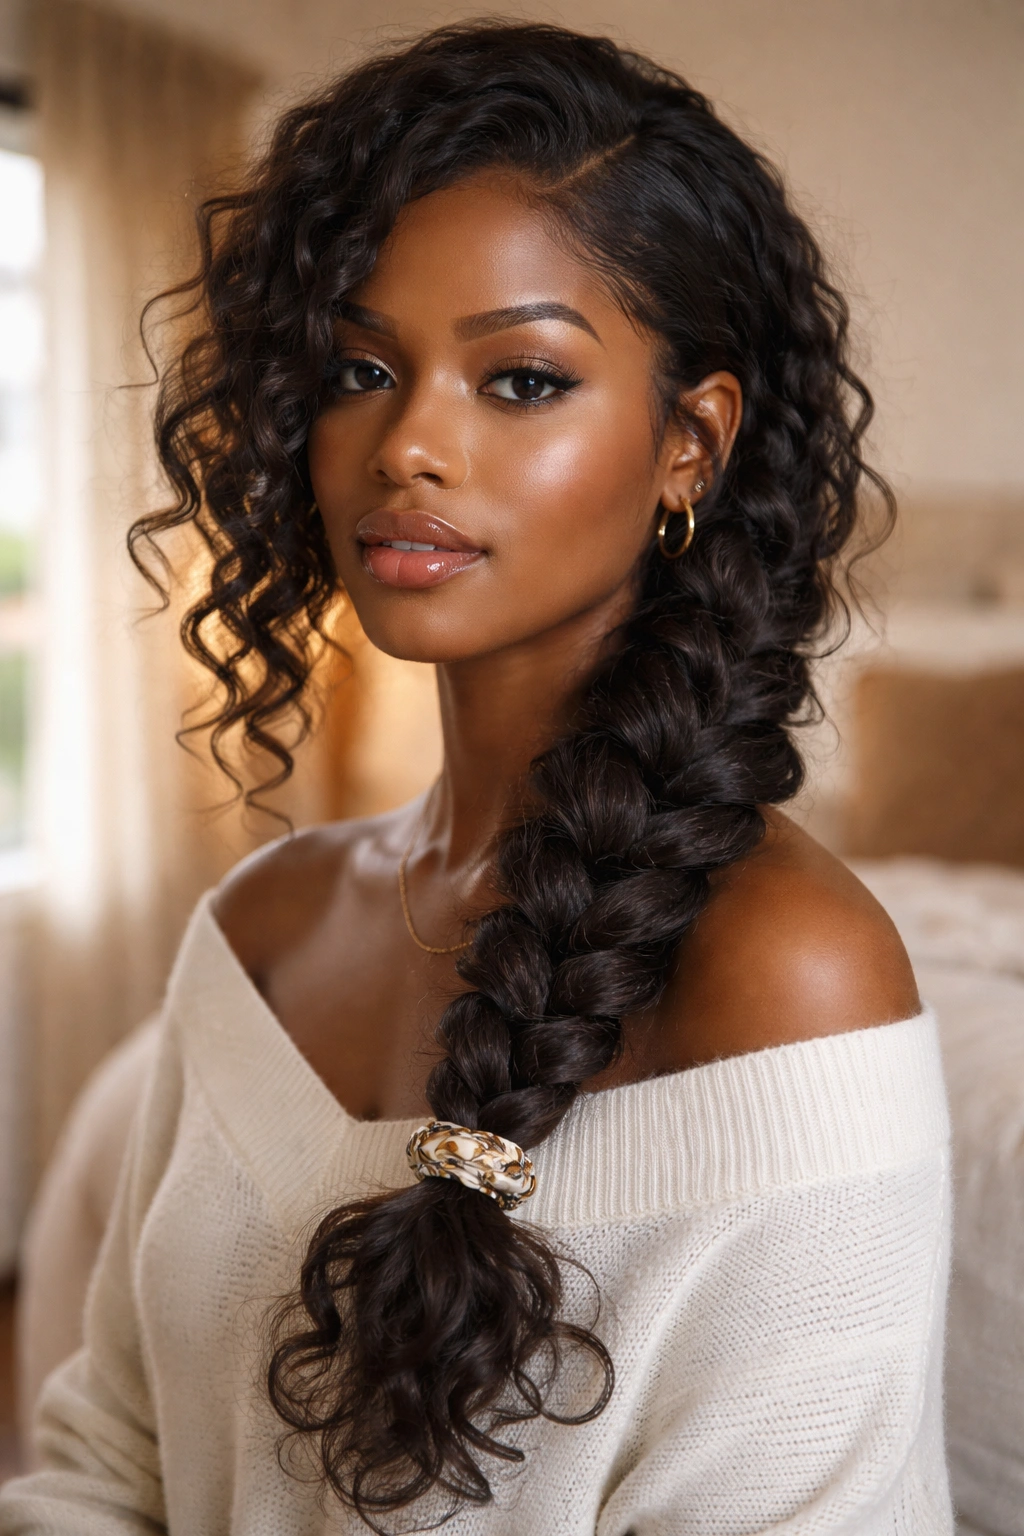
Low effort, high impact. Take all your hair to one side of your head and braid it loosely from just above your ear down to the ends. Don’t braid tight — this style is supposed to look soft and slightly undone.
Tuck a few face-framing curls loose from the braid. Wrap the end with a decorative hair tie or a piece of ribbon.
This is your laziest wash day or the day after a twist-out is refusing to cooperate. Ten minutes, done.
17. Goddess Locs for a Day
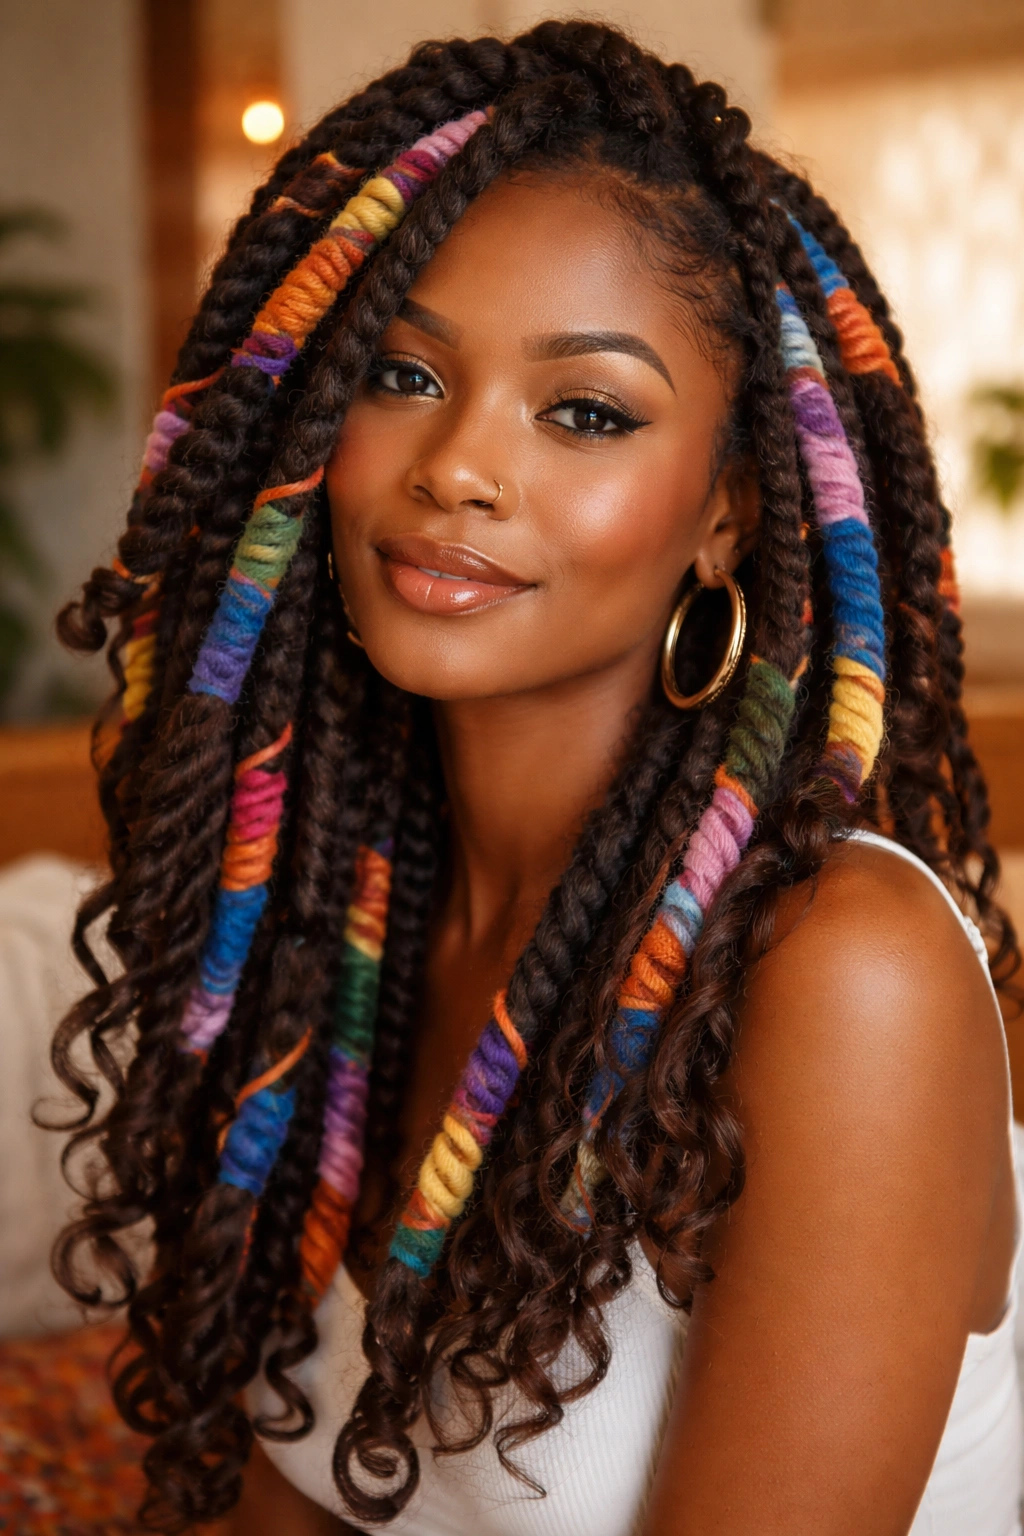
True goddess locs take hours and last weeks. But you can fake a similar look with your own hair for a single day.
Part your hair into 10-12 large sections. Twist each section down to the ends, then wrap each twist loosely with yarn or hair of a different color for visual interest. Curl the ends with a flexi rod or perm rod overnight.
The next day you have a loc-adjacent look that gives you the aesthetic without the commitment. Not a replacement for real locs, but a fun temporary option.
18. Finger Coils
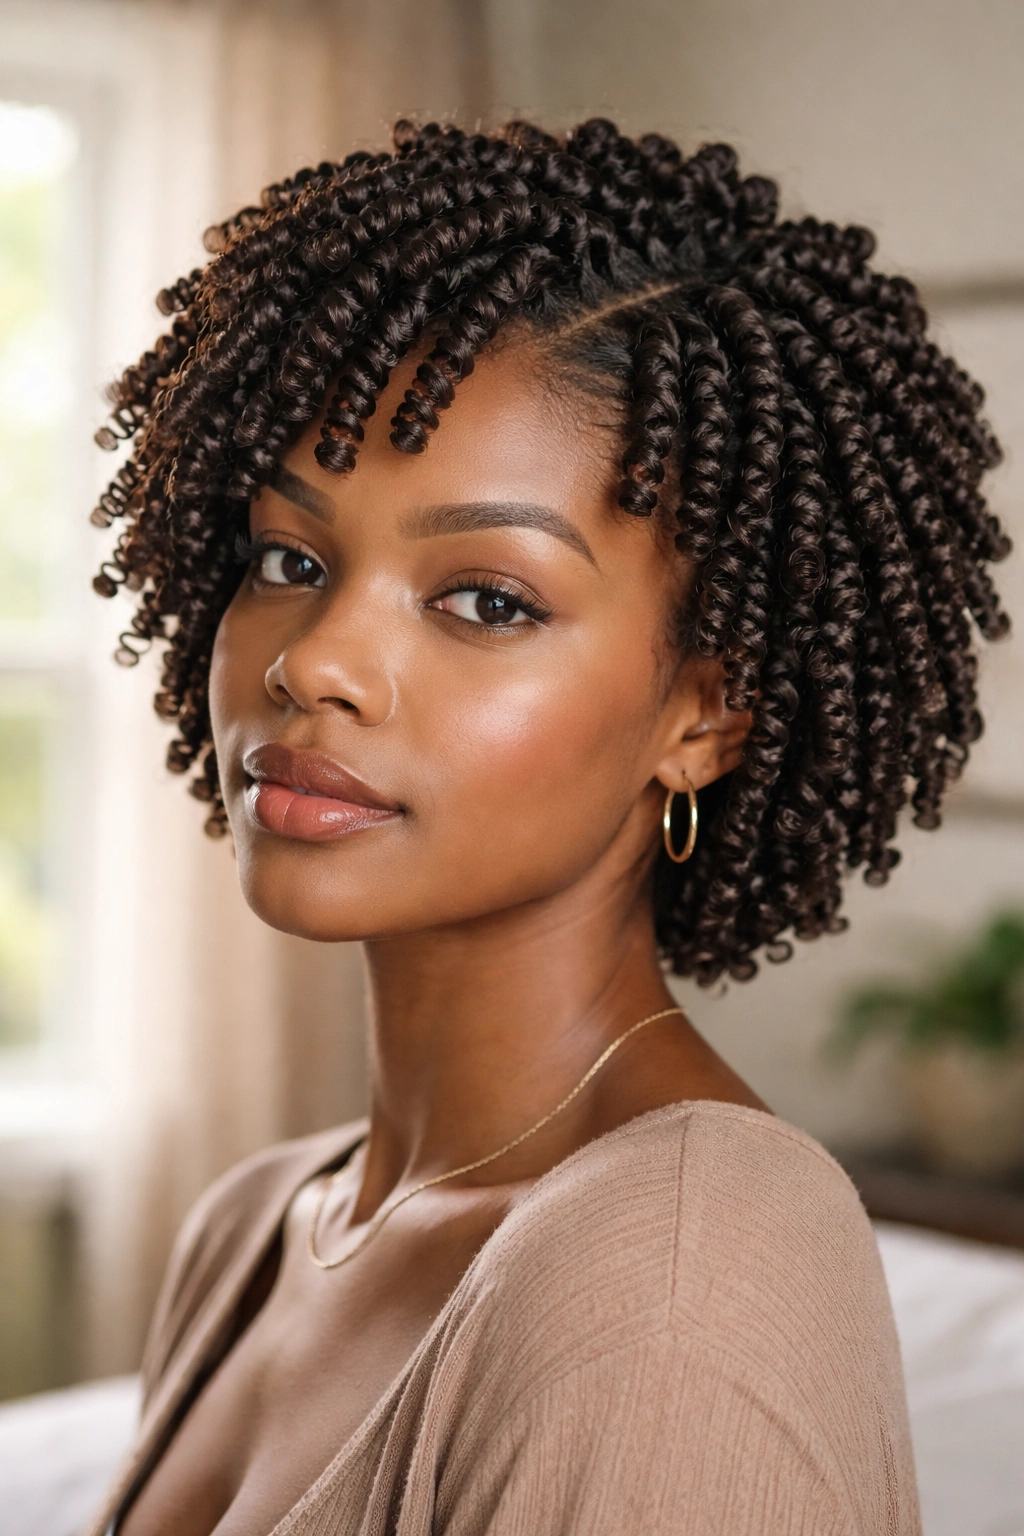
Unlike twist-outs that create curls from a twist pattern, finger coils create curls one strand at a time by wrapping small sections around your finger.
What’s different? Definition. Finger coils have the tightest, cleanest curl pattern of any home style because you’re shaping each coil individually. The downside is time — a full head of finger coils can take 3-4 hours.
Who’s it for? Women who love defined curls and have a free afternoon. Women who want a style that lasts two full weeks with minimal refreshing.
Recommendation — apply a curl cream or custard, take tiny sections, wrap each around your index finger starting from the root, and let go. Move to the next section. Keep your hair wet throughout or rewet as you go. Let air dry completely before touching.
19. Banded Stretched Style
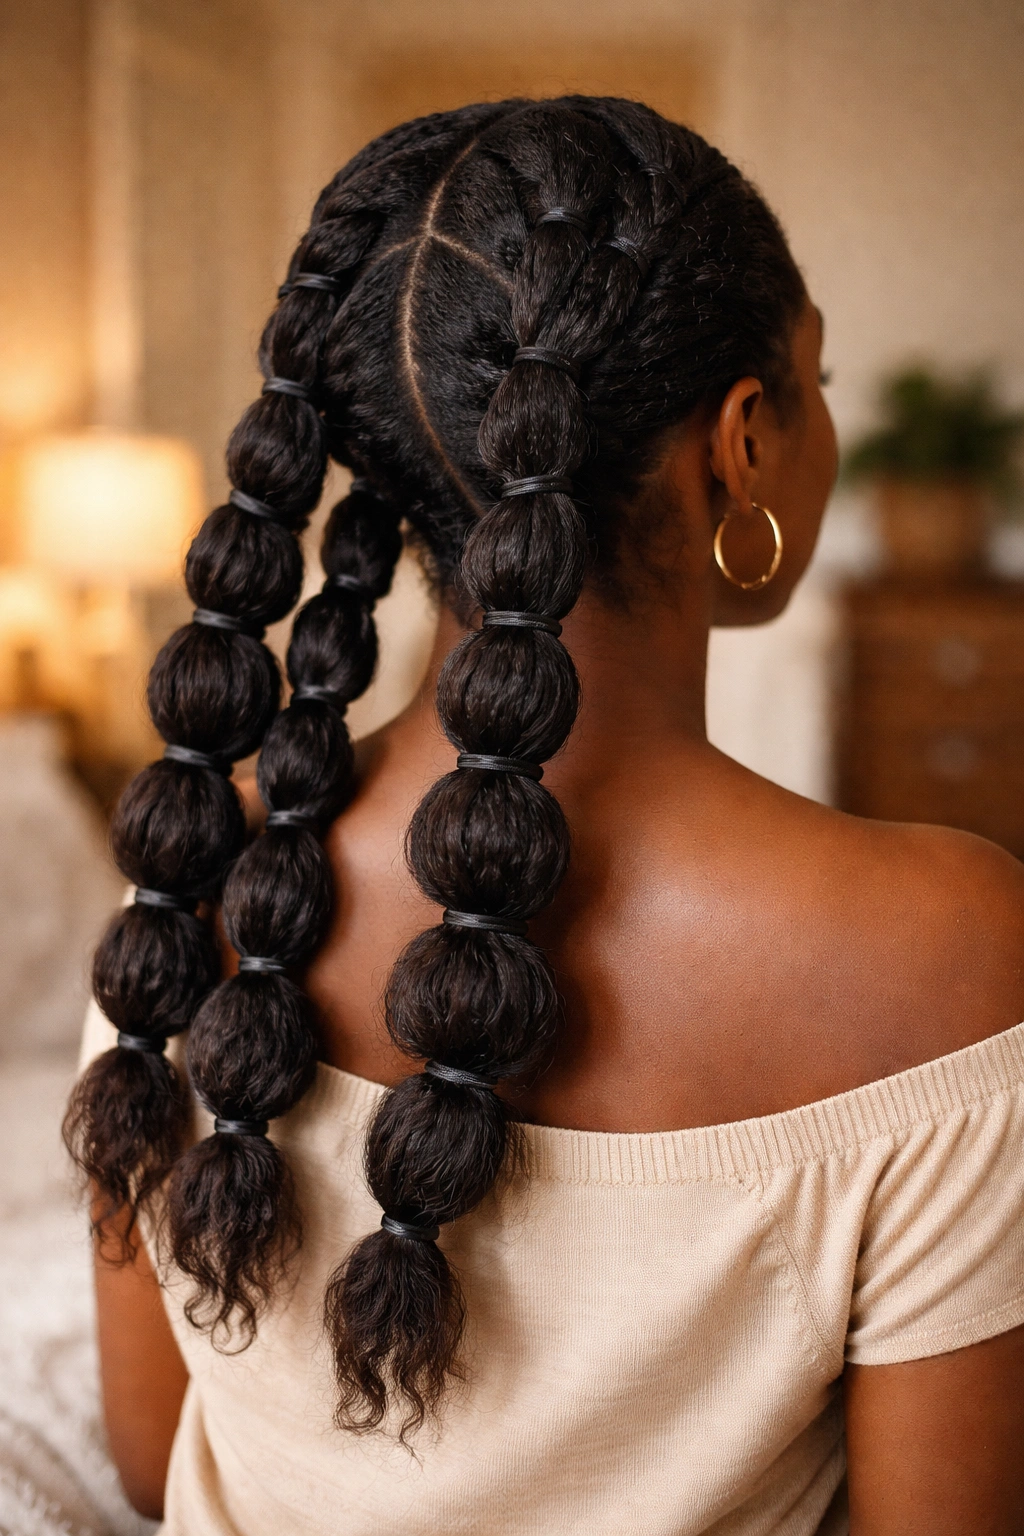
Banding is a heatless stretching method that uses a series of small hair ties placed along the length of each twist or braid to pull the hair taut while it dries.
You do large twists or loose braids after washing, then add hair ties every inch or so from root to tip. The bands stretch the hair downward as it dries, giving you length without heat damage. Leave them in overnight, remove in the morning.
The result is stretched, slightly wavy hair that you can then style into anything — a puff, a ponytail, a braid-out.
- Bands should be soft and spaced about an inch apart
- Don’t band wet hair too tight or you’ll get dent marks
- Works best on sections of 8-10 twists total
- Overnight drying gives the best stretch
20. Thread Wrapping Style
African threading uses black yarn or thread wrapped around sections of hair to stretch it without heat. You twist a section, then wind thread from root to tip tightly around the twist, tie it off, and let it dry.
The stretch you get from threading is dramatic — more than banding, more than blow drying — and it’s completely heat-free. The finished look can be worn threaded (as a statement style) or unwrapped into stretched, slightly wavy hair for further styling.
21. Side-Swept Twist-Out
A twist-out with a twist. Do your normal twist-out, but when you part your hair for the twists, make a deep side part instead of parting down the middle. When you unravel, sweep all the hair toward one side and pin the small side behind your ear.
The result is asymmetric, a little glamorous, and works well for evening. Add a hair pin or flower for extra polish.
What to Watch For
Deep side parts can look uneven if your twist-out is bigger on one side than the other. Do slightly smaller twists on the side with more hair to balance the volume.
22. Bantu Knot-Out on Stretched Hair
Similar to a regular bantu knot-out but starting from stretched hair instead of wet hair. You stretch first — banding, threading, or blow drying — then apply a light styling cream and do your bantu knots on the already-stretched strands.
The waves you get are bigger, looser, and longer-looking than wet bantu knots. Good when you want a dressier look or when your hair has serious shrinkage you want to downplay.
Let them set overnight. Unravel in the morning. Fluff gently.
23. Flat Twist Crown with Afro Back
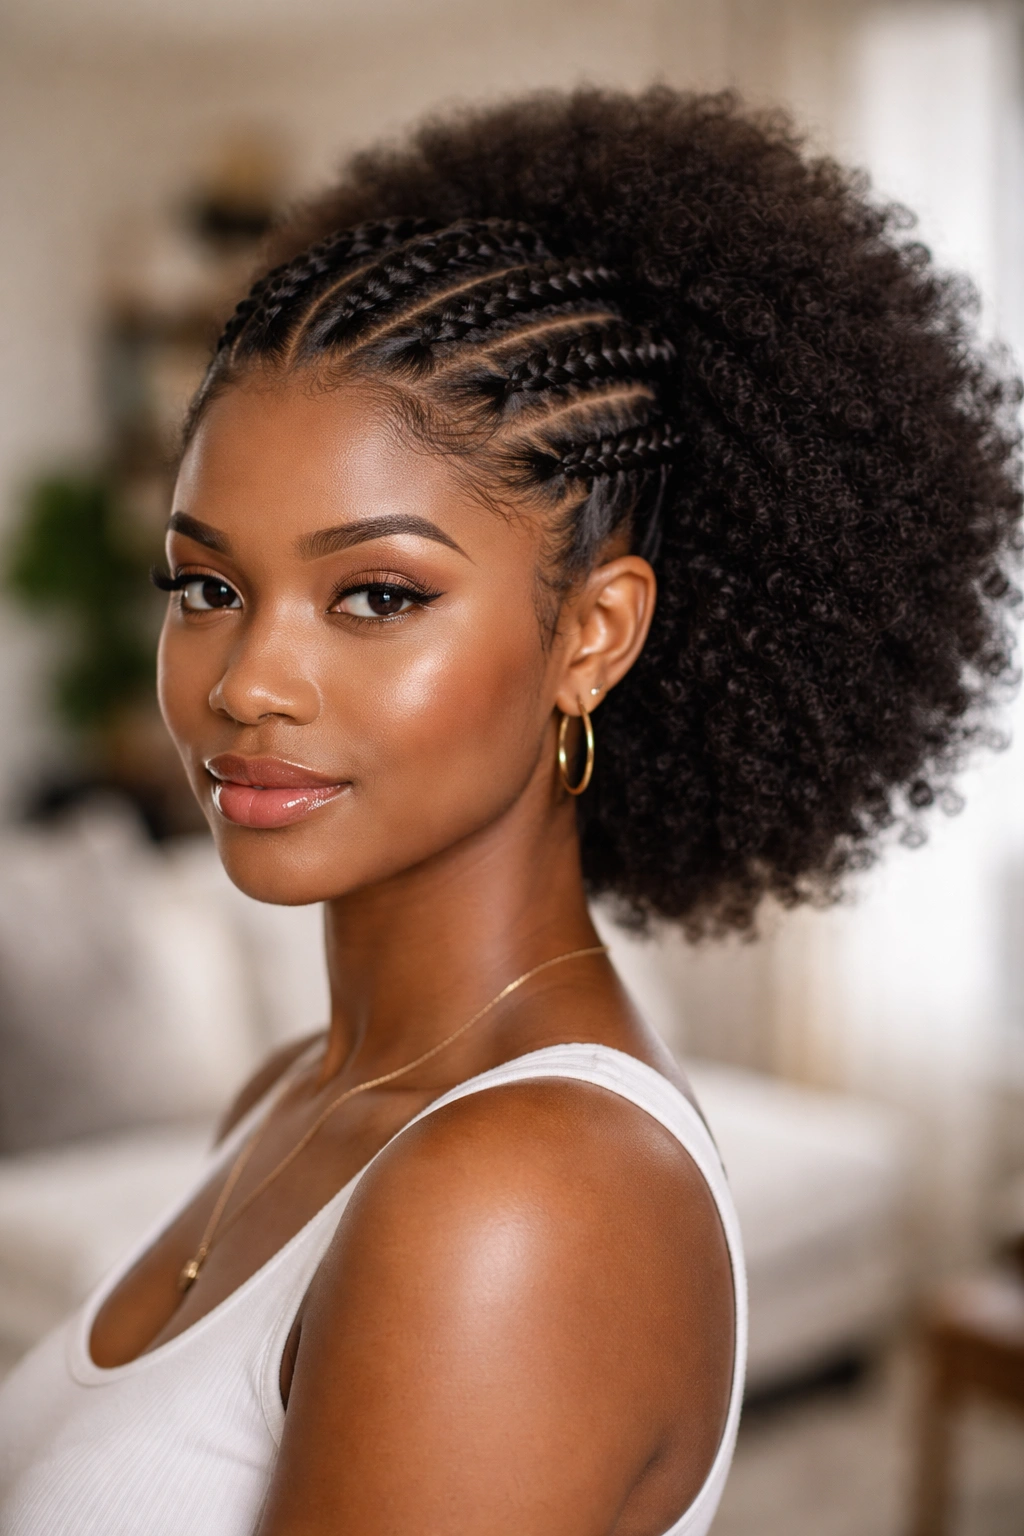
Flat twist only the front section of your hair — from the hairline back to the crown — and leave the back half as a natural afro.
This style gives you a clean, structured front with a full, textured back. It photographs beautifully because there’s contrast between the tightness of the twists and the fullness of the afro behind them.
Perfect for women who love their natural texture but want some styling interest up front. Also a great option when you don’t want to commit to a full braided style but still want something more put-together than a plain wash-and-go.
24. Twist and Pin Style
No braiding required. You take a twist-out or stretched hair and create a style entirely through pinning. Grab sections, twist them loosely, pin them to your head in interesting patterns.
The look can be clean and bridal or wild and architectural depending on how you place the pins. Use a mirror and the camera on your phone — sometimes you can’t see the back of your own head, and the camera helps you spot areas that need more work.
This is the style I reach for when I’m too tired to do anything that requires planning but still want to look nice.
25. Curly Ponytail Puff with Added Hair
A question — can you add length to your own natural hair for a fuller puff without committing to installing a wig or extensions?
Yes. You can wrap a curly drawstring ponytail around your own high puff, securing it with the attached combs and string. Your natural hair forms the base and the drawstring adds length and fullness where you need it.
How to Use It
Do your high puff with gelled edges first. Place the drawstring ponytail over the base of your puff. Pull the string tight. Pick out the added hair to blend with yours. Done.
This is a great option for events where you want the drama of a huge curly afro without the wait of growing one. Match the curl pattern as closely as you can to your natural texture so the blend looks seamless.
How Long Each Style Actually Takes

Let’s be honest about time investment because the tutorials always undersell it.
Wash-and-gos — 30 minutes after prep, plus drying time. Twist-outs — 90 minutes to 2 hours to install, overnight to dry. Cornrows — 45 minutes to 3 hours depending on size and skill. Braided updos — 1 to 2 hours. Flat twists — 45 minutes to 90 minutes. Bantu knots — 1 to 2 hours.
Prep itself (wash, condition, detangle) takes another 90 minutes minimum if you’re doing it properly. Budget accordingly. Don’t start a wash day at 9 p.m. unless you want to be up until 1 a.m.
Nighttime Maintenance That Keeps Styles Alive
The difference between a style that lasts one day and one that lasts a week is how you sleep in it.
Silk or satin is the rule. A silk pillowcase works, but a bonnet or scarf works better because it protects the style from pillow friction on all sides. Pull the scarf so it covers your whole head including the edges.
For twist-outs and braid-outs, use the pineapple method. For cornrows and flat twists, tie down with a scarf to keep the edges smooth. For bantu knots, leave them as-is and they protect themselves.
Refresh in the morning with a little water or a leave-in spray if things feel dry. Don’t over-refresh — daily soaking will loosen your style and cause frizz.
Protecting Your Edges Without Ruining Them
Edge control is a whole category of product for a reason. Your edges are the most fragile hair on your head. They break easily. They thin over time if you abuse them. They’re also the part everyone sees first.
Use edge control sparingly. A pea-sized amount is enough for a full set of edges. Apply with a small brush — an old toothbrush works — in small, gentle motions. Don’t drag hard. Don’t use it every single day if you can avoid it.
Tight ponytails, tight braids, tight bun styles are all edge killers. Alternate between tight and loose styles throughout your week. Give your edges rest days.
If your edges are already thinning, stop using edge control entirely for a month and see if they grow back. Often they do. Scalp massages with castor oil help speed the recovery.
When to Skip Home Styling and See a Pro
I’m a believer in doing your own hair, but there are times when you should call in backup.
Chemical services — color, relaxers, any lightening — should be done by a professional unless you really know what you’re doing. The damage from a bad home color job can take years to grow out.
Very long braid installs, full wig constructions, or detailed cornrow designs are also worth paying for if you don’t have the time or skill. A good stylist can do in 3 hours what would take you 8.
And if your hair has been breaking, shedding, or changing texture in ways you can’t explain, see a dermatologist who specializes in scalp health. Some problems are medical, not styling-related, and they need a trained eye.
Building Confidence With Your Own Hands
The first few times you try a new style, it will not look like the tutorial. That’s okay. The tutorial was done by someone with years of practice, on cooperative hair, in good lighting, with editing.
Your version will be messier at first. The parts will be crooked. The twists will unravel. The edges will not lay where you want them to lay. All of this is normal. None of it means you can’t do your own hair.
What matters is that you keep trying. Every style you practice makes the next one easier. Every mistake teaches you something about your hair that no book can. Over time — and it won’t take as long as you think — you’ll have a whole repertoire of styles you can pull off without looking at a single reference.
That’s the real reward of learning to do your hair at home. Not just the money you save, though it’s significant. The real reward is the relationship you build with your own texture. The ease. The confidence. The quiet pride of knowing that when somebody compliments your hair, you did it yourself.