



There’s a particular kind of confidence that comes with wearing your hair in wand curls for Black women natural hair — a style that announces itself the moment you walk into a room. The bounce, the definition, the way each spiral catches light like something deliberate and intentional. It’s a look that’s deeply rooted in Black hair culture and has only grown more beloved as more women embrace their natural texture and learn to work with it rather than against it. These aren’t just curls. They’re a celebration.
Why Wand Curls Work So Well on Black Natural Hair Textures
Black natural hair spans an extraordinary range of textures — from loose Type 3 waves to tightly coiled 4C kinks — and wand curls are one of the few heat styles that genuinely flatter every single one of them. That’s not an accident.
The wand is clipless, which means no flat section interrupting your curl. You control the size and tightness of the spiral by how you wrap the hair, how long you hold it, and which barrel size you choose. This flexibility is essential for natural hair, which doesn’t respond to one-size-fits-all approaches.
For Type 3 naturals, wand curls add definition and uniformity to a curl pattern that can sometimes look inconsistent. For Type 4 naturals — especially 4B and 4C — the wand creates elongated spirals that showcase length that shrinkage often hides. It meets the hair where it is and makes it better, not different.
The Cultural Connection
Wand curls aren’t a trend borrowed from somewhere else — they belong to a long tradition of Black women styling natural hair with artistry and intention. Over the years, the technique has evolved alongside the tools: from rag curls and perm rods to modern ceramic and tourmaline wands. The spirit is the same. The execution has gotten better.
Wearing your natural hair in intentional, defined styles is a form of self-expression that means something. It always has.
Understanding Your Hair Before You Pick Up the Wand
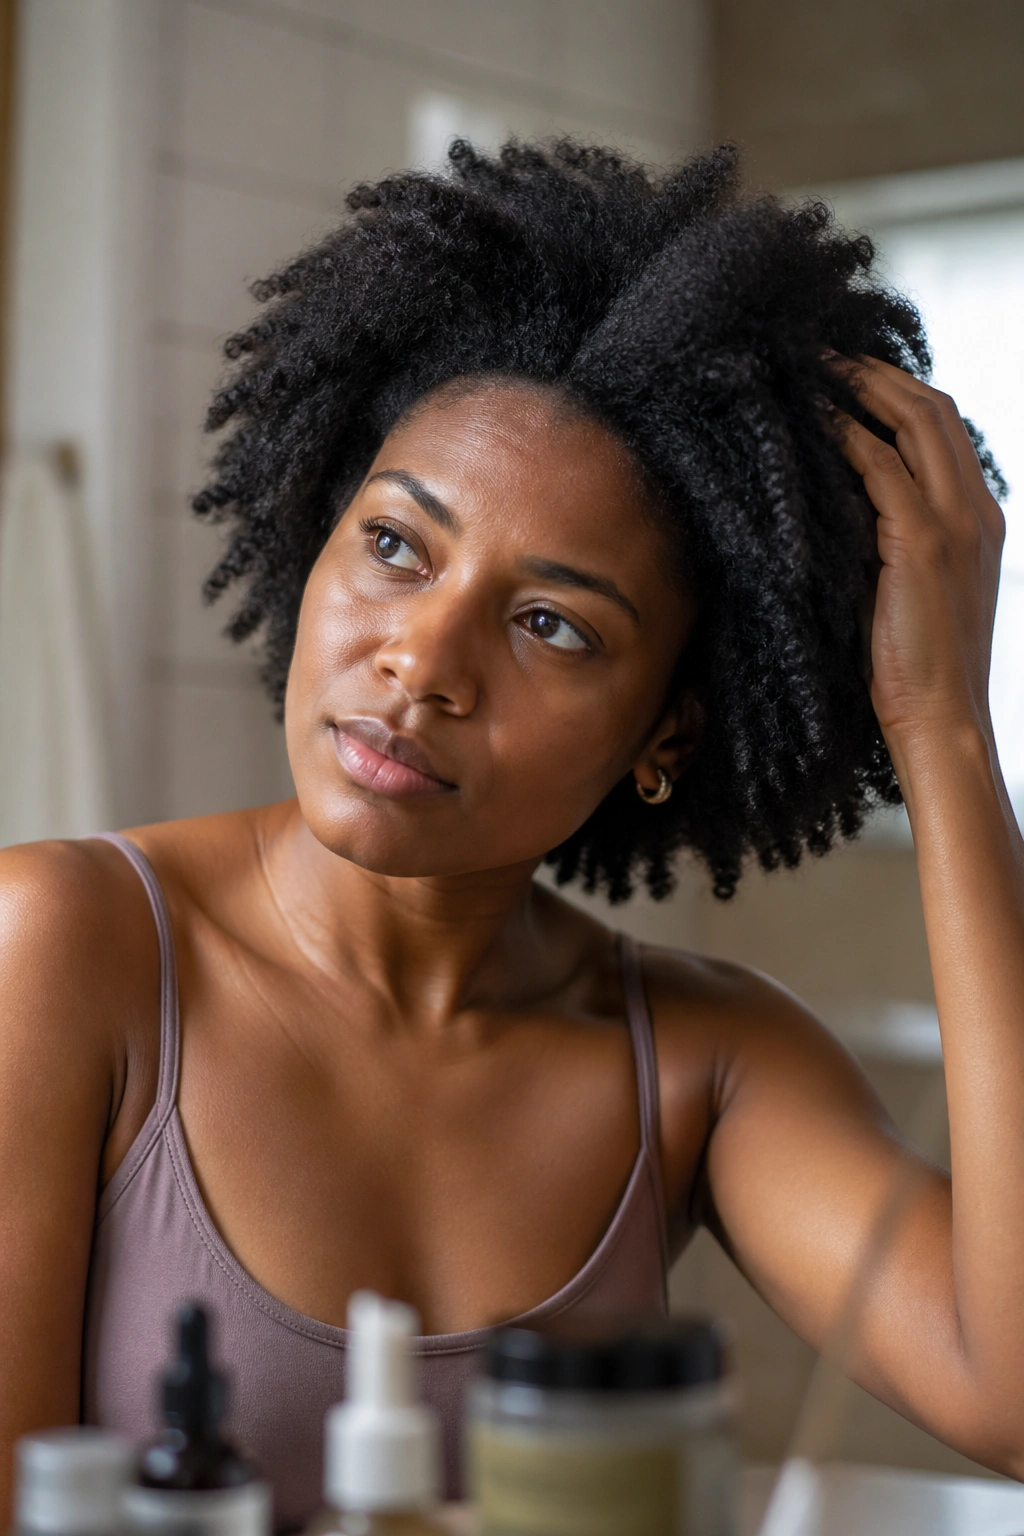
The biggest mistake you can make with wand curls is skipping the self-knowledge step. Grabbing a wand without understanding how your specific texture responds to heat and moisture leads to inconsistent results, frustration, and potentially damaged hair.
Start by knowing your porosity. Low-porosity hair — hair where the cuticle is tightly closed — takes longer to absorb products and longer to set with heat. If your hair is low-porosity, you’ll need to use lighter products that don’t sit on top of the strand and you may need to hold the wand on each section slightly longer. High-porosity hair absorbs products quickly but also loses moisture fast — it needs heavier sealants and benefits from slightly lower heat settings to avoid further lifting the cuticle.
Knowing your density matters too. High-density hair has more strands per square inch and tends to need more product and more time to style. Low-density hair gets weighed down easily, so lighter products and more volume-focused techniques work better.
These aren’t just technical details. They’re the difference between a wand curl set that lasts five days and one that frizzes by noon.
Establishing a Pre-Styling Routine That Actually Works
Consistency in your pre-styling routine produces consistency in your results. Wash with a moisturizing shampoo, deep condition with heat (a steamer or a heat cap over your deep conditioner does wonders), then detangle thoroughly on wet hair in sections. Apply leave-in conditioner and your choice of curl cream or mousse before blow-drying or otherwise stretching the hair.
Stretched hair is the ideal base for wand curls. You have more to work with, the curls show more definition, and the style lasts longer.
Choosing Products That Support Wand Curls on Natural Hair
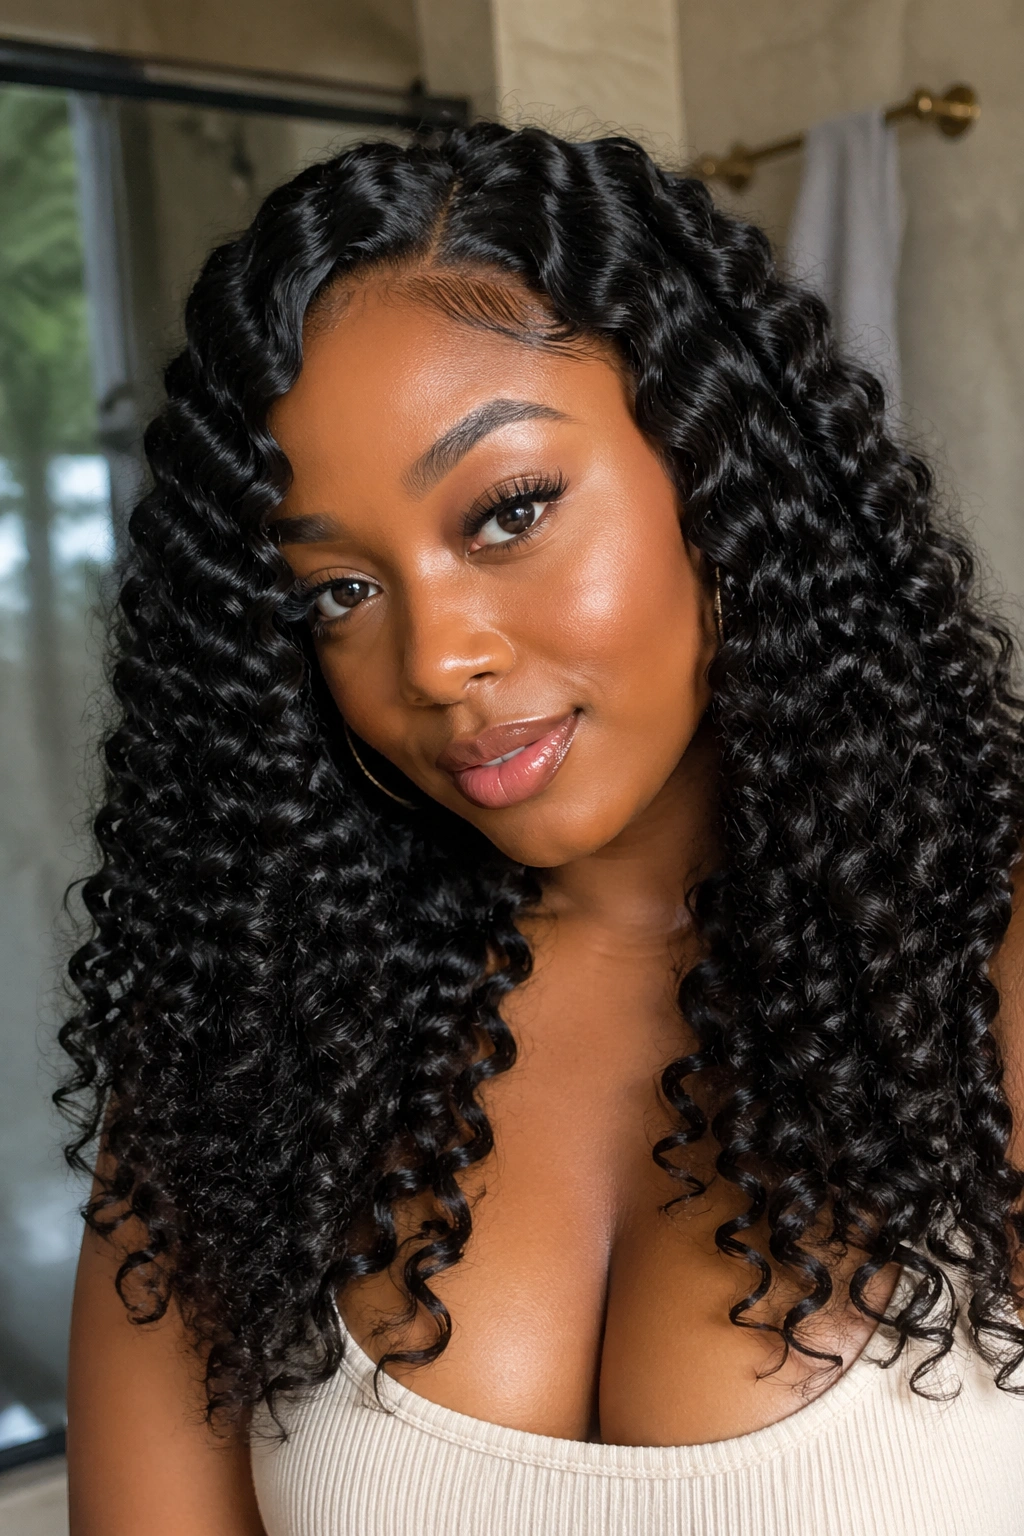
Products can make or break a wand curl set. The wrong products — too heavy, too light, wrong hold level, or incompatible with your porosity — will cause the curls to fall flat, frizz up, or not hold at all.
Heat protectant is the one product that’s absolutely non-negotiable. Apply it to every single section before the wand touches it. A good heat protectant for natural hair should be lightweight enough not to cause buildup, but substantive enough to actually coat the strand. Look for ingredients like cyclomethicone, dimethicone, or hydrolyzed proteins in the formula.
Beyond the heat protectant, your product selection depends on what you want the finished curl to look like. For a silky, defined spiral with shine, a lightweight serum or curl cream applied before the heat protectant gives excellent results. For a fuller, more voluminous curl, a light-hold mousse sets well without weighing down the hair.
Products to Avoid Before Using a Wand
Heavy butters and thick oils applied right before heat styling are a problem. They smoke at high temperatures, they leave residue on your wand barrel, and they can actually prevent the curl from setting cleanly. Save the thick butters for your wash day deep conditioning routine. On wand curl day, stay light.
Avoid layering too many products, too. Two or three products applied in the right order is the sweet spot. More than that and you’re creating buildup that will work against you.
Temperature Guide for Black Natural Hair Types
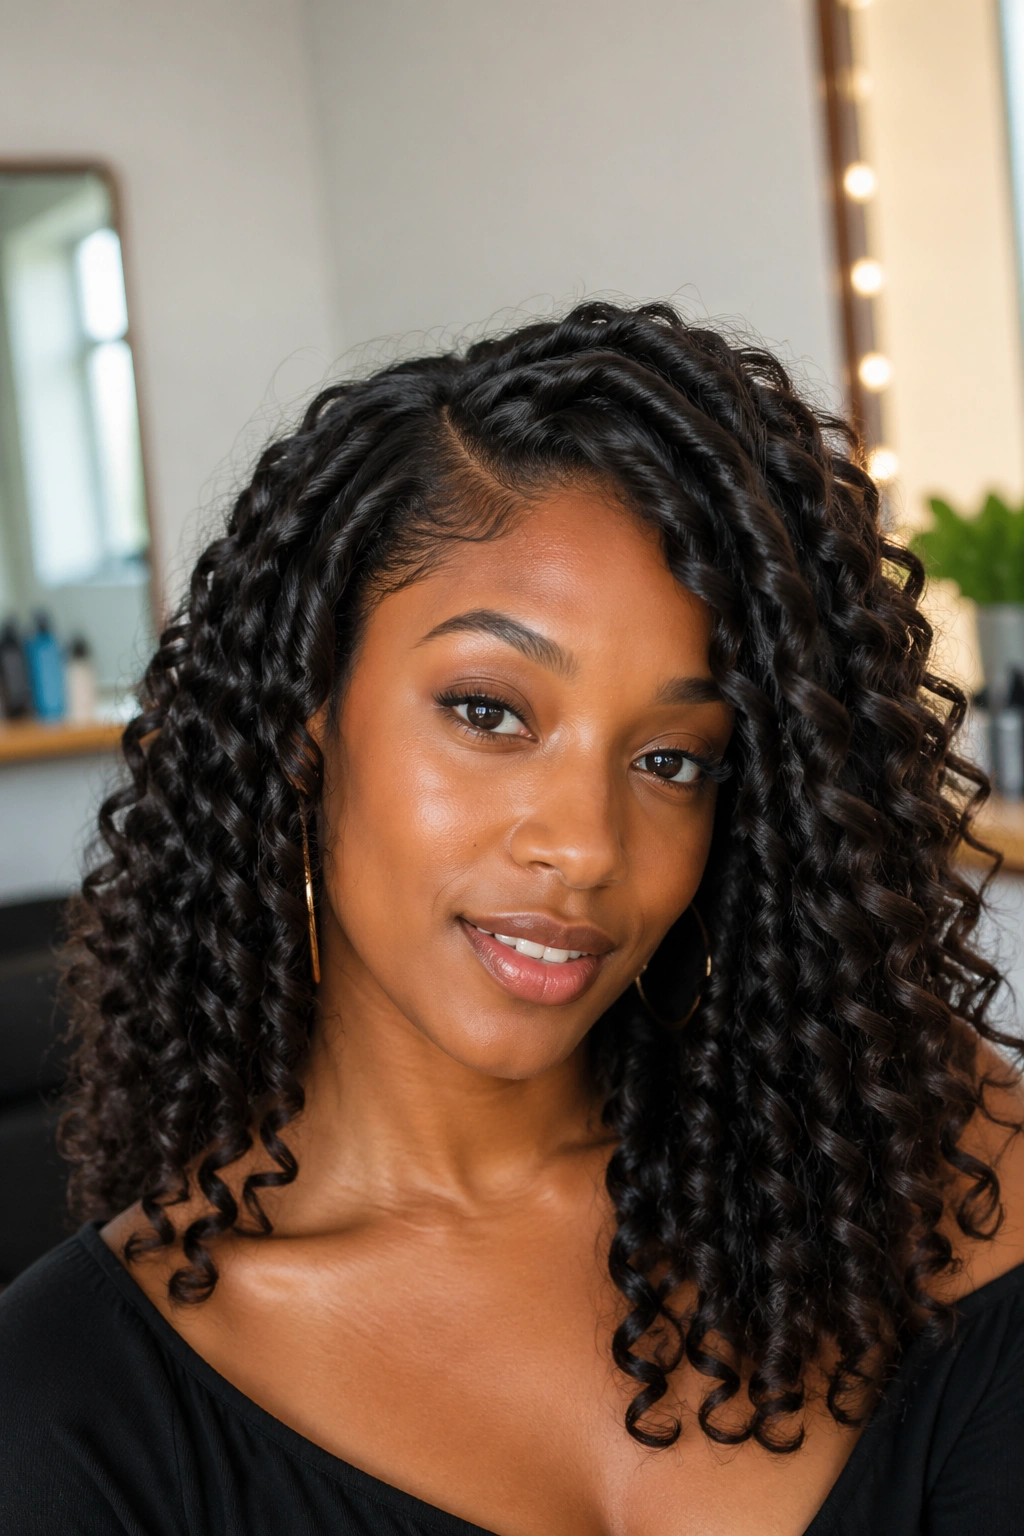
Getting the temperature wrong — in either direction — is a common source of damage and disappointment. Too low and the curl won’t set. Too high and you’re burning your hair.
This isn’t the place to guess. Here are the ranges that work for different natural hair types:
Fine or color-treated natural hair: 300°F to 330°F. This hair is the most vulnerable to heat damage and needs the lowest safe setting that will still form a curl.
Medium-density Type 3 and Type 4A hair: 330°F to 360°F. This is the most versatile range and works for the widest variety of natural textures.
Thick, coarse, high-density 4B and 4C hair: 360°F to 400°F. This hair type can tolerate higher heat but still benefits from a high-quality heat protectant and consistent moisture practices between styling sessions.
Never exceed 400°F on natural hair. At that temperature, you risk protein loss, cuticle cracking, and permanent damage — no matter how thick or coarse the hair is.
1. Classic Defined Spiral Curls
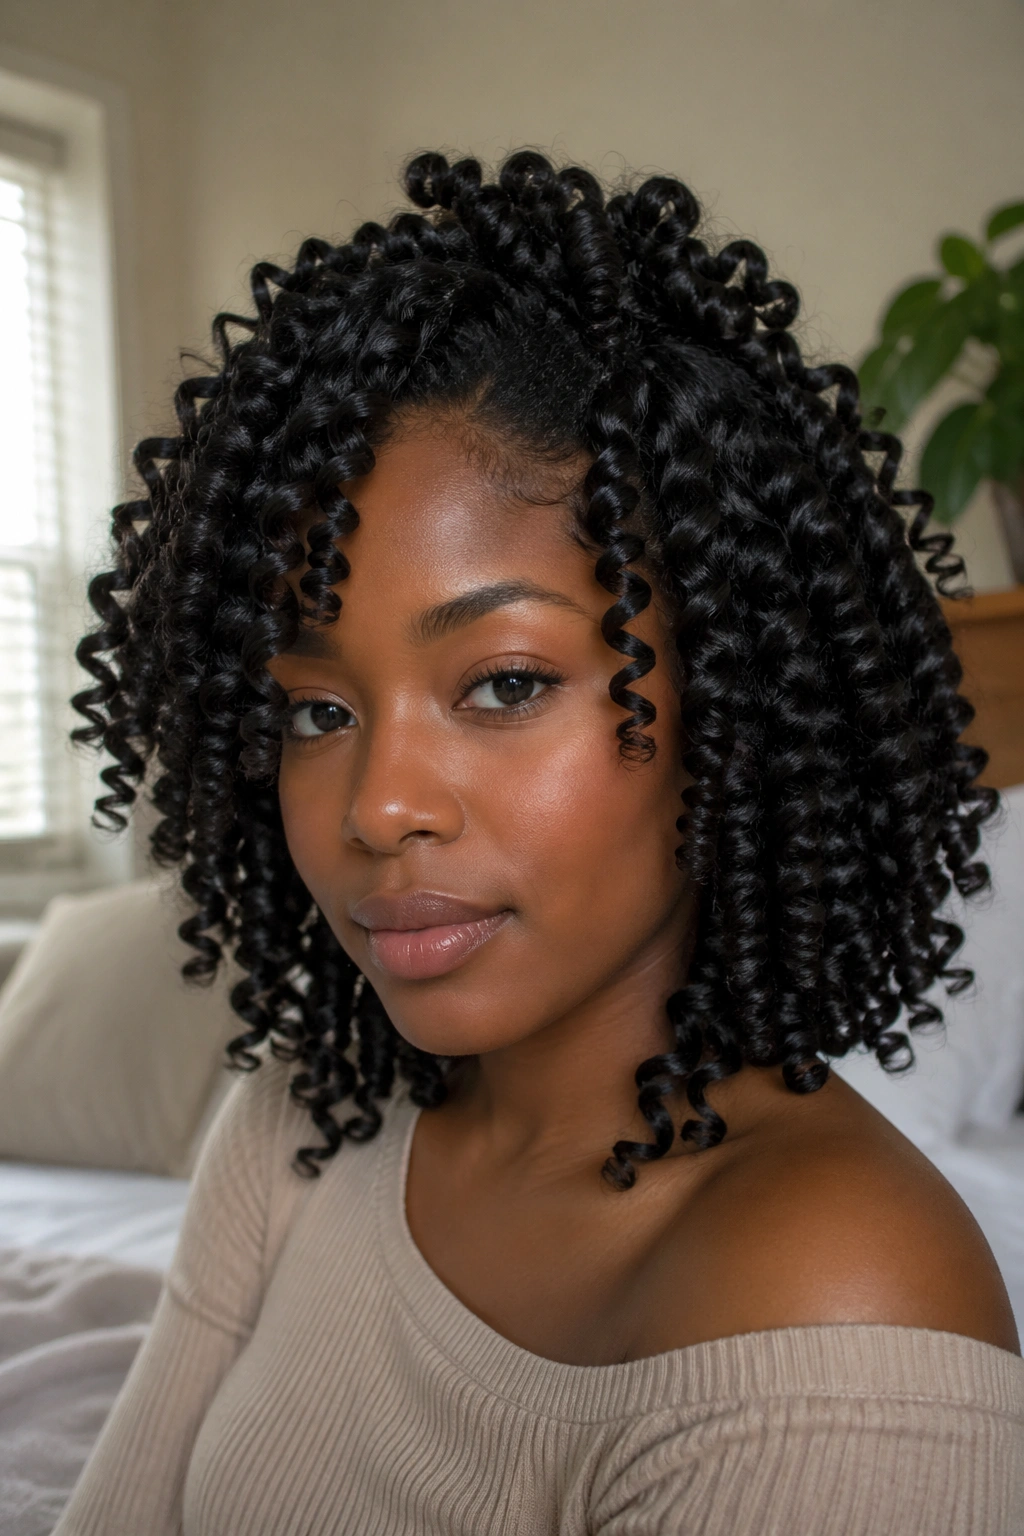
The classic defined spiral is the benchmark. Everything else — the variations, the hybrid styles, the creative takes — branches off from here. On Black natural hair, this style looks like the hair’s own coil pattern amplified and perfected.
Work on fully stretched, blown-out hair in sections no wider than one inch. Wrap each section around a one-inch barrel from root to tip, holding the hair taut against the wand as you spiral downward. Hold for 12 seconds, release slowly, and cup the curl in your palm to cool. When the entire head is done, separate curls gently with your fingers using a tiny amount of oil on your fingertips to reduce frizz.
How to Achieve the Best Spirals
- Use a rat-tail comb to create even sections before you begin
- Wrap in the same direction consistently — either always wrapping away from the face or always toward it
- Keep tension on the hair as you wrap; loose wrapping gives loose, uneven results
- Let every curl cool completely before touching or moving it
The final result should be a head full of individual, defined spirals that all point in the same direction and have similar size and tension.
2. Voluminous Wand Curls for Special Events
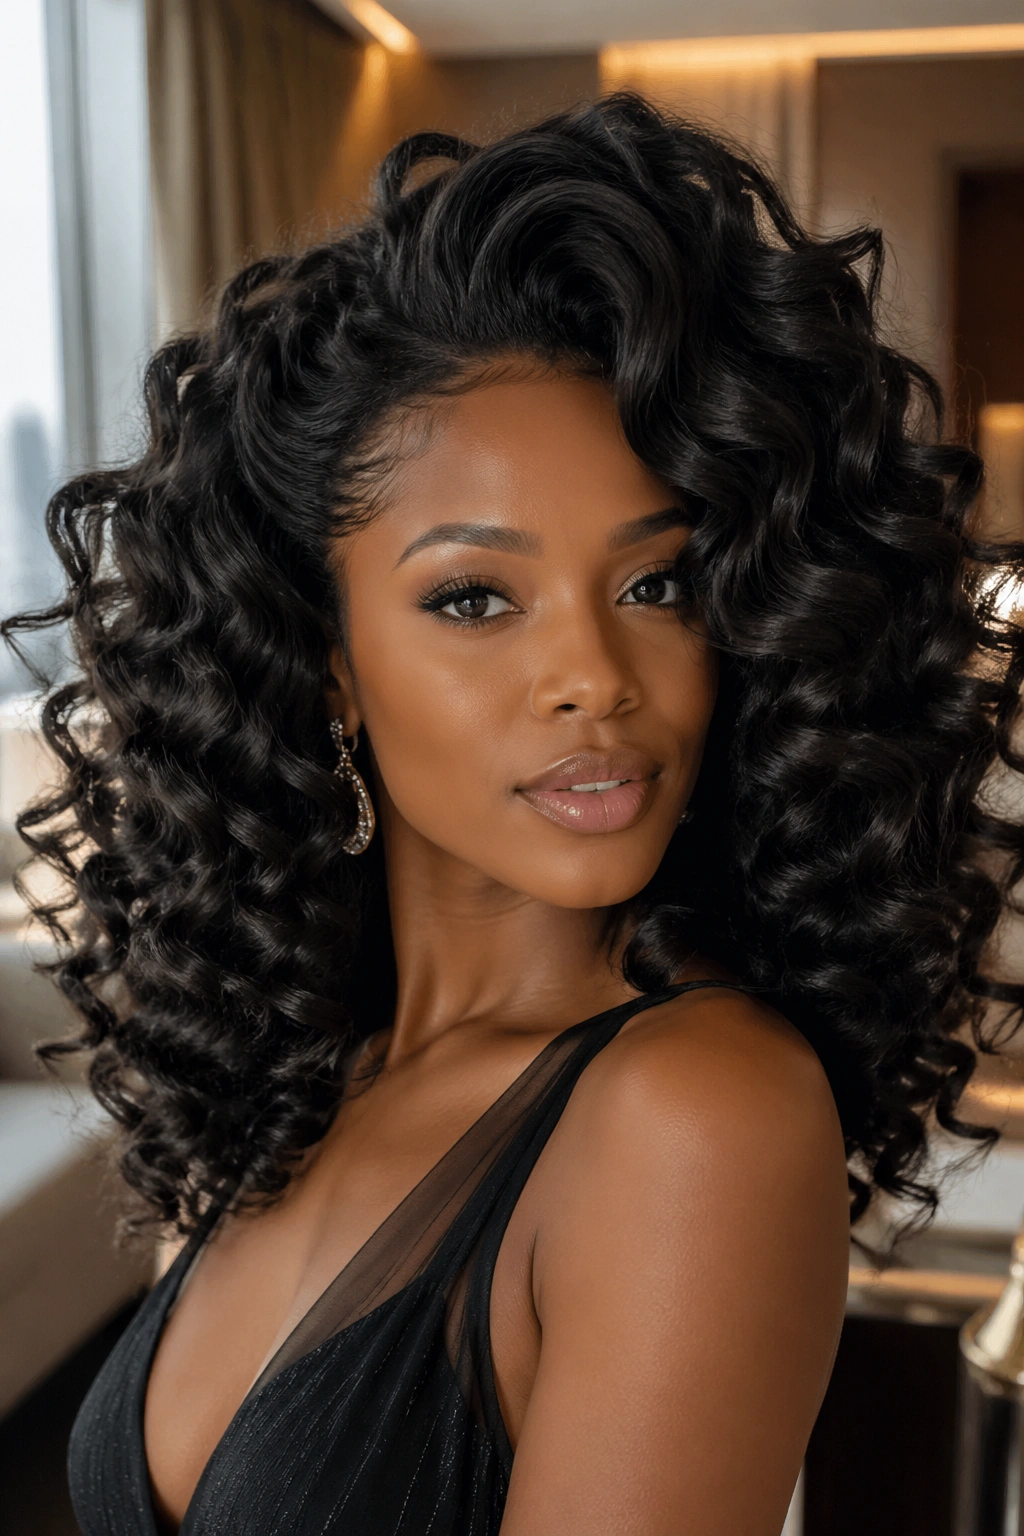
Occasions call for more. More volume, more drama, more presence. Voluminous wand curls for formal events or special occasions require a few adjustments to the standard technique that take the look from nice to extraordinary.
Start with a more thorough blow-dry than usual — you want the hair as stretched and smooth as possible for maximum curl definition and longevity. Use a setting lotion or a thermal setting spray before curling. These products specifically formulate to lock in curl shape at heat and extend wear time significantly beyond what standard heat protectant provides alone.
Work in slightly smaller sections than you normally would — three-quarters of an inch rather than one inch. The extra definition from smaller sections reads better in photos and in person under event lighting. Once complete, use a wide-tooth pick to very gently lift at the roots — just a half inch — to increase volume at the crown without disturbing the curl pattern below. Finish with a very light mist of flexible-hold spray.
3. Wand Curls on Short Natural Hair
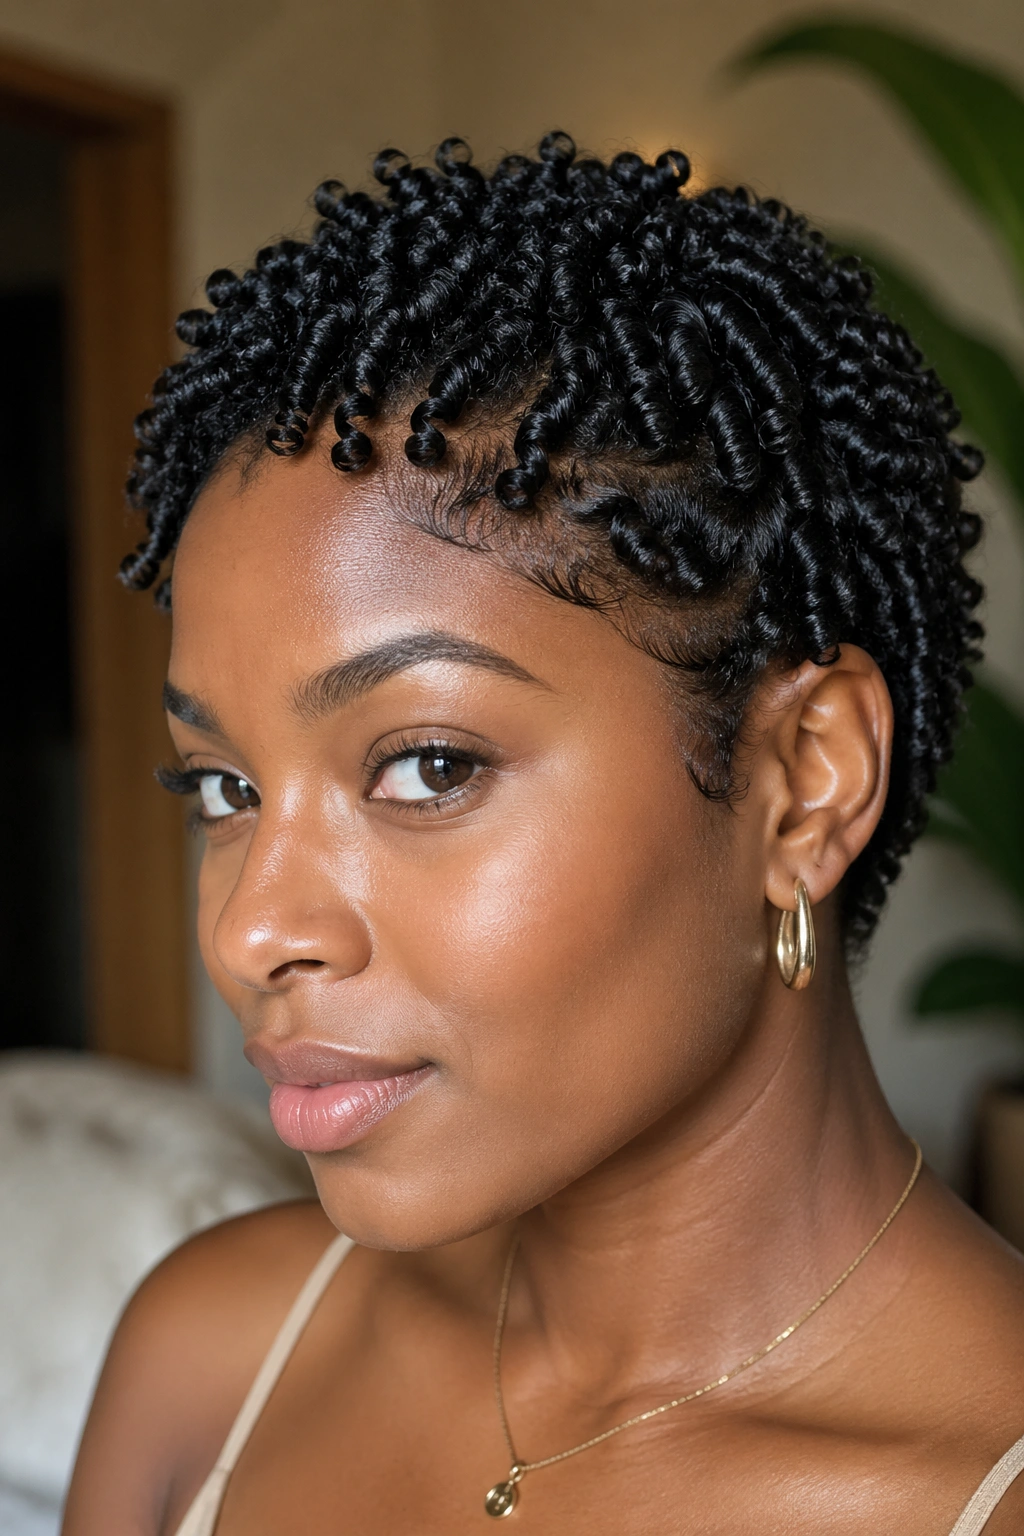
Short doesn’t mean limited. Wand curls on a TWA, a short tapered cut, or natural hair that sits above the chin level create a polished, intentional look that many short-haired naturals consider their signature style.
The technique here requires more precision than on longer hair. Use a half-inch to three-quarter-inch barrel — nothing bigger. Work in tiny sections, about half an inch wide, and wrap the hair tightly from root to tip. On very short hair, you may only get one to two full wraps around the barrel, which is fine — that’s enough to set the curl shape.
The resulting curls will be tight and defined, creating a beautifully textured style that looks like perfectly defined coils. Separate gently with oiled fingertips and finish with a tiny amount of shine serum smoothed over the surface.
4. Loose Wand Waves for a Relaxed Look
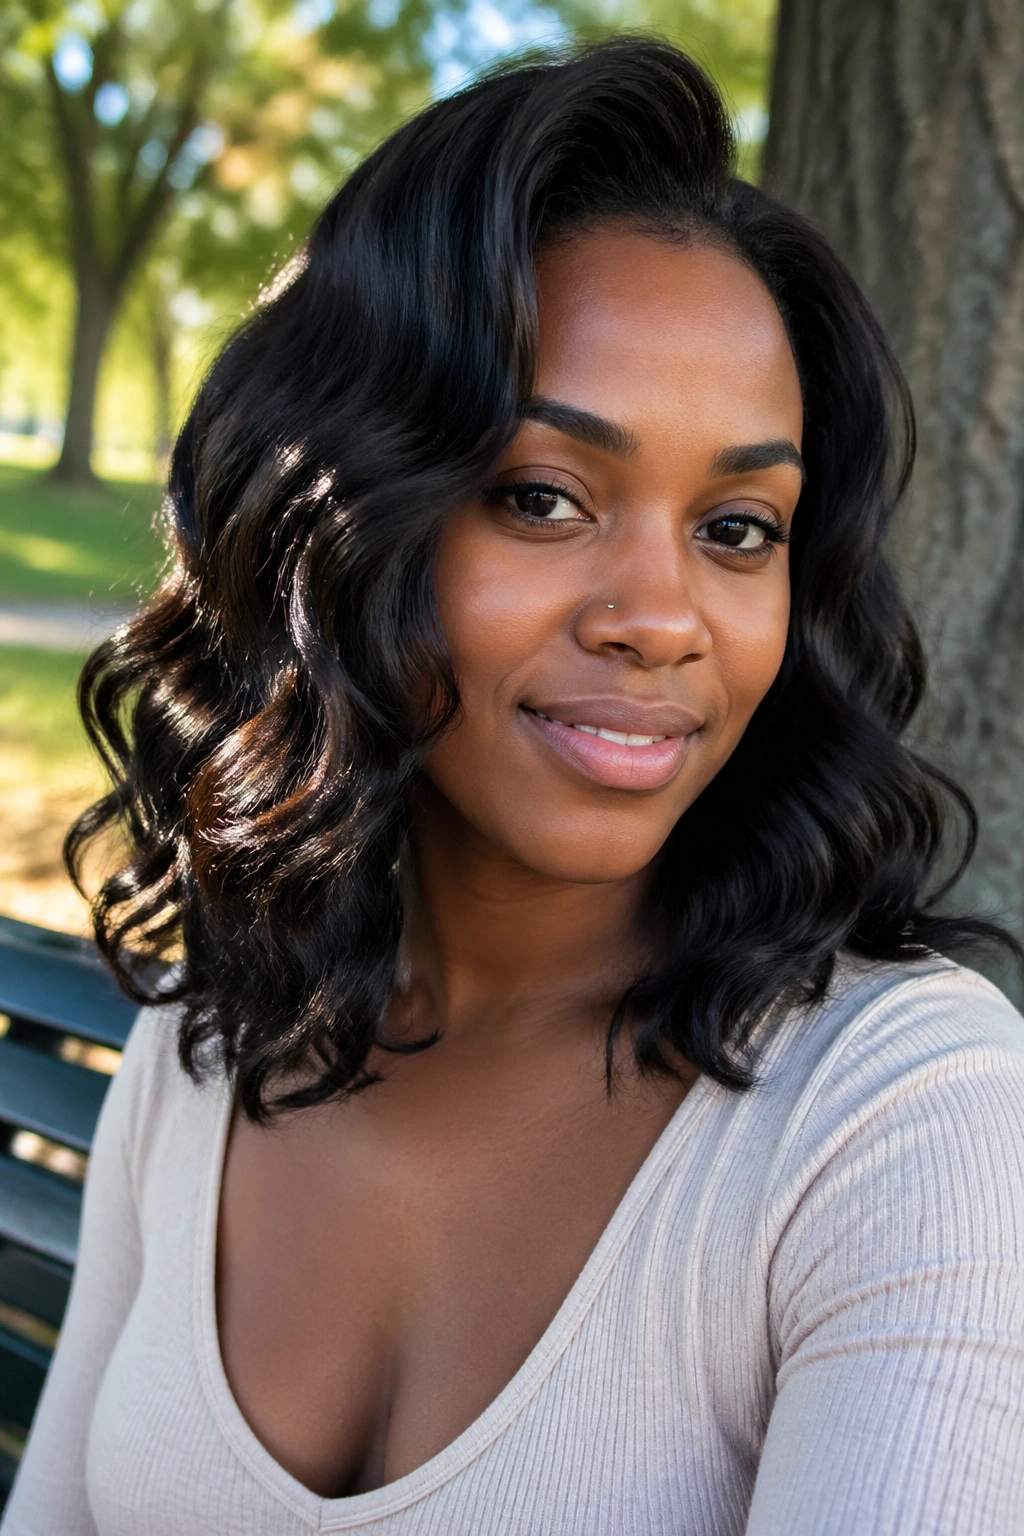
Some situations call for something softer. Loose wand waves — the kind that move freely and look almost windswept — are the natural hair answer to effortless beauty. They’re just as sophisticated as tight spirals, just in a different way.
For loose waves, go big. Use a one-and-a-half to two-inch barrel and work in two-to-three-inch sections. Instead of wrapping the hair in a tight spiral, lay the hair over the barrel in a loose C-curve and hold it there for eight seconds. The resulting shape is a gentle bend rather than a defined coil. Multiple of these gentle bends across the head create a naturally wavy effect that’s loose, flowing, and incredibly beautiful on all natural hair densities.
This look translates best on hair that’s been fully blown straight or stretched significantly. On hair with a lot of remaining coil pattern, the wave may not be as visible.
5. Wand Curls with a Headband
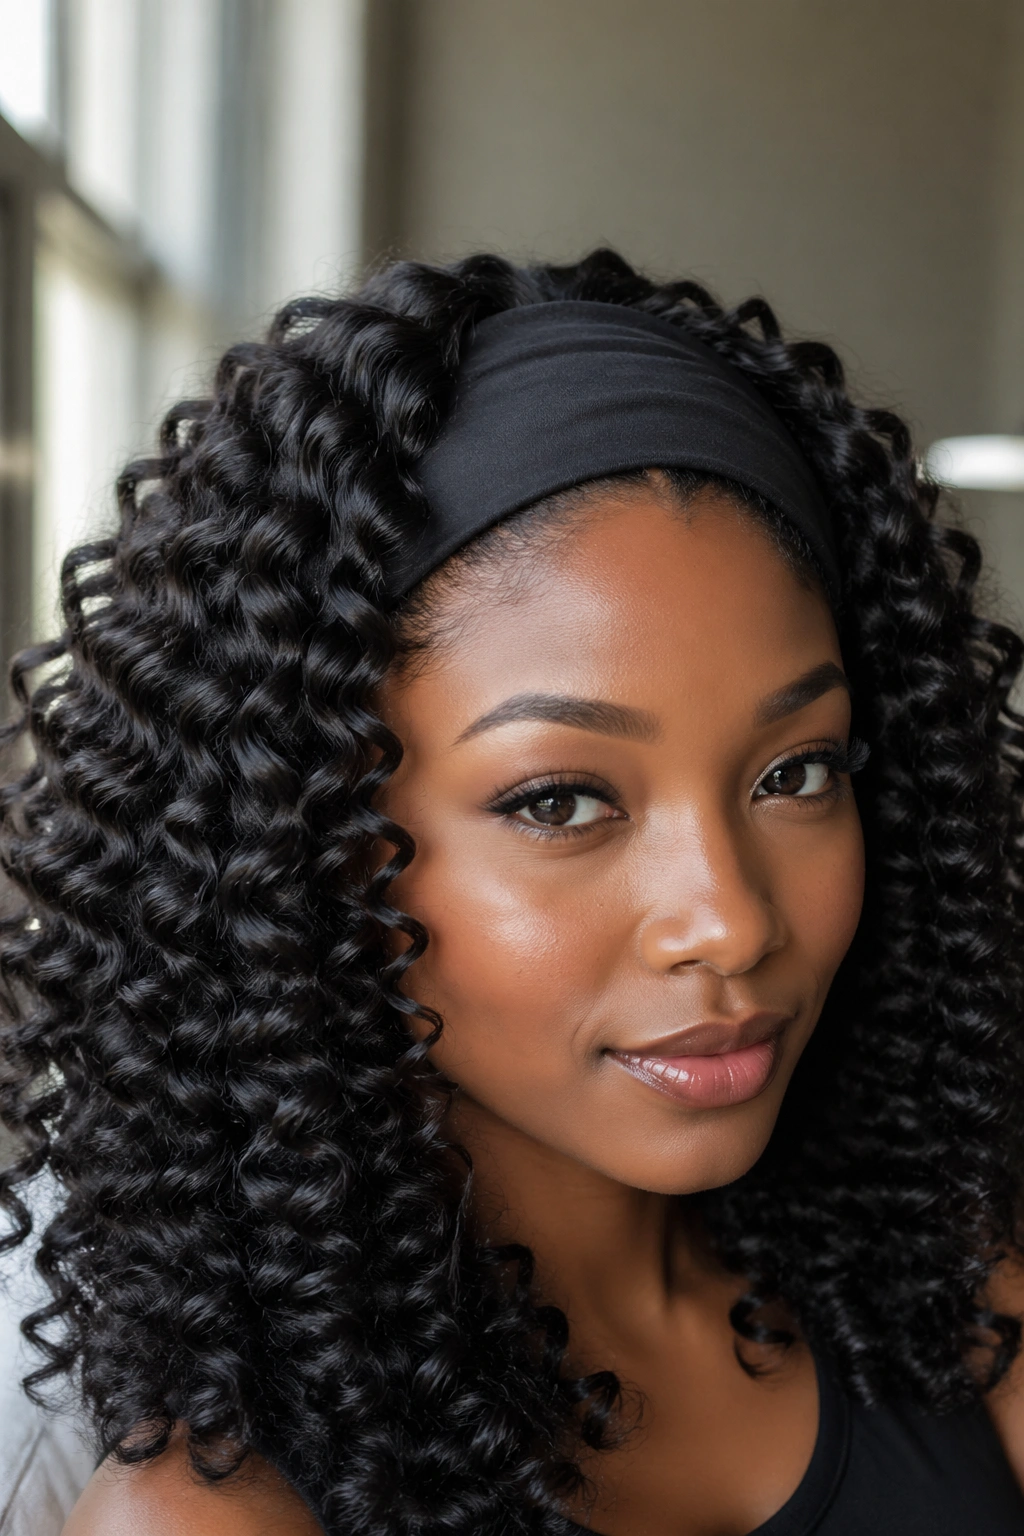
A wide headband — fabric, satin, beaded, whatever you love — paired with wand curls is a complete look. It’s one of those combinations that looks like you planned it for weeks but takes about fifteen seconds to put together.
Curl the full head first. Let everything cool. Then slide or tie the headband across the front of the head, just behind the hairline. Arrange a few curls to fall forward in front of the headband on each side for a softer, more romantic effect. Alternatively, tuck all the front hair under the band for a polished, neat appearance.
The headband does double duty — it frames your face beautifully and keeps flyaways in check, which is particularly helpful in humid weather when natural hair tends to frizz at the edges.
6. Wand Curls on Blown-Out Natural Hair
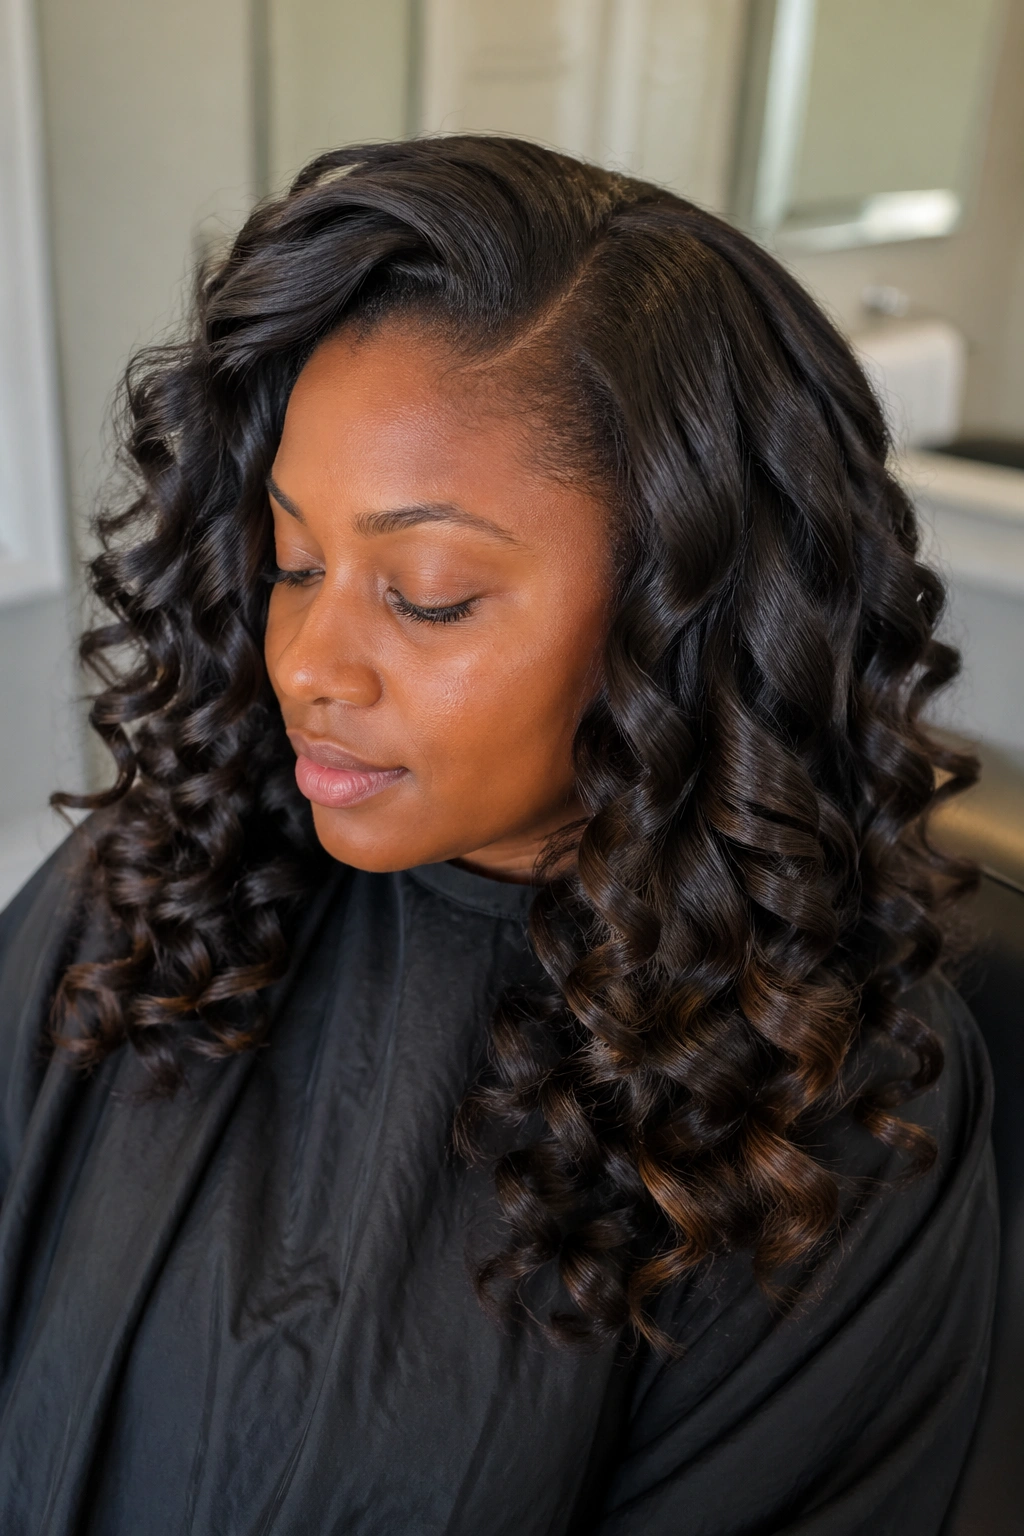
The blown-out base is a game-changer for wand curl definition. It’s worth discussing specifically because so many naturals skip this step and wonder why their curls don’t look as polished as what they see online.
A light blowout on low to medium heat — not bone straight, just stretched — removes the extreme shrinkage that makes Type 4 hair absorb wand curls without showing their full length or definition. The blowout stretches each coil, giving the wand more surface area to create a spiral on. The resulting curl is longer, more defined, and more uniform than what you get when you curl over maximum shrinkage.
Use a paddle brush attachment on your dryer or a denman brush while blow-drying in sections. The goal is stretched and smooth, not completely flat. Then proceed with your standard wand curl technique.
7. Wand Curls Half-Up Half-Down Style
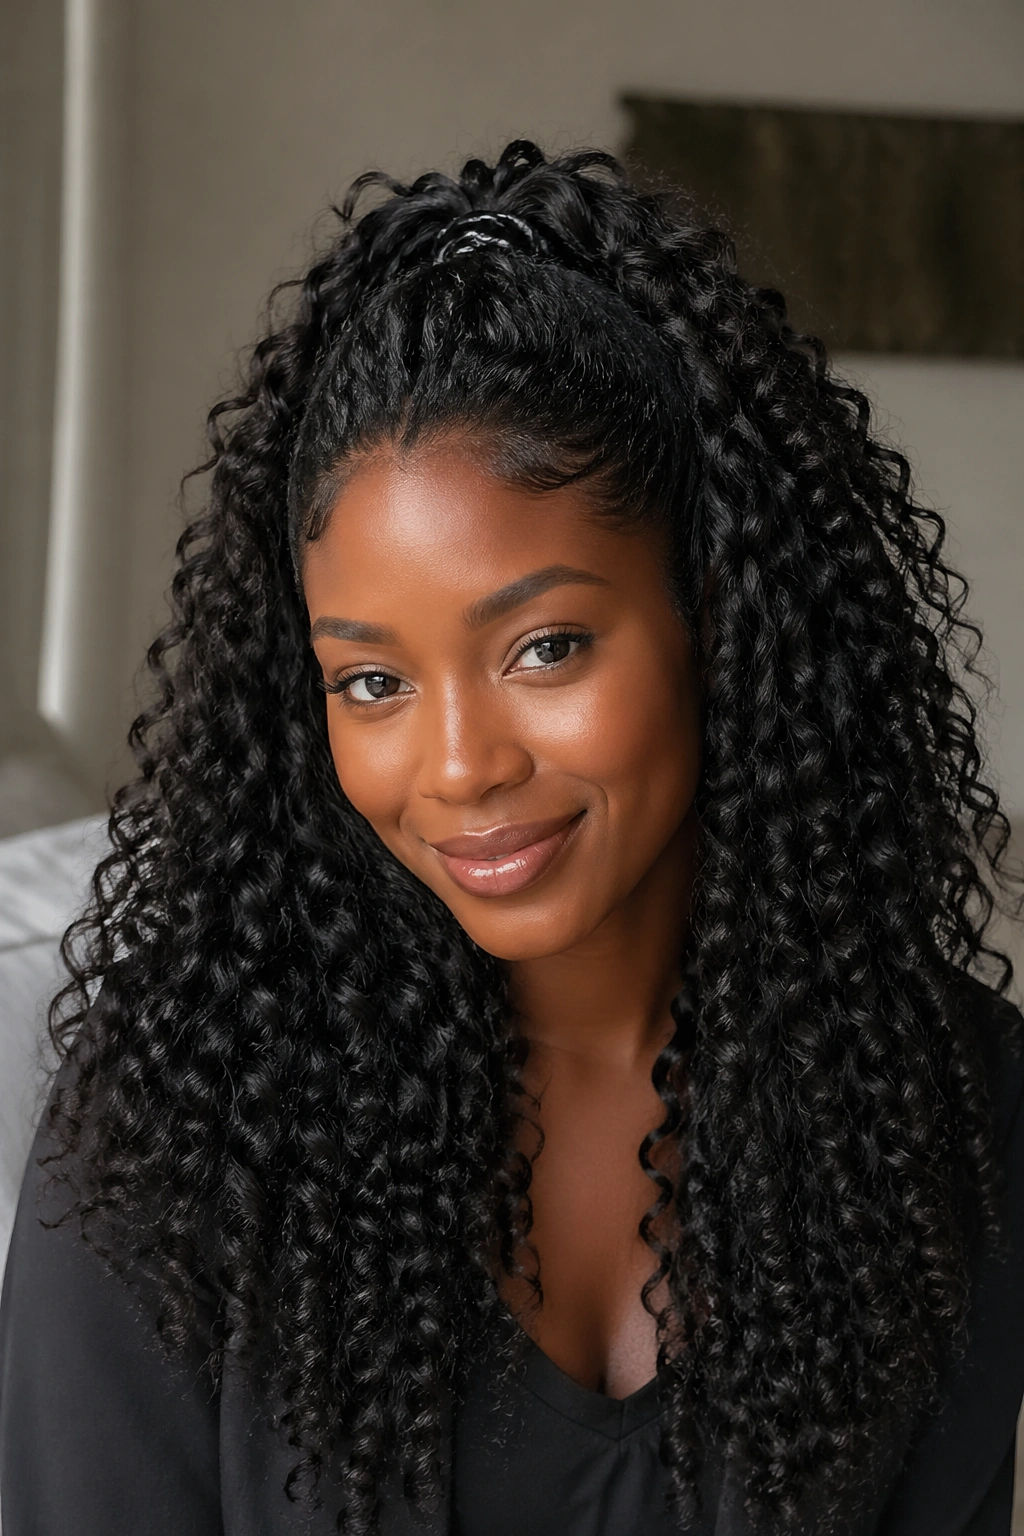
Half-up, half-down is a styling classic for good reason — it’s versatile, practical, and flattering on virtually every face shape. With wand curls, it becomes genuinely extraordinary.
Curl the entire head using a one-inch barrel. Once everything is cooled and set, take a generous section from the front of the head — from temple to temple — and gather it at the crown. Secure it with a silk scrunchie or a few carefully placed bobby pins. The gathered section can be left loose as a mini puff, twisted into a bun, or braided. The wand curls below and around the face flow freely, creating a contrast between the secured top and the bouncy, loose bottom.
Pull a few face-framing curls forward from the secured section for a softer, more flattering look.
8. Wand Curls with Edge Control Designs
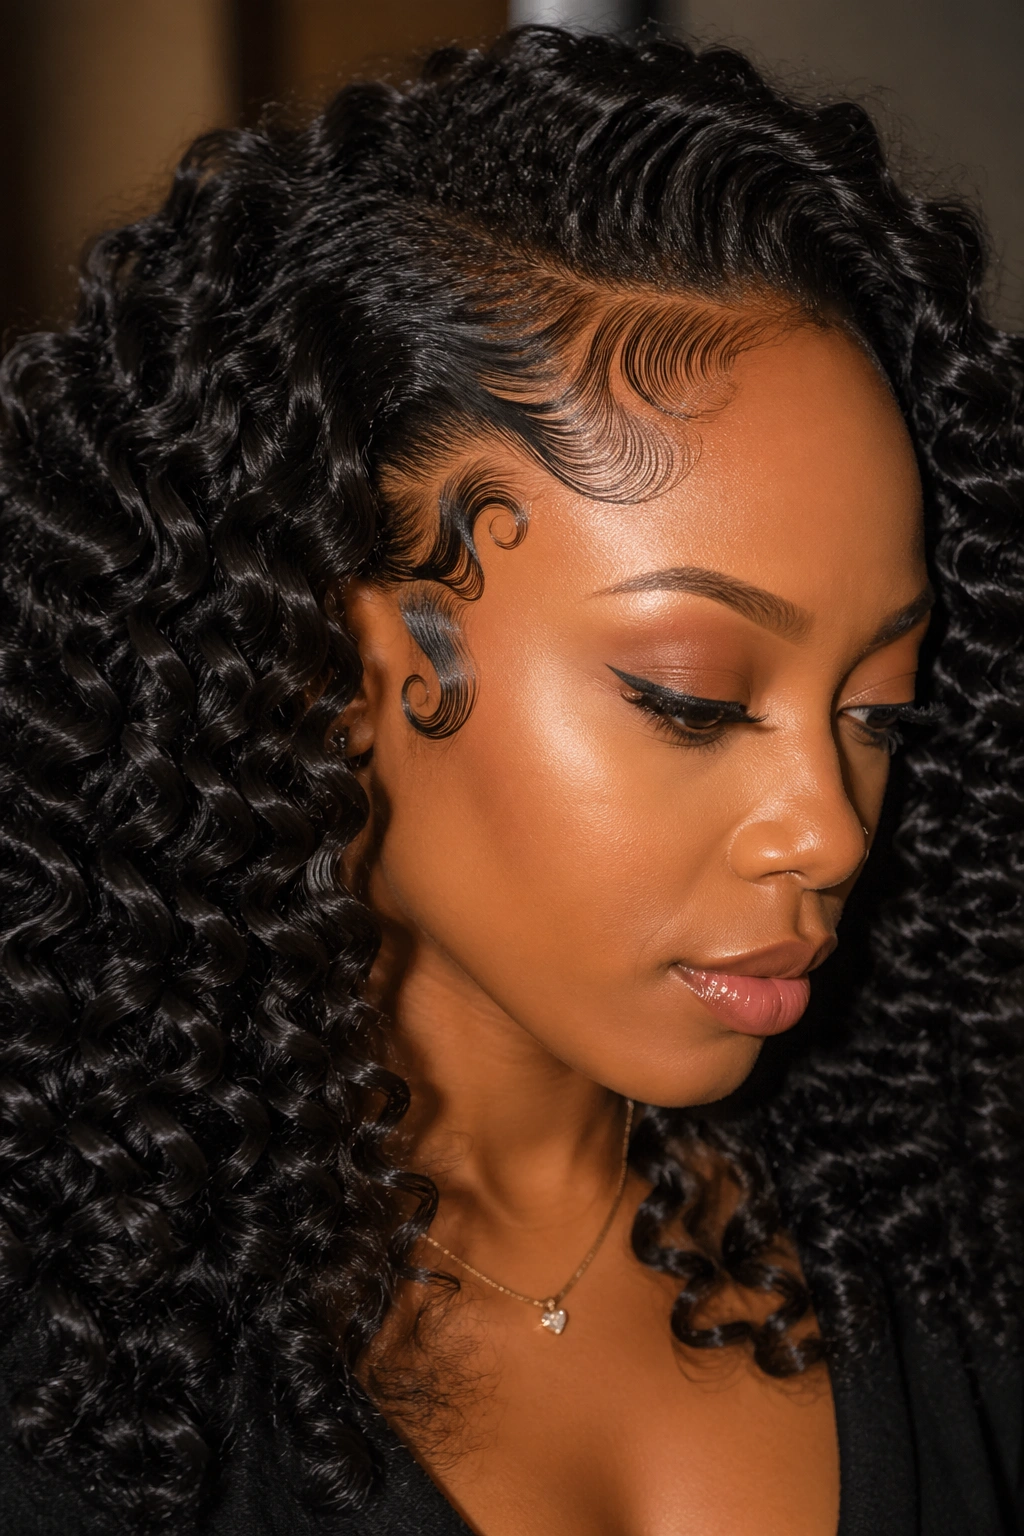
Natural hair edges are a canvas in their own right. When you pair a full wand curl set with intentional edge designs, the style becomes a complete artistic statement.
After finishing your wand curl set, apply a firm-hold edge control gel to the edges using a fine-tooth edge brush. Smooth the edges flat and then use the brush tip to create small swirls, waves, or curved designs along the hairline. Classic baby hair styling patterns include swoops, S-curves, and double swirls at the temples. Let the design dry completely before touching it.
The contrast between the structured, sculptural edges and the free, bouncy wand curls behind them creates a look that’s sophisticated and deeply rooted in Black hair artistry.
9. Wand Curls in a Low Ponytail
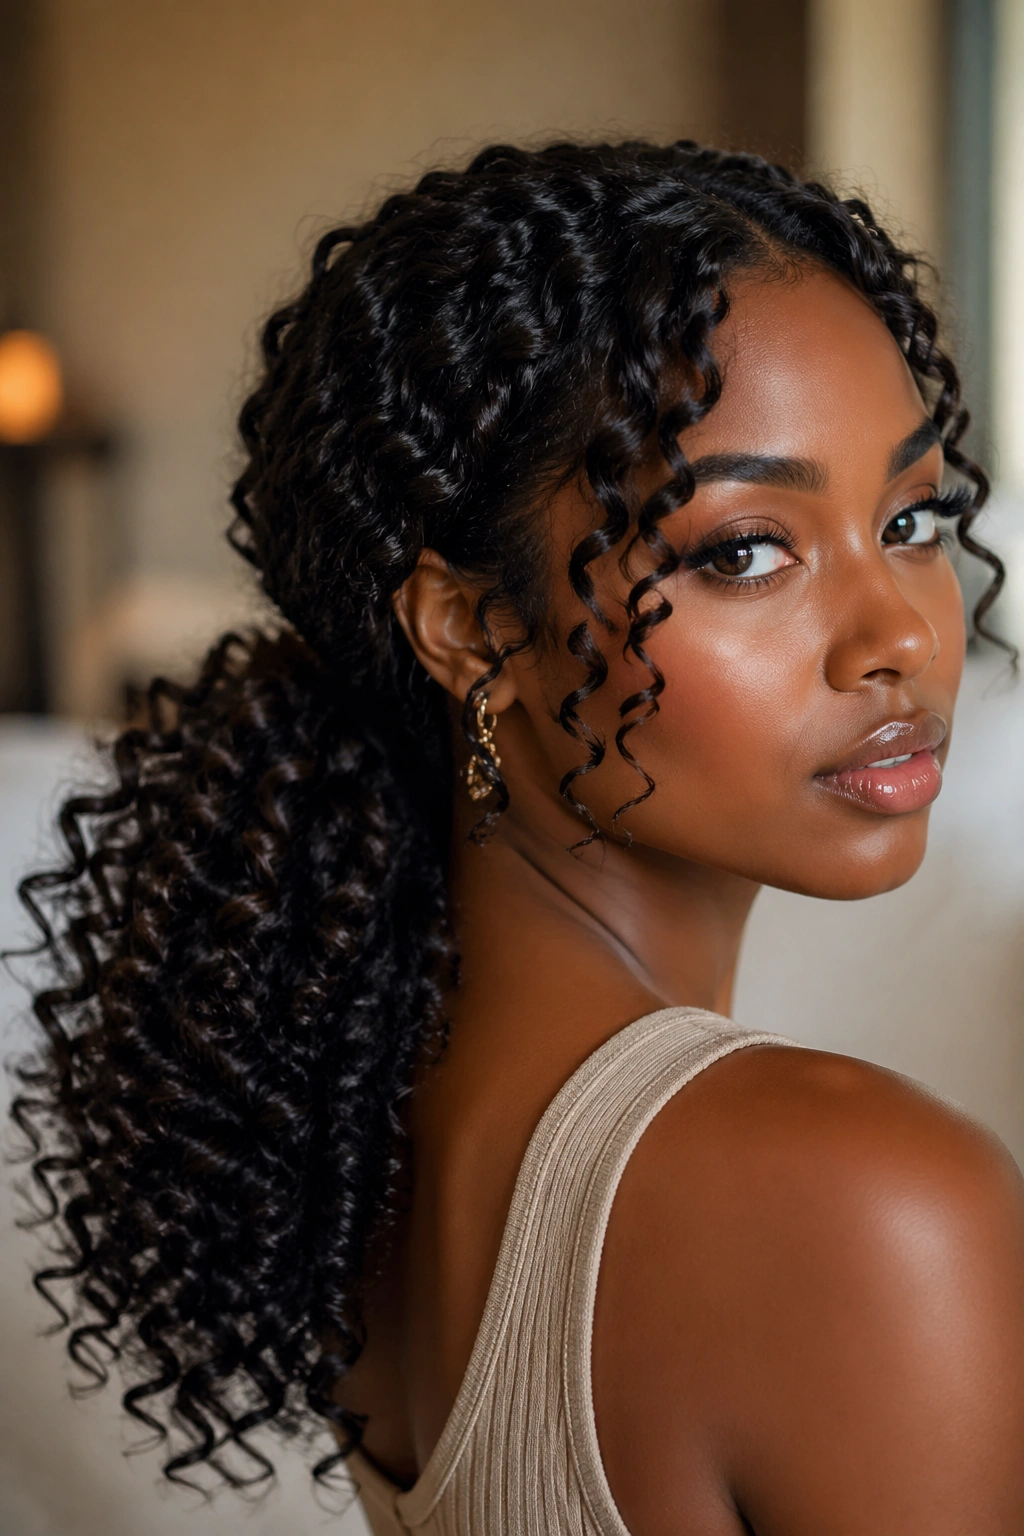
Simple, clean, and completely chic. A low ponytail filled with wand curls is one of those styles that looks effortless and elegant simultaneously — which is exactly the sweet spot.
Curl the full head first. Let everything cool. Gather the hair low at the nape — slightly above the neck — and secure with a soft elastic band. Wrap a small section of hair around the elastic to conceal it and pin underneath with a bobby pin. The ponytail should fall in a cascade of defined spirals. For extra polish, smooth a small amount of edge control or gel along the sides and back before gathering the ponytail, so the transition from sleek sides to curly tail looks intentional.
This style works especially well for naturals with medium to long hair — the ponytail needs some length for the spirals to be visible.
10. Wand Curls with a Braided Crown
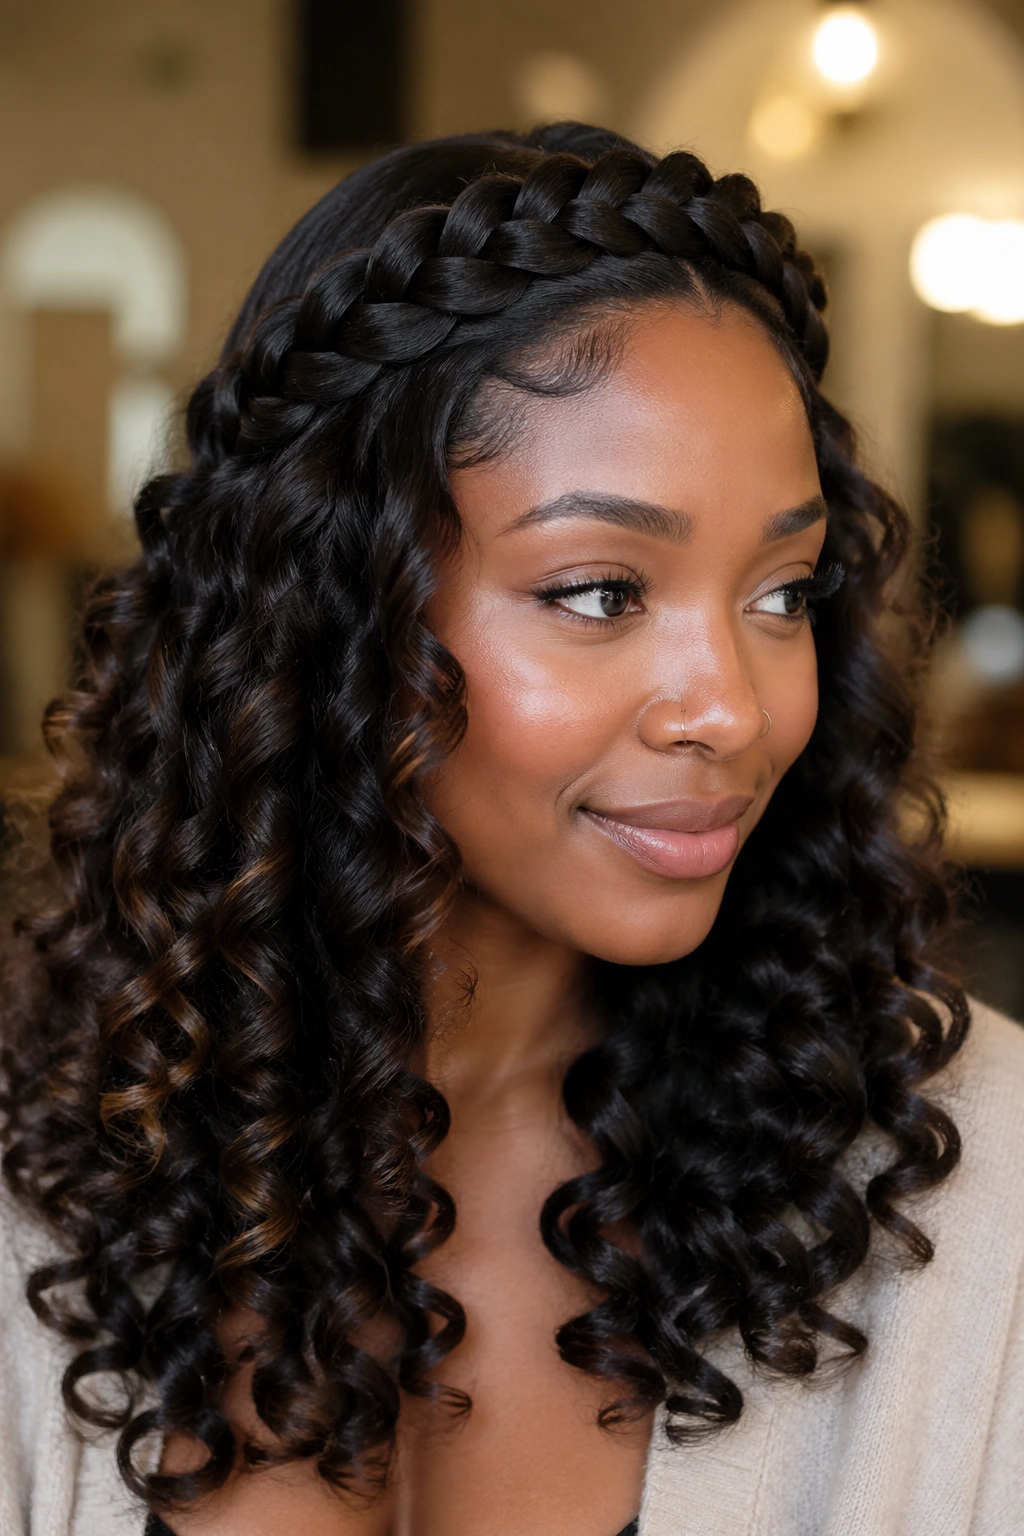
Combining braiding and wand curls in one style is a creative move that pays off beautifully. The structured braided crown creates a natural frame for the flowing wand curls below it.
Part the top section of the hair in a wide U-shape, separating it from the rest. Braid or cornrow this top section in two rows that converge at the crown, securing the ends with a small elastic. Take the braided section and wrap it into a crown shape around the head, pinning it in place with bobby pins. Then curl the remaining un-braided hair — everything outside the crown section — with a one-inch wand in standard spiral technique. The braided crown sits neatly on top while the wand curls cascade freely below.
11. Side-Parted Wand Curls
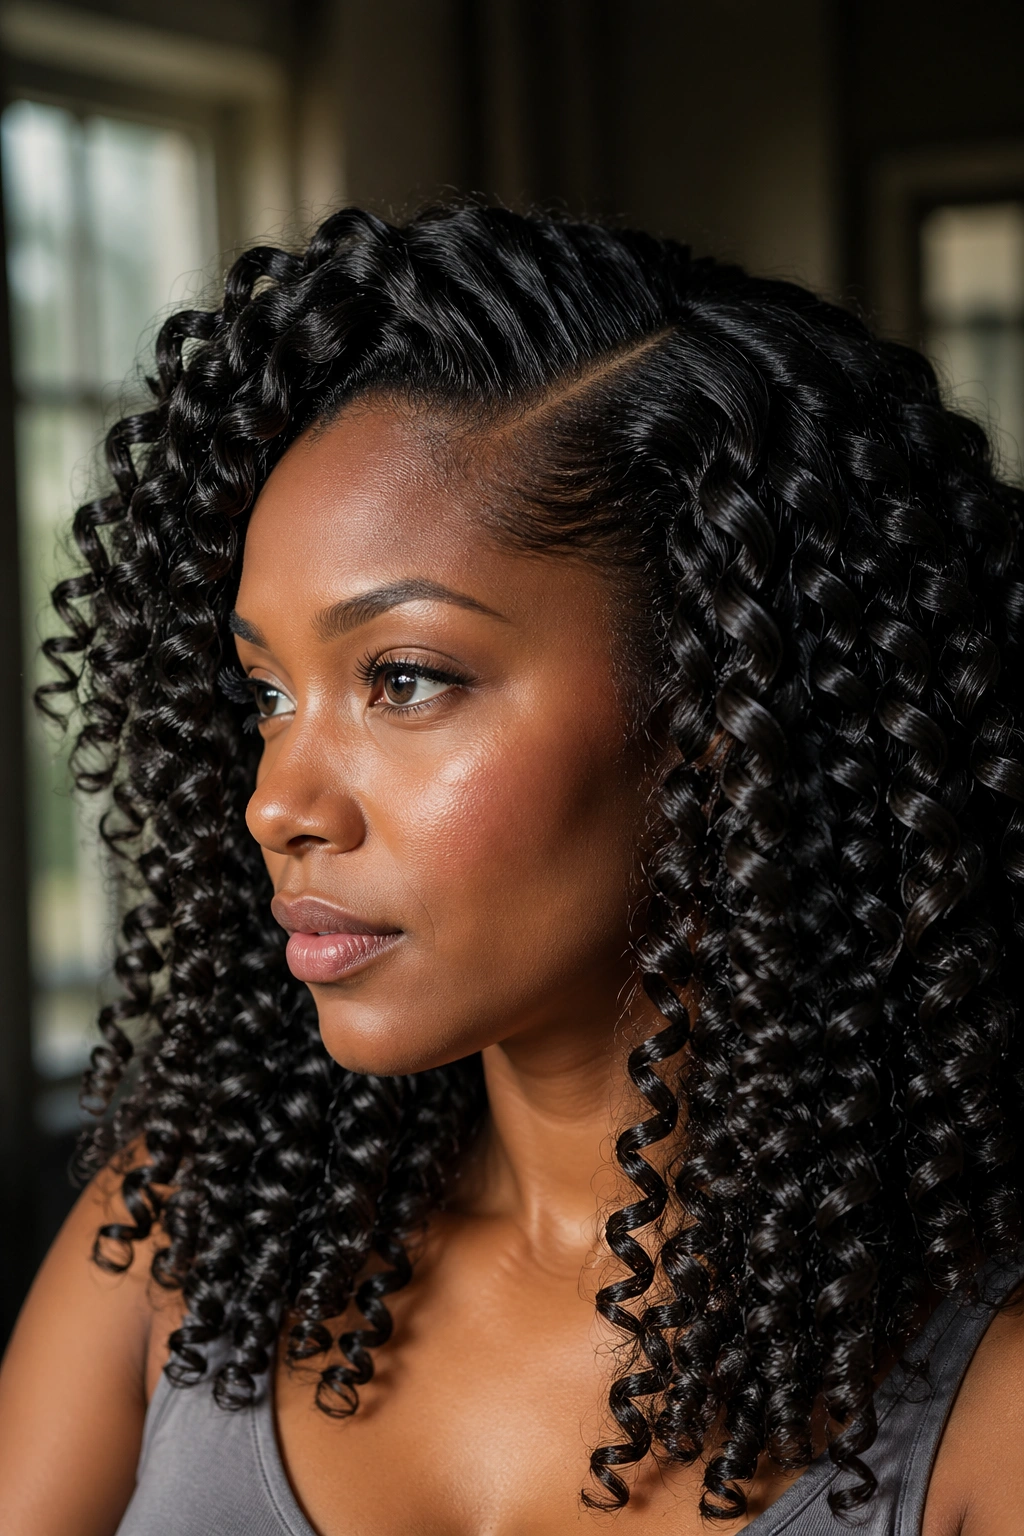
A deep side part transforms the silhouette of your wand curl set in a way that’s disproportionate to how little effort it takes to create it. The asymmetry adds drama and makes the whole style feel more intentional and styled.
Before curling, carve a deep side part using the handle of a rat-tail comb. The part should go from the hairline on one side all the way back to the ear. Curl the entire head uniformly. When you’re done, the heavier side of the part will have significantly more volume and fullness, while the lighter side will lie closer to the head. This natural asymmetry is the look — don’t fight it. Smooth the lighter side close to the head if necessary with a light gel or edge control to emphasize the contrast.
12. Wand Curls for Natural Hair with Color
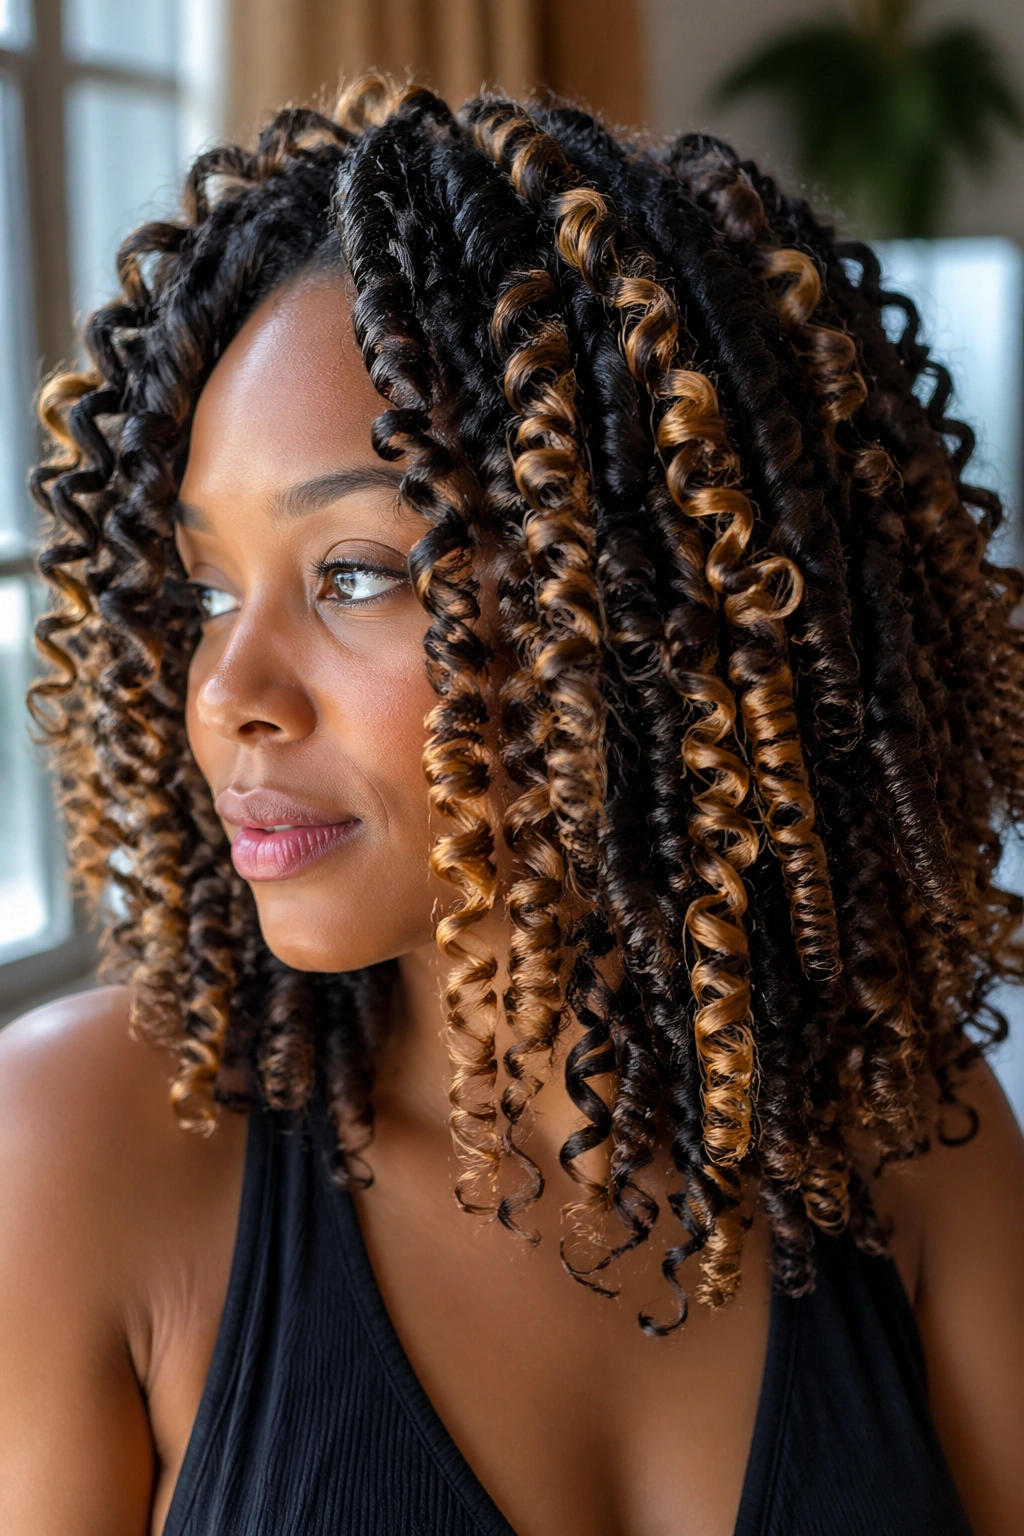
Color on wand curls is something else entirely. Whether it’s highlights, a balayage, tips dipped in gold, or a full color transformation, the spiral shape of wand curls creates dimension from color in a way no other style quite matches.
The non-negotiable rule for colored natural hair and heat: lower temperature, higher protection. Chemically colored hair is more porous than virgin hair, meaning it absorbs heat more readily and is more susceptible to damage. Never go above 350°F. Apply heat protectant generously — more than you think you need. Avoid re-curling the same section multiple times, as each pass adds cumulative heat stress.
When done carefully, the result — defined spirals that shift color as you move — is worth every bit of care.
13. Curly Wand Updo
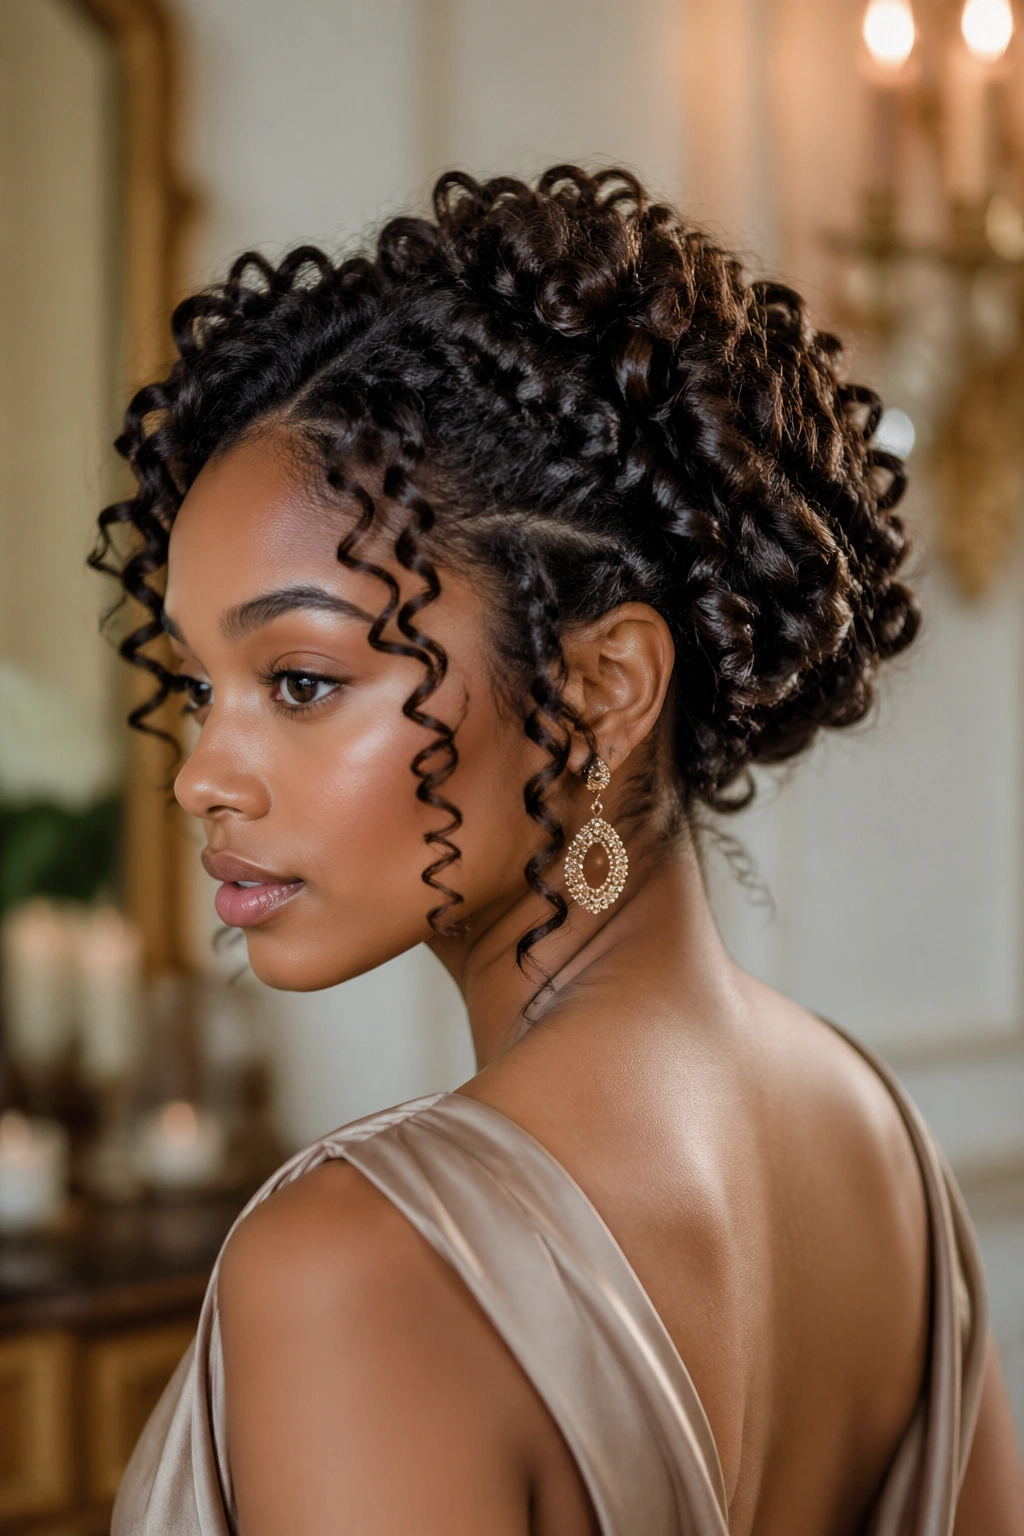
An updo made entirely of wand curls is an occasion-worthy style that requires a bit of patience and a lot of bobby pins — but the result is genuinely jaw-dropping.
Curl the entire head in uniform sections. Once cooled, do not shake out or separate the curls yet. Instead, work in layers: pin the bottom sections upward first, gathering them gently at the back of the head. Then layer the upper sections over them, pinning as you go. The goal is a full, textured updo that looks like a pile of perfect curls cascading from a central point at the back of the head. Finish by pulling a few curls free around the face and at the nape to soften the look.
Use as many bobby pins as you need — hidden inside the curls, they’re invisible.
14. Wand Curls on a Twist-Out Base
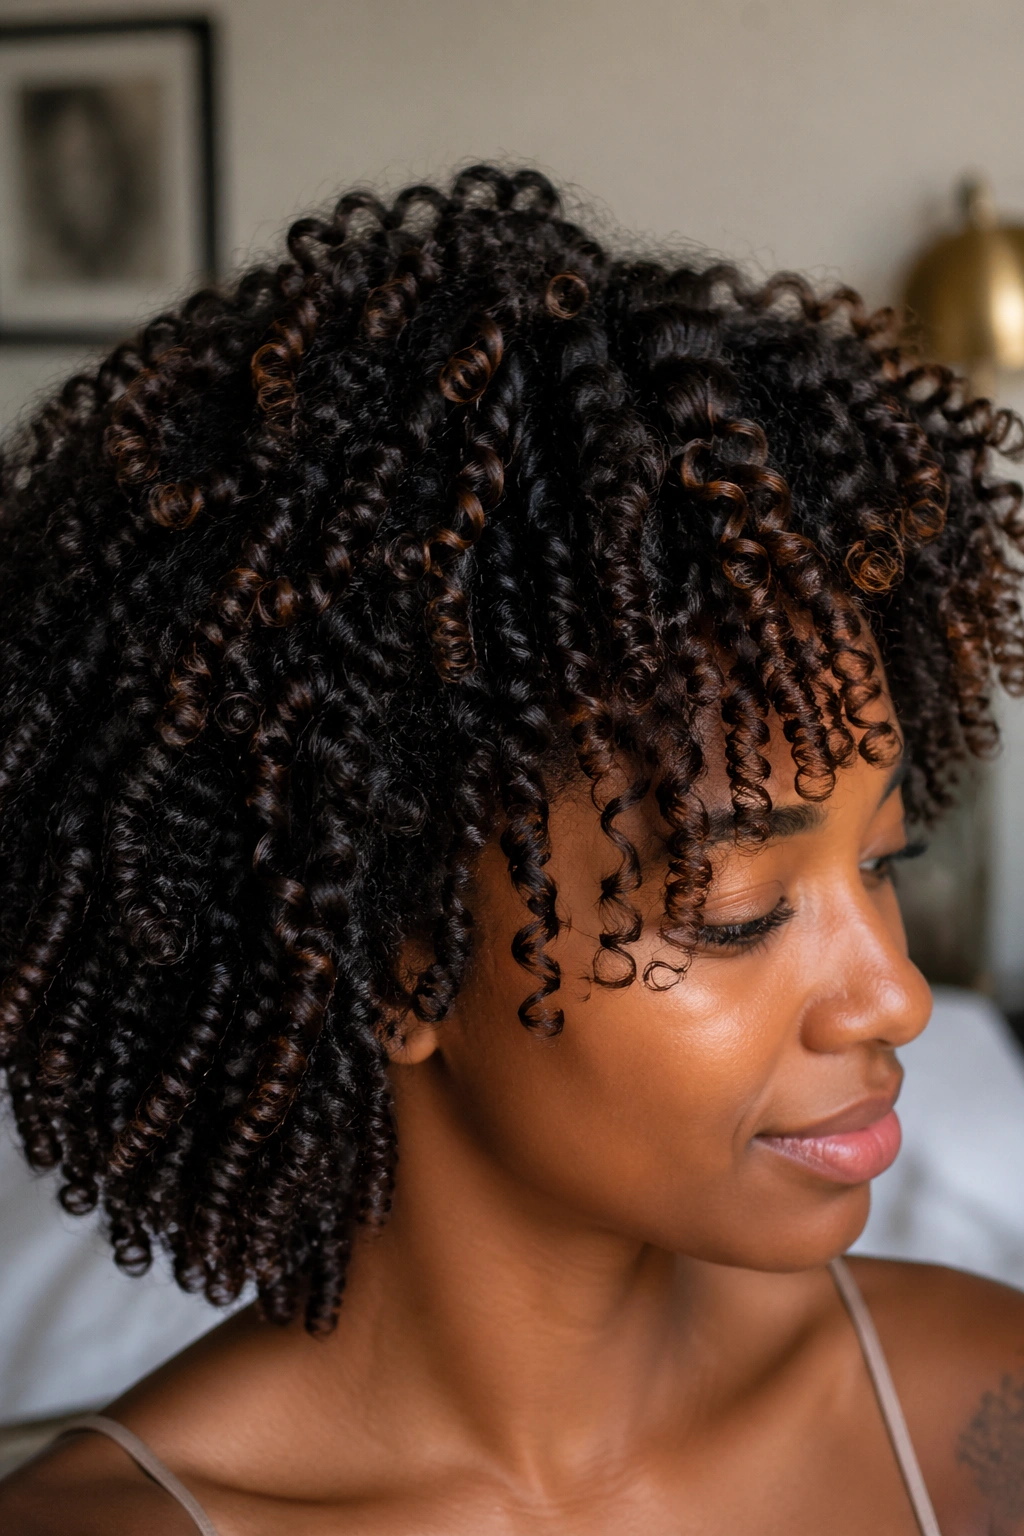
Starting with a twist-out base before wand curling adds an extra layer of texture and definition that’s impossible to replicate any other way. It’s a technique within a technique — and it’s worth learning.
Do a standard twist-out: twist damp hair in sections, let dry completely, then unravel. The un-twirled hair has a beautiful, stretched, S-wave pattern. Now apply heat protectant to these already-textured sections and curl with a one-inch wand using a loose spiral wrap. The wand curl + twist-out combination creates curls with more body, more depth, and a slightly more organic appearance than wand curls done on blown-out hair alone.
This works especially beautifully on Type 3 and Type 4A hair, where the twist-out pattern is naturally very defined.
15. Wand Curls with a Fabric Wrap
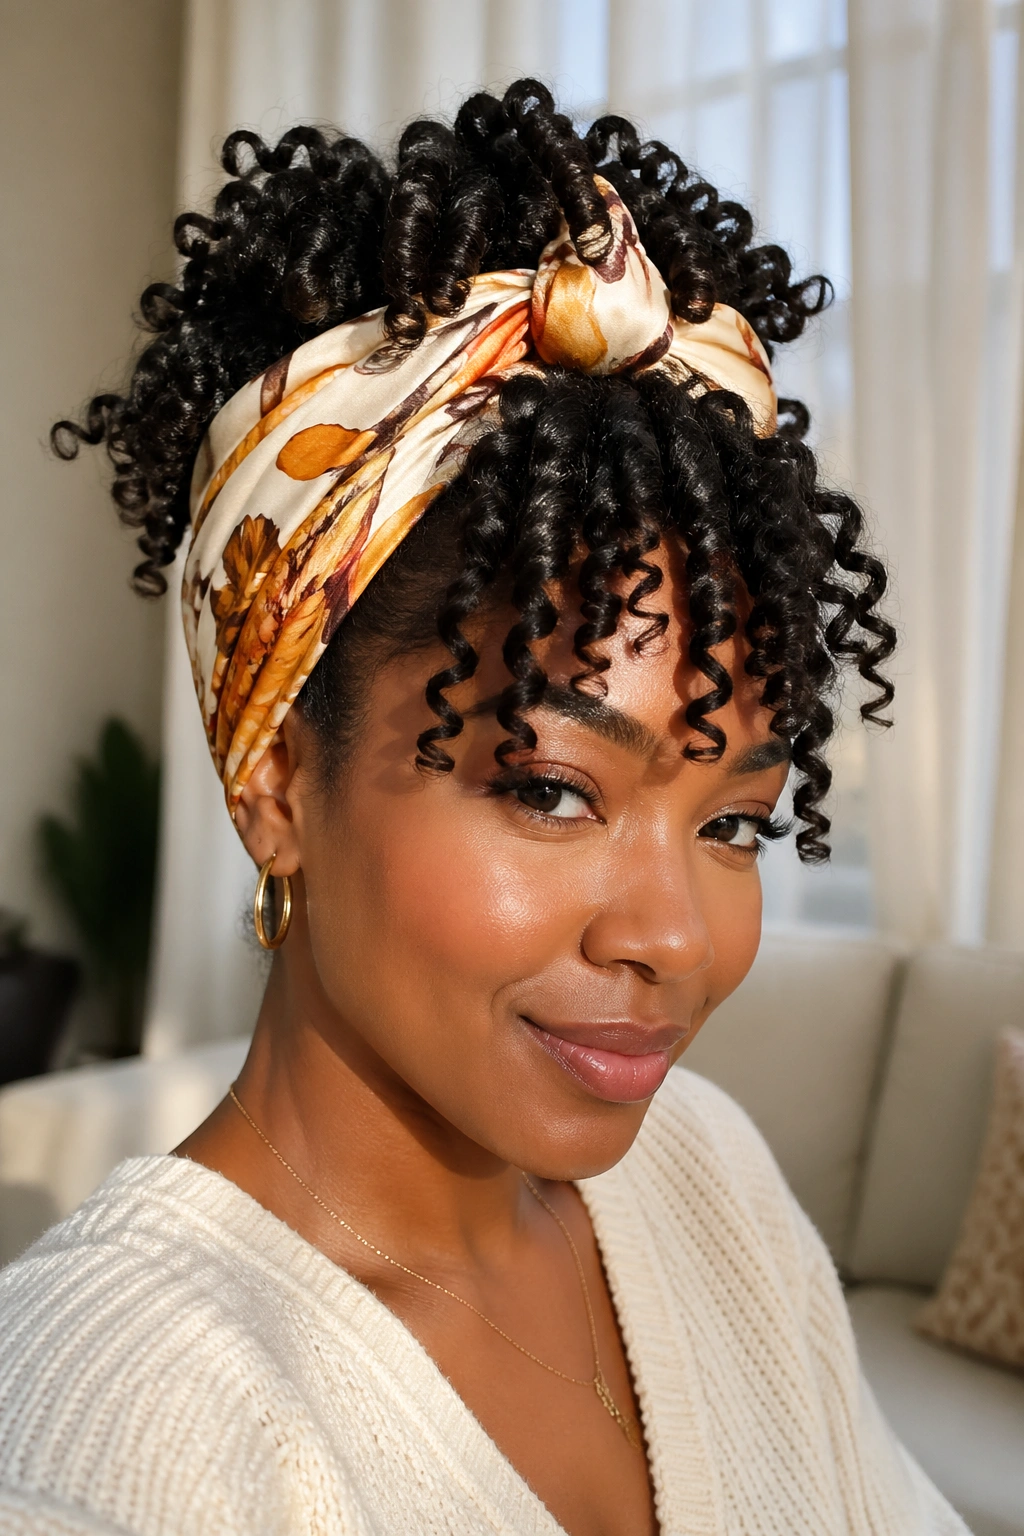
A silk, satin, or printed fabric wrap tied at the front of a wand curl set is one of the most versatile styling additions you can make. It changes the entire personality of the look.
Fold a large square scarf into a wide strip and tie it across the front of your head after your curl set is complete, knotting it at the top. Position it so it sits a couple of inches behind the hairline, letting some curls fall forward in front of it. The scarf adds color, pattern, and a relaxed elegance that makes the style feel complete.
Different scarf colors and patterns create completely different vibes — a rich jewel-toned silk feels formal; a bright printed cotton feels joyful and casual. One wand curl set, many interpretations.
16. Wand Curls for Natural Hair in Humid Weather
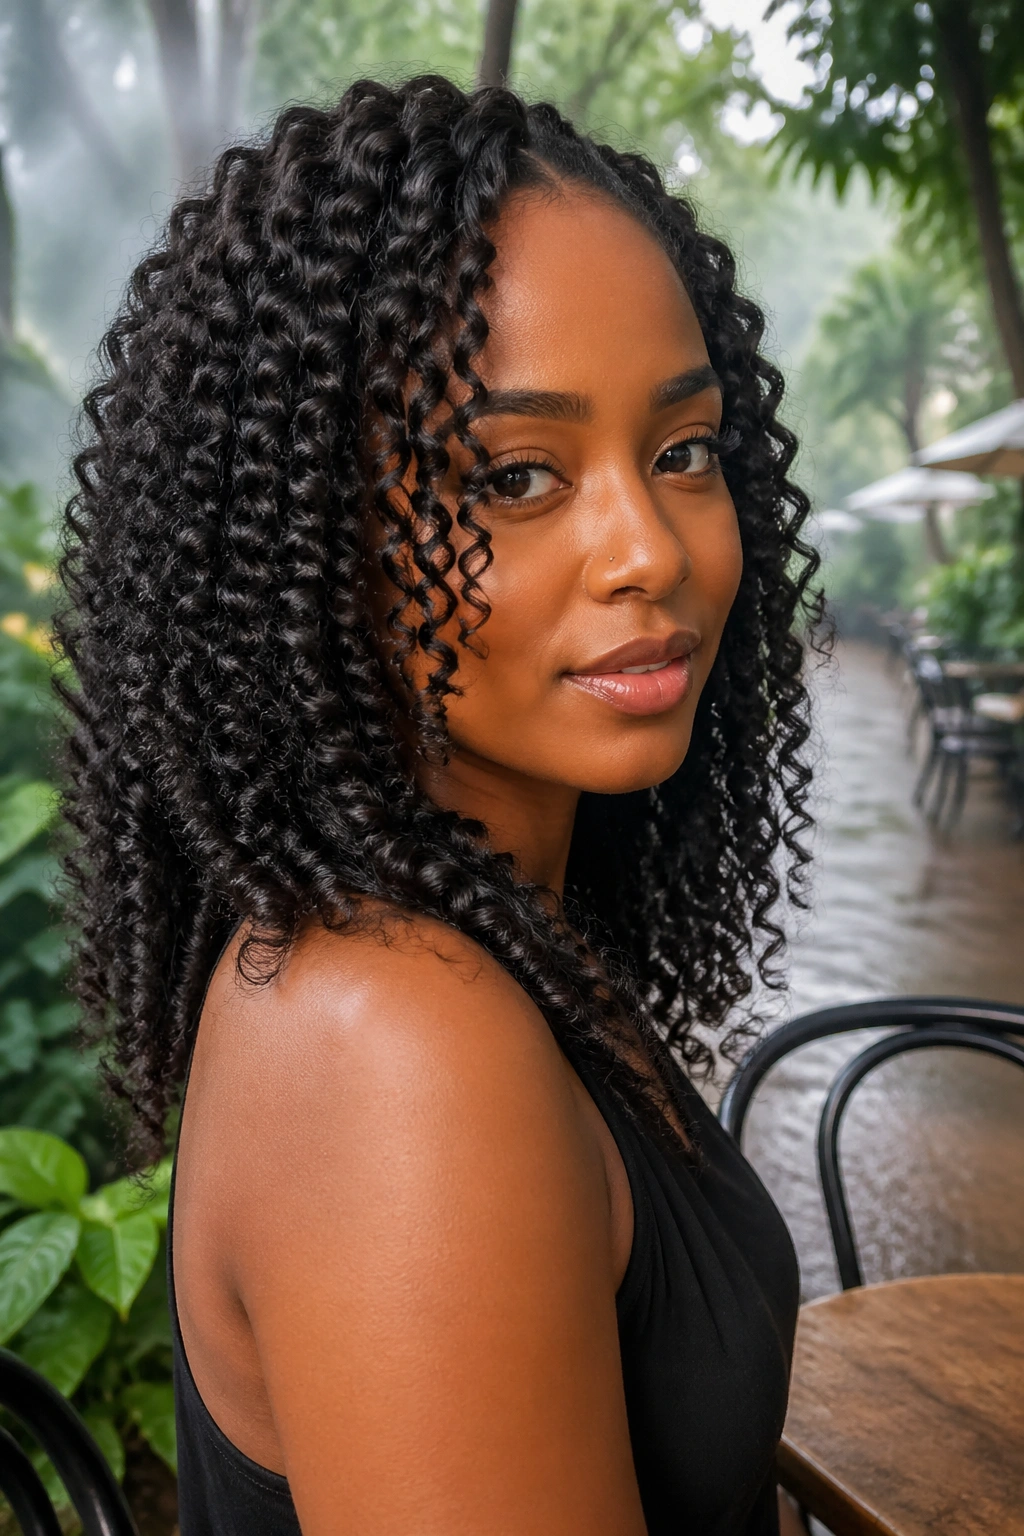
Let’s be real: humidity is the enemy of every heat-styled natural hair look. But wand curls don’t have to surrender to it. With the right prep, you can get definition that holds even when the weather doesn’t cooperate.
An anti-humidity serum or spray applied before the heat protectant creates a moisture barrier that significantly slows the reversion process. Look for products containing ingredients like trimethylsilylamodimethicone, or just any product specifically labeled anti-humidity. Apply it while the hair is still dry.
During styling, work in smaller sections than usual. Smaller curls hold their shape better in humidity than larger ones. Finish with a very light mist of flexible-hold finishing spray. The combination of anti-humidity product and smaller sections is the most reliable defense against frizz on a muggy day.
17. Glamour Wand Curls
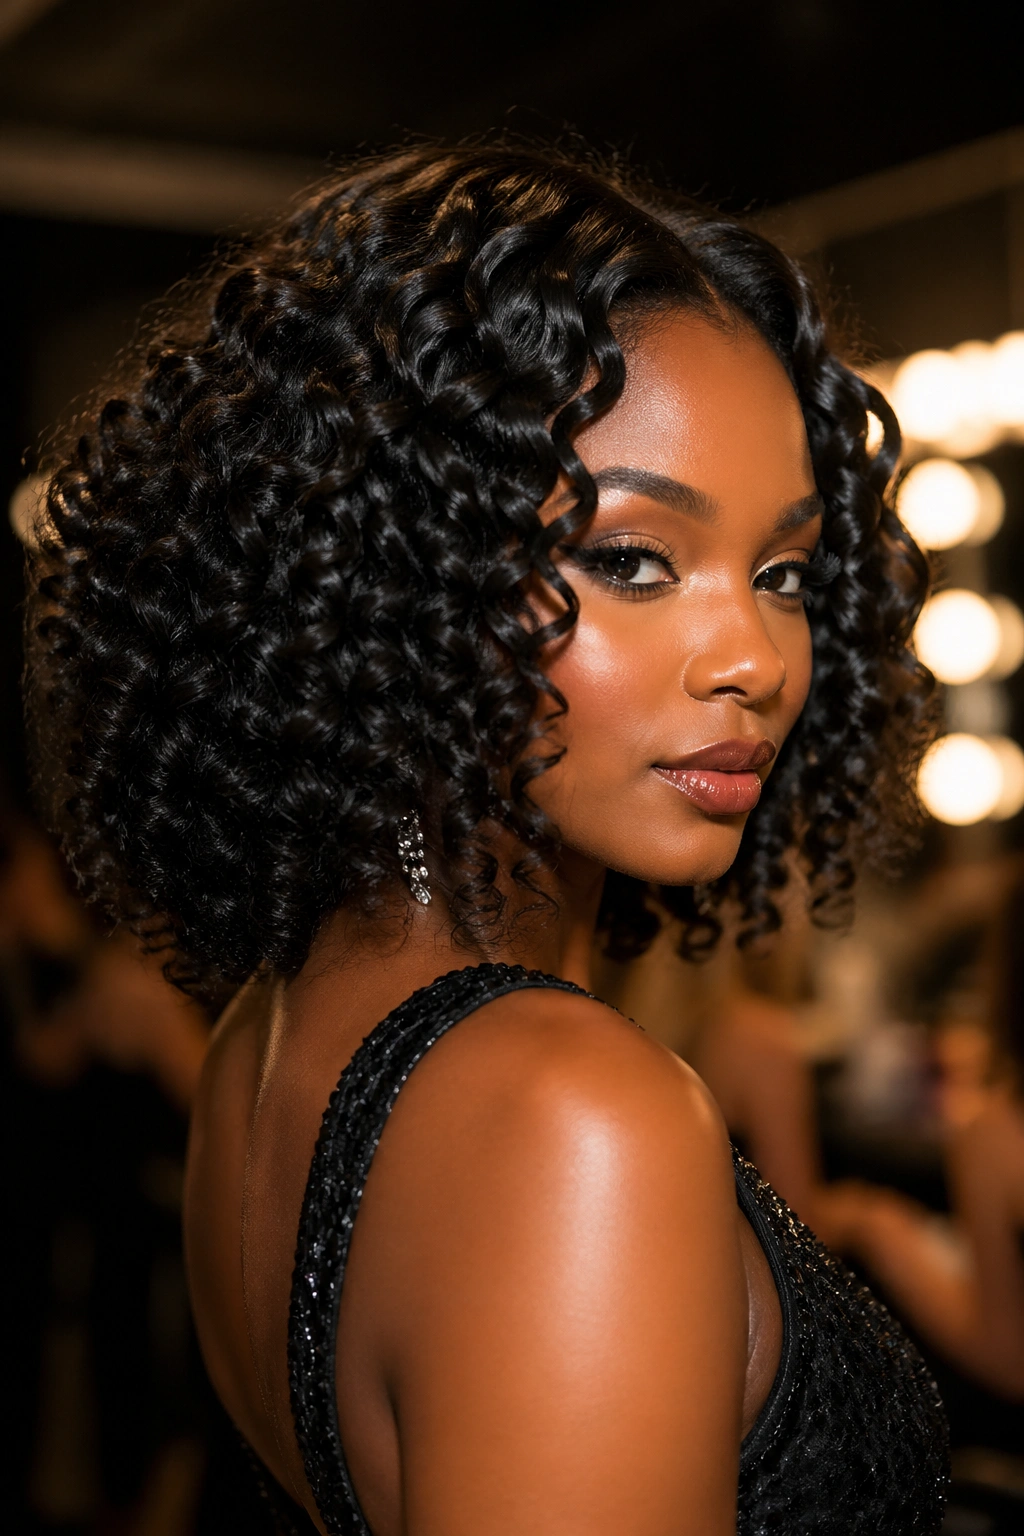
Glamour wand curls are the full production — the extra-mile version of the style that’s appropriate for red carpets, galas, and any event where you want to look truly unforgettable.
Every step gets amplified. Steam the hair during deep conditioning. Use a setting lotion underneath the heat protectant. Work in three-quarter-inch sections rather than one-inch for maximum definition. Hold each section on the wand for a full 15 seconds. Let every single curl cool completely before touching anything — resist the urge to shake or move anything while it’s warm. Once cooled, separate each individual curl extremely gently with oiled fingertips, not a pick. Add a high-shine serum to the outer surface of the curls for a luminous, polished finish.
This version of the style takes longer. It’s worth it.
18. Wand Curls Gathered into a High Bun
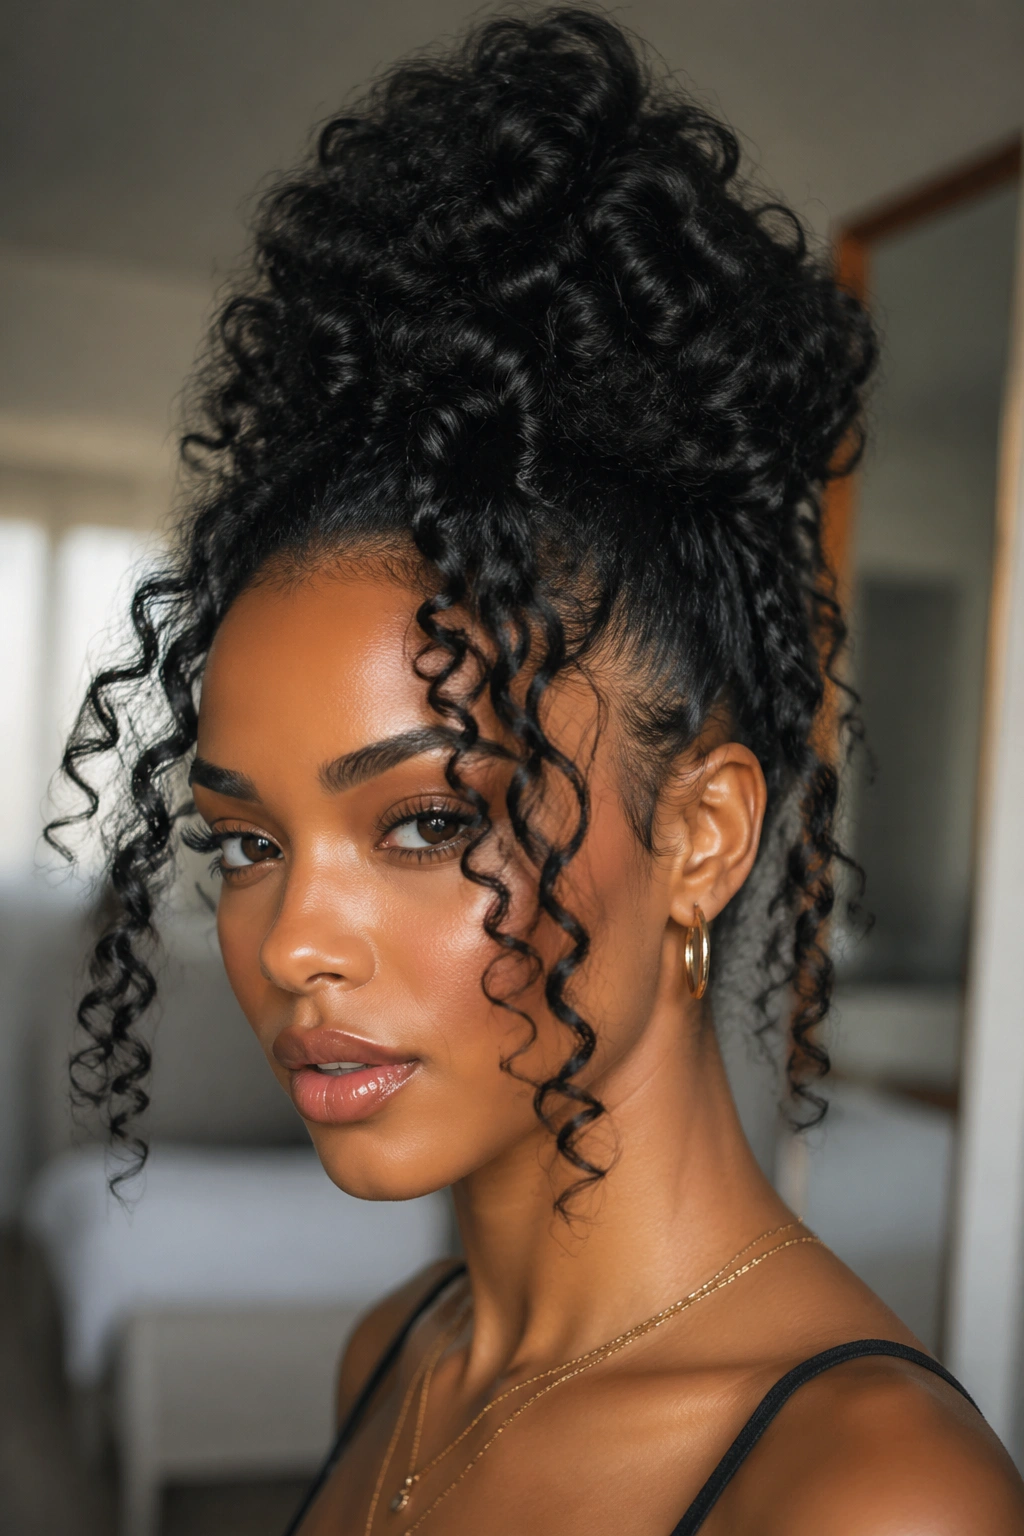
A high bun made from wand curls is the definition of effortless elegance. It’s the style you reach for when you want to look intentionally dressed without spending the morning in the mirror.
Complete a full wand curl set on the entire head. Let everything cool. Then gather all the hair — curls and all — upward to the very top of the head. Don’t try to smooth everything perfectly; let the curls be curls as you gather them up. Secure with a large, soft elastic or a few bobby pins. Spread the gathered curls outward into a circular bun shape and pin any pieces that fall awkwardly. Pull one or two curls loose around the face.
The result is a high bun that has volume, texture, and visual interest from the curls, rather than looking sleek and flat. It’s a much more dynamic silhouette.
19. Wand Curls on Natural Hair — Front Only Style
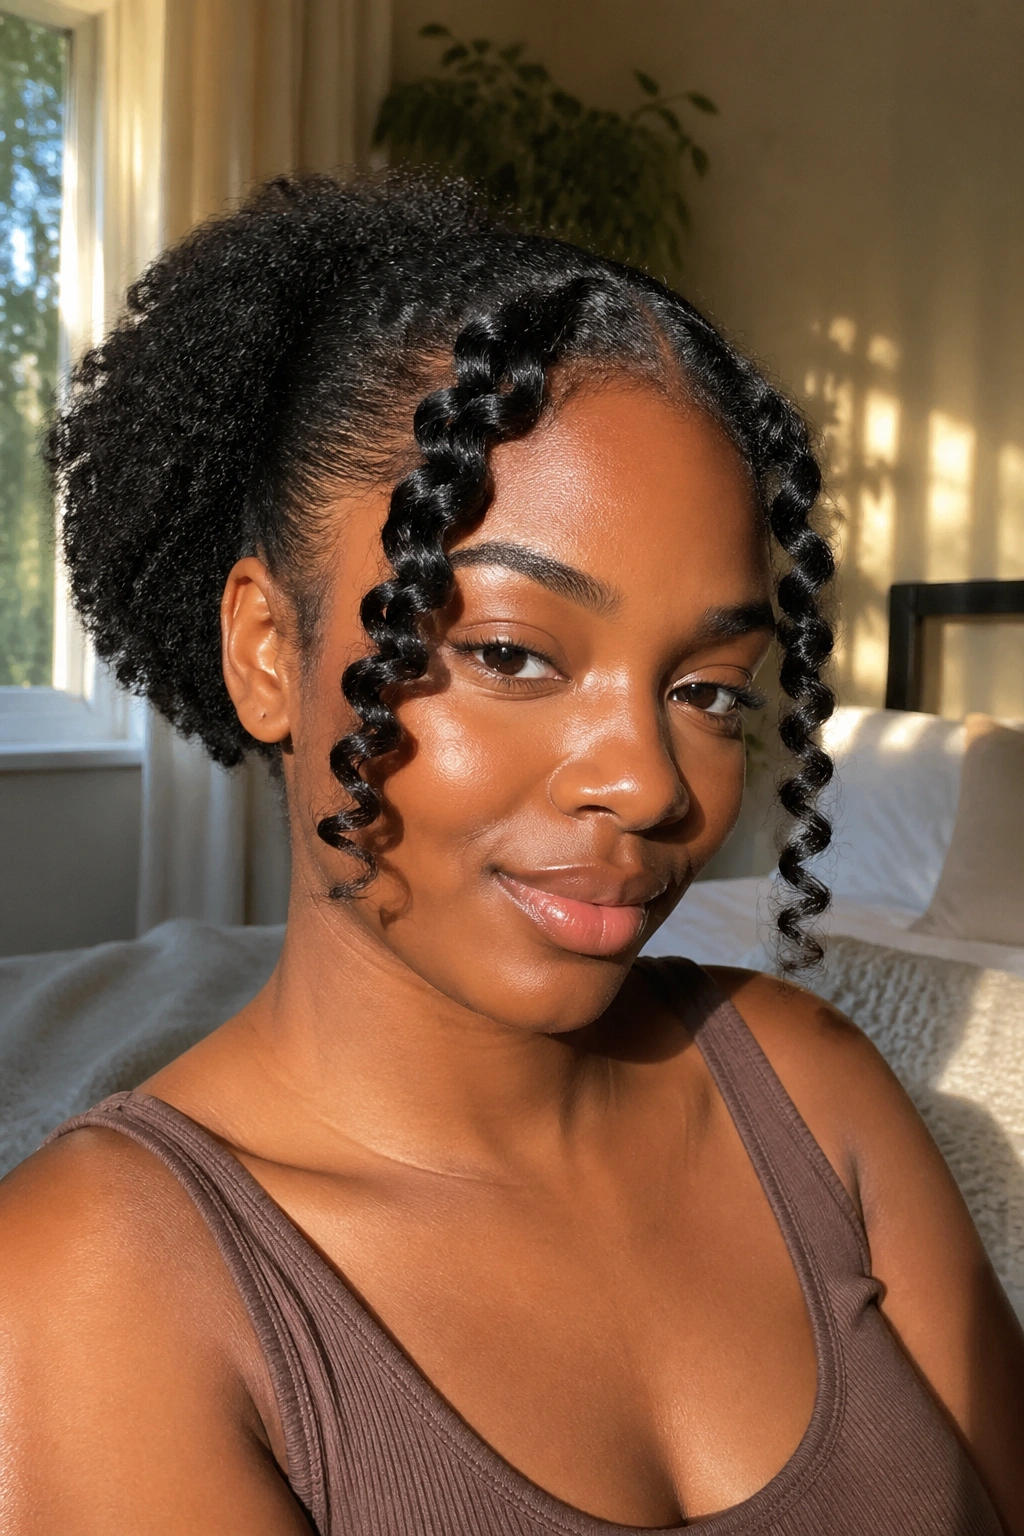
Sometimes less is more. Curling just the front two sections of your natural hair while leaving the back in its natural or stretched state is a smart hybrid style that’s quick, low-manipulation, and eye-catching.
Separate the front sections — from the hairline to just behind the ears — from the rest of the hair. Let the back section sit in its natural coil pattern, a puff, or a loose pineapple. Curl the front sections using a one-inch wand in your standard spiral technique. These face-framing wand curls are what people see first, and they make an enormous visual impact even though you’ve only applied heat to a small portion of your hair.
This is also a great option during the middle of the week when you want to refresh your look without doing a full re-style.
20. Wand Curls with Flat Twist Cornrows on the Side
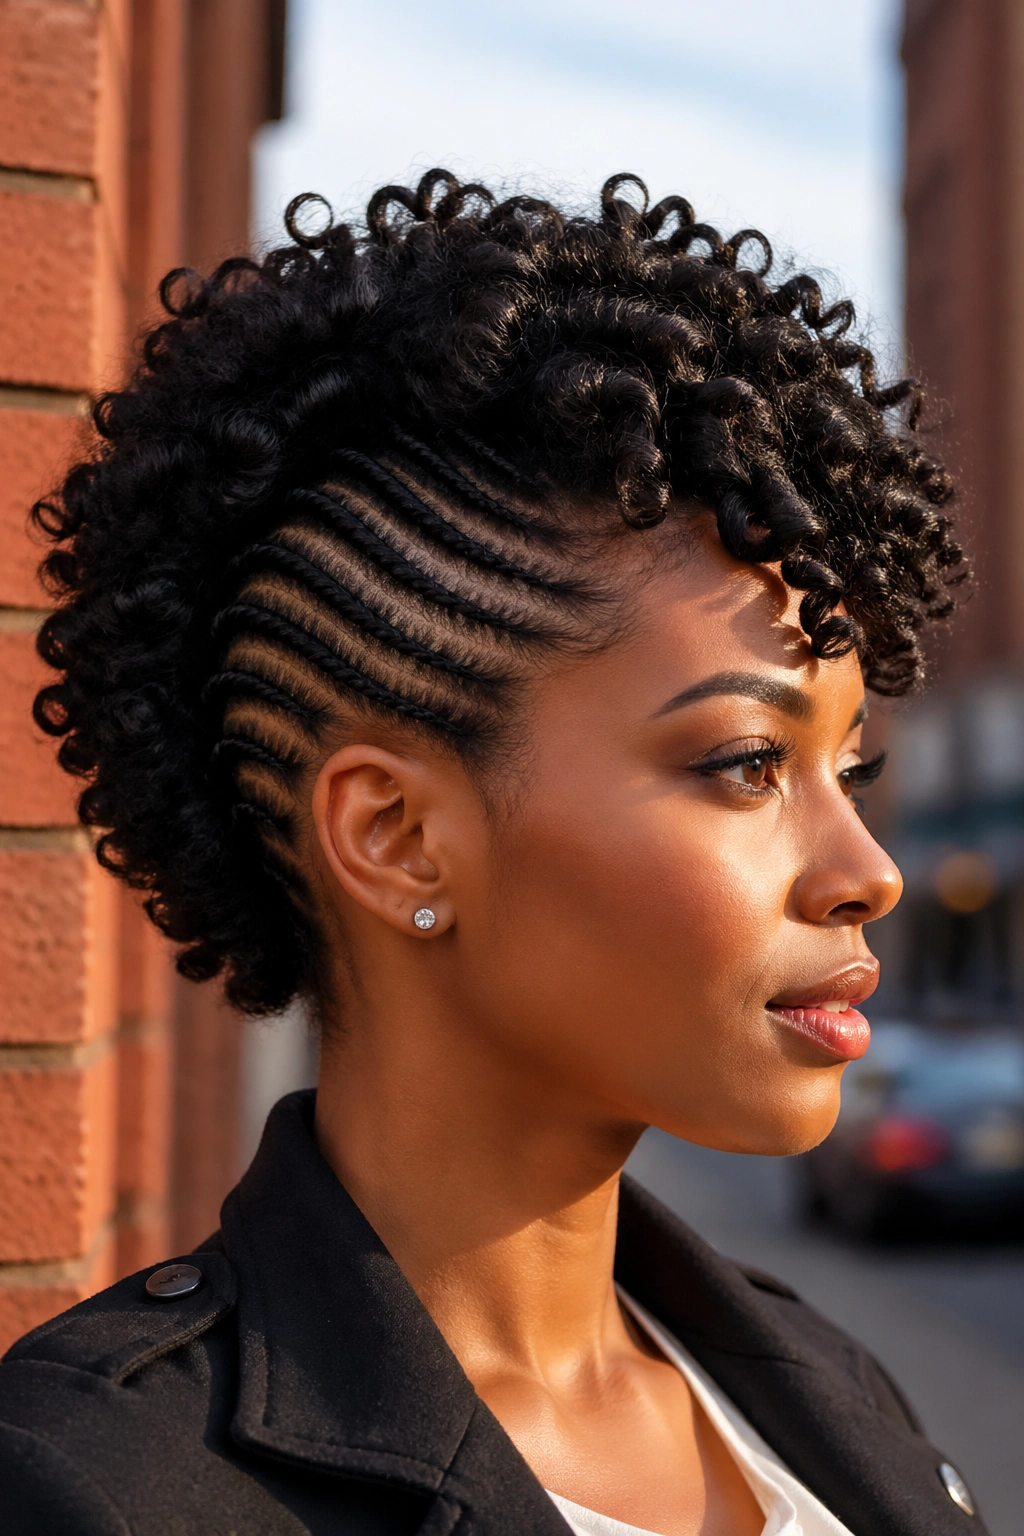
This hybrid style splits the head into two distinct looks — cornrowed sides and wand-curled top — and the contrast is striking.
Part the hair so that two side sections run from the front hairline back toward the nape on each side. Cornrow or flat twist these side sections back, securing the ends with small elastics. Leave the top section — the central strip from forehead to crown and the rest of the back — loose. Curl this loose section using a one-inch wand in uniform spirals. The structured cornrowed sides transition into free, bouncy wand curls at the top and back. This style is particularly beautiful on naturals with medium to long hair where the wand curl section has significant length.
21. Wand Curls with a Bold Accessory
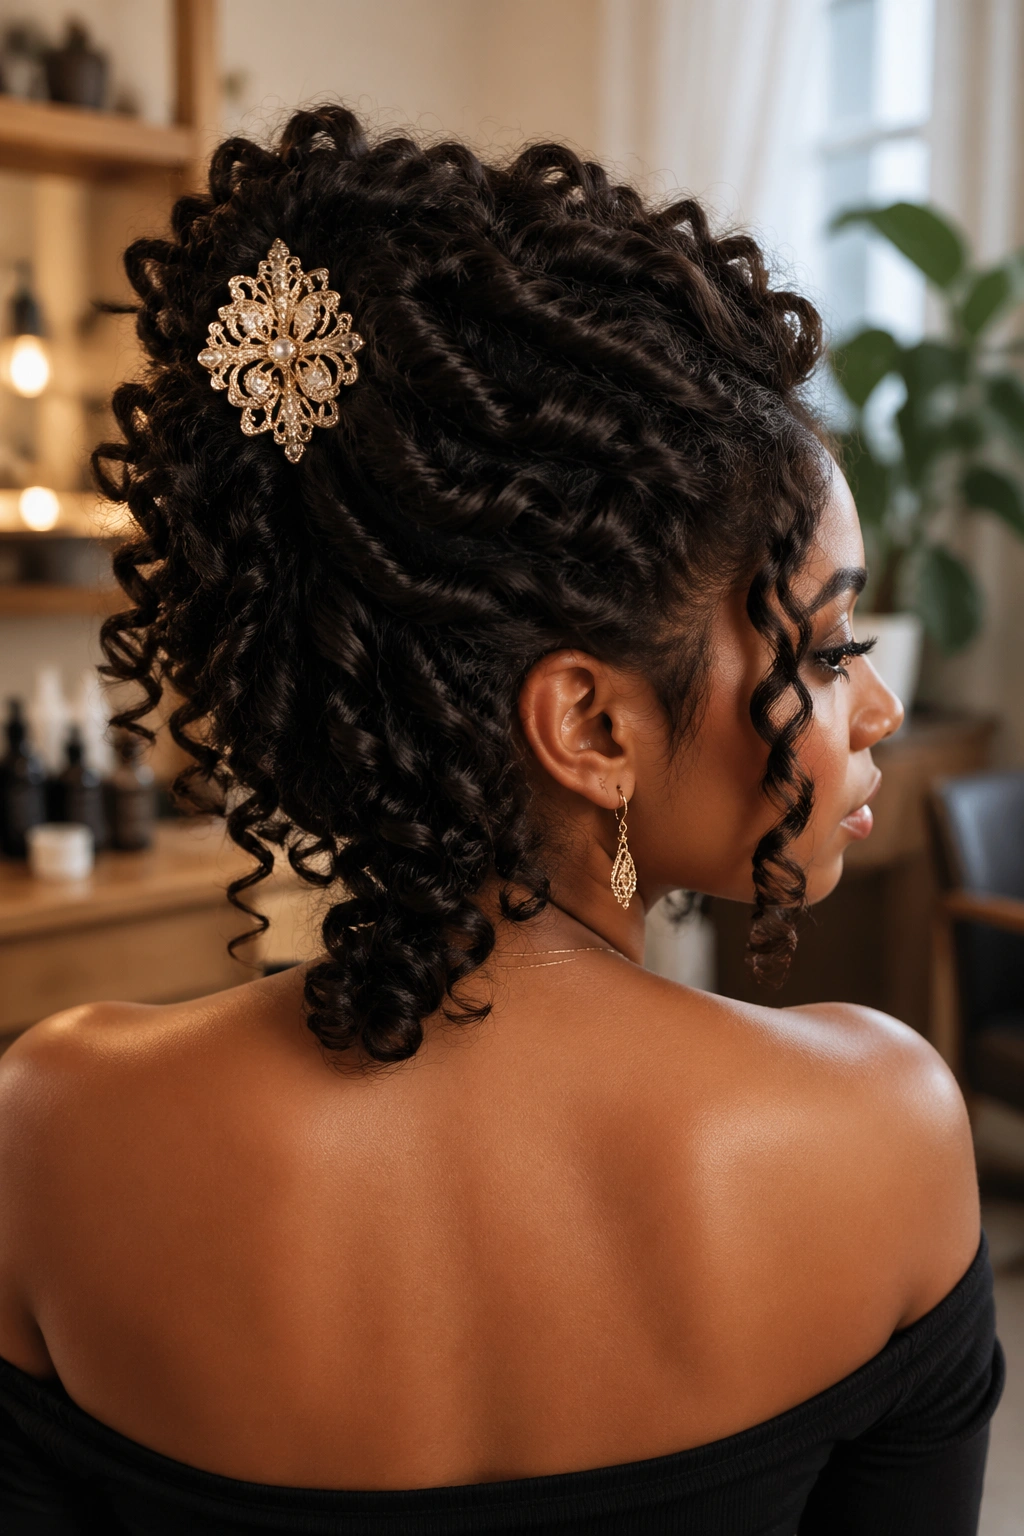
The finishing touch to any wand curl set can be an accessory that turns the volume all the way up. A bold hair accessory — an oversized claw clip, a jeweled pin, a beaded clip — elevates the style from beautiful to spectacular.
The key is placement. A large ornate hair clip positioned at the back of the head where you’ve gathered the curls upward into a loose twist is dramatic and elegant. A jeweled pin tucked into the curls on one side adds sparkle without bulk. A beaded hairpin pair flanking either side of a center part adds symmetry and visual interest.
Choose accessories that complement your outfit and the occasion — metallics for formal events, bright colors or prints for casual outings. The curls provide the canvas; the accessory provides the punctuation.
22. Wand Curls for a Night Out
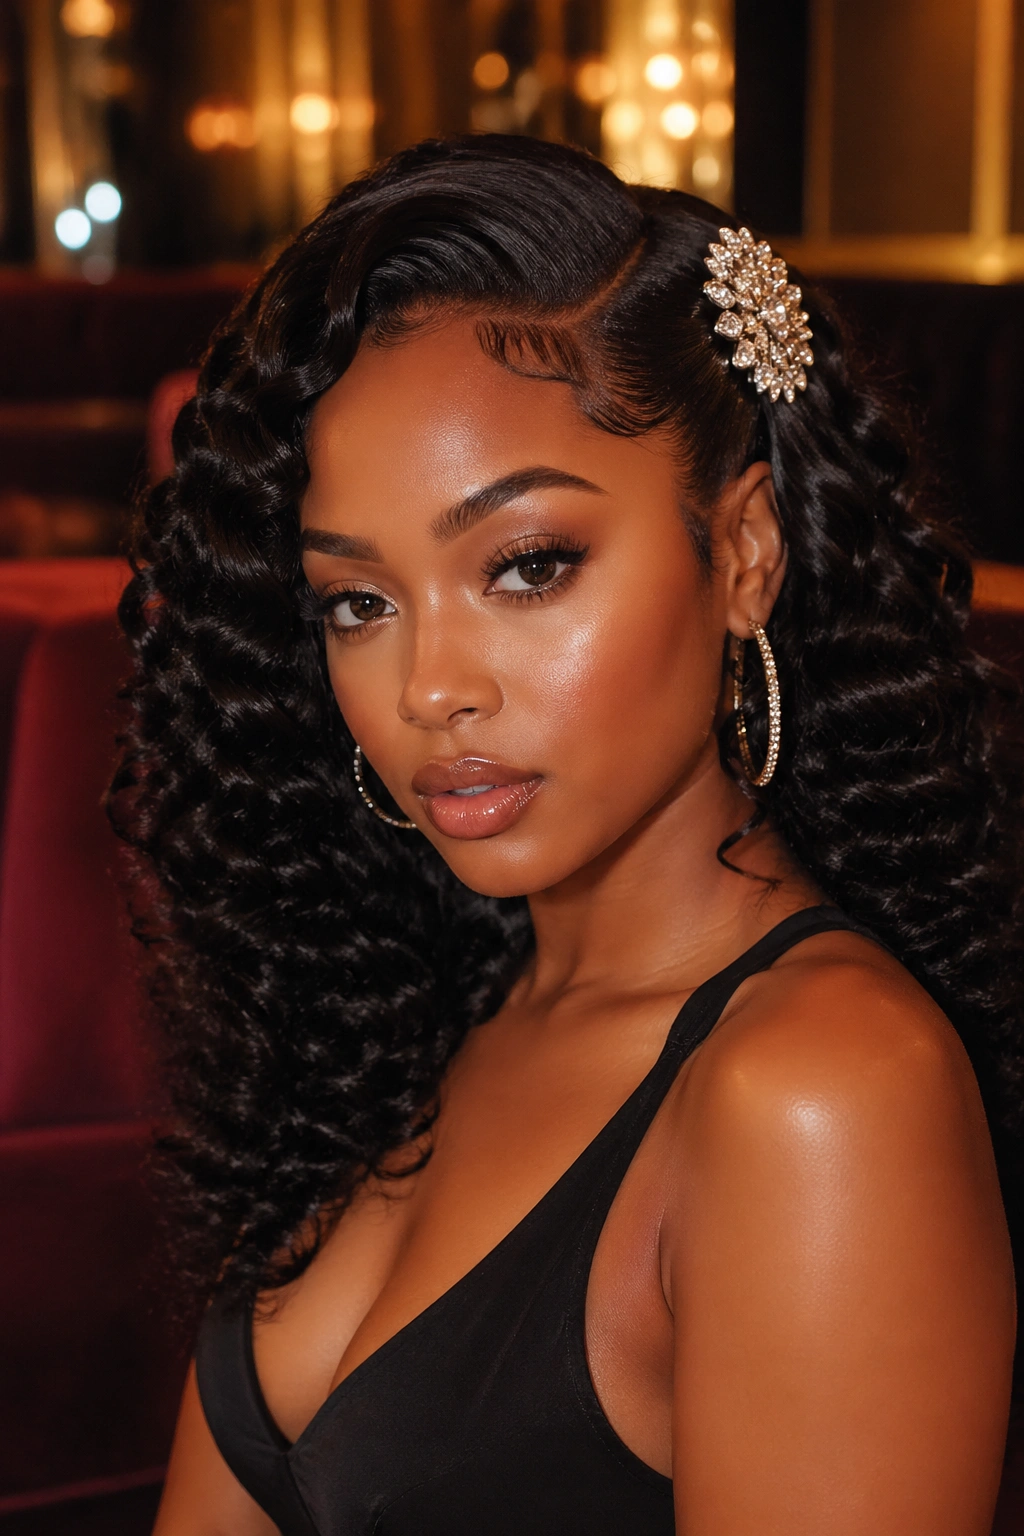
Going out calls for a specific kind of wand curl — one that’s dramatic enough to stand out in a dim room, resilient enough to survive a night of dancing, and effortless enough to refresh quickly if needed.
Think about longevity first. Apply a setting spray specifically designed for thermal styling before you curl. Work in smaller sections than usual. Hold each section on the wand for the full recommended time — rushing through leads to curls that fall flat by 10 PM. Once the full set is done and cooled, finish with a light mist of flexible-hold finishing spray on the outer surface.
For a night look, consider adding extra drama: a deeper side part, a bold accessory, or a gathering of curls pinned dramatically to one side. The finishing touch makes the difference between everyday beautiful and night-out show-stopping.
23. Wash-and-Go Inspired Wand Curls
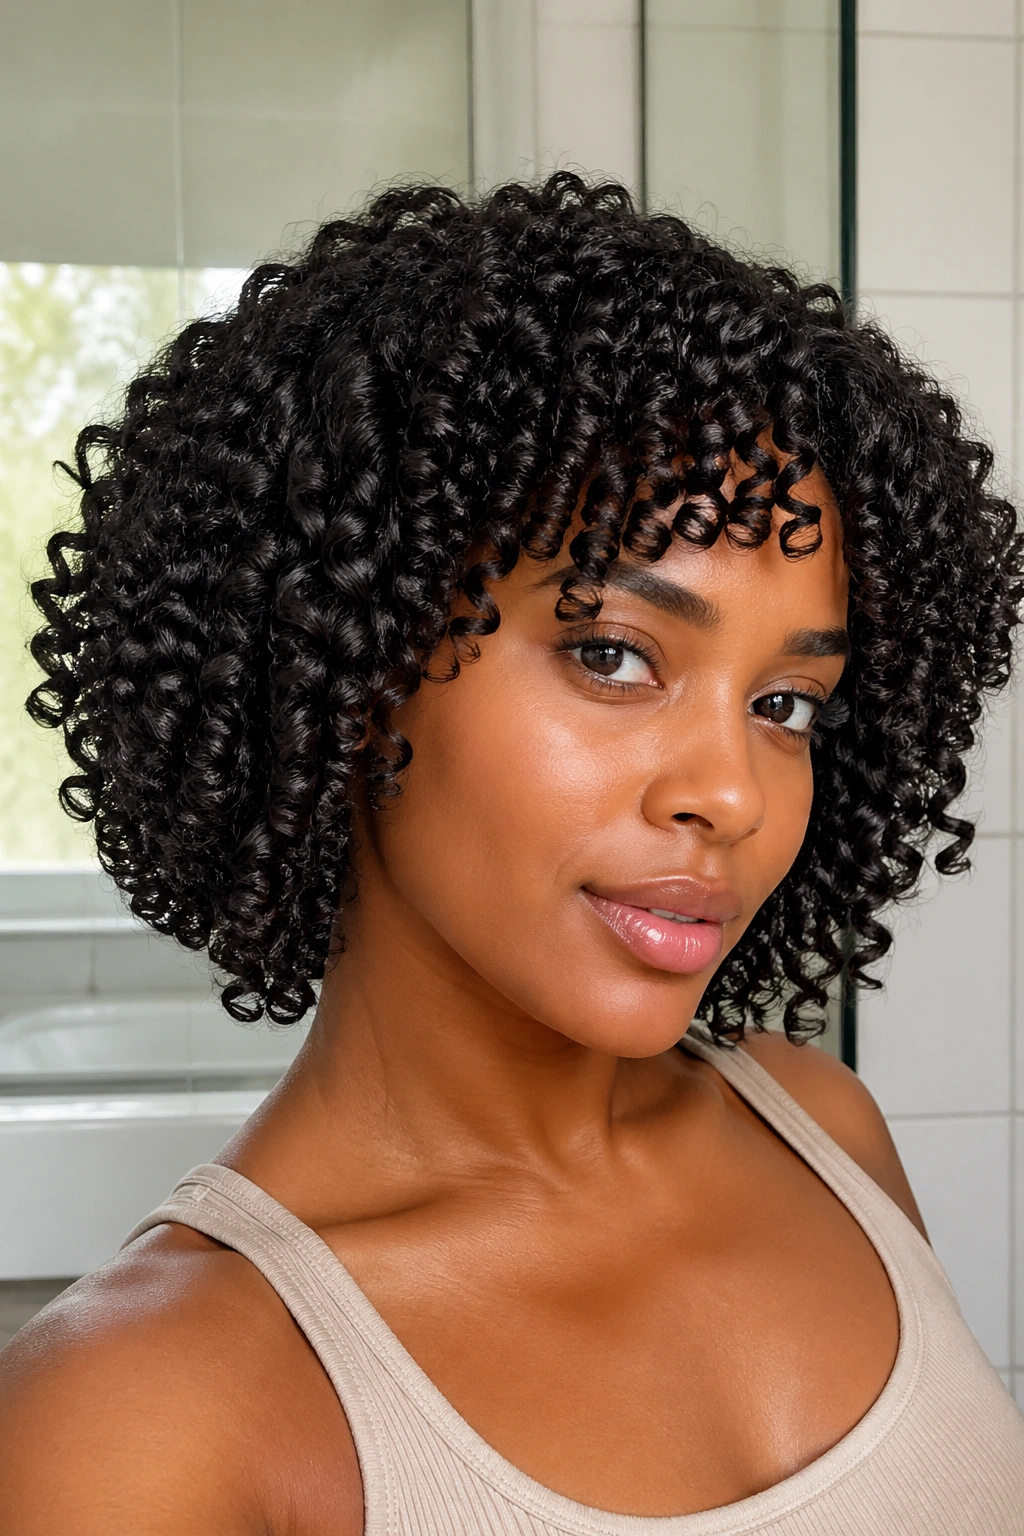
The best of both worlds: a wash-and-go’s organic, free texture, but with the uniformity and longevity of wand curls. This look mimics what a perfect wash-and-go looks like while being more controlled and longer-lasting.
The key here is using a smaller barrel — three-quarters of an inch to one inch — and wrapping each section loosely rather than tightly. You’re not going for a precision spiral; you’re going for something that looks more like a natural coil pattern that just happens to be extremely defined. Work quickly and don’t over-perfect each section.
Once done, use a light-hold gel on your fingertips to very lightly scrunch the curls from ends upward. This adds definition and a slight crunch that, once the gel dries and you break the cast, leaves the curls looking completely natural — as if they grew that way. It’s the closest to a wash-and-go you’ll get with heat styling.
How to Protect Natural Hair Between Wand Curl Sessions
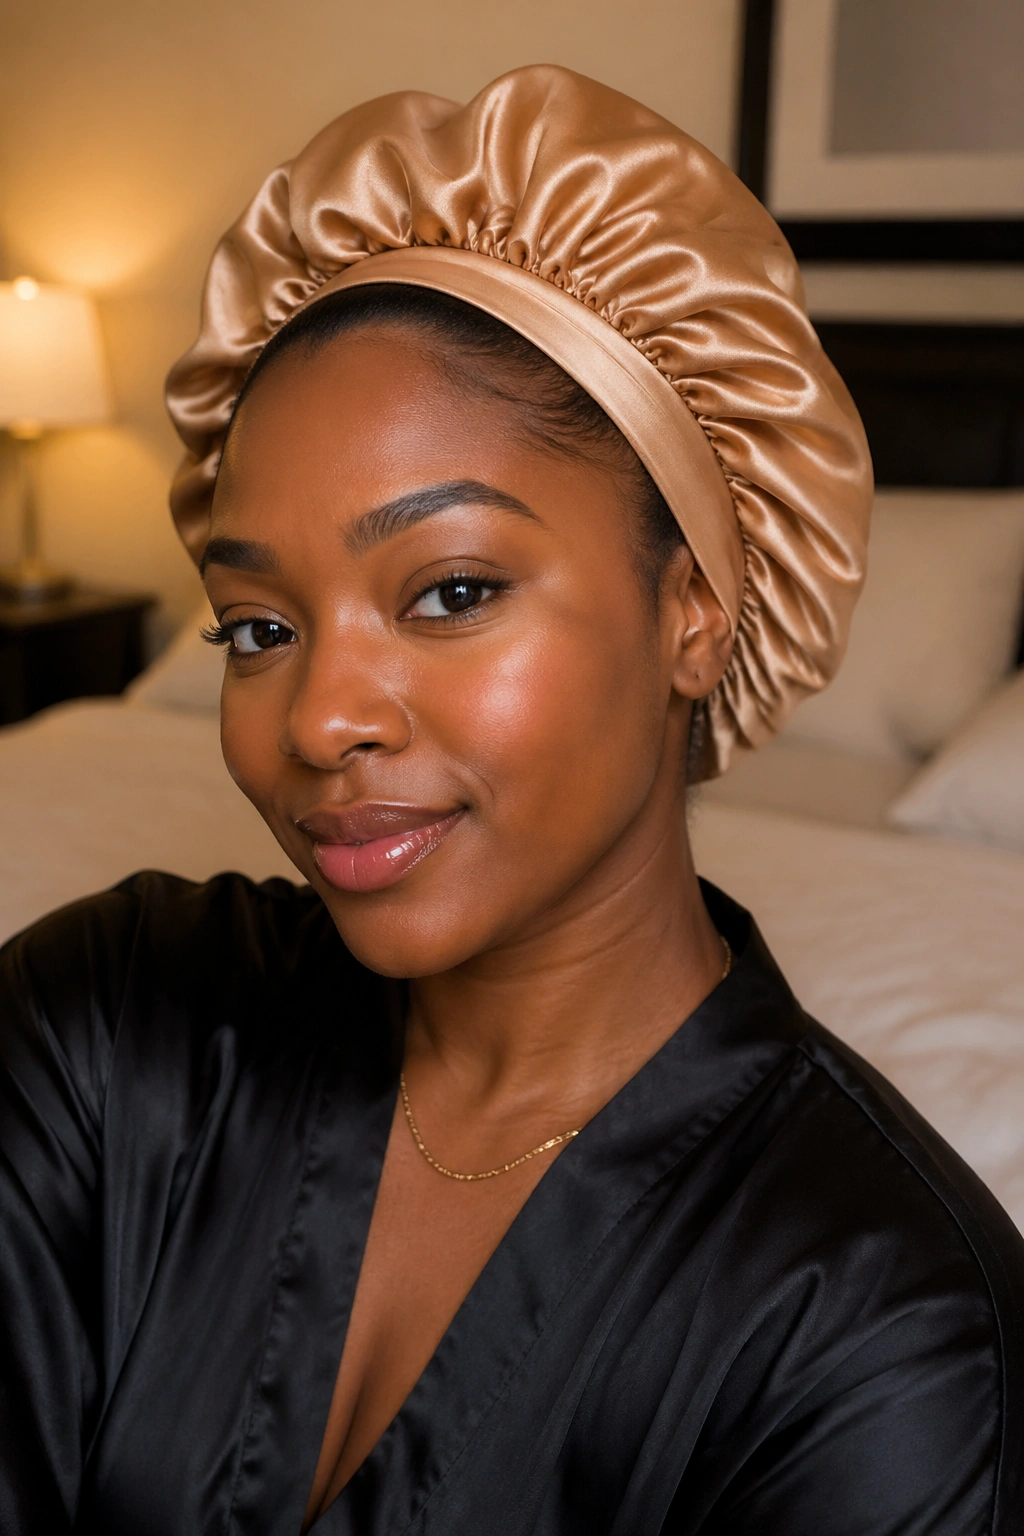
Heat styling is a commitment that needs to be balanced with intentional care between sessions. Natural hair can absolutely handle regular wand curling when you’re protecting it properly in the time between.
Hydration is the foundation. Deep condition every wash day — not just when the hair feels dry, but consistently as a preventive practice. Add a protein treatment once a month if you’re heat styling more than twice a month, since heat gradually weakens the protein bonds in the hair shaft.
Clarify with a clarifying shampoo once a month to remove buildup from styling products. Buildup makes it harder for moisture to penetrate, which means the hair becomes increasingly fragile over time.
The thumb rule for heat styling frequency: For Type 3 naturals, once every two weeks is comfortable for most. For Type 4 naturals, once every three to four weeks gives the hair sufficient recovery time between sessions.
The Takedown Process — Ending the Style Without Damage
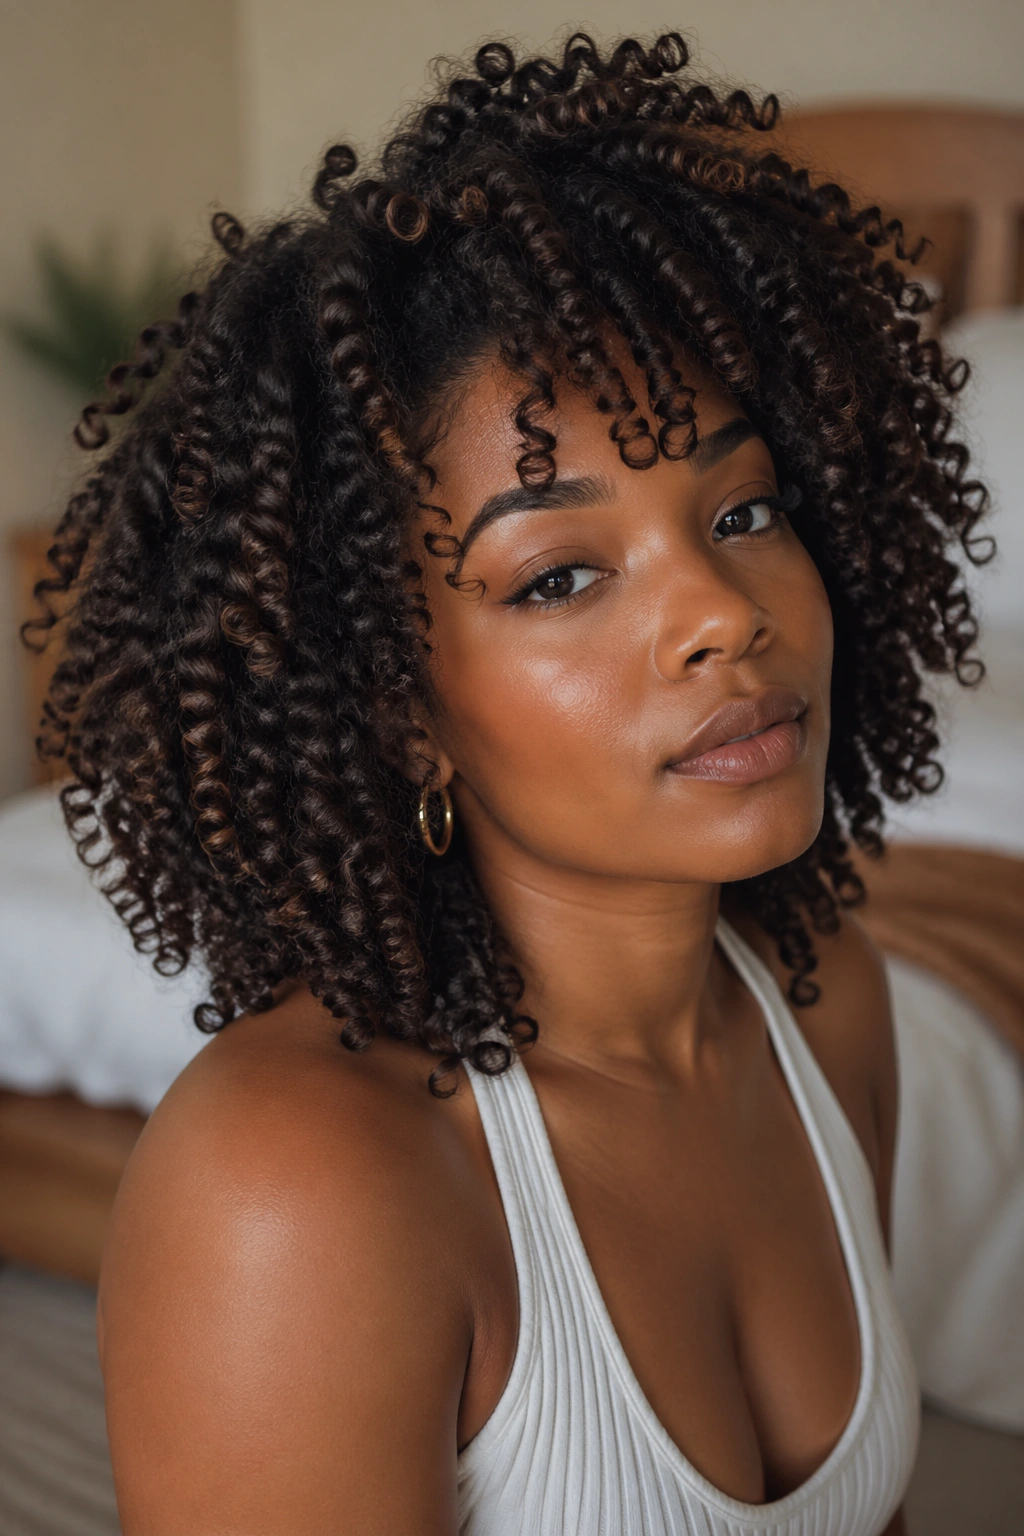
The way you end a wand curl style matters as much as how you started it. Rough takedown causes breakage and damage that accumulates over time.
Before attempting to take down or detangle wand curls, saturate the hair with water or a conditioning detangling spray. The curls will be somewhat matted together after several days, and forcing them apart dry causes breakage at the ends — the most vulnerable part of natural hair.
Work in sections. Use your fingers first to separate the larger curl clumps, then follow with a wide-tooth comb working from ends to roots. If you hit resistance, add more product and work slowly — don’t rip through it. Treat the takedown with the same patience and intention you gave the styling session.
Your hair will thank you by growing strong, retaining length, and looking beautiful the next time you reach for the wand.
