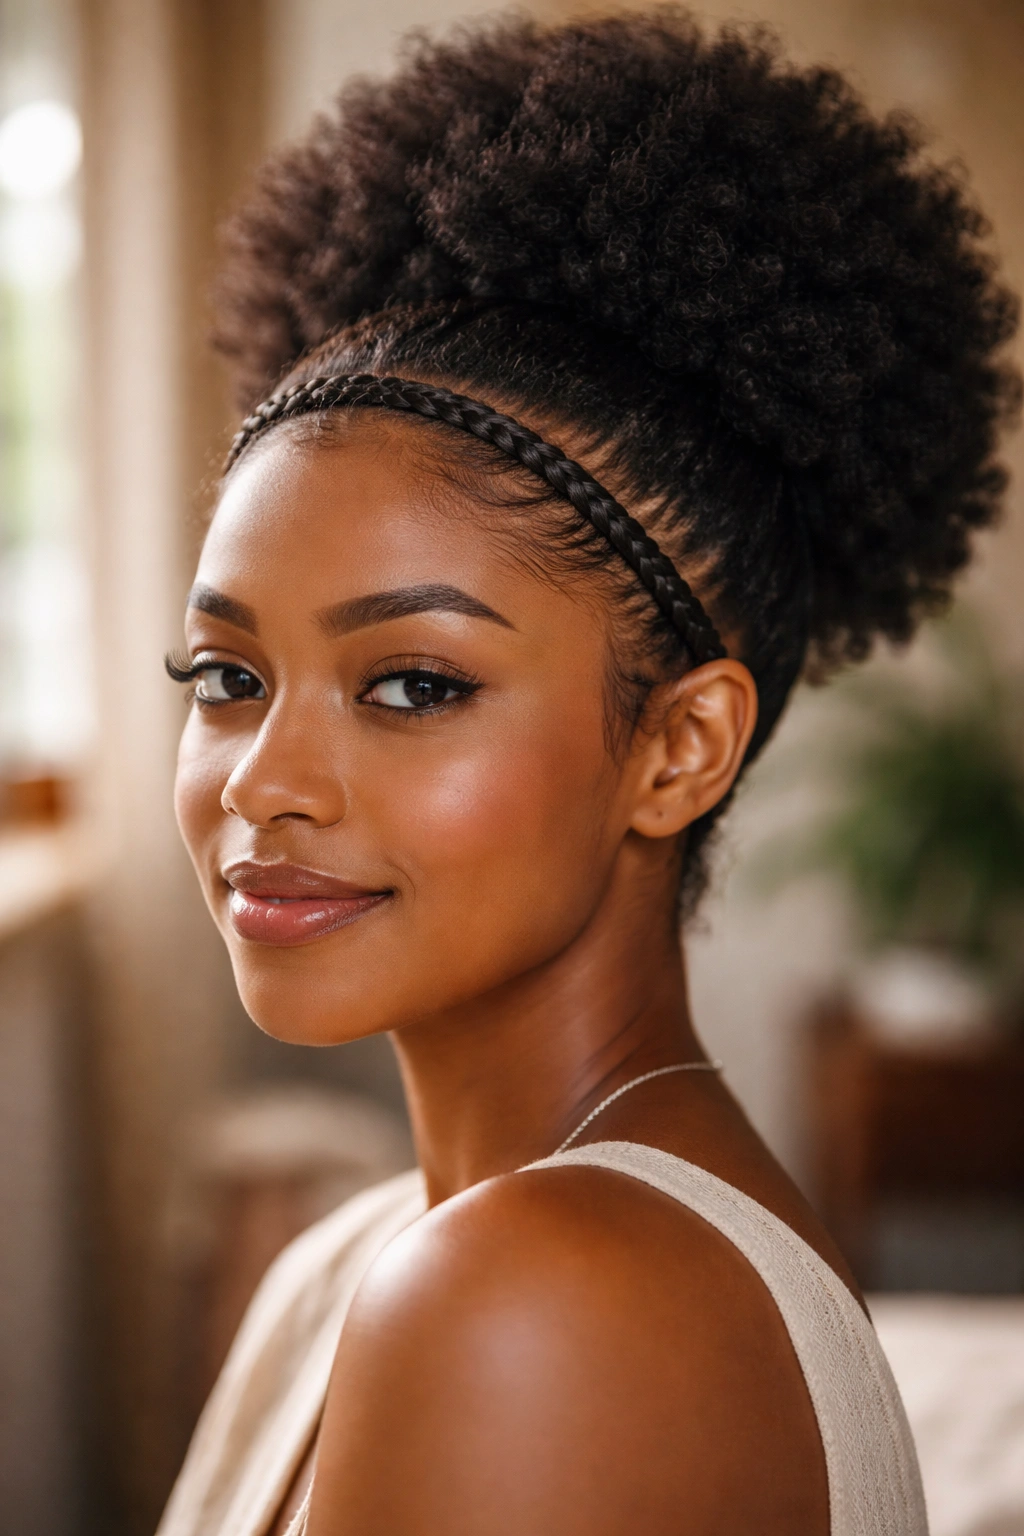
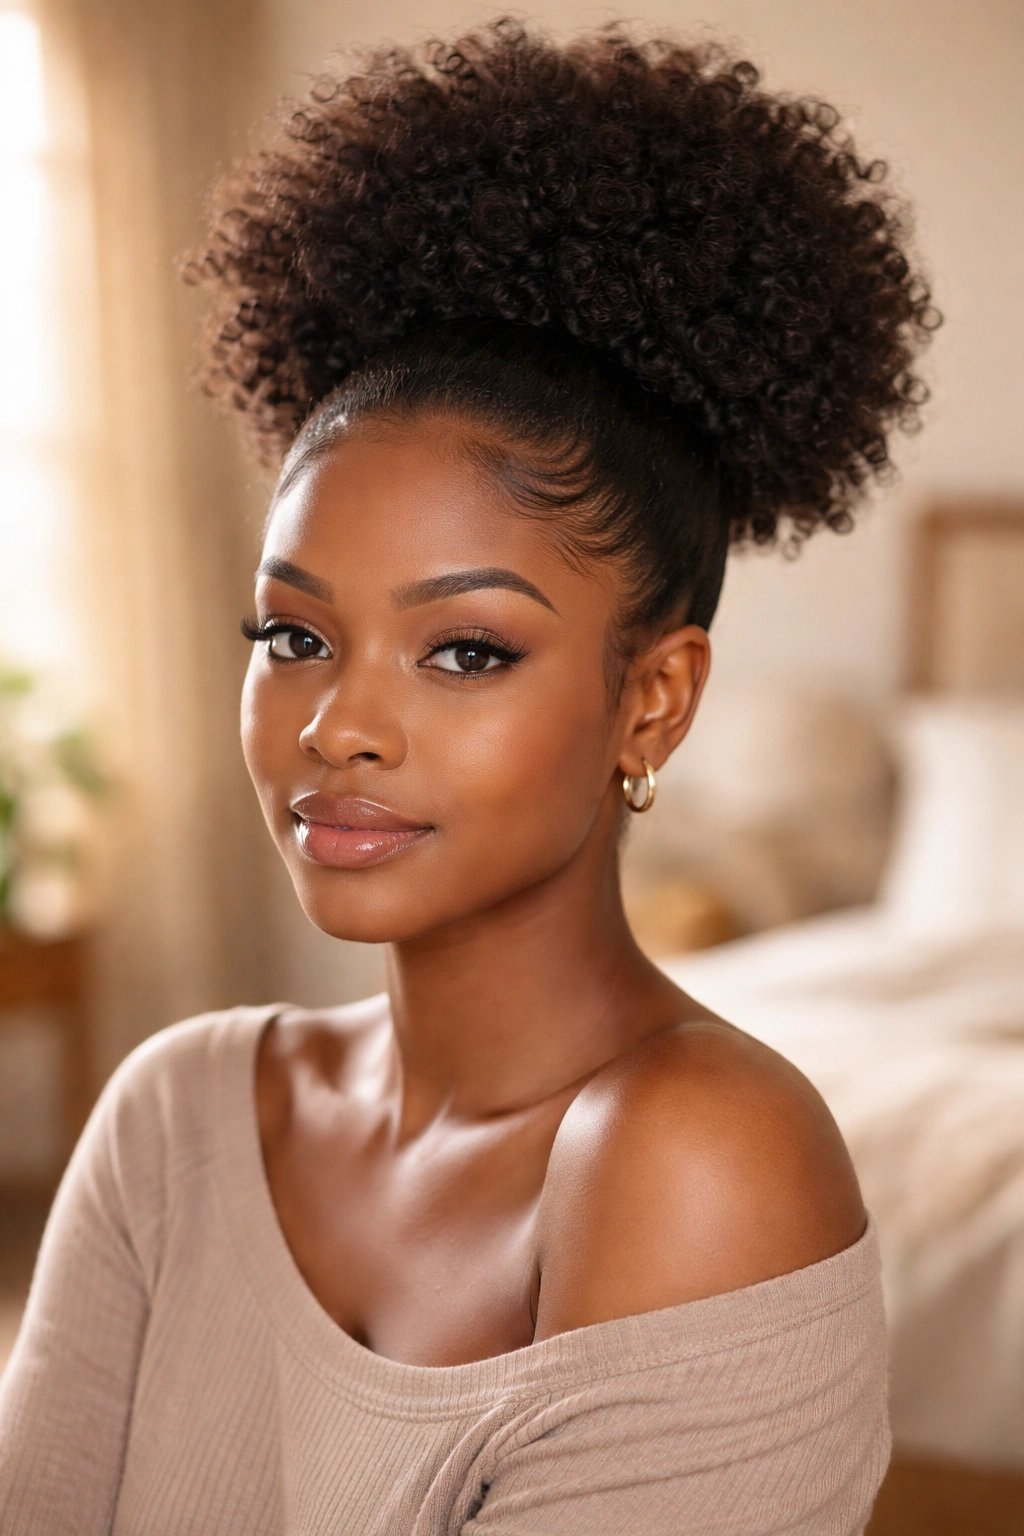
The afro puff has a reputation for being the lazy girl’s style. Pull it up, tie it off, done. But anyone who actually wears puffs on 4C hair knows there’s a full craft involved — the tightness at the base, the volume at the crown, the way the edges either sit clean or refuse to cooperate, the smoothness of the gathered section versus the fullness of the puffed section. Every puff is a tiny composition.
And 4C hair is especially well-suited to afro puff styles because the natural shrinkage and density give you instant volume at the crown. You don’t have to manufacture fullness the way looser textures do. The hair lifts and holds its shape on its own. What you’re really doing is shaping and positioning — not building from scratch.
What follows is twenty-five specific afro puff styles for 4C natural hair, rotating through placements, sizes, textures, and techniques. High puffs, low puffs, double puffs, pineappled puffs, puffs with braids, puffs with twists. Each one has its own character and its own use case. I’ll tell you which ones are worth the effort and which ones get overhyped.
What Makes a Good Afro Puff on 4C Hair
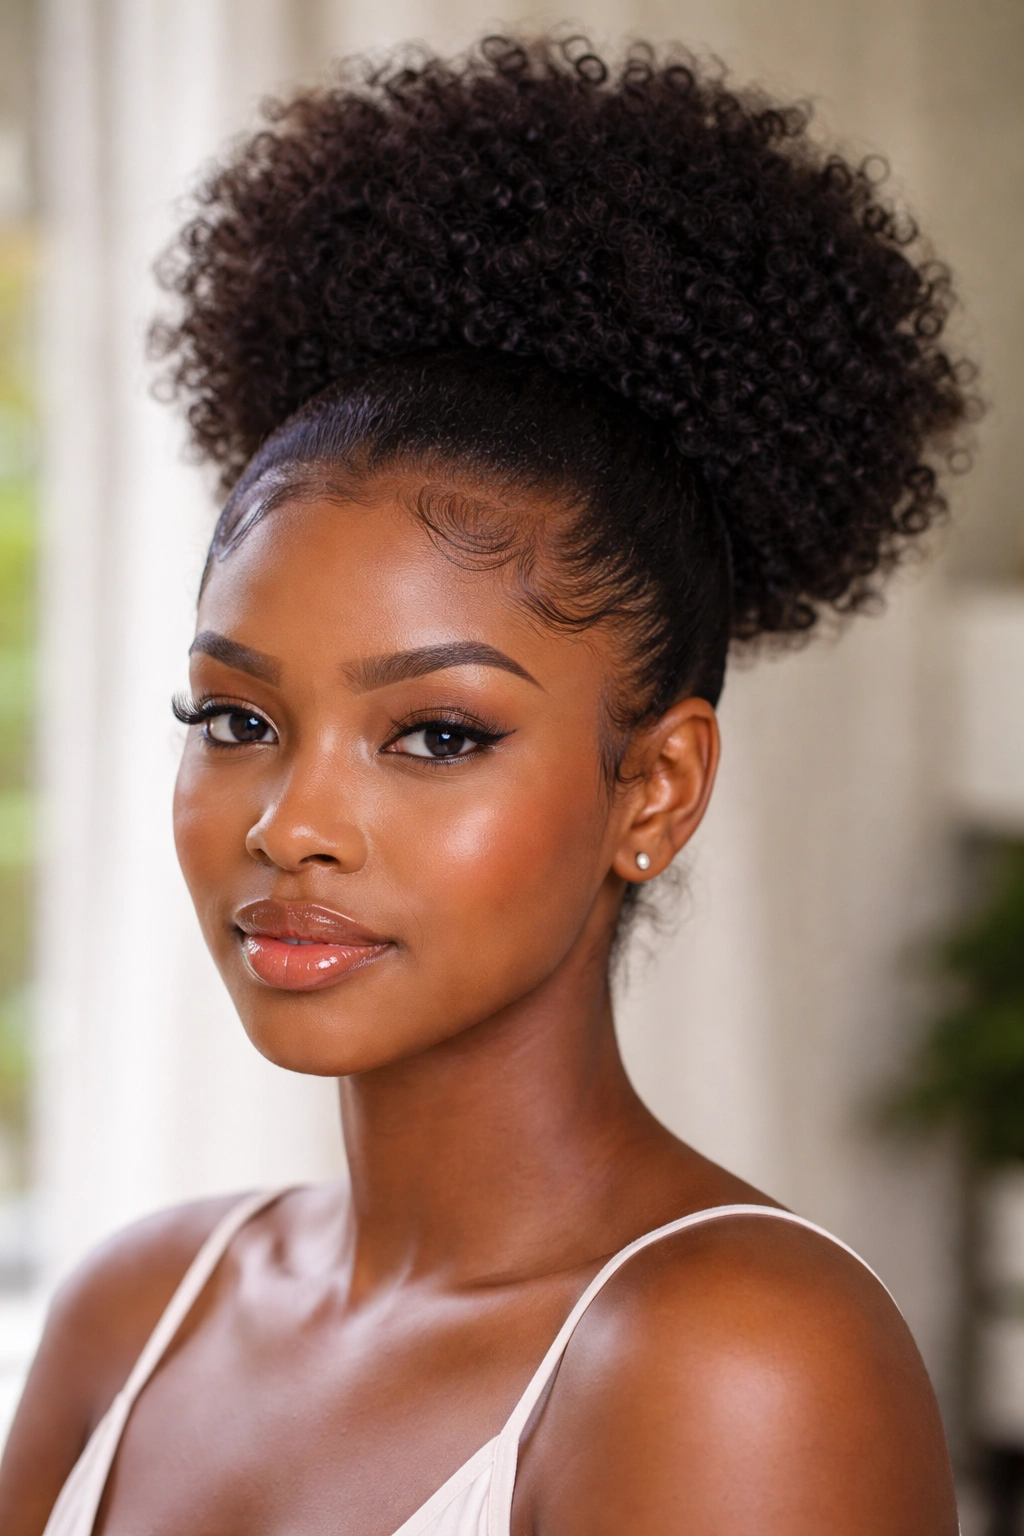
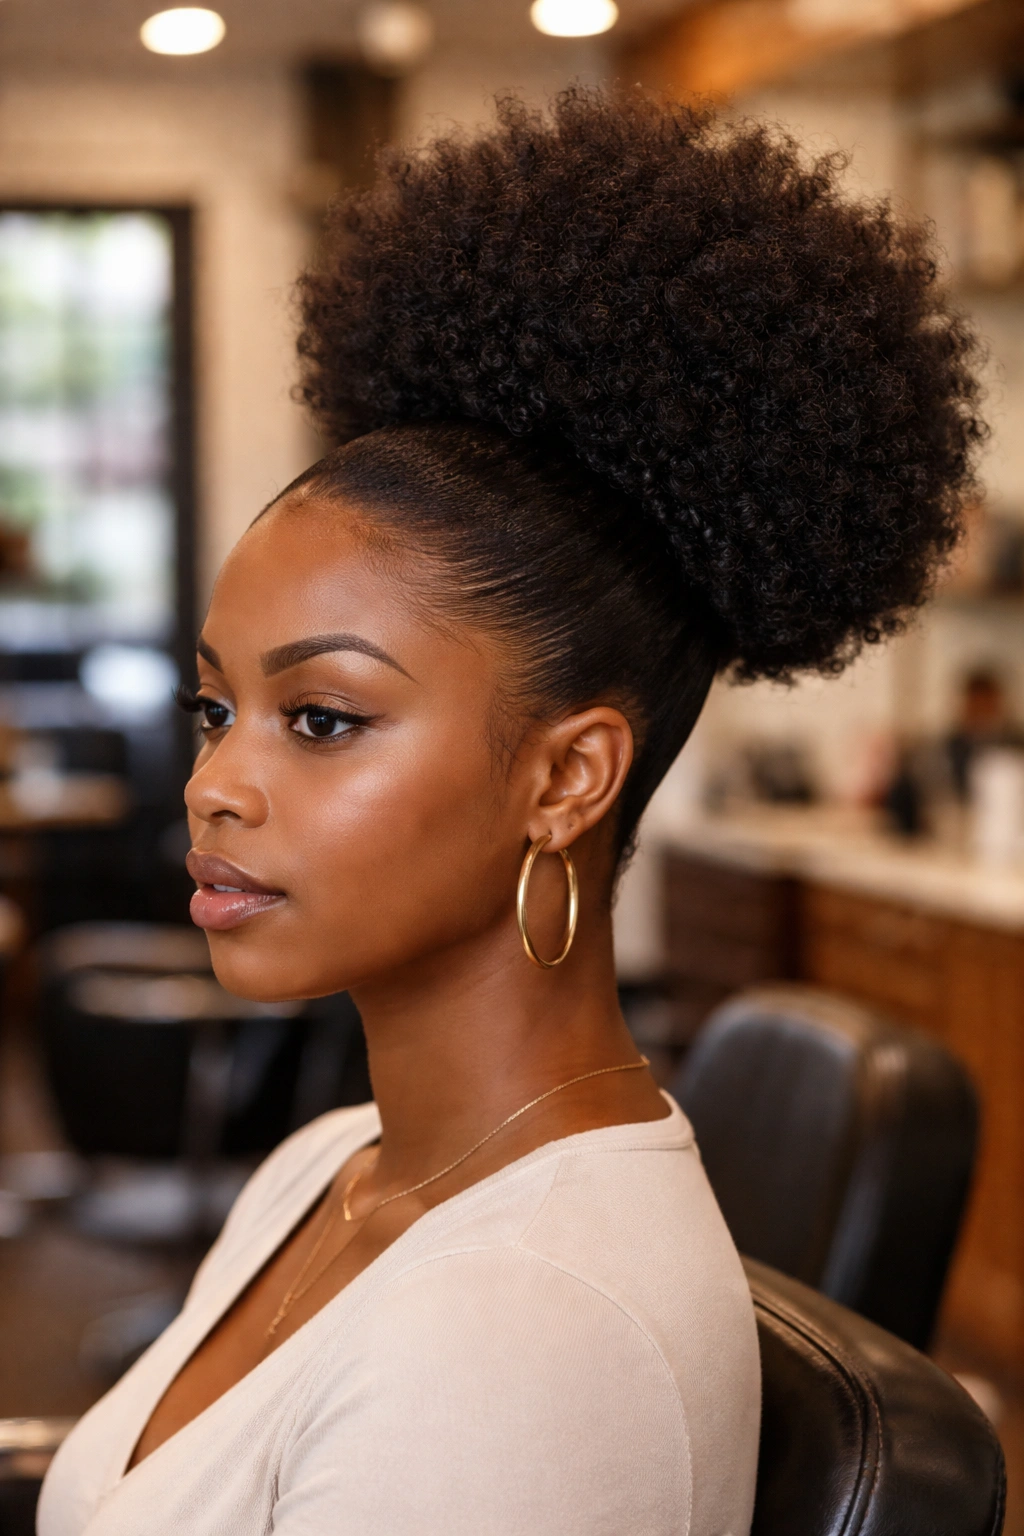
The base of the puff is where most people mess up. A puff that’s gathered too loosely slides around and flattens by midday. Gathered too tightly and you get edge breakage plus tension headaches. The sweet spot is firm at the base with a clean edge line and soft volume above.
The tool matters — a good edge scarf or a stretchy headband works better than a rubber band for most people. Rubber bands break 4C hair. Scarves distribute the tension across a wider band, which protects your edges and still holds the puff in place.
Then there’s the puff itself. A real afro puff should look full, rounded, and slightly irregular. Not geometric. Not helmet-perfect. Real 4C puffs have a little wildness at the edges and a little asymmetry in the shape. That’s the look you’re going for.
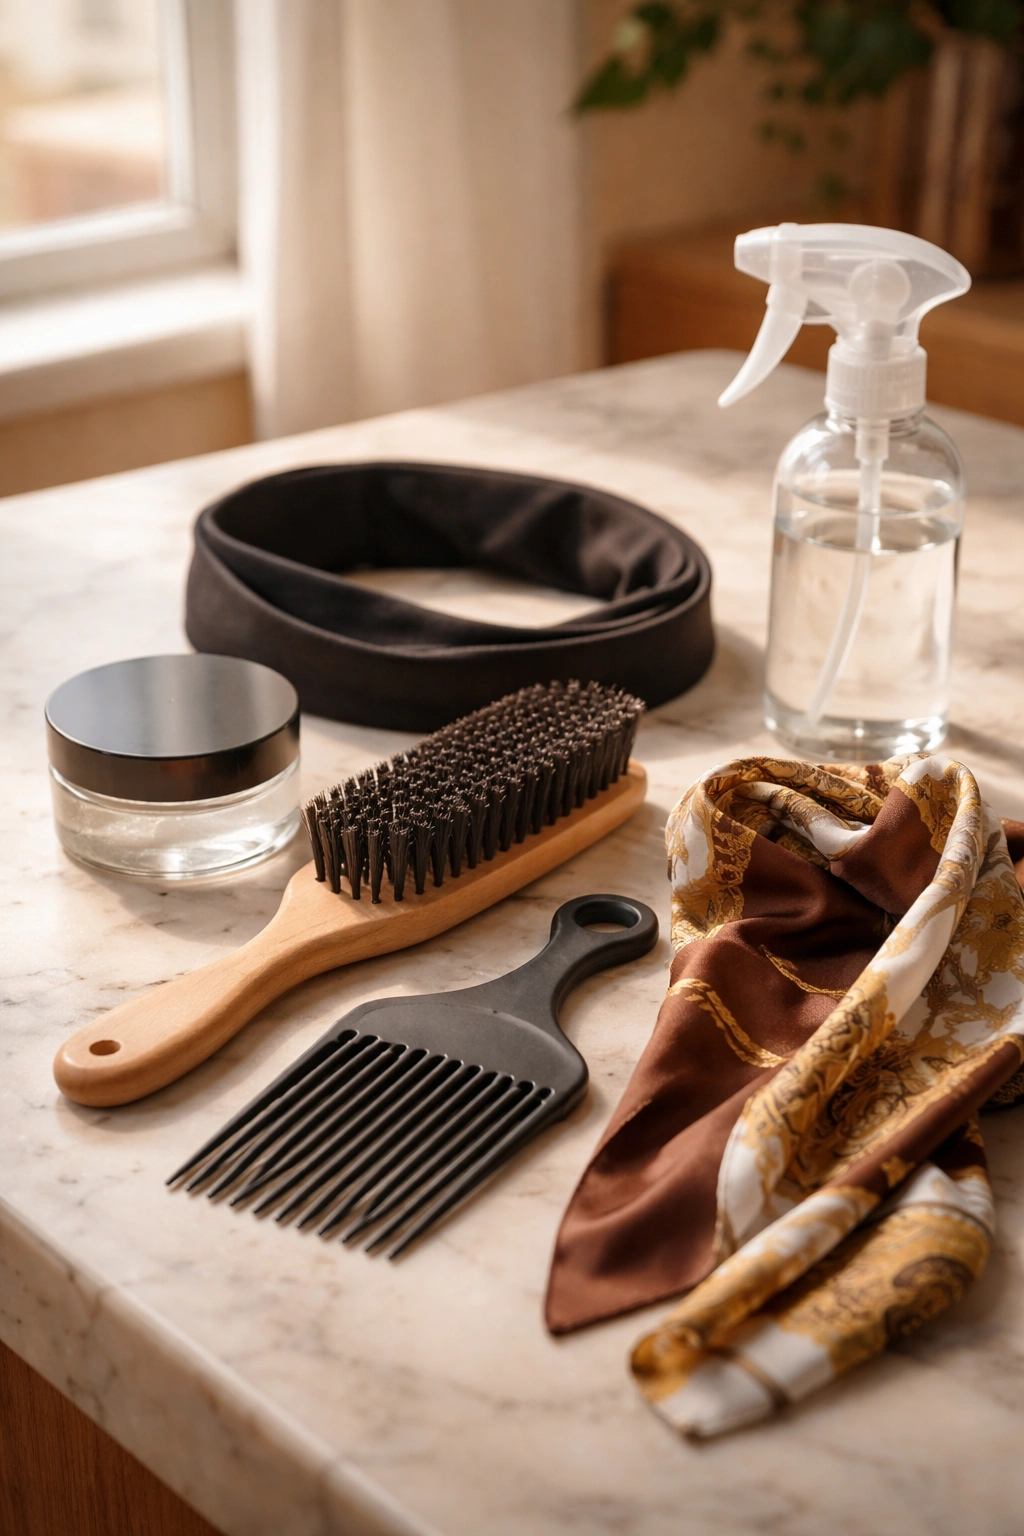
Tools and Products Worth Your Money
The shopping list for good puffs is short. An edge control gel or pomade that doesn’t flake. A soft boar bristle brush for smoothing the base. A wide stretchy band or silk scarf for securing. An afro pick for shaping the puffed section. And a good spray bottle for daily refreshing.
That’s it. Five tools. You don’t need special puff holders or complicated contraptions. Most of what gets sold as “puff accessories” is either overpriced or unnecessary.
Bold tip: Skip the plastic headbands with the built-in elastics. They pull hair out at the crown over time and leave a dent in your curl pattern that’s hard to fix without rewashing.
Prep Work — Getting the Base Ready
Clean, moisturized, and slightly stretched hair holds a puff better than dry or over-dense hair. If you’re pulling a puff from fully shrunken 4C hair, you’ll fight volume and shape the whole time. Stretching the hair first — through banding, twists, or a blowout — gives you more material to work with.
Not every puff needs stretched hair though. Some styles actually benefit from the tight shrunken state because the puff sits higher and rounder. The stretched versions give you longer, looser silhouettes. Decide what you want before you start.
For edges, apply your edge control in small sections and brush smoothly in the direction of natural growth. Don’t brush against the grain — you’ll create flyaways that sabotage the clean line.
Why the Base and the Edges Matter Most

Your puff can be the biggest, most gorgeous afro in the room, but if the edges are messy and the base is bumpy, the whole thing reads unfinished. The base and edges are where the polish lives. Get them right and even a simple puff looks professional.
I’ve spent years watching people skip this step. They focus on the fluffy volume and ignore the foundation. Don’t be that person. Spend the first five minutes of your styling session on the base and edges. Then move to the puff itself.
The other thing people underestimate is the forehead curve. A puff that sits too far forward looks top-heavy. Too far back and it looks flat. The sweet spot is about an inch behind your natural hairline — far enough to show your face, close enough to frame it.
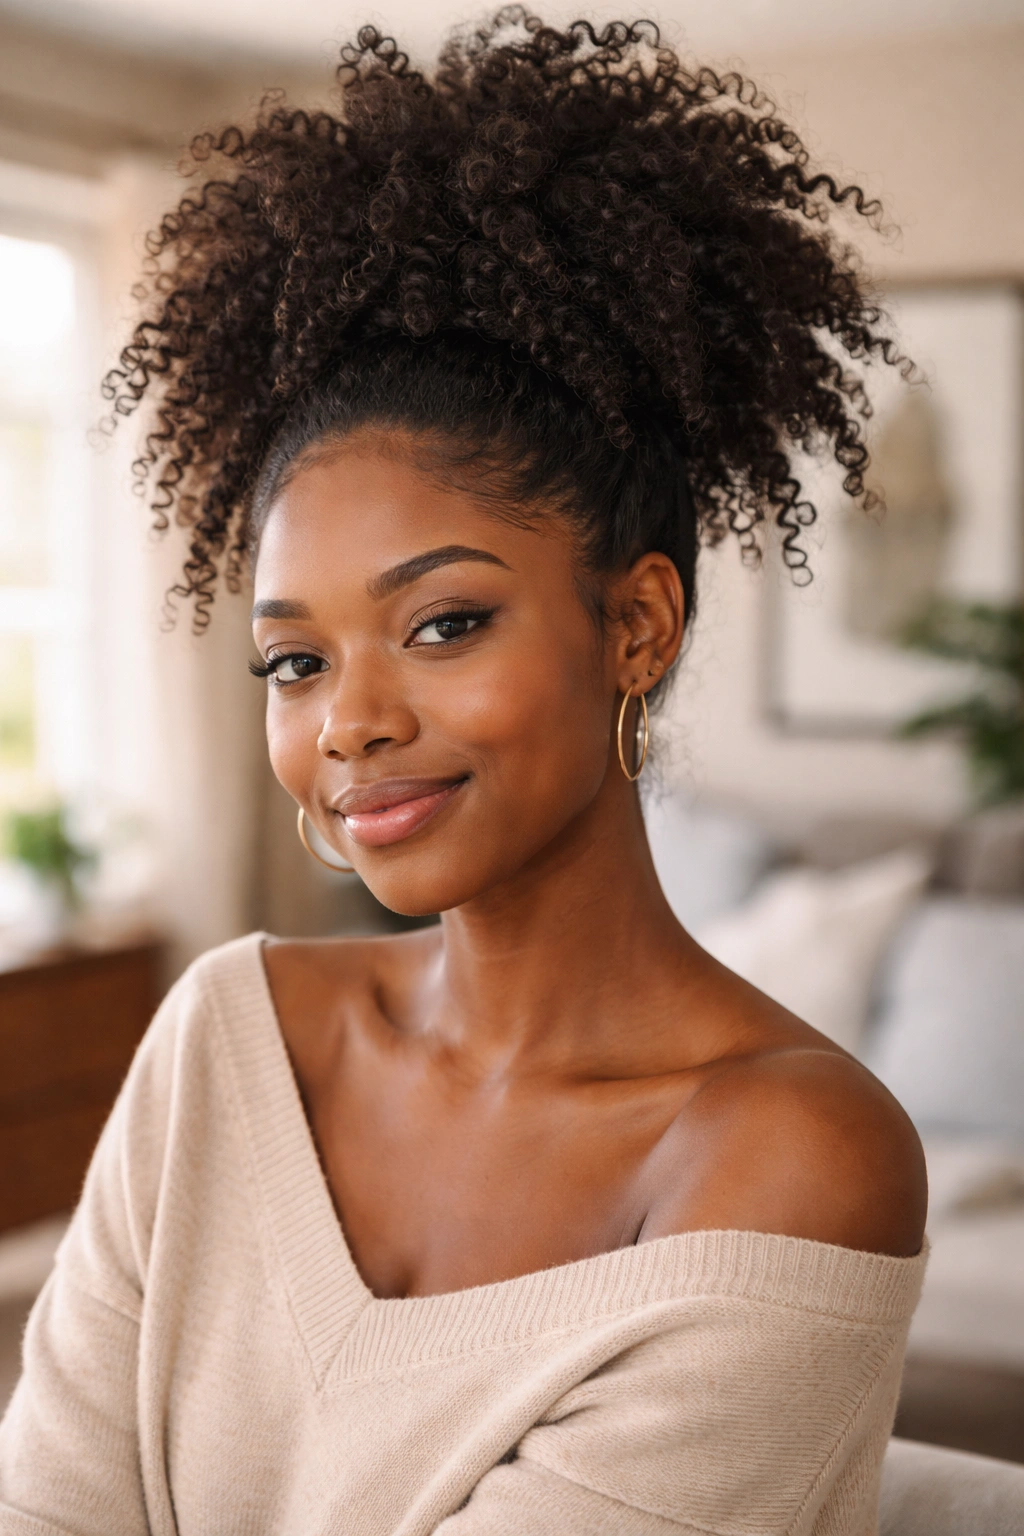
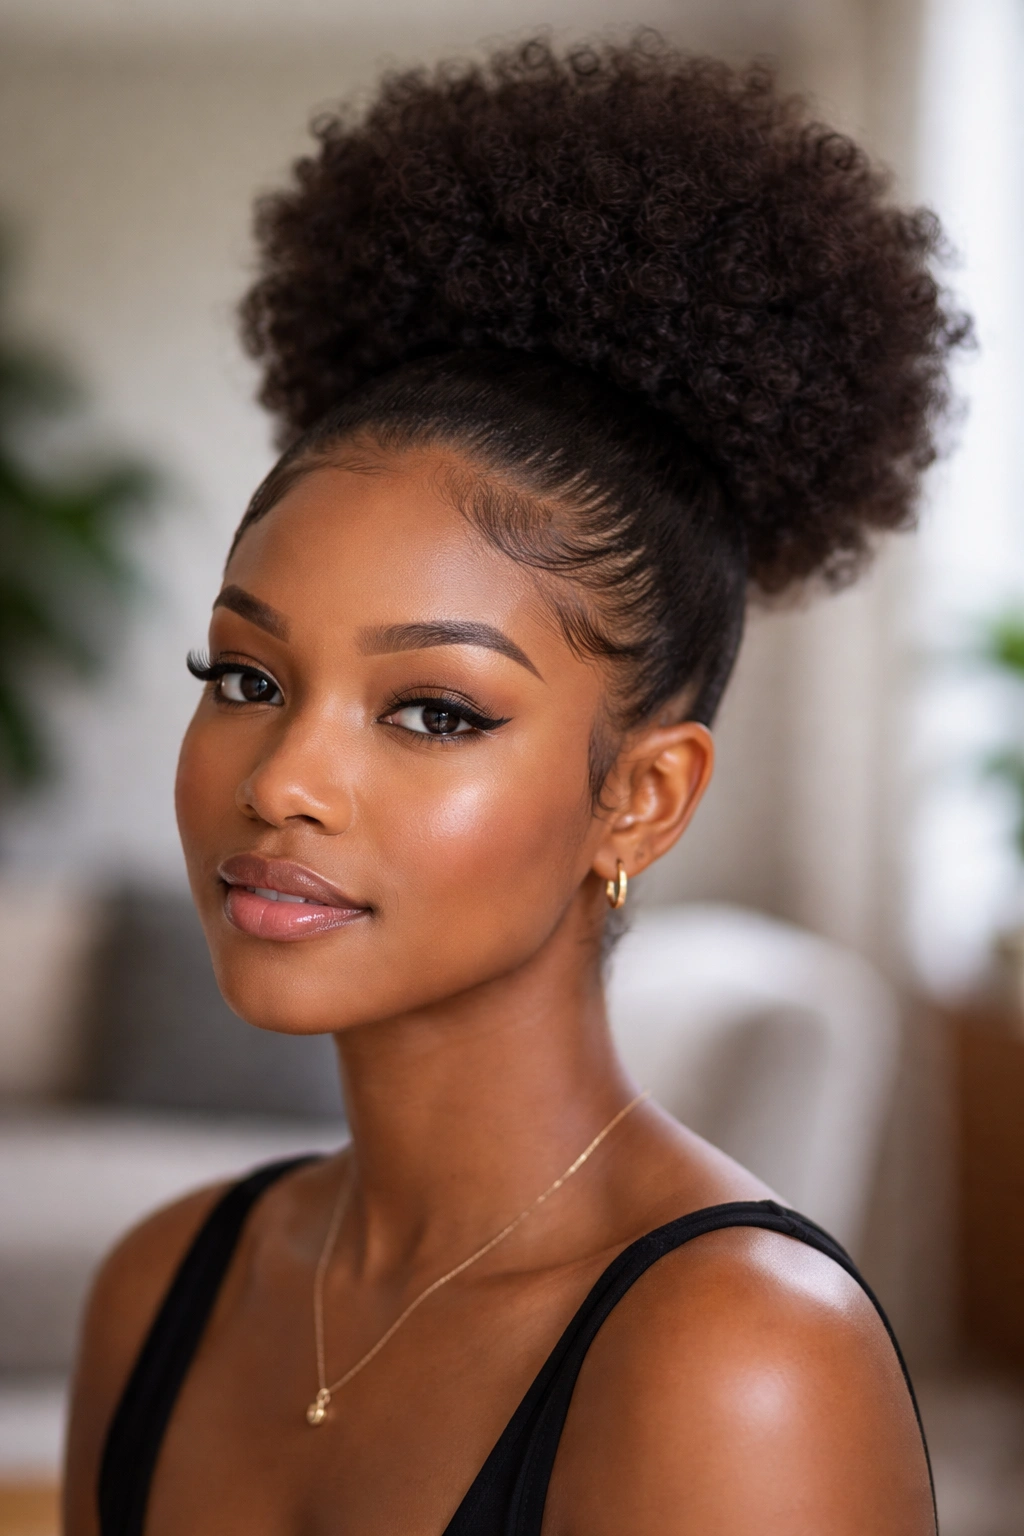
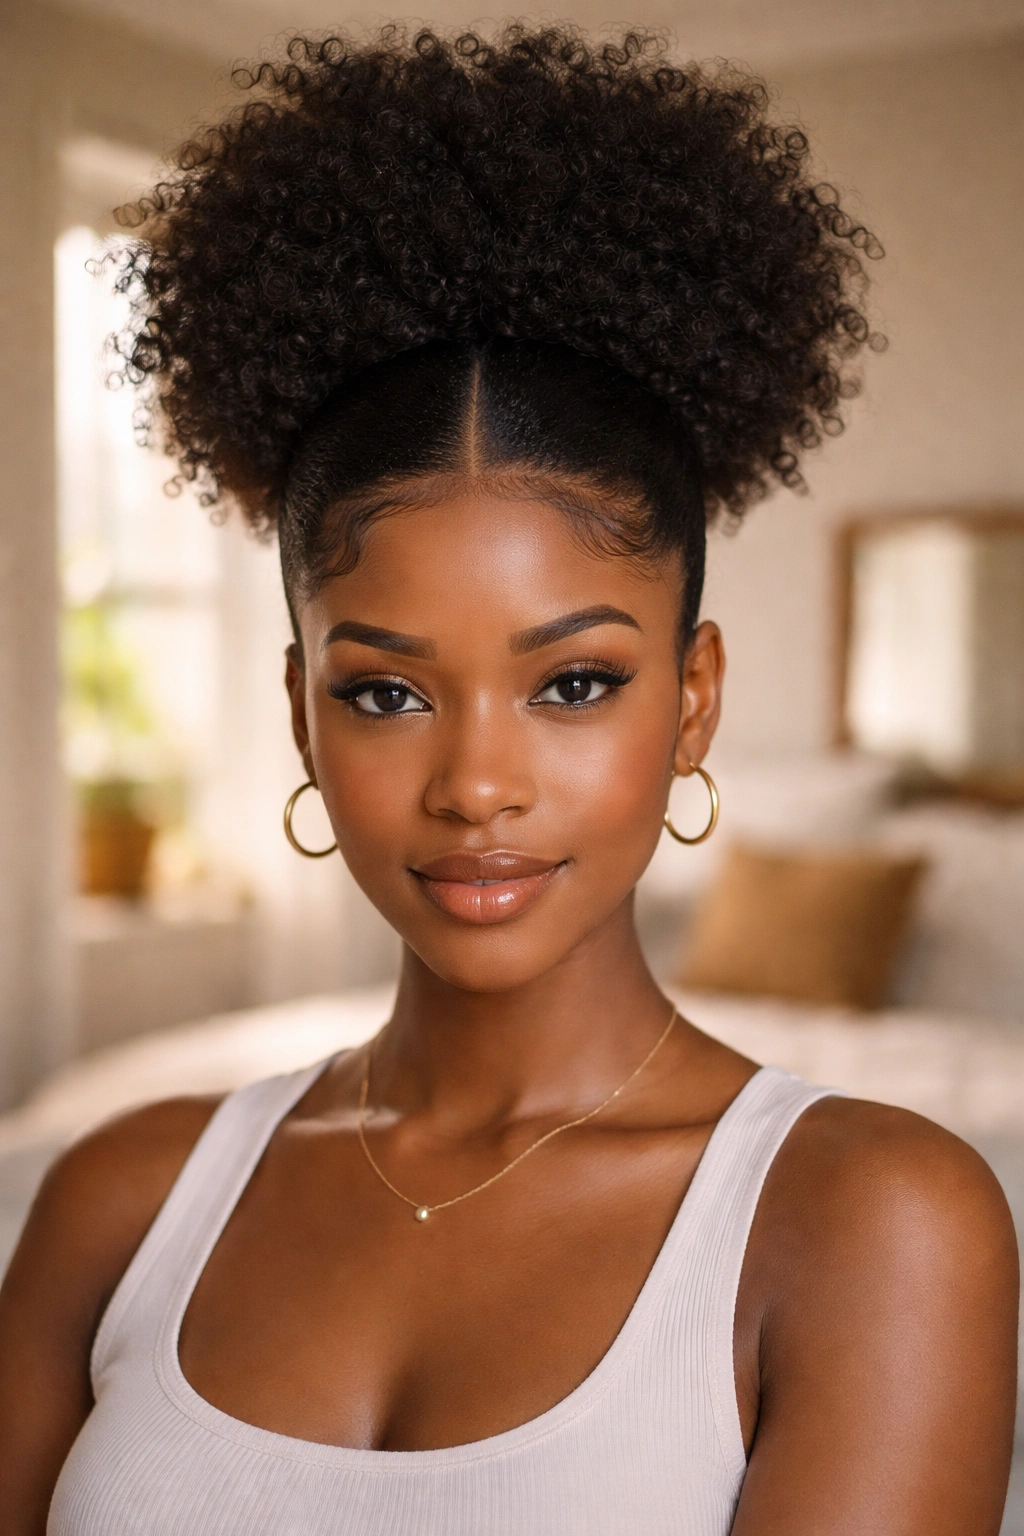
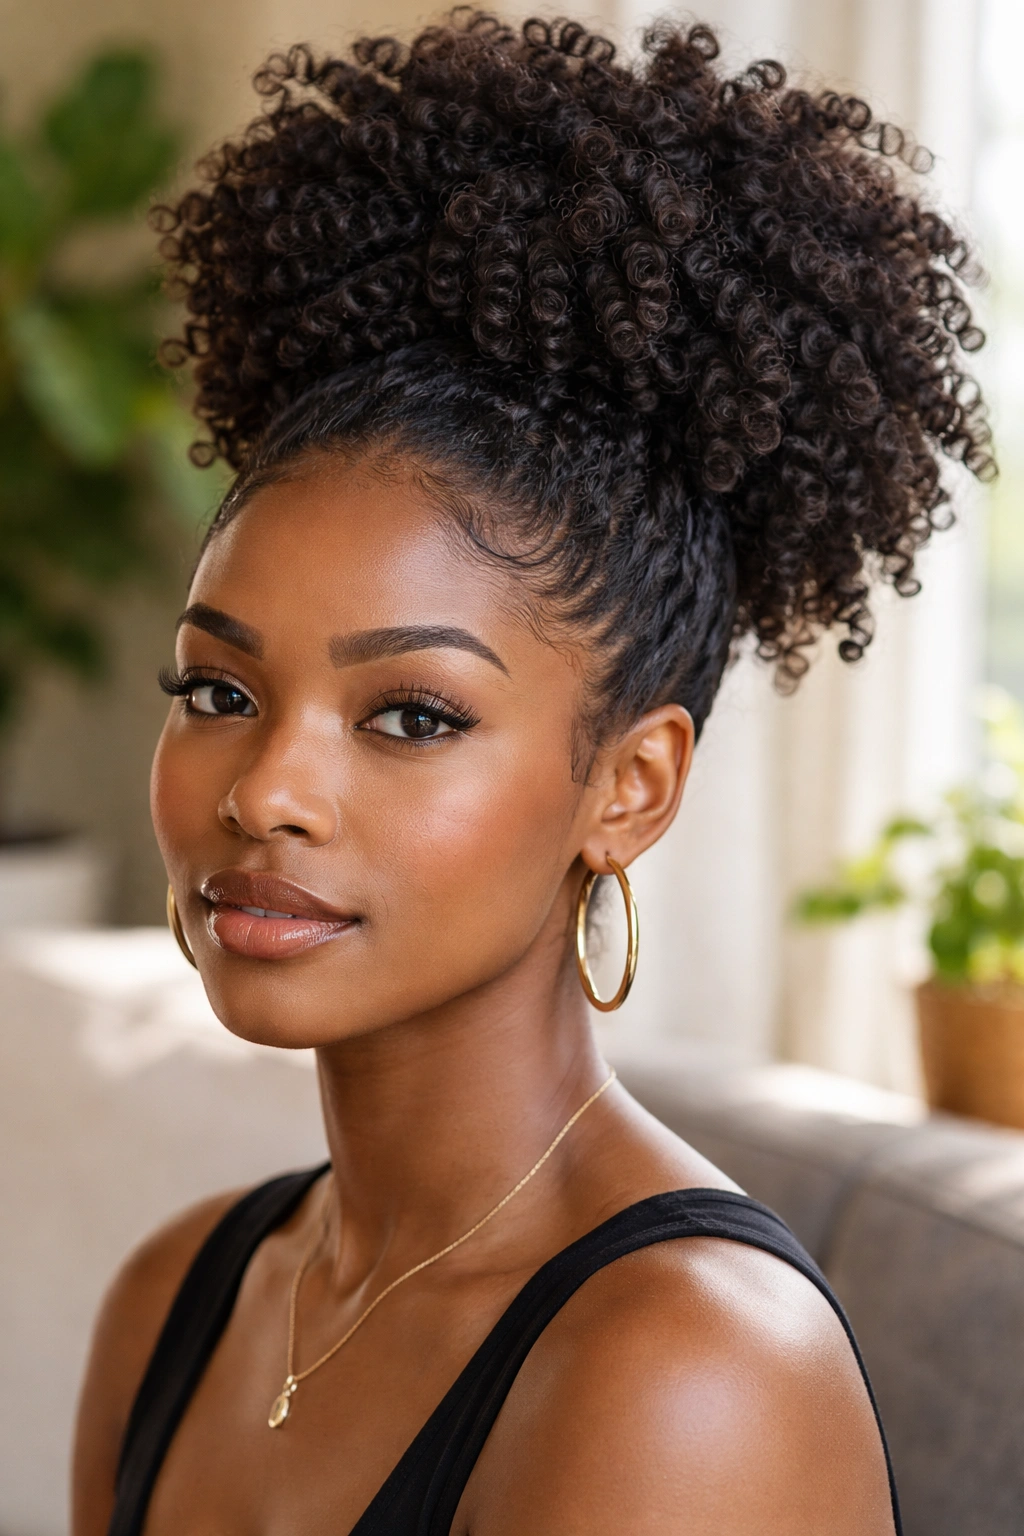
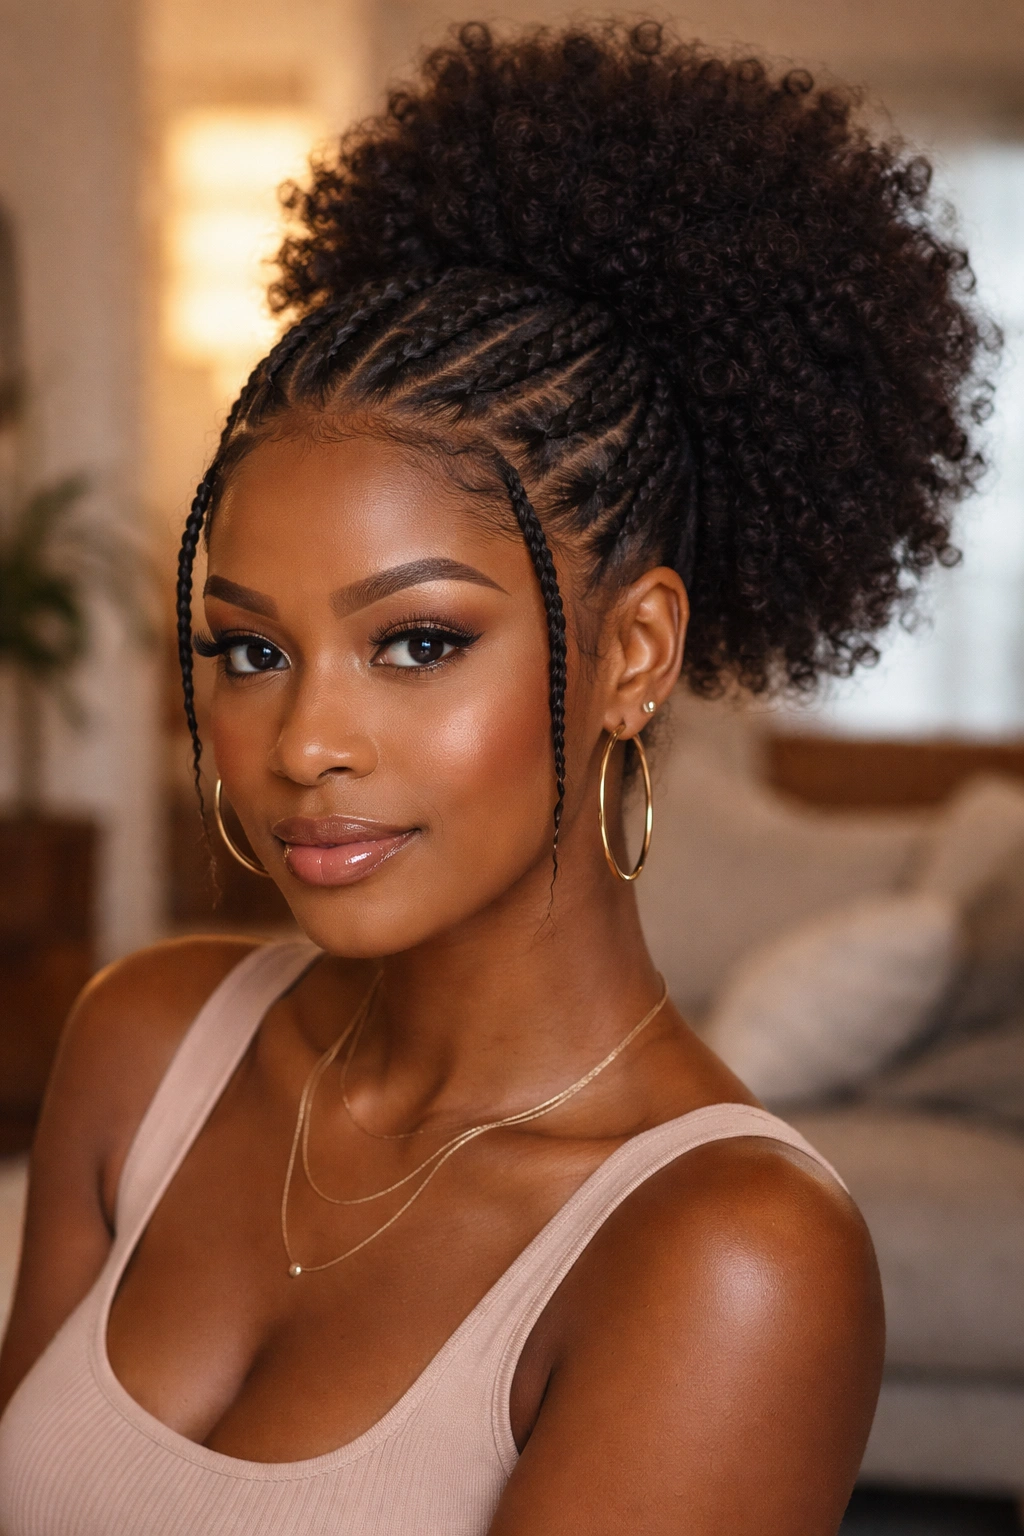
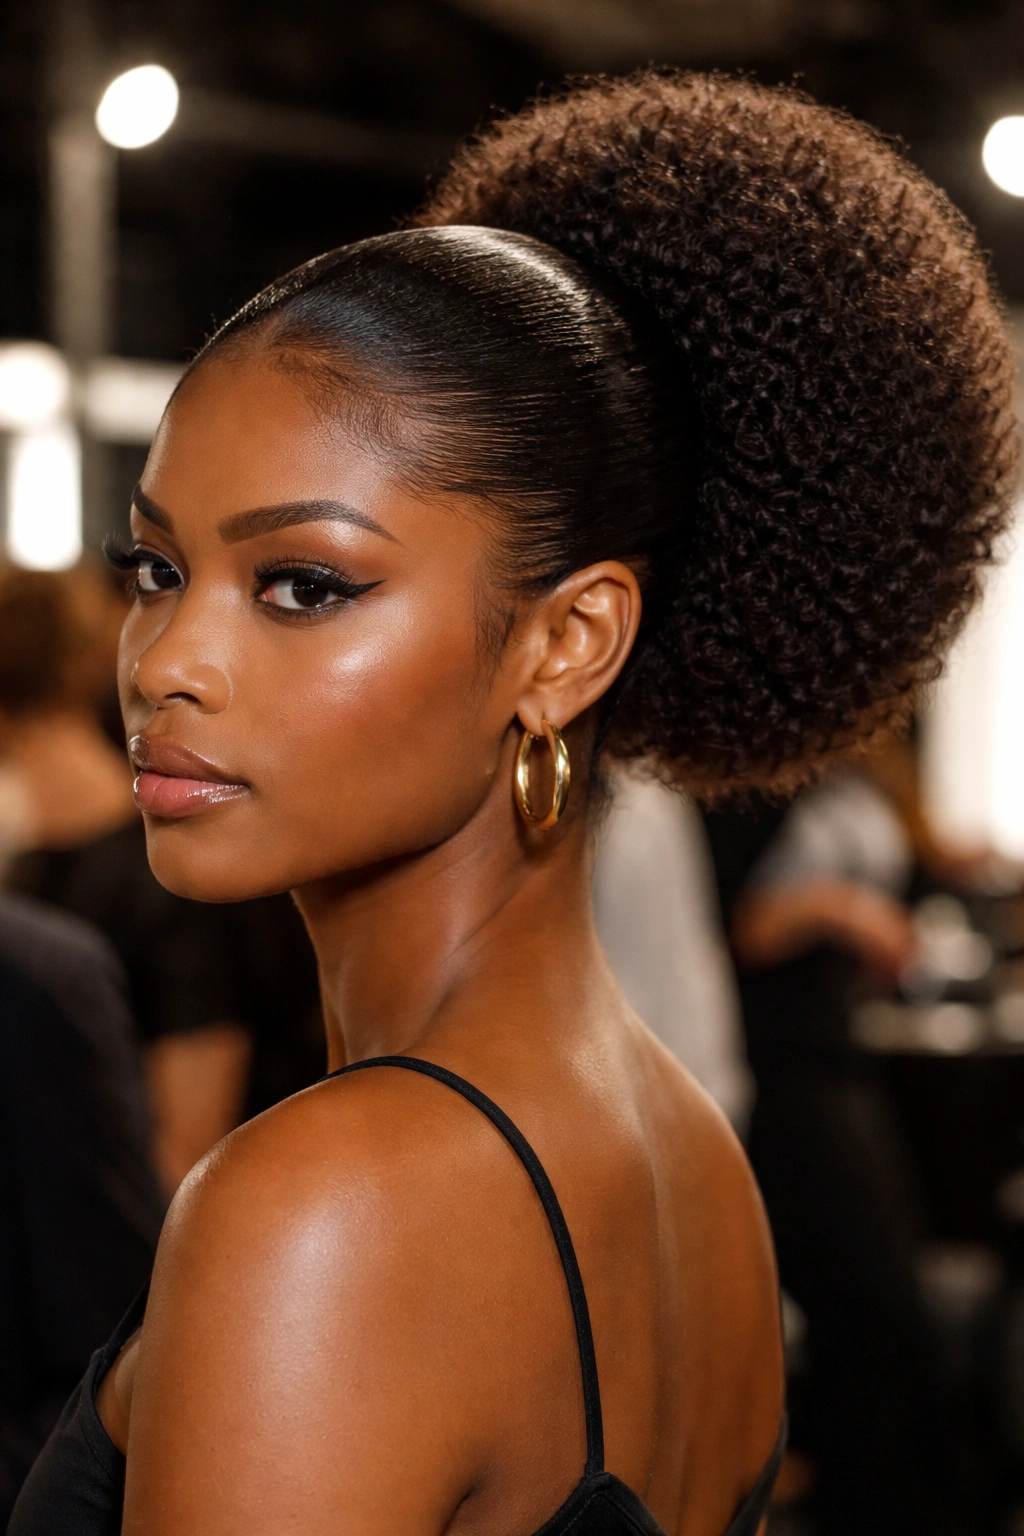
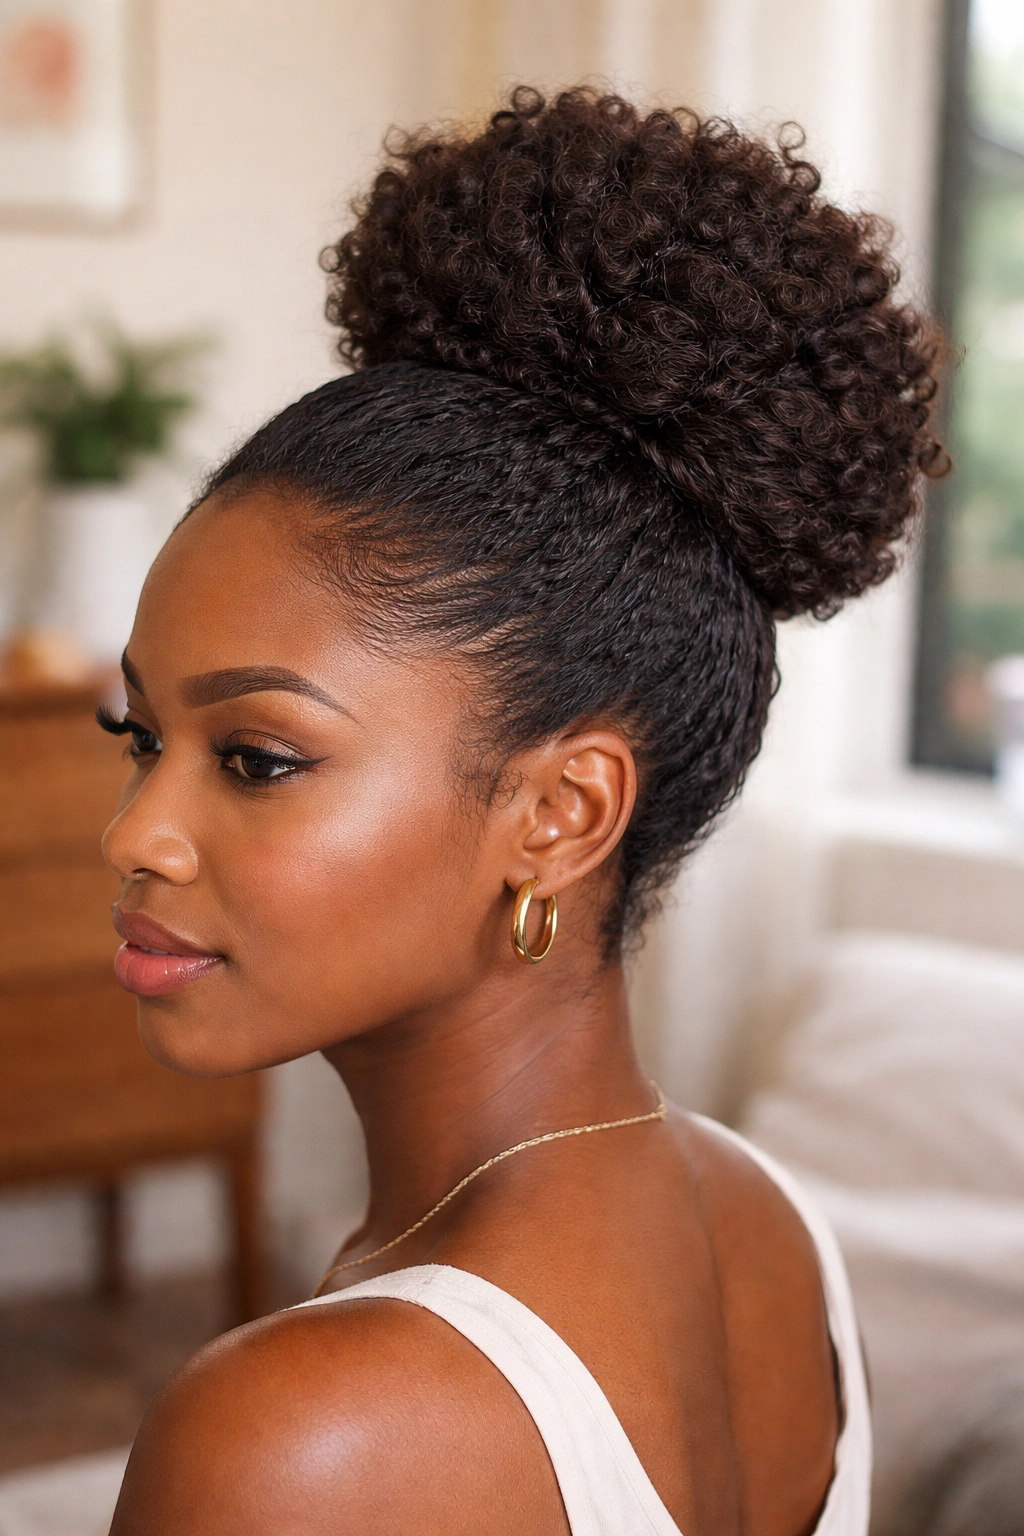
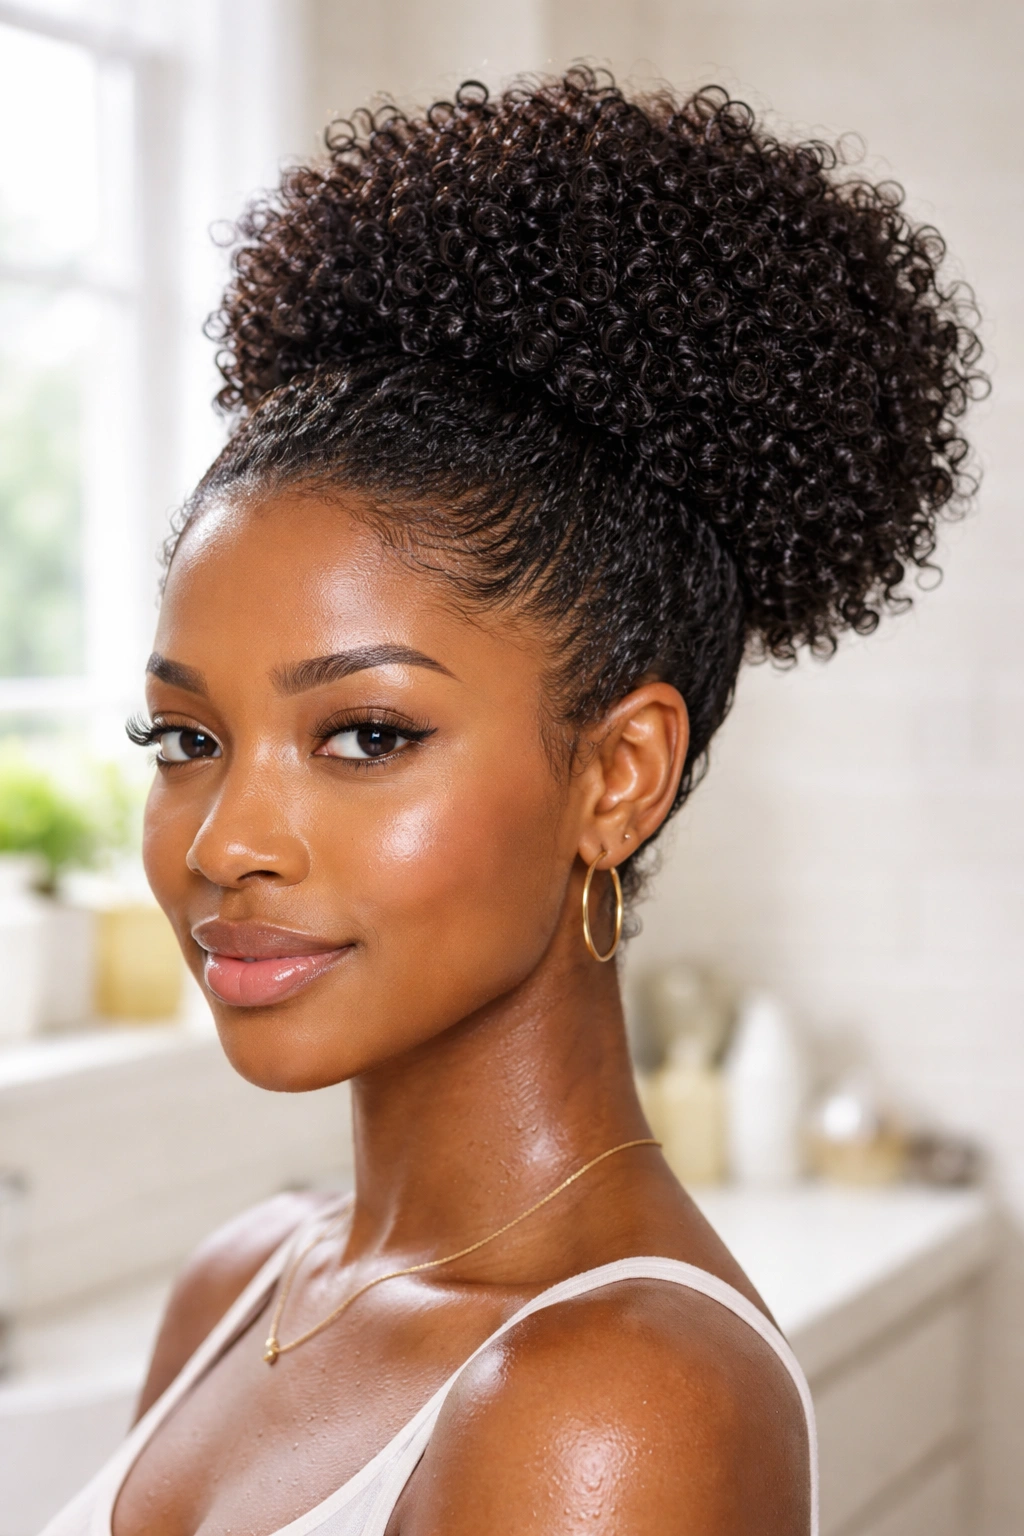
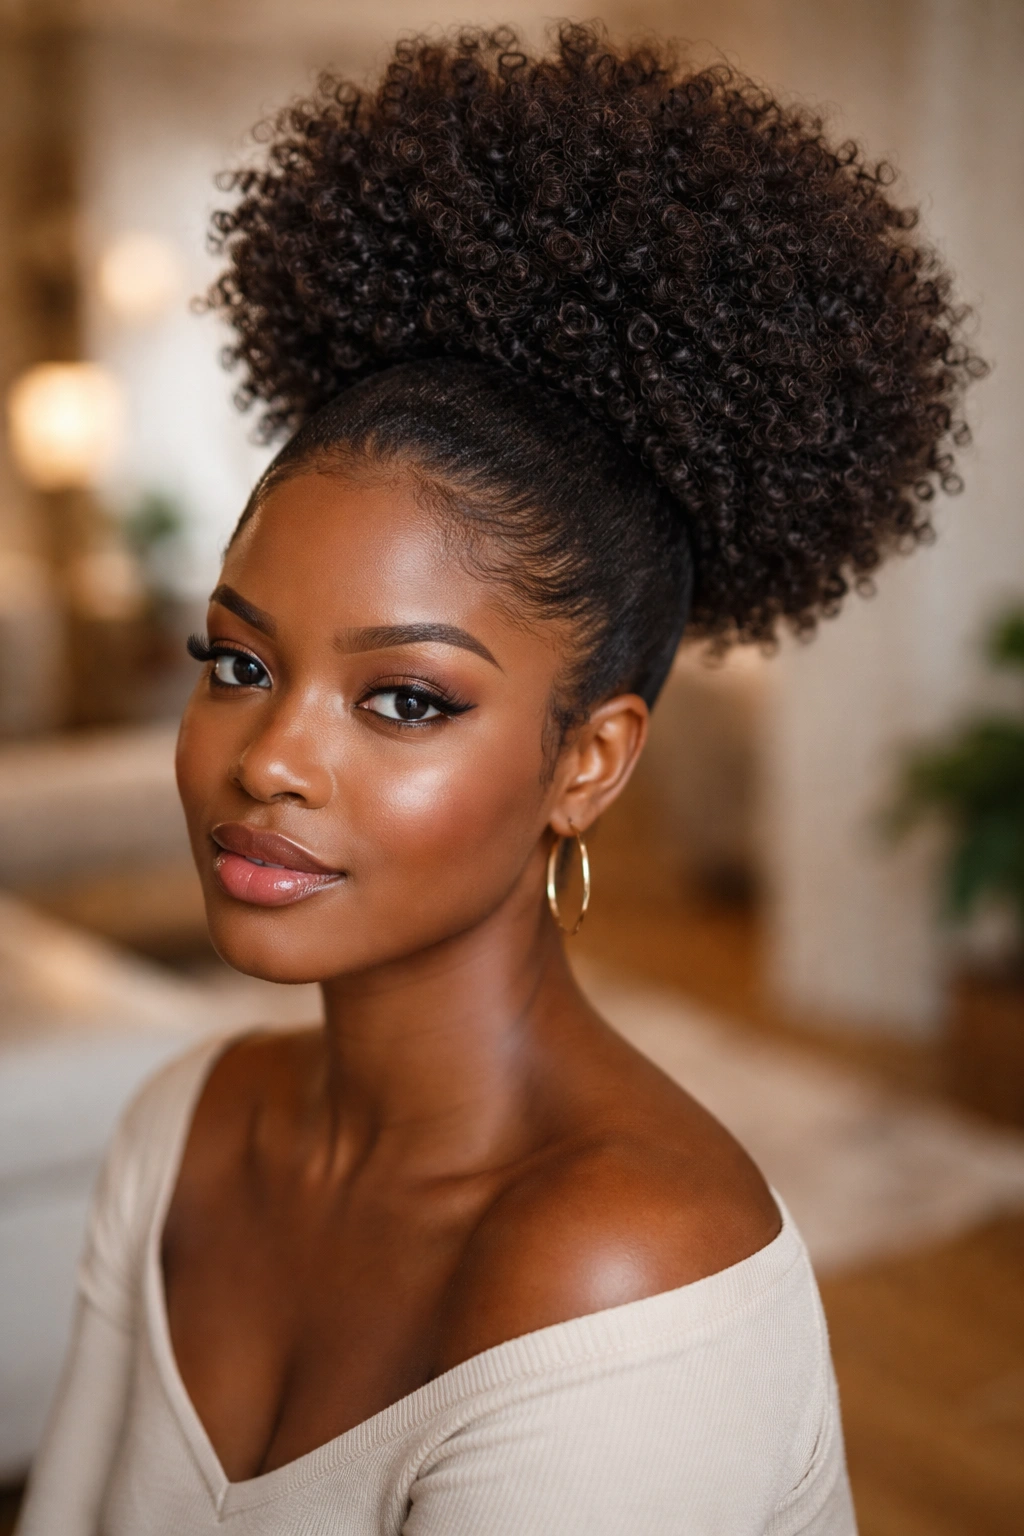
1. The Classic High Puff on Top
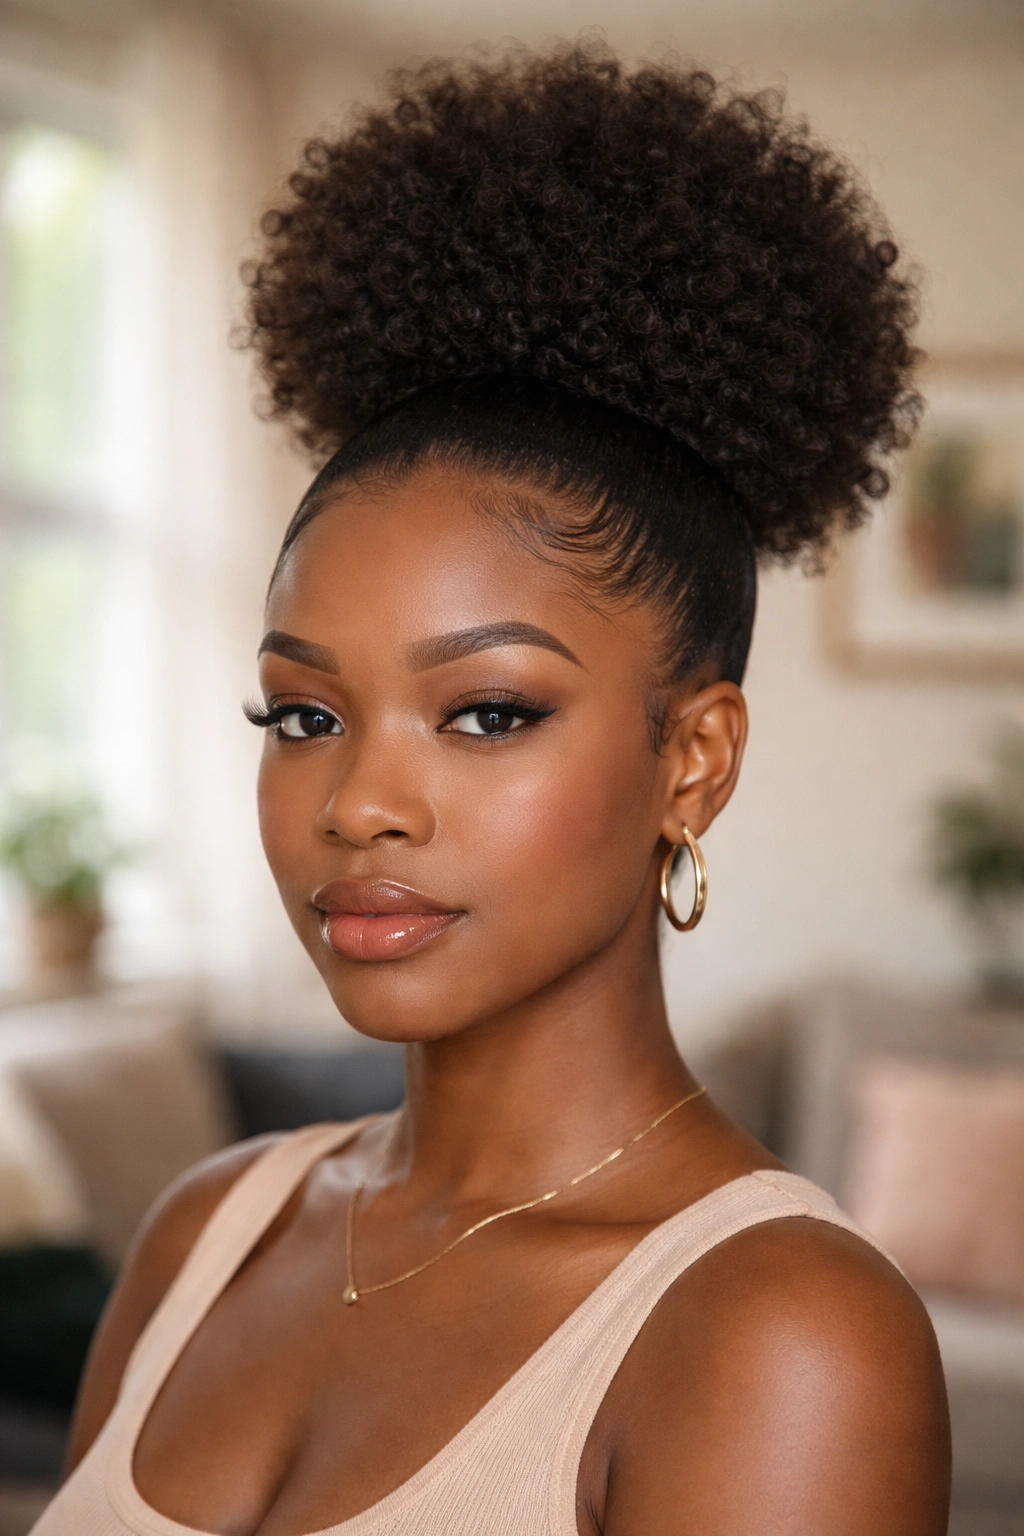
The high puff is the foundation. Everything else on this list is a variation of this basic idea — gather the hair at the crown, secure it, shape it into a rounded volume. Start here. Master this. Then branch out.
Why It Works
High puffs elongate your face, add height to your silhouette, and draw attention upward toward your eyes. They’re flattering on almost every face shape, and they’re one of the fastest styles to execute once you’ve got the technique down.
- Gather from the nape forward with a soft brush, applying edge control as you go
- Secure with a wide elastic or silk scarf at the crown
- Pick the gathered section outward for volume, pat to shape
Bold tip: If your hair isn’t quite long enough to fully gather into a high puff, do a “half puff” — pull just the top half up and leave the bottom half down. Works beautifully as an in-between style while you grow.
2. The Low Puff at the Nape

Low puffs gather at the back of the neck rather than the top of the head. They read as elegant and understated, and they work especially well for more formal occasions where a high puff might feel too casual.
Unlike high puffs, which elongate the face, low puffs create a softer, more rounded silhouette that frames the face with the top portion of your hair left smooth and flat. This makes them especially flattering for angular face shapes that benefit from softness.
The technique is the same as a high puff — gather, secure, shape — but the tension point is at the nape. Be gentle here. The hair at the back of your neck is more fragile than the crown.
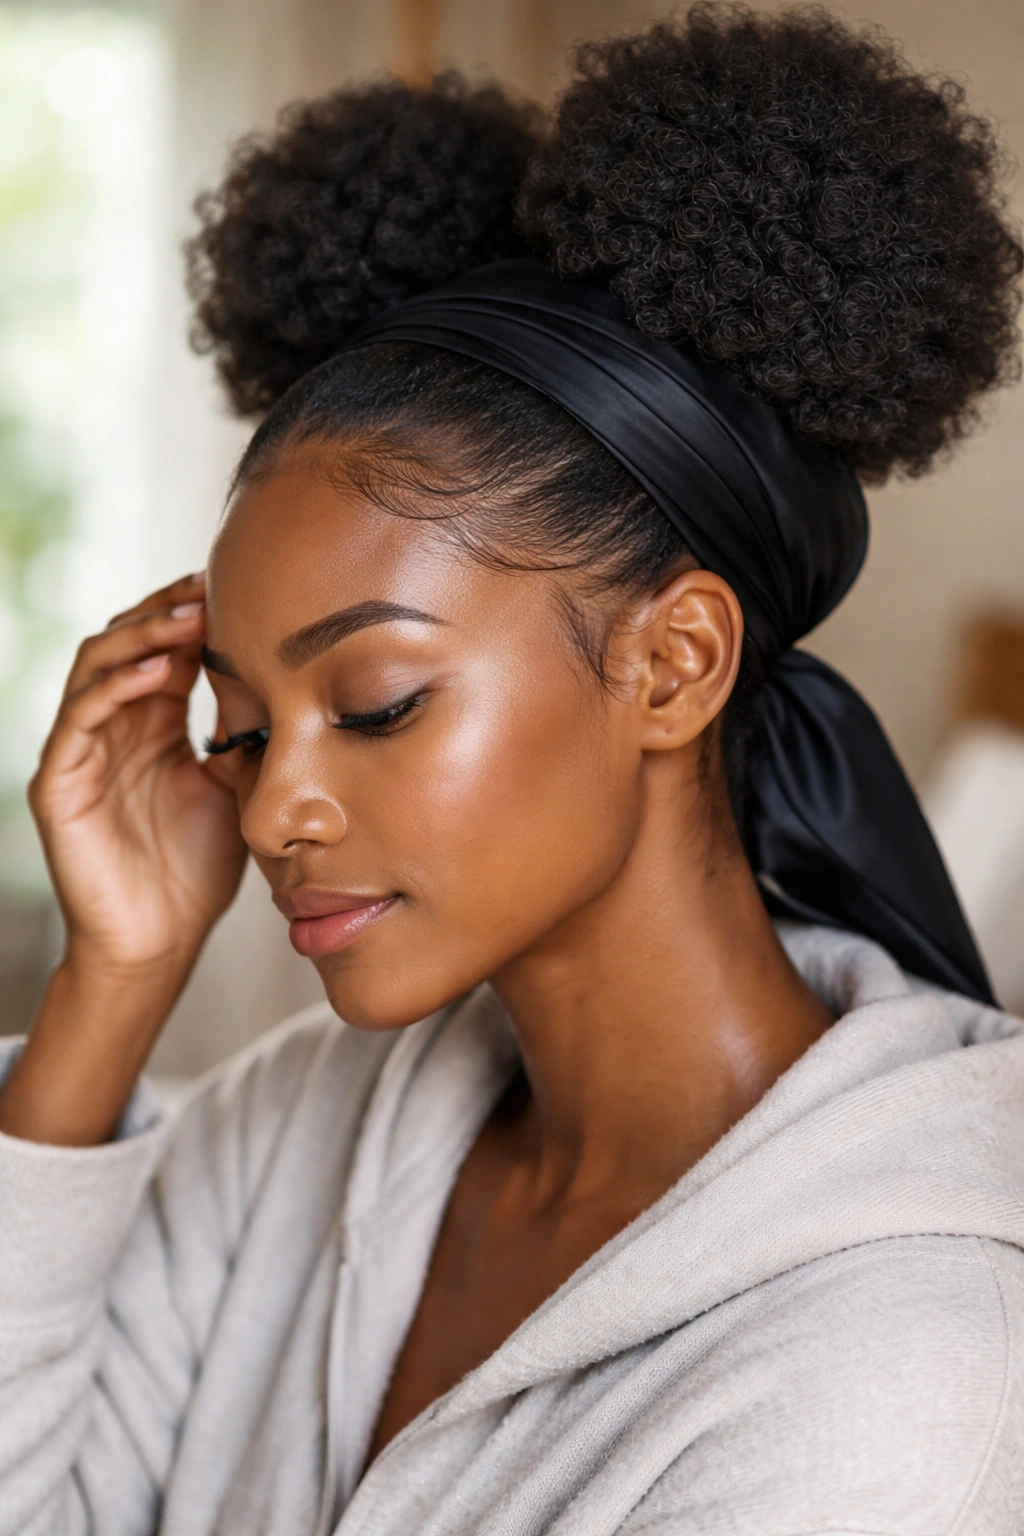
3. The Double Puff — One on Each Side
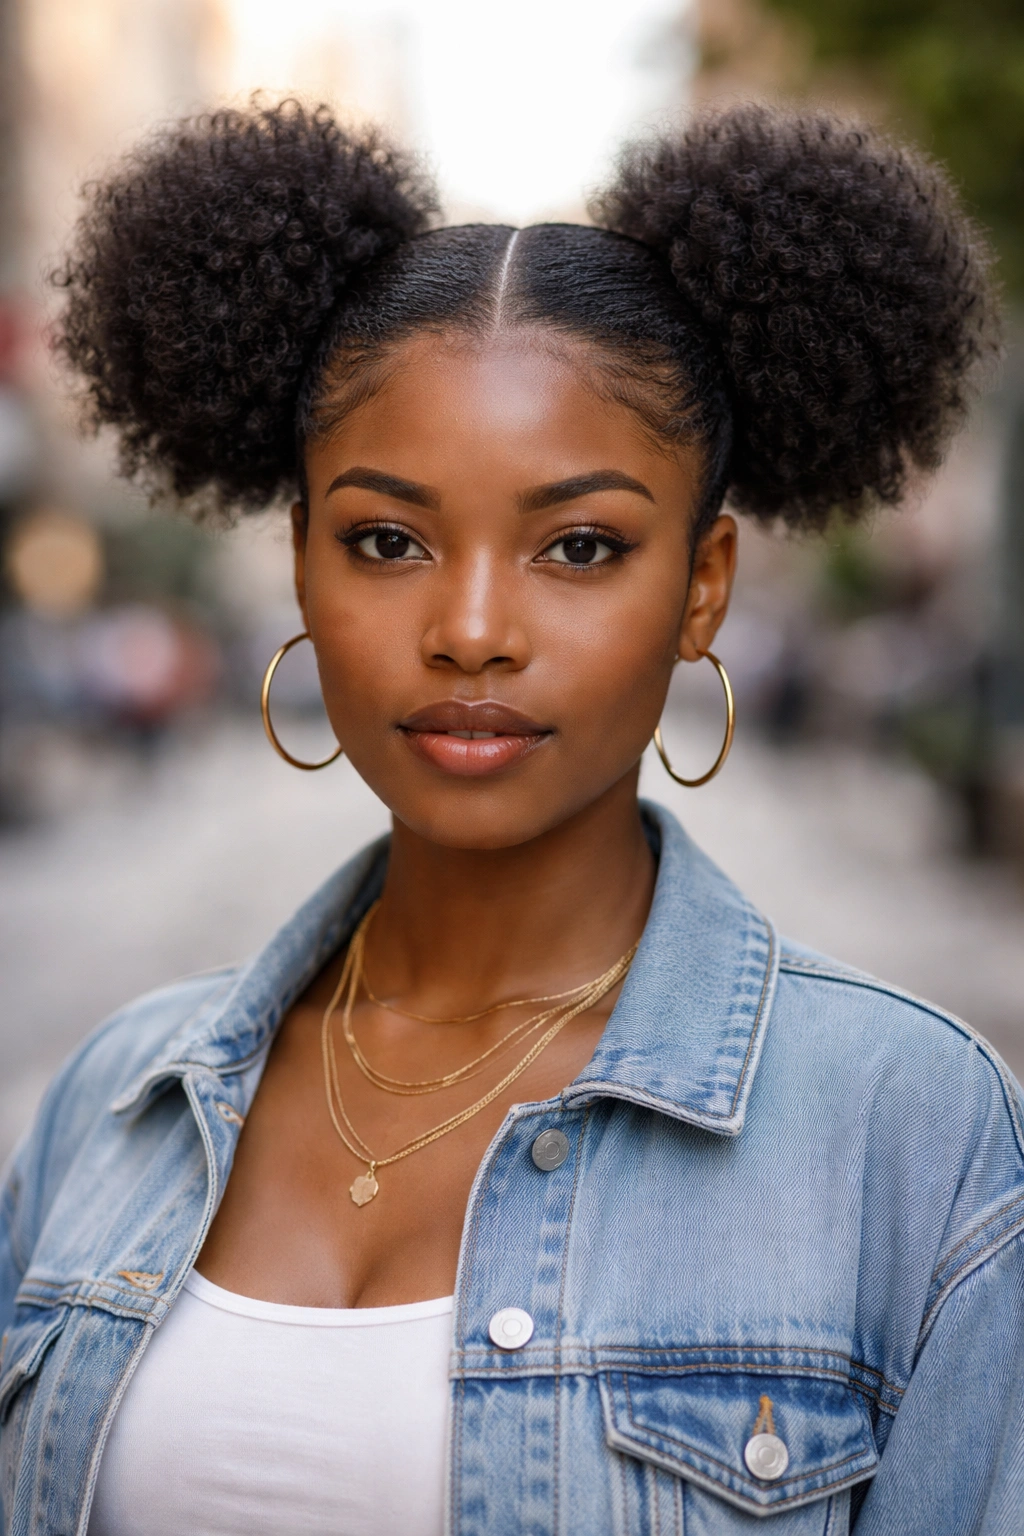
Two puffs instead of one. Sounds simple but it’s actually a specific art. Parting the hair down the middle and creating two symmetrical puffs on either side requires precision. Uneven puffs read as messy, not playful.
Double puffs give off a youthful, energetic vibe. They’re great for casual days, photoshoots, music festivals, anywhere you want to feel a little bold without going over the top. They also work on shorter hair where a single puff might look too small.
You part the hair cleanly from forehead to nape. Then gather each half into its own puff, placing them slightly above and behind the ears for the most flattering position. Symmetry matters — take a photo of the side view to check before committing.
4. The Side-Swept Puff
Asymmetric puffs shift the gathered section to one side instead of centering it. The volume sits over one ear, and the opposite side is either swept across the forehead or left short against the head.
This is a more editorial, fashion-forward look. It has movement and attitude that a centered puff doesn’t. It’s also flattering on faces that benefit from asymmetry — particularly oval and heart-shaped faces where the off-center focal point balances your features.
The tricky part is the sweep across the forehead. You want a graceful curve, not a harsh line. Use a small amount of styling cream on that forward section to keep it smooth and controlled without making it stiff.
5. The Pineapple Puff With Loose Ends
The pineapple puff gathers the hair loosely at the top without fully securing the ends. The result is a puff with bouncy coils falling out of the top like leaves on a pineapple. It’s the go-to overnight protective technique turned into a daytime style.
Here’s what makes this one different — the ends are meant to be visible and loose, not tucked in. You want them to hang out of the puff, showing off your curl pattern at the top. This is a showcase style for defined coils.
- Gather with a soft scrunchie, not a rubber band
- Don’t pull the ends through fully — let them stick up and out
- Shape the base to be slightly smaller than a standard puff
The pineapple reads casual and bouncy. Not fancy, not formal, just fun.
6. The Afro Puff With Edge Swoops
Edge swoops are the decorative curves of hair laid along your hairline with edge control. Combined with a simple puff, they transform the look from basic to polished in about sixty seconds of extra work.
You create the puff first, then focus exclusively on the edges. Using a small amount of gel and an edge brush, you swoop the front sections in graceful curves — usually two on each side, or one long swoop that wraps around the temple.
The swoops need to dry fully before you touch your hair again, or they’ll smudge and lose their shape. Plan on letting them set for five to ten minutes before leaving the house.
Who this is for — anyone who wants a polished, ready-for-pictures look without doing anything complicated to the main style.
7. The High Puff With a Middle Part Front
Question — what happens when you pull hair back into a puff but leave the front parted down the middle? Answer: a hybrid style that reads modern and chic while keeping the casual ease of a puff.
The middle part in front shows your forehead and softens the transition from face to puff. It also breaks up the “all gathered” look of a standard puff, giving your face more breathing room in the composition.
How to Use It
- Part the front two inches of hair cleanly down the middle
- Gather everything else back into the puff
- Smooth the front sections with a small amount of product along the part
This style is a good middle ground between “hair down” and “hair fully up.” It gives you the practicality of a puff with the softness of a parted front.
8. The Banded Puff With Multiple Sections
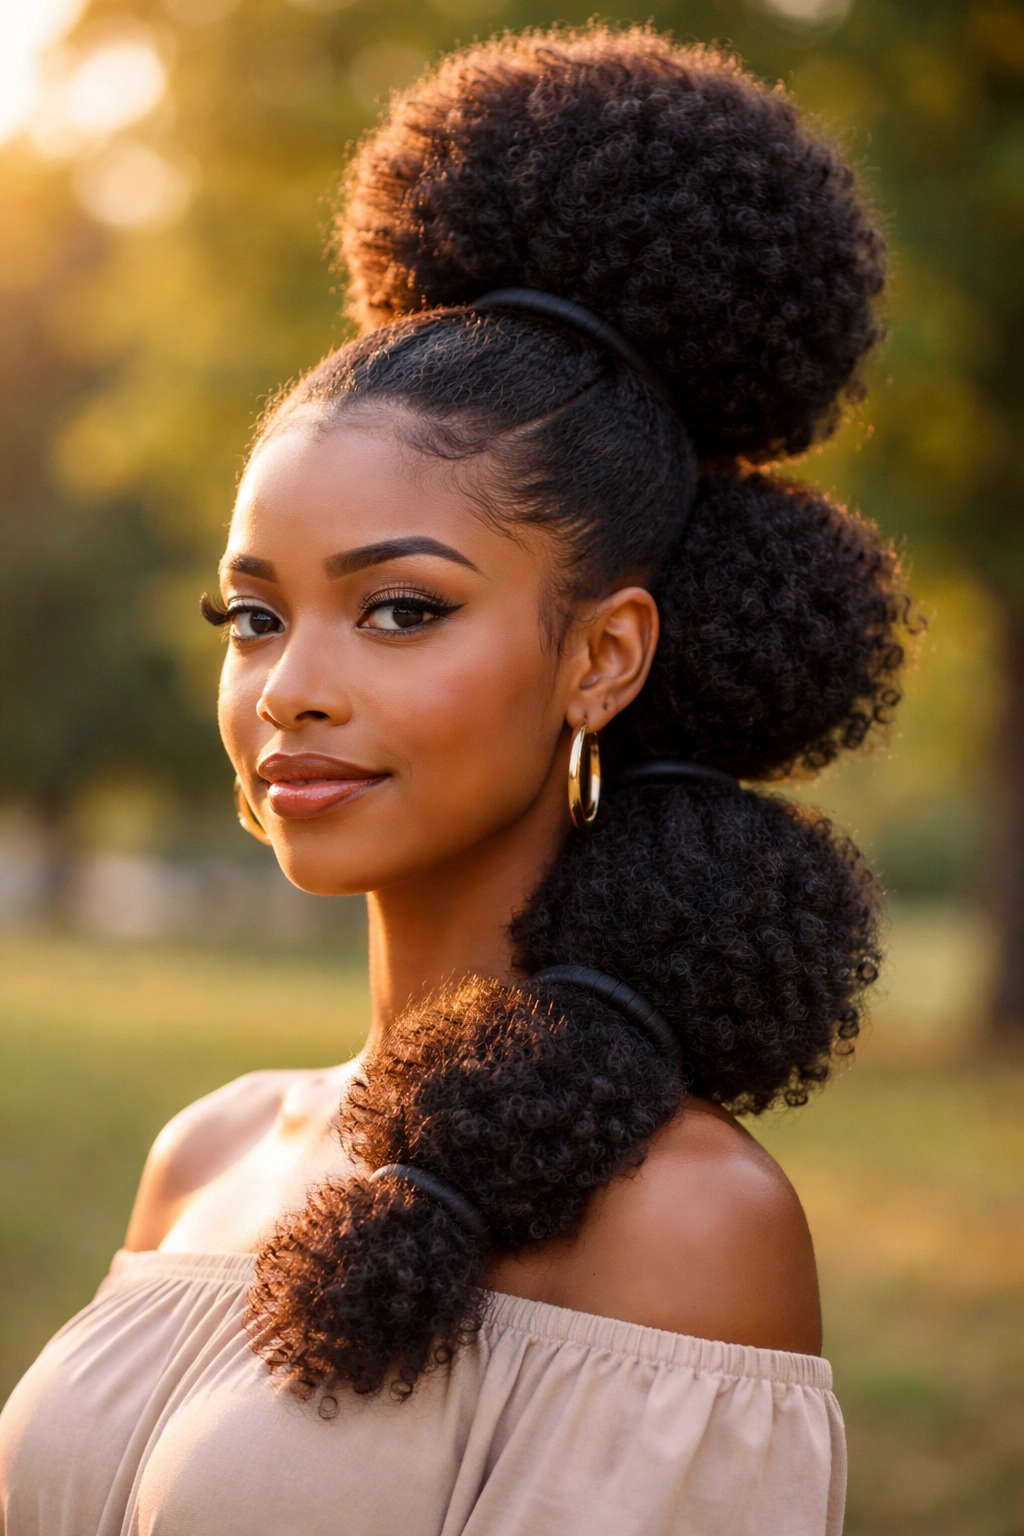
Instead of one band at the base, you use several spaced down the length of the gathered hair. The result is a tiered puff shape that looks almost like a cascade of volume stacked on itself.
Each band creates a visual break, and the hair puffs out between the bands. It’s a more dramatic, sculptural version of the standard puff and works well for events or photoshoots where you want something eye-catching.
You need longer 4C hair for this one — at least eight inches stretched. Too short and the tiers won’t have enough hair to create separation. If your hair is shorter, stick to a single-band puff and come back to this style later.
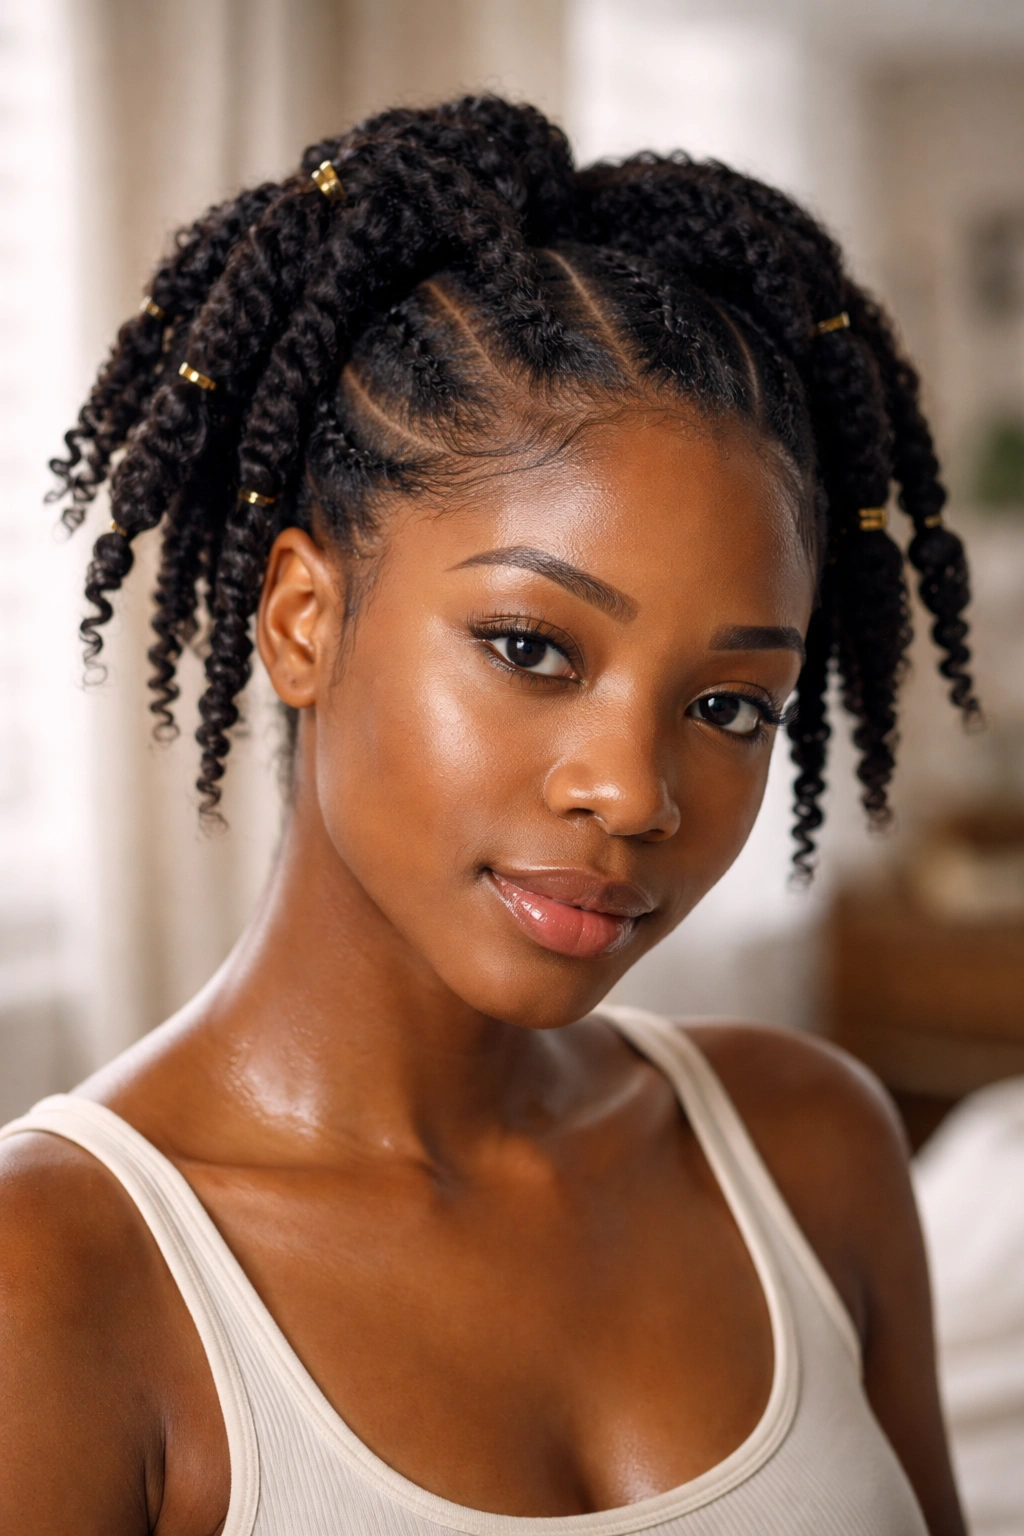
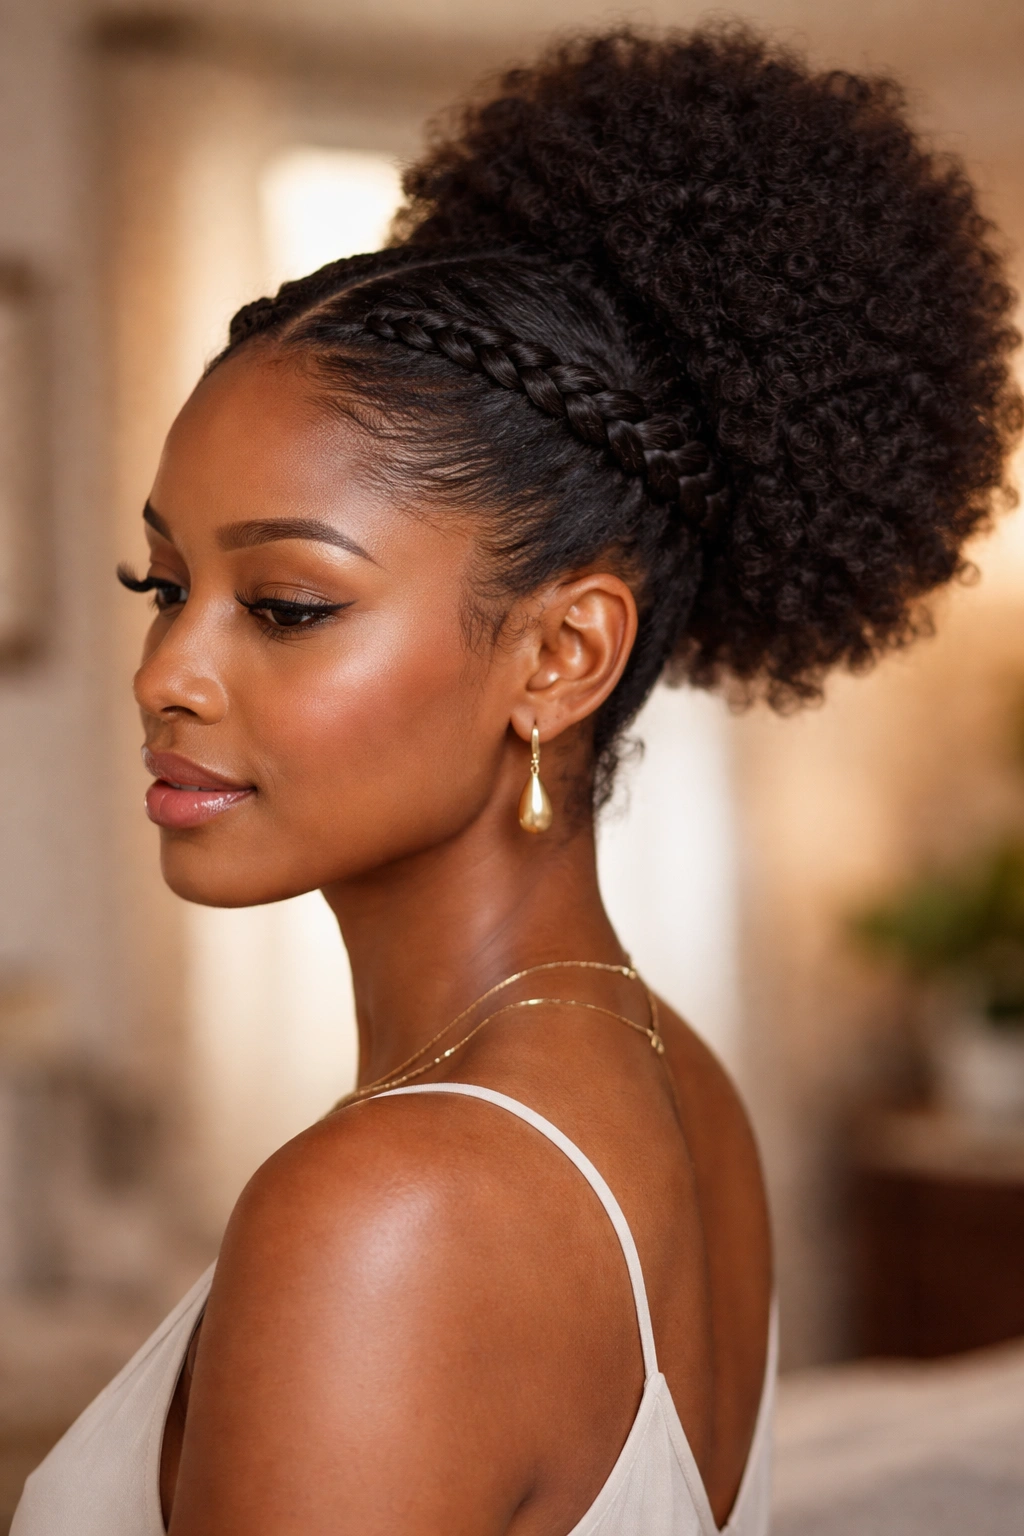
9. The Puff With a Braided Headband
Bold angle — instead of covering your hairline with edge control swoops, run a small braided section across your hairline before you create the puff. The braid acts as a natural headband, framing your face and adding texture.
You section off a thin row of hair along the hairline before gathering the rest into the puff. Then you braid that section — either a single flat braid going across the forehead or two braids meeting in the middle — and secure it behind the ear.
Unlike a headband that sits on top of your hair, the braid is part of your hair, which makes it read as more integrated and intentional. It also protects that front edge from daily wear and tear.
10. The Chunky Puff With Twist-Out Texture
Start with a twist-out. Let it set overnight. Then gather the twisted-out hair into a puff without brushing it smooth. The result is a puff with visible twist-out texture throughout — waves, coils, and definition baked into the volume.
The advantage is that you get two styles out of one. You wear the twist-out for a day or two, then transition into the puffed version when you’re ready for a change. Both looks come from the same initial styling session.
Unlike smooth-gathered puffs, the twist-out puff has visible pattern and movement. It’s a great intermediate style between fully-styled and fully-casual. Not quite as polished as a finger-coil puff, not as loose as a fluffed pick-out puff.
11. The Ponytail-Puff Hybrid
Some hair is long enough to be a ponytail and some isn’t. The hybrid style splits the difference — the base is gathered like a ponytail, but the ends are picked out into a puff shape rather than hanging down straight.
This works well for longer 4C hair that you want to keep lifted and voluminous without fully pulling into a high-on-the-head puff. The lower placement of the gather gives you a different silhouette, and the picked-out ends add the volume of a puff.
Think of it as a “90% ponytail, 10% puff.” Or maybe 70/30. The proportions are up to you and how you want the final shape to look.
12. The Pulled-Through Puff With Face-Framing Pieces
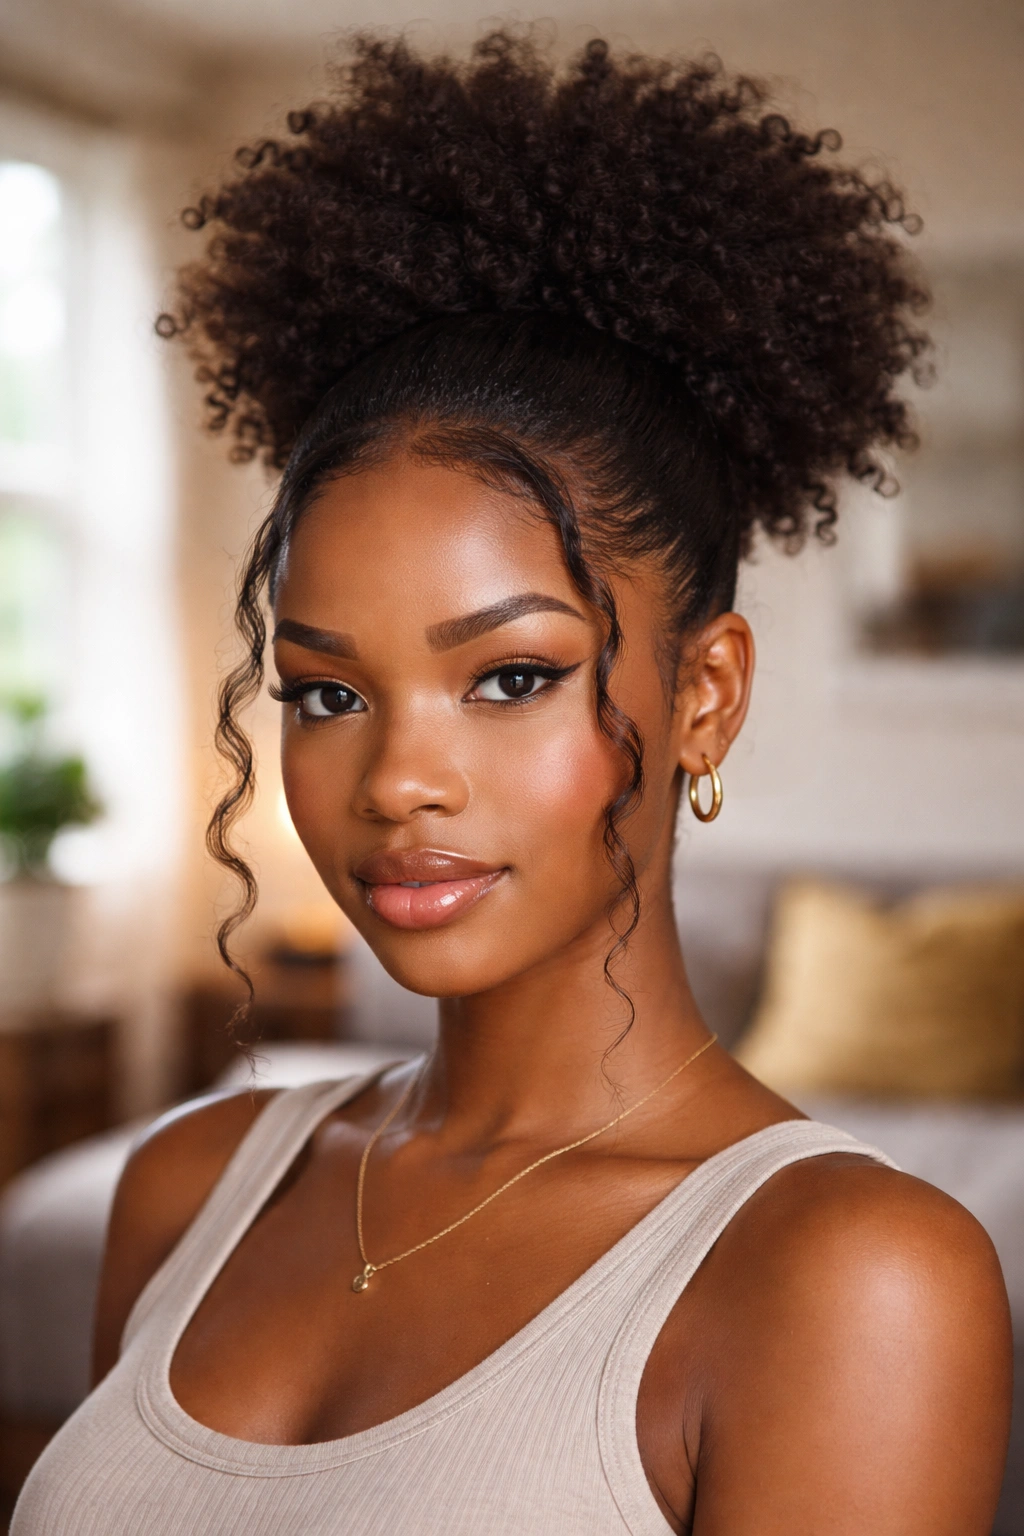
A standard puff has every strand gathered. The pulled-through variation leaves a few pieces loose around the face — maybe two at the temples and one or two at the sideburns. Those loose pieces frame your face and soften the look.
The trick is making those pieces look intentional rather than accidental. They should curl naturally and sit flat against your cheek or temple, not stick straight out. A tiny bit of styling cream on each piece helps them hold their shape.
This is a great style for days when you want a puff but don’t want it to feel too severe or all-business. The face-framing pieces add softness and femininity without compromising the clean gathered look of the base.
13. The Puff With Twists at the Front
Another hybrid — section off the front portion of your hair before creating the puff, then two-strand twist that front section into two or three flat twists that run back and meet the puff.
What Makes It Different
The twists at the front add texture and visual interest that a plain smoothed front doesn’t have. They also serve as a mini-protective style for your edges, which benefit from being twisted rather than pulled tight.
- Twist the front before gathering the rest
- Connect each twist to the base of the puff and secure
- Keep the twists loose enough that they don’t pull at your edges
This is also a good style for transitioning hair or for people with shorter hair in the front and longer hair in the back. The twists work with the length discrepancy instead of against it.
14. The Puff With a Halo of Baby Hairs
Baby hairs are short, fine hairs along the hairline that some people have naturally and others don’t. If you have them, work them. A puff with laid baby hairs creates a defined, polished look that’s especially striking in photos.
You apply a tiny bit of edge gel to a soft toothbrush or edge brush, then sculpt the baby hairs into graceful curves along the hairline. Each curve should flow into the next. The whole halo effect should look symmetrical and artistic.
Don’t overdo this. Five minutes max. Over-styled baby hairs read as fake and costumey. You want them to look like your hair is just naturally doing that — enhanced but not forced.
15. The Gelled-Down Base With Picked-Out Top
This is about contrast. The bottom half of the puff area is smoothed completely flat with gel, and the top is picked out into maximum volume. The tight-to-loose transition creates drama and emphasizes the roundness of the puffed section.
You’ll need a stronger hold gel for this than you’d use for a normal puff. The base has to stay absolutely flat for the style to work. Look for edge control products with a medium to firm hold rating.
Apply the gel in sections, brush smooth, then move on. Don’t keep re-brushing — you’ll end up with a gummy mess. One pass per section is usually enough if your product is good.
16. The Puff With a Scarf Headband Wrap
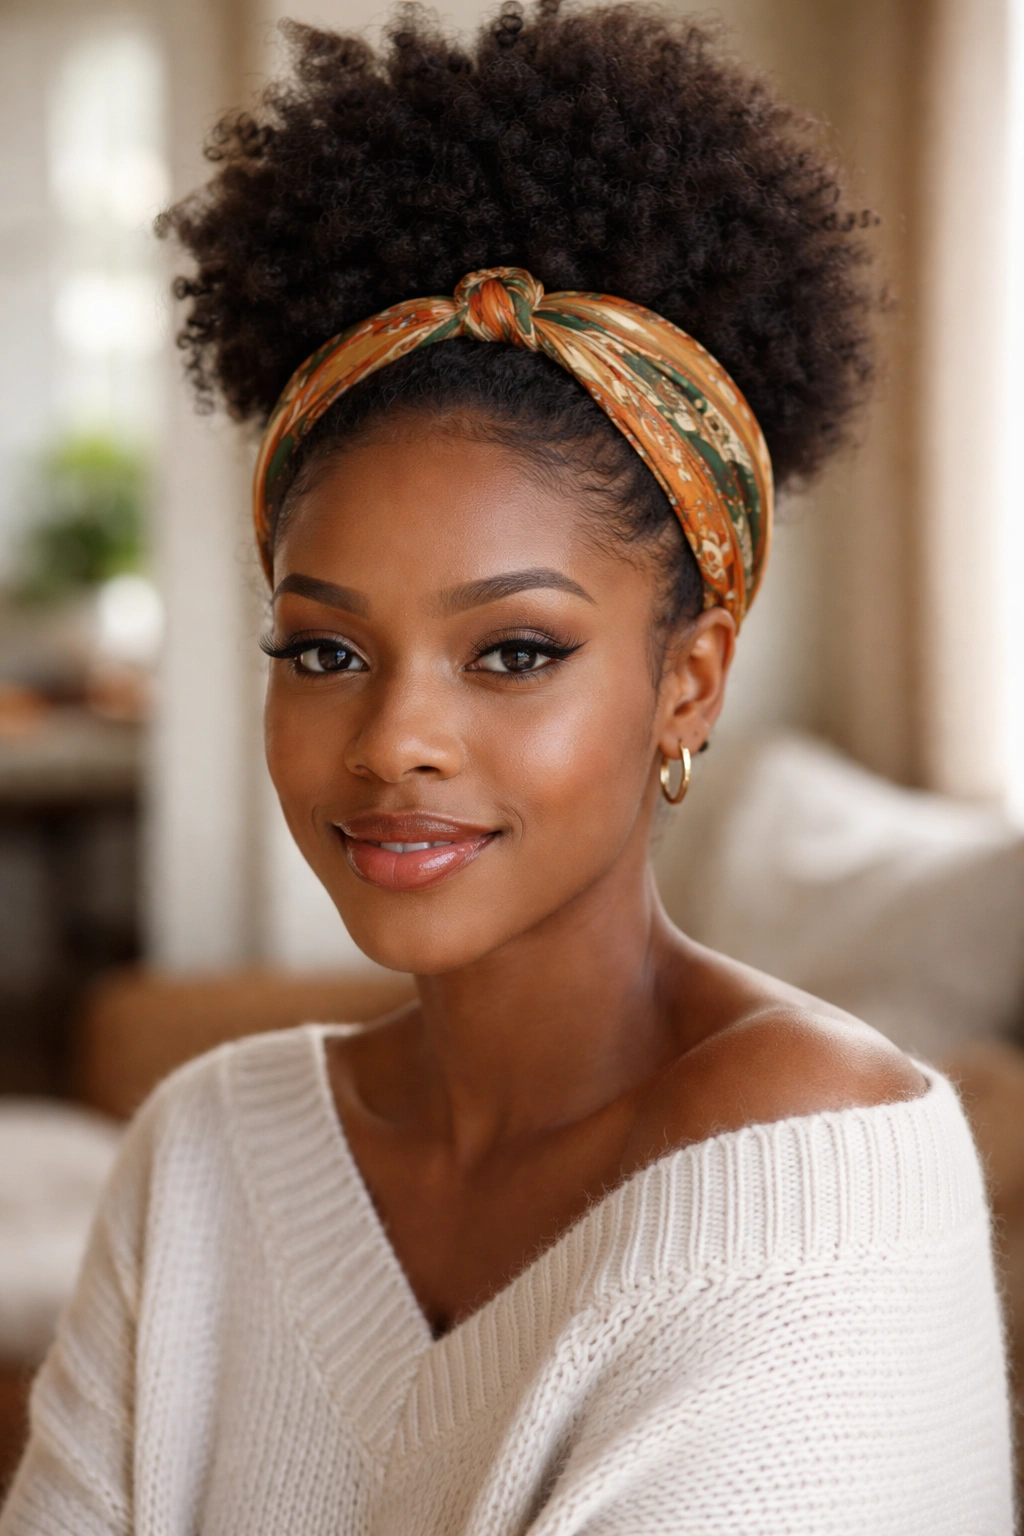
A silk or satin scarf tied across the hairline in front of a puff adds pattern, color, and polish. It also hides any edge imperfections if you haven’t had time to do your edge control properly.
Pick scarves that complement your outfit. Solid colors work with patterned clothes. Printed scarves work with solid-color clothes. Avoid clashing prints — it looks busy.
The scarf should sit about an inch behind your hairline and be tied in a small knot either at the crown (behind the puff) or to one side. Hanging scarf tails look messy with a puff and usually come untucked throughout the day.
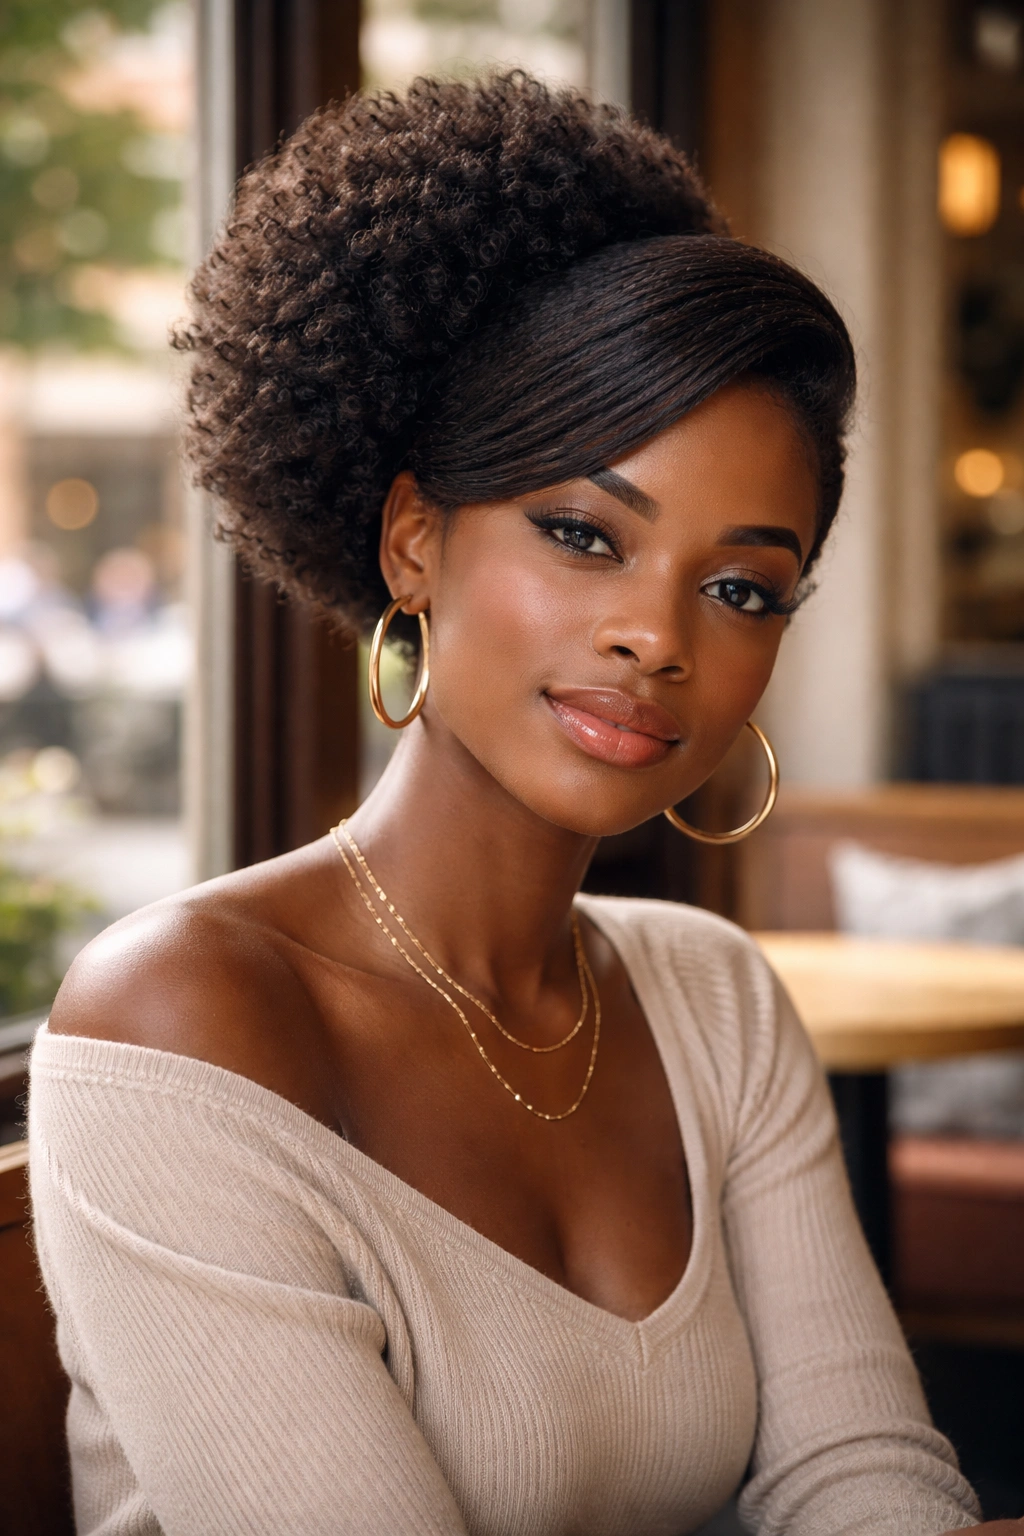
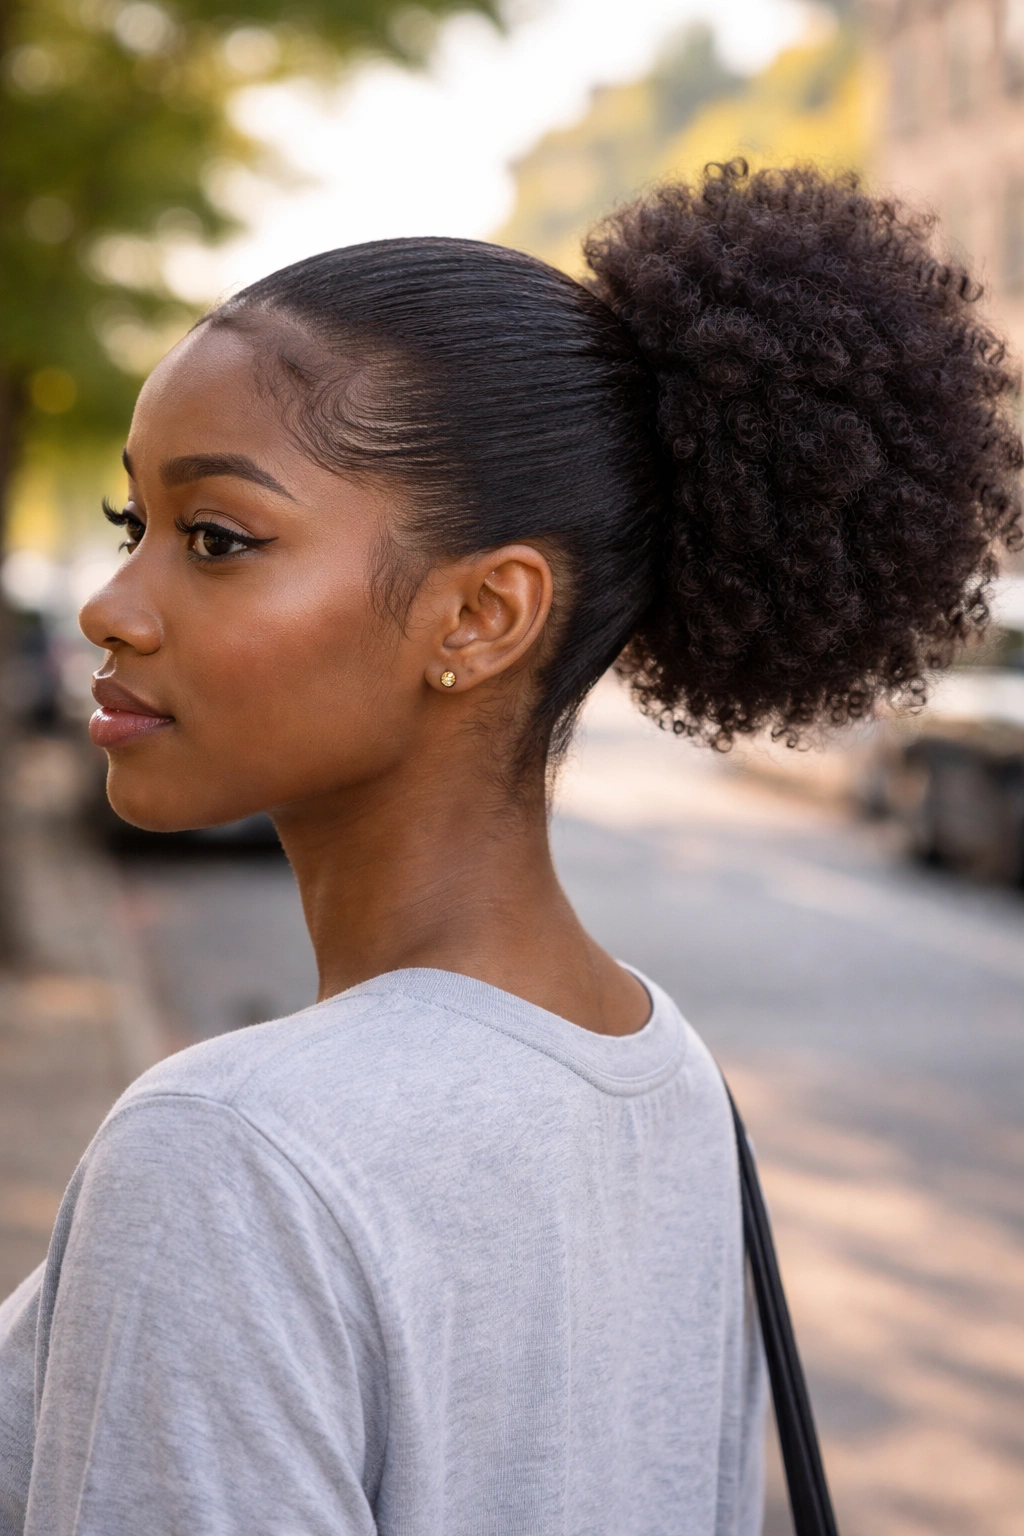
17. The Curved-Back Puff With a Sleek Crown
Picture the crown section smoothed back completely flat from hairline to the base of the puff. The hair is pulled into a rounded curve that shows the shape of your head, then erupts into a full volume puff at the back crown.
This is the “Ariana Grande puff” concept adapted for 4C hair. The sleekness at the front contrasts with the volume at the back for a glamorous, runway-ready silhouette. It’s not an everyday look — it’s a statement look for events.
You’ll need enough product to keep the front truly flat. 4C hair doesn’t stay slicked naturally — it wants to puff up. Use a strong hold gel on the front and let it dry completely before adding any other styling.
18. The Faux Bun Made From a Puff
Twist the gathered hair of your puff into a bun shape at the crown. The result looks like a bun but has more texture and volume than a traditional smooth bun would on 4C hair.
Who This Is For
- People who want a bun but have 4C hair that doesn’t smooth into classic bun shapes easily
- Anyone looking for a quick dressy updo without a hairstylist
- Busy mornings when you want elevated but fast
You take the gathered hair, twist it around the base once or twice, and tuck the ends under. Secure with bobby pins. The bun will have visible coils and texture — that’s the point. It’s not a smooth ballerina bun; it’s a textured faux bun that celebrates your curl pattern.
19. The Puff With a Deep Side Part

Run a deep side part from above one eye back about four inches before gathering the puff. The part creates a clean diagonal line across the crown that leads into the volume behind it.
Unlike a center part or a middle-sectioned puff, the side part reads more sophisticated and less youthful. It’s a grown-woman version of the puff that works for professional settings without losing the natural hair aesthetic.
Make the part clean and straight. A rat-tail comb helps here. Apply a tiny bit of product along the parted section to keep the hairs from escaping and fuzzing up the line.
20. The Wet-Set Puff With Defined Coils
Create a puff while the hair is still wet from your wash day routine. Apply curl cream and gel in sections, gather into the puff, and let it air dry fully before touching. The wet set creates a puff with defined, glossy coils throughout.
The key is leaving it completely alone while it dries. No touching, no adjusting, no checking. Touching wet styling 4C hair disrupts the curl pattern and creates frizz. Patience is everything.
Expect three to four hours of drying time for a full puff, maybe longer in humid weather. This is a style to do on a weekend morning when you have time to wait, not on a rushed weekday.
21. The Messy Puff for an Off-Duty Look
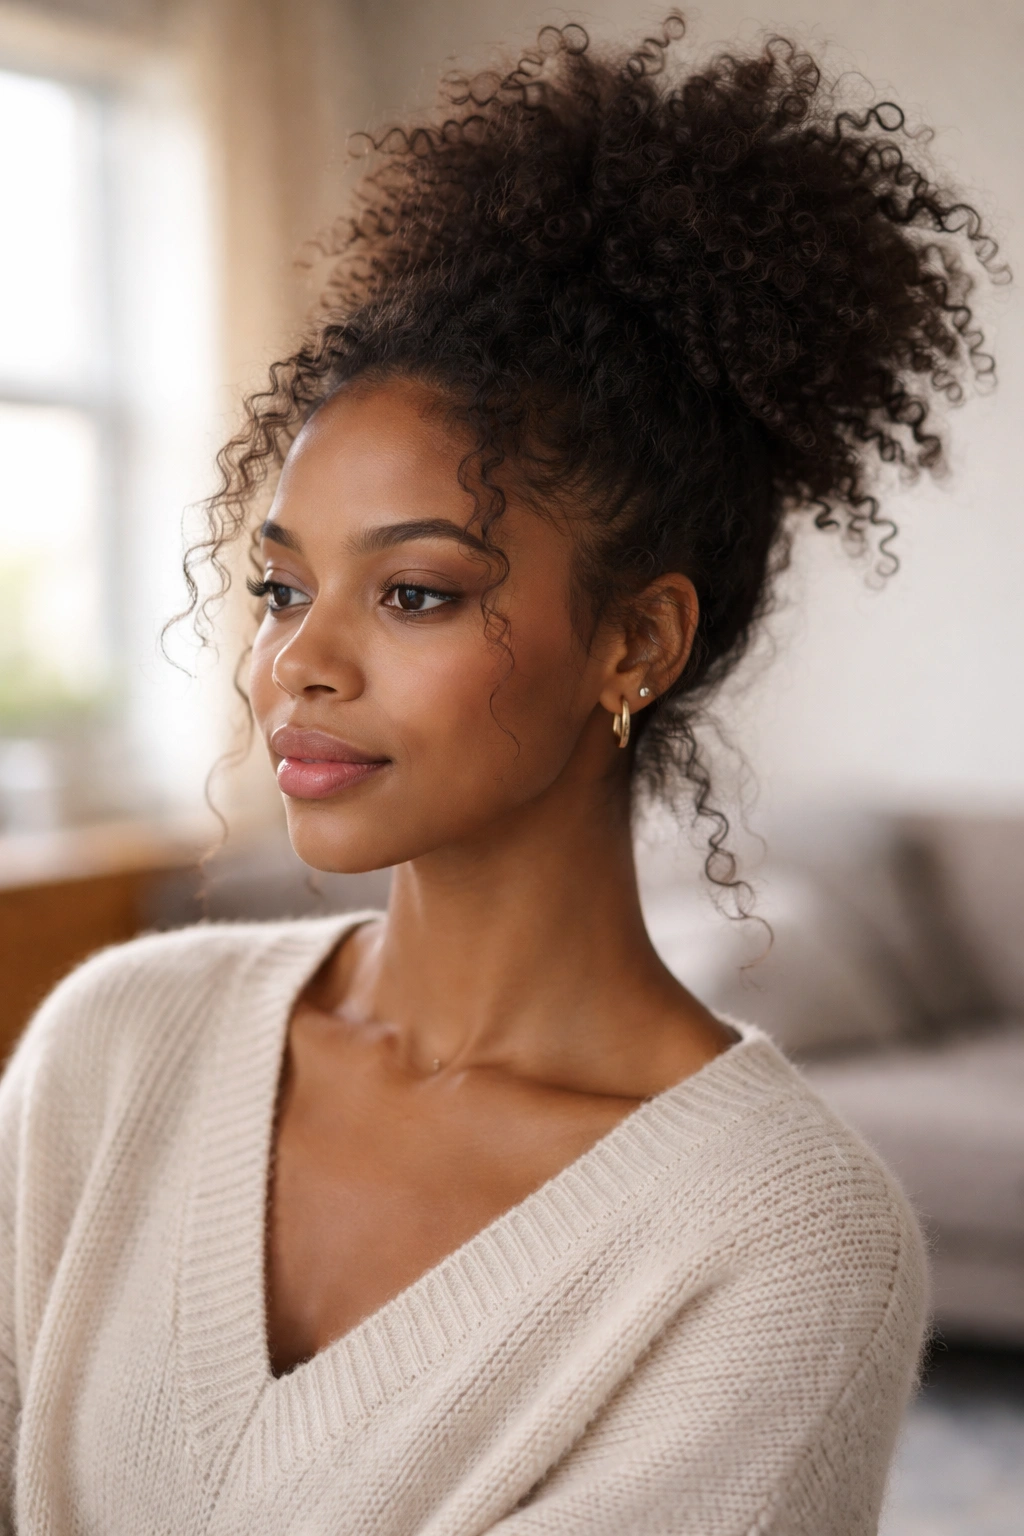
Sometimes the point is to look effortless. A deliberately messy puff — pulled up quickly, left slightly loose, with strands escaping on purpose — has a cool-girl vibe that over-perfected puffs can’t match.
The mess has to look intentional, not neglected. There’s a difference. Intentional mess has shape and balance. Neglected hair just looks bad.
- Gather loosely, not tight
- Let a few pieces fall out at the temples and nape
- Don’t worry about perfect edges — a little fuzz is part of the look
This is my go-to for weekend mornings, coffee runs, and days when I want to look put-together without actually putting in much effort. It’s the hair equivalent of a white t-shirt and jeans.
22. The Puff Combined With a Braid Crown
Braid a thin section across the top of the head — from ear to ear — before gathering the remaining hair into a puff behind it. The braid acts as a crown that frames the top of the puff.
This style takes longer to execute because you have to complete the braid before starting the puff. Plan on twenty to thirty minutes for the full look versus ten for a standard puff.
The payoff is a style with multiple textures in one — the smooth braid on top, the voluminous puff behind it. It reads as carefully styled and intentional. Great for special occasions, graduations, weddings, and anywhere you want to look elevated.
23. The Small Puff With Exposed Nape

Pull all the hair up into a compact puff at the very top of the head, leaving the entire back of the neck exposed. This style is about showing off your neckline as much as your hair.
It’s especially flattering if you have a long neck or want to elongate your silhouette further. The exposed nape creates vertical interest that balances the volume on top.
Pair with chandelier earrings or a statement necklace. The exposed neck is an invitation to feature jewelry. It’s the hair style equivalent of pulling your hair back for a fancy dinner — intentional, elegant, and focused on showcasing your features.
24. The Afro Puff With a Colorful Accent Braid
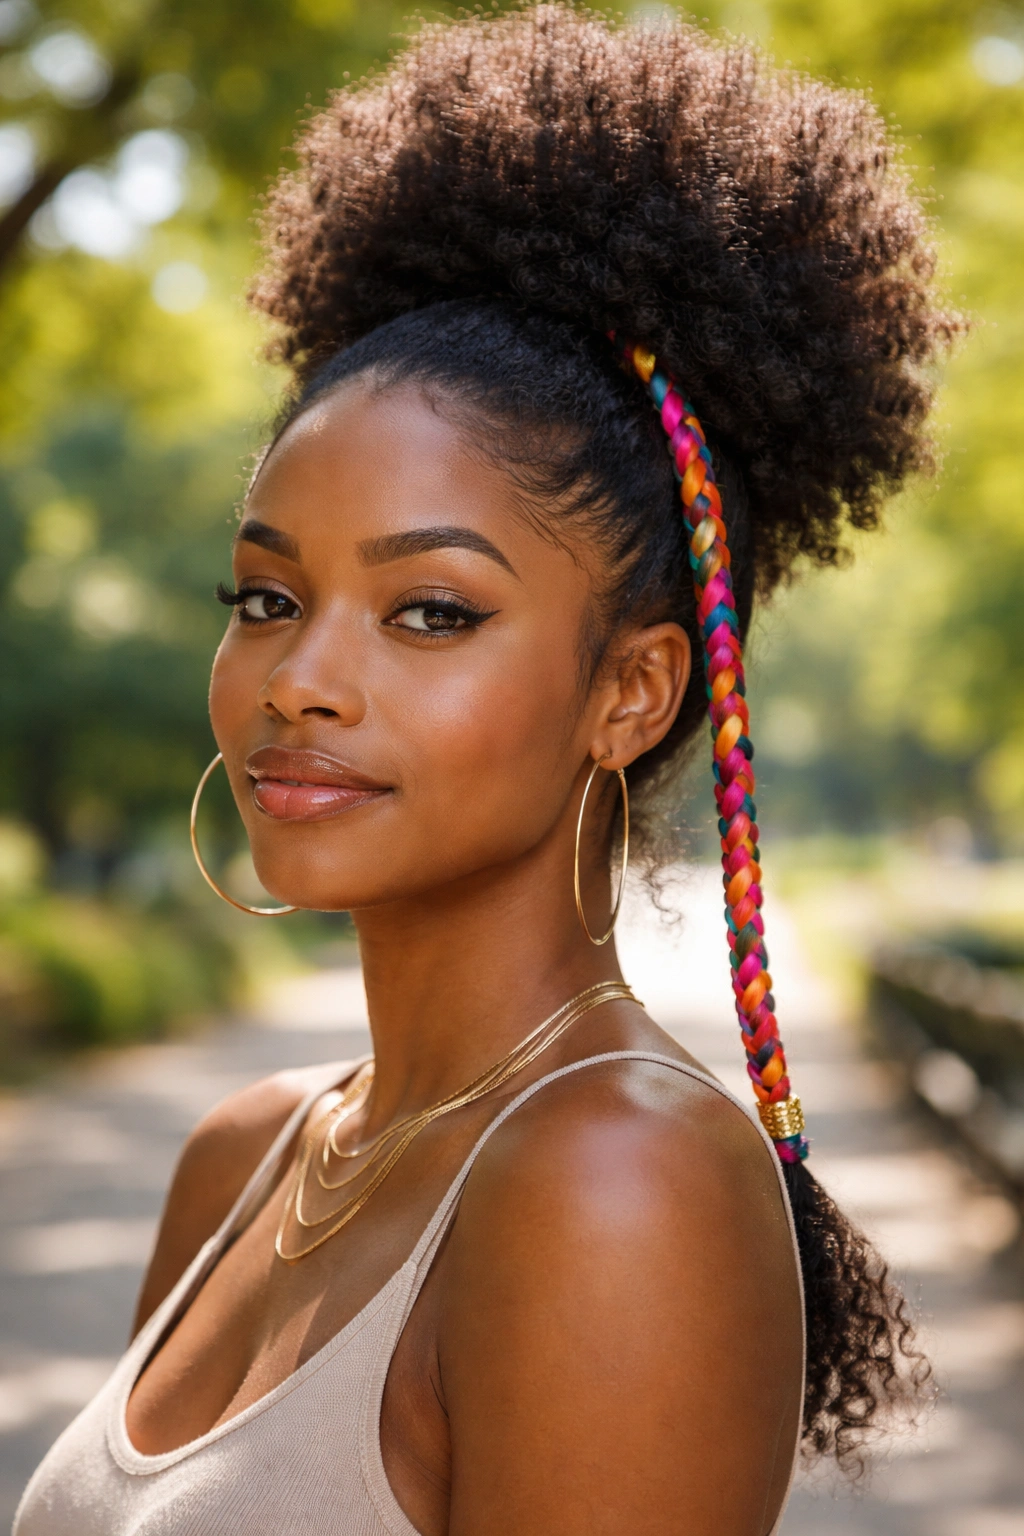
Add a single braid in a contrasting color — either a temporary color spray on one section or an actual colored extension braided in — running along one side of the puff. The pop of color adds personality without committing to fully dyed hair.
Temporary color sprays wash out in one shampoo. Clip-in colored braids come out at the end of the day. Both give you the flexibility to experiment with color without the permanence of actual dye.
This is a festival-ready style, a photo-day style, a “feeling bold” style. Not your daily look unless you really love the color accent. Use sparingly for maximum impact.
25. The Textured Puff With No Gathering Tool Visible
The final style is more of a technique than a distinct look. The goal is to create a puff where the band or scarf securing it is completely hidden, giving the appearance that the puff is just naturally holding itself up.
You gather the hair, secure with a small elastic at the base, then wrap a few sections of the gathered hair around the elastic to cover it completely. Pin into place. The result looks like the volume is defying gravity on its own.
The payoff: this is the most polished version of any puff style. No visible hardware, no exposed bands, just hair. It’s a small detail that makes a huge difference in how professional the final look appears in photos and person.
How to Keep Your Edges Safe While Wearing Puffs Daily
Puffs pull at your edges. Worn daily, they can cause thinning over time — especially if you tie them tight or use rough bands. The solution is to rotate styles. Don’t wear a puff every single day. Give your edges a break with down styles, protective styles, or low puffs that don’t gather the front tightly.
Silk scarves protect better than elastic bands because they distribute tension across a wider area. If you’re going to wear puffs frequently, invest in a few good silk scarves and use them instead of regular hair ties.
Massage your edges with a growth oil at night. Rosemary oil, castor oil, or a commercial edge growth serum all work. Consistency matters more than the specific product — daily application beats occasional treatment every time.
Refreshing a Puff Mid-Week Without Washing
A puff can last three to five days if you protect it at night. To refresh it, spritz lightly with a water-leave-in mix, smooth any frizzies at the base with a small amount of edge control, and pat the puff back into shape with your hands.
If the base is too loose, unwrap the scarf and retighten before smoothing. Don’t try to just pull it tighter while wearing — you’ll create bumps and uneven tension.
When the whole puff starts looking dusty or flat, it’s time to wash and restart. Don’t push it too far. Dirty, stale puffs are one of the most common 4C mistakes because people think they’re “saving time” by not washing, but they end up with hair that looks bad and is harder to style.
Picking the Right Puff Style for the Occasion
The everyday puff is different from the event puff. The everyday version is simple, fast, and built for comfort. The event version has more styling, more details, more intention. You need both in your rotation.
For work, stick to the polished classics — a high puff with clean edges, or a low puff for more conservative environments. For casual weekends, messy puffs, side-swept puffs, and double puffs are fun. For special events, go with textured, braided, or styled-front versions.
The best puff is the one you can execute quickly and feel confident wearing. Don’t overthink it. Start with the classic high puff, get that down perfectly, then add one new style to your rotation each month until you have four or five go-to looks that cover every situation in your life.