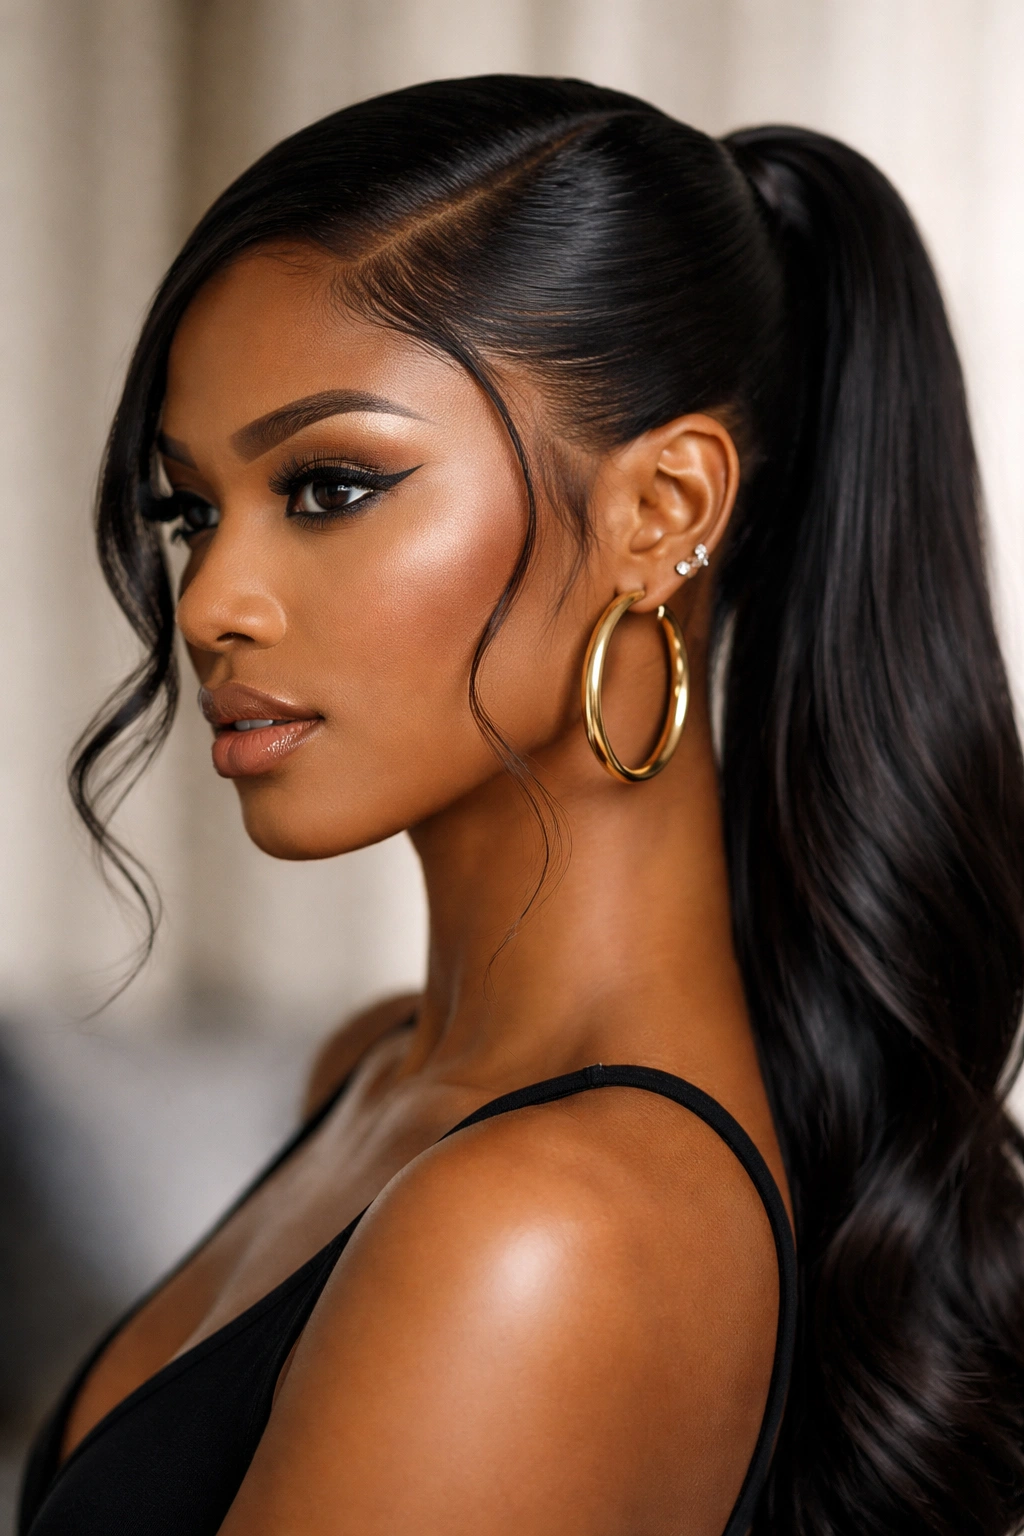
There is a specific kind of confidence that comes with a perfectly executed ponytail. It’s not just about getting the hair out of your face; it’s about the tension, the architecture of the scalp, and that sharp, clean line where the hair meets the skin. For many of us, the sleek side-part ponytail is the ultimate power move. It reads as professional in the boardroom, yet it maintains an edge that works just as well for an evening out.
Getting this look right, however, is rarely as simple as throwing your hair into a band and hoping for the best. It requires intention. It demands a specific combination of tension, product, and patience. When you combine the dramatic asymmetry of a side part with the structured elevation of a ponytail, you are working with geometry. The goal is a seamless finish that doesn’t just sit on the head—it commands the room.
We are moving past the days of heavy, crunchy gel and thinning edges. The current standard is about gloss, health, and precision. Whether you are working with your natural texture, extensions, or a silk press, the techniques for creating a long-lasting, snag-free, and sleek style are consistent. It is about building a foundation that doesn’t sag by midday.
The Foundation of a Perfect Side-Part Ponytail
Before you even touch your styling product, you have to look at the health of the hair. If you are starting with dry, brittle strands, no amount of edge control will make it look polished. You need a clean slate. This means starting with a deep condition or a fresh wash. If you have product buildup from the week, your hair will not lay flat, no matter how hard you brush.
Moisture is non-negotiable. Using a lightweight leave-in conditioner ensures the hair is pliable. If you are flat-ironing for a bone-straight look, use a heat protectant that doesn’t weigh the hair down. Silicone-based serums are popular, but they can be too heavy for finer hair. Find something that provides a “slip” so your brush can glide through without catching.
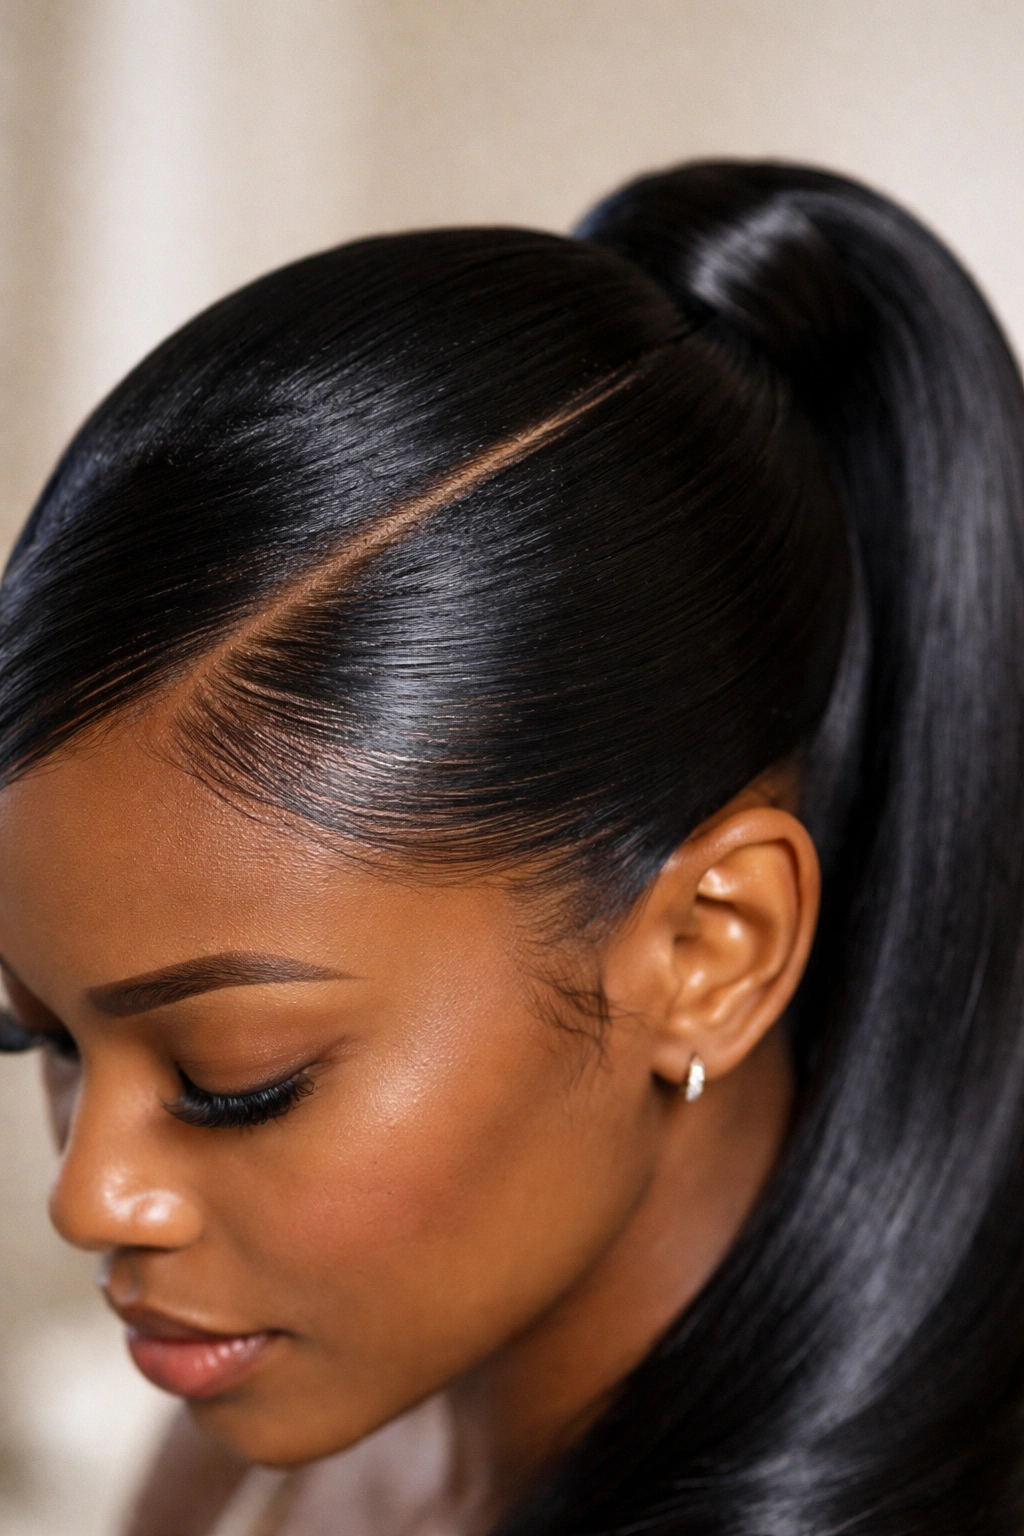
The parting process is where most people rush, and it shows. Use a rat-tail comb—not your fingers—to get that crisp line. If you are doing a deep side part, trace it from the arch of your eyebrow back toward the crown. A clean part acts as the frame for the entire style. If the frame is crooked, the portrait will look off-balance. Take the time to get this line straight, even if you have to redo it twice.
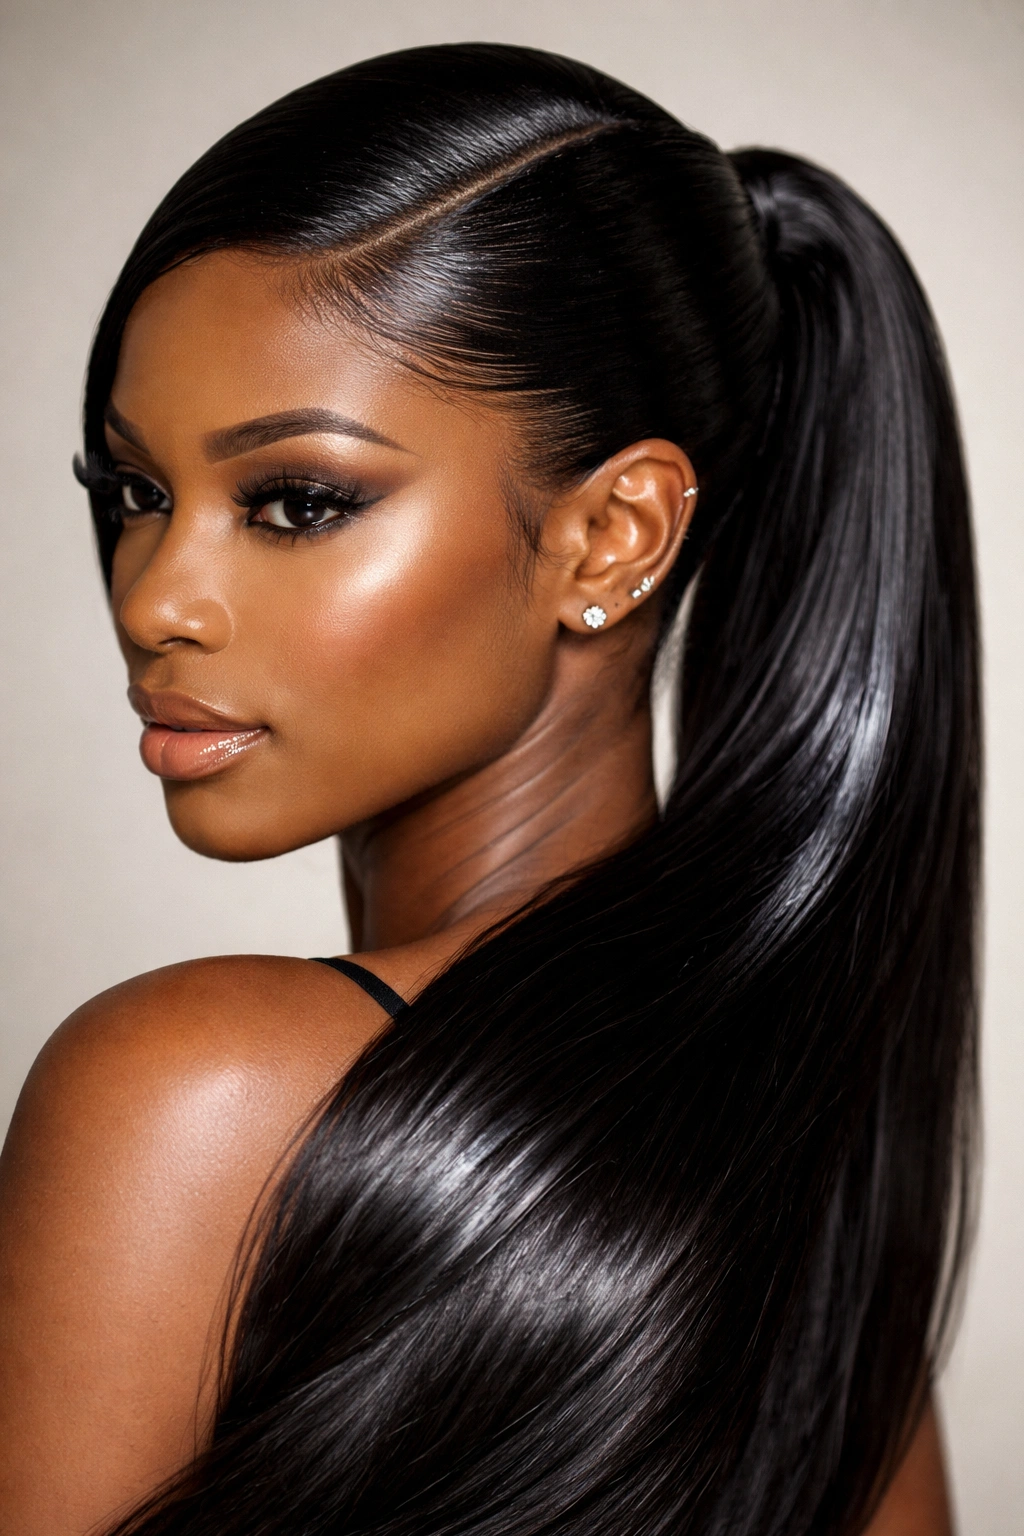
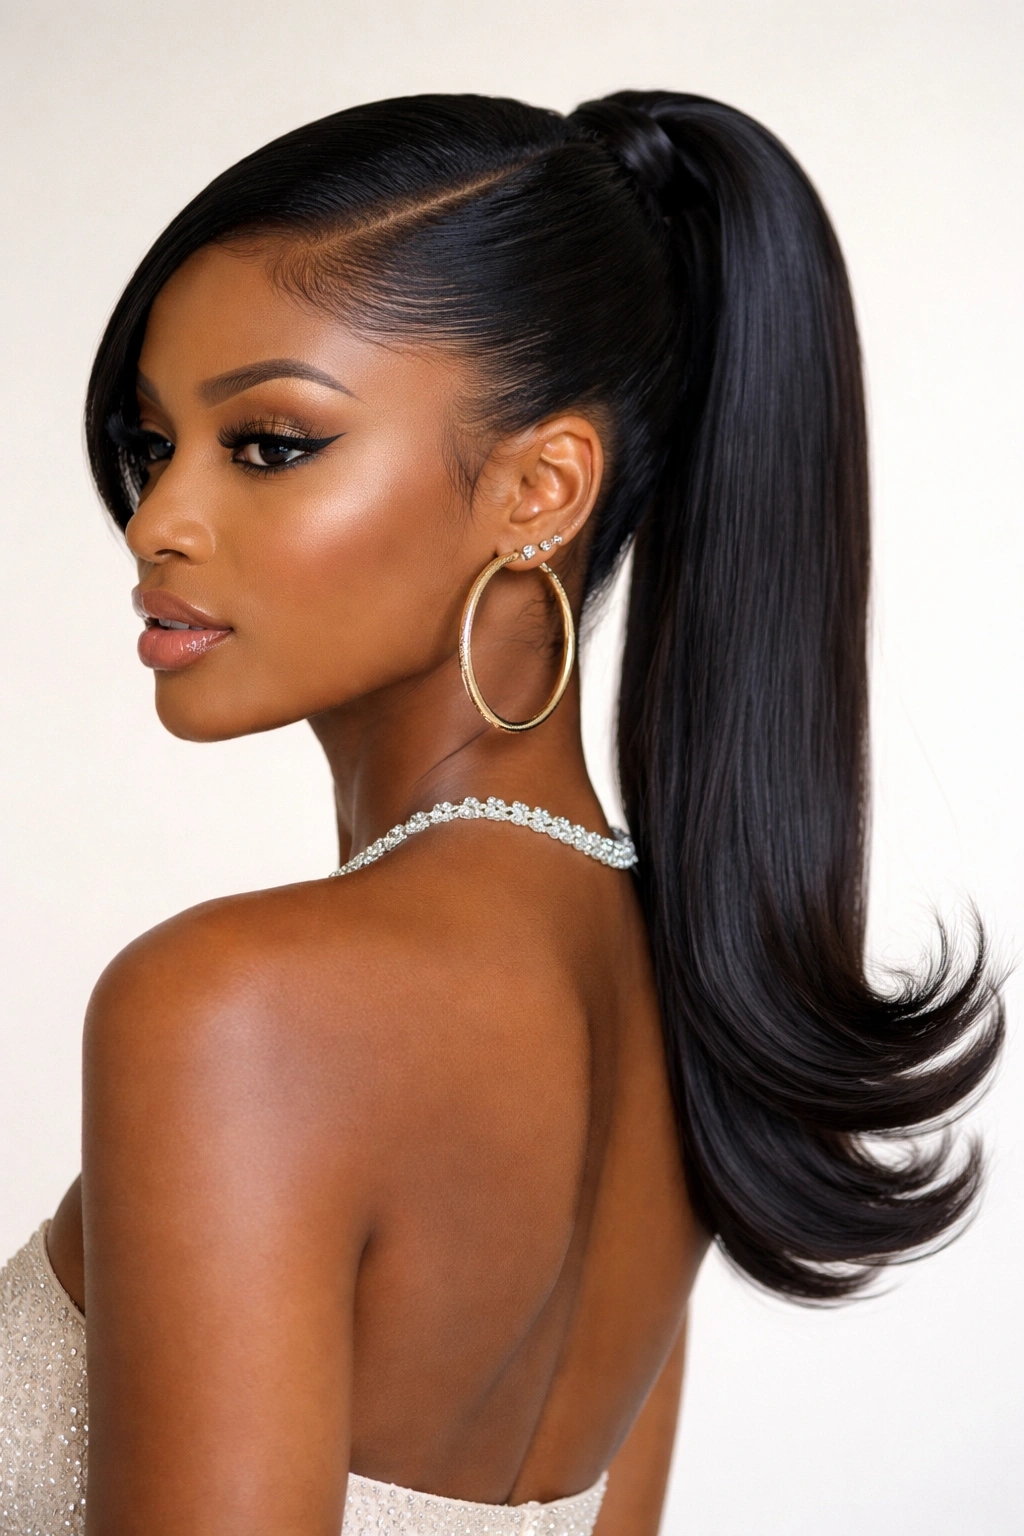
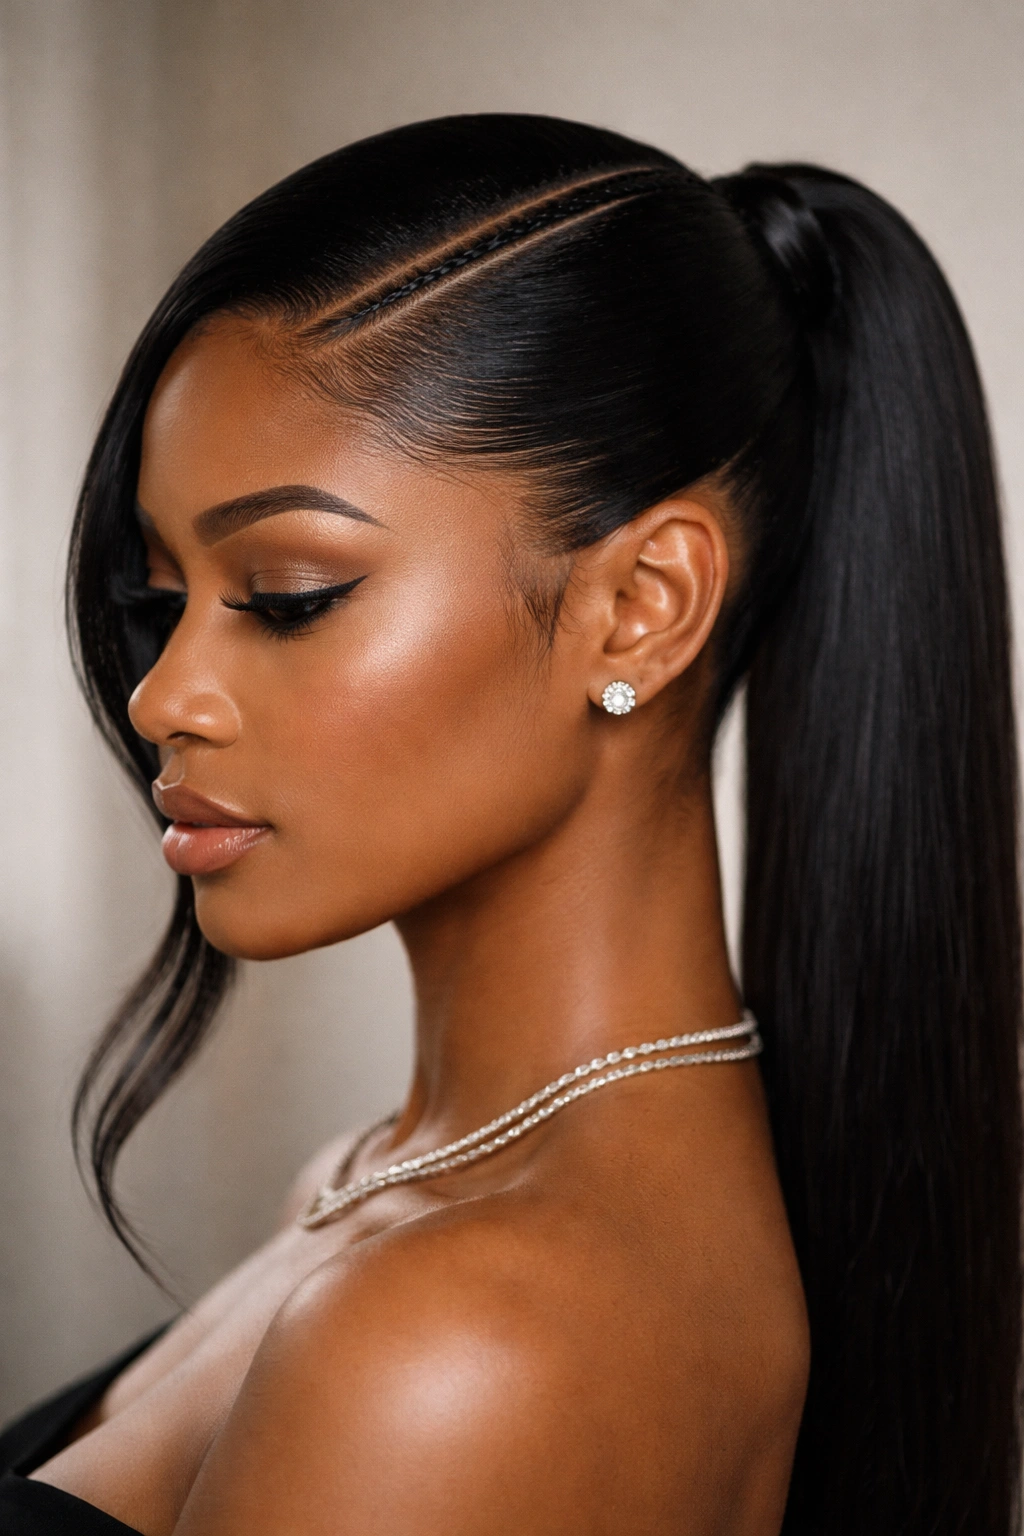
1. The Classic Bone-Straight Sleek
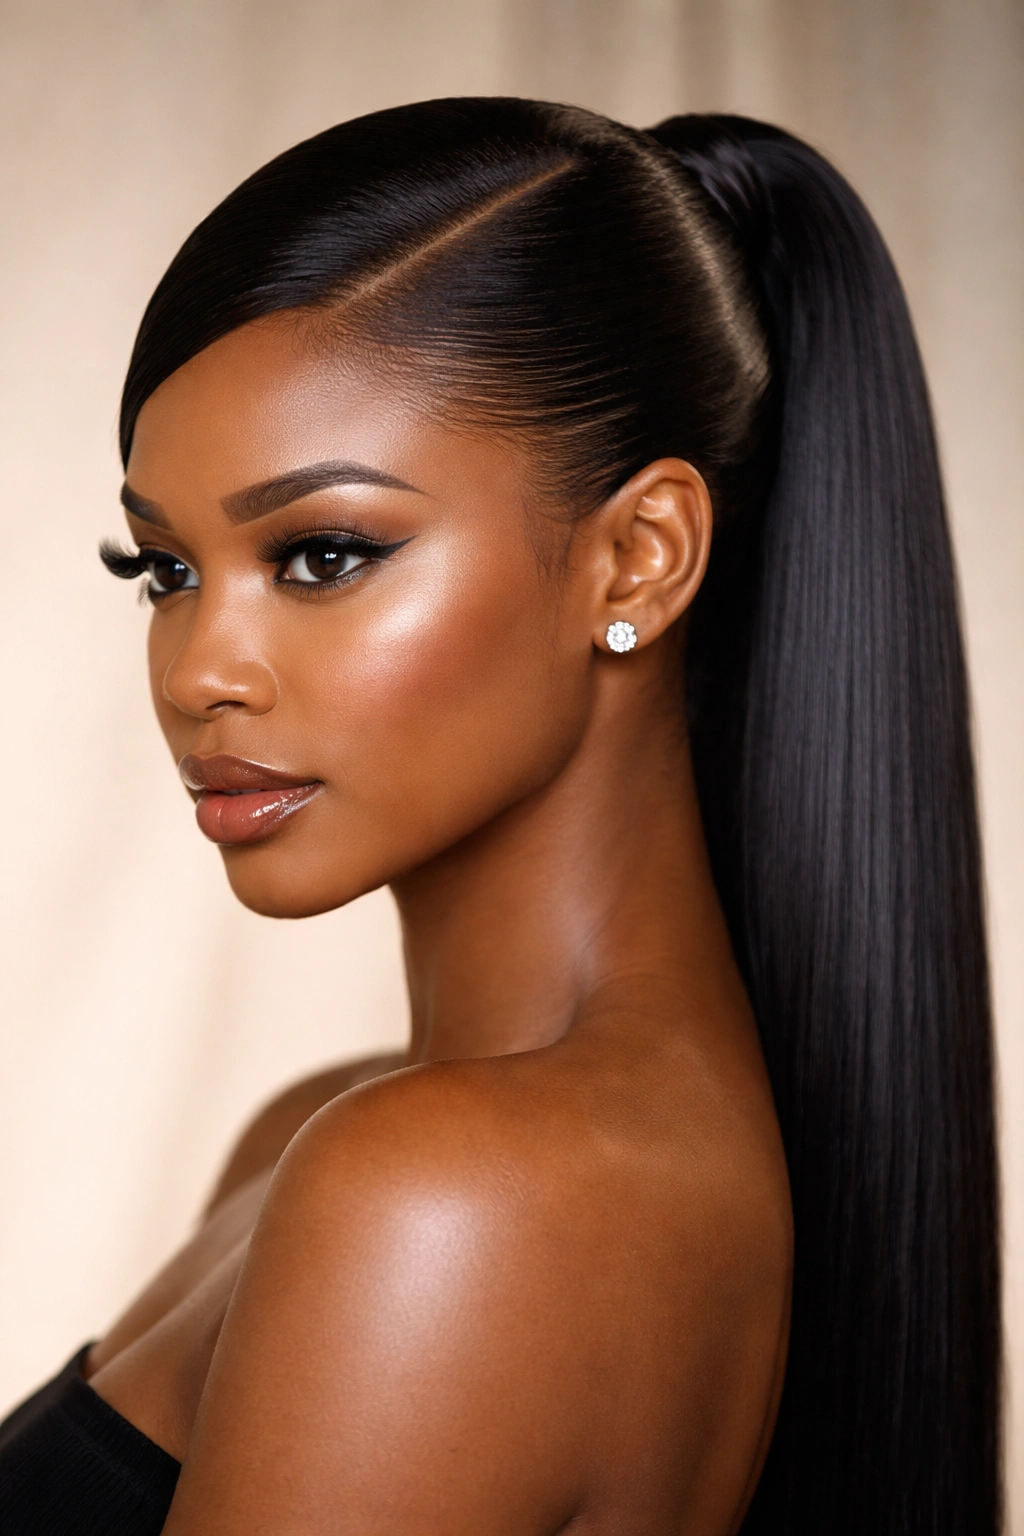
This is the standard-bearer for the side-part ponytail. It is all about the flat iron technique. You need to press the hair in small, thin sections to ensure every strand is aligned. The heat must be consistent, but do not linger on the ends or you will lose the density.
Why This Style Works
The uniformity of the texture creates a glass-like finish that catches the light. When paired with a sharp side part, the hair frames the face without obstruction. It is clean, minimalist, and timeless.
Styling Tip
Use a shine spray only after you have finished styling. If you apply it before you brush the ponytail into place, it can create a greasy buildup that ruins the sleekness.
2. Deep Side-Part with Face-Framing Swoop
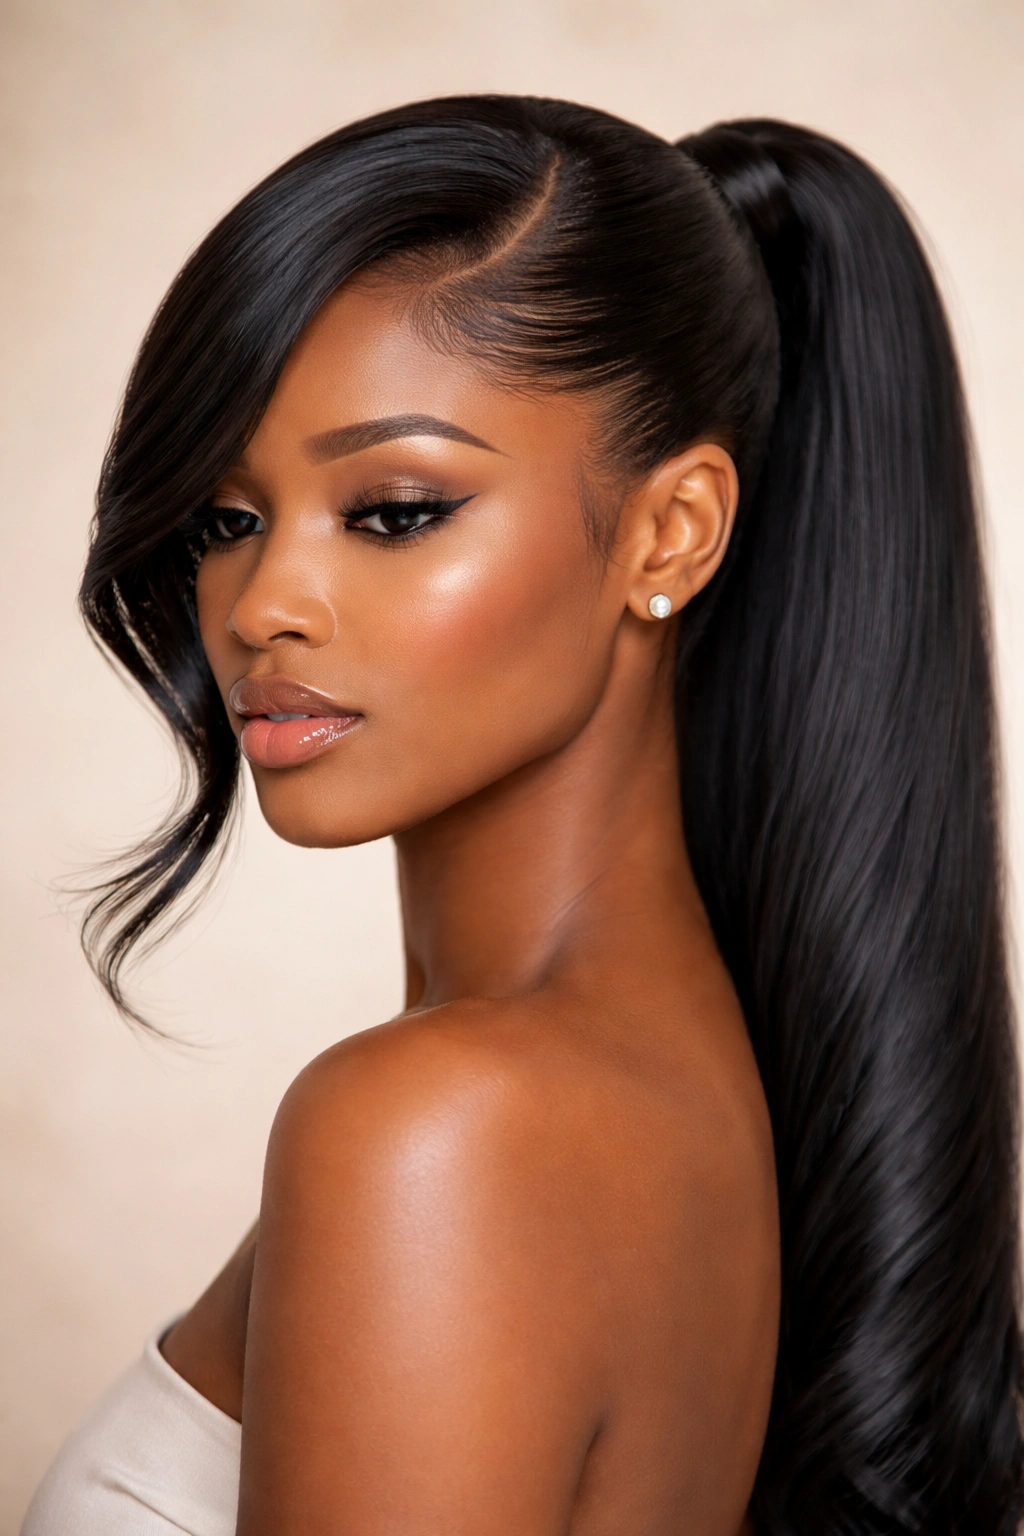
The “swoop” is a classic technique, but it has to be executed with a light hand. You are essentially taking the section of hair closest to the part and sweeping it across your forehead, pinning it discreetly into the base of the ponytail.
The Execution
The trick is to avoid letting the swoop look “helmet-like.” It should have a natural, soft curve that follows the shape of your face. Use a firm-hold styling wax to lay the hair down, then tie it down with a silk scarf for 10 to 15 minutes. This creates the set without needing excessive glue or hard gel.
Pro Adjustment
If you feel like the swoop is too thick, take a very small amount of hair—just a quarter-inch section—and leave the rest to brush back normally. It looks more modern and less like a vintage pin-up look.
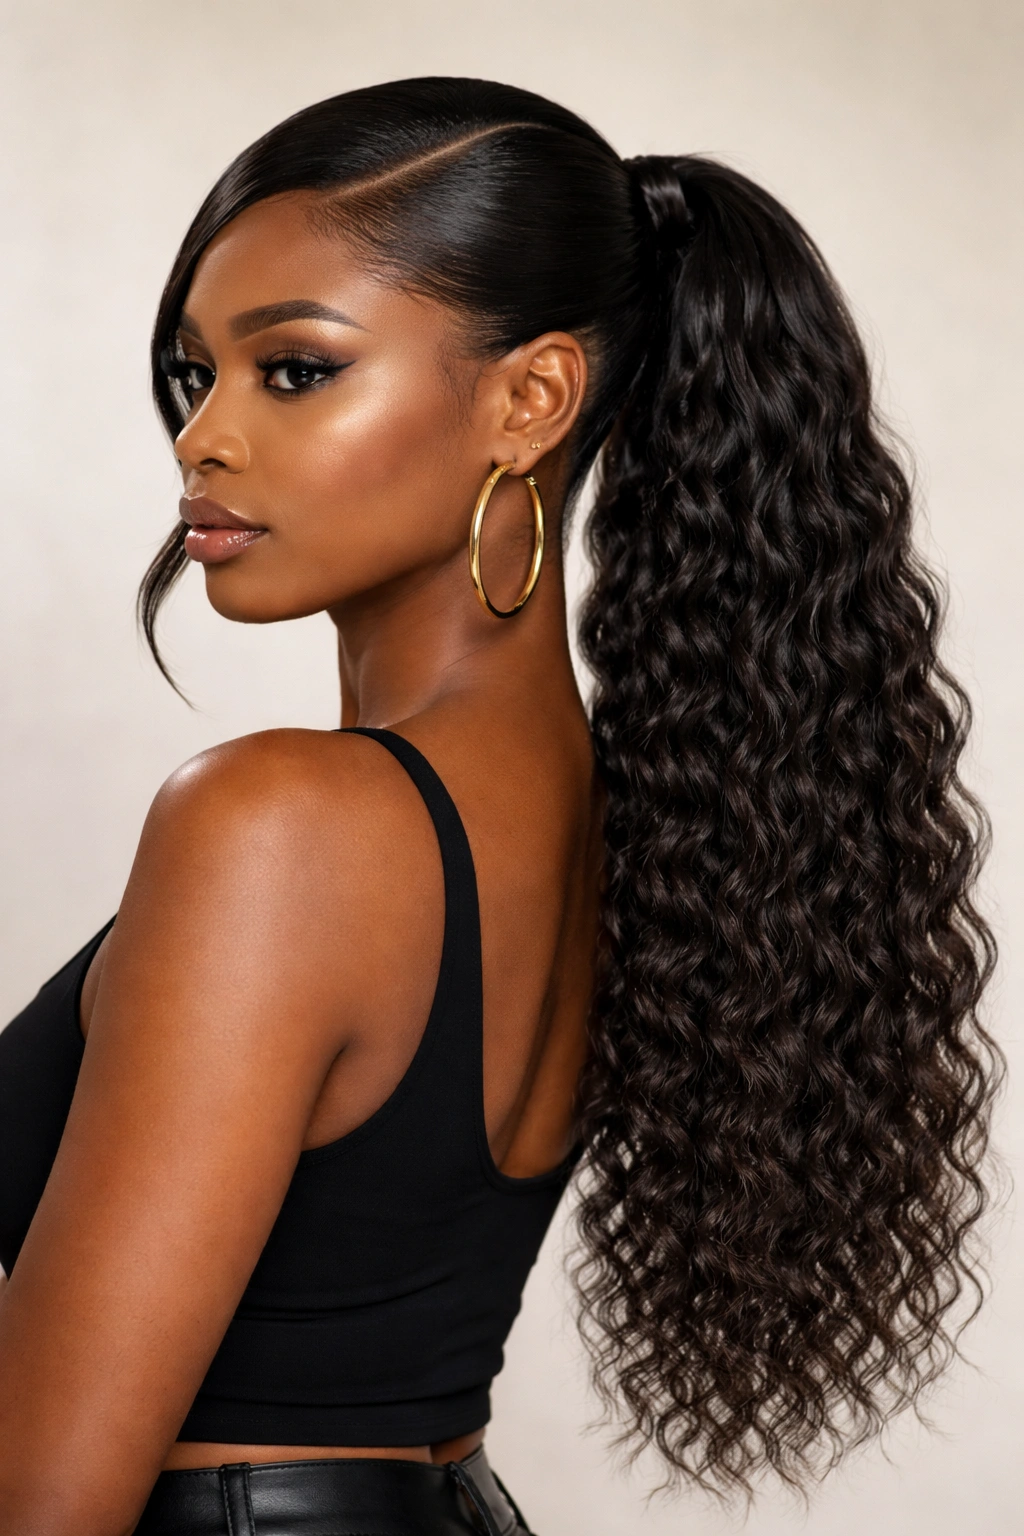
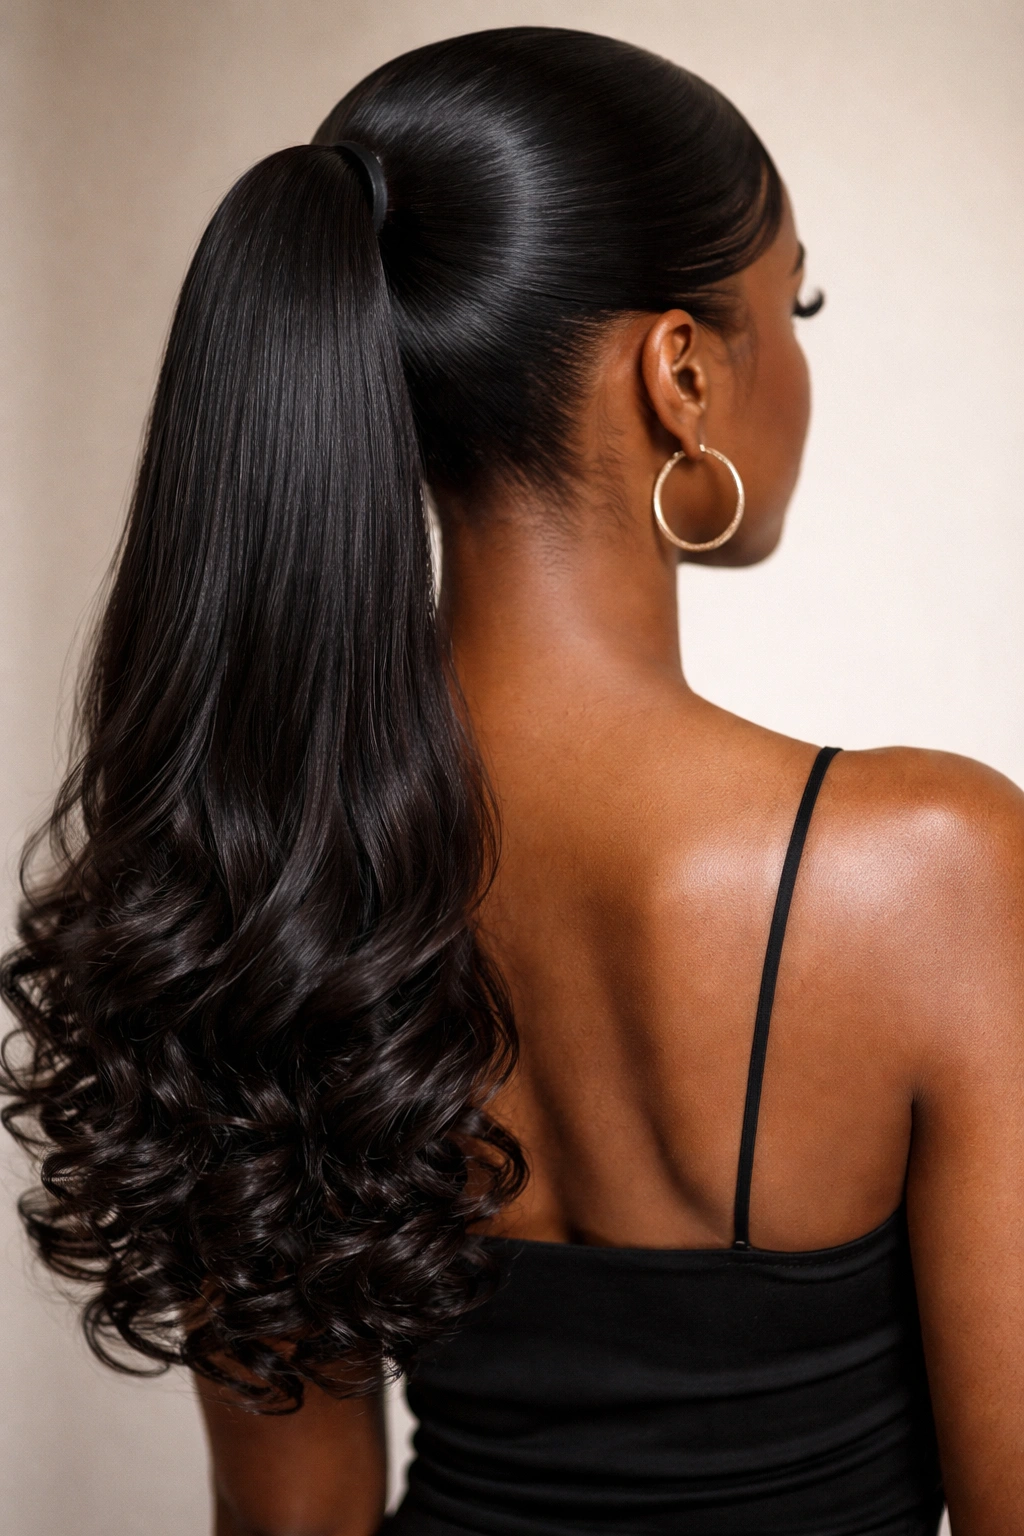
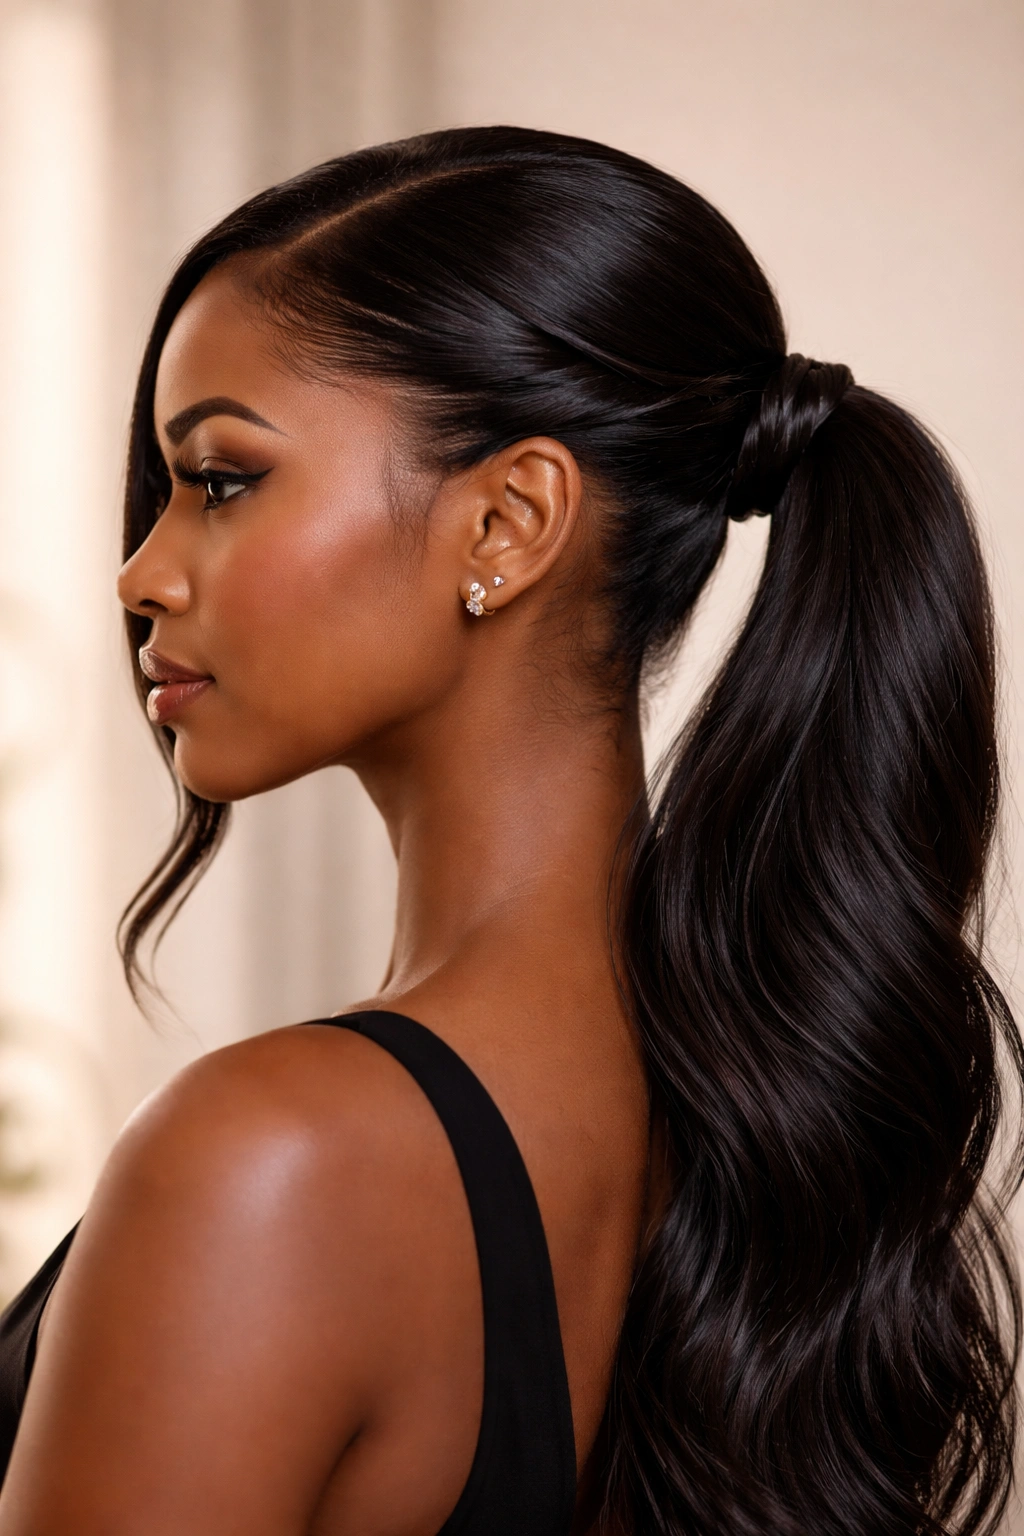
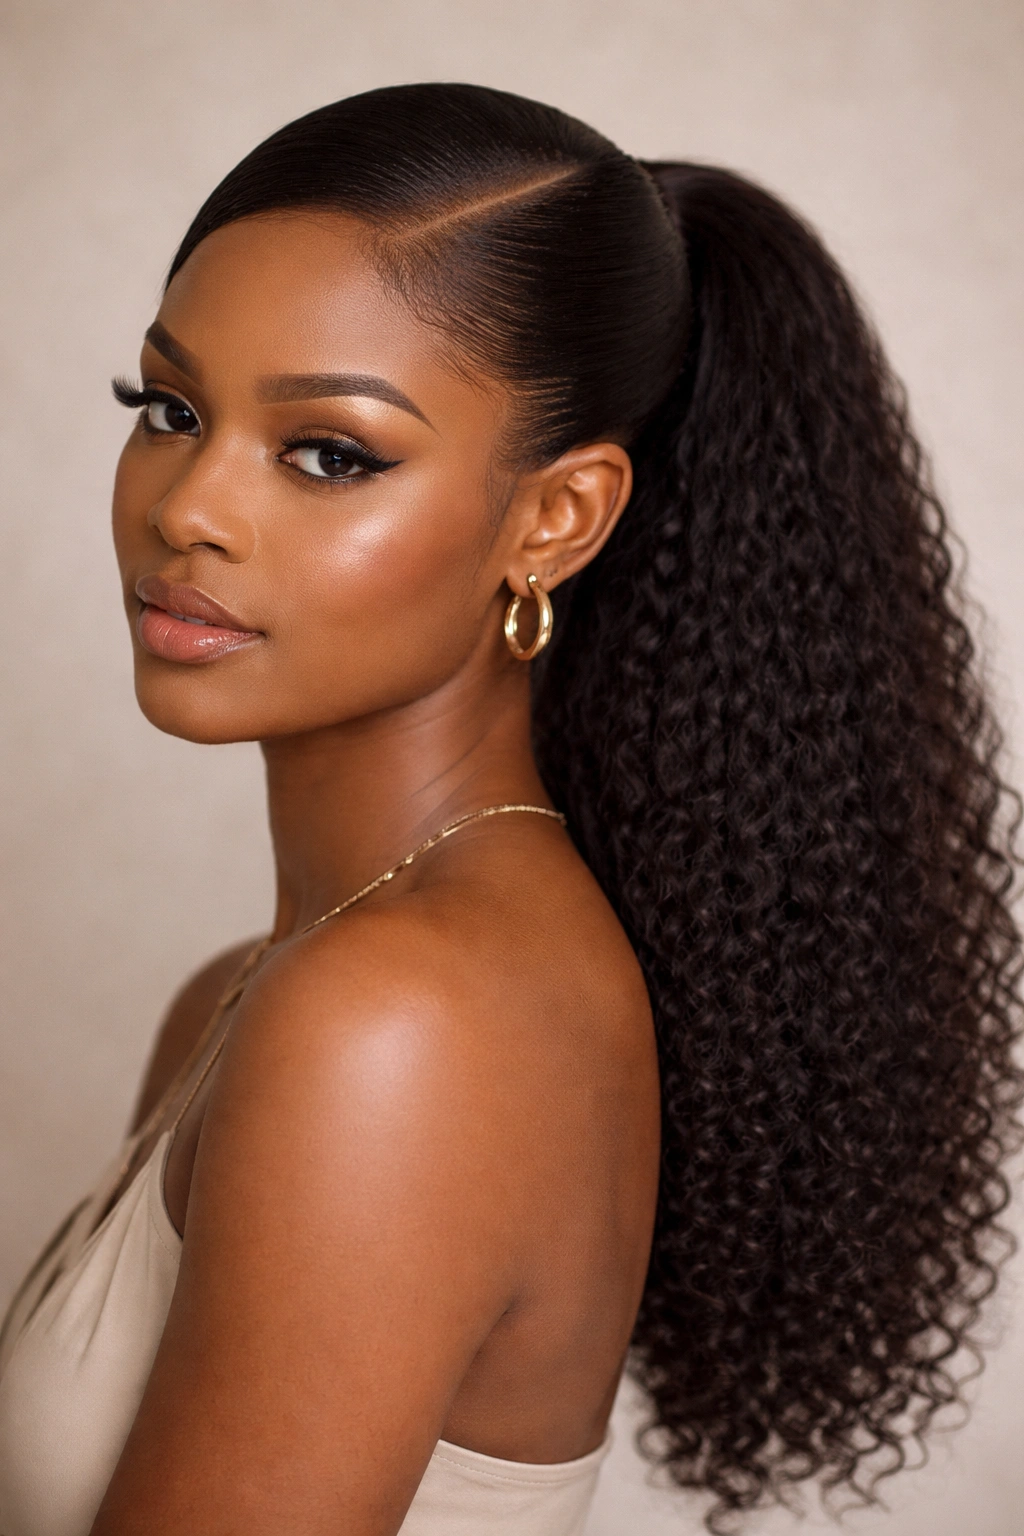
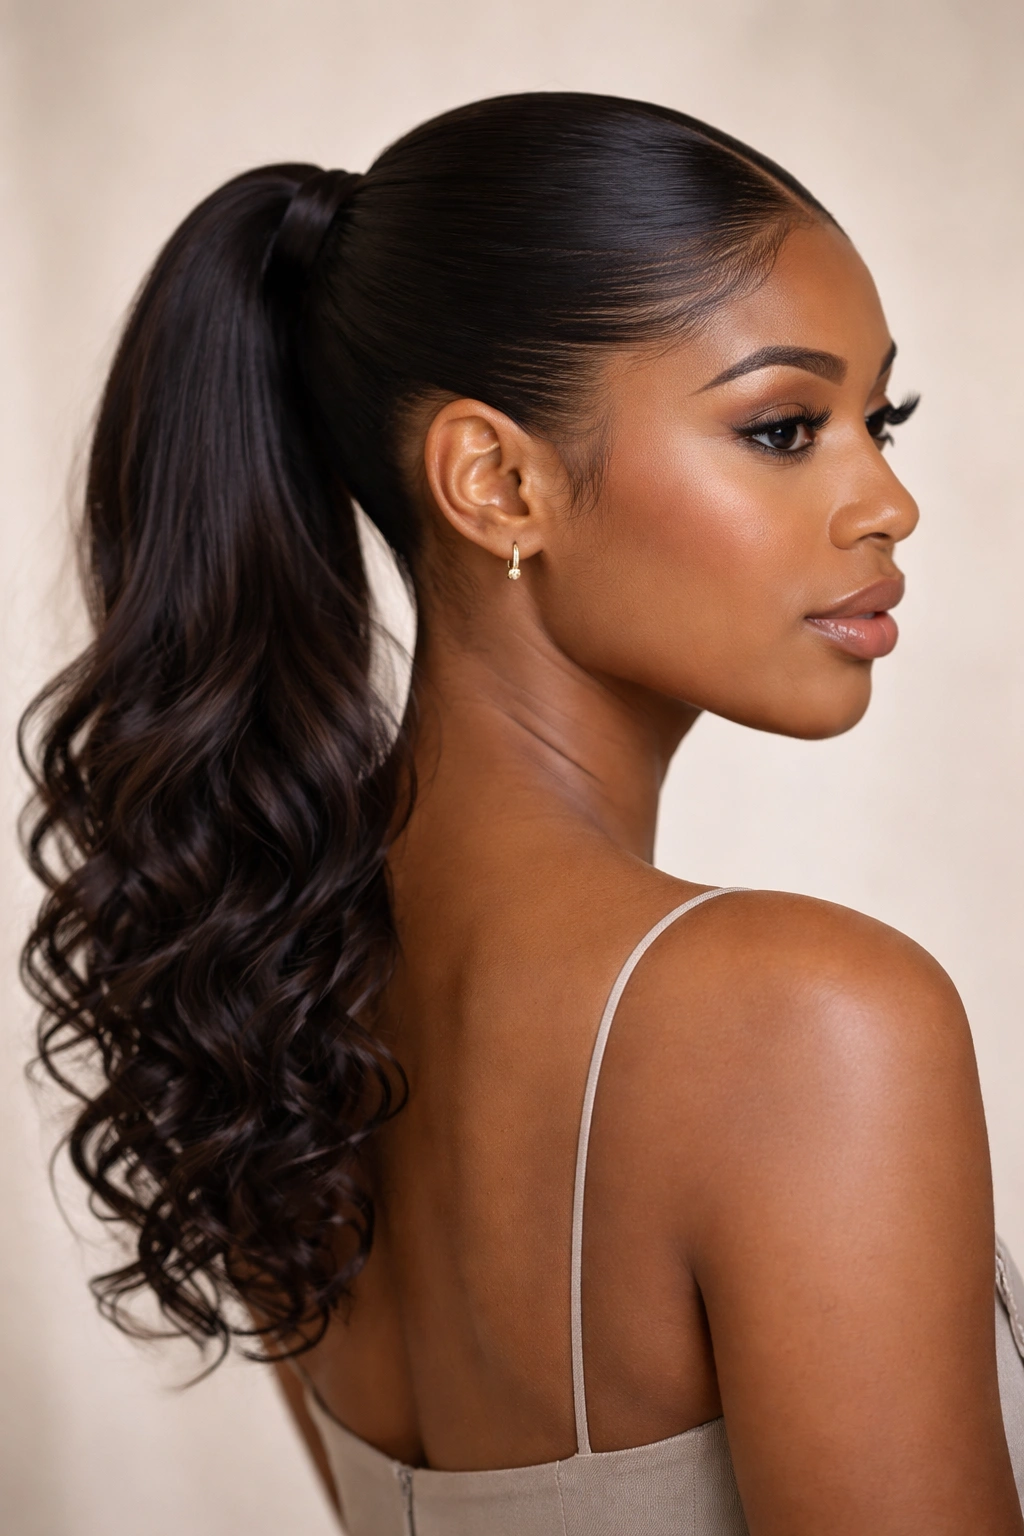
3. High-Volume Voluminous Curls
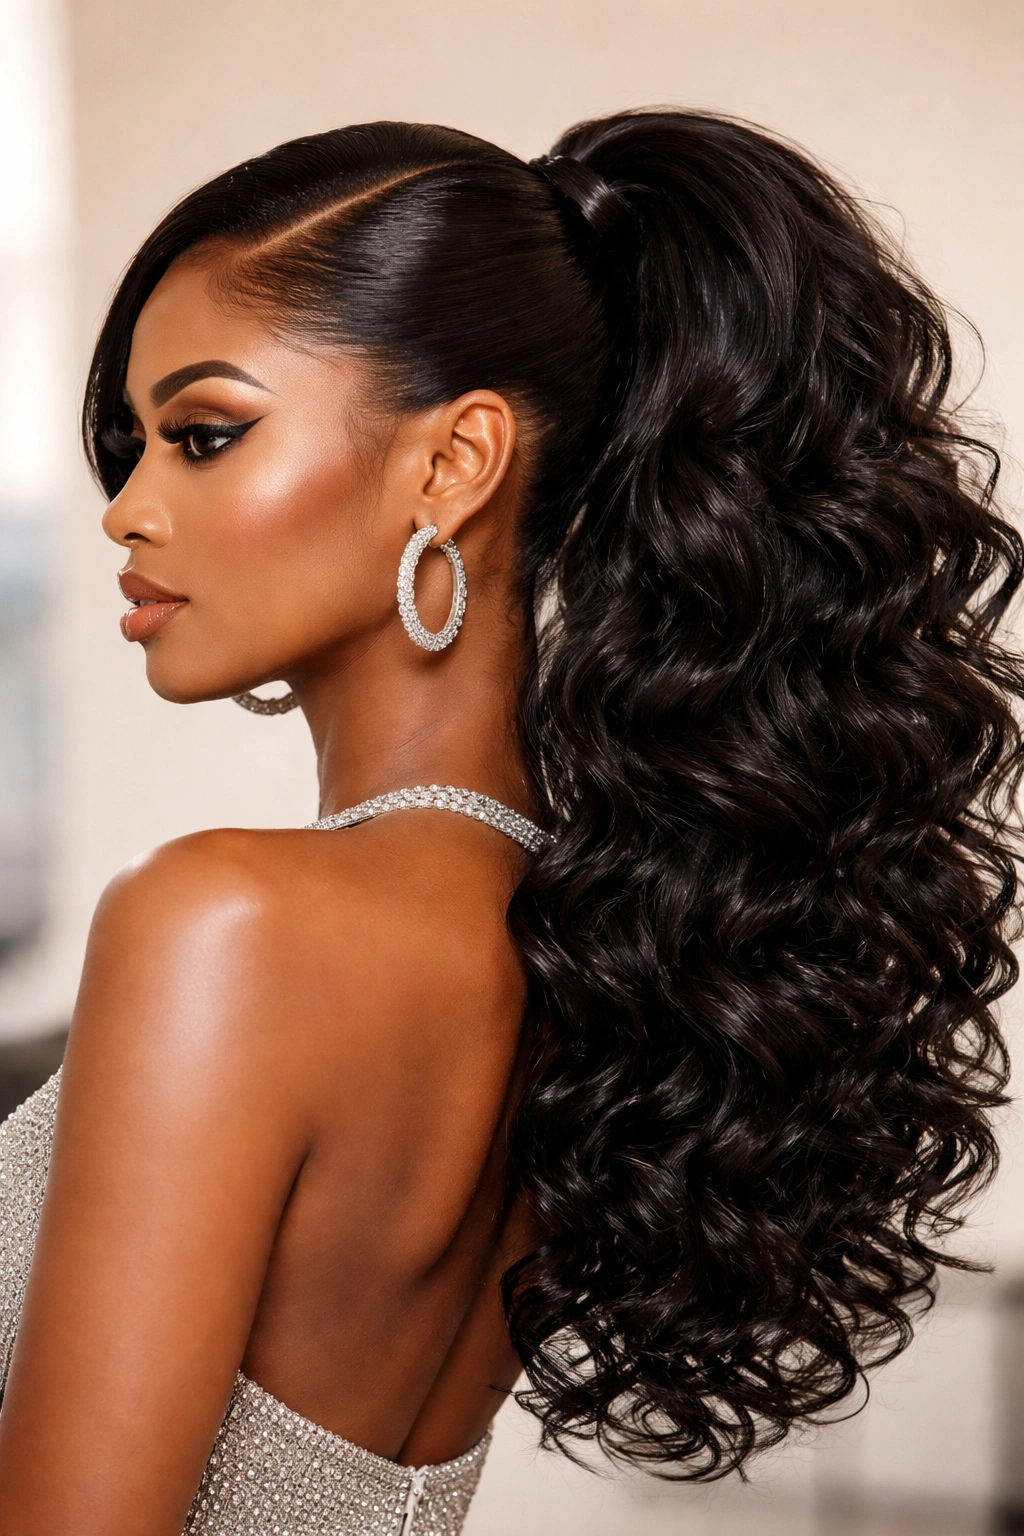
Who says a ponytail has to be straight? If you are wearing a ponytail with extensions, using deep-wave or loose-curl bundles can completely change the vibe. It transitions the look from “office professional” to “night out ready” in seconds.
Managing the Texture
You want the hair pulled into the ponytail to be as sleek as possible, while the length of the pony stays full. Brush the hair into the base of the pony with a firm boar bristle brush, then pin your curled extensions around the base.
What to Watch For
Be careful with the weight of the bundles. If the ponytail is too heavy, it will pull on your hairline and cause discomfort—or worse, traction alopecia. Keep the bundle count reasonable.
4. The Braided-Base Pony
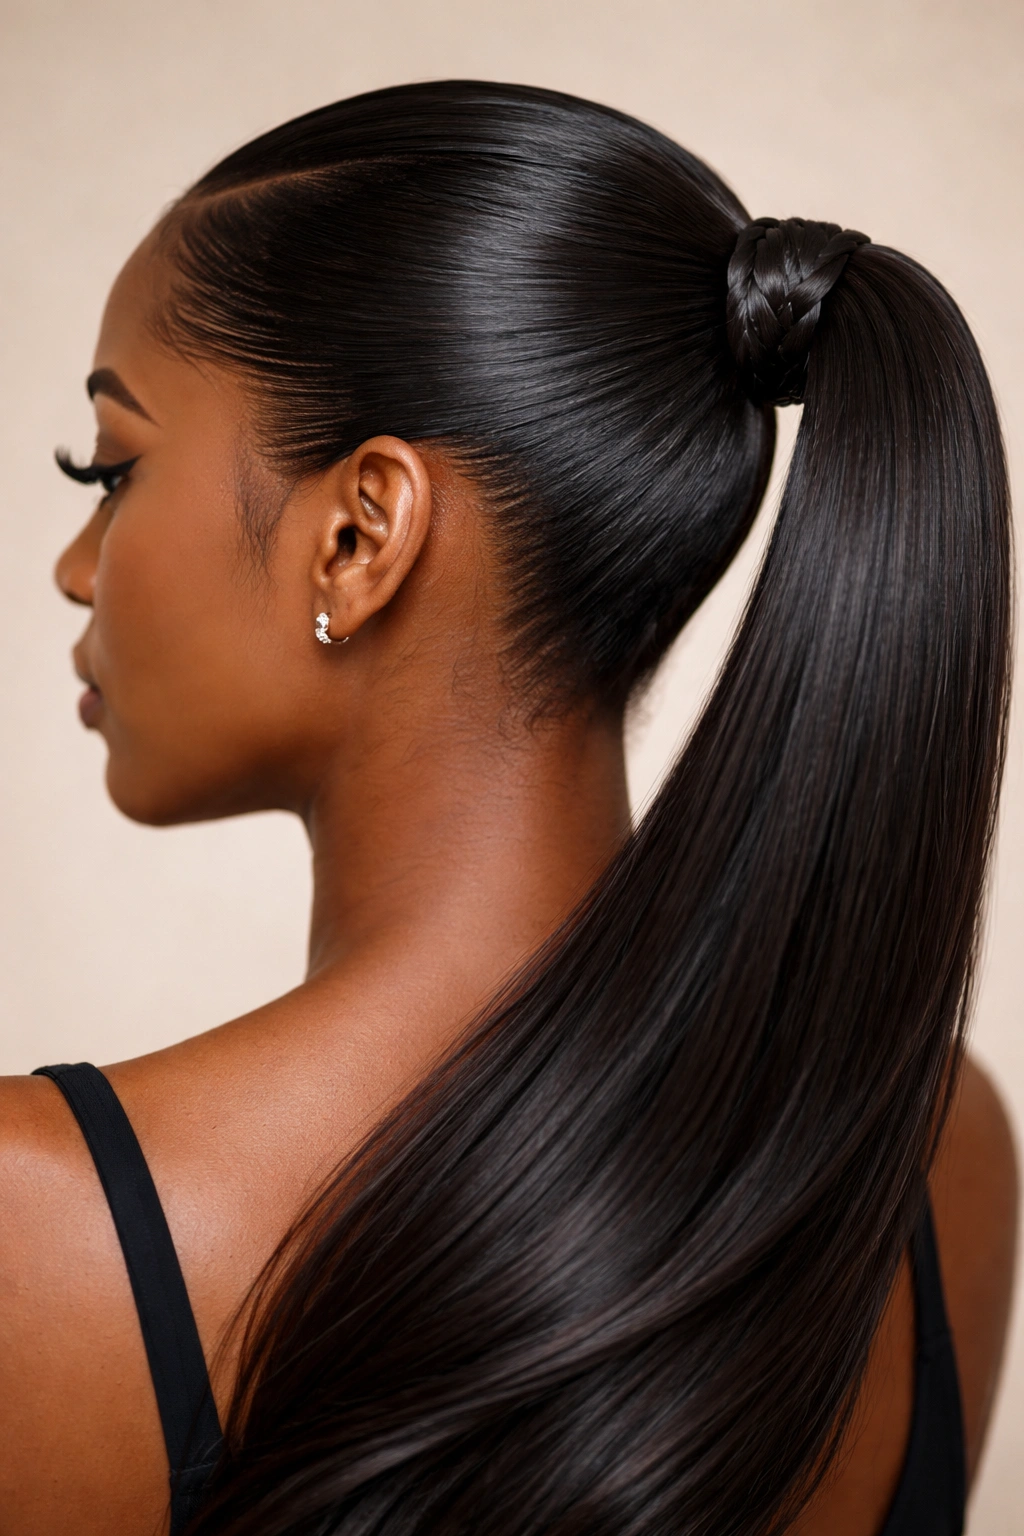
This is a clever way to add visual interest without needing accessories. Once you have secured your ponytail, take a one-inch section of hair from the pony itself and braid it tightly.
The Technique
Wrap this braid around the base of the ponytail where the hair tie is visible. Pin the end of the braid underneath with a bobby pin. It creates a seamless, professional finish that covers the elastic perfectly.
Why It’s Great
It removes the need for a hair tie cover or store-bought accessories. It uses the hair you already have to create a polished, “done” appearance.
5. The Wrapped-Hair Detail

Instead of just wrapping a plain section of hair around the base, you can create a more intricate wrap. This works beautifully with relaxed hair or long extensions.
Creating the Look
Take a wider section of hair—about two inches—and wrap it around the base slowly. Make sure the wrap is smooth. You can even use a flat iron to heat the wrapped hair slightly while it’s pinned to lock it in place, so it doesn’t unravel throughout the day.
Styling Note
If you have dark hair, use black bobby pins. If you have lighter hair or highlights, use pins that match the hair color. It sounds minor, but visible pins break the illusion of a sleek style.
6. Accessorized with Gold Cuffs
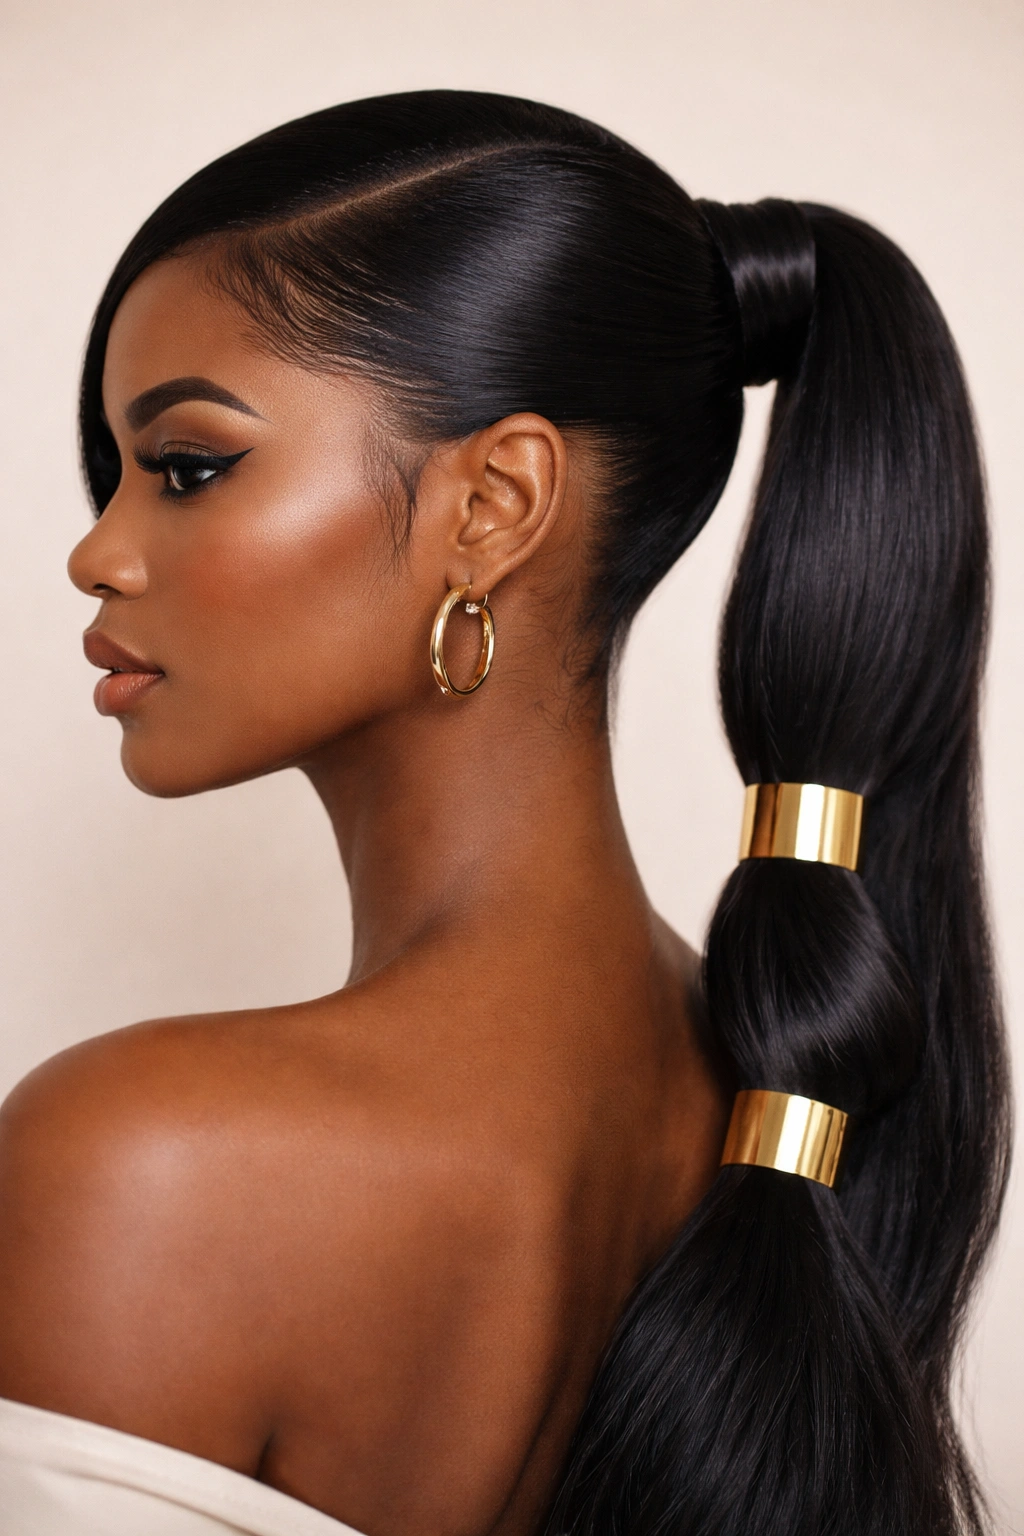
Sometimes, the hair needs a little bit of hardware. Gold cuffs or hair rings are excellent for adding a bit of flair to an otherwise simple ponytail.
Strategic Placement
Do not overdo it. One or two cuffs on the side of the ponytail are sophisticated. Six or seven cuffs usually look cluttered. Place them at different heights along the ponytail to create a tiered, intentional effect.
The Vibe
This style is excellent for events or when you want to make your hair part of your jewelry ensemble. Keep the rest of the makeup minimal to let the accessories stand out.
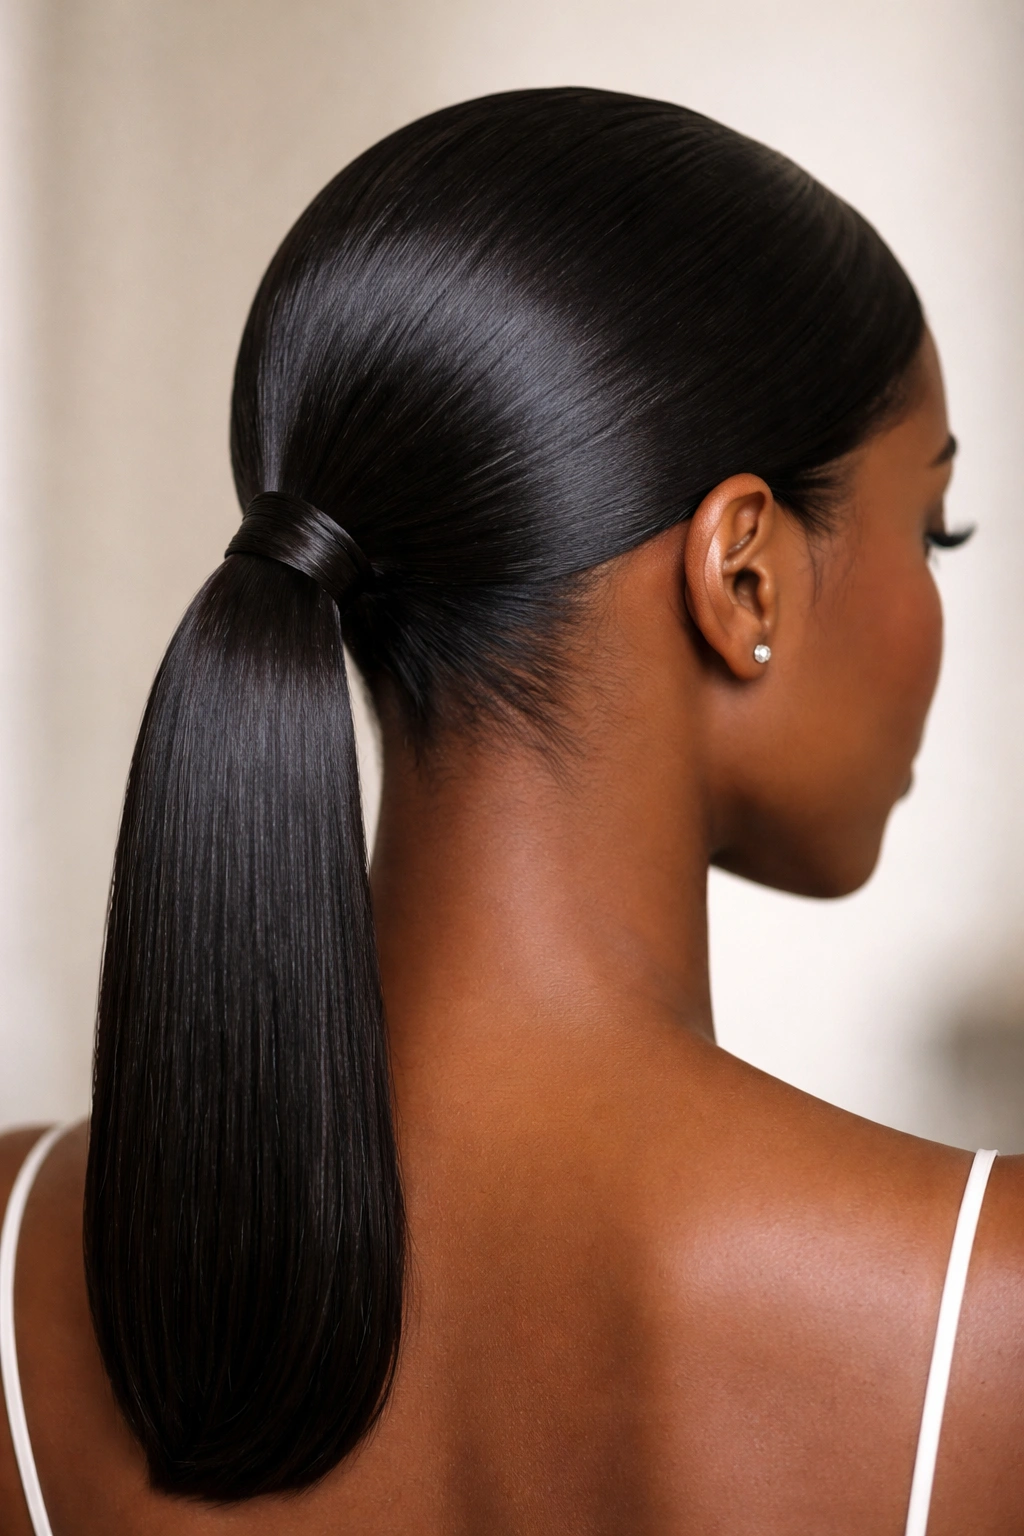
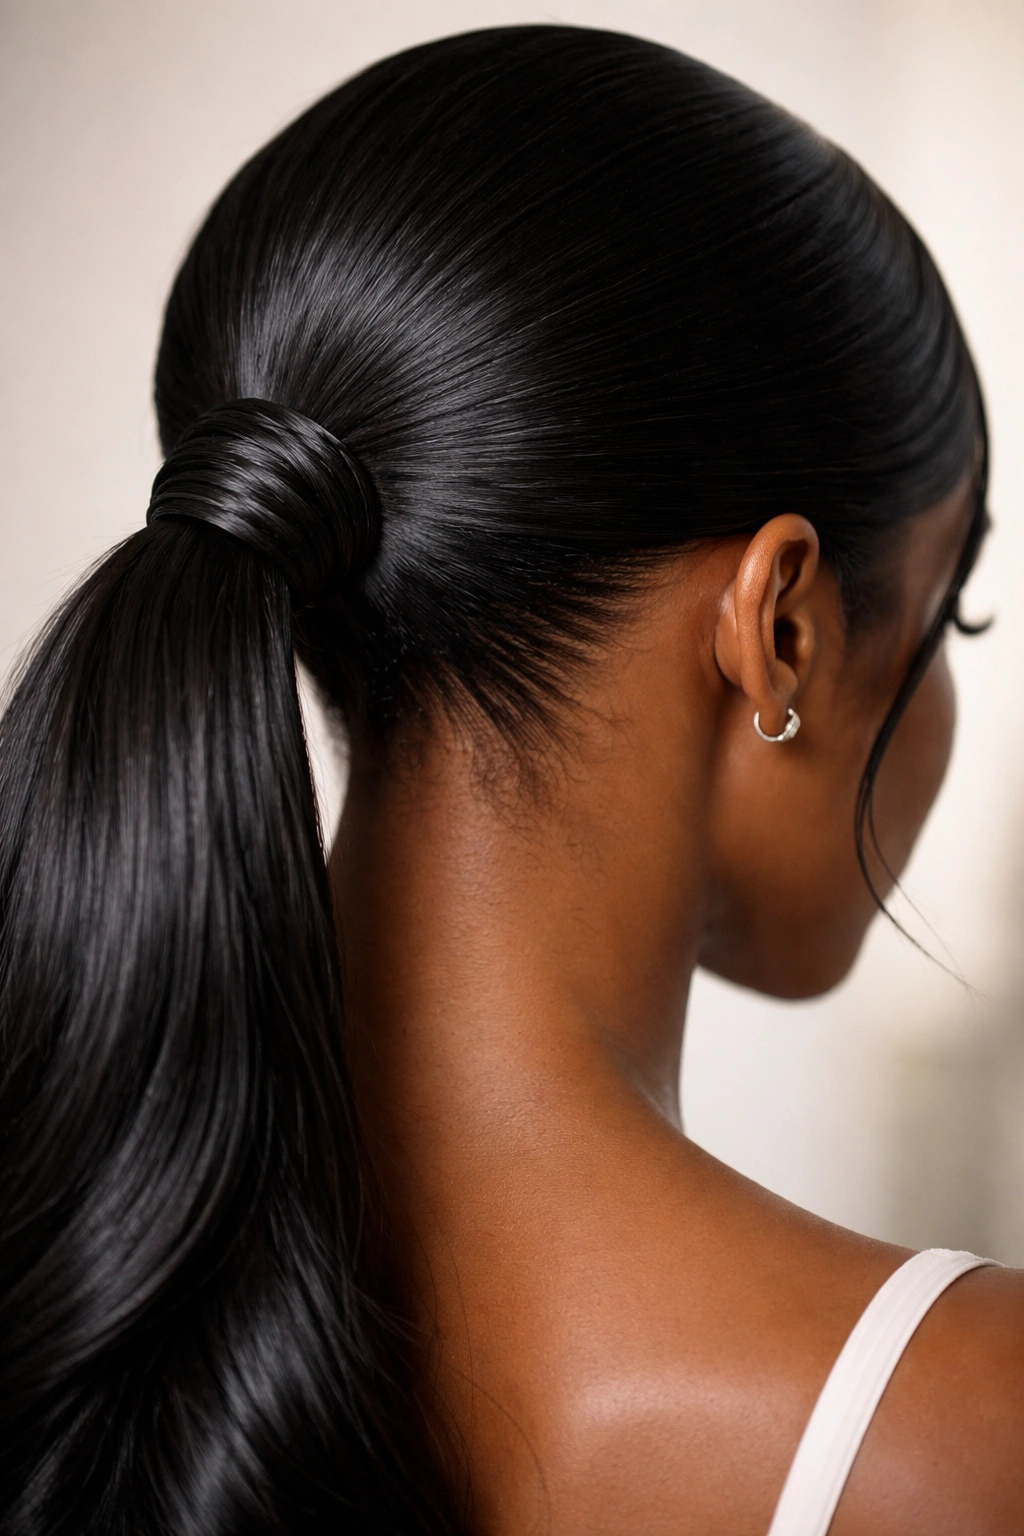
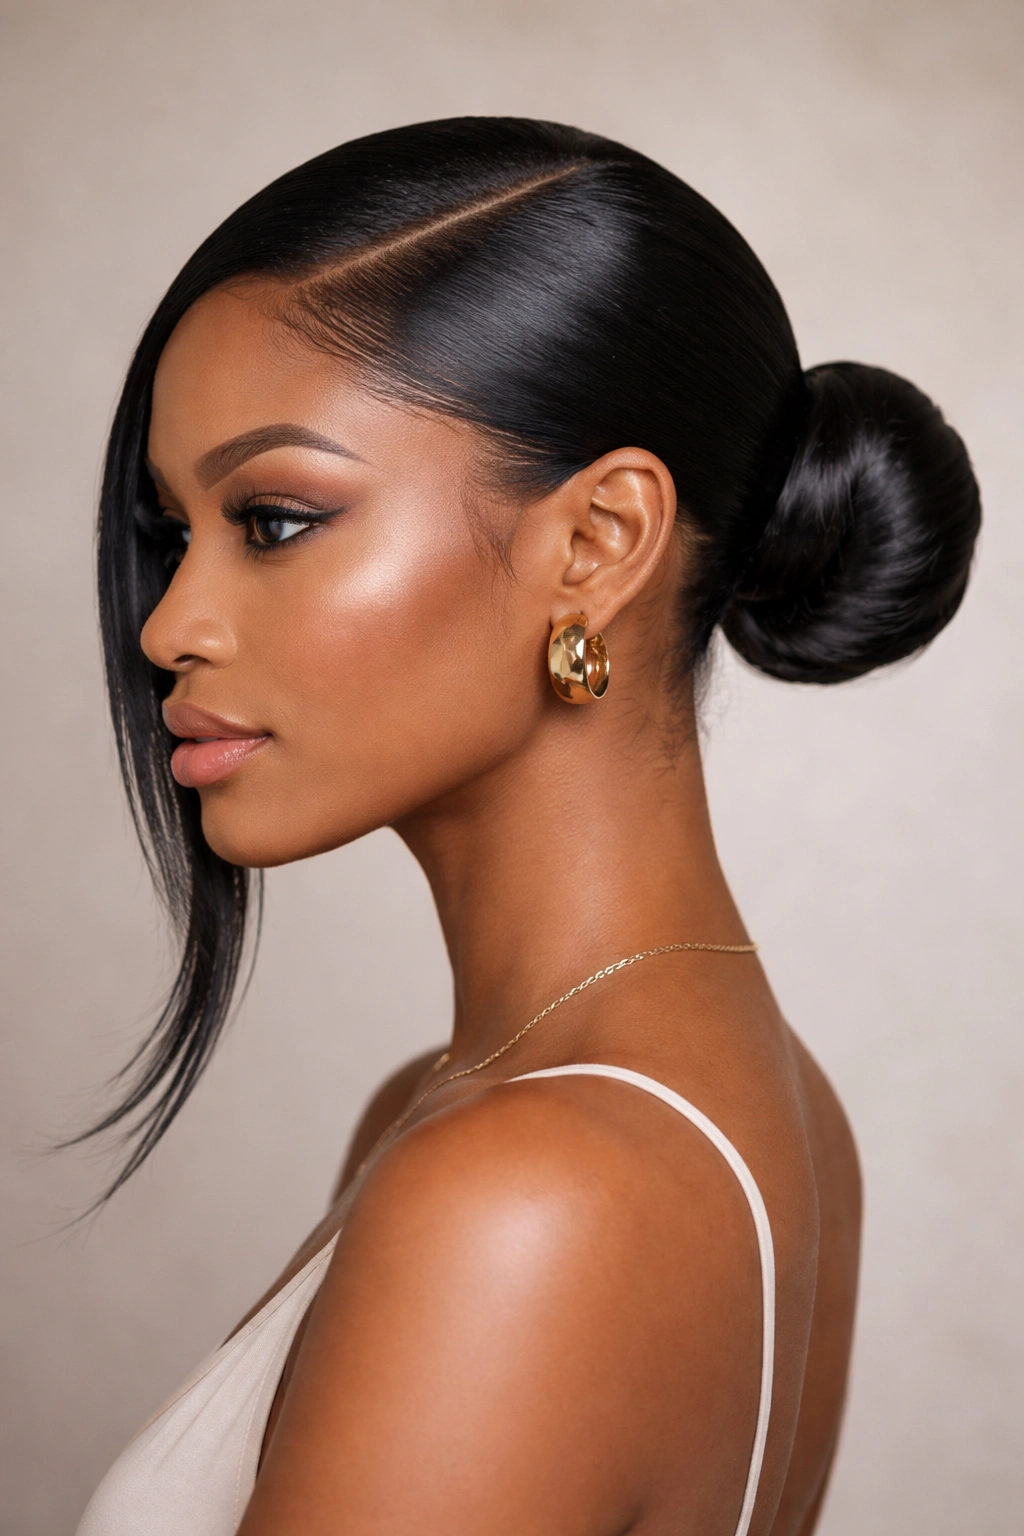
7. The Sleek Low-Nape Pony
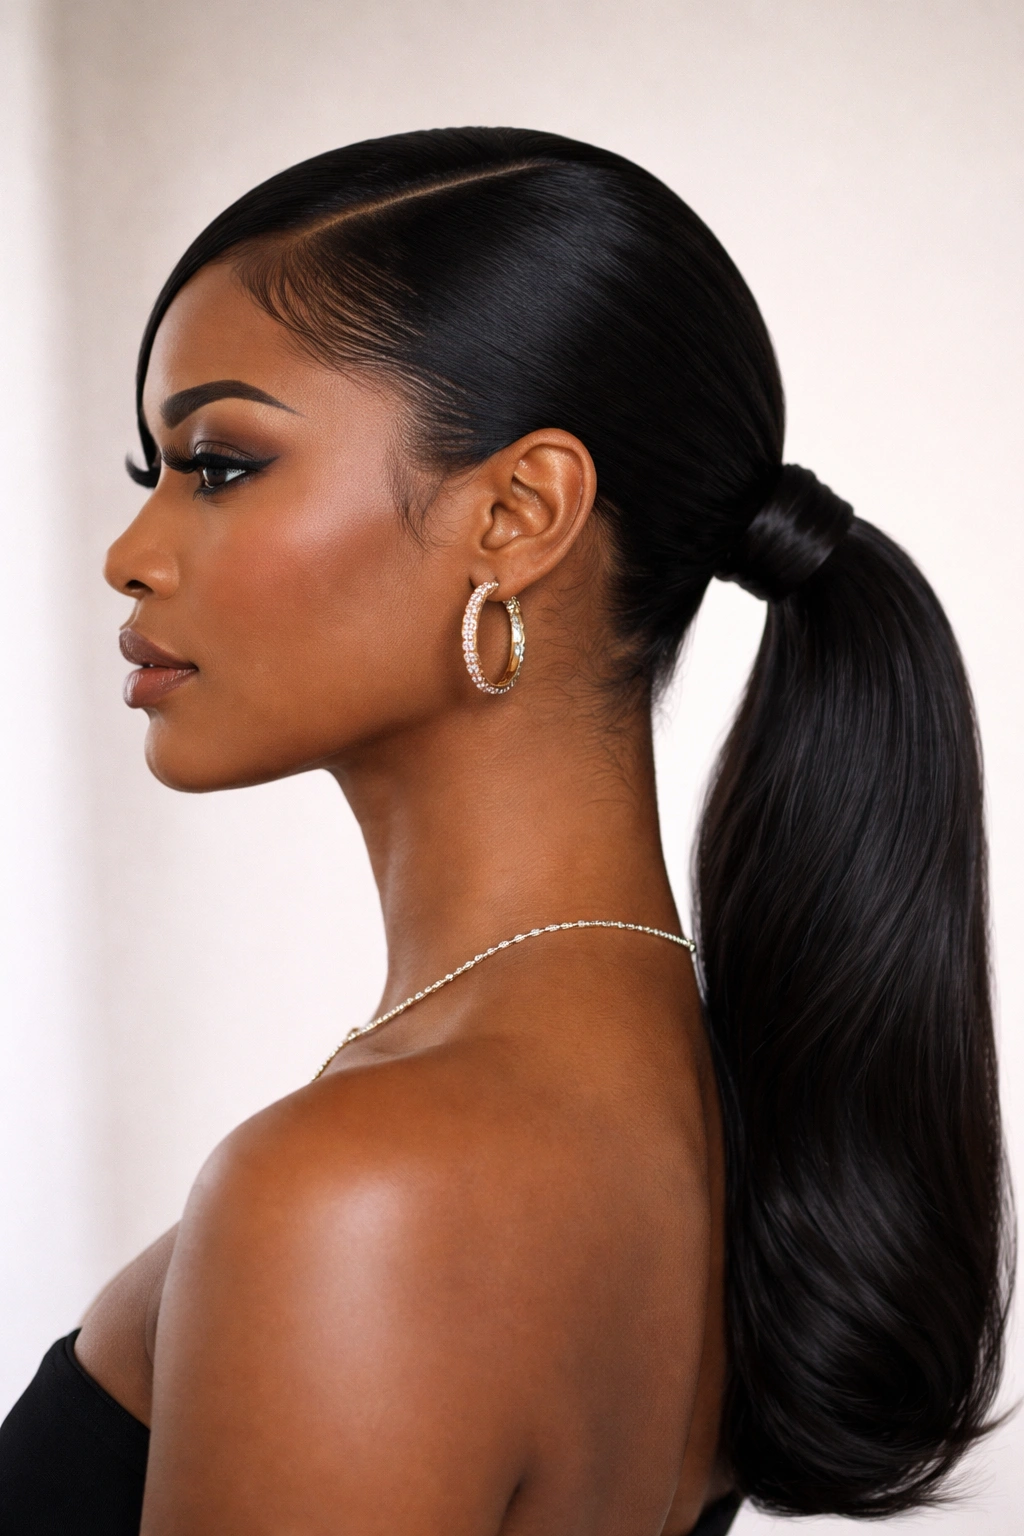
A low-nape ponytail is the height of understated chic. It sits right at the base of the neck, offering a silhouette that is sophisticated and extremely comfortable.
Structure Matters
Because the hair isn’t being pulled up, you need to ensure the side part is extra sharp. This style relies on the clean lines of the hair against the scalp.
Best For
This is the perfect style for a busy workday or a formal dinner. It is elegant, unobtrusive, and looks excellent with high-neck clothing or statement earrings.
8. Two-Tone Color Blocking

If you have a highlights-and-lowlights situation, a side-part ponytail is the perfect way to show it off. The way the hair swirls into the ponytail creates a natural color blend.
Visual Impact
When the hair is pulled back, the colors don’t just stay in one place; they mix. You’ll see strands of your base color wrapping around streaks of your lighter color. It adds dimension that loose hair sometimes hides.
Styling Advice
Make sure your ends are healthy. With color-treated hair, the ends can look dry. Use a finishing oil to ensure the ponytail looks hydrated and vibrant, not fried.
9. Bubble Pony Variation
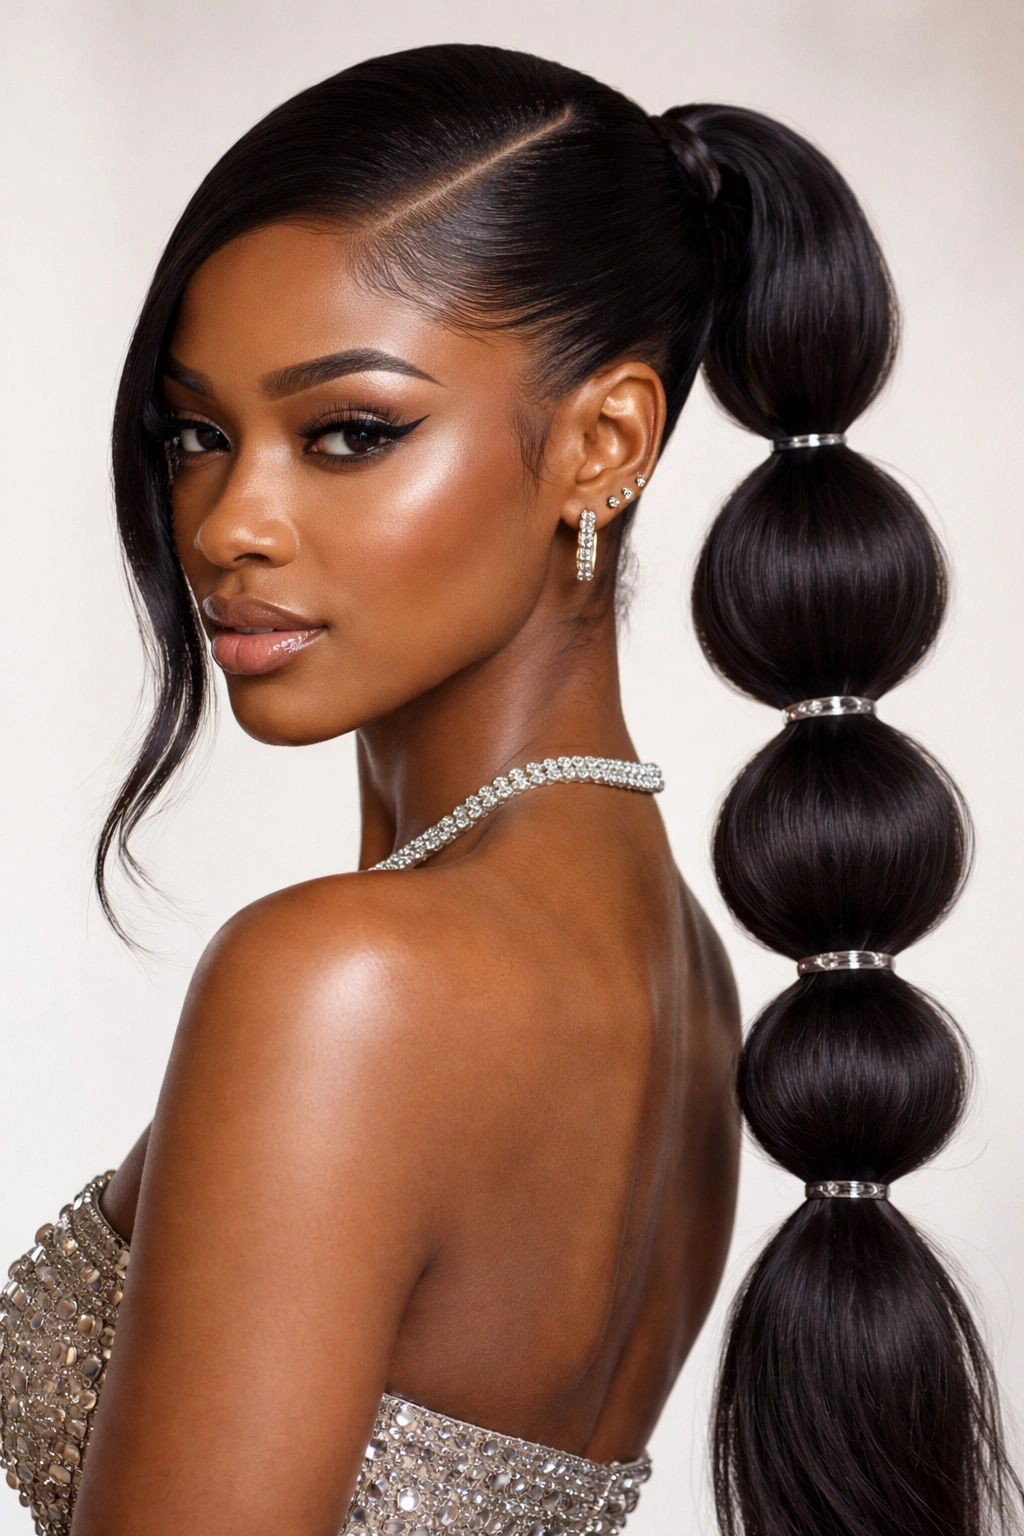
The bubble ponytail is playful, but when done with a deep side part, it can actually look quite refined. The key is to keep the bubbles uniform in size.
Achieving Symmetry
Use small, clear elastic bands to create the “bubbles.” Gently pull the hair out between each band to create volume. If you pull too hard, the hair will look messy; if you don’t pull enough, it will look flat.
The Balance
Because the bubble pony is a bit more whimsical, balance it out with a very severe, sleek side part. The contrast between the organized, sharp part and the airy bubbles makes for a high-fashion aesthetic.
10. The Wet-Look Texture
The “wet” look has been a fashion staple for years, and it works flawlessly with a side-part ponytail. It suggests you just stepped out of a high-end salon.
Product Selection
You need a high-shine pomade or a specific wet-look gel. Apply it to the hair before you brush it back. Do not use standard gels that dry matte or crunchy.
Maintenance
This style stays in place, but you cannot touch it once it dries. If you mess with it, you will create frizz. Once you set it, let it be.
11. Tight Cornrowed Side-Profile
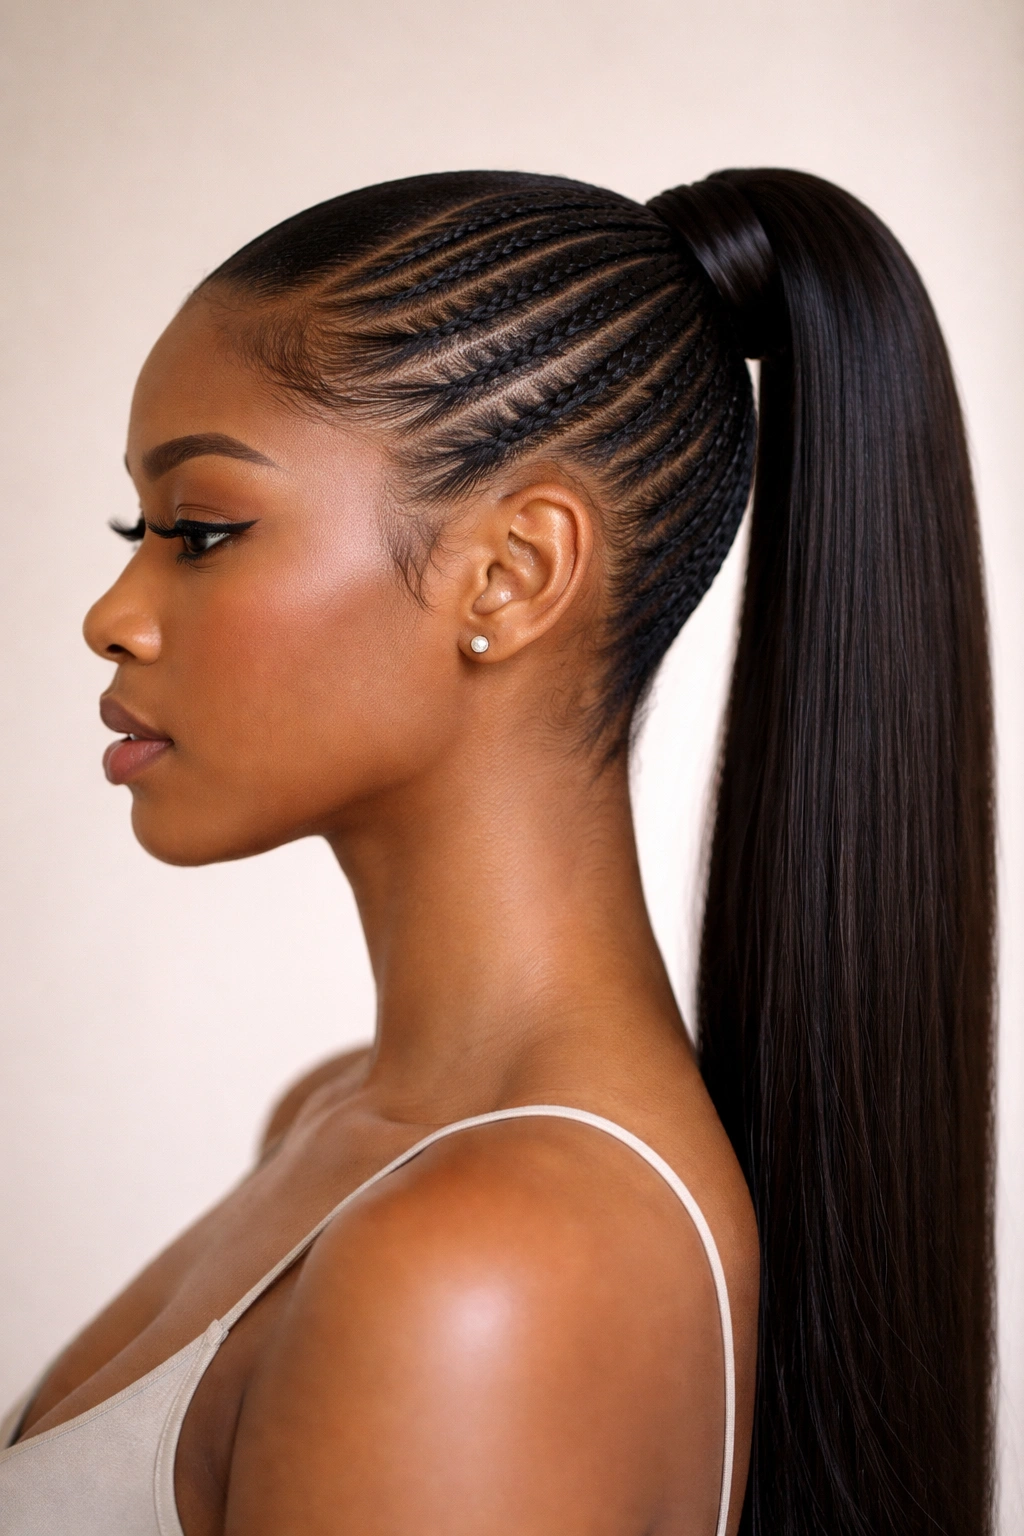
This is a hybrid style. Instead of just brushing the hair back on the side of the part, you can cornrow the hair along the scalp in that area, leading it into the ponytail.
The Aesthetic
This adds texture and intricacy. It is also functional—if you have shorter hair on the sides that is hard to lay down with gel, braiding it keeps it secure all day.
Design Options
You can do a single, large braid, or several small “feed-in” style braids. Both options look deliberate and polished.
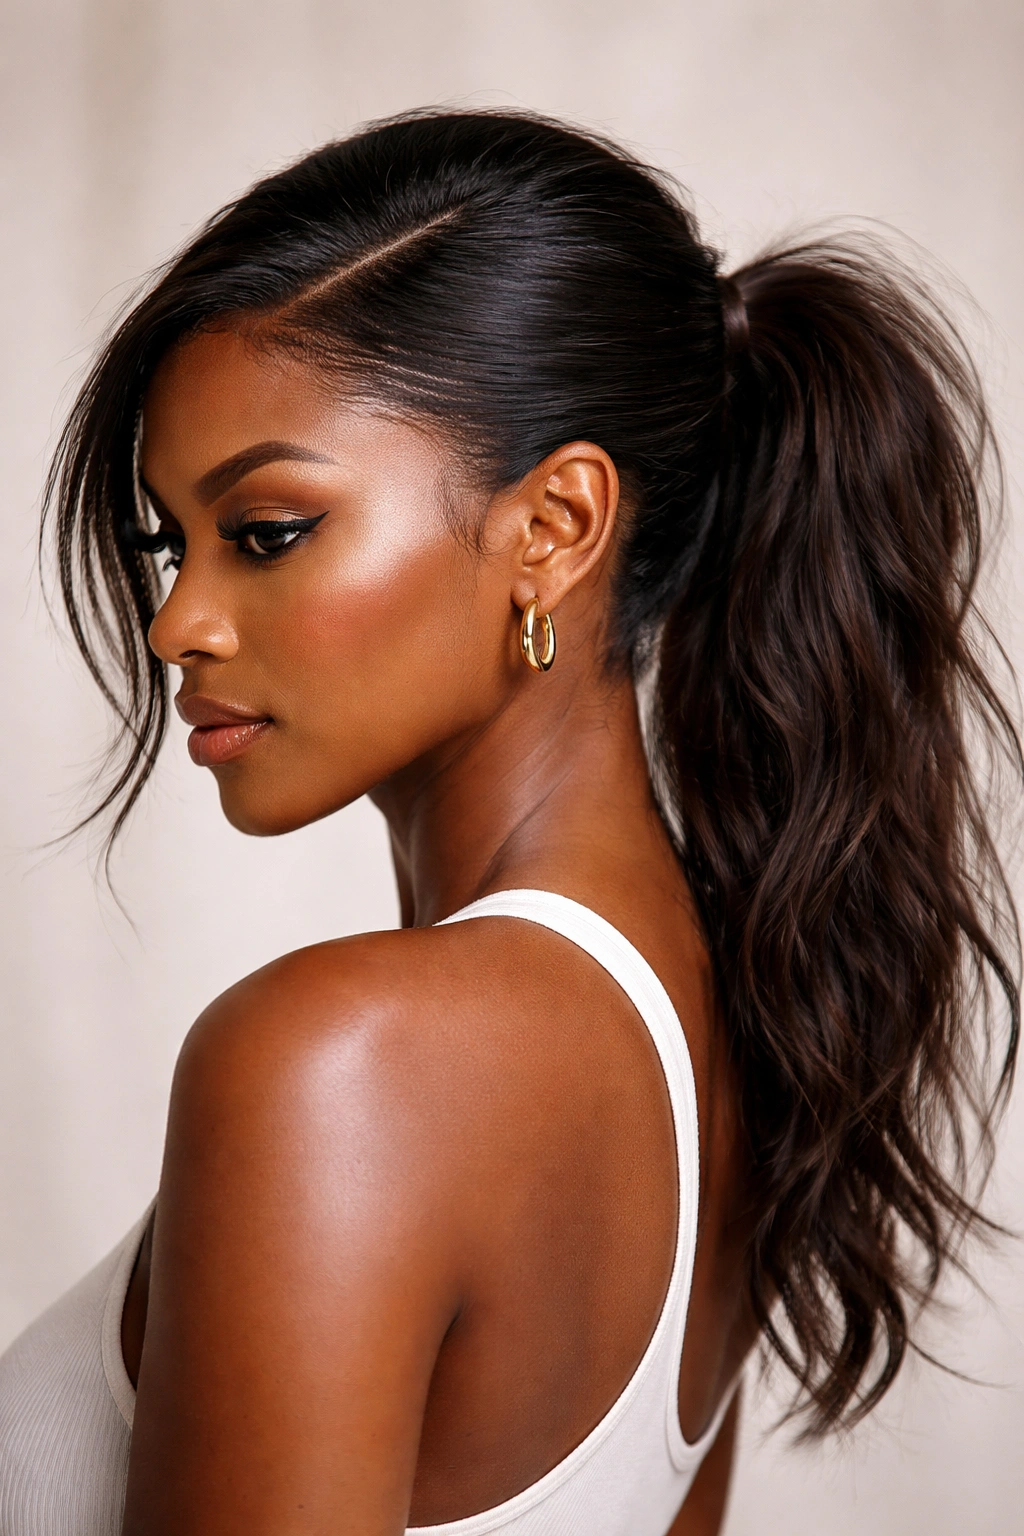
12. Loose Crimped Texture
Crimping has made a massive comeback. A sleek, side-part base transitioning into a crimped, wavy ponytail creates a wonderful contrast between control and chaos.
The Technique
Use a crimping iron on the ponytail only. Leave the hair on your head (the part and the roots) perfectly straight and smooth.
Why It Works
It gives you the “snatched” look at the roots but adds volume and interest to the length. It’s a great way to make a ponytail look thicker than it actually is.
13. The Tucked-In Minimalist
This style is for when you want maximum sleekness with zero fluff. Every single hair is accounted for, and the ends are tucked into the ponytail.
The Look
This is “quiet luxury” for hair. It’s not flashy, but the execution must be flawless. Use a fine-tooth comb to ensure there are no bumps or loose strands.
Final Check
Check the back of your head with two mirrors. Most people forget to check the nape area. A truly sleek ponytail should be smooth all the way around, not just on the sides.
14. Deep-Part with Wispy Tendrils
If a severe, slicked-back look makes you feel too exposed, leave two thin strands of hair out near your temples.
Creating the Tendrils
Use a small curling iron to add a slight bend to these strands. It softens the entire look and frames the face beautifully.
The Balance
Keep the tendrils thin. If they are too thick, they stop being “wispy” and start looking like you forgot to brush them back. Less is definitely more here.
15. The Triple-Wrapped Base
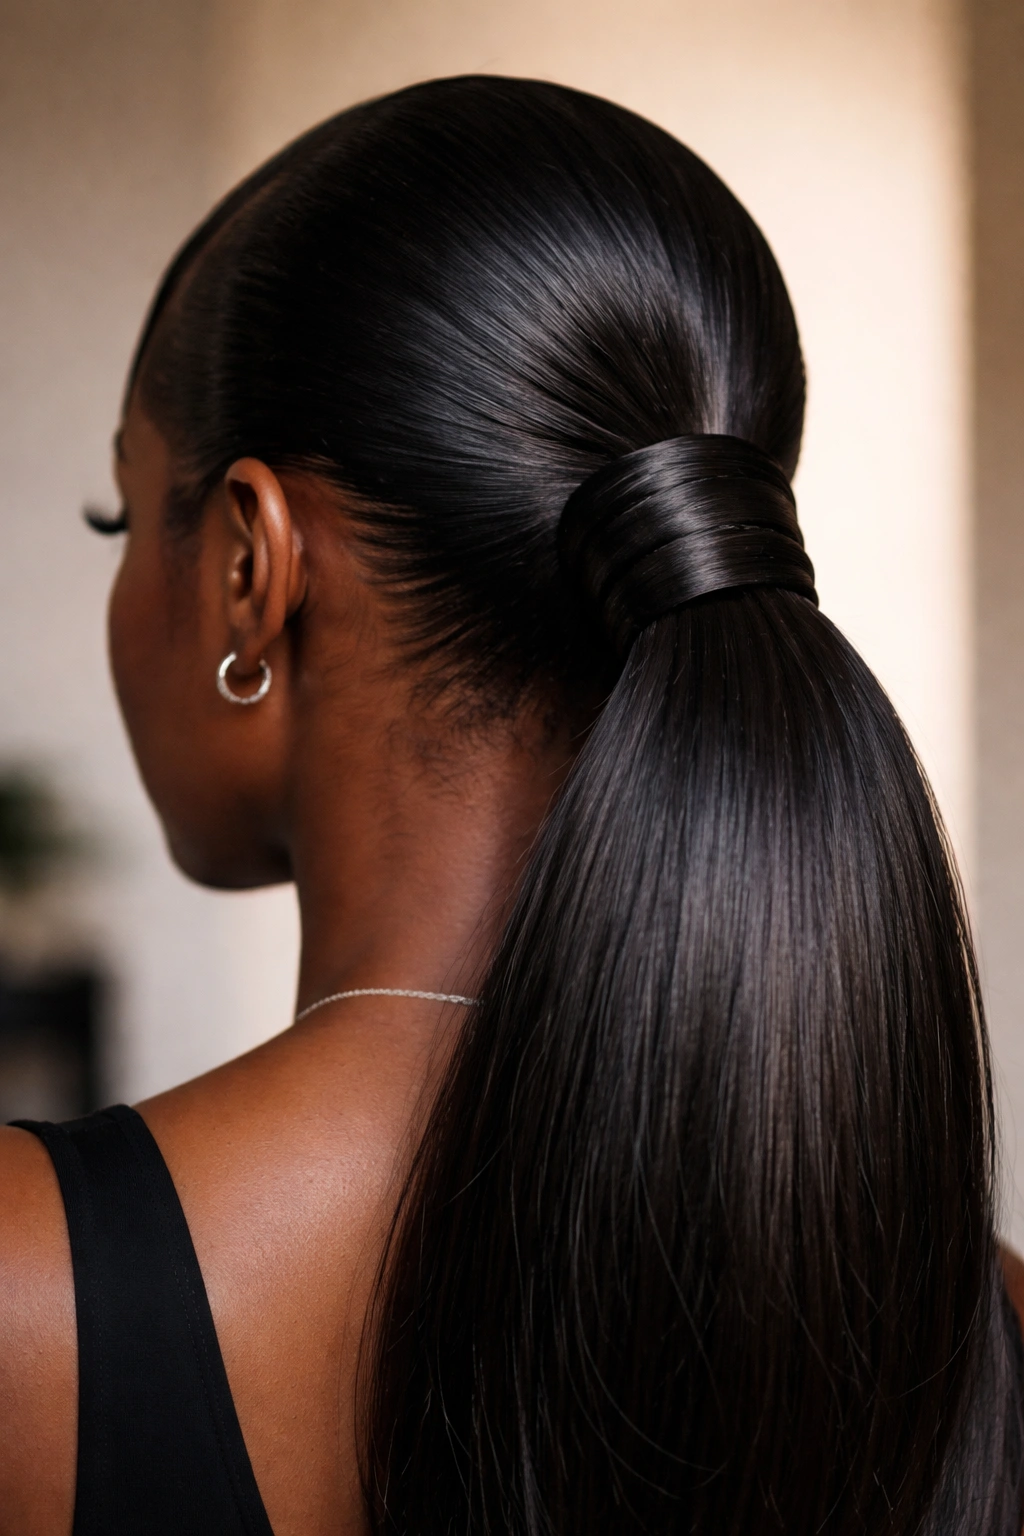
If you want to move beyond the single-hair wrap, try the triple wrap. It takes a bit more hair and a bit more time, but the structural look it provides is unique.
The Method
Take three separate small sections of hair. Wrap the first, pin it. Wrap the second, pin it. Wrap the third, pin it.
The Result
It creates a wider, more architectural base for your ponytail. It looks like a cuff made of hair. It is a fantastic detail that most people won’t even realize is done by hand until they look closely.
16. The “Flirty” Curly Ends
Combine a bone-straight crown with tight, bouncy curls at the very end of the ponytail.
Achieving the Contrast
Flat iron the hair down, then use a curling wand only on the last four to five inches of the ponytail.
Styling Strategy
You can brush through the curls slightly to make them look softer, or leave them tight for a more defined, vintage-inspired ringlet look. It creates a fun, playful finish to a serious, sleek start.
17. The High-Definition Crimped Pony
Unlike the loose crimp, this is about high-intensity texture. Use a smaller crimping iron to get tighter, sharper waves.
Texture Control
This works best if you have extensions. The extra hair allows the crimped texture to really show its volume. If you try this on thin, natural hair, it might not have the “oomph” you want.
Why It’s Different
It’s a bold look. This isn’t an everyday style; it’s a statement. It pairs perfectly with bold jewelry or a minimalist outfit.
18. Braided Detail into the Pony

Take a section of hair from the side-part side and braid it, but don’t stop at the scalp. Continue the braid right into the ponytail.
Integration
This requires a bit of patience. You are essentially incorporating a braid as part of your “slicked-back” foundation. It keeps the hair incredibly secure.
Pro Technique
Make sure the braid is tight. If it starts to loosen, the whole sleekness of the ponytail will be compromised. Use a little bit of gel on the hair before you braid it to keep it locked in.
19. The Sleek “Invisible” Part
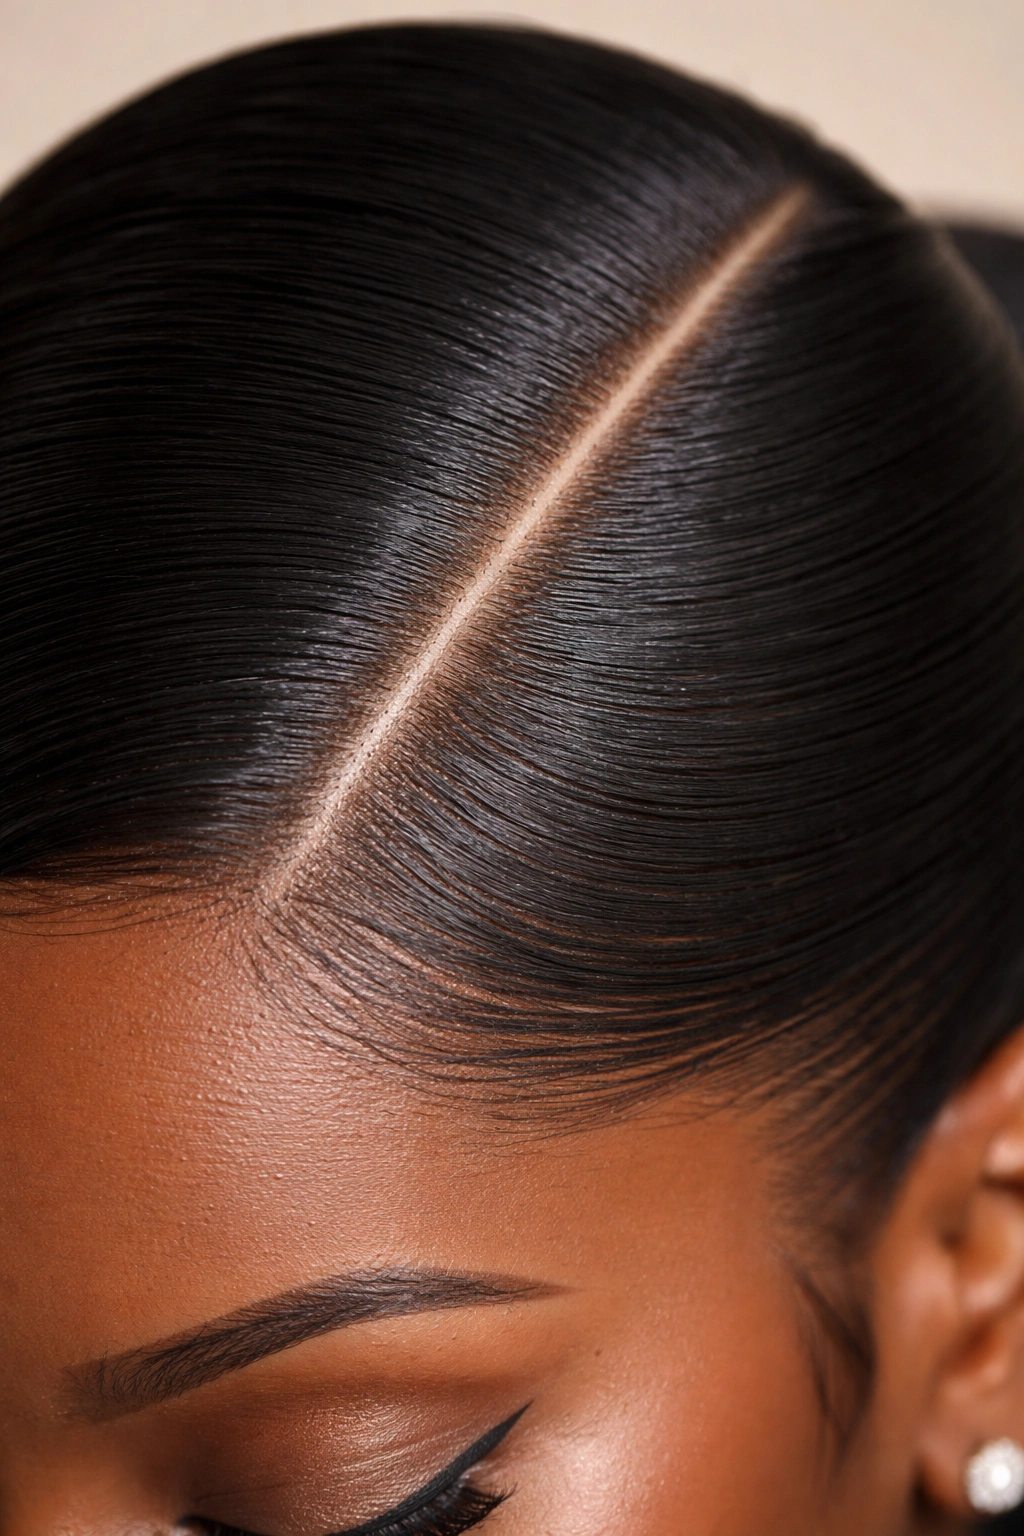
Sometimes the part is so sharp it looks like the hair is naturally growing that way. This requires precise product application.
The Secret
Use a little bit of root concealer or hair-colored spray to define the part if you feel like it isn’t crisp enough. It fills in the scalp slightly and makes the part pop.
Cleanliness
A clean part is the number one indicator of a high-quality hairstyle. Don’t be afraid to take your time here. Redo it if you have to.
20. The Bohemian-Style Pony
This style mixes the sleekness of the side part with the softness of a bohemian braid or twisted detail at the base.
How to Style
Pull the hair into a ponytail, but before you secure it, twist the front sections back toward the elastic. It gives a softer, more romantic silhouette.
Who It’s For
This is a great look for weekends or casual outings where you want to look put-together but not overly severe.
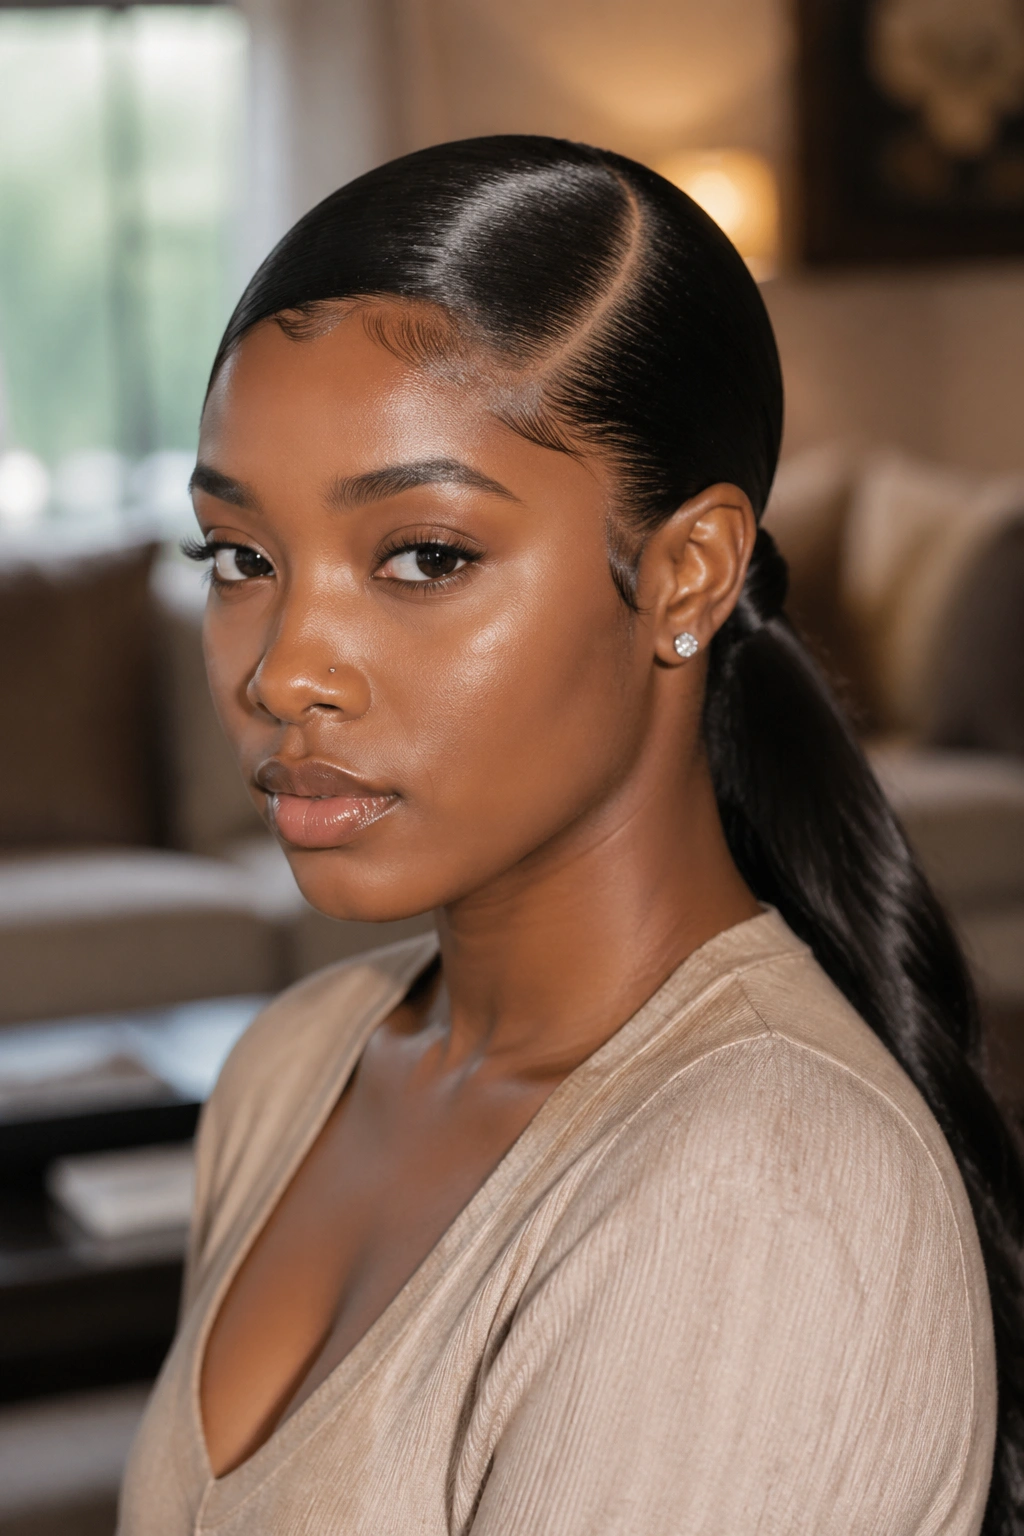
21. High-Gloss Jet Black
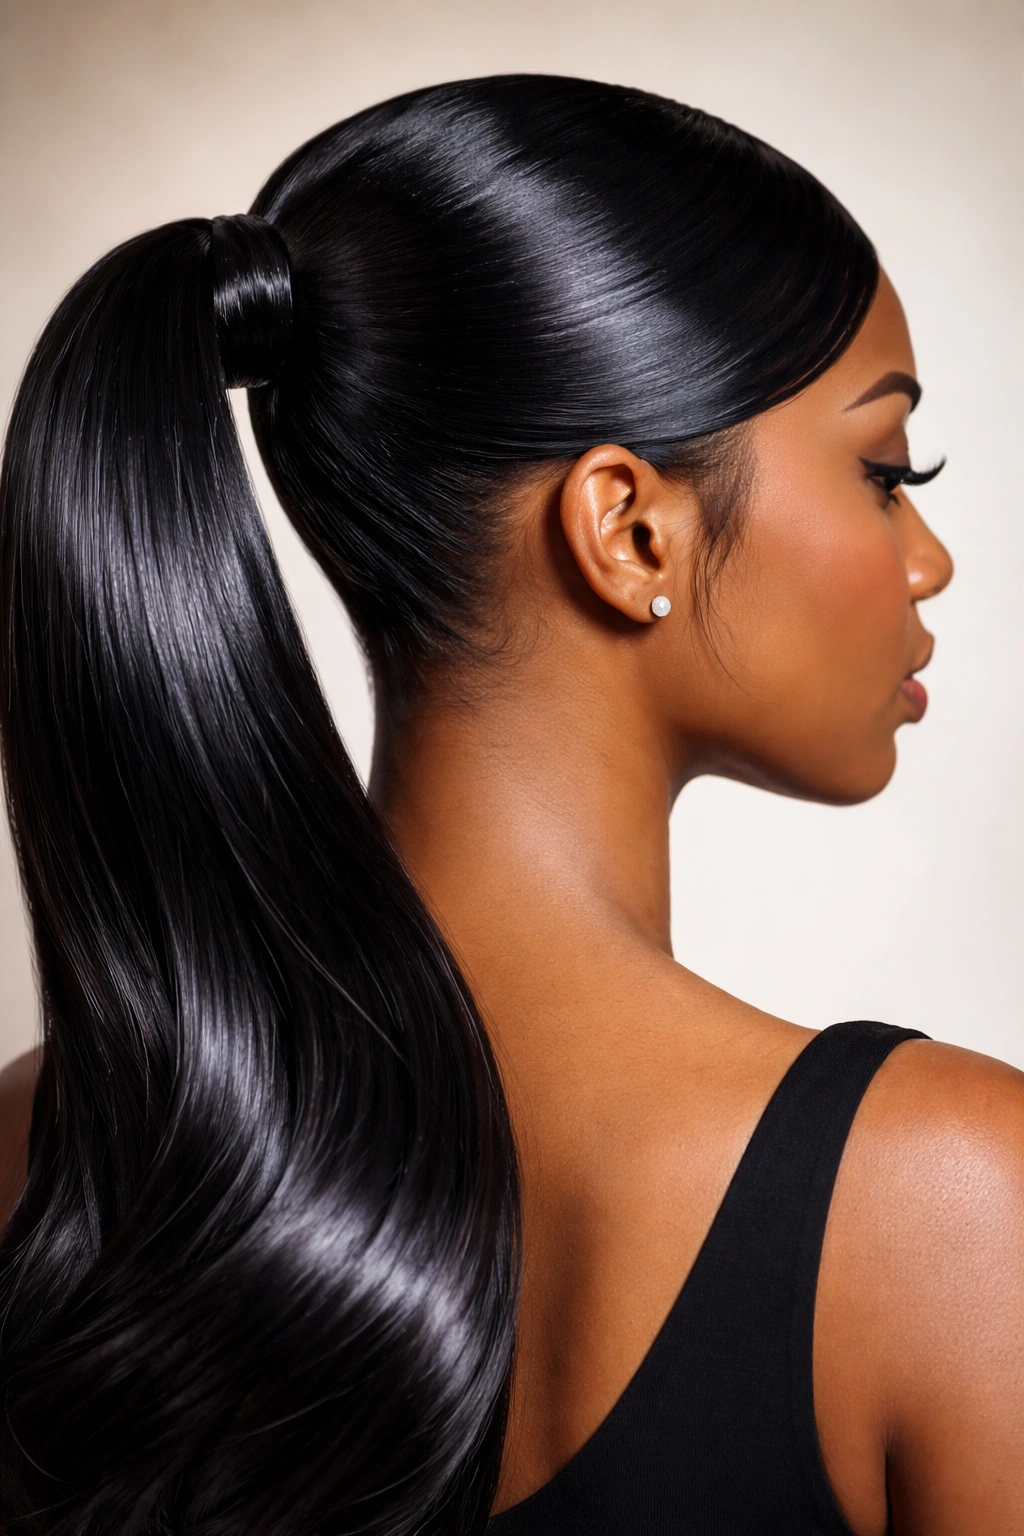
Color plays a huge role in how “sleek” a ponytail looks. Jet black hair reflects light better than almost any other color.
Achieving the Shine
If you are coloring your hair, ensure you are using a semi-permanent gloss treatment. It seals the cuticle and gives that “glass hair” effect that is essential for a sleek look.
The Maintenance
Keep a shine spray in your bag. Jet black hair can sometimes look dull if it’s dry, so a light misting throughout the day keeps that “freshly pressed” look.
22. The Asymmetrical Volume Boost
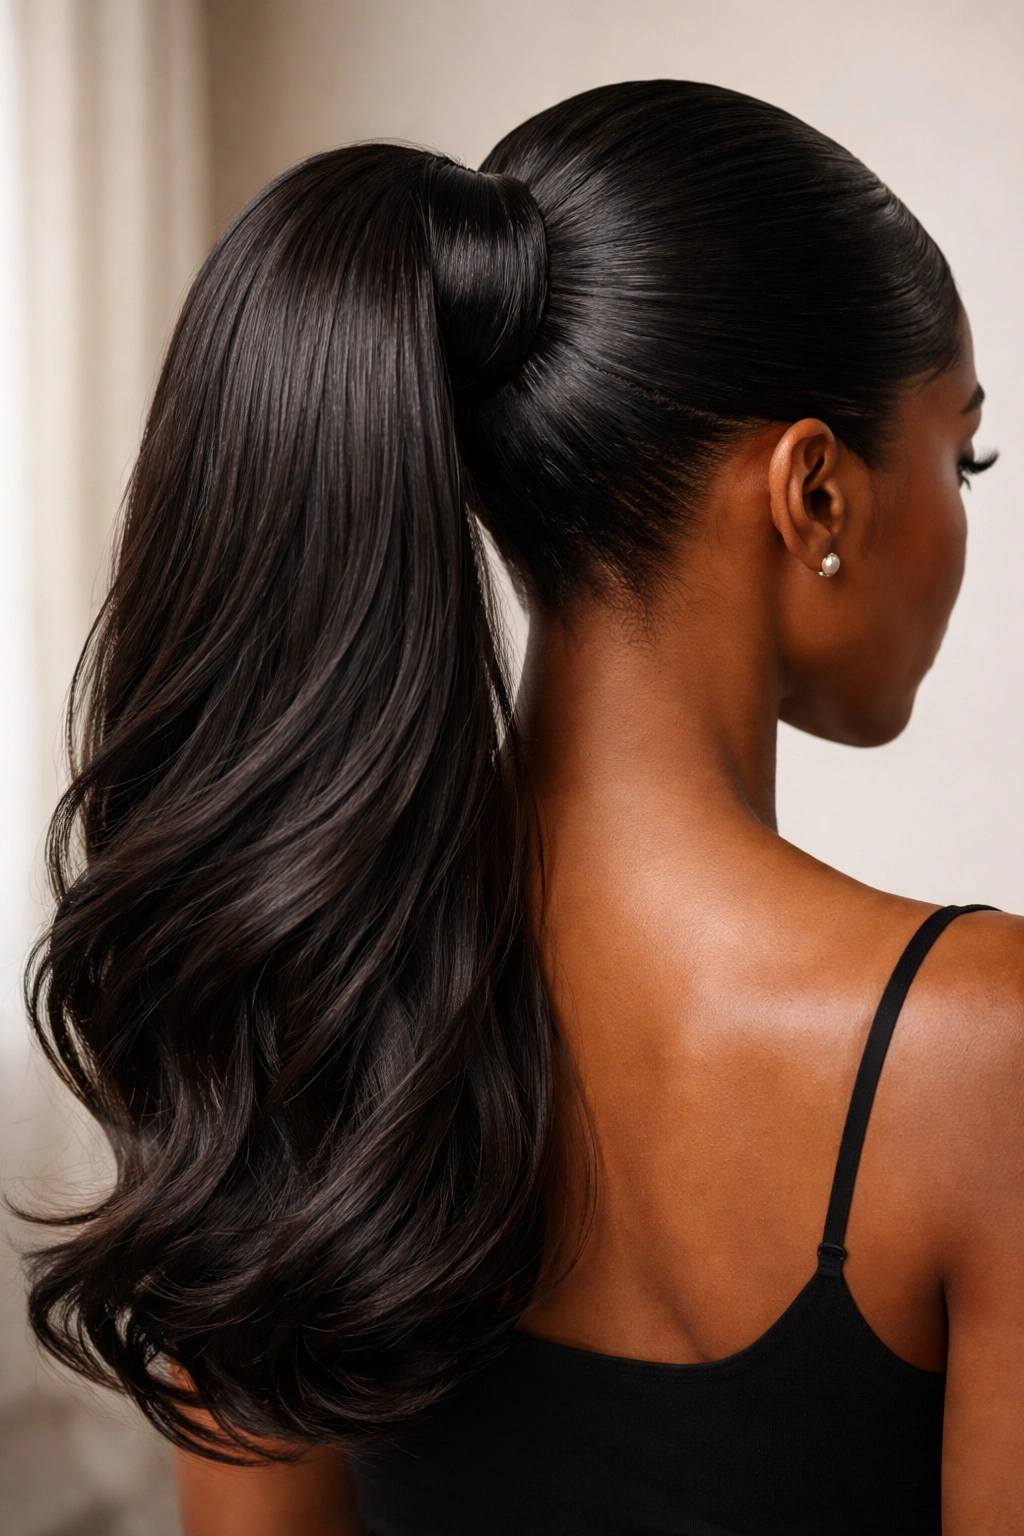
Use a hair donut or a small padded insert underneath the ponytail base to give it height.
Why It Helps
A ponytail that sits flat against the head can look a bit thin. Adding a subtle volume boost at the base makes the ponytail look fuller and more luxurious.
Execution
Pin the insert under the ponytail, then wrap a piece of hair over it to hide the mechanics. It’s an old-school trick that still works perfectly.
23. Beaded End Accent
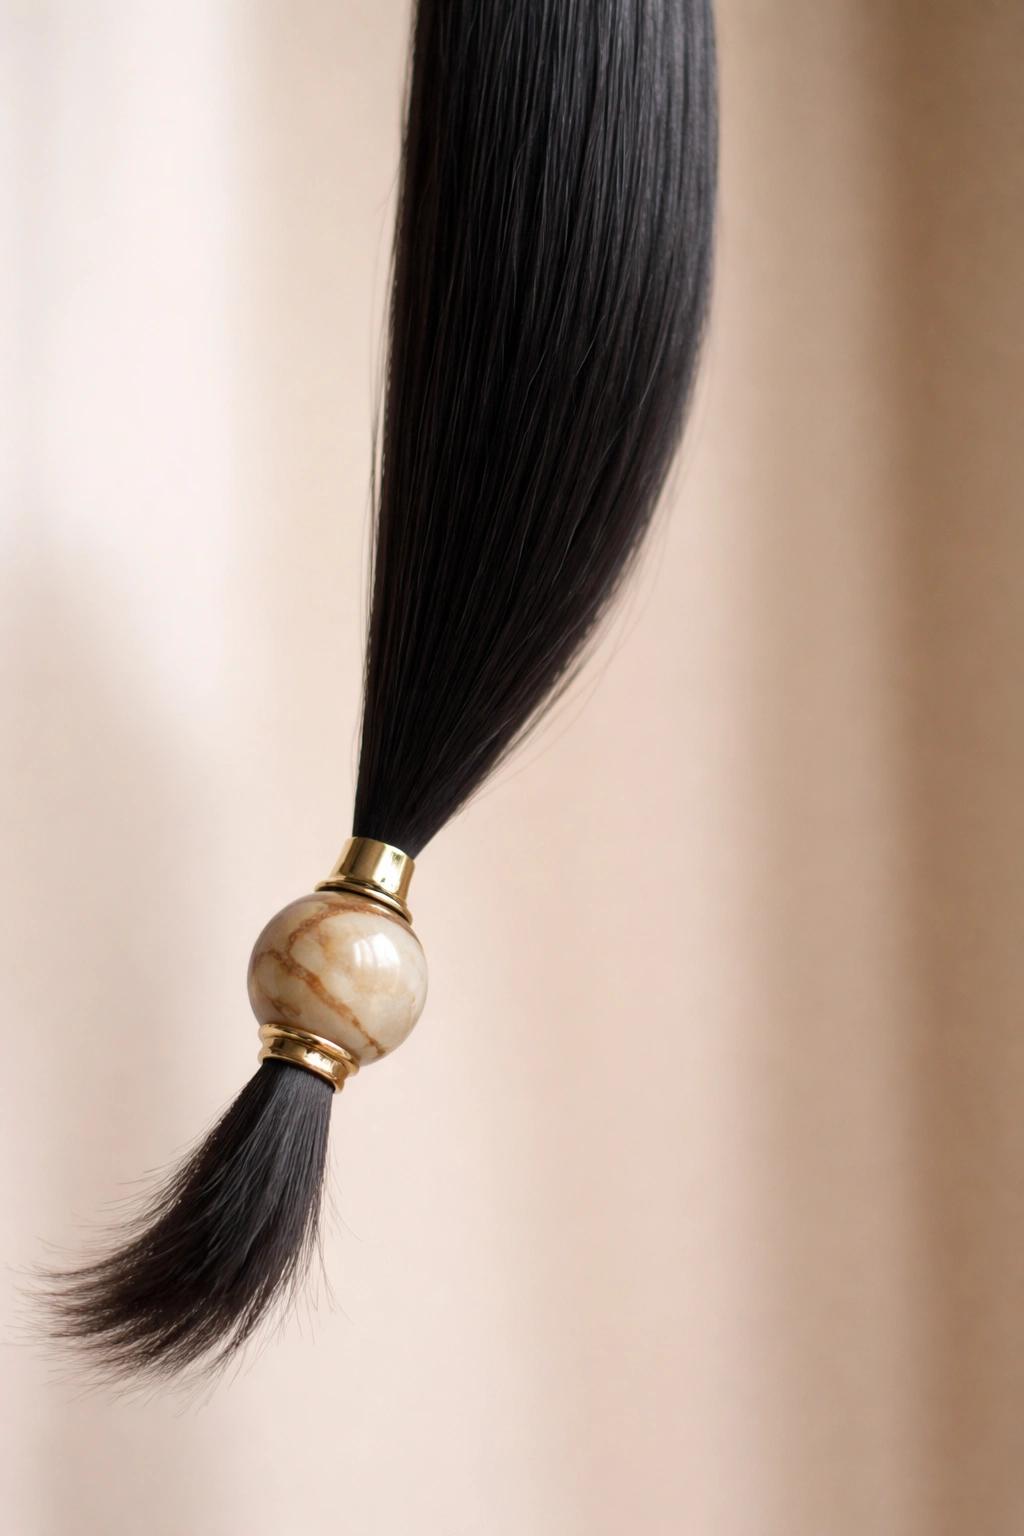
If your hair is long, add a single, large wooden or gold bead to the end of your ponytail.
The Aesthetic
This is an intentional stylistic choice. It weights the ponytail slightly, helping it stay straight, and adds an artisanal, finished touch.
Choice of Material
Stick to lighter beads if your hair is thin. Heavy metal beads might pull on your natural hair too much.
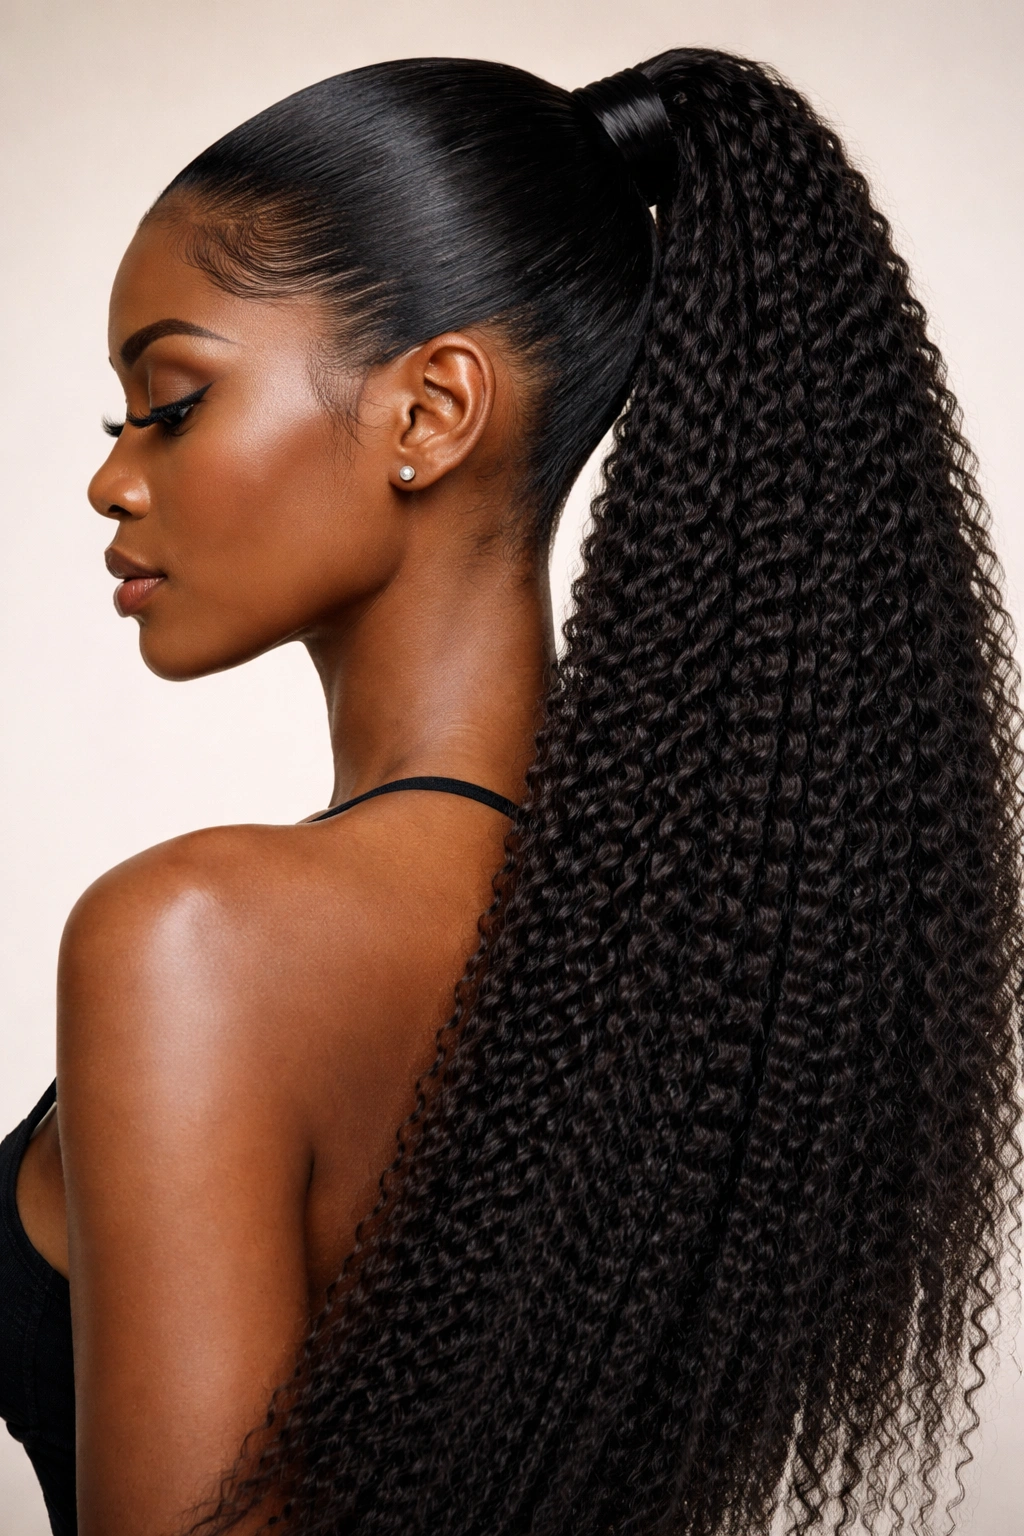
24. Relaxed Texture Natural Pony
You don’t need bone-straight hair to have a sleek look. If you are natural, you can press your roots and leave your natural texture in the ponytail.
The Blend
This is about embracing the contrast. A sleek, flat-ironed root combined with a thick, curly, or coily ponytail is a beautiful look.
Preparation
Use a heavy-duty edge control to get the roots perfectly laid. Your goal is to maximize the contrast between the smooth scalp and the textured length.
25. The Twisted Base
Instead of a wrap, twist the hair around the base of the ponytail.
The Technique
Take a small section, twist it tightly until it starts to coil on itself, and then wrap that twisted rope around the base.
The Texture
It adds a different kind of visual depth compared to a flat wrap. It looks more organic and textured, which is a great way to soften the severity of a deep side part.
26. The Flipped-Out Ends
Give your ponytail a 60s-inspired vibe by curling the very ends outward.
The Method
Use a large-barrel curling iron or a round brush and a blow dryer to flip the ends of the ponytail up and away from your face.
The Vibe
It’s fun, retro, and incredibly chic. It makes a sleek style feel less “serious” and more “fashion-forward.”
27. The Double-Part Accent
Take a small, thin section of hair right at the side part and cornrow it along the part line before pulling the rest of the hair back.
The Visual
It draws attention to the side part and makes it look even more deliberate. It creates a “hard part” line that is virtually impossible to ignore.
Why It Works
It keeps the flyaways at the part in check. If you have “new growth” that sticks up at the part, this braid effectively hides it.
28. The Sleek Bun-Pony Hybrid
If you can’t decide between a bun and a ponytail, do both.
How to Style
Create a sleek ponytail, but instead of letting it hang loose, loop it back into a tight, minimalist bun.
Why It’s Unique
It provides the structure of a bun with the face-framing benefits of a side-part ponytail. It is arguably the most “professional” hairstyle you can choose.
29. The Bohemian Curl Mix
Leave a few curls out of the ponytail near the nape of your neck to create a soft, romantic look.
The Contrast
Everything else—the sides, the top, the part—is perfectly sleek. The loose curls at the bottom provide an unexpected, soft surprise.
Maintenance
Use a curl-defining cream on these loose strands to keep them from looking like “forgotten” hair. They should look purposeful.
30. The “Model Off-Duty” Messy-Sleek
This is the hardest look to pull off because it requires the most “faking.” You want the roots to be perfectly sleek, but the ponytail itself to look undone and effortless.
The Secret
Brush the sides back perfectly tight, but use your fingers—not a brush—to pull the length of the ponytail into the tie. Then, gently tug on the hair in the ponytail to create a slight “messy” texture.
The Balance
The key is that the part must still be perfect. The messiness is contained to the ponytail; the scalp area remains 100% polished. This is what separates “messy” from “lazy.”
Final Thoughts
The sleek side-part ponytail is more than just a quick hairstyle. It is a commitment to precision. When you wear your hair in this style, you are signaling that you pay attention to the details. Whether you are opting for a high-volume, curly look or a bone-straight, glass-finish aesthetic, the rules remain the same: take your time with the parting, use the right product for your hair type, and prioritize the health of your scalp by managing tension correctly.
Take the time to experiment with these variations. What works for a casual brunch might feel too relaxed for a big presentation, and that is where the diversity of the side-part ponytail becomes your best asset. It is versatile, adaptable, and—above all—a classic look that will never feel out of place. Find the style that makes you feel the most confident, execute it with patience, and wear it with the intention it deserves.