Getting a weave ponytail to sit perfectly flat against the scalp is less about the hair itself and more about the architecture underneath. You can have the most expensive, silky virgin hair on the planet, but if your braid pattern creates a lump at the base or your perimeter isn’t molded properly, the entire look loses its sleekness. The goal is a seamless transition from your natural hair to the extension, creating a silhouette that looks like it is growing directly from your crown. Achieving this requires patience, the right holding products, and a refusal to compromise on the braid down.
Most people struggle with the “bump” at the base of the ponytail where the track is attached. This happens when the anchor braid is too bulky or the hair is not distributed evenly. To fix this, you have to be meticulous about the foundation. I prefer a “beehive” braid pattern for the center or a straight-back pattern that tapers into a single, small, tight anchor braid at the exact center of the crown. Never use a thick braid to hold the ponytail. A thin, flat braid creates a smoother canvas, and it prevents the dreaded bulge that ruins the illusion of a natural, high-sleek style.
Everything starts with the molding. If you are not using a good, non-flaky edge control and a firm-hold styling mousse, your edges will revert the moment you step outside. It is about laying the hair down flat, layer by layer, and securing it with silk wrap strips while the hair dries. This is not a fast process. It takes time, but it is the difference between a style that lasts three days and one that lifts within hours.
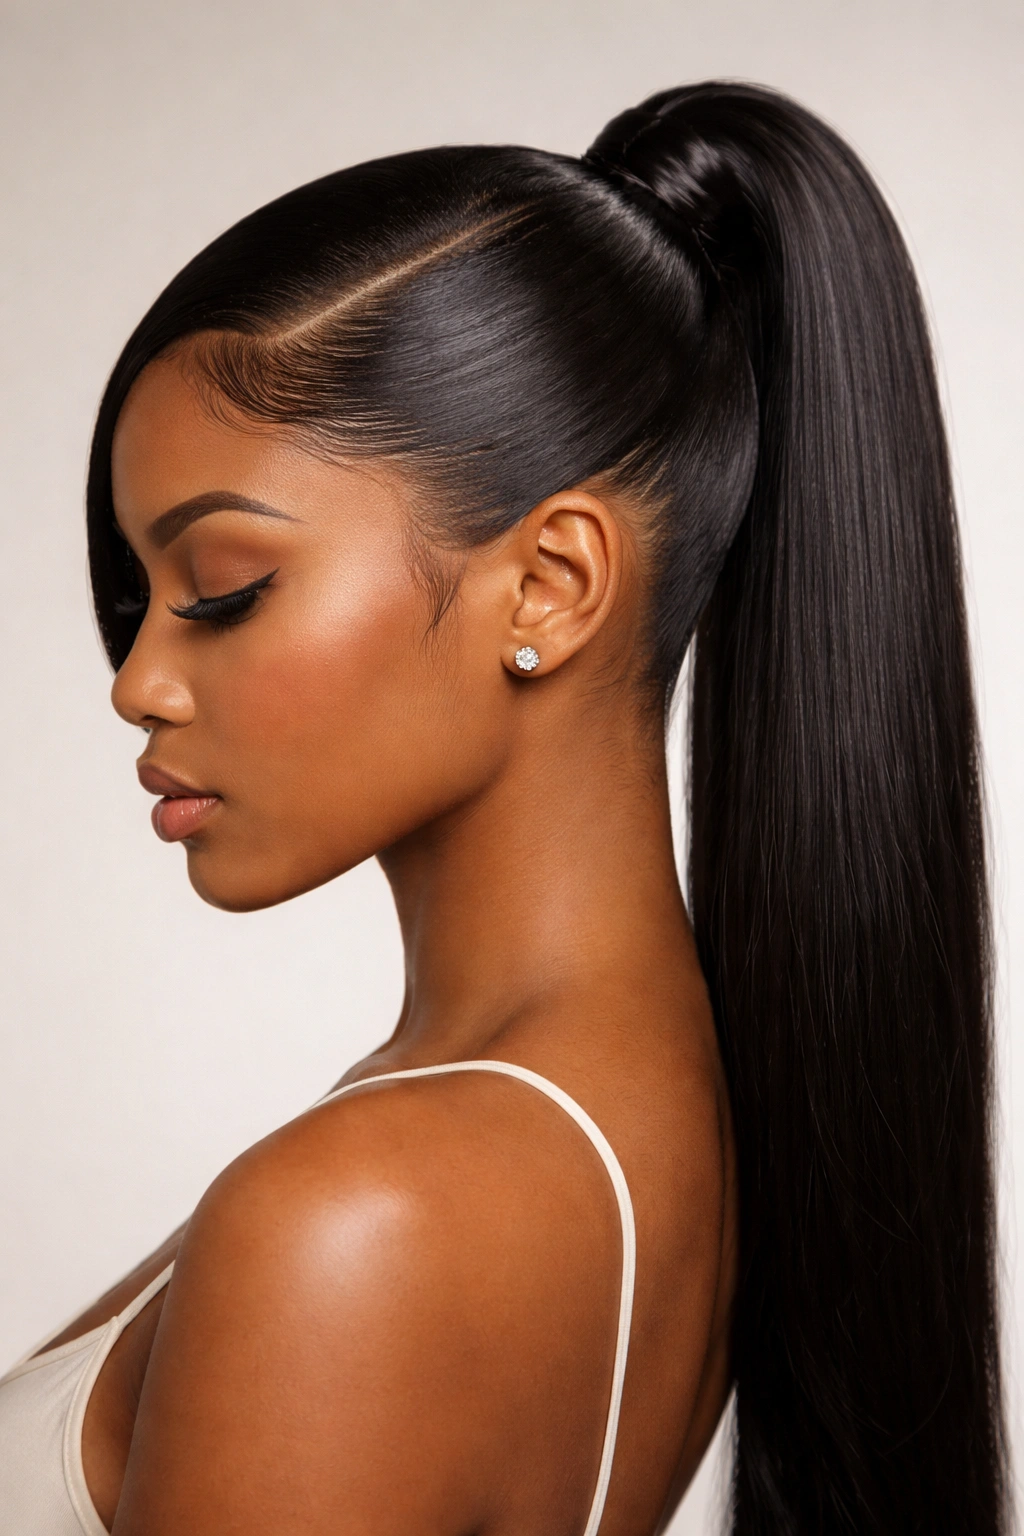
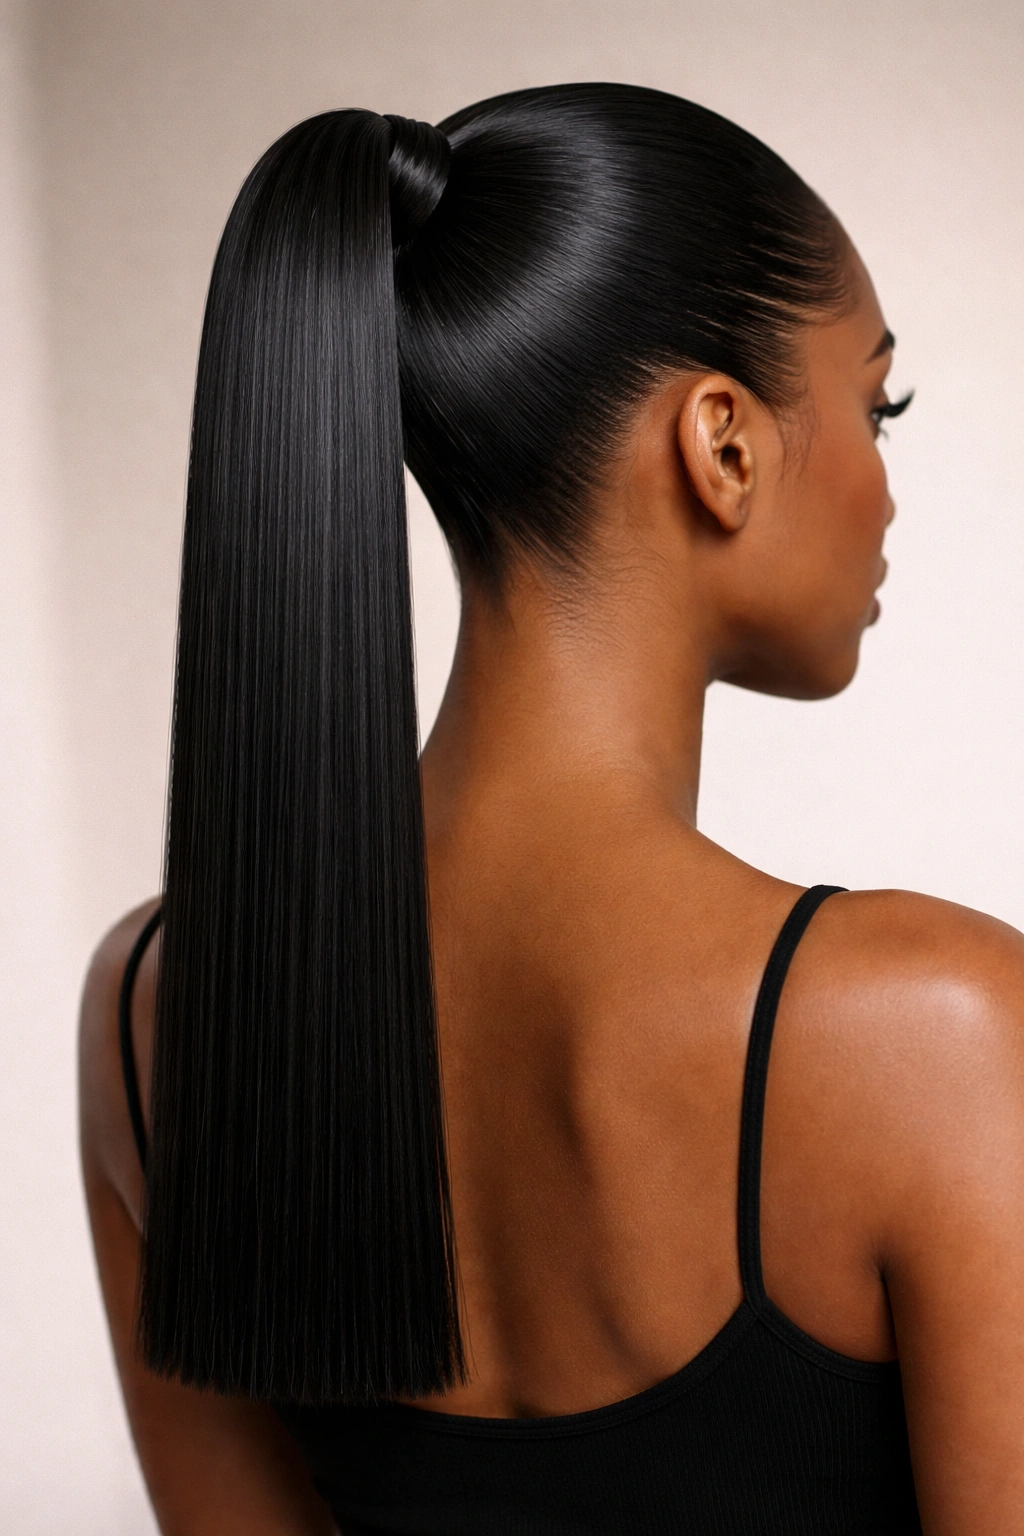
1. The Classic Bone-Straight High Pony
This is the standard for a reason. It is clean, sharp, and works for literally any setting. The key here is the quality of the hair. You need high-density, bone-straight hair bundles that have been flat-ironed with a professional press. Anything less will look frizzy by midday.
Why It Works
Bone-straight hair catches the light in a way that highlights the sleekness of your installation. When the hair is perfectly straight, there is nowhere for imperfections to hide, which forces you to be more precise with your molding.
Pro Styling Tip
Use a high-shine serum, but only a dime-sized amount. Rub it between your palms until it is warm and then glide it over the hair. If you put too much on, you will weigh the ponytail down, and it will lose that gravity-defying swing you want. Also, ensure the hair is wrapped around the base of the ponytail to completely hide the track. Use a small piece of the extension hair, secure it with a bobby pin, and make sure it is tight.
2. Deep Side Part Sleek Pony
The side part adds a level of sophistication that a center part sometimes misses. It changes the framing of the face, making it look slightly more angular. This style requires a specific molding technique where you are essentially training the hair to lie in a directional sweep before you even secure it into the ponytail.
Achieving the Smooth Sweep
You must mold the hair while it is wet. Use a rat-tail comb to create your deep part, then apply your firm-hold gel. Brush from the part toward the base of the ponytail in one fluid motion. Do not try to move the hair once the gel starts to dry, or you will create white, flaky residue.
Managing the Tension
Because a side part pulls hair unevenly from the sides, be mindful of your edges. Do not pull too tight at the temple on the side with less hair. You want the ponytail to look intentional, not painful.
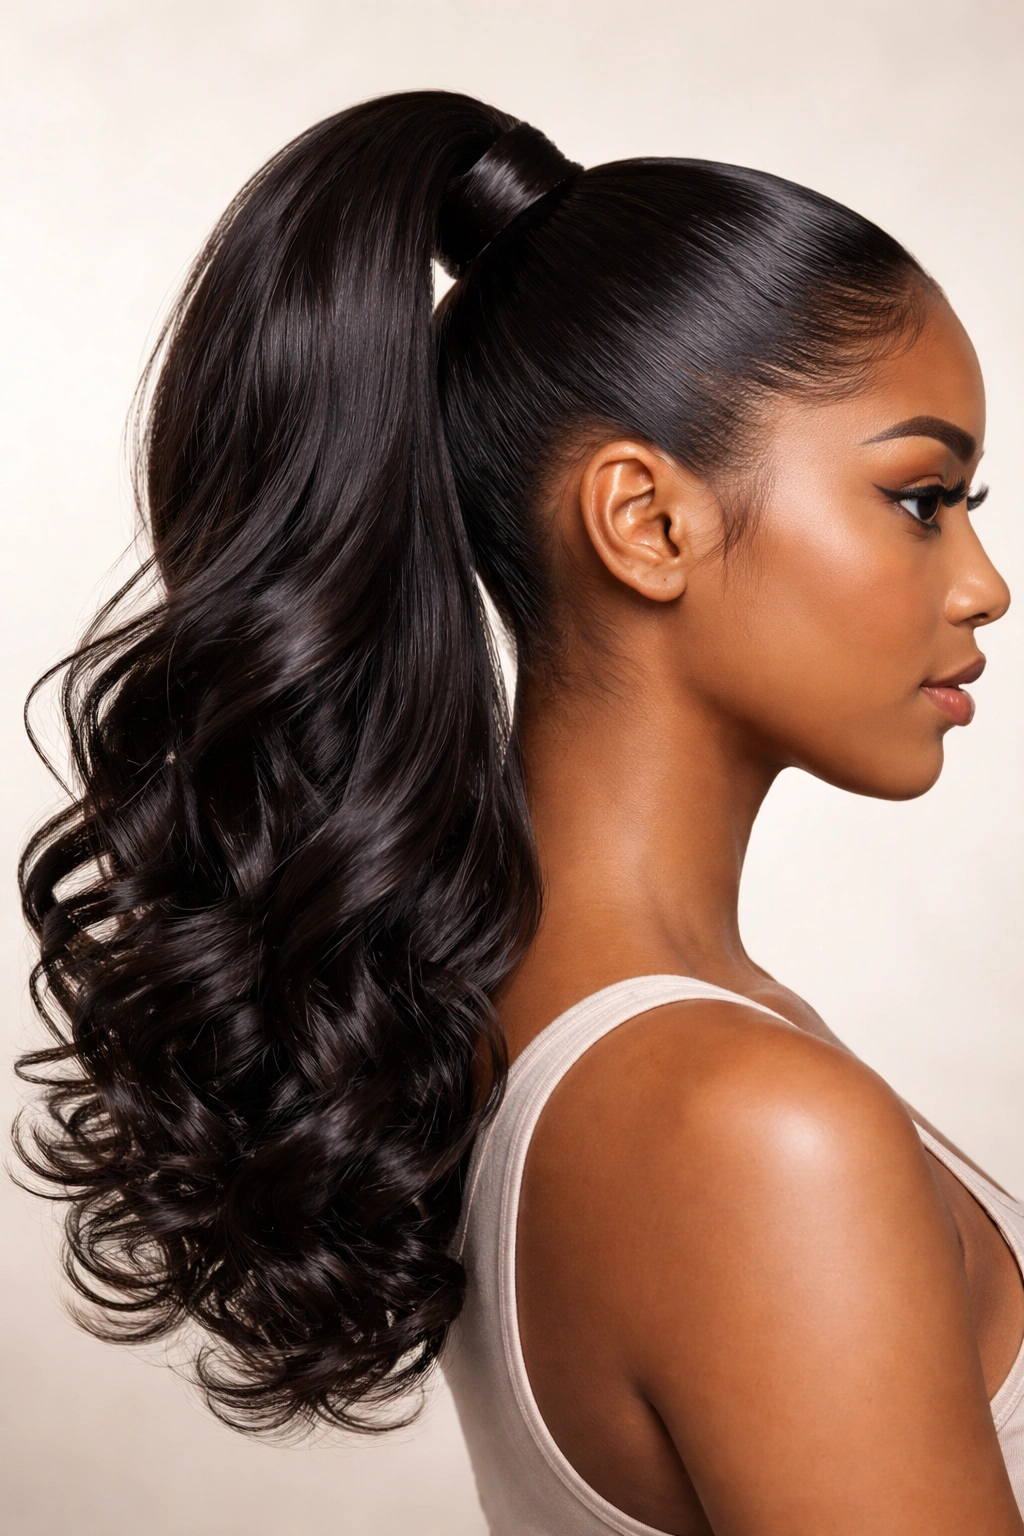
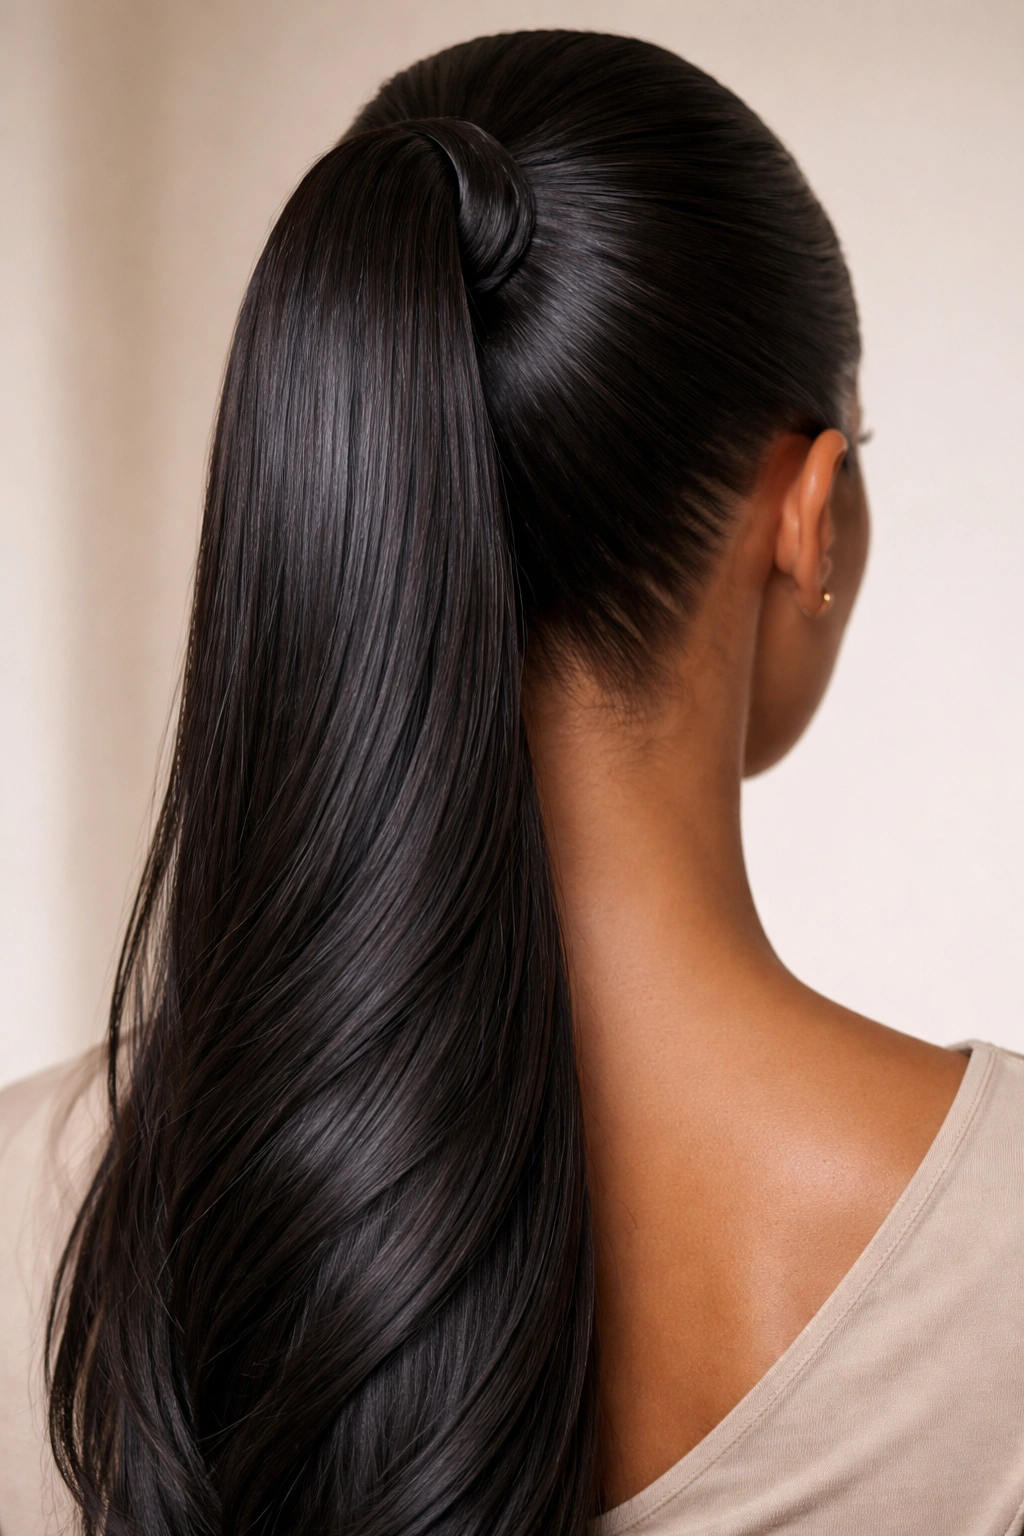
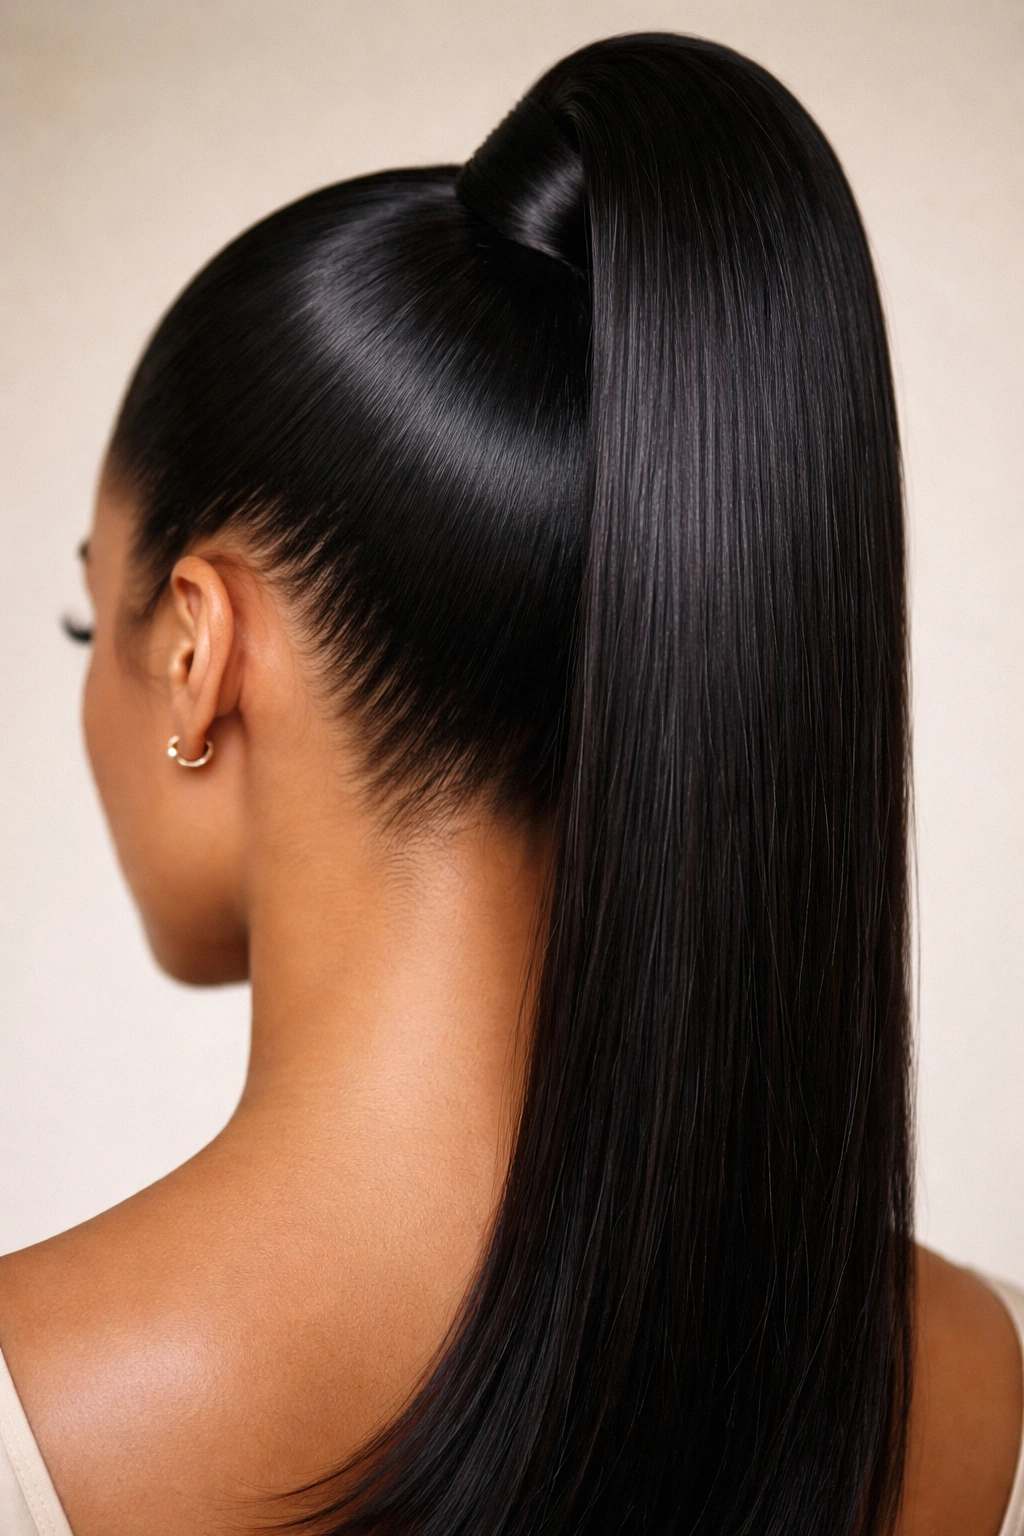
3. The Wrapped-Base High Pony
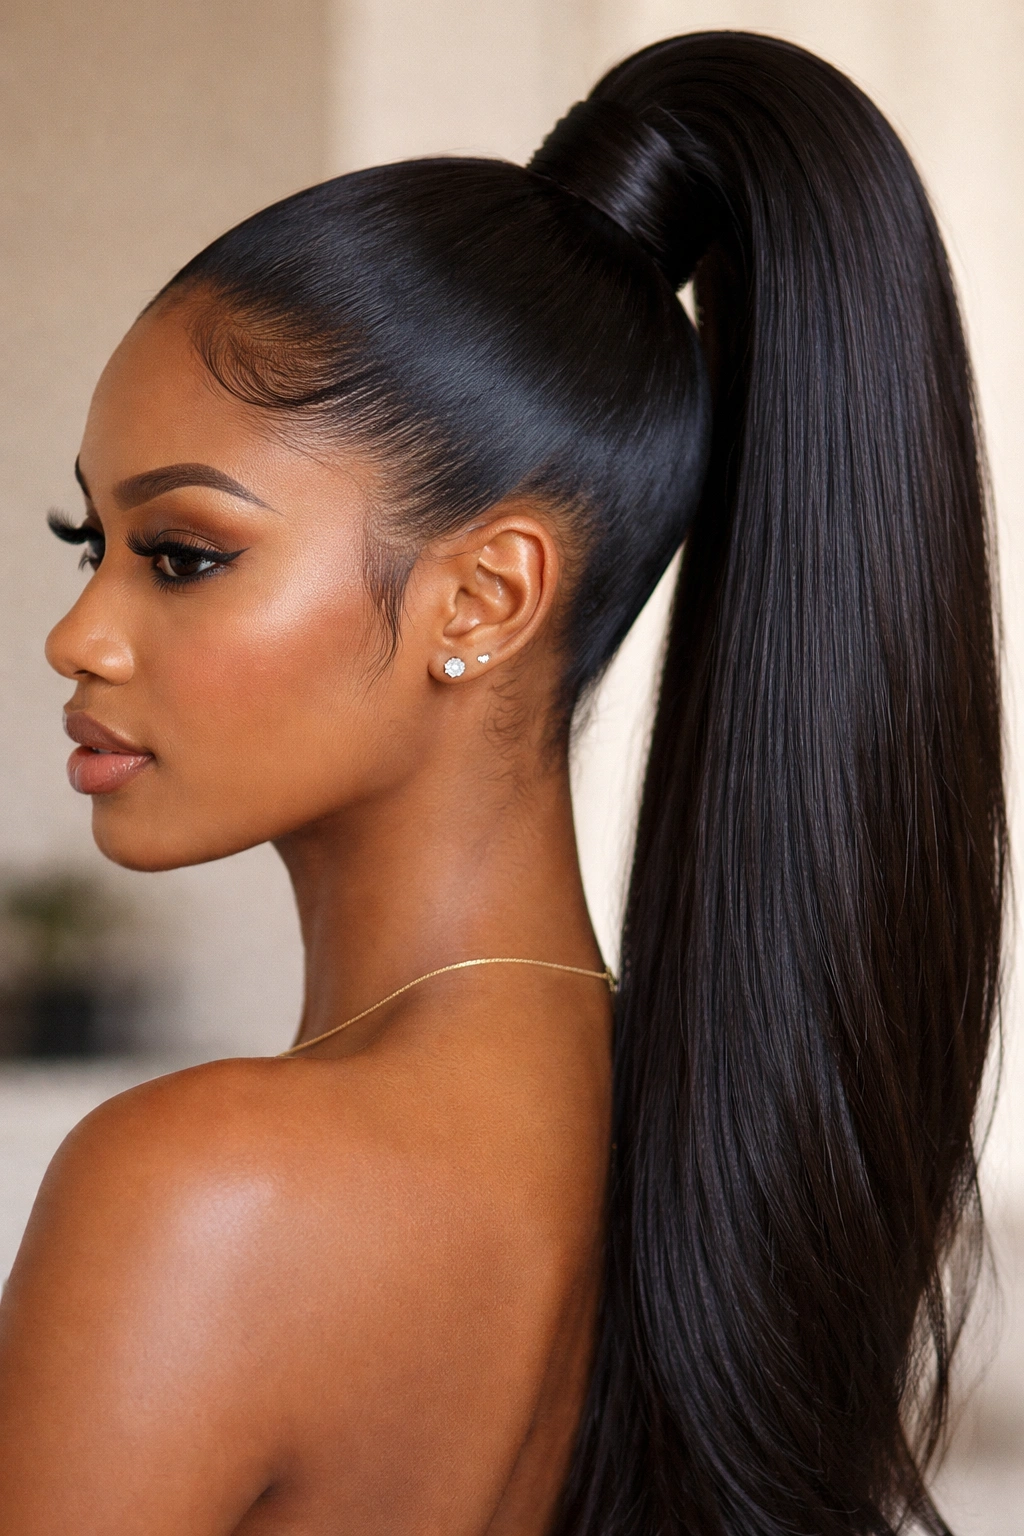
Focusing on the base of the ponytail is often the missing step in a mediocre installation. A wrapped base elevates the style from a “DIY look” to a professional finish. It hides the elastic band or the hair tie completely, creating a seamless connection between your scalp and the ponytail.
The Technique
Take a small section of hair—about half an inch wide—from the underside of the ponytail. Wrap it tightly around the elastic until it is fully covered. Secure the end with a small, discreet bobby pin.
Why This Matters
It provides a polished, editorial look. You can even use a small piece of decorative thread or a gold accessory if you want, but the hair-wrapped method remains the most versatile. It mimics the appearance of a natural ponytail tied with a lock of your own hair.
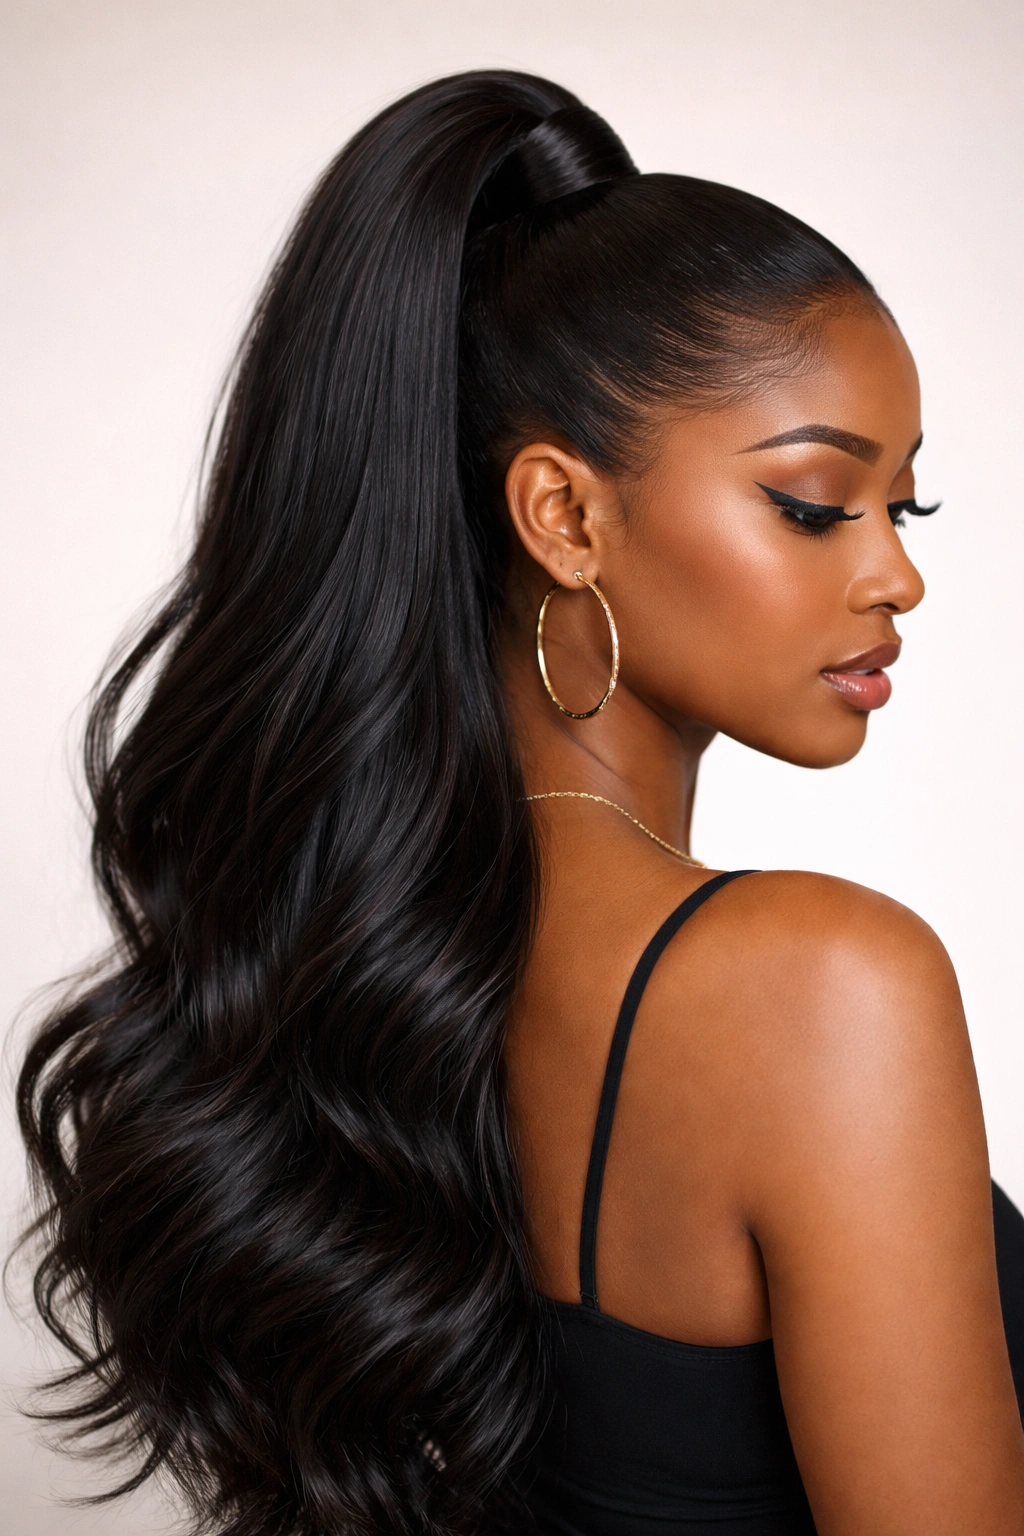
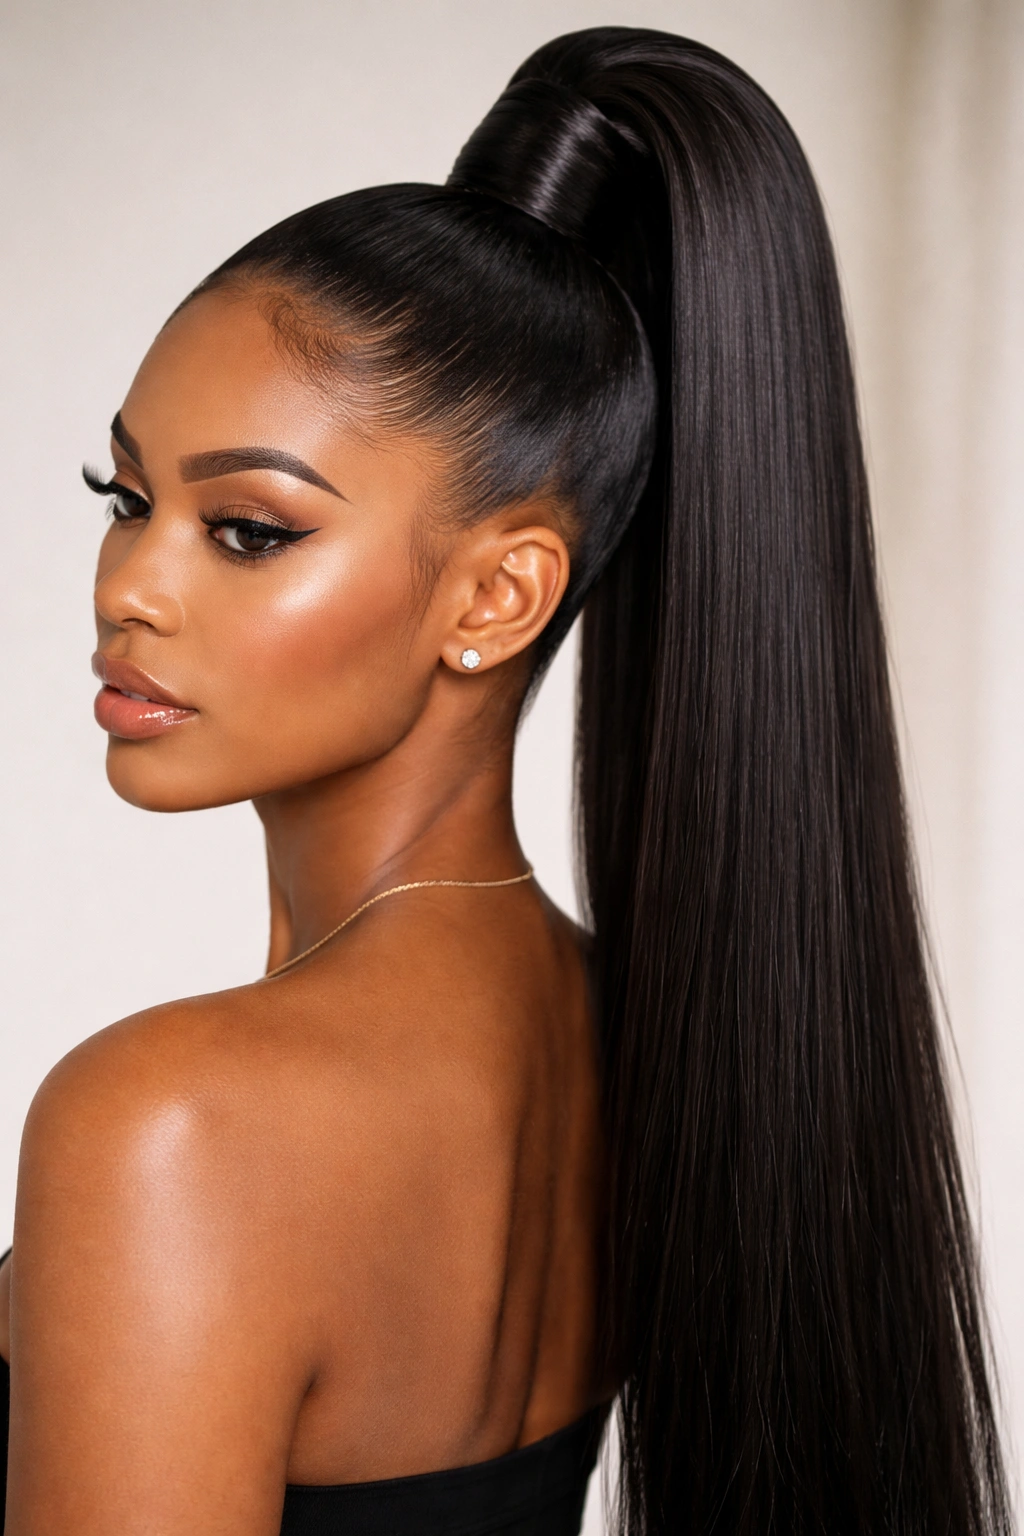
4. Middle Part Sleek Pony
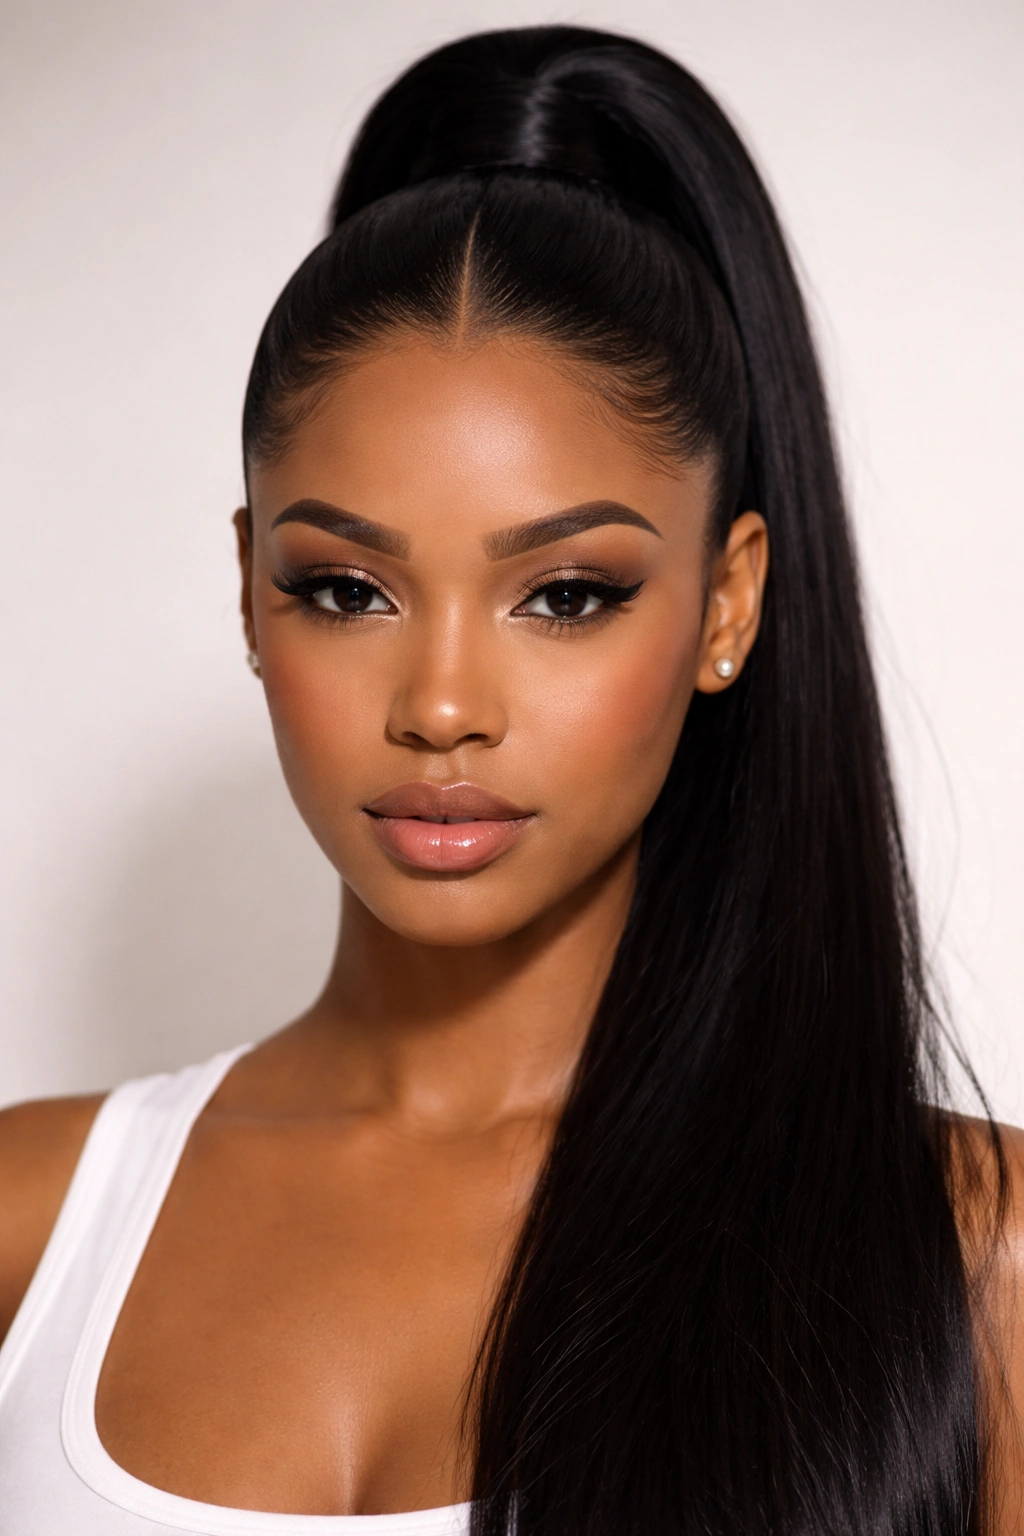
A center part is unforgiving. If your part is even slightly crooked, the whole style looks off-balance. I always suggest using the end of a metal rat-tail comb to carve a line that is perfectly aligned with the bridge of your nose.
Setting the Foundation
When you are braiding your natural hair underneath, make sure to part it down the center as well. This prevents a bulge of hair from forming right where you want the part to be. If you have an anchor braid sitting directly under where you want your part, your hair will lift at the root.
The Aesthetic
This style is very “model off-duty.” It elongates the face and is excellent for those who want to show off earrings or bold makeup. Keep the sides tight and completely free of flyaways using a wax stick and a hot comb.
5. The Crimped High Pony
Crimped hair adds a massive amount of volume and texture, which is a great contrast to the sleek, pulled-back front. It is a bold look that feels nostalgic yet modern.
Creating the Texture
Use a three-barrel waver or a dedicated crimping iron on the extension hair before you install it. Doing this while the hair is on a mannequin head or laid flat is much easier than trying to crimp it after the ponytail is installed.
Balancing the Look
Because the crimped ponytail is so voluminous, you need to ensure the front part is extra sleek. The contrast is the point. If the front is messy, the whole style just looks unkempt. The crispness of the molding at the roots is non-negotiable here.
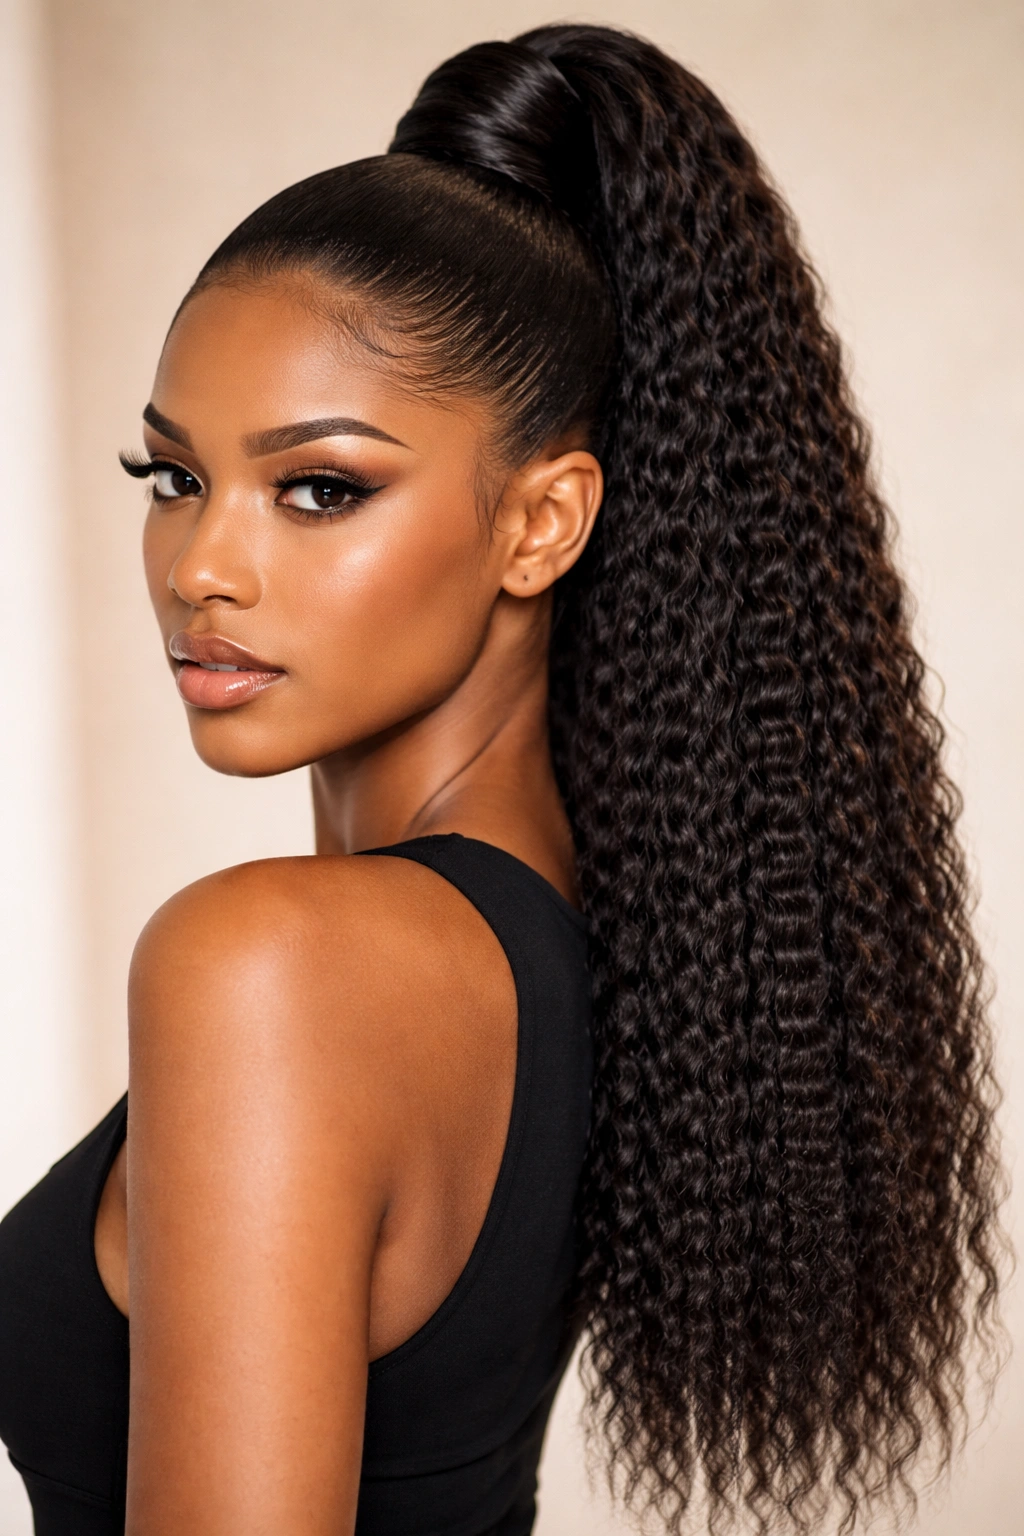
6. High Pony with Deep Wave Texture
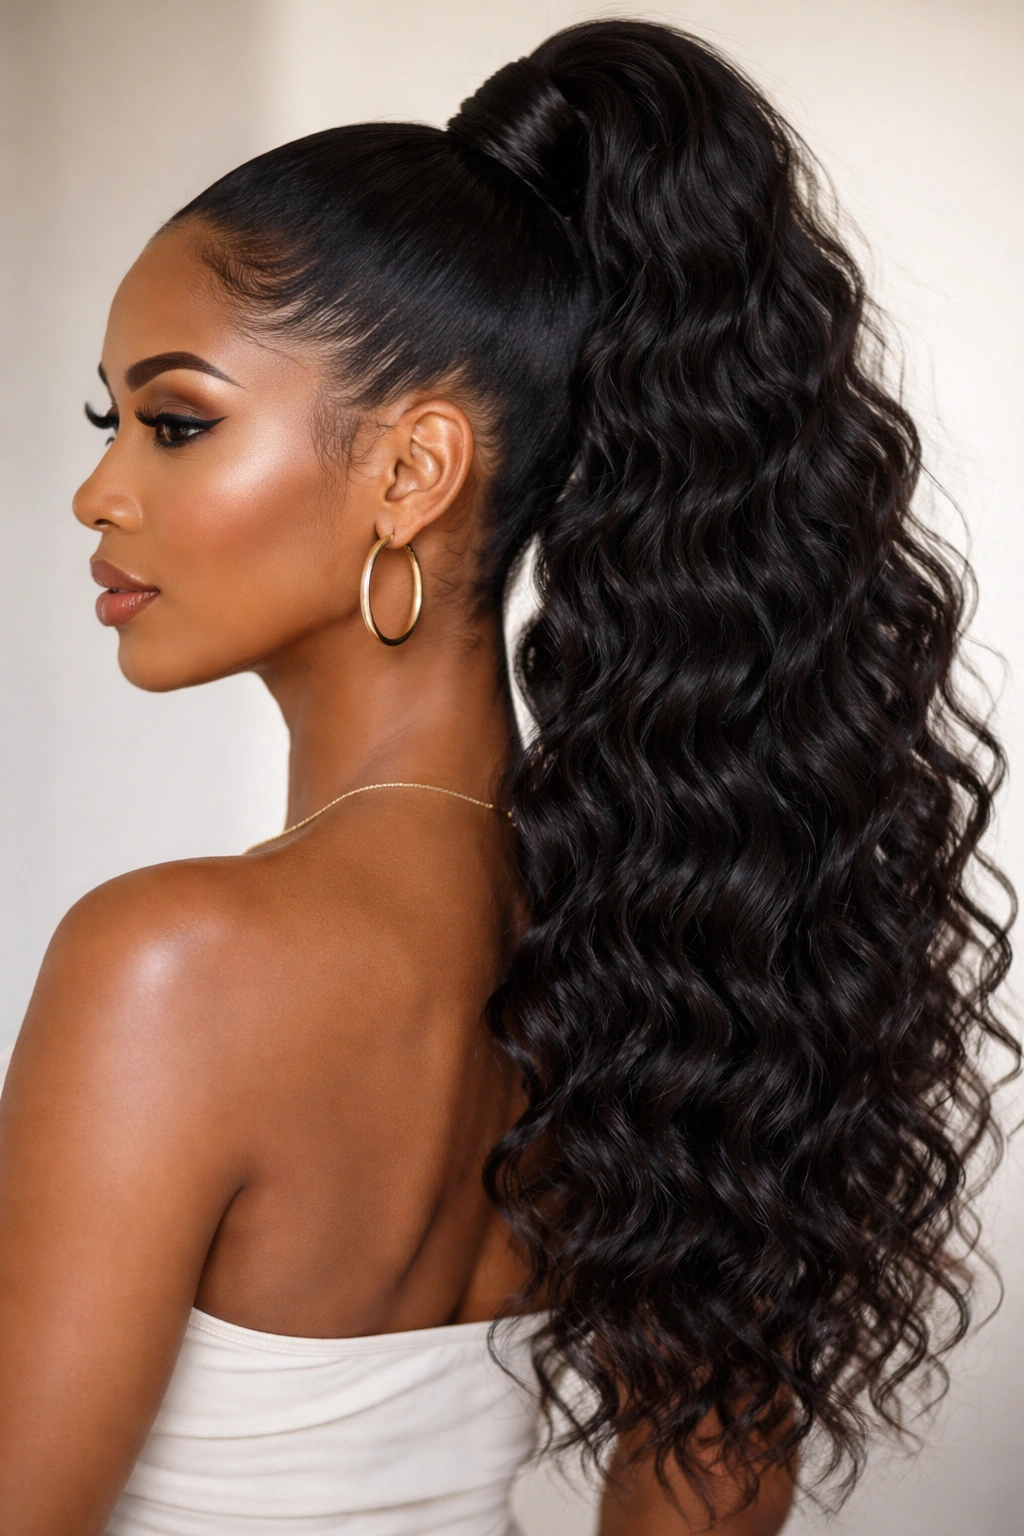
Deep wave hair has a pattern that is much tighter than a body wave. When pulled into a high pony, it creates a voluminous, cascading effect that looks incredibly luxurious.
Installation Strategy
Deep wave hair tangles easily. You need to keep it hydrated. Use a light water-based mousse to define the waves without making the hair crunchy. Avoid heavy creams, as they will cause the hair to matte up by the end of the day.
The Base
Make sure your base is extremely secure. Deep wave hair is heavy. If your anchor braid isn’t solid, the weight of the hair will pull the ponytail down, causing it to sag rather than sit high and proud.
7. The Swoop-Bang High Pony
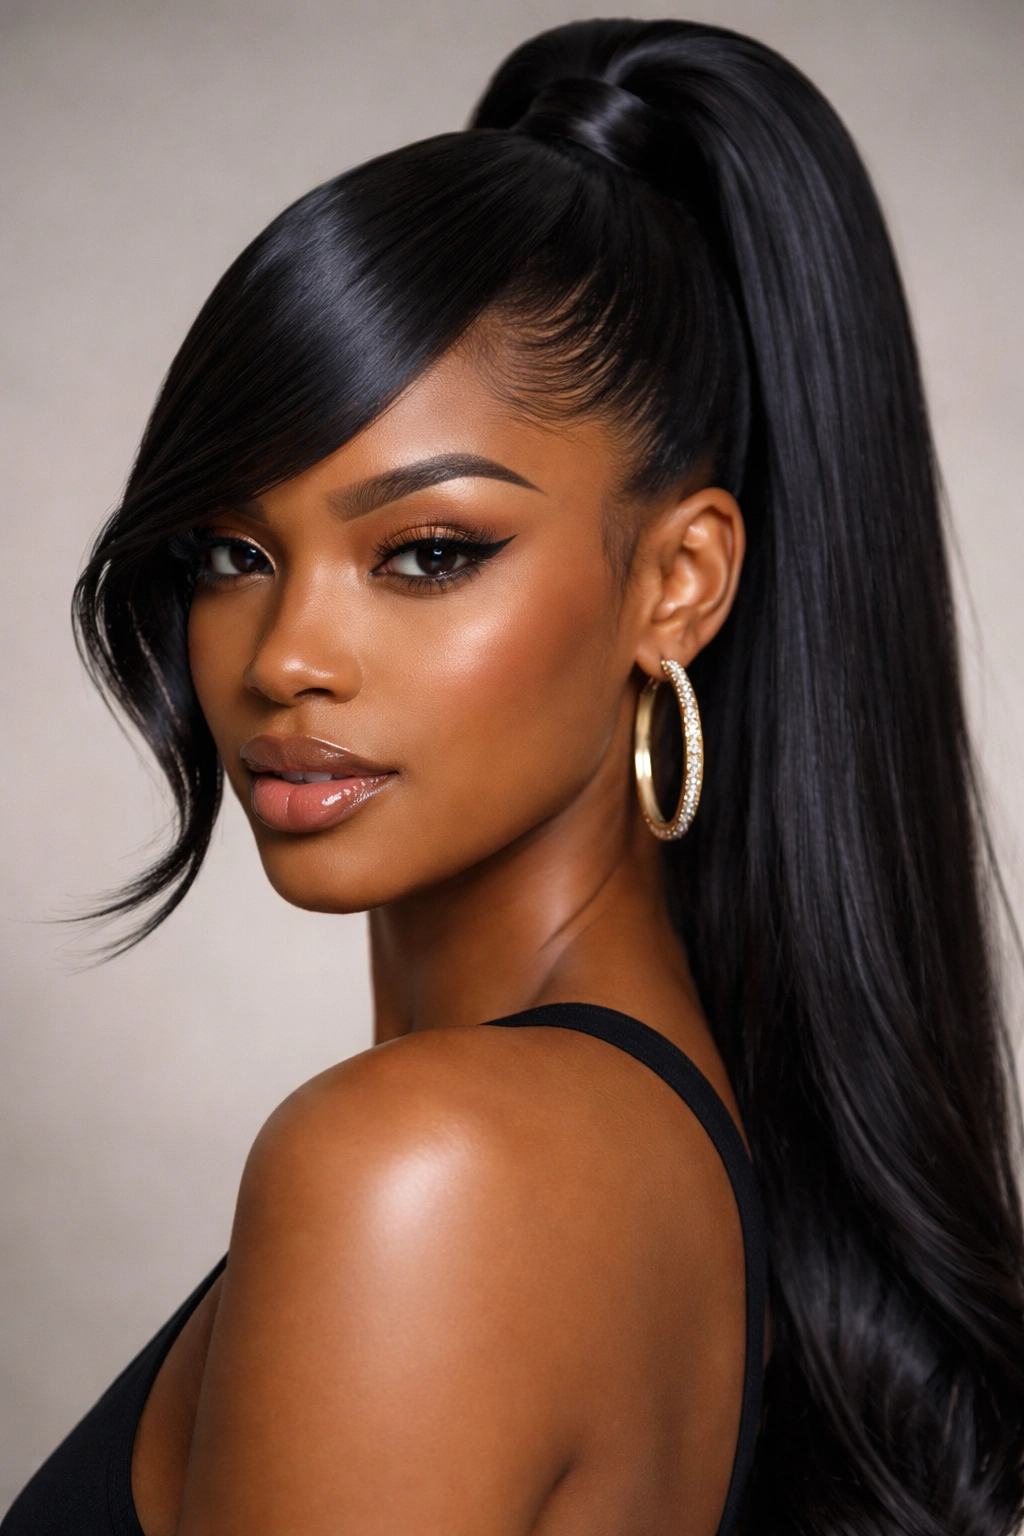
This style is a classic for a reason—it frames the face while keeping the back of the hair sleek and pulled away. The “swoop” usually refers to a section of hair left out or a piece of the weave brought forward to mimic a side-swept bang.
Creating the Swoop
You can use a small bundle of hair to create a faux bang, or you can use your own natural hair if it’s long enough. The secret is to let the swoop fall over the eyebrow and tuck it behind the ear.
The Finishing Touch
Use a soft-hold hairspray on the swoop itself. You want it to move slightly; you do not want it to be a helmet. The rest of the ponytail should be pinned tightly to maintain that high-fashion look.
8. Double-Wrapped Base High Pony
This is a variation of the wrapped base, but with a bit more intentionality. Instead of just wrapping one section, you criss-cross or overlap two sections of hair to create a wider, more structured base.
Why You Should Try It
It adds height and stability. If you use a thicker hair tie that you want to hide, a single wrap might not cover it enough. The double wrap provides a thick, clean appearance that looks like you spent extra time on the details.
Technical Advice
Secure each wrap with a bobby pin pointing downward. If you pin upward, the pin will slide out as the hair moves. Gravity is your enemy here, so pin toward the scalp.
9. The Curly-End High Pony
This is for those who love a bone-straight root but want some fun at the bottom. The hair is sleek at the scalp, but the ends are styled into loose, bouncy barrel curls.
How to Style
Curl the hair after the ponytail is installed. This allows you to blend your natural hair with the extensions seamlessly. Use a 1.5-inch curling iron for the best results.
Maintenance
This style relies on the curl pattern. Do not brush the curls out too much, or you will lose the definition. Use a light oil mist to keep the curls shiny, and consider sleeping with the pony in a silk bonnet to preserve the shape.
10. Sleek Pony with Bejeweled Base
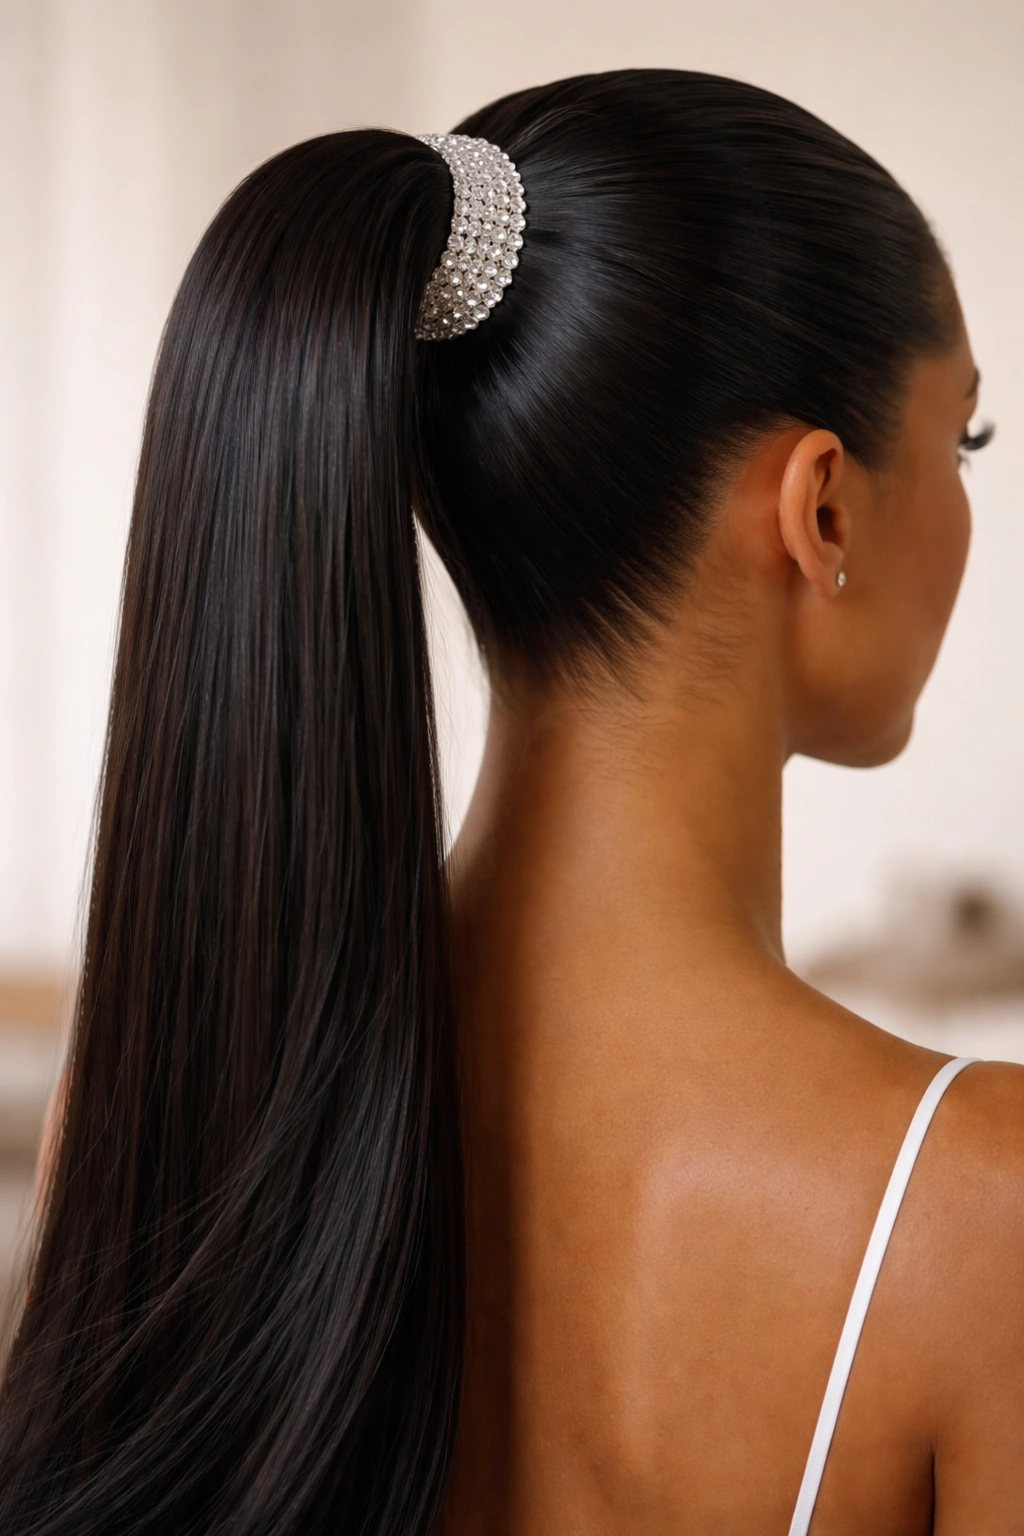
Sometimes, you need to dress up the style. A bejeweled base—think gold cuffs, crystal-encrusted hair ties, or even thin metal wire wrapped around the base—transforms a standard pony into a statement piece.
When to Use Accessories
Use these additions for formal events or nights out. The key is to ensure the accessory is secure. Nothing ruins a look faster than a heavy hair cuff sliding down your ponytail and creating a gap between the hair tie and the base.
Placement
Place the accessory directly over the elastic. If you have wrapped the base with hair, place the accessory over the hair wrap for a secure fit that won’t slide.
11. High Pony with Face-Framing Tendrils

This is a softer approach to the sleek pony. By leaving out two thin strands of hair at the front and curling them, you soften the harshness of the pulled-back look.
Precision Matters
Use a tail comb to section off these pieces before you begin brushing the rest of your hair back. You want them to be uniform in thickness.
The Curl
Curl these pieces away from the face. This opens up your features rather than hiding them. A little bit of pomade on these tendrils keeps them from looking frizzy.
12. The Multi-Sectioned Bubble Pony

This is a fun, architectural take on the ponytail. You take your long, sleek pony and add elastic bands every few inches down the length of the hair, pulling the sections out slightly to create “bubbles.”
The Prep
You need hair that is long enough to handle the volume. If your weave isn’t long enough, the bubbles will look stumpy. Use thin, clear elastic bands to ensure they disappear into the hair.
Volume Control
After placing the bands, pull at the hair between the bands to expand the volume. This creates a fuller, more dramatic look. It is an excellent way to make a ponytail look thicker than it actually is.
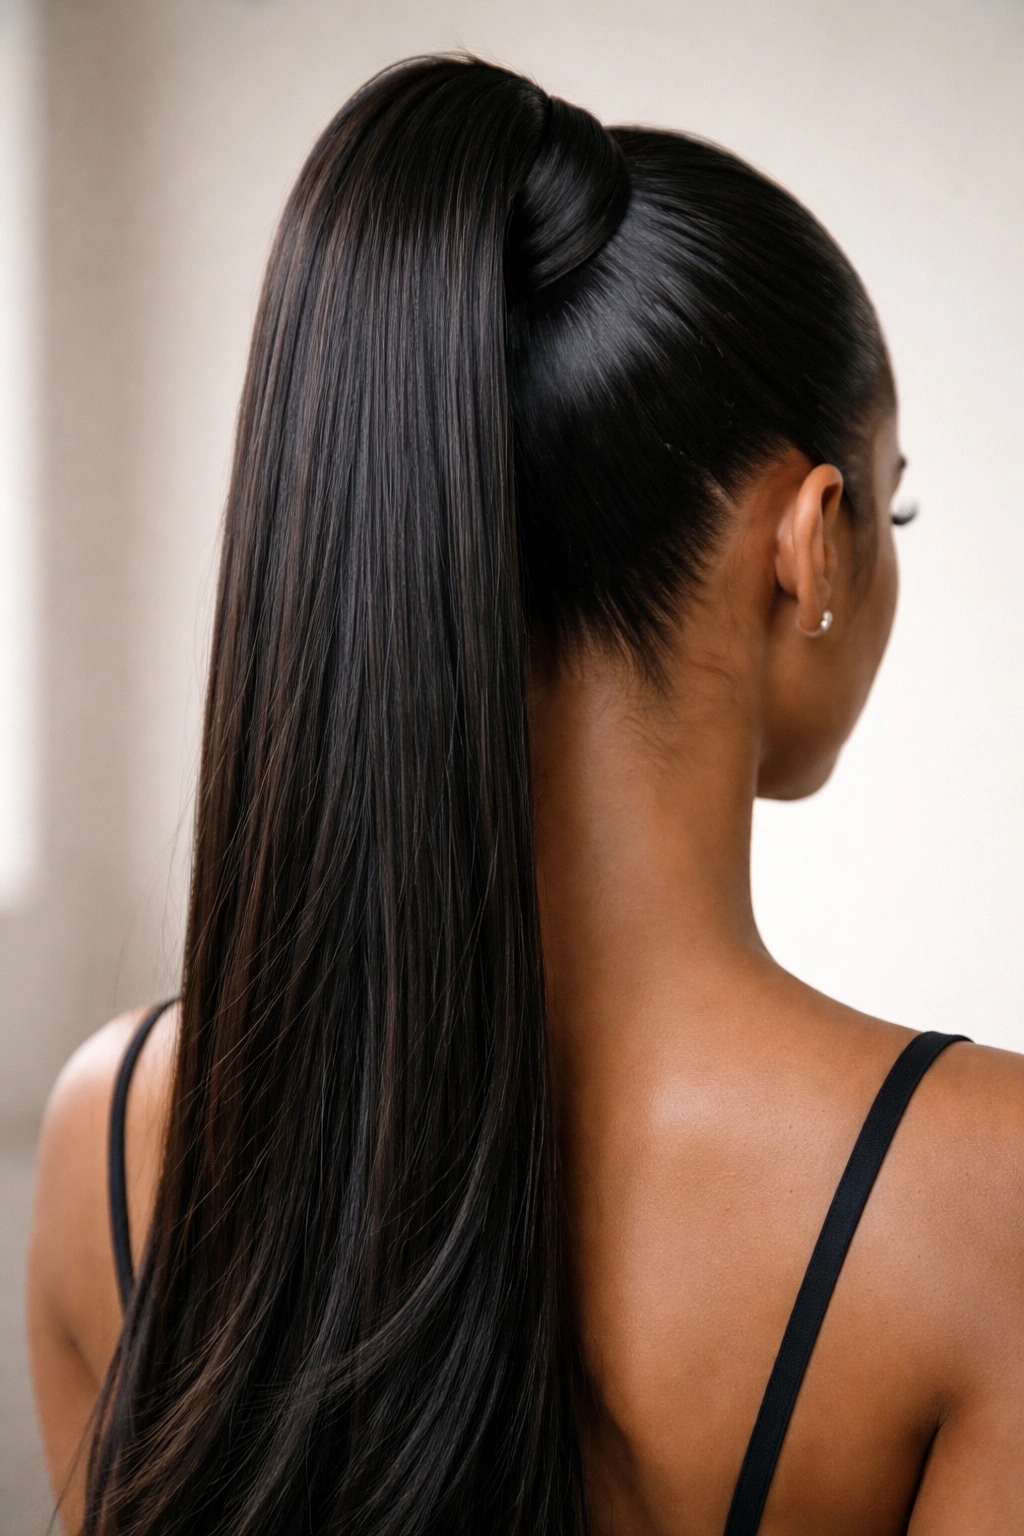
13. Ultra-Long Bone-Straight Pony
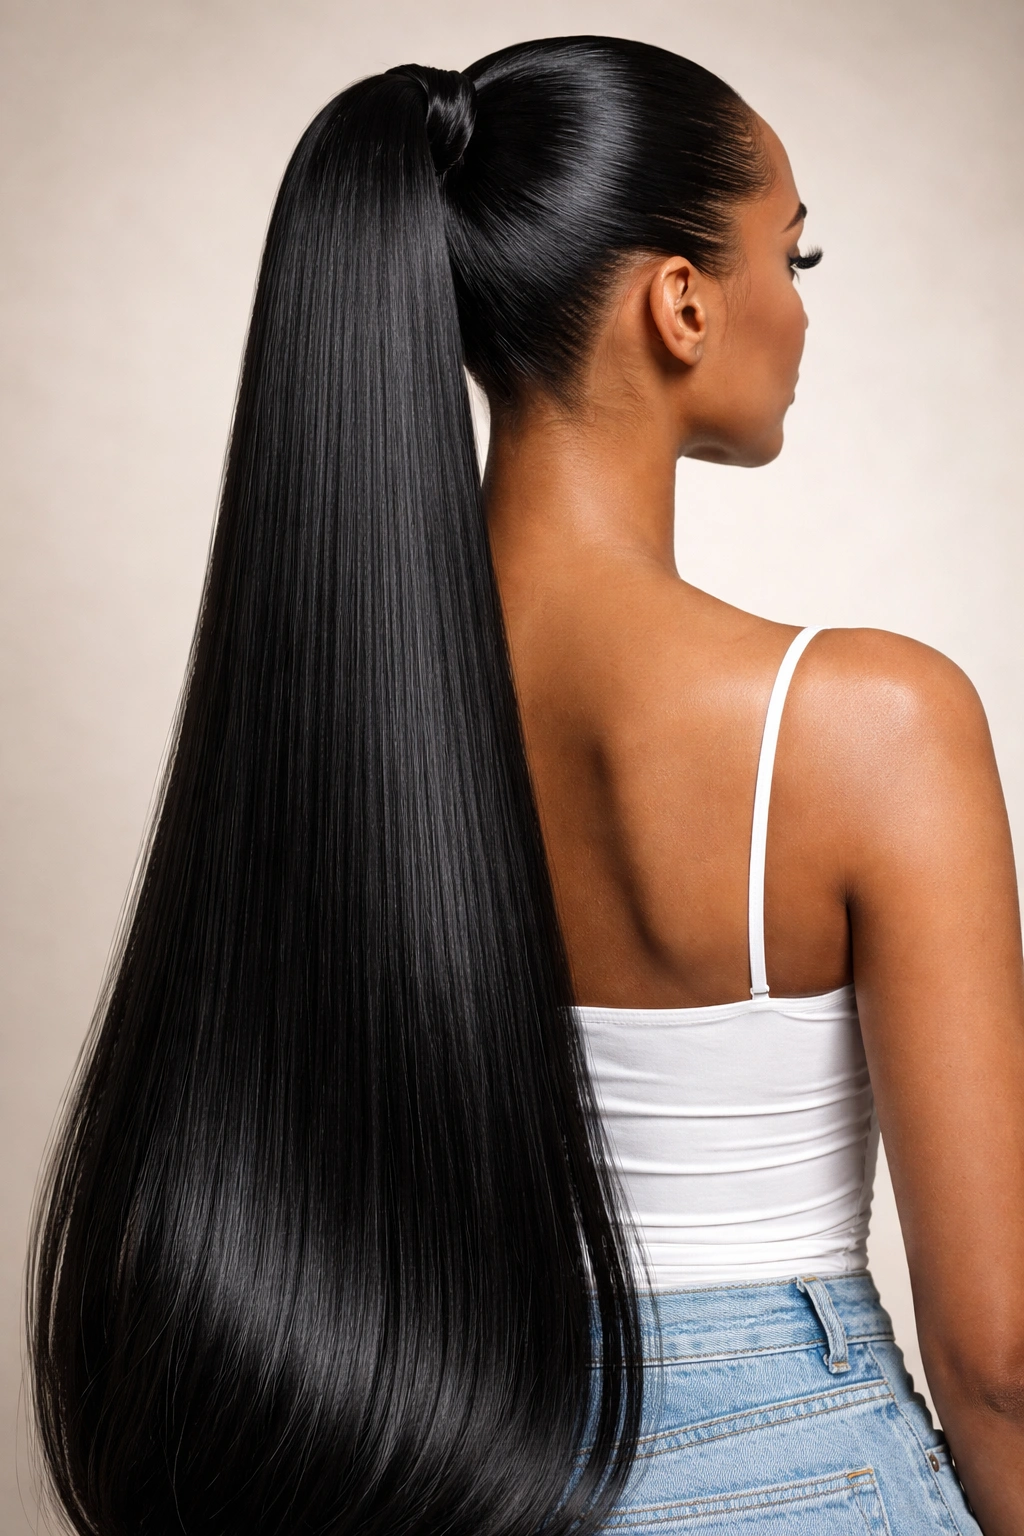
Length is a statement. If you are going for an ultra-long look, the density of the hair matters. You cannot use one bundle and expect it to look rich.
Density and Weight
Aim for at least two to three bundles for an ultra-long look. You want the hair to have weight and movement. Thin hair that is extremely long tends to look stringy, which is the opposite of the sleek, expensive aesthetic we are after.
Staying Sleek
Ultra-long hair is prone to static. Keep an anti-static spray on hand. If you are wearing this for a long event, carry a small comb to keep the bottom section free of tangles.
14. The Braided-Base High Pony
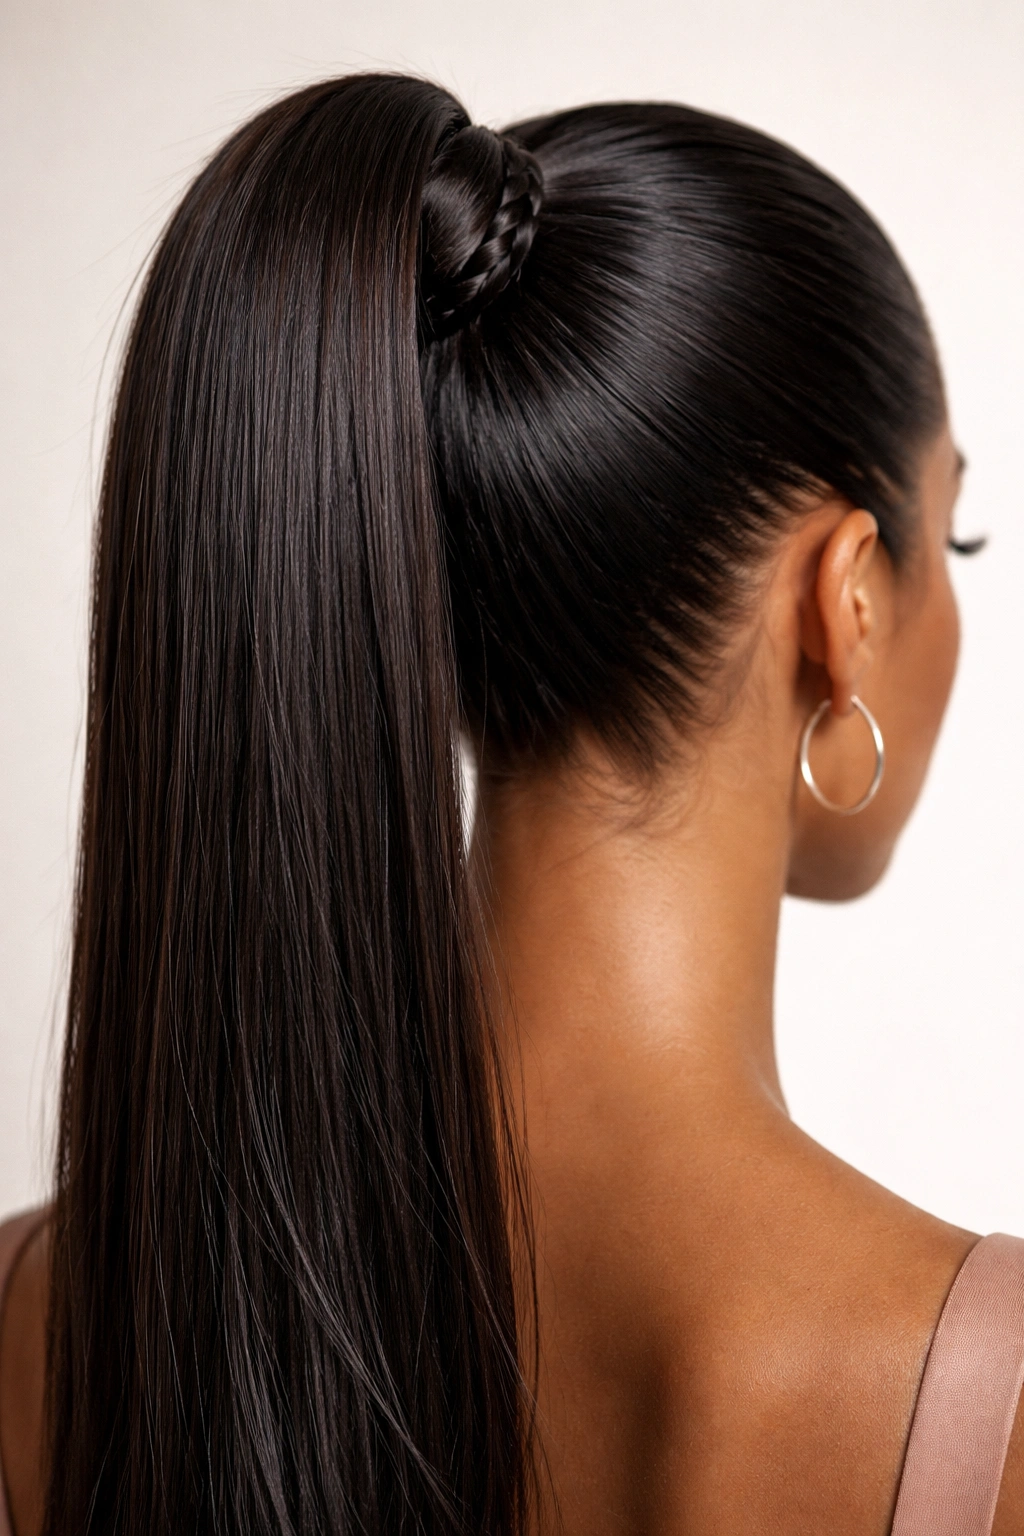
Instead of wrapping the base with hair, you braid a section of the hair and wrap that around the base. It adds a subtle texture that is interesting but not distracting.
Execution
Take a section of the ponytail, create a standard three-strand braid, and then wrap that braid around the elastic. It is a small detail, but it catches the light differently than a flat wrap of hair.
The Hidden Benefit
The braid is sturdier than a loose lock of hair. It is less likely to unravel if you are moving around a lot, making this a great option for active days where you still want to look polished.
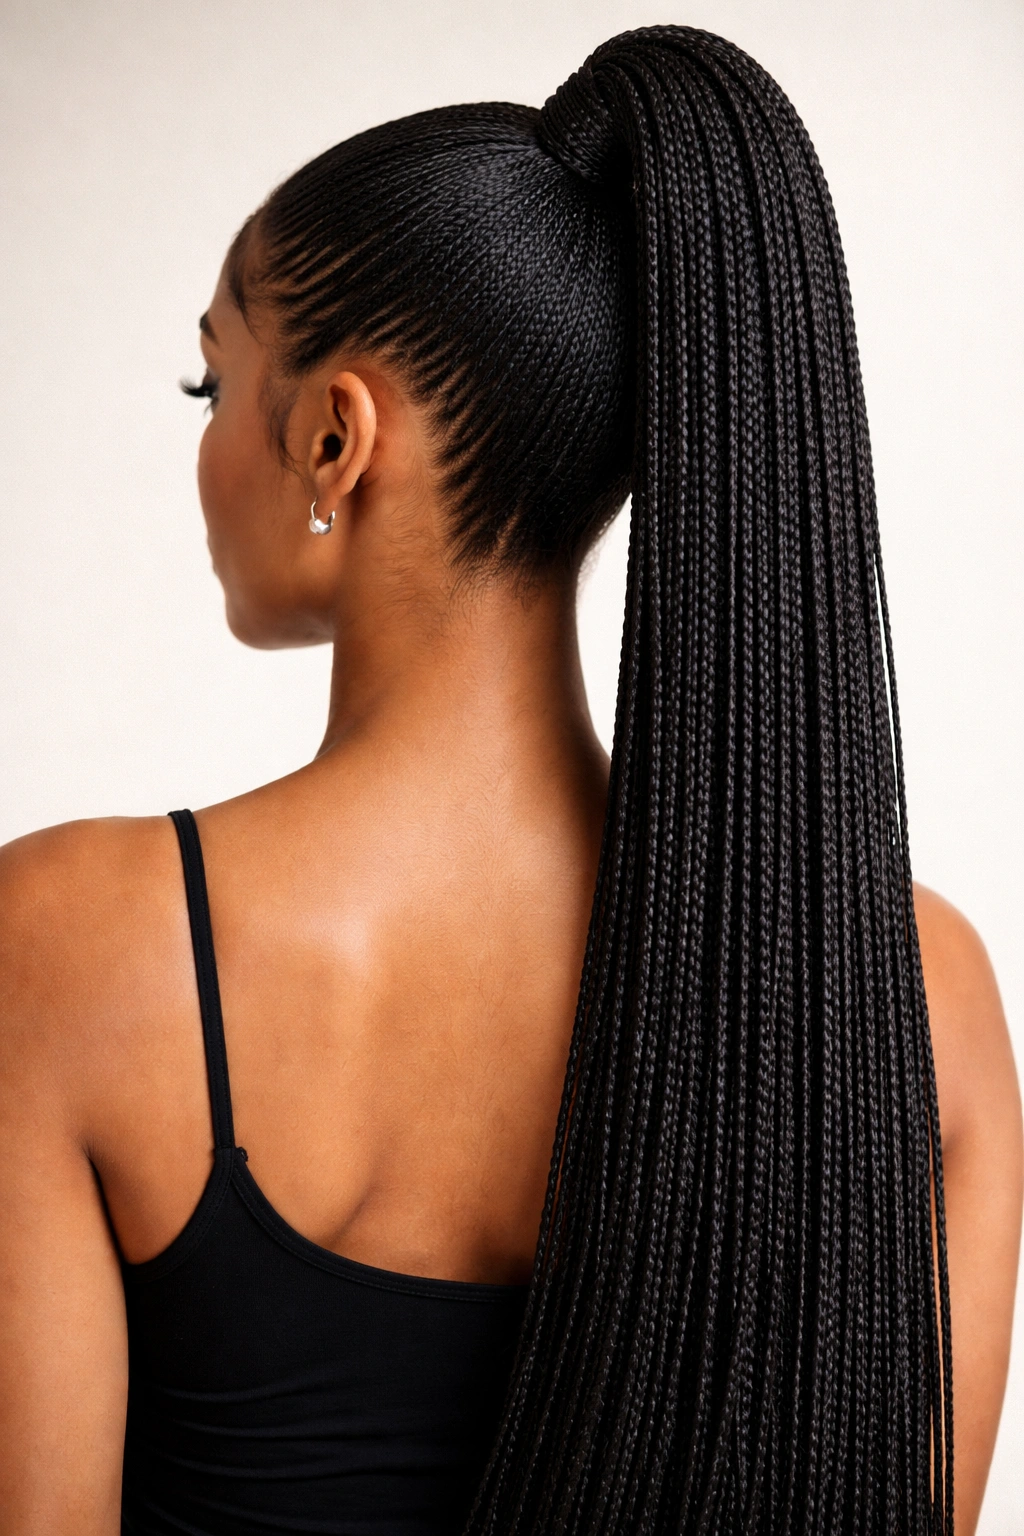
15. High Pony with Exposed Braid Patterns
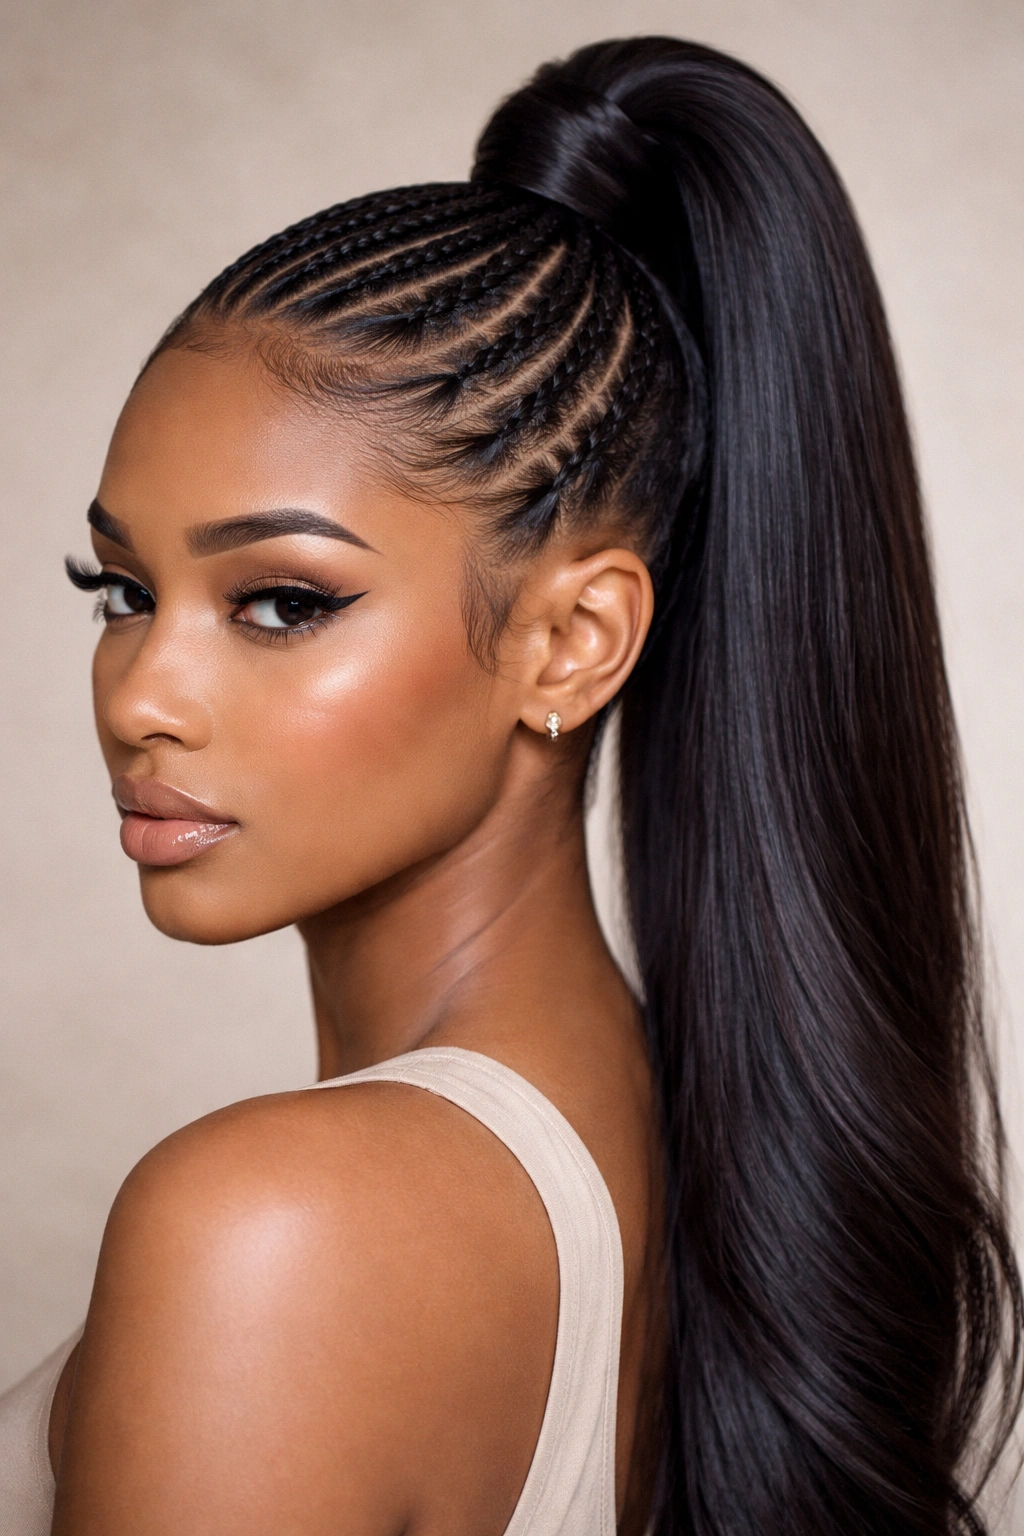
This is for when you want to show off your skill. Instead of hiding your braid-down pattern completely, you leave a section at the front or side to showcase intricate braiding (like cornrows) that flows into the ponytail.
The Design
You have to plan this during the braid-down phase. The cornrows need to be clean, sharp, and follow the direction of the ponytail. If the braids are messy, the style fails.
Contrast
Ensure the braids are sleek. Use a matte pomade on the braids to keep them looking crisp, while keeping the ponytail itself shiny. The contrast in textures is what makes this look deliberate.
16. The Half-Up, Half-Down Sleek Pony
Technically a variation of the high ponytail, this style leaves a portion of the hair flowing down while securing the top section into a high, sleek, tight ponytail.
The Blend
The transition between the ponytail and the flowing hair is the critical area. You want to make sure the tracks are well-hidden. This is best achieved by sewing the tracks in a circular pattern around the crown.
Styling the Flow
Make sure the hair that is left down is styled to match the ponytail. If the pony is bone straight, the down-hair should be bone straight. If the pony has waves, the down-hair should have waves.
17. The Twisted-Base Sleek Pony
Similar to the braid-wrap, this involves taking two sections of hair and twisting them together before wrapping the base. It creates a rope-like texture.
Why Twist?
It adds a bit of dimension without the effort of braiding. It is a quick way to upgrade your ponytail base in seconds.
Ensuring Tension
The twist needs to be tight. If it is loose, it will look messy immediately. Twist it firmly, wrap it, and pin it securely at the base.
18. High Pony with Micro-Braids
If you are using synthetic hair for a specific look or have added micro-braids into your bundles, a high pony is the best way to show them off.
The Weight Factor
Micro-braids are heavy. Make sure your anchor braid is reinforced. A weak base will slide backward or droop under the weight of the braids.
Styling
Pull the braids up tightly. Use a clear elastic to secure the base so it blends in with the braids. Do not try to wrap the base with a section of the braids; it will be too bulky.
19. The Deep Burgundy Sleek Pony
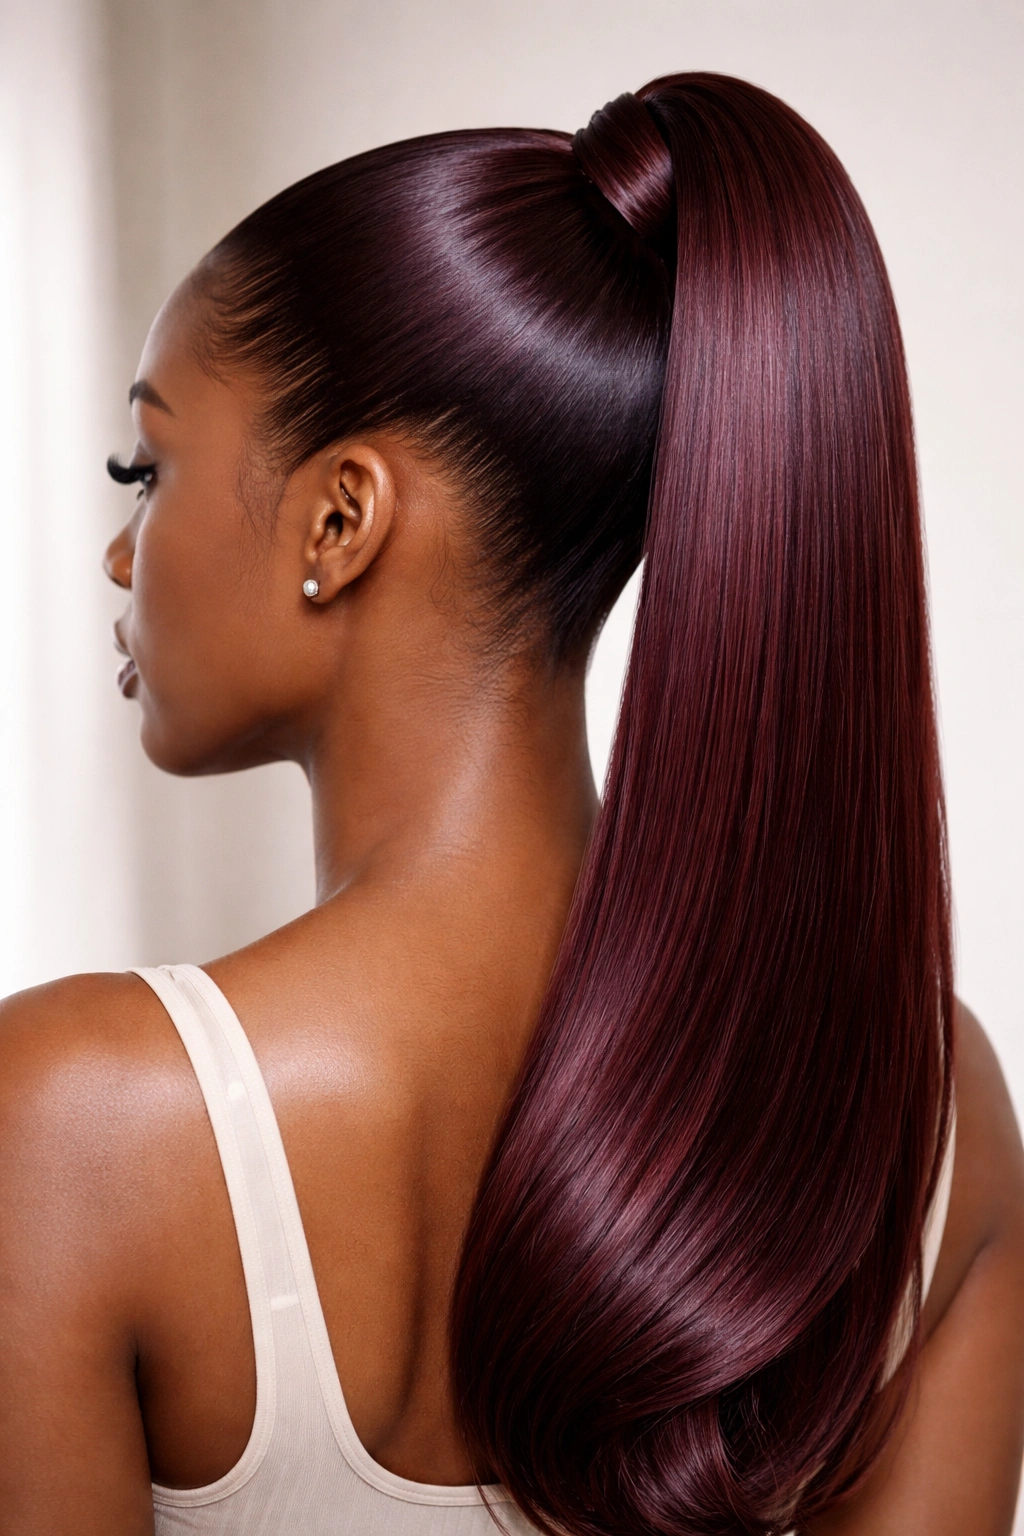
Color changes the game. A deep burgundy or wine-colored hair creates a sultry, sophisticated vibe that stands out.
The Molding
When hair is colored, it can sometimes be a bit drier. Ensure you use a deep conditioning treatment on the hair before styling to ensure it lays flat. Dry hair sticks up and creates flyaways.
The Finish
Burgundy hair looks best with a high-shine finish. Use a glossing spray to bring out the depth of the red tones. A matte finish will make the color look dull and flat.
20. High Pony with Ombre Transition
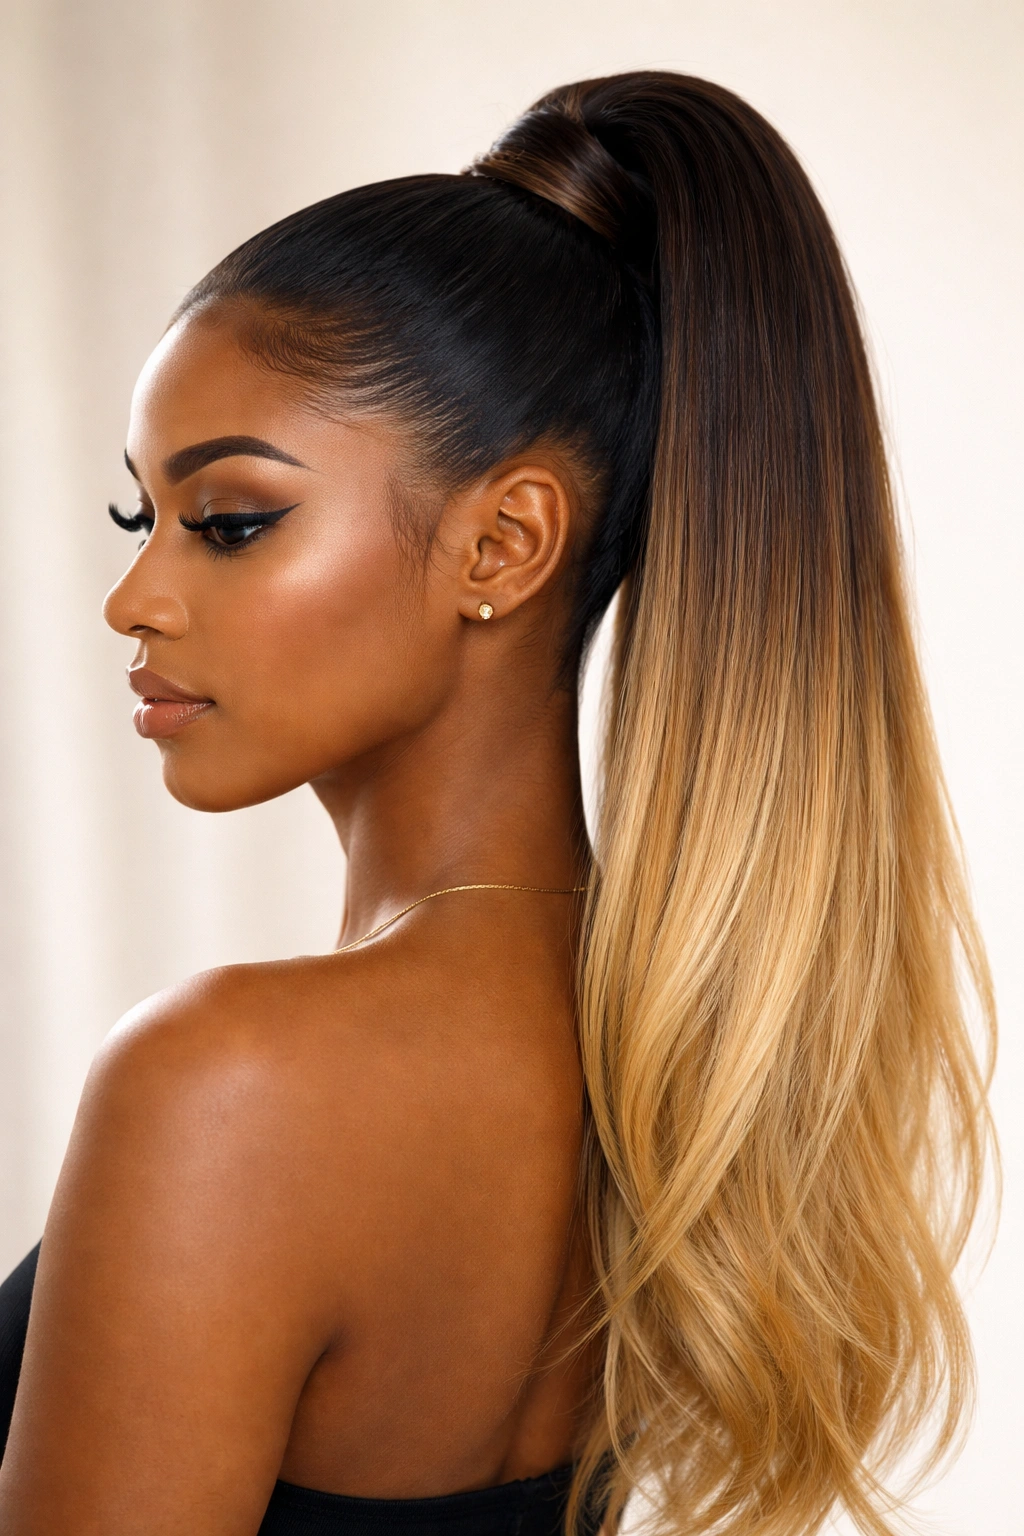
An ombre look in a high pony is striking because the color transition happens as the hair falls. It draws the eye down the length of the pony.
Seamless Transitions
The key to a good ombre is the gradient. If the color change is too abrupt, it looks like two different colors of hair stitched together. Ensure the blend is smooth.
Styling
When you put the hair in a high pony, the darker root color will be concentrated at the base. Make sure your base wrap uses the root color to maintain the flow of the transition.
21. The Sleek Low-to-High Transition
This is a technique-heavy style. You pull the hair into a low ponytail first, and then wrap the hair upward to meet the high ponytail. It creates a super-smooth, wrapped-under appearance at the nape of the neck.
The Nape Check
Most people struggle with the hair at the nape of the neck “buckling” when they pull it into a high pony. This technique solves that. By gathering the nape hair first, you eliminate the bumps.
Cleanliness
This look is all about precision. Every strand needs to be smoothed upward. Use a boar-bristle brush, not a plastic one, to get that high-tension sleekness.
22. High Pony with Zig-Zag Parting
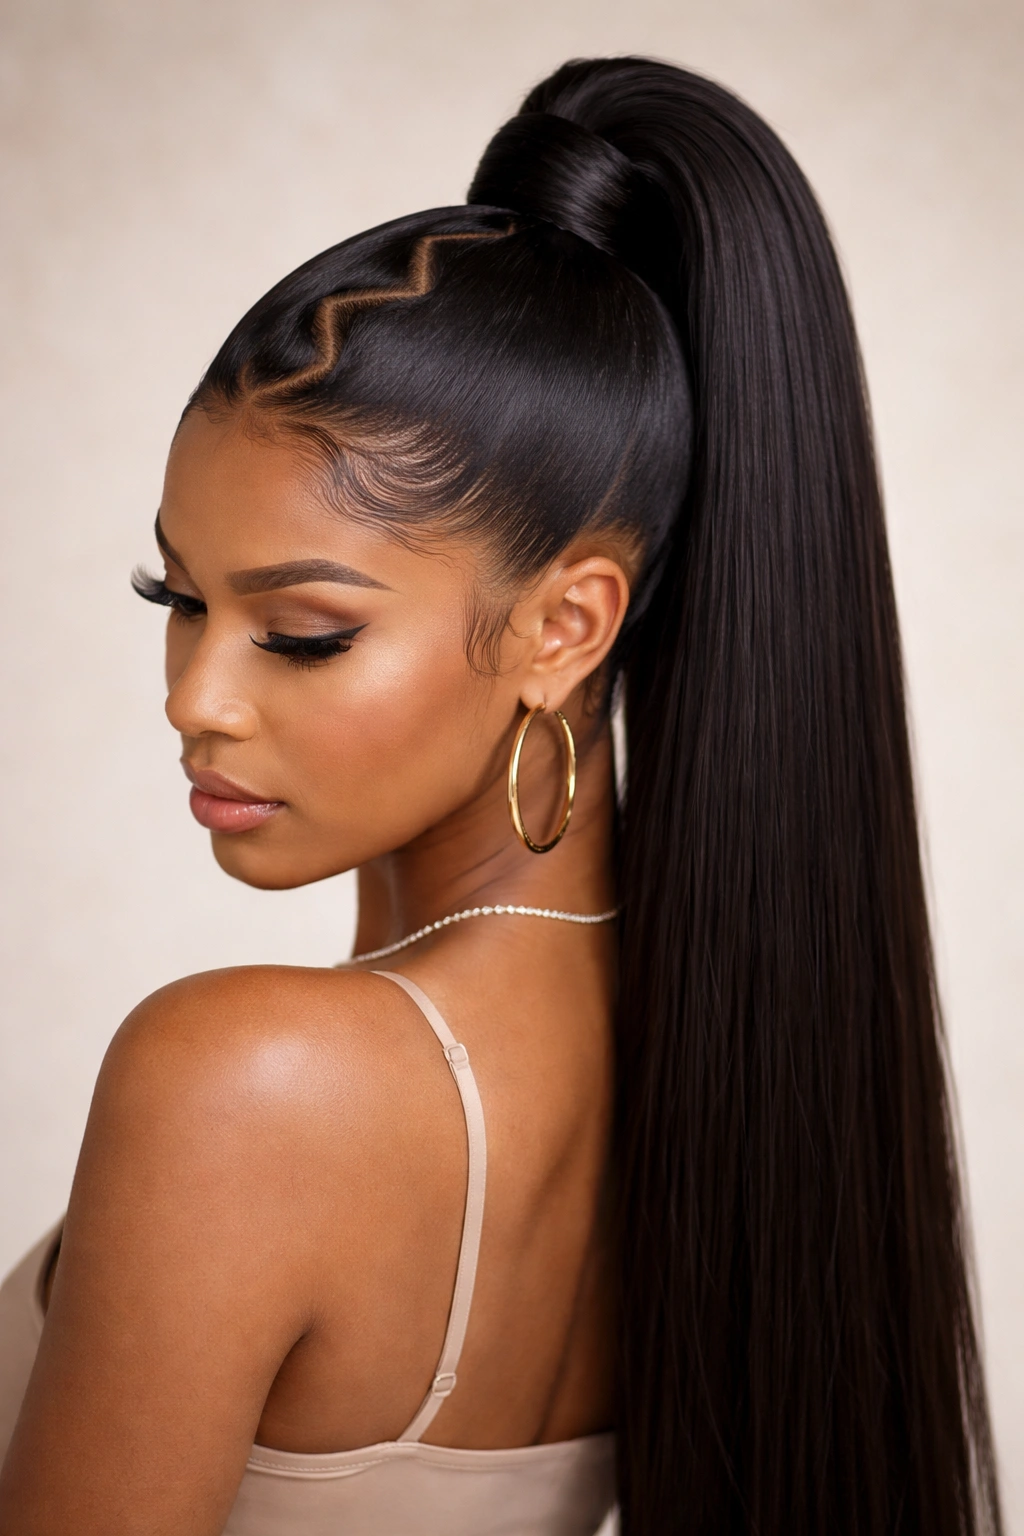
If you want a bit of edge, a zig-zag part breaks up the monotony of a straight, sleek look. It is 90s-inspired but looks fresh when paired with a modern, high-fashion pony.
Creating the Part
Use a rattail comb. It is impossible to get clean zig-zags with your fingers. Be patient with the lines. If the line is wobbly, it looks messy.
Balancing the Aesthetic
Because the parting is busy, keep the rest of the style simple. Bone-straight hair works best here. You don’t want a complex part and complex curls; it becomes too much.
23. The Kinky Straight Texture High Pony

Kinky straight hair looks like natural hair that has been blow-dried straight. It has a bit of texture and volume, making it look incredibly realistic.
Maintenance
This hair requires a different approach. You cannot use heavy waxes or gels at the root, or you will ruin the natural-looking texture of the weave. Use a light holding spray instead.
Blending
The texture of this hair blends perfectly with natural hair that has been silk-pressed. If your leave-out or edges don’t match the hair exactly, you will have a harsh line of demarcation.
24. High Pony with Voluminous Wand Curls
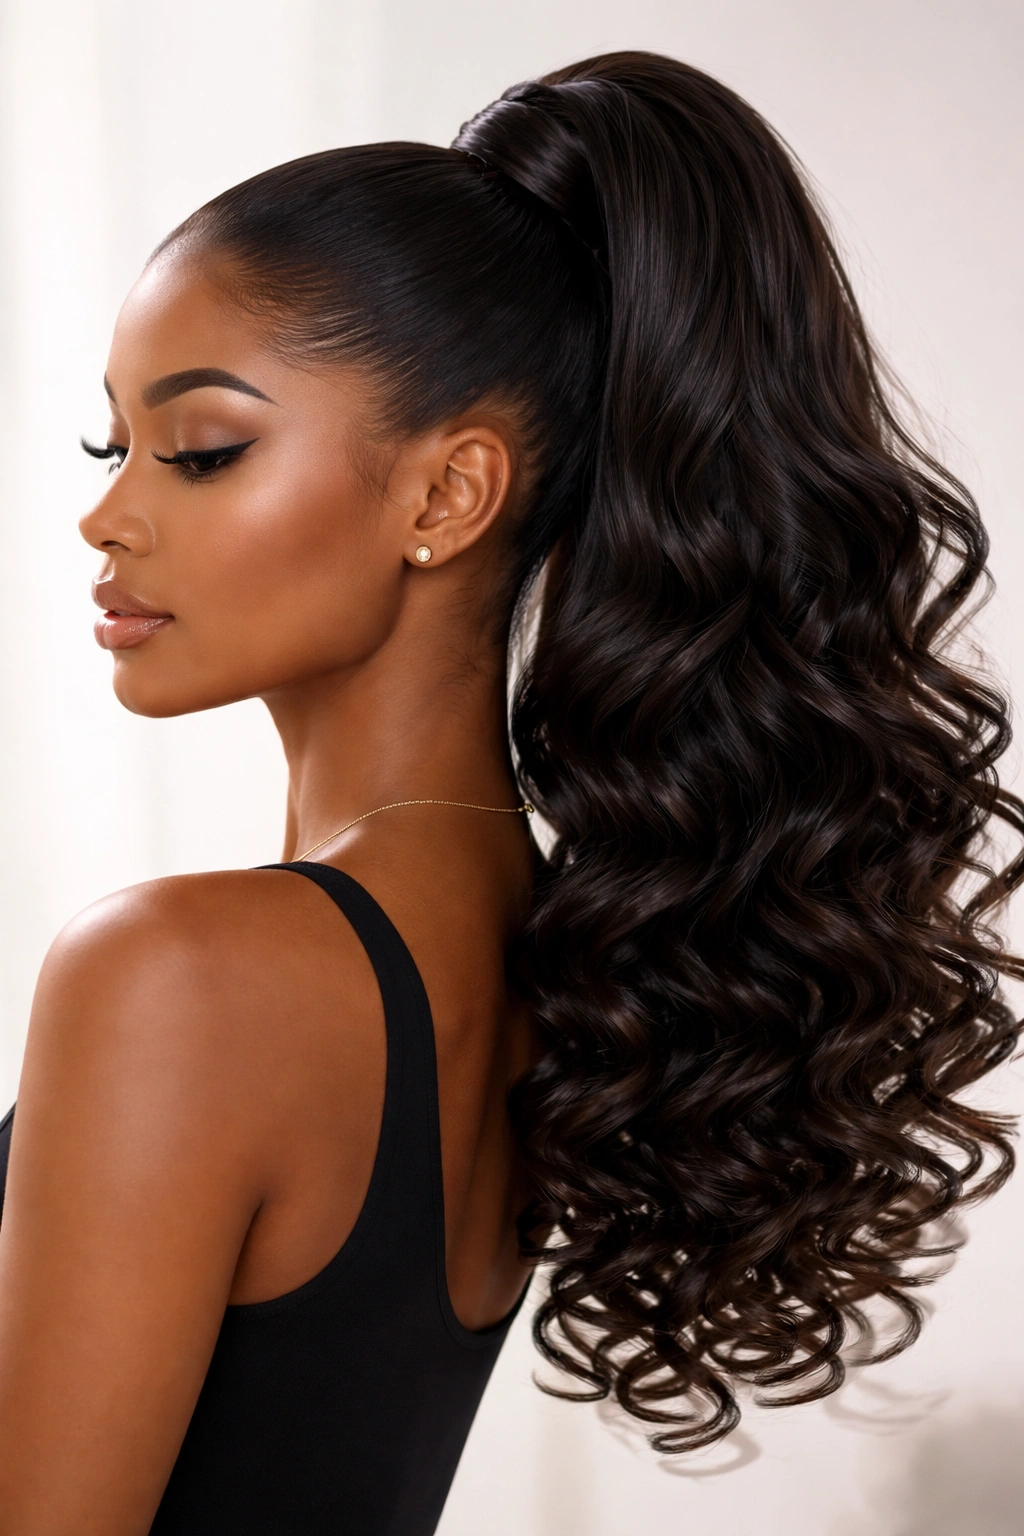
Wand curls are tighter and more uniform than standard curling iron curls. They create a beautiful, spiral-like volume.
Curling Technique
Curl the hair in small, thin sections. Wrap the hair tightly around the wand, holding it for only a few seconds. Do not brush the curls immediately. Let them cool completely.
The “Sleek” Conflict
The front needs to be very sleek to balance out the massive volume of the wand curls at the back. If you have “poof” at the roots, the curls will just make your head look unnecessarily large. Focus all your attention on the molding of the roots.
25. The Minimalist Blunt-Cut High Pony
This is for the person who wants a clean, severe look. The ends of the ponytail are cut into a perfectly straight, blunt line.
The Maintenance
To keep the ends looking blunt, you need to trim them. Even extensions need a trim. If the ends are wispy, the blunt look is ruined.
The Visual Effect
The blunt cut draws a sharp line, which emphasizes the height of the ponytail. It is a very confident look. Pair it with a deep middle part for maximum impact.
Final Thoughts
The secret to a perfect high weave ponytail is not the hair itself, but the foundation you build beneath it. If you spend an hour styling the pony and only ten minutes on the braid-down, the result will always be mediocre. Take the time to flatten the hair against the scalp, use quality products that don’t flake, and treat your hair foundation like the architectural base it is. When the base is solid, the ponytail will sit where you want it, stay where you want it, and look as though it grew from your own head—which, at the end of the day, is the goal of any great install. Stop rushing the molding phase, and you will find your styles lasting days longer than they did before.