



School mornings are not kind to wavy hair. One side goes fluffy, the other side goes flat, and by the time you’ve zipped your backpack, the mirror has already started lying to you. The smartest wavy hairstyles for back to school don’t fight your texture. They work with it, which is usually the difference between hair that still looks decent at lunch and hair that gives up before first period.
That’s the part people miss. Wavy hair rarely needs more force; it usually needs less. Less brushing when it’s dry. Less pulling at the roots. Less overthinking every bend and bump. A little frizz is fine. A helmet of hairspray is not.
If you’ve got a claw clip, a pack of clear elastics, a few bobby pins, and a soft brush, you can do more than you think. A center part, a side sweep, a braid that stops halfway down, a low ponytail with a ribbon — these are small moves, but they make waves look intentional instead of accidental.
And yes, some styles are faster than others. That’s the whole point. You want hair that survives a backpack strap, a hoodie, a bus ride, and the moment somebody asks to borrow your charger. So let’s start with the easiest wins.
1. Air-Dried Center-Part Waves
A center part with air-dried waves has a clean, easy look that makes sense on rushed mornings. It doesn’t pretend your hair is straight, and it doesn’t flatten the bend you already have. That’s why it works so well when you want to look put together without doing much at all.
The trick is to start on damp hair, not dripping hair. Work a small amount of mousse through the mid-lengths, scrunch from the ends upward, and leave the roots alone except for a quick lift with your fingers. If your hair tends to collapse at the crown, clip the top section up for 10 to 15 minutes while it dries.
Why It Works on Wavy Hair
- A center part balances the wave pattern instead of forcing one side to fight the other.
- Mousse gives soft hold without that stiff, sticky feel.
- A T-shirt or microfiber towel cuts frizz better than a rough bath towel.
- Touching the hair less usually means cleaner-looking waves by third period.
Bold move: don’t brush it after it dries. That’s how you turn neat waves into a puffball.
2. Half-Up Claw Clip Twist
Some mornings only need one tool. A half-up claw clip twist pulls the top layers away from your face and leaves the rest of your wave pattern loose, which is why it looks polished without looking like you tried too hard. I reach for this one when the front pieces are acting annoying and I don’t have patience for a full style.
Take the top third of your hair from temple to temple, twist it once or twice, and clip it vertically at the back of your head. If your hair is thick, use a medium or large clip with teeth that actually grip. Tiny decorative clips are cute, but they tend to slip on real hair. Real hair wins every time.
Pull out a few face-framing pieces if you want a softer shape. Keep them around cheekbone length, not chin length, or they start getting in the way. That tiny detail makes the whole thing look less stiff and more natural.
3. Braided Face-Framing Pieces
Want to keep your hair out of your eyes without pinning back half your head? Two skinny braids at the front solve that problem fast. They’re small enough to feel subtle, but they make waves look more styled than a plain tuck behind the ear.
Start with one-inch sections at each temple and braid them straight back, stopping around the cheekbone or jawline. Secure each braid with a clear elastic or a tiny snag-free band. If your hair is slippery, mist the front sections lightly with water first. That gives the braid a little grip.
How to Wear It
Wear the rest of your hair loose and let the braid tails blend into the waves. You can leave the braids flat for a tidy look, or tug them apart a little with your fingertips if you want them wider and softer. The sweet spot is small, not perfect. Overly neat braids can look stiff on wavy hair, and nobody needs that before a math quiz.
4. Low Bubble Ponytail
A bubble ponytail is what happens when a regular ponytail gets some attitude. It keeps wavy hair contained, but the spaced-out sections make it look deliberate instead of plain, which is handy on days when you want structure without a full braid.
Gather your hair into a low ponytail at the nape, secure it, then add small elastics every 1½ to 2 inches down the length. Gently tug each section outward so it rounds into a bubble. That shape holds better if the hair has some natural bend already, and wavy textures usually do.
- Use 3 to 5 elastics depending on hair length.
- Pull the bubbles evenly so the ponytail doesn’t lean to one side.
- Leave the crown slightly loose if you want a softer silhouette.
- Hide each elastic with a thin strand of hair if you like a cleaner finish.
This style is one of the few that still looks good when it starts to loosen. That’s not a flaw. That’s half the charm.
5. Side-Part Tucked Behind the Ear
There’s something oddly useful about a side part tucked behind one ear. It looks calm. It looks neat. It also keeps one side of your face open, which is handy if you wear glasses, hoop earrings, or just don’t want hair tickling your cheek all day.
The style works best when one side of the wave falls forward and the other gets tucked back with a single bobby pin or a small barrette. You’re not trying to flatten everything down. You’re just steering it. A pea-sized dab of lightweight cream at the temple can keep flyaways from puffing up around the part.
I like this one for days when the outfit is doing more of the talking. The hair can stay quiet, and that’s fine. Keep the tuck loose enough that the wave still bends over the ear instead of looking pinned to your skull.
6. Mini Braids Along the Crown
Unlike a full braid, which tends to swallow wave pattern whole, mini braids along the crown let the texture stay visible. That makes this style a smart choice when you want a little detail on top and loose movement everywhere else.
Take two or three narrow sections from the front or upper crown, braid each one back for just a few inches, then pin or tie them into the rest of the hair. You can place them symmetrically or keep one side braided and let the other side fall loose. The second option looks a little less formal and a little more lived-in.
What Makes It Different
Mini braids add structure without taking away volume. That matters on wavy hair, because over-braiding can leave the roots flat and the ends frizzy. This version gives you the neat part near the scalp and keeps the rest of the wave pattern doing its thing.
If your hair is thick, do three tiny braids instead of one chunky one. It spreads the detail out and keeps the front from feeling bulky.
7. Low Messy Bun with Soft Tendrils
A low messy bun is one of those school hairstyles that looks easy because it is easy. The trick is where you put it and what you leave out. Sit it too high and it can feel messy in a bad way. Sit it low and it looks relaxed on purpose.
Gather the hair at the nape, twist it into a loose bun, and secure it with a coil tie or two bobby pins crossed in an X. Then pull out two thin tendrils near the temples and one piece at the nape if you want a softer shape. Keep those face-framing pieces around 1 inch wide. Wider than that, and the whole style starts to collapse.
Where the Bun Should Sit
- At the nape, not the crown
- Loose enough to show wave texture
- Tendrils left soft, not curled into ringlets
- Pinned firmly enough to survive a full day
My favorite detail: this bun looks best when it’s not polished. A little unevenness gives the waves somewhere to live.
8. High Ponytail with Wavy Length
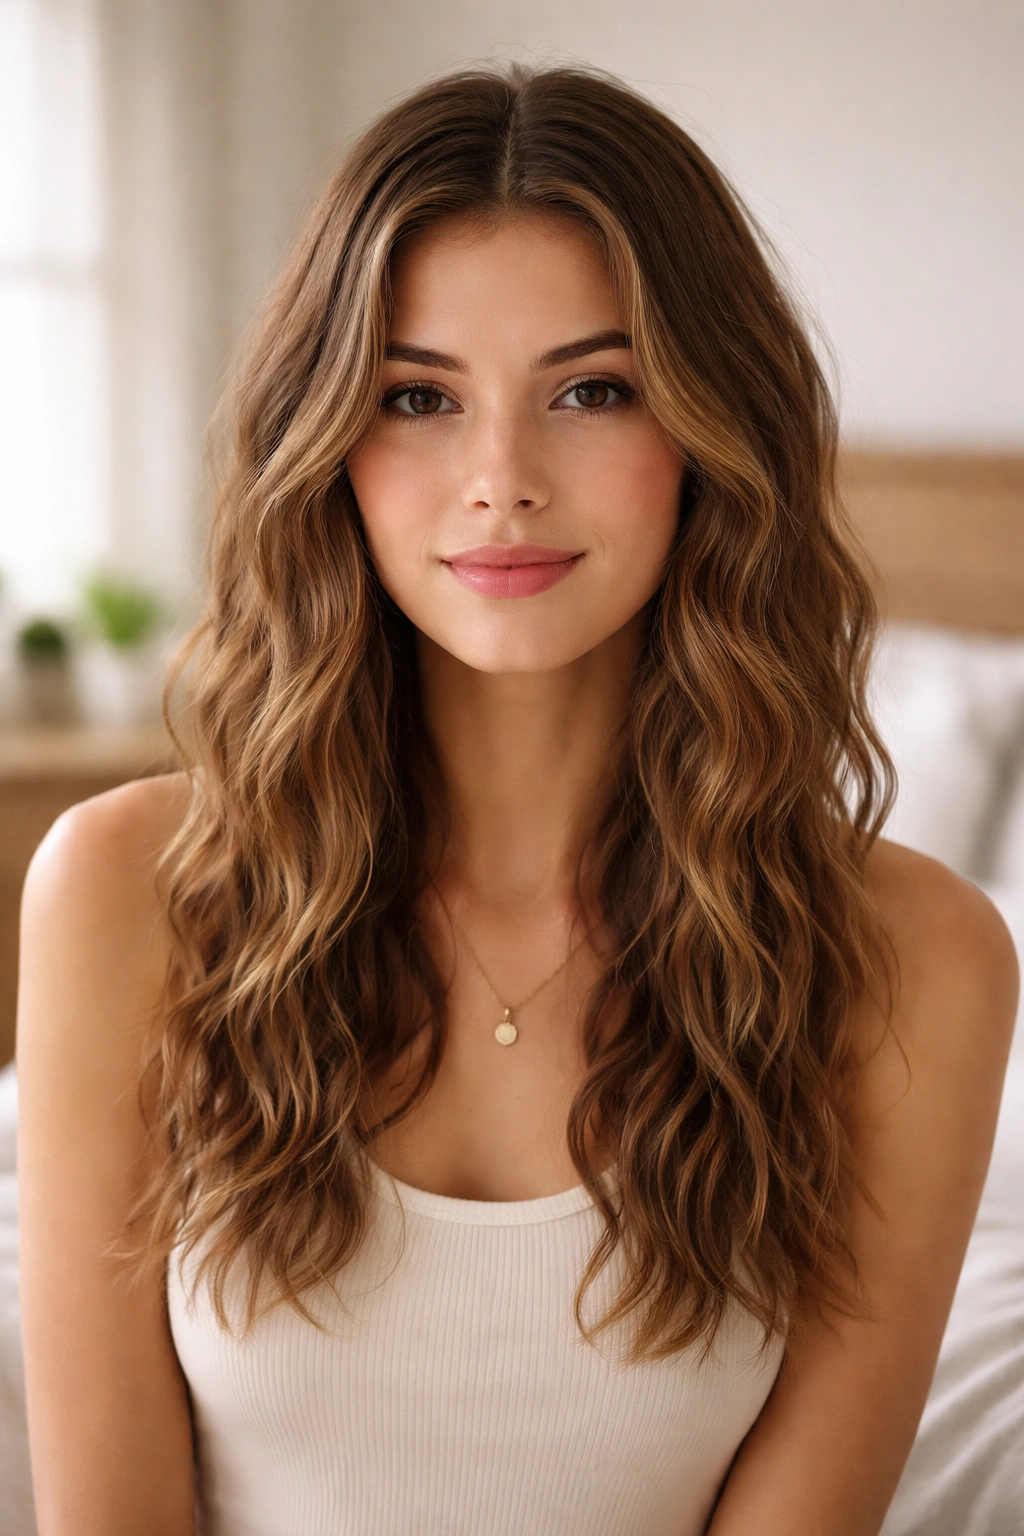
A high ponytail can look sharper on wavy hair than a blowout ever will. That sounds backwards, but it isn’t. The lift at the crown gives energy, and the loose wave in the tail keeps it from feeling too severe.
Brush the top section up only as much as you need to smooth it, then secure the ponytail high on the head. Don’t yank the elastic so hard that the roots go flat and shiny. Leave the tail wavy, and if you want extra shape, wrap a small strand around the base to hide the tie. That tiny bit of coverage makes the style feel finished.
This works especially well when your hair is medium length or longer. The ponytail bounces when you walk, which sounds silly until you realize how much nicer that is than hair stuck to your neck all day.
9. French Braid Crown
Want one style that keeps every layer out of your face and still looks neat after lunch? A French braid crown does that job better than most people expect. It’s one of those styles that seems fussy until you wear it once and realize how practical it really is.
Start at one temple and braid across the hairline, picking up small sections as you go. Keep the braid close to the head so it holds the top in place without creating a giant ridge. When you reach the other side, pin the end under the braid or tuck it behind the ear with two bobby pins.
How to Use It
This style is a good call on days when you know you’ll be moving around a lot. It keeps the front secure, and the loose waves left underneath stop it from looking too severe. If your hair is layered, spray a little water on the shorter pieces before braiding. That keeps the flyaways from popping out halfway through the day.
10. Double Braids with Loose Ends
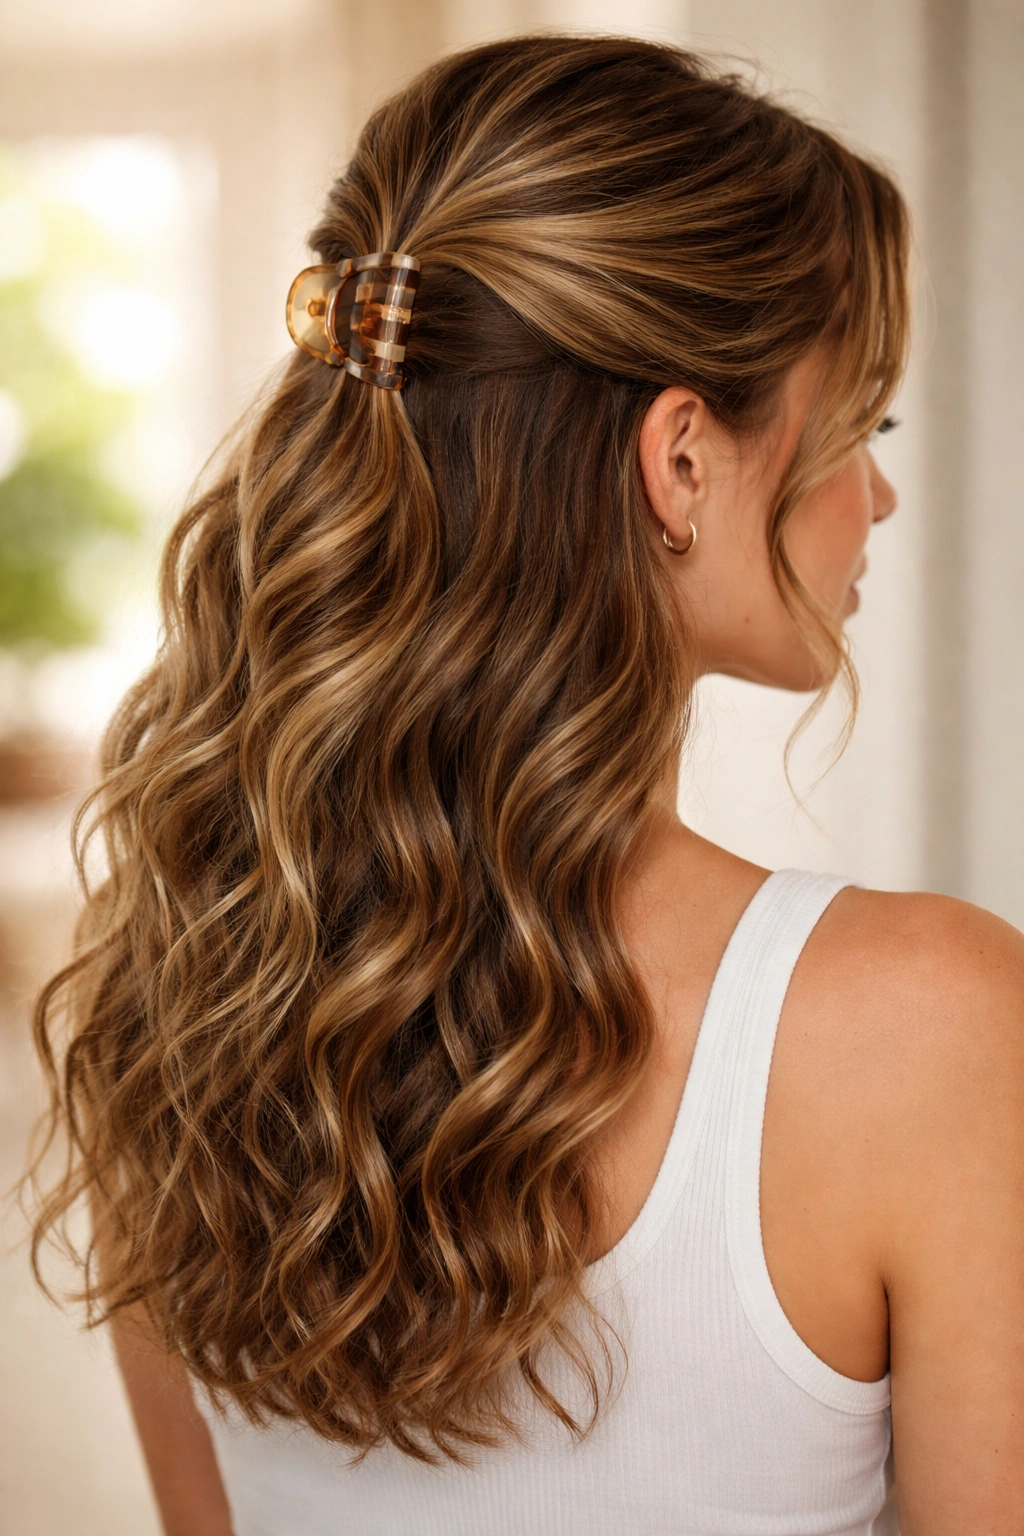
I like this one on gym days, rainy days, and any morning when the hair has to stay put no matter what. Double braids are tidy at the roots, but if you leave the ends loose, the style still feels like wavy hair instead of a uniform helmet.
Part the hair down the middle, braid each side low and loose, and stop about 3 inches before the ends. Secure with small elastics. If you want more softness, gently tug the braid loops outward after you’re done. That makes them look fuller without turning them into a mess.
- Keep the braids loose at the scalp to avoid that pulled, sore feeling.
- Use clear elastics if you want the finish to disappear.
- Stop the braid early so the waves still show at the bottom.
- Pancake only the outer edges if your hair is thin.
This style has a practical side, but it’s not dull. That balance matters more than people admit.
11. Wavy Lob with Barrette Stack
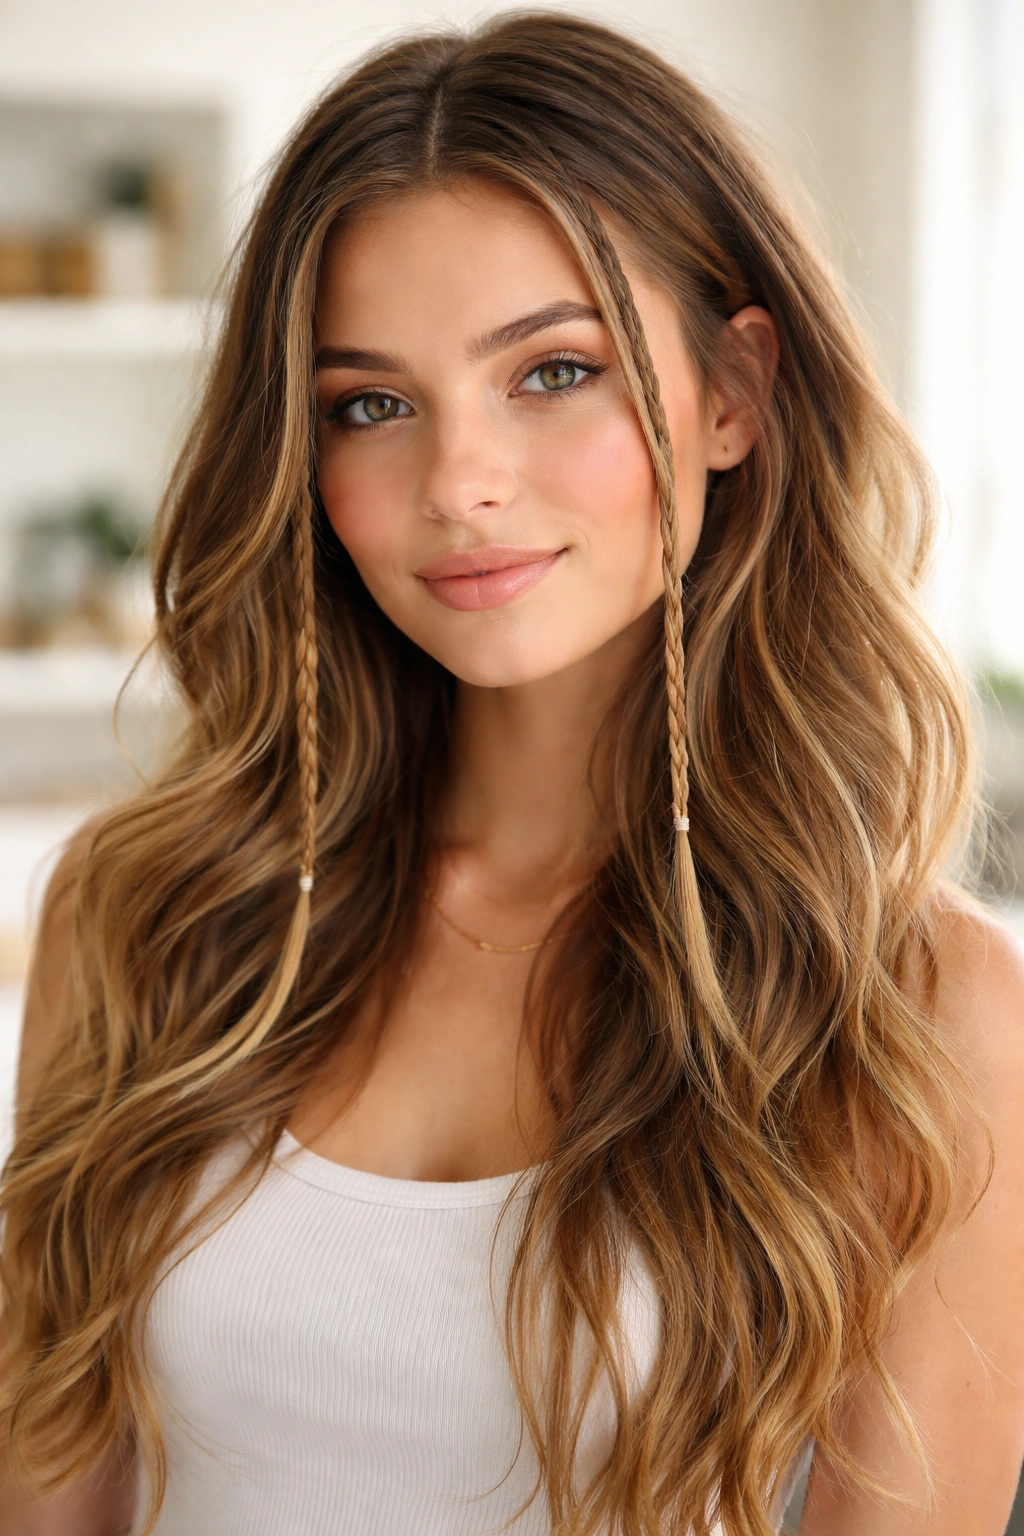
If your hair hits around the jaw or collarbone, a stacked barrette look can do a lot with very little effort. It’s simple, but not plain. Two clips placed one above the other give the cut shape and keep the front pieces from falling into your face.
Choose barrettes that are about 2 to 3 inches long, then place the first one just behind the temple and the second one an inch or so below it. That spacing matters. If the clips sit too close together, the whole thing looks crowded. Too far apart, and the style loses its point.
This works especially well on lob-length waves because the cut already has movement. You’re not trying to change the shape; you’re just highlighting it. And if one side of your hair likes to flop forward, use the clips there. No need to wrestle the whole head into obedience.
12. Scarf-Tied Low Ponytail
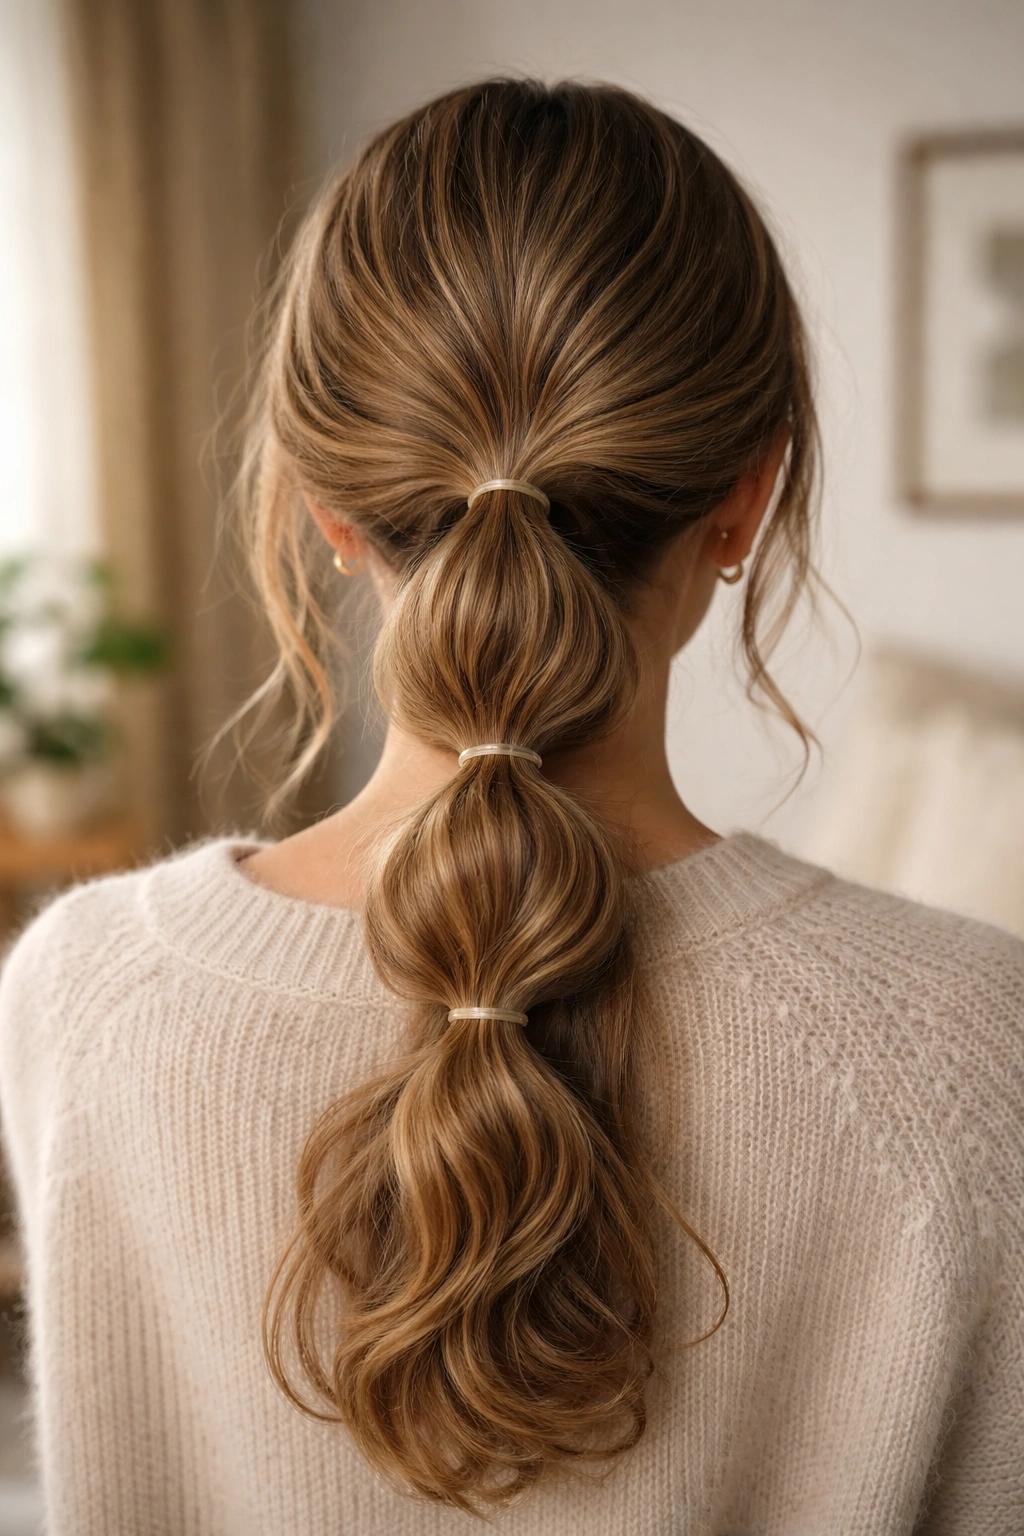
A scarf does what a plain elastic can’t: it hides the boring part and gives the ponytail some personality. On wavy hair, that matters because the texture already brings movement. A scarf adds one clean visual line right where the style needs it.
Fold a silk or cotton scarf into a strip about 2 inches wide, tie it around a low ponytail, and knot it once or twice depending on the fabric. A matte scarf stays put better than a slippery one. If the hair is thick, secure the pony first with a regular elastic, then tie the scarf over it so the knot isn’t carrying all the weight.
What to Watch For
- Choose a scarf that isn’t too long or the ends drag.
- Use a hidden elastic first if your hair is slippery.
- Keep the pony low and loose so the wave pattern stays visible.
- Avoid bulky knots if you’re wearing a hoodie or jacket collar.
This style is a nice middle ground between casual and done.
13. Rope-Braid Half-Up
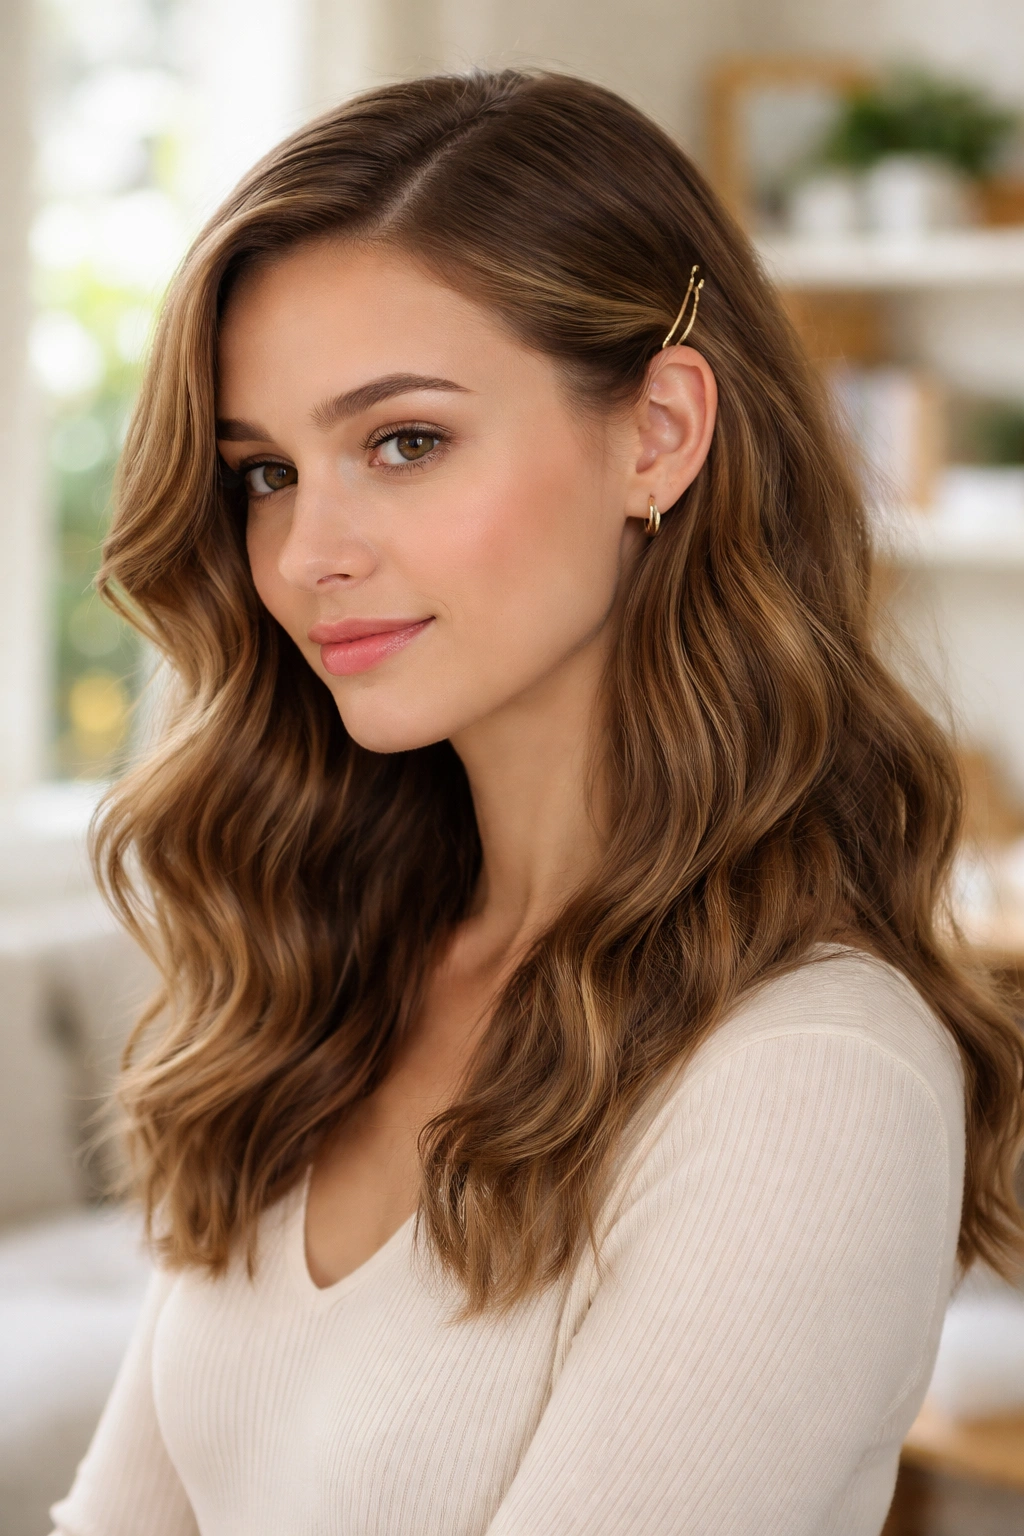
A rope-braid half-up is what I reach for when I want a little structure and don’t feel like doing actual braids. It twists faster, lays flatter, and tends to work better on waves that don’t want to behave for long.
Take a section from each side of the head, twist each one away from the face, then cross them at the back and secure with a clear elastic or a small clip. If the hair slips, rub a drop of serum between your palms first and smooth it over the sections before twisting. That gives the hair a tiny bit of grip without weighing it down.
Why the Twist Stays Neat
- Twists show the wave texture instead of hiding it.
- The style takes less time than a full braid.
- It sits well under a backpack strap because it stays compact.
- It works on both damp and dry hair if you’re in a rush.
A rope twist is one of those quiet styles that holds up longer than it looks like it should. I trust that.
14. Space Buns on Wavy Hair
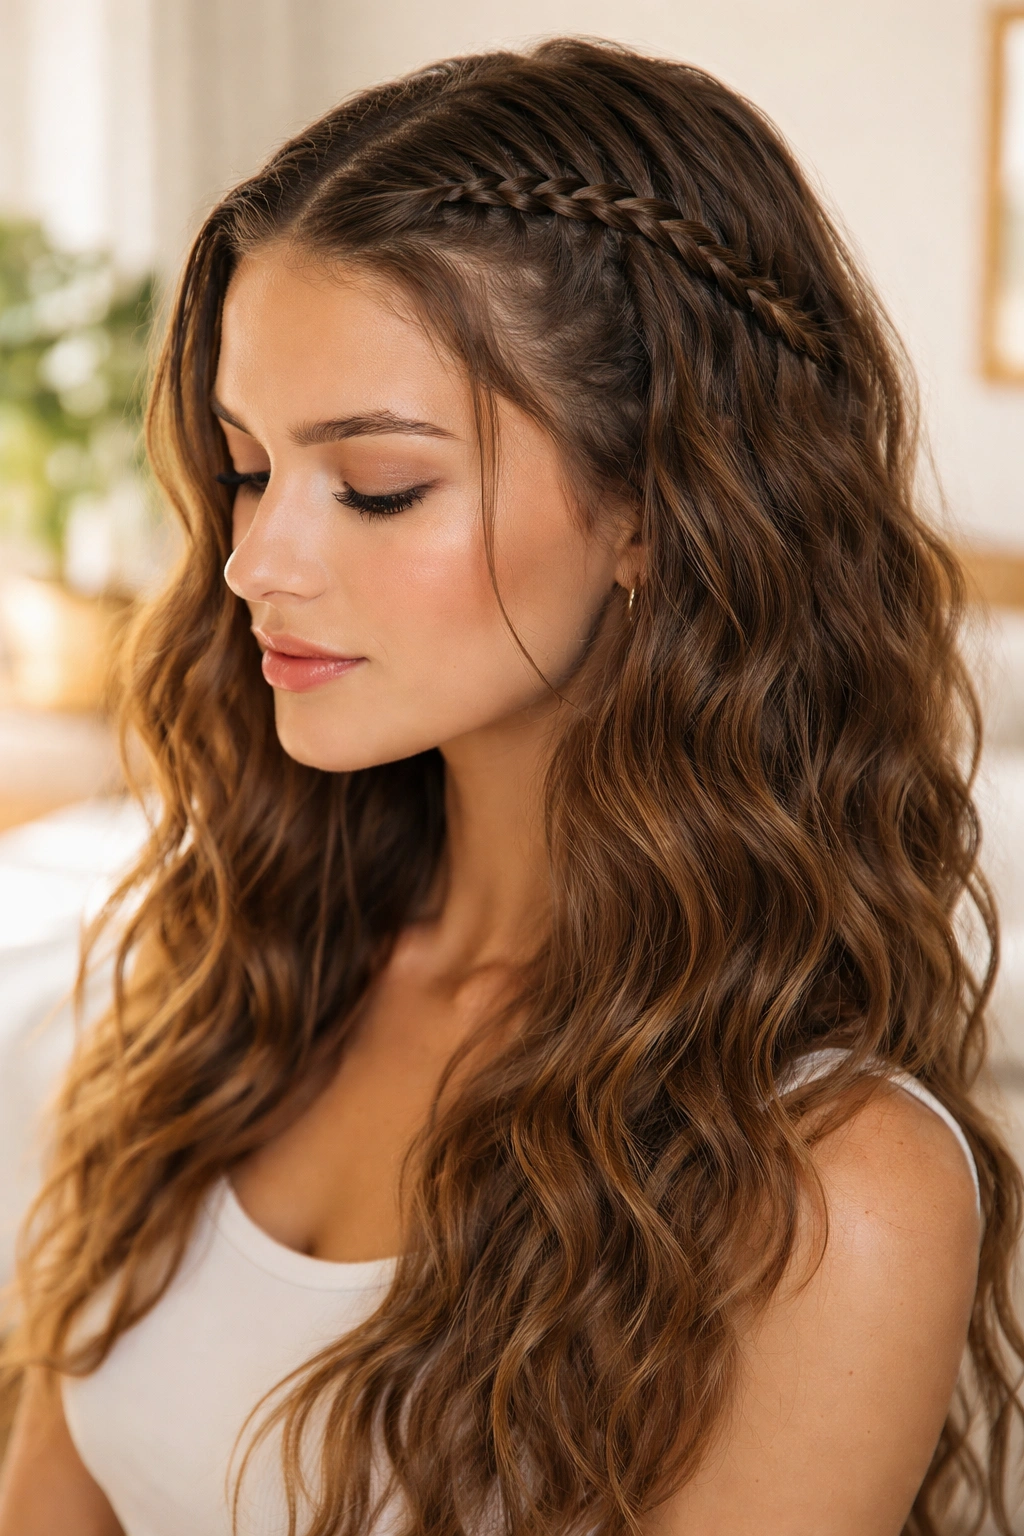
Small space buns are one of the few playful looks that still read polished on wavy hair. The reason is simple: the texture keeps them from looking too severe, and the loose lengths below soften the whole style.
Part the hair down the middle, section off the top half or the whole head depending on how dramatic you want it, and twist each side into a small bun. Keep the buns loose. If you twist them too tight, the hair turns stiff and the part line gets too sharp. Leave the lower waves down if you want more balance.
This style is a good match for days when you want your hair off your neck but still want some movement around your shoulders. It also plays well with second-day waves, which often have more grip and less shine. That’s a useful thing, not a problem.
15. Twisted Half Ponytail
Need hair off your neck but not all the way up? A twisted half ponytail hits that middle ground nicely. It’s tidy at the top, loose through the ends, and easy enough to do with tired hands before the first bell.
Take a section from each temple, twist them back toward the crown, and secure them together with a small elastic at the back of the head. Let the bottom half stay loose. If your hair is layered, anchor the twists with a pin under the elastic so they don’t slide apart. That one extra pin saves the style more often than people think.
How to Place the Elastic
Put the tie at the back of the head, not too high. If it sits near the crown, the style starts to look forced. Near the occipital bone, it blends into the hair better and keeps the wave pattern visible below. A twist like this is small, but it makes a messy morning look finished.
16. Sleek Wet-Look Waves
If you oversleep and your hair is already damp, a sleek wet-look finish can save the morning. Done well, it reads intentional. Done badly, it looks like you forgot to dry your hair. The difference lives in the amount of product and where you put it.
Work gel through the roots and upper lengths while the hair is still wet, then comb it back with a wide-tooth comb or your fingers. Leave the ends softer than the top so the wave pattern still shows through. You want control, not crunch. A little shine is good. A greasy scalp is not.
- Use more gel at the roots than the ends
- Keep the crown smooth, not pasted down
- Let the wave pattern live in the mid-lengths
- Avoid touching it once it sets
This style looks strongest when the hair is naturally wavy from the start. Straight hair can do it, but waves give it more shape.
17. Clipped Side Sweep
One oversized clip can fix a bad wave day faster than a full restyle. A side sweep keeps the front pieces off your face and leaves most of the hair loose, which is handy when the ends are cooperating but the top layer is having opinions.
Sweep the heavier front section to one side and secure it just behind the temple with a medium or large barrette. The clip should sit flat, not cocked upward. If one side is puffing out more than the other, smooth only that section with your palm instead of flattening the whole head. You do not need to fight every strand.
I like this for days when the hair has texture but not enough definition for a big style. It’s a small move, but that’s the point. Small moves often age better through the day.
18. Wide Headband Waves
Unlike narrow plastic bands that dig in and leave a line across your forehead, a wide fabric headband sits flatter and keeps flyaways calmer. It’s a practical choice for wavy hair because it works with volume instead of cutting it off.
Slip the headband on after parting the hair where you like it, then pull a little hair forward over the band near the temples if you want a softer edge. Velvet, ribbed cotton, or jersey all grip better than slick satin when you’re moving around all day. If your bangs are growing out, this is one of the easiest ways to keep them under control without pinning half of them back.
What Makes It Different
The headband does the job of a few bobby pins, but it does it with less fuss. It’s also kinder to waves that hate being tucked too tightly. If you want the style to look less sporty and more finished, pick a band in a darker neutral or a small print. Loud colors can be fun, but the wave texture is already doing enough talking.
19. Low Braided Ponytail
A low braided ponytail is one of those school styles that looks more thoughtful than it really is. The ponytail keeps the hair in one place, and the braid gives it a bit of shape so it doesn’t fall flat against your back.
Start with a low ponytail at the nape, secure it with a soft elastic, then braid the length all the way down. Keep the braid loose enough that the waves can still show through between the sections. If you want more volume, gently pull at the braid’s outer loops after it’s tied off. That makes the braid look thicker without turning it into a frizz cloud.
How to Keep the Braid Soft
- Use a soft elastic at the base so the ponytail doesn’t dent.
- Braid loosely from the start instead of tightening it later.
- Pull the sides of the braid apart only a little.
- Leave the ends wavy if your hair is long enough to show them.
This is a good one for days when you want order, not stiffness. There’s a difference.
20. Pull-Through Ponytail
This ponytail looks far more complicated than it is. That’s part of the appeal. You get the size and drama of a fuller style without needing thick hair or a curling iron.
Make a small pony at the crown, then add another pony underneath it, splitting the top pony in two and pulling the lower pony through the opening. Repeat the process down the back with 3 to 5 small elastics, depending on your length. After each section is secured, gently fan it out so the shape gets round and full.
Wavy hair helps here because the texture gives each section a little grip. If the hair is very smooth, a dry shampoo mist at the roots makes the elastics hold better. The goal is fullness, not perfection. A few uneven pieces only make it look less like a tutorial and more like real hair.
21. Loose Top Knot with Face Framing
What if you want your hair up, but you still want some shape around your face? A loose top knot solves that faster than almost anything else. It lifts the hair off the neck, which feels good, and it leaves enough movement at the front to keep wavy hair from looking too severe.
Gather the hair high, twist it into a soft knot, and pin it so it sits slightly forward instead of dead center on the crown. Pull out two face-framing pieces about half an inch to 1 inch wide, then leave the knot itself a little messy. If you make it too tight, the whole style loses its ease.
How to Get the Knot to Sit Right
Use a soft tie first, then pin around it. That keeps the knot from sagging by the end of the day. If your waves are thick, let the ends stick out a bit instead of forcing them all inside. The loose bits look better than a perfect ball anyway.
22. Waterfall Braid
This is the pretty one. A waterfall braid works well when you want to keep some hair pinned back but still show off the wave pattern underneath. It has enough detail for a nicer school event, but it’s not so formal that it feels out of place on a normal day.
Start near one temple, braid across the back of the head, and drop one strand each time you cross over so the loose pieces fall through like a little curtain. That dropped strand becomes part of the loose length, which is why the style keeps movement. It’s easiest on hair that already has some texture, because the braid holds better and the loose pieces blend in.
- Use medium tension, not a hard pull.
- Keep the braid close to the scalp for a cleaner line.
- Finish behind the opposite ear with a pin or small tie.
- Leave the rest of the waves loose so the braid doesn’t feel heavy.
This one takes a steadier hand, but it pays off.
23. Mini Twist Pinned Back
Two tiny twists pinned back at the temples can solve a lot of bad-hair problems without looking like a full style. They’re small, fast, and easy to redo if one side falls flat. That makes them useful on days when the hair is mostly fine but the front needs help.
Take a narrow section from each side, twist each one back once or twice, then secure them with crossed bobby pins. Crossing the pins matters more than most people realize. It gives the twist a stronger hold and keeps the pins from sliding out by third period. If your hair is silky, mist the section with a little texturizing spray before twisting.
The rest of the waves stay loose, which keeps the style from feeling overly neat. That contrast is what makes it work. Small pinned-back details often look better on wavy hair than big, heavy styling does.
24. Side Braid into Loose Waves
Unlike a full side braid, which can take over the whole look, this version keeps the rest of your texture visible. It’s a good call when you want one side controlled and the other side free.
Start a braid just behind the front hairline on one side and continue it back for 4 to 6 inches. Stop before the braid gets too heavy, secure it, and let the rest of the hair fall loose in waves. If your hair has a lot of layers, keep the braid a little looser so the shorter pieces don’t pop out. A braid that’s too tight on layered waves turns fussy fast.
This style works well when you need something that looks done but still feels like hair. Not a helmet. Not a bun. Just a little structure on one side and texture everywhere else.
25. Ribbon-Tied Low Knot
A low knot with a ribbon is one of those simple looks that can make wavy hair feel a little more deliberate. The ribbon does half the styling for you. It covers the elastic, softens the shape, and gives a plain knot some personality without asking for more time than you have.
Gather the hair low at the nape, twist it into a loose knot, and secure it with a hidden elastic or two pins. Wrap a 1-inch ribbon around the base and tie it once, or twice if the fabric is slippery. Cotton, velvet, and grosgrain all hold better than shiny satin when you’re moving around all day.
How to Keep the Ribbon from Slipping
- Tie the knot first, ribbon second
- Use a hidden elastic under the knot
- Choose a ribbon that matches your backpack or shirt
- Leave a few soft pieces out at the front if you want the style to feel less formal
This is the kind of hairstyle that still looks good when the day gets long. That matters more than people think.
