



Air-dried waves do not need to look unfinished. When a cut, part, or twist is doing the heavy lifting for you, the hair can dry into something soft, lived-in, and a little bit messy in the good way.
The trouble starts when the shape is fighting the wave pattern. A blunt heavy line, too much product, or a part that keeps drifting can make wavy hair puff at the sides and collapse at the roots. I’ve seen the same thing happen over and over: the hair has a nice bend in it, but the final look feels wider than intended because nobody gave the waves a clear job.
The best air-dried styles work with what the hair already wants to do. Some are all about the part. Some need a clip, a braid, or a low tie to keep the crown from going wild. Others depend on the cut itself — a shag, a lob, or a bob with enough weight left at the ends to stop the whole thing from blooming outward. A little mousse helps, a clean scrunch helps, and so does patience. That matters more than people want to admit.
1. Center-Part Soft Waves
A clean center part is the easiest way to make wavy hair look intentional without making it stiff. It gives the face symmetry, and that matters when the hair is drying into its natural bends rather than a polished blowout shape.
Why It Works on Loose Texture
Soft waves tend to look best when the crown is calm and the ends are the ones doing the talking. A middle part keeps both sides balanced, which makes the whole style feel quieter and more put together. If your waves are loose or medium, this is one of the least fussy choices you can make.
The trick is to set the part while the hair is still damp. If you wait until it’s half dry, the wave pattern starts arguing with you, and you end up with a zigzag part that never settles. A small amount of leave-in conditioner at the mids and ends is enough. Heavy cream can weigh the top flat fast.
Quick Styling Notes
- Use a fine-tooth comb to make the part while the hair is wet.
- Apply a lightweight mousse from ear level down.
- Scrunch once, then leave it alone.
- Clip the front sections back for 10 minutes if they keep falling into your eyes.
Best detail to remember: let the roots dry without touching them. That’s where the clean shape comes from.
2. Deep Side-Swept Waves
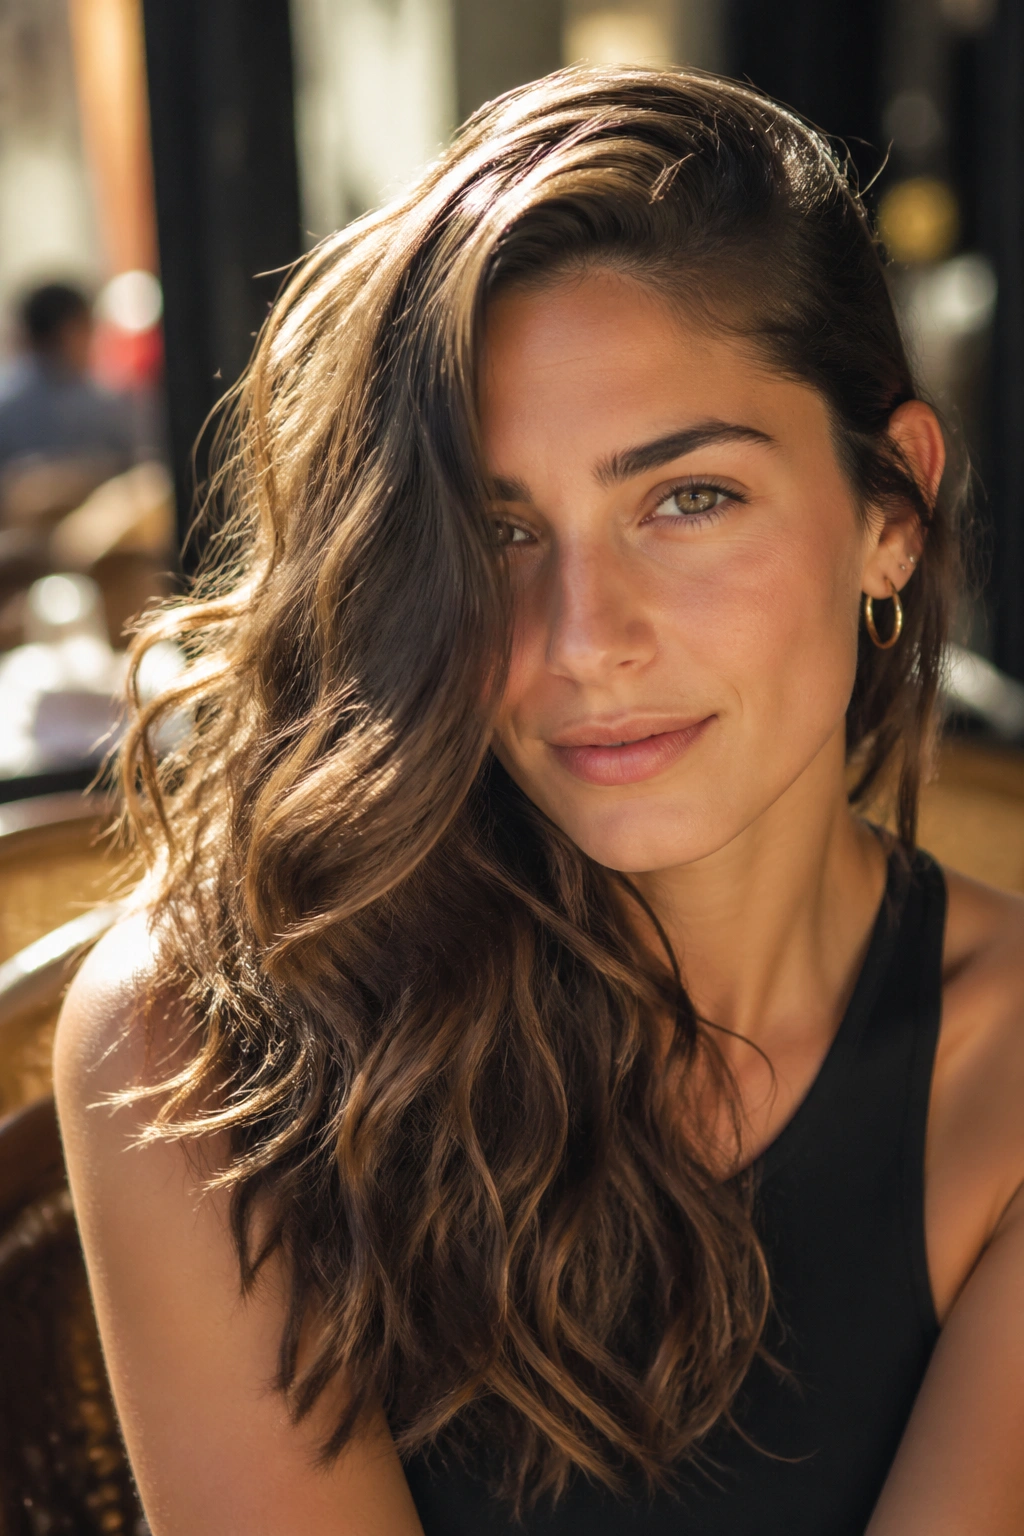
A deep side part is the fastest way to make air-dried waves look bigger at the root. It also gives wavy hair a little drama, which is useful if the ends tend to fall flat when they dry.
The look is especially good when one side falls across the cheekbone and the other side opens the face. That asymmetry breaks up the puffiness that sometimes shows up in humid air or after a rushed wash day. It feels casual, but not lazy. There’s a difference.
Use a rat-tail comb and shift the part farther over than feels normal, then pinch the front section up with a clip while the hair is damp. Once it dries, remove the clip and tuck one side behind the ear. That tiny move gives the style shape without making it feel styled within an inch of its life.
3. Curtain Bangs with Air-Dried Lengths
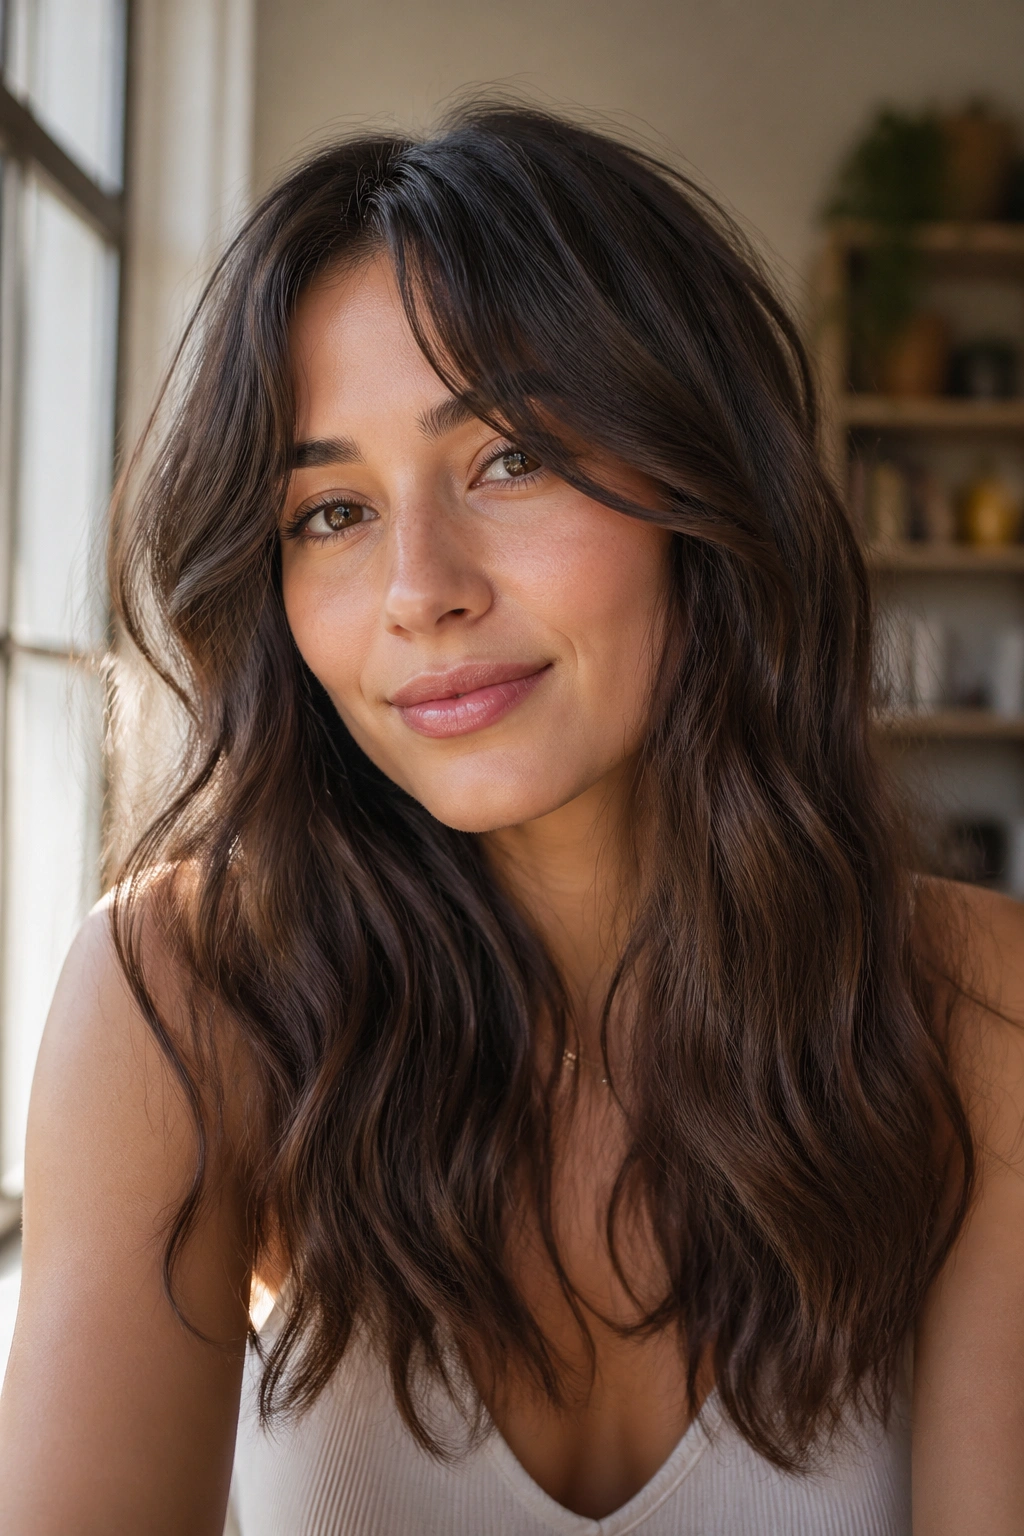
What happens when curtain bangs meet natural waves? They usually make the whole haircut look softer, as long as the bangs are trimmed with enough room to split naturally.
The Bangs Need Their Own Plan
Curtain bangs are not a “wash and forget” detail. They need a little guidance while they dry, or they separate in odd places and sit heavy on one side. The fix is simple: twist each bang section away from the face for a minute after washing, then let it dry that way for a bit before releasing it.
The rest of the hair can stay loose and untouched. That contrast is what makes the style work. The bangs frame the face, and the waves down the length keep it from feeling too neat.
How to Wear It
- Part the bangs with your fingers while they’re still damp.
- Twist each side away from the face.
- Use a pea-sized amount of gel on the fringe only if it frizzes fast.
- Release the twists once the bangs are half dry.
One small warning: if the bangs are cut too short, they can spring up and sit right in the middle of your forehead. Ask for a longer length than you think you need.
4. Shoulder-Grazing Shag
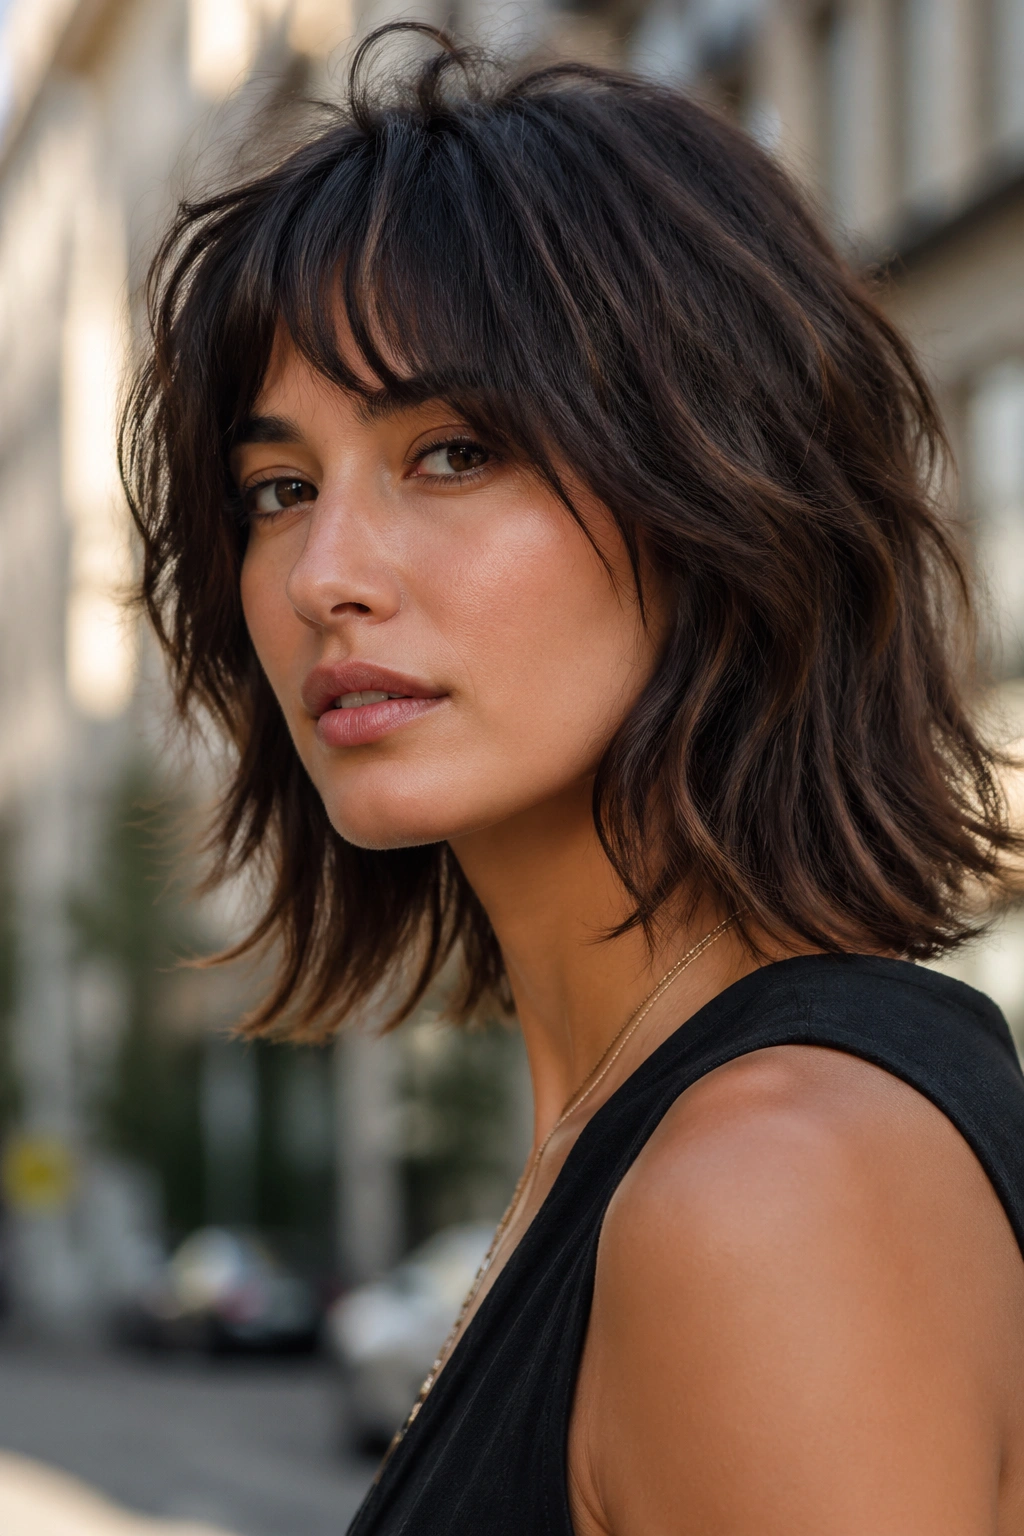
A shoulder-grazing shag is one of those cuts that makes air drying look like a choice, not a compromise. The layers catch the wave pattern and stop it from turning into one big triangle.
The best part is that it doesn’t need perfect curl definition. In fact, a shag usually looks better when a few pieces are a little rough around the edges. That’s the charm. The top stays airy, the sides move, and the ends keep enough shape to avoid that flattened-through-the-middle look.
If your waves are medium to thick, this cut gives them room to breathe. If your hair is finer, ask for lighter layering around the crown and less weight removed from the bottom. Too much texturizing can make the ends look wispy in a bad way. And yes, that can happen fast.
5. Blunt Lob with a Soft Bend
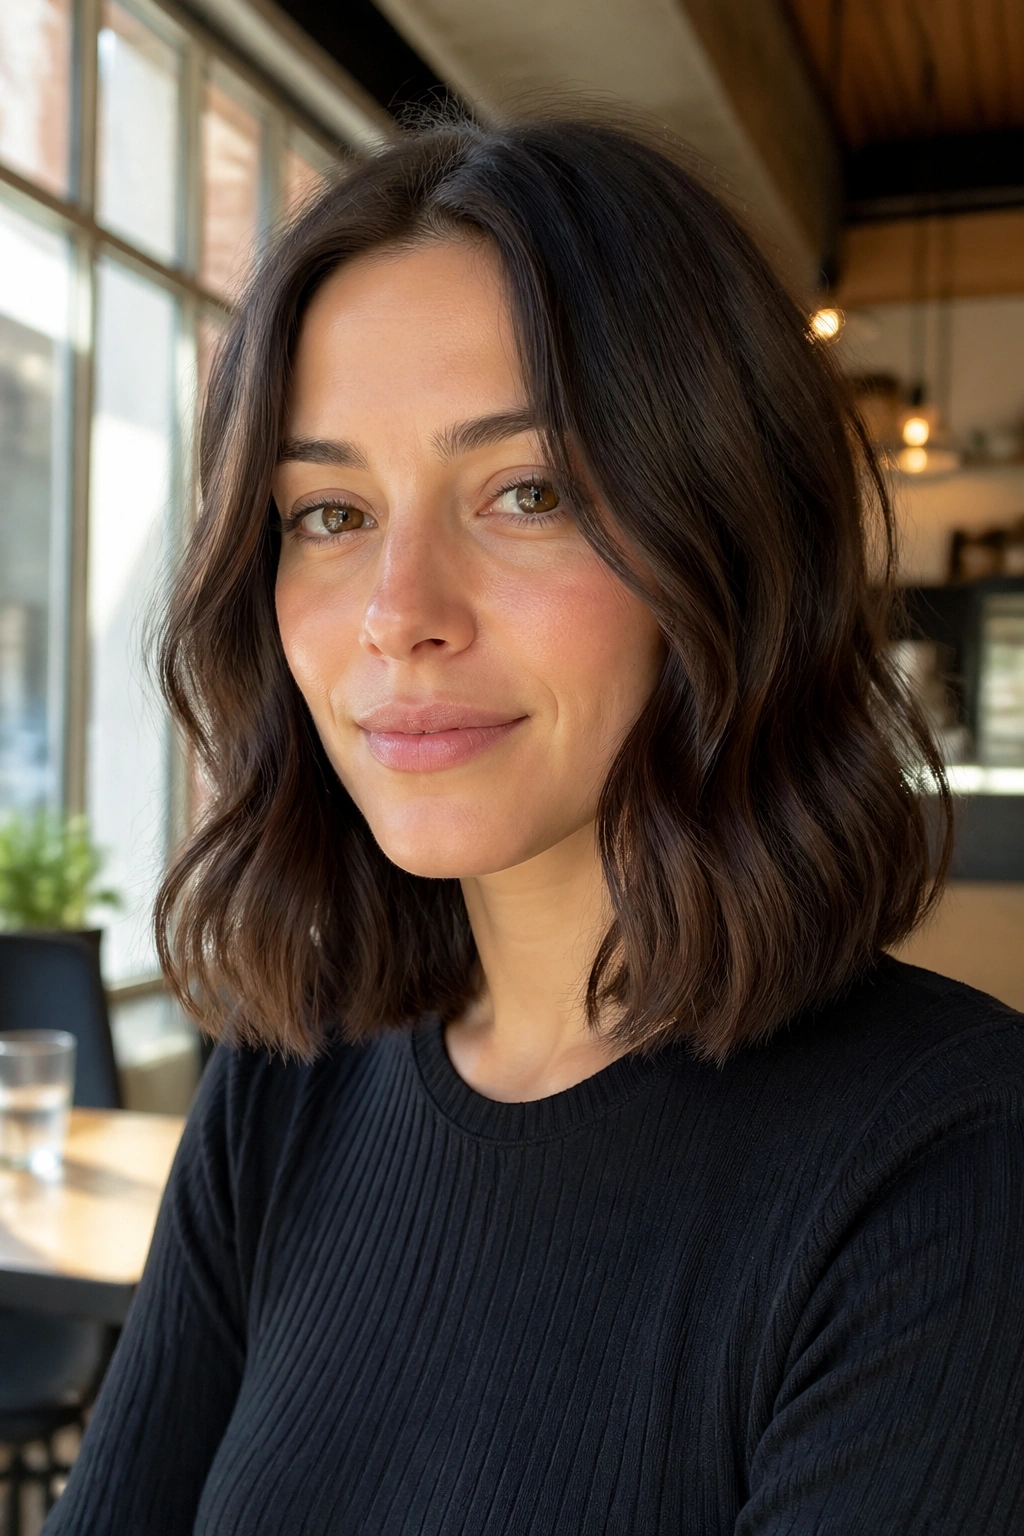
A blunt lob sounds severe on paper, but air-dried waves make it look easy and modern. The straight edge at the bottom gives the hair a solid line, while the bend through the mids keeps it from feeling helmet-like.
This cut works because it keeps weight where waves need it most. That little bit of heaviness at the ends helps the hair fall instead of puffing outward. If your wave pattern is loose, a blunt lob often gives you more shape than a heavily layered cut ever will.
I like this length on people who want low effort but not low style. It dries quickly, fits behind the ear, and still has enough movement to look good when the ends flip out a little. That tiny flip is not a flaw. It’s part of the look.
6. Long Layers with Loose Movement
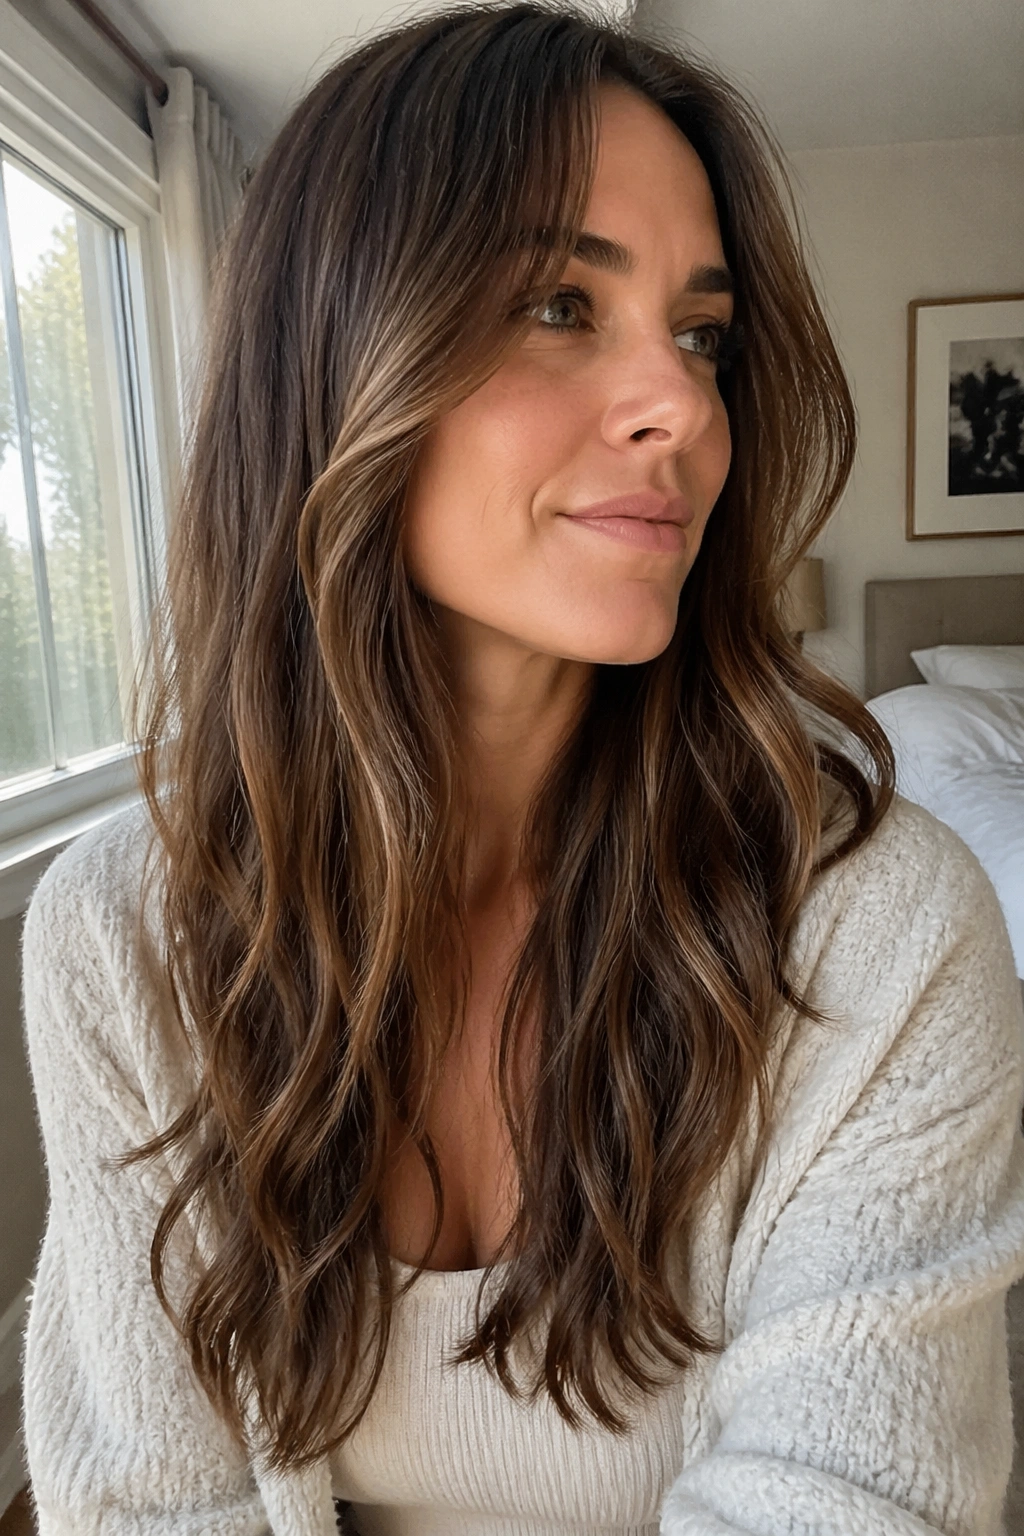
Long layers are the quiet workhorse of air-dried wavy hair. They make the ends lighter without stripping away too much fullness, which is why the hair still looks like hair and not a cloud.
Unlike a shag, long layers keep the silhouette calmer. That makes them a good pick if you like your waves soft rather than wild. They also help if your hair bends in some places and stays straighter in others, because the layers can disguise those patchy sections instead of spotlighting them.
Ask for layers that start below the chin or around the collarbone, not way up near the cheekbones unless you want a lot of movement around the face. That placement matters more than people think. Too high, and the hair can puff. Too low, and the layers don’t do enough.
7. Half-Up Twist
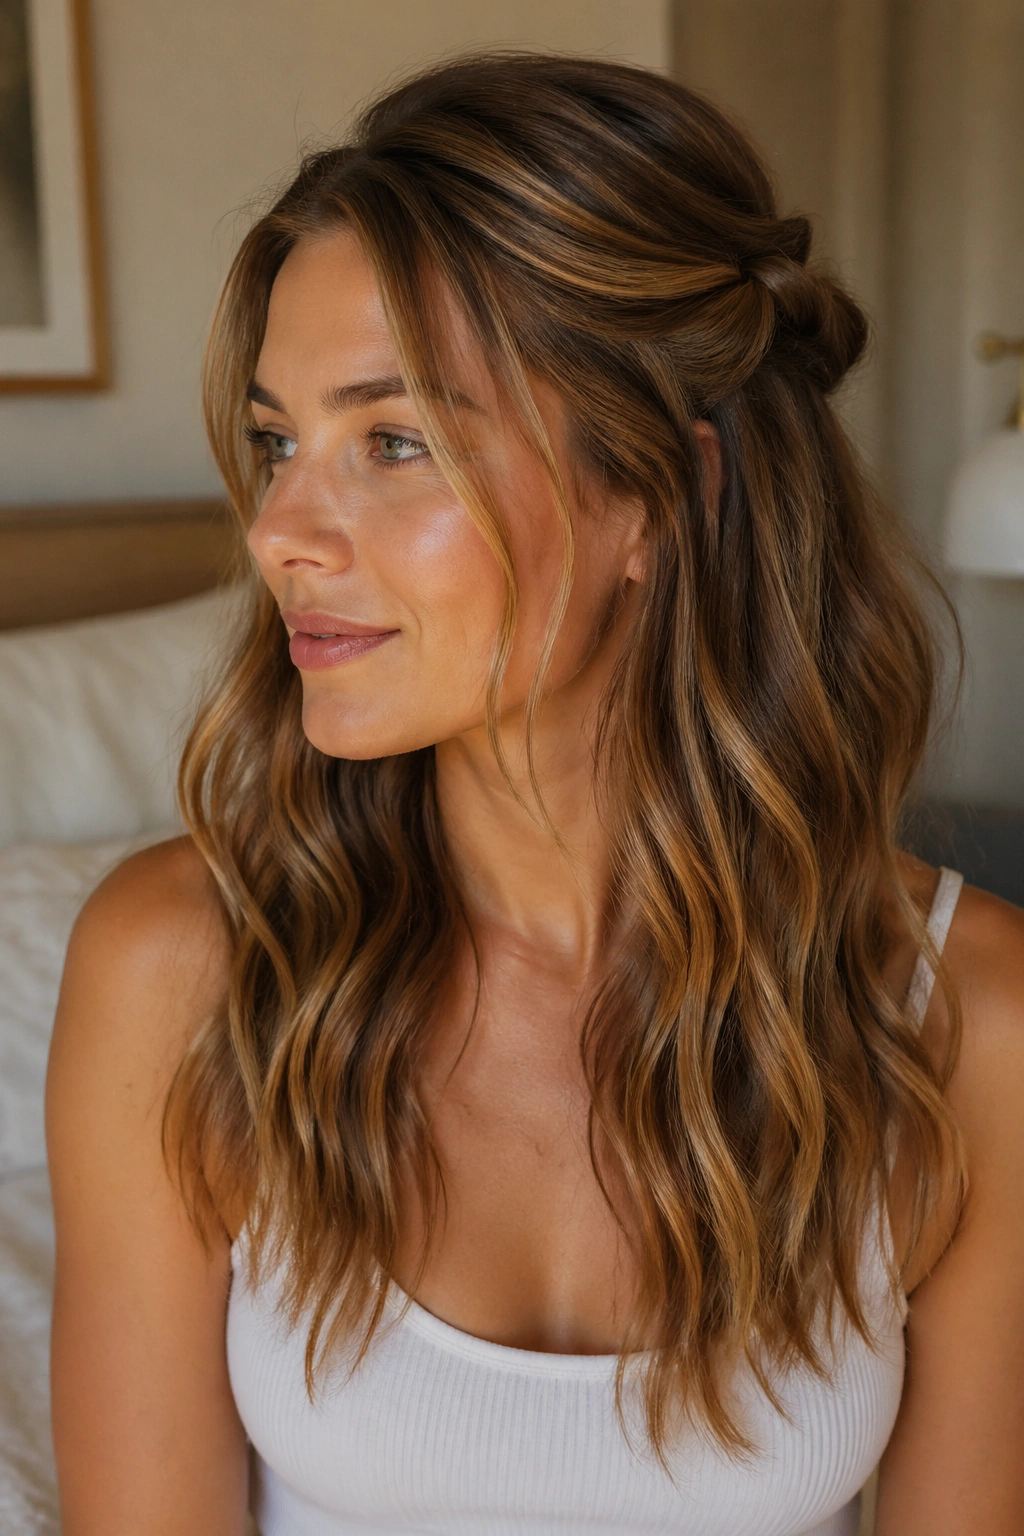
The half-up twist is the kind of style that saves a wavy hair day in about 30 seconds. It pulls the crown back just enough to show the shape of the waves, but it leaves the lower lengths loose and soft.
Start by taking two small sections from each temple, twist them back, and pin them where they meet. That’s it. No need to make it perfect. The whole point is that the twist looks relaxed, especially once the hair has dried with a little natural bend at the ends.
Best Places to Wear It
- Lunch plans when your crown has gone a bit flat.
- Work days when you want the face clear.
- Any day you need the front pieces out of your eyes.
- Times when your waves are prettier near the ends than at the roots.
Tiny tip: leave the twist slightly loose. If it’s too tight, it will fight the wave pattern and make the rest of the hair look puffy by comparison.
8. Claw-Clip French Twist
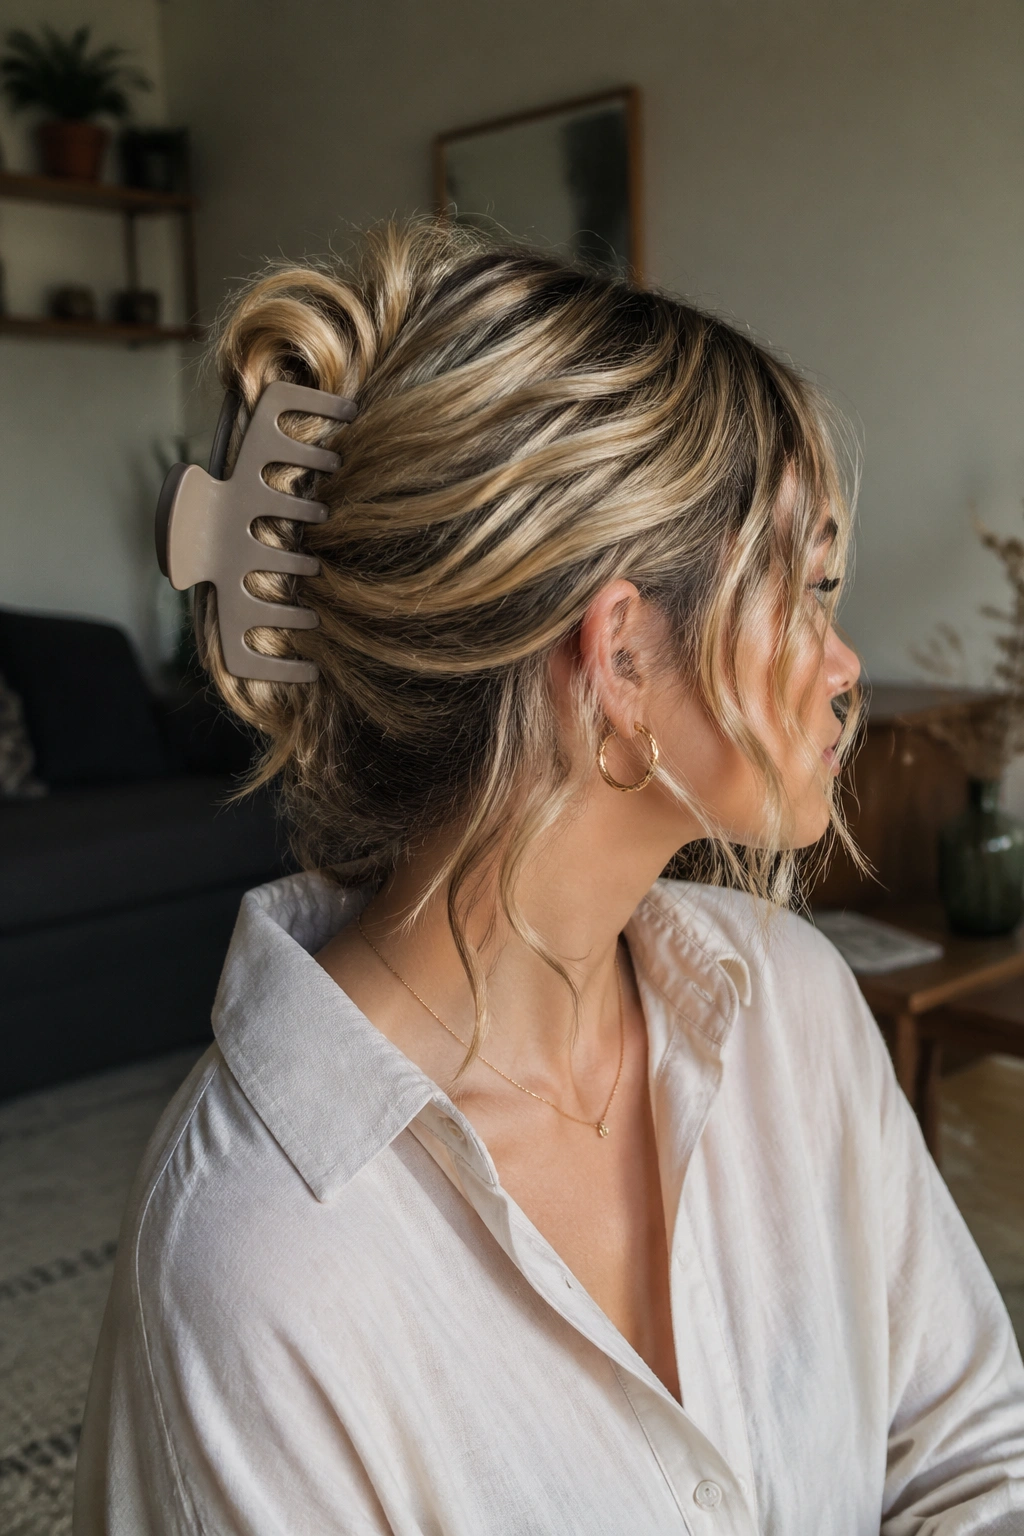
A claw clip and wavy hair are old friends for a reason. The clip gathers the length, keeps the neckline clear, and lets the air-dried texture show through in a way that feels intentional.
This version works best when you twist the hair upward loosely instead of stuffing it into the clip. You want pieces to spill out a little. That softness is the point. A slick, tight twist can make wavy hair look smaller than it is, and most people do not want that.
What Makes It Different
The French-twist shape gives the style a cleaner line than a messy bun, but it still keeps the loose ends and bends visible. That makes it useful for second-day hair, when the roots might be a little tired but the mids still have shape.
- Use a medium or large claw clip if your hair is past the shoulders.
- Leave the front pieces loose around the temples.
- Let the ends poke out a bit instead of tucking them all the way in.
- Choose a matte clip if your hair is textured; shiny plastic can slip.
9. Low Ponytail with Face-Framing Pieces
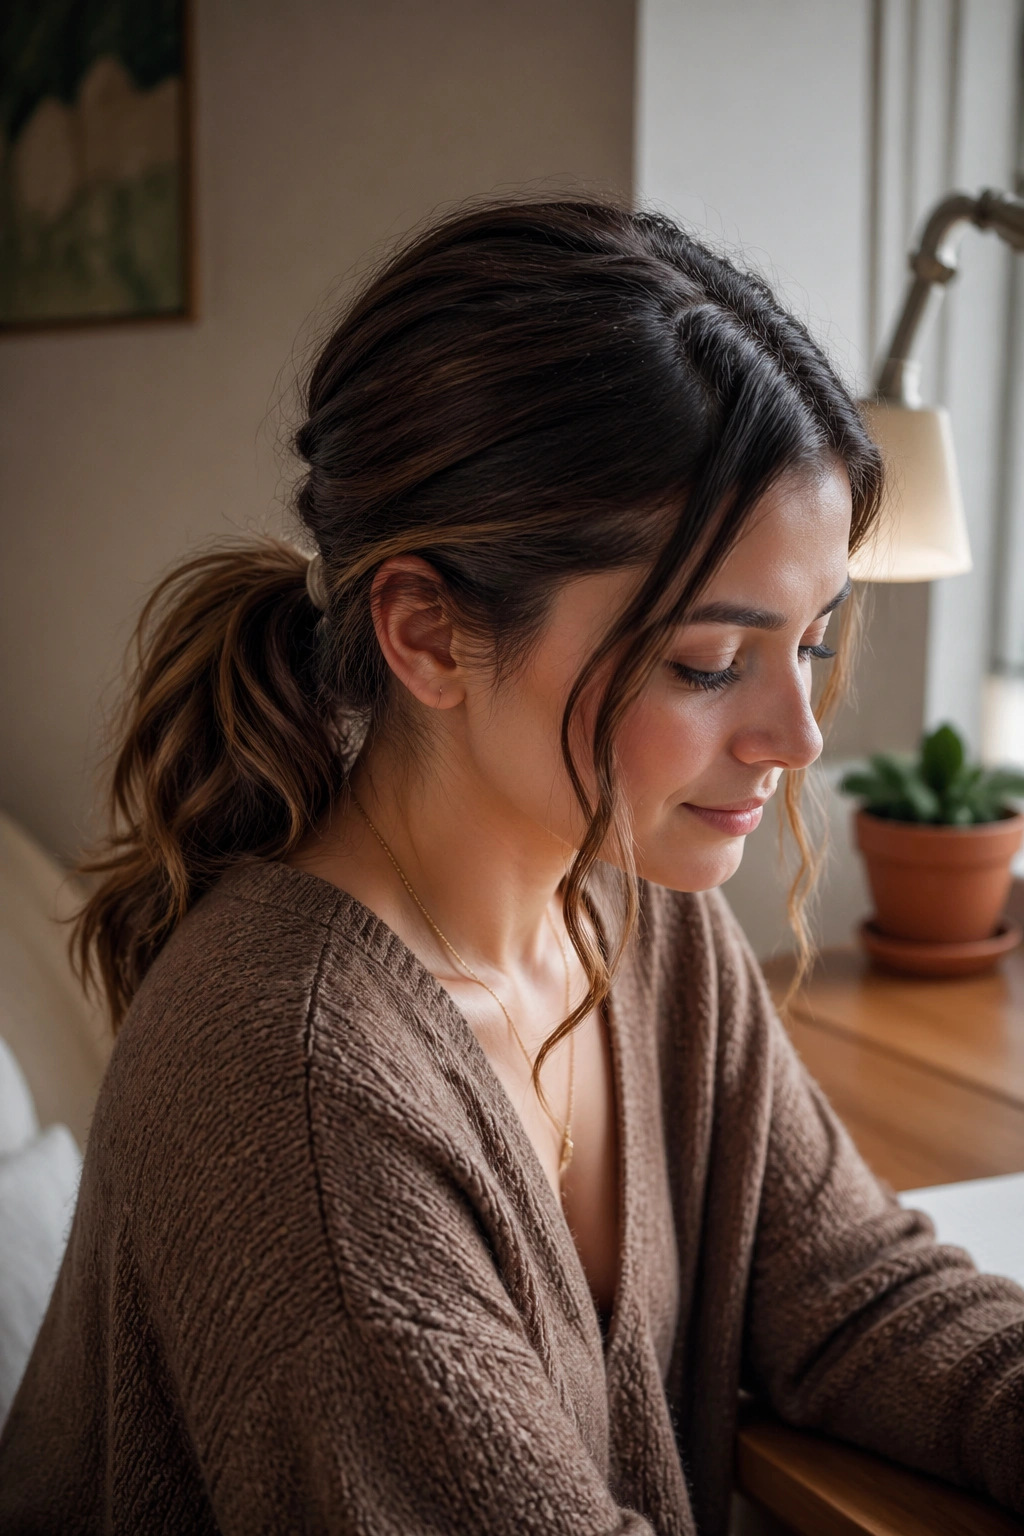
Why does a low ponytail look better on wavy hair than on straight hair? Because the bend in the length keeps the style from turning flat and formal.
The face-framing pieces are what save it. Pull out two small sections near the cheekbones, then gather the rest at the nape with a soft elastic. If the crown is very flat, lift it gently with your fingers before securing the ponytail. No teasing. You do not need that kind of trouble.
This look is great when the ends of your waves are doing well but the roots are not. It turns uneven texture into a feature. A little wave at the nape and a few soft pieces around the face make the whole thing feel casual in a polished way — not polished-polished, which is a relief.
10. Loose Low Bun
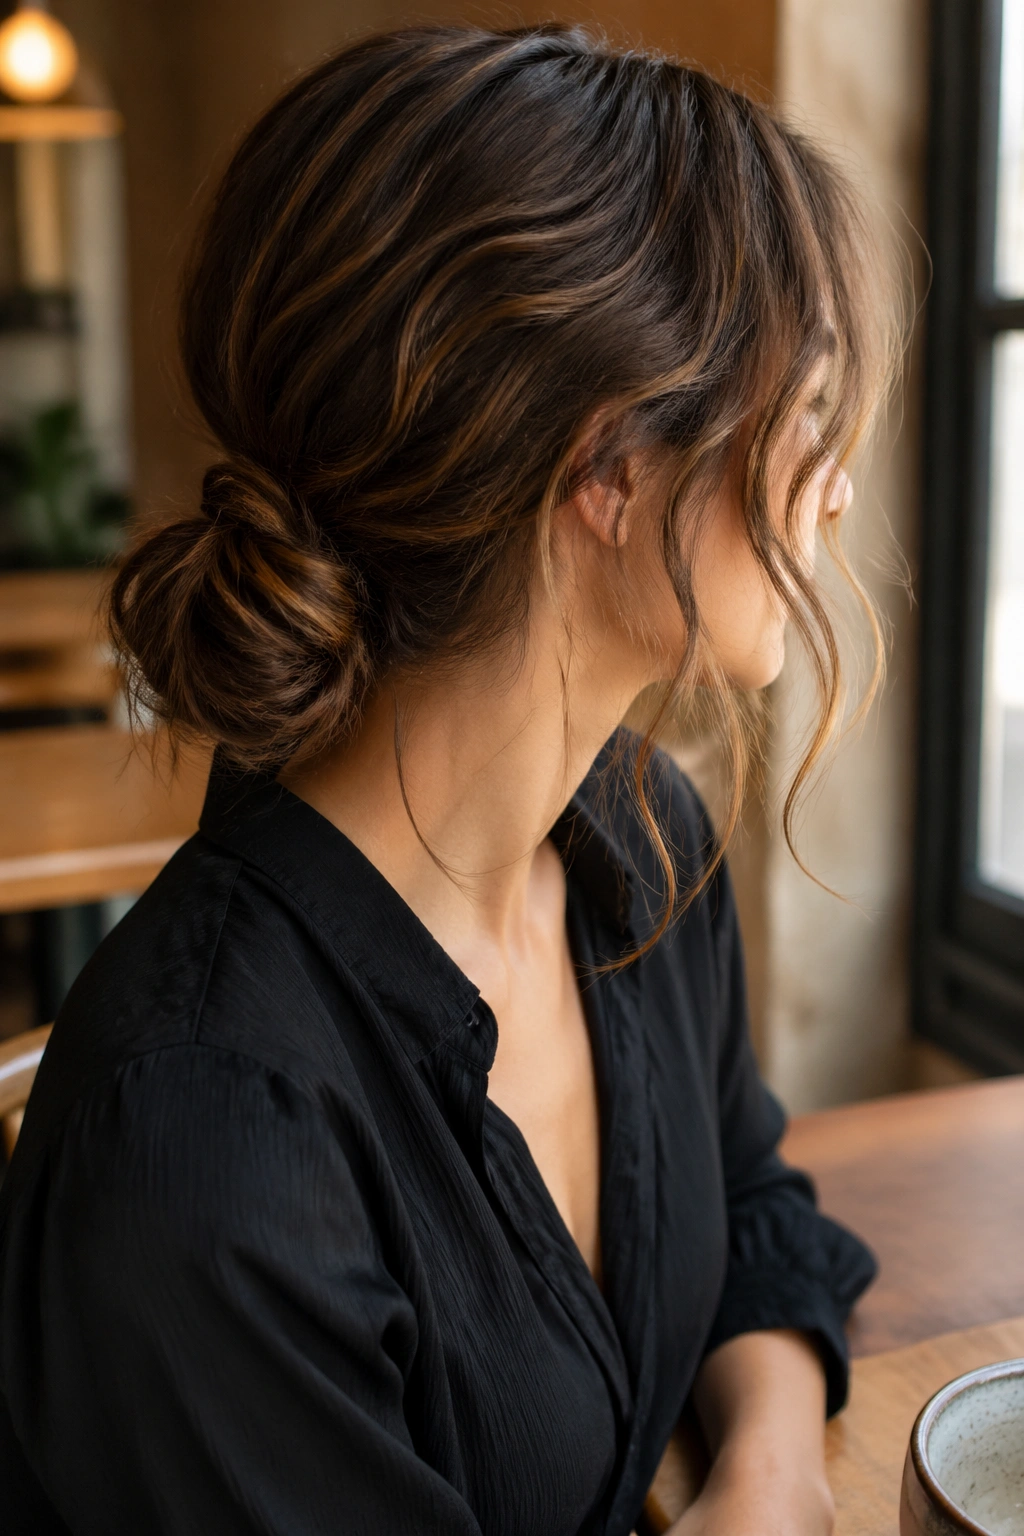
A low bun is usually the answer when the top half of your hair is frizzy and the bottom half still has shape. Wavy hair helps this style because the texture keeps the bun from looking tight or too neat.
The key is to stop before the bun becomes a knot. Wrap the hair once or twice, tuck the ends in loosely, and let some wavy pieces hang at the nape. If you smooth every strand down, the style loses its softness and starts looking stern. That’s not the mood here.
I like this bun when the hair has air-dried into a slightly uneven shape and you want to work with it, not correct it. The imperfections blend in. The whole style feels better because of them.
11. Mini Temple Braids
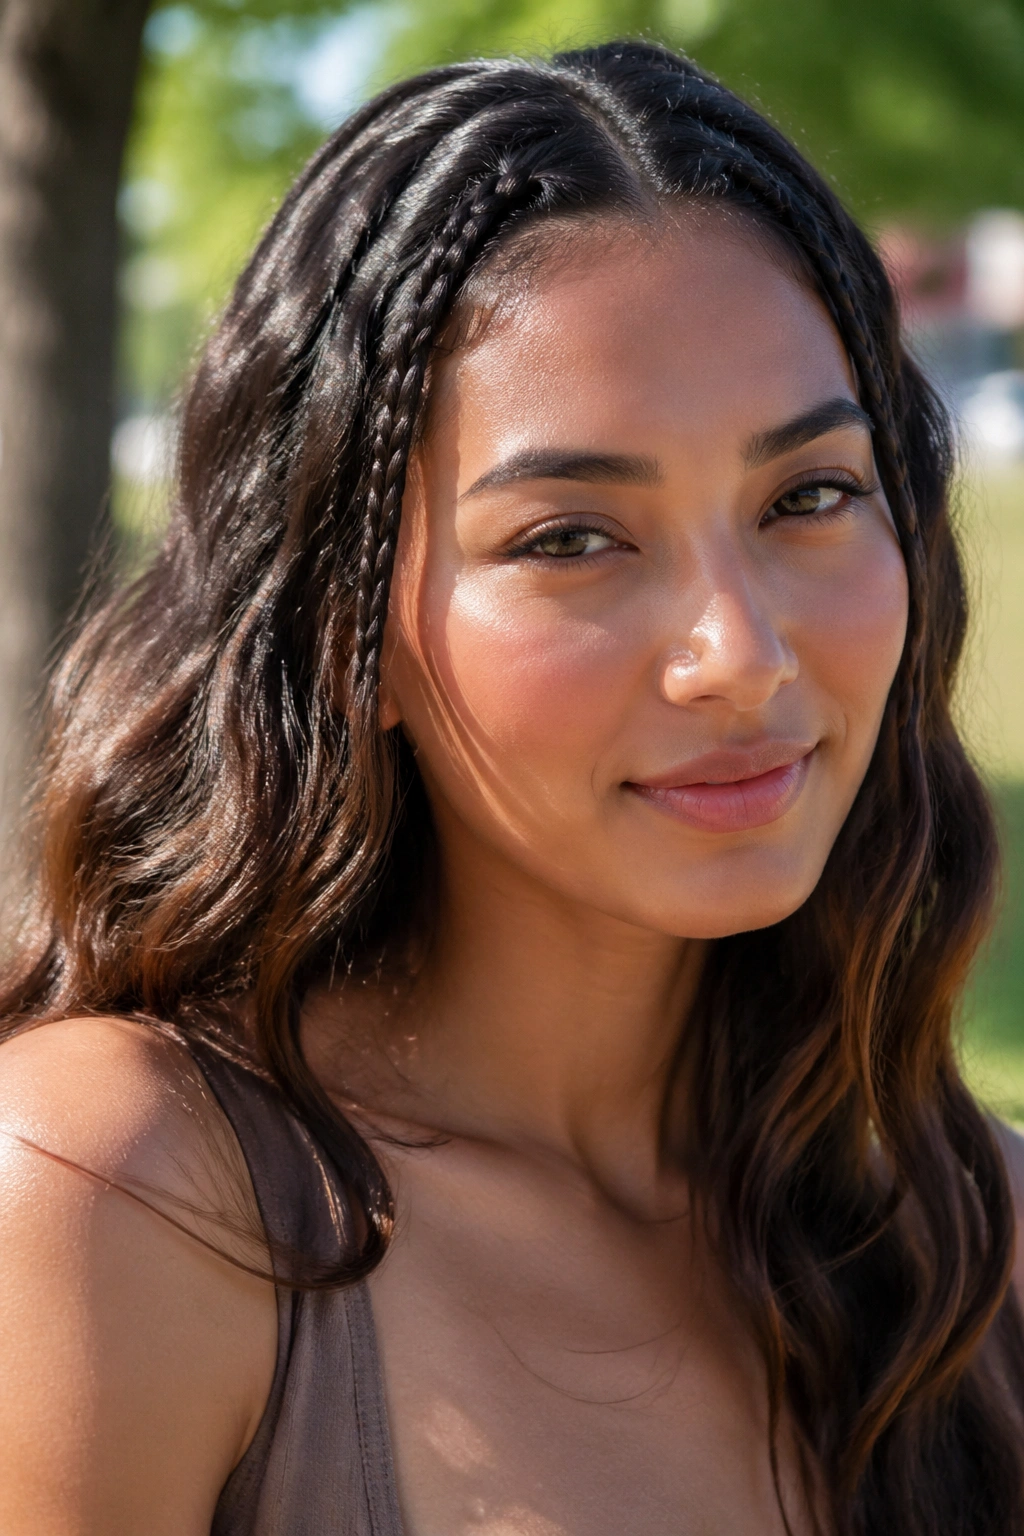
Small braids at the temples are a good fix when the front of the hair is doing the most. They keep the face open and let the rest of the waves stay loose, which is a nice balance if your hair gets frizzy around the hairline.
How to Make Them Work
Braid only a thin section on each side, then secure it with a tiny clear elastic or a bobby pin behind the ear. The braid should look like a detail, not the whole haircut. That distinction matters. A chunky braid can compete with the wave pattern and make the style feel busy.
This is one of the few looks that improves when the hair isn’t freshly washed. Slightly lived-in wave texture gives the braids something to sit against. On very clean hair, they can slide around more than you’d like.
- Best for medium to long waves
- Useful when the front layers are short and annoying
- Good with a middle part or a soft off-center part
12. Bob Tucked Behind the Ears
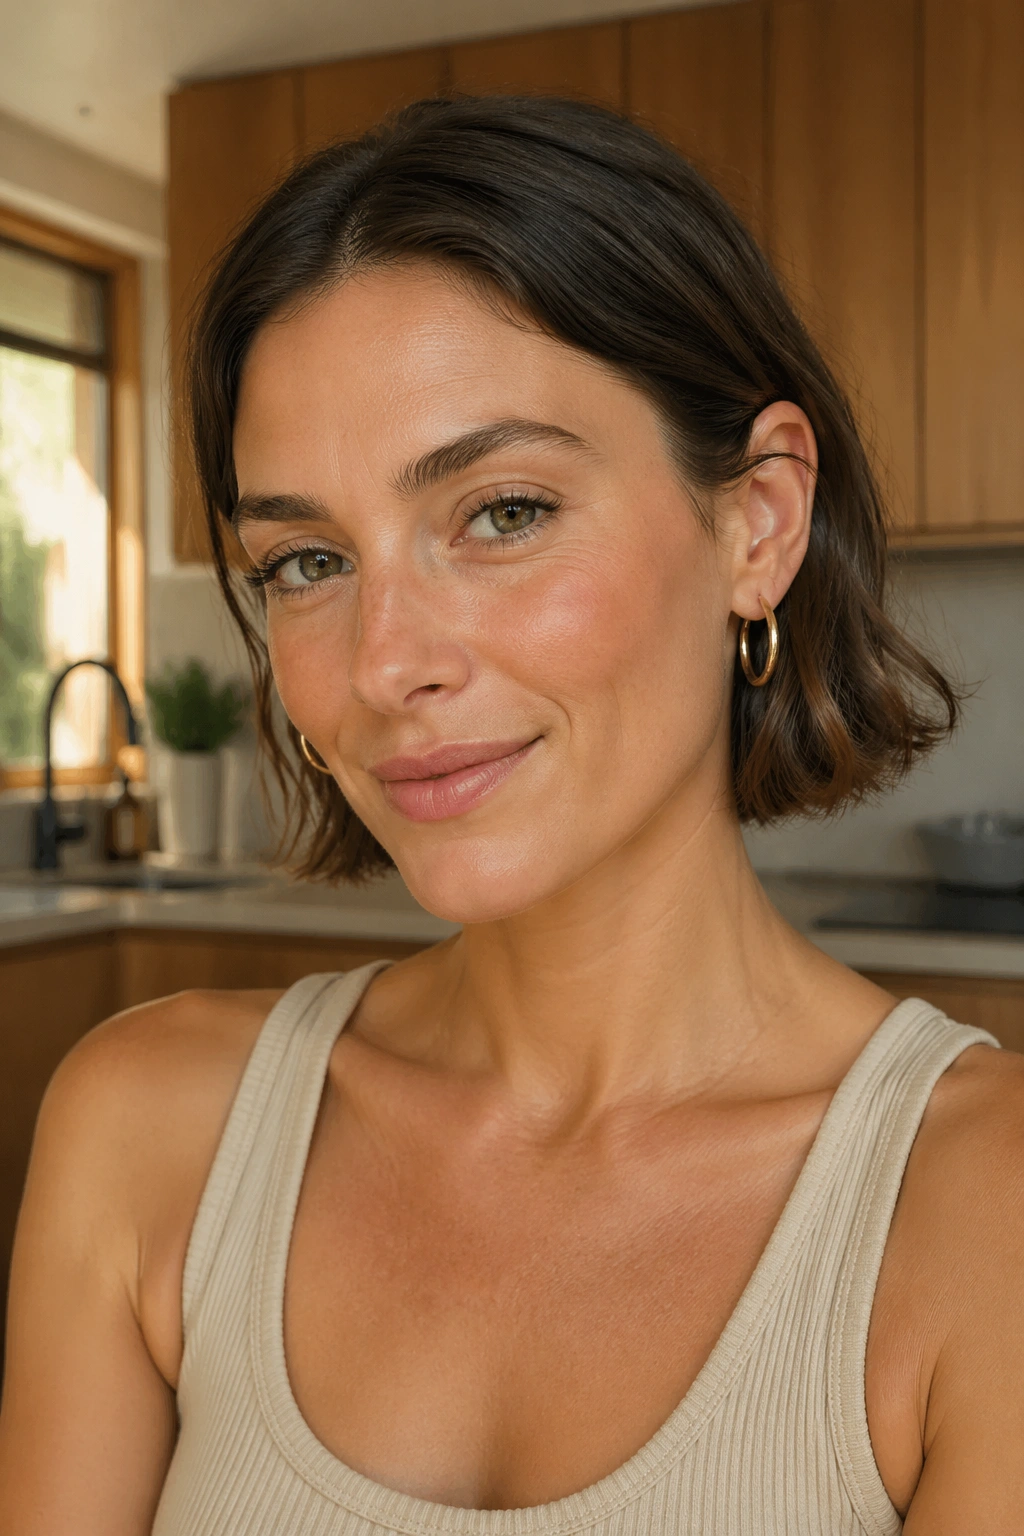
A wavy bob tucked behind the ears is one of the easiest ways to make air drying look sharp. The tuck shows off the jawline, and the loose wave in the bottom half keeps it from feeling too polished.
This style is especially good when the bob has a little texture in the cut. A blunt line plus a soft bend through the mids can look expensive in the plainest possible way — clean, not fussy. If your bob tends to flip out at the bottom, that’s not a disaster. It often gives the style more character.
You only need a light tuck on one side, or both if you want a more open face. If the hair is short enough to keep slipping out, use a flat bobby pin under the top layer. No one needs to see the hardware.
13. Wolf Cut with an Airy Crown
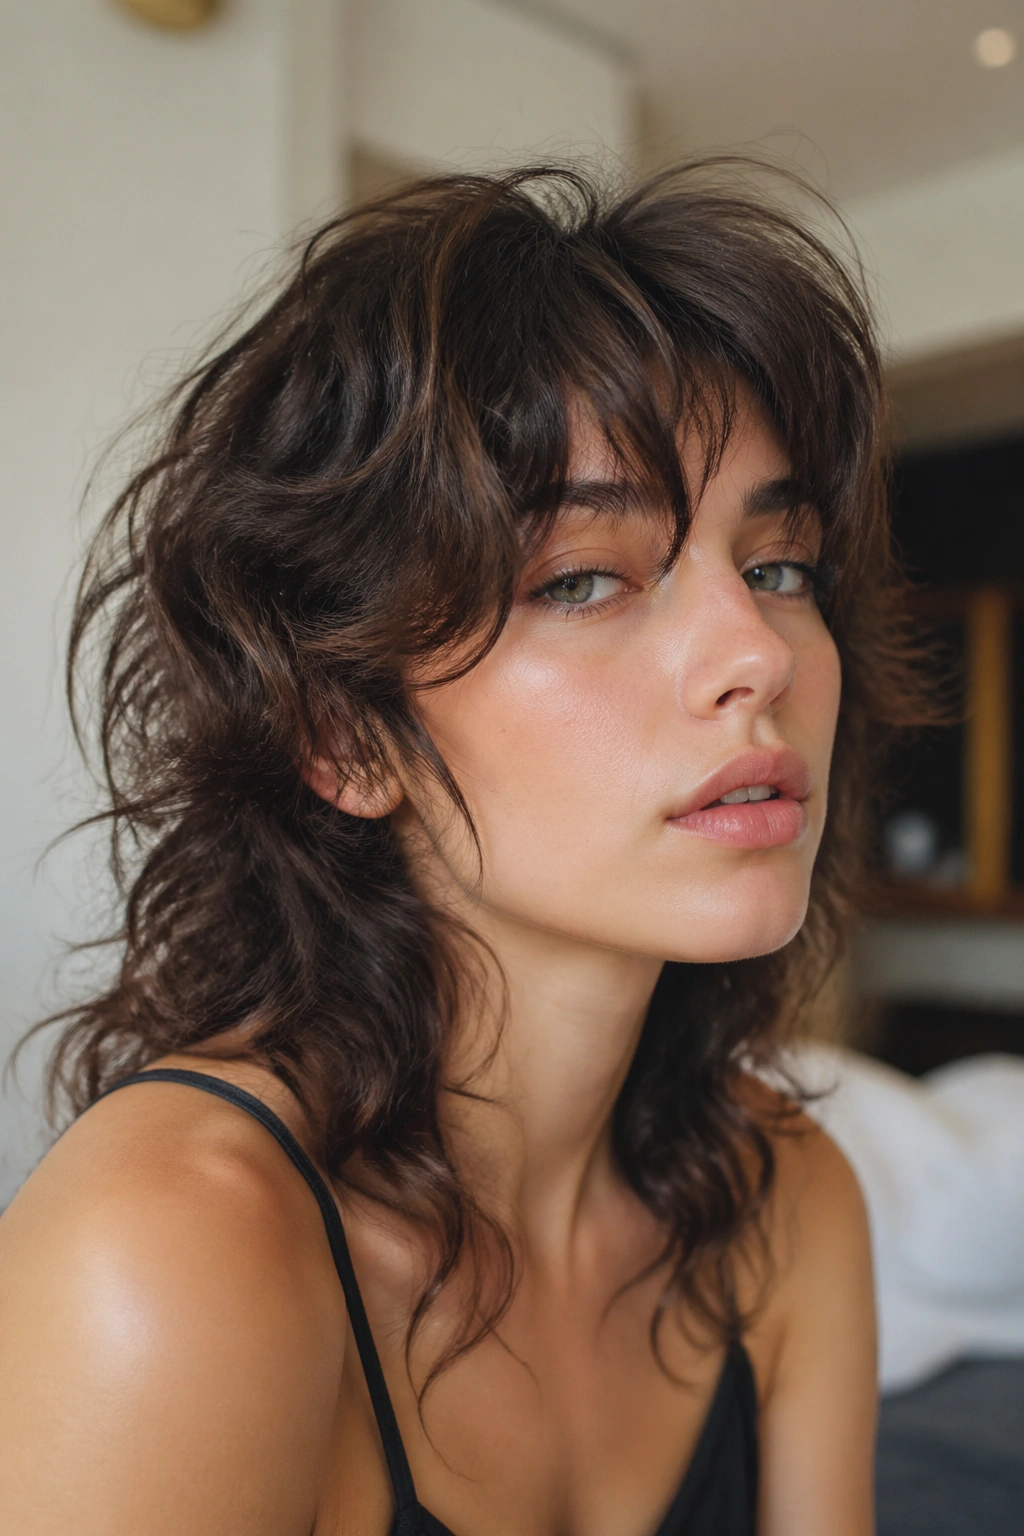
A wolf cut is basically built for air-dried hair. The crown stays light, the layers move on their own, and the ends have enough length to keep the style from becoming too fluffy.
This cut is not for someone who wants every strand to sit still. It looks best with a little lift at the roots and some separation in the layers. If you have waves that get bigger as they dry, the wolf cut turns that into shape instead of chaos.
The best version leaves enough weight in the bottom layers so the haircut still feels grounded. Without that, it can get too airy and lose the nice roughness that makes it interesting. The whole trick is balance. A wolf cut that’s too choppy can be hard to live with.
14. Side-Swept Volume
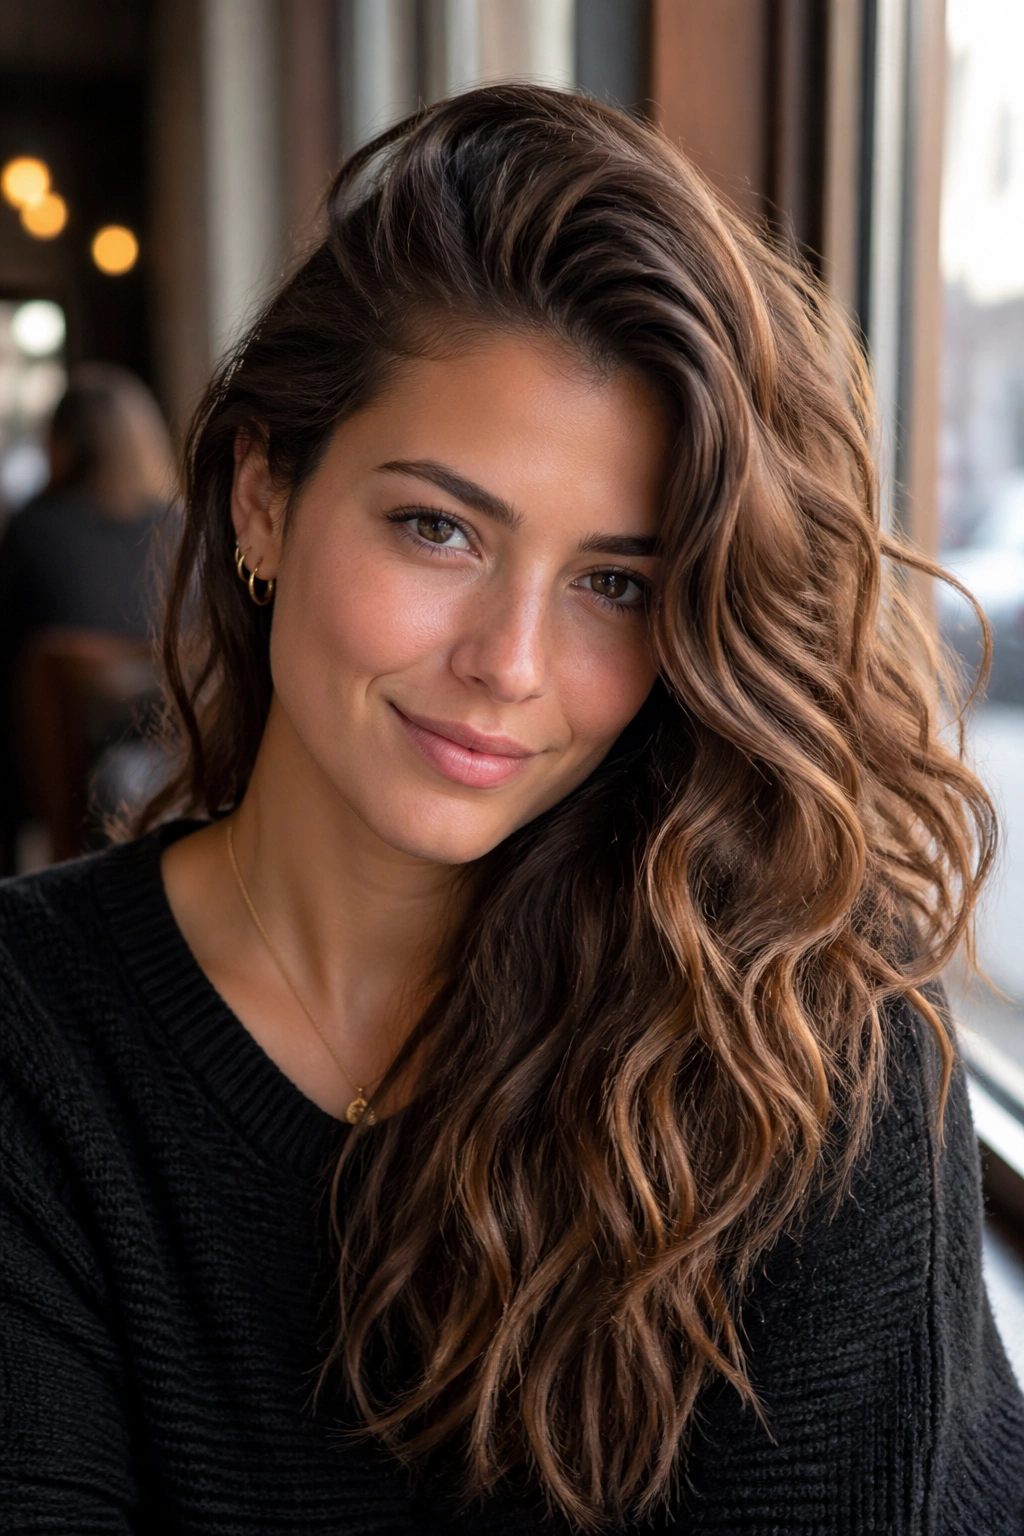
A side-swept style gives wavy hair a bit of old-school glamour without needing heat. The volume sits on one side, the other side stays close to the head, and the contrast makes the waves look richer.
Ask the hair to dry in the direction you want it to fall. Clip the heavier side up while it’s damp, then release it once the shape has set. If you just flip the part after it dries, the hair usually resists. That resistance is why so many side parts look accidental instead of styled.
What Makes It Different
- It softens a strong jawline.
- It gives finer waves more lift at the front.
- It works well with a deep side part or an off-center part.
- It can be worn loose, pinned, or tucked.
A little root spray helps here, but only at the roots. Put it on the mids and you’ll lose the airy movement that makes the style worth wearing.
15. Silk-Scarf Wrapped Waves
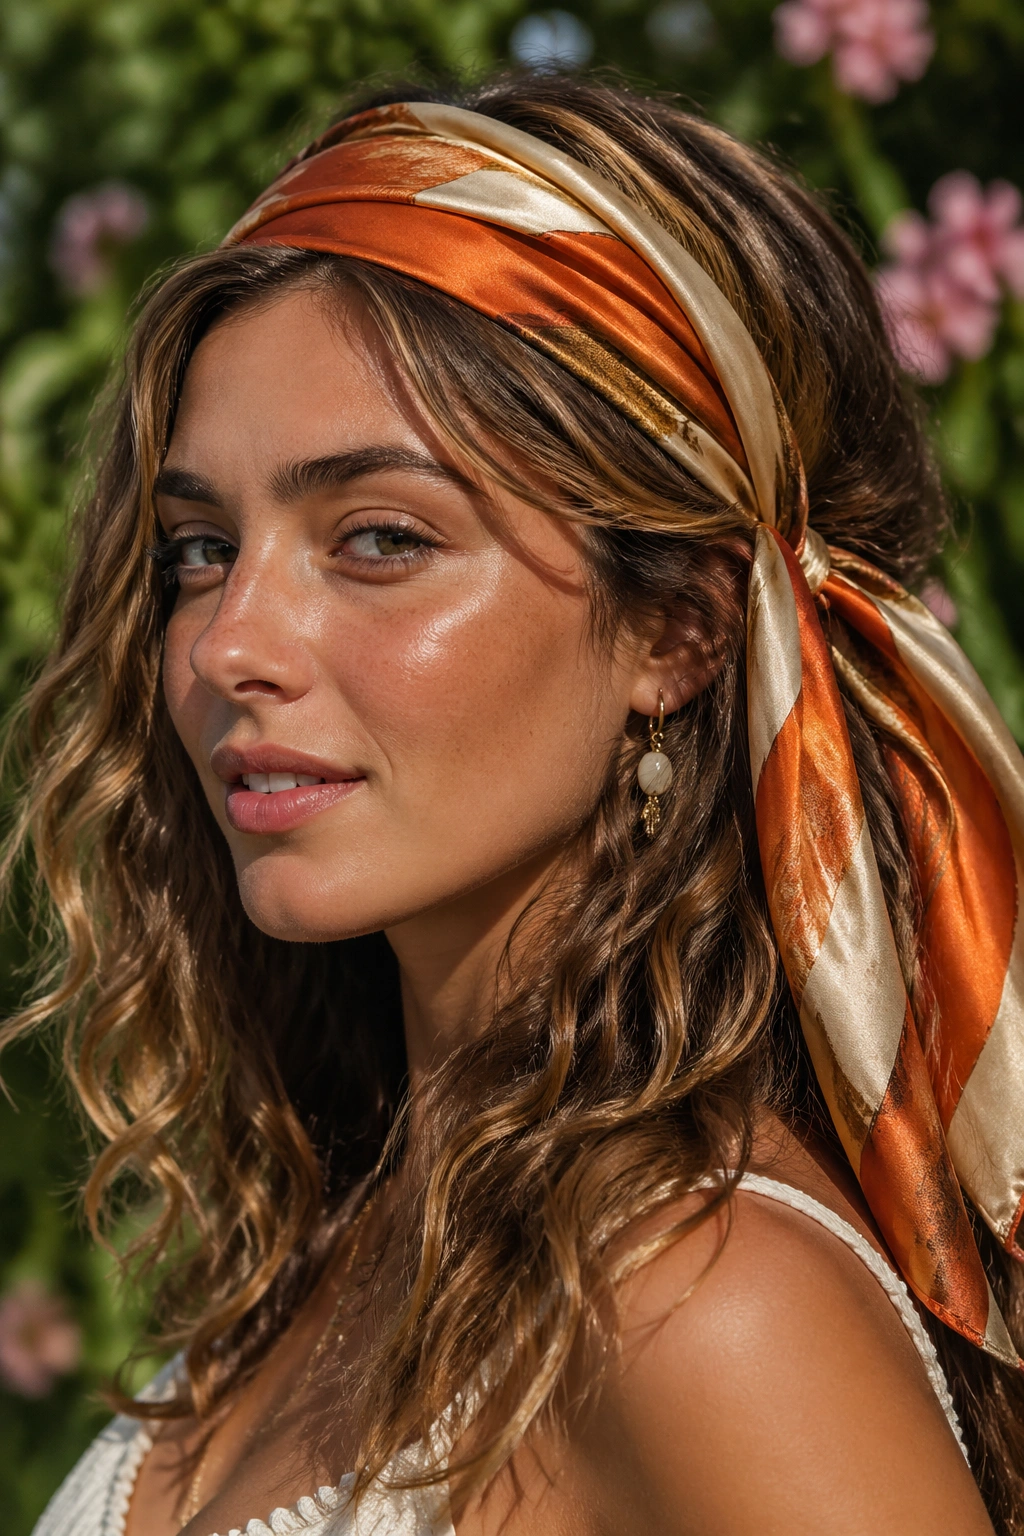
A silk scarf can rescue air-dried waves on days when the shape is there but the surface is a little rough. Wrap it around the head, leave the ends loose, and the whole style looks deliberate instead of undone.
This works well because the scarf controls the top while letting the lengths do their own thing. If you have frizz around the hairline, a scarf can calm it down without flattening the rest of the hair. That balance is hard to get with pins alone.
You can tie the scarf over a loose bun, a low ponytail, or just over the hair itself. The pattern or color of the scarf becomes part of the look, which is useful when the hair isn’t cooperating. And honestly, a good scarf can make a plain wave pattern feel much more finished than a pile of styling products ever will.
16. Pinned-Back Crown
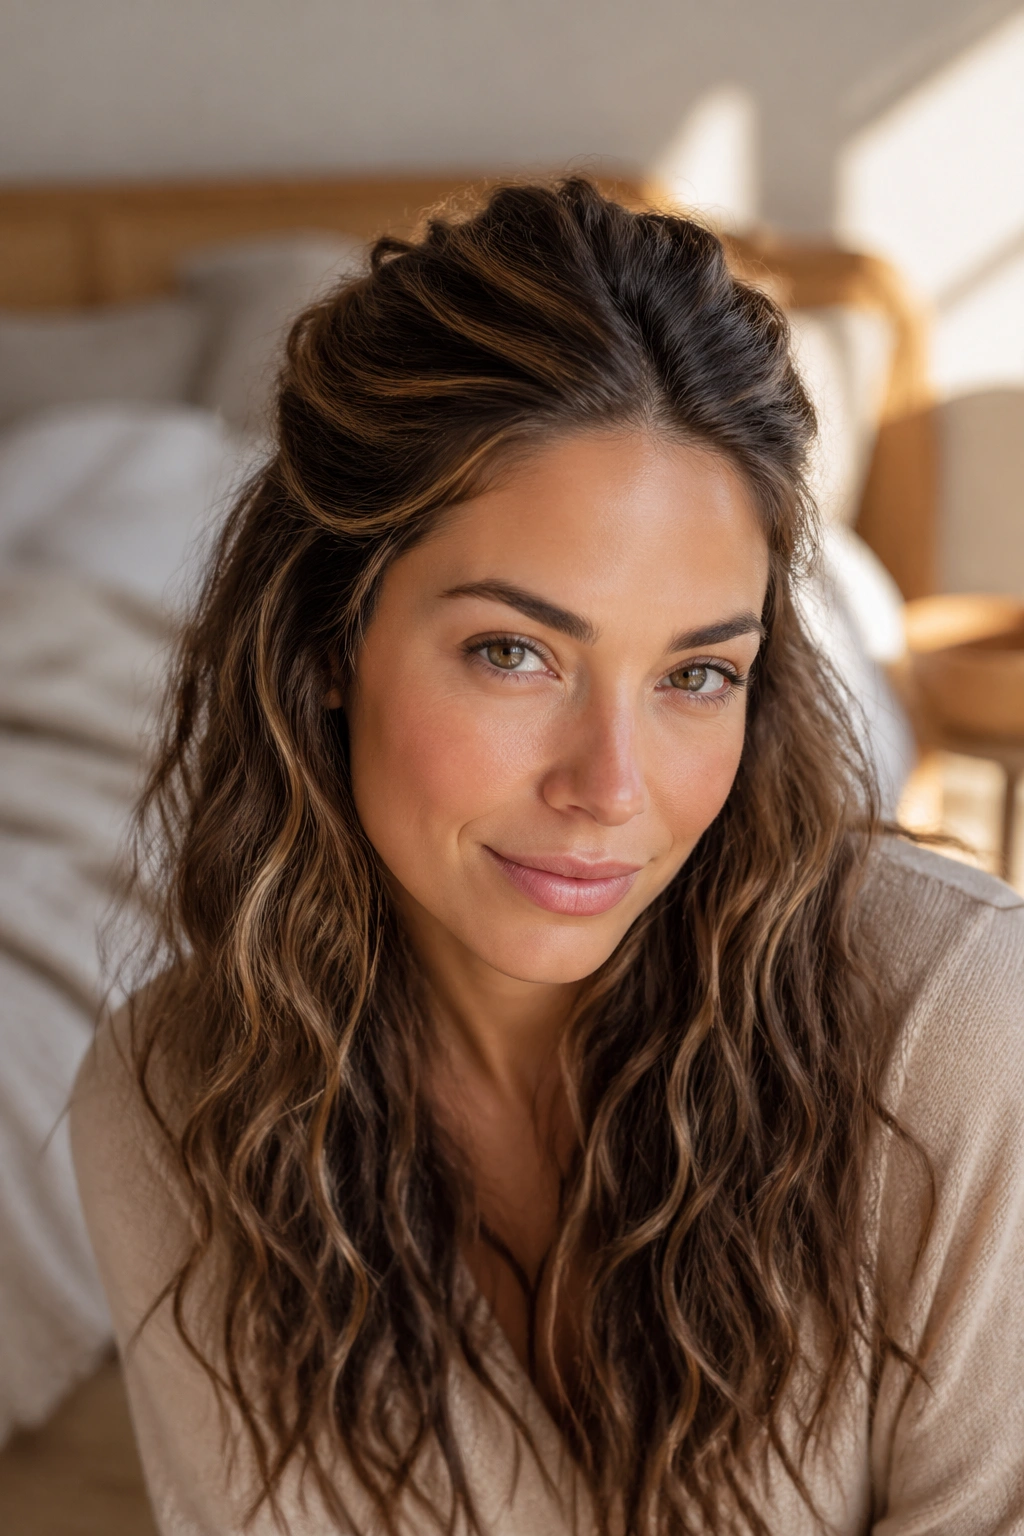
A pinned-back crown is the answer for people who like wearing their waves down but do not want hair falling into their face all day. Pull back just the top section and pin it flat or with a little lift, depending on how soft you want the shape.
The trick is to keep the pins hidden under a layer of hair. If the pins show, the style starts feeling overworked. If they disappear, the eye sees only the waves and the lifted crown. Nice and simple.
This is a good style for hair that dries with a bit of volume at the front but goes flatter toward the ends. It puts the attention where the hair looks strongest and removes the bits that usually need the most fixing.
One sentence matters here: less is better.
17. Braided Halo
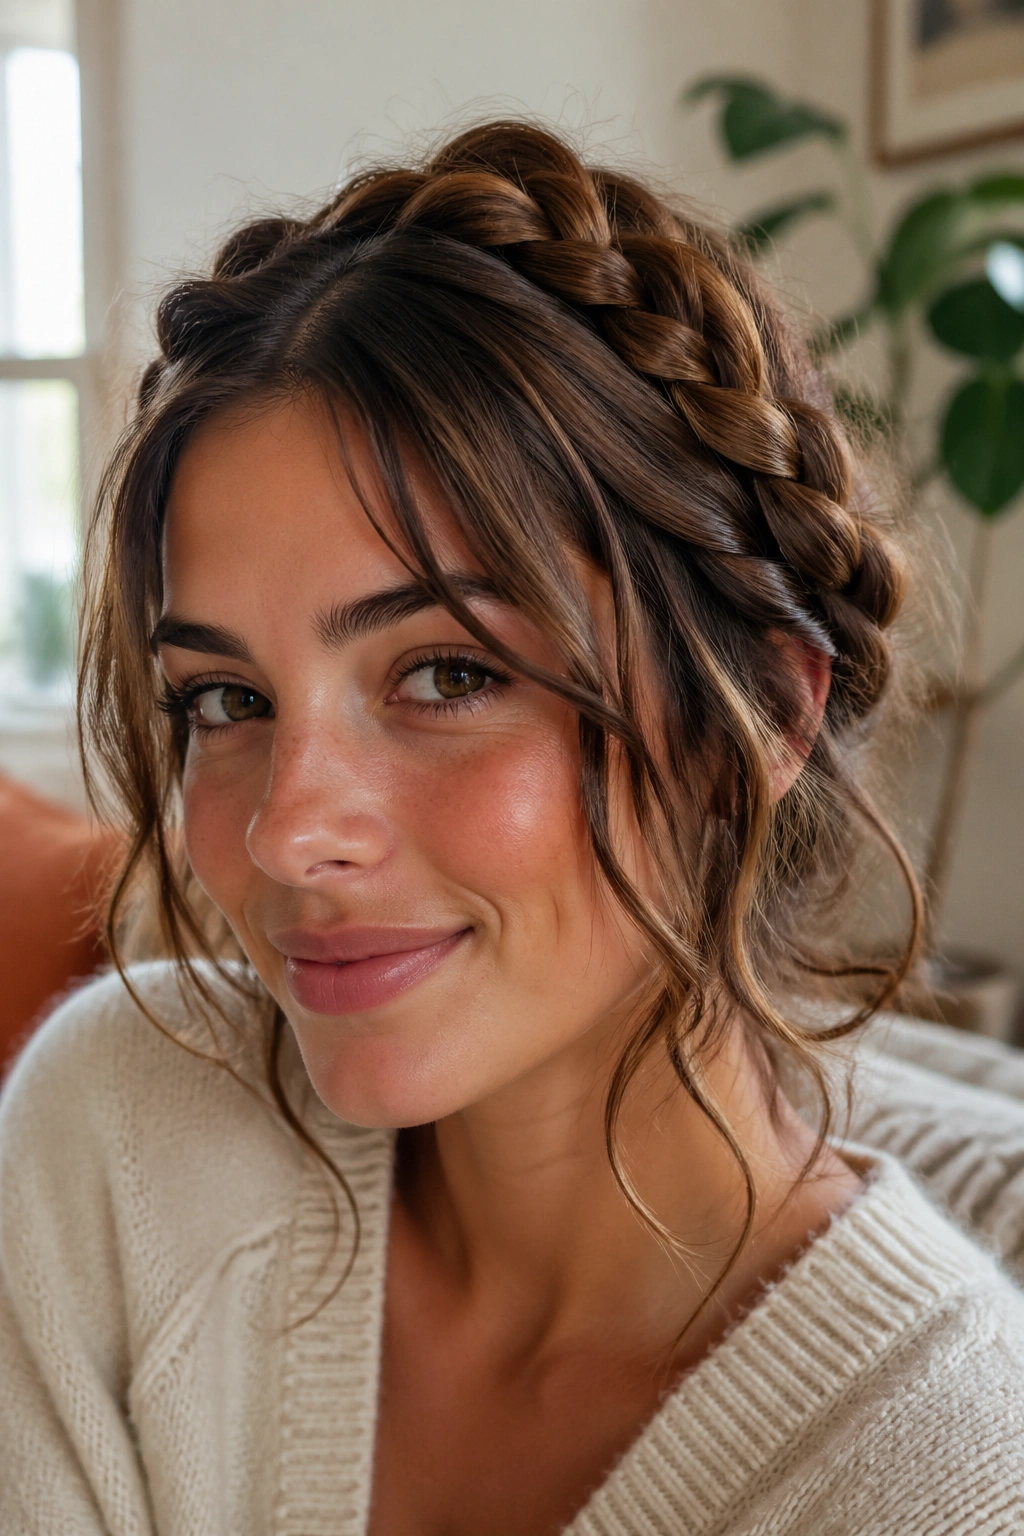
A braided halo gives wavy hair a romantic shape without demanding perfect texture. Because the braid wraps around the head, the remaining waves can stay loose and a little wild.
The style looks best when the braid is not too tight. A slightly fuller braid makes the whole head look softer and gives the face more room. It also hides the fact that the roots may not be behaving after an air dry — which, frankly, happens to everyone.
This one is useful for special occasions, but it is not too precious for everyday wear either. If you leave a few ends out around the nape, the style feels less formal. The halo does the framing. The waves do the rest.
18. Pixie Shag
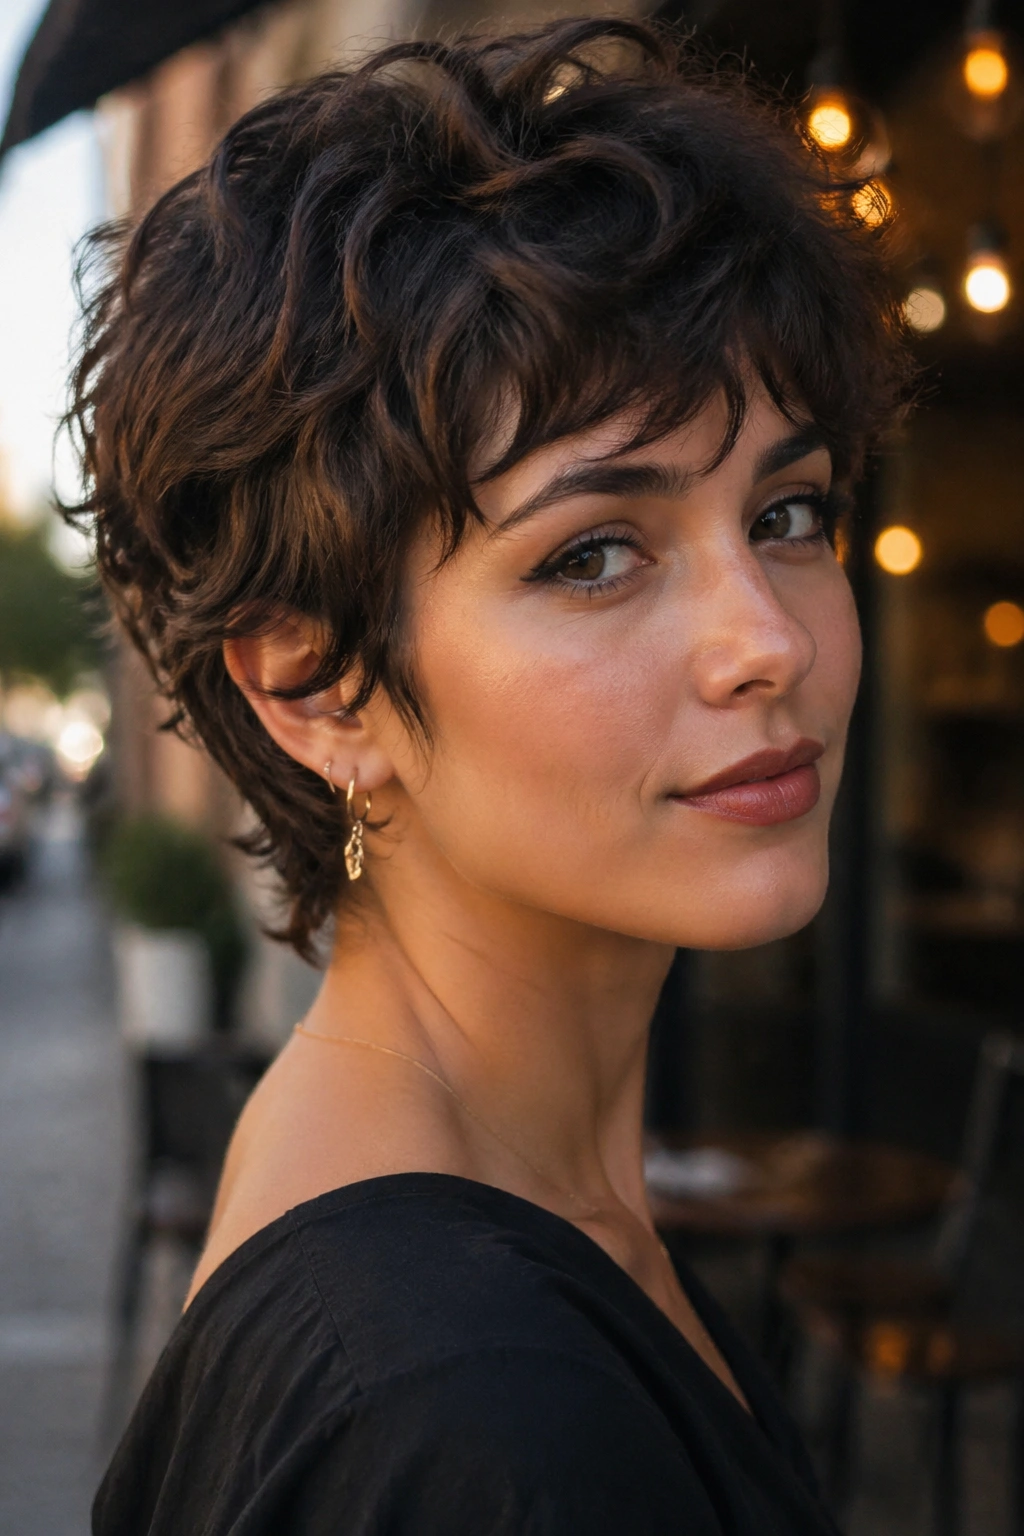
A pixie shag is the short-hair version of “let the texture do it.” It keeps the sides light, lets the top bend, and gives wavy hair enough movement to avoid looking helmet-like.
This cut is a win when your waves have a bit of personality. Straight pixies can look flat if they are not styled, but a shaggy pixie keeps some lift at the crown and some piecey texture around the ears. Air drying helps that texture stay soft instead of crunchy.
If the cut is too clean around the edges, it can lose the whole point. Ask for a little separation through the top and fringe so the waves have somewhere to sit. Short hair does not need to be stiff to look finished. That’s the mistake people make.
19. Gel-Cast Wet Waves
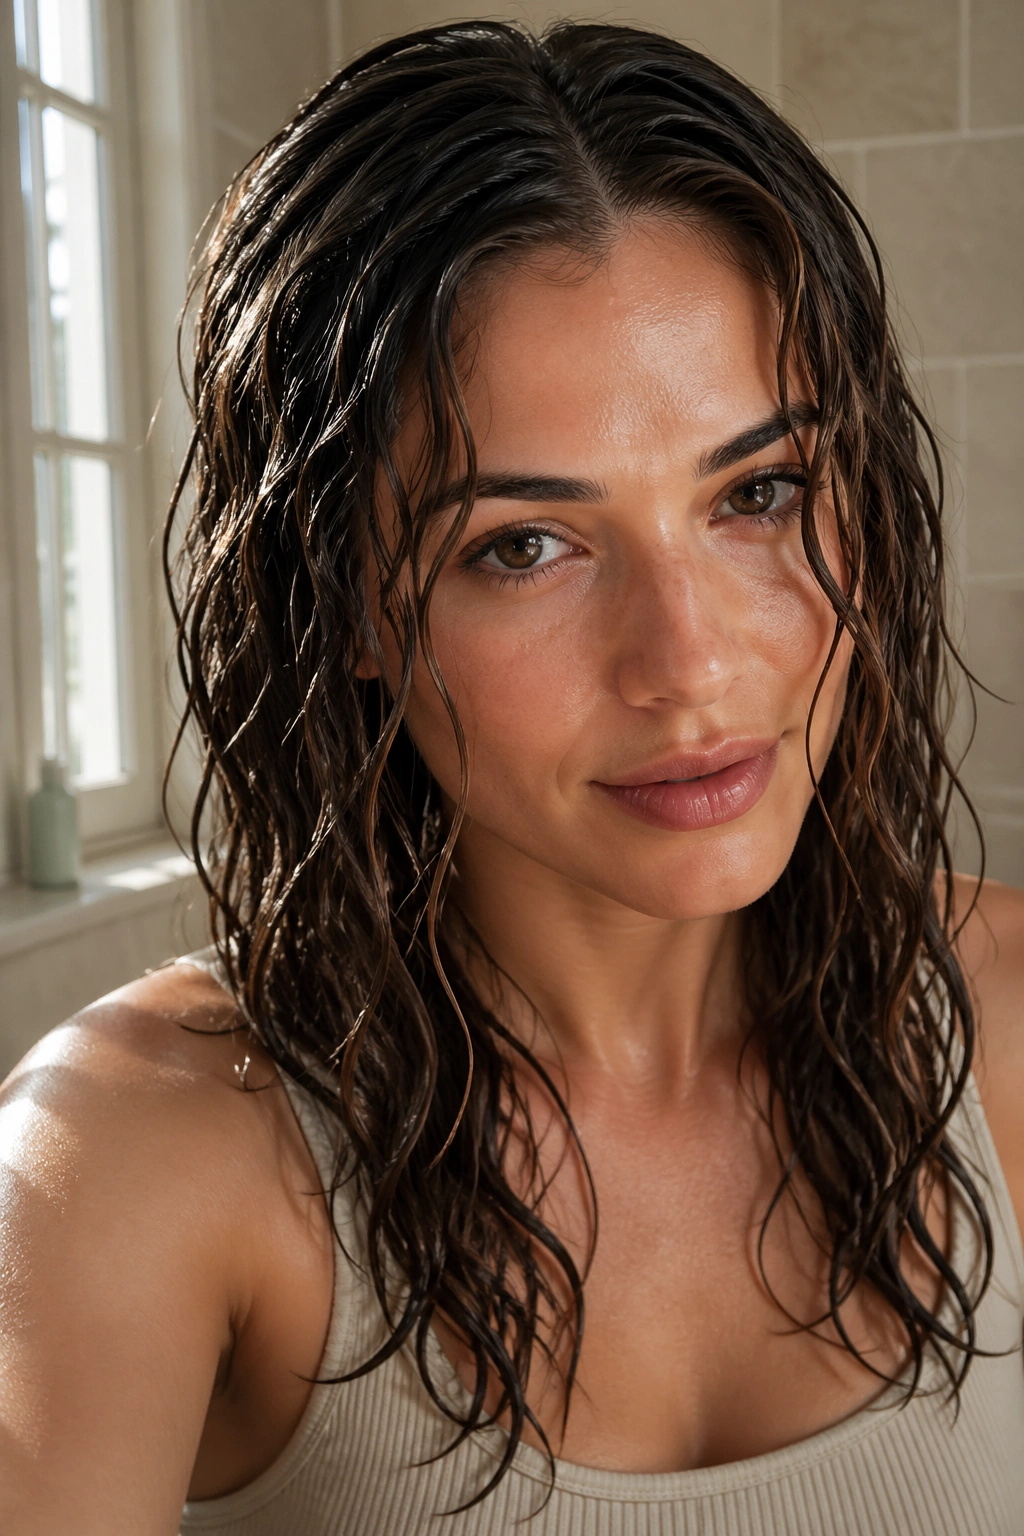
A gel cast sounds more intense than it is. You put gel on damp hair, scrunch it, let it dry, and then break the cast once the hair is fully dry so the waves feel soft again.
The style works best when your waves need more definition than fluff. If your hair dries into a halo of frizz, a light gel can hold the bend in place long enough for the pattern to show up. I prefer this on medium waves and longer lengths, where the ends can still move a little.
Do not touch the hair while it dries. That’s the whole game. Once the cast is dry and crisp, scrunch it out with clean hands. The result should feel touchable, not sticky, and the wave pattern should hold together better than it would with mousse alone.
20. Mermaid-Length Waves
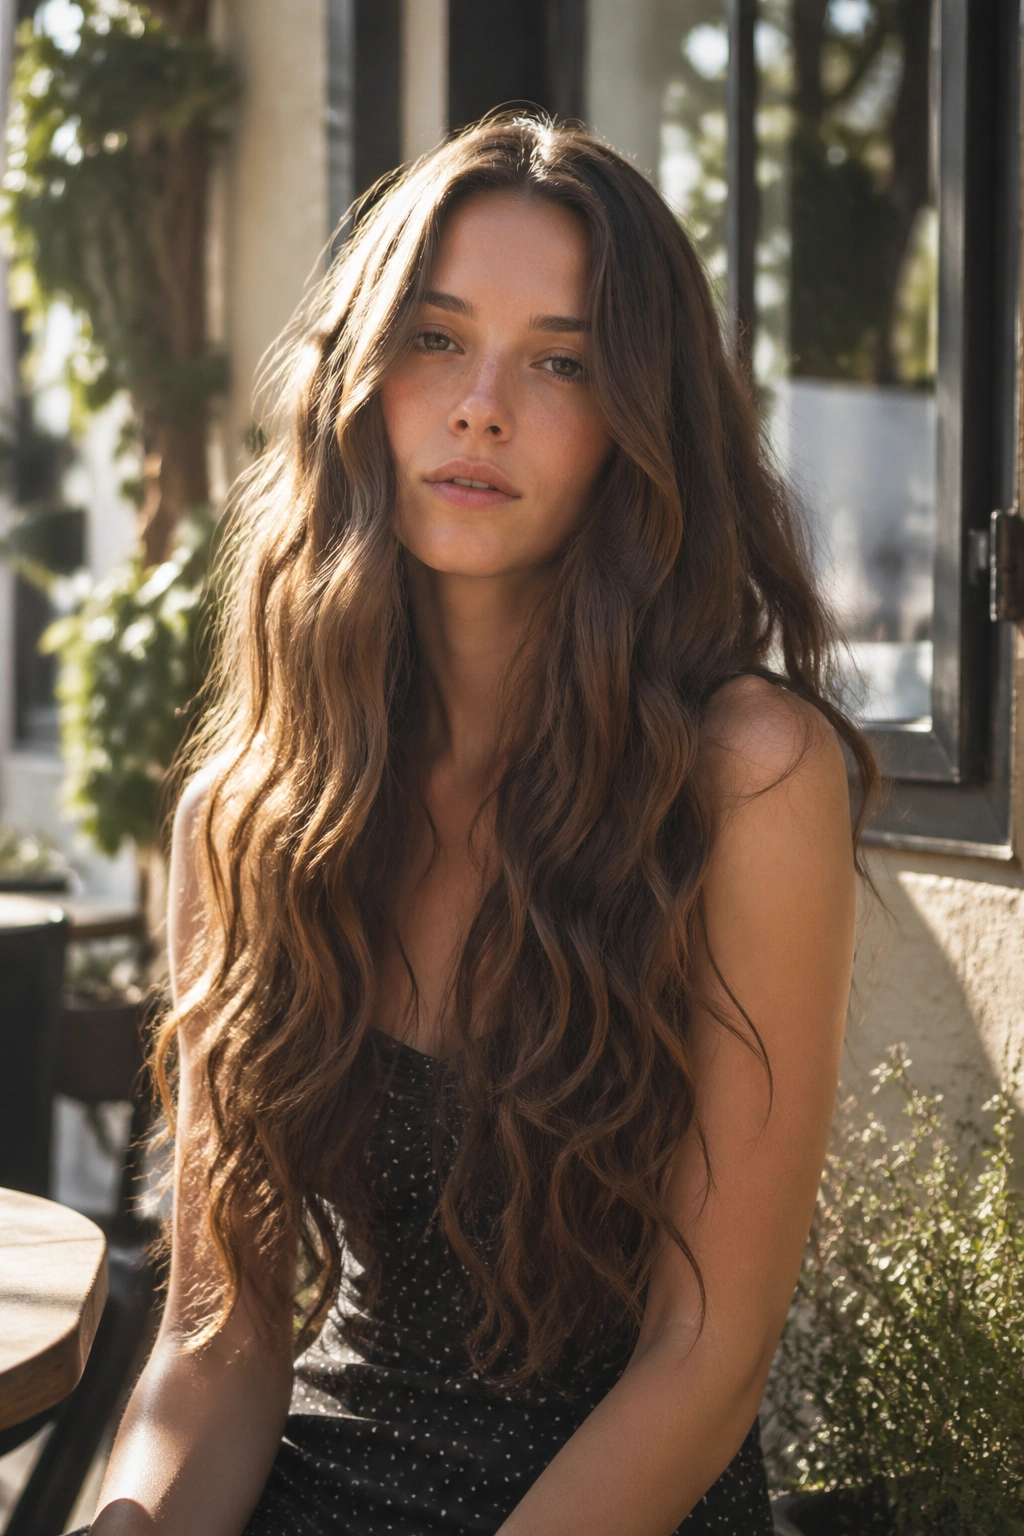
Long waves have a different personality when they air dry. They feel softer, heavier, and more relaxed than shorter styles, and that weight helps the pattern fall in a long line instead of puffing outward.
This look is ideal when the hair has enough length to show a slow bend through the mids and ends. If the layers are too aggressive, the wave can break up and lose that long, easy shape. Keep the ends full. That is what gives the style its sweep.
I like this style best with a center part or a very gentle side part. A hard part can make the length look thin at the top, which is not the point. Long wavy hair should feel like it can move when you turn your head. If it looks frozen, something went wrong.
21. Half-Up Top Knot
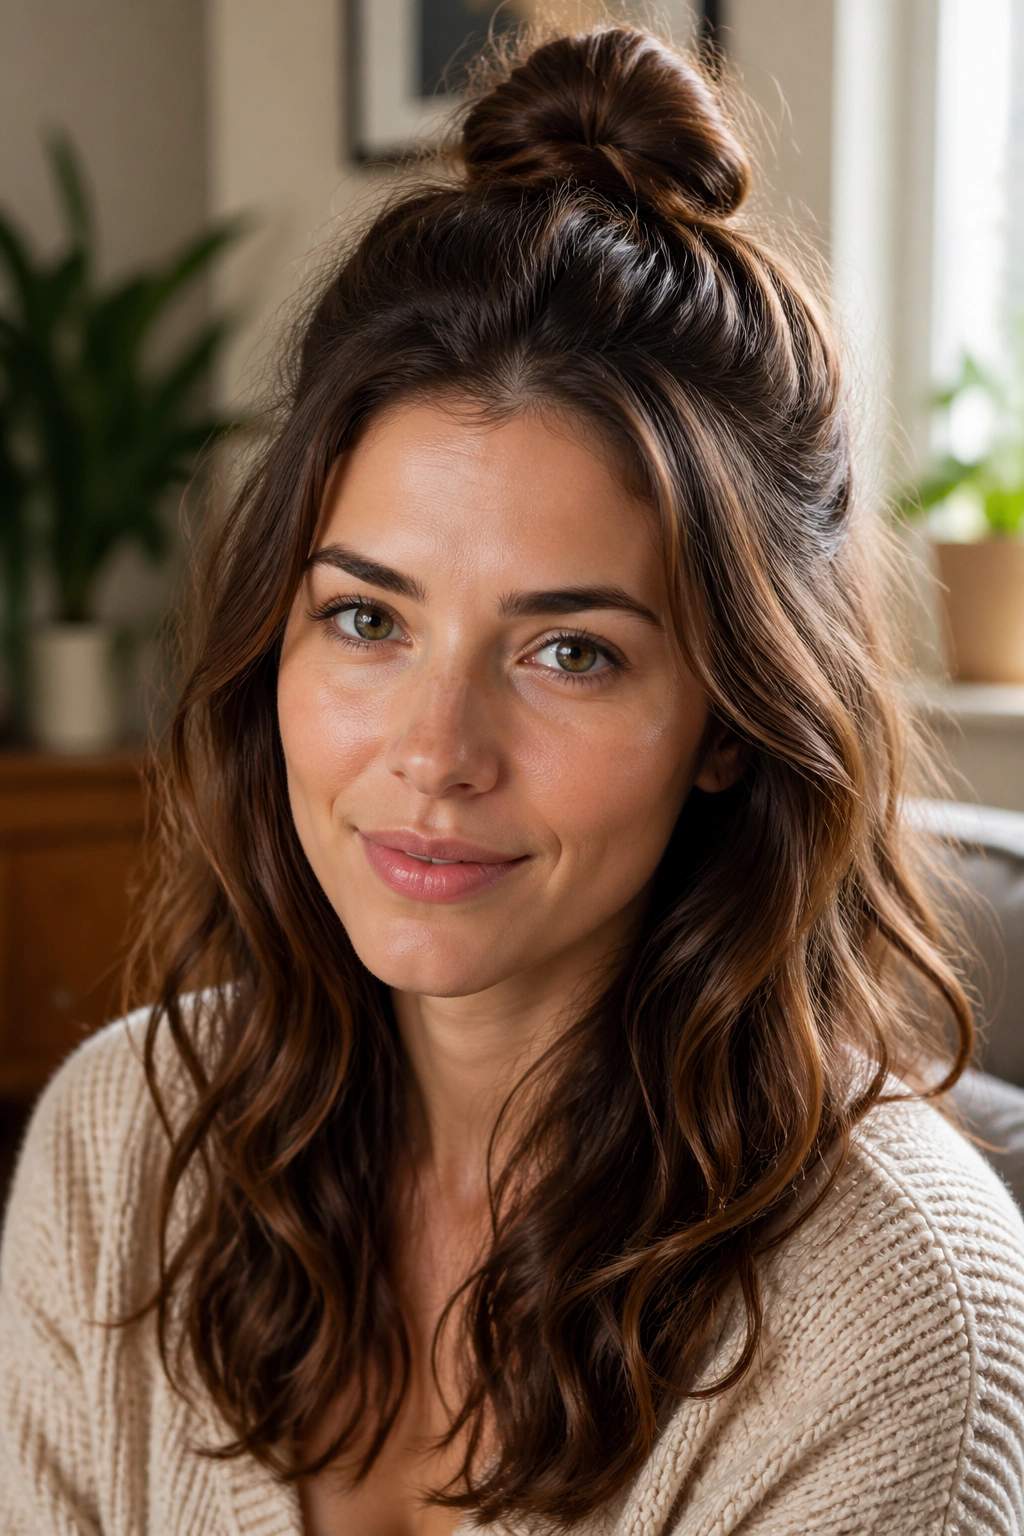
A half-up top knot is one of the few styles that makes air-dried waves look on purpose even when the crown is having an off day. It lifts the upper half of the hair, keeps the face open, and lets the lower waves keep doing their thing.
The knot should sit high enough to show the cheekbones but low enough that it doesn’t turn into a true bun. If it gets too tight, the style loses the soft shape that makes wavy hair look good in the first place. A soft knot leaves the ends a little messy. That mess is useful.
This is especially good on second-day waves, when the roots need help but the lengths still have life. You get a little lift, a little structure, and no heat. That is a pretty solid trade.
22. Twisted Side Bun
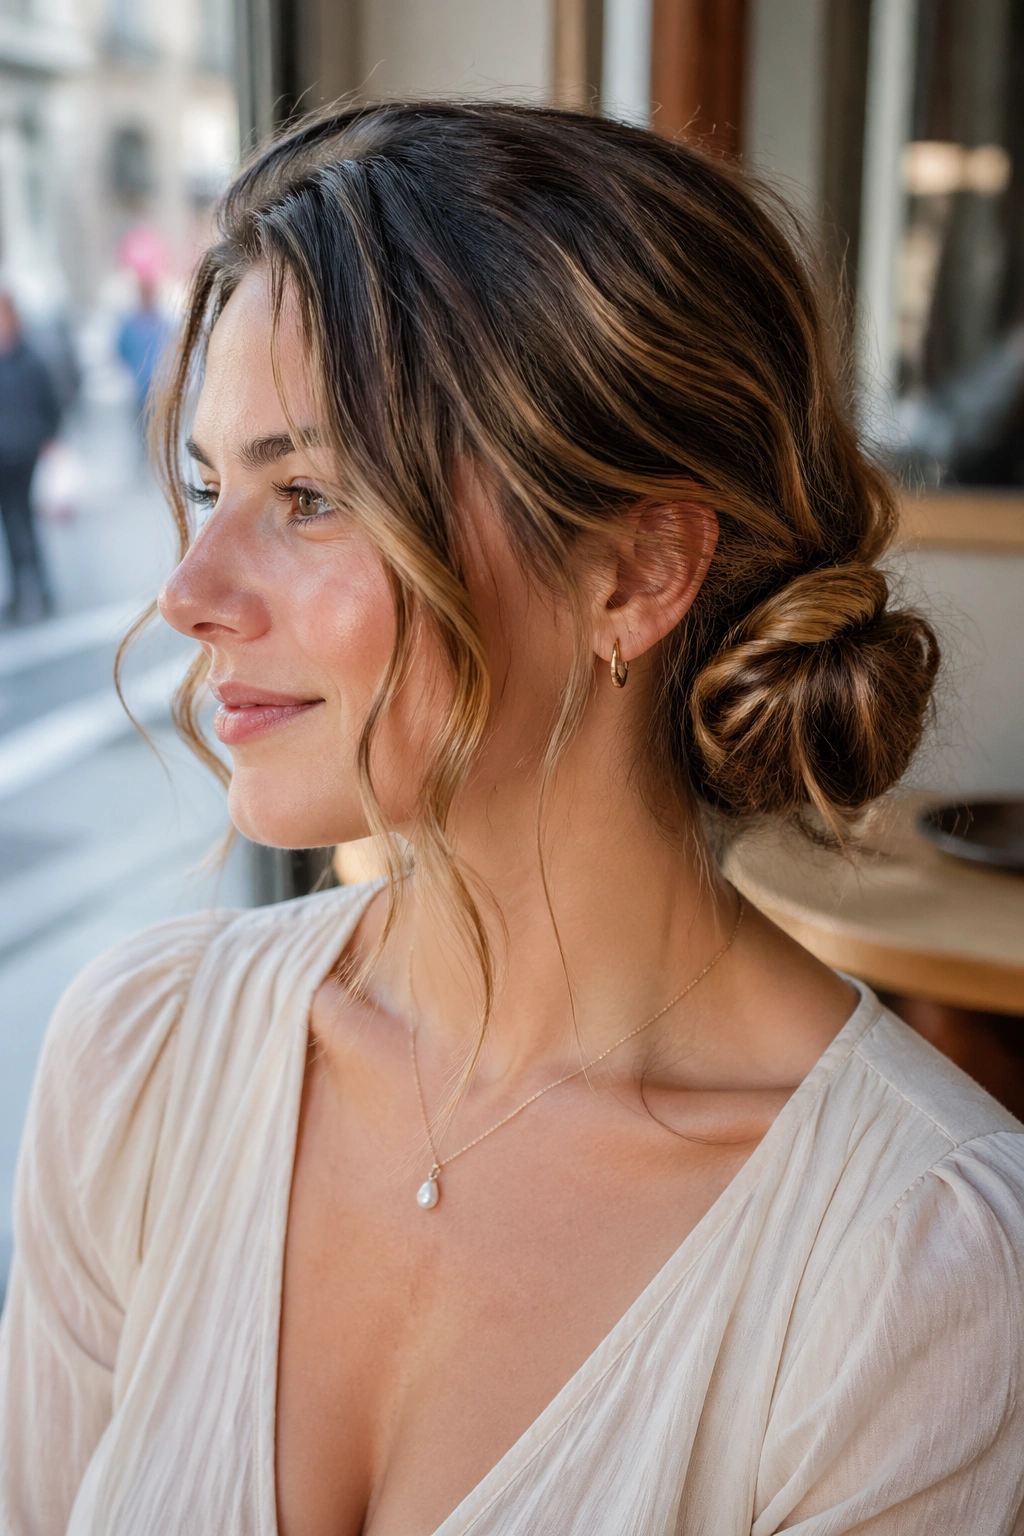
A twisted side bun changes the balance of wavy hair in a nice way. Instead of stacking the bun at the back like everybody else, you move it off to one side, which makes the whole style feel less predictable.
The side placement also lets the wave pattern show along the neck and shoulder. That little opening matters. It gives the look movement, even though most of the hair is tucked away. I find this one works best when a few front pieces are left loose and the bun itself is pinned loosely rather than smoothed into place.
How to Keep It Soft
- Twist the hair once before wrapping it.
- Pin the bun on the side below the ear.
- Leave the ends slightly visible.
- Pull out one or two face-framing pieces at the end.
Best use case: dinners, weddings, and any day you want your waves to look dressed up without pretending they’re straight.
23. Tuck-and-Go Lob
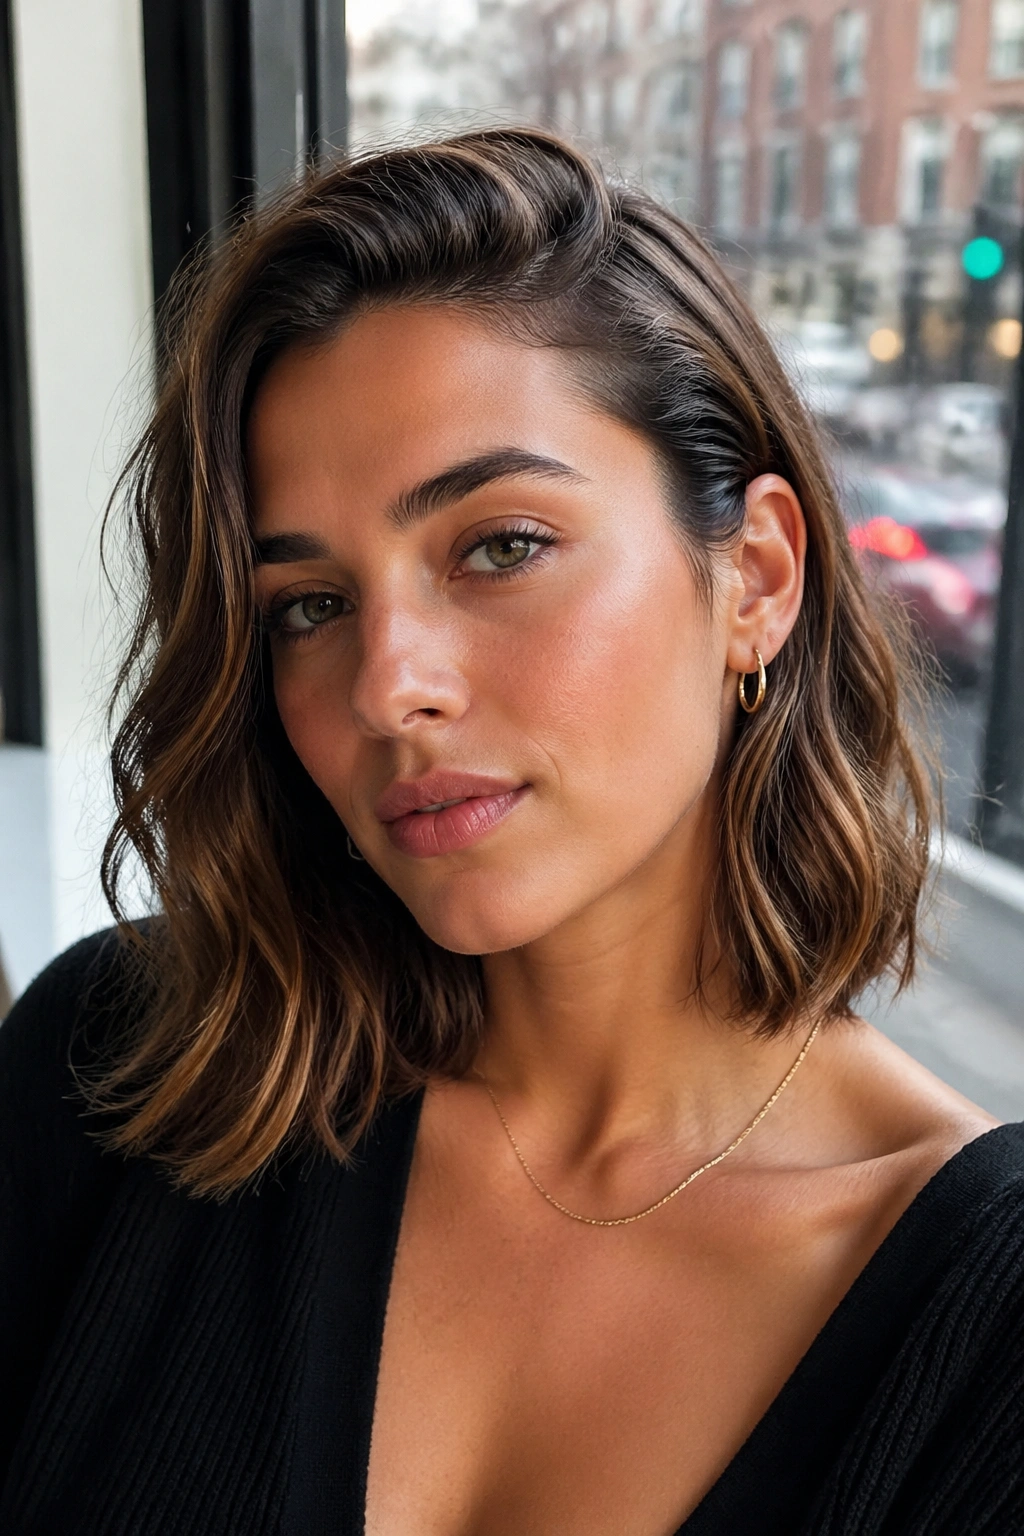
A tuck-and-go lob is the haircut version of ease. The length sits at the collarbone or just above it, which means it can be worn down, tucked behind one ear, or pinned back in a few seconds.
This length works well for air drying because it has enough weight to stay smooth at the bottom, but not so much that the waves get dragged down. The result is one of the most forgiving shapes for someone who wants low maintenance with some body left in the hair.
What I like most is how adaptable it is. One day it looks polished with a clean part. The next day it looks better pushed back behind the ears with a little cream at the ends. If your hair has a habit of drying unevenly, the lob hides that better than long lengths do. Not glamorous. Just practical.
24. Defined S-Waves with Mousse
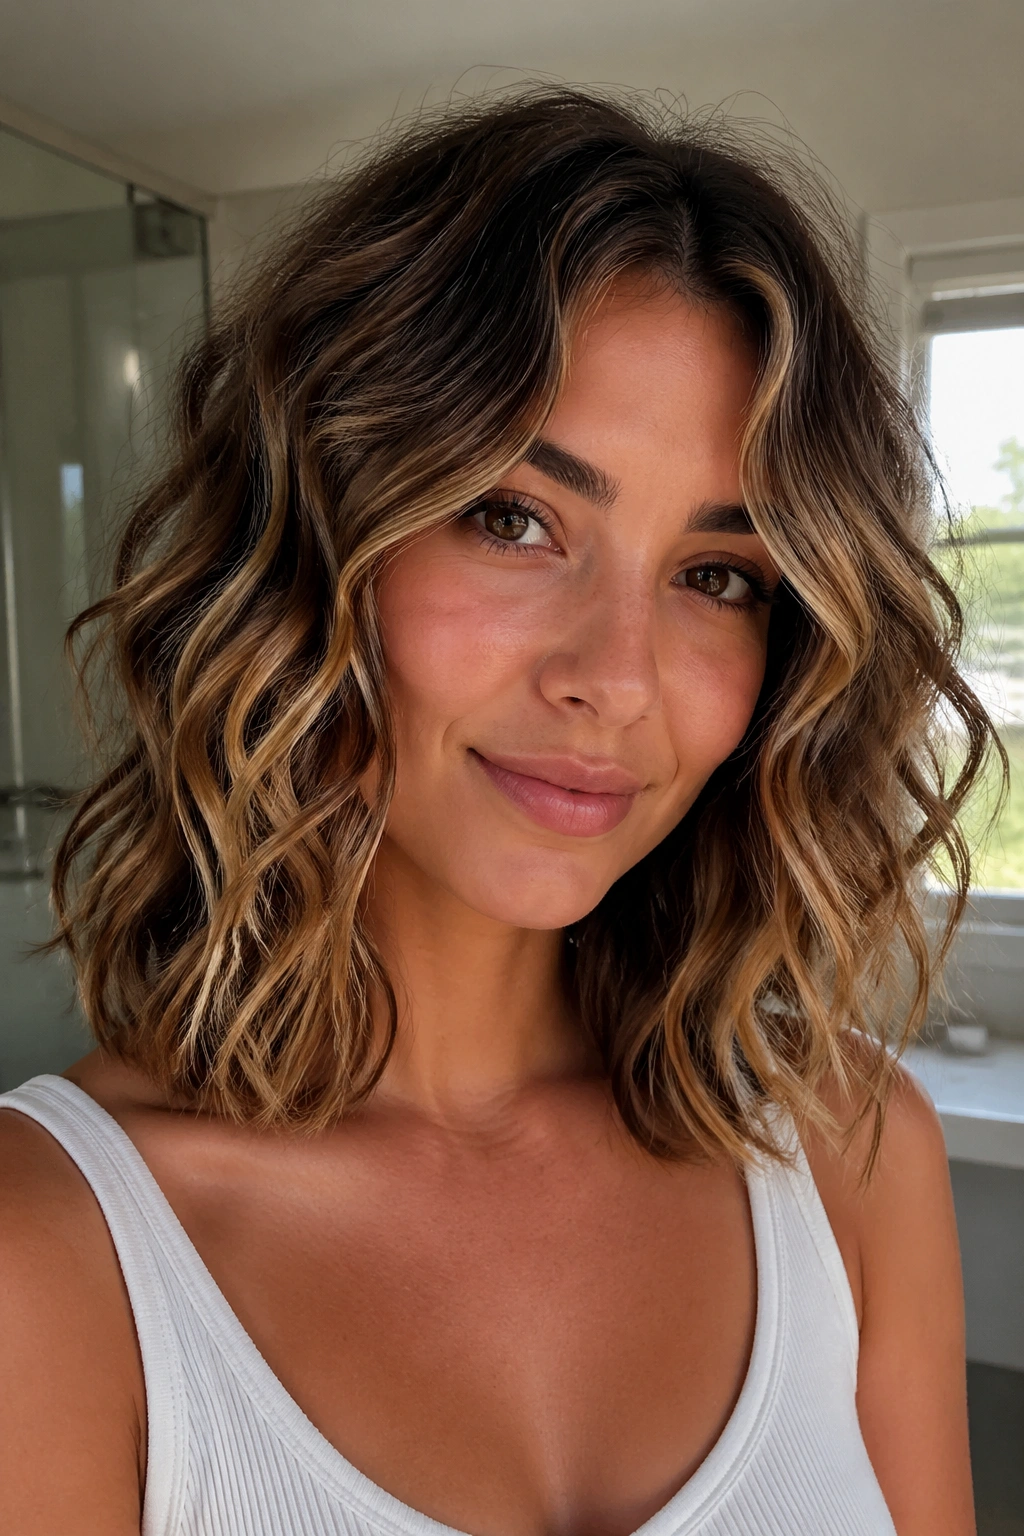
Defined S-waves are for people who want a little more shape than “soft and fuzzy,” but not a hard curl. Mousse is the product that usually gets this done because it gives hold without building a heavy shell around the hair.
The Shape You Want
The wave should bend in a loose S from root to end, with enough separation that each section still feels airy. If the mousse is too rich, the hair clumps. If it’s too light, the pattern vanishes by lunch. Two to four pumps is plenty for shoulder-length hair, a bit more for longer lengths.
Work the mousse through damp hair, then scrunch from the ends upward and stop touching it. That part is annoying, I know. But the less you fuss, the cleaner the S-shape tends to dry.
- Best for medium waves that need definition
- Good on layered cuts
- Strong choice in humid air
- Easier to refresh the next day with a mist of water and one more scrunch
25. Faux Bob with Hidden Pins
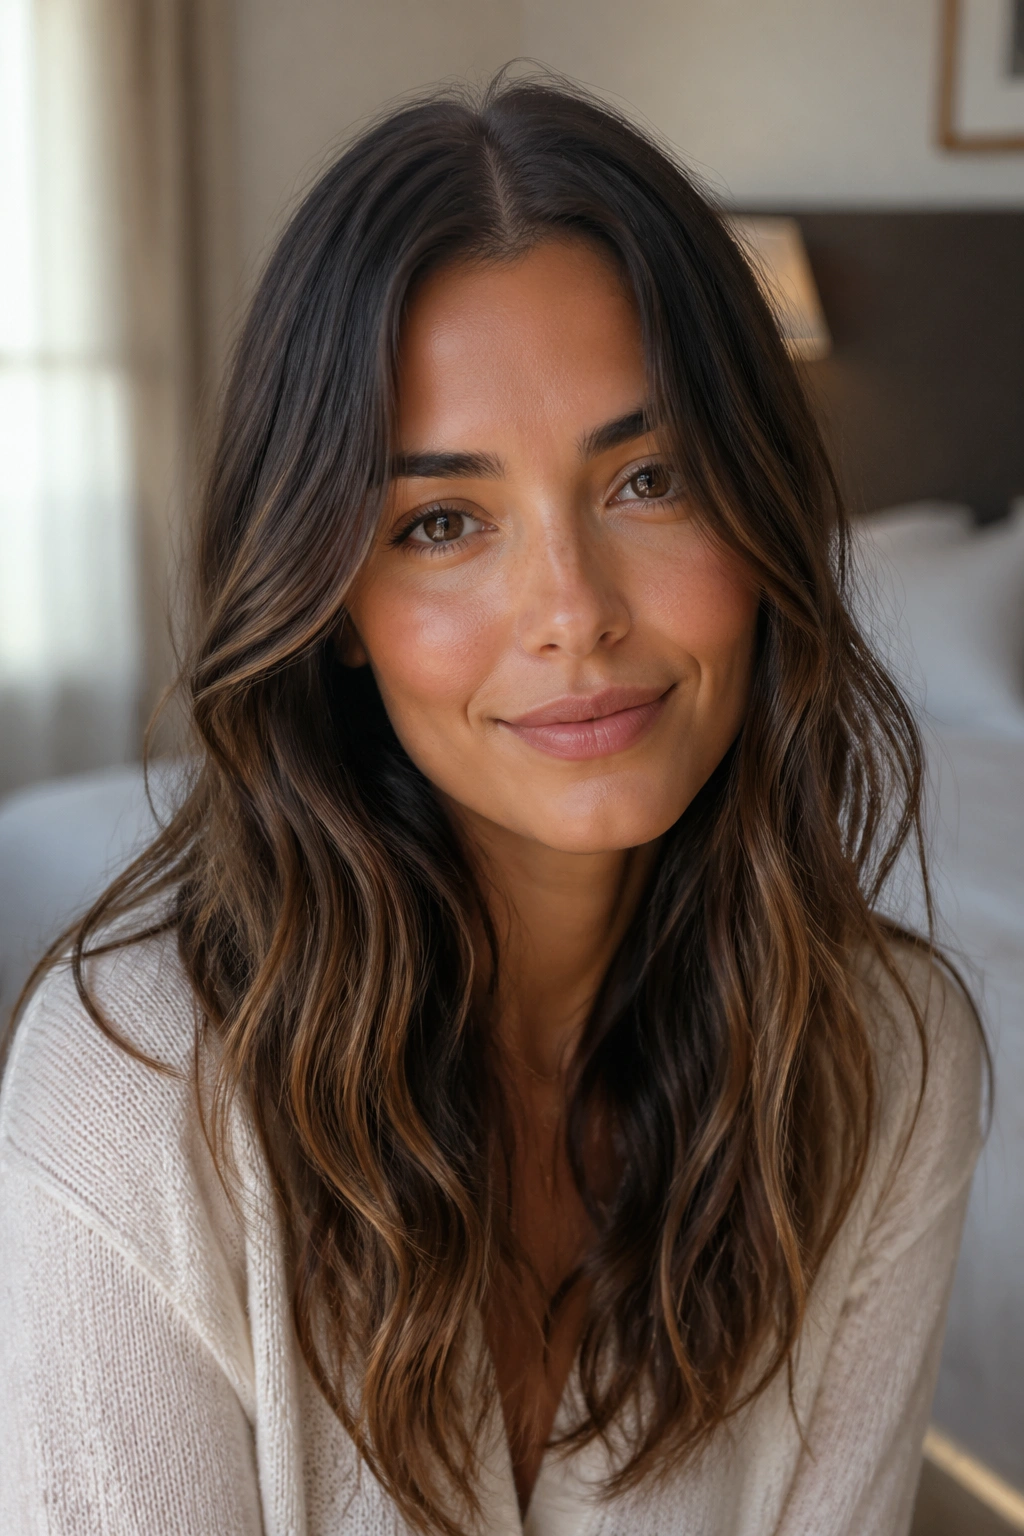
A faux bob is one of the smartest ways to make air-dried waves look polished without heat. You tuck the ends under, pin them low and hidden, and let the top layers fall over the shape so it reads as a short style from the outside.
This works especially well on medium to long wavy hair because the texture masks the pins. Straight hair can expose everything; waves blur the edges and make the illusion stronger. A few loose pieces around the face help too. They keep the style from feeling too stiff or too costume-like.
If you want the look to hold, set the faux bob in sections rather than trying to fold the whole length at once. That makes the shape sit flatter against the neck and keeps the waves from bunching in one spot. It is a little fiddly the first time. After that, it gets easy fast. And if you’re after a style that looks like you made an effort without actually fighting your hair, this is the one I’d put near the top of the pile.
