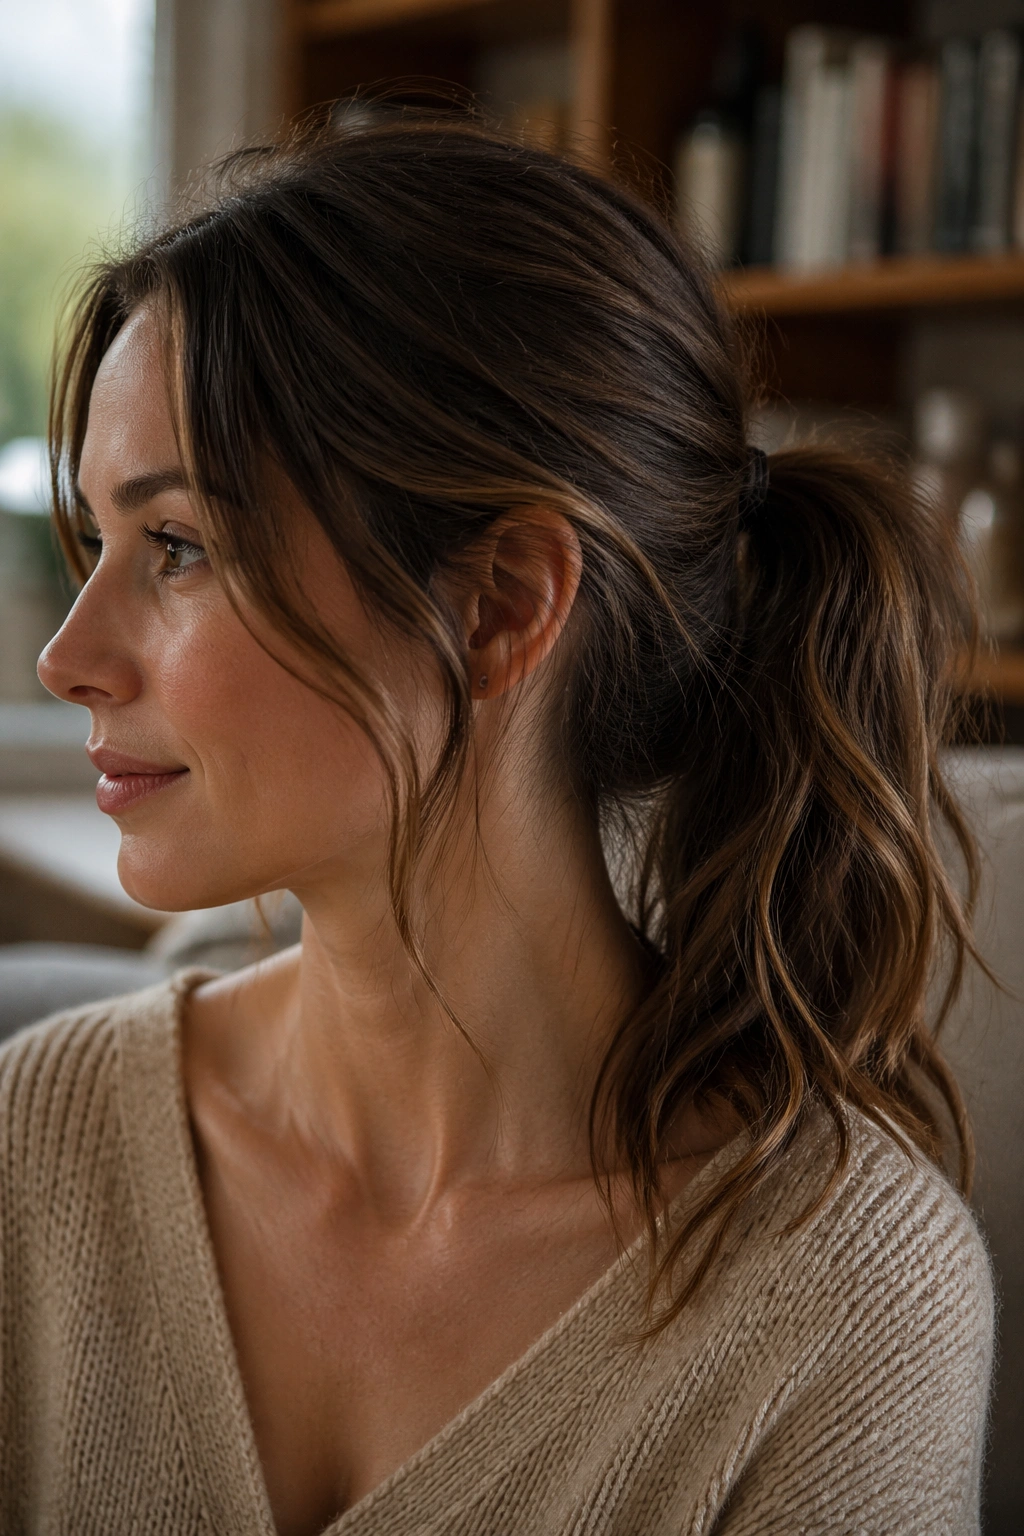
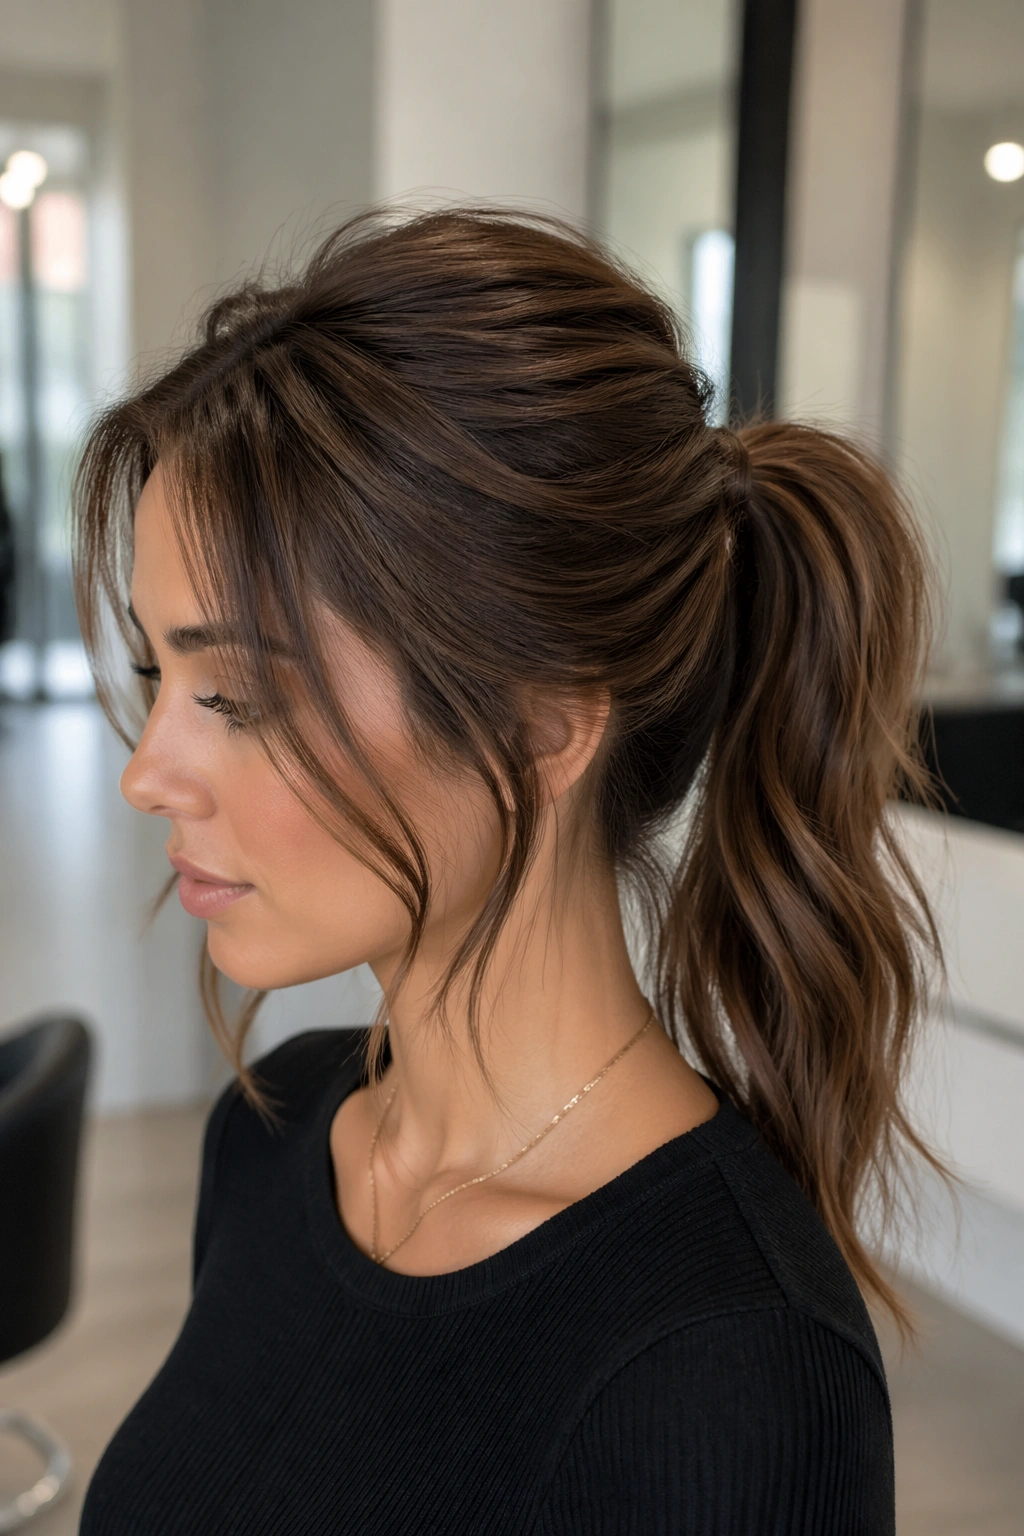
A mid ponytail can look polished or careless by a hair’s breadth. Same hair. Same elastic. Totally different result.
The sweet spot is usually somewhere between the top of the ears and the middle of the back of the head. Too high, and it starts reading sporty. Too low, and it can feel flat or half-done. Hit that middle zone, leave a little softness around the face, and the whole thing suddenly looks like a choice instead of an emergency.
That’s why the messy mid ponytail keeps hanging around. It works with second-day texture, hides roots that are doing their own thing, and still leaves enough shape to look deliberate. If your hair is fine, it can fake fullness. If your hair is thick, it can stop the weight from pulling everything down. If your hair is curly or wavy, it lets the texture be the point.
The versions below aren’t about making a ponytail “messy” for the sake of it. They’re about giving the style just enough structure to look finished, then loosening it in the right places. A little lift here. A softer front piece there. A wrapped elastic, a twist, a braid, maybe a scrunchie that does more work than people give it credit for. Little things. That’s the whole trick.
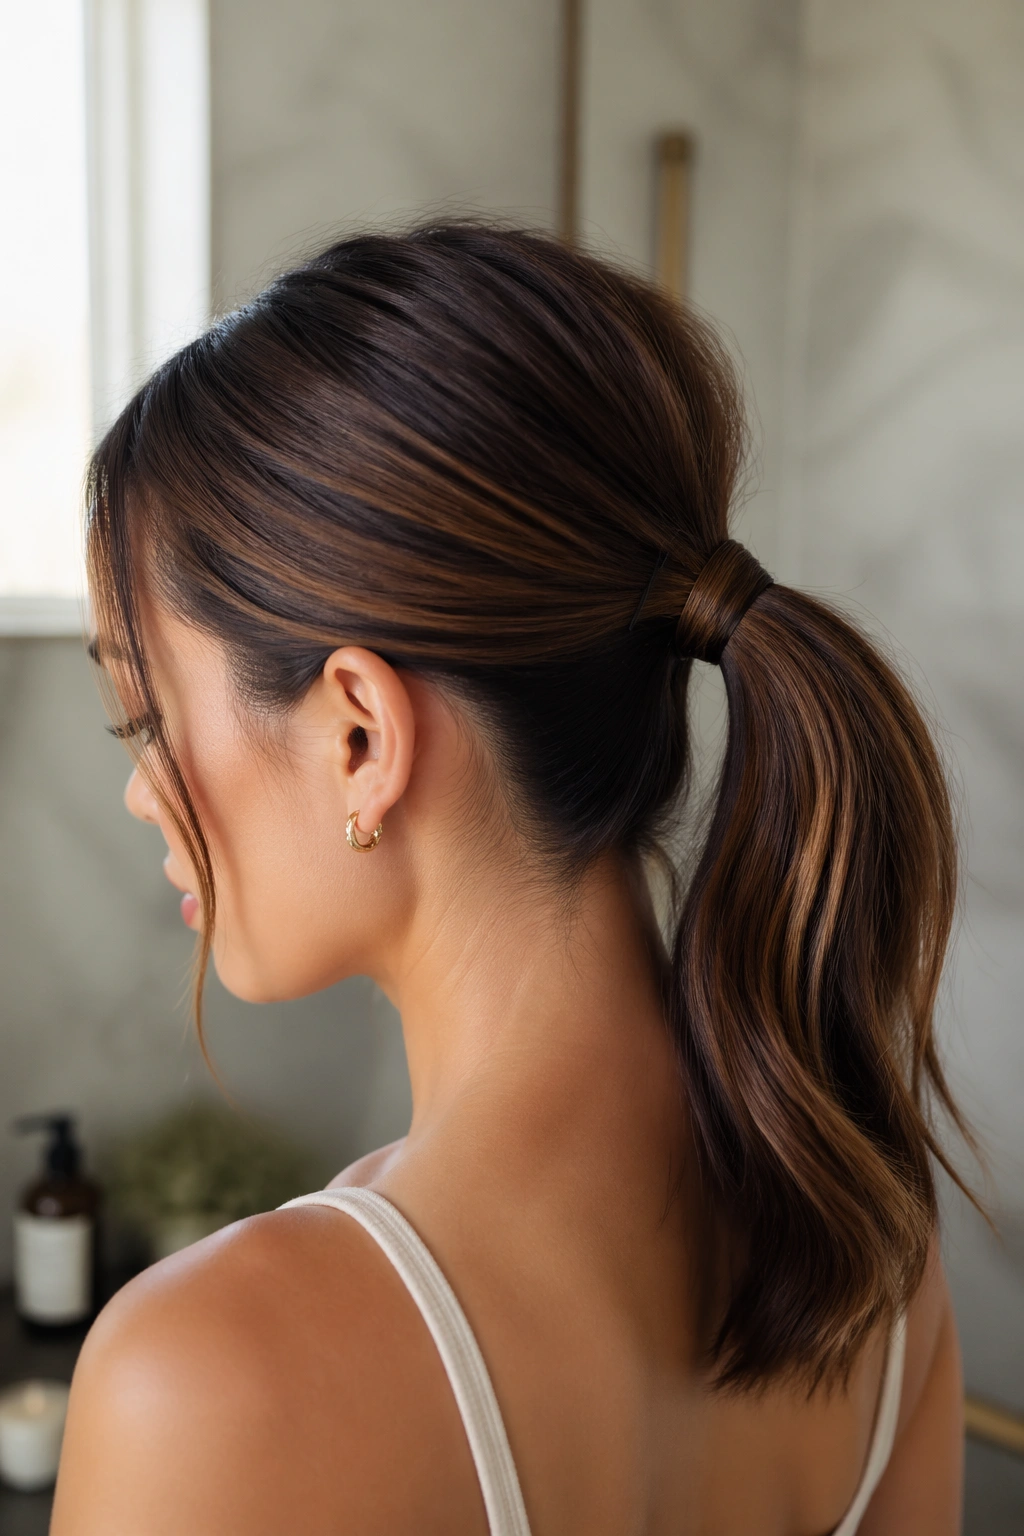
1. The Loose Wrap at the Base
A loose wrap around the elastic is one of the quickest ways to make a messy mid ponytail look like you meant it. Take a 1-inch section from underneath the ponytail, wind it once or twice around the band, and tuck the end underneath with a bobby pin. That one move hides the practical part of the style, which is usually why it starts looking more finished.
Why It Reads More Polished
The wrapped strand breaks up the plain “grabbed and gone” look. It also gives the base a little visual weight, so the ponytail doesn’t feel like it’s just hanging off the back of your head.
Keep the front pieces soft. Not curled to death, not stiff. Soft. A slight bend near the cheek is enough.
- Use a matte elastic instead of a shiny one.
- Pull the wrap snug, but not tight.
- Hide the bobby pin under the ponytail, not above it.
- Tug the crown with your fingers after you secure everything.
Tip: A tiny mist of hairspray on the wrapping section stops it from slipping before you pin it.
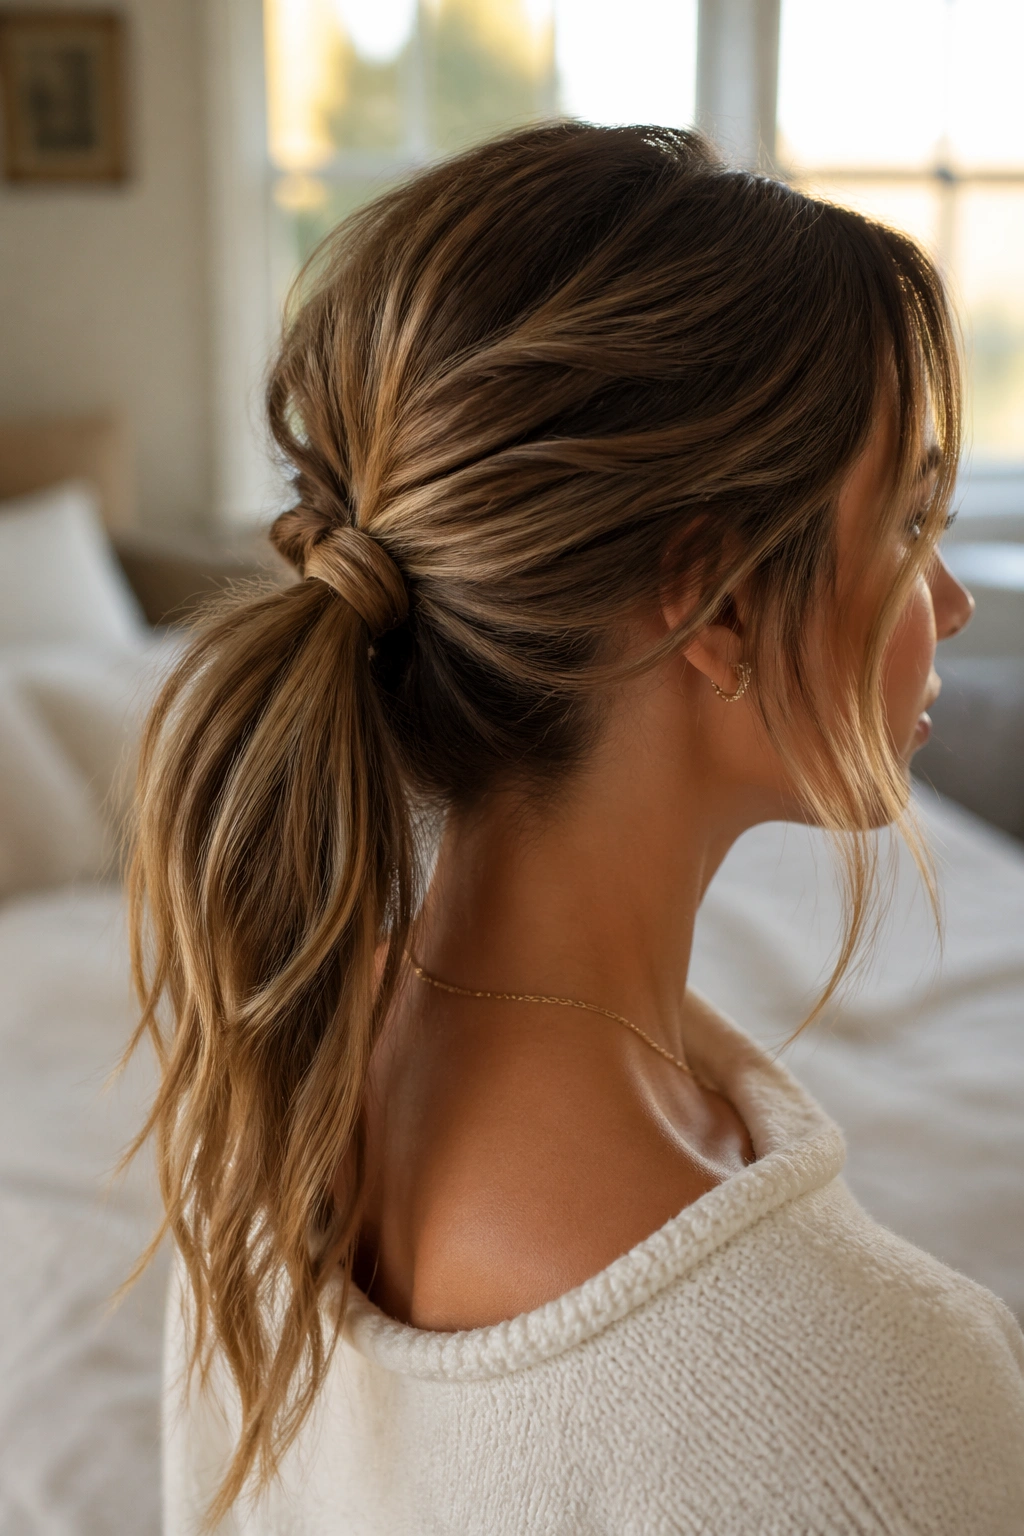
2. The Rope Twist That Keeps Slipping Hair in Line
Why does a rope twist make a messy mid ponytail look better than a plain elastic ever can? Because it adds a bit of shape before the ponytail even starts. You twist two front sections away from the face, bring them back, and let them feed into the ponytail base. The result feels less random and more put together.
How to Do It
Take a 2-inch section from each side of your face. Twist each one back on itself, then cross them behind the head before you gather the rest of the hair into a mid ponytail. If your hair is slippery, hold the twists with a tiny clear elastic for a second before combining everything.
The trick is not to make the twist too neat. If it looks polished to the point of stiffness, you lose the point. A little puff and irregularity at the twist make it feel softer and less formal.
- Best on straight or slightly wavy hair.
- Works well with dry shampoo at the roots.
- Use one pin on each side if the twists loosen.
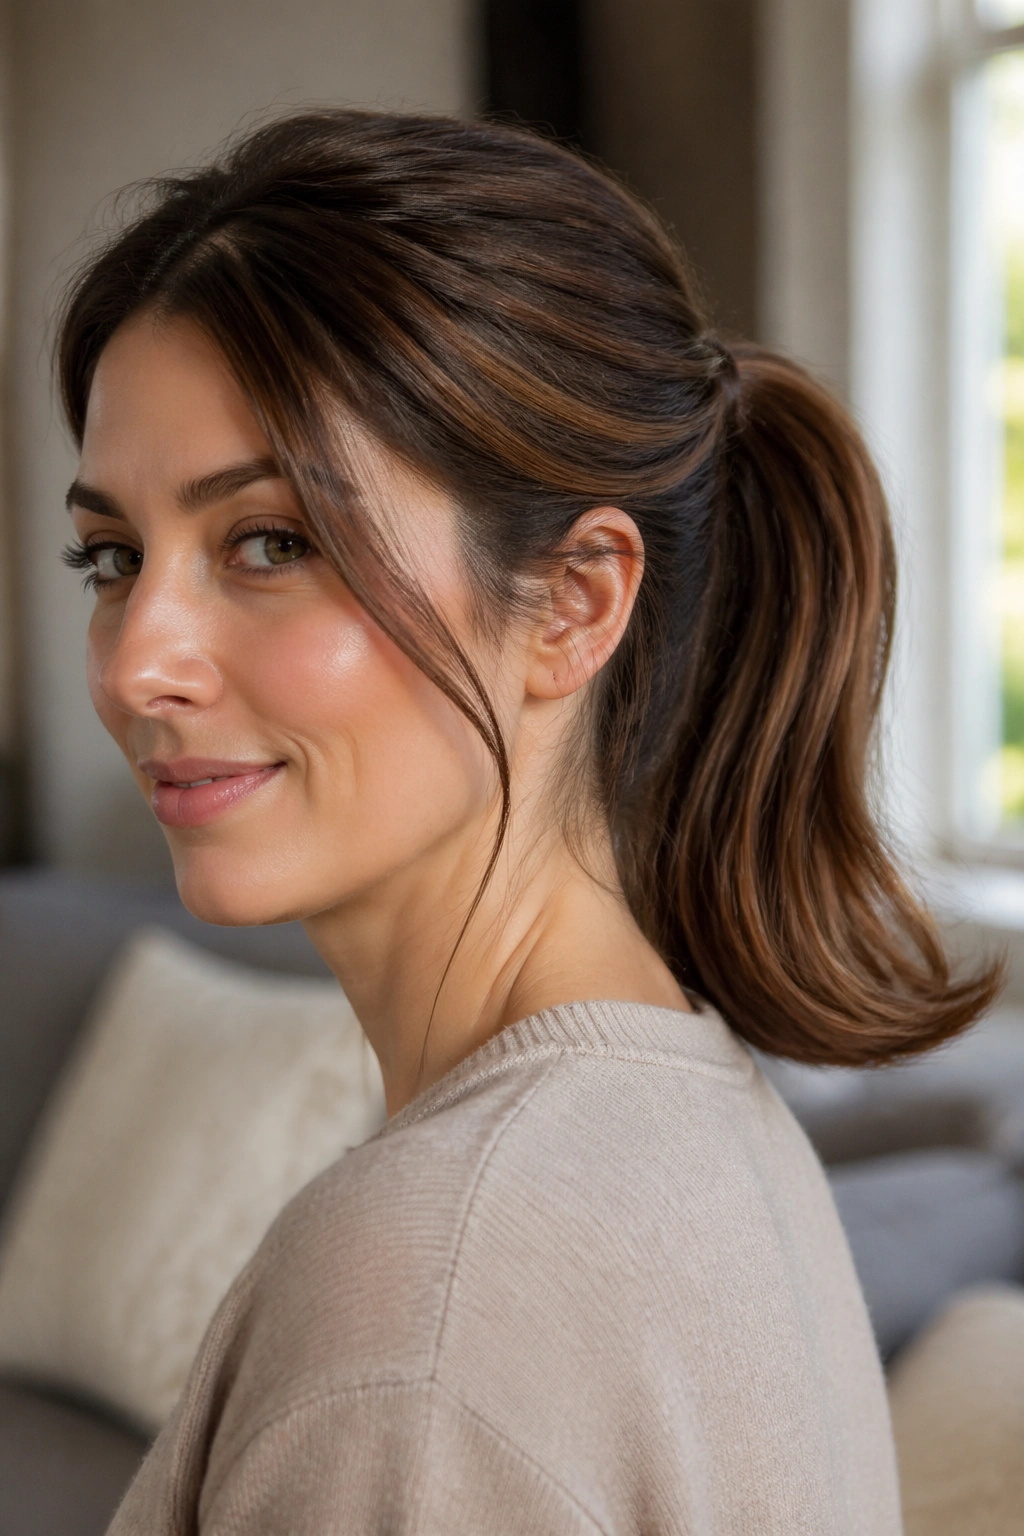
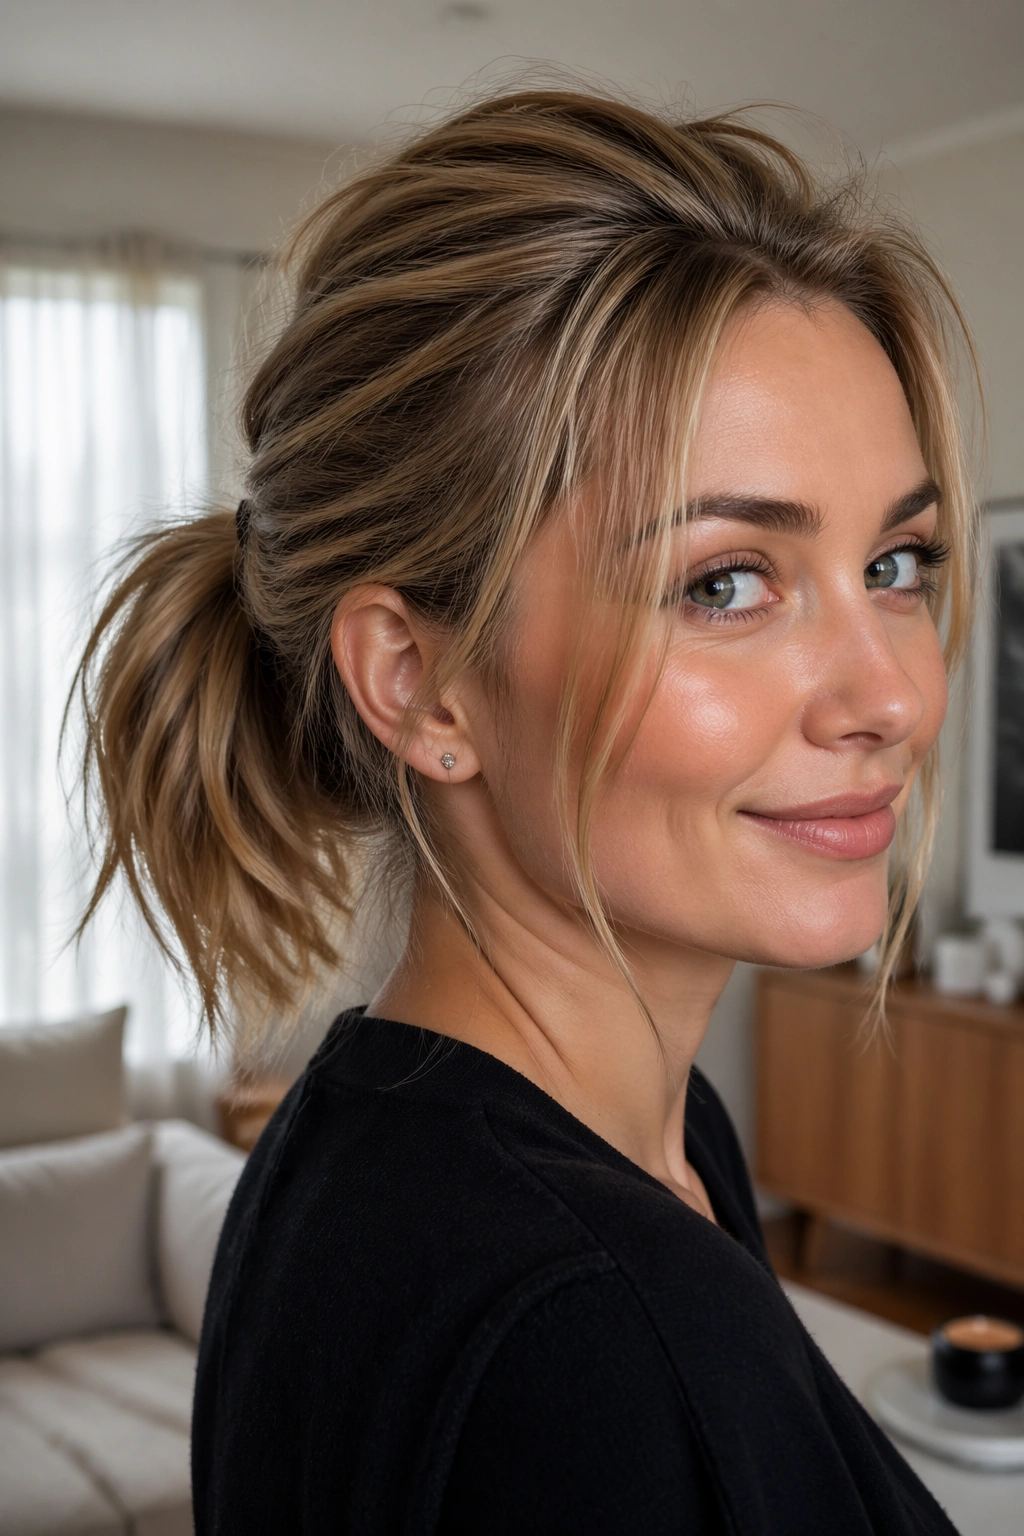
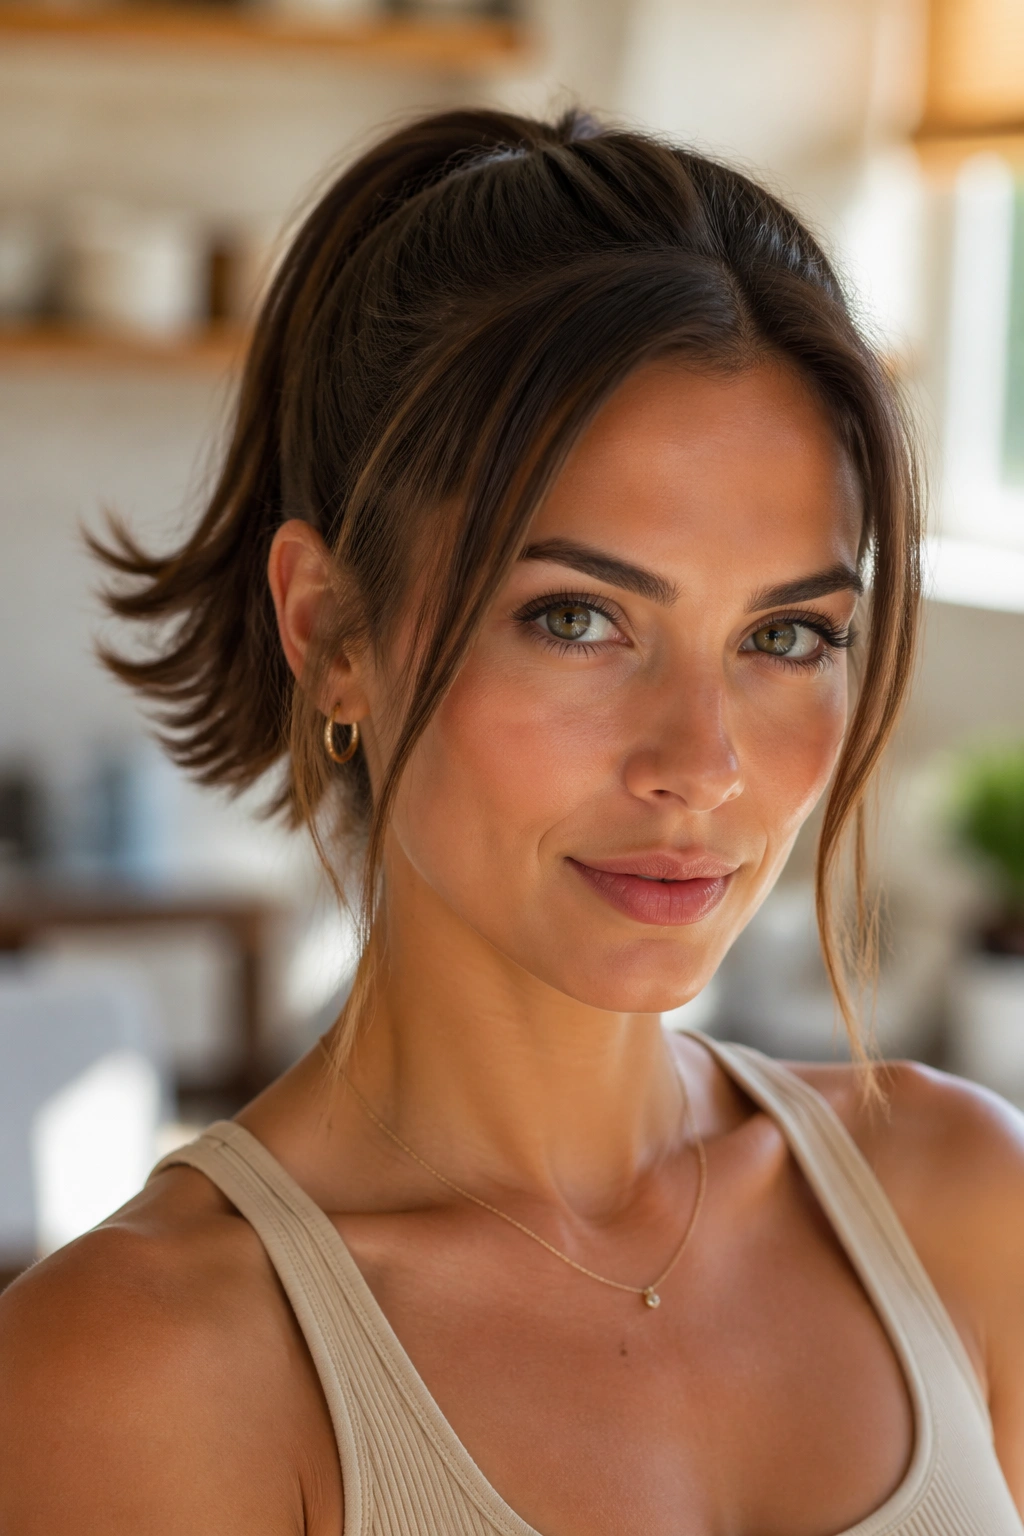
3. The Crown-Teased Ponytail That Still Looks Office-Friendly
You know the day. Your roots have gone flat, your fringe is doing something odd, and you need to look awake in under ten minutes. A softly teased crown fixes a lot of that.
Keep the Teasing Soft
Backcomb only the top 1 to 2 inches at the crown, not the whole head. Then smooth the very top layer over it with your fingers so the lift stays hidden. That gives you height without the crunchy helmet effect people get when they overdo it.
Gather the ponytail at mid height, then pinch the base for a second before tightening the elastic. That tiny pause helps preserve the lift you just built. It also keeps the ponytail from sitting too low by the end of the day.
Use a medium-hold hairspray only at the crown. Spray from about 8 inches away. Close enough to control the flyaways, far enough to avoid that sticky, darkened patch you get from spraying too hard in one spot.
4. The Curved-Under Ends That Keep the Look Soft
Straight ends can make a mid ponytail feel blunt in a way that borders on severe. Curved-under ends soften the whole style fast.
A flat iron or round brush is enough. Bend the last 2 inches of the ponytail slightly inward so the ends curl under instead of sticking out. That’s all. You are not building ringlets. You are just giving the tail a shape that looks finished when it settles against your shoulders.
The difference is subtle in the mirror and obvious in motion. When you walk, the ponytail swings with a little more control. When you turn your head, it doesn’t fan out like a broom. Good. That is the goal.
If your hair is layered, this version is especially helpful because the shorter pieces tuck into the shape instead of hanging awkwardly. Keep the bend loose, though. Too much curve starts to look dated fast.
5. The Claw-Clip Lifted Mid Ponytail
A claw clip can do more than hold hair at lunch. In a mid ponytail, it can create a slight lift at the base that makes the whole style feel fuller.
Secure the ponytail with an elastic first, then place a small or medium claw clip just above or just below the band, depending on your hair thickness. The clip props the base up a little, so the ponytail sits with a bend instead of collapsing flat against the head.
When This Helps Most
Fine hair. Heavy hair. Hair that loses shape the second you stop touching it. All three.
A clip gives the base a bit of structure, and structure matters when you want “messy” to read as style rather than neglect. If you have long hair, keep the clip tucked into the top of the ponytail so it doesn’t show from the side. If you have shorter layers, let the clip peek a little. That can look intentional.
Choose a clip with teeth that grip, not one that slides. Cheap, glossy clips tend to slip. Annoying. Also avoid jumbo clips unless your hair is very thick.
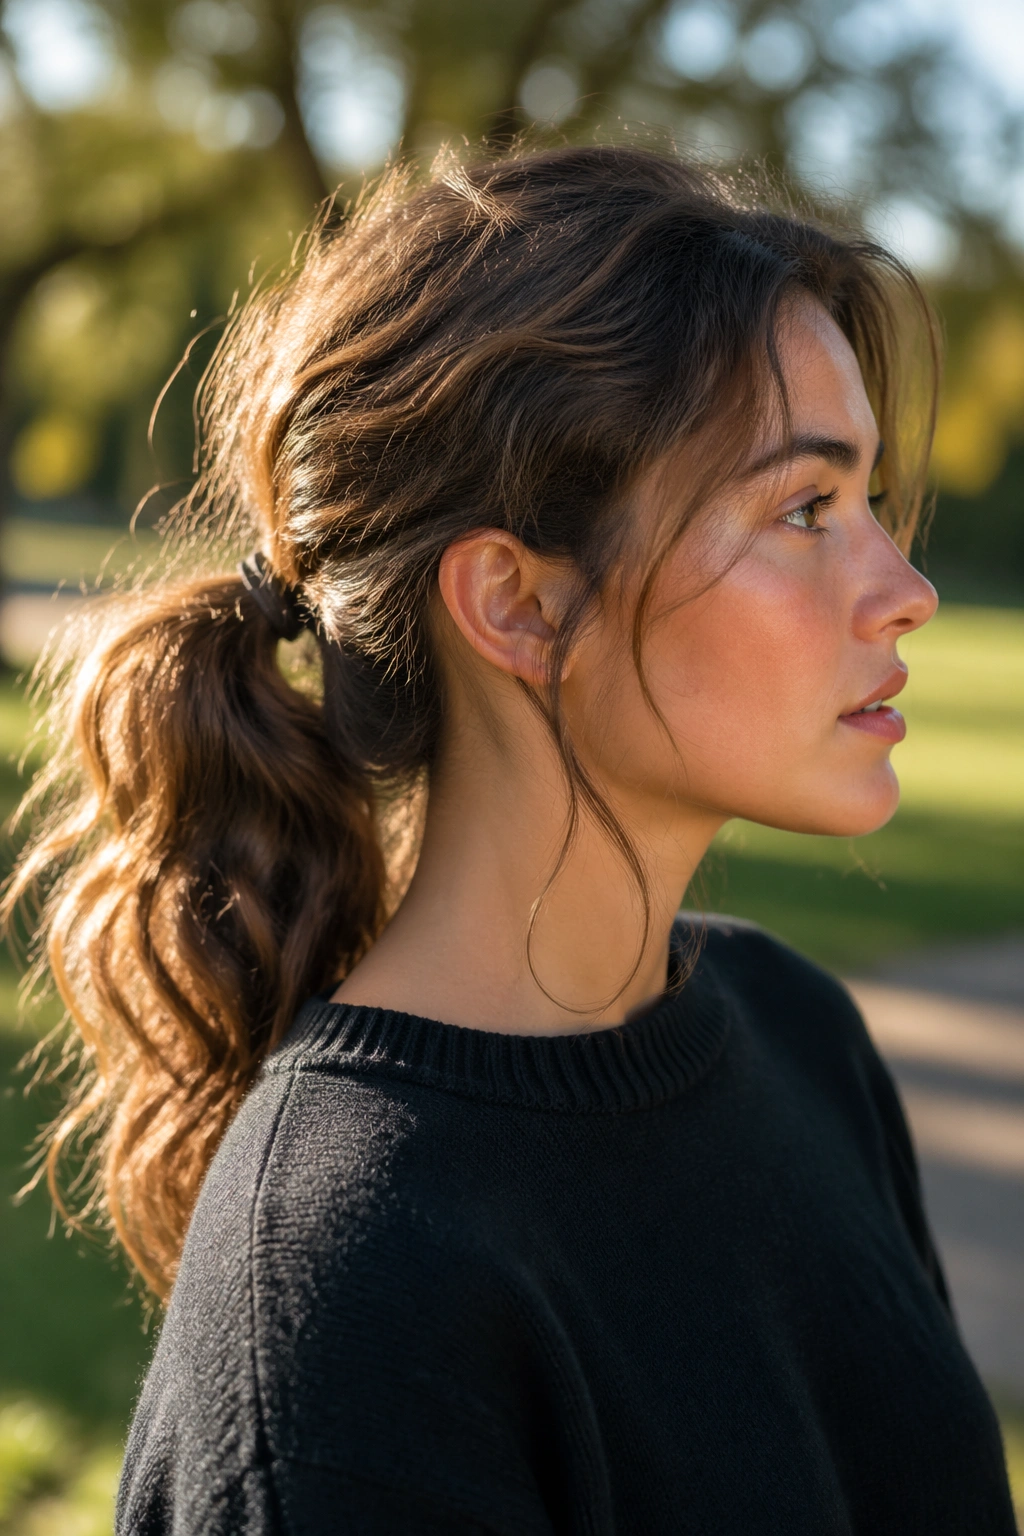
6. The Second-Day Texture Ponytail

Second-day hair has a built-in advantage: grip. Freshly washed strands can be too silky for a messy mid ponytail, and that’s where a lot of people get frustrated.
Use that texture instead of fighting it.
Spray dry shampoo at the roots, wait 30 seconds, then massage it in with your fingertips. Gather the hair with your hands instead of a brush. That keeps the shape looser and stops the ponytail from looking too controlled. A few bends left in the length make the style feel lived-in instead of accidental.
Quick Texture Fixes
- If the crown is limp, flip your head upside down for 5 seconds before tying.
- If the ends are too flat, twist them around one finger for a moment.
- If the sides puff out, smooth only the outermost layer with a little cream.
This version is for the person who wants less work, not more. It looks better when the hair already has a little history in it.
7. The Bubble-Length Mid Ponytail
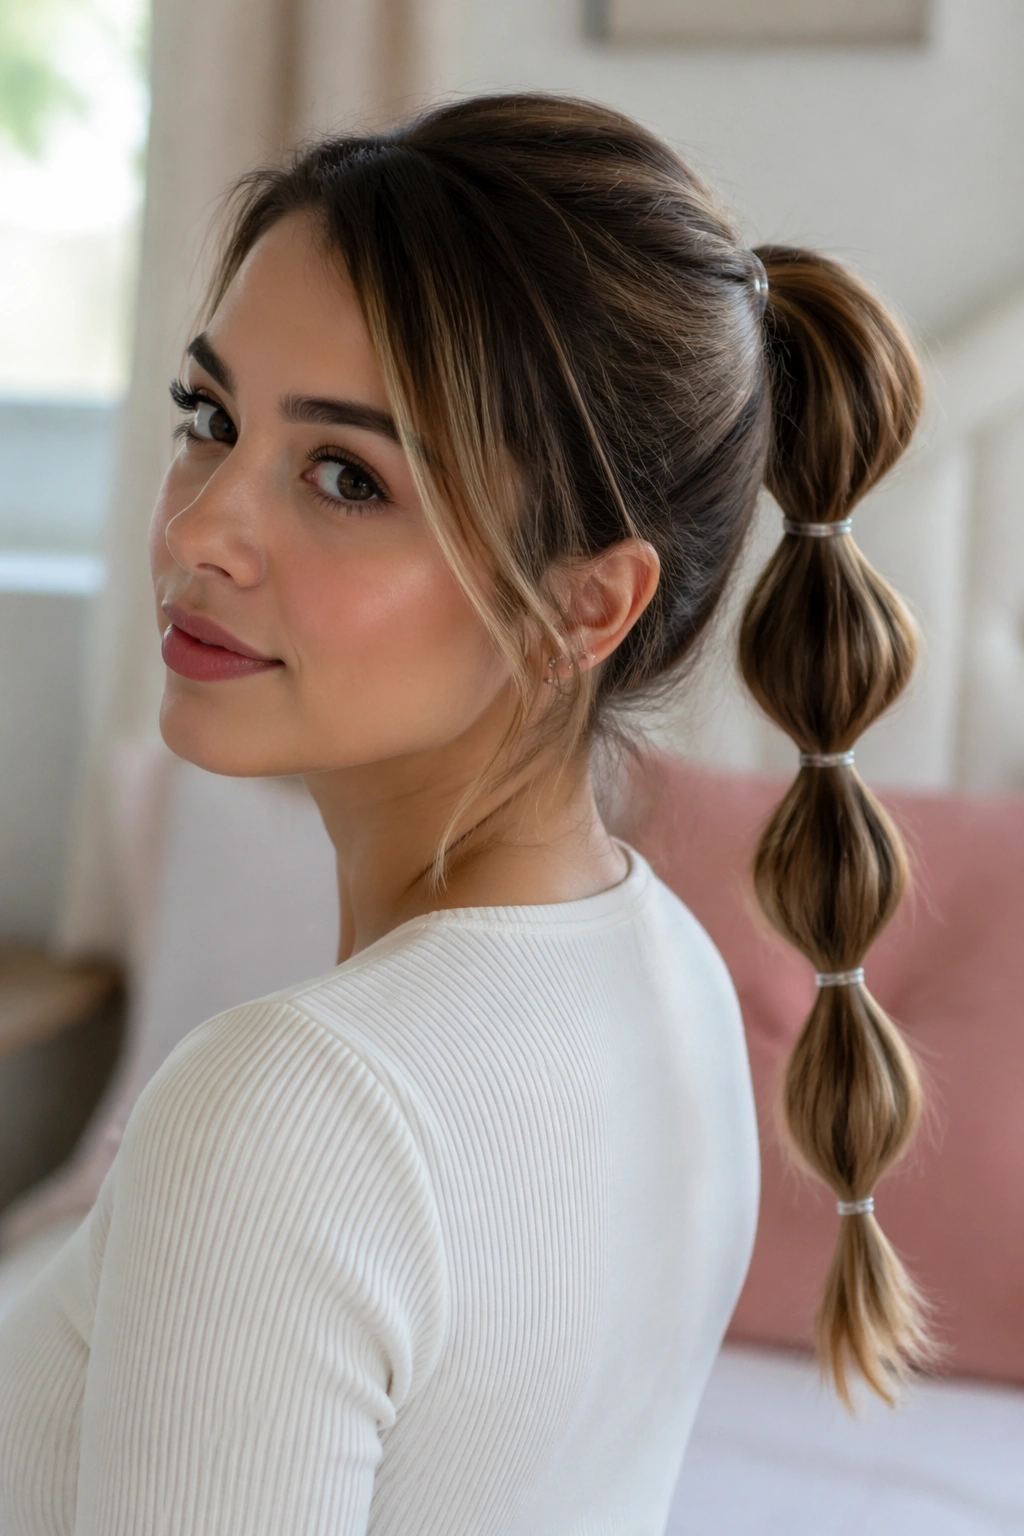
A bubble ponytail sounds playful, but at mid height it can look surprisingly tidy. The trick is spacing. Keep each section about 2 to 3 inches apart, and don’t pull the bubbles so hard that they turn into sausages.
Start with a mid ponytail. Add clear elastics down the length, then gently tug each section outward until it rounds into a soft bubble. If your hair is fine, use smaller bubbles; if it’s thick, you can go a bit bigger.
The style works because the repeated sections create rhythm. Your eye reads the shape as intentional, even though the texture stays loose and a little undone. That matters. A lot.
This one wears best with a slightly puffed crown and a few wispy pieces around the ears. Too sleek at the top, and it starts to feel costume-y. Keep it slightly imperfect and it stays friendly.
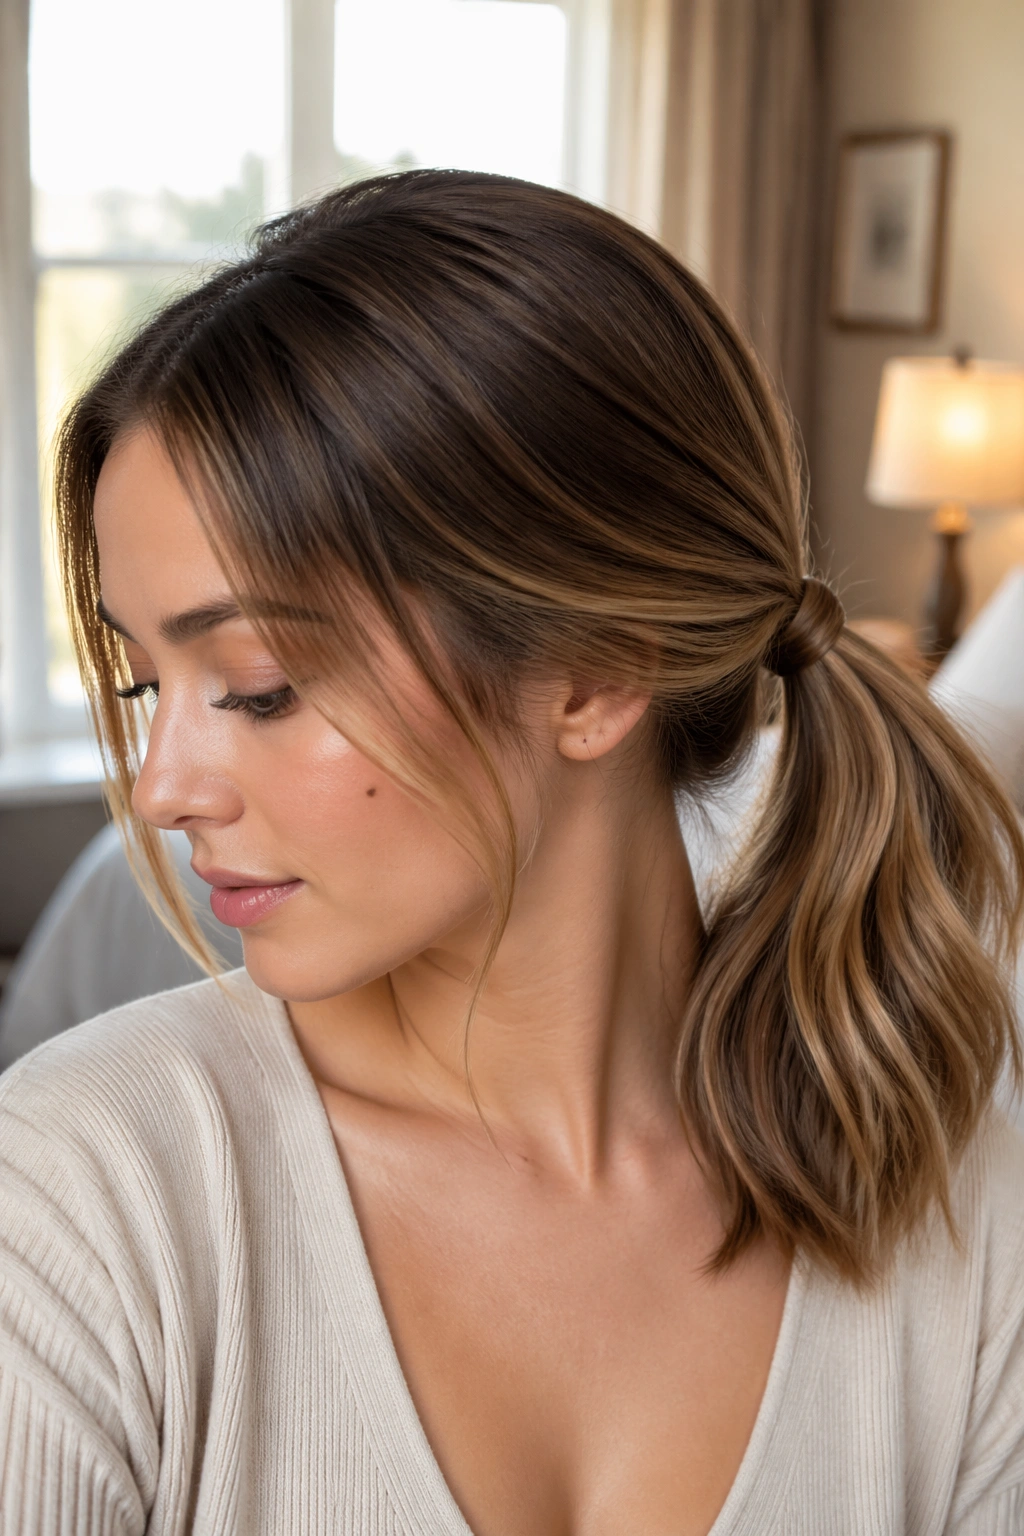
8. The Hidden Elastic Wrap with One Clean Pin
A visible elastic can drag a ponytail down fast. Covering it makes a bigger difference than people expect.
Take a thin strand from the underside of the ponytail, wrap it around the elastic once, then slide a bobby pin upward through the end of the strand to hide it under the base. Point the pin toward the scalp, not straight out. That angle is what keeps it from popping loose.
What Makes This Version Work
It cleans up the profile of the ponytail without making the whole thing stiff. You still get the loose length, the face pieces, the little bit of movement. You just lose the “hair tie at the grocery store” feeling.
Best for medium to long hair. If your hair is very layered, the wrap strand may be too short to cover the band, so choose the longest clean section you can find near the nape or behind the ear.
A matte bobby pin disappears more easily than a shiny one. Small detail. Big payoff.
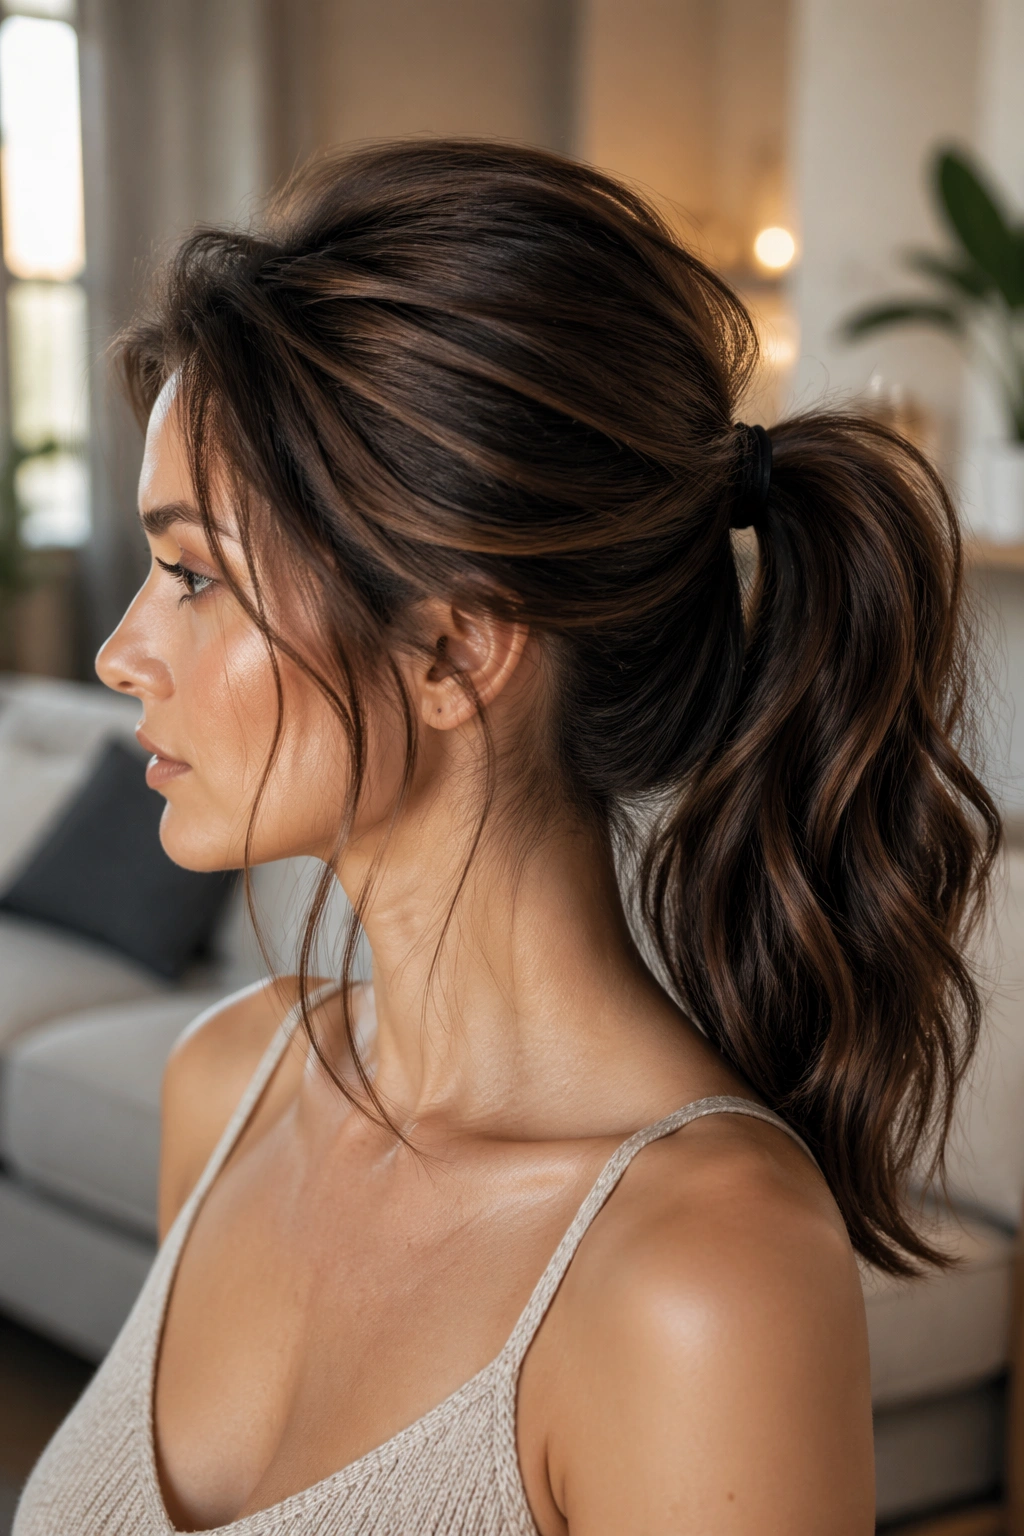
9. The Soft-Wave Mid Ponytail
A mid ponytail with soft waves has a different energy from one with tight curls or stick-straight ends. It feels relaxed, not fussy.
Use a 1-inch curling iron or a flat iron to make loose bends through the lengths. Leave the last inch or two out if you want the ends to stay a little rough. Then gather the hair at mid height and separate the tail with your fingers so the waves don’t collapse into one lump.
Don’t chase uniformity. That’s where this style falls apart. A ponytail with every wave going in the same direction can look overworked. A mix of bends, a couple of straighter pieces, and one slightly bent front section feels better.
If your hair holds curl well, you may only need to wave the front layer and the outer sides. The rest can stay natural. That is often enough.
10. The Side-Part Mid Ponytail
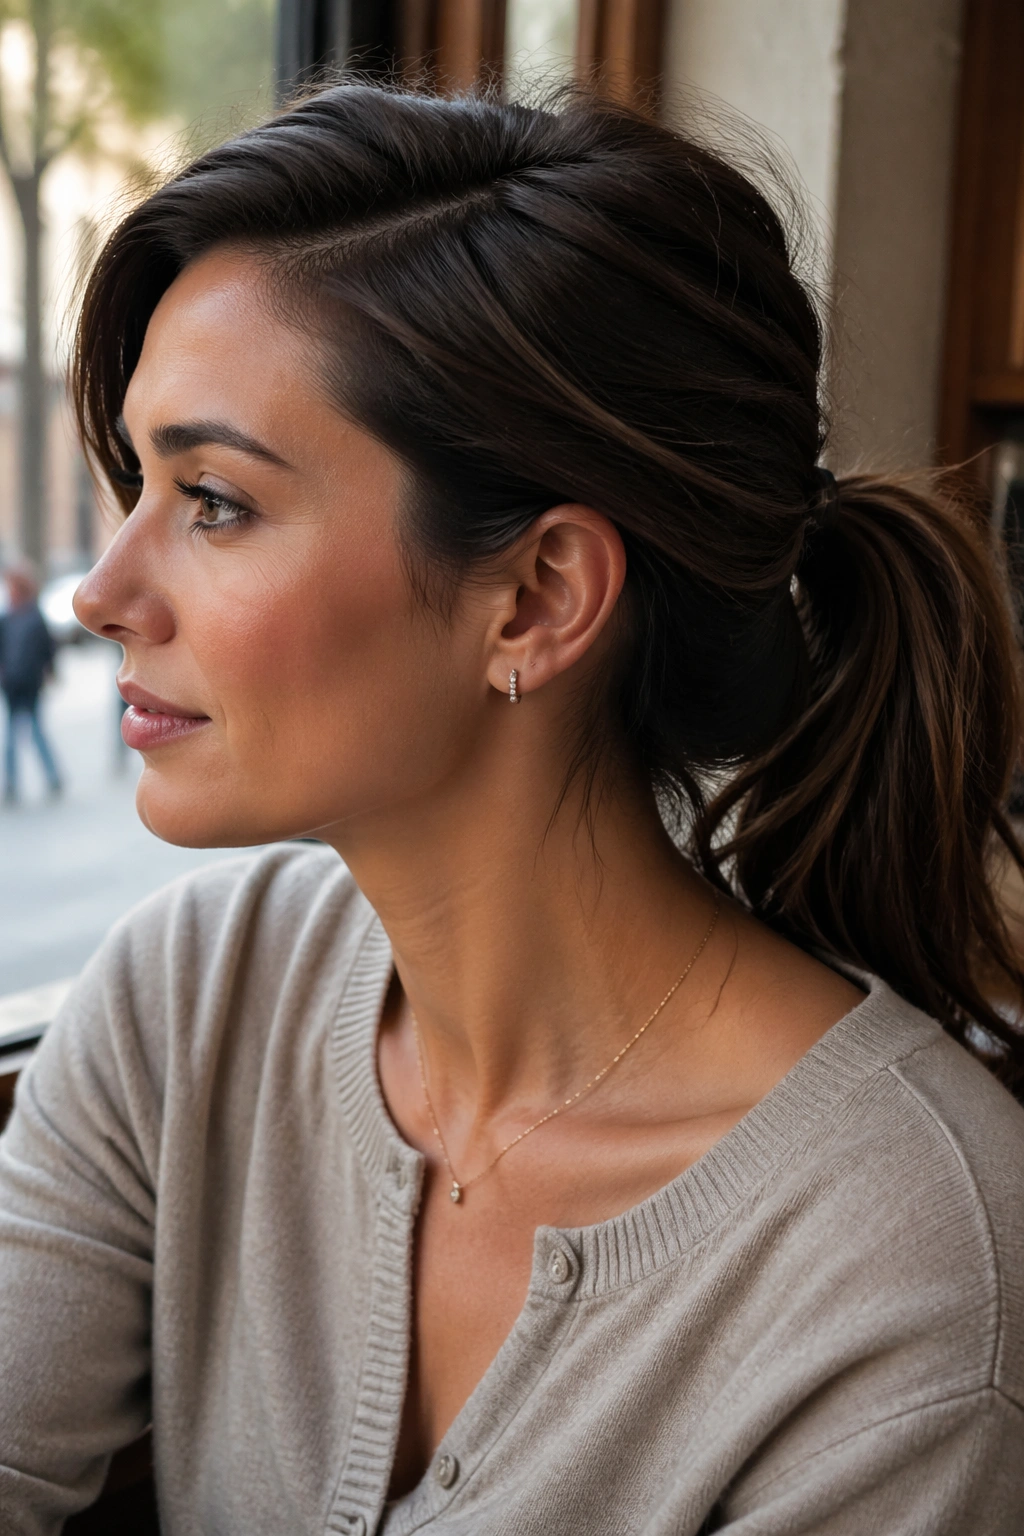
A center part is not the only way to keep a mid ponytail tidy. A side part can soften the whole look, especially if your face-framing layers are growing out.
Shift the part a little deeper than you normally would, then brush the hair back loosely on the heavier side. The asymmetry gives the ponytail some movement before it even reaches the elastic. That alone can make the style feel less flat.
Best When You Want a Little Shape
A side part helps if your hair tends to fall limp at the front. It also gives you a natural place to tuck one side behind the ear, which can make the style look cleaner without trying too hard.
Use your fingers rather than a brush when you gather the hair. A brush can flatten the whole thing. Fingers keep a tiny bit of texture at the top, and that texture is the difference between “styled” and “sleek to the point of boredom.”
One loose front piece on the smaller side of the part is enough. You do not need both sides hanging in your face.
11. The Sporty-Messy Ponytail with a Headband
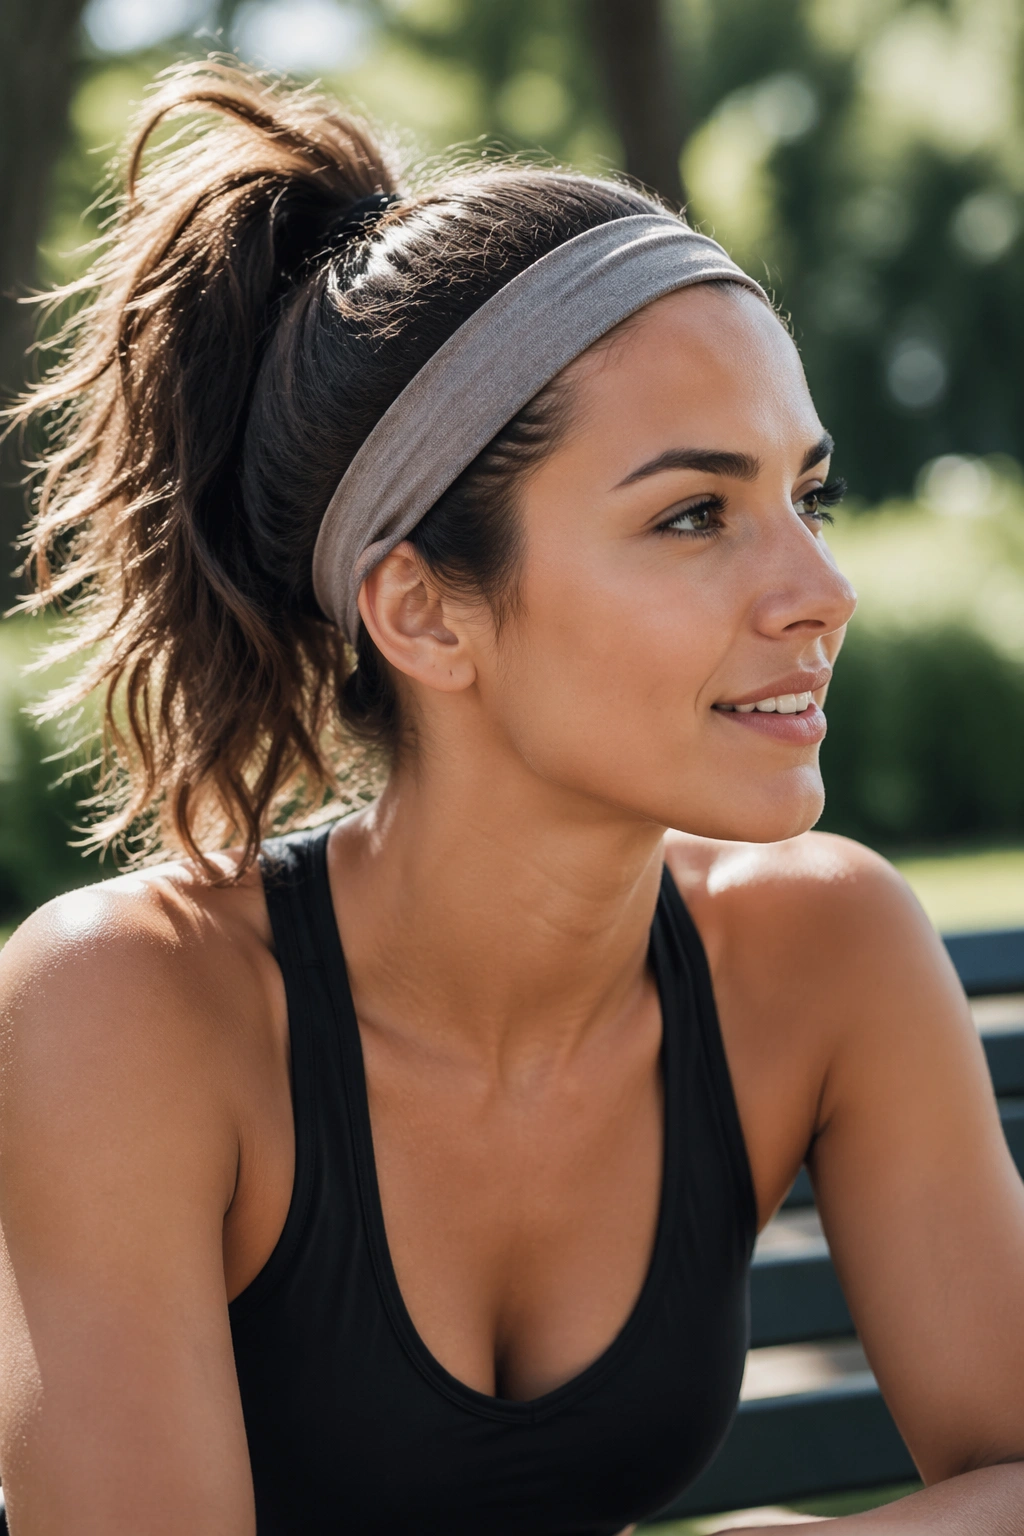
If you like hair out of your eyes but don’t want a severe ponytail, a soft headband changes everything. It also solves the awkward root area around the hairline, which is where a lot of mid ponytails start looking unfinished.
Place a fabric headband or a slim athletic band just behind the hairline. Then gather the ponytail at mid height and let a little volume sit between the band and the elastic. That small puff makes the style read as deliberate, even if you only spent four minutes on it.
The best versions keep the headband color close to the hair or to the outfit. Loud contrast can be fun, but it shifts the focus away from the shape of the ponytail itself.
This is the version I reach for when I want hair off my face and do not want to think about it for the rest of the afternoon. It holds up better than it sounds.
12. The Slightly Off-Center Mid Ponytail
A mid ponytail does not have to sit dead center to look balanced. In fact, a tiny shift to one side can make it feel more natural.
Move the ponytail base about half an inch off center, then let the front pieces fall with a little asymmetry. The result is softer than a strict center placement and usually more flattering around the jawline.
Why the Tiny Shift Helps
Straight-down symmetry can make a ponytail feel formal or stiff. A small off-center placement gives the eye something to follow, which is especially nice on long faces or very straight hair.
Keep the base secure, though. If the shift is too dramatic, it looks like the ponytail has slid out of place. That’s not the vibe.
A middle part can still work with this style, but I like it best when one side is tucked a bit more than the other. It creates movement without turning into a full side ponytail. Subtle. That word matters here.
13. The Faux Knot Ponytail
A knot at the base sounds complicated, but it is mostly about sectioning and not overthinking it.
Split the hair into two equal parts at the back, cross one section over the other once, then secure both together with a small elastic underneath the knot. You are creating the look of a knot, not building a sailor’s knot with your hair. Keep it loose and slightly messy.
The finish is interesting because it changes the shape of the base without adding bulk. That helps when you want a mid ponytail that looks styled from the back as well as the front.
A faux knot works best on medium-length hair or longer, and it likes a bit of texture. Super-slippery hair can slide apart unless you prep it with dry shampoo or a light texturizing spray. If you can hear the hair squeak between your fingers, add grip before you start.
14. The Fine-Hair Version That Fakes Fullness
Fine hair needs a little cheating. Not much. Just enough.
Start with mousse at the roots while the hair is damp, then rough-dry it with your fingers instead of brushing it smooth. After that, mist a texturizing spray through the mids and gather the ponytail at mid height. The rough texture gives the tail something to hold onto, so it looks thicker than it really is.
Small Moves That Matter
- Use two elastics if one feels too loose.
- Pull the crown up 1/2 inch after tying.
- Separate the ponytail into two pieces and tug them slightly apart.
- Leave the front pieces soft, not stringy.
A fine-hair ponytail falls apart fast when it’s too polished. That’s the trap. A little texture keeps it from lying flat against the head, which is where the style loses shape. You want lift, not puffiness. Those are not the same thing.
15. The Thick-Hair Version That Keeps Its Shape
Thick hair can make a mid ponytail look luxurious or like it’s about to snap an elastic in half. The difference is support.
Use a strong elastic, and if your hair is especially dense, make a hidden base by tying the top half first and then adding the rest underneath. That reduces weight at the anchor point. It also helps the ponytail sit where you want it instead of sagging after ten minutes.
Sectioning matters here. If the hair is too heavy at the nape, the style drags downward and loses the mid-ponytail shape. A little lift at the crown keeps it centered.
Don’t fight thickness by smoothing every strand into place. That turns into a helmet. Leave some movement in the length, and let the natural bulk do some of the work. Thick hair looks best when it keeps a little body.
16. The Blunt-End Ponytail with Piecey Texture
A blunt tail can look sharp in a good way when the texture is broken up a little. This version is for straight hair that tends to lie flat and show every line.
Gather the ponytail cleanly, then use a texture spray or a tiny bit of styling paste on the ends only. Scrunch them lightly with your hands so the bottom line stops looking so hard. You still get the straight outline, but the finish feels softer around the edges.
The key is not to over-separate the hair. A few visible pieces are enough. Too many and the ponytail starts looking frayed.
This style works well when you want a cleaner silhouette at the head and a more casual finish at the end. It’s a nice contrast. The top says “I paid attention.” The tail says “I didn’t spend an hour on this.”
17. The Scrunchie Ponytail That Doesn’t Feel Young
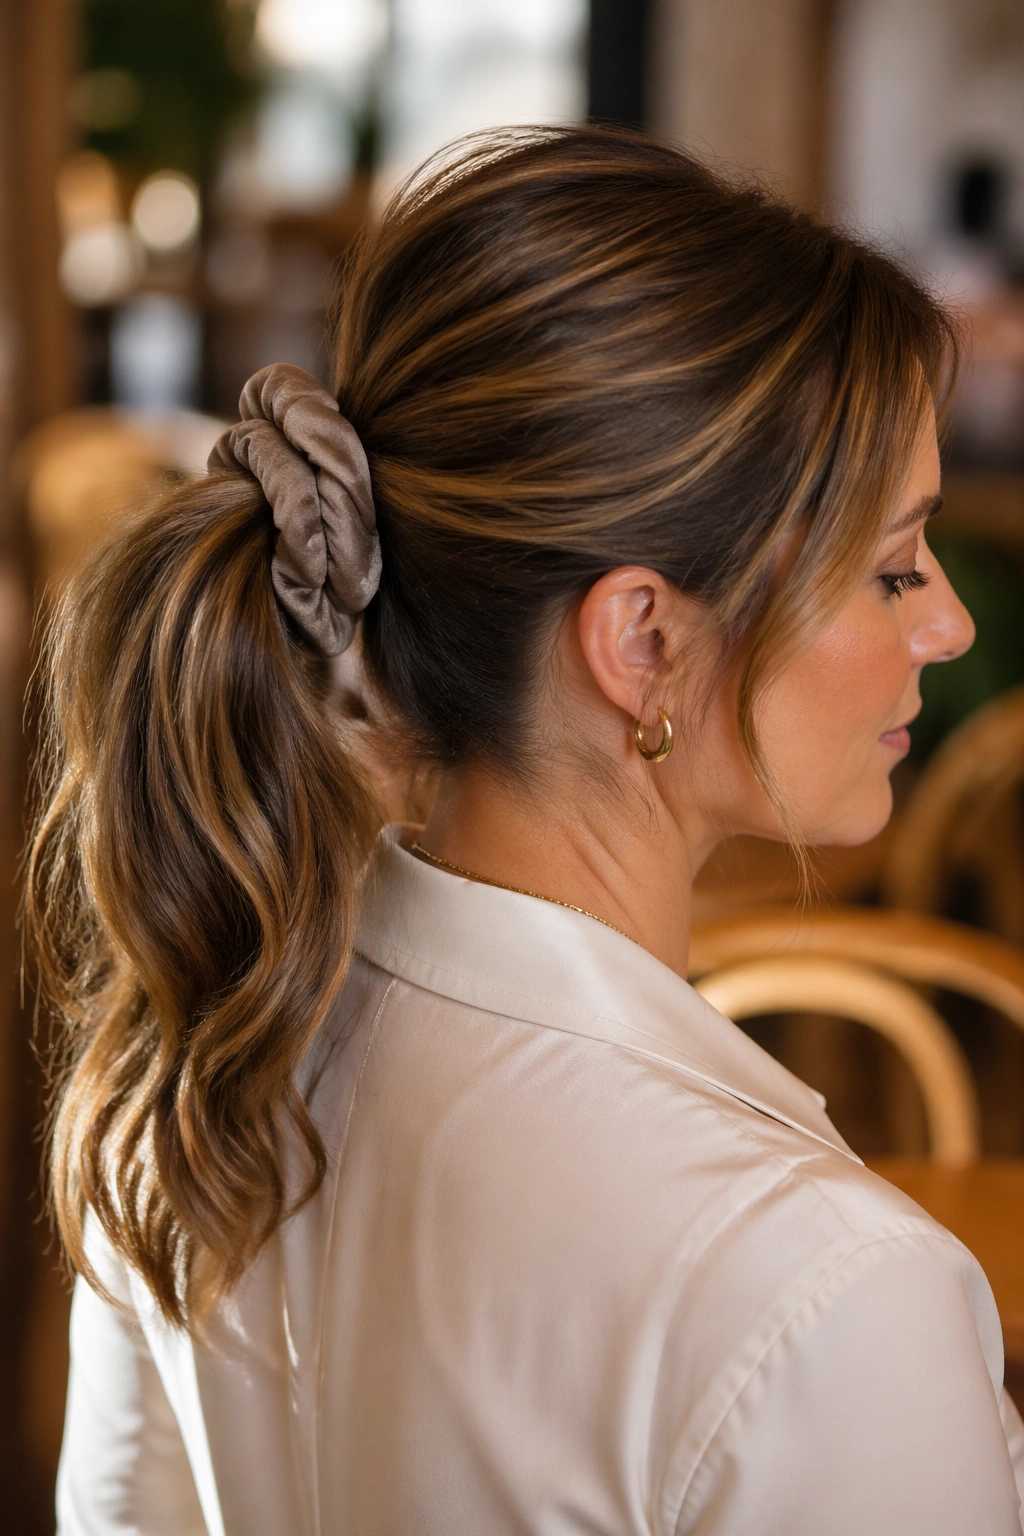
A scrunchie can absolutely look grown-up. The trick is choosing one with the right fabric and keeping the rest of the style calm.
Silk, velvet, and matte jersey all behave better than shiny synthetics. Place the ponytail at mid height, loop the scrunchie once or twice, and let a little volume puff around it. If the scrunchie is too tight, the whole thing loses its softness.
What to Watch For
A big print can take over the style. A plain color usually keeps the focus on the shape of the ponytail. If your hair is fine, use a smaller scrunchie so it does not overwhelm the base. If your hair is thick, go larger so the band can actually hold.
This version shines when you want the ponytail to feel relaxed but not lazy. It’s the kind of style that works with a tee and jeans, but doesn’t fall apart if you put on a blazer later.
18. The Barely Styled Waves Ponytail
Some ponytails are better when you stop touching them. This is one of those.
If your hair already dries into waves, mist the lengths with a little water or leave-in conditioner, scrunch once or twice, and gather everything into a mid ponytail with your hands. Do not brush it smooth afterward. That is the whole point. The bends are the style.
A few loose pieces around the temples keep it from looking too pulled back. The ponytail should feel like it moved naturally through the day, even if you only made it ten minutes ago.
This works especially well when the hair has a bit of frizz. Frizz is not always the enemy. In a ponytail like this, it can add softness and stop the style from looking flat or over-controlled. I would rather see a little texture than a stiff, over-sprayed tail any day.
19. The Topsy-Tail Flip
A flipped base can make a simple ponytail look more finished in seconds.
Tie a mid ponytail, create a small gap just above the elastic, and pull the tail through that opening once. That flip changes the way the base sits, giving it a tucked, rolled look without extra tools. It’s clean, but not too clean.
The style works best when you stop before it gets fussy. One flip is enough. Two can start to look overly arranged, especially on shorter hair.
If your hair is layered, smooth only the top section before you flip it. Leave the lengths a little rough so the tail keeps its texture. That balance is what keeps the look from sliding into prom-hair territory.
This one is also handy when you need the ponytail to stay in place for hours. The flip seems to lock the base a little better than a plain tie.
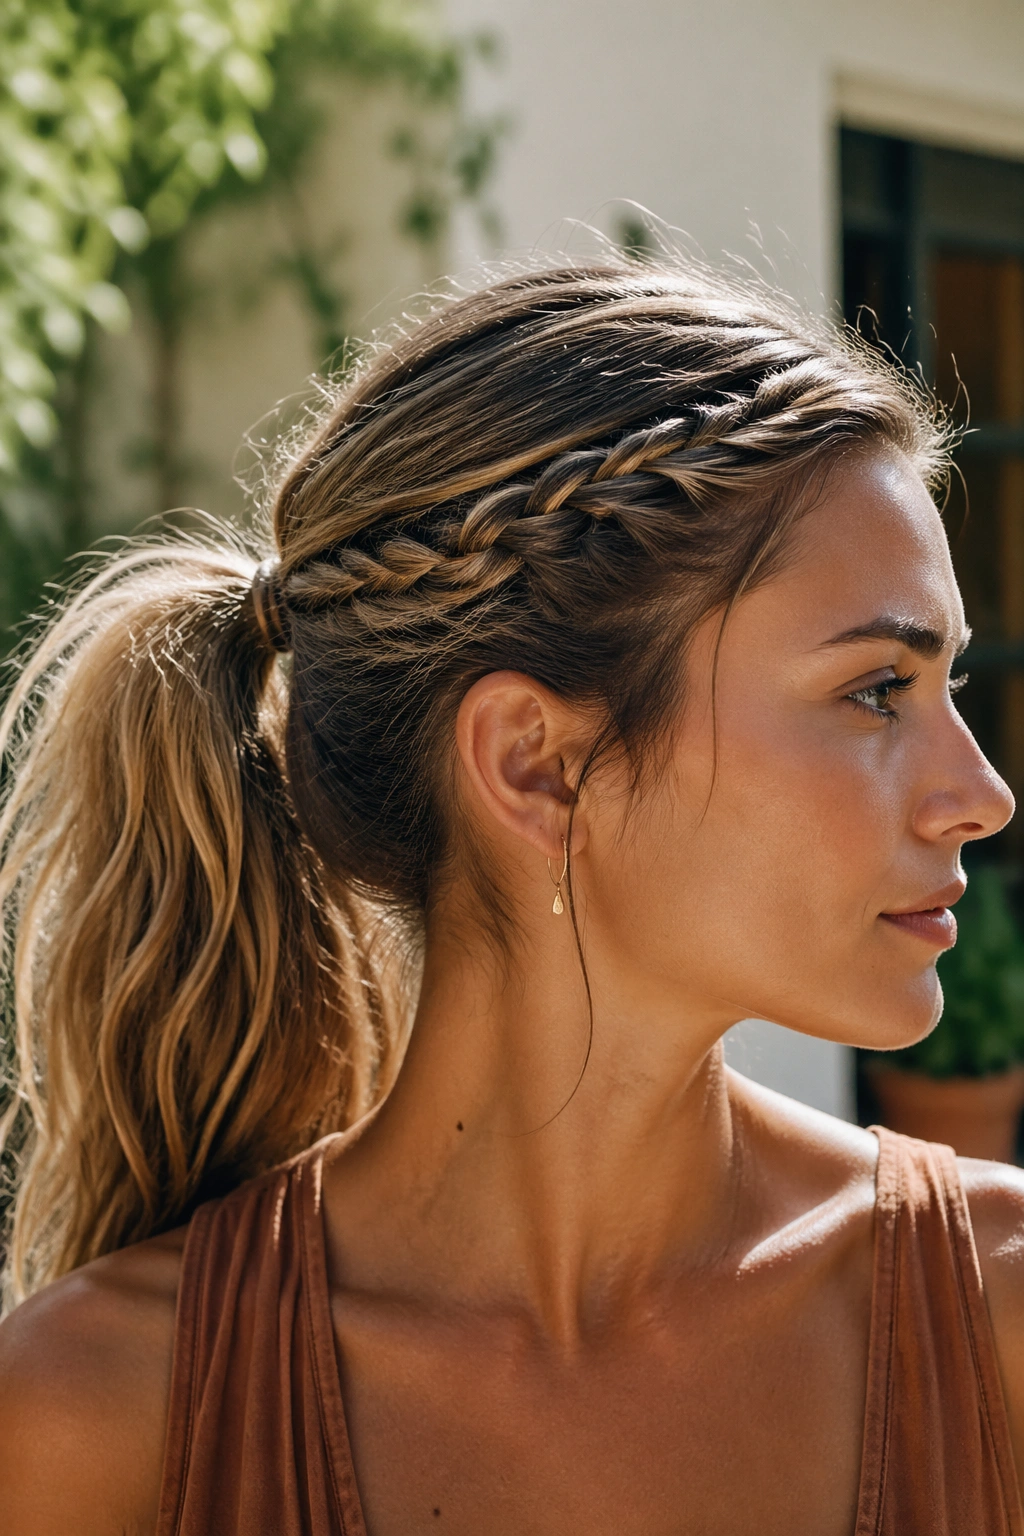
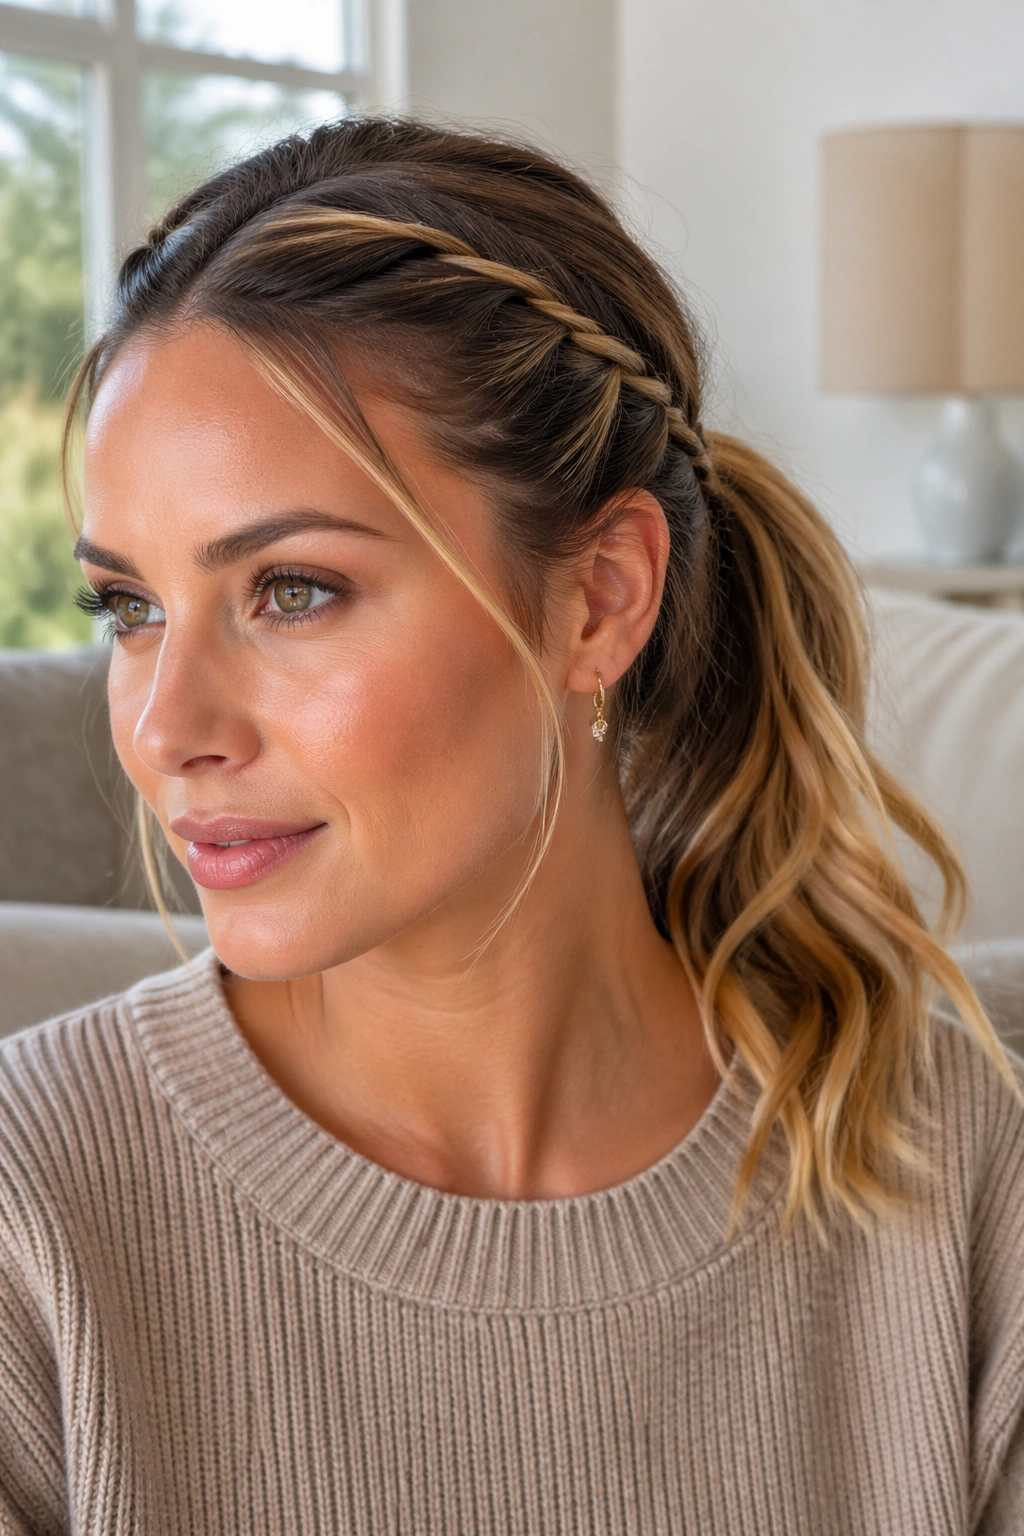
20. The Braided-Base Mid Ponytail

A small braid feeding into a mid ponytail gives the style a bit of pattern right where it usually needs it most. At the crown, things can flatten fast. A braid fixes that.
Take a section from the top or from both sides, braid it back toward the ponytail, and secure everything together at mid height. A Dutch braid gives more lift; a standard braid keeps it softer. Either way, the braid acts like a built-in detail instead of an afterthought.
When to Use It
This is a smart move when your hair is too clean, too slippery, or too plain for a basic ponytail. The braid creates grip. It also keeps the front from collapsing into your face by noon.
You do not need a full, perfect braid. A short one that disappears into the base is enough. If you can see a few loose pieces peeking out, even better. That keeps it from feeling too schoolgirl or too neat.
21. The Mini-Braid Accent Ponytail
A tiny braid can change the mood of a ponytail faster than a whole styling session. One slim braid on one side is often enough.
Braid a 1-inch section near the temple or along the side of the head, then pull it back into the ponytail. You can leave the braid visible in the tail, or tuck it underneath so it becomes a small surprise when the hair moves.
The key difference from the braided-base version is scale. This one is less about structure and more about detail. It adds something to look at, especially if the rest of the ponytail is loose and simple.
Best on hair with a little texture. If the braid is on very silky hair, it may unravel unless you use a tiny elastic at the end. No shame in that. Tiny elastics exist for a reason.
This is one of those small touches that makes people assume you spent more time than you did.
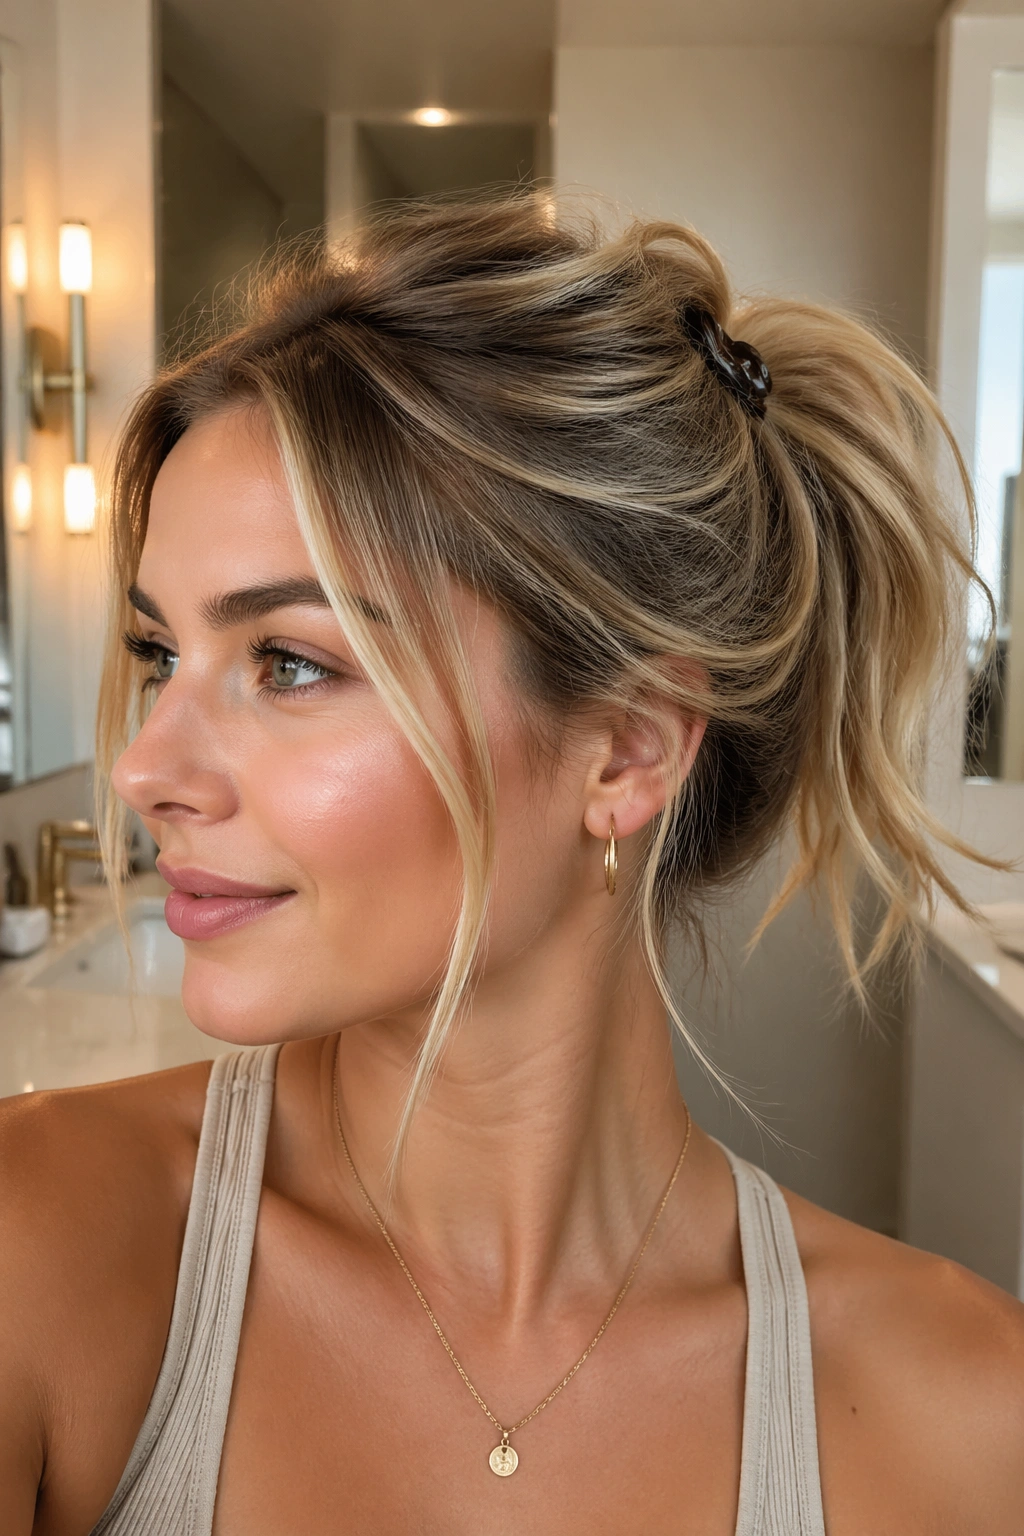
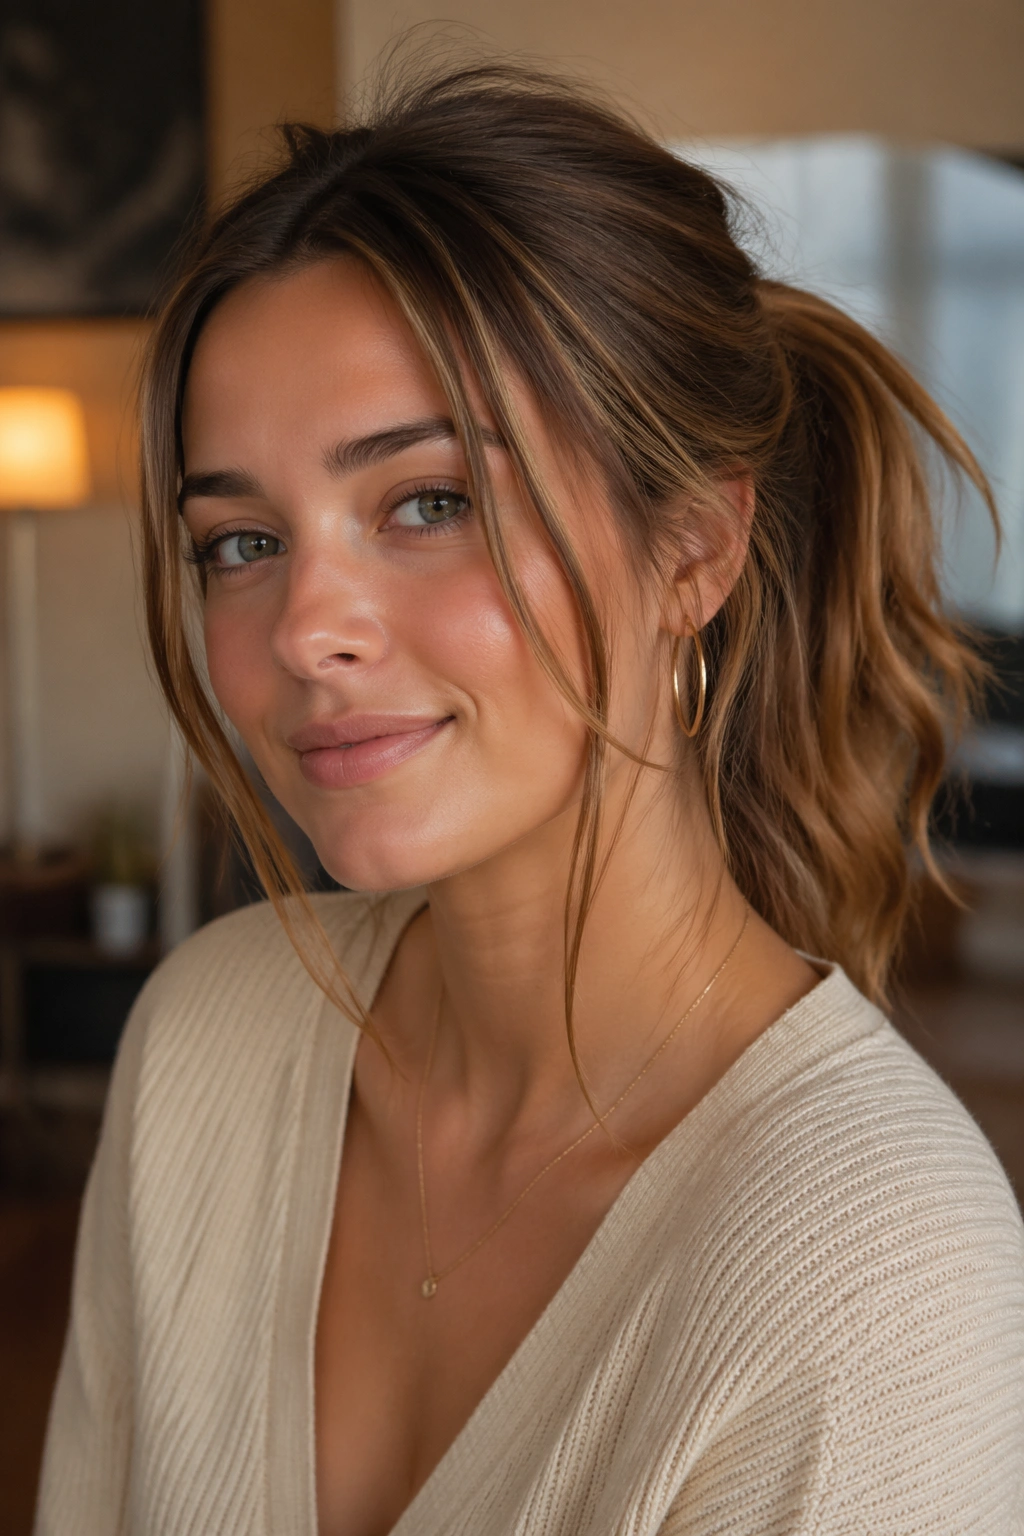
22. The Lifted Crown Ponytail
A little height at the crown can save a mid ponytail from feeling too ordinary. Keep the lift modest. You want a gentle rise, not a bump from another decade.
Tease the crown lightly, smooth only the top layer, then place the ponytail just behind the high point of your head. That positioning lets the lift sit naturally instead of forcing the shape.
The Shape You’re After
Think rounded, not tall. The hair should curve away from the scalp for a few inches, then fall into the elastic. If the lift stands too straight up, the style starts looking cartoonish. If it sits flat, you lose the shape altogether.
A little spray at the crown helps, but only after the ponytail is tied. Spray first, and the hair can get stiff before you finish shaping it. Not helpful.
This version works especially well if your hair has layers around the face. The crown height balances the shorter pieces and keeps the front from feeling heavy.
23. The Flipped-Out Ends Ponytail
Flipped-out ends give a mid ponytail a bit of swing. They also stop the length from looking heavy or stuck to your back.
Use a flat iron or round brush to turn the last 1 to 2 inches of the tail outward. Keep the flip soft. You are not trying to make the ends curl like a ribbon. A small outward bend is enough to change the whole silhouette.
This look tends to work best on medium-length hair, but longer hair can wear it too if the flip stays light. If the ends are damaged or dry, add a drop of serum before styling so they don’t look fuzzy.
I like this version when the rest of the ponytail is kept almost plain. The contrast does the work. Smooth base, soft lift, playful ends. No extra complication needed.
24. The Curly Mid Ponytail That Lets the Texture Lead
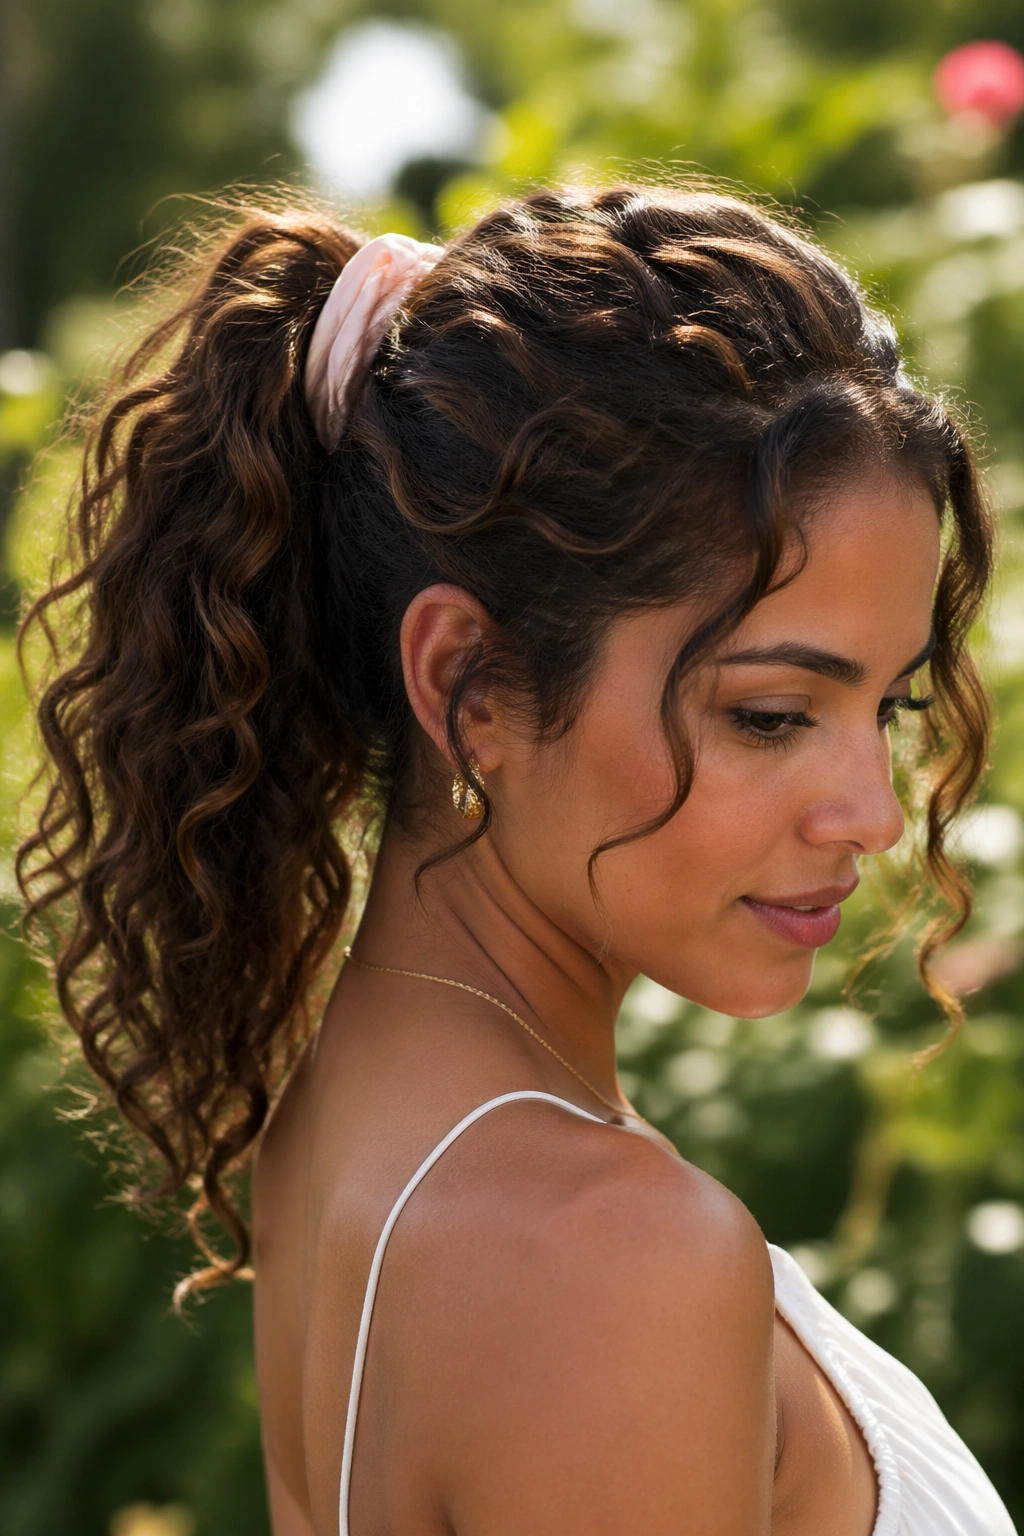
Curly hair does not need to be tamed into submission to look put together. It needs room.
Gather curls at mid height with your hands, not a brush, and leave a little slack at the base so the shape keeps some bounce. A satin scrunchie or a soft elastic protects the curl pattern better than something sharp or overly tight.
A Few Curl-Specific Details
- Smooth the top with a little leave-in, not heavy oil.
- Keep the elastic loose enough that curls can spring.
- Pull out only a few face-framing curls.
- Pin any extra frizz at the crown with one discreet bobby pin.
The best curly ponytails keep definition at the ends and softness near the head. If you flatten the crown too much, the style loses life. If you pull too hard, the curls at the back shrink into the elastic. Neither looks good.
This version is honest about texture, and that’s what makes it work.
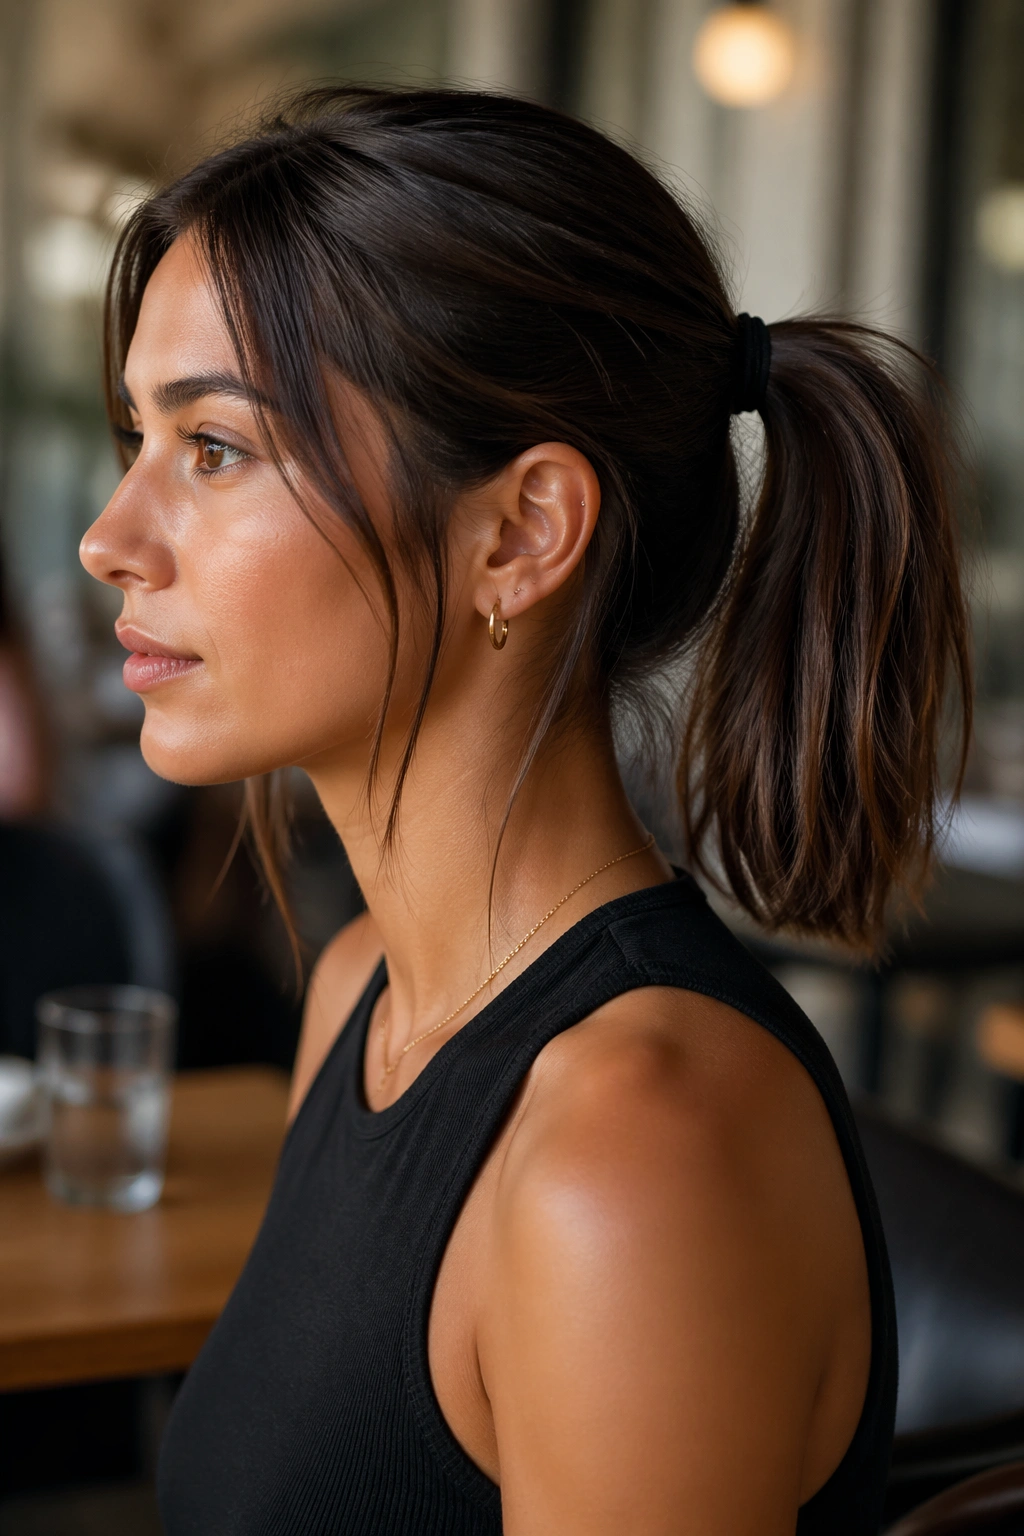
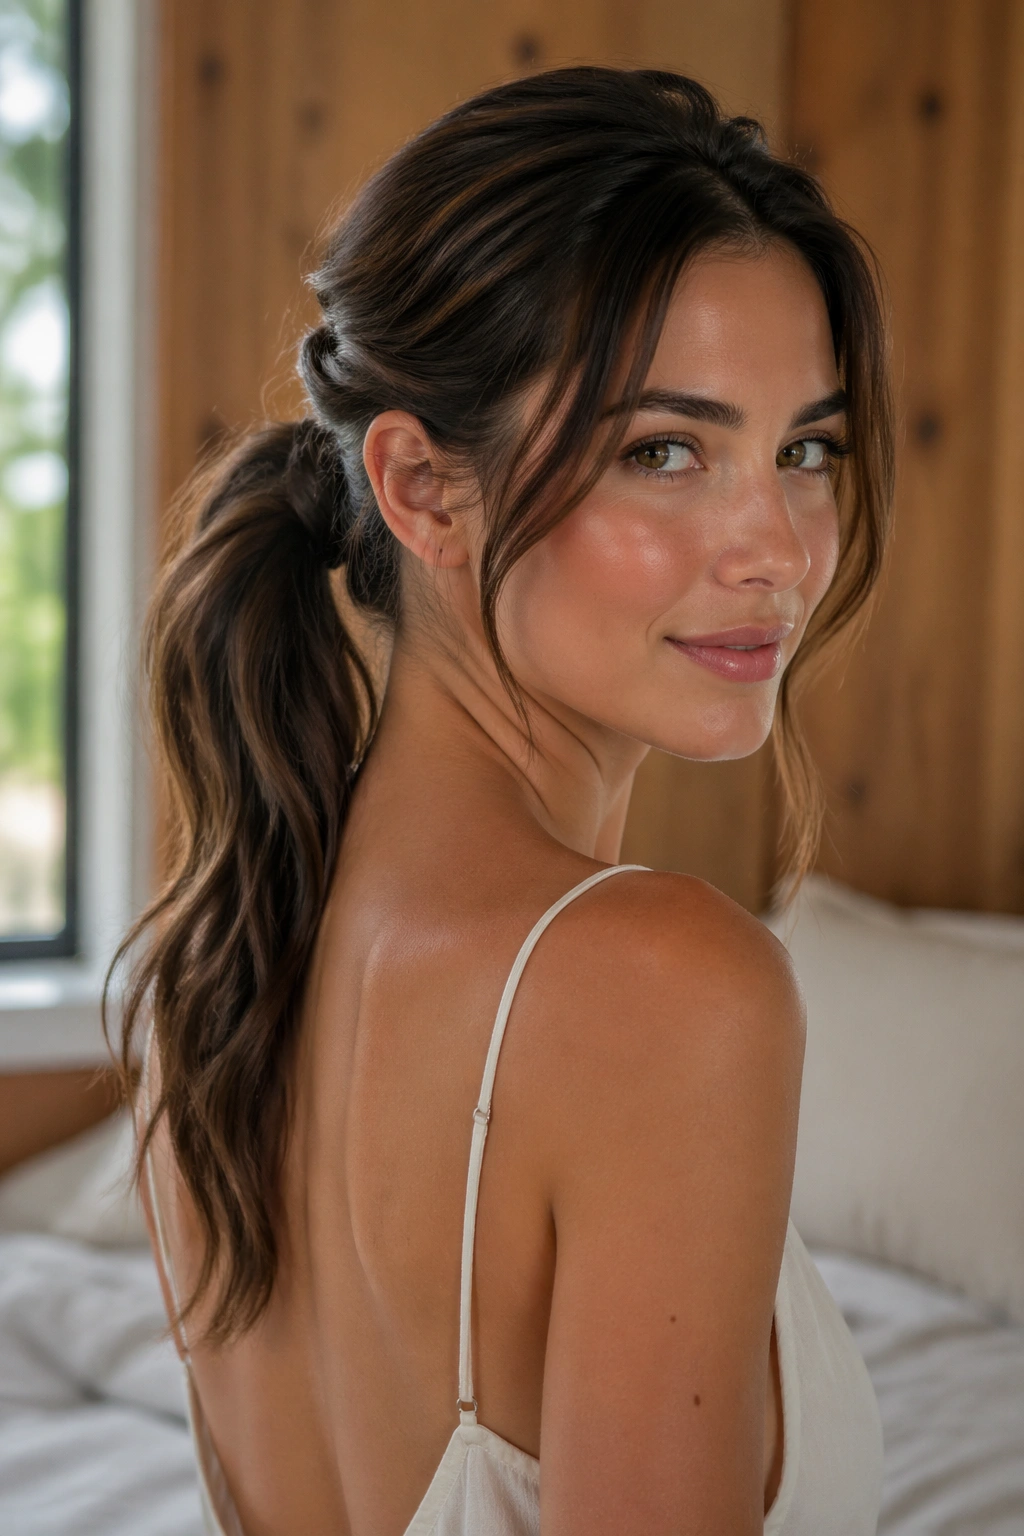
25. The Sleek-Root, Messy-Length Ponytail
This is the style for people who like a cleaner top and a looser tail. It’s one of my favorites because it has contrast.
Use a tiny bit of gel or smoothing cream at the hairline, brush the roots back until they lie flat, then stop. Do not carry that sleekness into the lengths. Once the ponytail is tied, break up the tail with your fingers, scrunch the ends, and leave a few pieces uneven.
The contrast between the smooth top and the airy tail gives the style shape. It also means the ponytail stays neat around the face, which helps on busy days or humid ones. And yes, humidity ruins more hair plans than anyone likes to admit.
If your hair is layered, this version is especially forgiving. The shorter pieces stay tidy at the front while the rest of the ponytail gets to move around a little.
26. The Run-Errands Mid Ponytail That Still Looks Intentional
Some ponytails are made for real life: the store, the school pickup line, the long coffee queue, the “I have three things and no patience” kind of day.
Keep the base mid-height, leave the front pieces loose enough to move, and use enough texture at the roots so the style does not collapse the second you put on sunglasses or a jacket. A small wrapped elastic or a plain matte band keeps the whole thing from looking too casual.
The Small Details That Save It
- Tuck one side behind the ear.
- Add dry shampoo at the crown if the roots are flat.
- Keep the tail slightly uneven rather than perfectly combed.
- If you wear a cap, loosen the top first so it does not leave a hard line.
This version is not trying to impress anybody. It just refuses to look sloppy. There’s a difference. And it’s a useful difference.
27. The Five-Minute Mid Ponytail You Can Rebuild Anywhere

This is the one for the bathroom mirror, the car visor mirror, the office restroom, the gym lobby, or any place where you have one elastic and limited patience.
Flip your head back, gather the hair with your fingers, tie it at mid height, pull two face pieces loose, and tug the crown once with your fingertips. If the elastic shows too much, wrap a small strand around it. If the tail looks flat, twist the ends for a second and let them fall.
That’s enough. Seriously.
You do not need every strand to behave. You need the ponytail to look like it belongs on your head and not like it was assembled in a panic. A little lift, a little mess, a little shape at the ends — that combination does more than an hour of fussing ever really does.
A messy mid ponytail works best when it moves with you, not against you. That’s the whole point. Keep the base centered, keep one or two details tidy, and let the rest stay soft enough to look like a person wore it, not a mannequin.