



Knotless cornrow styles changed how I think about protective braiding. The first time I had a knotless install done, I couldn’t believe how light my head felt walking out of the salon. No tension at the temples. No painful tightness around the hairline. Just a clean install that looked like it grew out of my scalp. The knotless technique has rightfully become the gold standard for anyone serious about preserving their edges and avoiding the traction problems that traditional braiding can cause.
The knotless approach is simple in concept and harder in execution. Instead of grabbing a chunk of kanekalon at the very root and braiding it in alongside your natural hair (which creates the small “knot” at the base of traditional braids), the braider starts braiding with only your natural hair for the first few stitches. Then small pieces of kanekalon are fed in gradually, building the braid’s thickness over its first inch or two. The result — no knot at the scalp, lower tension across the entire install, and a flat, natural-looking start to every braid.
I’ll be straightforward — knotless cornrows take longer than traditional cornrows. Skilled braiders can install a full head in 4-5 hours, but less experienced ones may take 6+. The technique demands precision. The kanekalon must be added in graduated sizes, starting smaller and building larger, to maintain consistent braid thickness without obvious transition points.
Below are 22 distinct knotless cornrow styles. Different parting patterns, different finishing techniques, different lengths, different decorative approaches. Each one preserves the core knotless benefit — minimal tension at the roots — while delivering a different aesthetic. Before the styles, some context on the technique itself.
What Makes Knotless Different from Traditional
Traditional cornrows attach the extension hair at the very base of each braid using a folded loop technique. This creates a small bump or knot where the extension meets your scalp. The knot is small but visible, especially in close-up photos.
Knotless cornrows skip the loop. Instead, the braider starts the braid with only your natural hair, then weaves in small sections of extension hair as they go — usually 3-5 small additions over the first 2 inches.
The benefits are significant. No knot means no obvious extension start. No visible bump at the scalp. Lower tension because the weight of the extension is distributed along the braid rather than concentrated at one anchor point. Reduced risk of traction alopecia because the front edges aren’t being pulled.
The trade-off is install time and the need for a skilled braider. Knotless isn’t easier to do — it’s harder. But the result is worth it.
Why Knotless Is Better for Your Edges
Edges are the most fragile part of your hairline. They’re finer, shorter, and more prone to breakage than other hair. Traditional braiding pulls hard on edges because the extension weight anchors right at the root.
Knotless braiding distributes that weight. The first stitches are pure natural hair with no extension yet attached. By the time the kanekalon is fully integrated, the braid is several inches into your hair, far enough back from the edges that they’re not bearing the load.
This is why people who switch to knotless often see their edges grow back over a few months of consistent use.
Prep Considerations Specific to Knotless
The same general prep applies — wash, deep condition, stretch, trim ends. But knotless adds one specific need: properly stretched hair.
Because the braid starts with natural hair only, your real hair needs to be smooth enough that the braider can grip and braid clean strands. Damp or coiled hair makes the natural-hair start of each braid frizzy and uneven.
Bantu knots overnight or a low-heat blowout works well. Avoid silk press for knotless — fully straight hair grips less well than stretched-but-textured hair.
Choosing the Right Kanekalon
Pre-stretched kanekalon is non-negotiable for knotless work. Stiff, glossy kanekalon doesn’t integrate well into the gradual feed-in technique.
Color match must be exact. Because the braid starts with your real hair and transitions into extension, any color mismatch shows clearly at the transition zone.
For most knotless cornrow styles, 2-3 packs of kanekalon are enough. The graduated technique uses less material than traditional braiding because the early sections require minimal extension.
Tools the Braider Needs
A fine-tooth rat-tail comb. A spray bottle with water mist. Hair clips (the duck-bill kind grip well). Light edge gel. Scissors for trimming kanekalon to graduated lengths.
The trimmed kanekalon pieces need to be ready in graduated sizes — small, medium, and full-length pieces — so the braider can grab the right size without stopping mid-braid.
1. Knotless Cornrows Straight Back
The foundational knotless style. 10-12 rows running from hairline to nape with no visible knot at any base. The braids appear to grow naturally out of the scalp.
Why It Works
- Lowest tension protective style available
- Lasts 6-8 weeks comfortably
- Looks like an extension of natural hair
- Works for every face shape and occasion
Pro tip: ask for “true knotless” not “lazy knotless” — some braiders use a faster technique that still creates a small knot but markets it as knotless. True knotless has zero anchor knot.
2. Knotless Cornrows With a Side Part
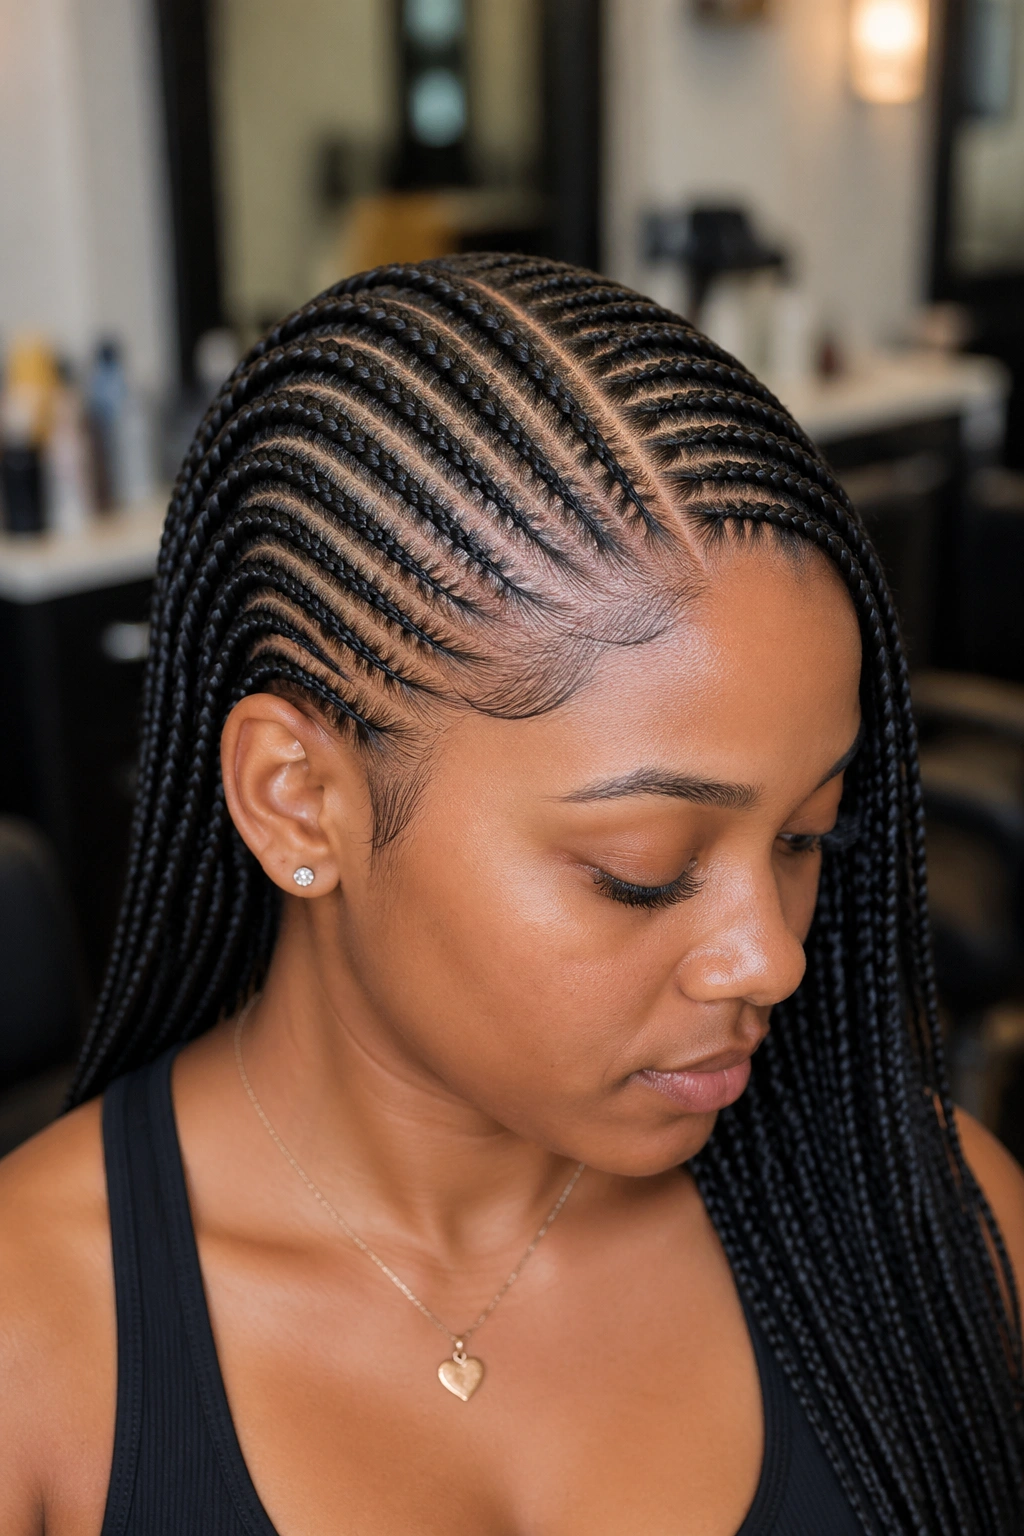
A deep side part with all knotless cornrows sweeping diagonally backward. The denser side has 7-8 rows, the lighter side has 4-5.
The combination of a side part with knotless technique creates a particularly soft, natural-looking front. The lack of knots means the side part reads as a real part rather than a styled separation.
Best for face shapes that need asymmetric framing. The side part flatters strong jawlines and high foreheads.
3. Knotless Cornrows in a Heart Shape Pattern
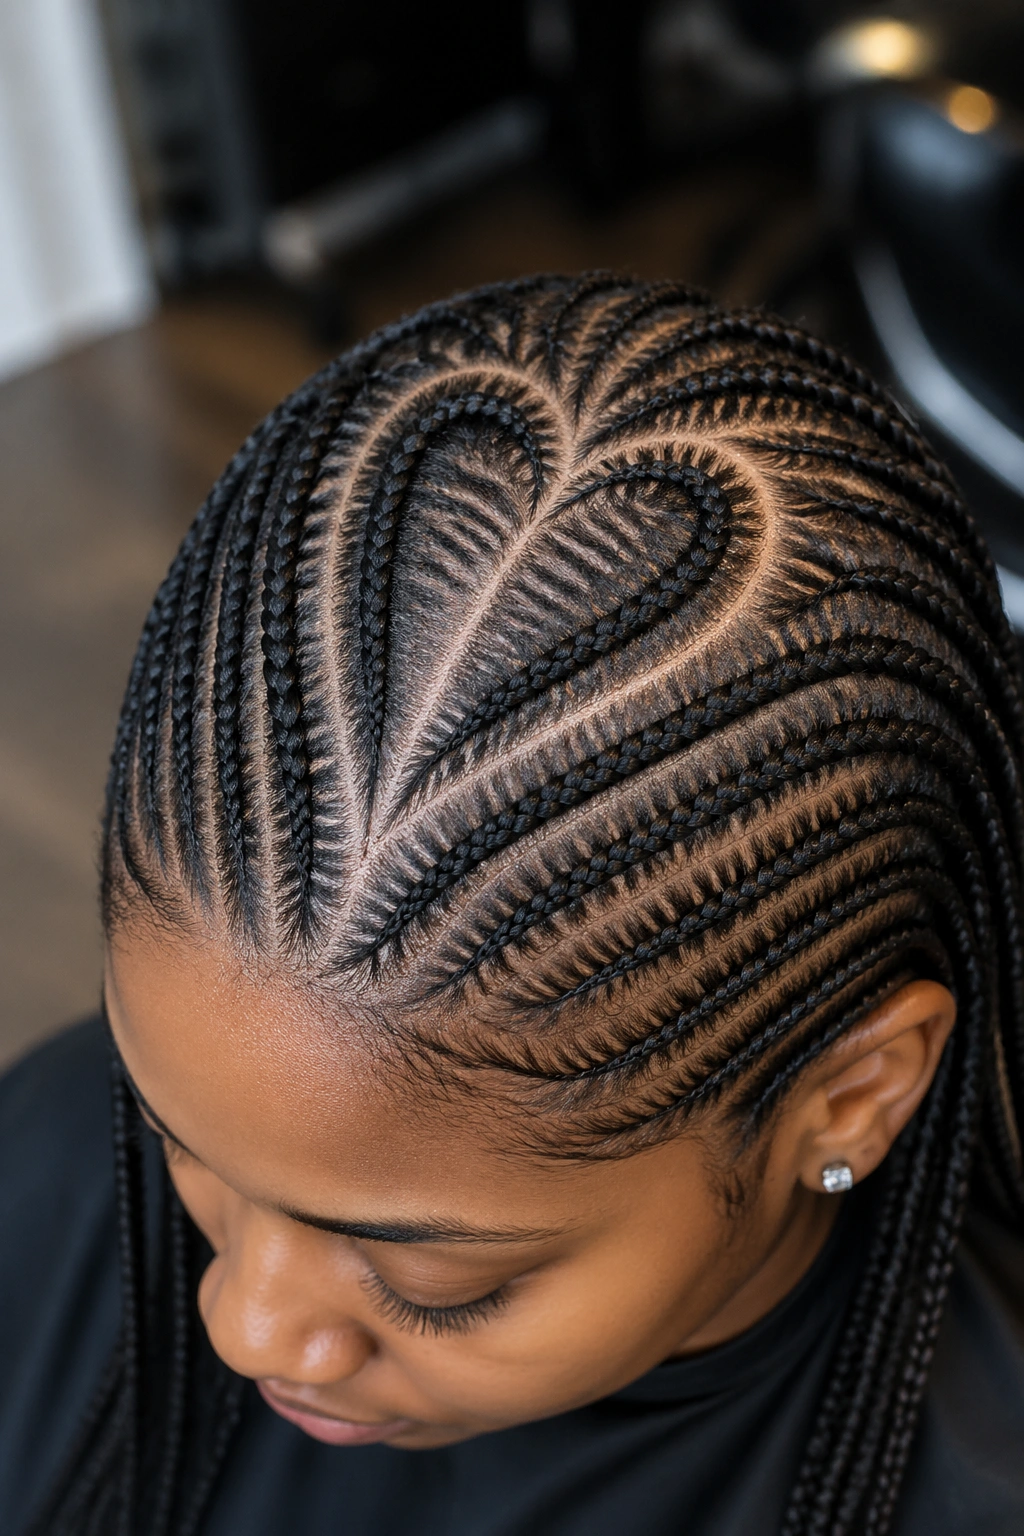
A heart shape parted at the crown of the head, with knotless cornrows emerging from below the heart and flowing back. The heart pattern shows up clearly because of the clean knotless starts.
The heart shape is a culturally significant pattern with West African roots. The knotless technique enhances it because the parts and braid starts blend with the scalp seamlessly.
4. Knotless Cornrows With Curved Parts
Each row follows a curved path rather than a straight line. The curves can spiral toward a center point or arc gently across the head. The knotless technique highlights the curves because the braid starts blend with the curved parting.
Curved parting requires real skill. The braider should mark each curve with chalk or gel before braiding.
This style reads more bohemian and less structured than straight-back versions.
5. Knotless Cornrows Into a High Ponytail
Knotless cornrows gathering at the crown into a single high ponytail. The combination of low-tension knotless braids with the high gather creates the polished look of a ponytail without the pain of traditional cornrow ponies.
The knotless start at the front means the temples don’t pull when the ponytail tightens at the back. A genuine win for sensitive scalps.
The ponytail can be left as braided ends or wrapped with kanekalon for a smooth finish.
6. Knotless Cornrows Into a Low Bun
All knotless rows gathering at the nape into a low, sculpted bun. The low position is the gentlest on the scalp and pairs the knotless technique’s natural look with a sophisticated gather.
This is the wedding-day version of knotless cornrows. The combination reads as elegant and timeless.
The bun base can be wrapped with a silk ribbon for added formality.
7. Knotless Cornrows in a Lemonade Side Sweep
All knotless rows sweeping in one direction across the head, finishing in a side cascade. Inspired by the layered side-braided looks that have stayed popular over the years.
The knotless starts on one side mean the front of that side reads especially natural — no chunky braid origins disrupting the hairline.
Best for those with longer face shapes. The side fall breaks up vertical length.
8. Knotless Cornrows With Beaded Ends
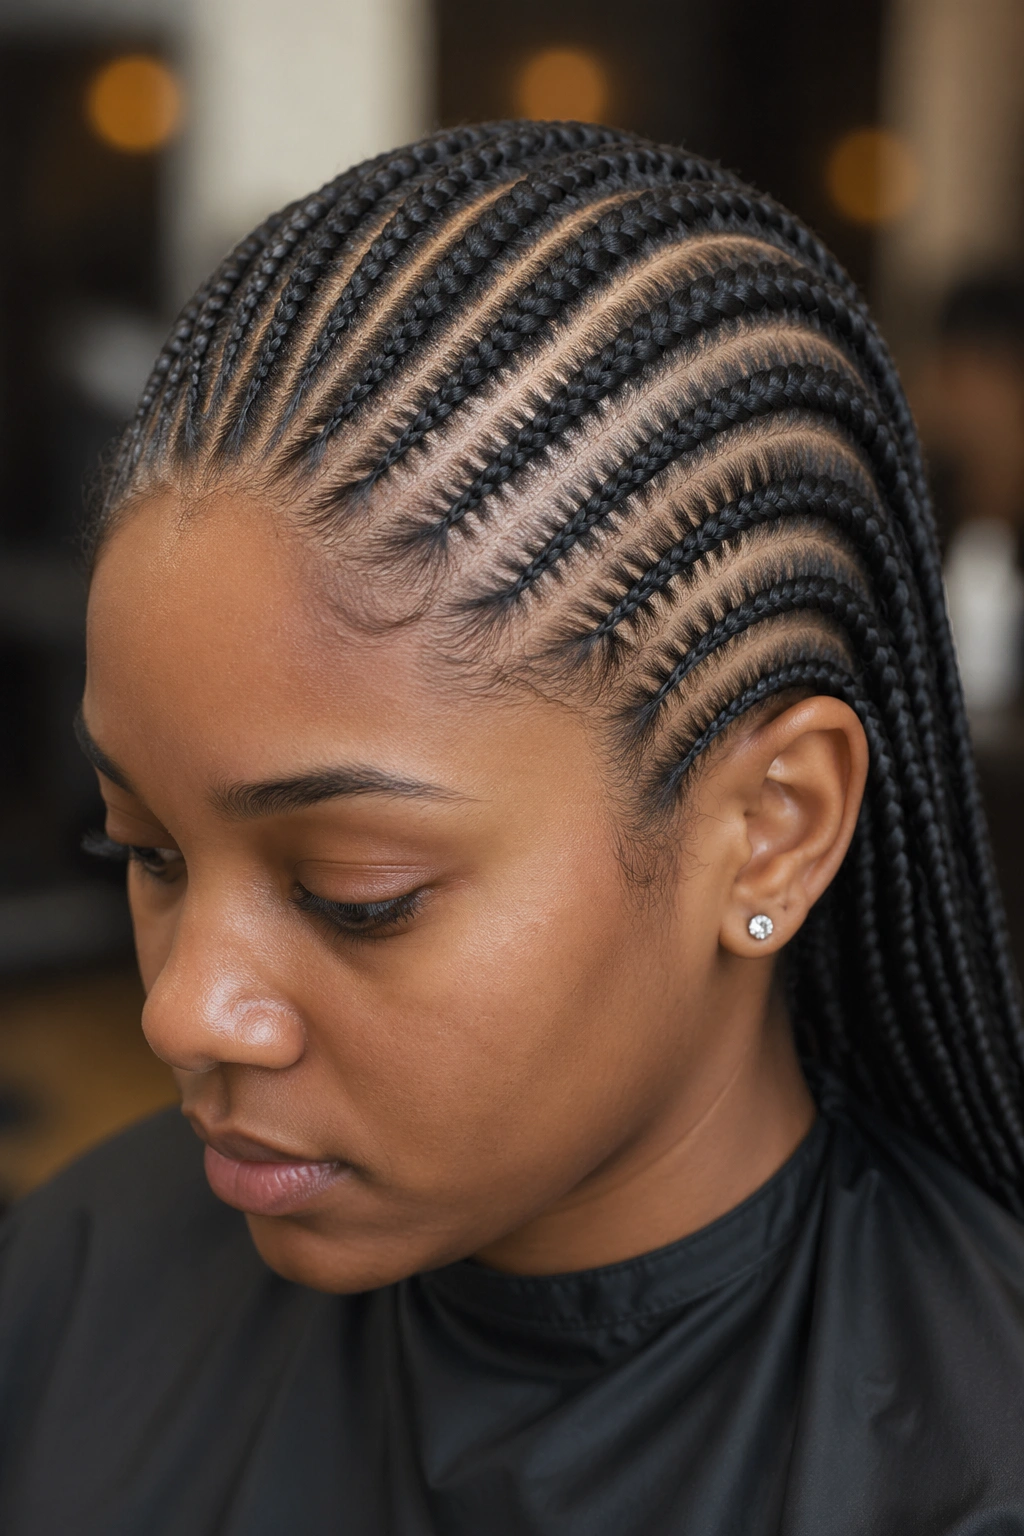
Knotless cornrow rows with small beads at the tips. The contrast of natural-looking knotless starts and decorative beaded ends creates a styled, intentional finish.
Choose lightweight beads — wooden, ceramic, or thin metal. Heavy beads can cause the knotless braids to droop because there’s less anchor strength than traditional knotted braids.
9. Knotless Cornrows With Cuffs and Charms
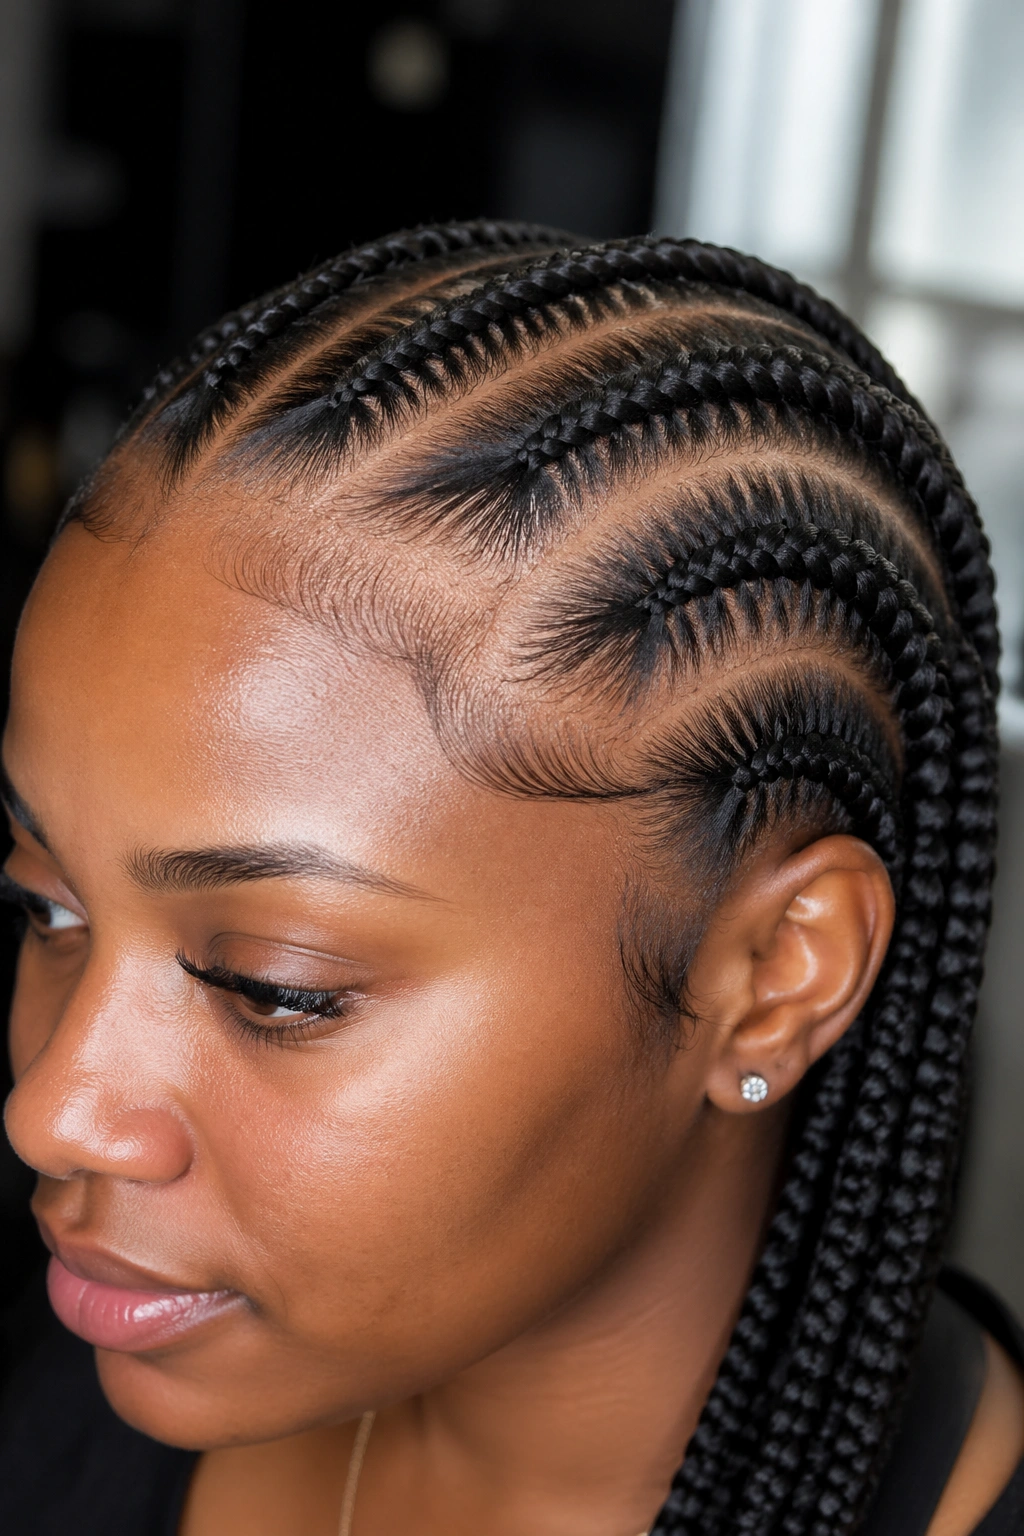
Small cuffs and decorative charms placed at intervals along selected braids. The decorative elements add cultural and personal weight.
The knotless technique allows cuffs to slide more freely along the braid because there’s no knot at the base to anchor against. This means cuffs need to be sized snugly to stay in place.
10. Knotless Cornrows With Natural Curl Tips
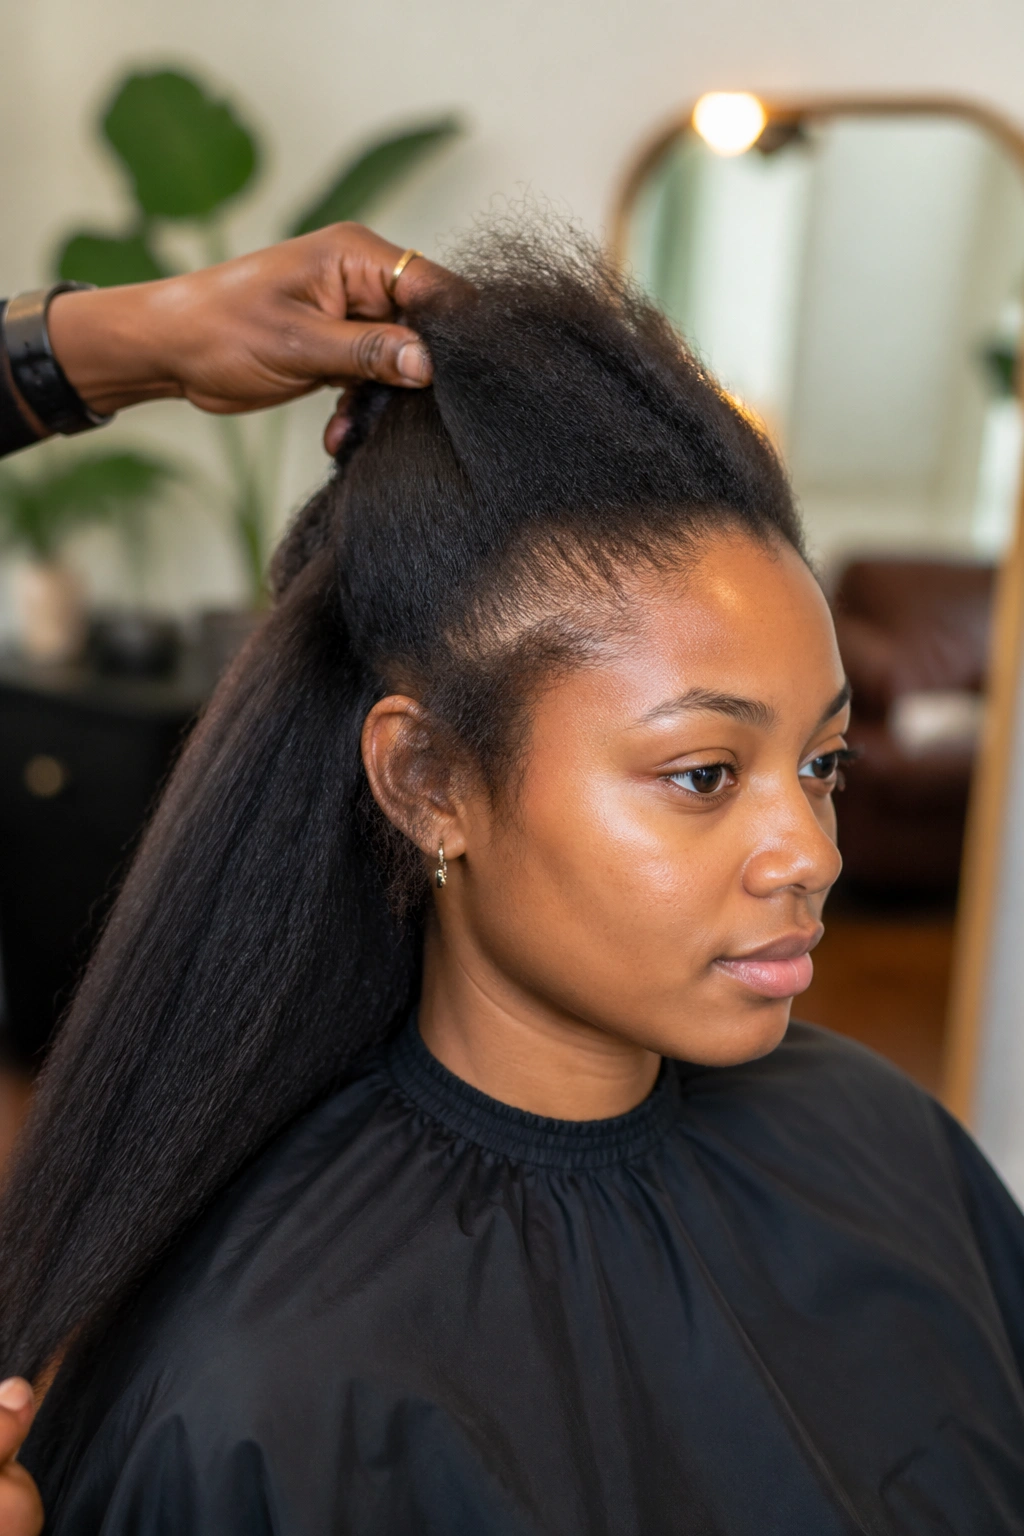
Knotless rows that transition into natural curls or coils at the ends. The braided portion is smooth and structured; the ends are loose and textured.
The transition happens naturally as the braider stops the braid before reaching the tip and lets the natural hair curl out. Or a curly extension piece can be attached at the transition point for added length.
11. Knotless Cornrows With a Crown Braid Detail
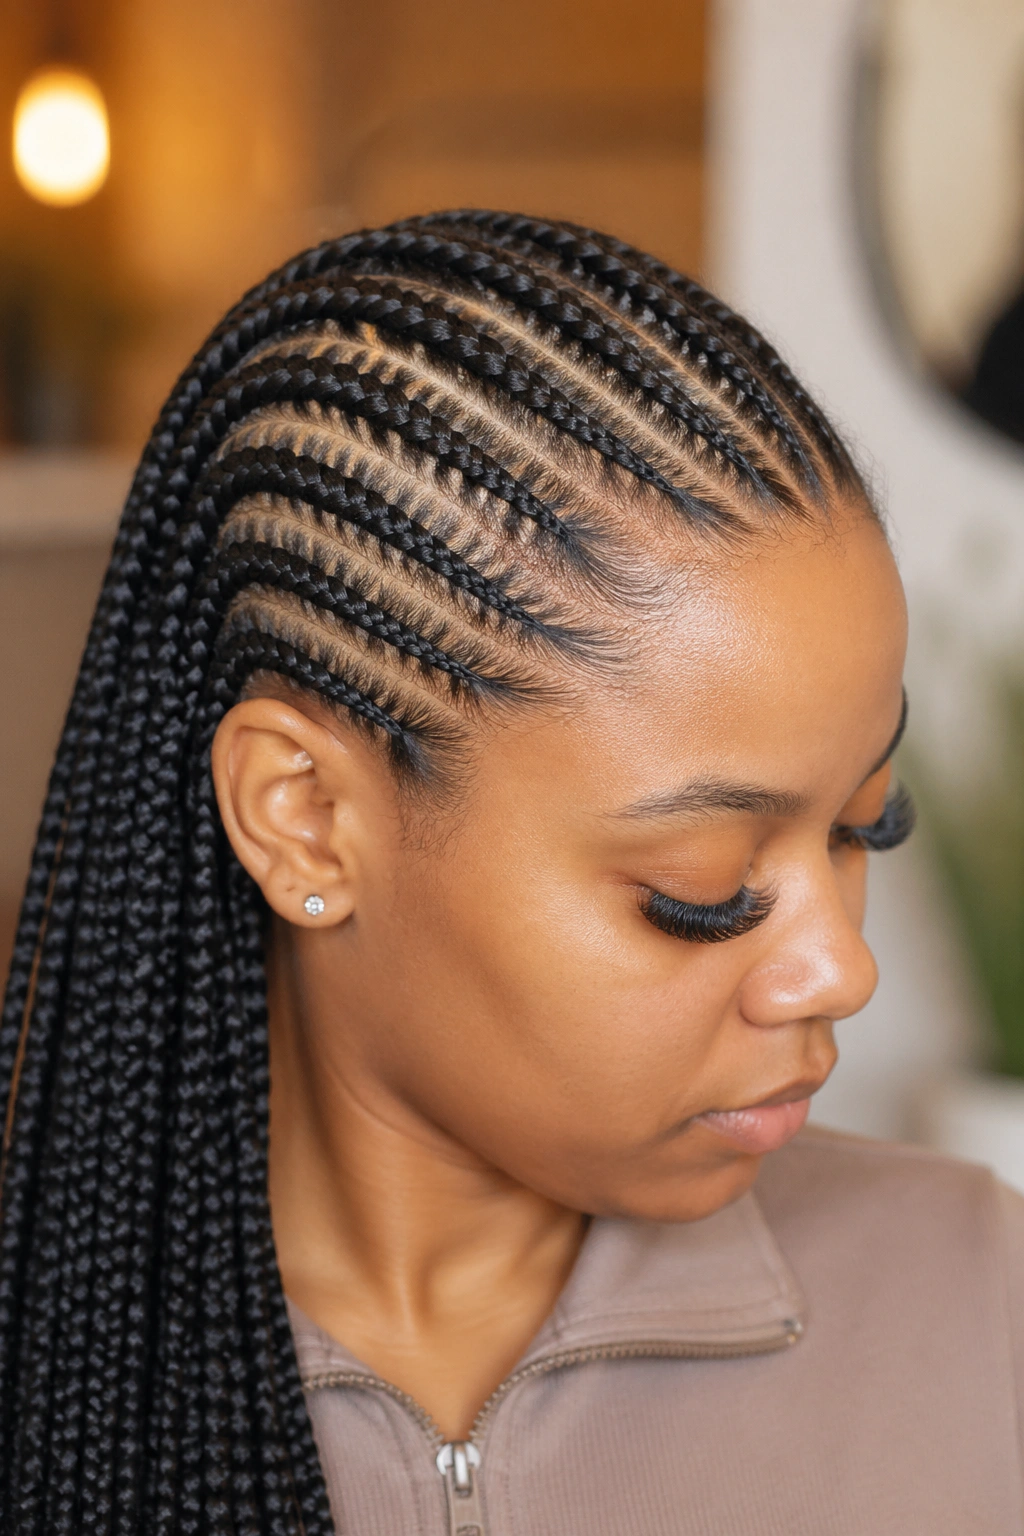
Standard knotless cornrows paired with a thin crown braid wrapping around the front of the head. The crown braid acts as a decorative hairband.
The crown can be a separate decorative piece or integrated into the cornrow structure. Either approach works.
This adds a romantic, slightly bohemian element to the otherwise clean knotless look.
12. Knotless Cornrows With Color Tips
The bottom 4-6 inches of each braid in a contrasting color — burgundy, copper, or honey blonde. The knotless start in your natural color and the colored tips create a dipped-dye effect.
This is achieved by feeding in colored kanekalon for the final segments of each braid. The color appears naturally as the braid grows.
The dipped color is most visible when braids move. Walking, dancing, turning your head — that’s when the color flashes.
13. Knotless Cornrows With a Center Part
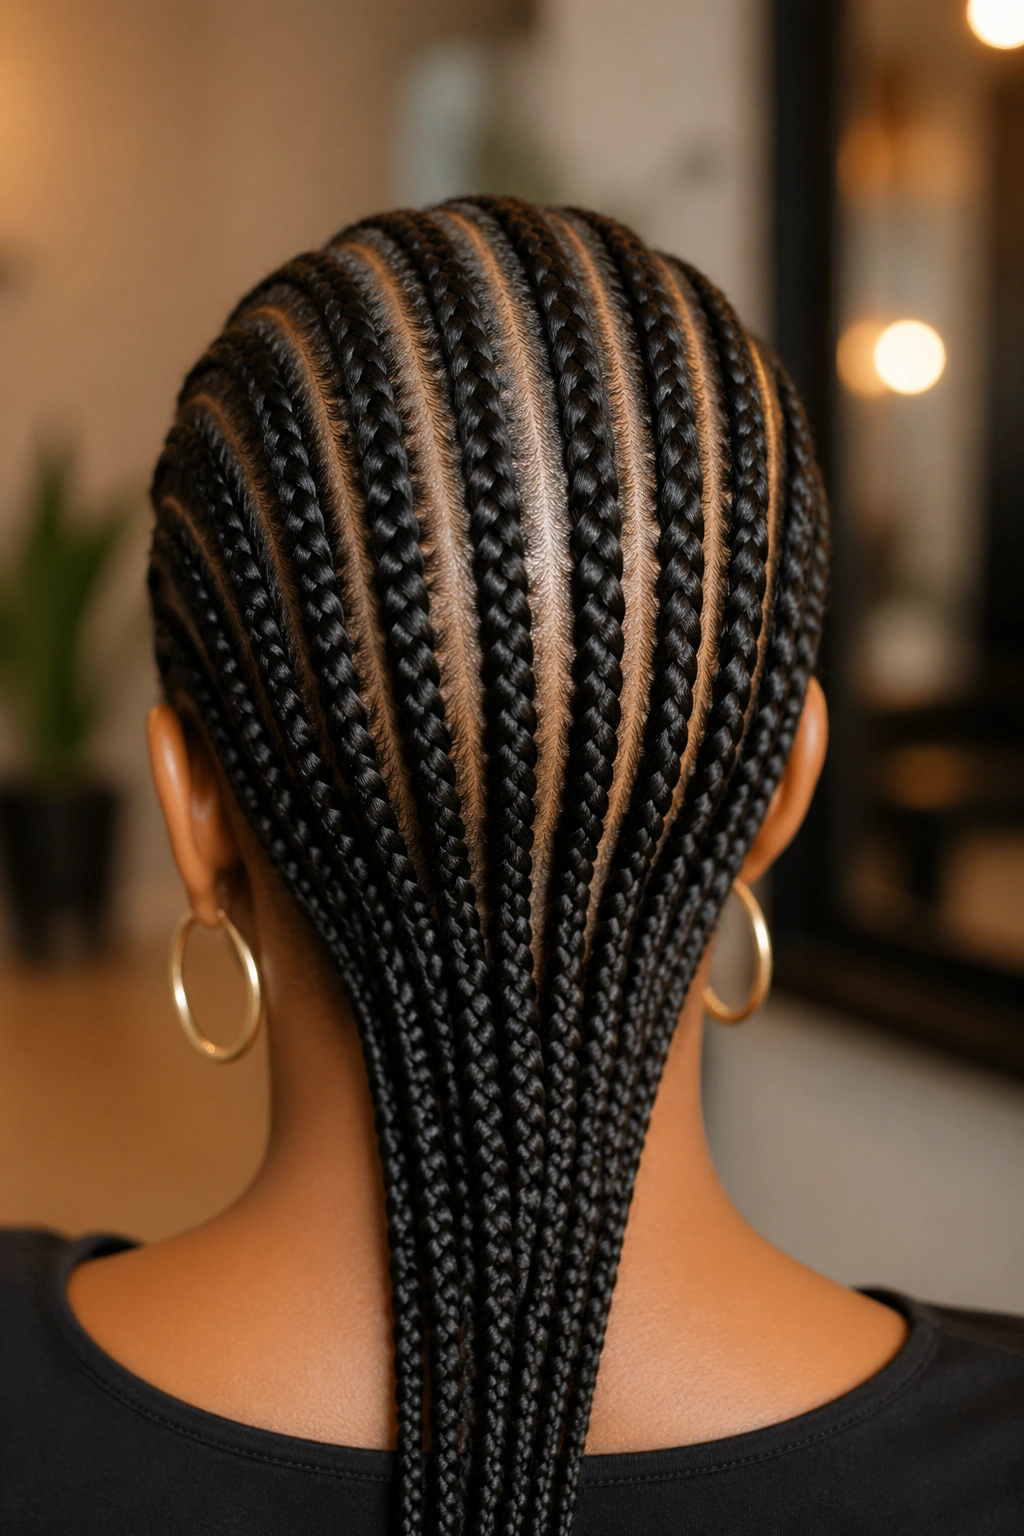
A precise center part dividing the head into two symmetric halves with equal numbers of knotless rows on each side.
The center part on knotless braids reads particularly clean because there’s no extension knot to disrupt the part line at the front.
Best for face shapes with central symmetry. Slight asymmetries get magnified by a center part.
14. Knotless Cornrows in a Mohawk Strip
Knotless cornrows running only down a center mohawk-width strip, with the sides of the head braided flat in smaller cornrows or shaved for an edgier look.
The mohawk configuration creates vertical drama. Best for narrow head shapes or anyone wanting bold styling.
The knotless technique on the mohawk strip means the central braids look natural rather than overly decorated.
15. Knotless Cornrows Into a Side Ponytail
Knotless rows curving to one side and gathering at the ear into a single asymmetric ponytail.
The asymmetric direction combined with the knotless natural look creates an editorial, soft-but-structured silhouette.
The side pony falls forward over one shoulder. Best for occasions where you want a feminine, dramatic profile.
16. Knotless Cornrows With a Half-Up Bun
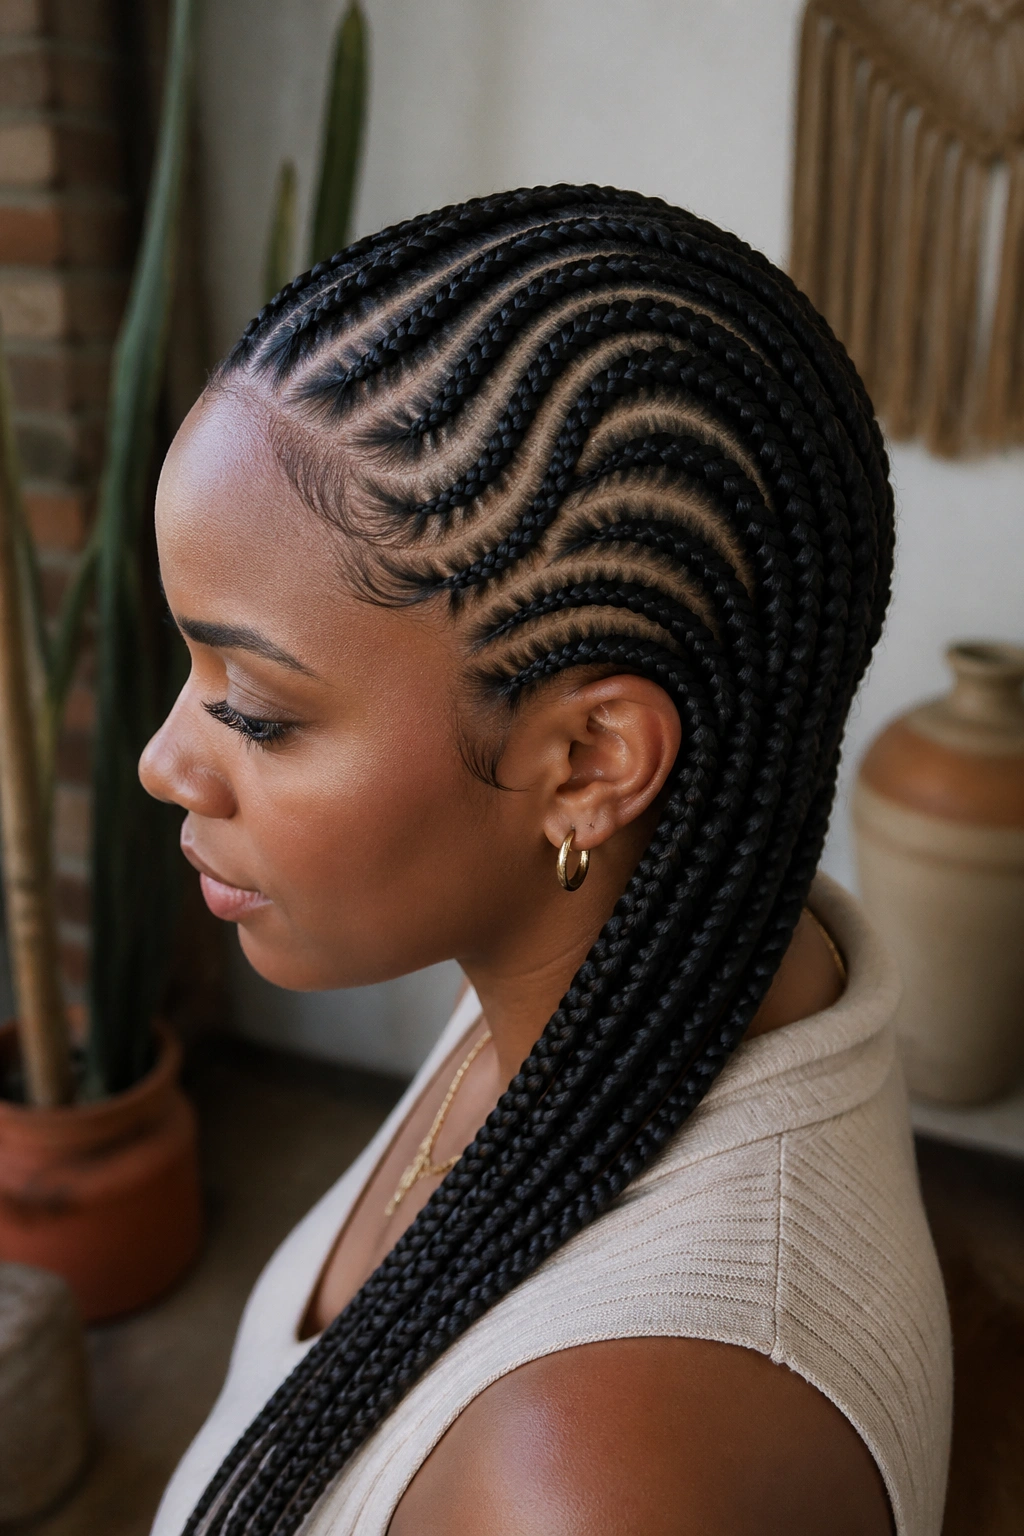
The front knotless rows gathered into a small bun at the crown, while the back cornrows continue down. A half-up half-down combination.
The knotless start at the gathered section means the gather looks especially clean — no extension knots showing where the cornrows meet at the bun base.
This is a casual-elegant style. Works for daytime events, casual dinners, semi-formal occasions.
17. Knotless Cornrows With Mixed Lengths
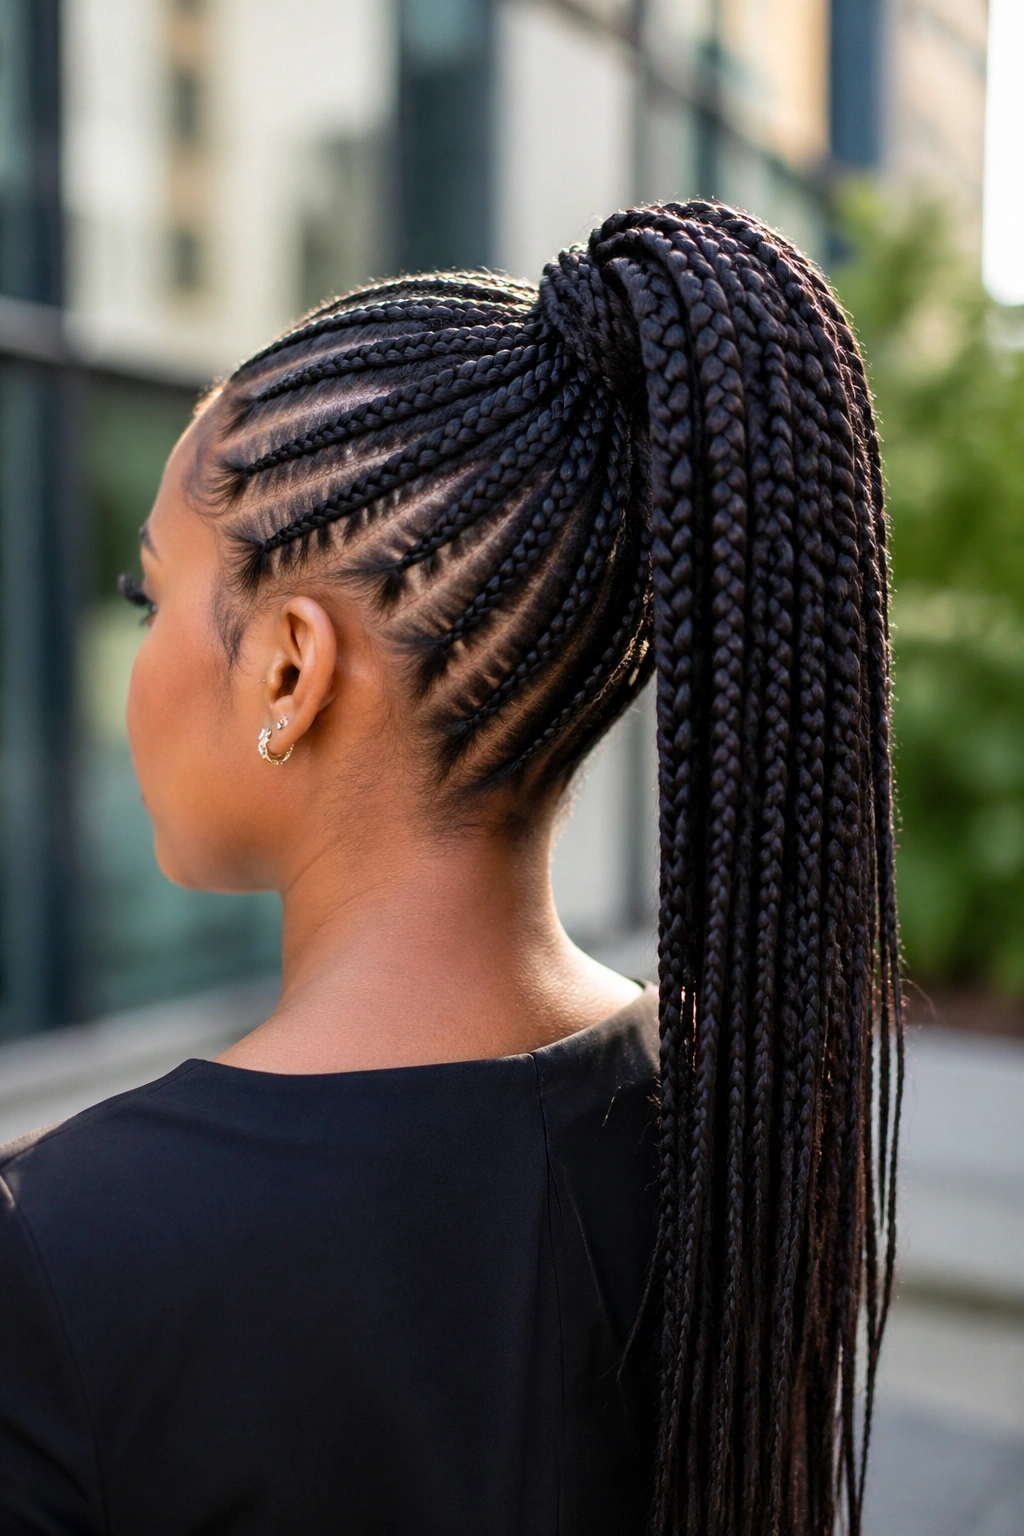
Most rows reach mid-back, but a few — usually the front 4-5 — stop at the chin or jaw. The mixed lengths create a layered, asymmetric front and back.
The knotless technique works particularly well for mixed lengths because there’s no obvious extension start to disrupt the visual flow between short and long braids.
The shorter front pieces frame the face like blunt fringe. Especially flattering for round faces.
18. Knotless Cornrows With a Geometric Front Pattern
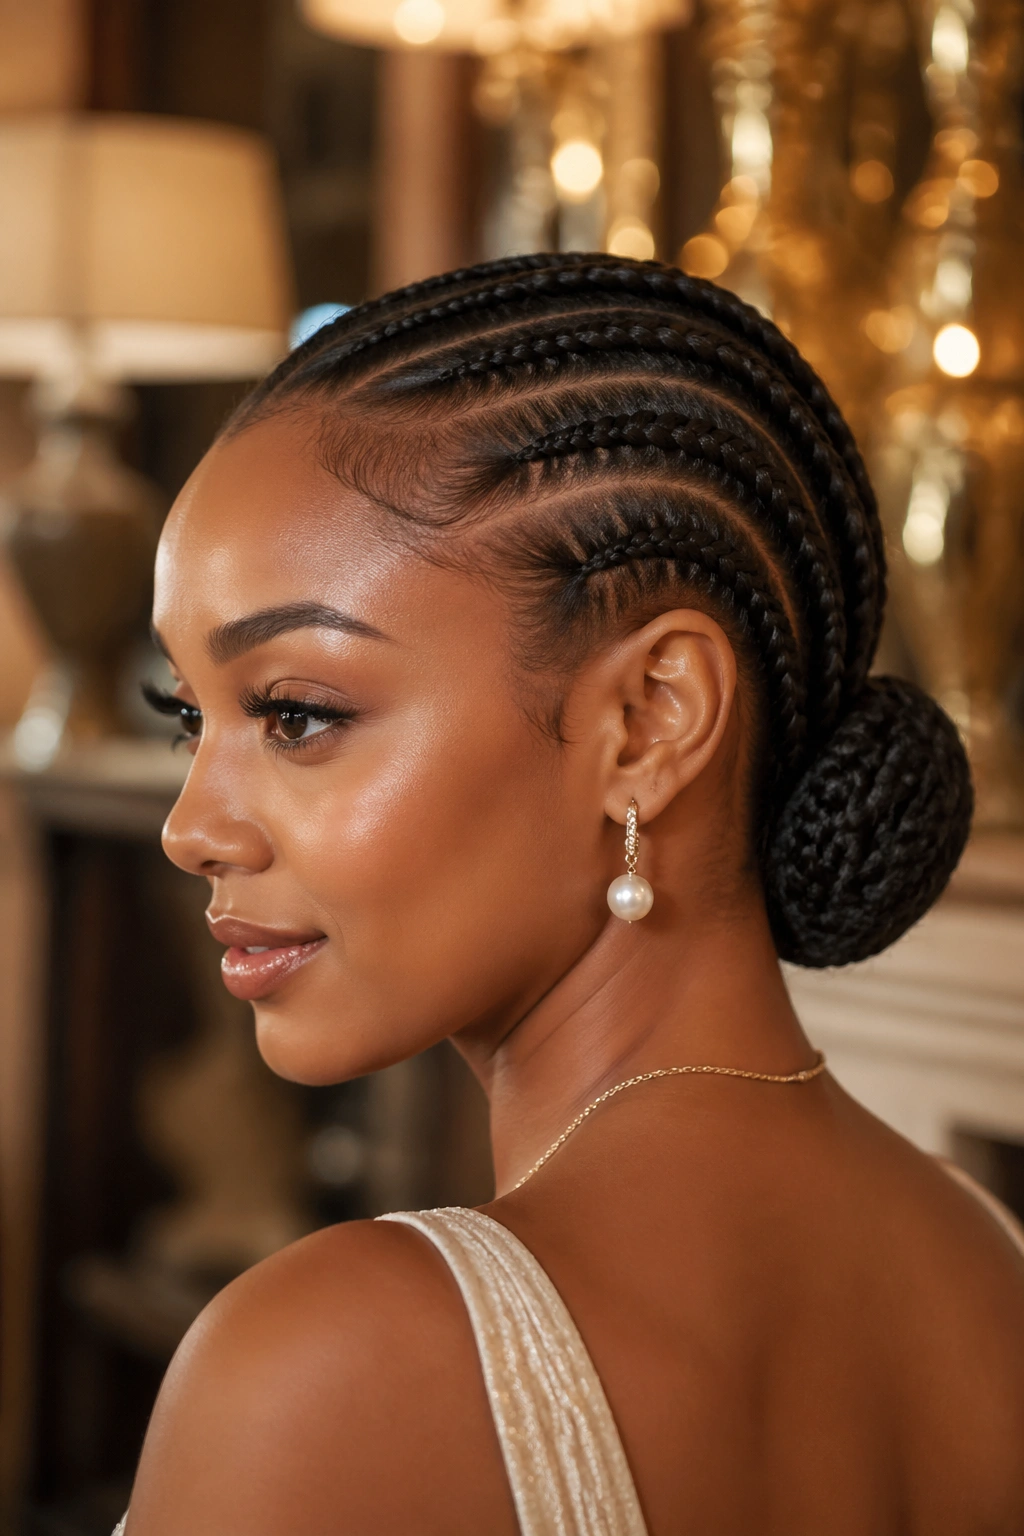
The front rows arranged in a geometric pattern — chevrons, diagonal lines, or a triangular shape — before joining the rest of the cornrows running back.
The geometric front turns a standard knotless cornrow set into a clearly styled, intentional look.
The pattern adds 30-45 minutes to the install. Worth it for events.
19. Knotless Cornrows With Open Spaces Between Sections
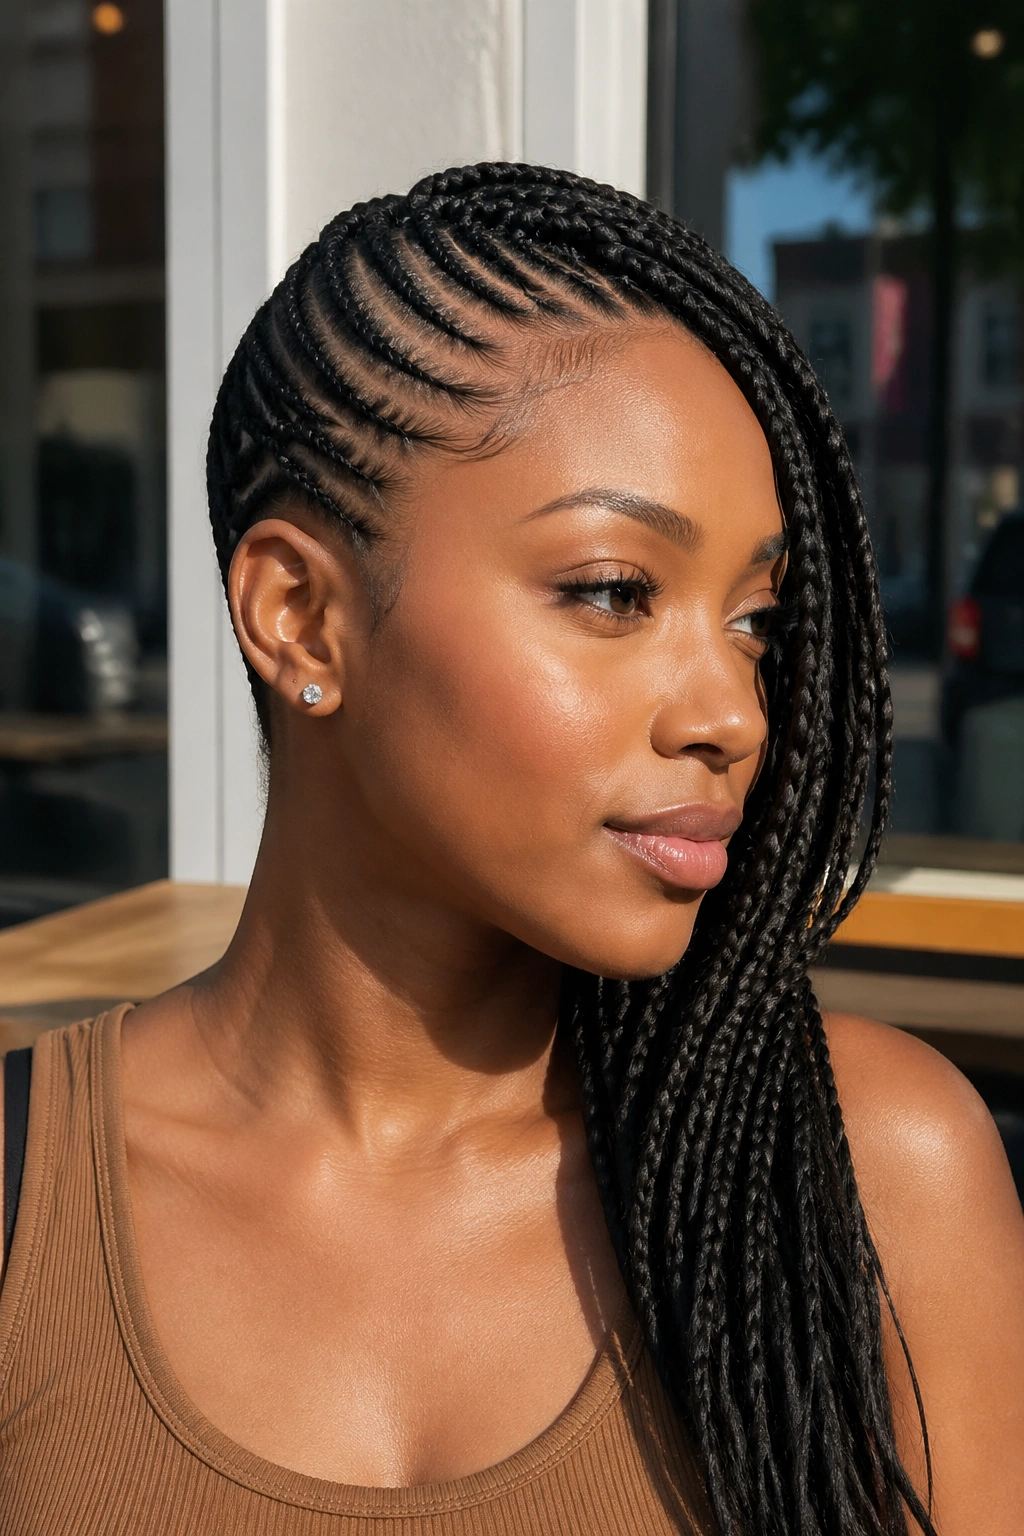
The cornrows arranged in 3-4 sections with intentional gaps of bare scalp between them. The knotless starts make the gaps look intentional and clean rather than missing-braid-like.
The bare scalp sections need precise edge work. Sloppy borders ruin the architectural effect.
20. Knotless Cornrows Into a Crown Updo
The cornrows gathered at the crown into an elaborate updo — a French twist, a sculpted chignon, or a coiled crown.
The knotless front means the gather can be tight at the back without pulling on the front edges.
Best for formal events. The combination reads as bridal-quality styling.
21. Knotless Cornrows With Floor-Length Drama
The longest possible variation — knotless rows with extension hair reaching past the waist, sometimes to the floor. This is reserved for high-fashion or editorial moments.
Floor-length knotless requires expert skill. The graduated feed-in technique must extend through dozens of inches of length while maintaining consistent braid thickness.
The weight is significant. Consider this style for short-term wear rather than ongoing protective styling.
22. Knotless Cornrows Into Pigtails
Knotless rows divided down a center part and gathered into two pigtails — one on each side. The pigtails can be at the nape, behind the ears, or higher.
Pigtails read youthful and playful. The knotless technique keeps them from looking childish — the natural-looking starts give the style maturity.
Best for festivals, casual events, photoshoots.
Maintaining Knotless Cornrow Styles
Sleep on satin every night. Even though knotless braids are gentler at the roots, the braids themselves still need protection from cotton friction.
Mist with water and conditioner spray every 3-4 days. Knotless braids dehydrate at the same rate as traditional braids.
Light scalp oil every 4-5 days. Tea tree, peppermint, or jojoba oil. Apply directly to the scalp through the parts.
Edge touch-ups weekly. A small amount of gel applied with a soft brush. Knotless braids put less pressure on edges, but edges still need maintenance.
Washing Knotless Cornrows
Wash every 7-10 days. The knotless technique allows for slightly more frequent washing without damaging the braid integrity, but excessive washing still causes frizz.
Use sulfate-free shampoo diluted with water in a squeeze bottle. Apply to the scalp through the parts. Massage gently with fingertips — don’t scrub the length.
Rinse with cool water. Pat dry with a microfiber towel. Air dry completely before bonneting.
Why Knotless Lasts Longer
Knotless cornrows can last 6-8 weeks with proper care, compared to 4-6 weeks for traditional cornrows.
The reason — without a chunky knot at the root, there’s less leverage point for the braid to loosen. Traditional knots eventually stretch and slip; knotless braids don’t have that weak point.
The braid integrity holds longer at the scalp, which is the area that typically loosens first in any cornrow style.
Taking Down Knotless Cornrows
The takedown is significantly easier than traditional braids. Without knots to undo, the braids unweave smoothly once you start.
Apply generous conditioner. Work one braid at a time. Use your fingers for the first stage, a wide-tooth comb for the final detangling.
Plan for 90-120 minutes of takedown. Faster than traditional braid removal.
After takedown, your edges should look healthy — possibly fuller than before the install. That’s the long-term benefit of knotless.
Picking the Right Density
Knotless cornrows look best at medium density — 10-14 rows for most head sizes.
Going too few rows (under 8) makes individual braids too thick to maintain the natural look. The braid weight overwhelms the knotless start.
Going too dense (over 16 rows) makes individual braids too thin to integrate the kanekalon smoothly. The graduated feed-in technique needs enough braid mass to work cleanly.
The sweet spot — 12 rows for average density and head size.
Common Mistakes That Ruin Knotless Cornrows
Choosing a braider who doesn’t truly know knotless. Many braiders advertise knotless but use modified traditional techniques that still create small knots. Ask for portfolio examples and verify the lack of knots in close-up photos.
Going too tight at the natural-hair start. The whole point of knotless is reduced tension. If the braider pulls hard at the beginning, you lose the benefit.
Using the wrong kanekalon. Stiff or glossy kanekalon doesn’t blend with the gradual feed-in technique. Pre-stretched is essential.
Skipping bonnet at night. Even gentle knotless braids frizz without overnight protection.
Wearing the same parting style install after install. Even with knotless reducing tension, the same parting concentrates wear on the same scalp zones. Rotate parting patterns.
Knotless cornrow styles are the future of protective braiding. The technique respects your edges, distributes tension, and lasts longer than traditional cornrows. Once you’ve worn knotless and felt the difference in your scalp, going back to traditional braiding becomes hard. The investment in time and a skilled braider pays off in healthier hair and a more natural-looking install.
