



Medium-length hair occupies a tricky middle ground when it comes to cornrows. It’s too long to be called short and too short to be called long, which means most styling tutorials either overshoot or undershoot the mark. Straight-back cornrows for medium hair solve that problem by working with what you have — enough length to feed through the braid cleanly, but not so much that you’re wrestling with three feet of kanekalon at every turn.
If your natural hair sits somewhere between your chin and your shoulders when stretched, you’re in medium territory. This is prime cornrow length. The hair is long enough to braid without constantly losing the strand, and short enough that the whole install finishes in a sensible amount of time.
The real beauty of straight-back cornrows on medium hair is how flattering they are across a range of face shapes and ages. They don’t shout. They don’t overcomplicate. They pull your face forward, clean up your silhouette, and give you a genuinely protective style that doesn’t sacrifice polish for function.
Twenty-two different takes on straight-back cornrows for medium hair follow below. Some are minimal. Some push the envelope. Pick the one that speaks to where you are in life right now.
What Straight-Back Cornrows Mean on Medium Hair
Straight-back cornrows are the most classic of all cornrow patterns. The hair is parted in parallel lines running from the front hairline to the nape, and each section is braided tight to the scalp, moving straight back without curves or angles. No swirling. No zigzagging. Just clean, parallel lines.
Medium hair changes how these cornrows behave. Shorter lengths mean the tails will end somewhere between the shoulders and mid-back, depending on whether extensions are used. The finished silhouette tends to be more manageable than on long hair, and the weight is less demanding on the scalp.
For people transitioning from relaxed to natural, for anyone growing out a big chop, for those who just prefer a moderate length — medium hair and straight-backs go together like warm bread and butter.
Prep Is Easier When Your Hair Is Medium
One of the genuine perks of medium hair is that prep happens faster. Wash day takes less time. Detangling takes less time. Blow-drying or stretching takes less time. All of that efficiency carries into the braiding chair — a full install that might take six hours on mid-back length hair might finish in three and a half on medium.
Start with a clarifying shampoo two days before your appointment. Don’t wash the night before — the cuticle needs at least twenty-four hours to settle. Follow the clarify with a deep conditioner, then a lightweight leave-in. Avoid heavy creams before braiding. They create slip, and slip is the enemy of a tight cornrow.
Stretch your hair using whatever method you prefer. Blow-drying on warm, banding, African threading, or a twist-out left overnight all work. The goal is stretched, not bone-straight. Just enough that your braider isn’t fighting shrinkage while trying to part.
Tools That Make a Difference
Medium hair requires slightly different tools than short or long.
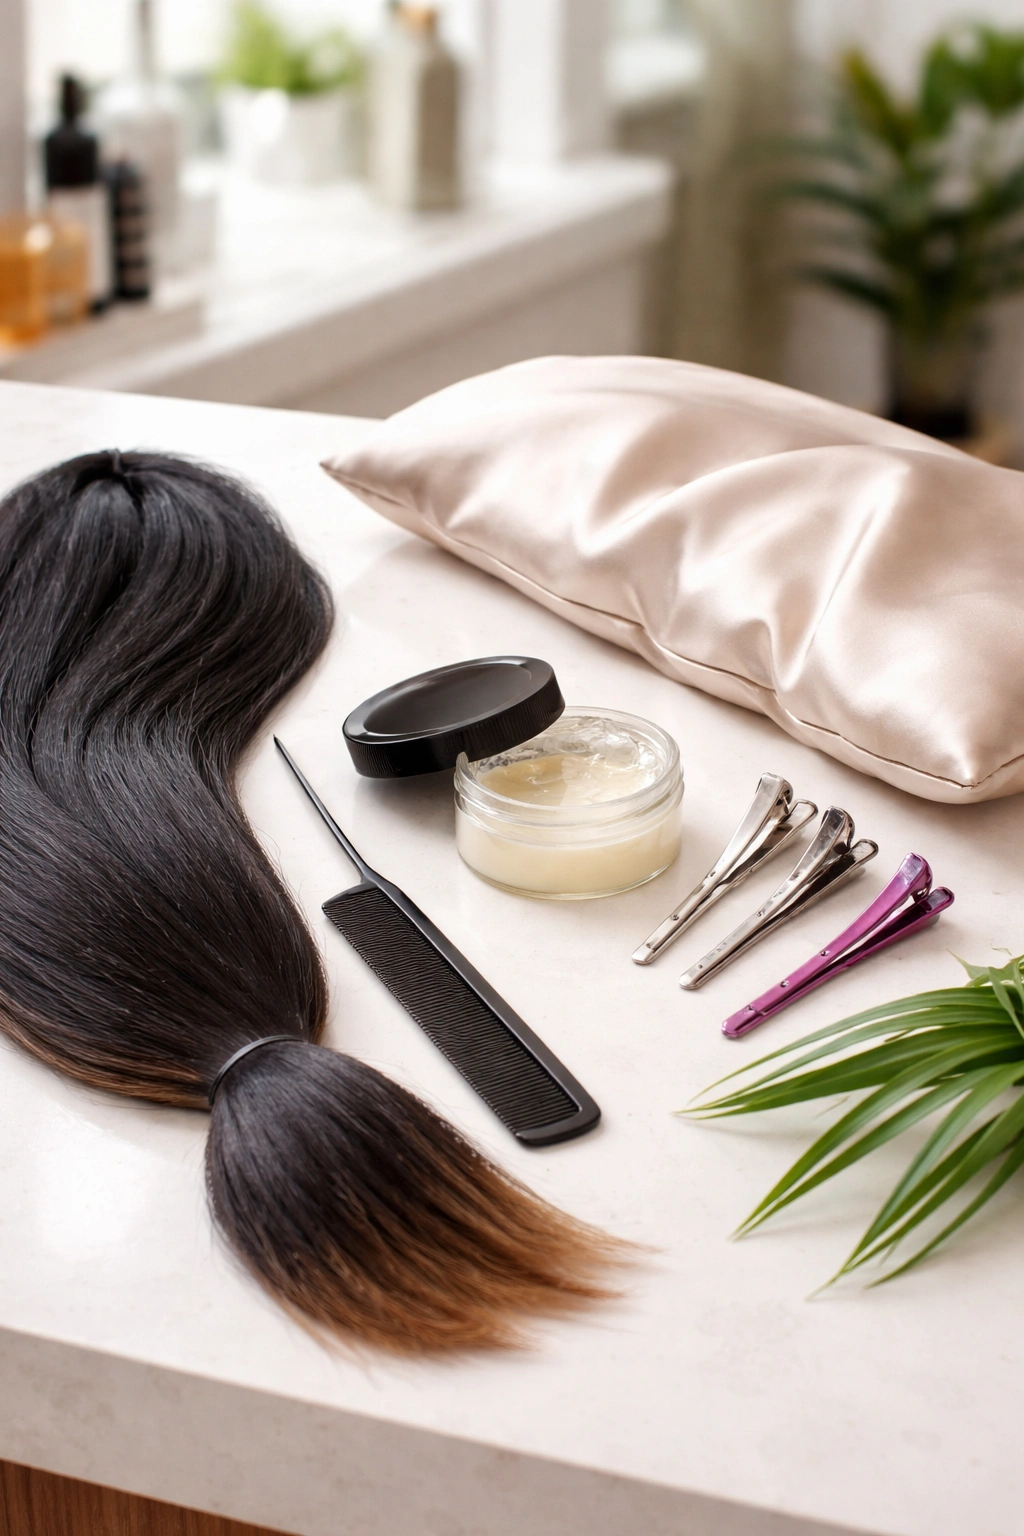
- A fine-tooth rat-tail comb with a metal tail. The metal tail makes cleaner parts than plastic.
- Edge control — a small jar is enough for one install.
- Pre-stretched braiding hair if you’re using extensions. For medium hair going without extensions, you can skip this.
- A pointed applicator bottle for later scalp care.
- Section clips. At least six. Medium hair moves around more than short hair while you’re working.
- A satin pillowcase for the nights before your appointment, to keep your cuticle smooth.
The temptation to buy every product on the shelf is real. Resist. Most of what you see marketed is filler. The basics above cover 95% of what you’ll need.
The Parting Rule Most People Miss
Here’s something that took me years to figure out. The width of each part directly affects how long the style lasts — and the sweet spot for medium hair is thinner parts than you might expect.
On long natural hair, wider parts can work because the hair has the weight to stay down. On medium hair, wider parts leave too much exposed scalp between the braids, which reads as sparse rather than sleek. You want parts that are narrow — roughly half an inch between cornrows for an eight-back style — so the finished look feels full rather than gappy.
A good braider will understand this instinctively. If your braider insists on wide parts for the “cleaner look” and your hair is medium density, push back. Ask for something closer to half-inch spacing. The result is dense, polished, and actually flattering.
A Quick Word on Edge Care Before Install
Your edges get the most tension in any cornrow install, and straight-backs send most of that tension straight toward your hairline. If your edges are already thin or recovering from damage, communicate this upfront.
The braider should leave the first stitch of each cornrow slightly looser than the rest. You won’t be able to tell looking at it. You’ll be able to tell in week three, when your edges haven’t gone fuzzy and your hairline still looks intact.
For already-damaged hairlines, consider asking your braider to leave a small fringe of baby hairs out at the front. This takes pressure off the hairline without sacrificing the clean look. The baby hairs can be smoothed into the overall style with a light edge gel.
1. Classic Eight Straight-Backs
Eight cornrows running from front to back. Clean, symmetrical, universally flattering.
Why It Works
Eight is a magic number for medium hair. Fewer than six reads chunky, more than ten reads small — eight sits right in the middle. Each cornrow has enough visual weight to look intentional without being heavy. The parts stay narrow, the silhouette stays full, and the finished look suits everyone from teenagers to grandmothers.
- Takes 2-3 hours for a skilled braider
- Lasts 3-4 weeks with proper care
- Works without extensions on medium hair
- Easy to style into buns, ponytails, or leave loose
Tip: Ask for the two center braids to be fractionally wider than the outer ones. This small adjustment creates a subtle focal point at the crown and photographs beautifully from any angle.
2. Five-Back Cornrows with Thick Parting
Five bold cornrows instead of the usual six or eight, with dramatic scalp exposure between them.
Why five? Because sometimes you want every cornrow to count. Fewer braids means each one does more work — thicker, heavier, more dominant. The parts between them become design elements in their own right, clean lines of exposed scalp that frame each braid.
This style moves faster than eight-backs — you’re looking at a maybe two-hour install — but demands more from the braider. Thicker cornrows are technically easier to braid but harder to keep uniform. You don’t want one noticeably thicker than the others.
Medium hair works surprisingly well for this style. The moderate length means the thicker tails don’t end up comically long, which keeps the look grounded and wearable for everyday life.
3. Six Straight-Backs With a Low Ponytail Finish
Six cornrows gathered into a low ponytail at the nape, either tied with a silk scrunchie or wrapped with a thin section of braiding hair.
Bold claim: This is the single most elegant way to wear straight-back cornrows on medium hair. The pony at the nape takes what could be a simple protective style and turns it into something suitable for a formal event, an interview, or a dinner where you need to look put-together without trying.
The magic is in the restraint. The cornrows themselves are simple. The pony is low, not high. Everything sits smoothly. There’s nothing fussy or overworked. It reads as quiet confidence.
Pair with hoop earrings and a simple neckline. The style does the talking.
4. Seven Cornrows Finished With Beaded Tips
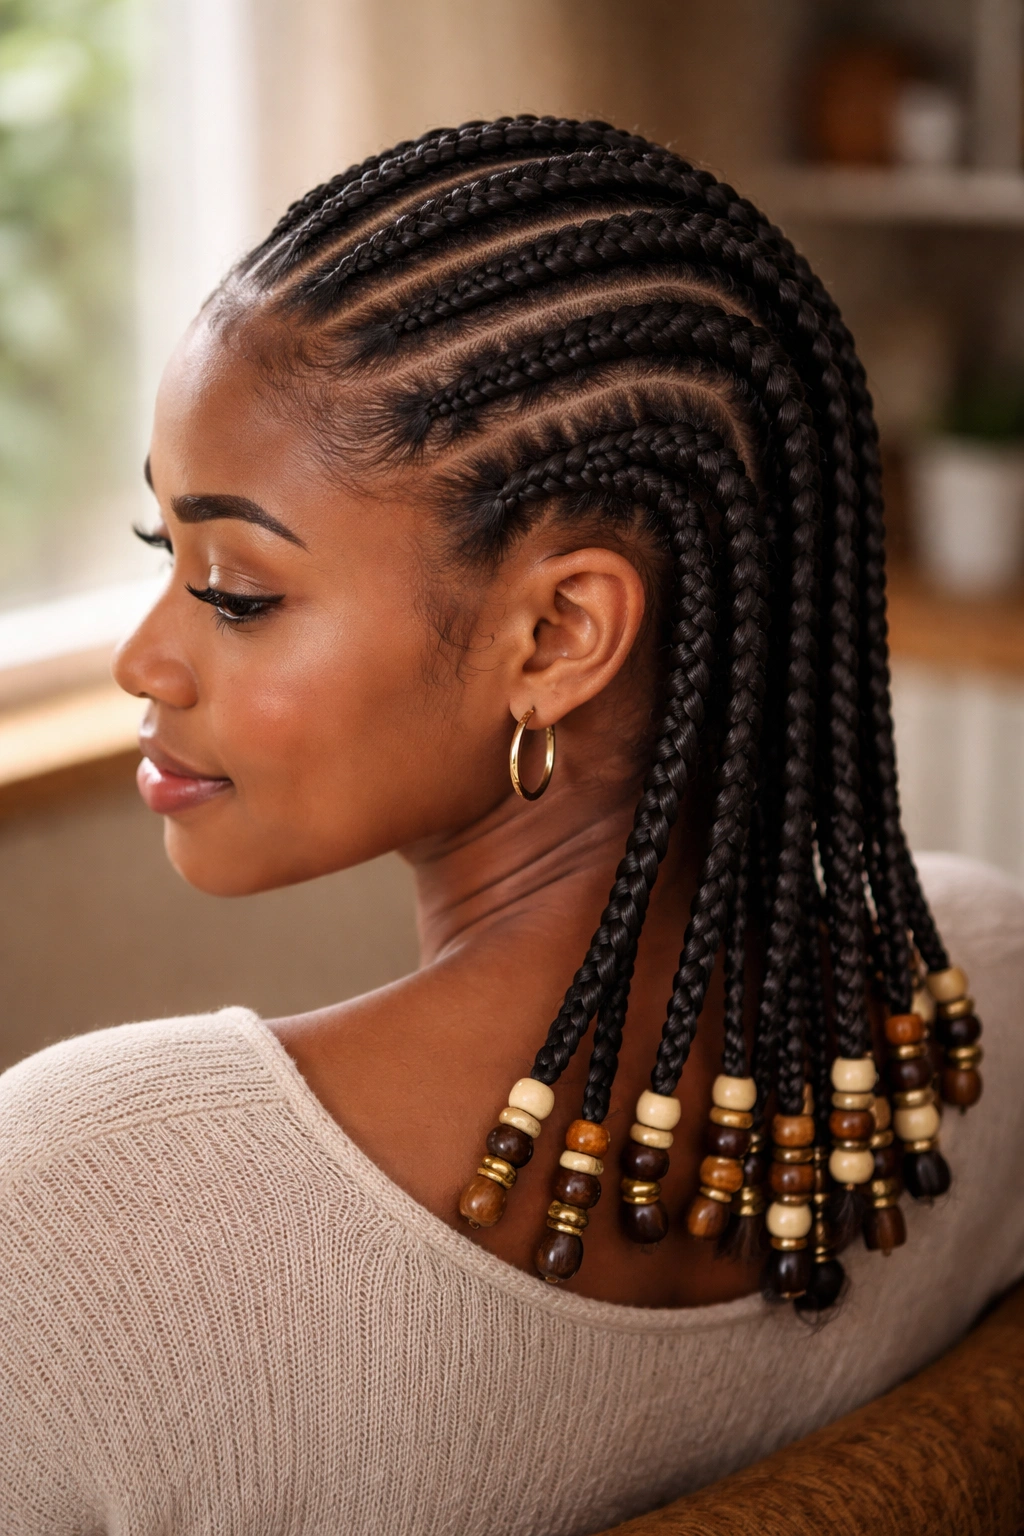
Seven medium cornrows with a single wooden or ceramic bead at the end of each.
Beads on medium hair sit differently than on long hair. On long hair, beads get lost in the length. On medium hair, the beads become the visible endpoint — your eye travels down the cornrow and lands on the bead, making both the beading and the braiding more visible.
Styling Tips
Choose beads that contrast with your hair color. Black hair with natural wood beads creates warm contrast. Dark brown hair with brass or copper tones creates earthy richness. Jet black beads on jet black hair? Too matchy. You won’t see them at all.
Secure each bead with a small clear elastic folded once, then tucked under the bead to hide the fastener. This looks cleaner than visible bands.
5. Four Bold Cornrows for Short-Medium Hair
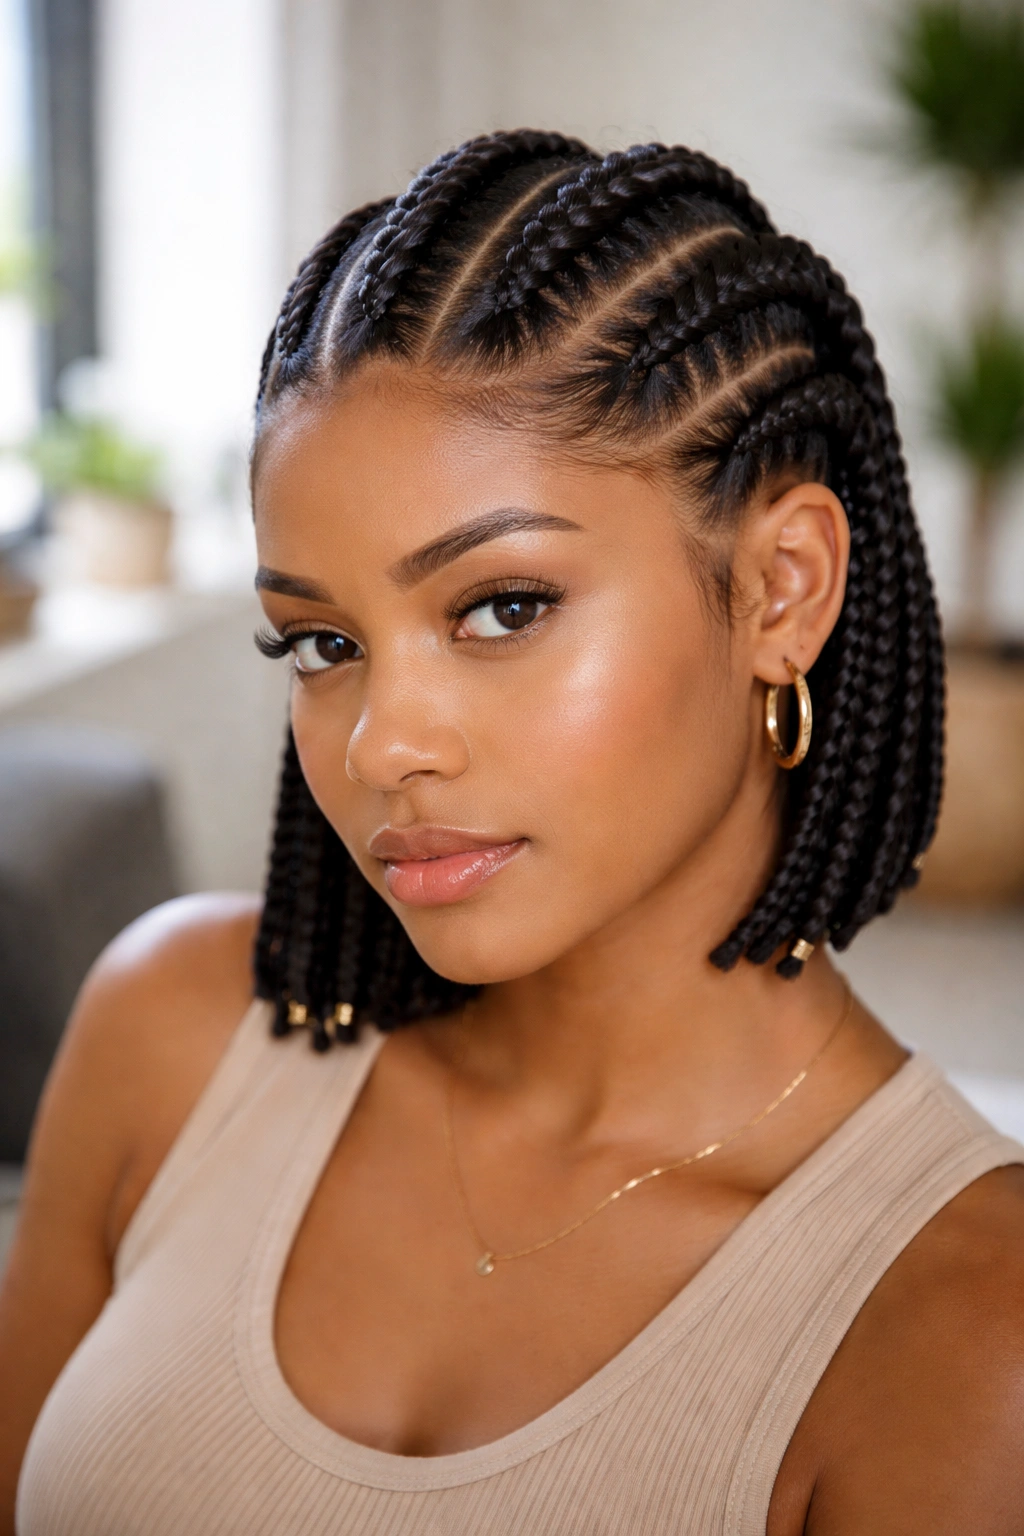
For medium hair on the shorter side — chin length or just above — four cornrows often work better than six or eight.
Fewer cornrows mean each section has more hair to work with, which means the braid is substantial enough to look intentional rather than anemic. With four big cornrows, even chin-length hair looks polished.
The tradeoff is that the parts between braids are wider, which means more visible scalp. This doesn’t have to be a negative — on darker skin tones, the contrast between hair and scalp adds graphic interest. On lighter skin tones, the contrast is softer but still clean.
Expect this style to last 2-3 weeks on medium hair without extensions. Beyond that, the new growth at the roots gets too significant to ignore.
6. Six Cornrows With a Deep Side Part
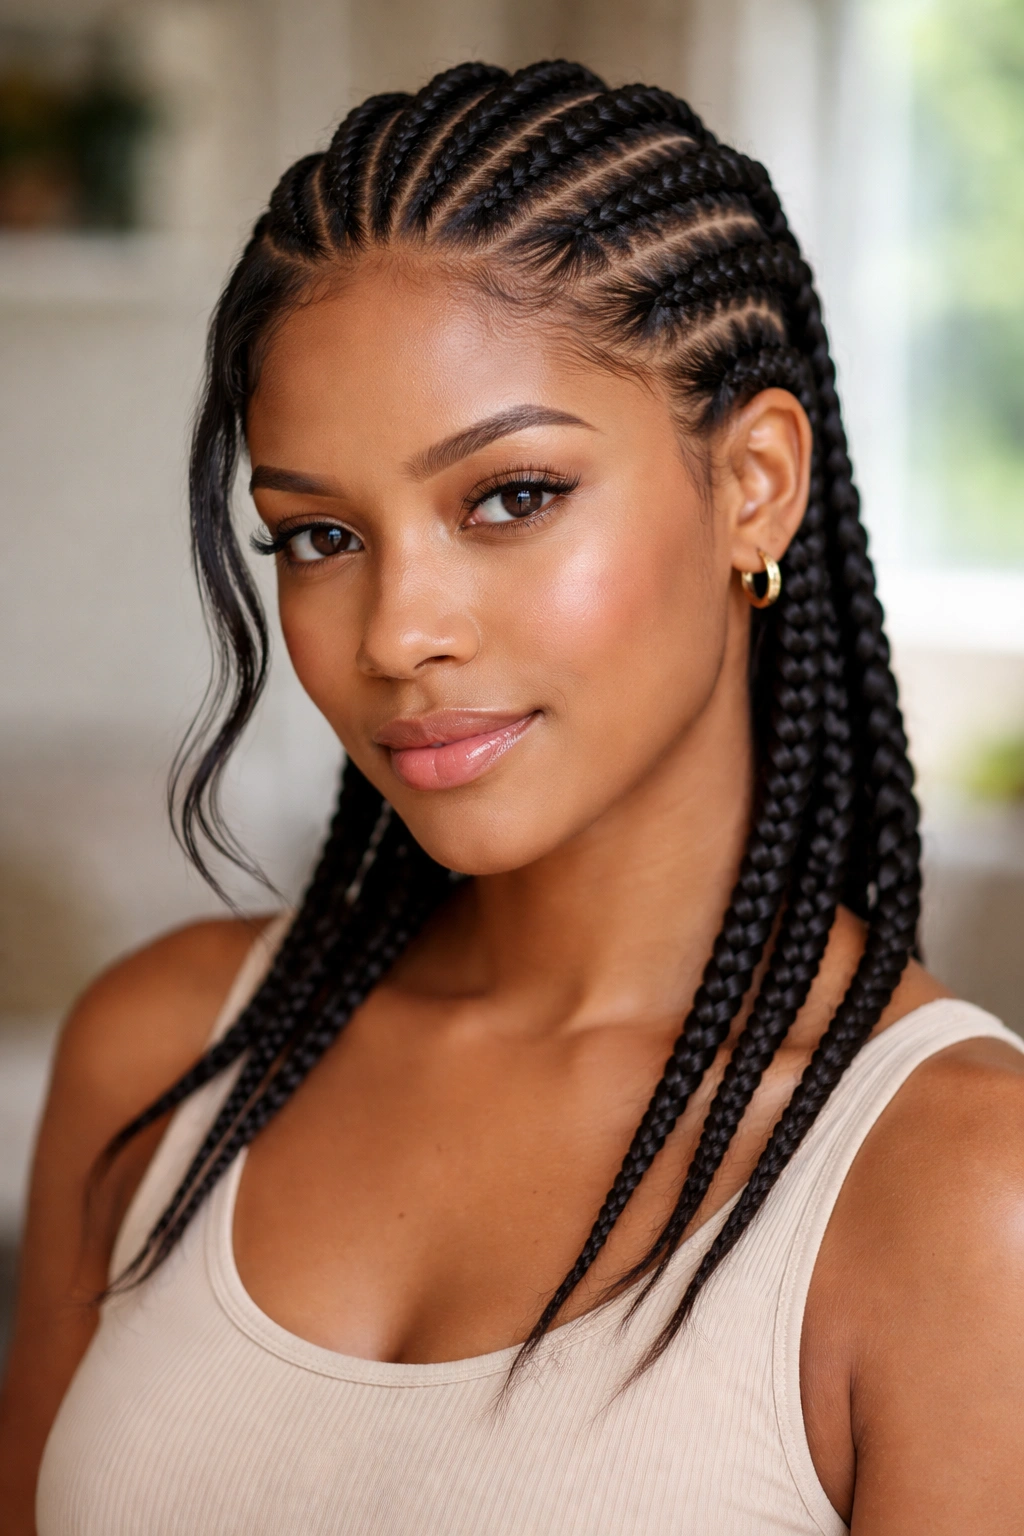
The simple six-back gets a lift when you shift the part dramatically off-center.
Instead of a center part, your braider starts the cornrows with a deep side part — about two inches from center — on your dominant side. The cornrows on that side are then slightly angled inward, while the cornrows on the opposite side are angled slightly outward. The asymmetry is subtle but flattering.
The deep side part also creates a small fringe effect, with a few strands falling over the forehead on the heavier side. This softens the face and adds movement. For anyone who feels that centered styles are too severe, the deep side part is a reliable fix.
7. Ten Thin Straight-Backs for Density
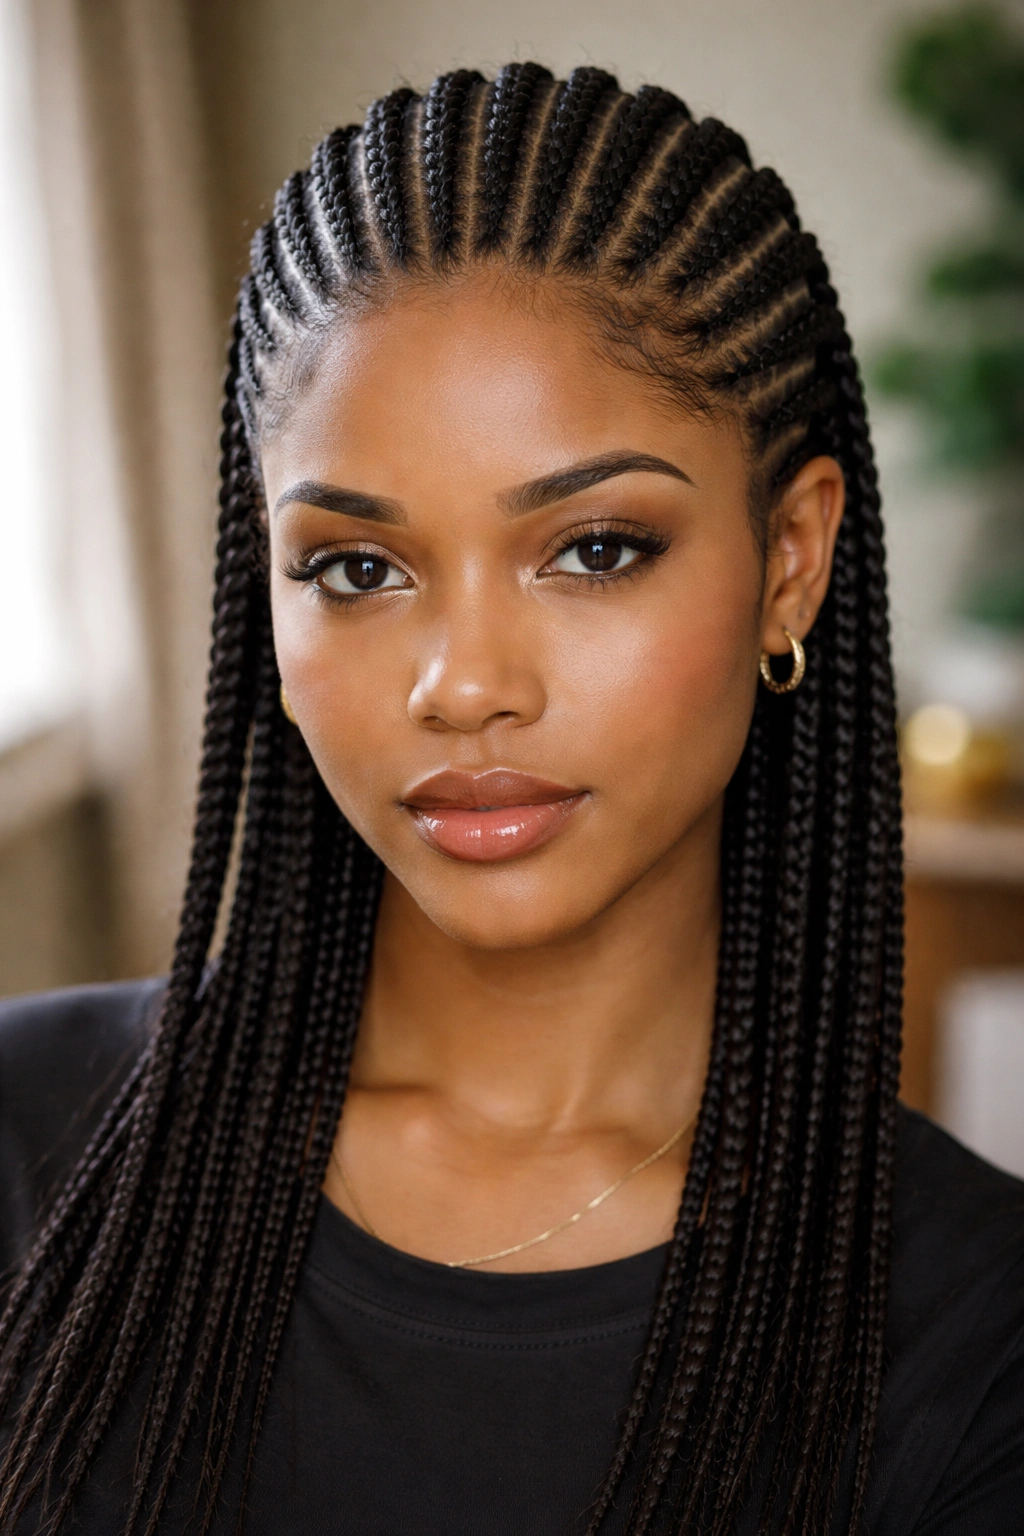
Ten narrower cornrows, tightly spaced, for a dense look that emphasizes texture.
Ten is the upper limit for medium hair without extensions. Go tighter than ten and the braids become fragile and hard to maintain. But at exactly ten, you get a look that reads as thick, full, and intentional.
- Best for medium density hair
- Takes 3-4 hours to install
- Lasts about 3 weeks
- Pairs well with minimal accessories — the density itself is the statement
This style requires a braider with patience. Narrow cornrows demand precision at every stitch, and rushing leads to uneven thickness. Book with someone who charges by complexity rather than by hour.
8. Cornrows With an Exposed Nape
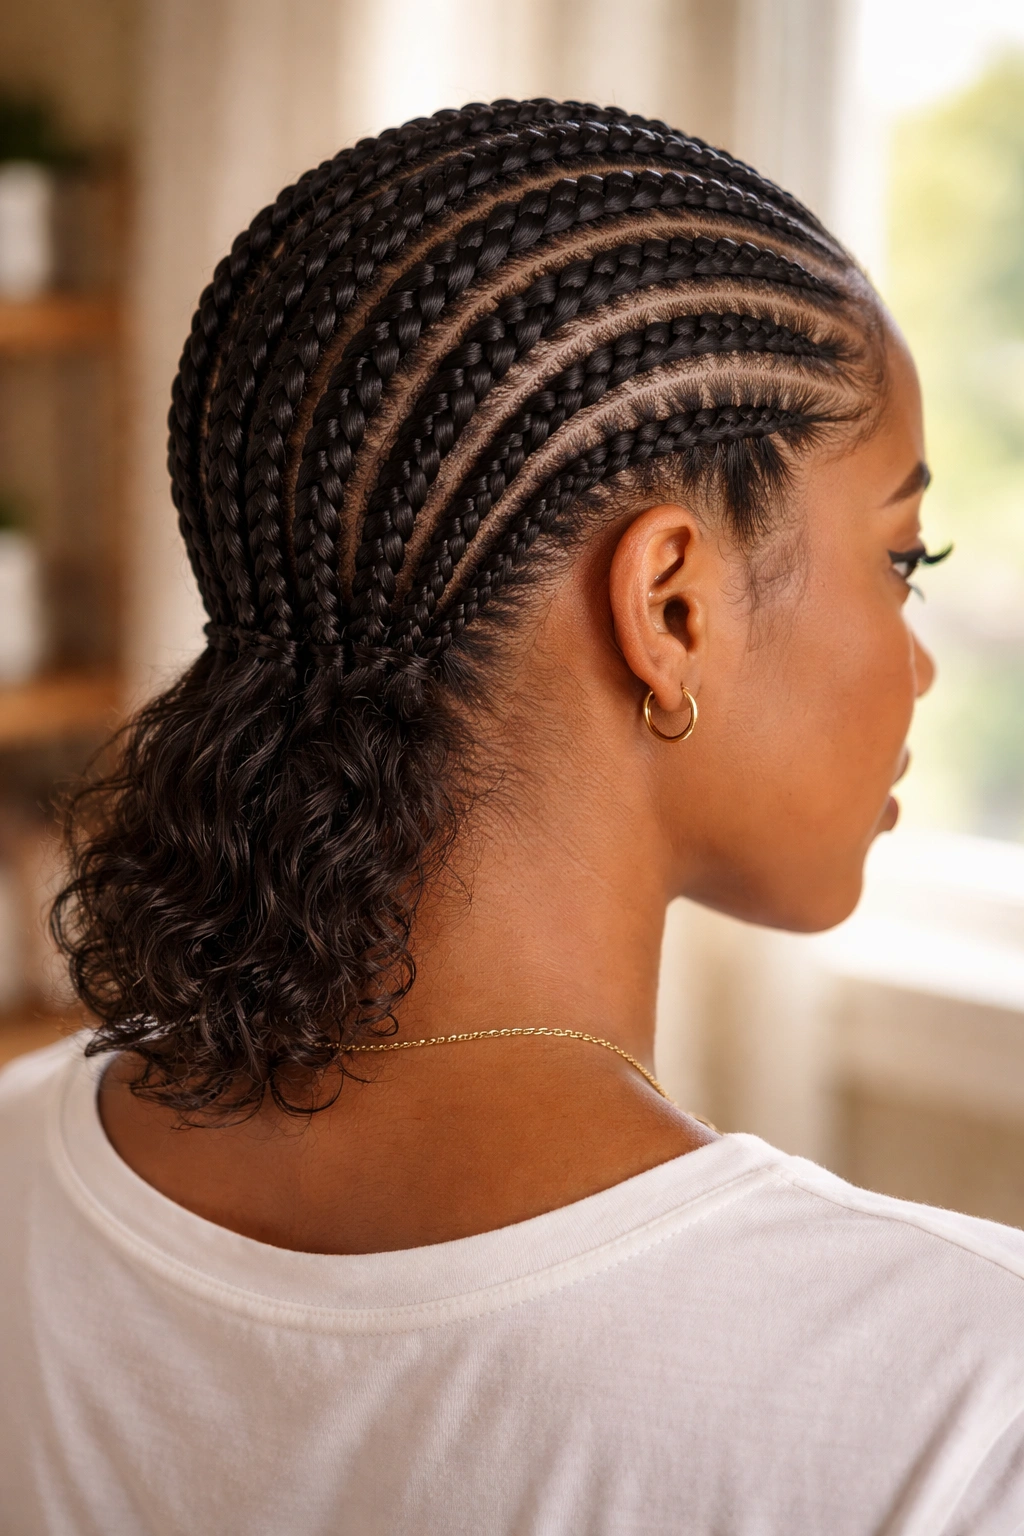
Standard straight-backs that terminate about two inches before the nape, leaving a strip of hair loose at the back of the neck.
Why would you want loose hair at the nape? Because it softens the edge of the style. A full cornrow install down to the nape can feel severe — like a helmet. Leaving the nape loose adds a feminine, slightly undone quality that keeps the style from feeling too sculpted.
The loose section can be styled in a few ways. Left curly, it contrasts the slickness of the cornrows. Pressed straight, it sweeps against the neck. Tucked into a small bun at the nape, it creates a clean finishing point.
This isn’t traditional. Some braiders will push back. Stand your ground — it’s a valid style choice and looks great on medium hair.
9. Two Cornrows Bookending Loose Hair
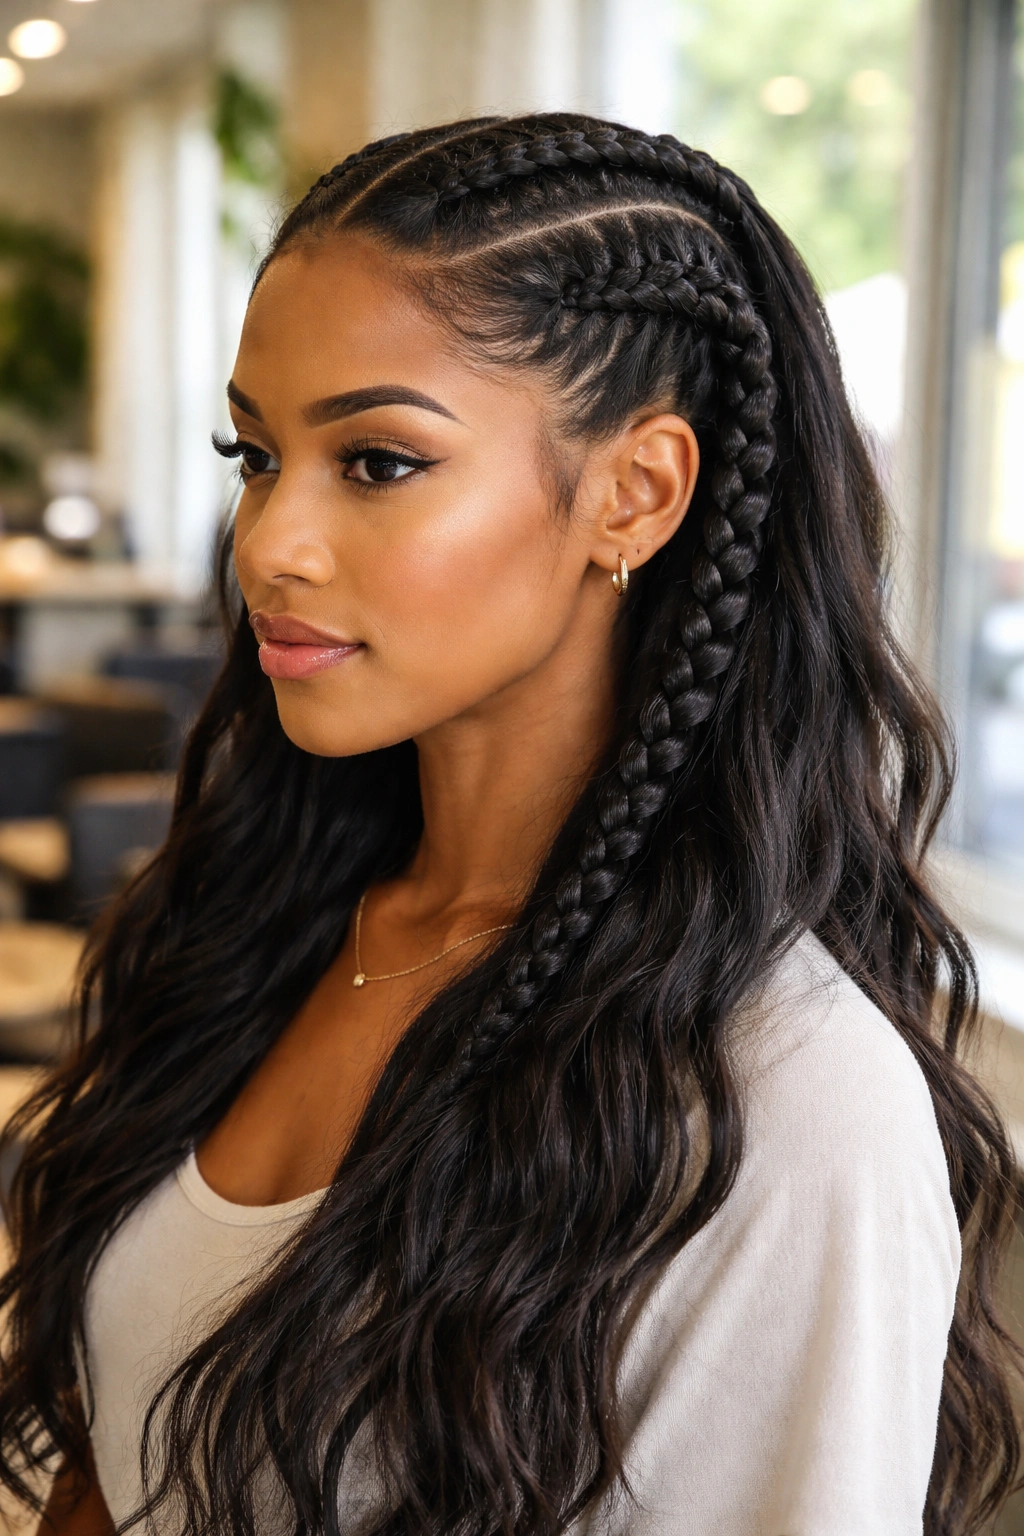
Two big cornrows framing the sides, with the top and back left completely loose.
Technically this is a “half” style rather than a full cornrow install, but it belongs on this list because it’s become a genuine go-to for medium hair. One cornrow starts at each temple, travels back along the side of the head, and finishes behind the ear. Everything between the two cornrows is left out — natural, curly, puffed, whatever you prefer.
The contrast between the smoothed cornrowed sides and the textured loose top creates instant dimension. The style lasts maybe a week to ten days at its cleanest, but the install takes less than forty-five minutes.
10. Straight-Backs With Finger Coils at the Tails
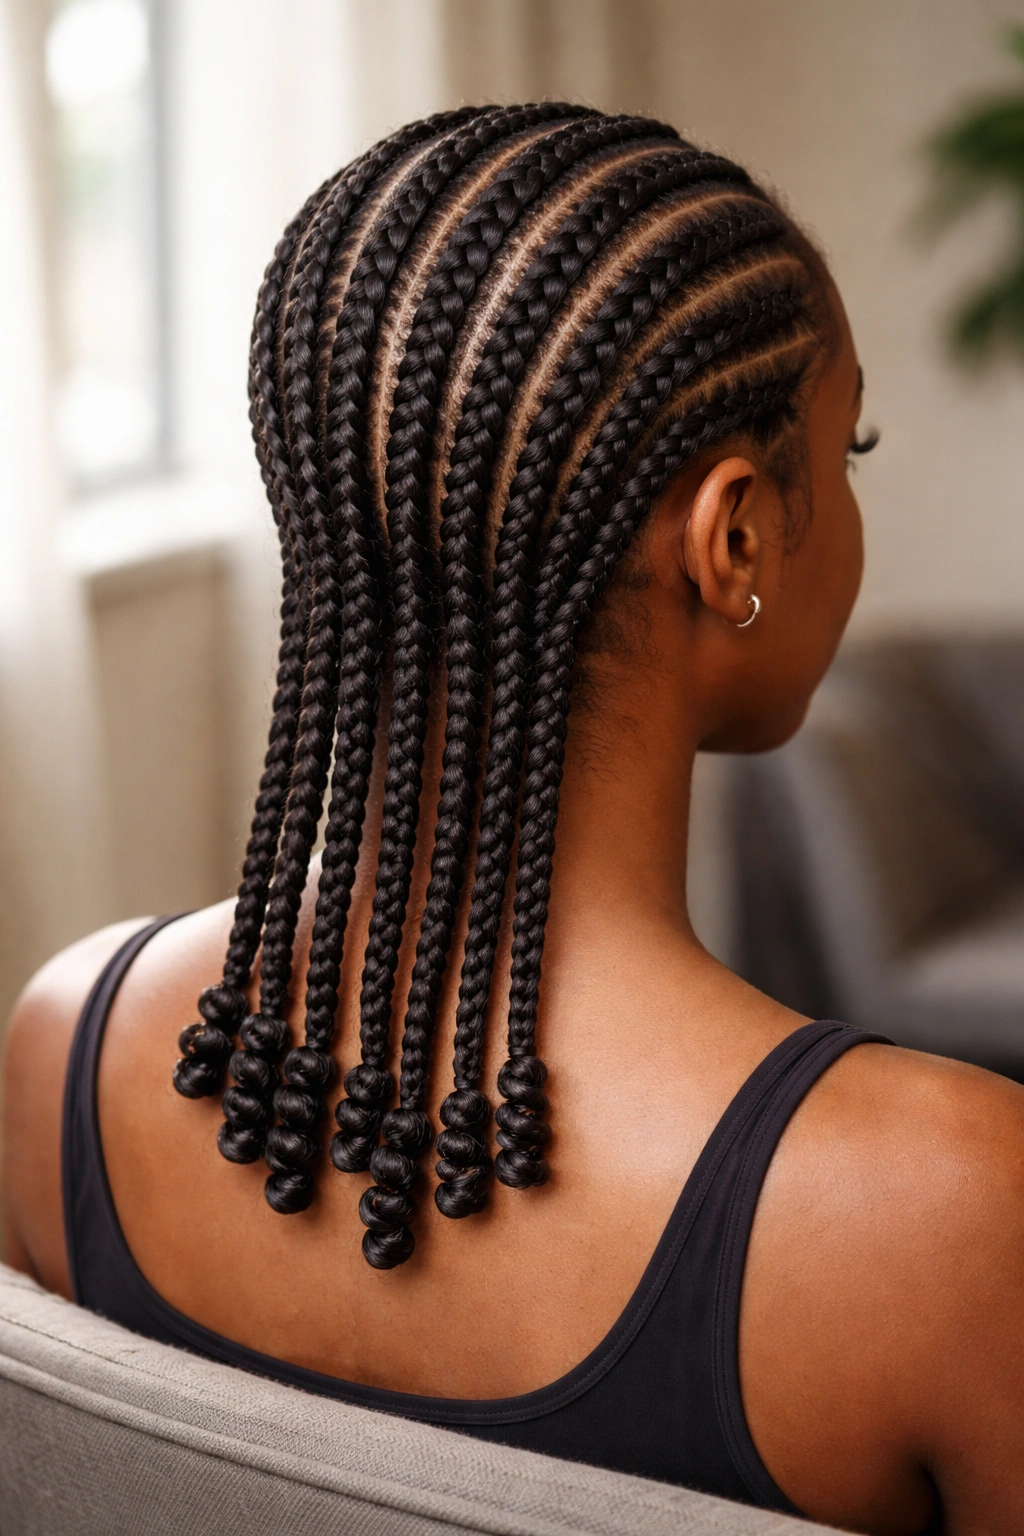
The cornrow lies flat and neat along the scalp. The tail, instead of hanging straight, ends in a tight finger coil.
How to Do It
Braid the cornrow down to the last four inches. Stop braiding. Apply a quarter-sized amount of curl-defining cream or gel to the tail. Take small sections, wrap each one around your index finger, hold for ten seconds, release. Let air-dry.
The coil finish adds dimension without adding length. It’s practical for medium hair because the tails are naturally shorter, and the coils visually complete the style rather than looking unfinished.
11. Straight-Backs With Heart-Shaped Parts
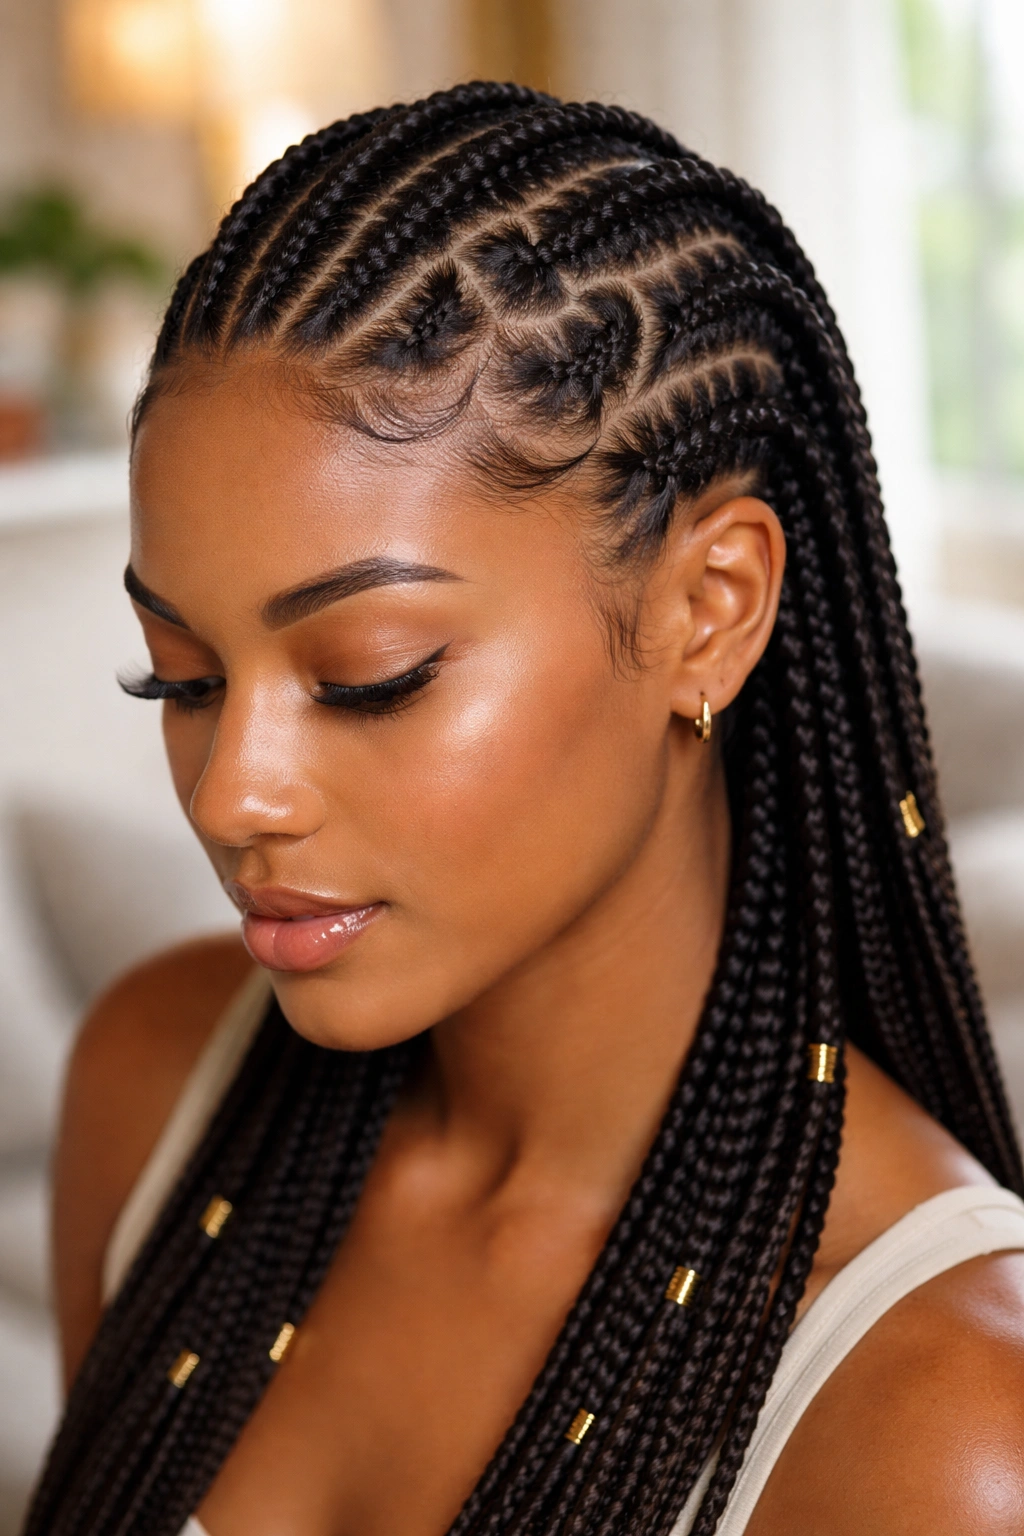
Look closely at the parts between braids — they form subtle heart shapes where they meet.
This is a detail move. From a distance, the style looks like standard straight-backs. Step closer, and you notice that the parts aren’t perfectly straight — they curve slightly inward toward each other, creating paired heart silhouettes along the scalp.
The effect works best in photos and close-up settings. It requires serious skill from the braider. Most will charge a premium or decline the request. When done well, it’s the kind of detail that gets noticed by other people with trained eyes.
12. Medium-Hair Cornrows Styled Into a French Twist
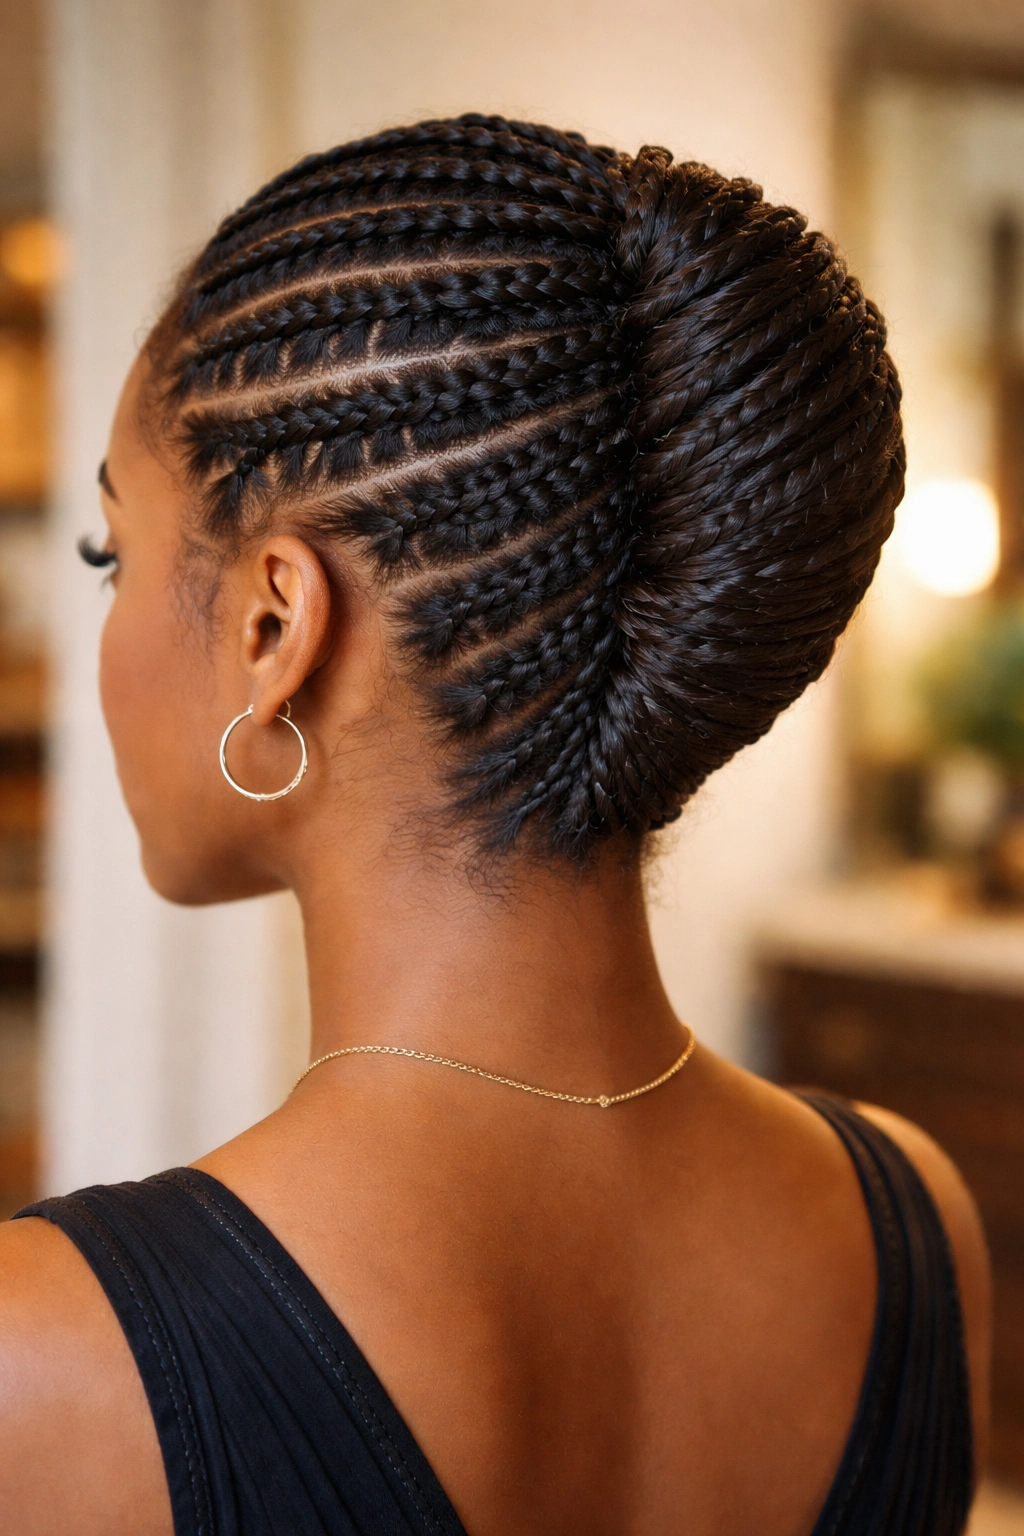
Cornrowed hair rolled and pinned into a vertical French twist at the back of the head.
Unlike long hair, which has natural weight for a French twist, medium hair needs structural help. The cornrows provide that structure — they give the hair enough grip and direction that the twist can actually hold its shape.
Why It Works
The French twist is a formal silhouette, usually reserved for weddings and galas. Combining it with cornrows creates a cultural and aesthetic remix — traditional European updo, traditional African base braid. The result feels fresh precisely because the combination is less common.
Expect to pin liberally. Use U-pins for the base, then bobby pins for smaller grips. A light mist of hairspray at the end locks it in.
13. Three-Strand Rope Cornrows
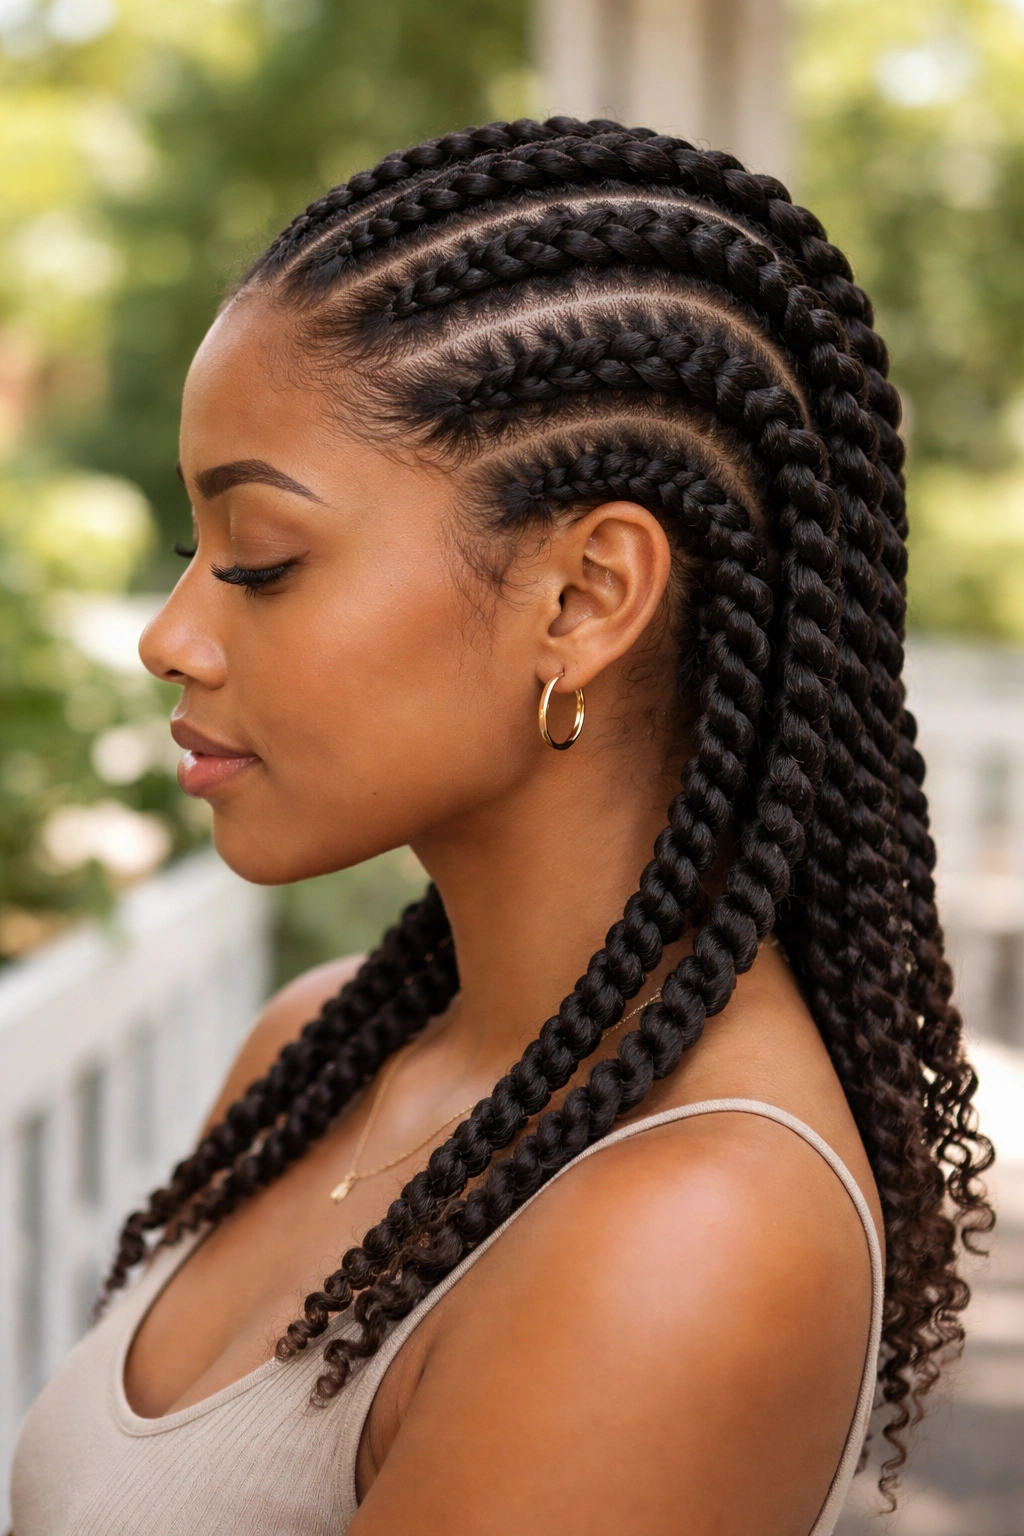
Cornrows where each braid is a three-strand rope twist rather than a traditional plait.
A rope twist creates a different texture than a plait — more rounded, with a subtle spiraling pattern visible along its length. On medium hair, rope-style cornrows add visual interest without requiring extensions or accessories.
The technique is slower than traditional cornrowing. Your braider twists two sections over each other as they pick up new hair, rather than folding three strands. Not every braider does rope cornrows. Ask before booking.
14. Cornrows With Accent Edges
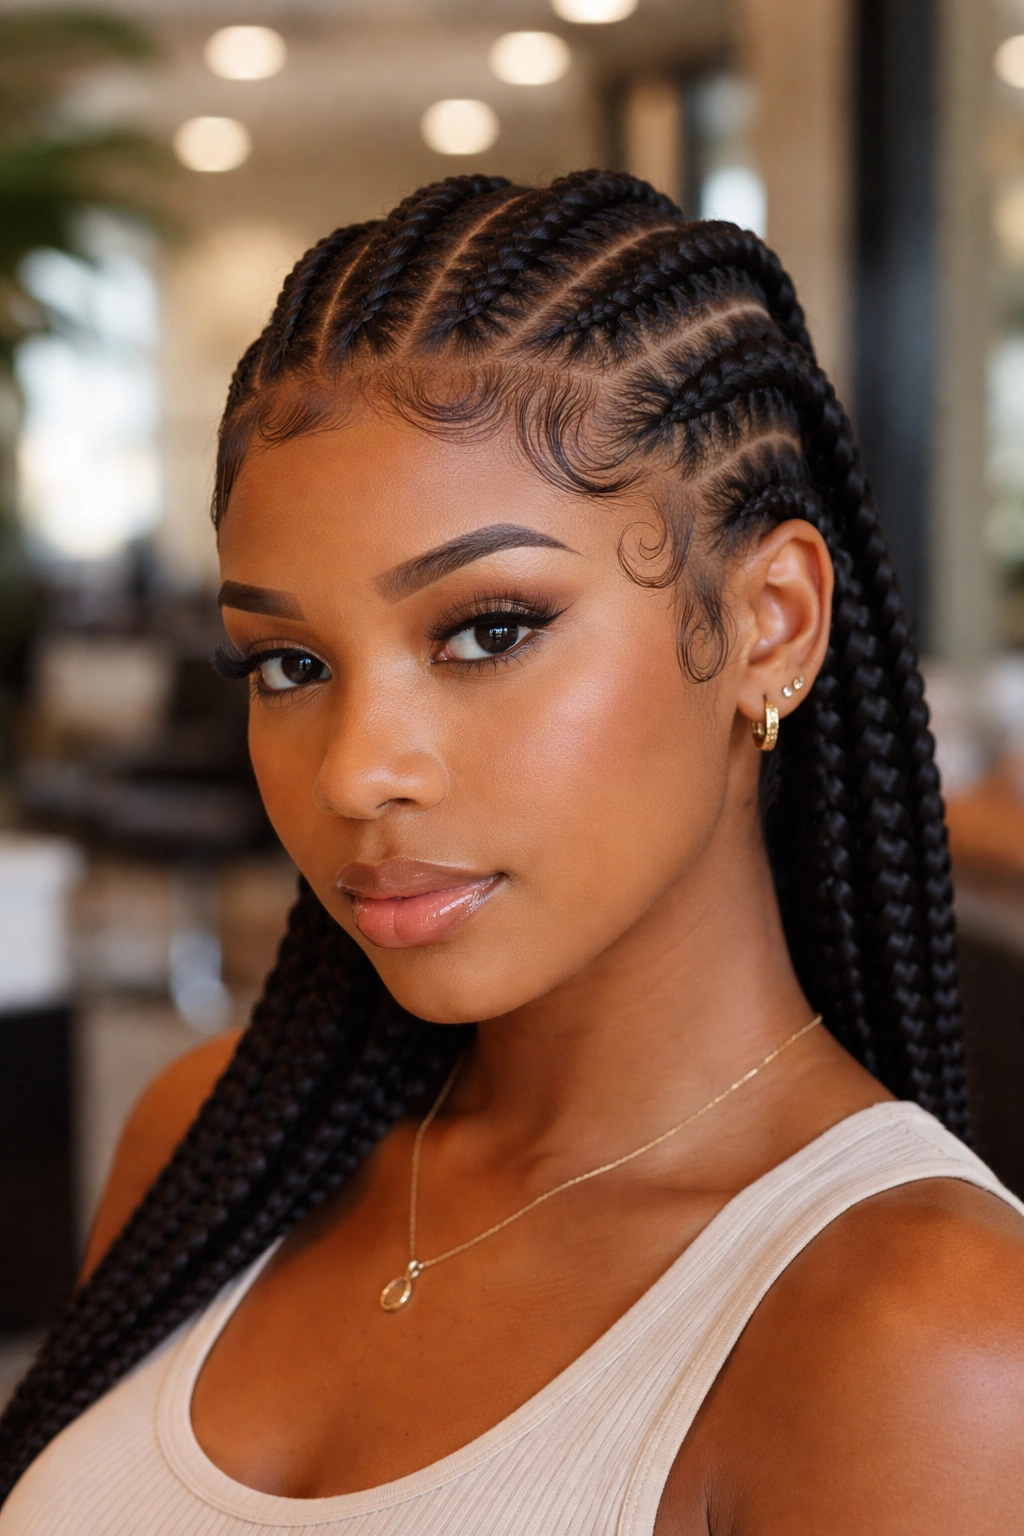
Standard cornrows paired with dramatically styled baby hair edges at the hairline.
The cornrows themselves are plain — six or eight straight-backs, no accessories, no color. All the visual interest goes into the edges. Swirls, loops, sharp points — whatever design works with your face shape gets laid in edge gel and set with a soft-bristled brush.
The edges are a separate skill from cornrowing. If your braider isn’t also skilled at laying edges, consider getting the cornrows done at one place and the edges done at another. The effort is worth it. Beautifully laid edges turn a simple style into something sculpted.
15. Cornrows With Natural Hair Left Out at the Crown
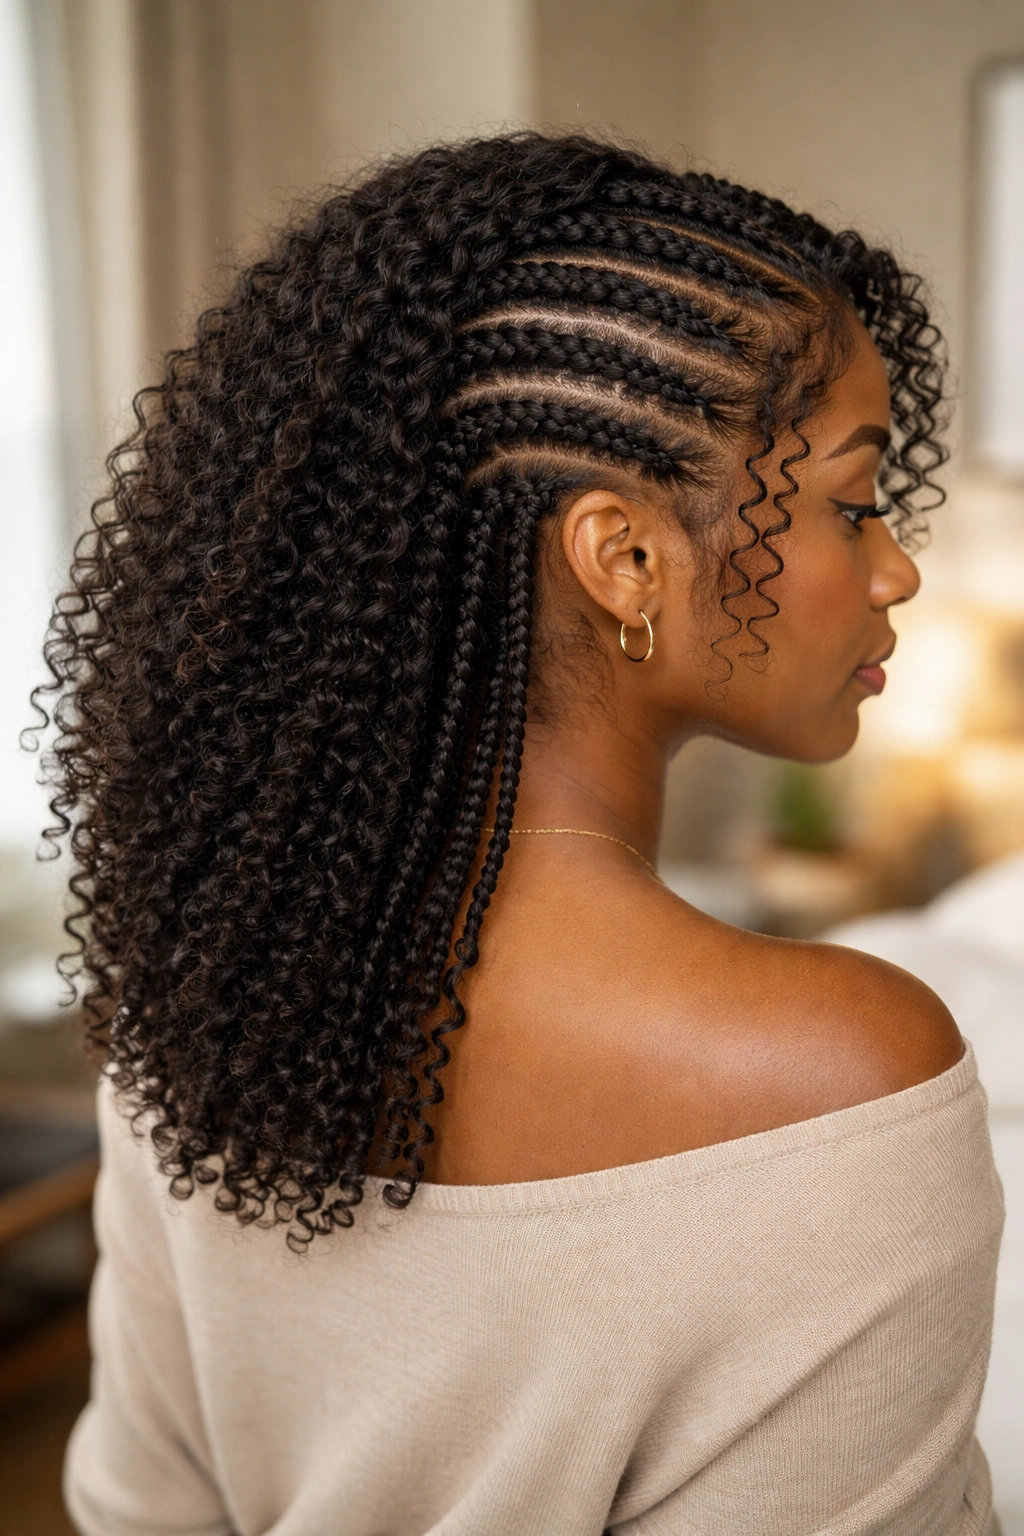
Cornrows running from behind the crown to the nape, with the front third of the hair left loose and styled separately.
Picture this — the front of your hair is parted, styled, and worn down in its natural texture. The back is cornrowed into six cornrows that begin at the crown. From the front, you look like you’re wearing your natural hair. From the back, you look like you’re in a protective style.
This hybrid works particularly well for people who aren’t ready to commit fully to cornrows but want the back protection. It also extends wash days — the cornrowed back stays clean longer than loose hair.
16. Burgundy-Tinted Natural Cornrow Set
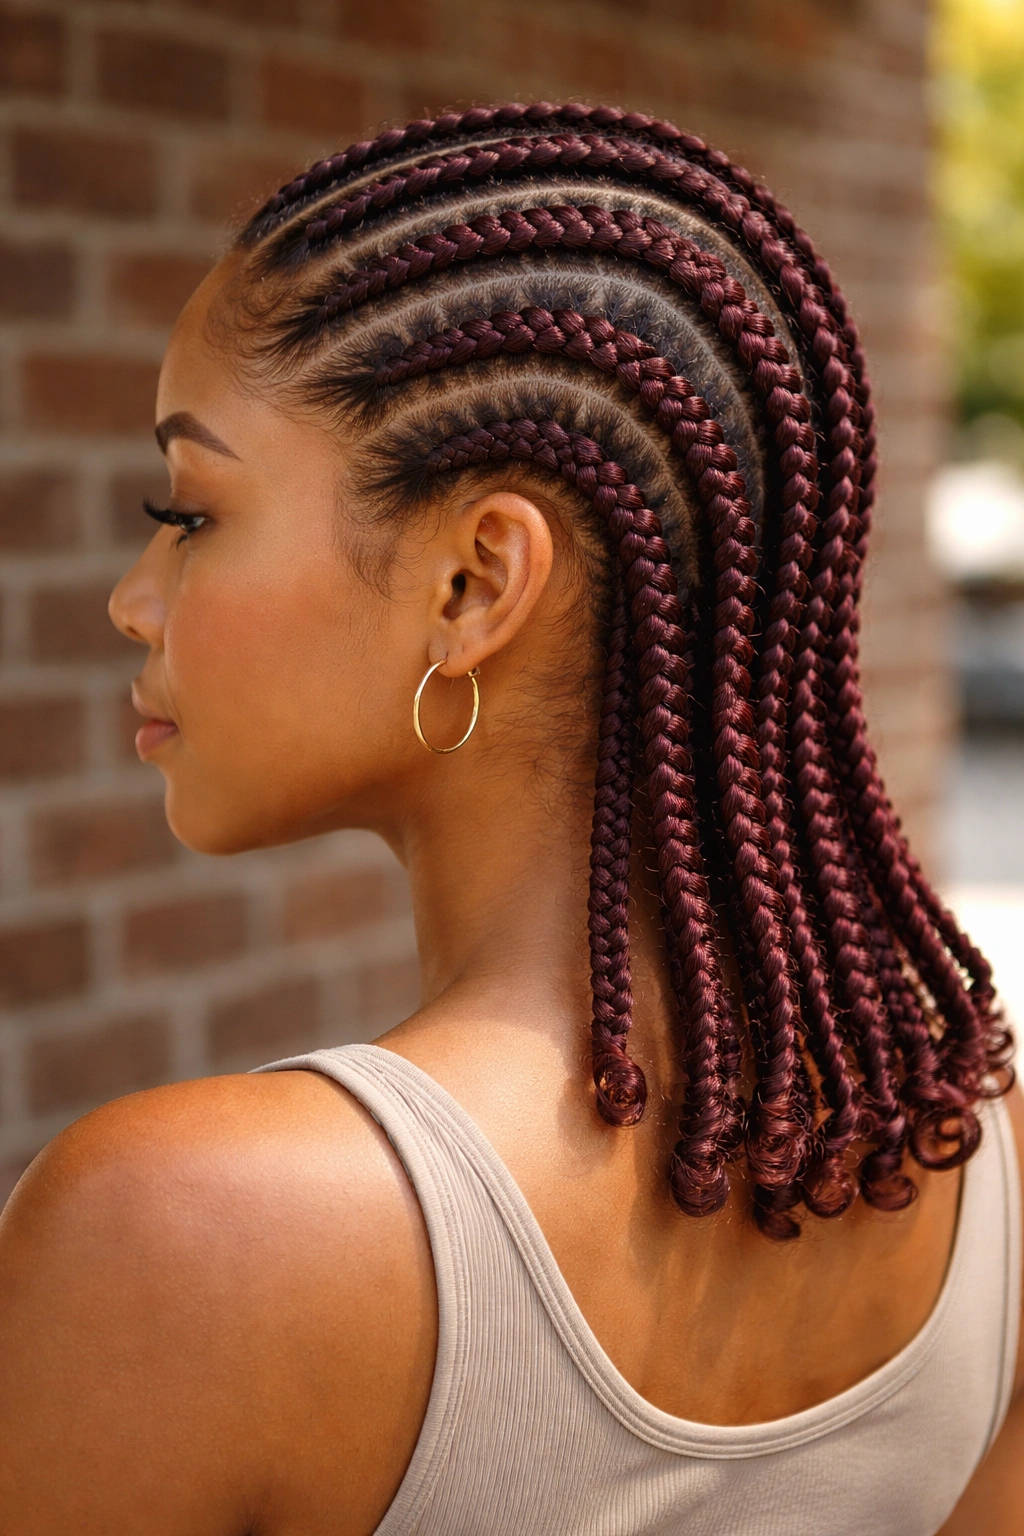
Cornrows done with your natural hair after applying a semi-permanent burgundy rinse.
No extensions. No permanent color damage. Just a semi-permanent deposit rinse that gives your hair a burgundy undertone, which catches light through the cornrows in a way that plain black doesn’t.
The color lasts about six weeks and fades gradually with each wash. By the time you take the cornrows out, the rinse is mostly gone, leaving your natural color ready for whatever comes next.
17. Straight-Backs With a Jeweled Barrette
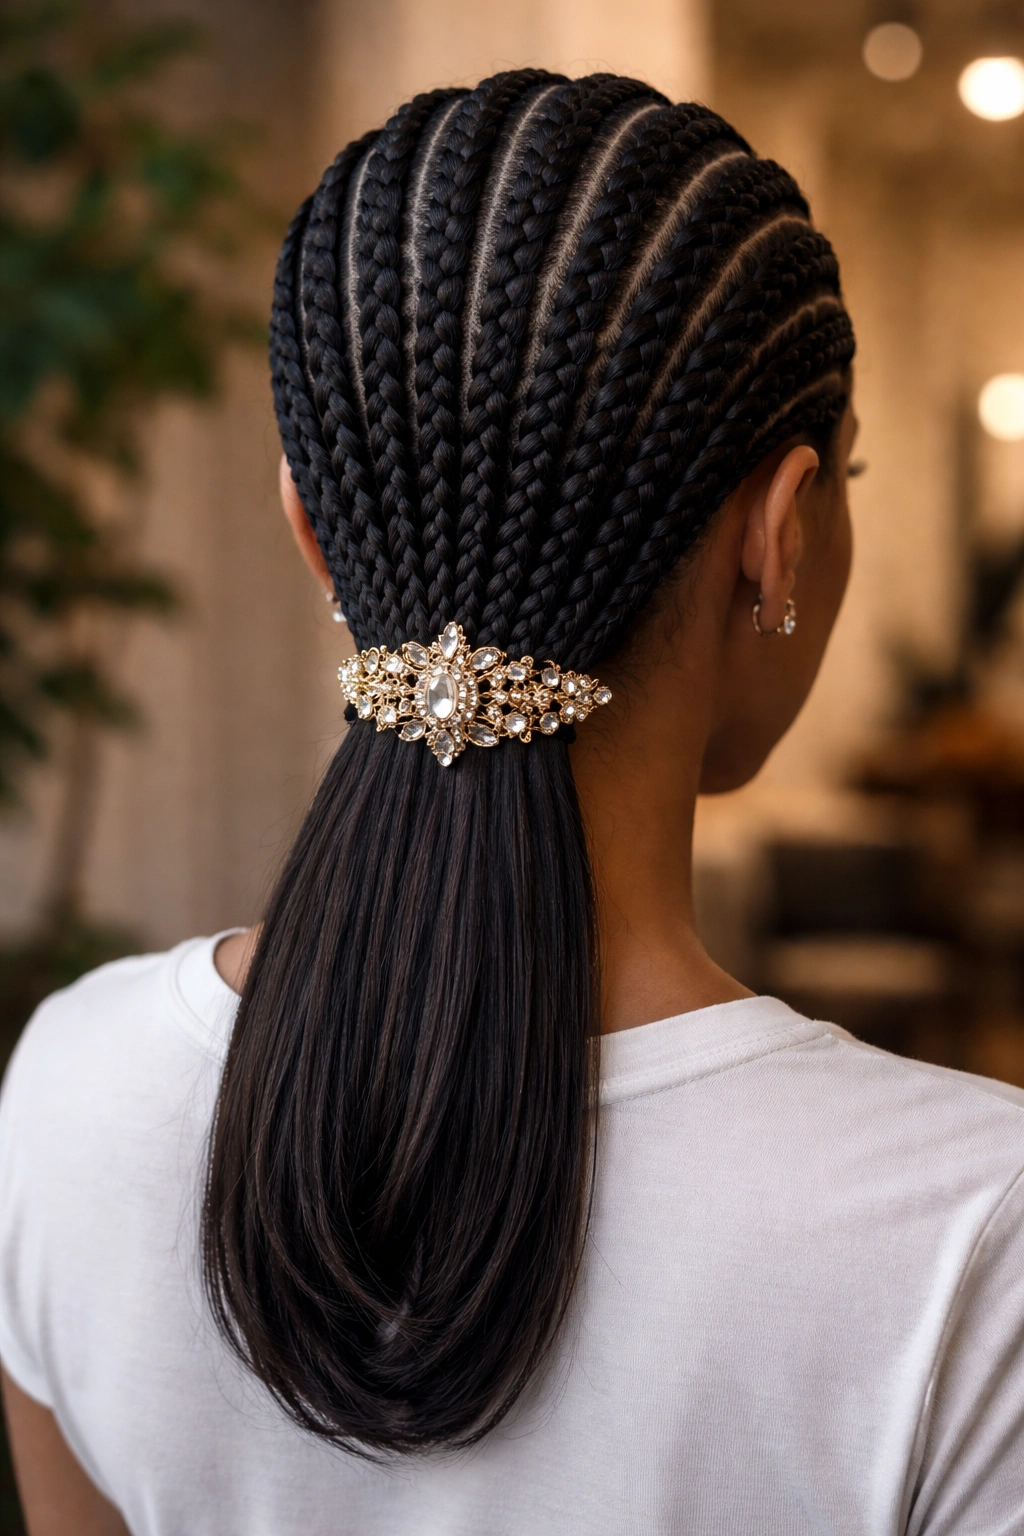
Cornrows finished with a single ornate barrette at the nape, clipping all the tails together.
One barrette. Statement piece. Rhinestones, pearls, enamel — whatever fits your aesthetic. The barrette pulls all the cornrow tails into a single collected point at the base of the skull.
Tip: Choose a barrette that’s substantial — at least three inches across — so it anchors the weight of the cornrows. Small barrettes slide. Large ones stay put.
18. Six Cornrows With Silk Ribbon Wrapped Around One
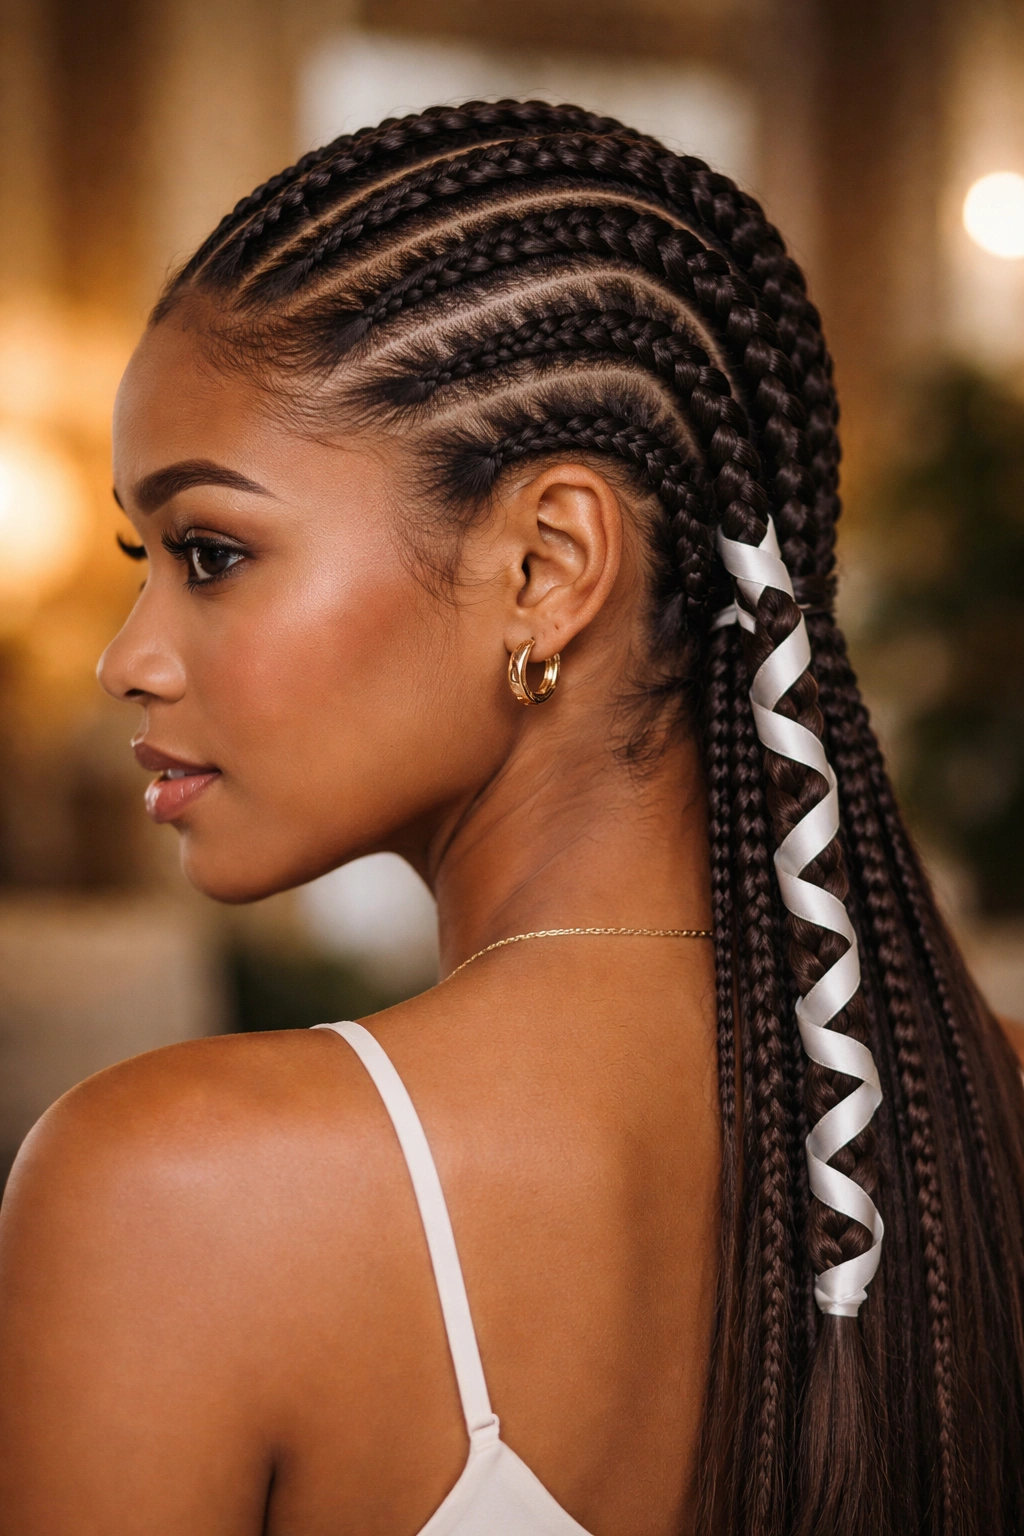
A single silk ribbon spiraled around one cornrow from root to tail.
This is a small detail with big impact. Pick a ribbon that contrasts with your hair — dusty pink, sage green, rich burgundy, whatever suits your palette. Spiral it around one cornrow, knotting at the end. Leave the other cornrows plain.
The asymmetric ribbon reads as styled but not overdone. Ideal for events where you want a personal touch without committing to a full accessory setup.
19. Cornrows With Graduated Thickness
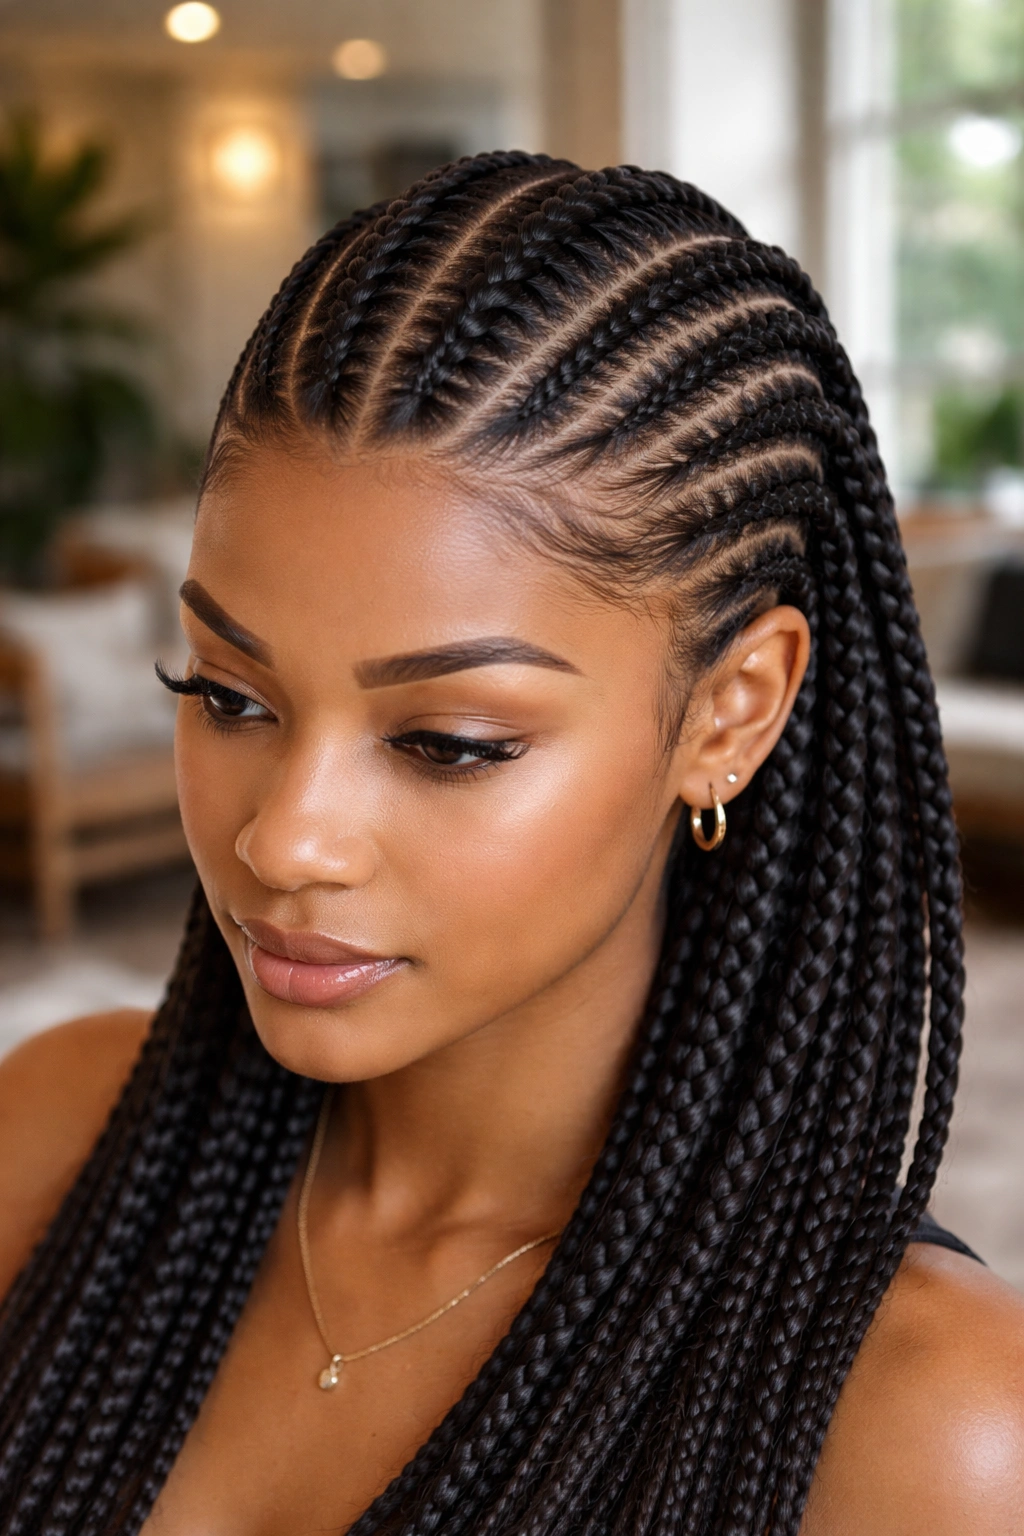
Thicker cornrows at the center of the head, gradually getting thinner toward the sides.
The graduation creates a visual focal point at the crown. Two thick cornrows run down the middle, flanked by progressively thinner ones on either side until the braids near the temples are quite small.
This style is mathematically satisfying. It’s also flattering — the thicker center draws the eye upward and creates the illusion of height, which elongates round face shapes.
20. Minimalist Three Straight-Backs
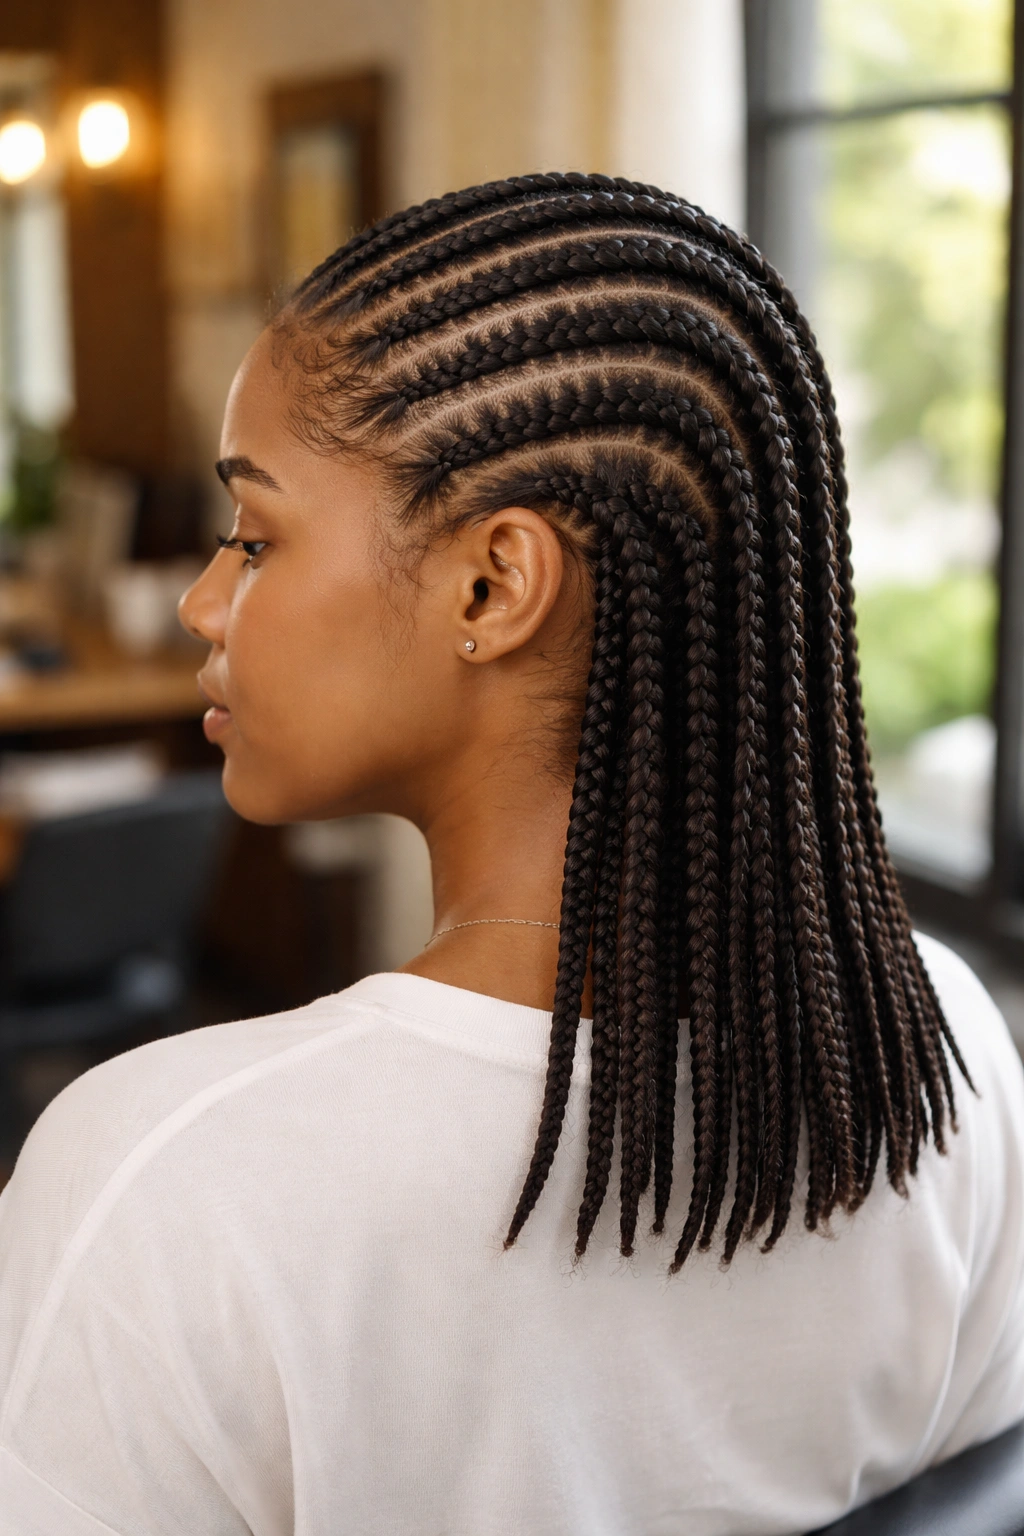
Just three cornrows. That’s the whole style.
What Makes It Different
Three cornrows feels radical on medium hair because convention pushes toward six, eight, or ten. Three is almost sparse. But that sparseness is the point — each cornrow reads as intentional and architectural, and the exposed scalp between becomes part of the design.
Three cornrows work best on smaller head sizes. On larger heads, the spacing starts to feel uneven. For anyone with a medium-sized head and medium hair, three big straight-backs are quietly stunning.
21. Cornrows With a Single Braided Bang
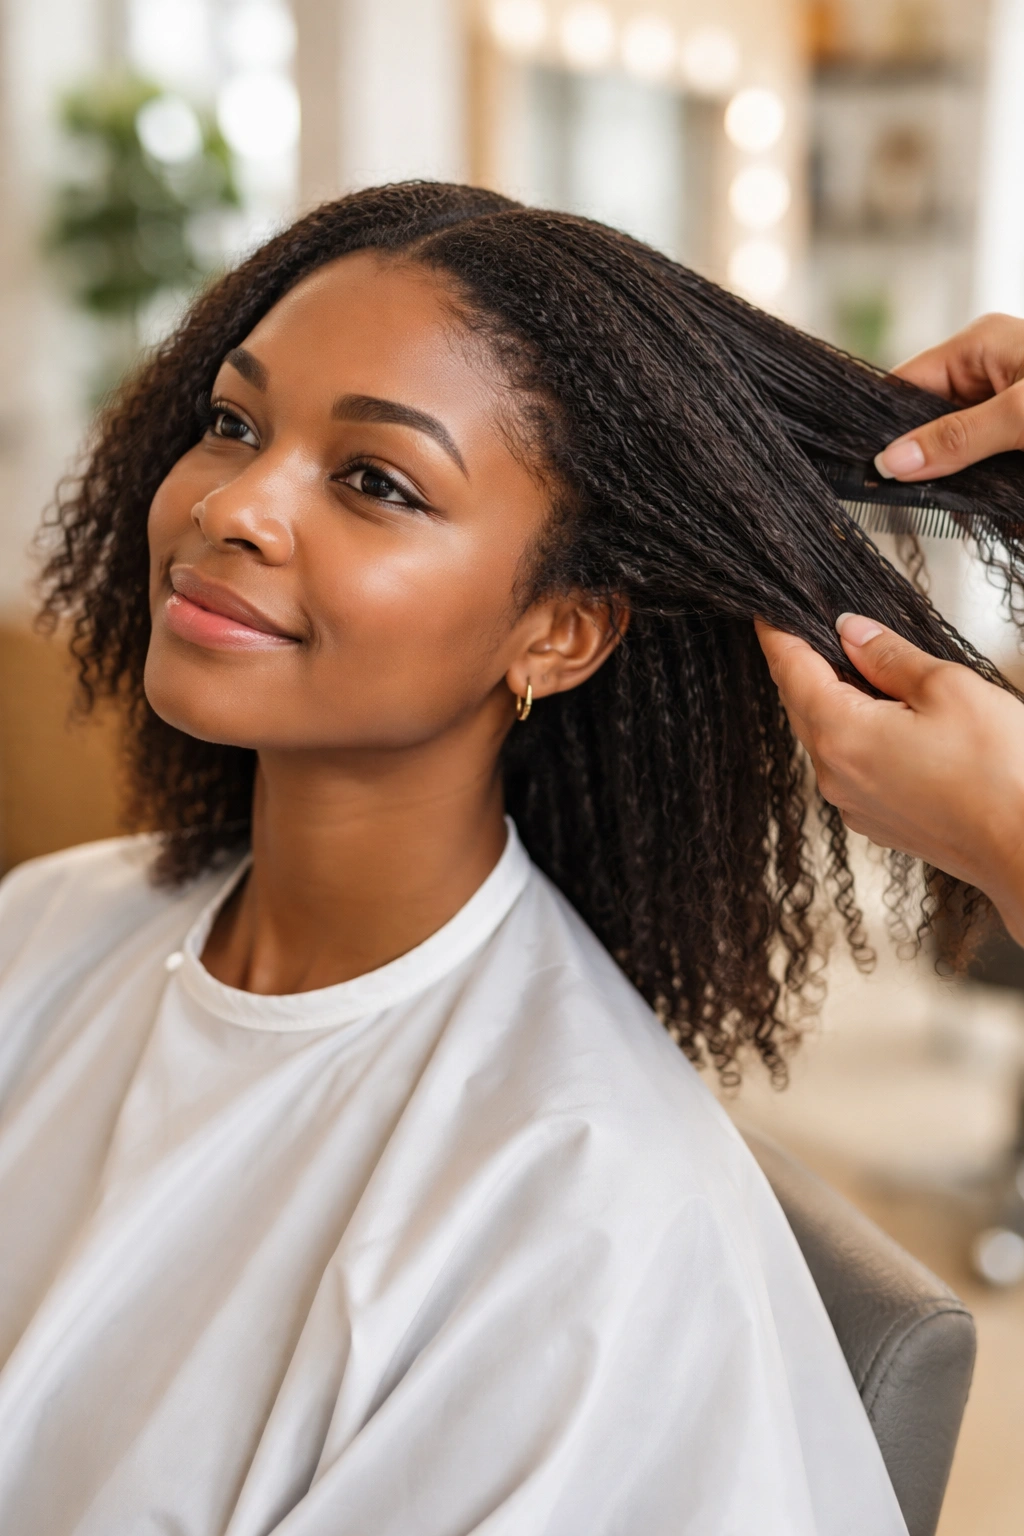
Six straight-back cornrows with a single diagonal cornrow forming a “bang” across the forehead.
The front cornrow is braided in flat against the skin, starting from one temple and ending just past the opposite eyebrow. It creates a braided fringe that softens the severity of the straight-backs behind it.
The bang cornrow should be thinner than the rest — maybe half the thickness — so it reads as a detail rather than another structural element. Your braider will need to work with careful tension across the forehead skin, which is more delicate than scalp skin.
22. Cornrows With Loose Ends Held With a Silk Scarf
Six cornrows with the tails loose, held back from the face with a wrapped silk scarf tied like a headband.
Unlike a headband that sits on top of the hair, a silk scarf gets woven through the cornrows near the crown, holding the back tails in place while letting them fall freely. It adds fabric texture to the sleek cornrow look and makes the style suitable for a specific mood — boho, artistic, more relaxed.
Pick the scarf to match your outfit. Floral prints work for casual, silk solids for formal. The knot of the scarf can be visible at the crown for drama, or tucked under for a cleaner line.
Maintenance: What Actually Keeps the Style Clean
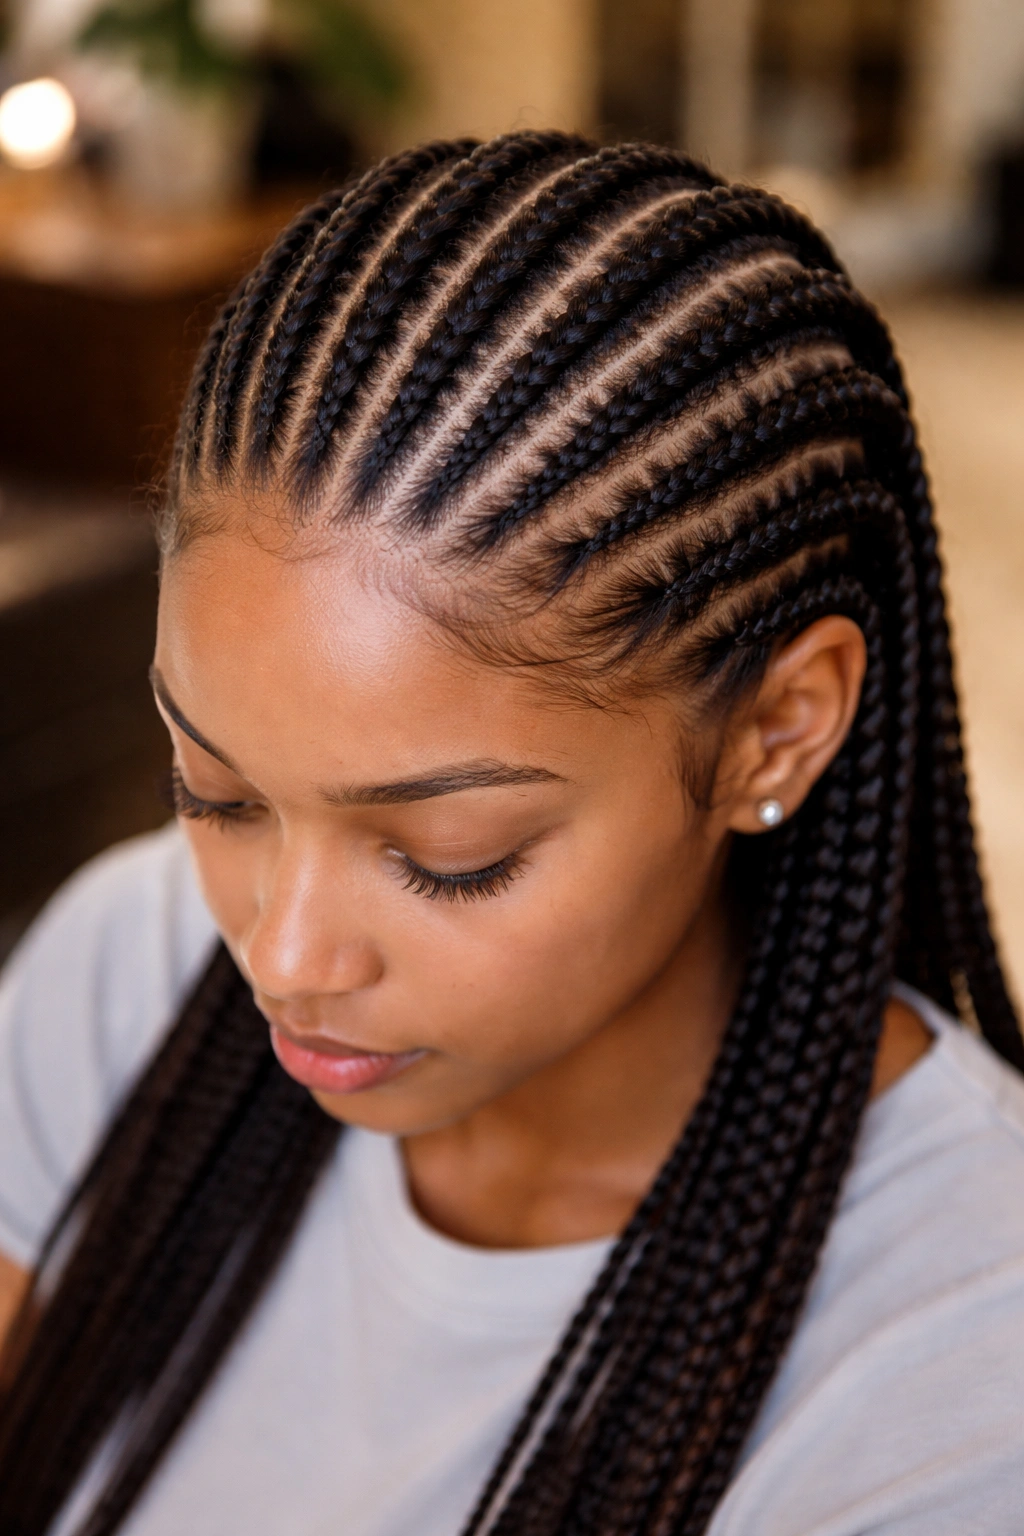
Straight-back cornrows on medium hair last longer than you’d expect if you sleep right. A satin or silk bonnet is non-negotiable. The cotton pillowcase friction alone can dull the finish of your cornrows within three or four nights — and that’s without any other factors working against you.
Bonnets aren’t fashion. They’re tools. A six-dollar bonnet extends your style by a week minimum. Buy two and rotate.
Beyond the bonnet, midweek maintenance keeps the cornrows fresh. Apply a light oil — jojoba, grapeseed, or sweet almond — to the scalp every few days using a pointed applicator. Stay away from heavy oils or butters. They build up and turn the parts murky.
If you sweat during workouts, spritz the scalp with a witch hazel and water mix (50/50) after your session. It cleans without leaving residue.
Scalp Care That Prevents Itching
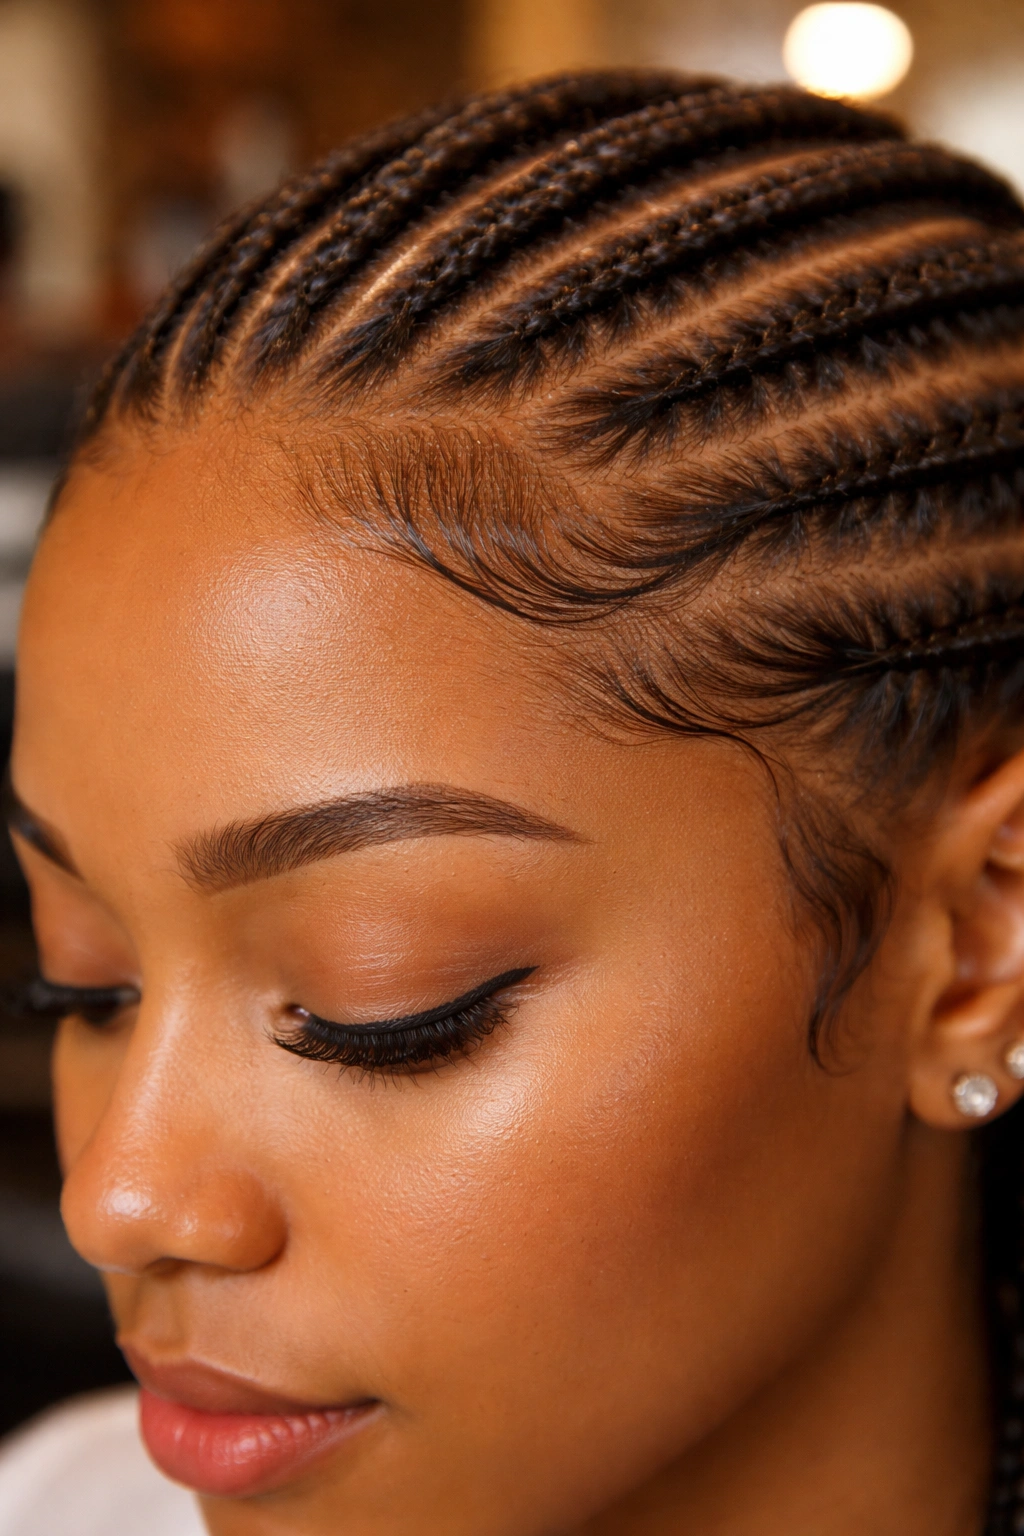
Itching is the number one complaint with any braided style. For cornrows, the cause is almost always buildup, dryness, or both.
Address buildup first. A weekly spritz of apple cider vinegar diluted with water (one part ACV to three parts water) clears product residue and balances the scalp’s pH. Apply with a spray bottle held several inches from the head, then blot dry with a microfiber towel.
Address dryness second. Light oil once every 2-3 days, focused on the scalp itself and not the braids. Don’t oil the cornrow — oil the skin underneath.
If itching persists despite both, consider that your braids might be too tight. Tension causes persistent irritation that no product can fix. Take-down is the only solution. A reputable braider will redo a painful install at reduced cost, so it’s worth asking.
Taking Them Out Without Losing Length
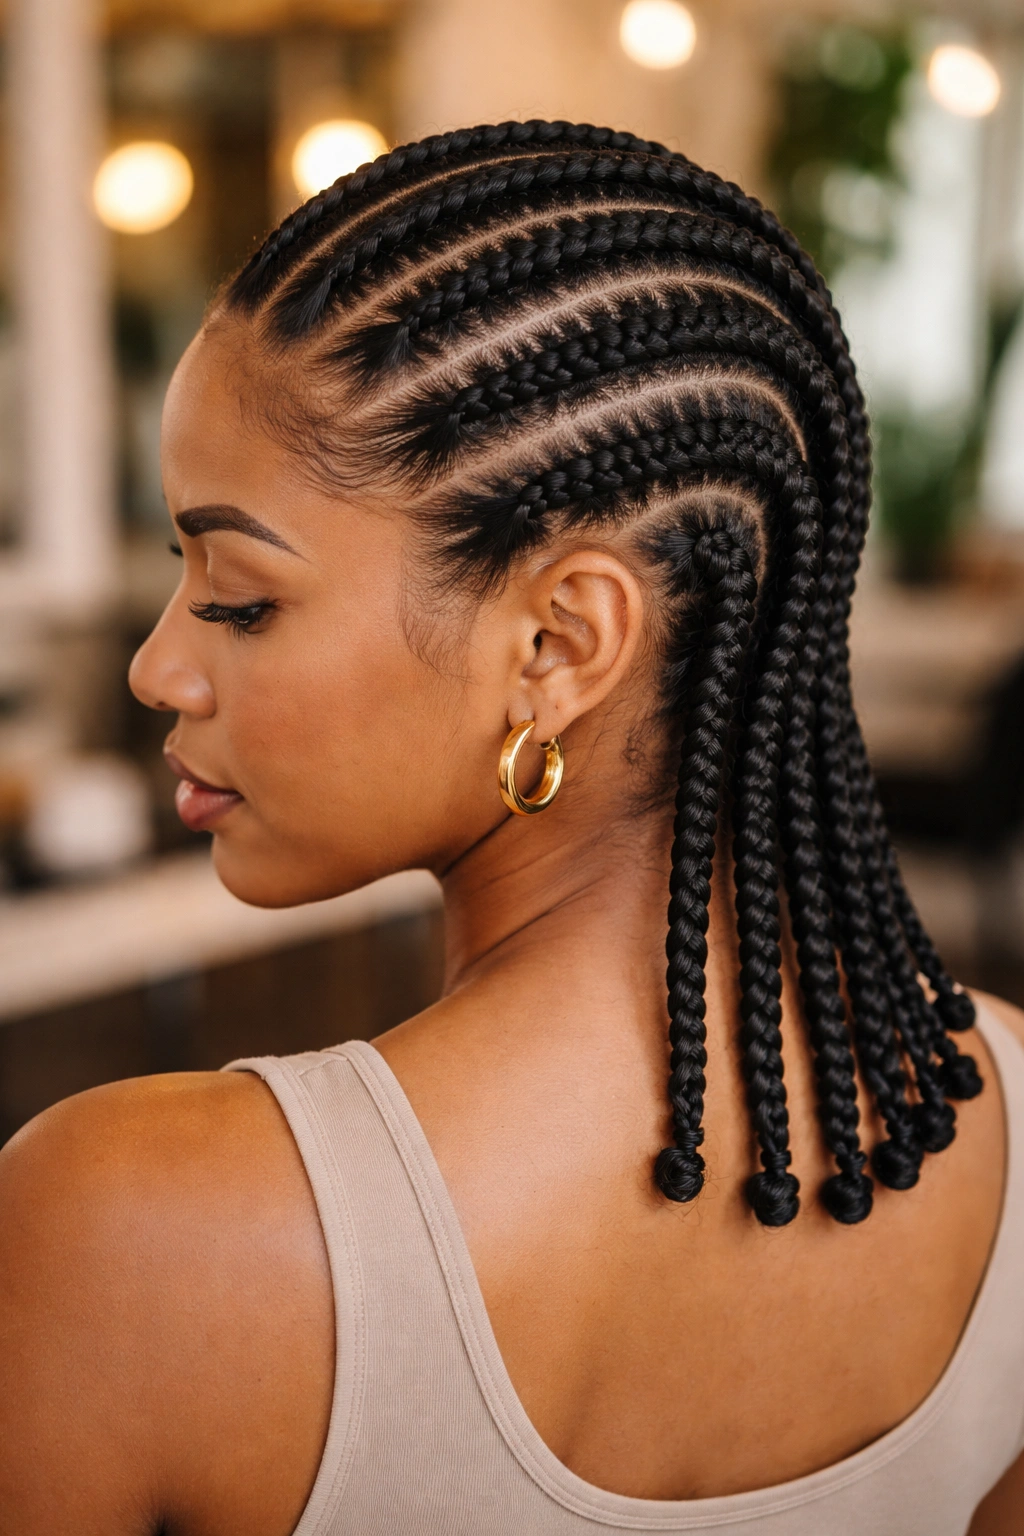
Take-down deserves patience. Take-down done quickly is take-down that costs you hair.
Start by misting each cornrow with a mix of water and leave-in conditioner. Let it sit for ten minutes. This softens product buildup and makes unraveling easier. Work from the tail up, using your fingers to pick apart the braid. Avoid tools like combs or rat-tail handles for the unraveling step — they rip through shed hair and pull healthy strands.
Once a cornrow is fully unraveled, detangle it separately before touching the next one. This keeps the shed hair from matting into the rest of your hair and reduces overall take-down time.
Finger-detangle first. Then wide-tooth comb. Then detangling brush. Always bottom-up, never top-down.
After all the cornrows are out, give yourself a clarifying wash followed by a deep conditioning treatment. Let your hair rest for a week before installing anything new. Your scalp and edges need the break.
How to Pick the Right Straight-Back Style for You
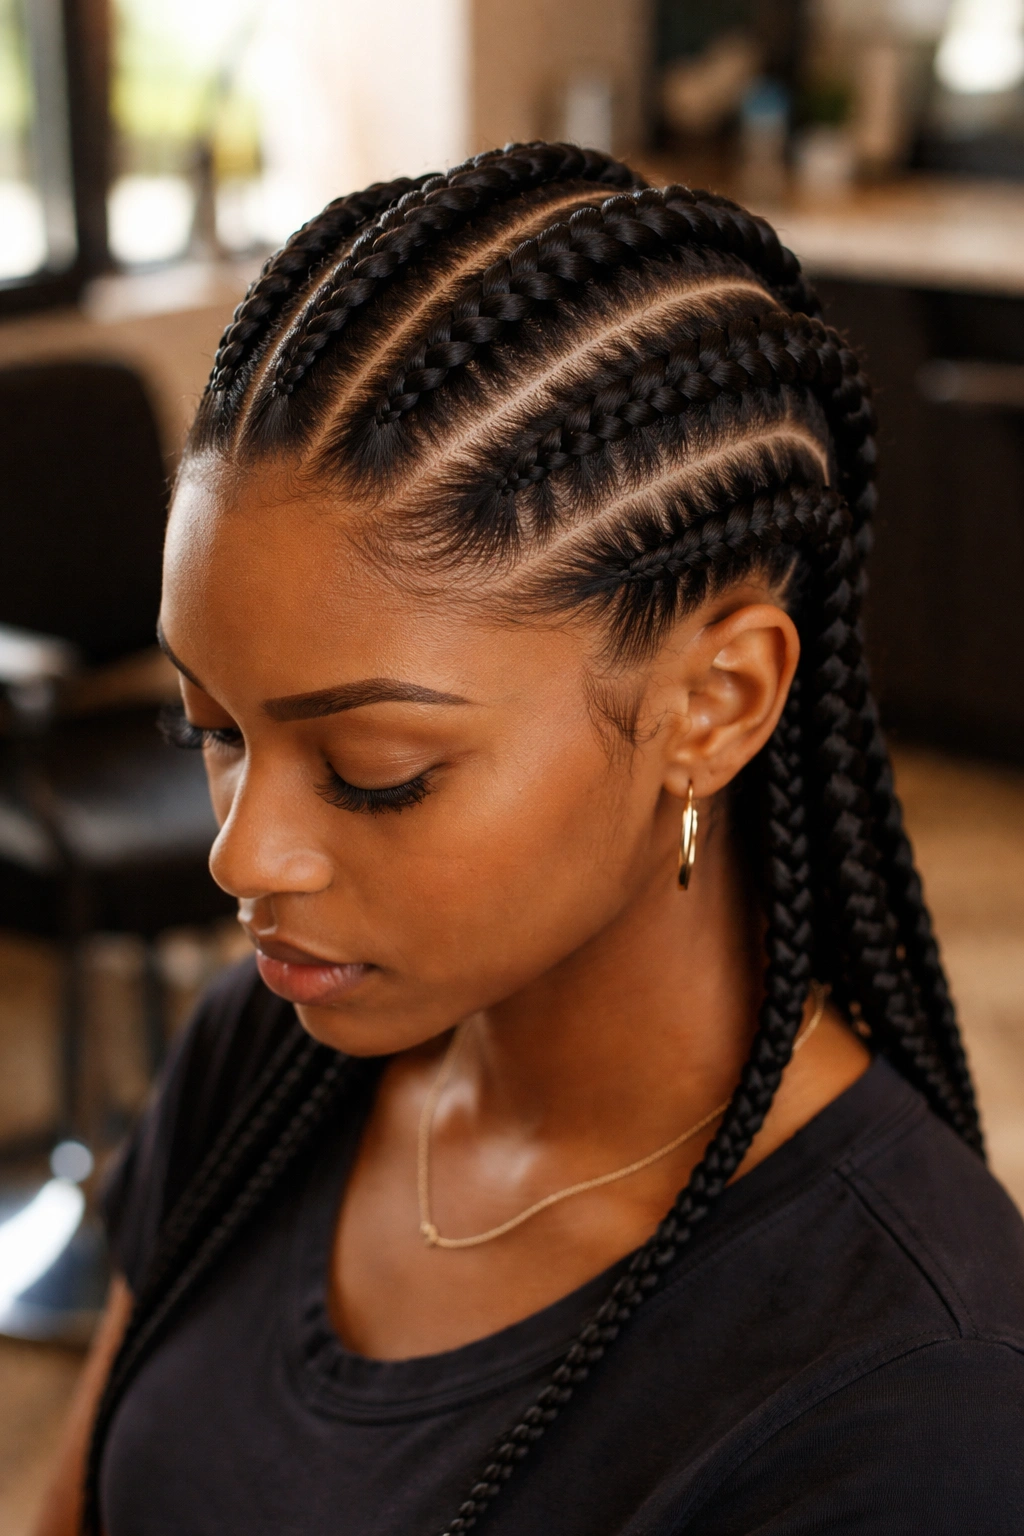
Style choice depends on three things — your hair density, your face shape, and your daily life.
For fine or sparse density, go with fewer, thicker cornrows. Two, three, or four big cornrows look fuller than ten thin ones on fine hair. For thick density, you have more flexibility — anywhere from four to ten cornrows works, and denser sets (eight to ten) showcase the hair’s volume.
For round face shapes, go with vertical emphasis — center-parted styles, taller updos like French twists, styles that elongate. For long face shapes, choose styles that balance the length — buns at the nape rather than the crown, styles that add width at the sides.
For a busy lifestyle, simpler is better. A classic six or eight-back holds up to gym sessions, early mornings, and long workdays better than an elaborate design with accessories. Save the beaded, ribboned, or jeweled versions for the weeks you have time to fuss.
Common Mistakes That Shorten the Style’s Life
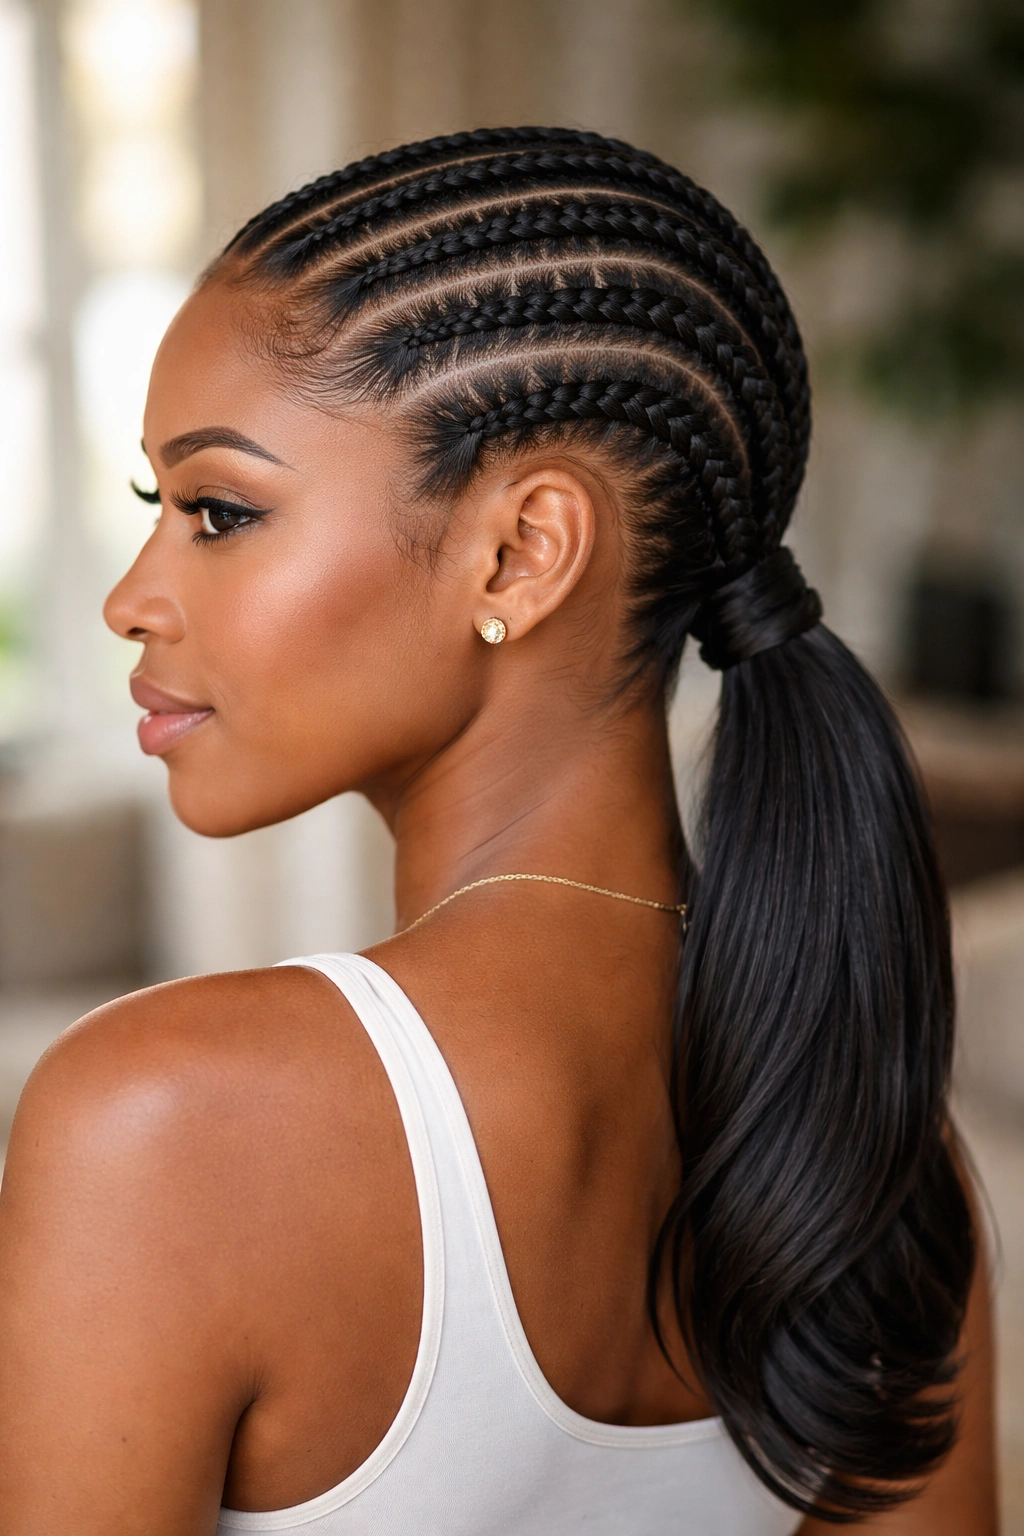
A short list to avoid.
- Washing too soon after install. The braid hasn’t set yet. Wait at least a week.
- Using heavy butters or greases. They attract lint and muddy the parts.
- Skipping night care. One week of cotton pillowcase friction can destroy a six-hour install.
- Pulling the tails into ponytails too tightly. This puts stress on the cornrow roots and causes lifting.
- Leaving the style in past six weeks. Matting and locking become serious risks.
- Taking them out when tired. Rushing causes breakage. Do take-down in daylight, with patience, with good product.
- Not protecting from pools. Chlorine turns hair brittle and fades color rinses.
Every one of these is avoidable. None of them are complicated. The difference between a style that lasts three weeks and a style that lasts six weeks comes down to these small choices made every day.
Straight-back cornrows for medium hair work because they respect what medium hair actually is — not short, not long, but its own thing with its own needs. Treat them with the care they deserve, and they’ll carry you through seasons of life without fuss. Skip the care, and you’ll be back in the braider’s chair sooner than planned.
